


January 22, 2020
Scupper 225
Wednesday
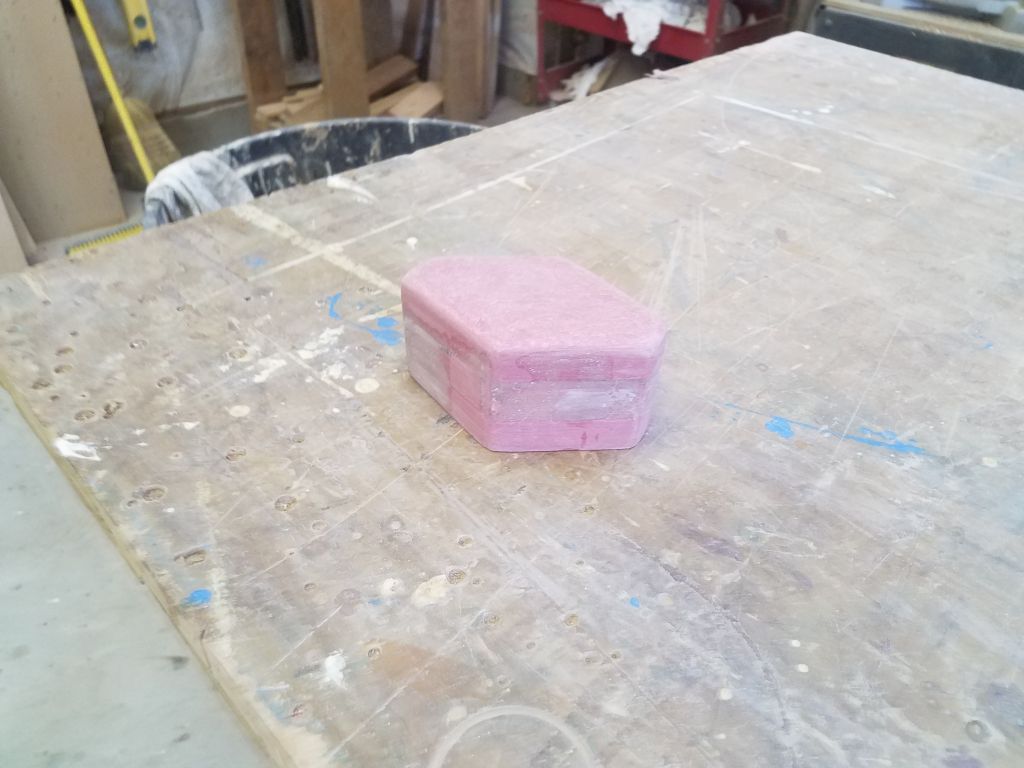
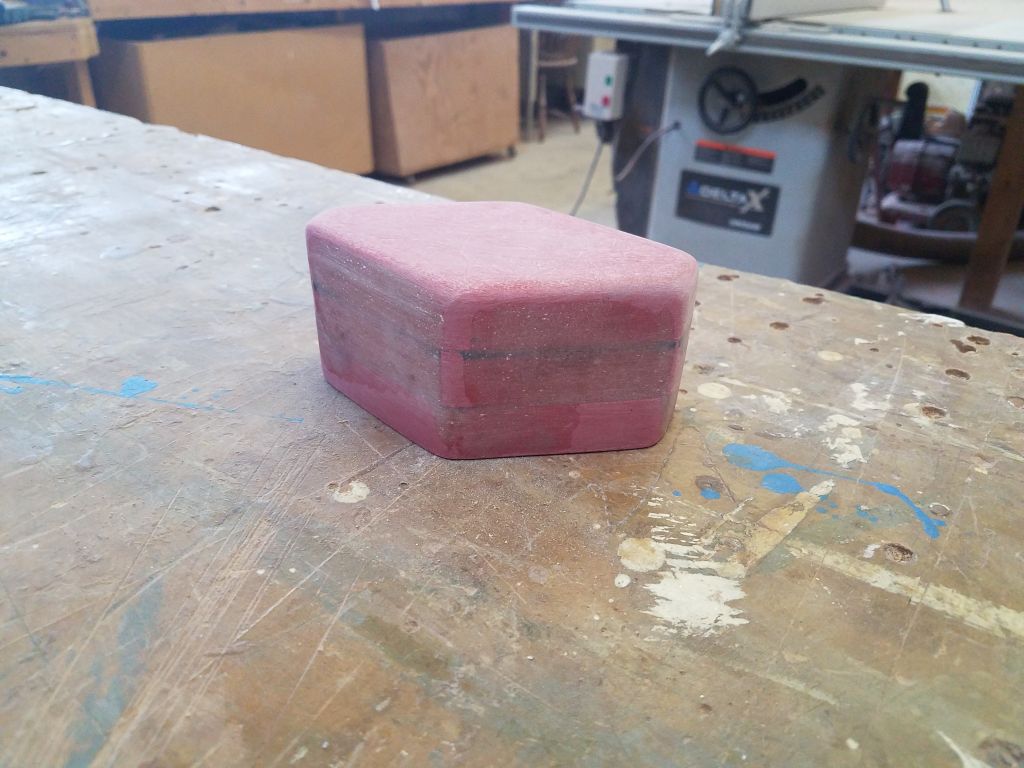
I spent a few minutes lightly sanding the new mainsheet riser block to remove excess fairing compound and otherwise prepare it for primer and paint. At the same time, I sanded the spreaders with 80 grit paper to remove the excess fairing compound from the small second round, and also to continue the overall sanding process eventually leading up to primer. There’d be one more round of sanding just before primer application, whenever that might be.
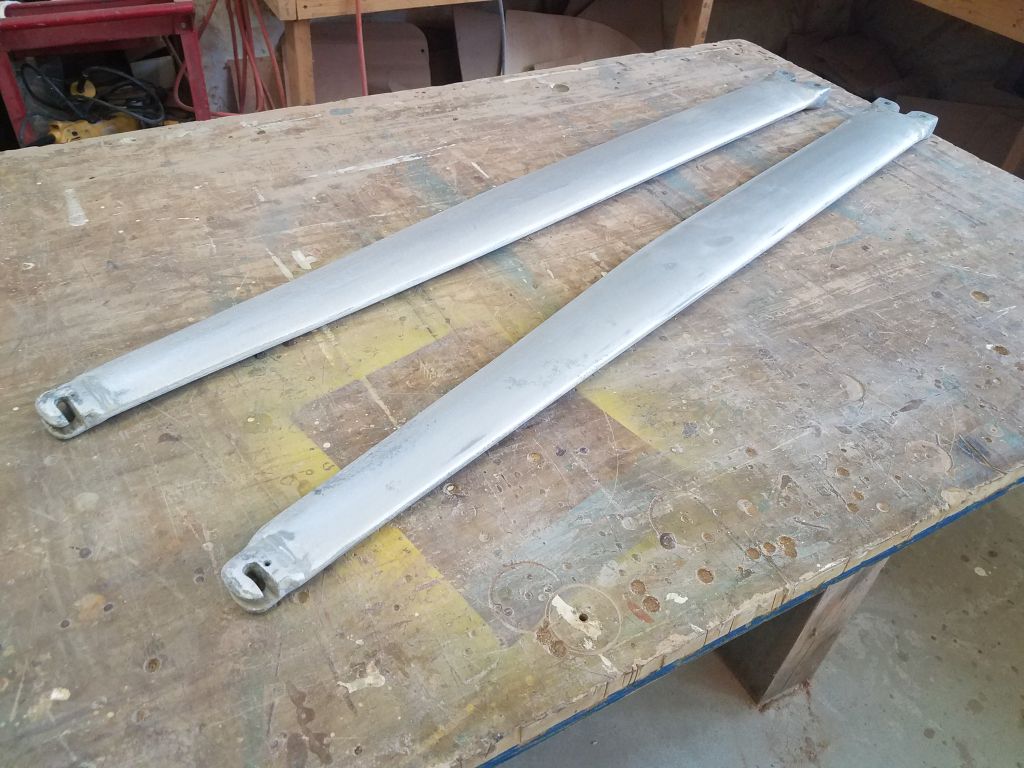
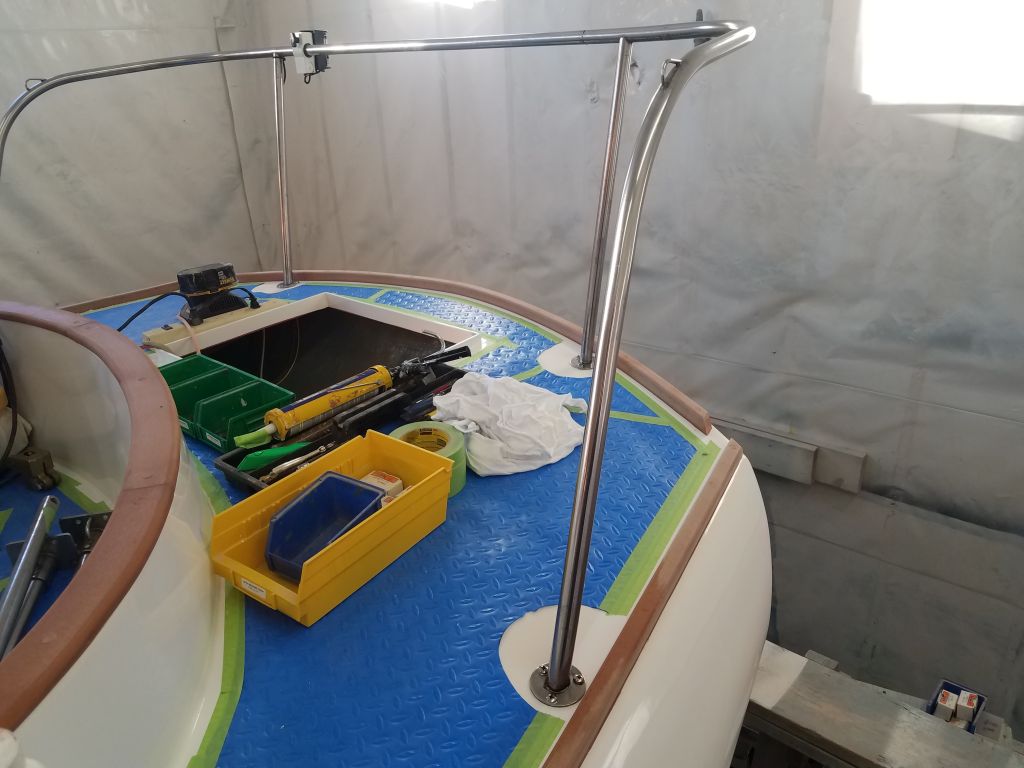
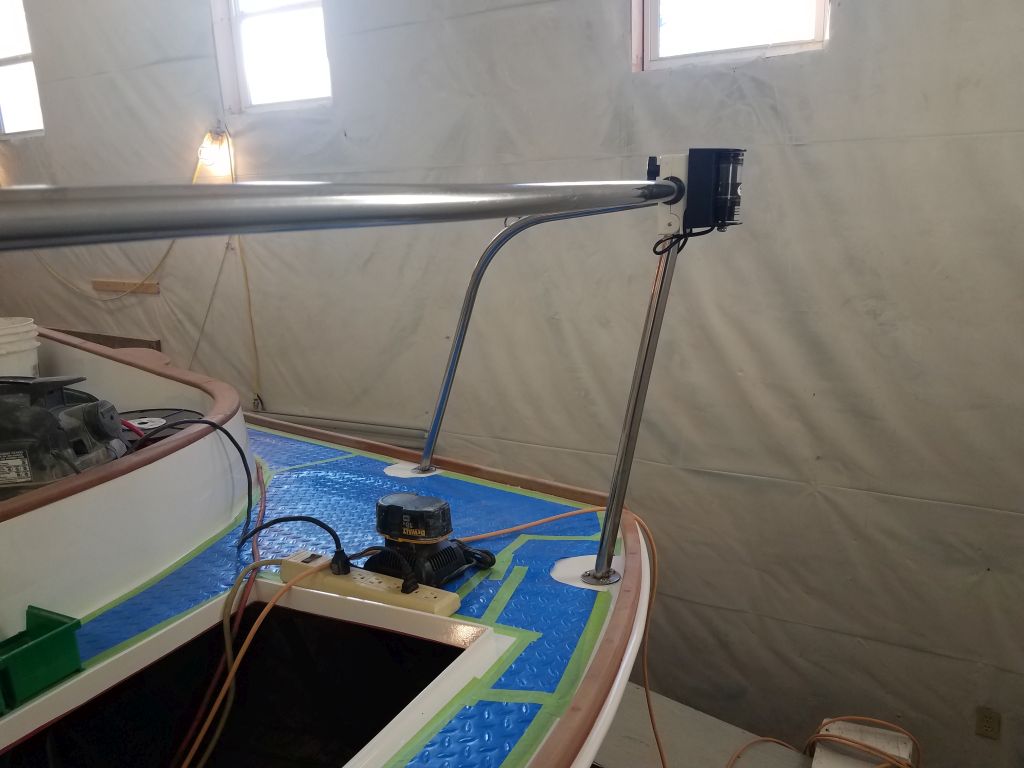
To finish up the pre-installation work on the stern pulpit, I secured the new wiring leading to the stern light, then polished the rails.

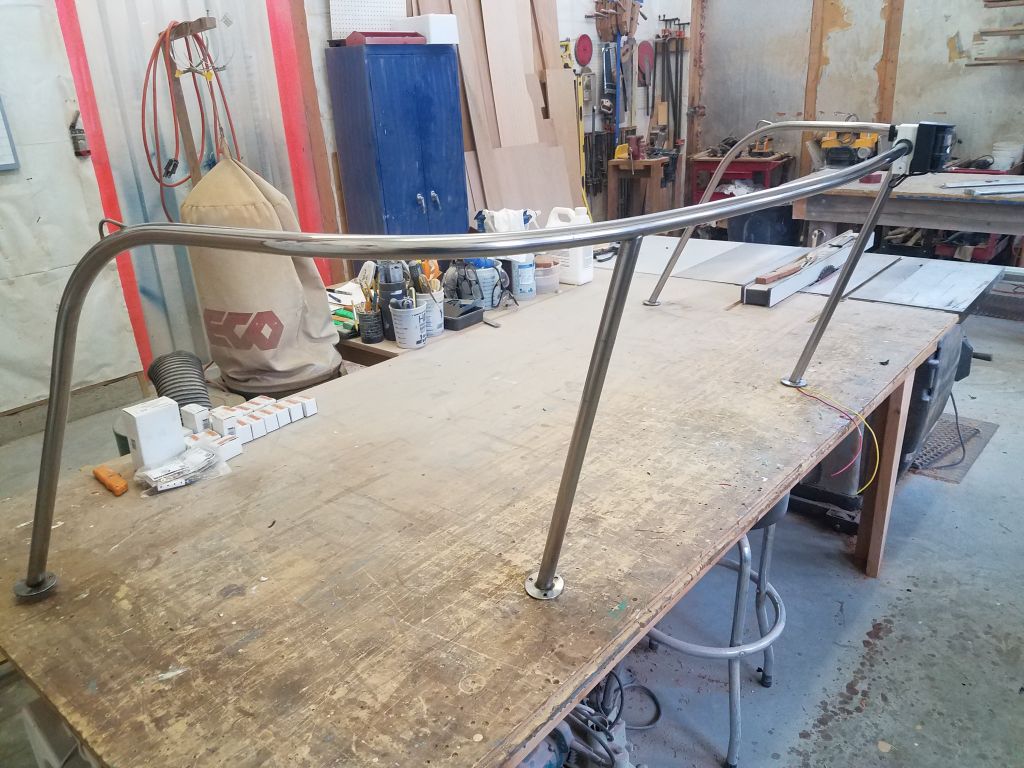
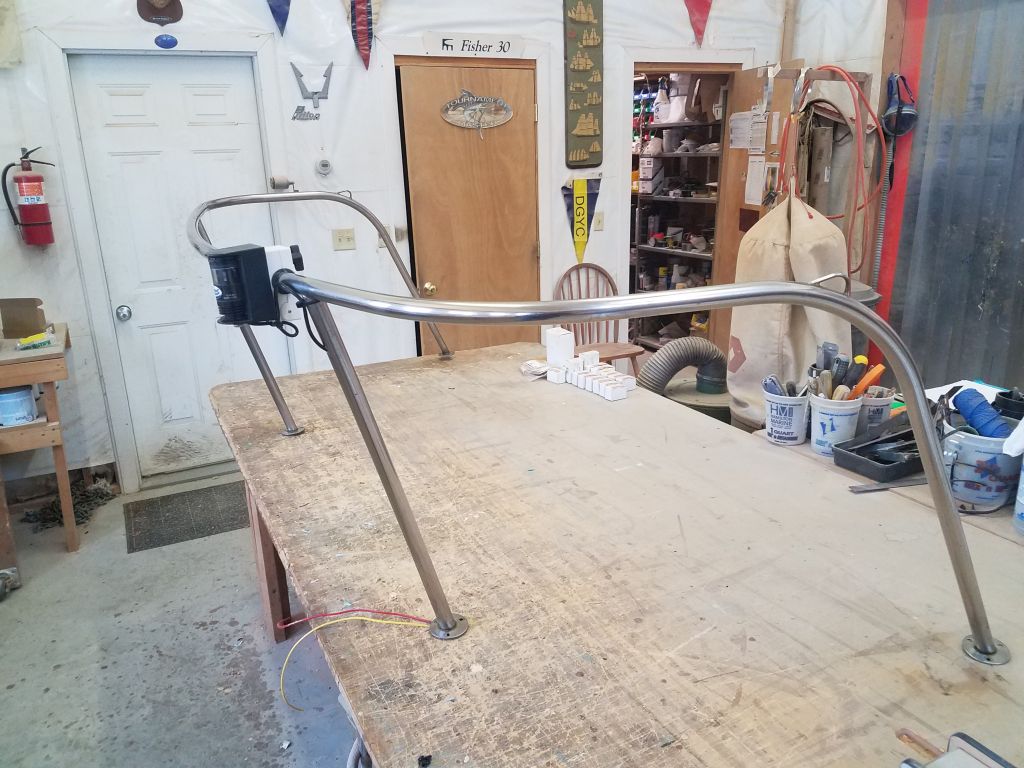
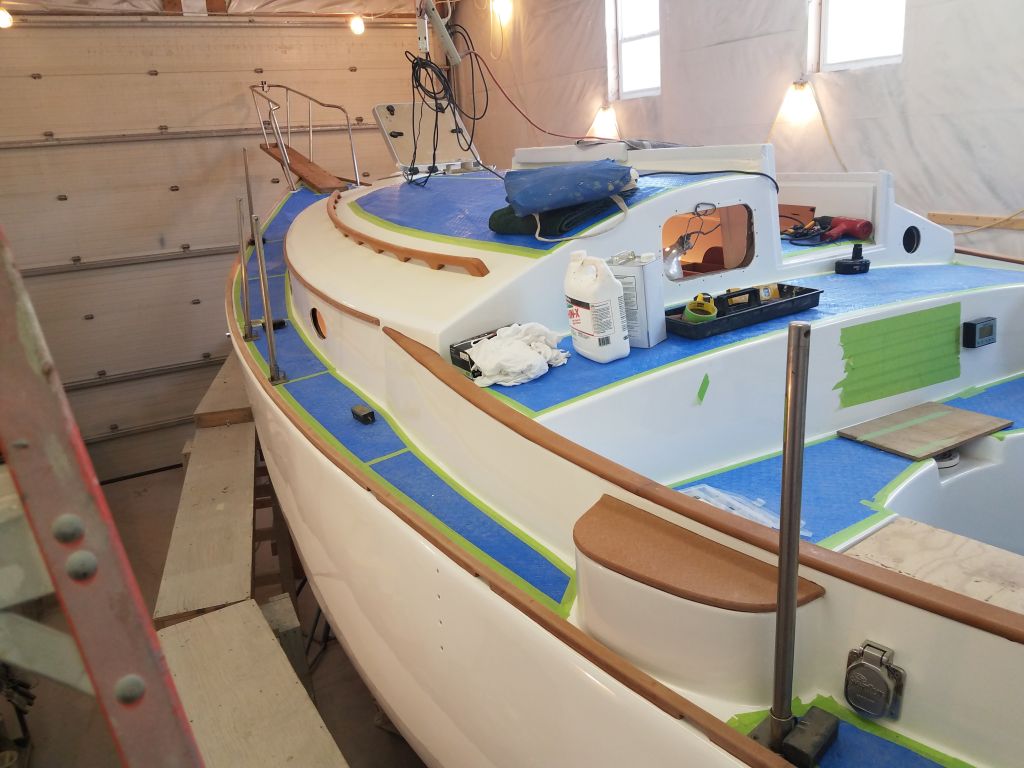
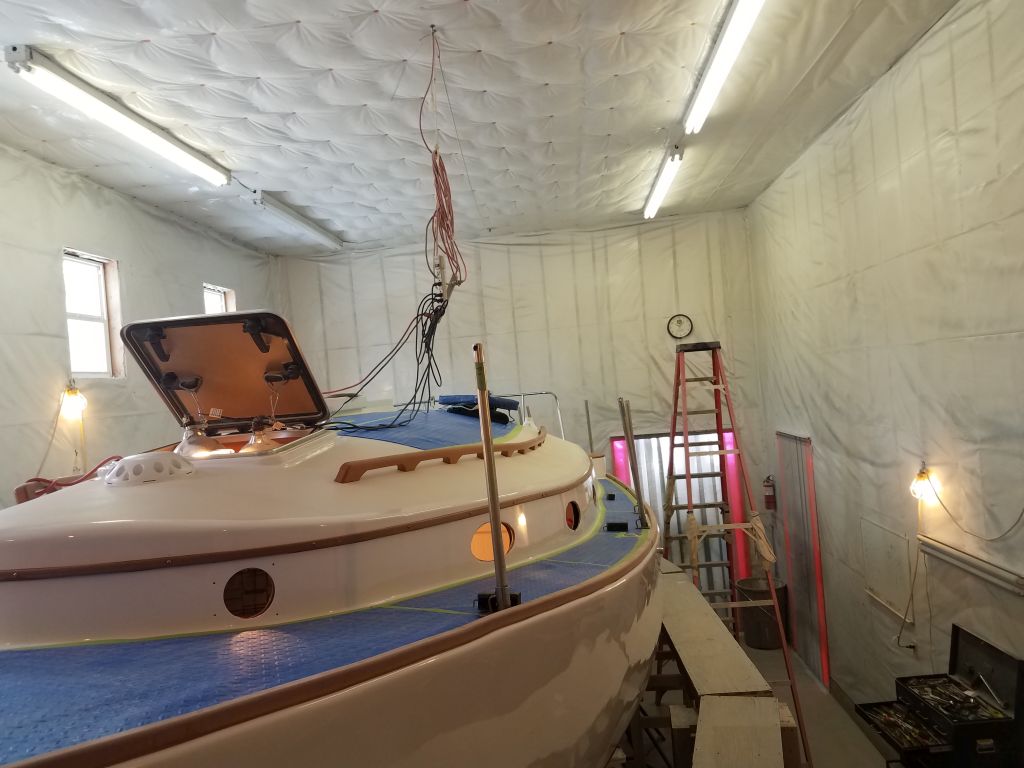
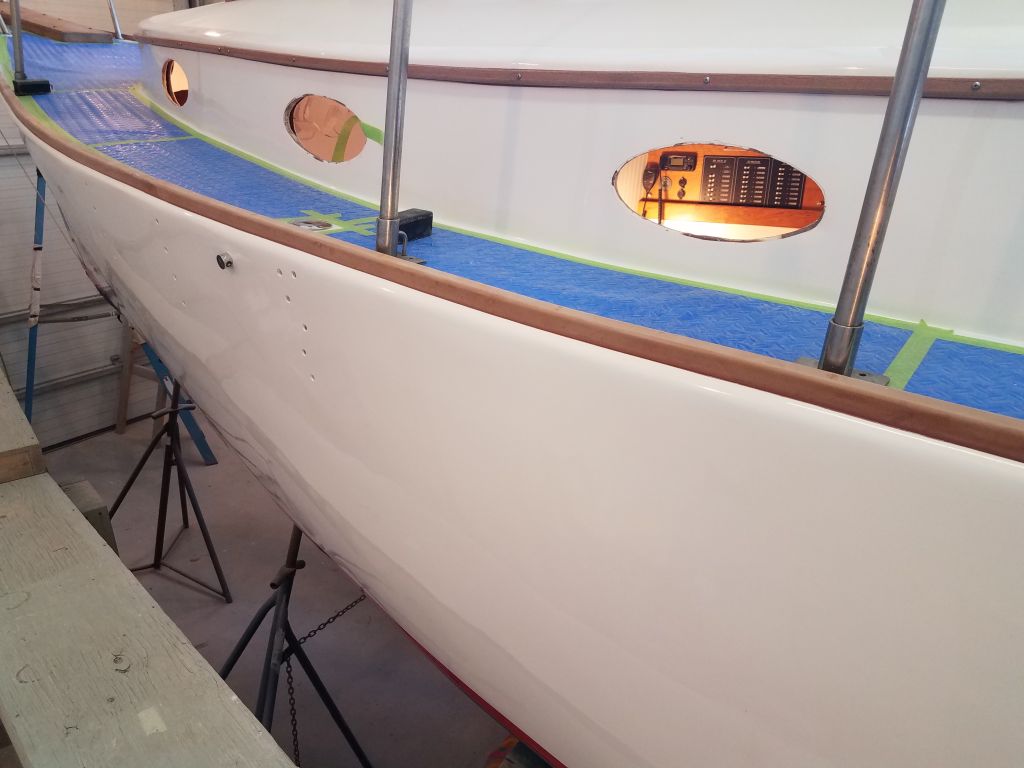
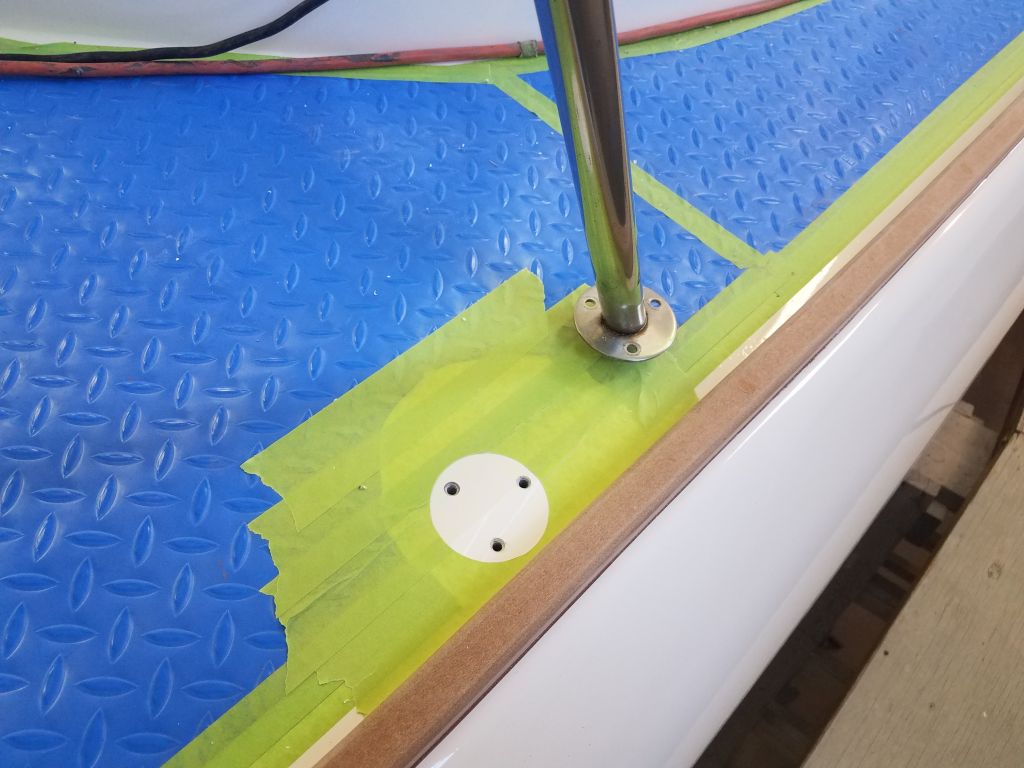
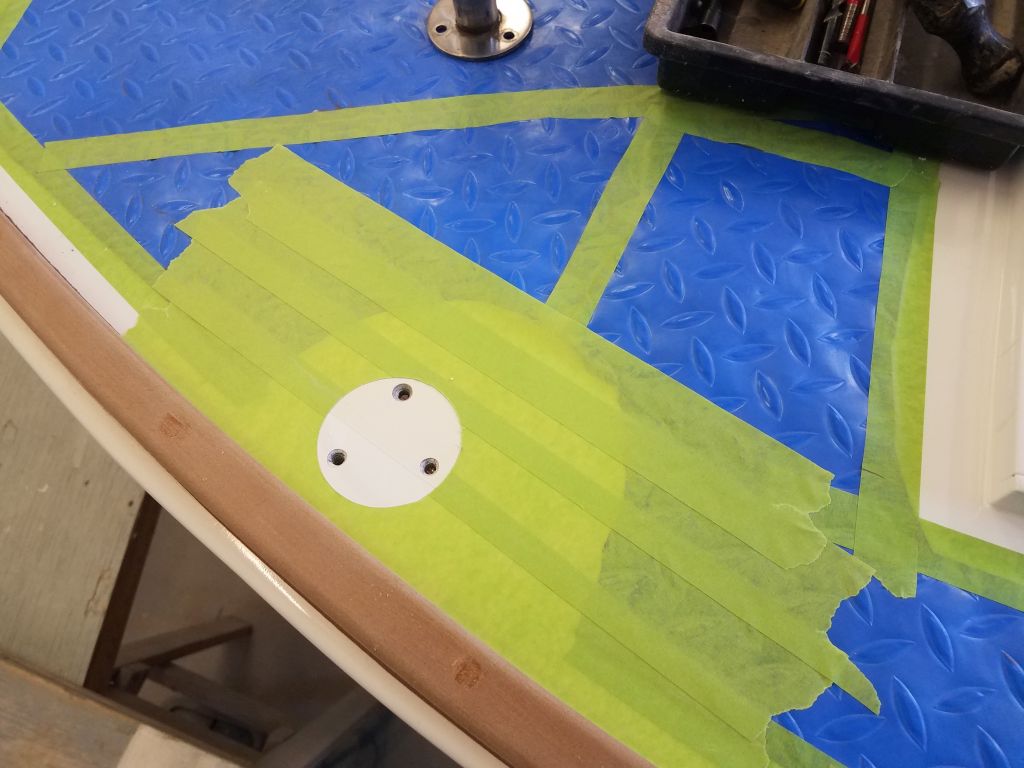
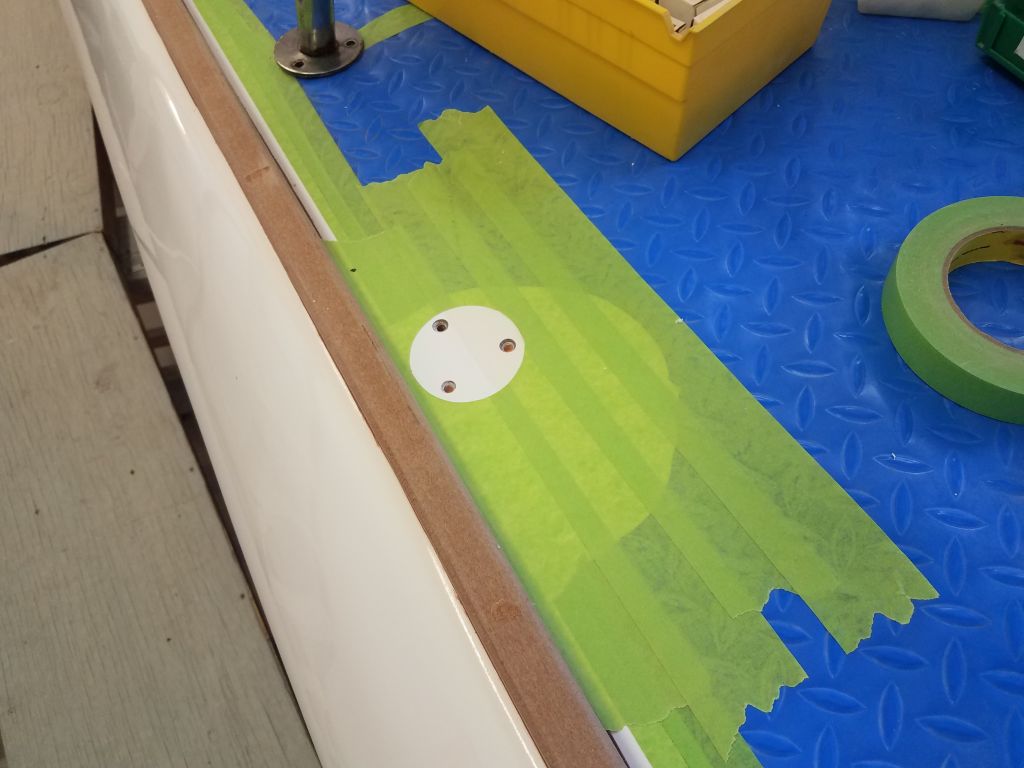
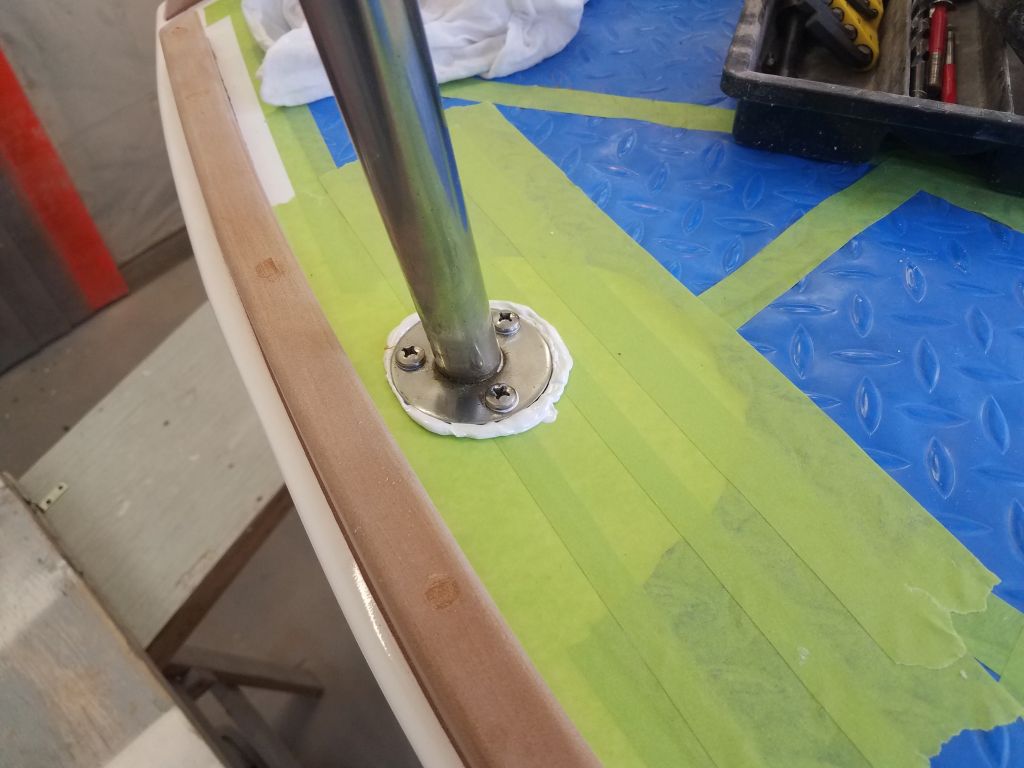
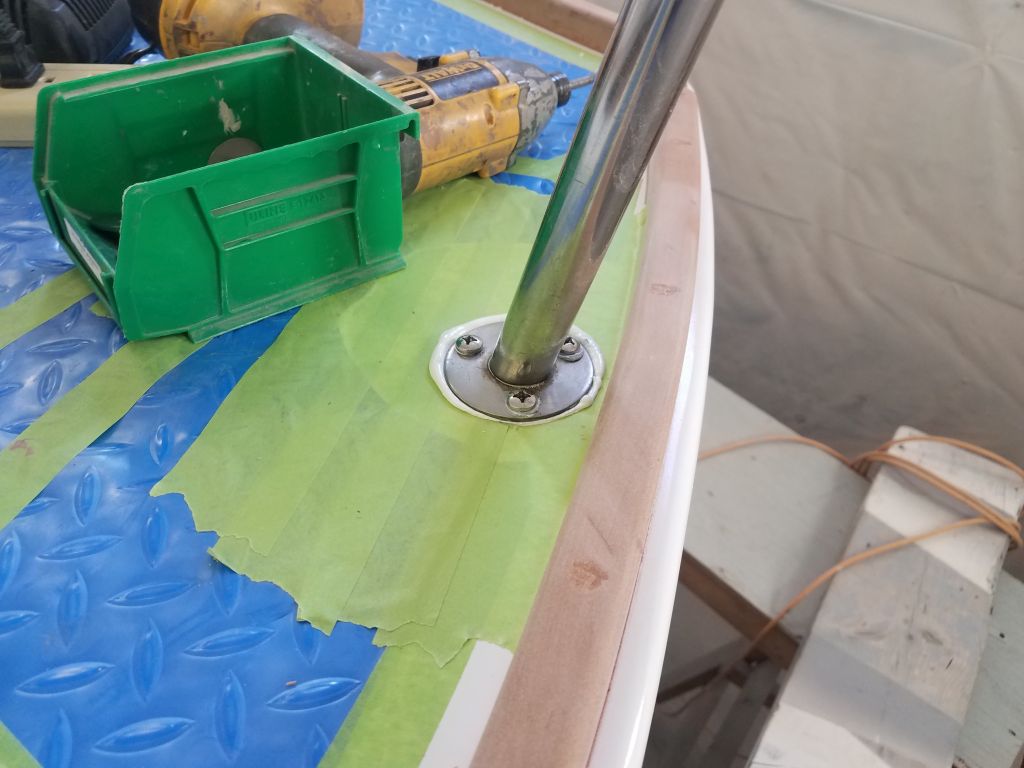
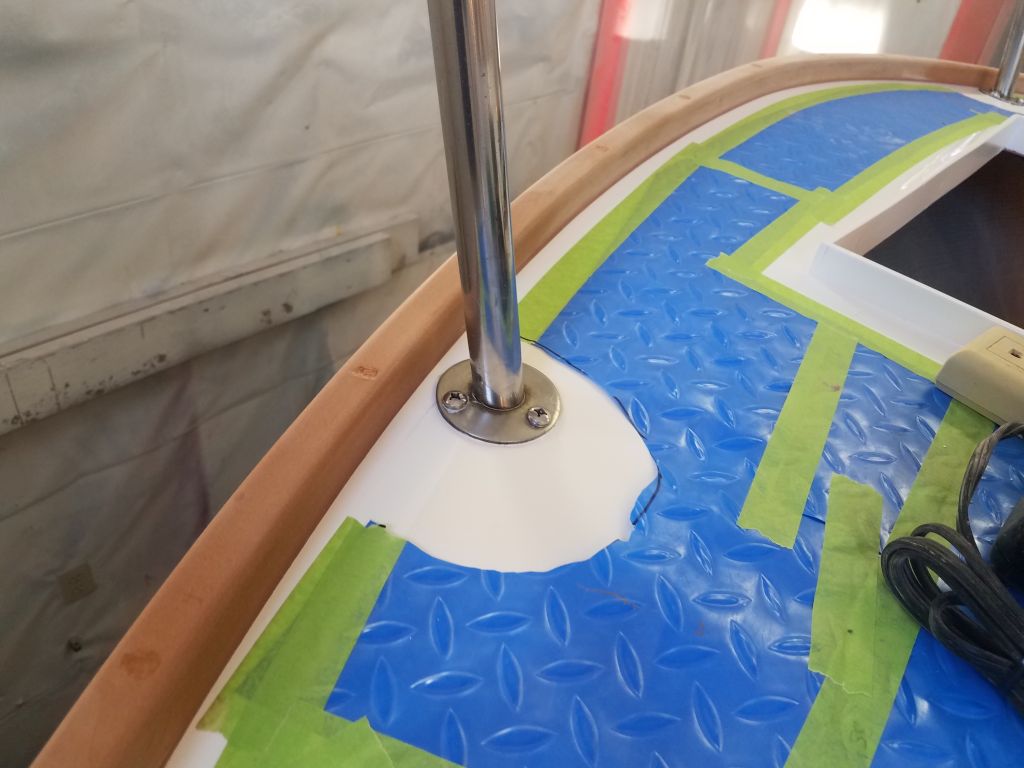
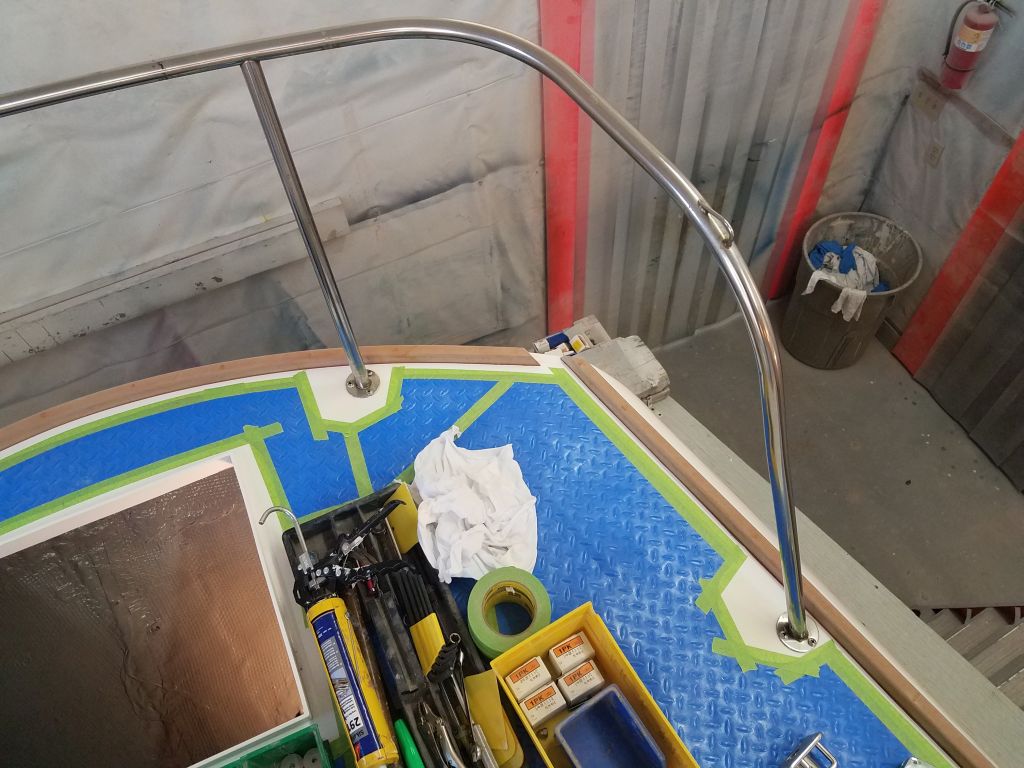
Up on deck, I laid out and aligned the pulpit where it needed to go, and prepared the deck in way of the four mounts by removing the plastic covering and covering each mounting location with masking tape. Then, I temporarily dry-installed the pulpit with one machine screw in each base. I would have done the complete installation now, but I had run out of 1/4″ nuts, which were due later in the day, so final installation would have to wait, but I needed the pulpit in place for my next task.

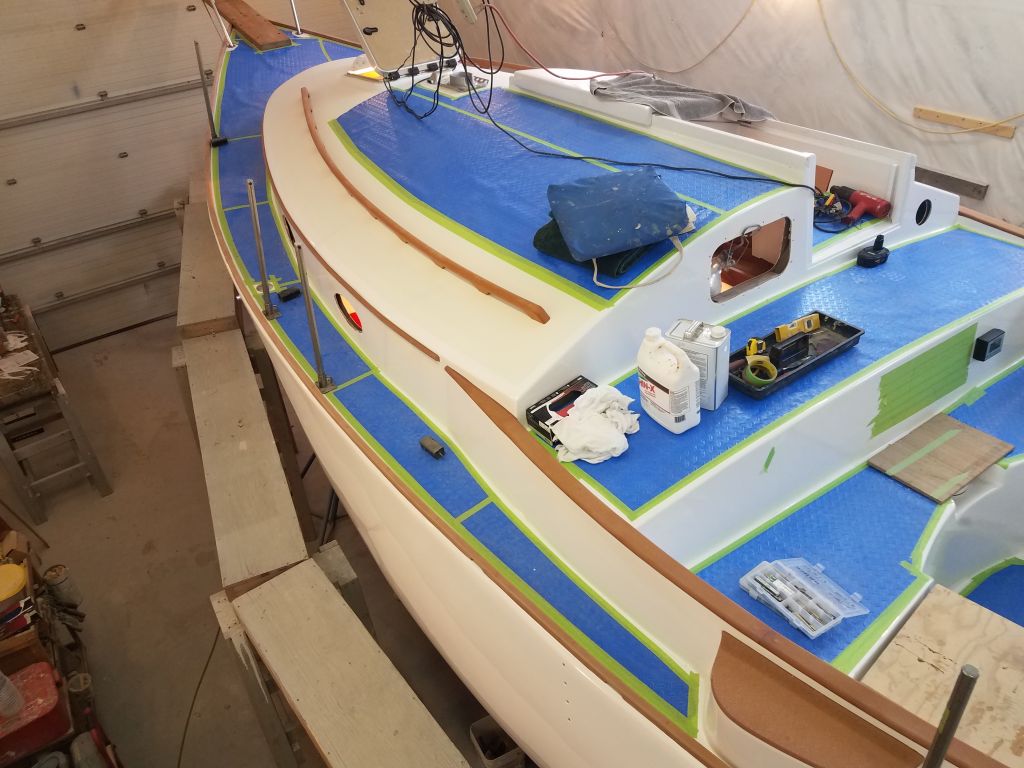
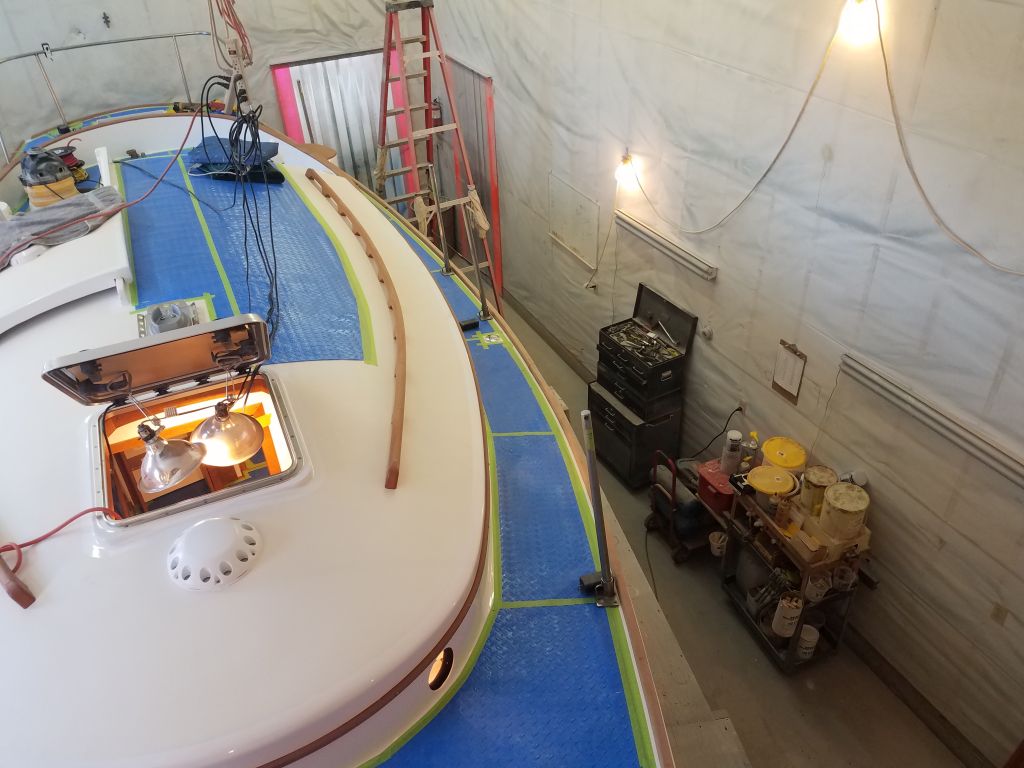
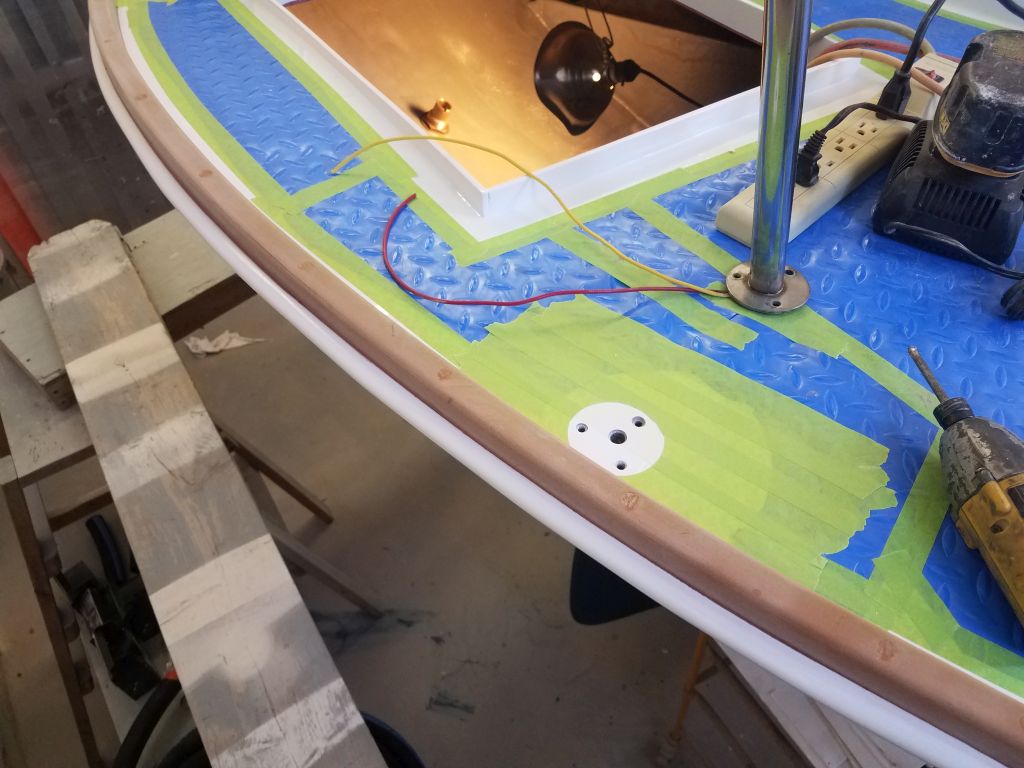
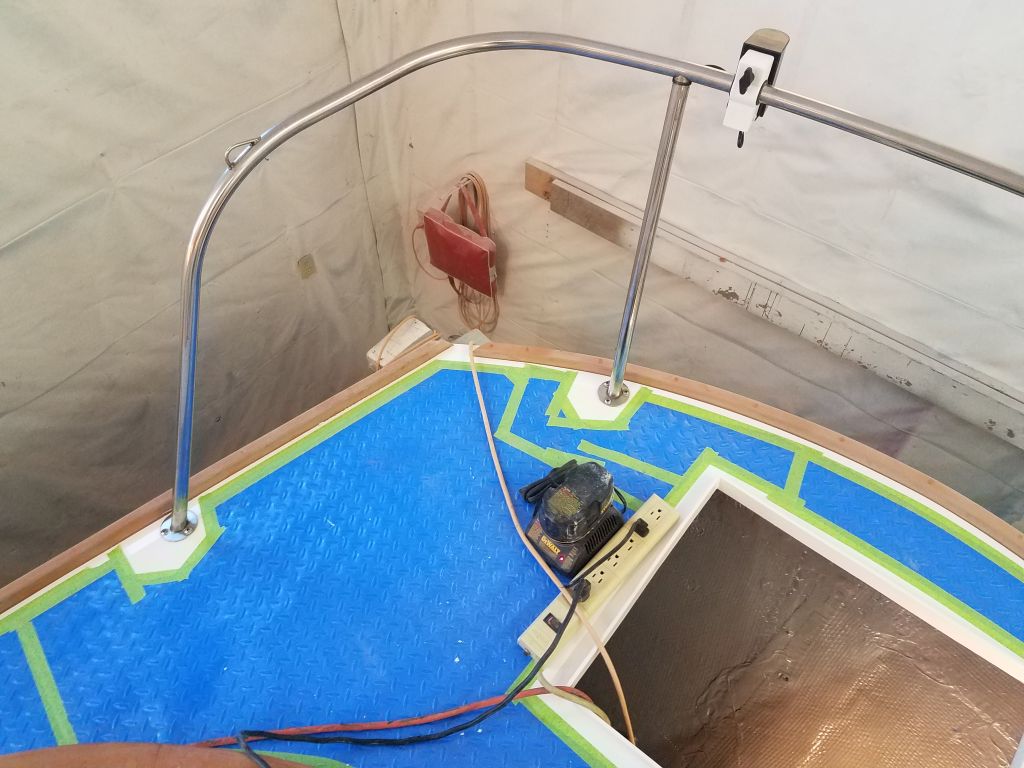
The next task was stanchion layout. During an earlier conversation with the owner, we discussed stanchion placement, and he requested a new layout that incorporated a gate opening closer to amidships and away from the cockpit, which new layout would also require a 4th stanchion on each side, so to this end I worked for a while to determine how best to lay out the new arrangement. The new gate was to go just aft of the last set of chainplates, so this was a relatively firm location I had to work around, though there was adjustment room as long as the stanchions didn’t interfere with the rigging. The gate opening would be a standard 24″ wide space.
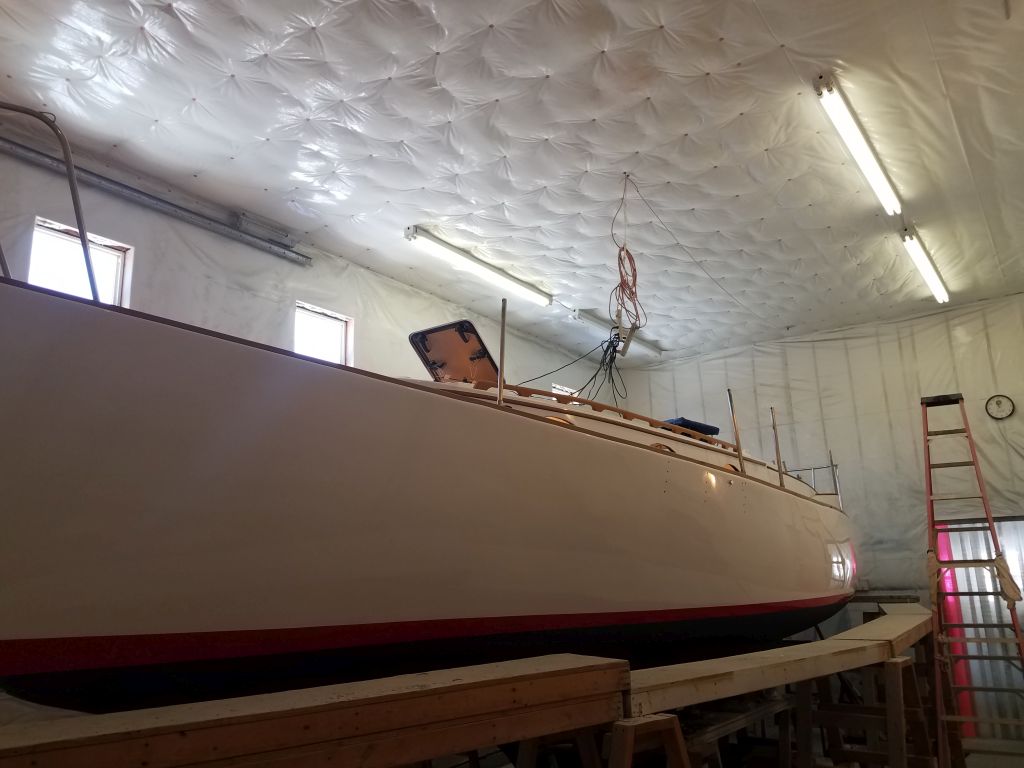
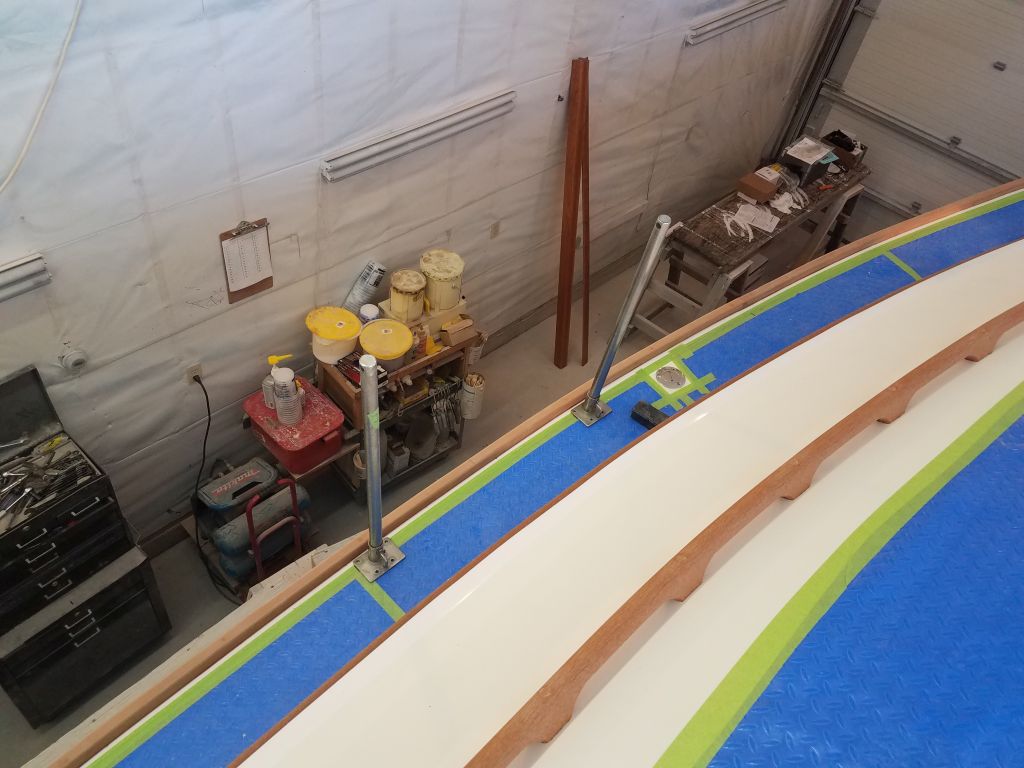
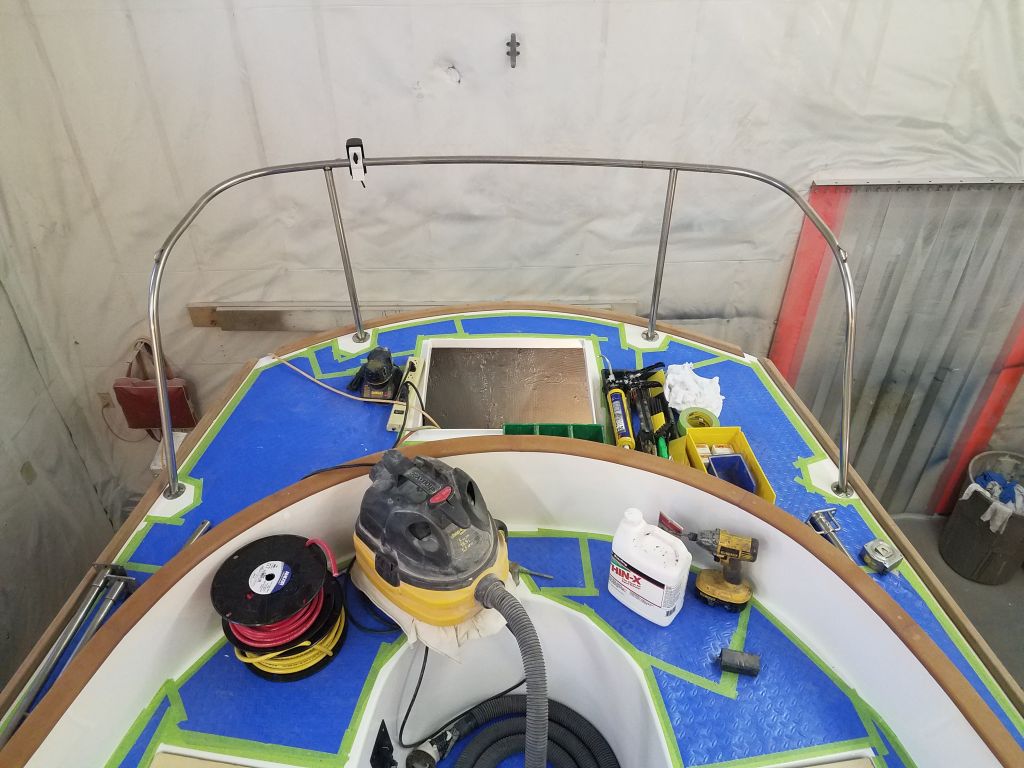
My other goals were to have the spacing between the stanchions be as even as possible, so, measuring from the bow pulpit connection to the forward stanchion, and henceforth from there, I made adjustments to the placement as needed, and this, along with other considerations, eventually placed the new 4th stanchion location just aft of the winch island, rather than forward, which worked well for several reasons, not the least of which was uncluttering the narrow sidedeck at the forward end of the cockpit coaming and leaving ample room for jib sheet tracks.
During the day, I sent the owner a brief, photo-heavy report on the new layout to get his thoughts and approval before I finalized the locations. For now, I used four of the existing stanchions and bases for layout purposes, but because of the required addition of new stanchions, and because the owner hoped for double lifelines anyway, we elected to purchase eight new stanchions and bases and retire the originals.


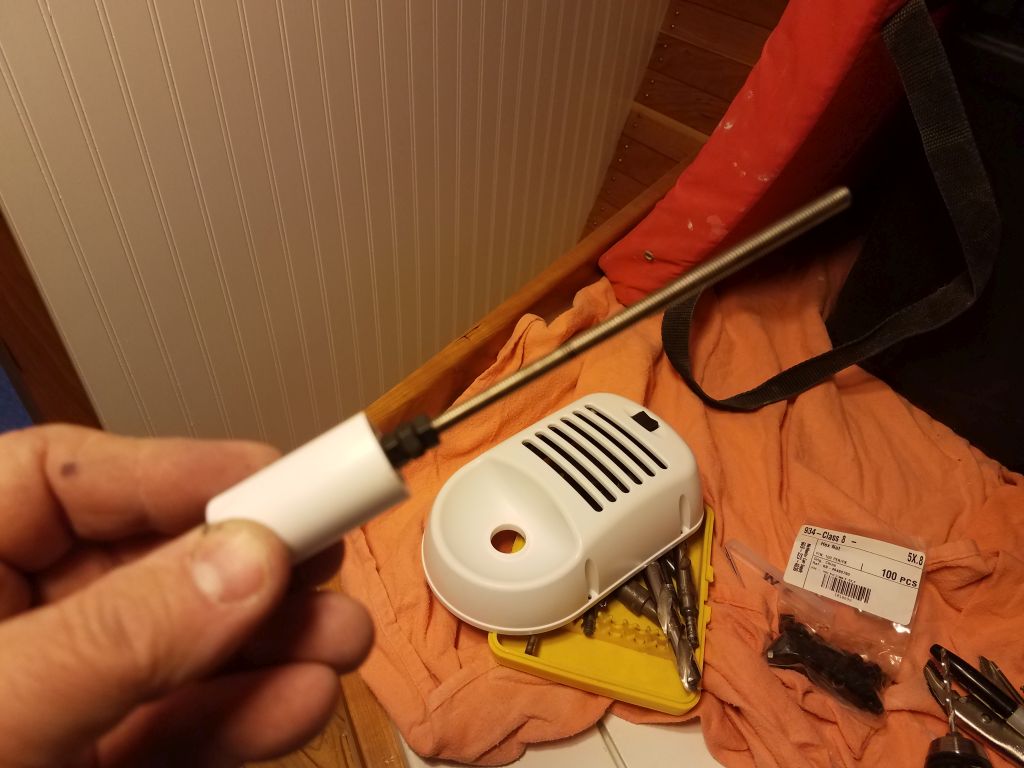
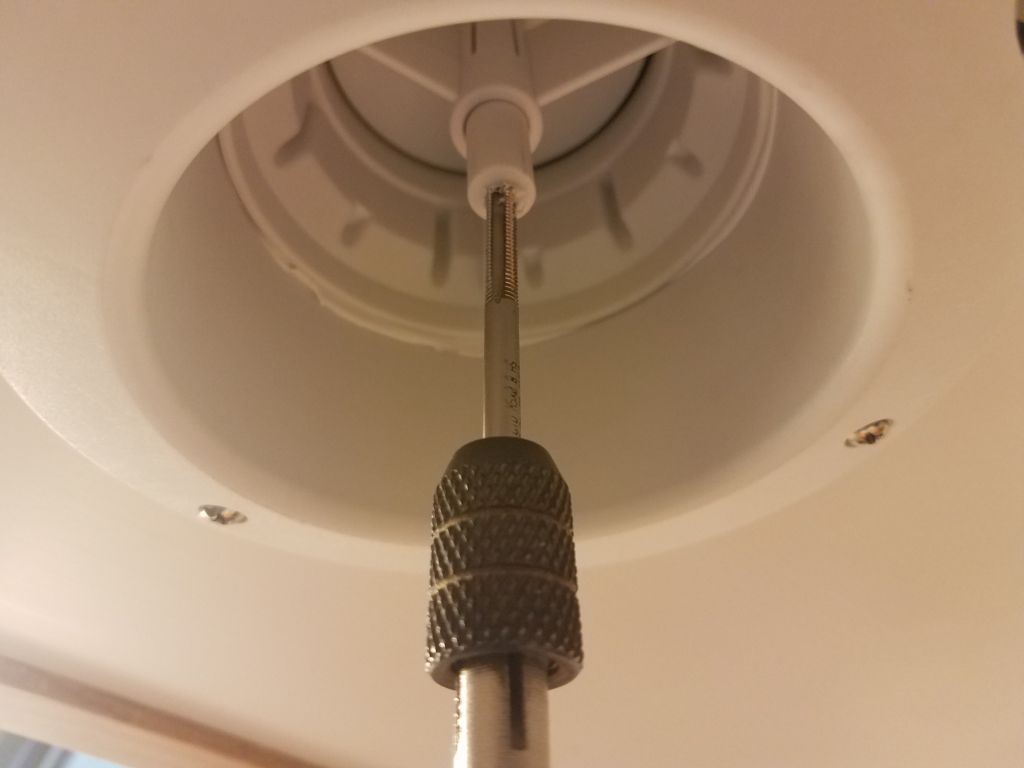
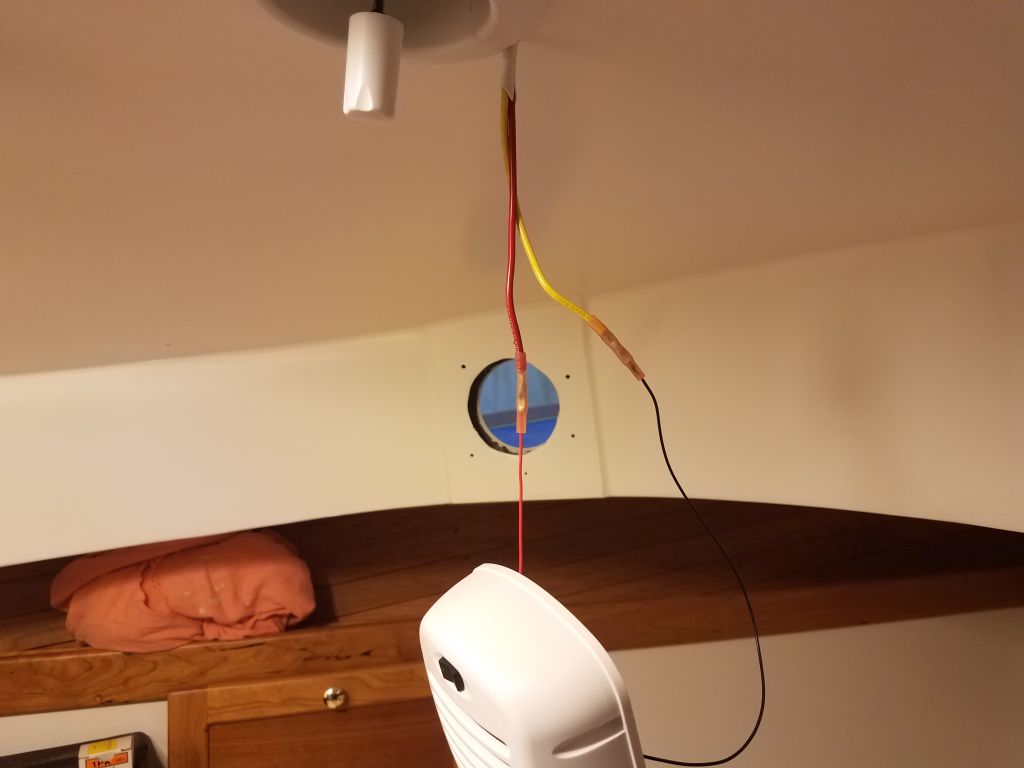
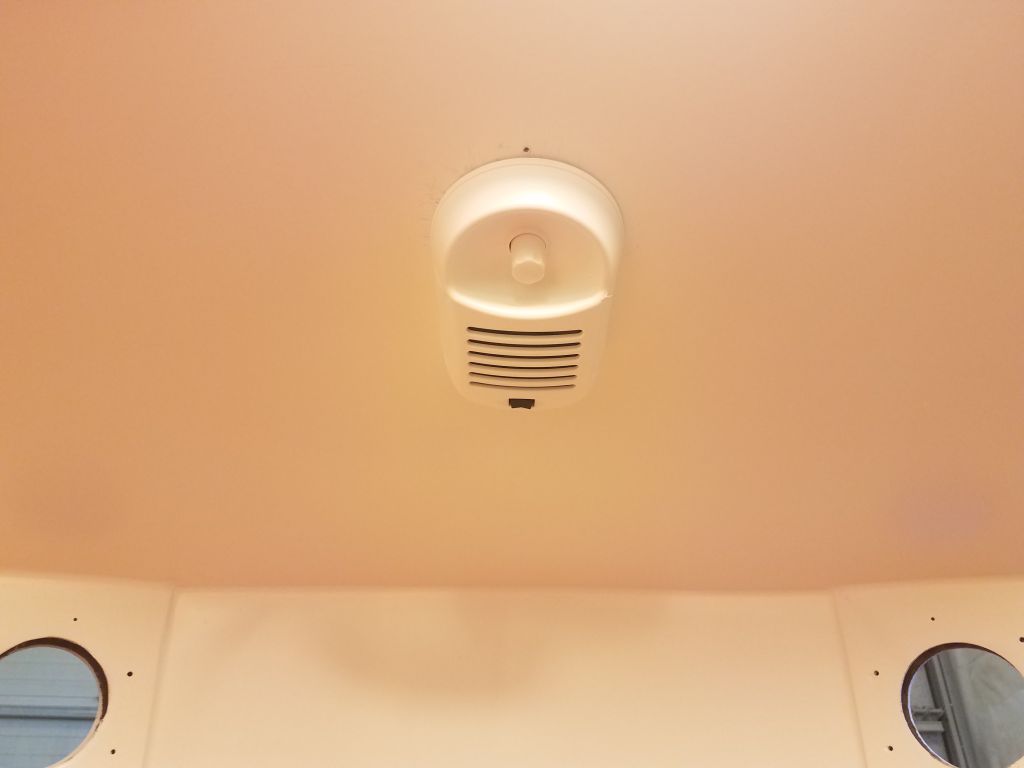
With the stanchion layout complete for now, I turned to the interior fan for the new forward vent. This fan was designed to fit over the inside of the vent and provide forced circulation through the boat. To operate the vent louver, the fan incorporated a hole through which an extended threaded rod and handle could fit and reach the inside of the louver assembly. According to the directions, this was supposed to be ready to accept the threaded rod, but this was not the case. I had to drill the center of the control and tap it for the M5 threads to match the rod, and it would have been easier to do this before the outer part of the vent was fully installed, but there you are.
Once I had the hole tapped properly, I had to measure for and then cut the threaded rod to the correct length, so I threaded on several nuts to help clean up the threads once I’d made the cut, which I then completed without incident. From there, it was straightforward to make up the wiring connections and install the fan housing to the overhead with four screws.


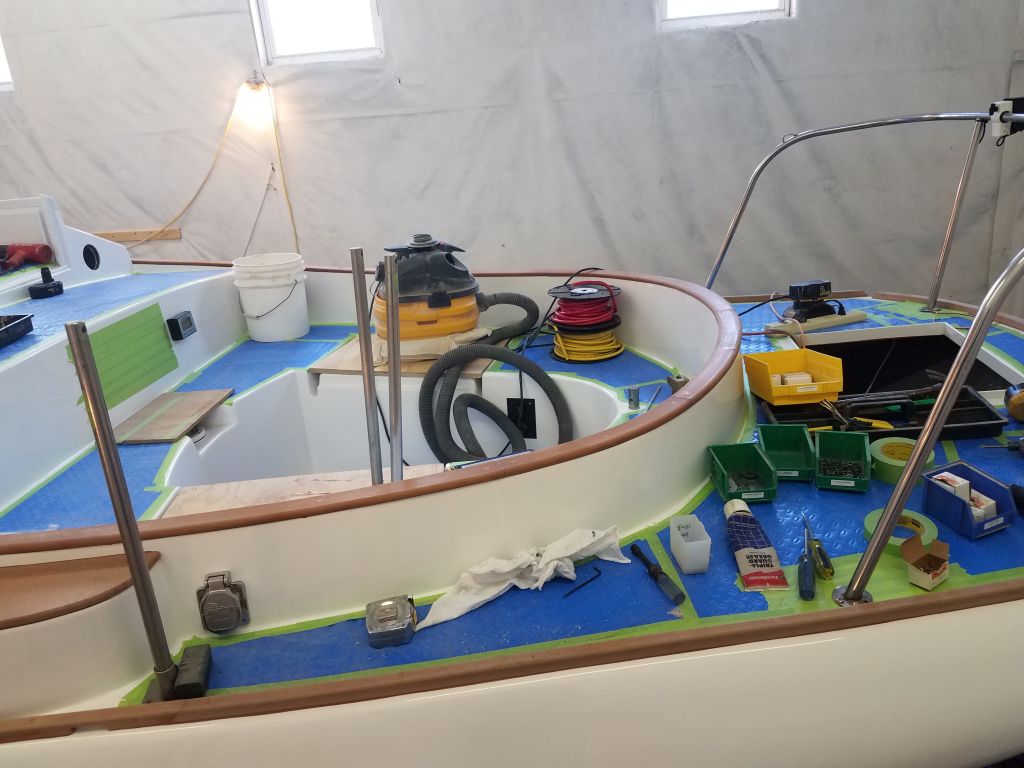
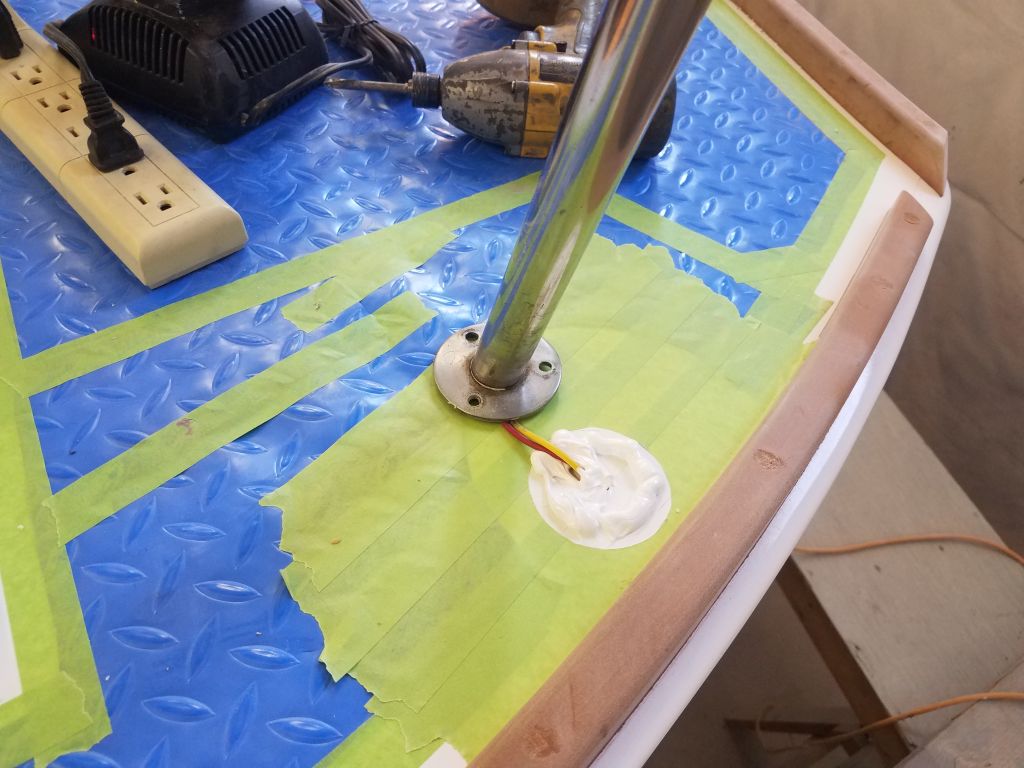
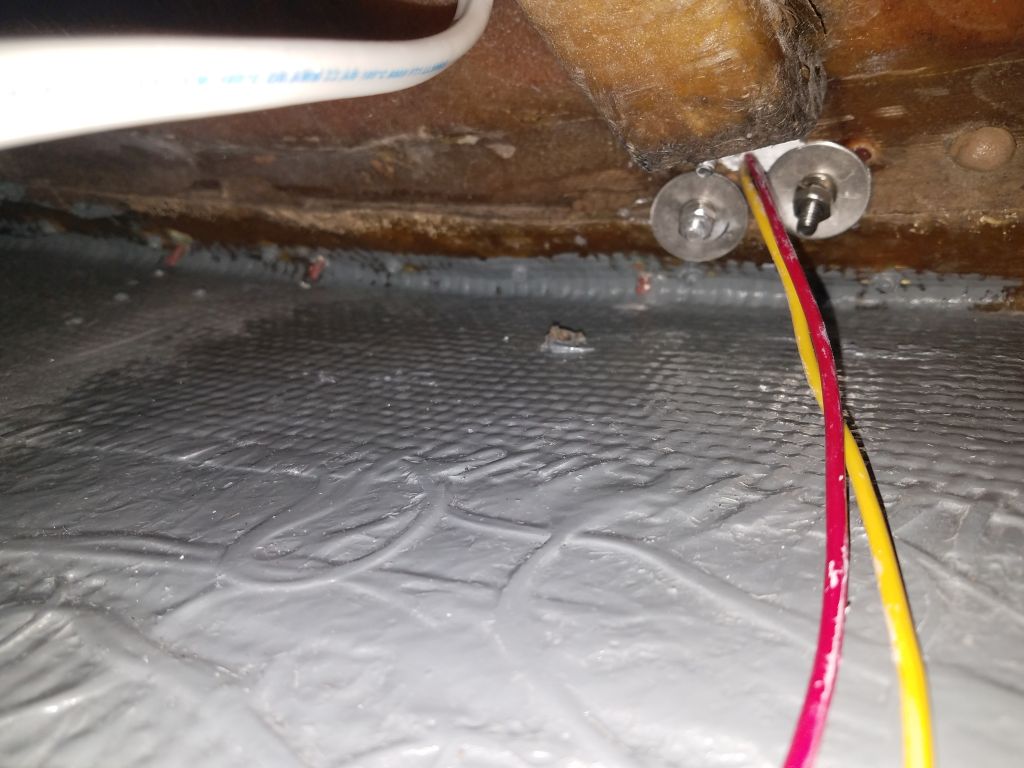
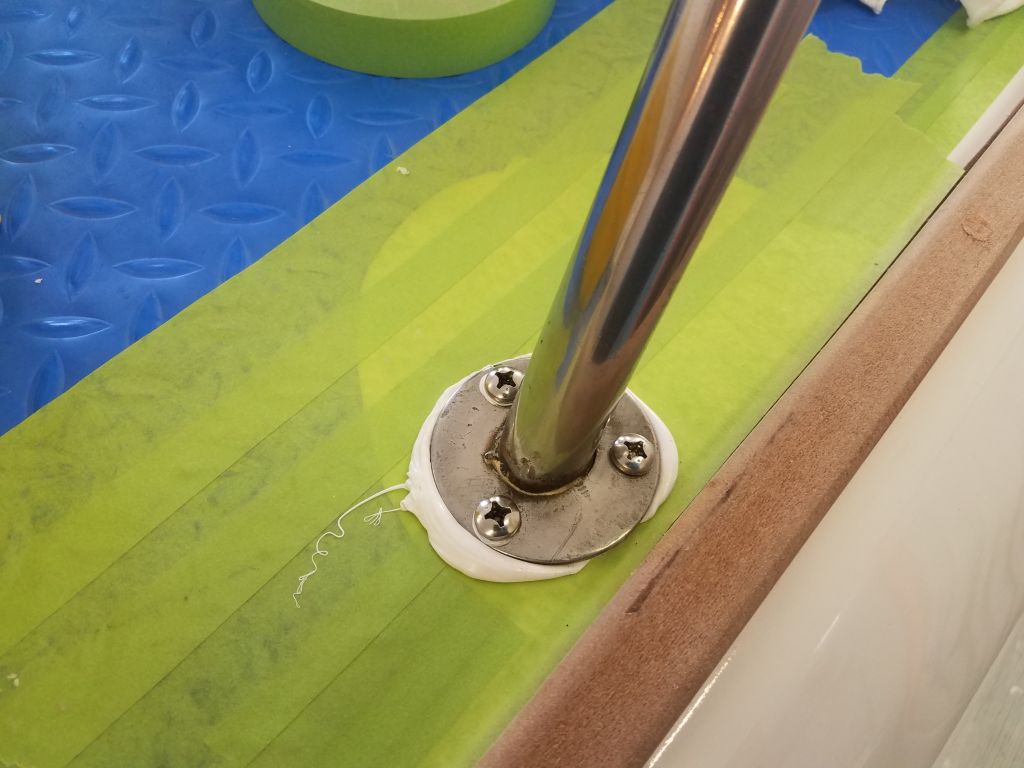
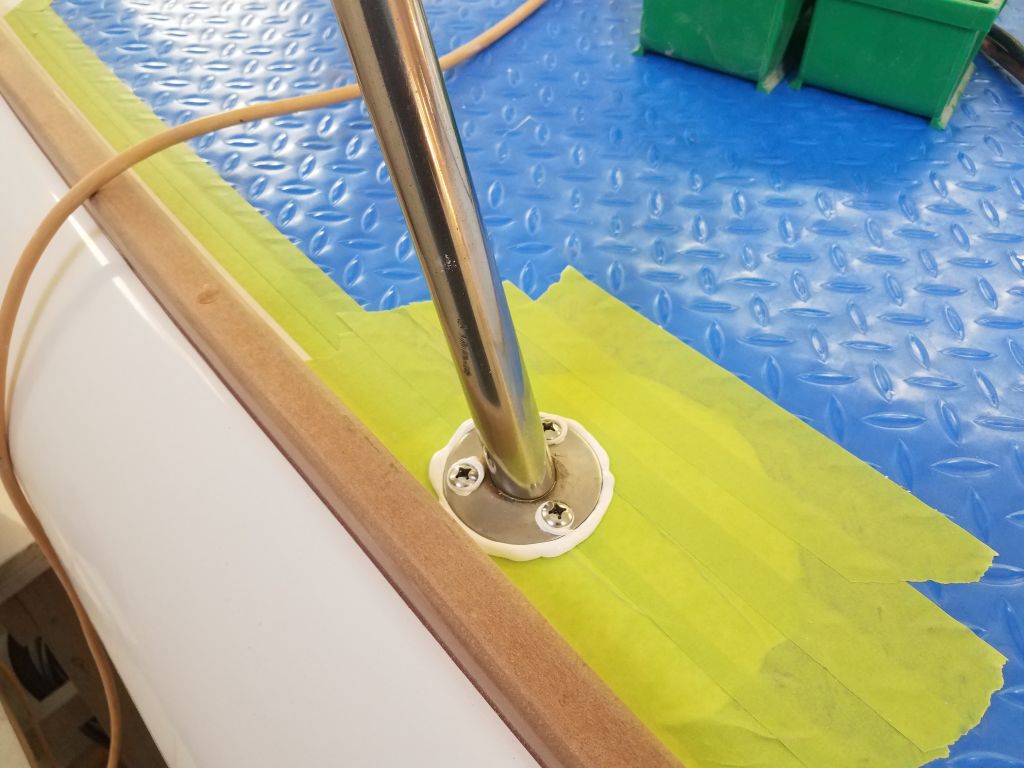
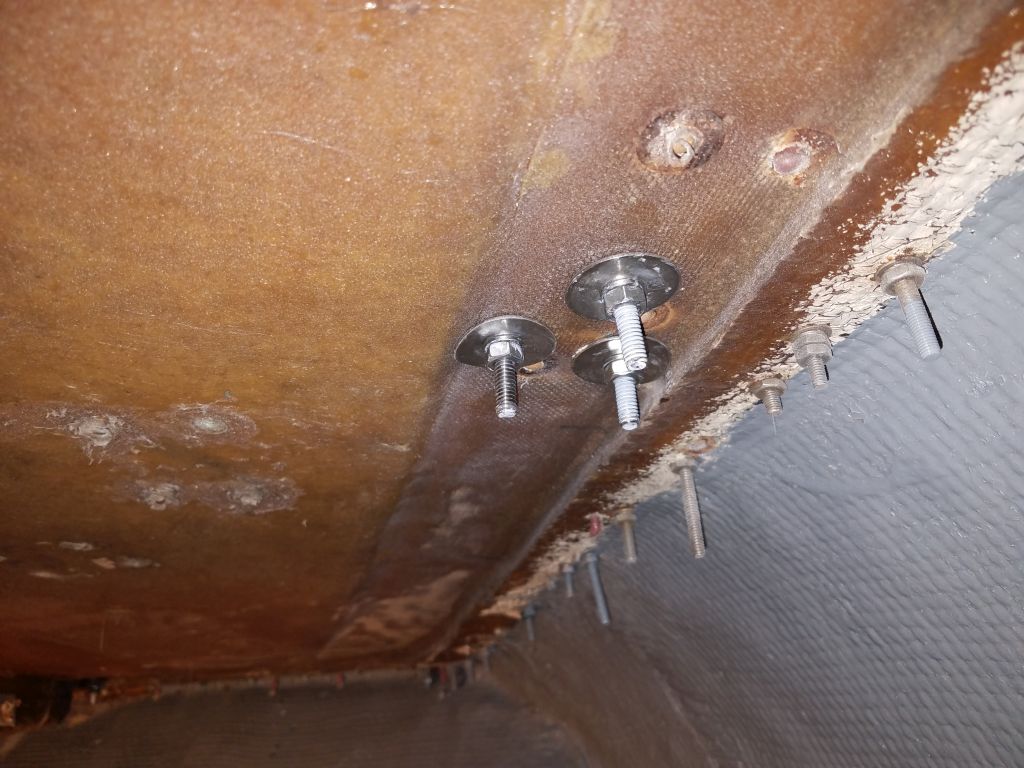
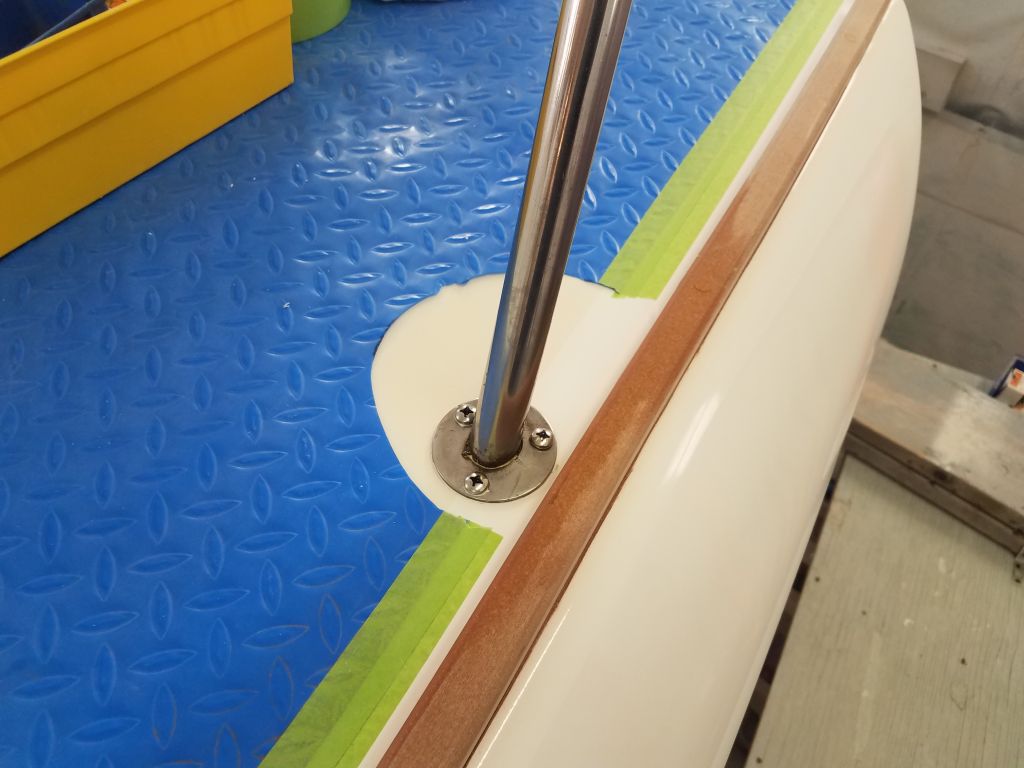
With my new supply of nuts on hand, I moved forward with the final installation of the stern pulpit. At each base location I went through all the usual steps: drill and tap for 1/4-20 machine screws; countersink; scribe and remove masking tape; apply sealant and secure with nuts, lockwashers, and fender washers.
Once I’d cleaned up the excess sealant above decks, I finished up the wiring to the new stern light.


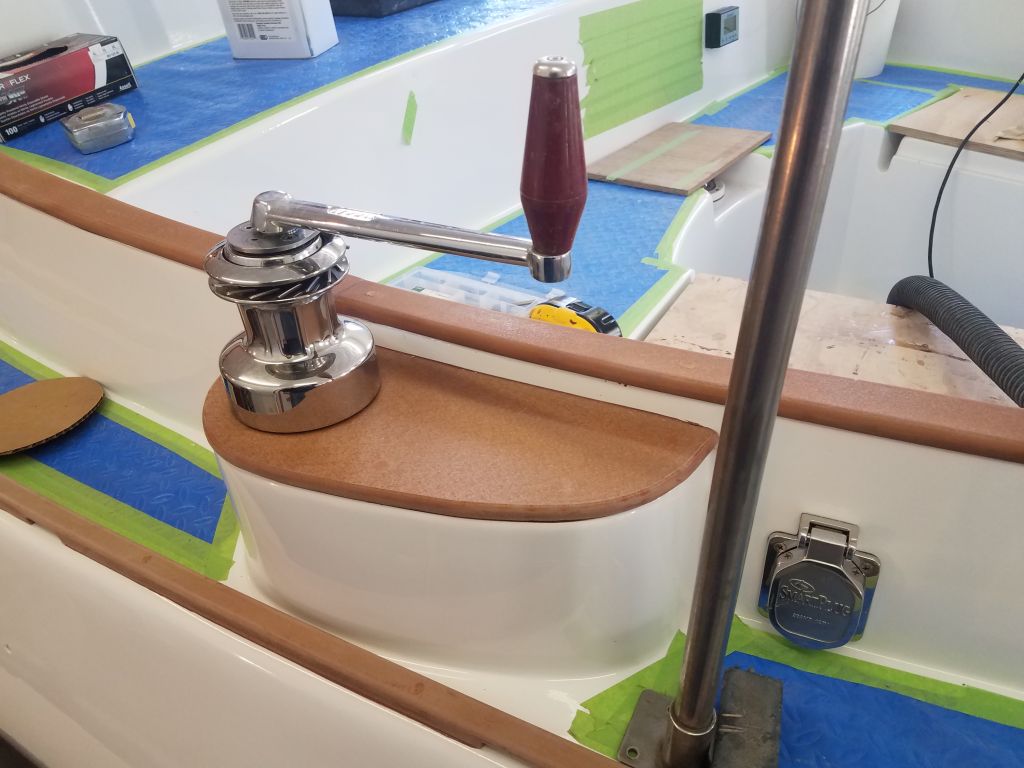
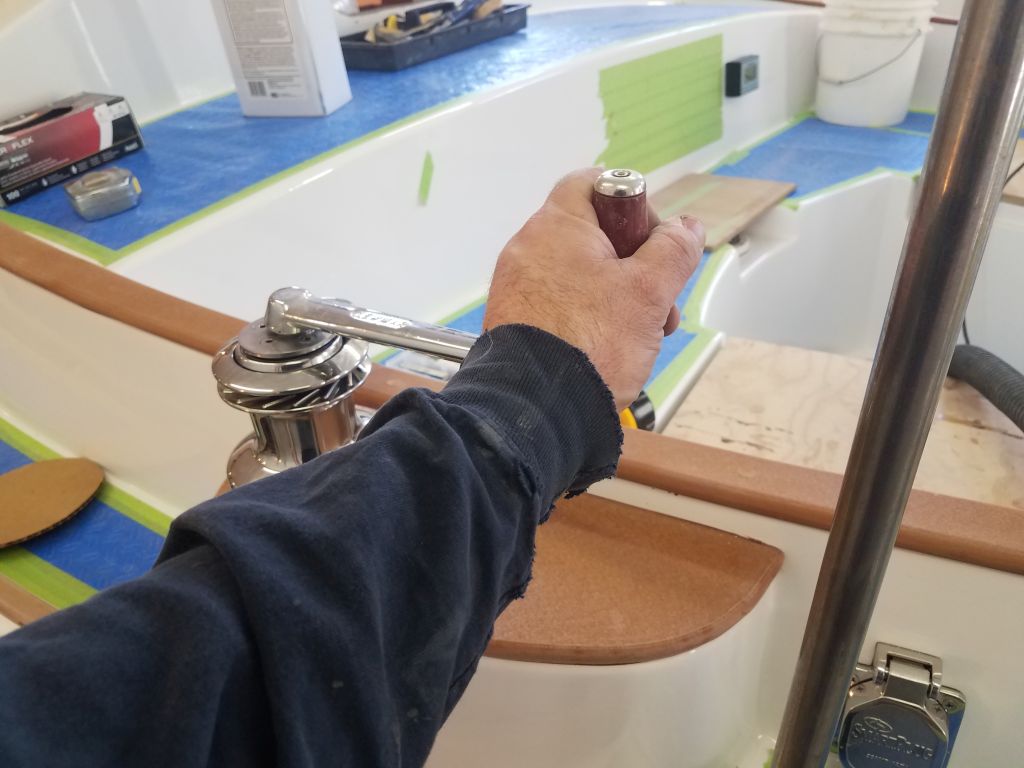
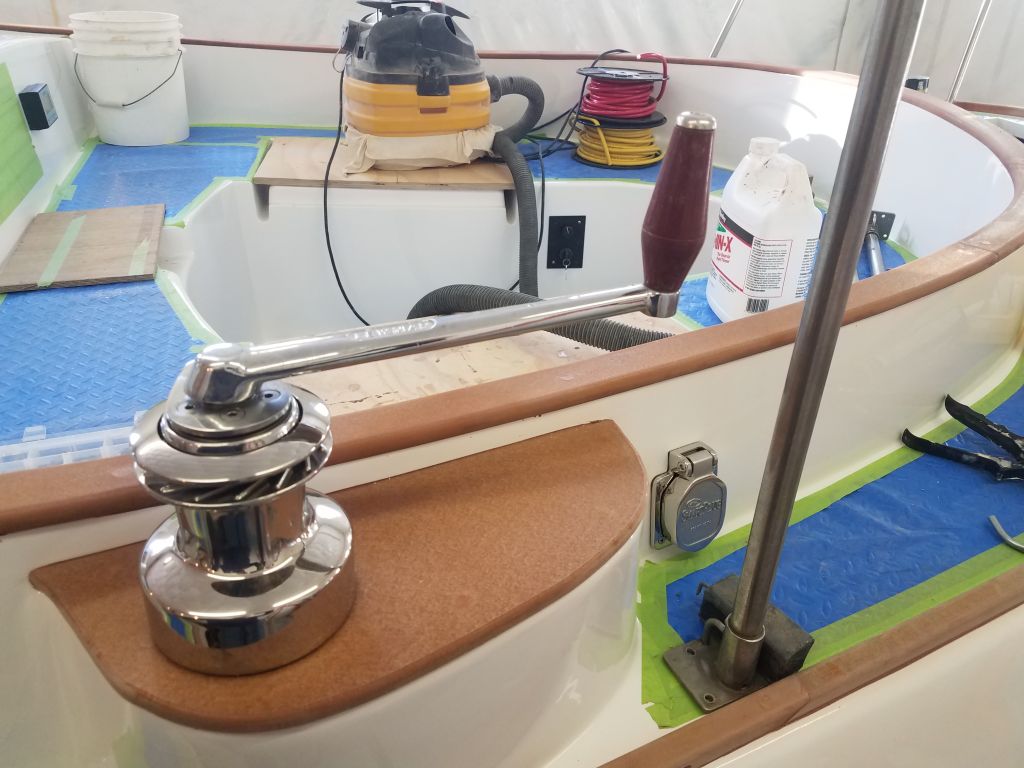
The owner had some questions about clearance at the winch island to properly operate the winches, and while I’d taken this into consideration initially, I just happened to have just received one of the new sheet winches, and took the opportunity to display the winch and an old handle I kept around to confirm the clearances with the proposed stanchion placement.
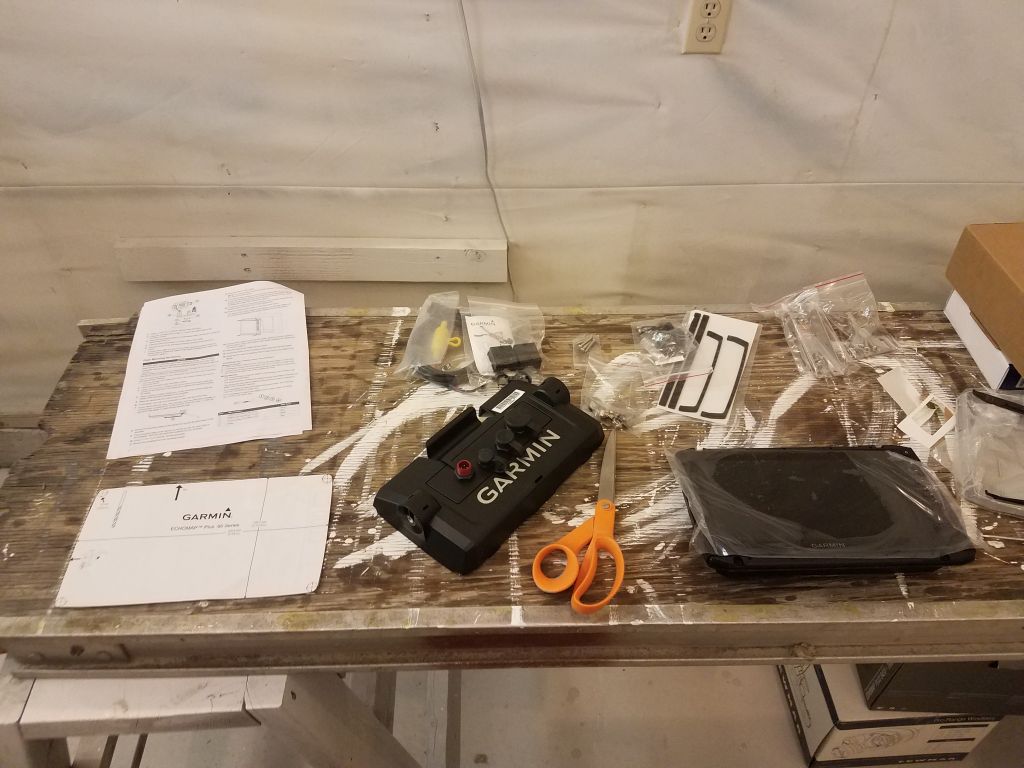
Since I’d be waiting a day or two for the new stanchions and bases to arrive, I used up the little bit of rest of the day preparing the template and getting the GPS display ready for installation in the bridgedeck, which I planned to do next time.
Total time billed on this job today: 8.25 hours
0600 Weather Observation: 9°, clear. Forecast for the day: Sunny, 31°