


June 10, 2019
Scupper 154
Monday
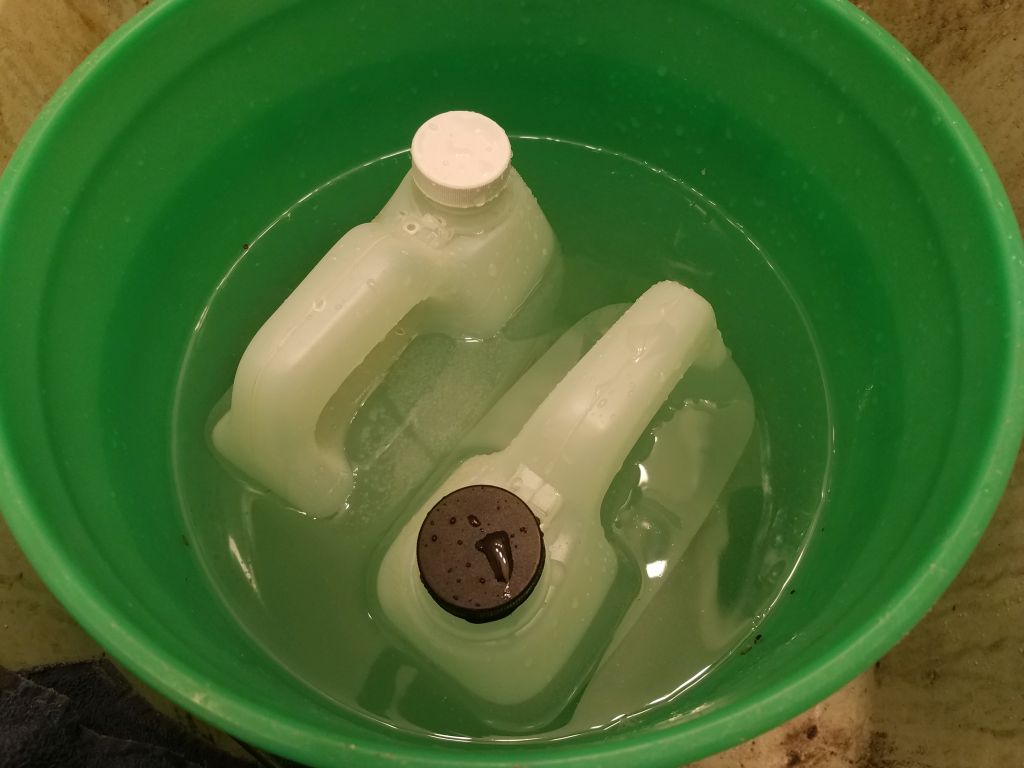
With a near-ideal 80° weather forecast for the clear epoxy countertop work still in place, I got started right away with the final preparations for the pour. While it would get warm later, at the start of the day it was still on the cool side, so I bumped up the heat in the shop to help (and to ensure that the temperature remained constant in the overnight to come as well), and placed my containers of epoxy in a warm water bath to help the epoxy flow. While I’d never used the table top coating before (like everyone else, I’d seen plenty of it on restaurant tables or bars throughout the years), all the information suggested that proper (i.e. warm) temperature was the key to success.
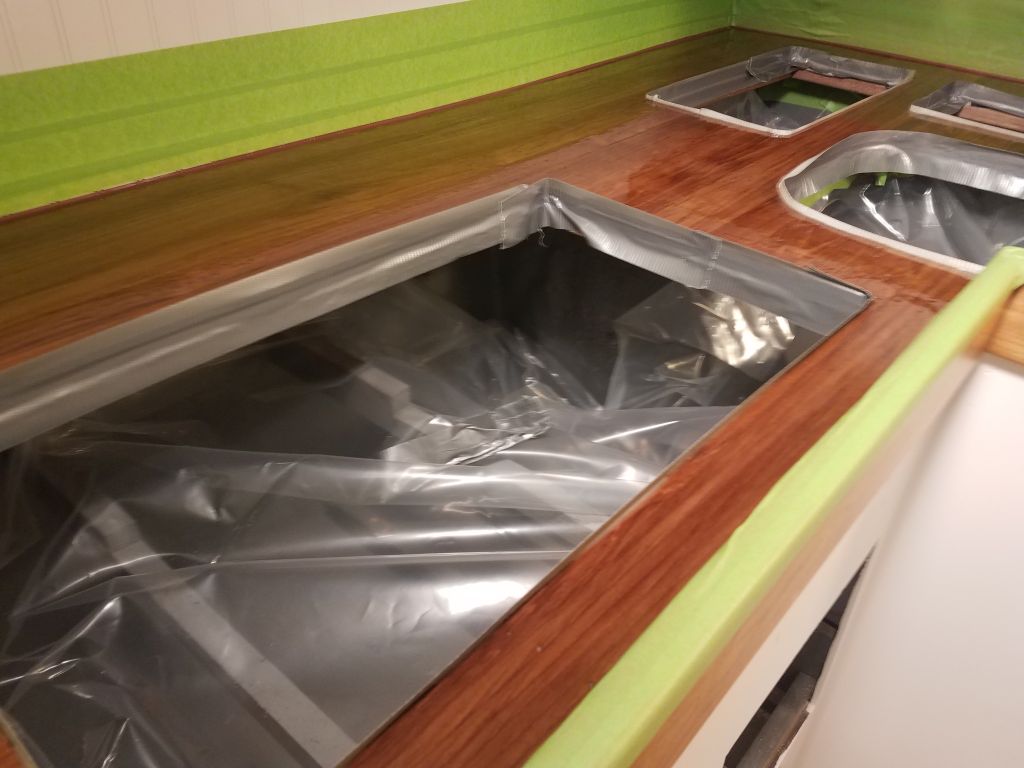
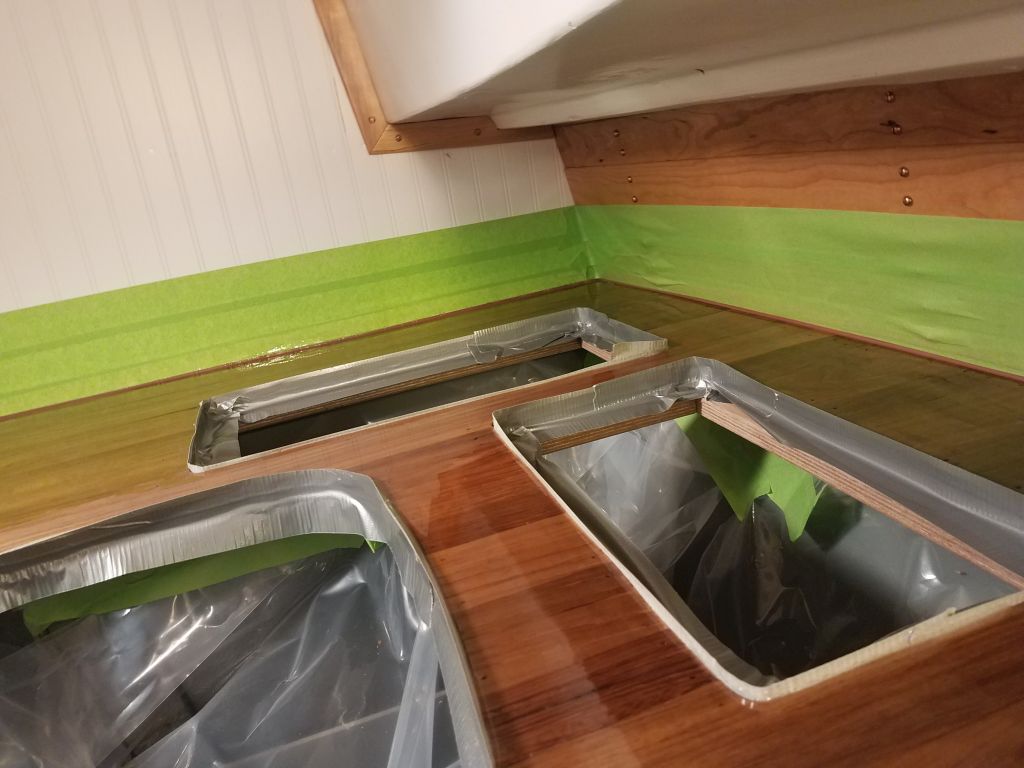
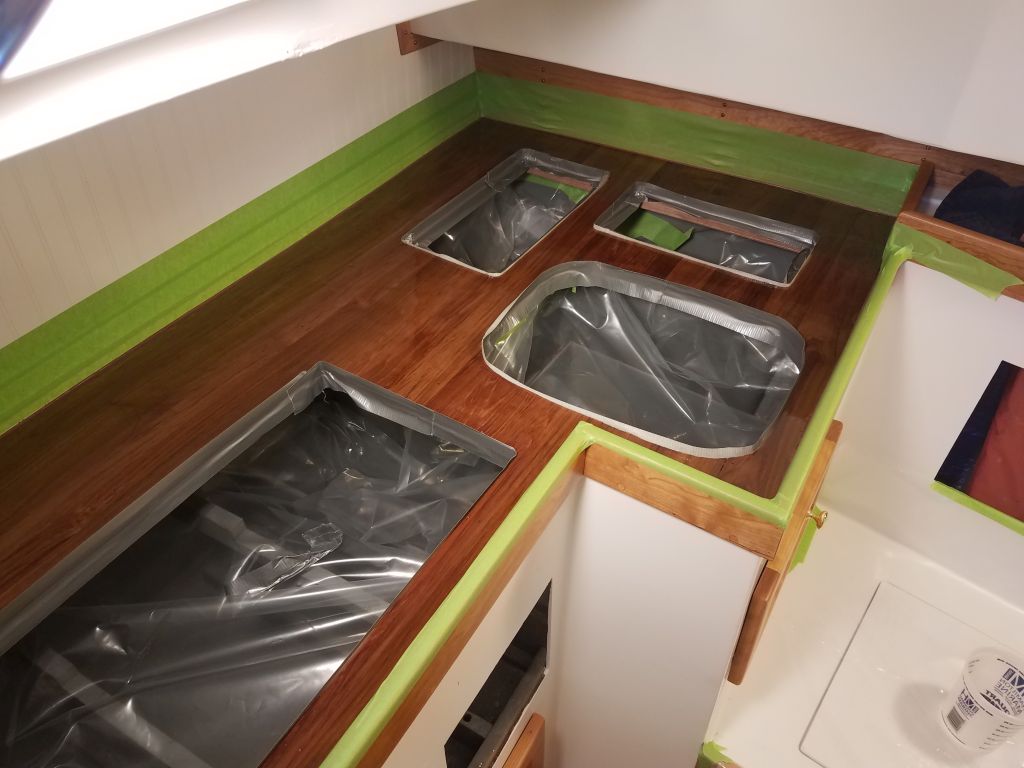
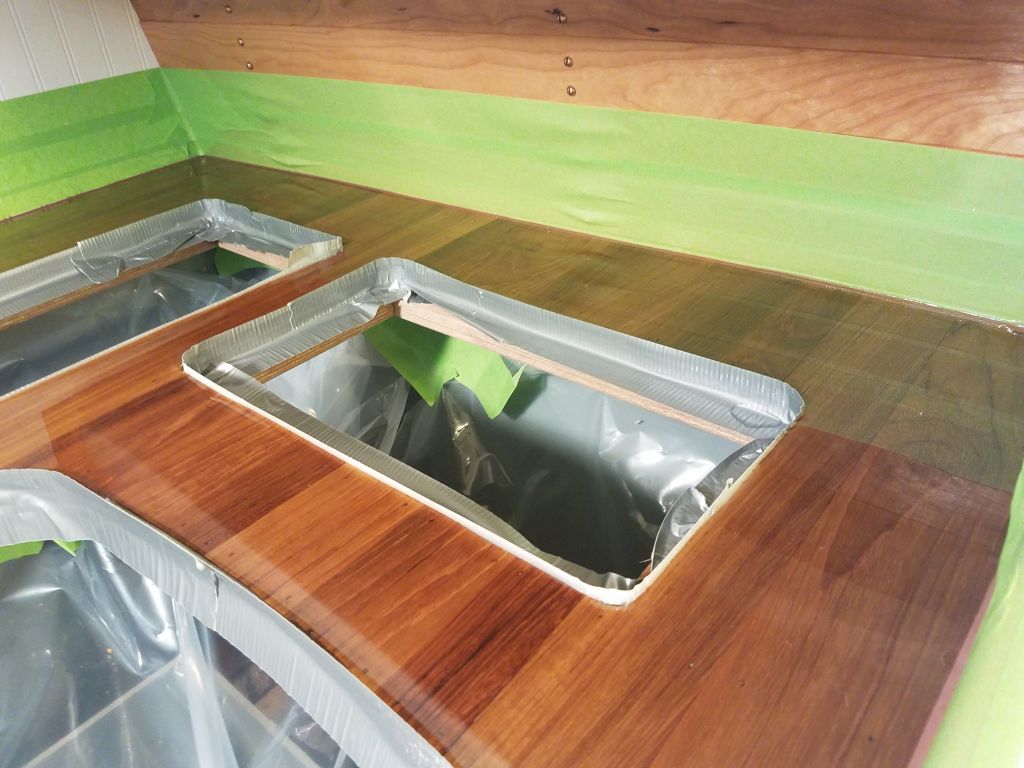
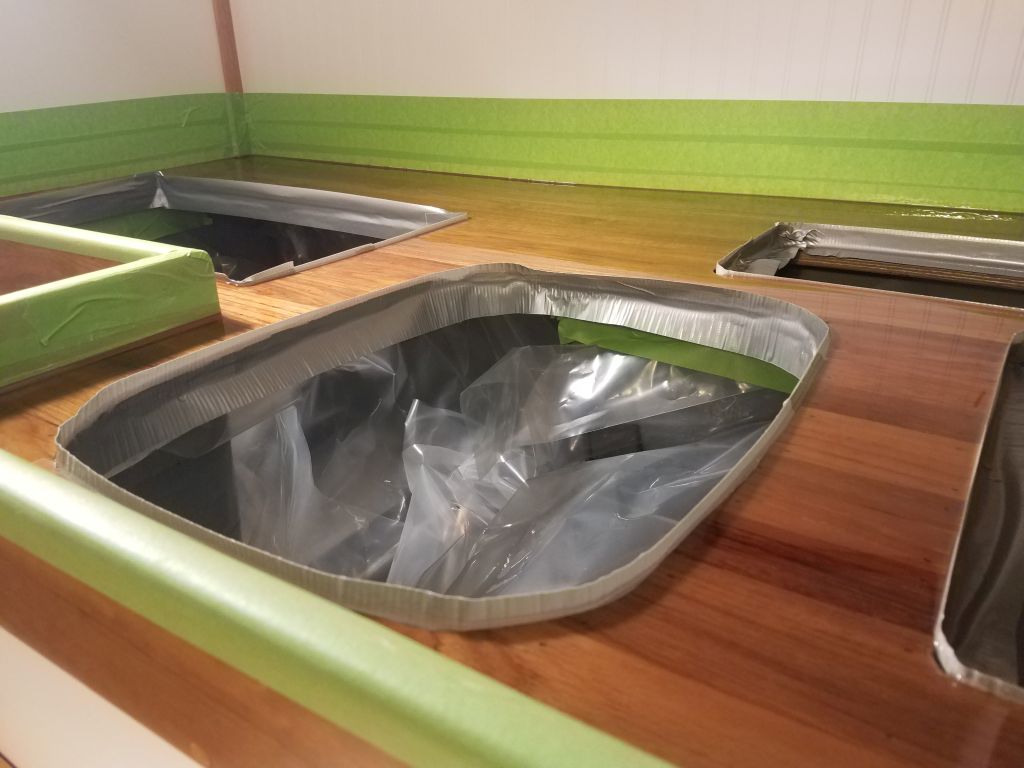
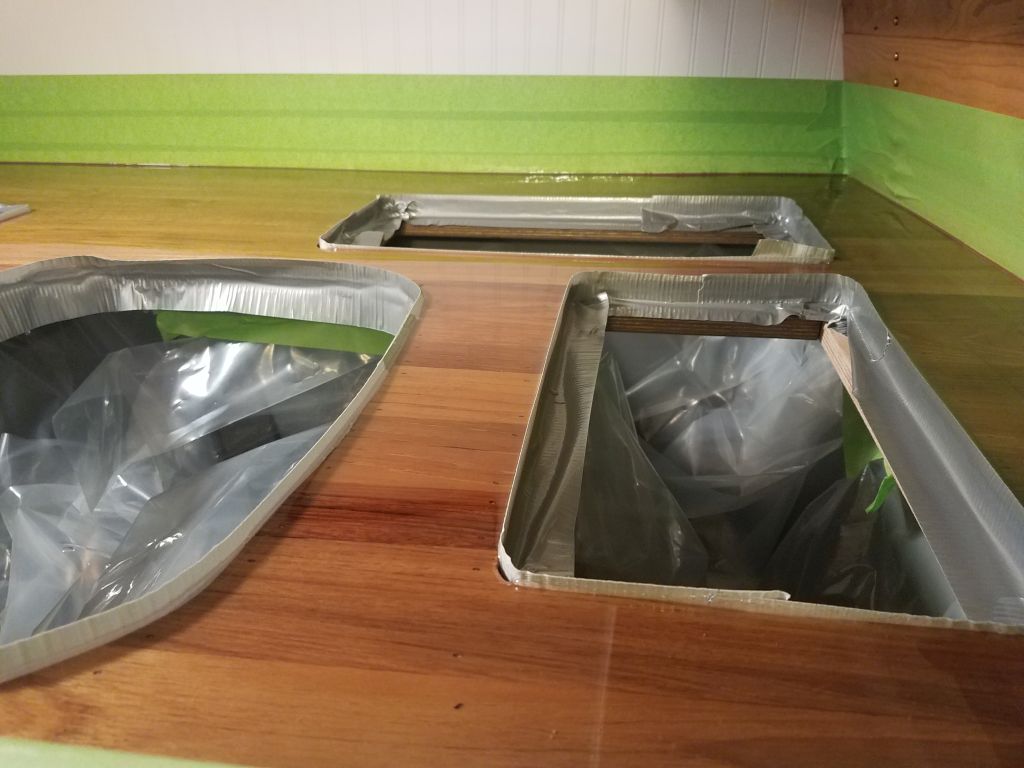
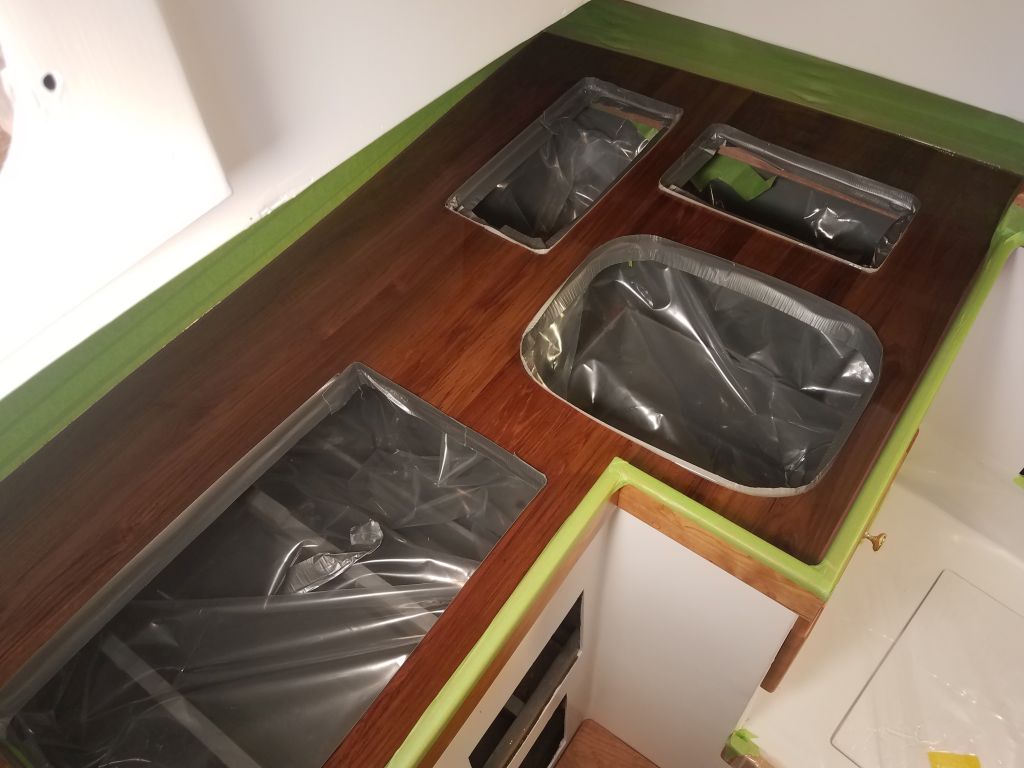
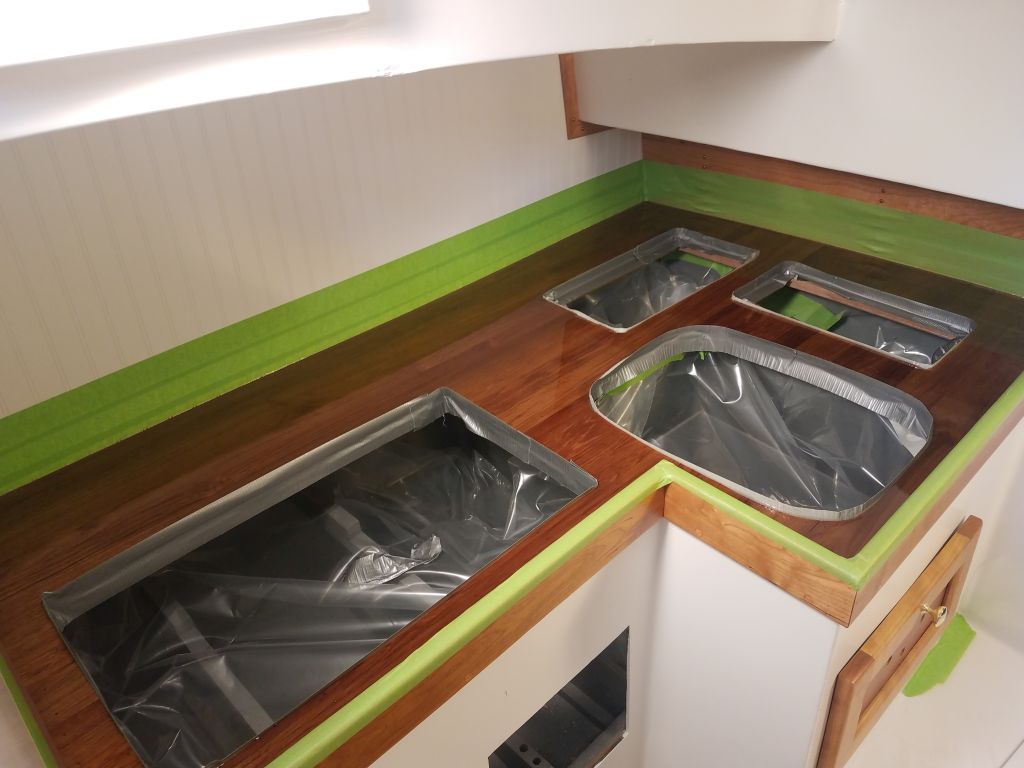
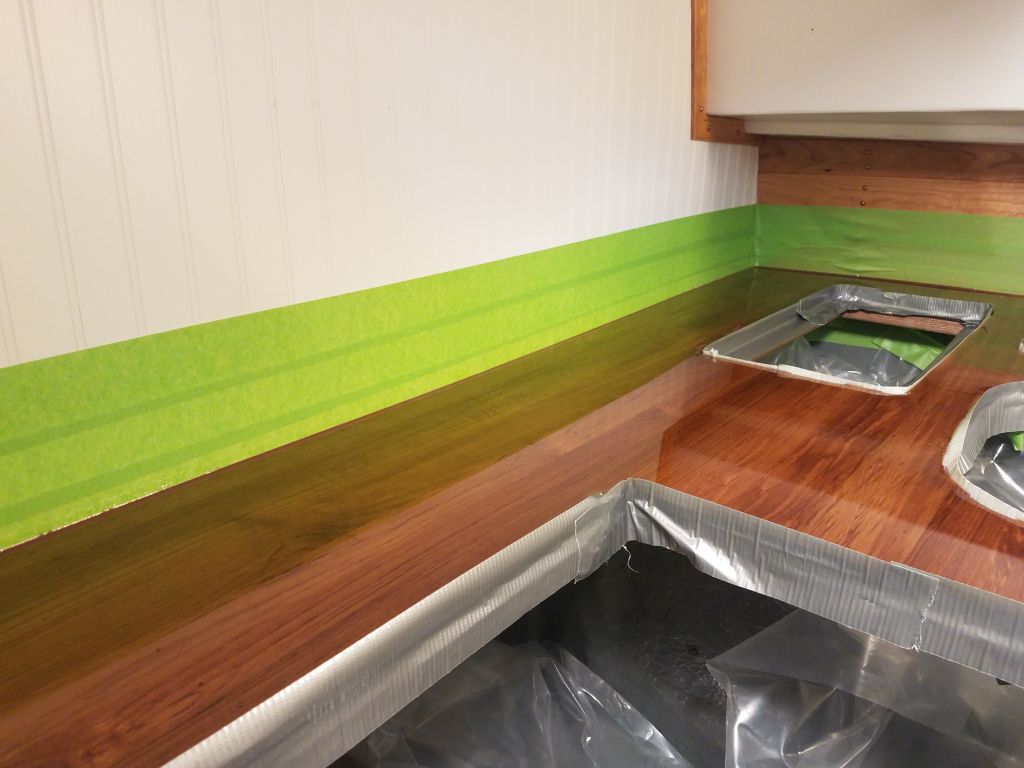
While the containers soaked for a while, I finished up final preparations. In the galley, I installed some plastic sheeting inside the cabinets to protect them from drips, and spruced up some of the tape around the openings that I’d installed earlier. The sink opening proved to be the most difficult, surprisingly, and I ended up installing all-new tape. I also installed a tape dam around the outside perimeter of the two flush hatches. Afterwards, I washed the bare wood with acetone.


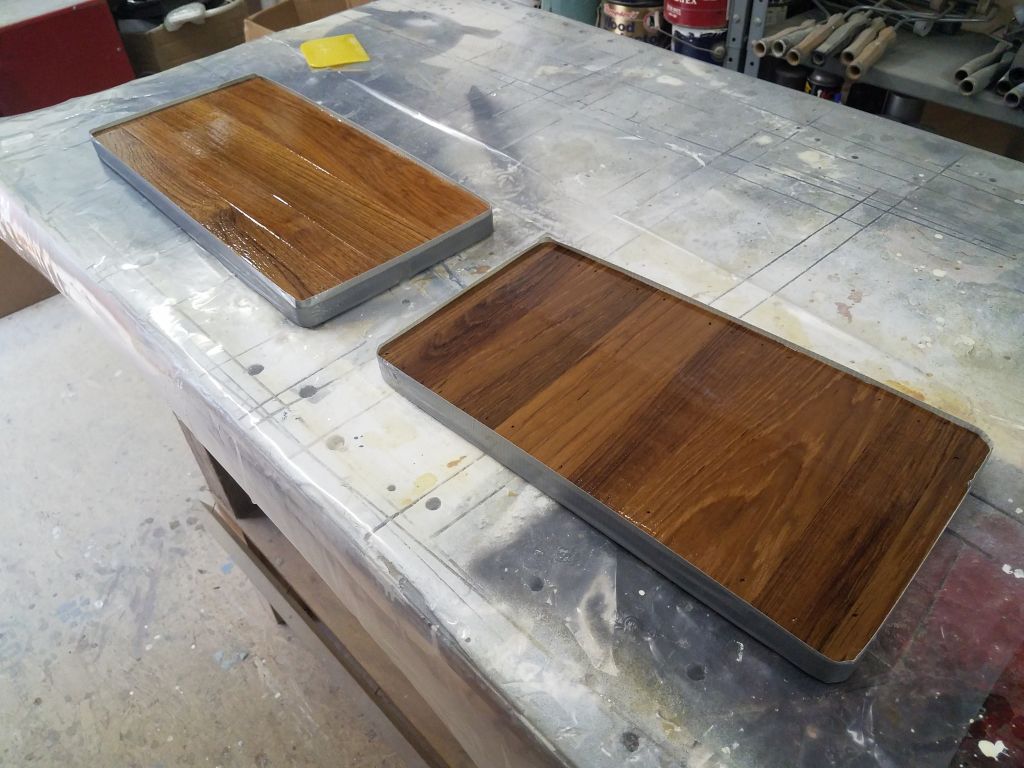
The first coat required was to be a basic thin seal coat to absorb into the wood grain and provide a better substrate for the final flood coat. I chose to start on the small loose hatches for practice before doing the main countertop, so I mixed up a small batch of the epoxy and mixed it according to the instructions. I found it impossible not to create air bubbles–another instruction admonition–in the pot during mixing, but a little rest time before application helped disperse some of the mixed-in air. I spread the epoxy with a squeegee and brush for the corners, basically getting the surface wet with no intentional excess. The epoxy at this point was thick and dense despite its bath and ambient shop temperatures in the 60s or better, and this was instructive, but not harmful to the seal coat at this stage. Still, it reinforced the need for warmth to allow the epoxy to flow properly on its own.

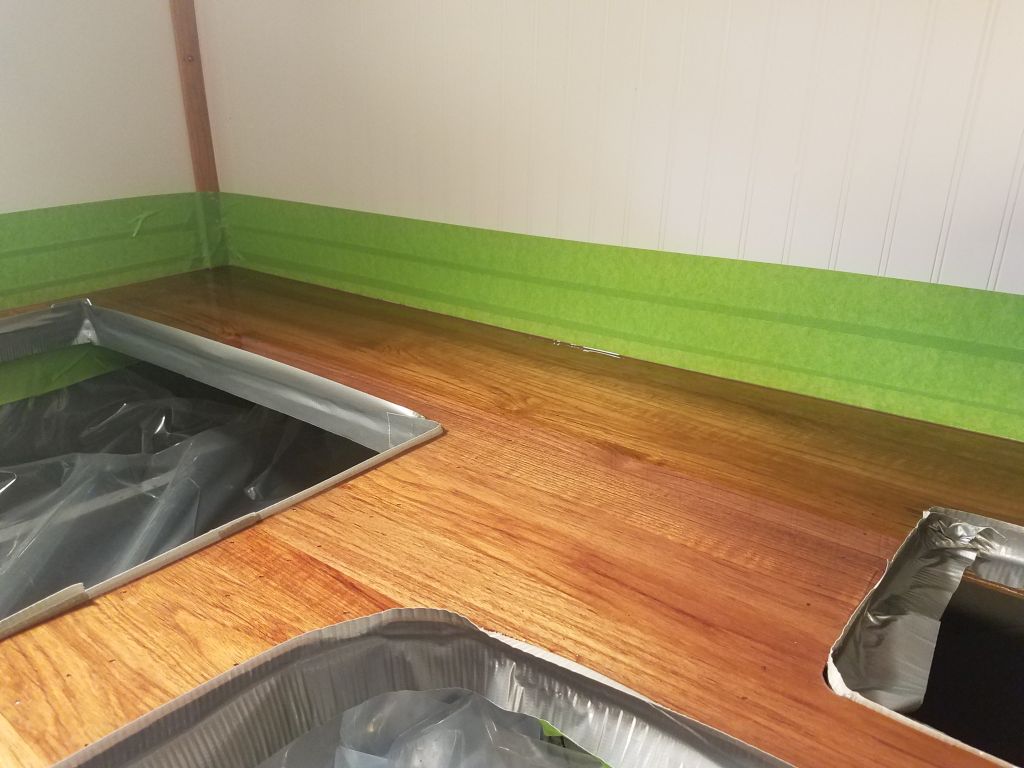
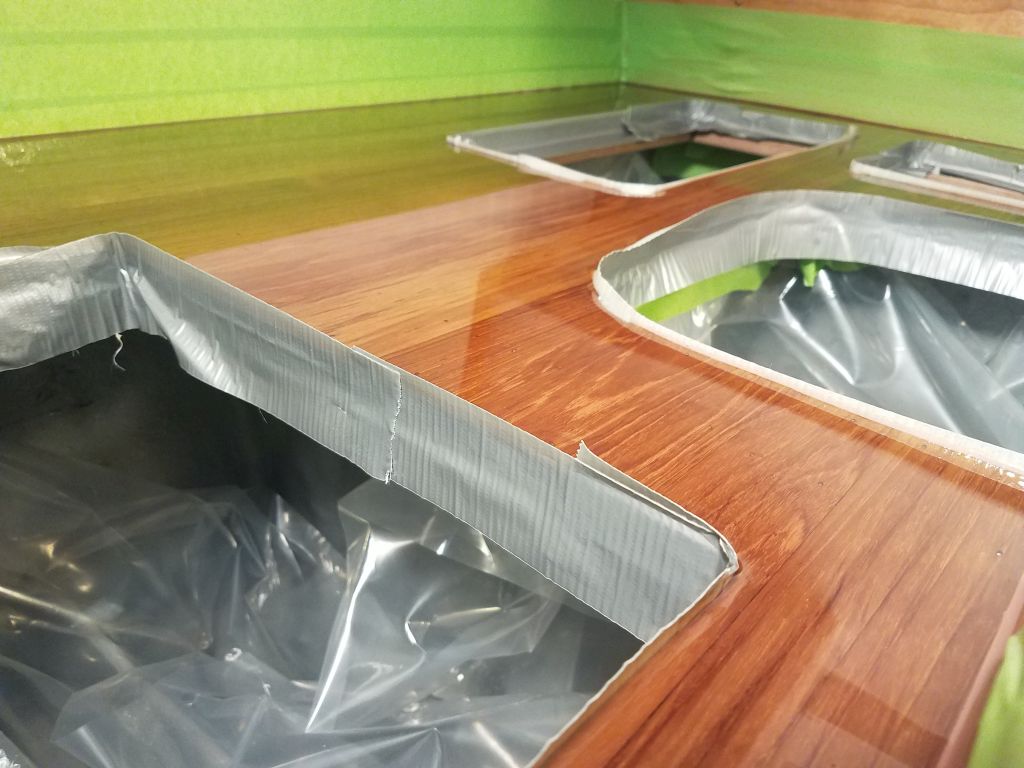
Afterwards, I repeated the process on the main countertop. Here, perhaps because it was warmer in the boat (unconfirmed), I found the epoxy behaved a little better, and other than the irritation of avoiding all the raised tape dams to prevent damage as I leaned over the deep countertop, the seal coat went well, and was even smooth and glossy enough to provide tantalizing insight of things to come.


I had to babysit the fresh epoxy for some minutes to see if there were air bubbles forming that I’d need to remove, and I did end up using a heat gun over the surfaces to help raise and pop air bubbles as a practice for the flood coat, if not strictly necessary now.
I couldn’t risk doing any real work in the boat while the epoxy work was going on, lest I contaminate it one way or another, so while this put on hold my original plans for the week (priming and painting the companionway), I was quite pleased to be taking care of the countertop, since this final step had been pending for some time, so the minor delay in the intended work was of no matter.
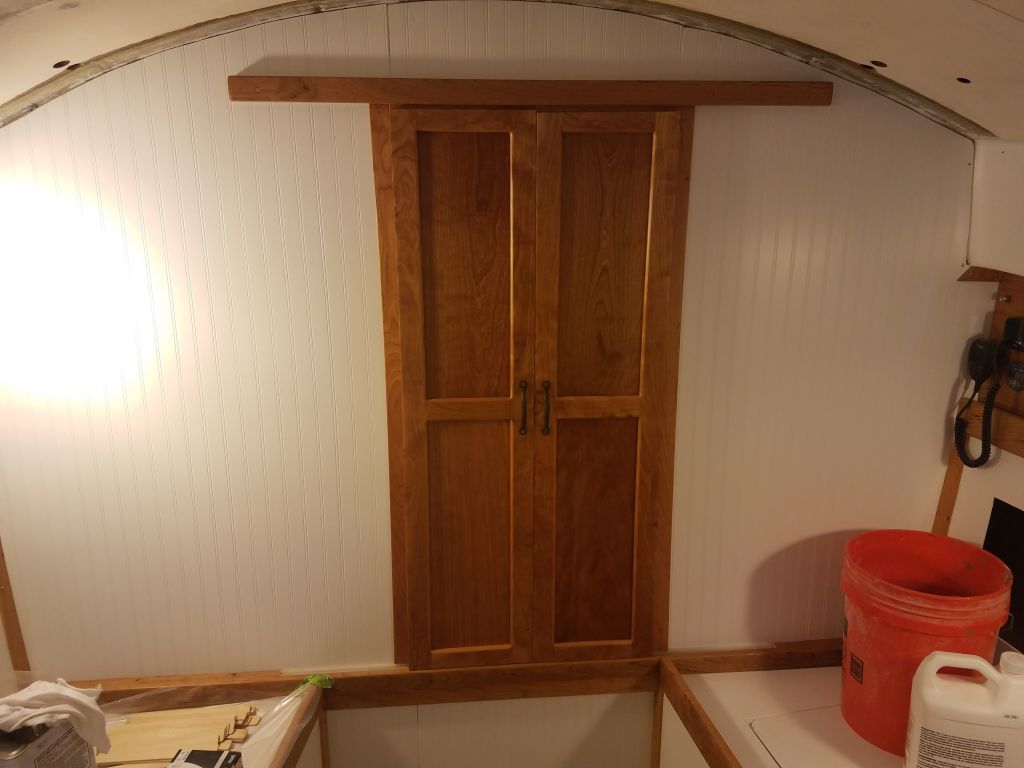
Whiling away the time while the seal coat tacked up, I installed bronze handles (salvaged from the originals) on the now-complete forward cabin doors, and test-fit the doors in place. I ordered some hooks to secure the doors open, as well as some slim slippery material to install along the bottom edge to slightly raise the doors and improve operation, and I’d complete those steps as soon as the new materials arrived.

Meanwhile, I worked on other things unrelated to the boat while I waited a few hours till I could apply the flood coat of epoxy.
By early afternoon, the shop temperature was an indicated 82° (and probably warmer up in the boat), which seemed perfect for the countertop epoxy work. Again, I chose to begin the pour with the small hatches to learn and test the process, and it was immediately obvious that the epoxy flowed much better at this temperature. Whereas in the morning the epoxy had been a lot like honey in texture, now it was substantially less viscous–but not runny nor watery, just a lot looser and prone to actual flowing/leveling, rather than sort of sitting in a blob and barely oozing from its original position, which was how it had acted when temperatures were in the 60s.
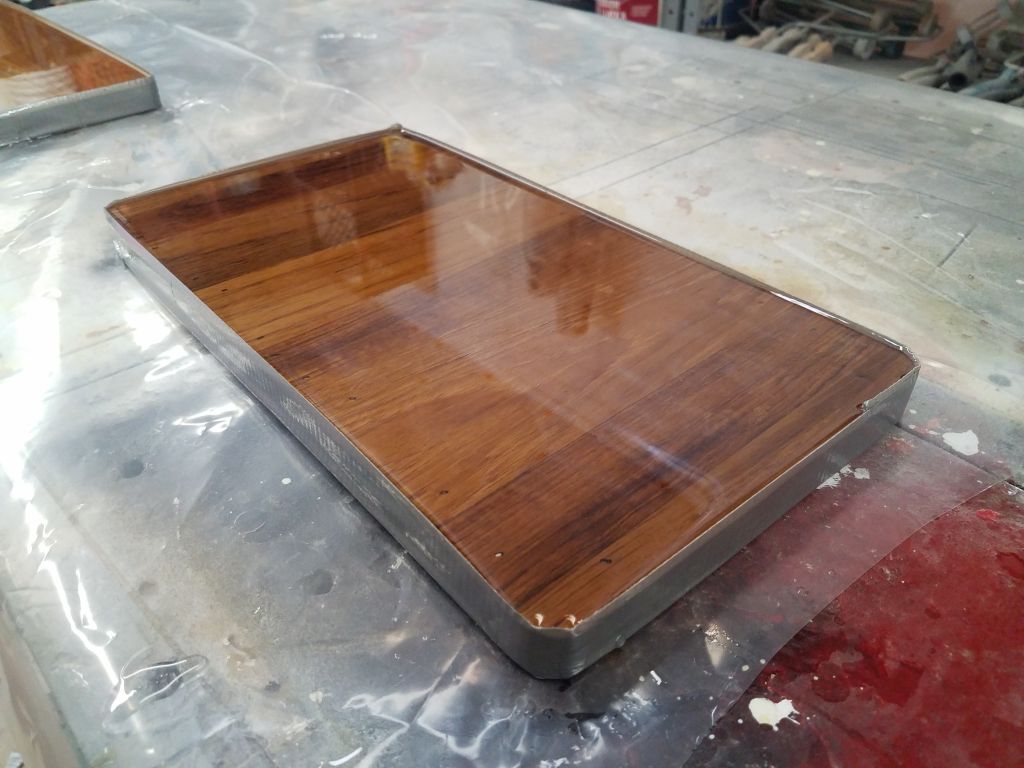
The pours for the hatches resulted in substantial bubbleage (a well-documented and expected condition) but the heat gun worked well to remove them all, leaving behind an almost ridiculously clear and shiny surface about 1/8″ in thickness. The epoxy had leveled itself well and was easy to work at these temperatures.


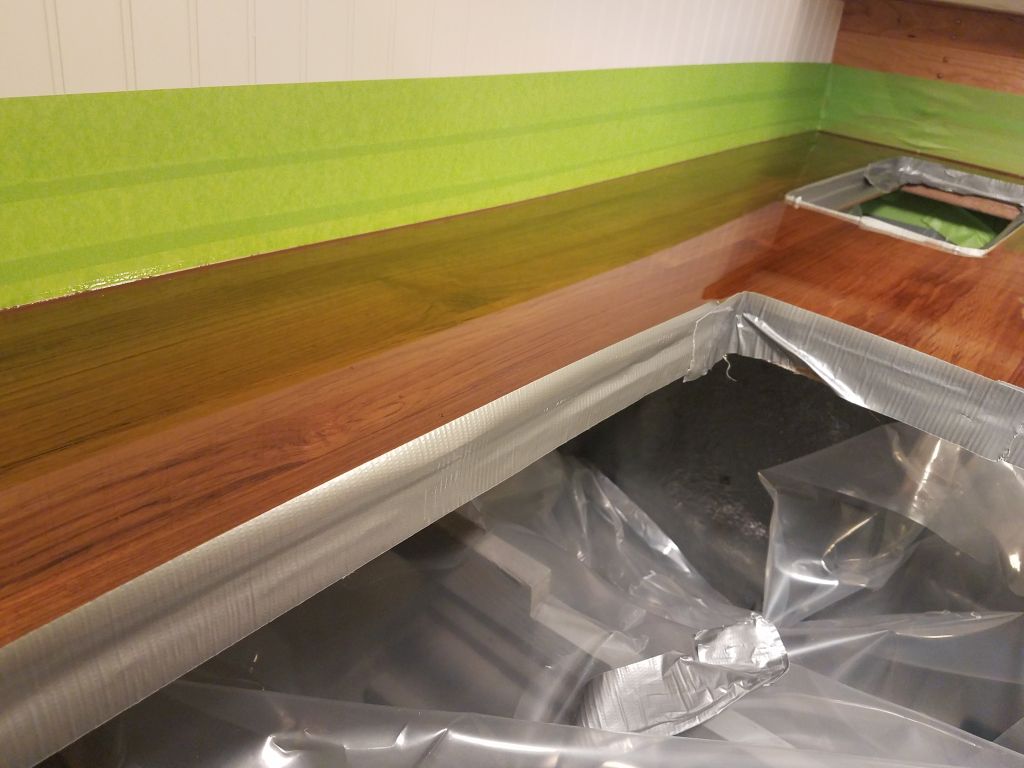
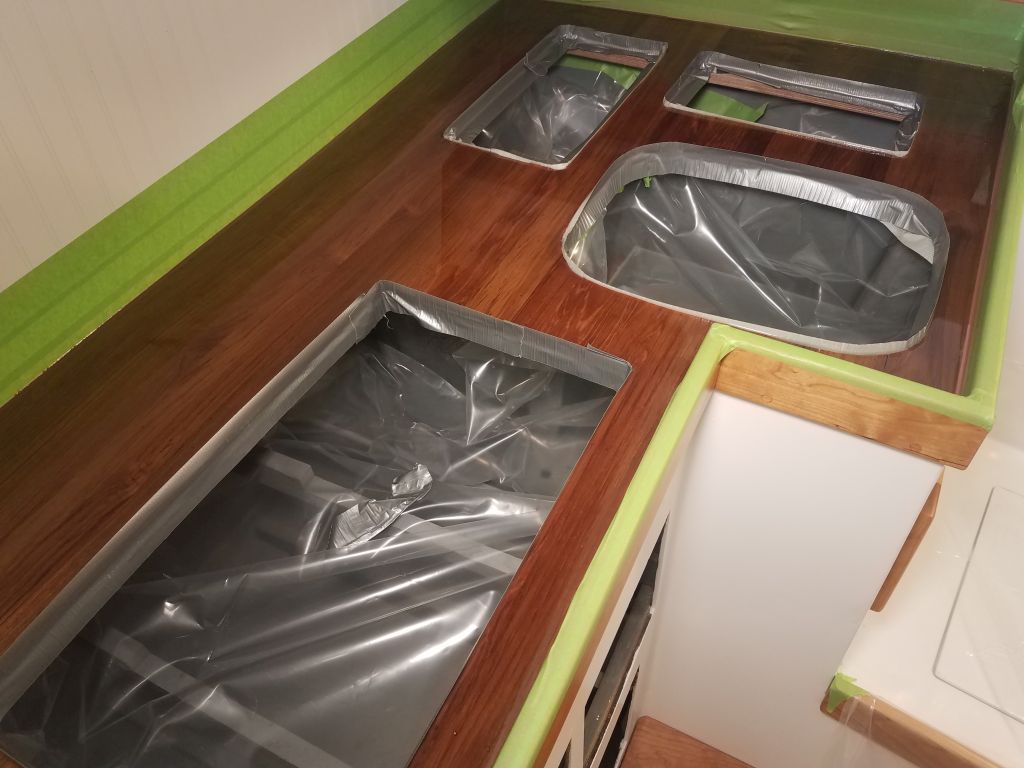
Moving the operation back to the galley, I poured the flood coat on the main countertop. Again, the process seemed to go well, and the epoxy was loose enough not only to flow, but to easily re-level whenever I had to squeegee or brush it into a tight corner or to fill a void in the coating. For a while, I struggled to help along a section in the after outboard corner–hardest to see and reach–that didn’t seem to be leveling, till I realized I was actually seeing the reflection of the masking tape on the adjacent surface (the tape bulged over some ceiling fasteners, creating a rippled reflection in the super-glossy epoxy).

Babysitting the countertop, I carefully inspected it over and over for the formation of air bubbles, but there didn’t seem to be any at all–nice. I did have a couple places (at that fussy sink opening, mainly) where epoxy found its way slowly through the dam and dripped onto the plastic within the locker, but I carefully added some extra tape from beneath to help stop the drip. The good (and interesting) thing was that despite the leak, there appeared to be no worry that the coating would actually all drain away; it was thick enough to stay in place at its prescribed 1/8″ thickness, so stemming the drip was more a matter of keeping the mess to a minimum than anything else.
Lighting wasn’t great for highlighting the gloss and reflection in the new epoxy, and I wasn’t about to move a lamp or do anything else that might contaminate the surface (or worse), but I tried to photograph the surface from various angles to show the depth of gloss and reflection. Pretty neat stuff, this.

Now I left the countertop alone to cure overnight. I left the heat set at 75° for the night to maintain the shop temperature once the currently-warmer temps dropped with the night.
In total, I used about one mixed gallon (1:1 mix) of the epoxy coating for this work over both coats.
Total time billed on this job today: 5 hours
0600 Weather Observation: 50°, mostly clear. Forecast for the day: Sunny, 80°