


April 6, 2018
Scupper 21
Friday
Armed with a hammer and drill, I went over all the deck areas to determine the overall condition of the structure and locate any areas requiring further inspection or repair work. I used the hammer to sound the decks, looking for indications of top-skin delamination or debonding, or wet and damaged core within.
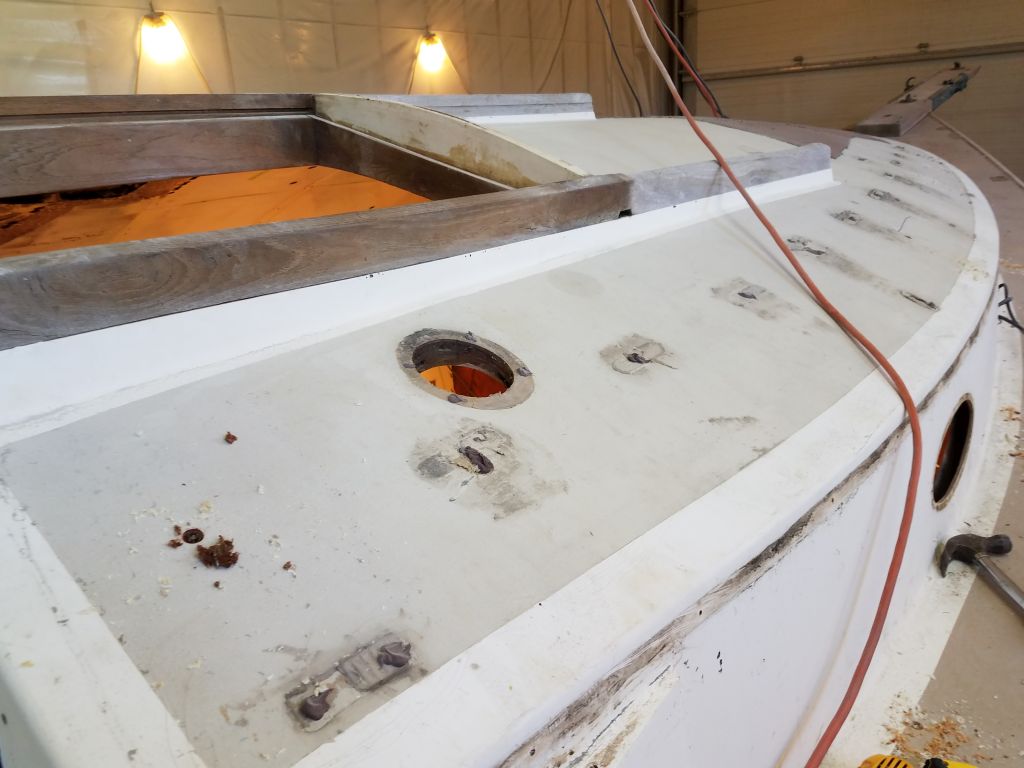
The poop deck, leading up to the winch pads on each side, was generally sound on both sides, with some minor top-skin delamination noted around the new opening for the deck hatch and in other isolated areas. The core was 3/8″ plywood, and my test holes here and there showed no signs of core damage, other than normal and expected discoloration around some of the old fastener holes. As in other original parts of the deck structure, the edge of the deck was solid fiberglass for quite a few inches in board before the core began.


The condition of the port sidedeck had bee a concern since the moment I first saw it upon the boat’s arrival here, but there were many questions about it and even after various related work I still was unsure what was going on. Sounding tests were OK, but this wasn’t a big surprise since the top skin–which was part of a previous repair and not original–was extremely thick and resin-rich, as indicated through the old water tank fill hole, which I’d opened up earlier in the job.
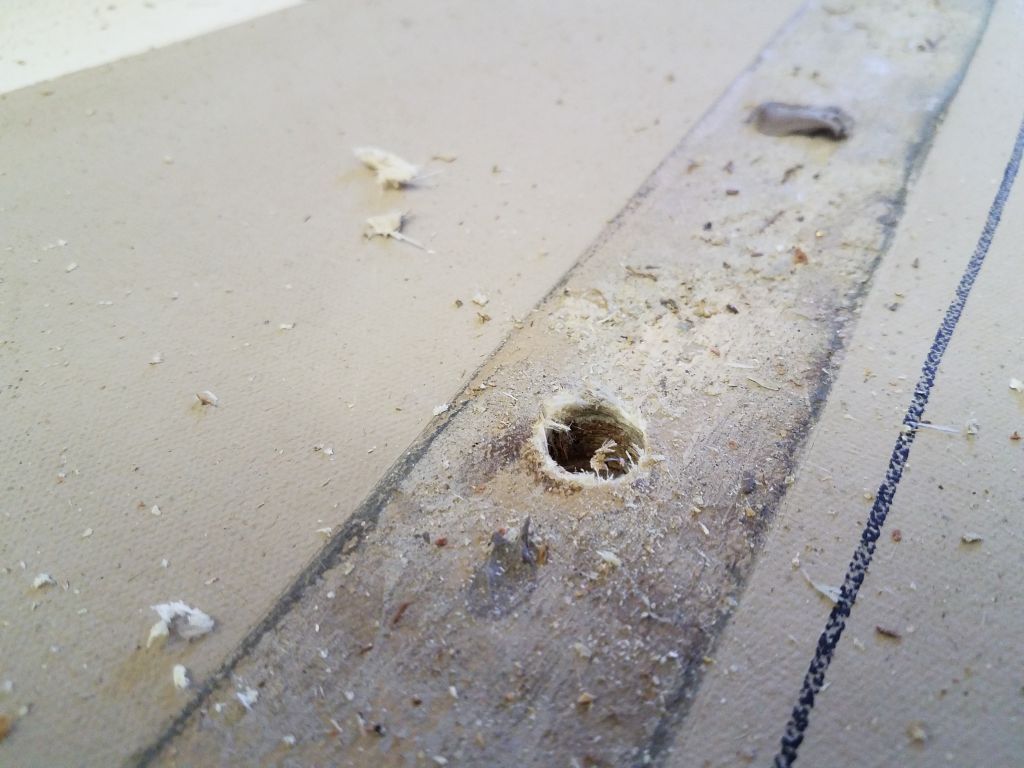
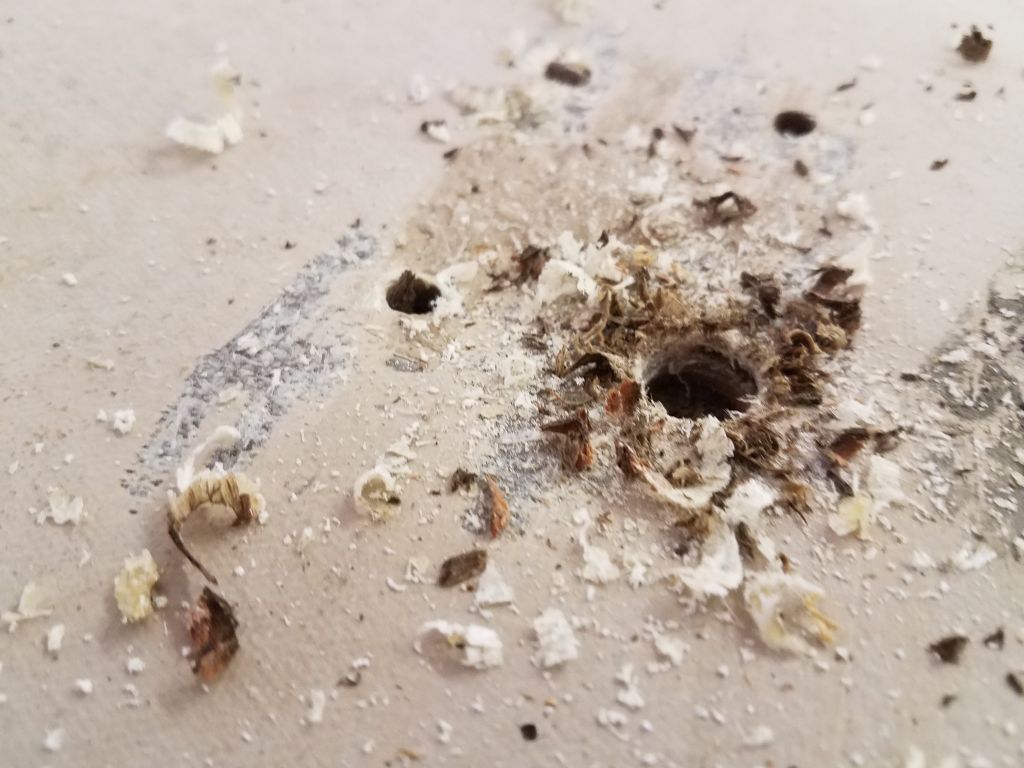
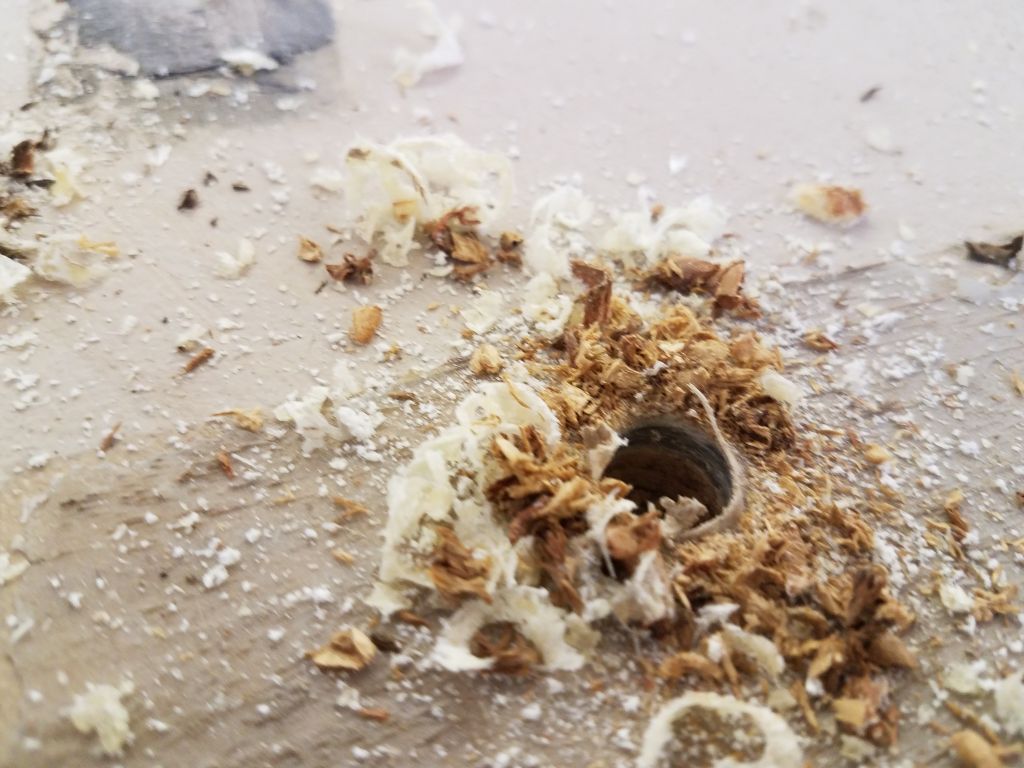
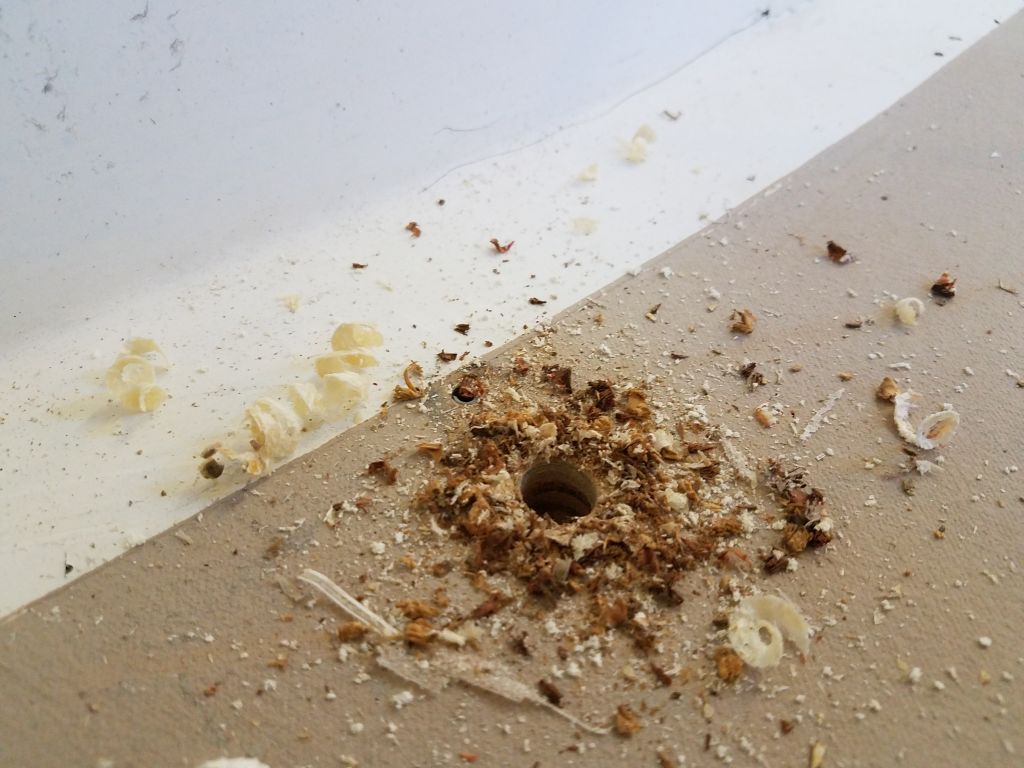
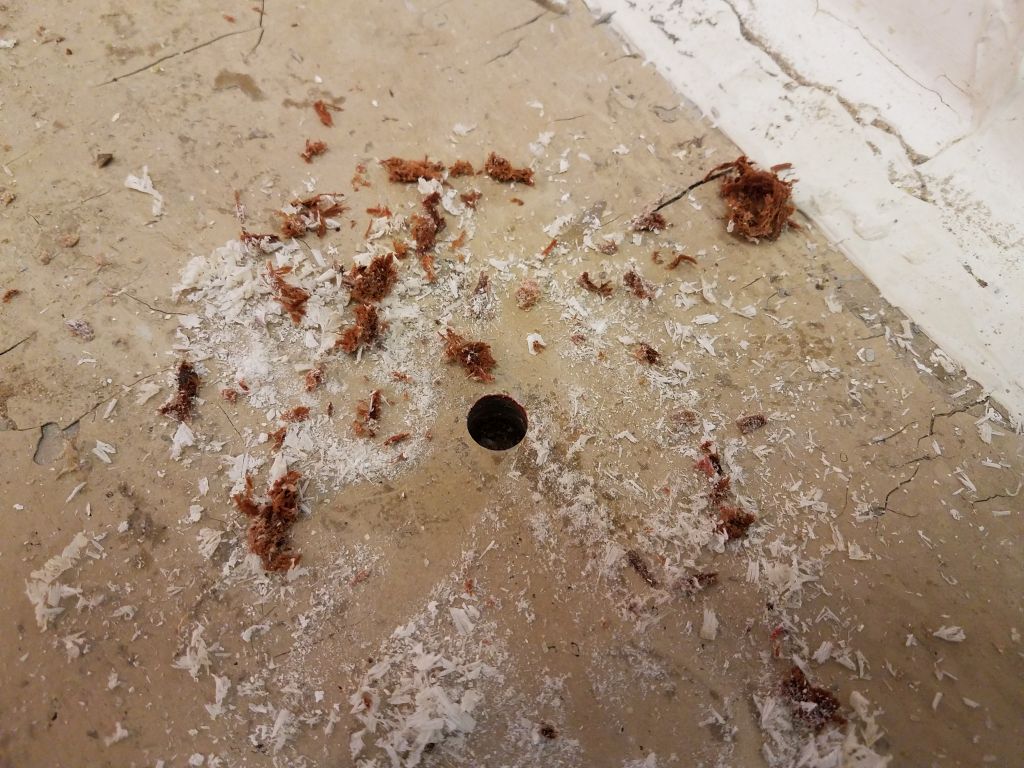
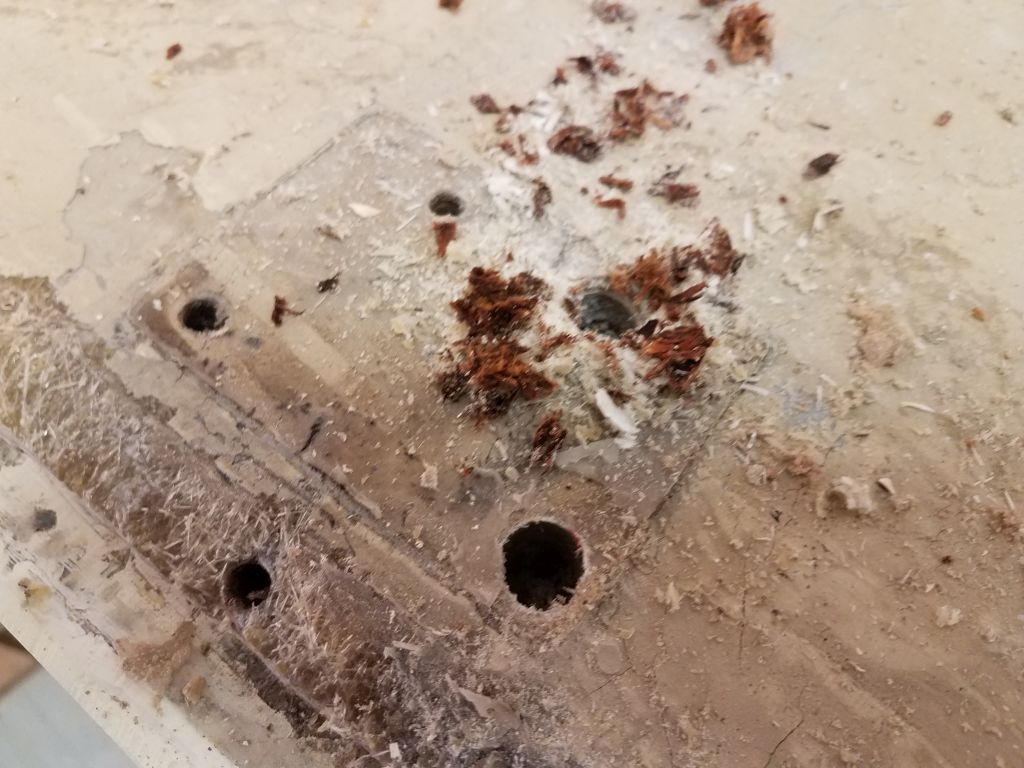
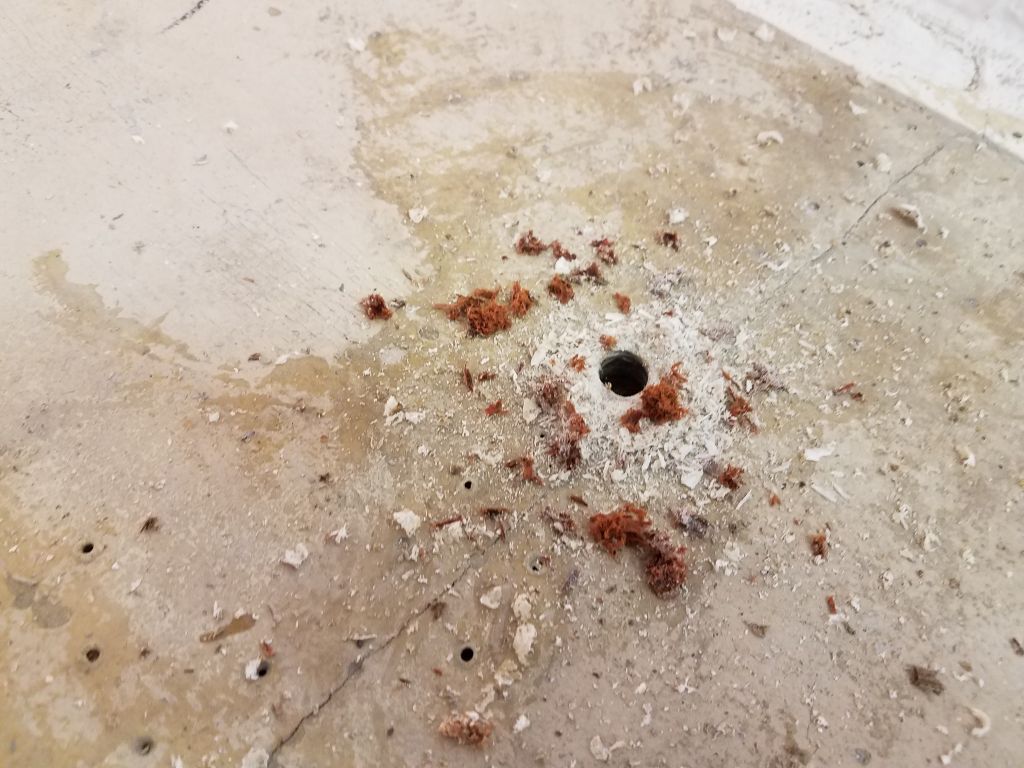
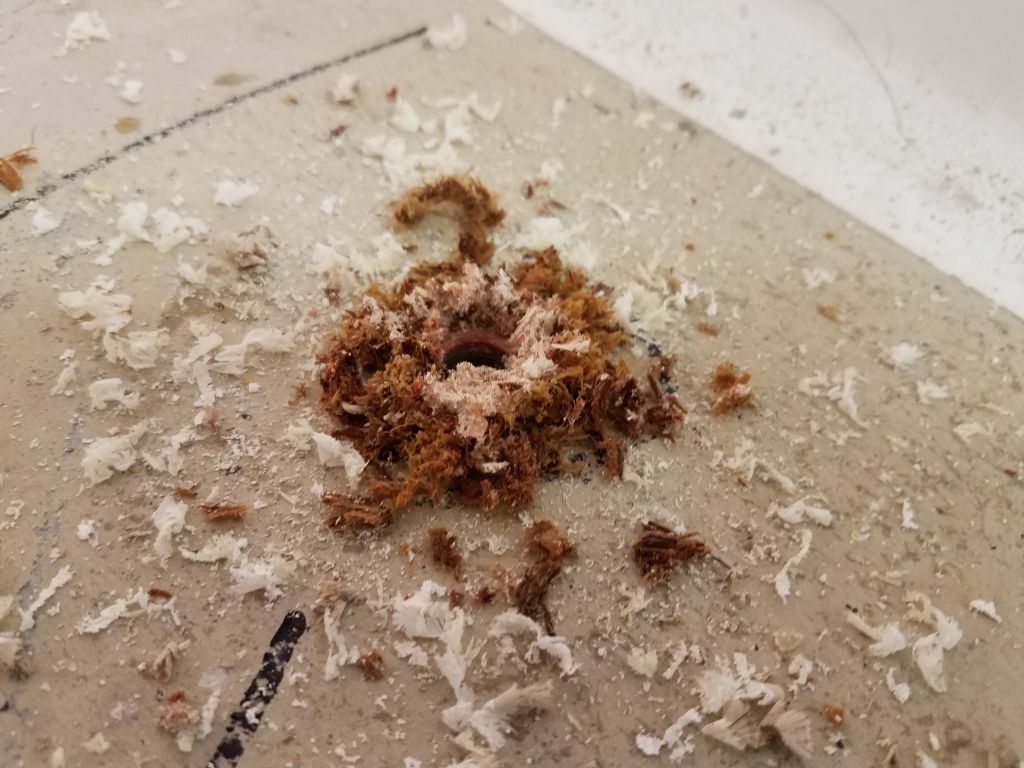
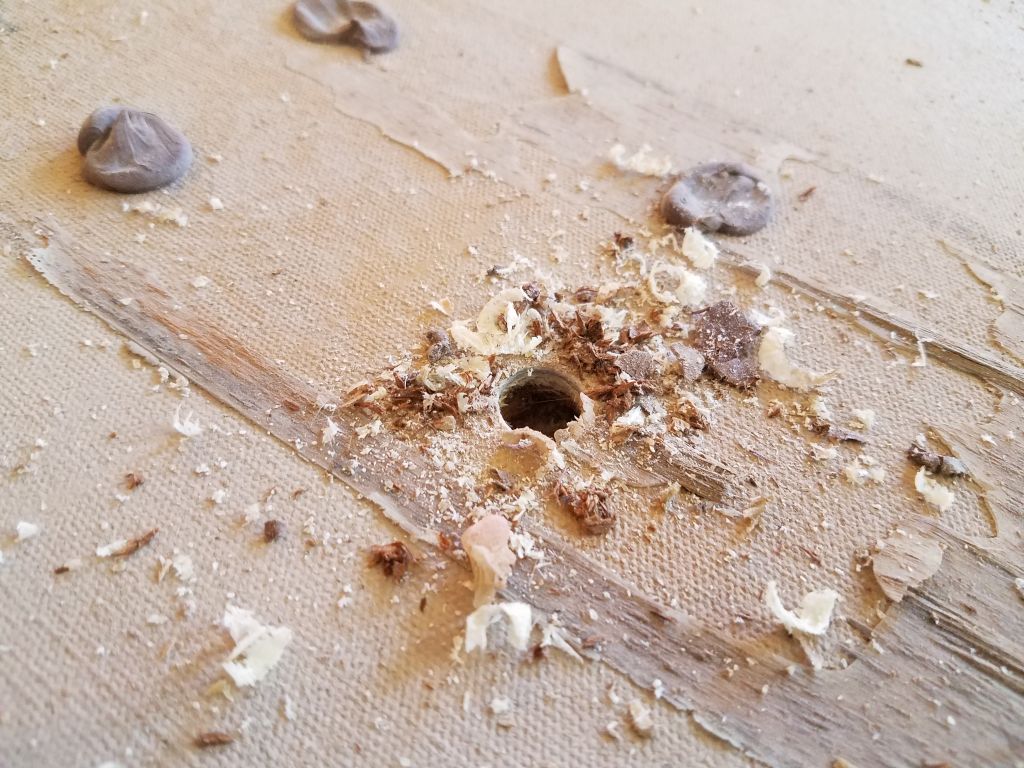
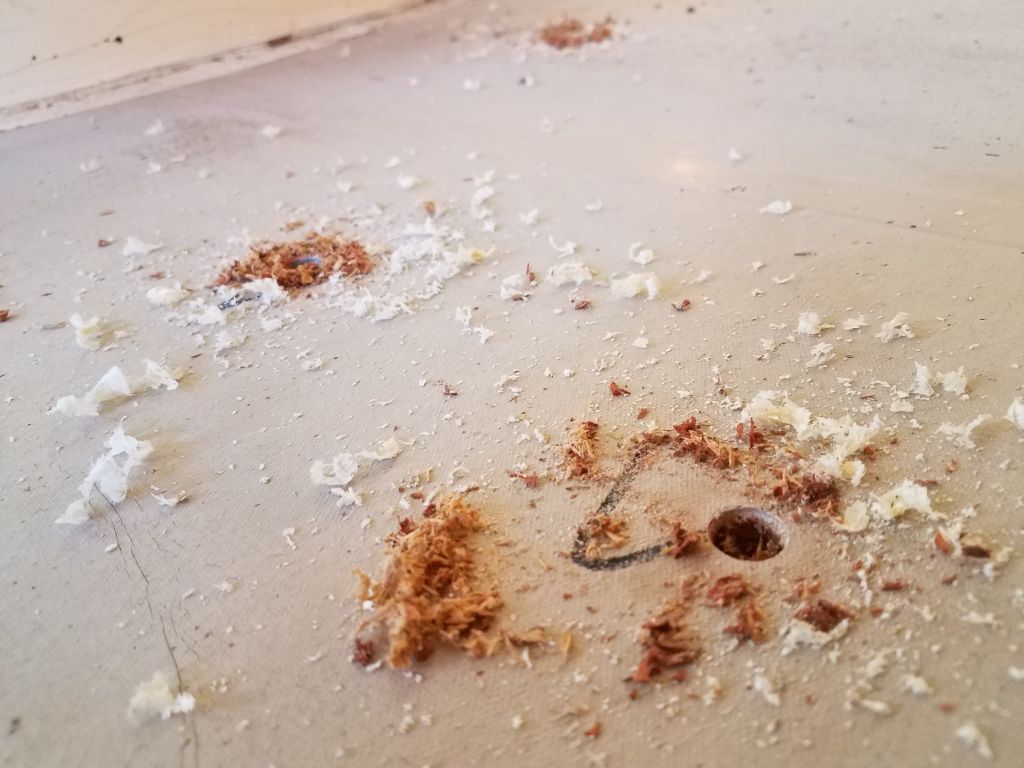
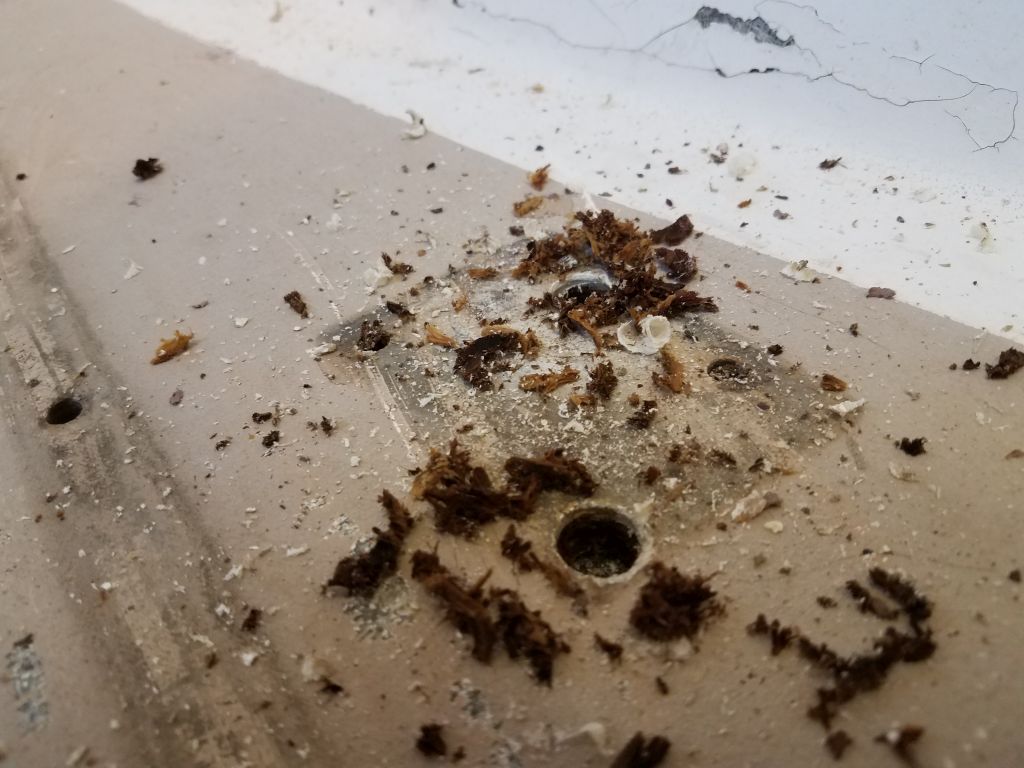
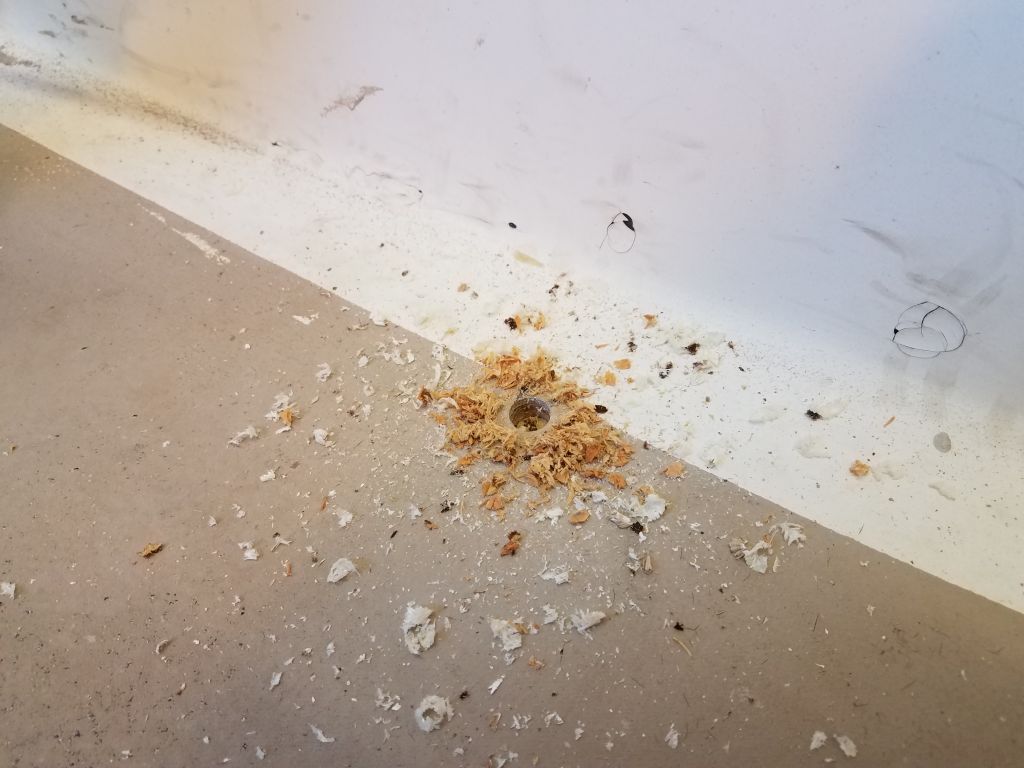
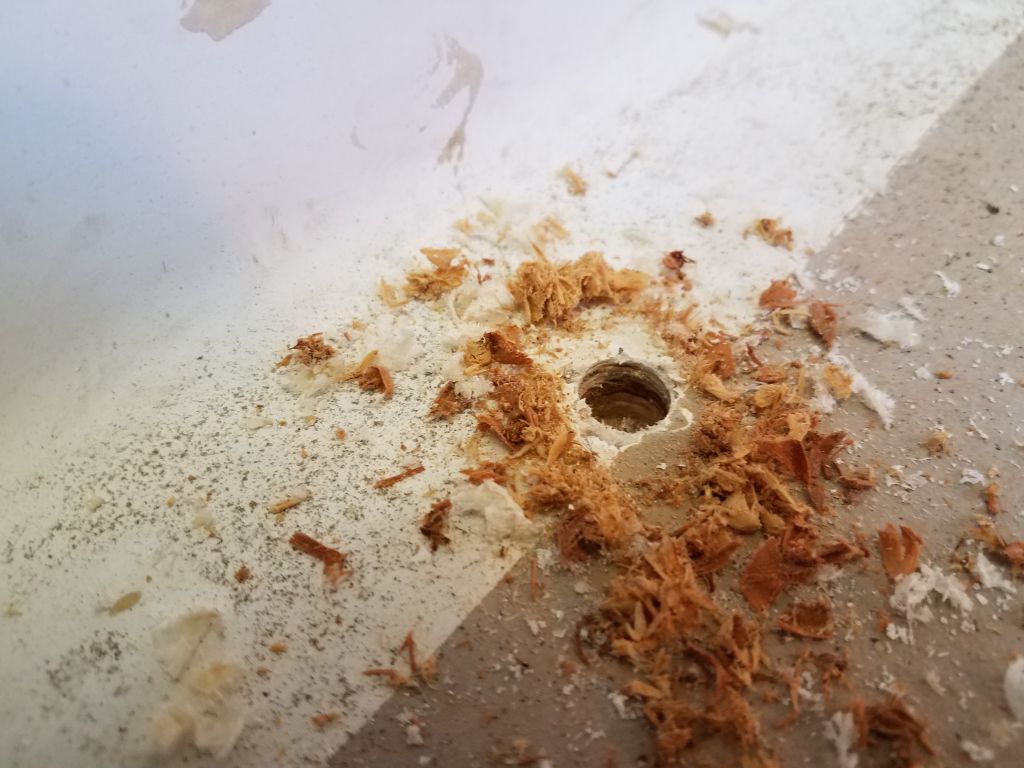
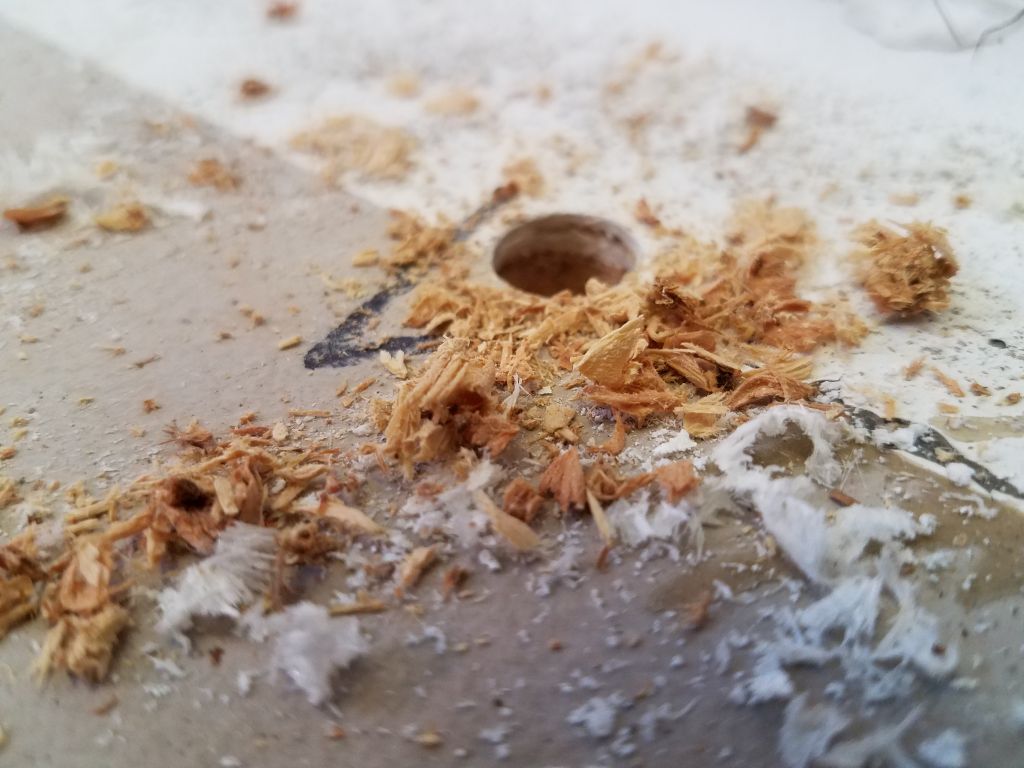
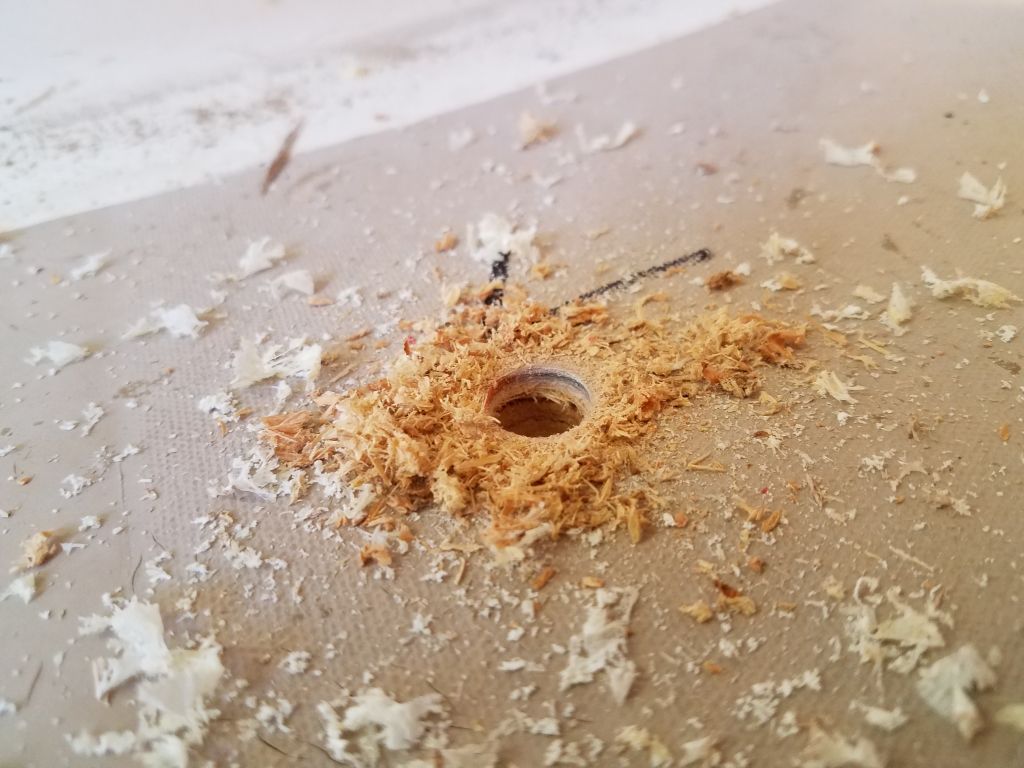
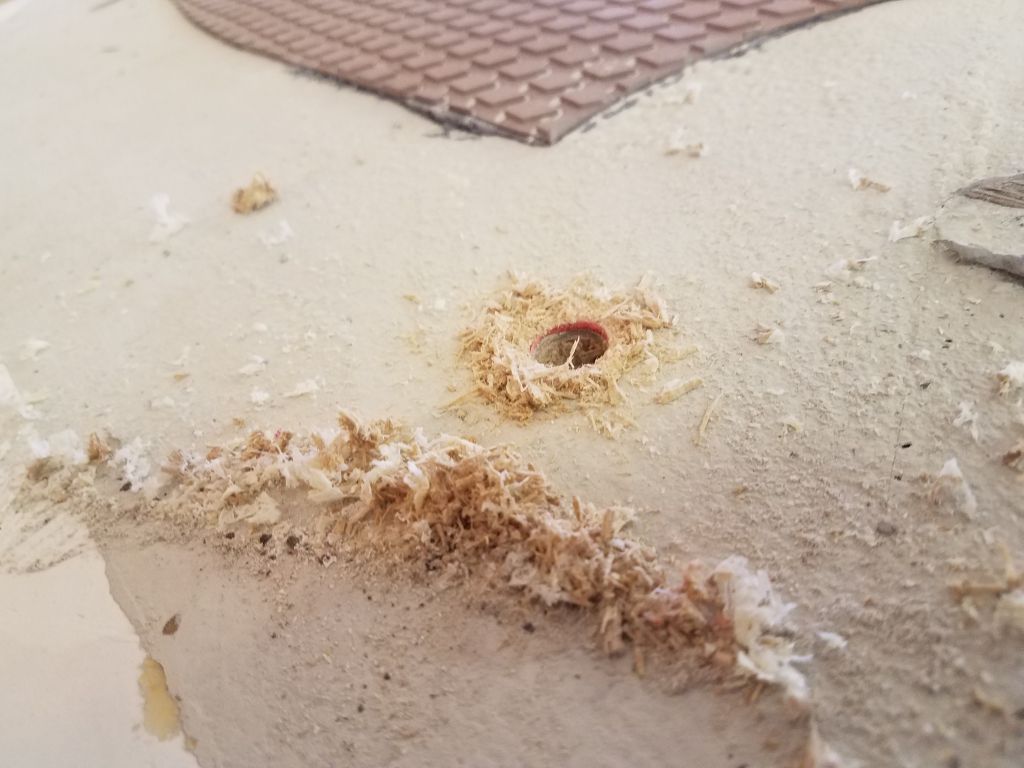
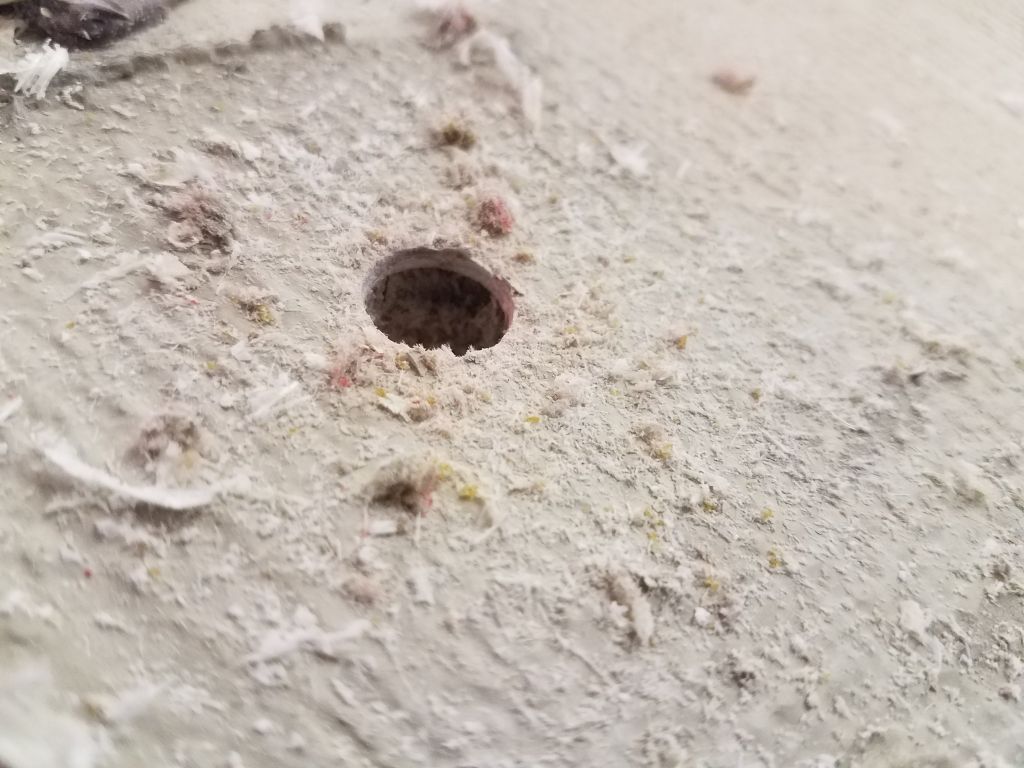
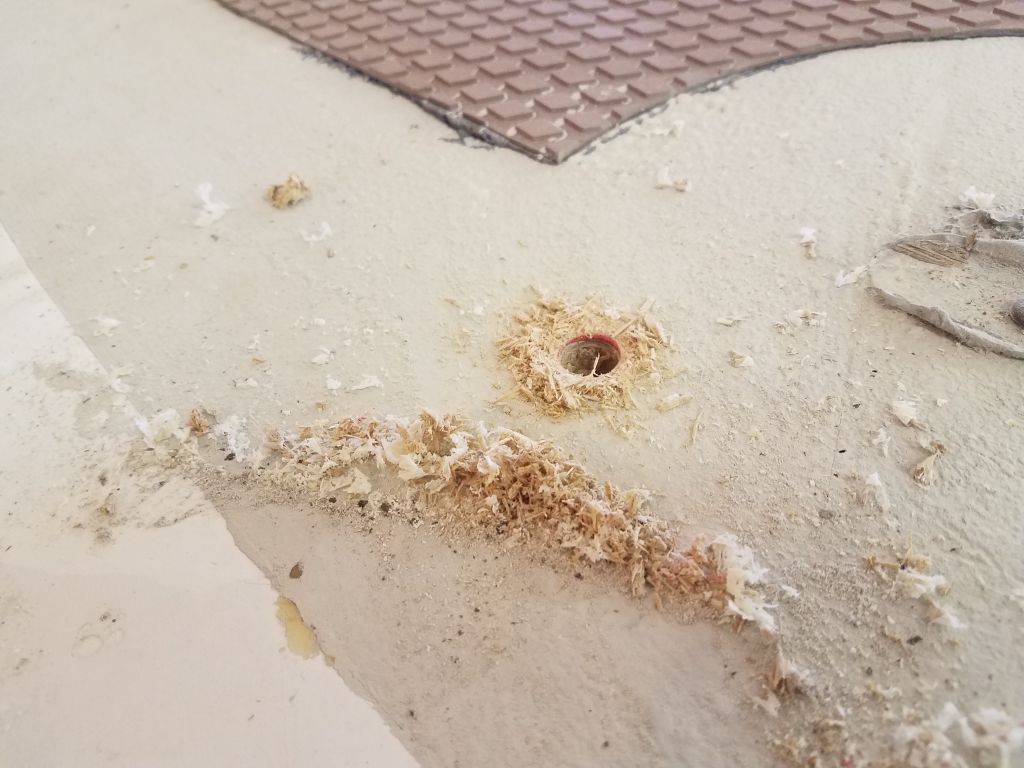
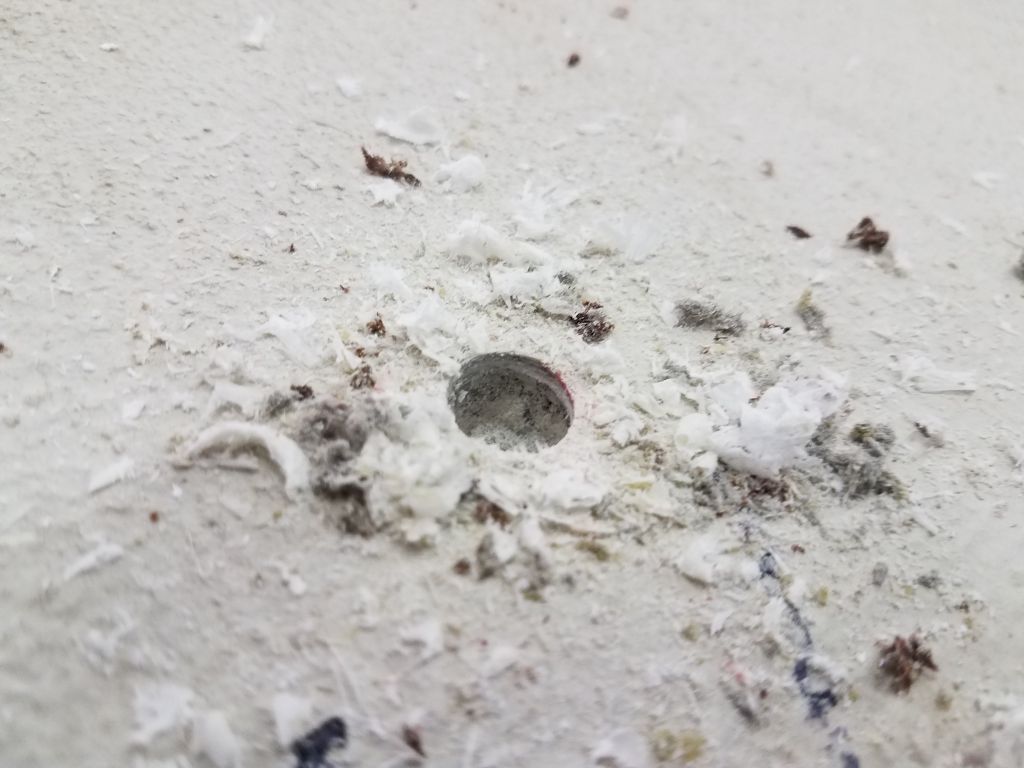
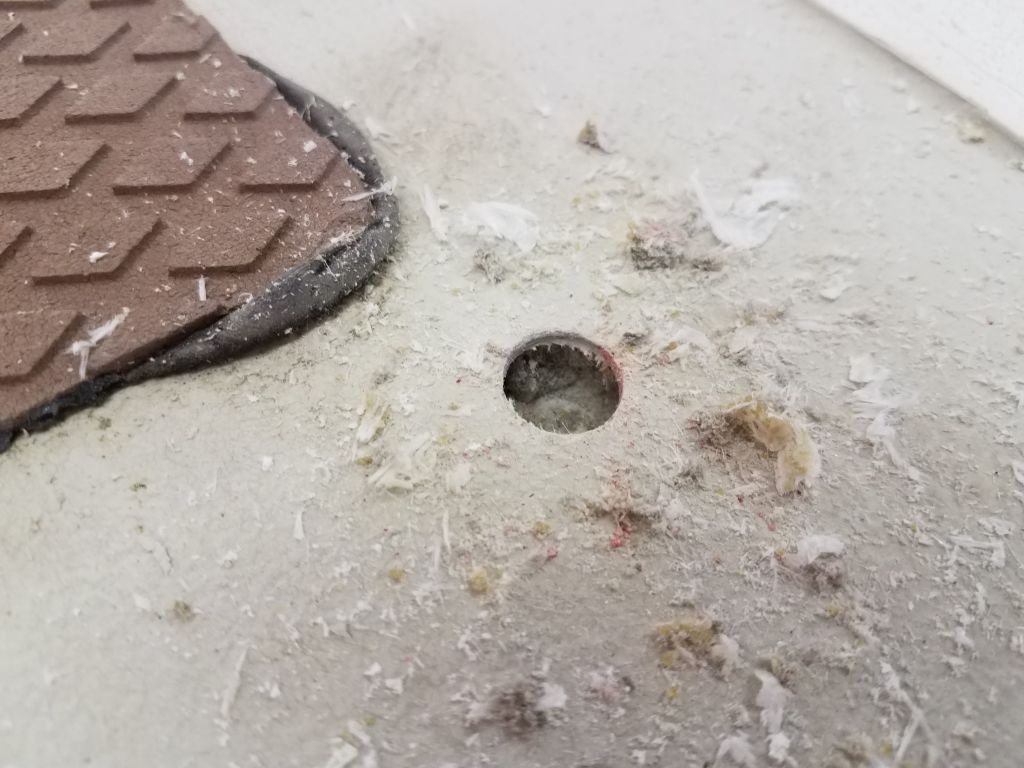
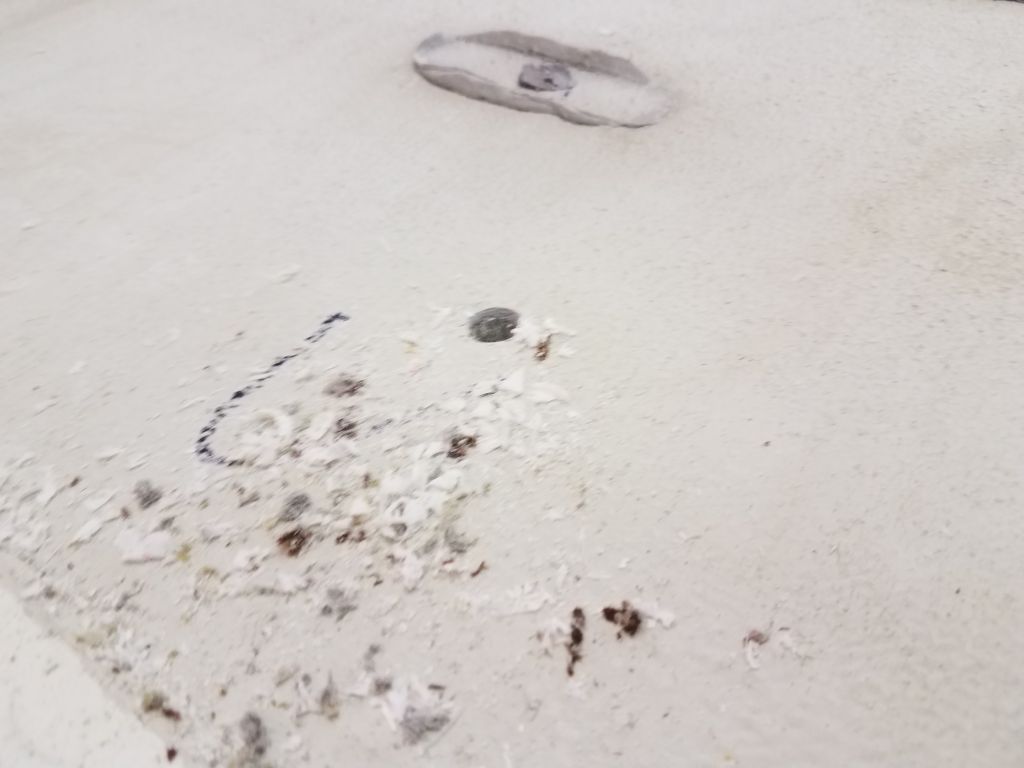
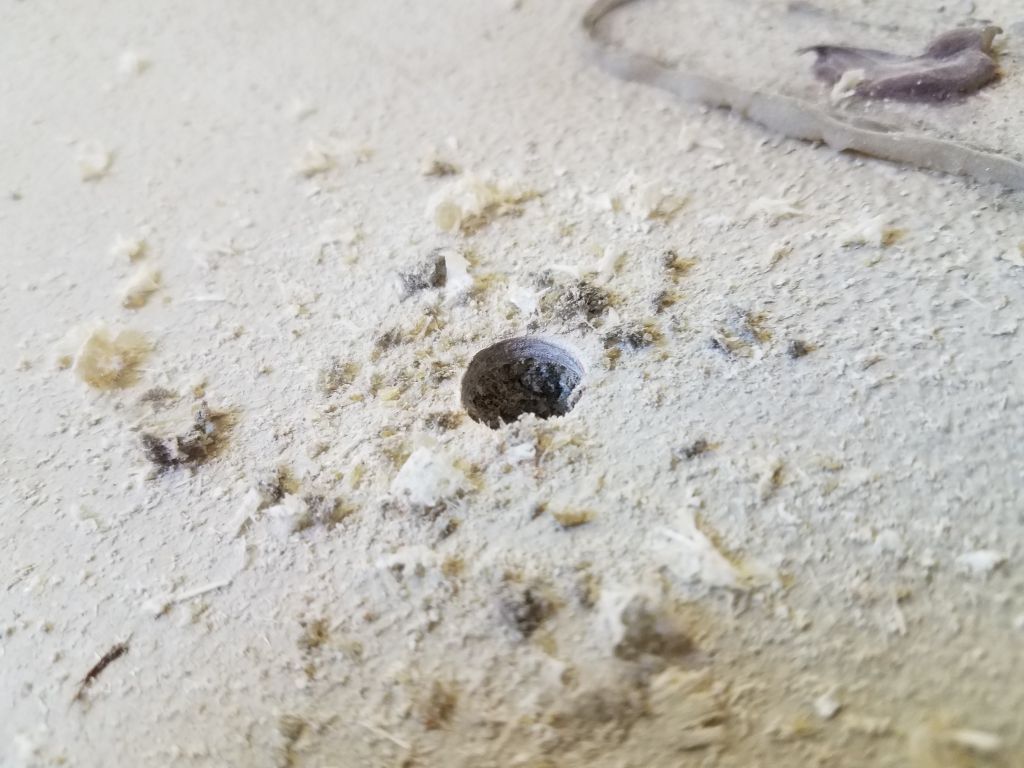
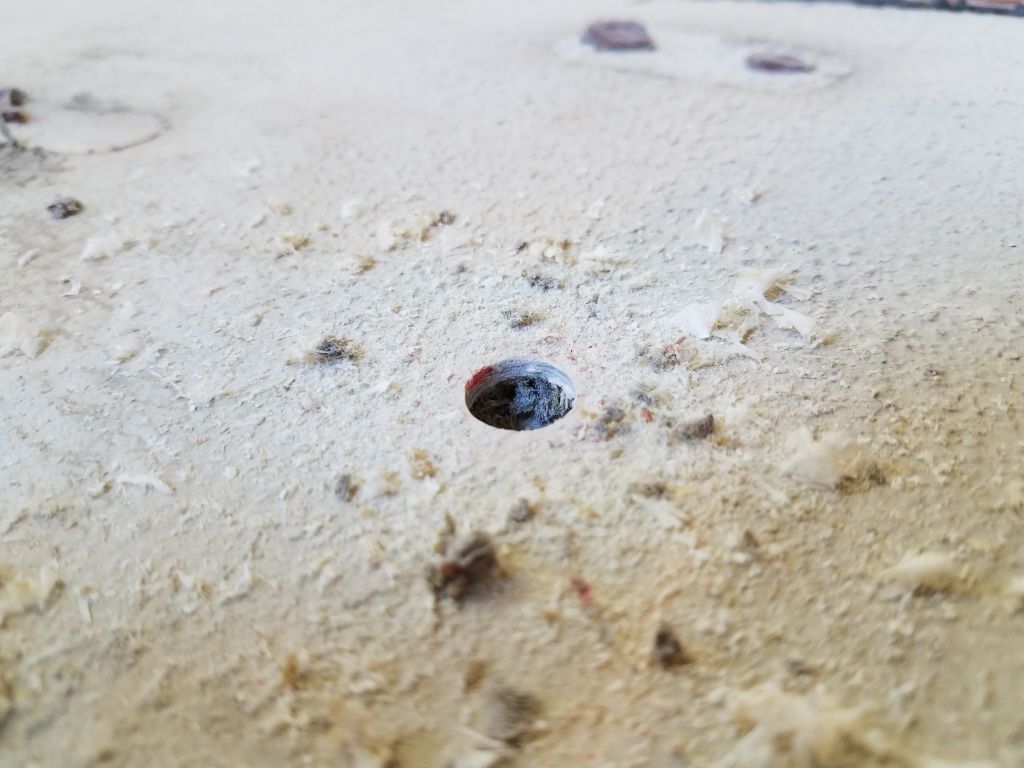
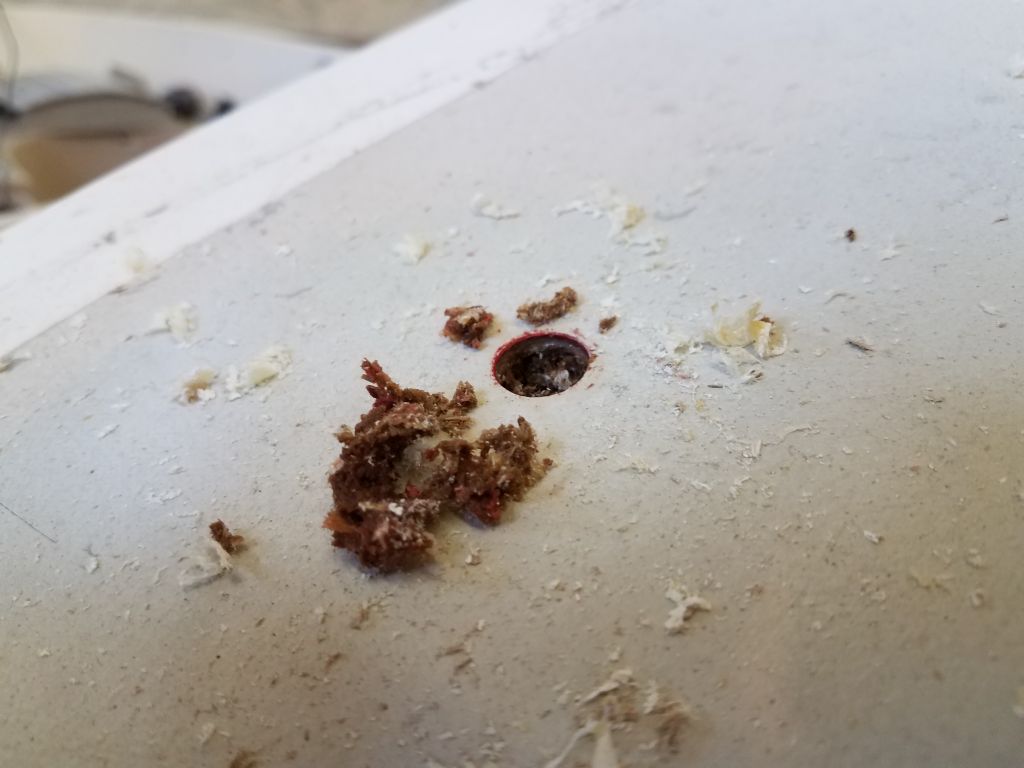
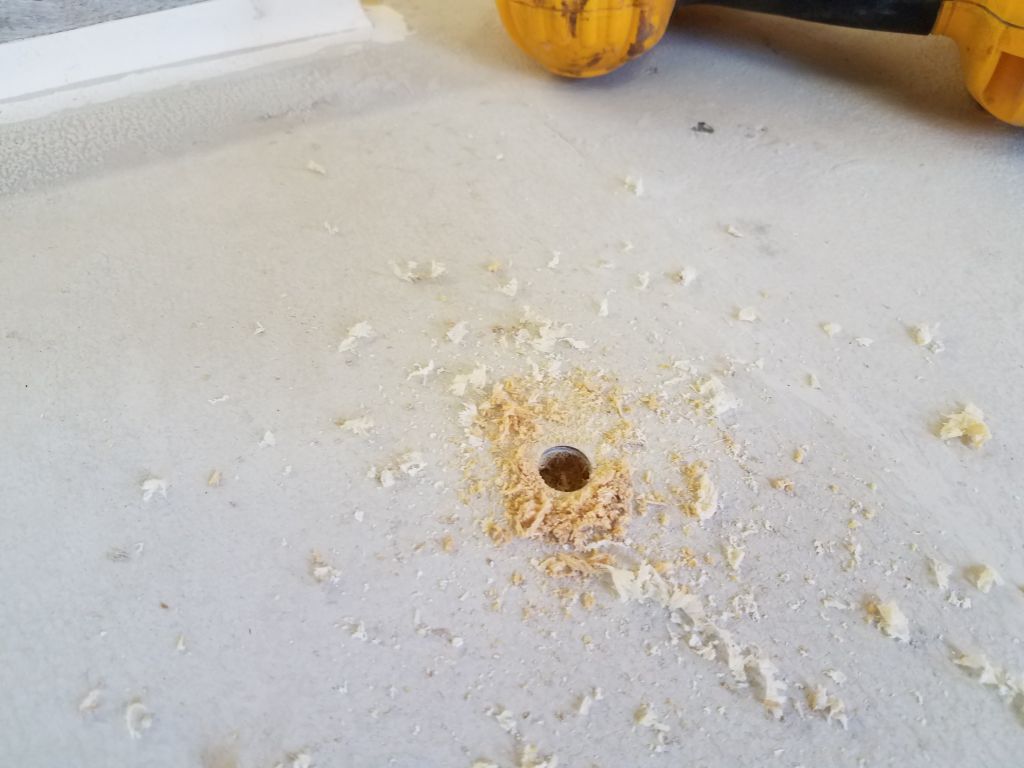
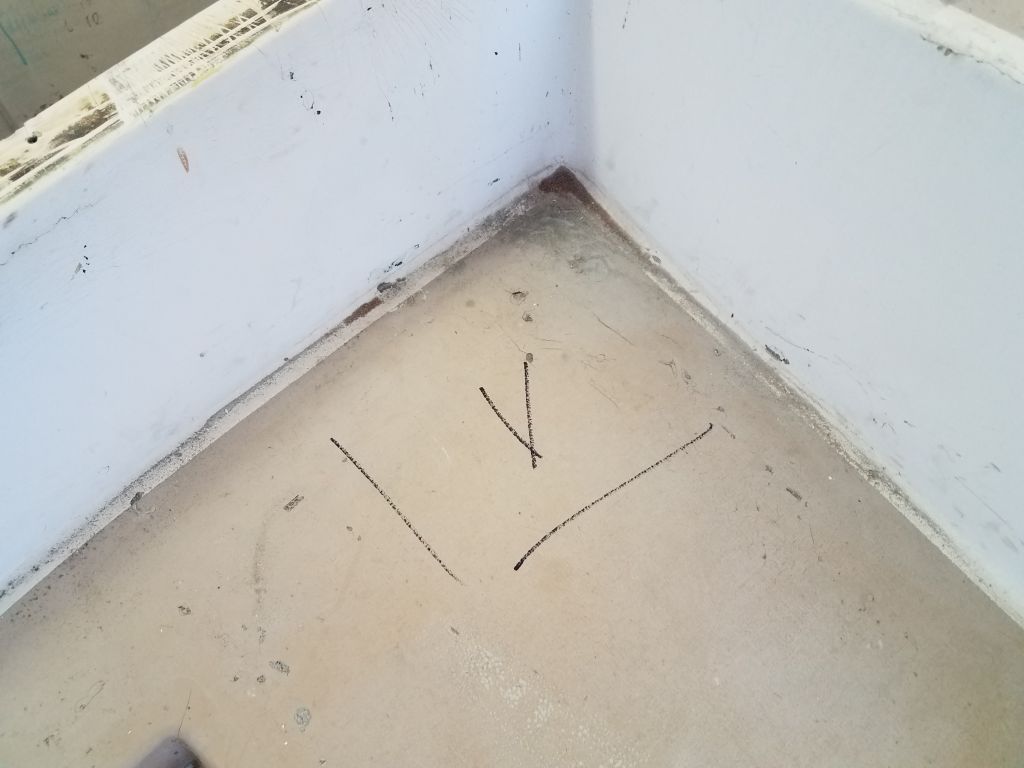
I drilled numerous test holes along the length of this deck, and in each case the core spoils–plywood again–came up dark and damp. This was not a surprise, as I’d noted the wet core as soon as I removed the deck fill earlier, but even so I’d been hoping that perhaps the whole area wasn’t wet, though in my heart I knew it would be.
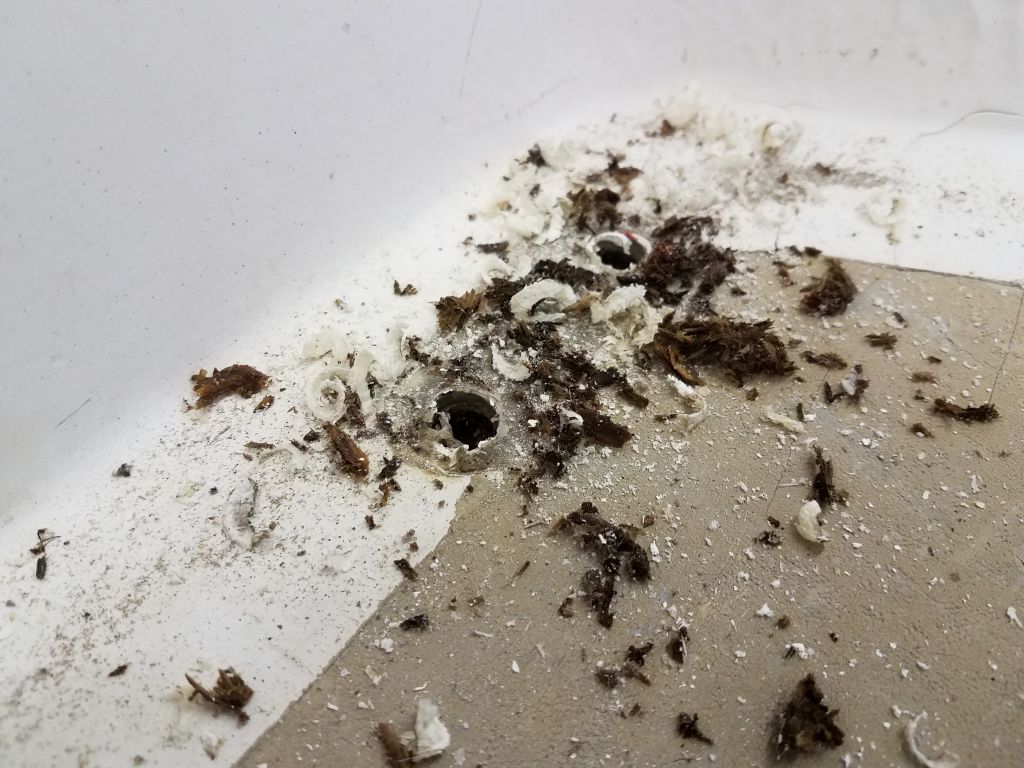

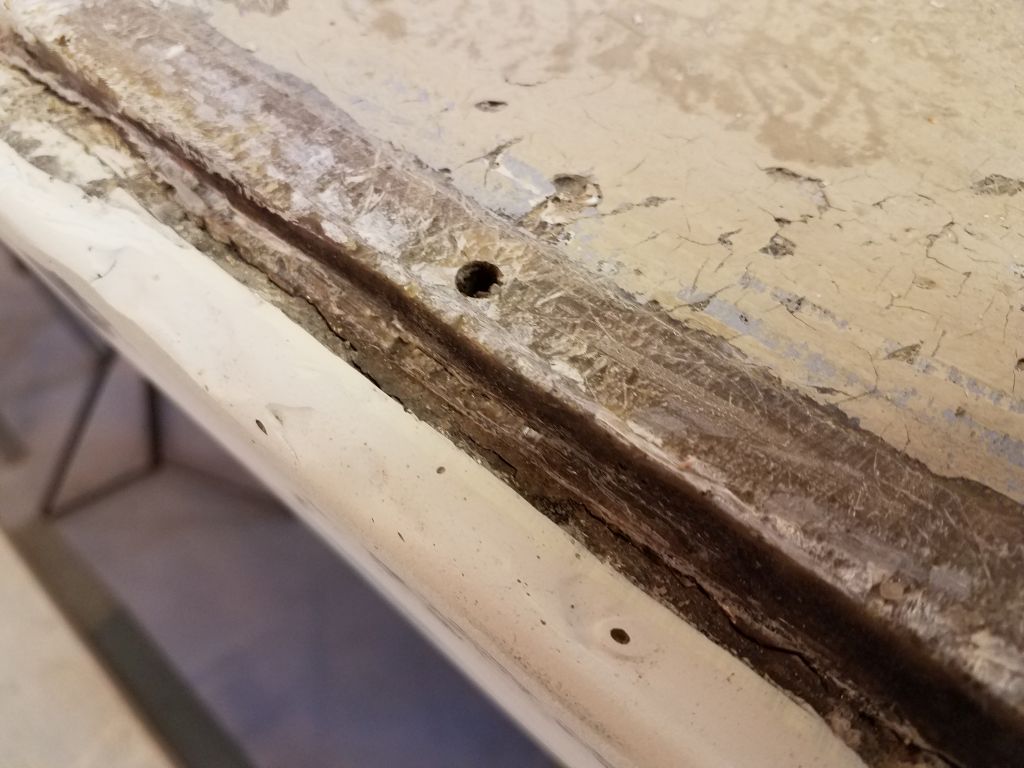
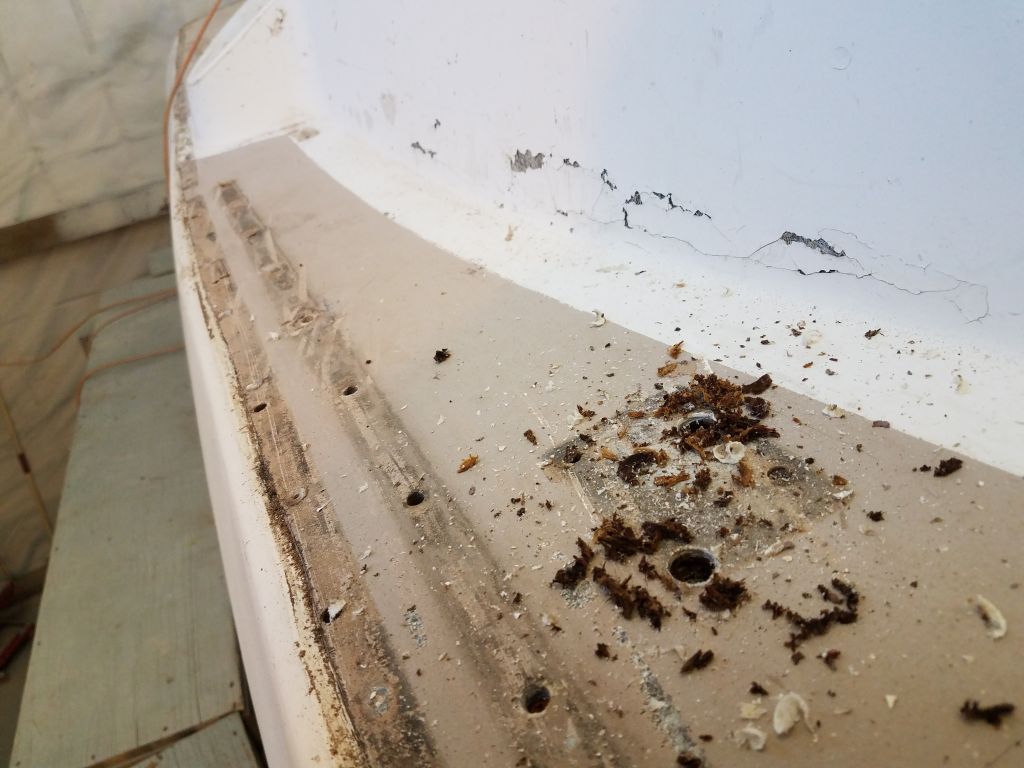
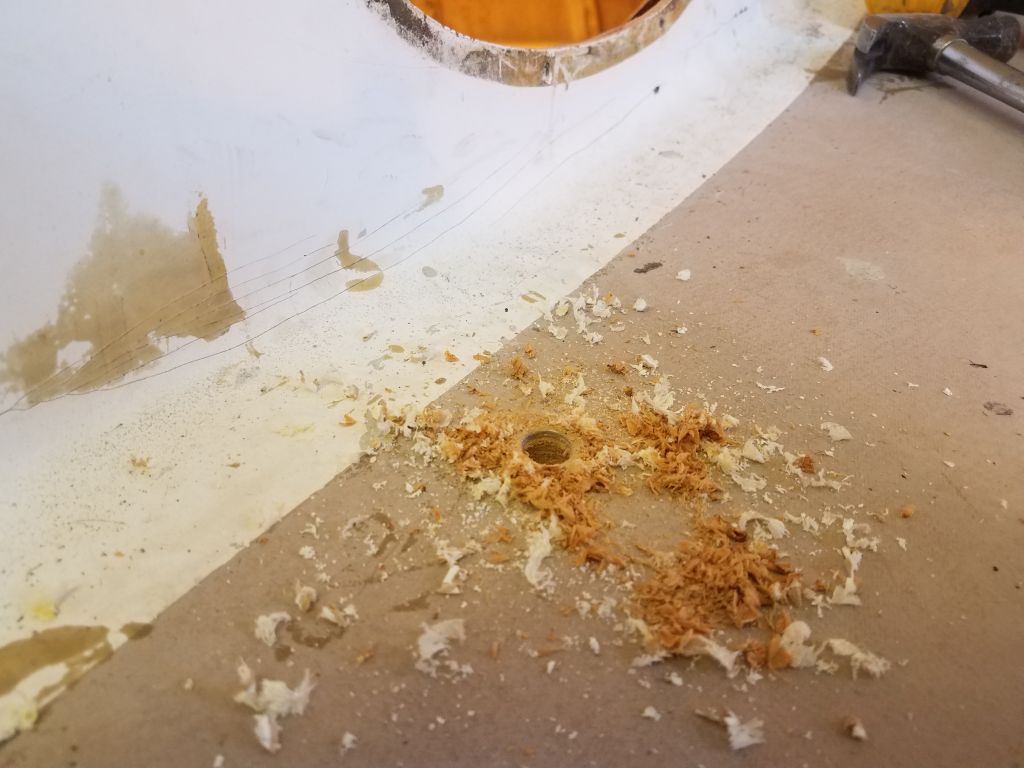
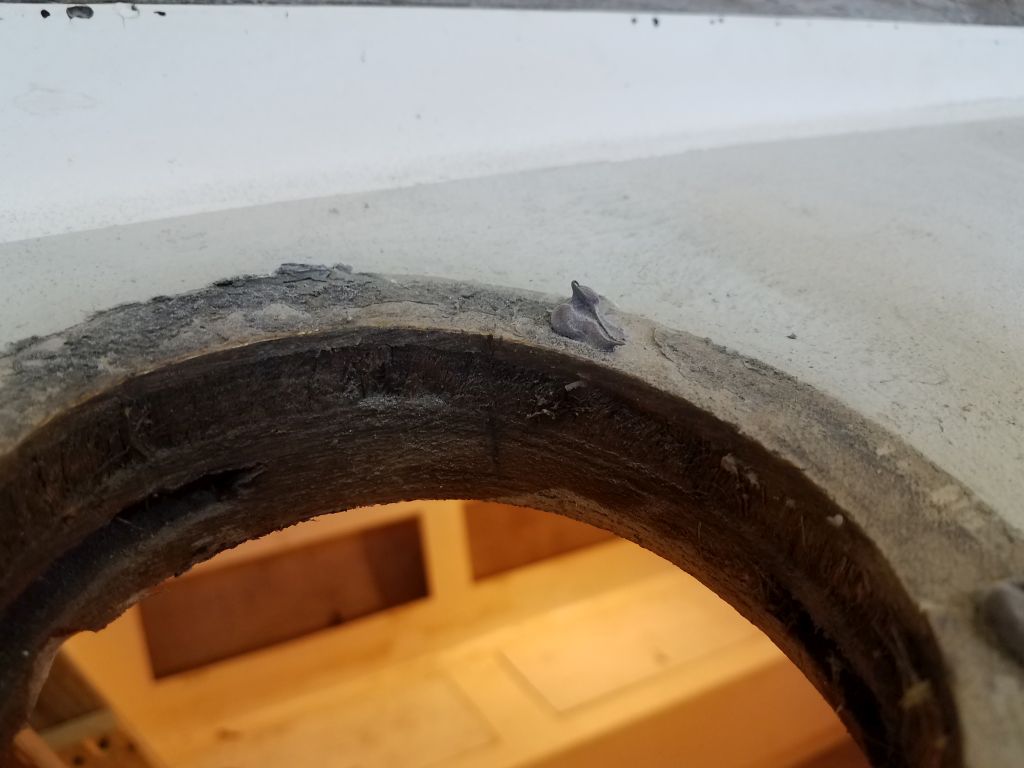
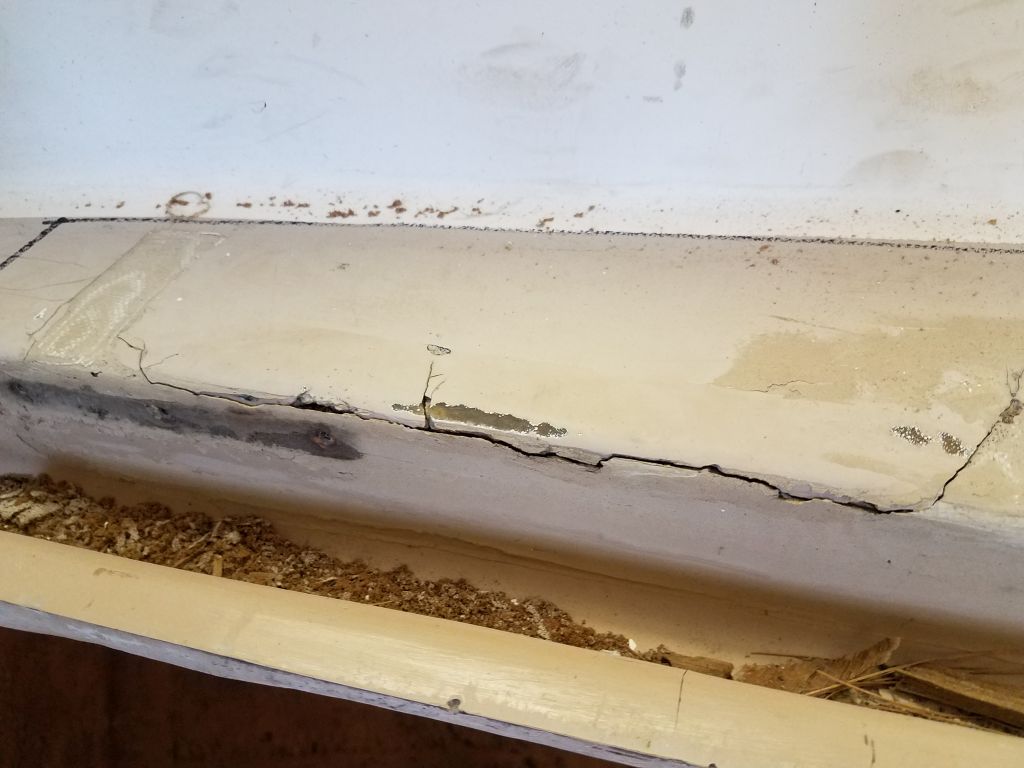
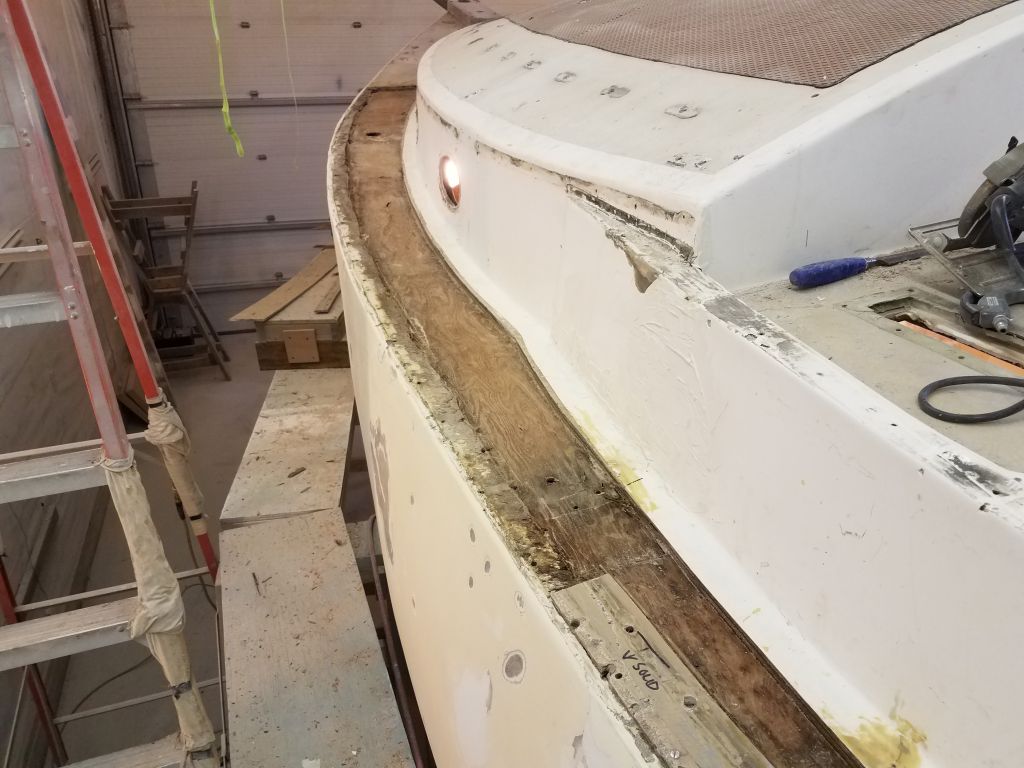
This area along the edge of the deck, where it joined the hull, caught my eye, though at the time I wasn’t sure what caused the visible cracking at the edge of the deck. I’d soon find out.
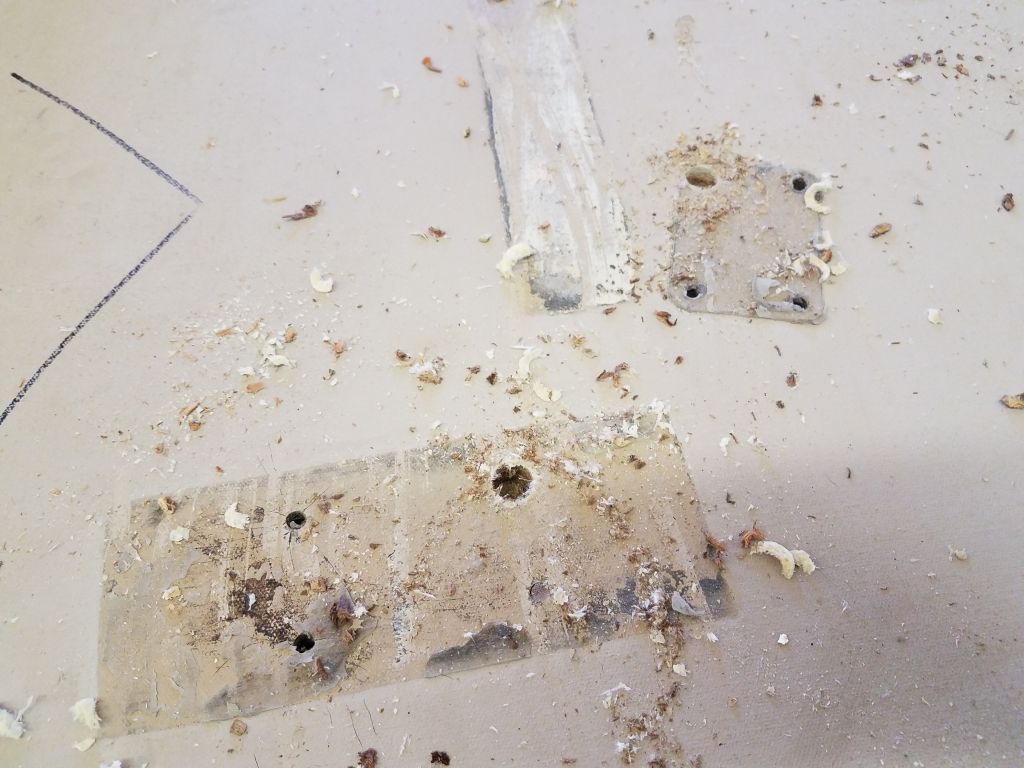
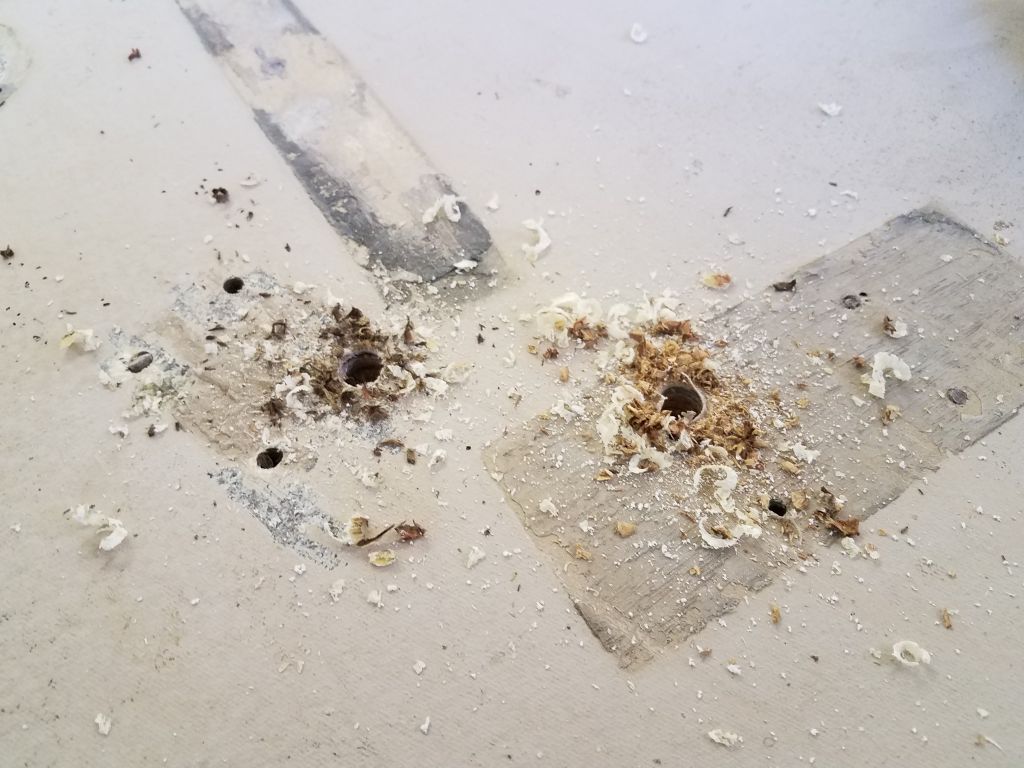
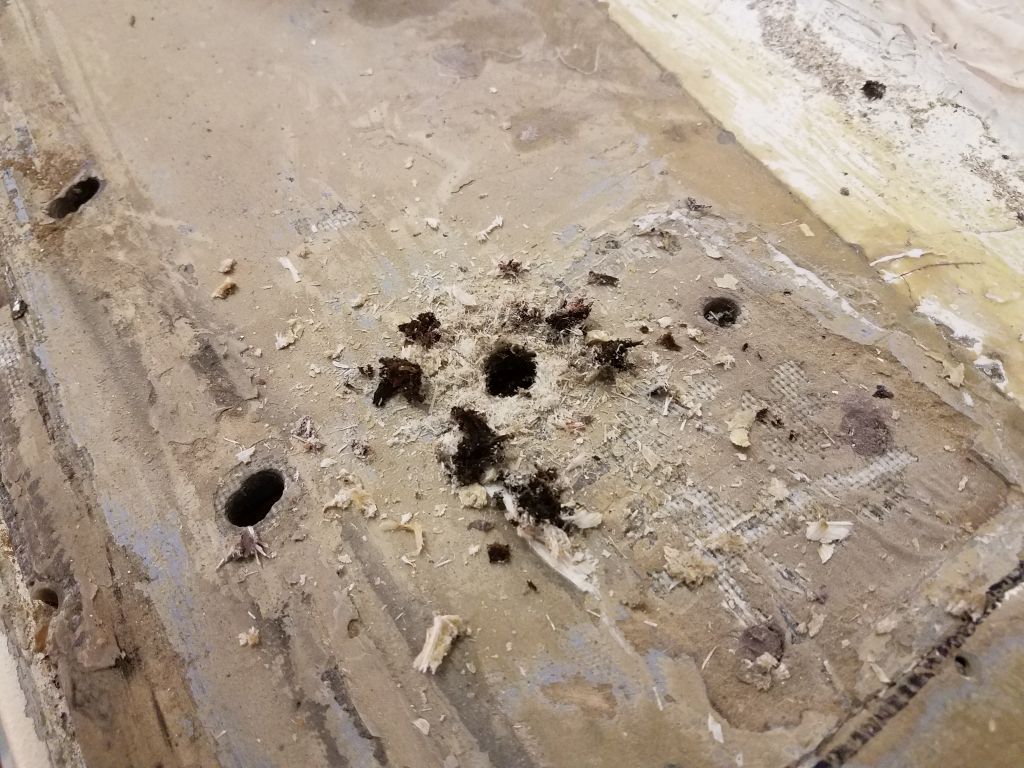
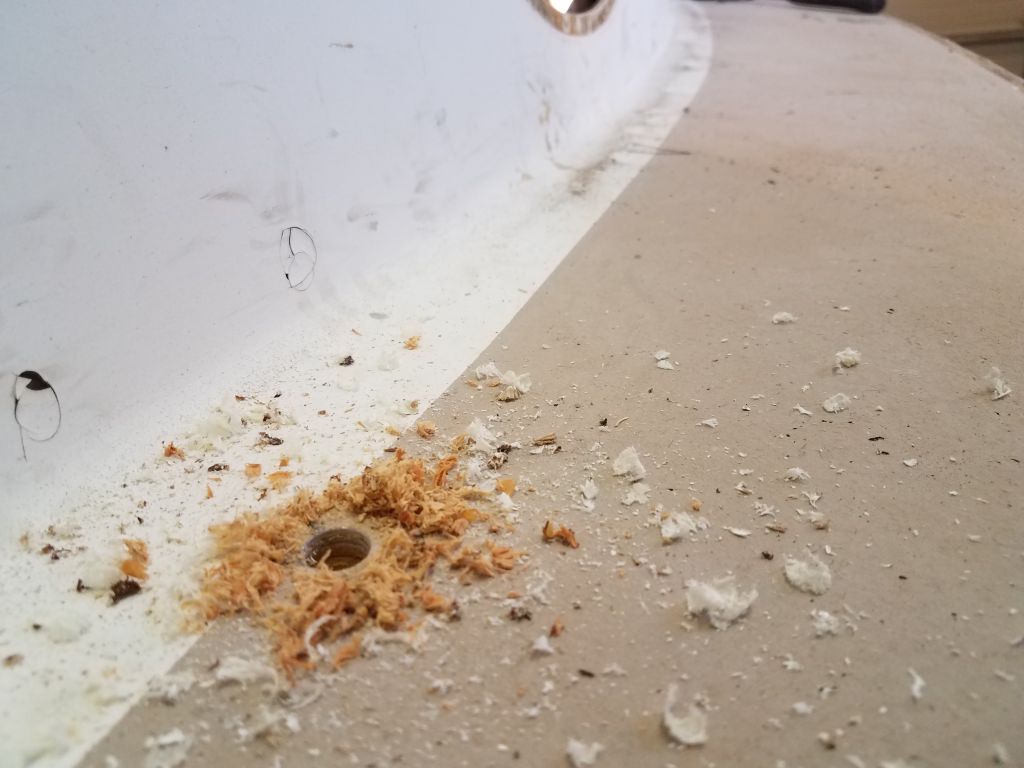
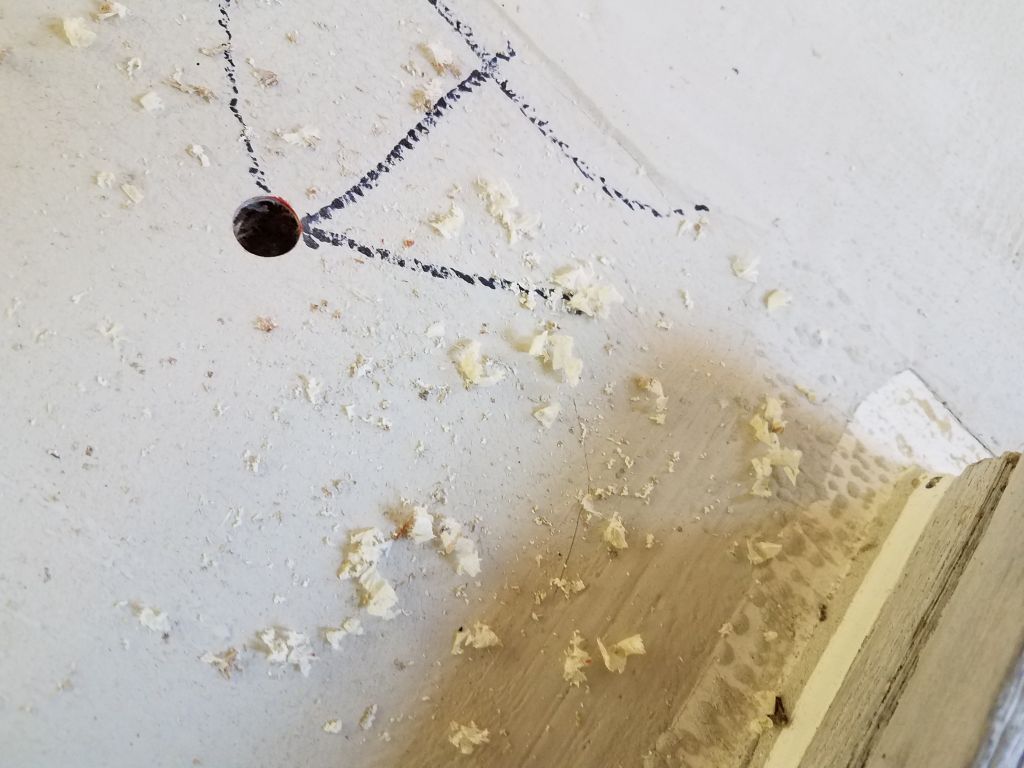
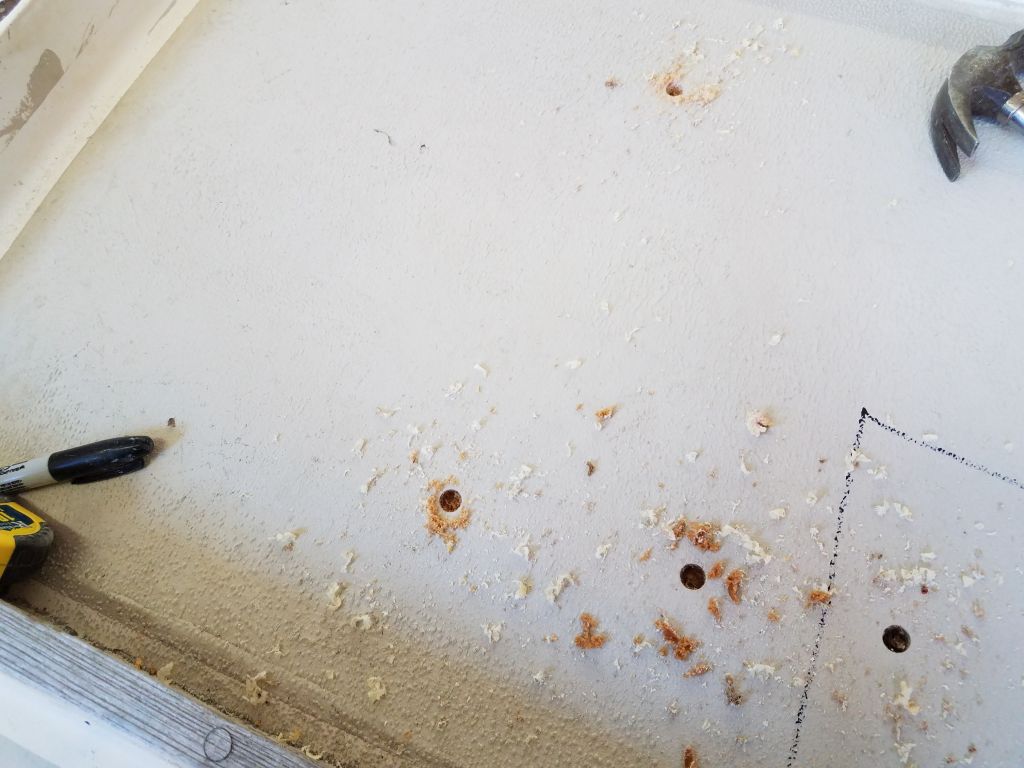
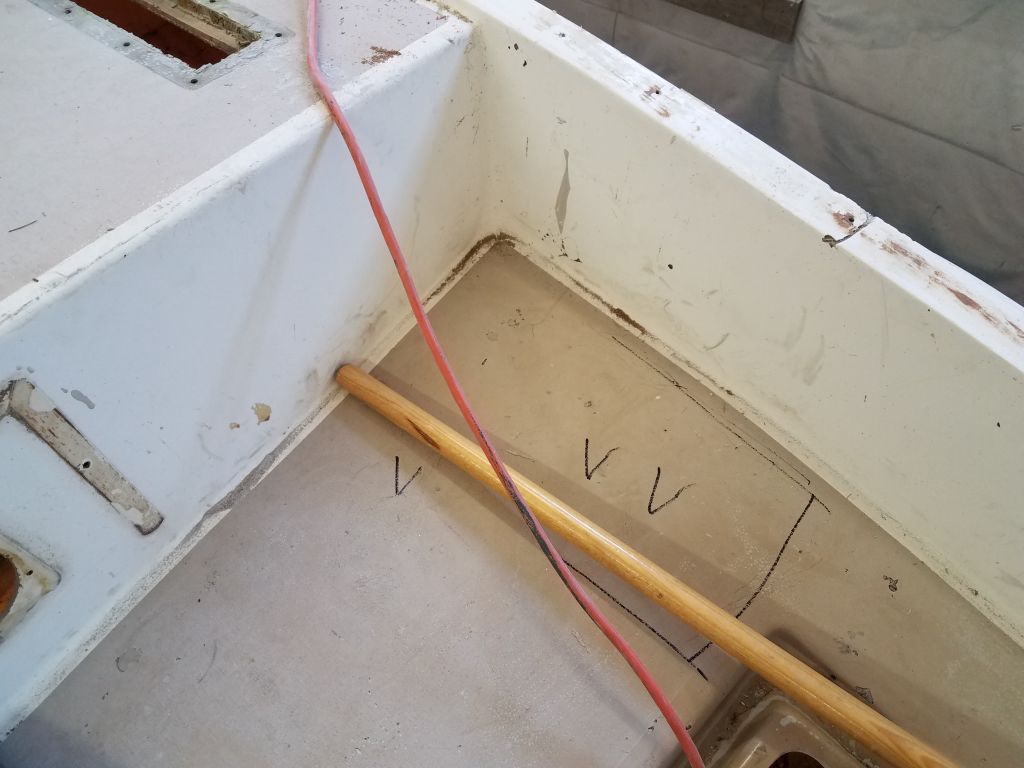
Portions of the foredeck on the port side showed signs of moisture in the (still plywood) core, though this part of the deck was original construction. Here, the solid part of the deck was nearly 7″ inboard from the edge, at least as an educated guess from measuring inside the boat through a couple of the old hardware openings in the molded cabin liner. I wanted to know how far in the core edge was in all areas so that if it came to core removal, I’d know where to begin my cuts.


I found some dark and wet core in one of the first test holes on the starboard sidedeck, aft in way of a stanchion base location, but moving forward I found clean and dry plywood core, though as in most areas of the deck there was sporadic small areas where the top skin either had never bonded to the core, or had come free over time–such latent defects were always an issue in vintage polyester construction, and even more so with plywood coring, but overall were little cause for concern.

The entire port side of the coachroof and most of the forward section had obviously been repaired in the past, and roughly so. Where these areas weren’t covered with Treadmaster, it was clear the deck surface was rough and poorly faired, and was clearly work more recent than original. Sounding results were fair over the area, and in the forward part of the boat the deck was cored with balsa, visible through the hatch opening and old solar vent location. In the other areas, however, and in way of the obvious repairs, the deck turned out to be cored with some sort of foam, as indicated by numerous test holes that I drilled. Despite the poor outward appearance and rough construction, I didn’t immediately find significant cause for concern in the largest area of the coachroof, though for the moment I reserved final judgement pending additional work and investigation as needed.

The small section of the starboard coachroof outboard of the companionway appeared to be original, and here the deck was soft and in all ways indicative of damaged core, all confirmed with sounding and test holes.
This short video attempts to show the debonding of the top skin from the damaged core within.
The area inside the companionway rails, just aft of where the previous repairs had occurred, also showed signs of being partially wet and soft, though the condition of the core samples improved as I moved aft.
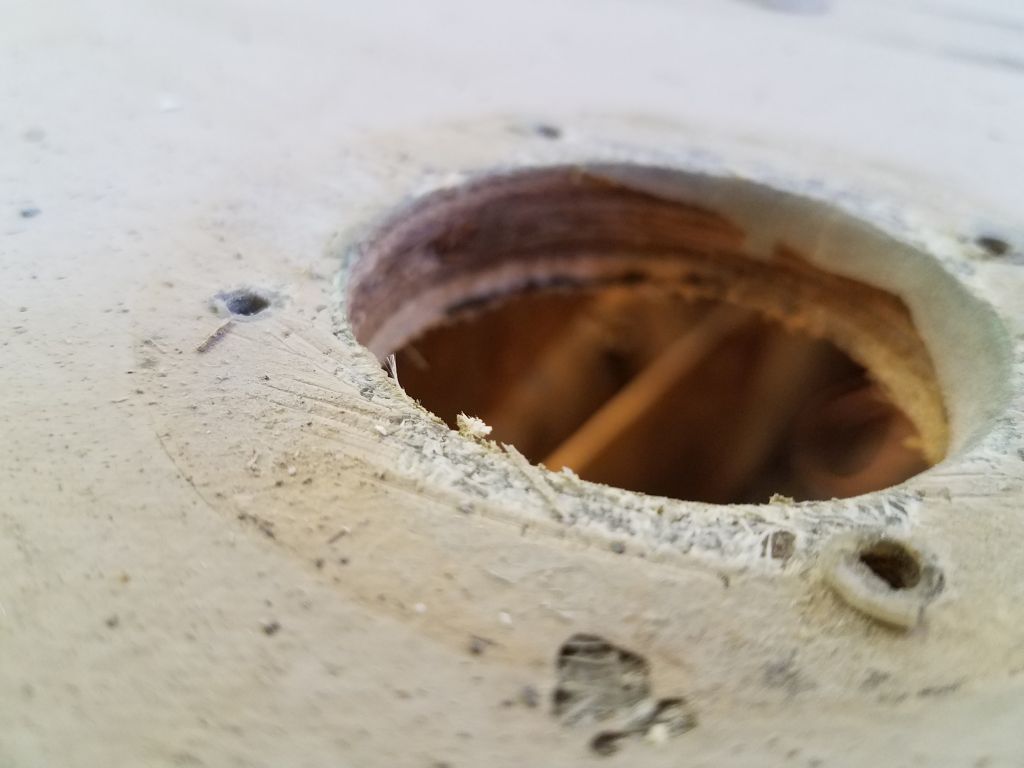
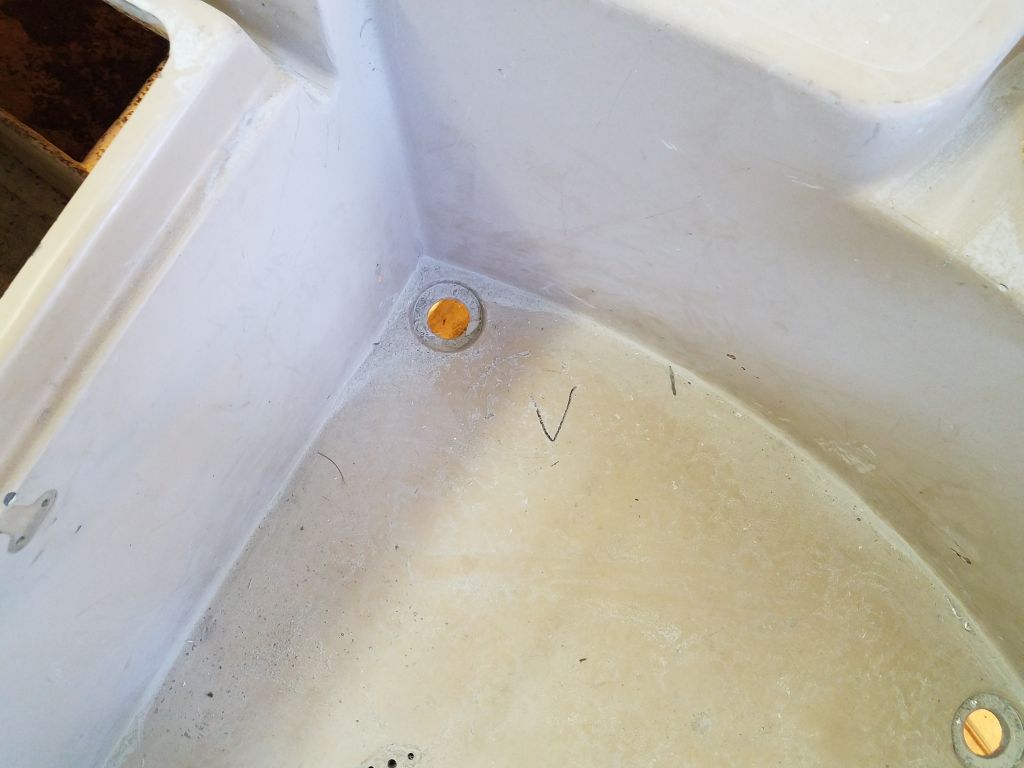
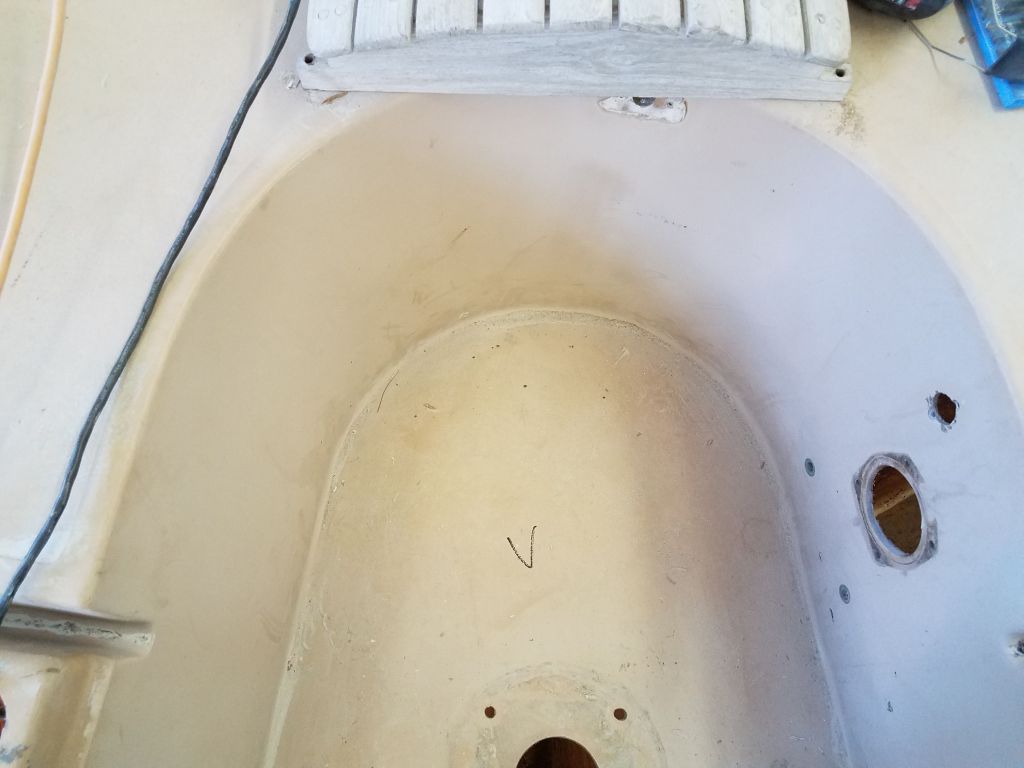
The cockpit areas, other than the bridgedeck, seemed generally sound overall, with some areas showing stress cracking from top-skin delamination, mainly in the areas where people would have logically stepped into the cockpit (the forward parts of the seats) and into the well itself (the forward corner of the well, and aft of the old pedestal location). These areas were not of major concern and could be repaired with relative ease. The core material visible through the pedestal hole was sound and dry. There was some cracking around the locker lid location,s particularly to port (which had already been the recipient of some reinforcement in the past). This was mainly because of the way the hinges had been attached, the leverage on which had caused the screws to loosen and crack the fiberglass.
As a test, I spent a couple minutes with a chisel that happened to fall close to hand to see what the Treadmaster removal on the coachroof would be like. The material was held in place with a black sealant product, and though removal would be tedious, the bond was easily separated and the adhesive easy enough to scrape away, which was good since there was quite a lot to remove.
All in all, while I still had my internal questions about the previous repairs on the coachroof (despite no obvious signs of major issue during the core sampling), the deck condition was about what I’d expected, given that the bridgedeck condition and port sidedeck had been known issues from the first moment.
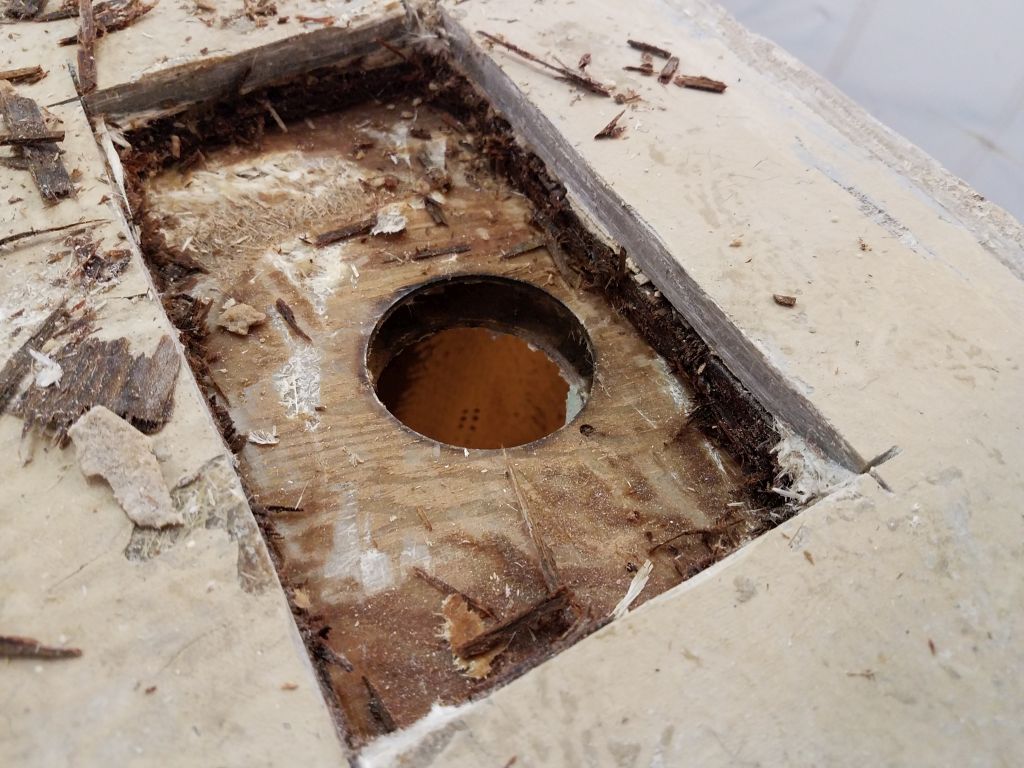
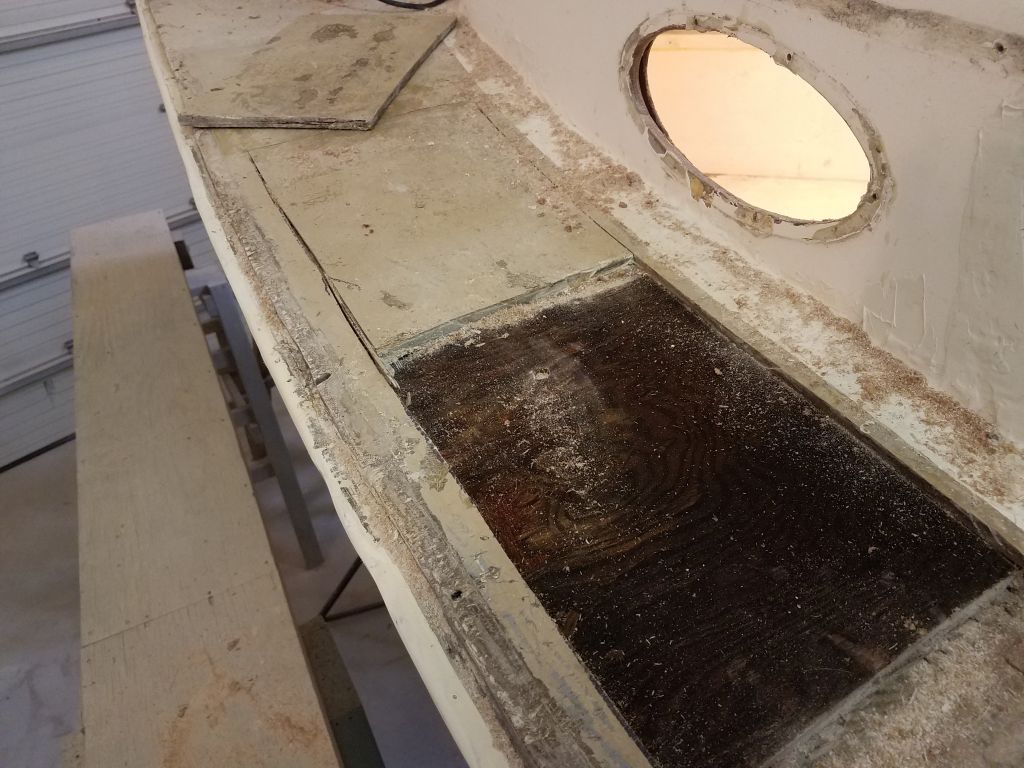
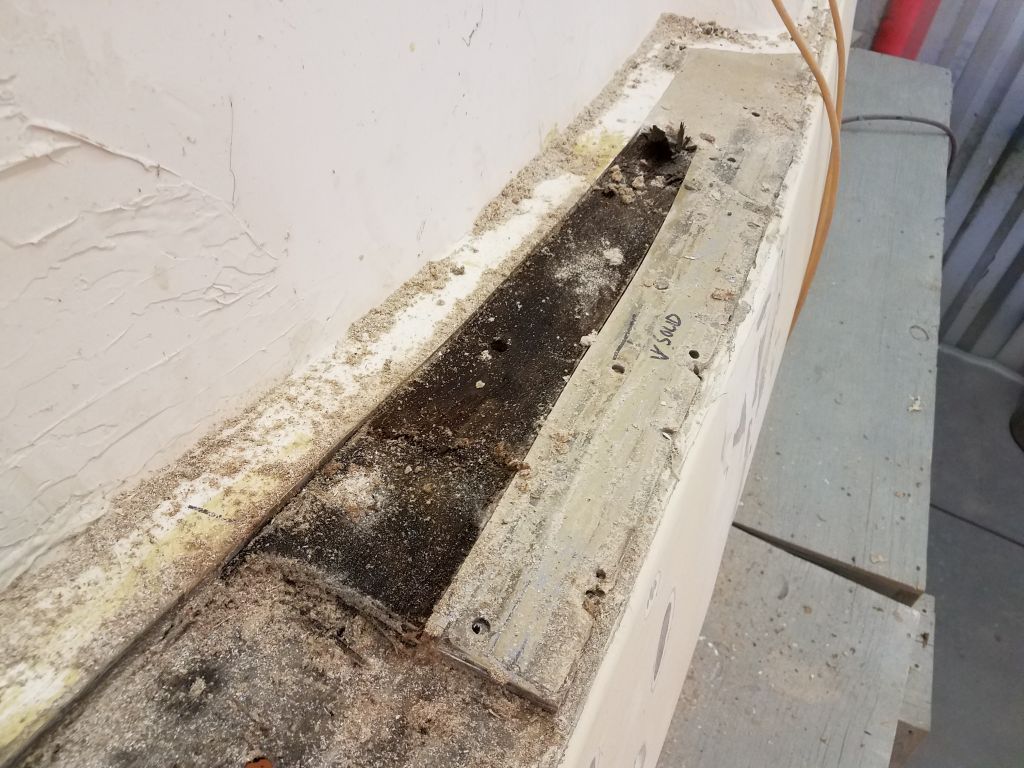
Now I needed to know what lay ahead for me with the port sidedeck. I was unsure of the overall construction, since it was all something done sometime after original construction of the boat, so I approached my investigation conservatively till I could get a grip on what was going on. Starting around the old water fill hole, which was an area that I’d be patching regardless, I cut a larger rectangle out of the deck top skin so I could see how easily the deck might come apart if needed. I avoided cutting too deeply or too extensively for now: this was exploratory surgery.
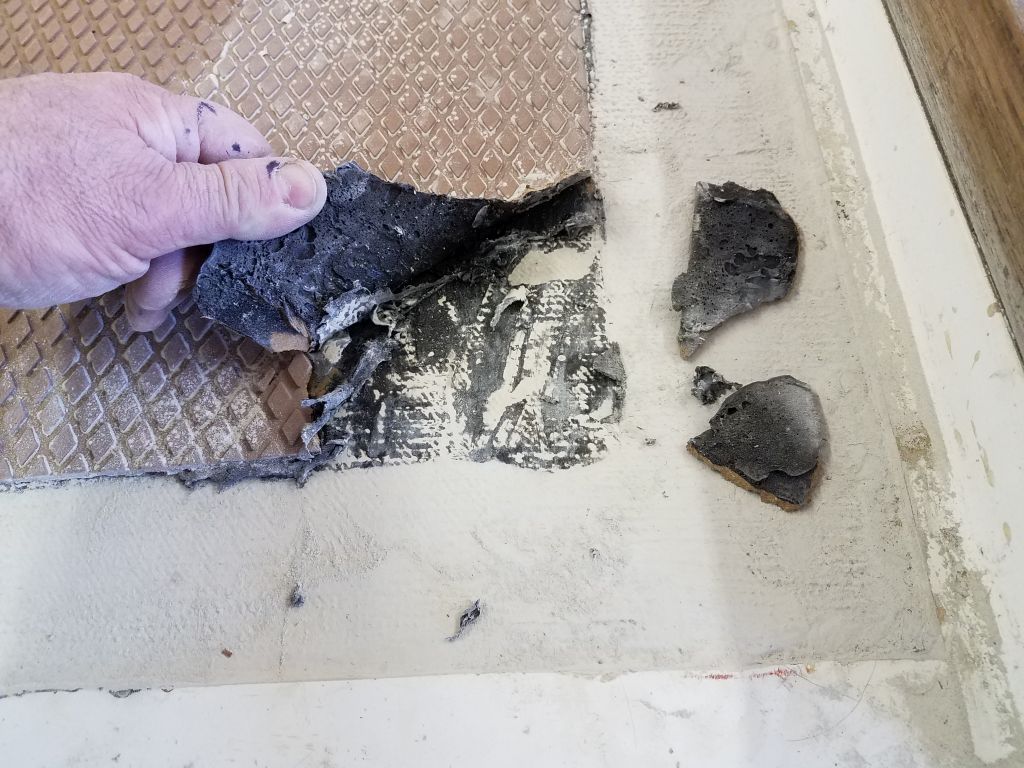
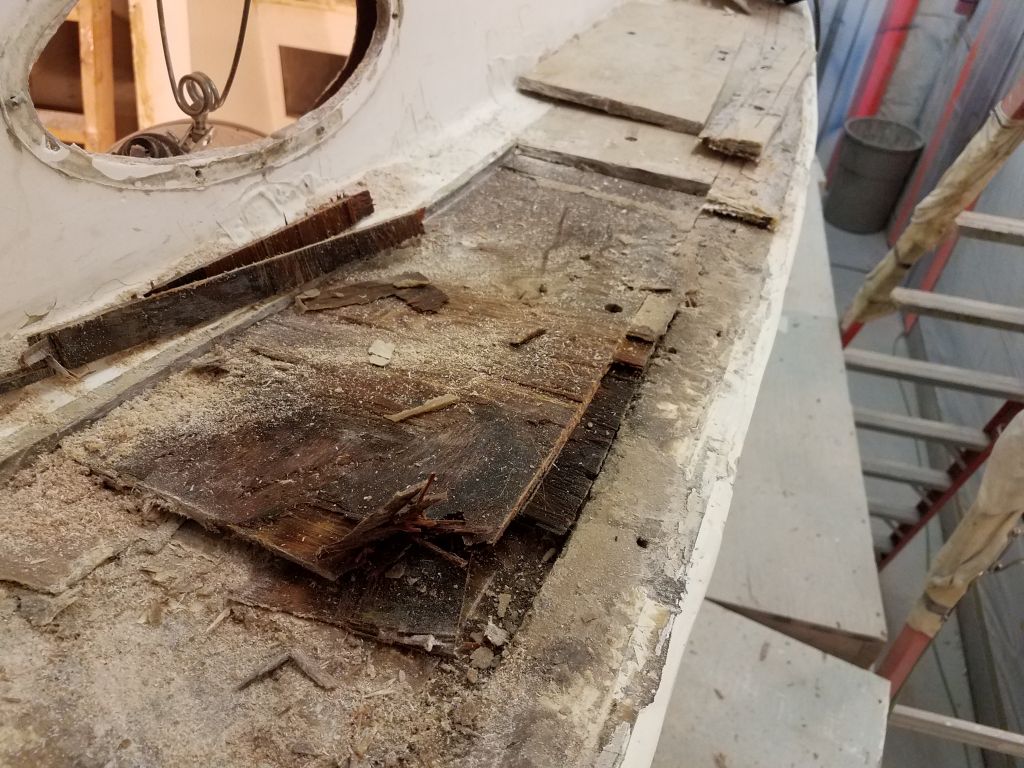
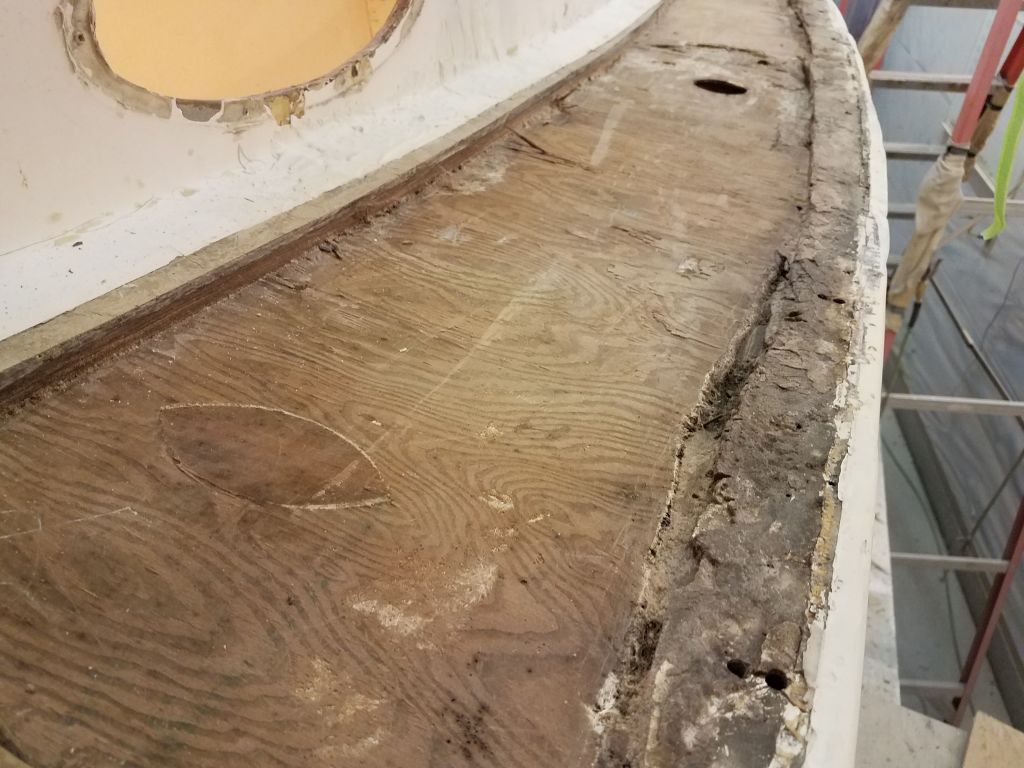
Removing the thick top skin–it was about 3/8″ of solid glass, clearly old-fashioned mat and roving in a dense resin-rich matrix–revealed the expected damp plywood core. The skin came up with relative ease and was not well bonded to the plywood at all.

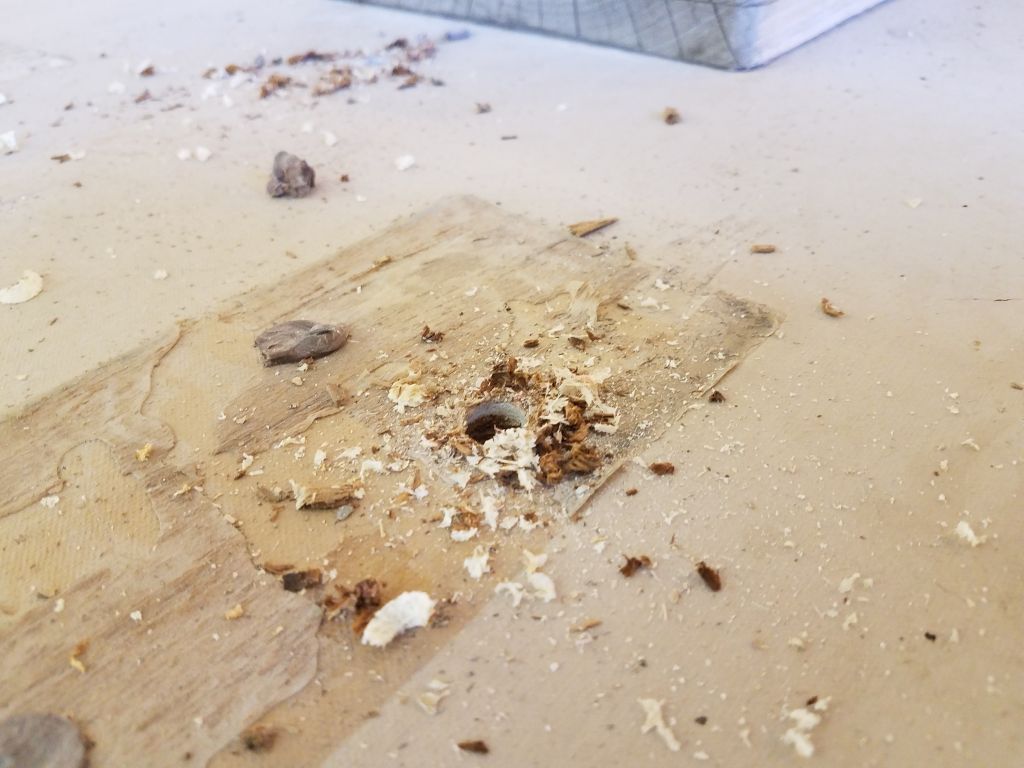
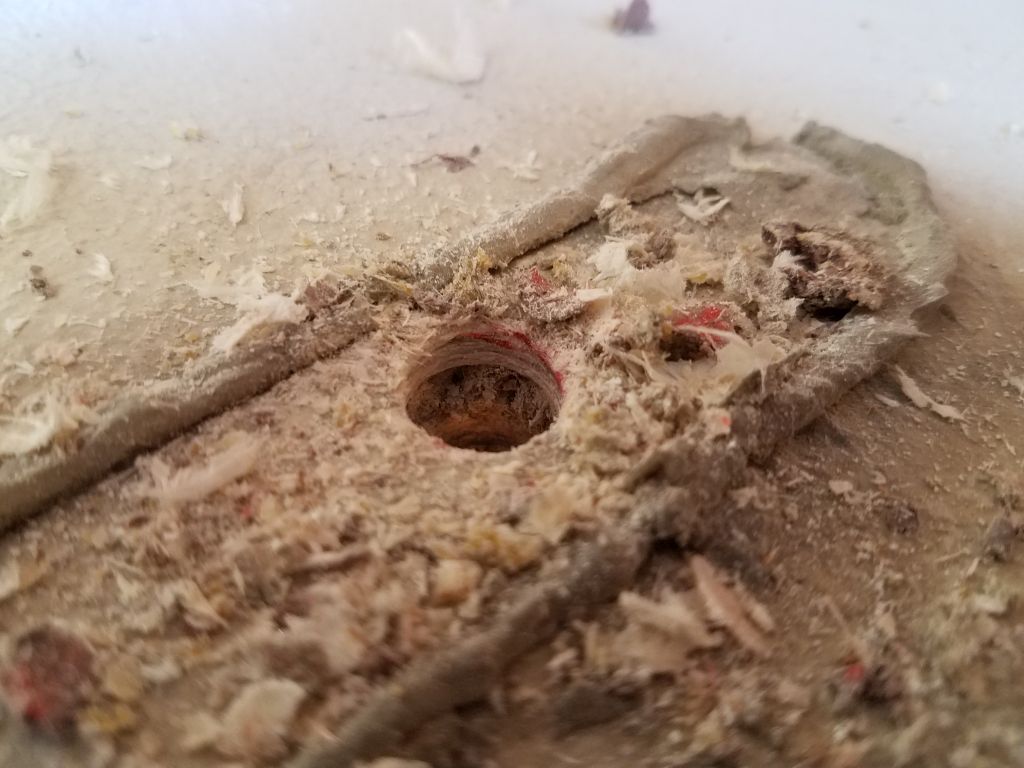
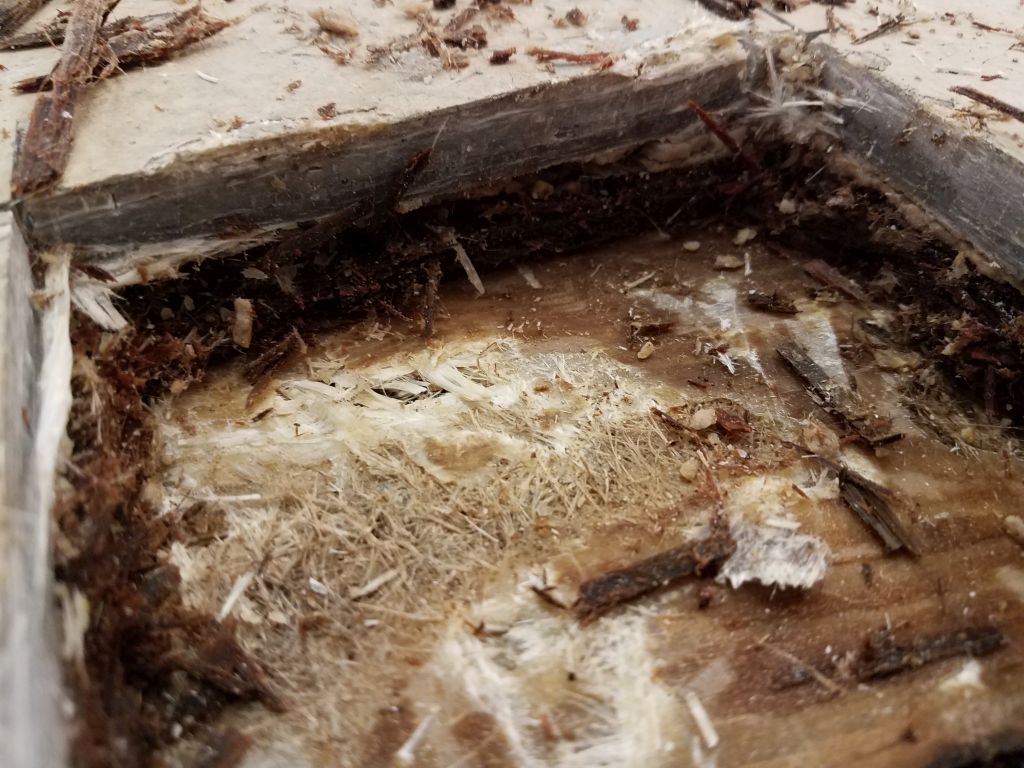
This area in particular, now and a little later in the process, revealed some strange material that looked to have been used as a filler or adhesive. It was reminiscent of sandstone, or hard brown sugar, and was brittle and friable in texture. I thought it might be remnants of a putty made from resin and wood flour.

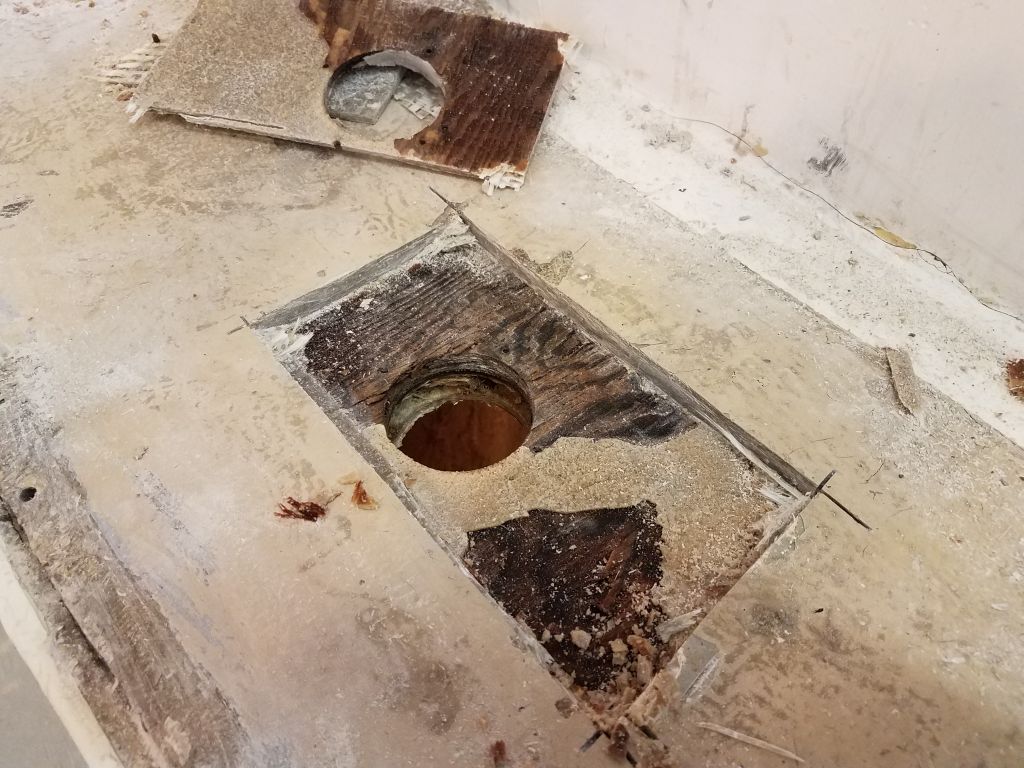
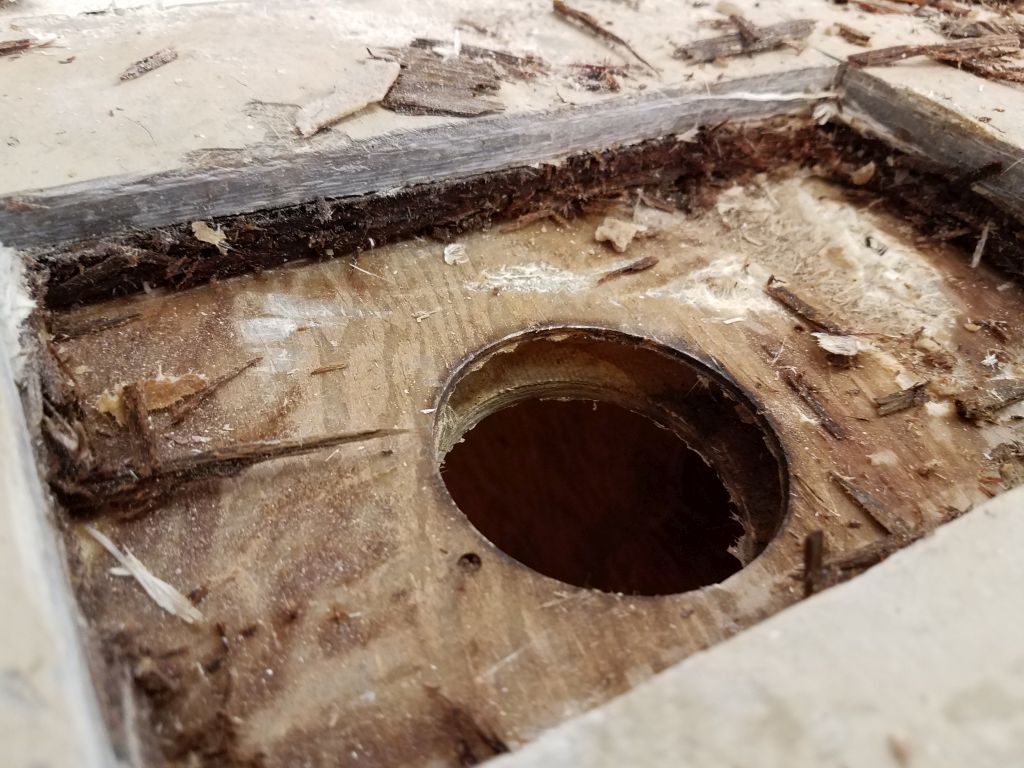
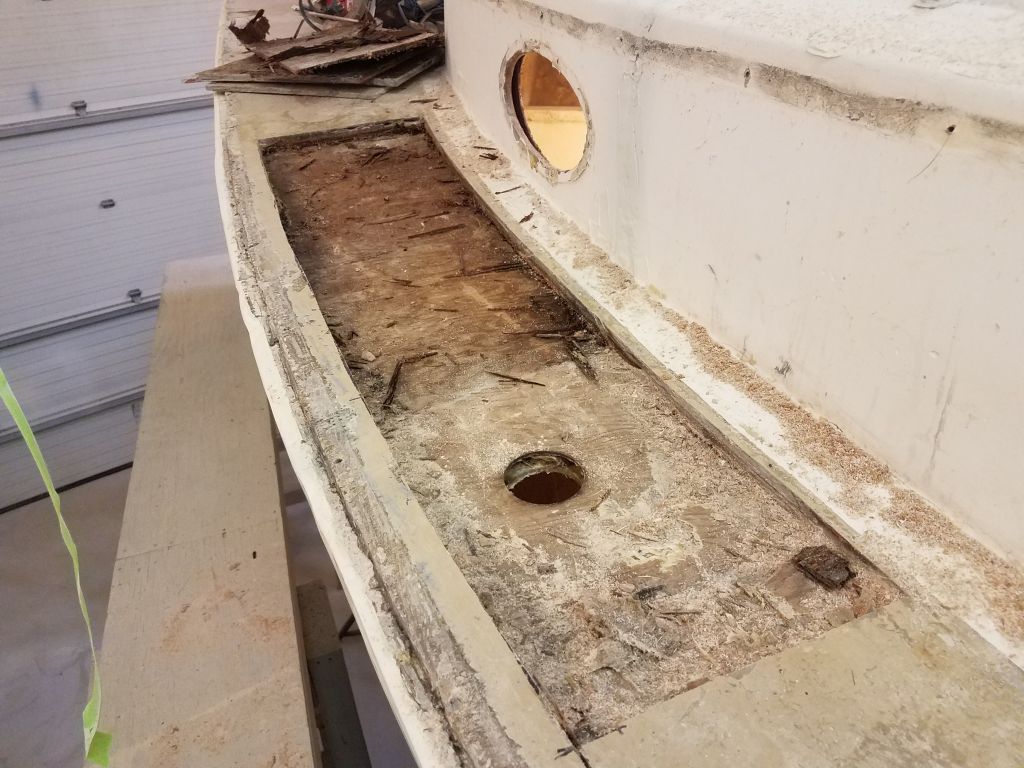
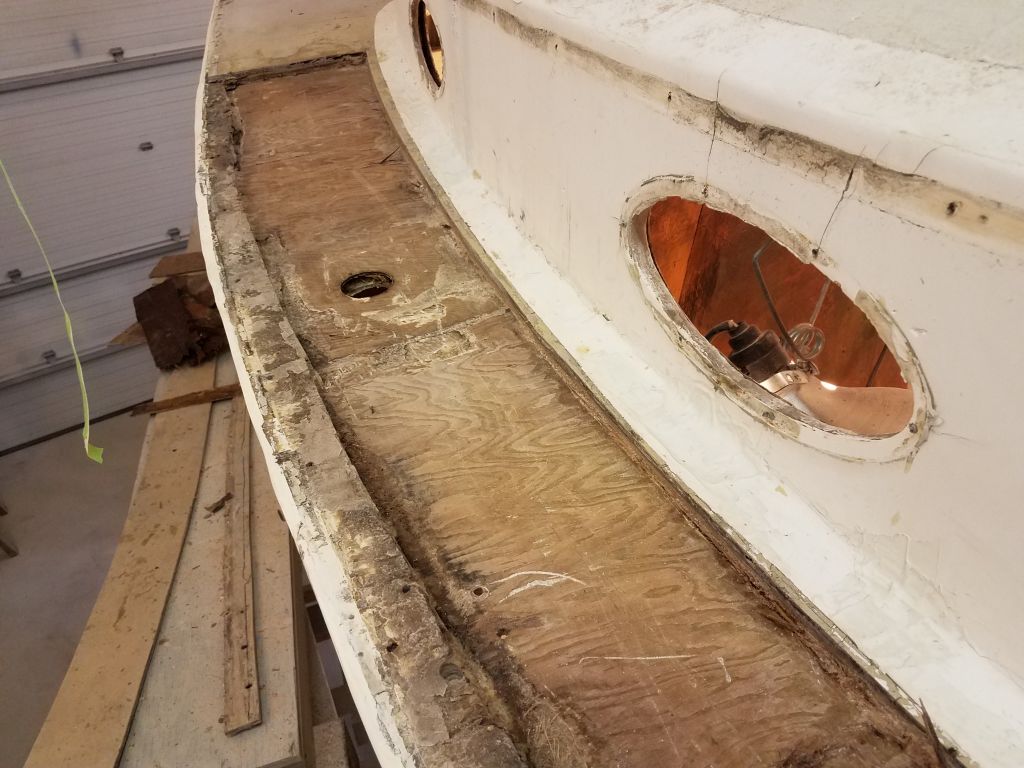
I wanted to see how far outboard the core in this area extended. All signs were that it was much closer to the deck edge than in the original parts of the boat, so I expanded my opening a bit to search for the edge, which finally turned out to be right at the inboard edge of the hull flange. I dug the core out of my still-small opening. Plywood can be much more difficult to remove than old balsa, but in this case, despite having to force my way through the laminations of the plywood–damp as it was it still had some integrity–there seemed to be virtually no bond between the core and the lower (or upper) skins of the deck.

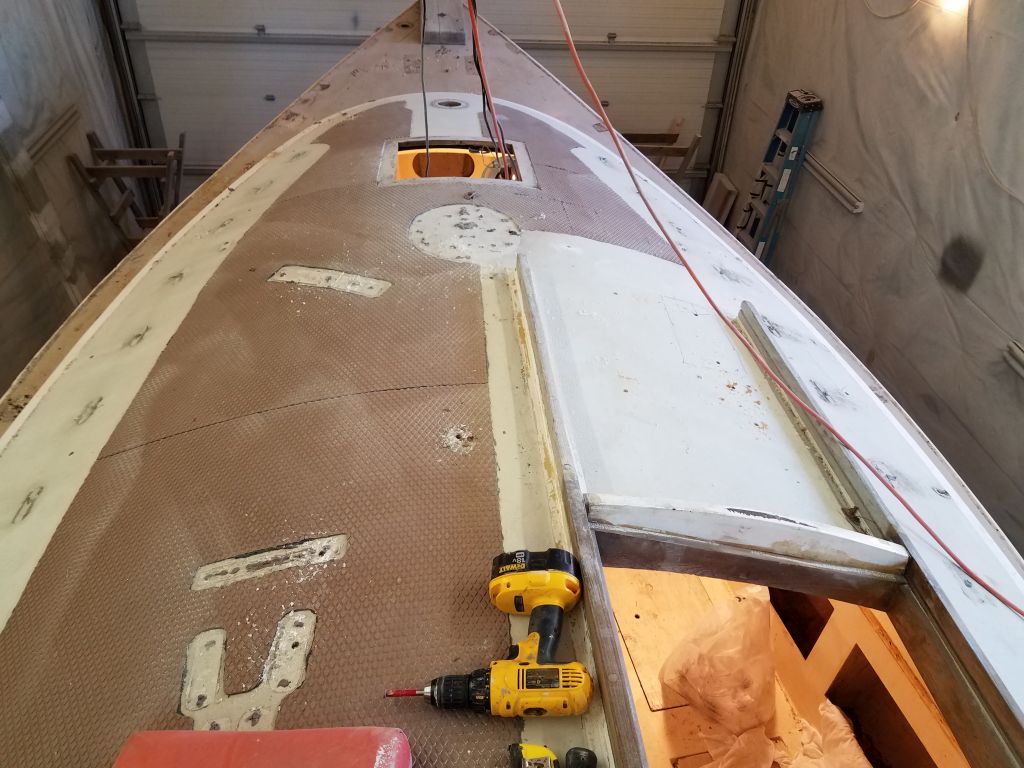
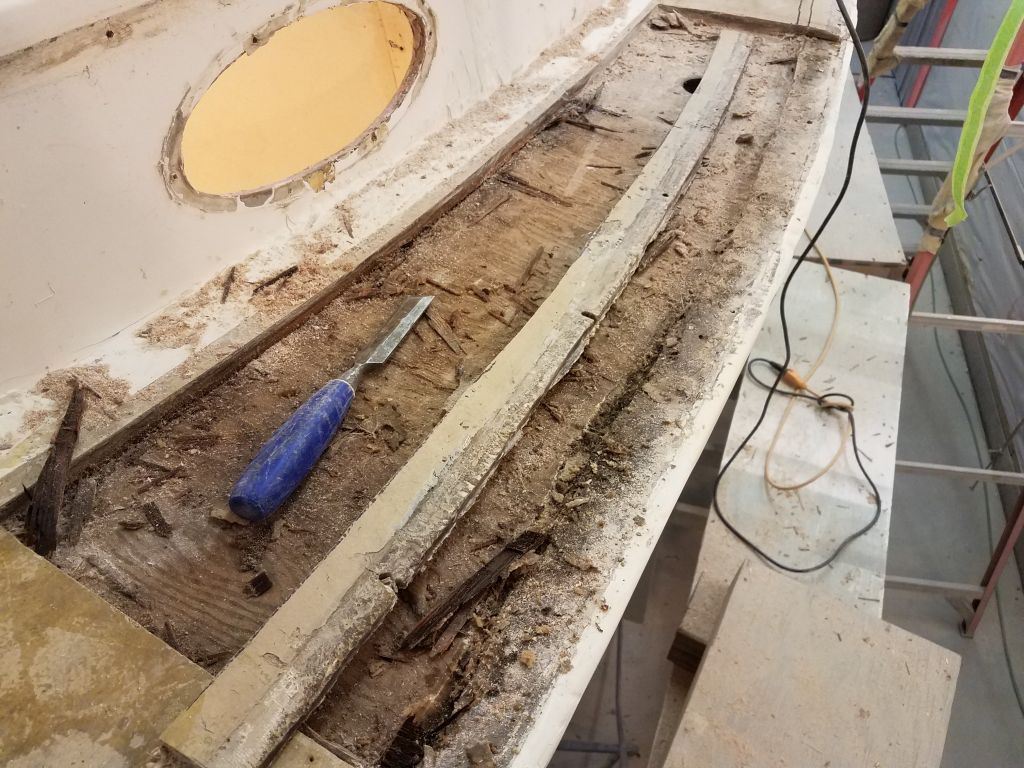
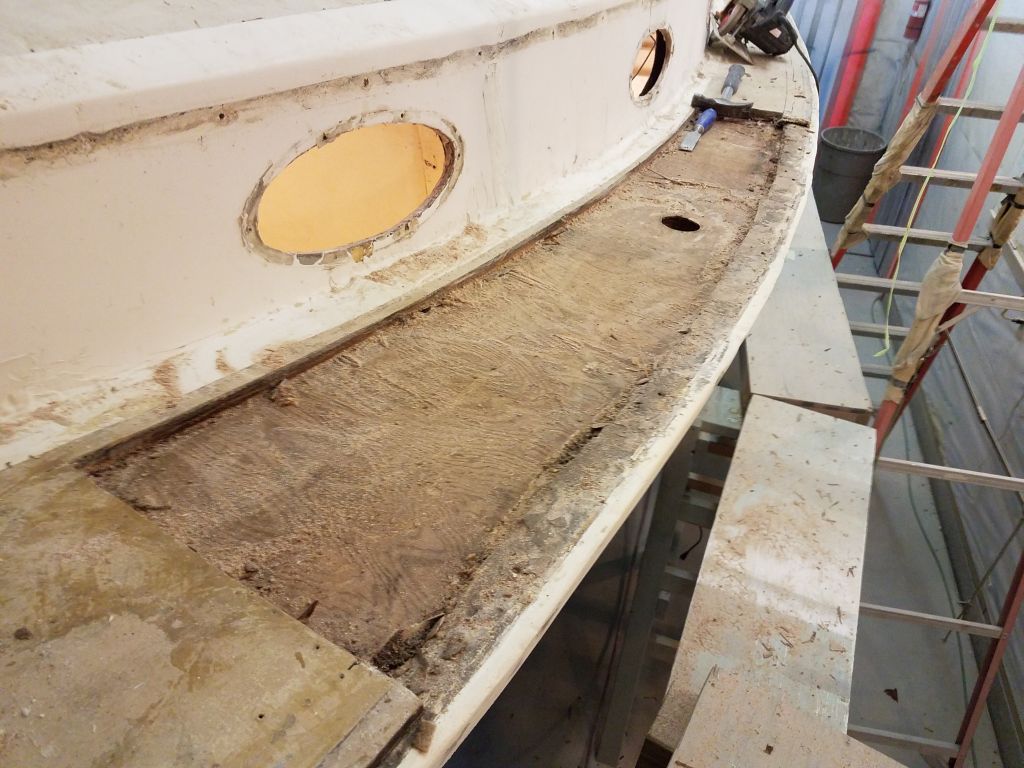
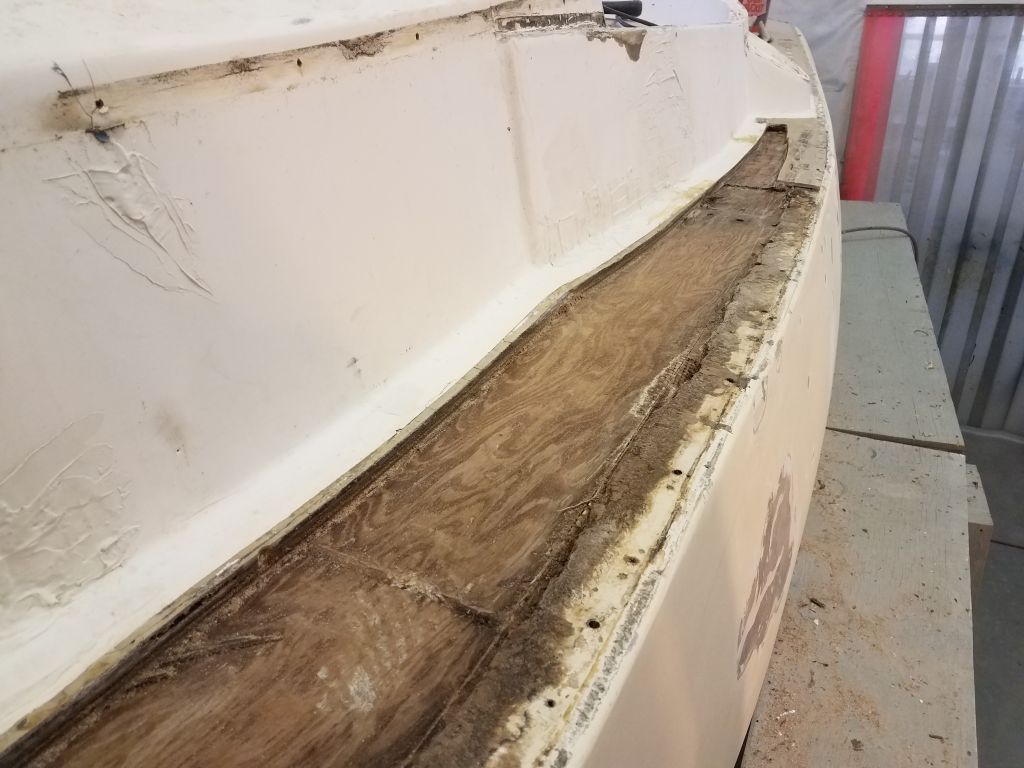
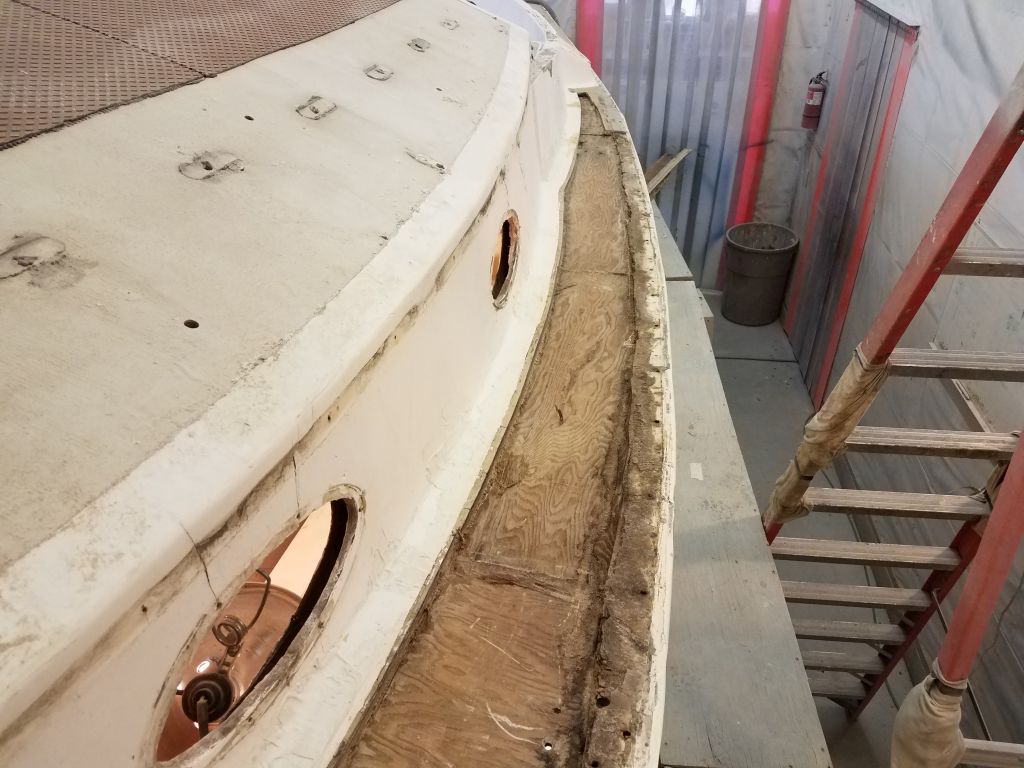
Now with a better sense of things, I expanded my cuts forward, extending past an obvious demarcation in the deck where this weird repair had ended. Once I’d made the cuts through the top skin and into the core, the skin lifted right off with nearly no bonding to the core beneath. Similarly, the core separated from the inner skin whole and without effort: there was simply no bonding remaining.

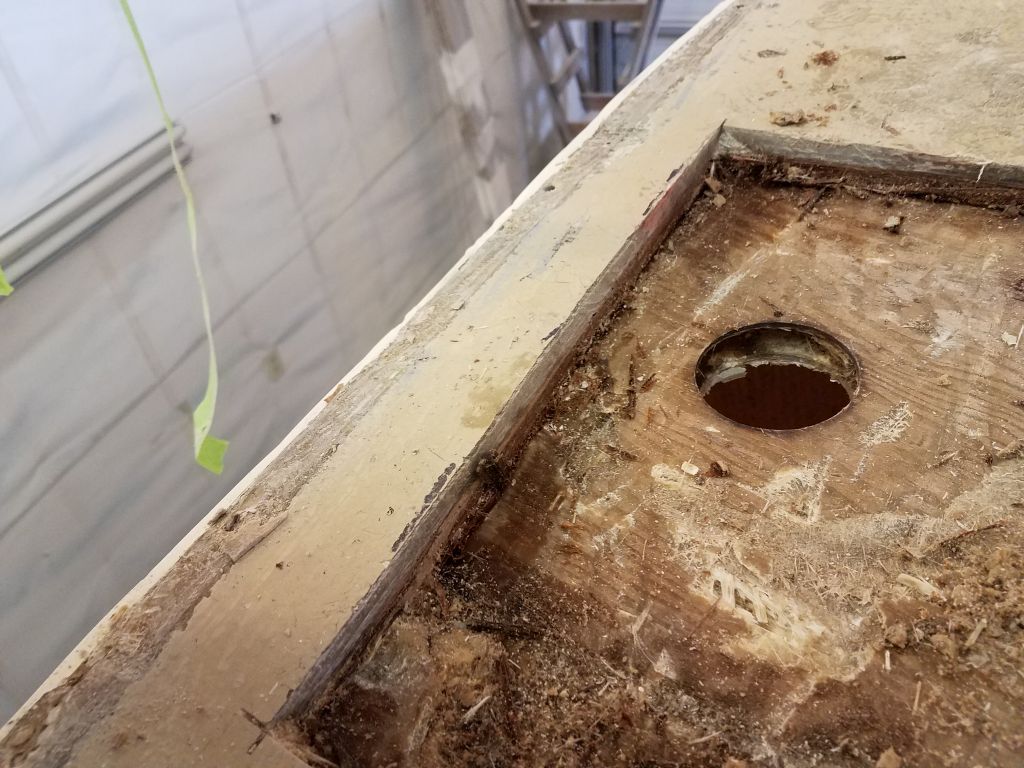
Though I left–and intended to leave–a 2″ or so wide band of the top laminate along the deck edge, I found that this laminate was not bonded to the hull flange in any meaningful way: any bonding that might have once existed had failed. This left the remaining strip loose and floppy, and this lack of bonding is what had led to the crack that I’d observed earlier at the edge of this very area. Whoever did this repair in the past had also fiberglassed the deck to the hull from within (this is why the liner had been partially removed in the cabin, all the signs of which were obvious while I was working down there earlier, though I didn’t understand the whole process yet at that time). So the bottom skin was secure, and the hull was still supported without the top skin, so with little choice I cut away and removed the small flange I’d left from the top skin. It wouldn’t be any harder–and would be a lot stronger in the end–for me to rebuild the deck entirely, while also incorporating additional tabbing to the hull over the area.

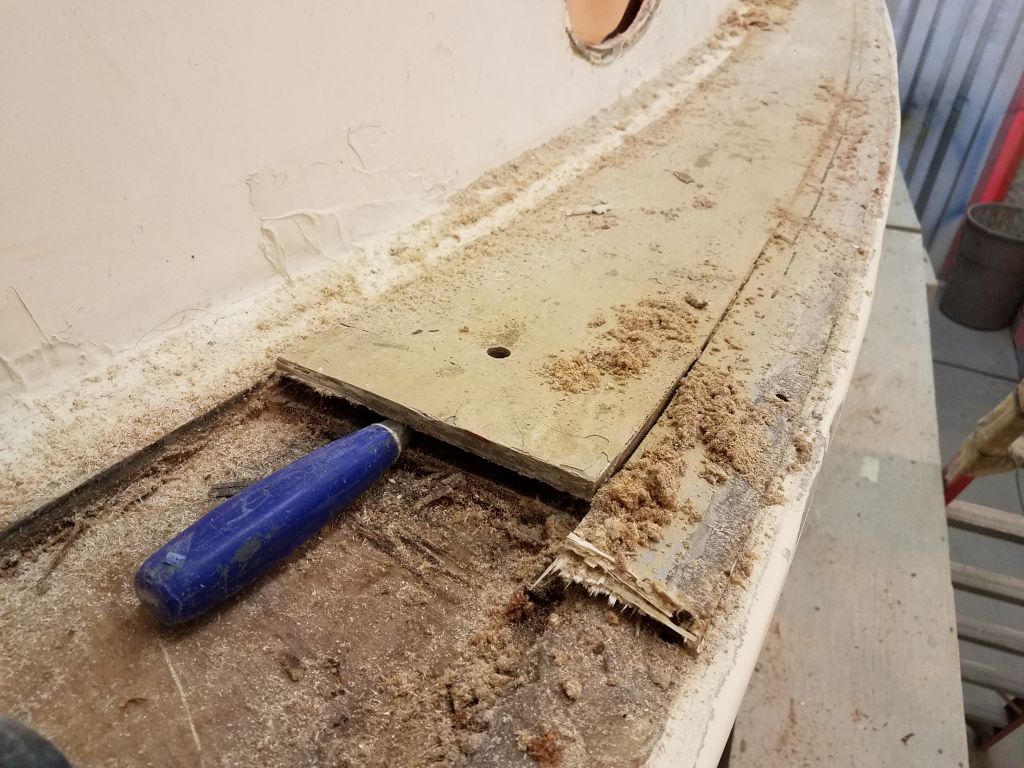
Moving aft, I continued the dismantling in this way. At first I kept the sections small, but it became increasingly clear that there was just no bonding at all between the compoents, so I was able to remove the last section in one large piece.
The video is rough, since the work was the priority, but it shows how easily I could pull up this large section of skin once I started with a small chisel.
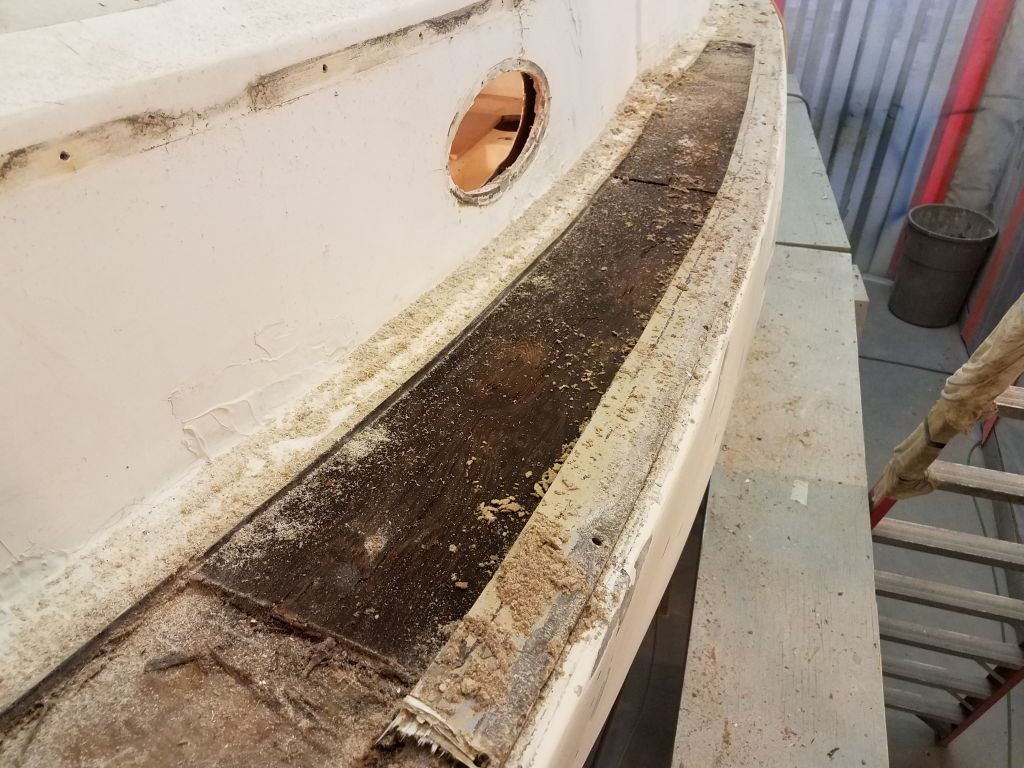
At the aft end, I extended the cut as far aft as I could, though here the cored area was original and much narrower overall.
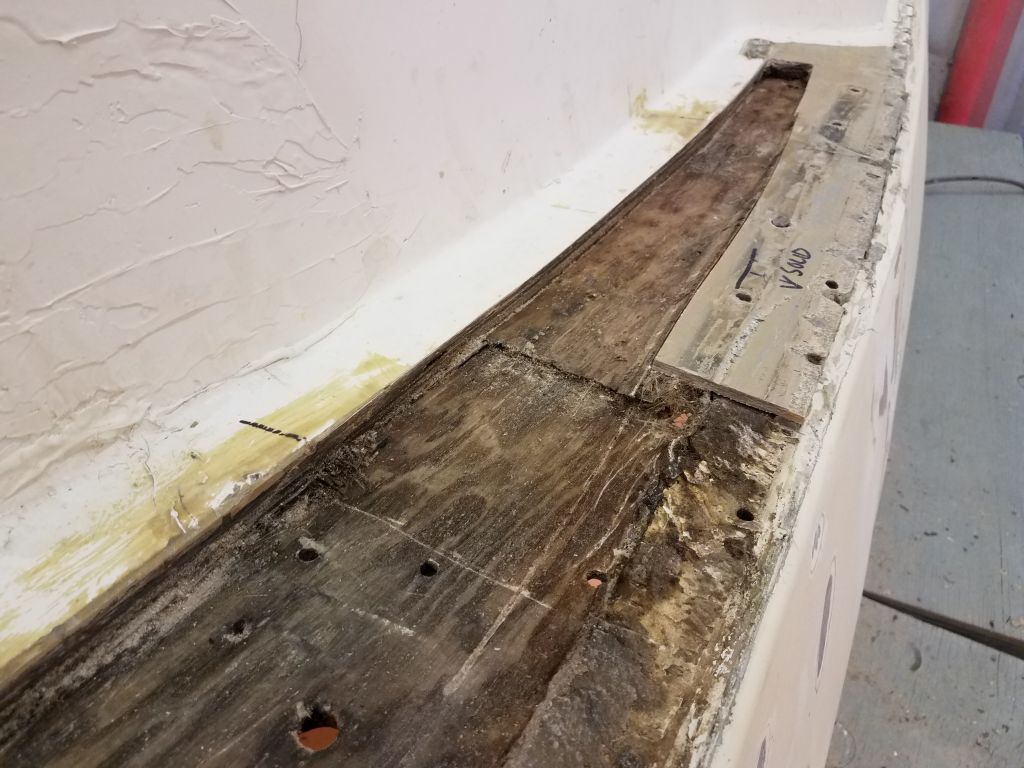
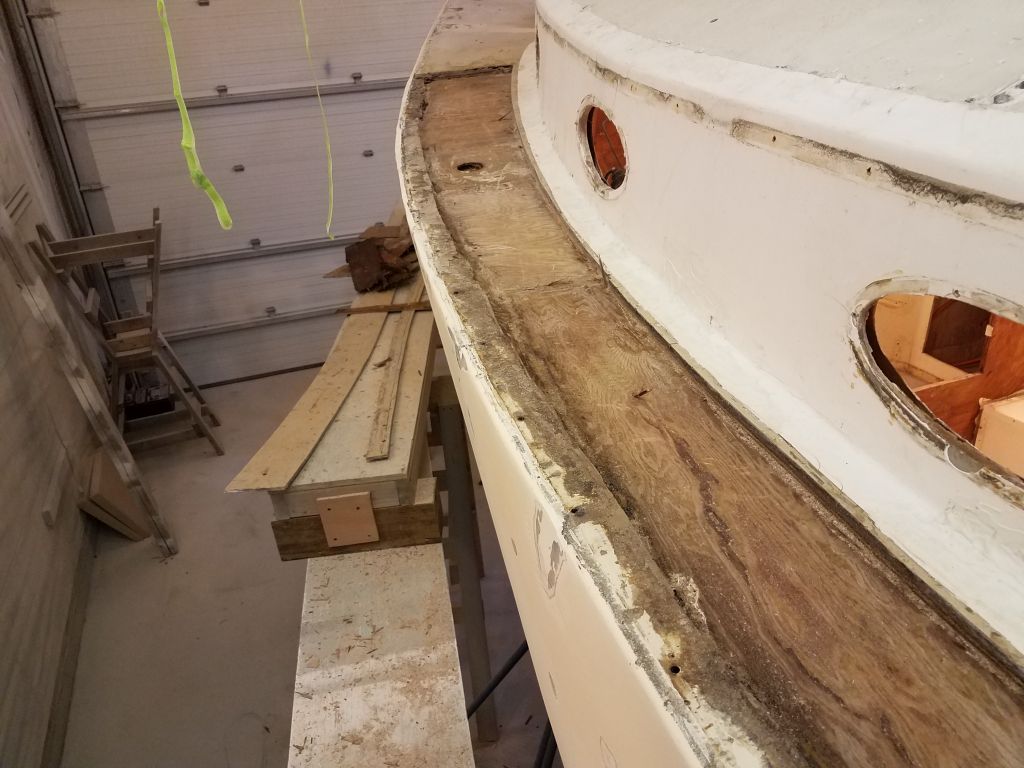


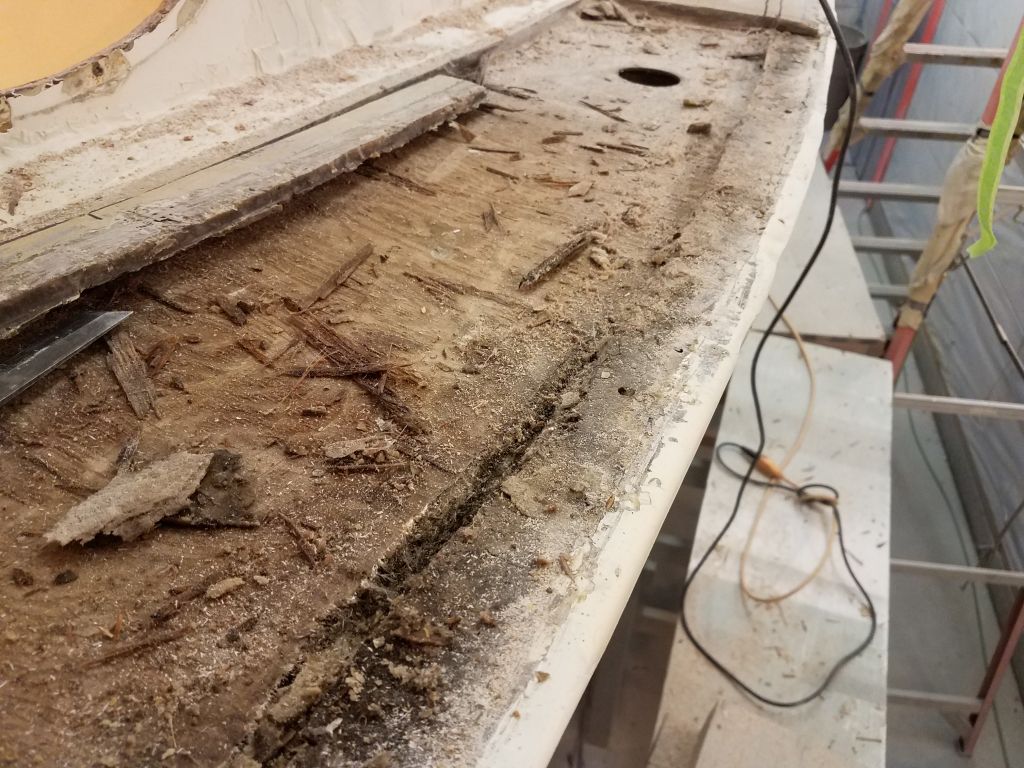
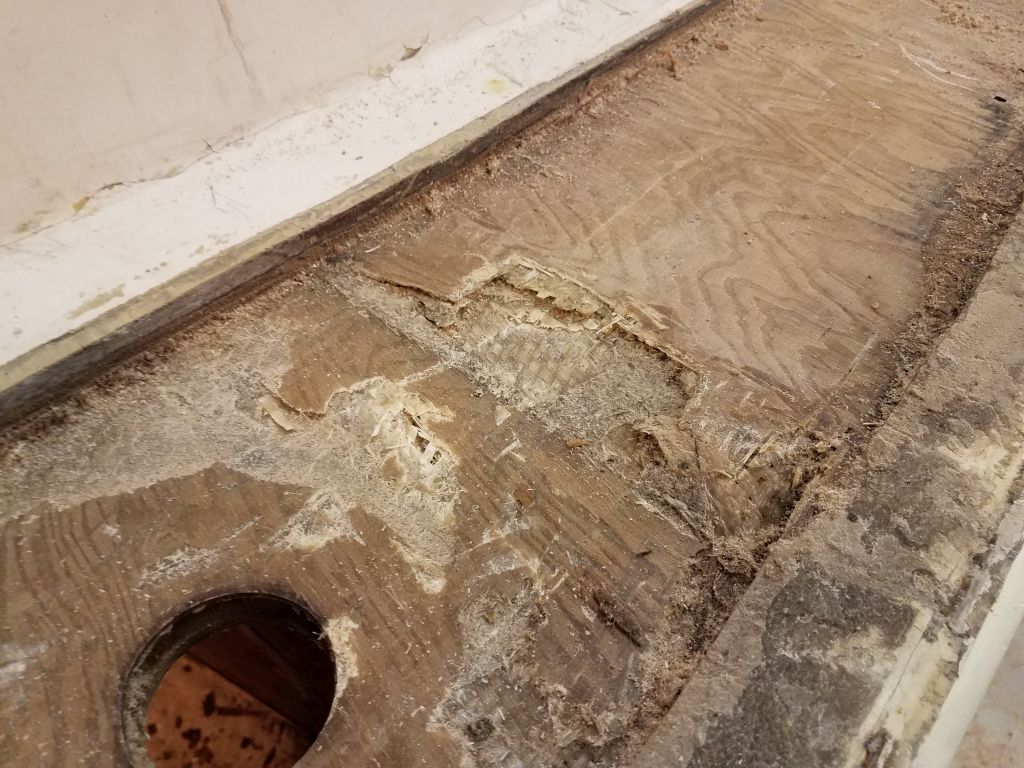
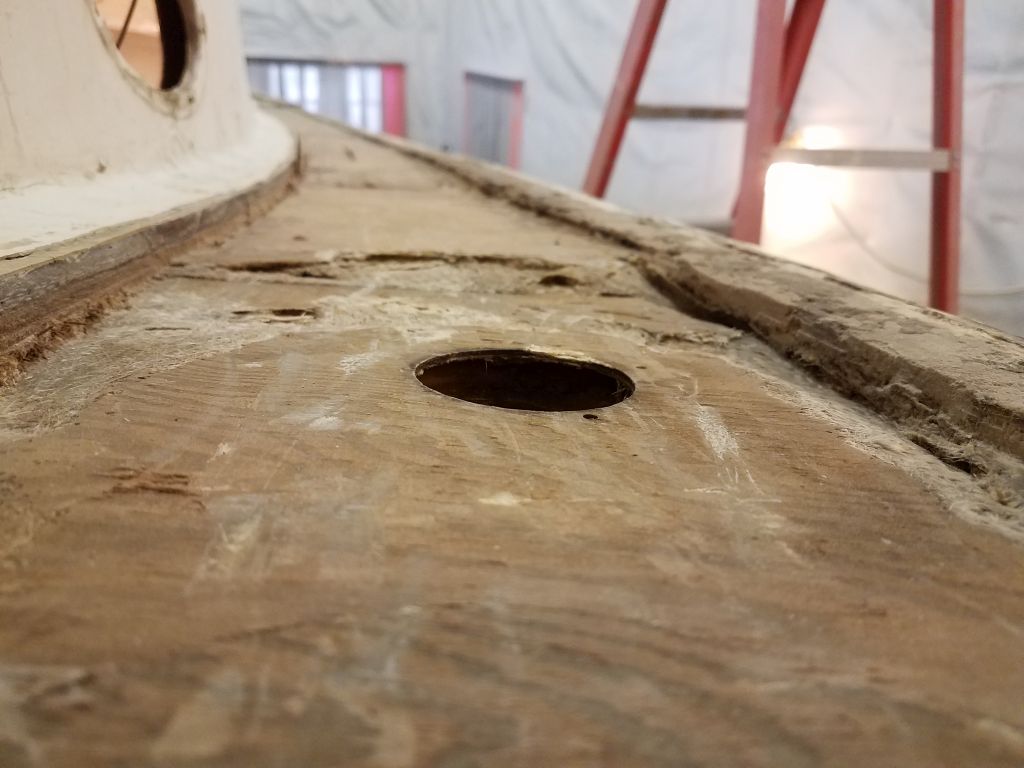
There was a sort of elevation change in the bottom skin just aft of the water tank fill location. Overall the bottom skin was in good, sound condition and would tie in well with the repairs to come. The appearance of plywood grain on the bottom skin is just the remnants of the imprint of the core when first installed.
Though I’d approached this sidedeck with trepidation, in the end I felt much more positive. All the suspect old work was gone, and what remained would be something I could easily rebuild in a stronger and superior manner. It’s always the unknowns that are the worst. With the worst and ugliest section of the deck now opened up and ready for new work, I looked forward to getting on with it.
Total time billed on this job today: 6.25 hours
0600 Weather Observation: 13° (this is just too cold for April), clear. Forecast for the day: Sunny, then increasing clouds and snow late in the afternoon, around 40°