


April 15, 2019
Scupper 125
Monday
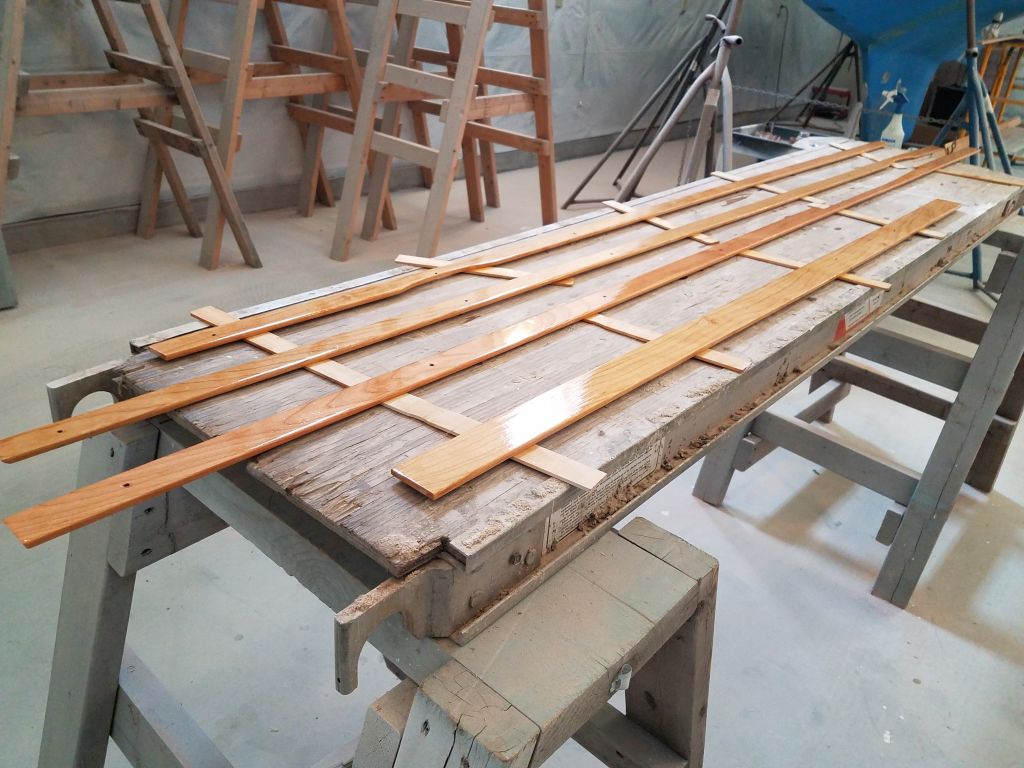
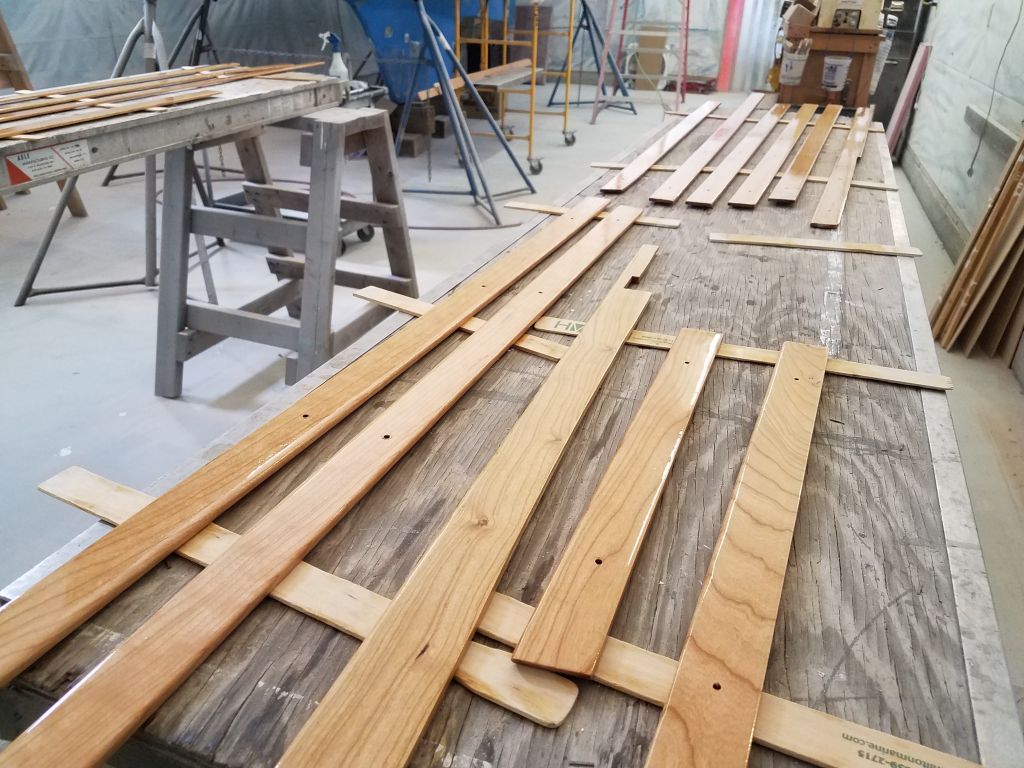
To begin the day, I sanded and varnished (3) the overhead trim pieces.
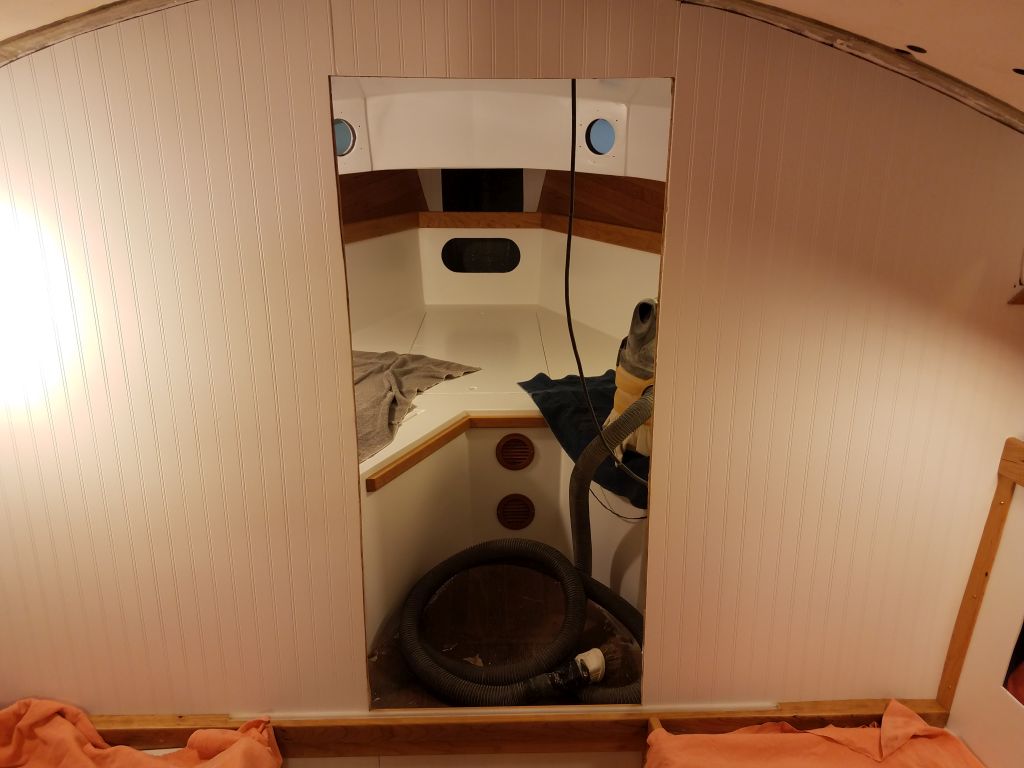
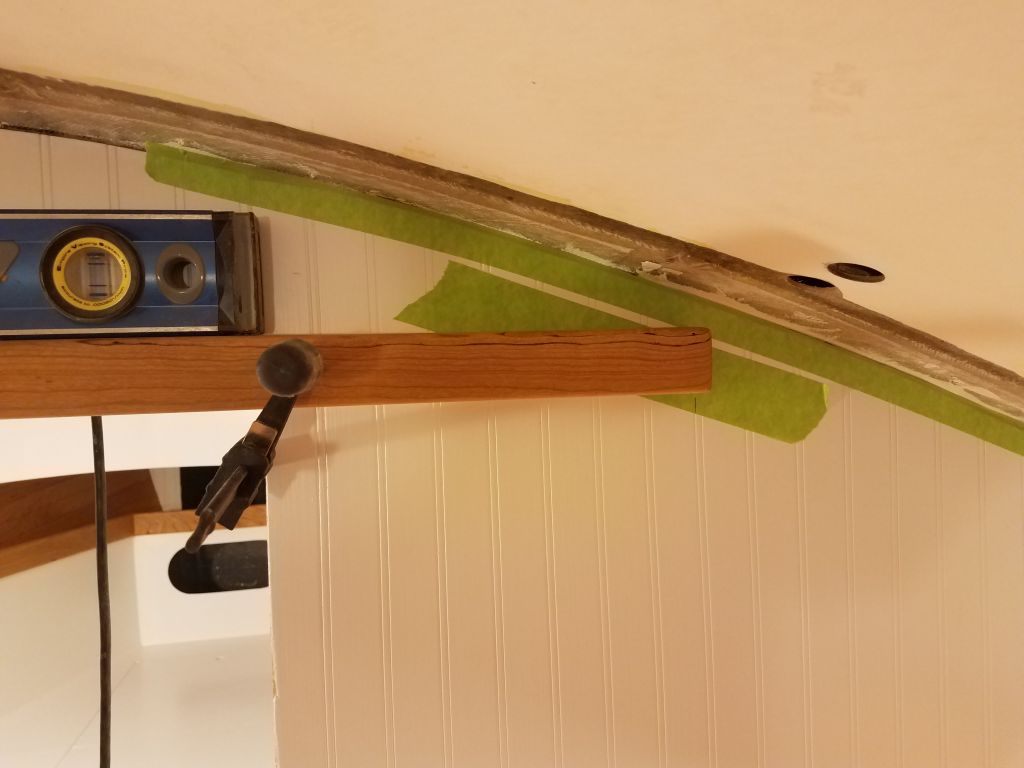
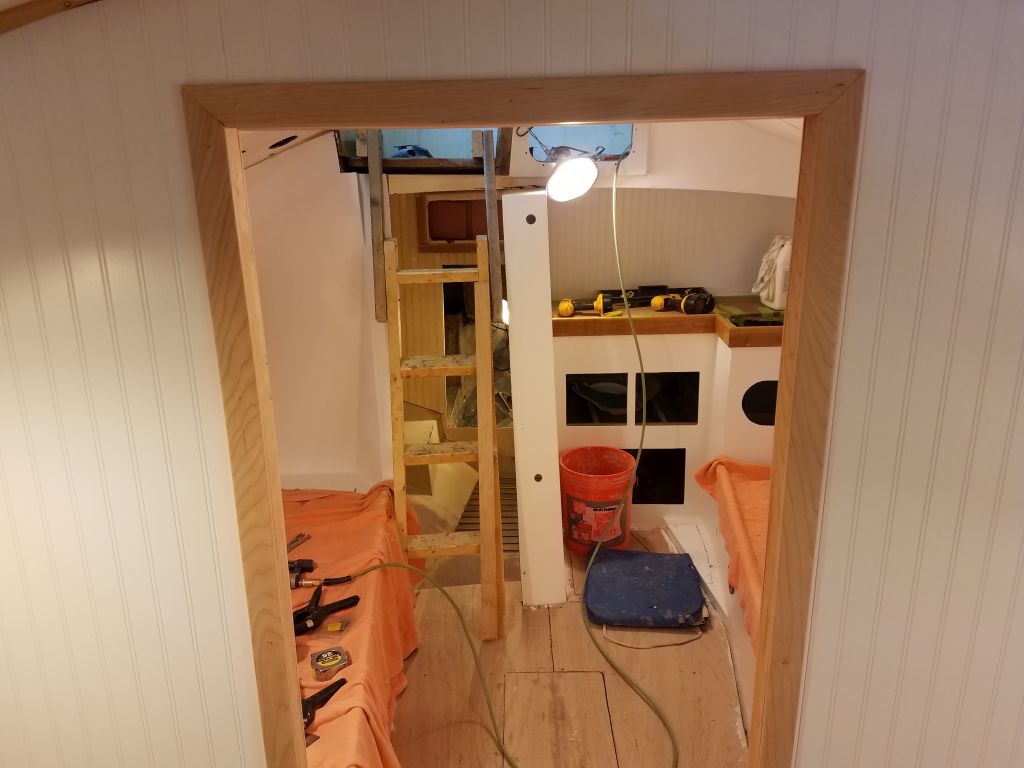
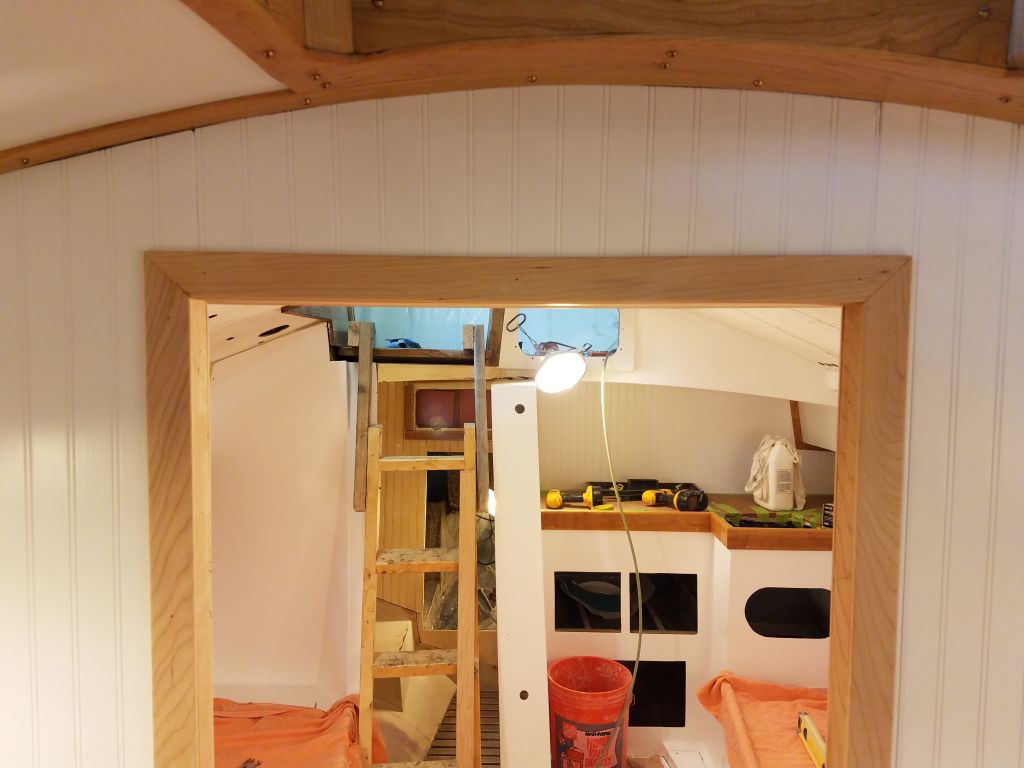
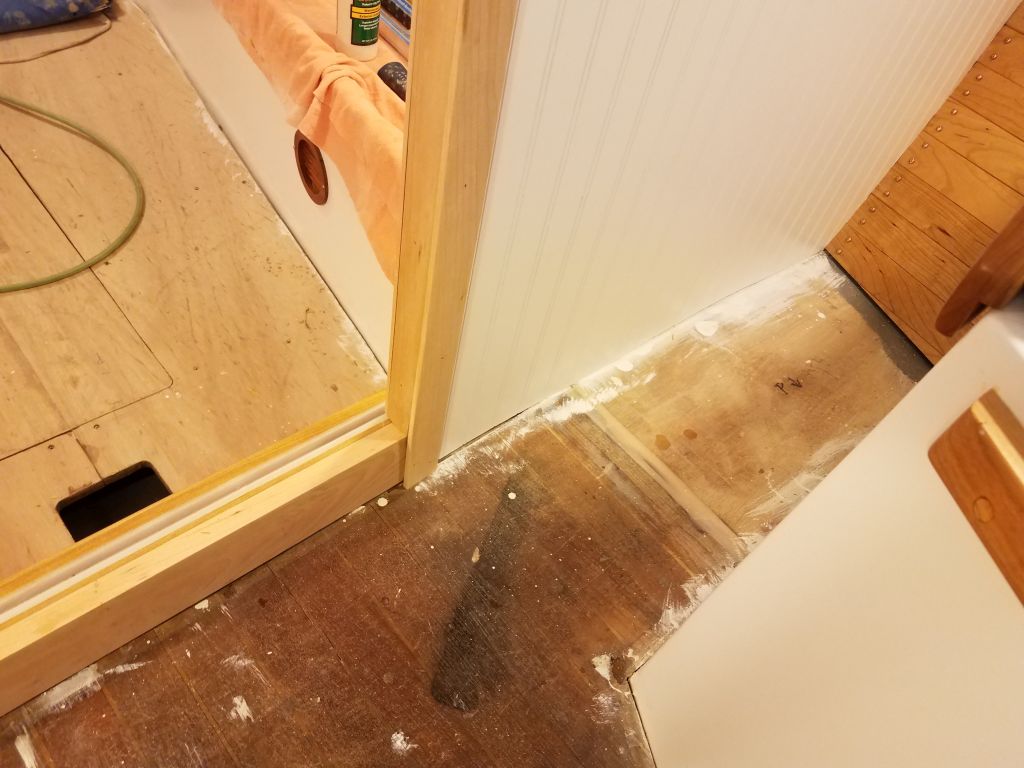
Some of the last trim needed in the main cabin was at the doorway to the forward cabin, which was still a raw opening, with only the long trim across the bottom in place so far.
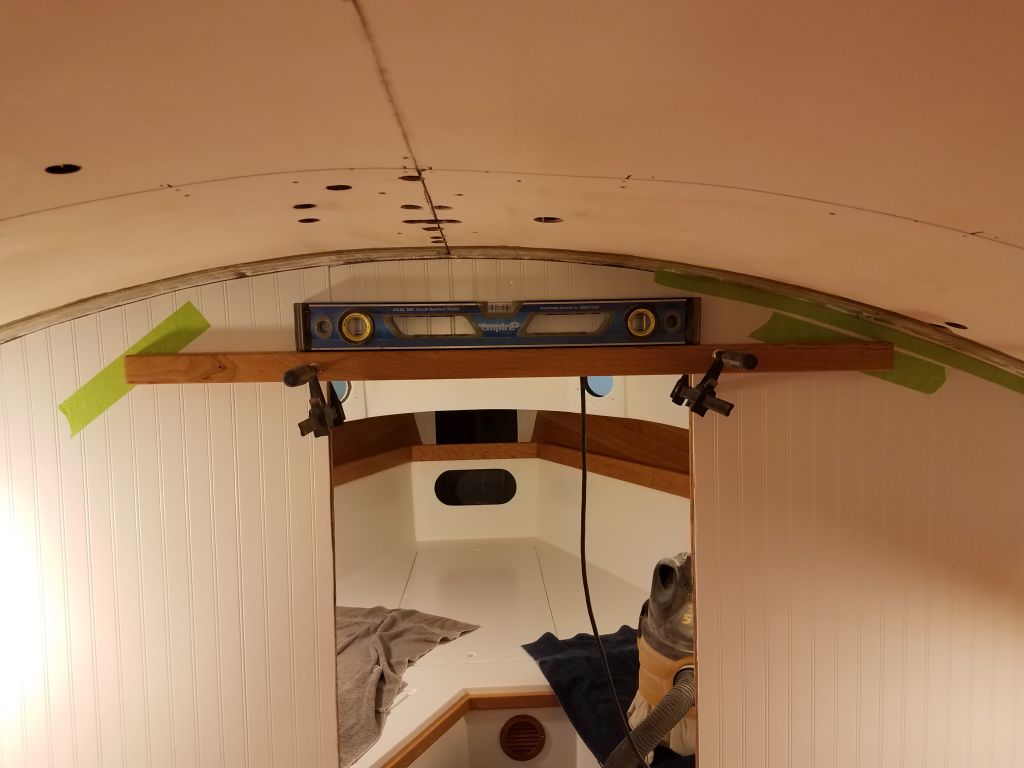
After protecting the bulkhead in some key areas with masking tape, I made some basic alignment marks for the top trim piece, which was also the track to support the sliding doors that would eventually close off the space. I needed to keep the starboard side of this trim far enough away from the overhead to allow for the overhead and trim, so with some 1″ tape I roughed out the practical clearance required. With a level, I transferred up the end points of the lower track section, which I used to position the top track properly from side to side, and level. I secured the track with four screws into the bulkhead.
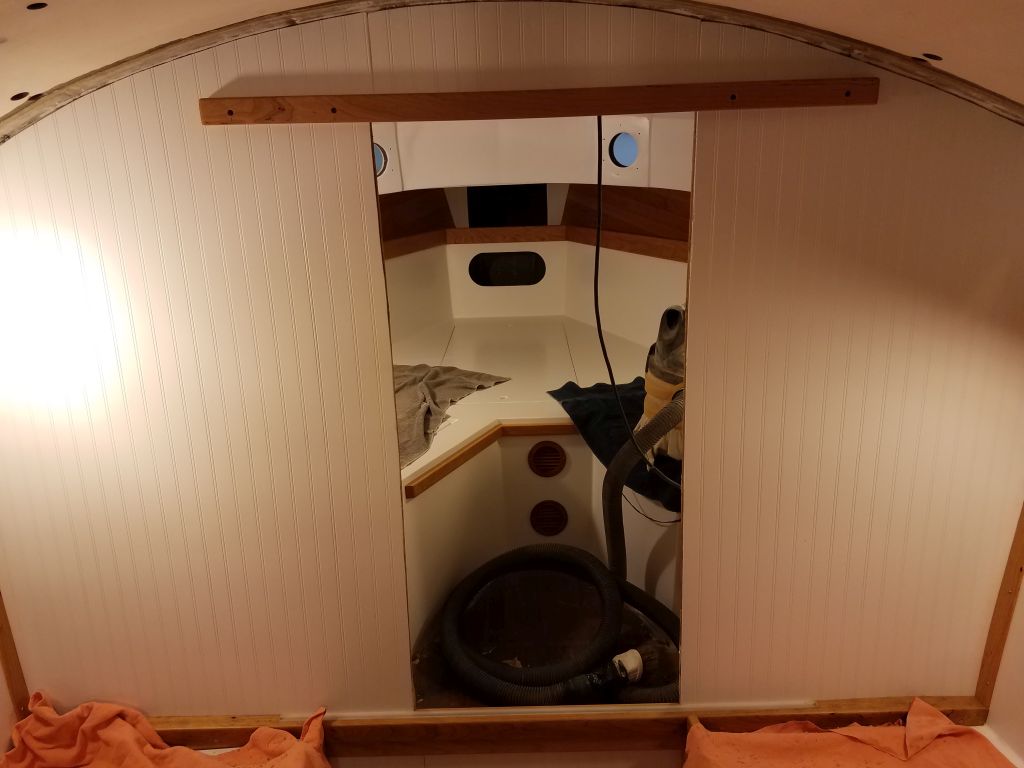
The upper and lower tracks left space in the door opening on the forward side, so now I cut pieces of cherry to fit and fill in those gaps and bring the edges flush with the forward face of the bulkhead. I glued the new extensions in place.

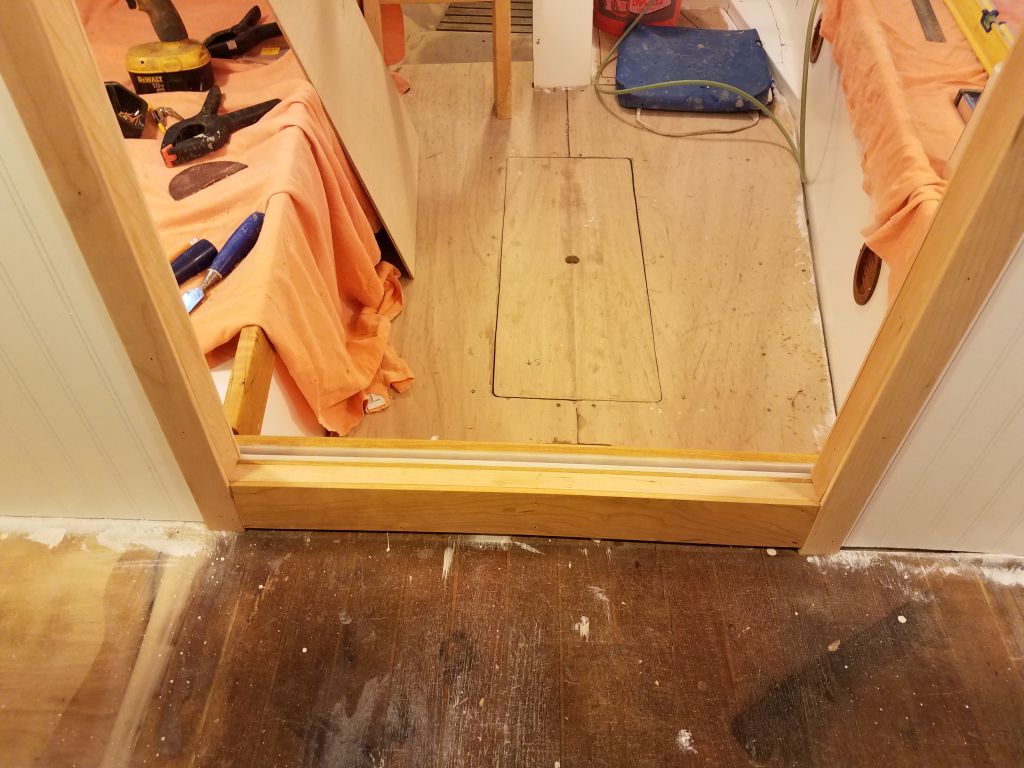
Next, I cut and installed cherry trim on the inside of the two vertical sides of the opening, covering the plywood end grains there. This required about 1-1/4″ width. I let these narrow trim pieces hang out just barely past the bulkhead paneling on both sides, which would ensure a tight seam there when I installed the face trims on both sides. I used glue and brads to secure the trim.
With more 1/4″ thick trim, this time 1-1/2″ wide, I trimmed the main cabin side of the opening, bringing the trim flush with the edge of the edge trim and tight against the upper and lower rails. The thin trim fit within the inside edge of the door tracks, which was required to ensure that the doors themselves would pass by the trim.


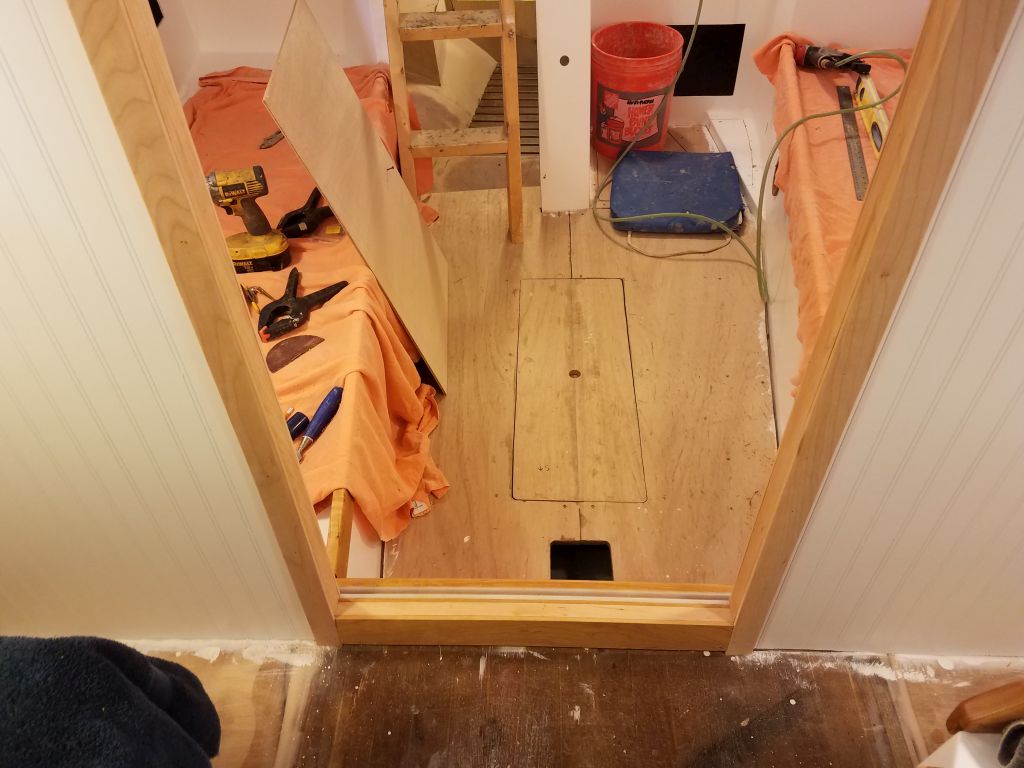
Now, on the forward side of the opening, I cut and installed three pieces of the trim to finish off the opening there.
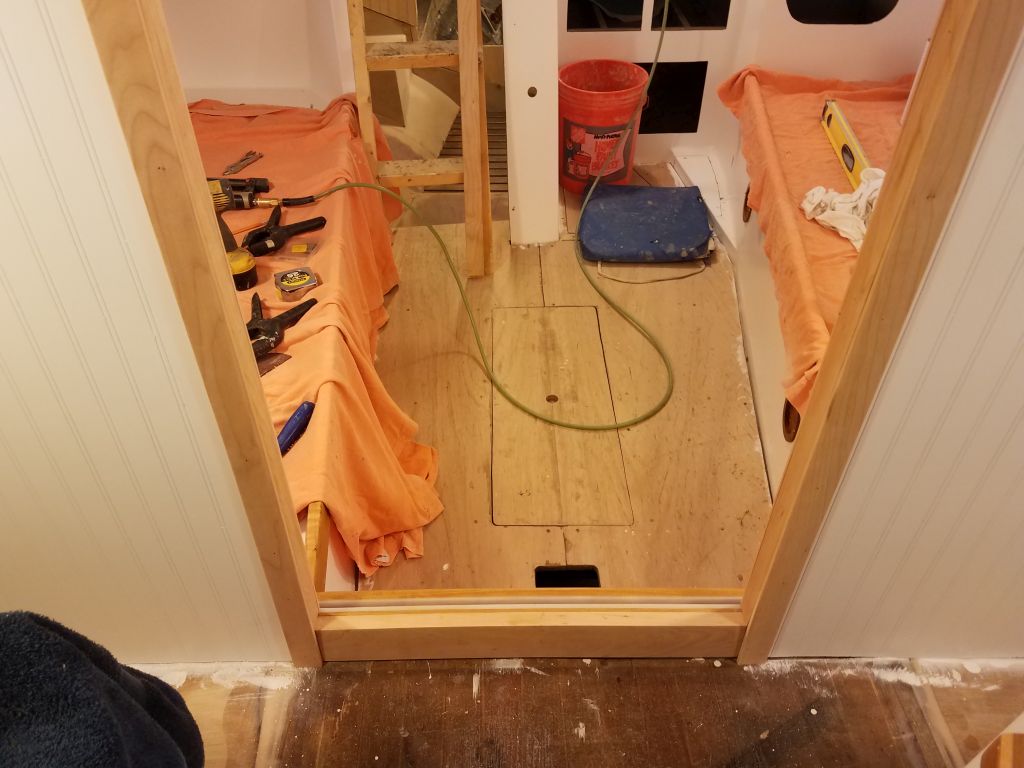
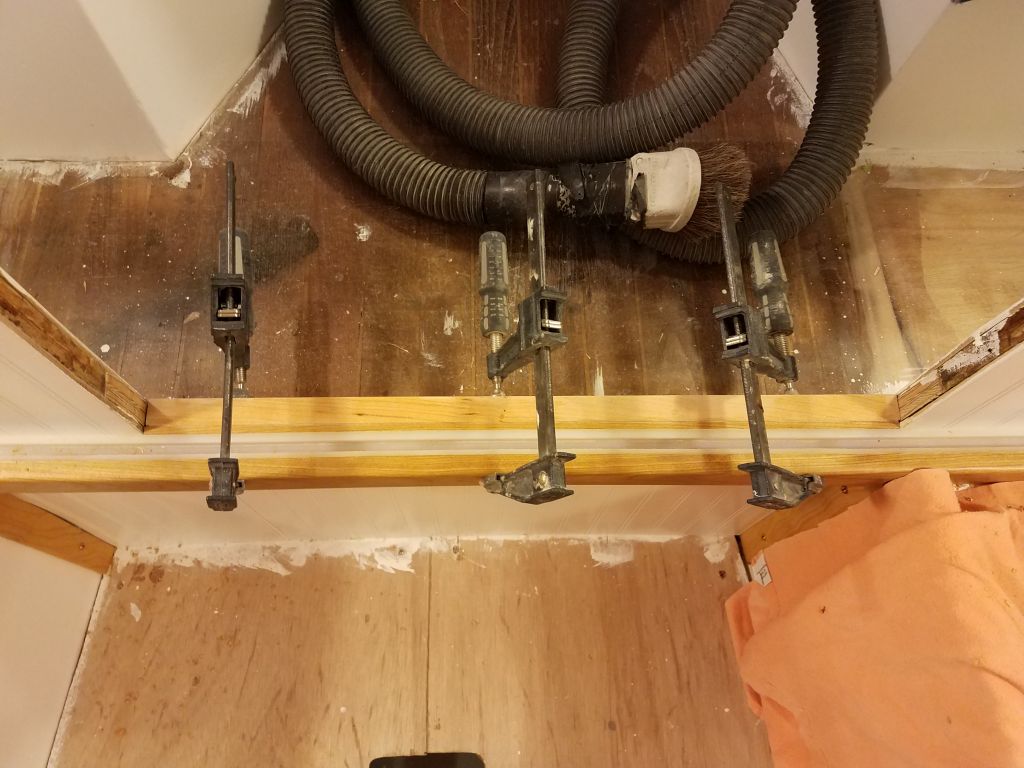
I decided to fill in and make flush the lower edge of the forward door trim between the two trim pieces I’d just installed, so I cut another piece of 1/4″ trim to fit. I held the bottom edge high enough off the cabin sole substrate to allow the finished sole to slip beneath the new trim during installation.

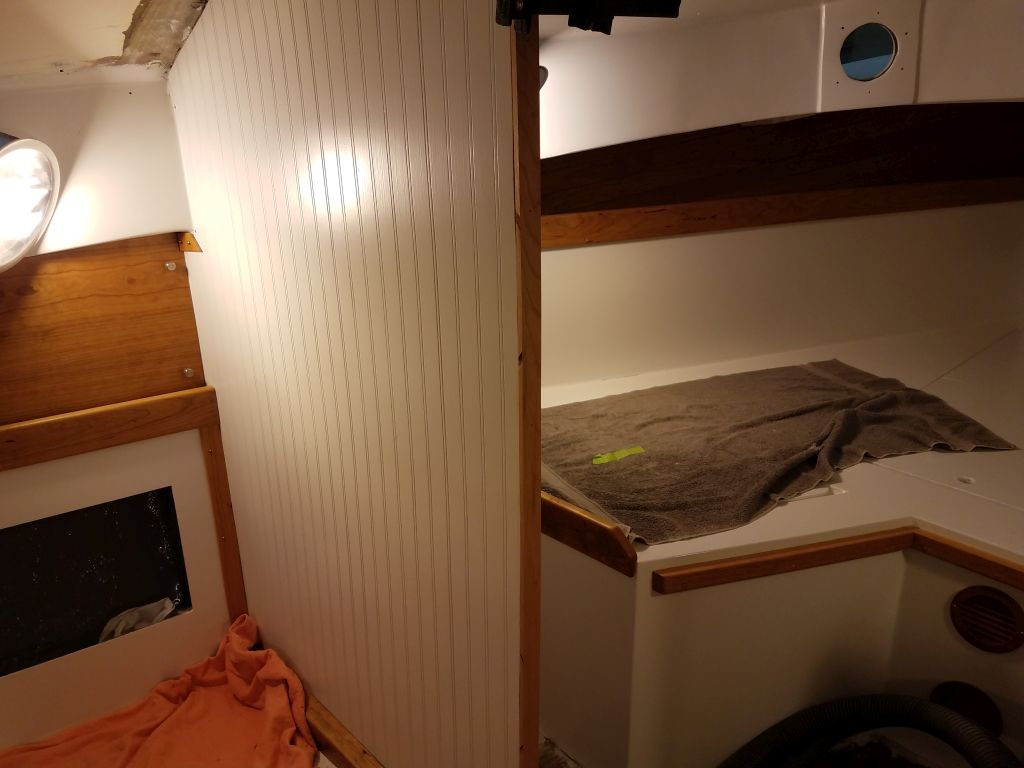
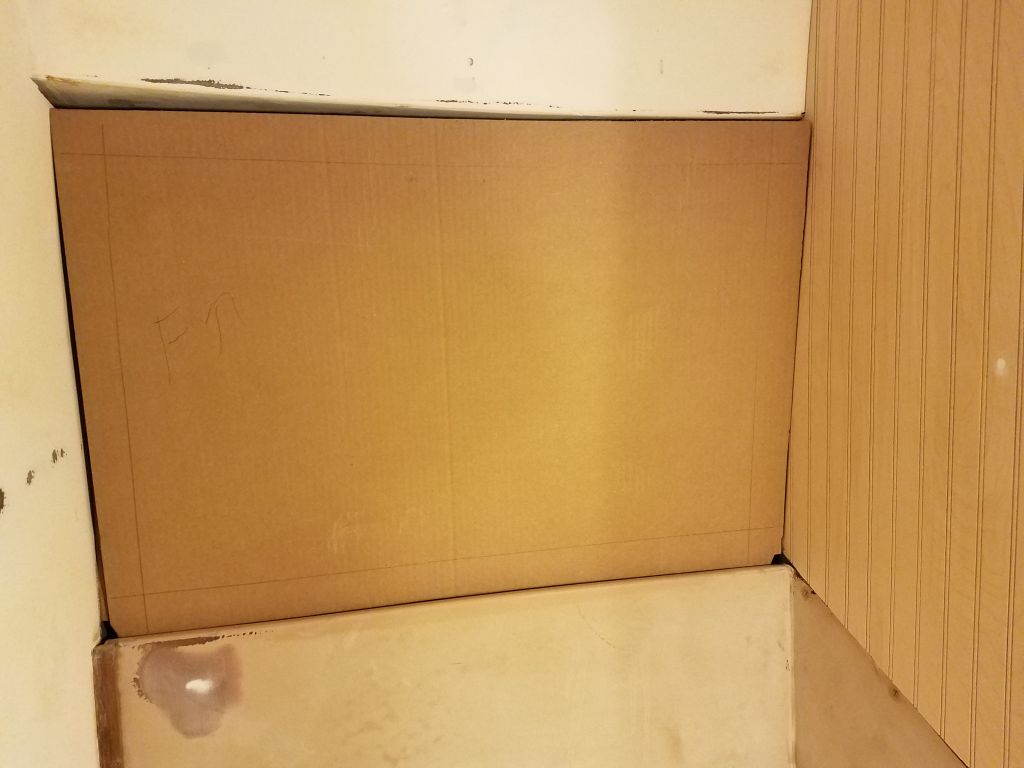
In the head, I used cardboard to make a template of the panel required over the holding tank space, and cut out a 1/4″ plywood panel to fit. This required several different minor modifications before it fit appropriately (the panel needed to remain removable for access), since both adjacent bulkheads (original construction) were neither straight nor plumb.
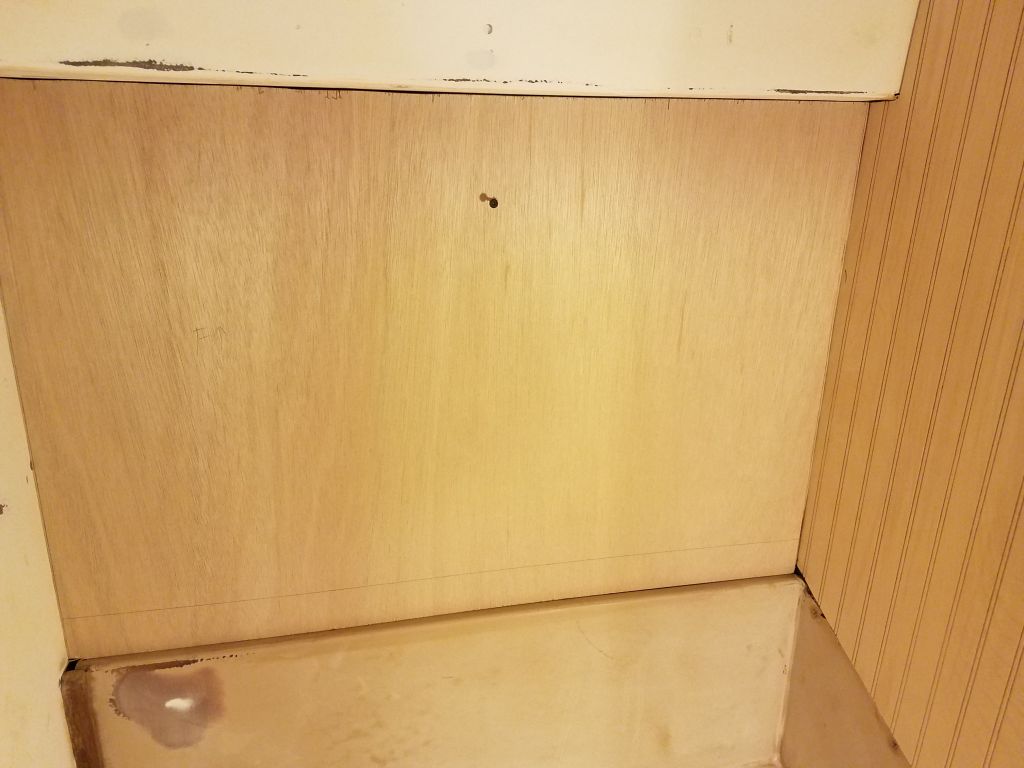
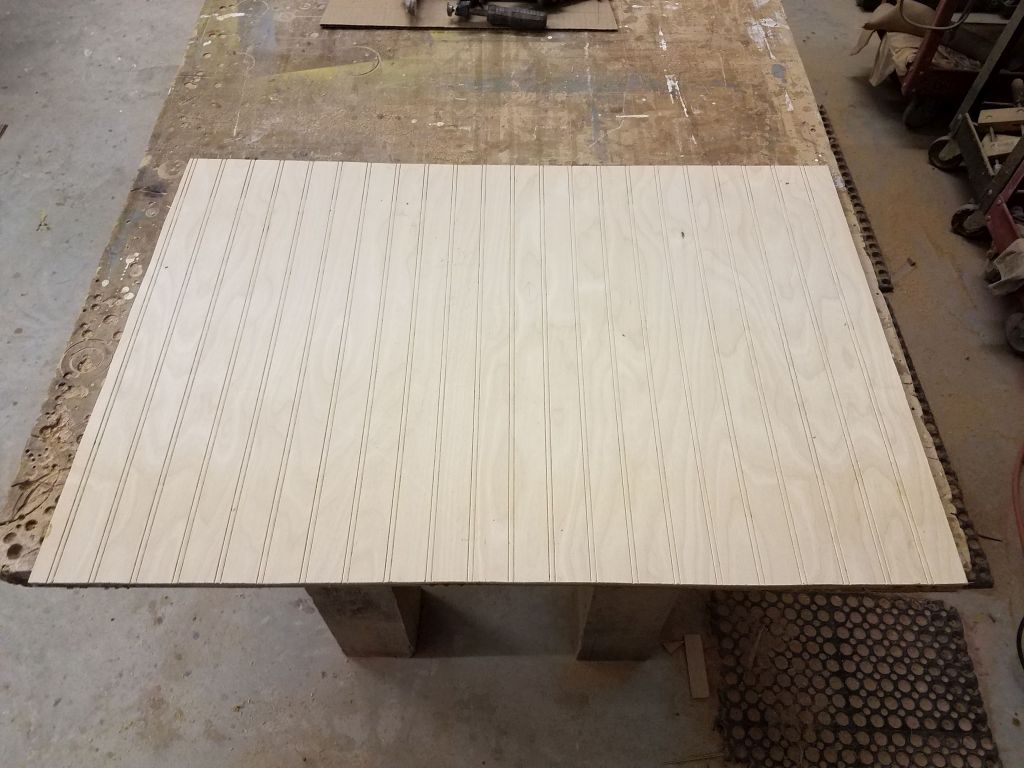
For the final surface, and to increase thickness and stiffness, I cut a piece of the beadboard to fit over the base panel, and glued it in place.
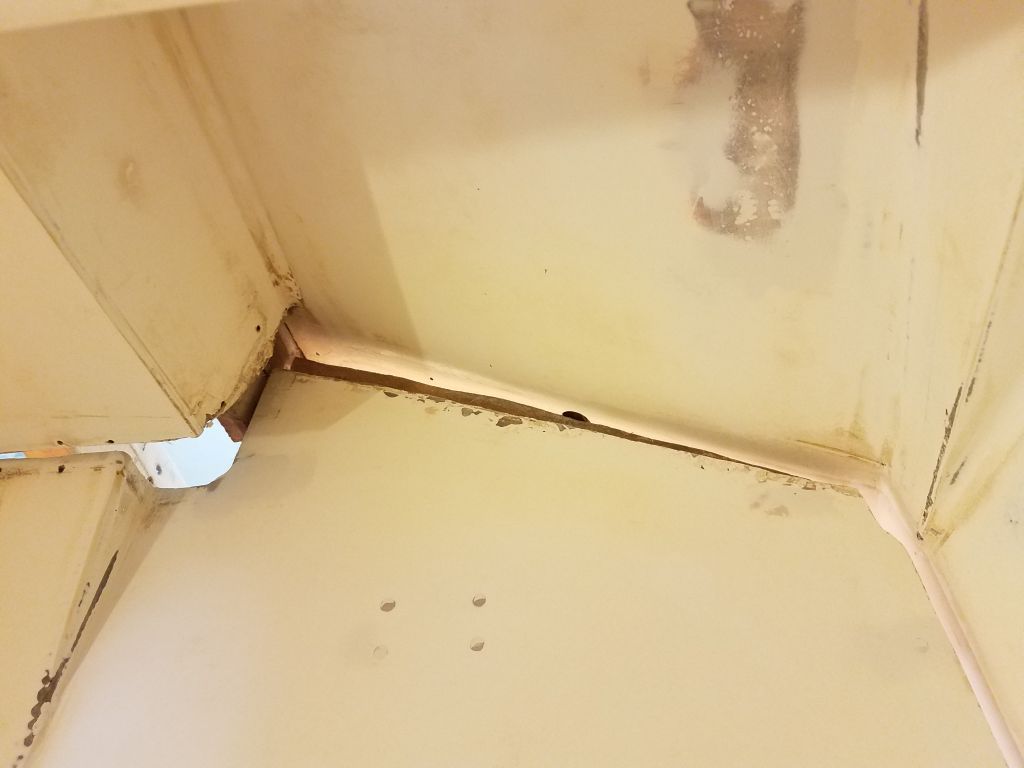
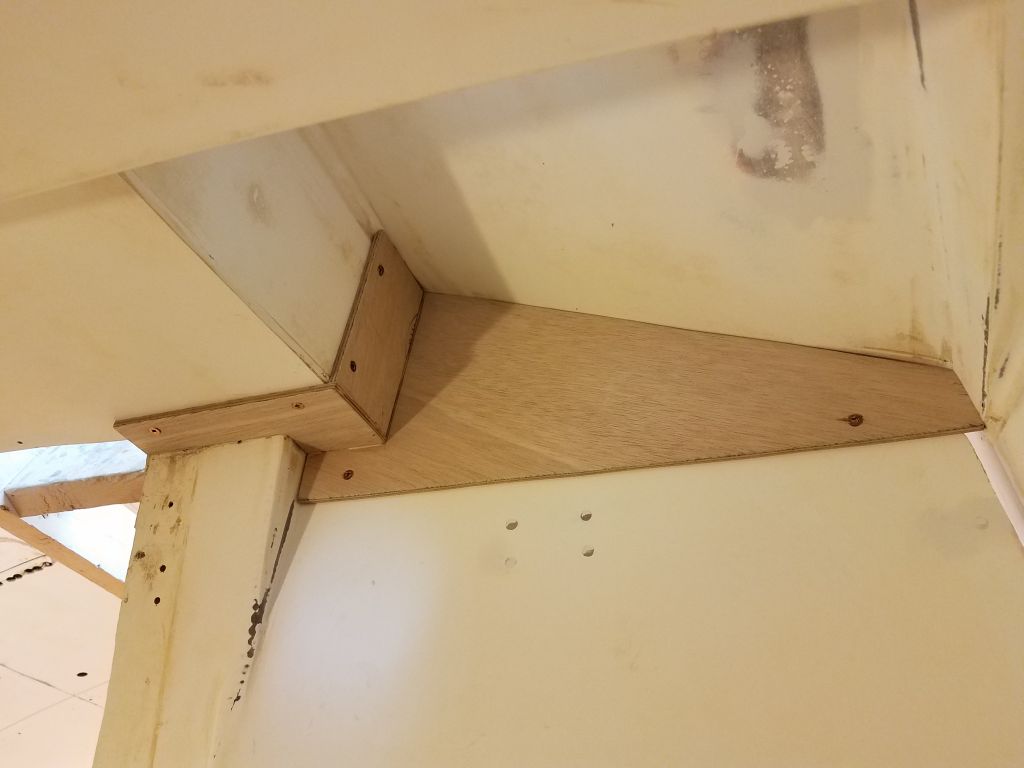
The head overhead was a complicated and small little space, which allowed for light to come in through a small opening port leading to the cockpit, but otherwise served no useful function, since there was no standing headroom anywhere in the head. There were wide gaps here between the various pieces of the original molded liners and bulkheads, and I chose to use some thin panels to essentially rebuild and cover this angular and tight area and reduce the number of small and fussy trim pieces that would otherwise be required to finish it off.
To begin, I templated a piece for the after, largest side, which was fairly straightforward in nature and, since there was room to slip past the adjacent face, I didn’t have to worry about a perfect fit on the one side. Once I had the fit where I wanted it, I sanded the new panel smooth and secured it with screws.
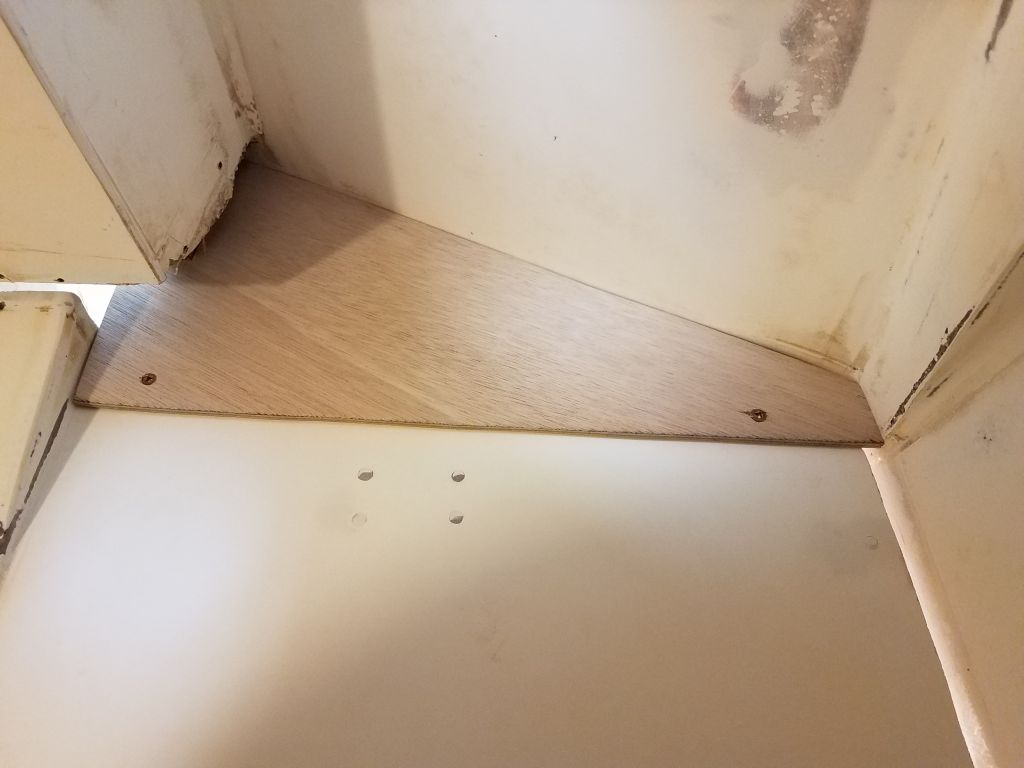
Continuing, I made small panels for the remaining two sides of the space (that’s the angled opening around the companionway at the upper corner), and fastened them with glue (to each other) and screws (to the boat), finishing up the area. These panels would be painted to match the rest of the space, and I’d trim out the other corners and edges as needed with more varnished cherry later.

Total time billed on this job today: 8.25 hours
0600 Weather observation: 42°, rain and showers. Forecast for the day: Rain, fog, and heavy showers, 61°