


February 11, 2019
Scupper 77
Monday
To get started, I lightly sanded all the new tabbing I’d installed last time, on both sides of the main bulkhead and a small area in the head.


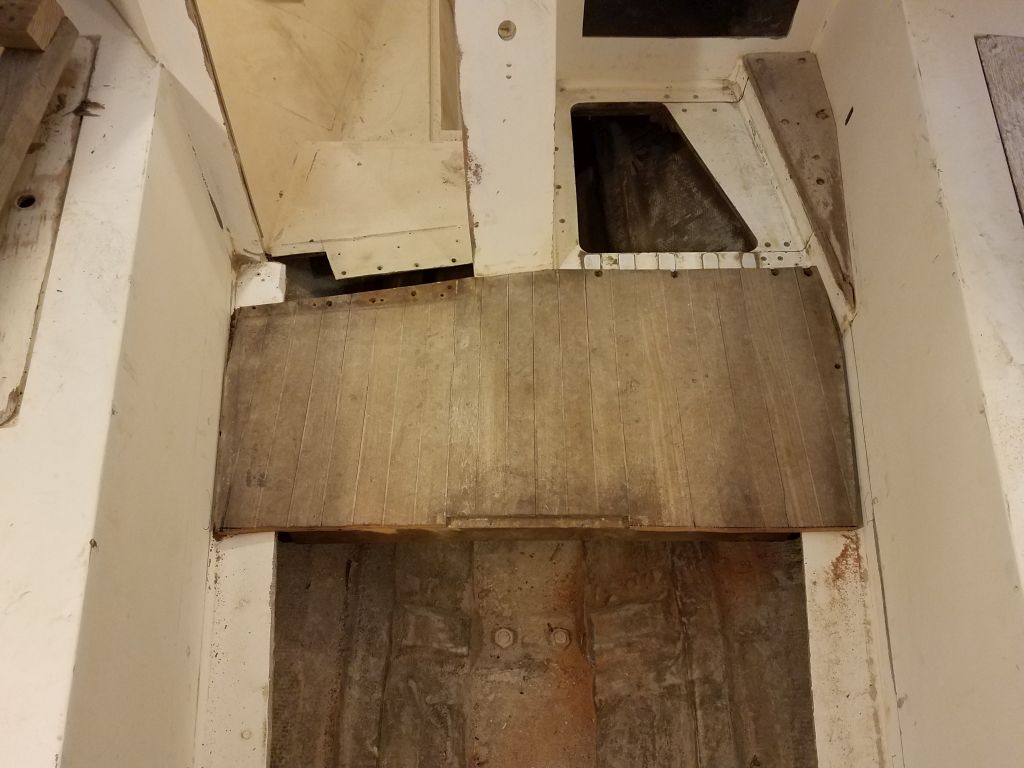
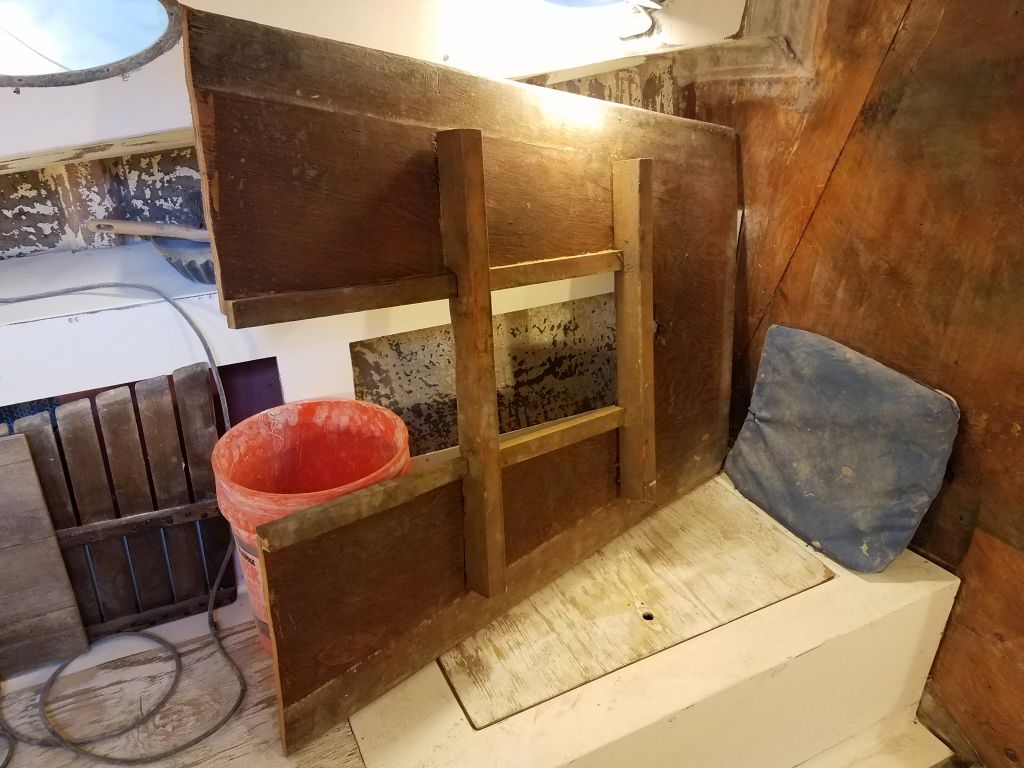
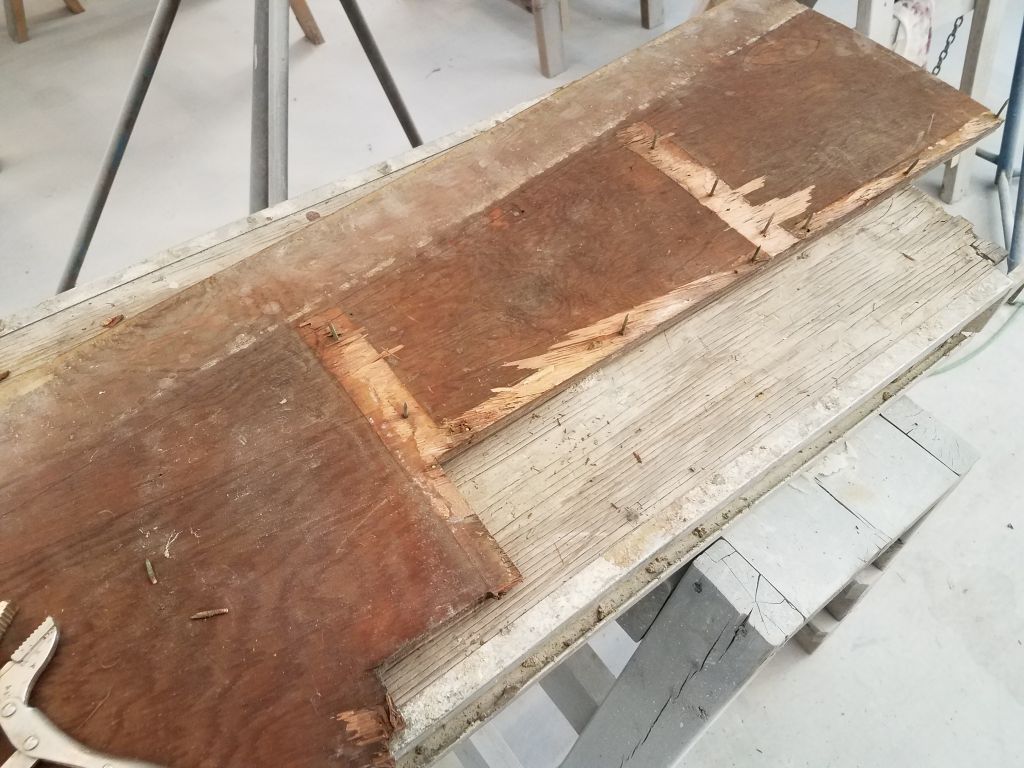
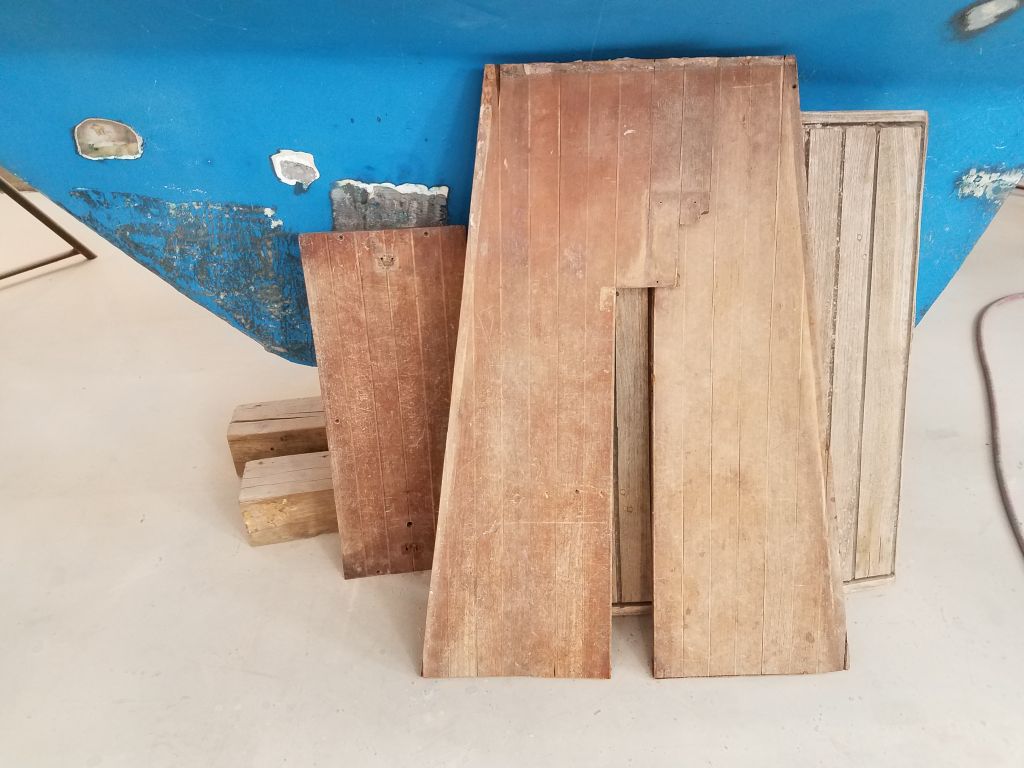
The cabin sole blank was too large to fit out through the companionway, but was now in the way as I planned to work in the bilge to prepare and eventually rebuild a support system for the replacement sole. To remove the old sole, I cut it into three pieces, leaving a narrow piece at the aft end on which my construction ladder could rest. I removed the other two sections to the shop floor and removed the old support beams from beneath so I could soon use these pieces as a template for the new sole plywood, which was coming soon.
With the way clear, I sanded in the bilge area, cleaning up as necessary. The surfaces were generally clean, as I’d soaked and scrubbed the area previously, and I’d already sanded lightly everything I could reach through the original openings, but now I improved the prep as needed, mainly to better accept paint in the near future.


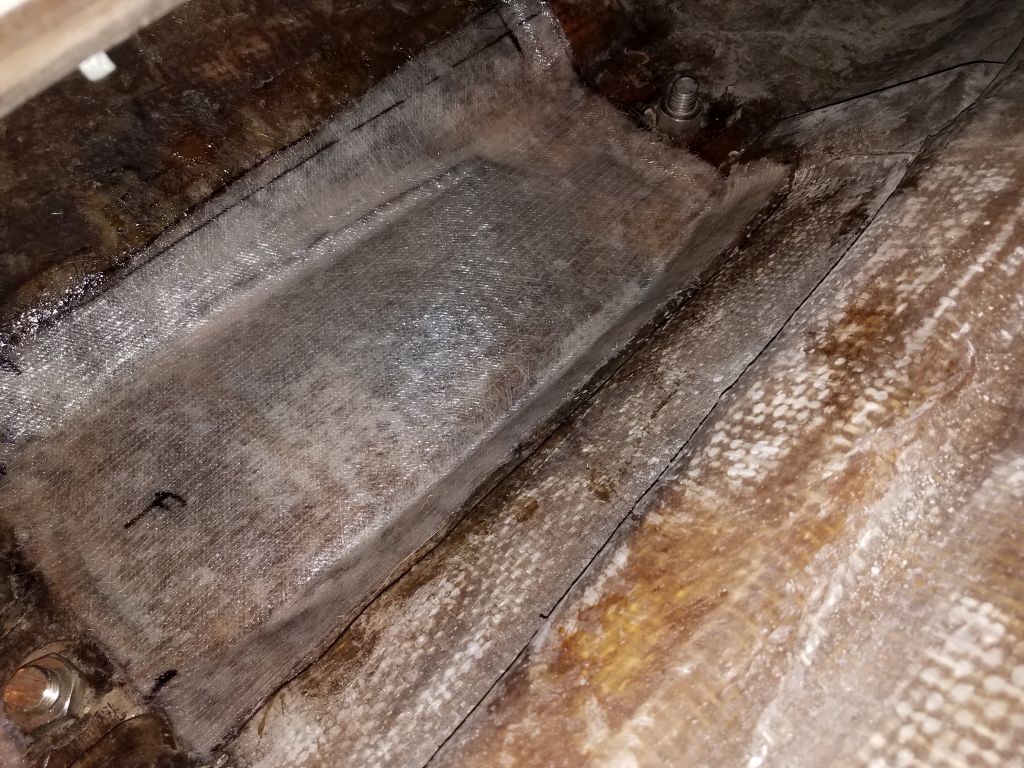
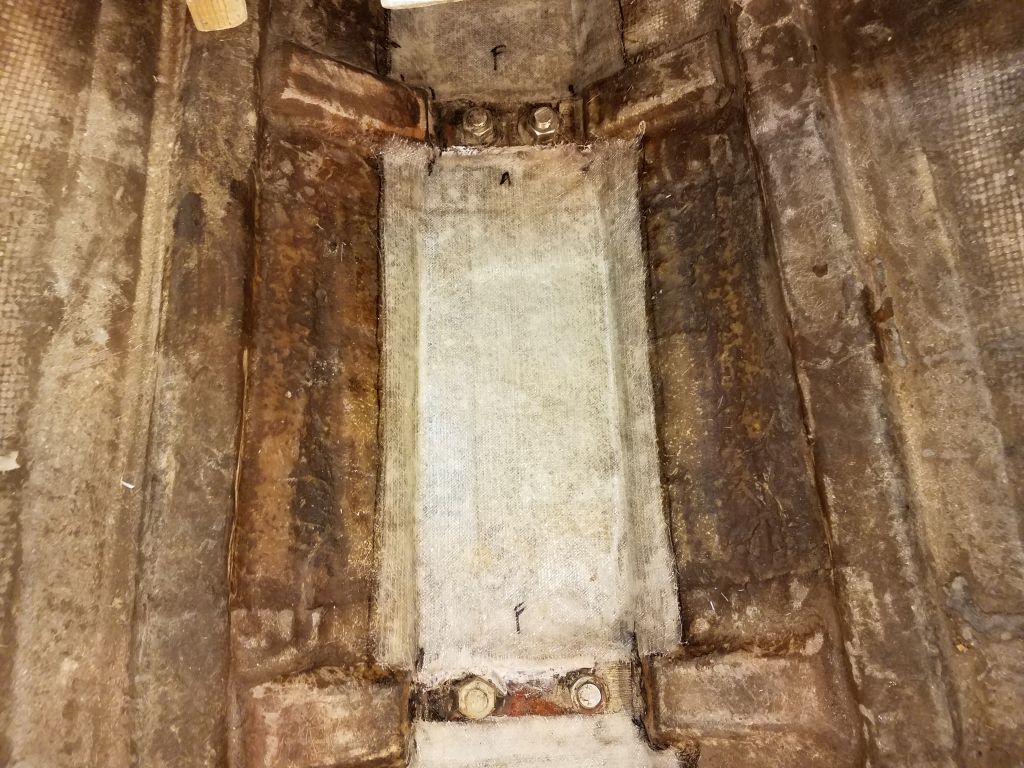
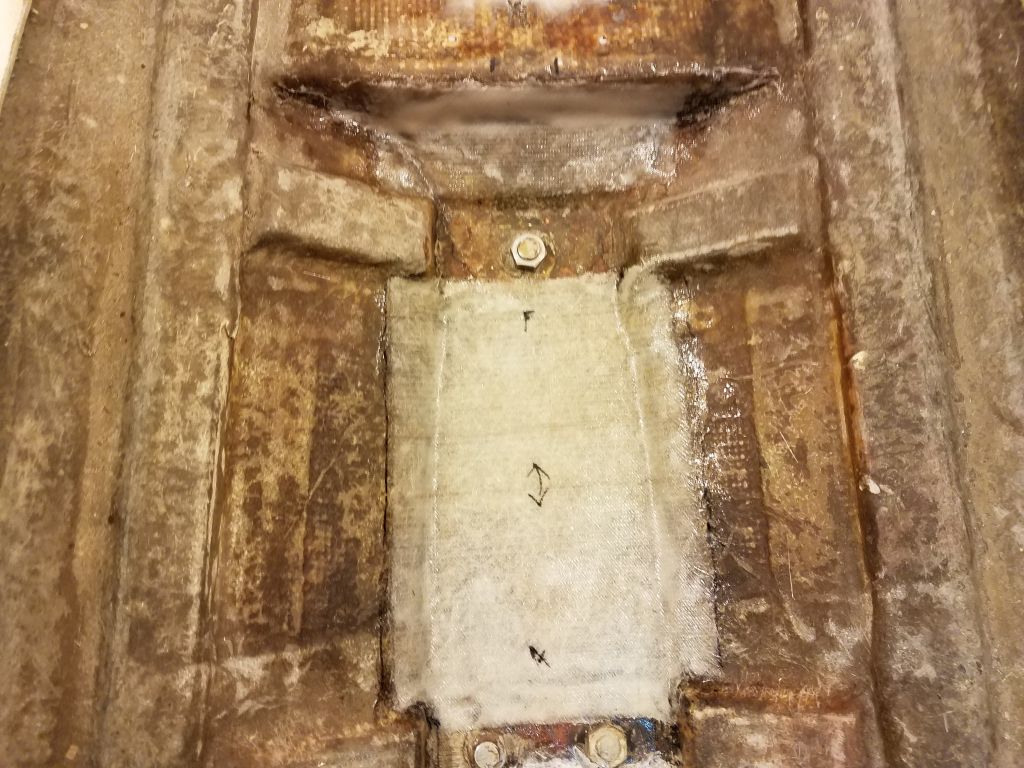
In between the built-in reinforcements at and around each keel bolt location, there were thin panels of fiberglass, which provided a smooth bilge surface. These were just a bit flimsy, so I decided while things were wide open to go ahead and reinforce these three areas with an additional layer of fiberglass and epoxy.
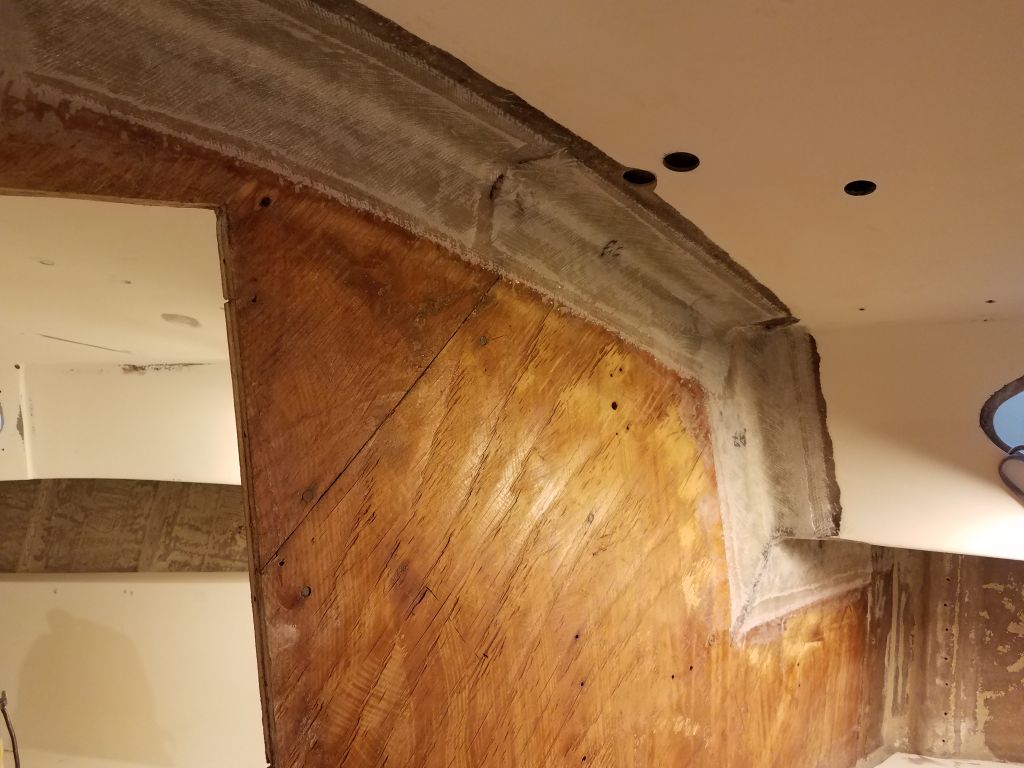
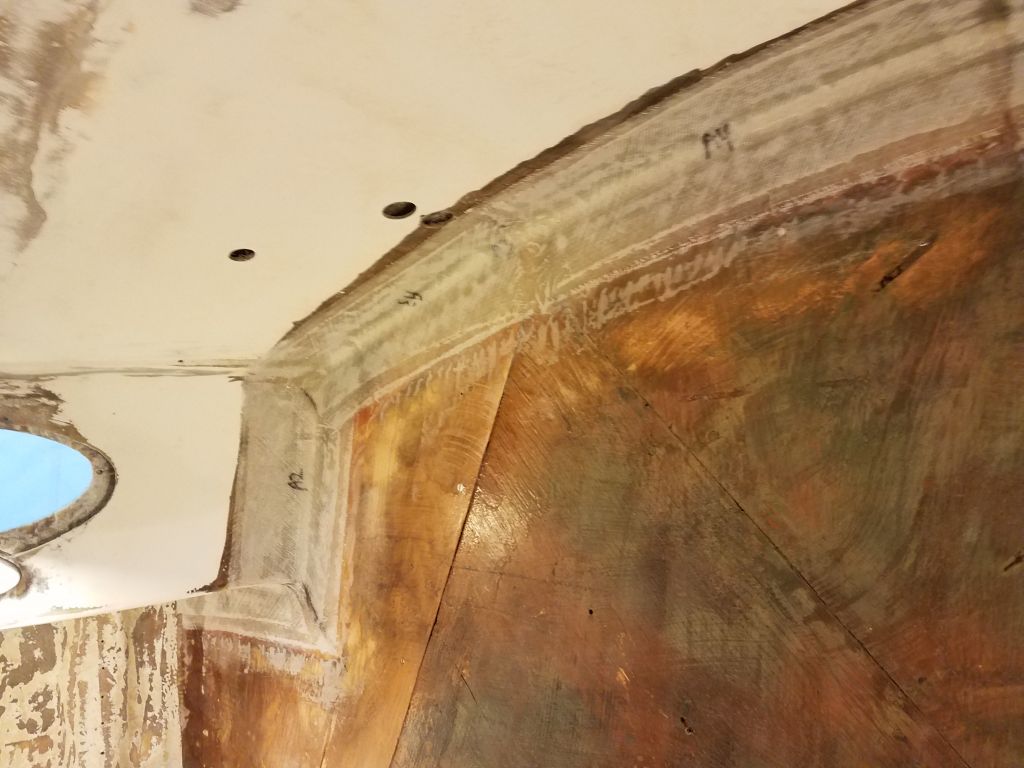
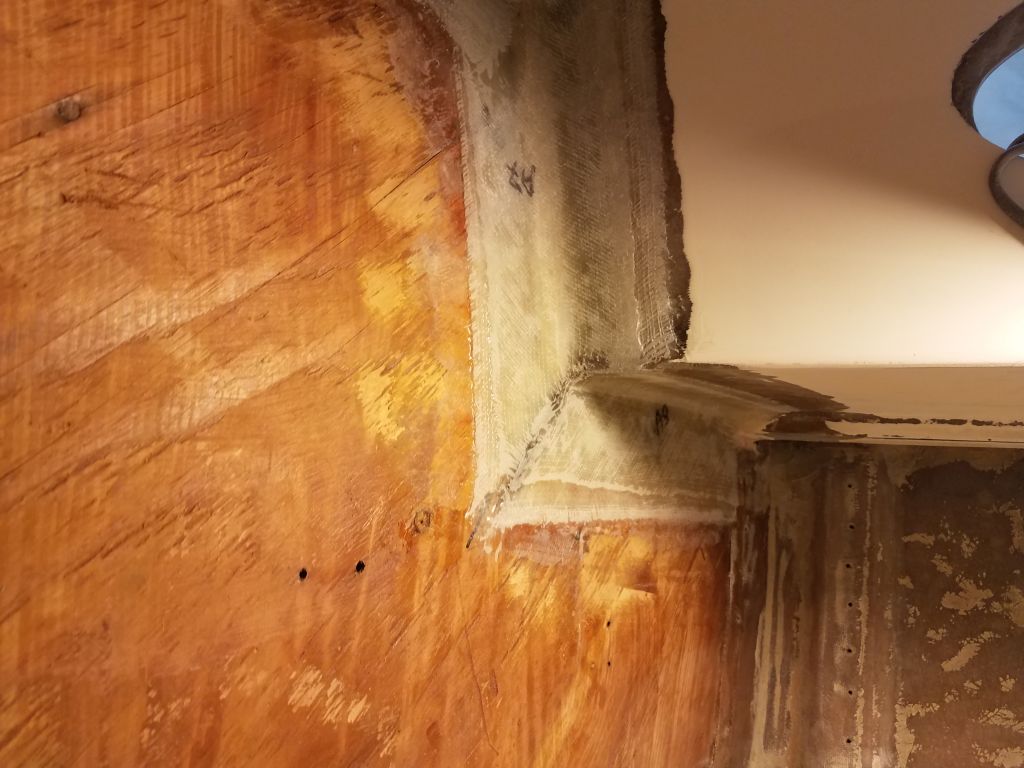
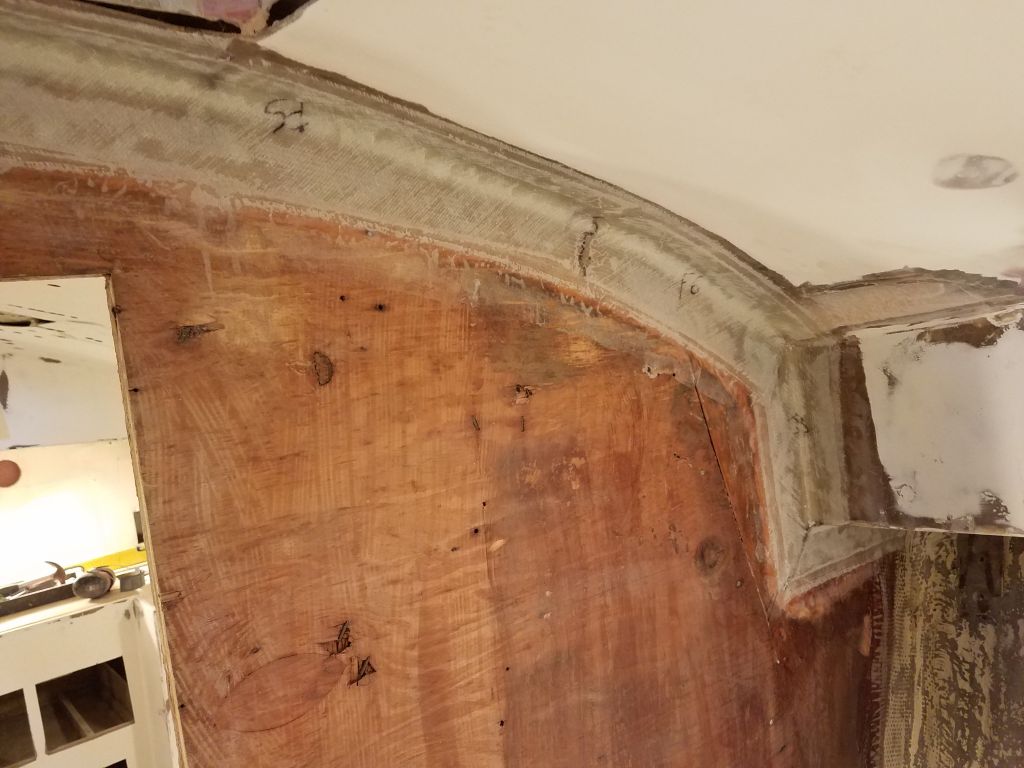
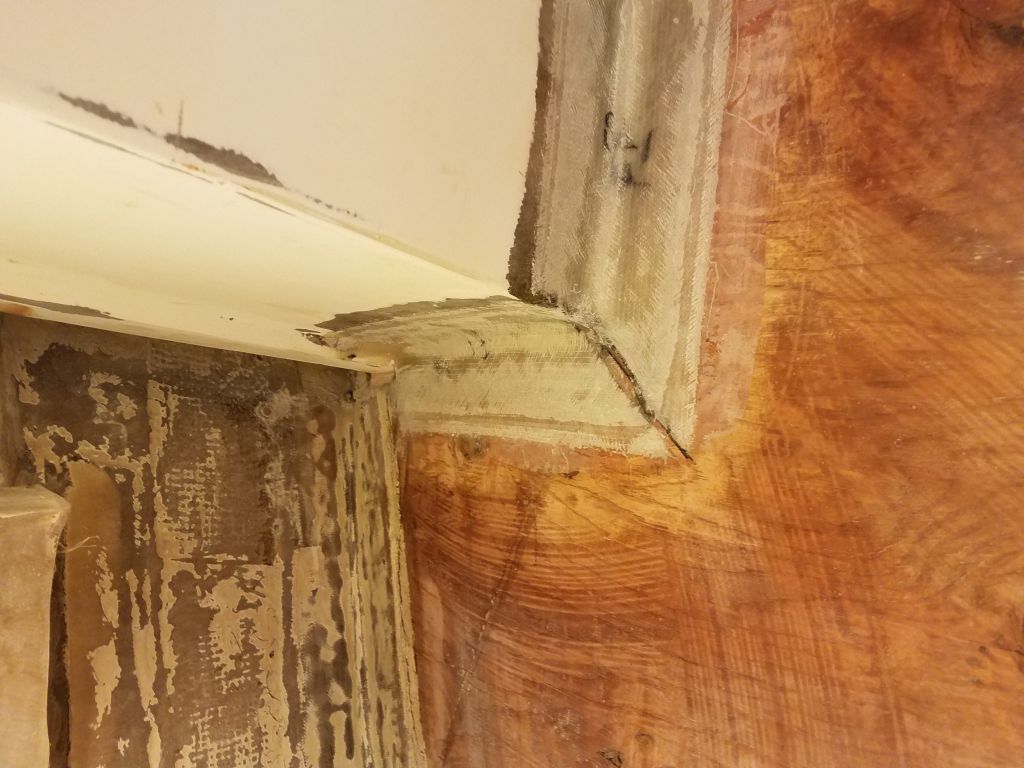
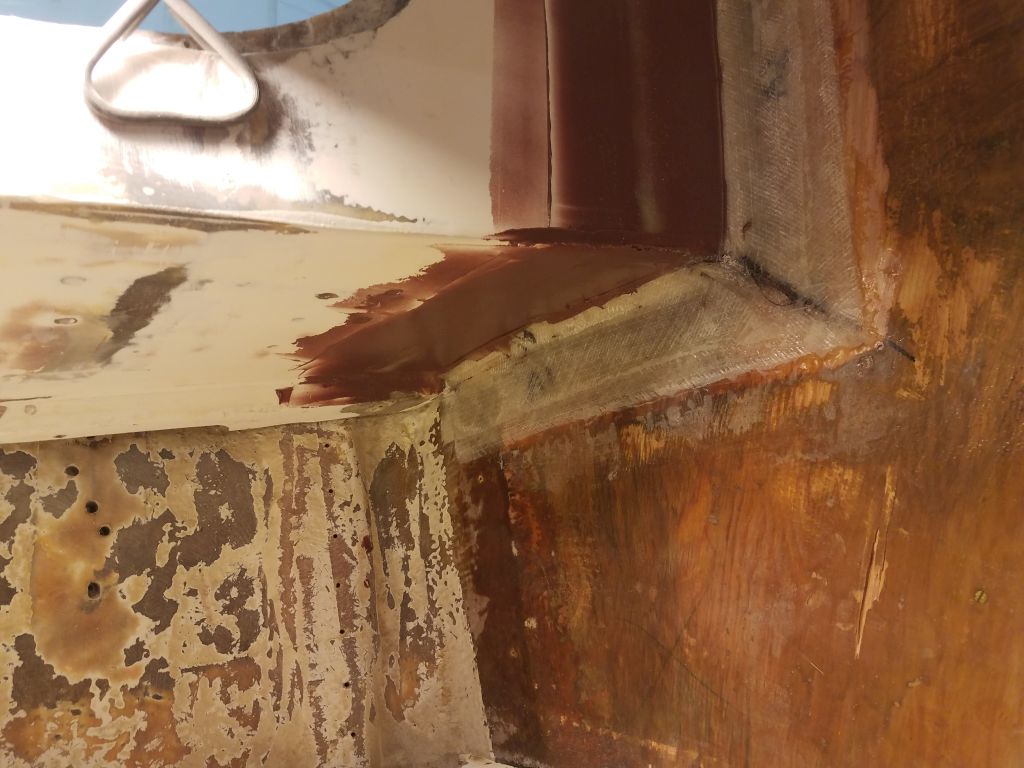
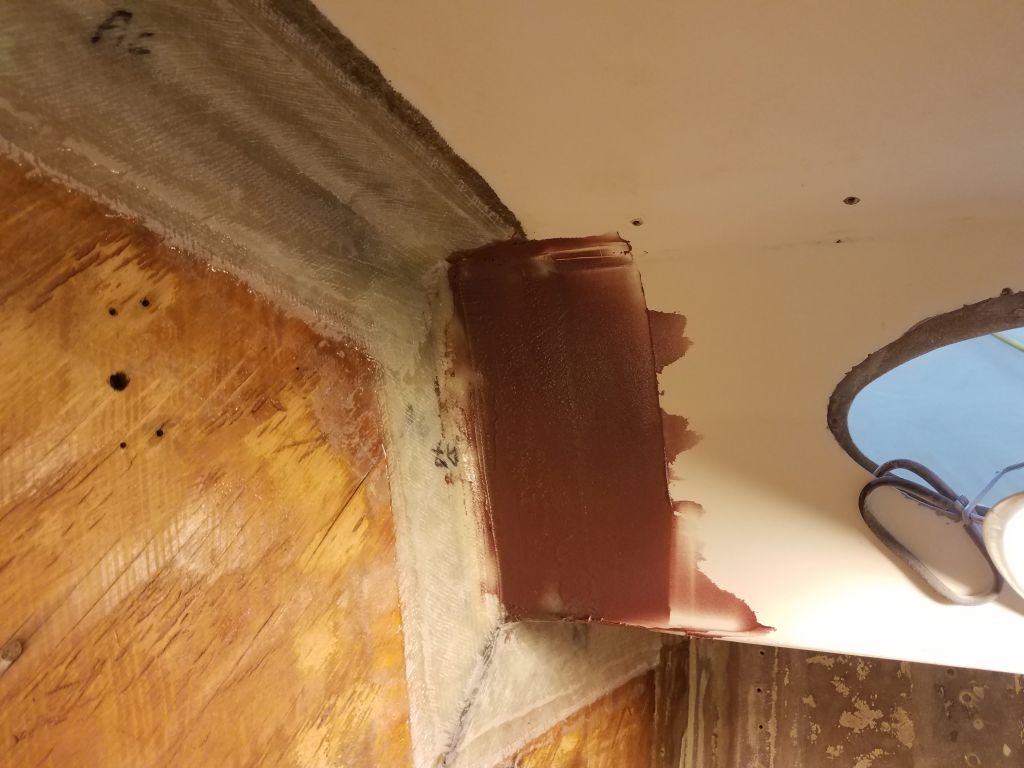
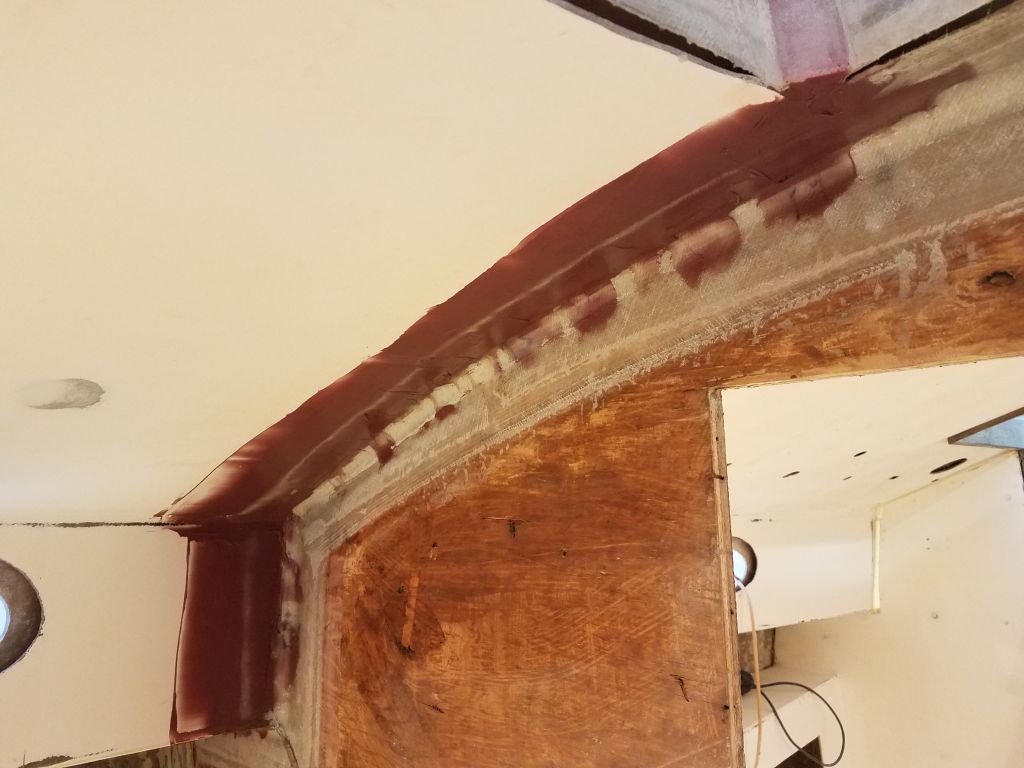
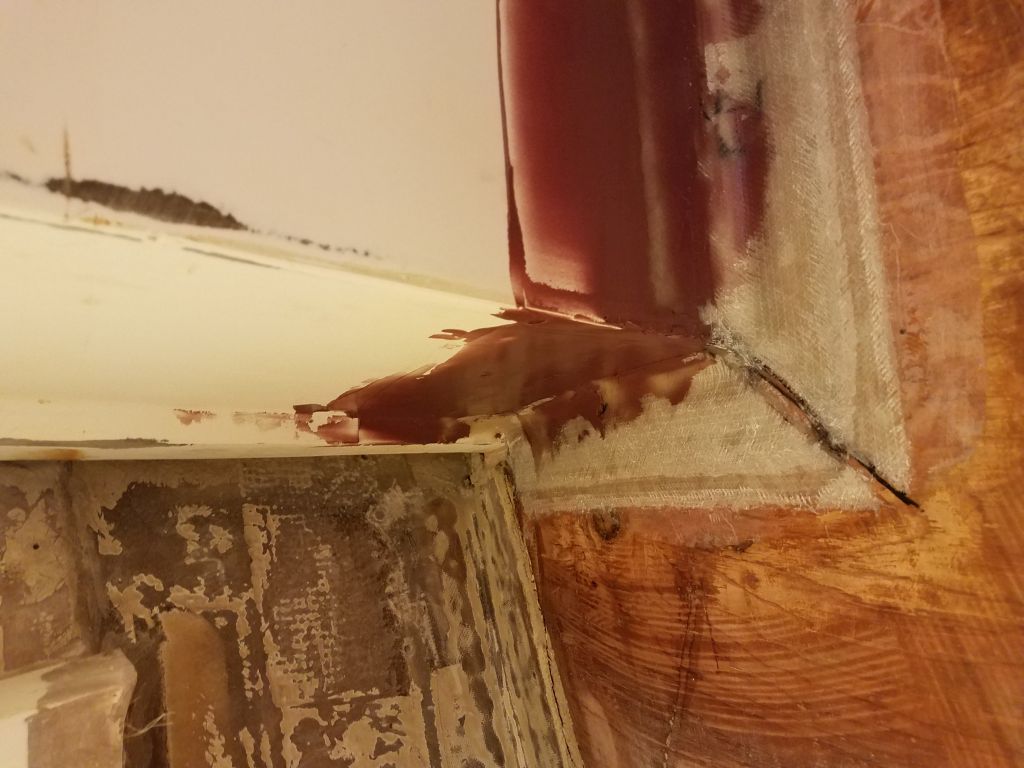
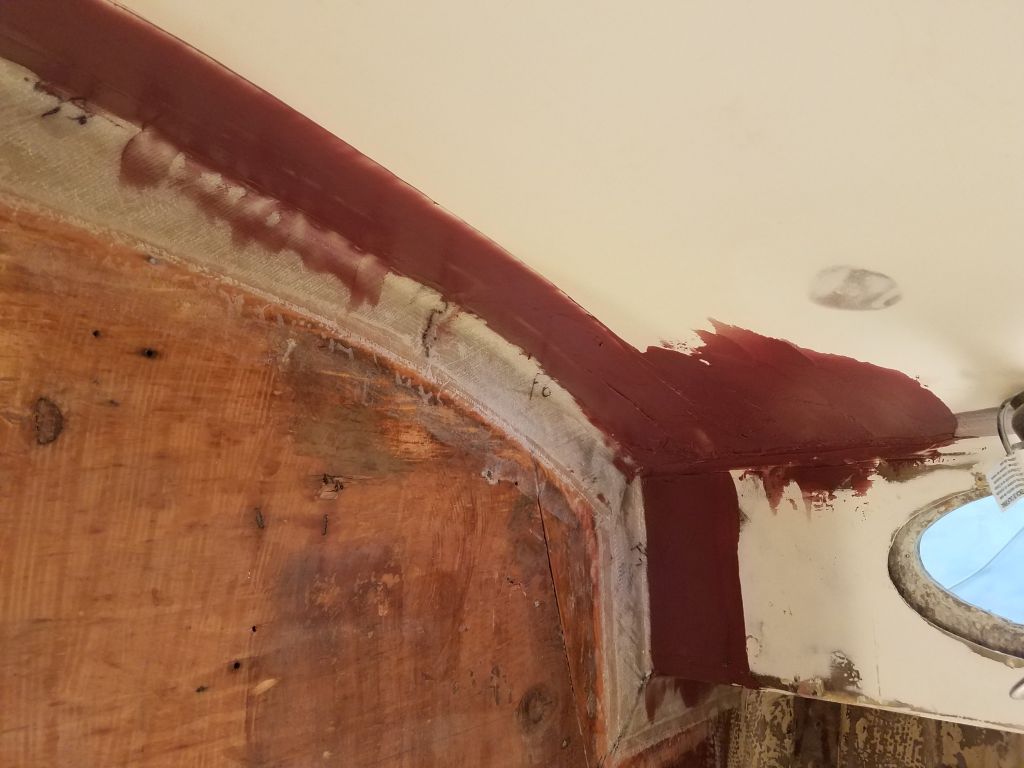
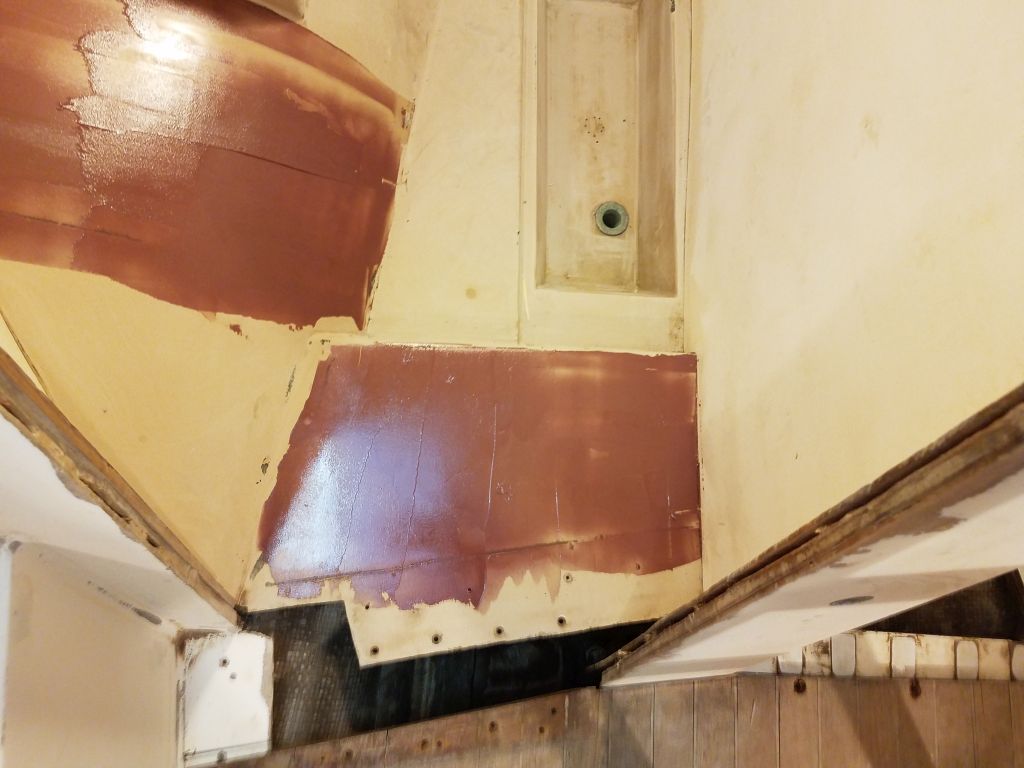
Meanwhile, in several areas in and around the new bulkhead tabbing, where I expected the final paint surface to extend close to the bulkhead itself, I applied a coat of epoxy fairing compound to fill the weave of the tabbing and begin to smooth these areas into the adjacent surfaces. Specifically, these areas included the cabin trunk and underside of the sidedeck in the main cabin, and all areas of the forward cabin, including the overhead. I didn’t need to fair in the tabbing at the overhead in the main cabin because I planned to cover that section of overhead with thin plywood, since the overhead there was in such a dreadful state. When I prepared the liner for the new fiberglass, I’d anticipated this process, so the new tabbing was just slightly recessed from the adjacent surfaces and easy to blend in in this way.
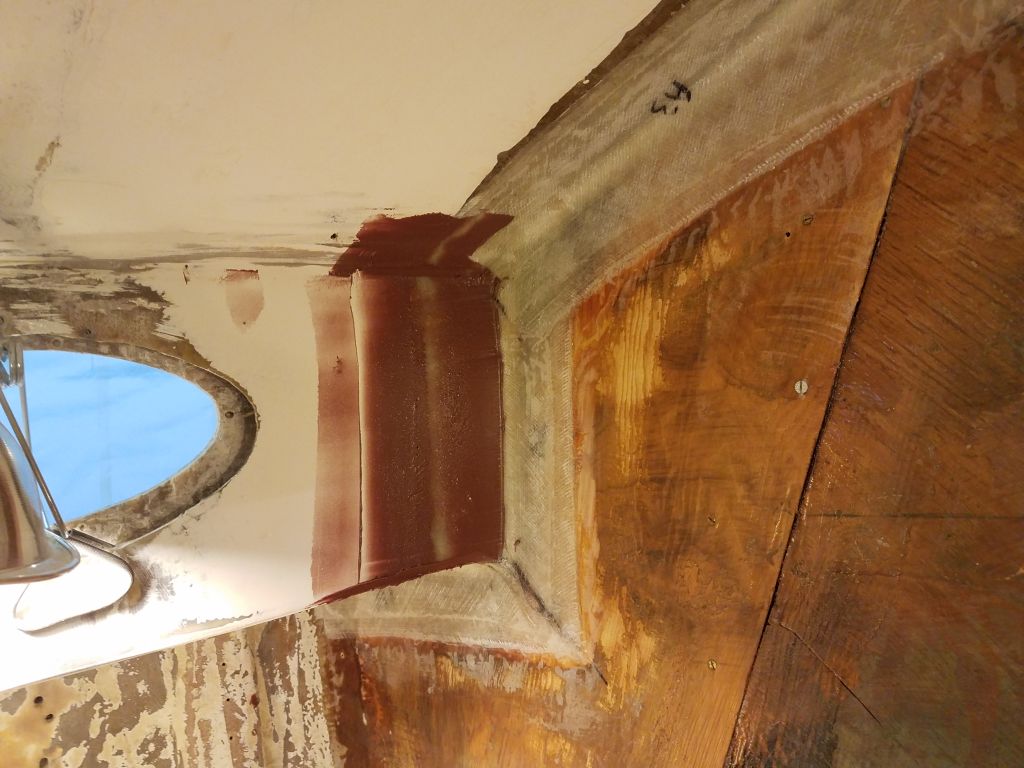
At the port after corner of the forward cabin, I added some fiberglass to reinforce the last bit of that old cut seam left over from previous repairs to the boat some years before. When I repaired the forward sections of this cut earlier, I’d left the aftermost section until I determined how we were dealing with the bulkhead, but now I could fiberglass it and, a bit later, apply some of the fairing compound over the top.


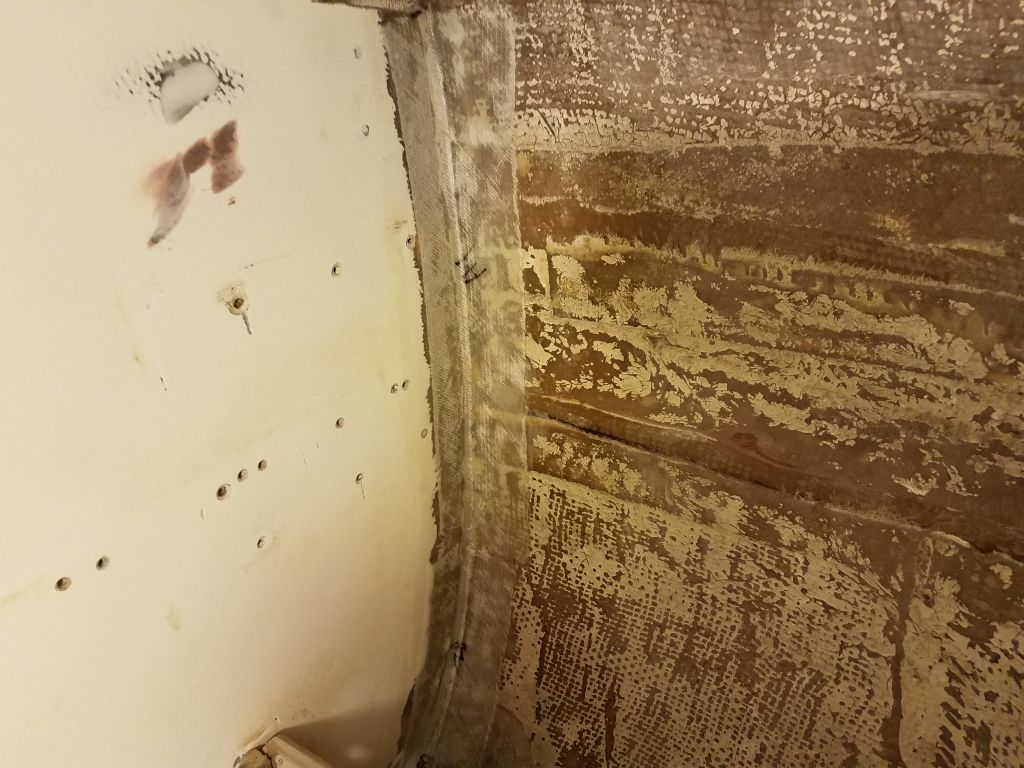
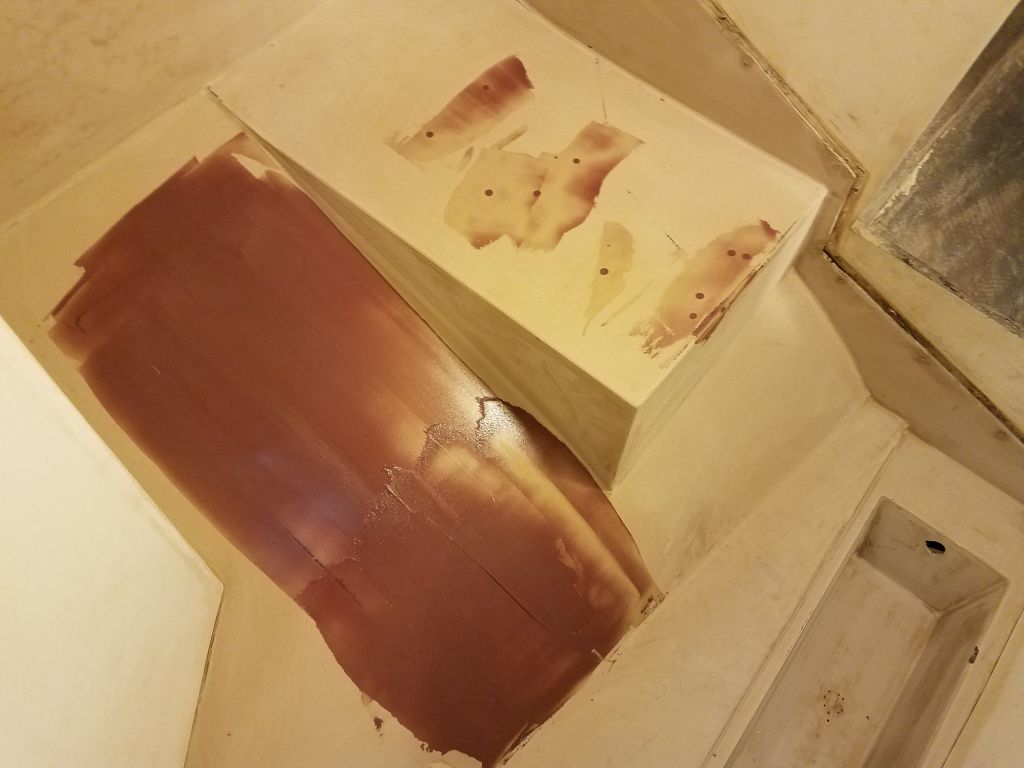
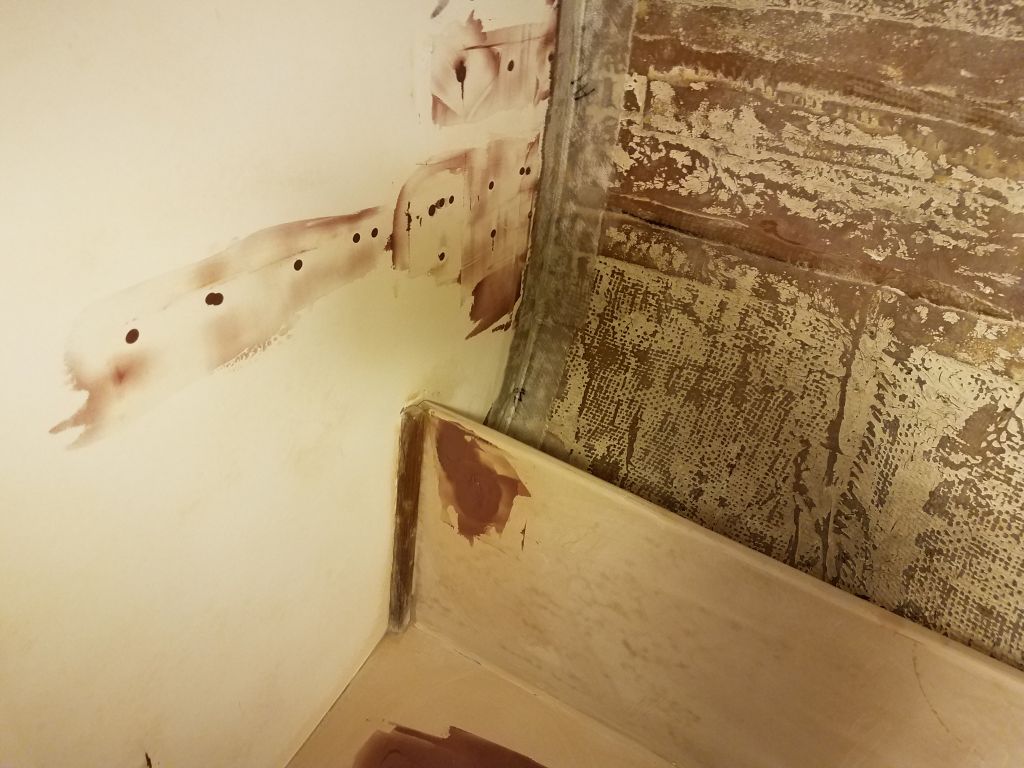
In the head, I applied fairing compound to the various screw holes left from the sink removal and other areas, and also applied a skim coat over the two sections of the molded sole to fill and smoothly incorporate the old molded nonskid pattern.
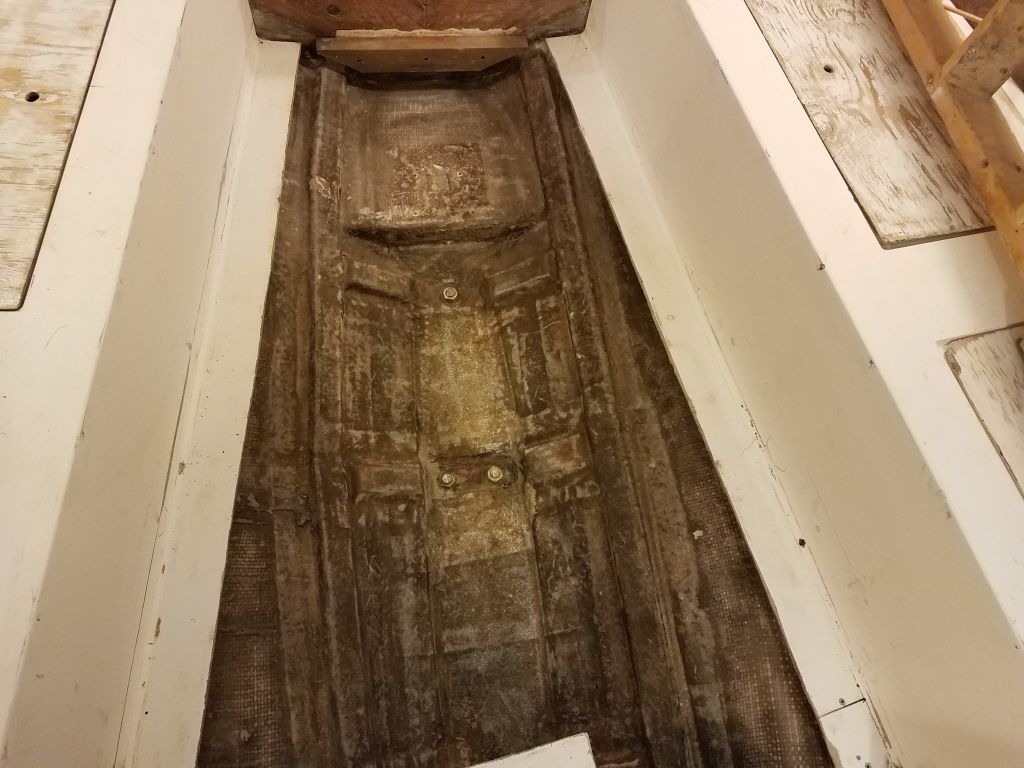
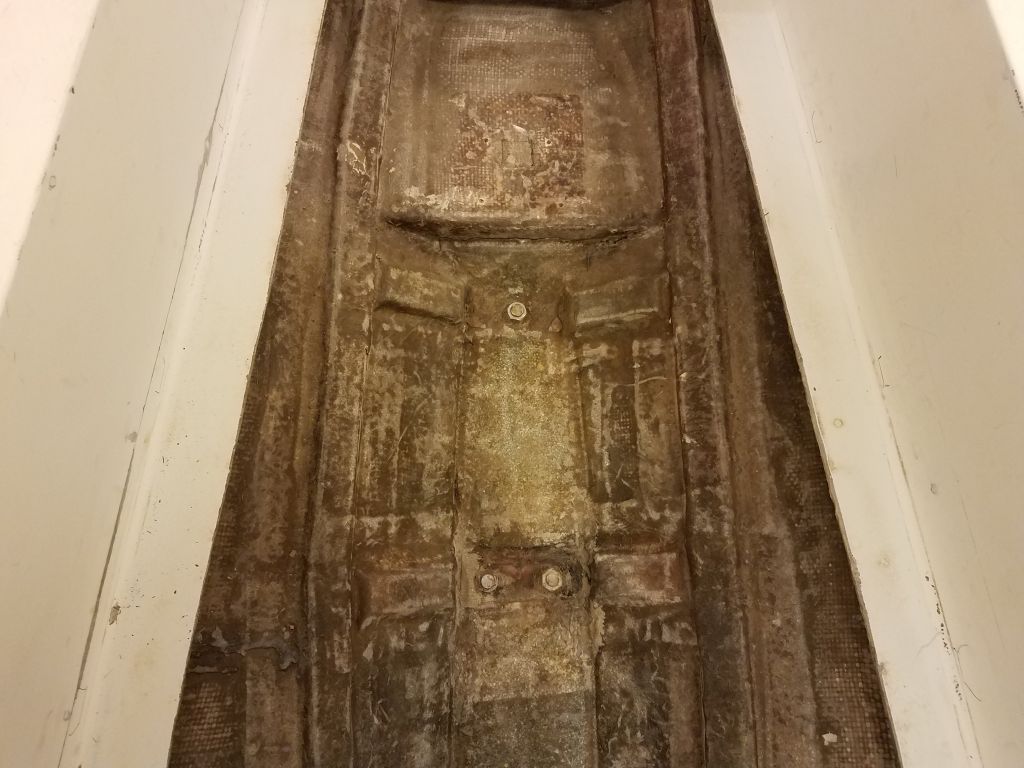
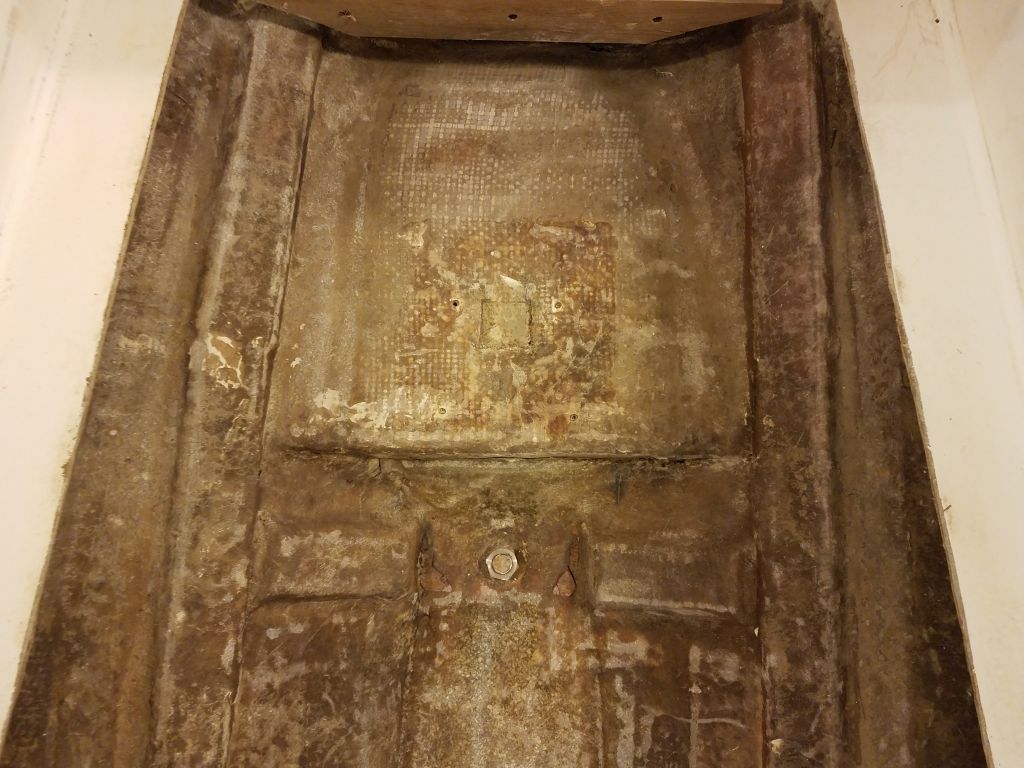
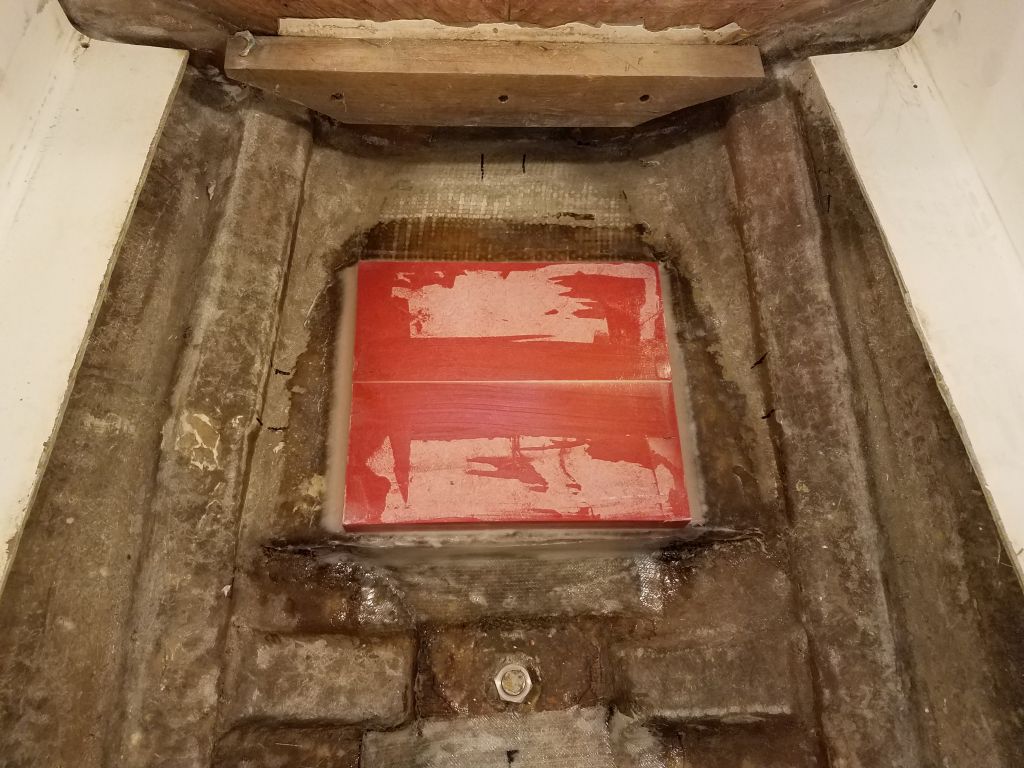
In this boat, the mast is deck-stepped, but directly supported from beneath with a compression post between the main cabin overhead and the keel. This location was just aft of the main bulkhead. I’d removed the wooden compression post much earlier in the project, but now with the cabin sole removed the main support for the whole thing–a flat, reinforced area just forward of the keel–was exposed, and it seemed a perfect time to enhance the original structure with a new solid fiberglass pad on which the future compression post could rest. The original structure was sound enough, and surely built from layers of plywood covered and encapsulated with fiberglass, but there was a square, slightly-depressed section in the center that suggested that the original post had, over time, pressed into the structure slightly.
From 1″ prefabricated fiberglass sheeting, I cut pieces to fit the space and epoxied them to the flat area beneath, adding a nice wide fillet around the edges and leaving plenty of space around the edges for bilge water to flow. Later, I’d glass over the top of this to complete it.
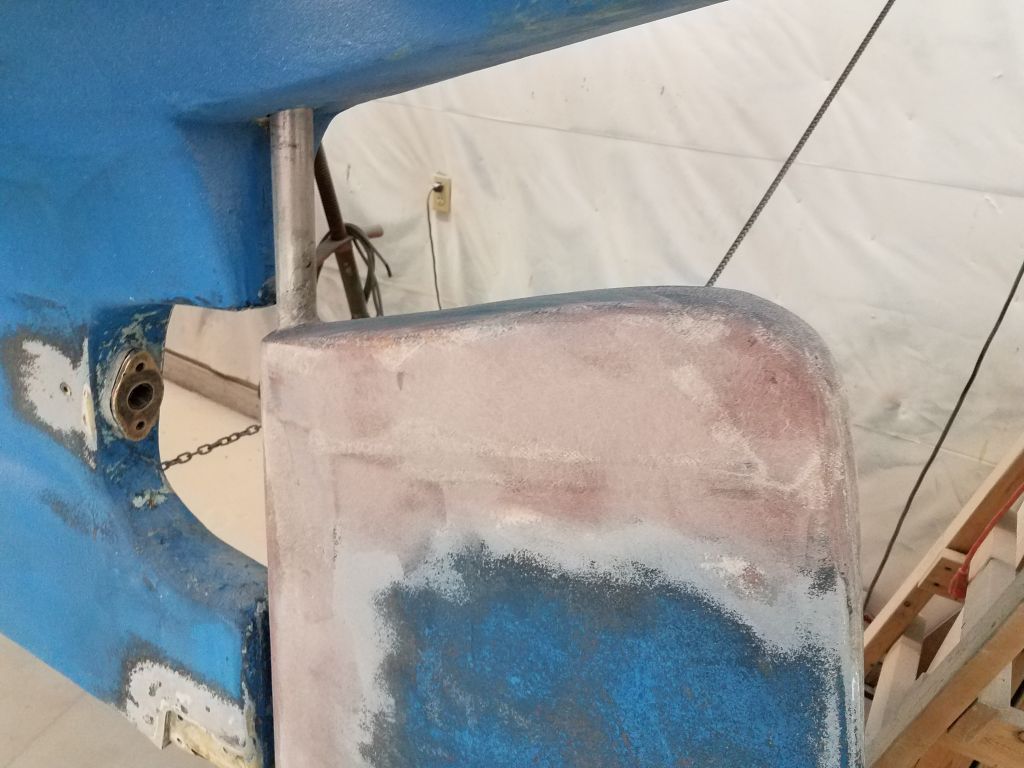
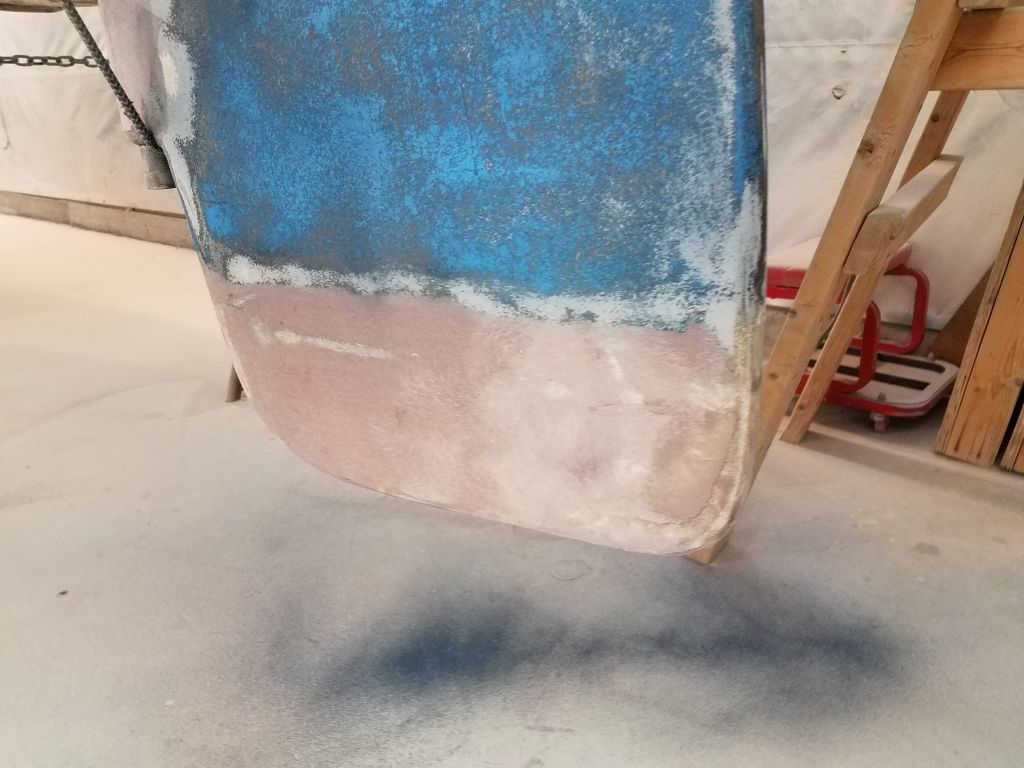
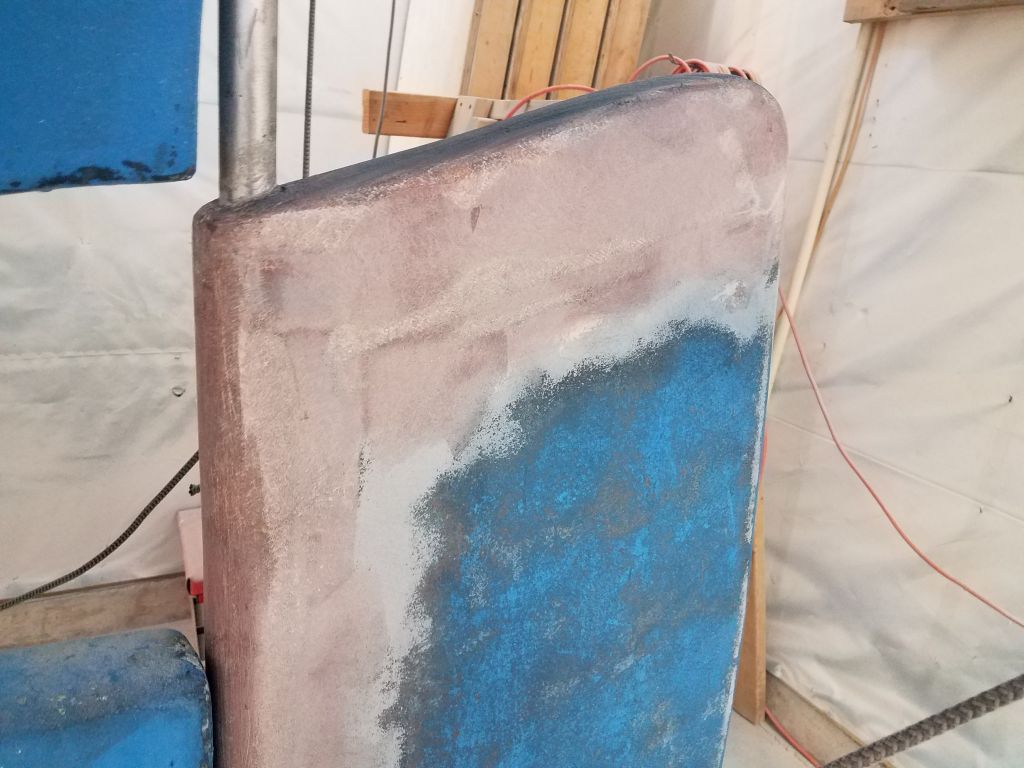
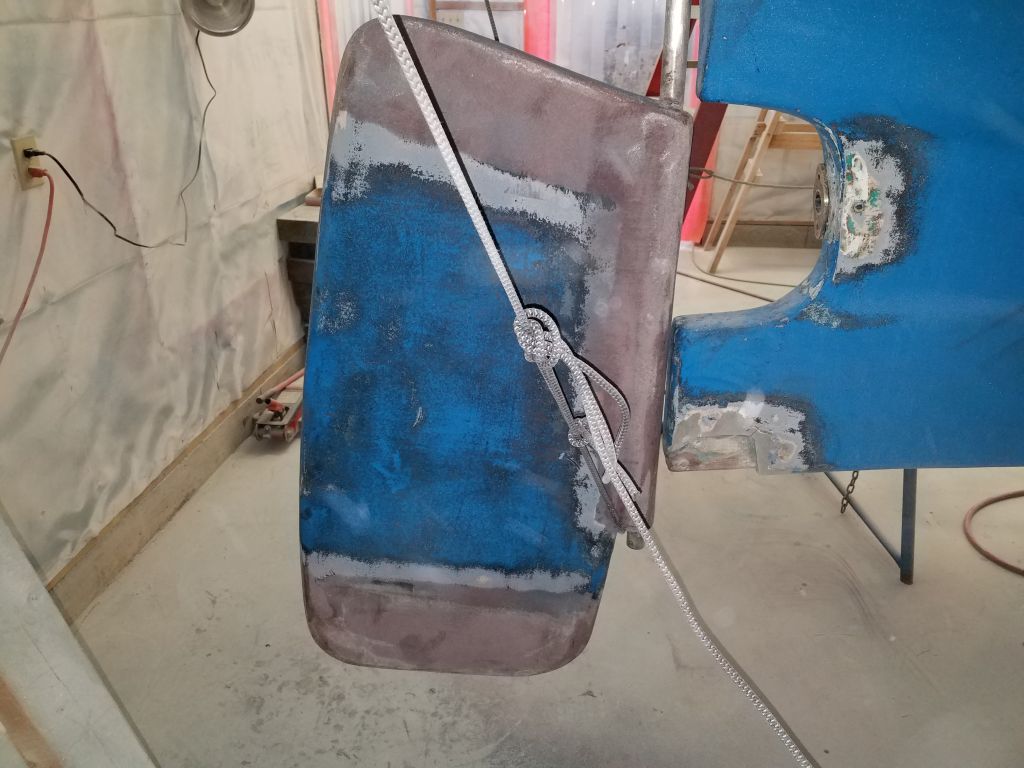
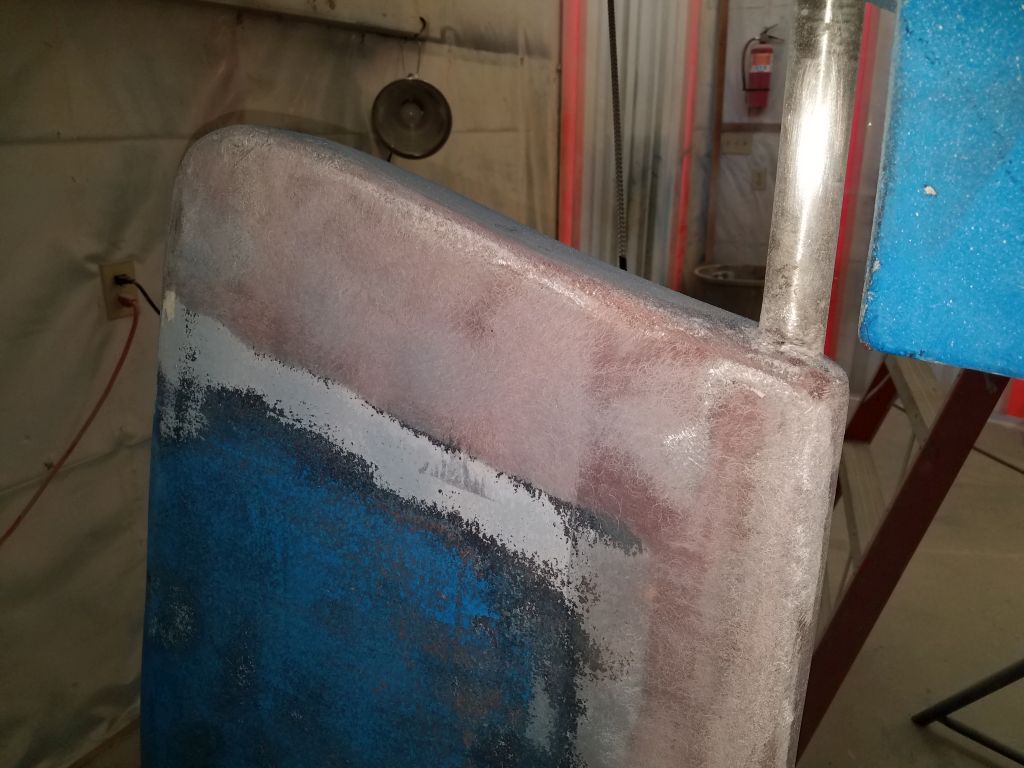
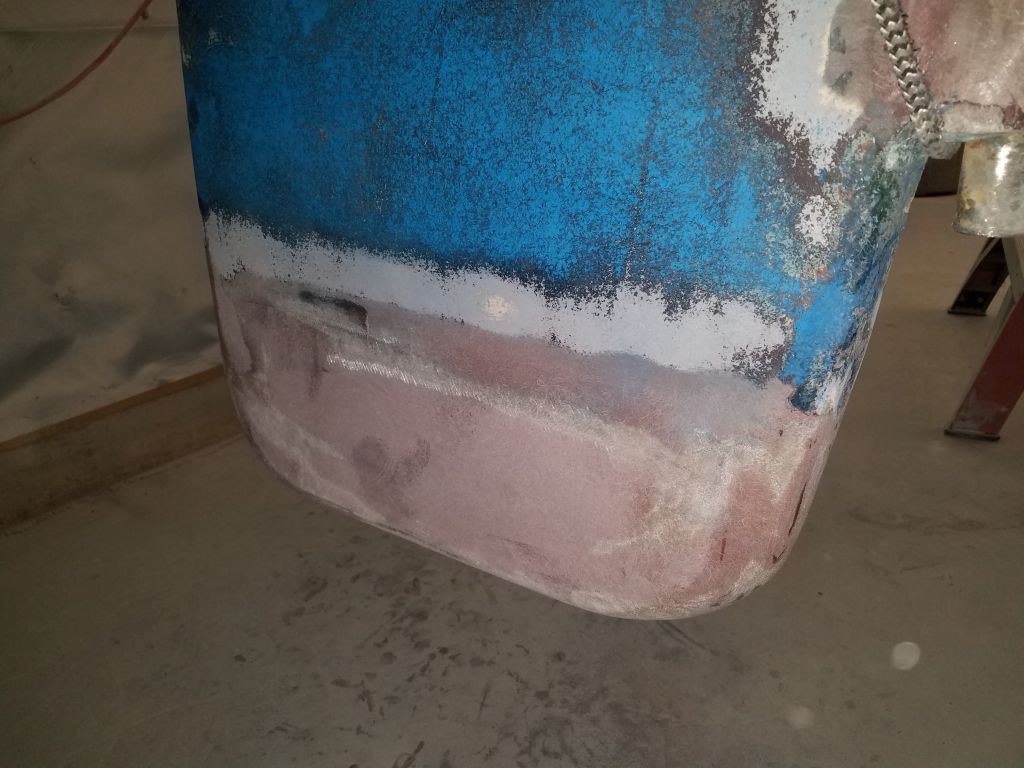
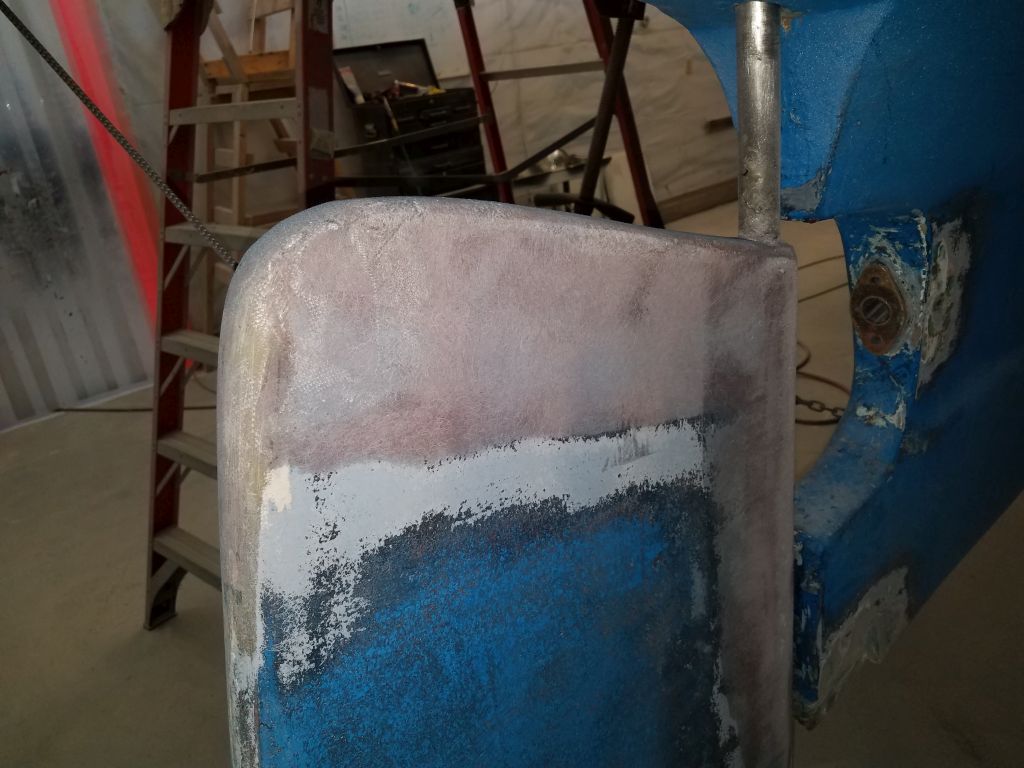
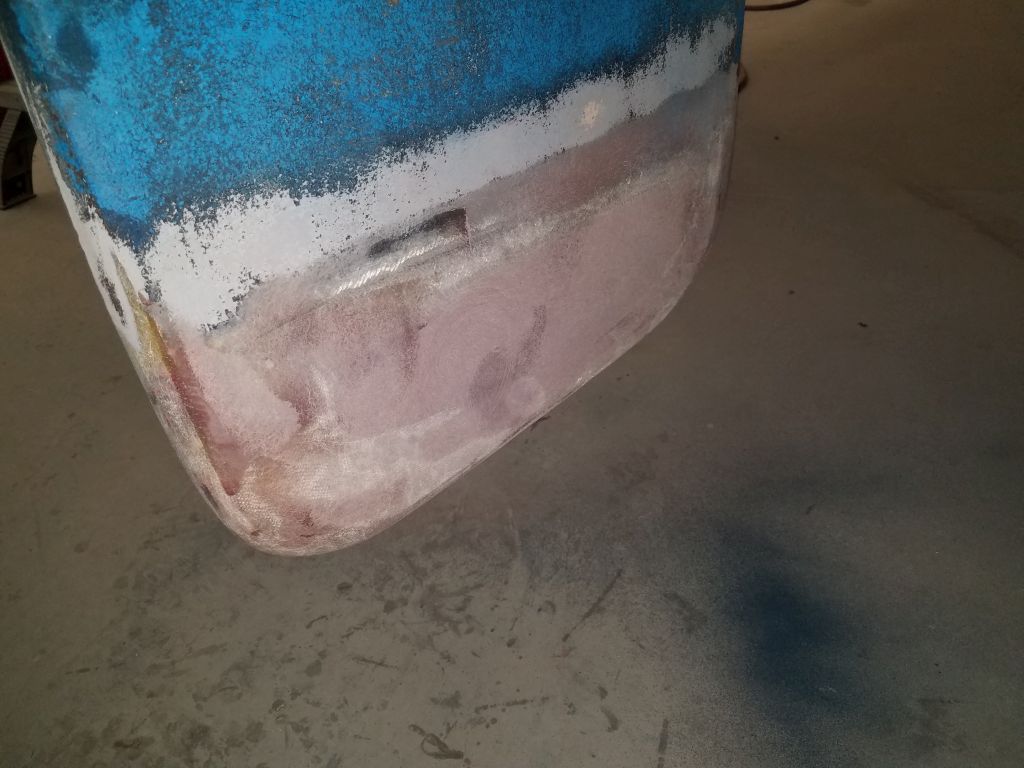
The rudder needed one more light sanding to finish up the final areas where I’d spot-applied epoxy fairing compound, and now I deemed the repair and rebuilding work complete.

In the midst of all this, I’d finalized my plywood and lumber order, including plywood for the cabin sole and cherry for all the interior trim, and made arrangements for its delivery on Tuesday.
Total time billed on this job today: 8 hours
0600 Weather Observation: 15°, partly clear. Forecast for the day: Sunny, 24°