


November 18, 2019
Scupper 185
Monday
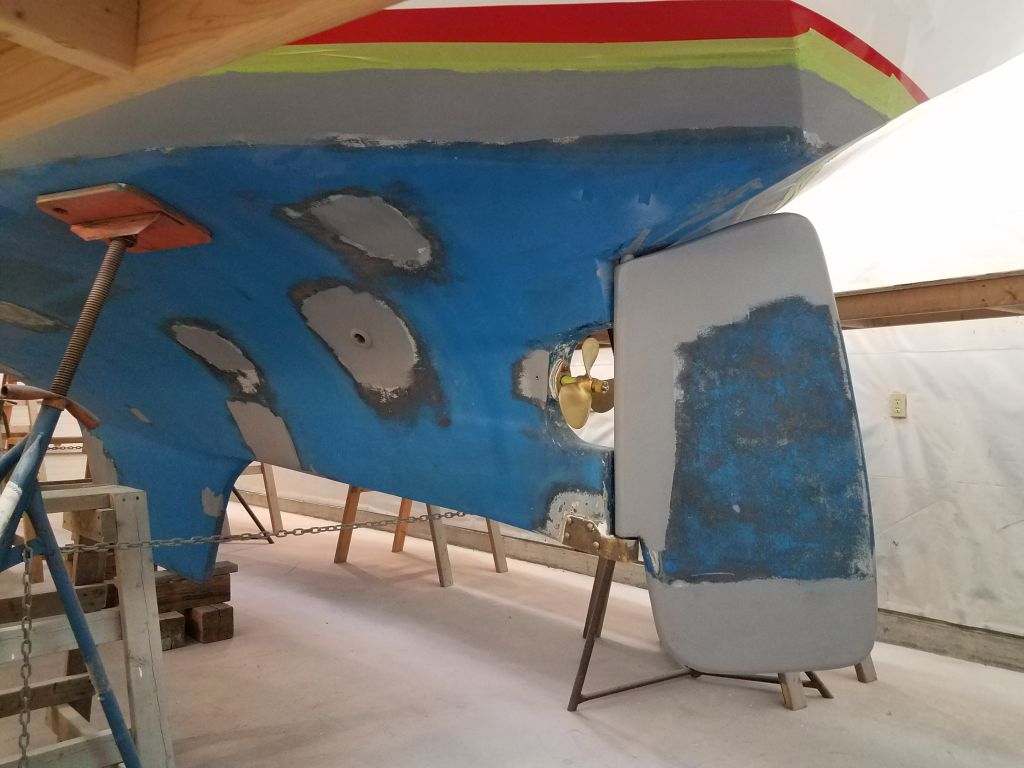
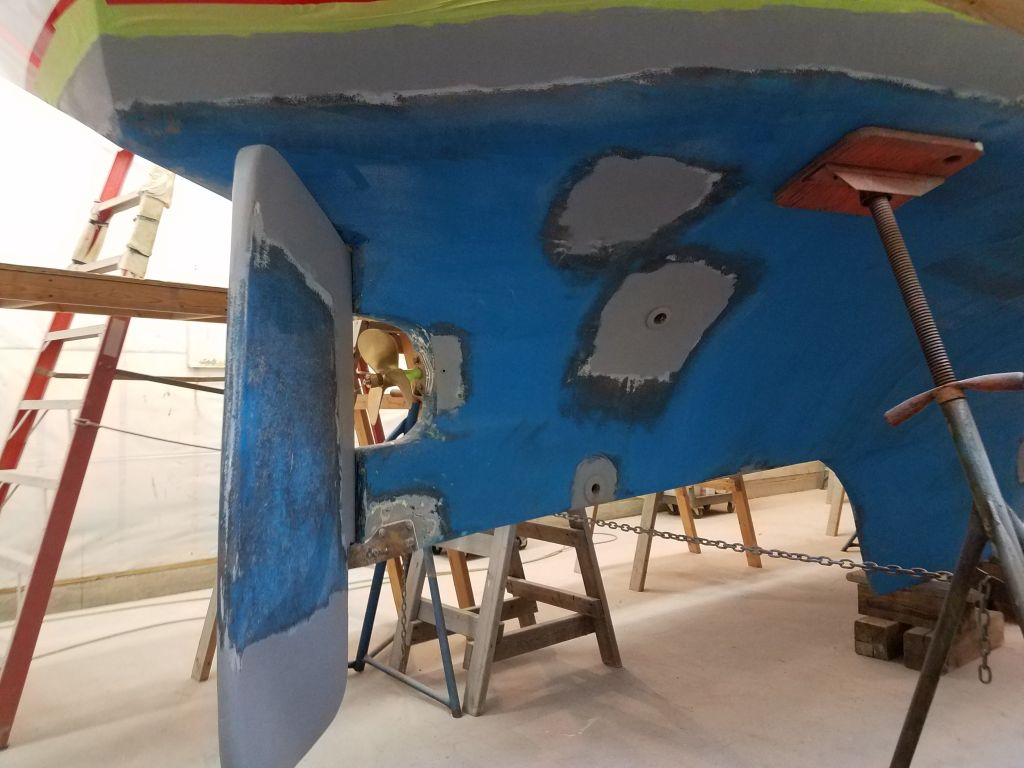
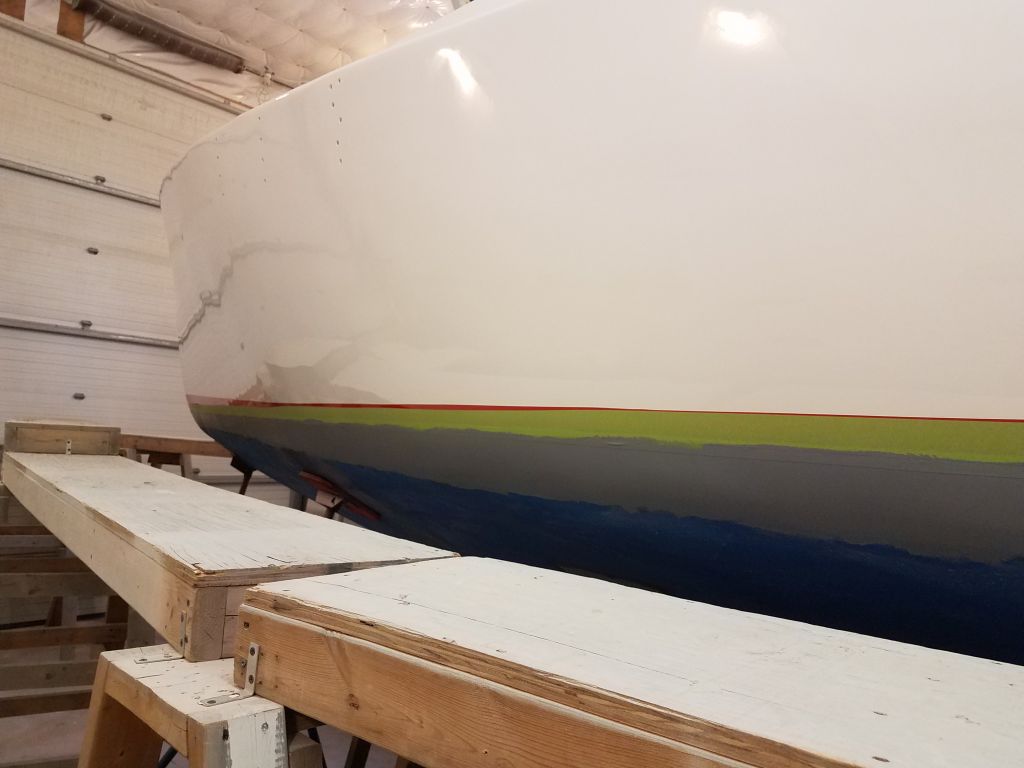
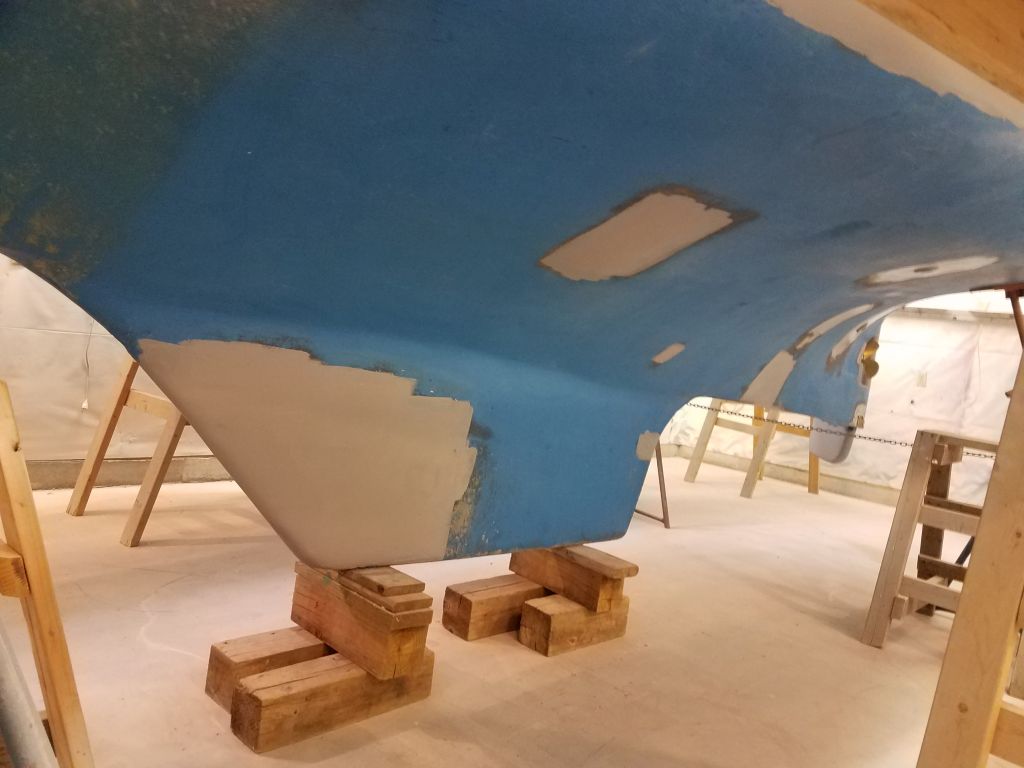
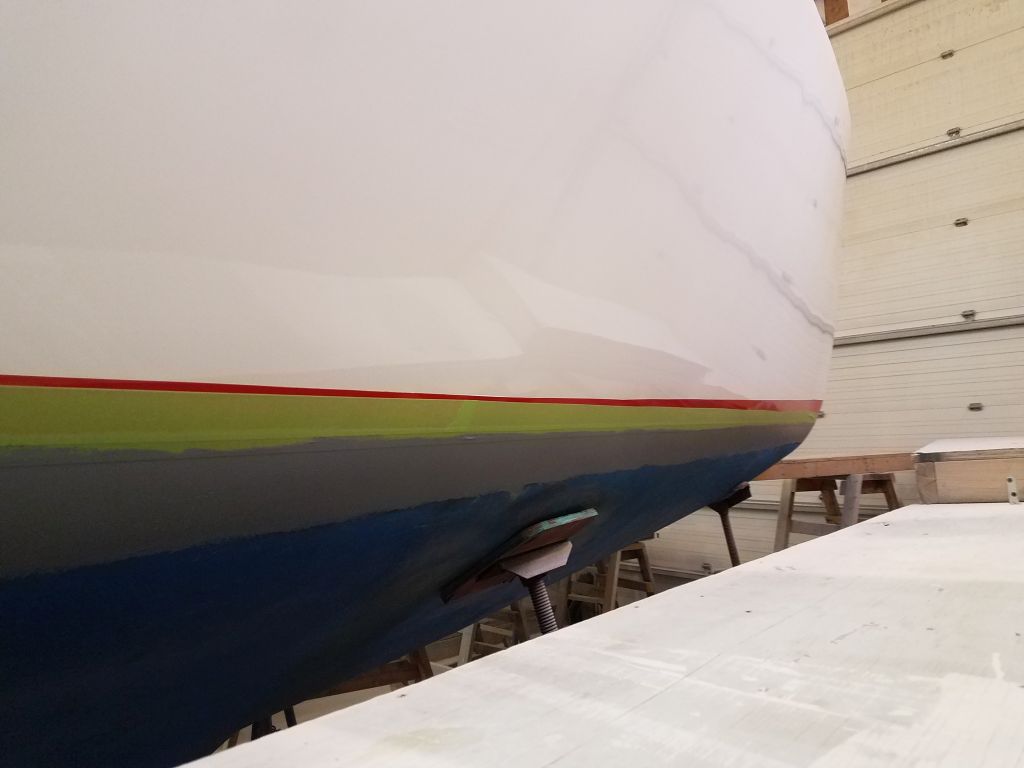
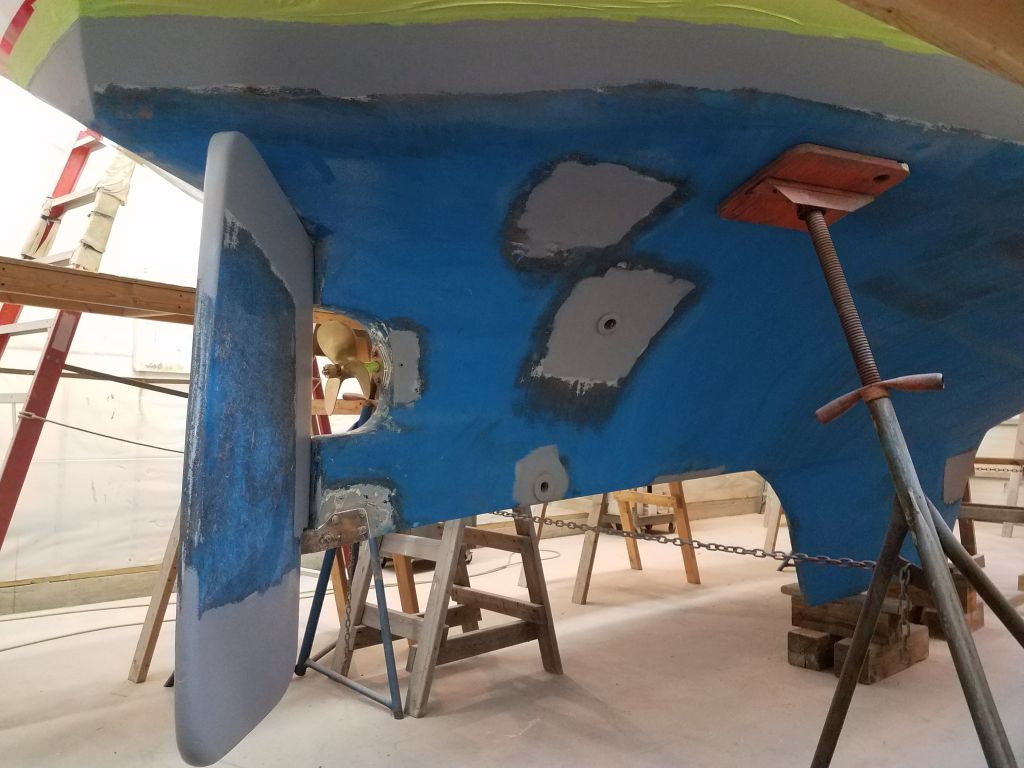
I thought the fresh deck paint would benefit from another day’s cure time before I started covering it up with protective material that would allow me to walk and work on and around the decks for the rest of the project, so I decided to finish up the bottom work now. The boat in her as-arrived form had had a barrier coat applied to the bottom fairly recently, and with minimal bottom paint above the epoxy coating we decided long ago to leave the bottom as is, and with barrier coat already in place over the bulk of the bottom all that remained was to apply some where needed.
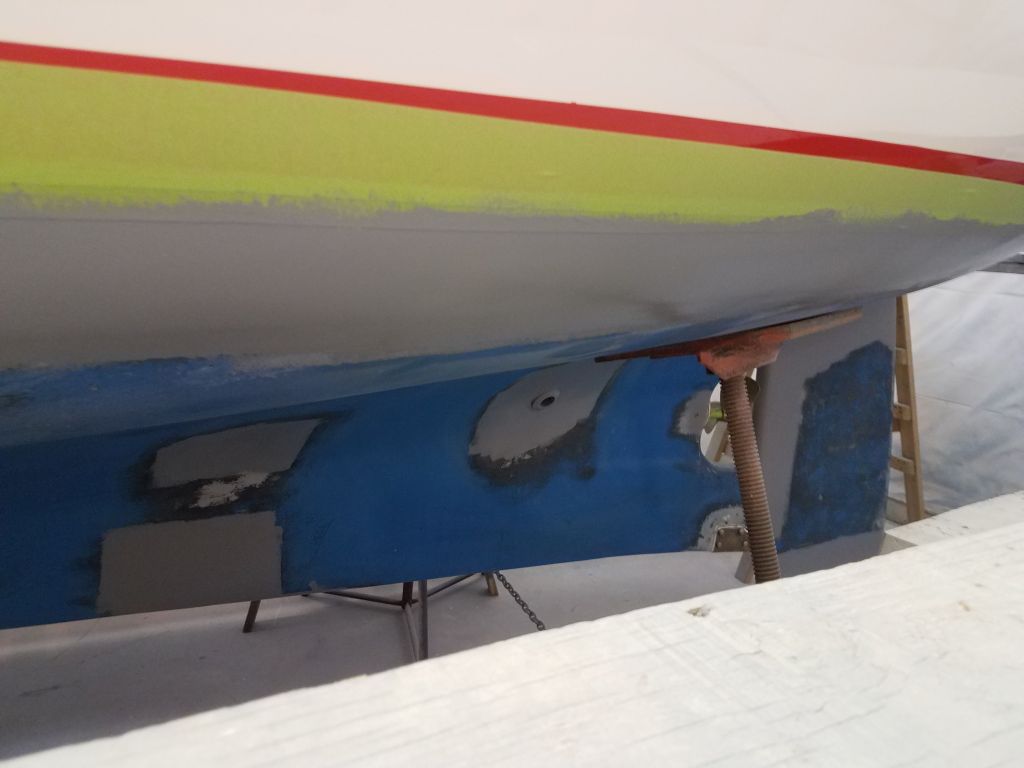
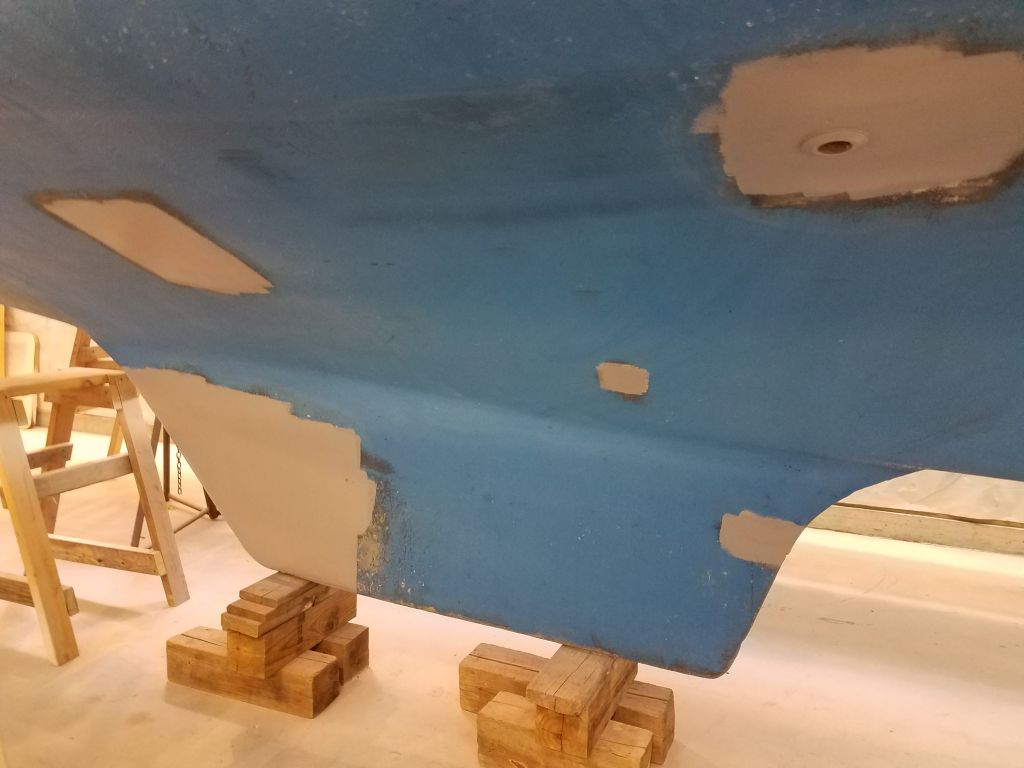
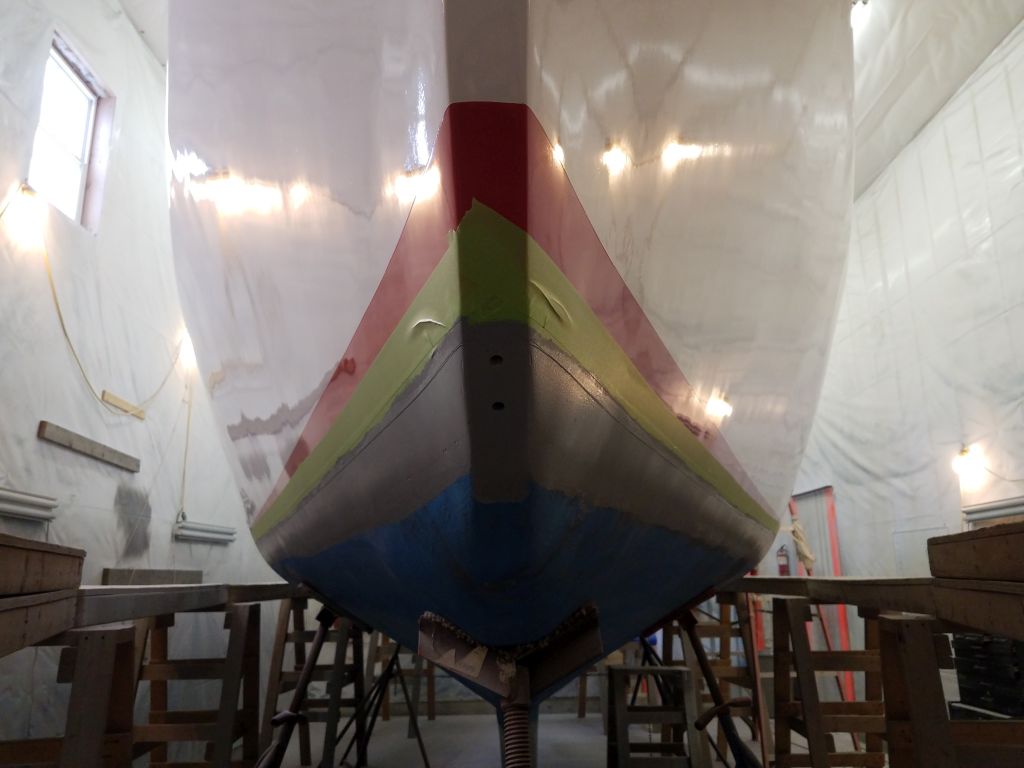
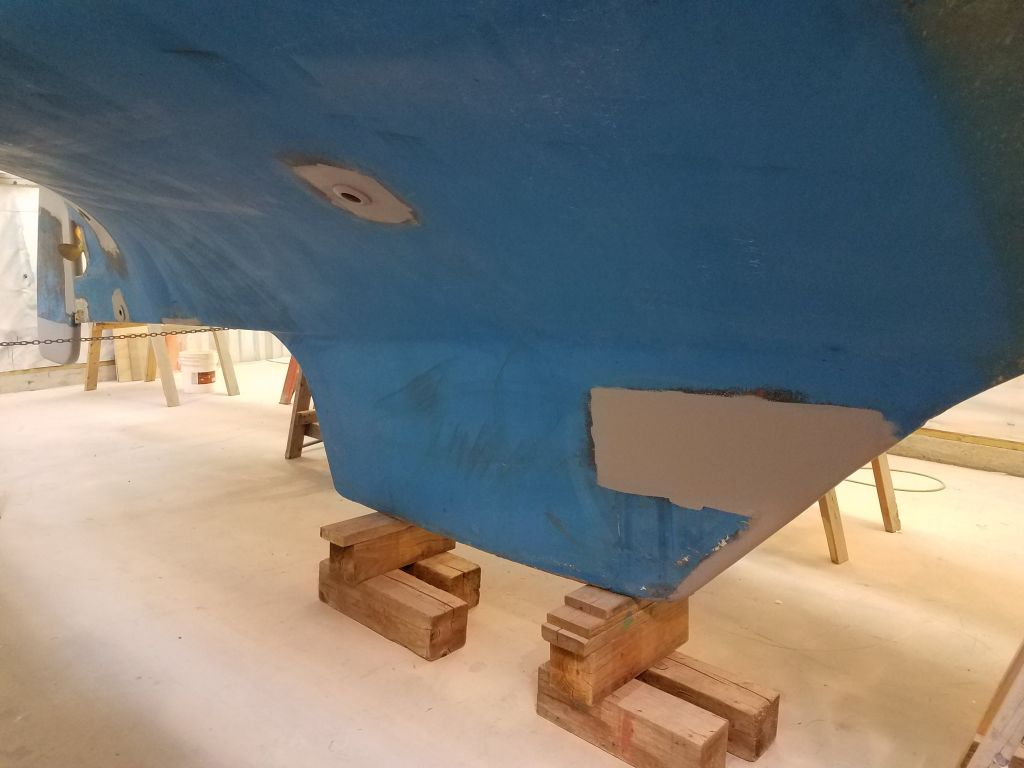
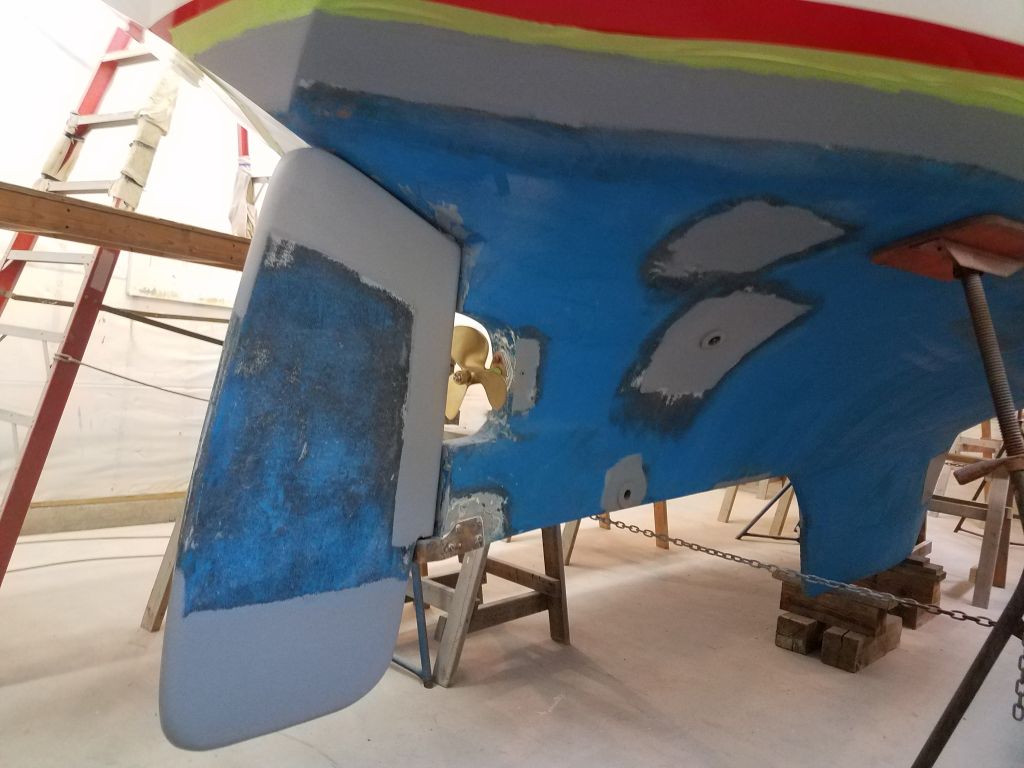
After masking off the bottom edge of the boottop, and cleaning the bottom as needed, I started the first of several coats of epoxy barrier coating on the untreated area above the old waterline, and on various patches and repairs elsewhere on the bottom.

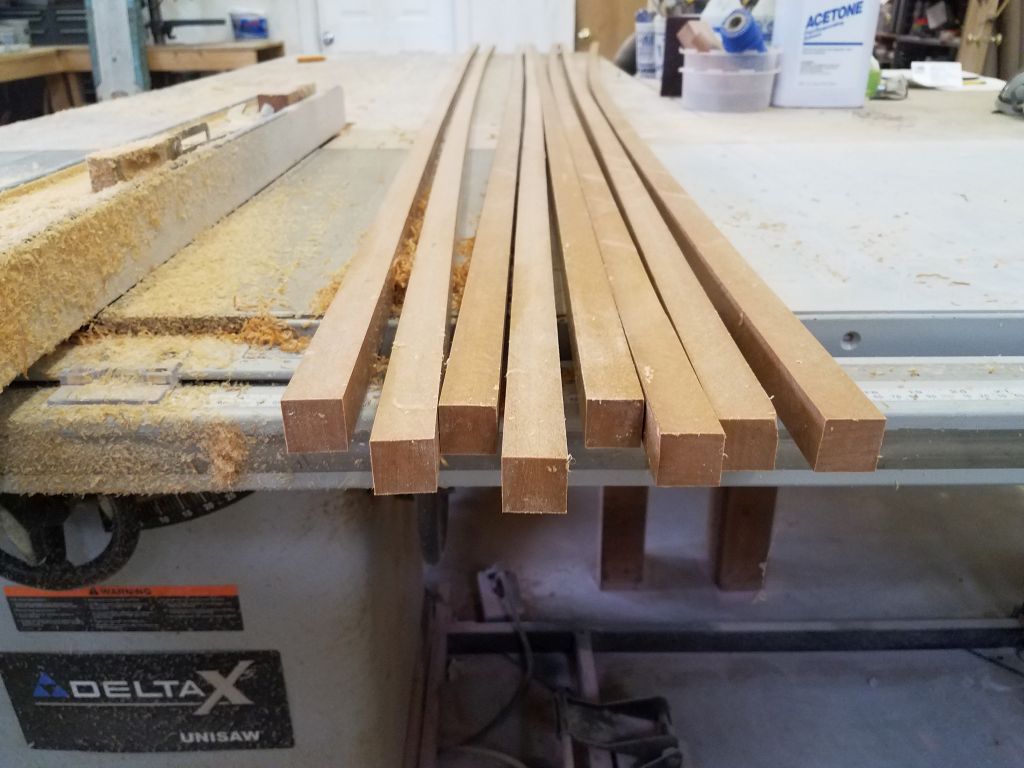
While the first barrier coat cured for a while, I started work on the toerails. I chose to work on the toerails now because I needed to have them in place sooner than later, as much or most of the other deck hardware depended on the toerails’ placement. The owner chose a plastic teak-replacement for the exterior trim, and starting with several larger pieces (nominal 2×4), I prepared to mill the 1″ square blanks required for the new rail. I started with a sample piece to test the material’s mill-ability for the various processes it needed to undergo for this purpose, including routing the two top corners to create a rounded profile, and sanding away any tool marks.
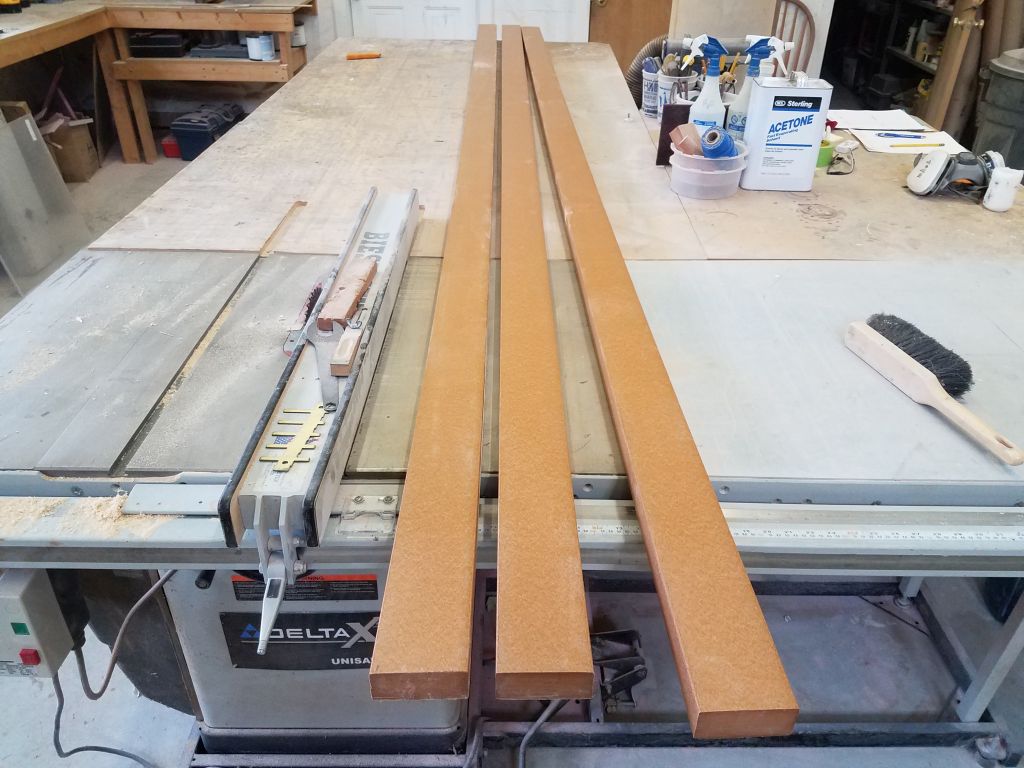


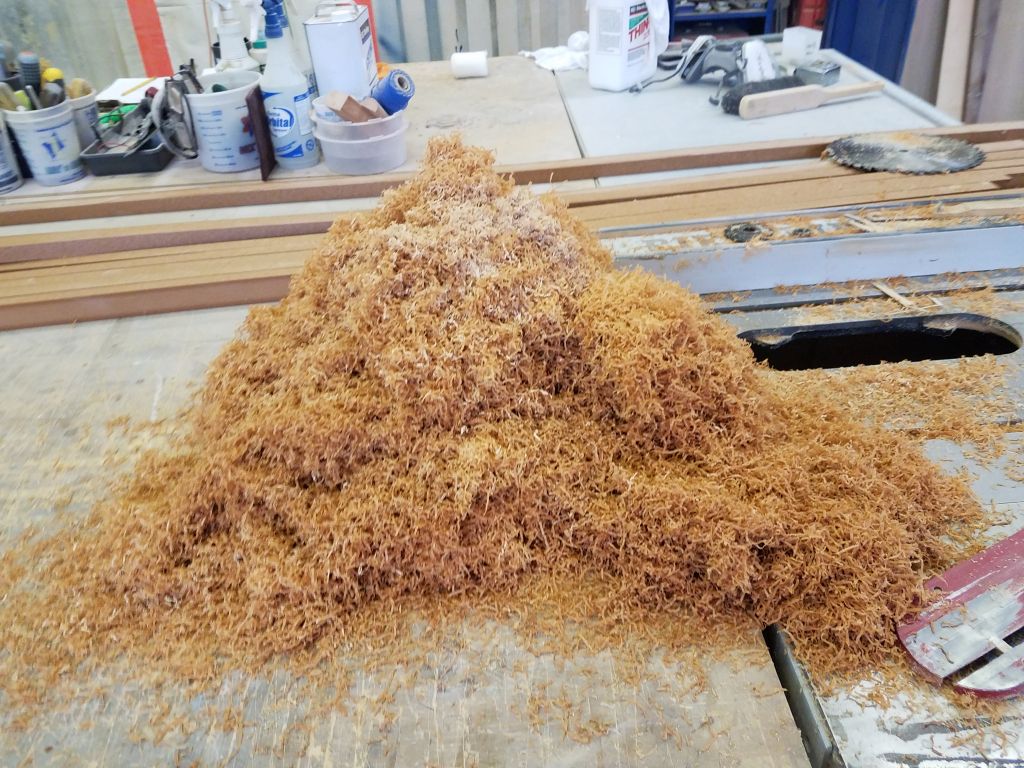
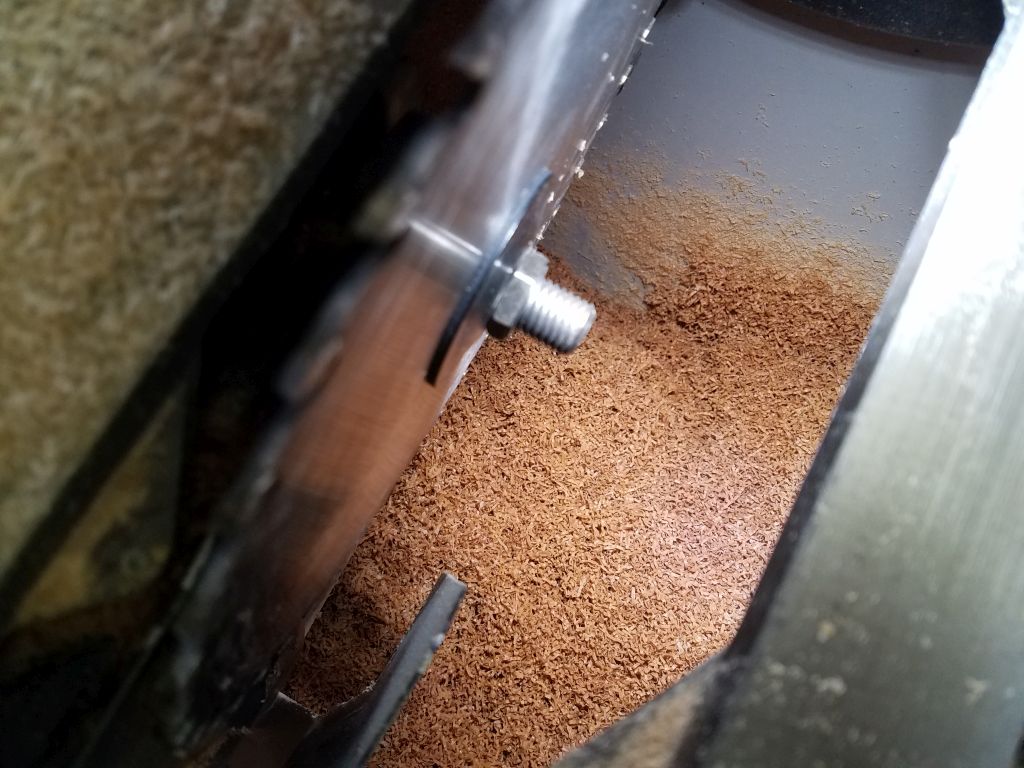
Satisfied with the process, I continued and milled enough blanks for the rest of the toerail. I found that my dust collector wouldn’t pull through the wiry spoils from the table saw as I milled the blanks, which forced a work stoppage so I could empty out the completely-full table saw base. I thought that the initial clogging was a result of some pre-existing condition that I’d been unaware of, but even after cleaning out the base, further milling revealed that the base was filling up again, and that clearly the vacuum system couldn’t manage the heavier plastic spoils.
Meanwhile, the epoxy barrier coat had cured enough so I could continue with the second coat.


With all the toerail blanks milled to their overall dimensions, I ran them through a small router table to round over the two top edges. During my test piece early in the day, I found that the plastic toerail material was hard to control through the cutter since it was heavy and slippery yet highly flexible, so I clamped on some wooden supports to pin the square blanks in place while they passed over the table, and the process went smoothly from there.

By lunchtime, I would apply the third and final coat of the epoxy barrier coating to the hull.

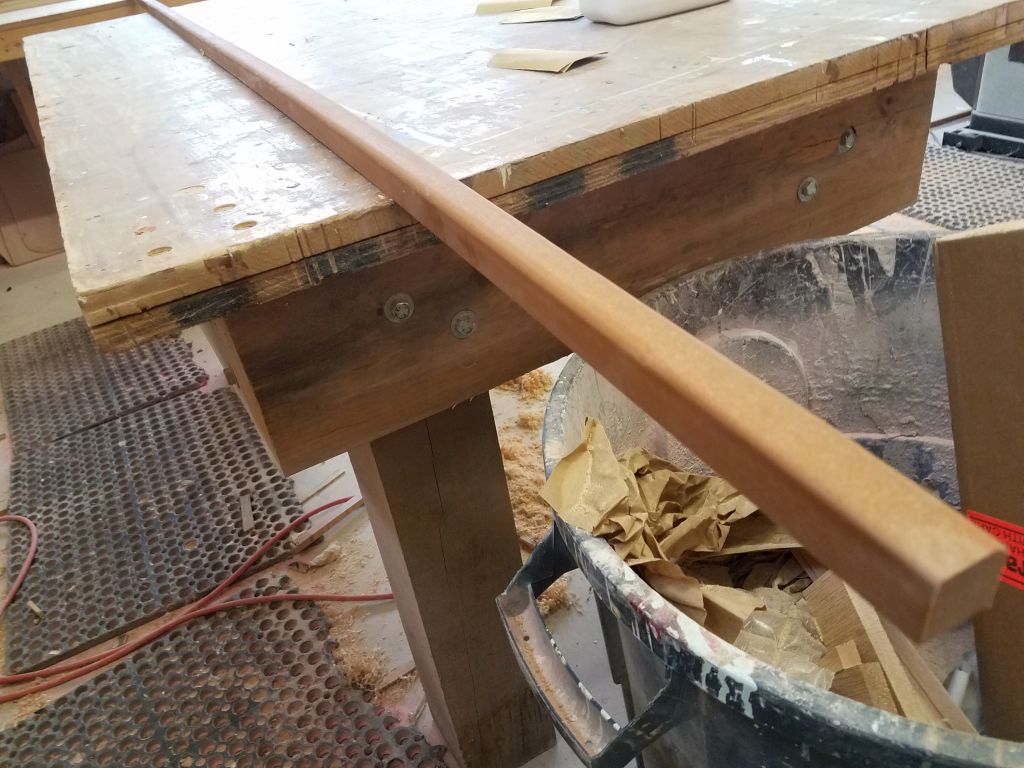
I spent most of the afternoon sanding the 12′ toerail blanks to remove tool marks and otherwise prepare the blanks for installation. The second photo shows the flexibility of the material, which I thought ought to make it fairly easy to bend into place along the deck edge.


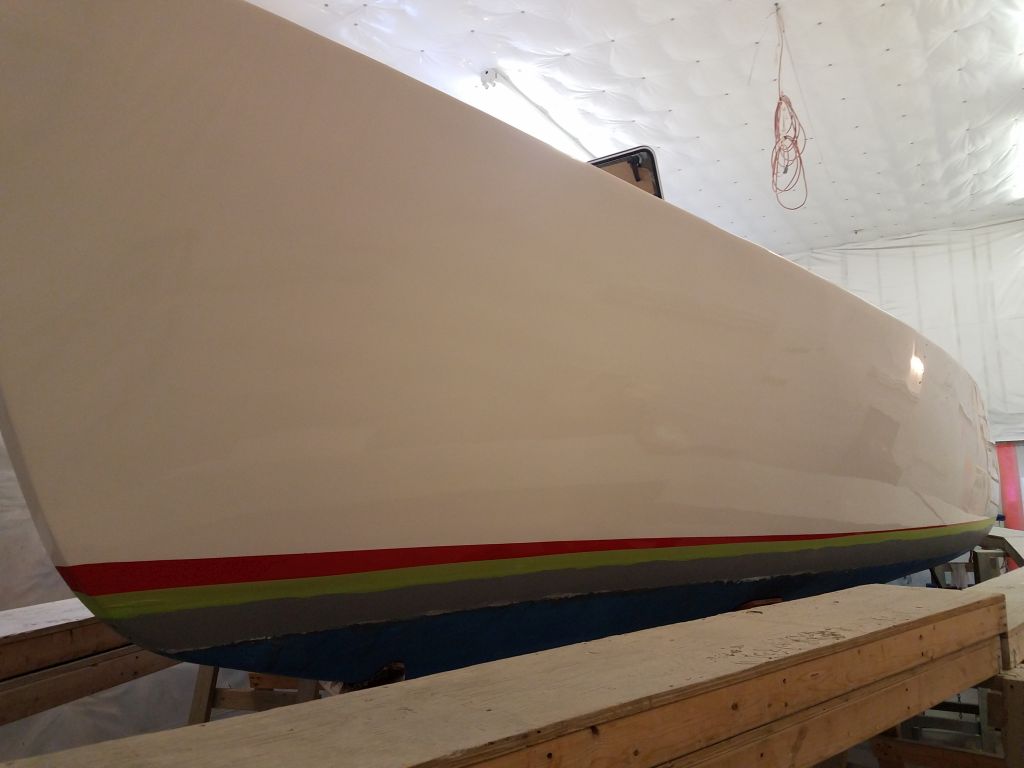
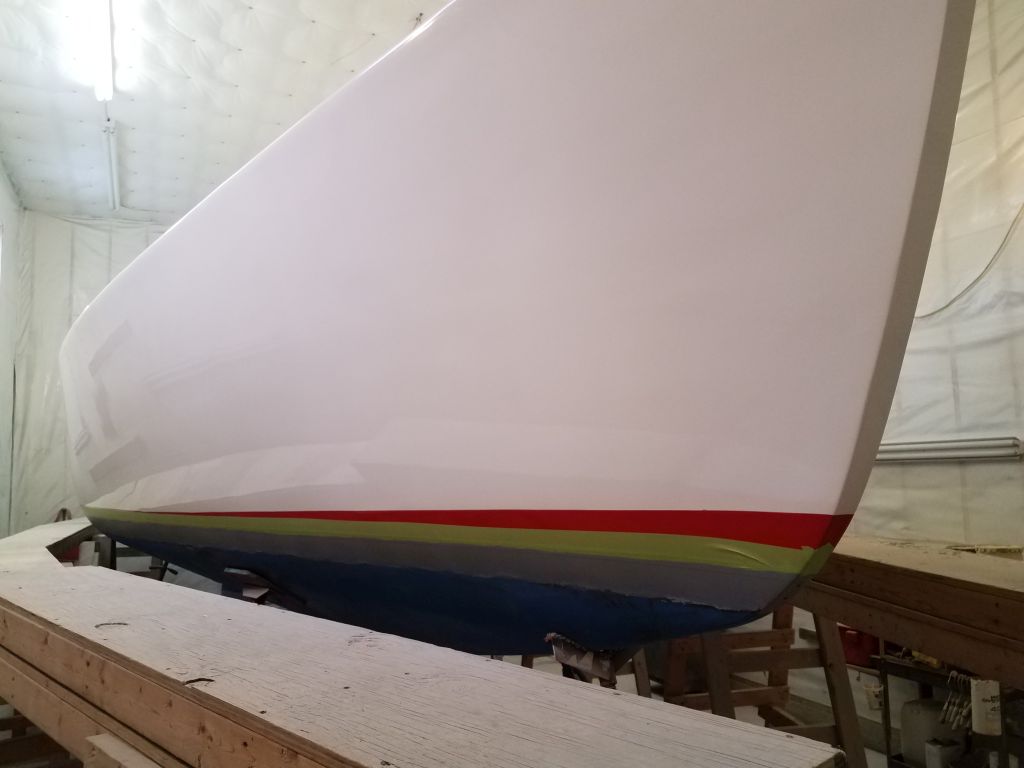
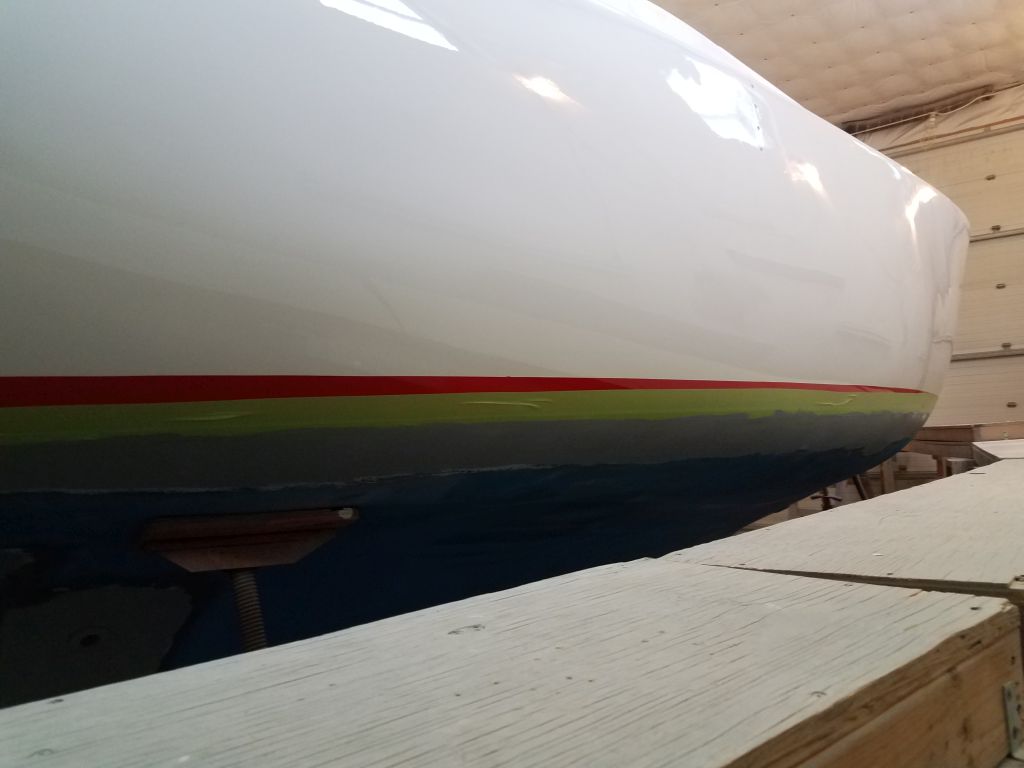
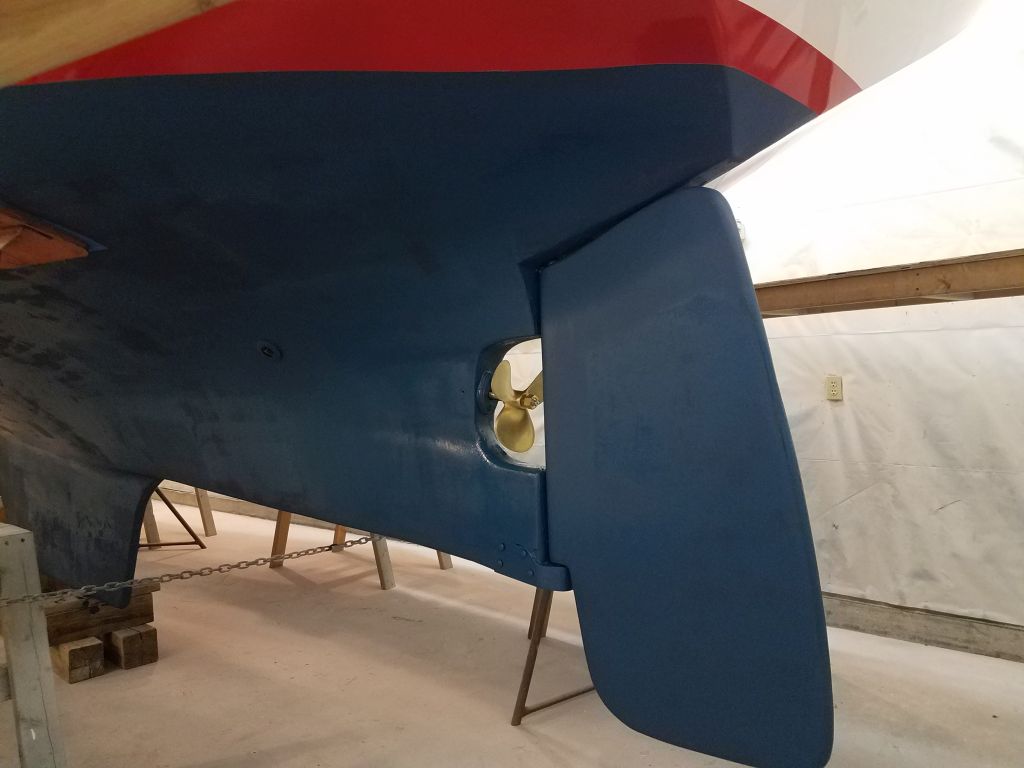
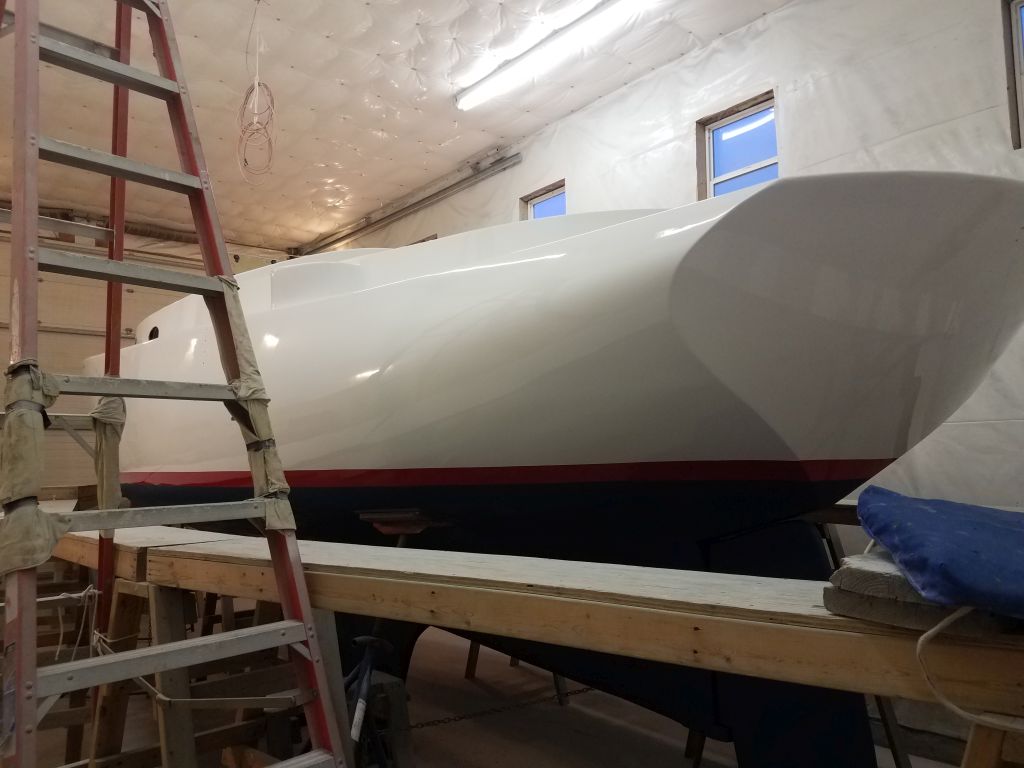
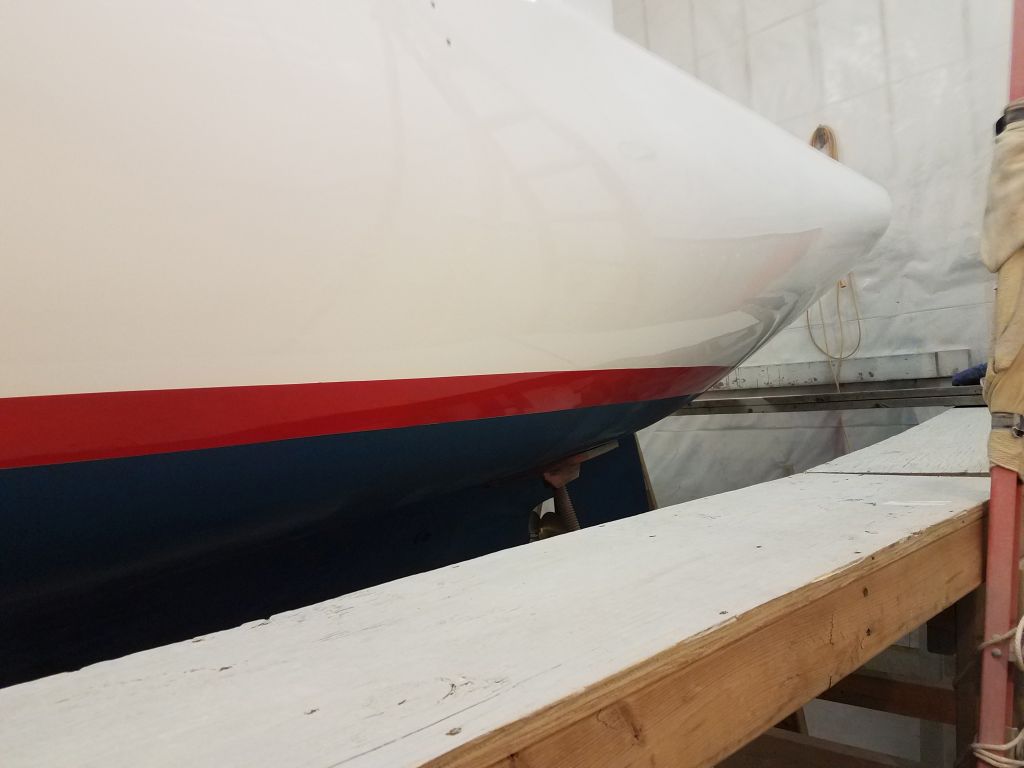
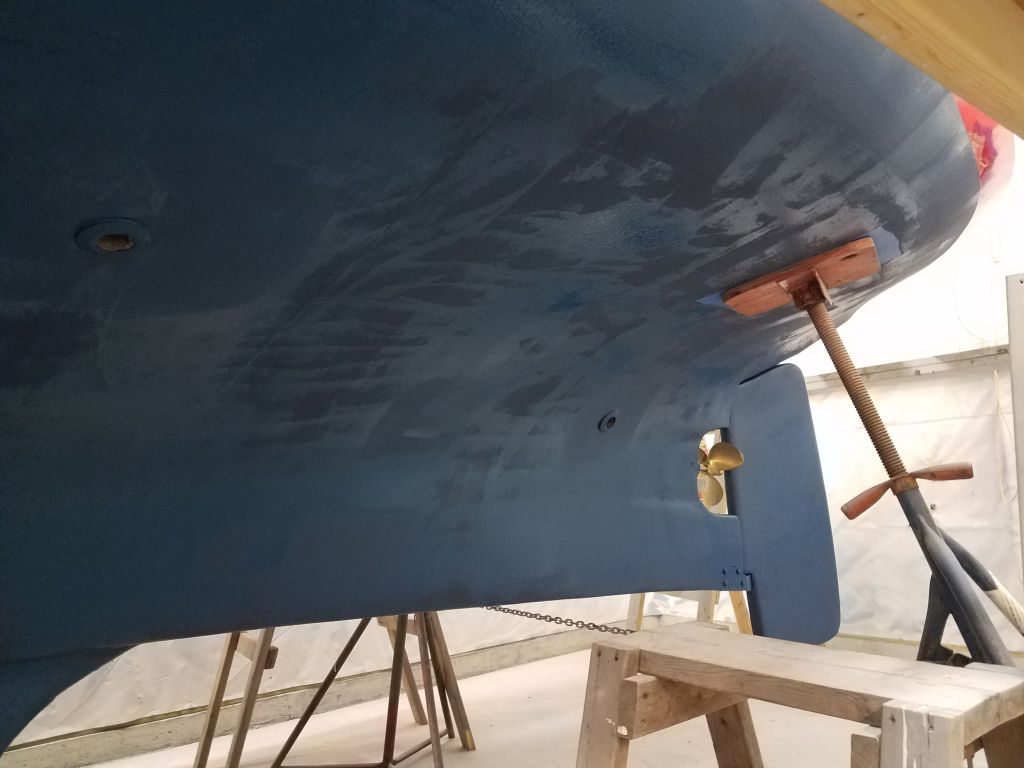
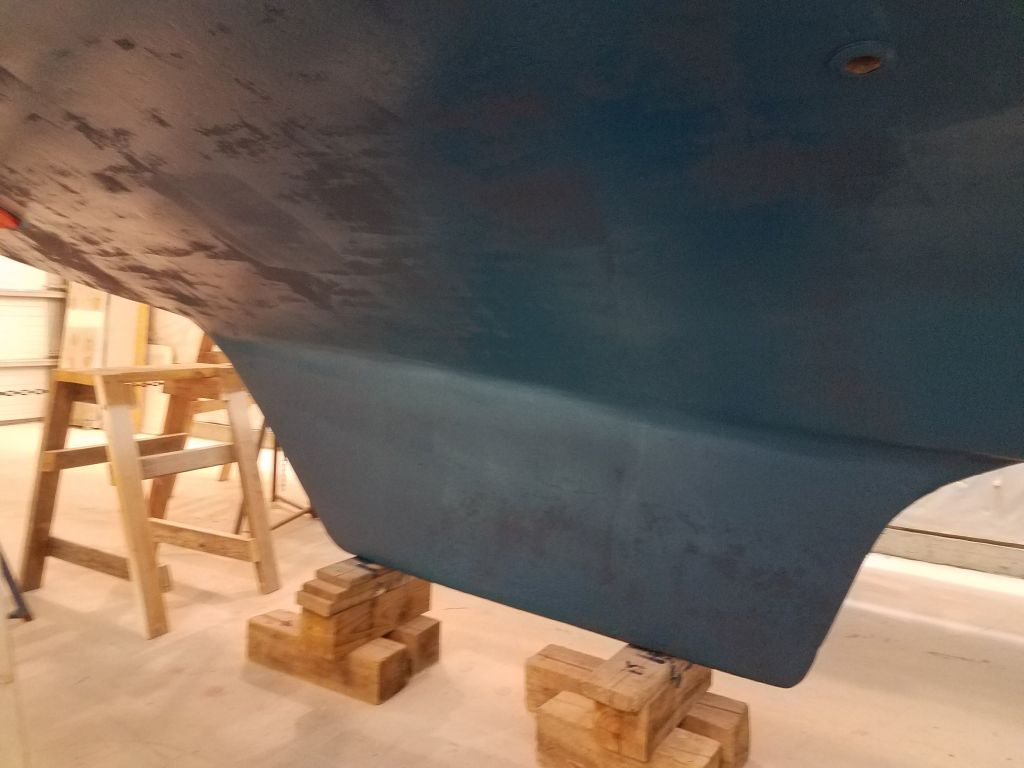
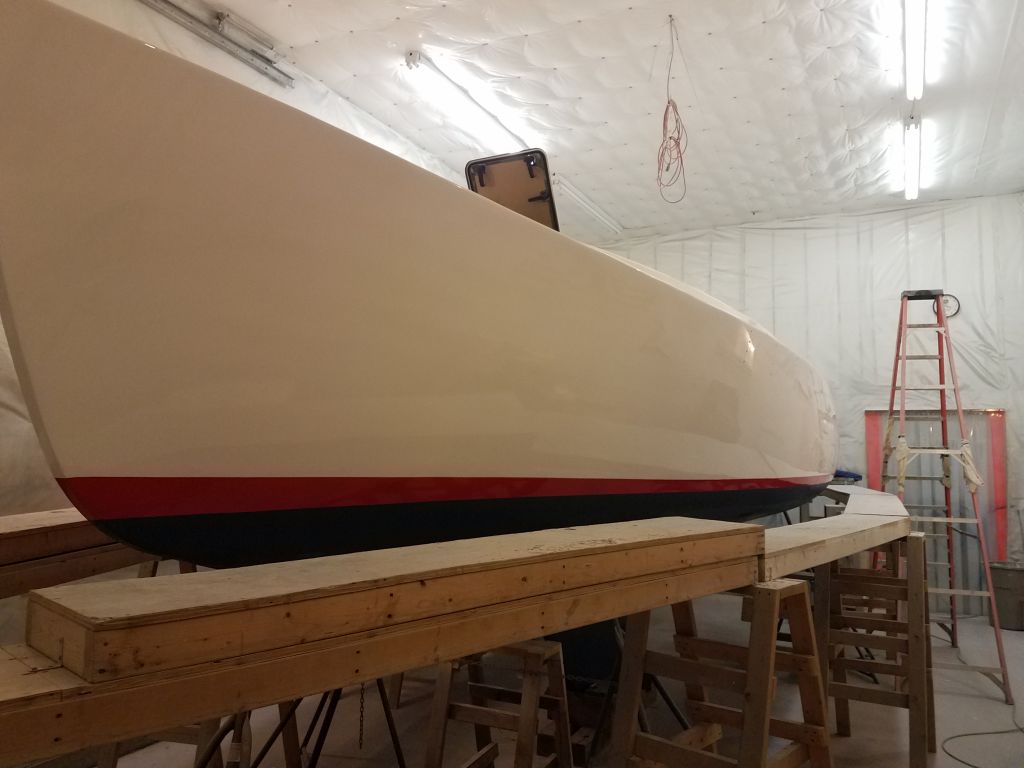
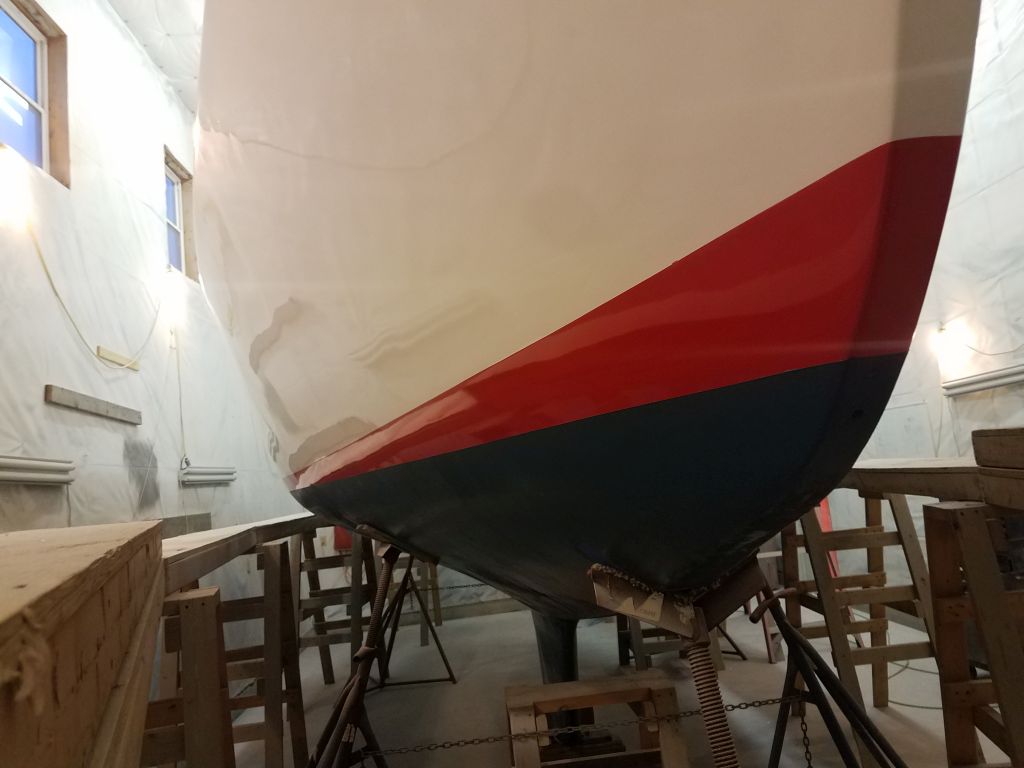
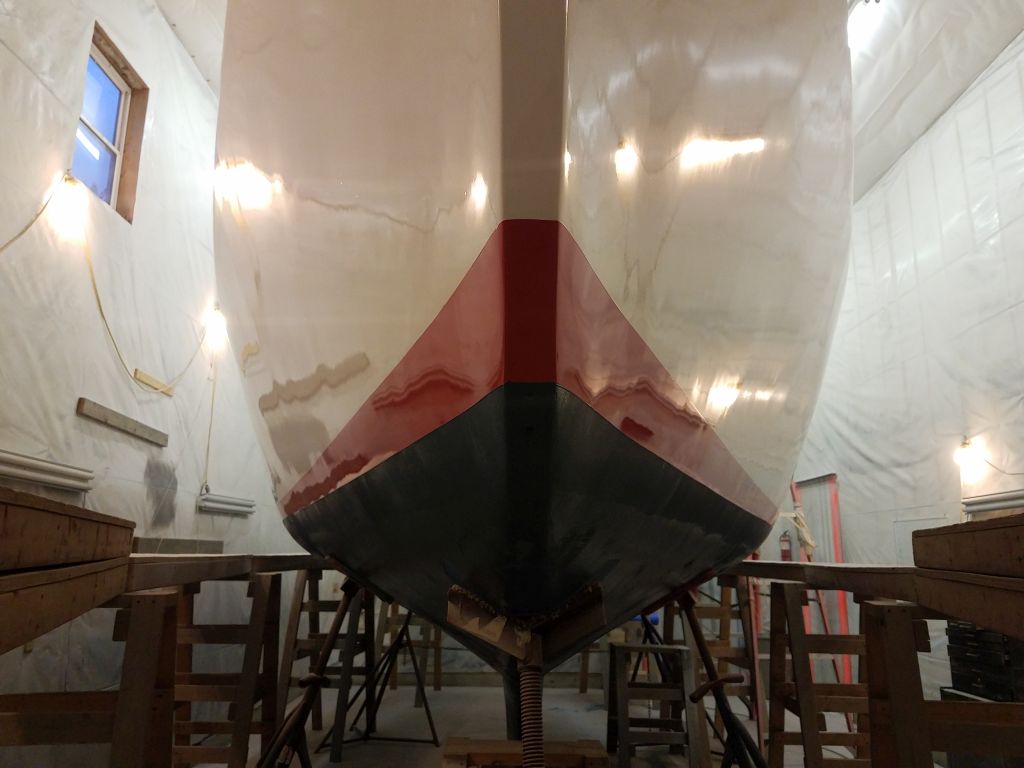
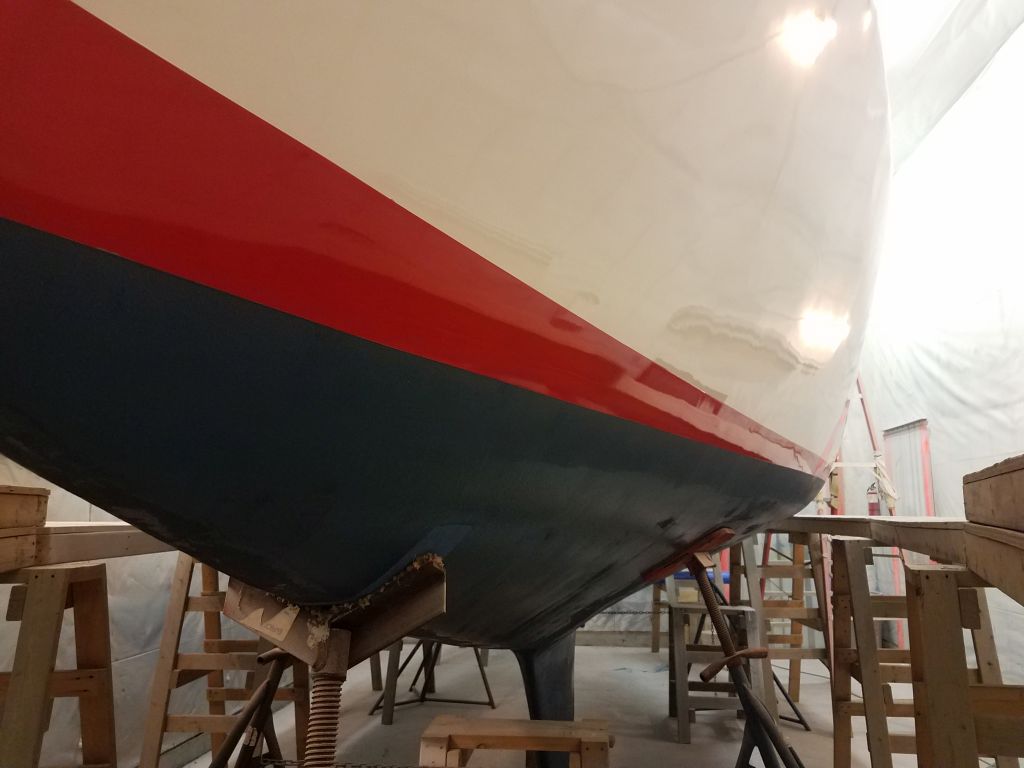
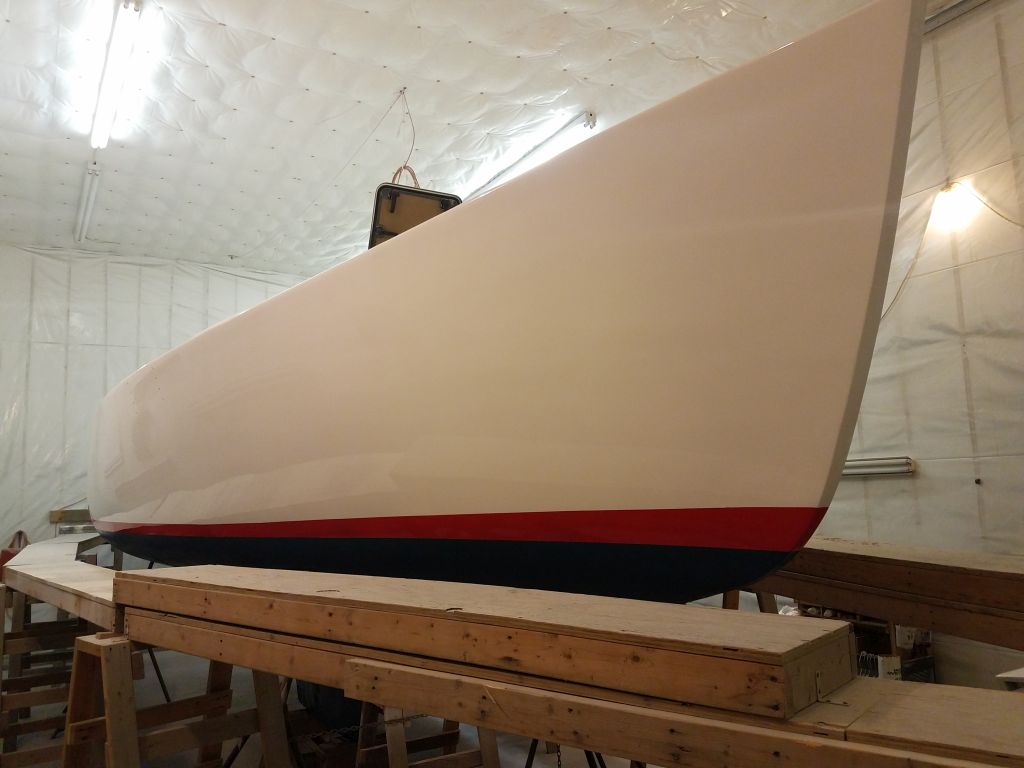
Finally, with the barrier coat cured enough to continue, I applied one coat of the owner’s choice of blue antifouling paint. Although overcoating the barrier coat is required in this way (at least to avoid re-coating or sanding the barrier coat), this coat of bottom paint was really a vanity coat to pull together the final appearance of the refinished boat. Since this hard type of bottom paint requires reactivation (through recoating) if it’s been a certain length time before launching, I planned to apply a second (and even third) coat at the end of the project, but for now the first coat cleaned up the appearance of the bottom and provided the required bond with the fresh barrier coat beneath.


Total time billed on this job today: 8.25 hours
0600 Weather Observation: 25°, cloudy. Forecast for the day: Freezing rain to rain, 36°