


May 8, 2019
Scupper 140
Wednesday
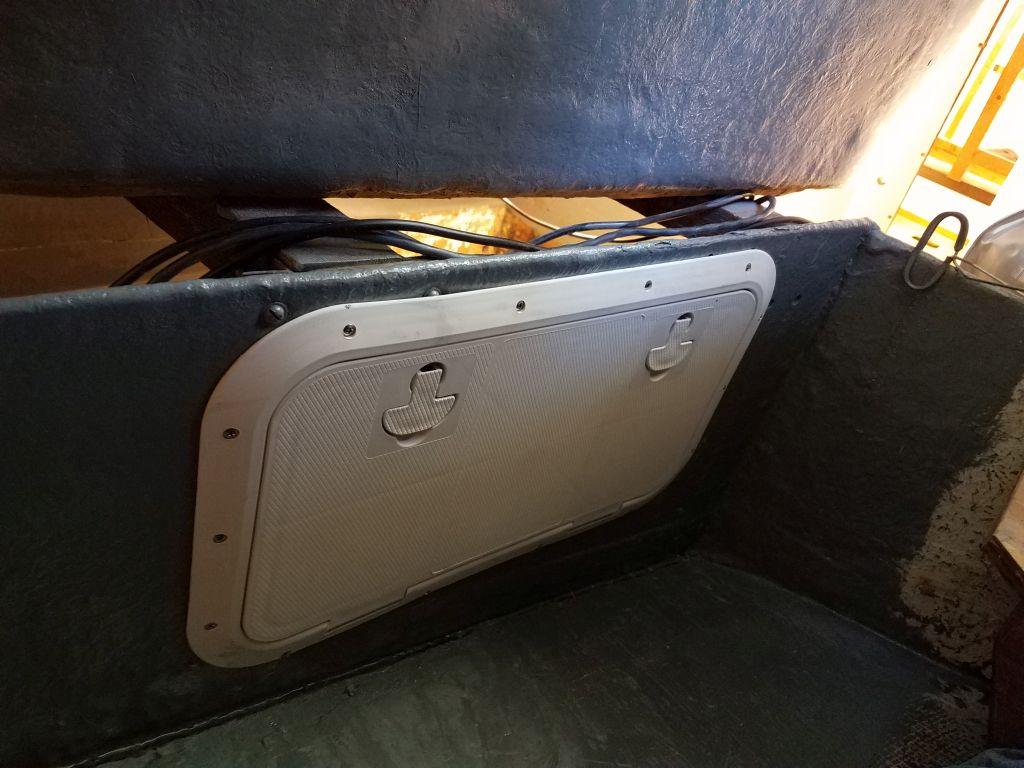
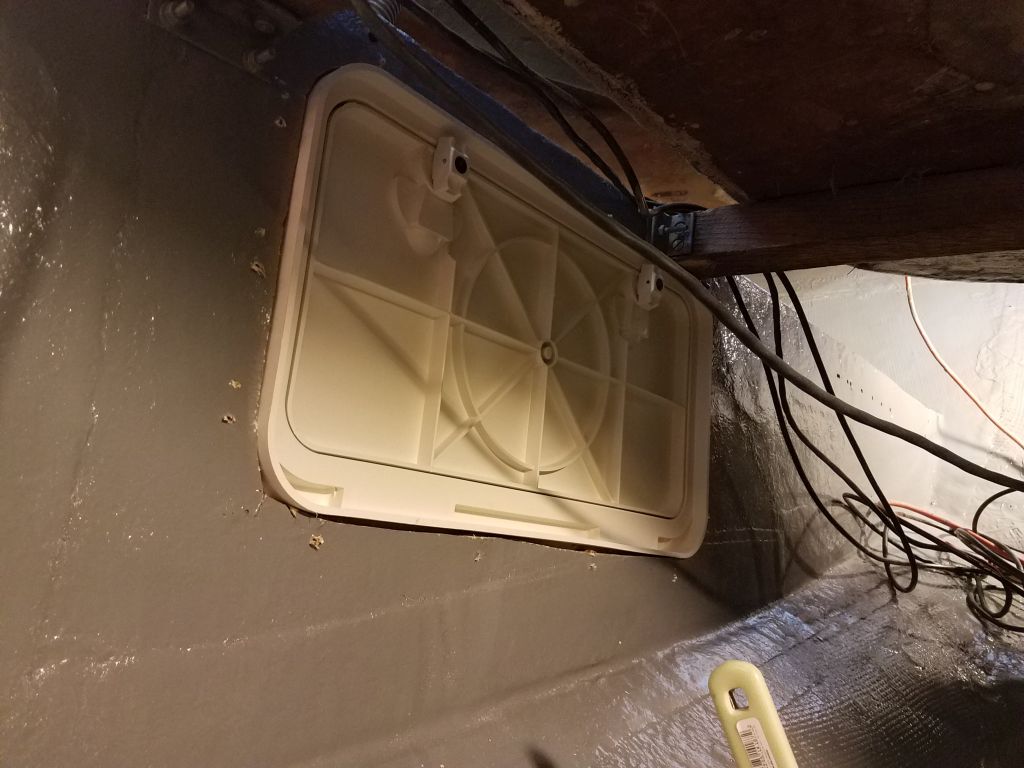
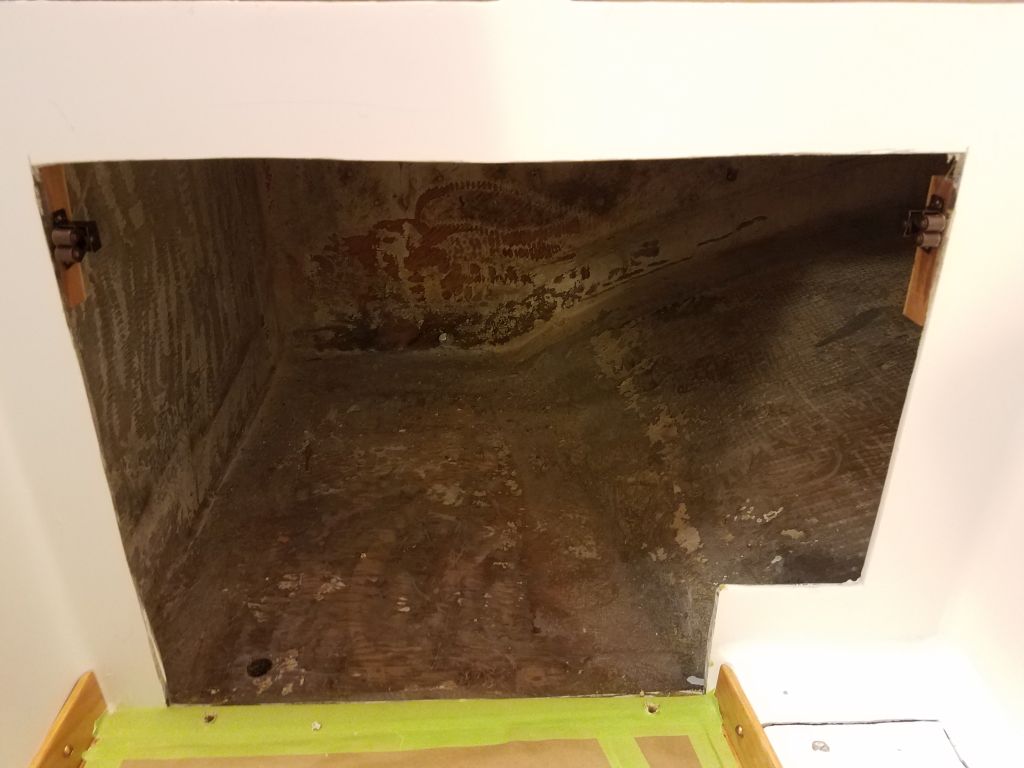
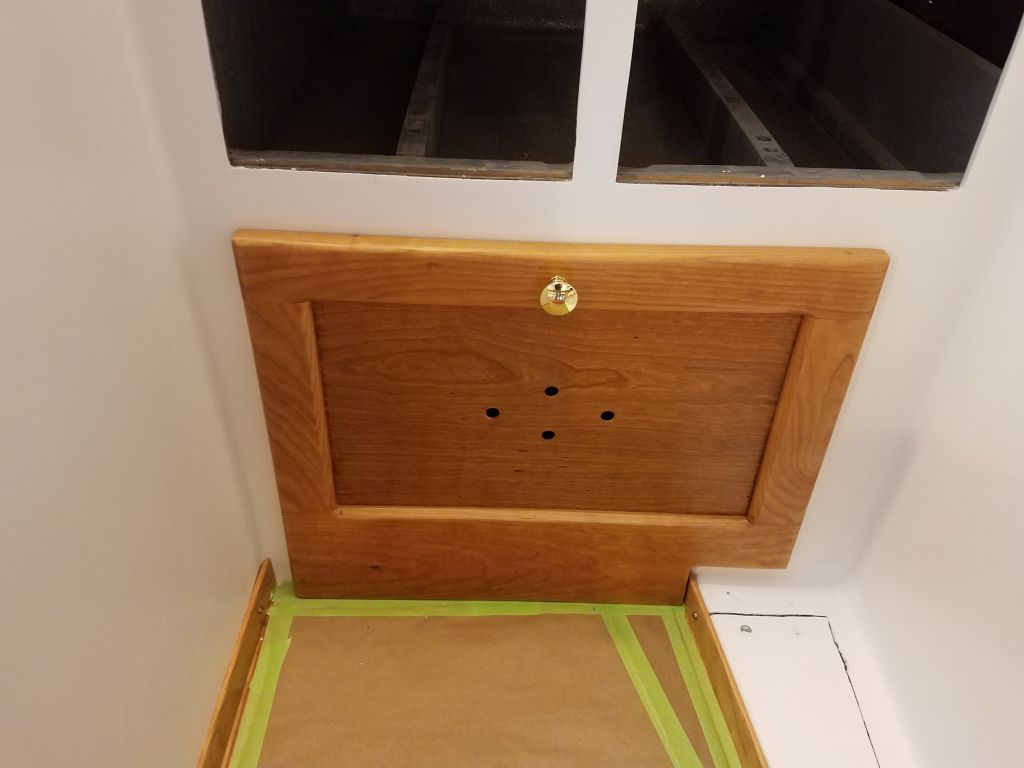
When all was said and done, regular access to the after part of the engine room–and in particular the stuffing box–would be hampered by the large battery bank at the forward end of the engine room, so to provide potential access for maintenance and inspection, the owner and I decided to install an access hatch in one of the longitudinal bulkheads that divided the lockers from the center part of the engine room. I chose the starboard side since the locker was much roomier, and potential access much better.
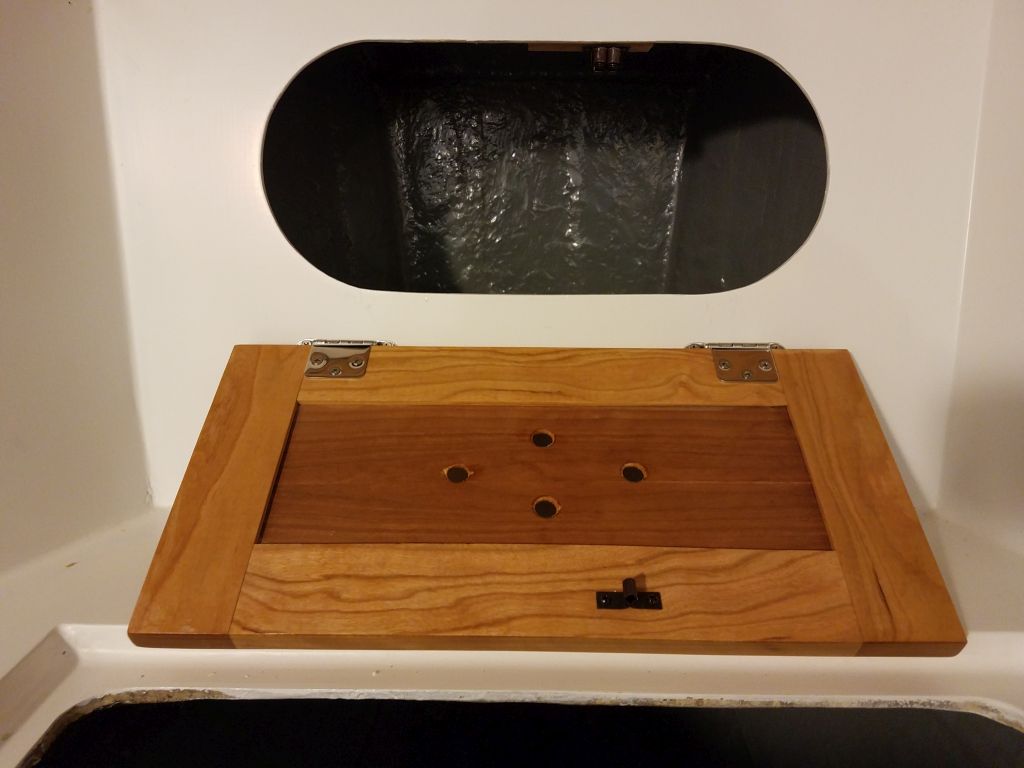
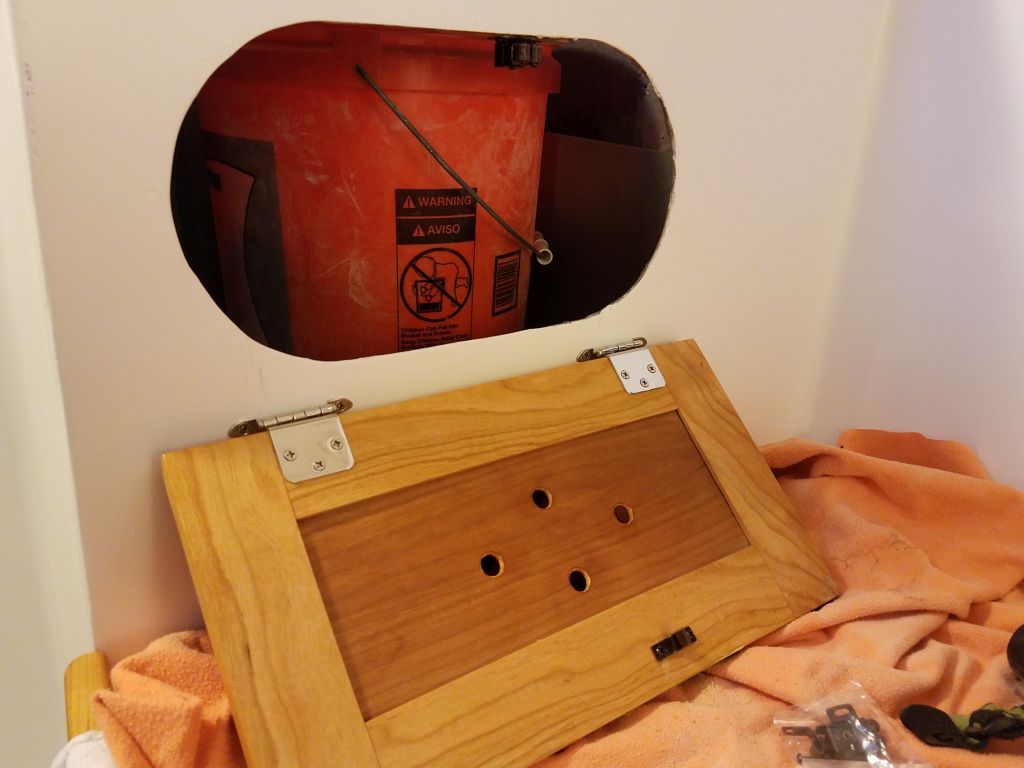
Earlier, I’d measured the bulkhead and chosen the largest access hatch that would fit in the space. When the hatch arrived, I used its own cardboard packing material to create a simple template of the cutout and overall size of the hatch for layout purposes.
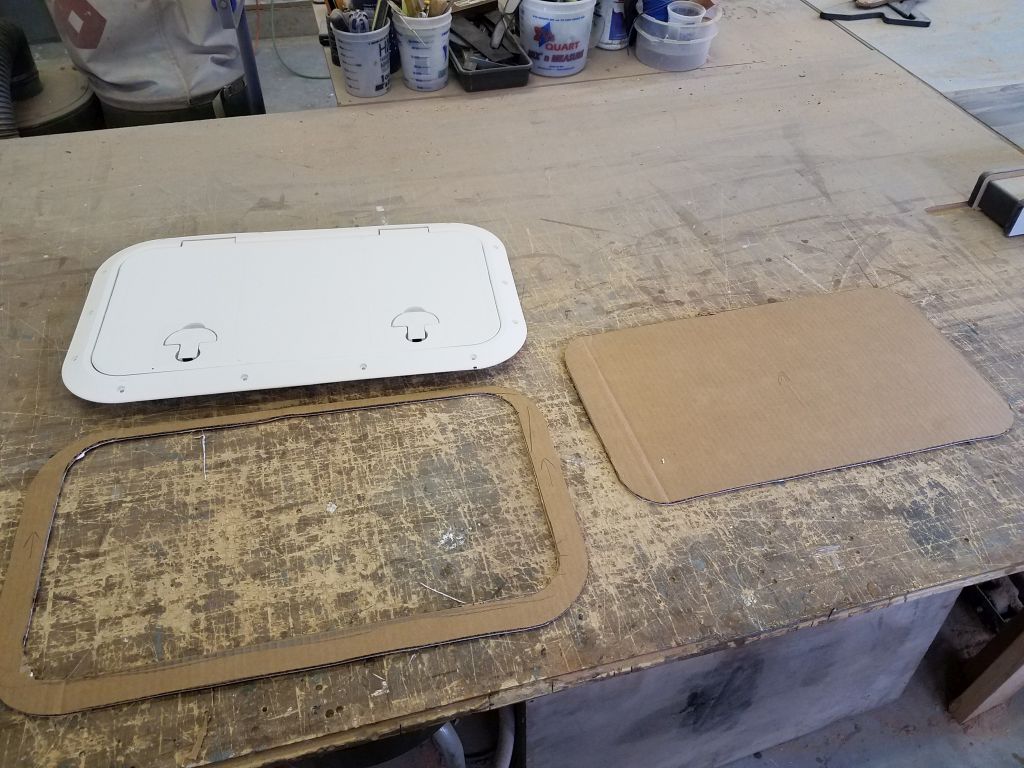
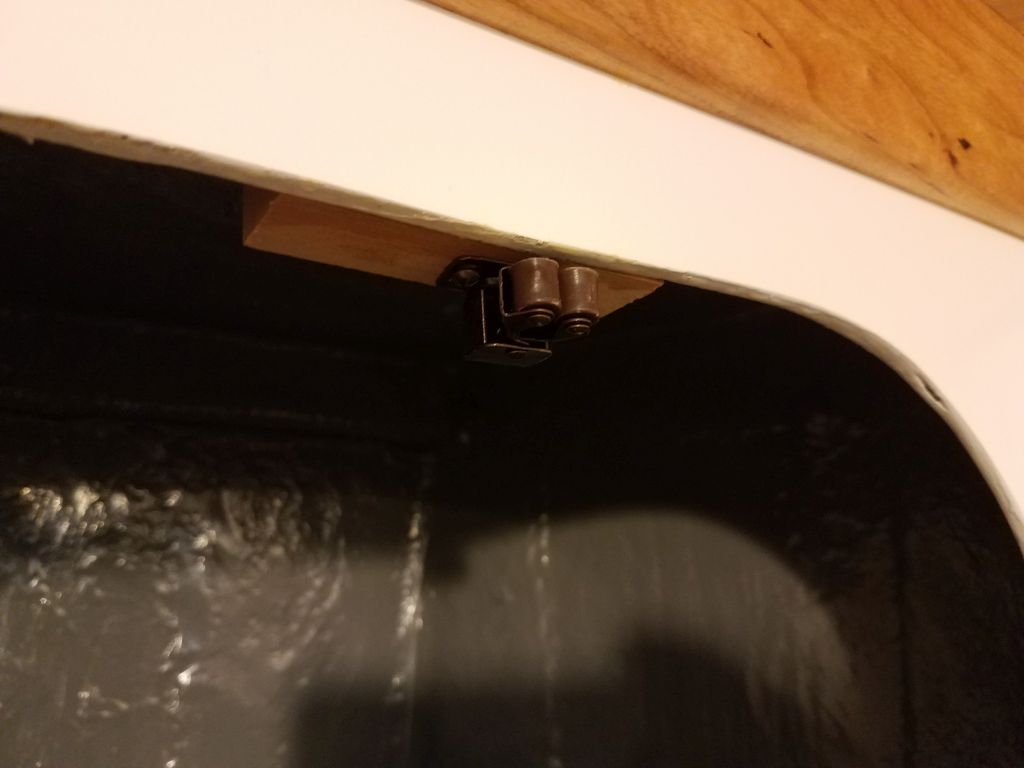
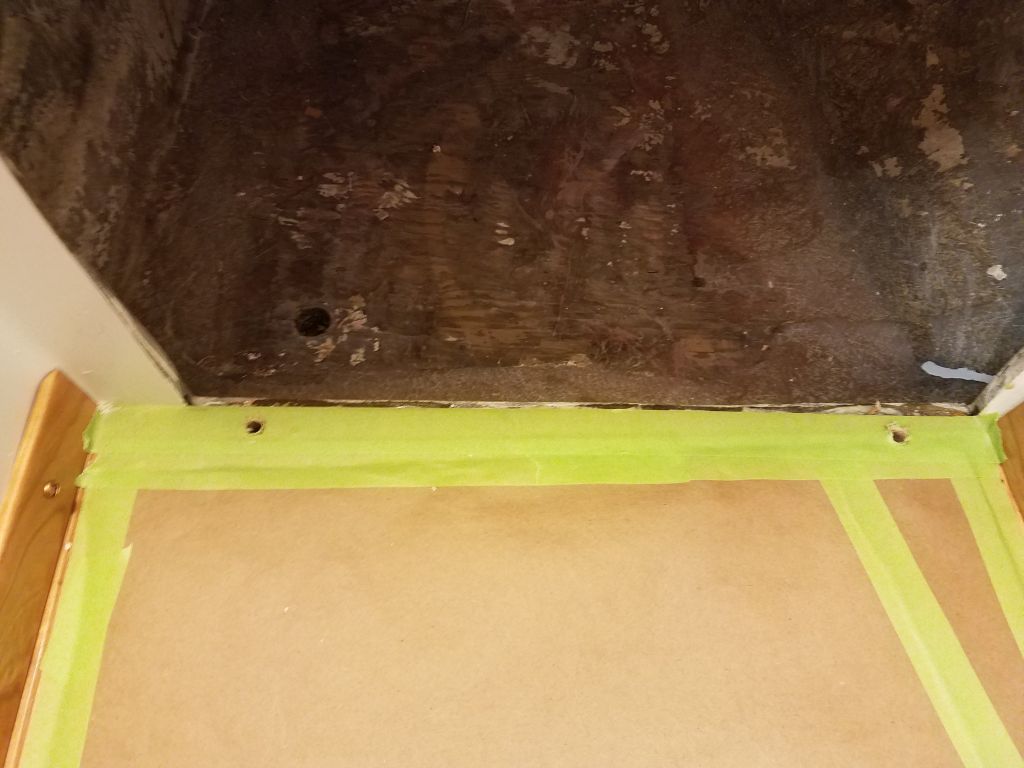
In the locker itself, I used the template to mark the location of the cutout, and made the cut with a jigsaw. Then, I installed the hatch with screws. I had planned to install the hatch so the lid flipped up and out of the way, but I found that the hinges only opened 90° (never let functionality get in the way of thoughtless design), so instead I installed it so the hatch flipped down, allowing access to the engine room within. It wouldn’t be fun to work on the stuffing box through this hatch, but at least it would be possible.
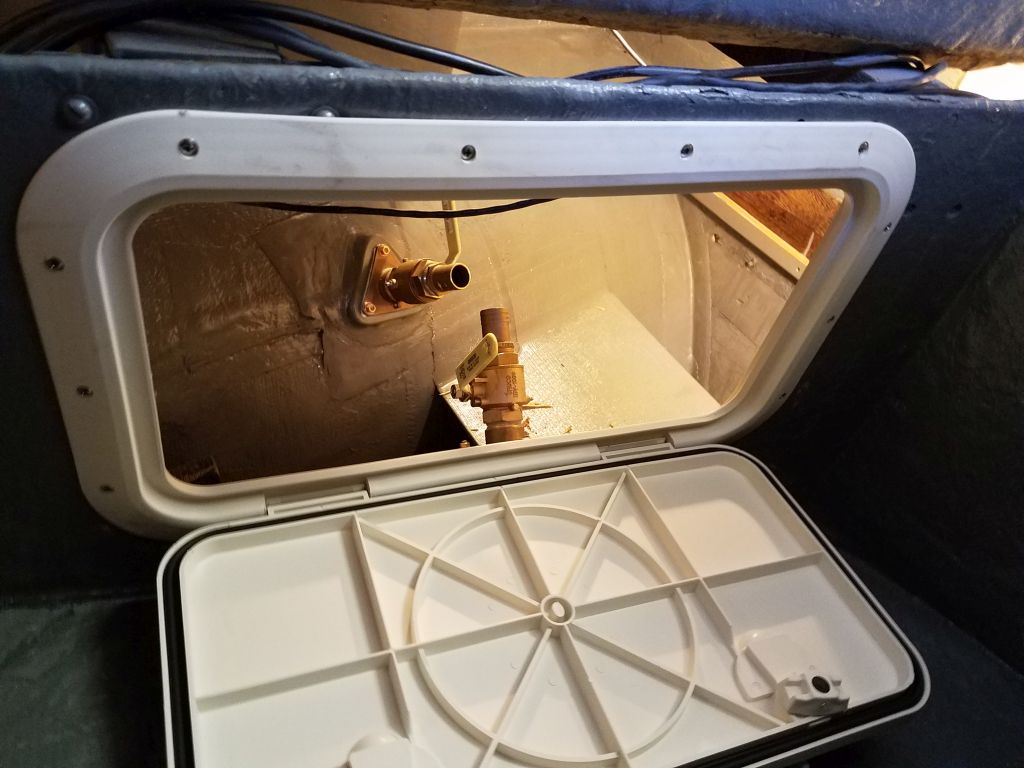
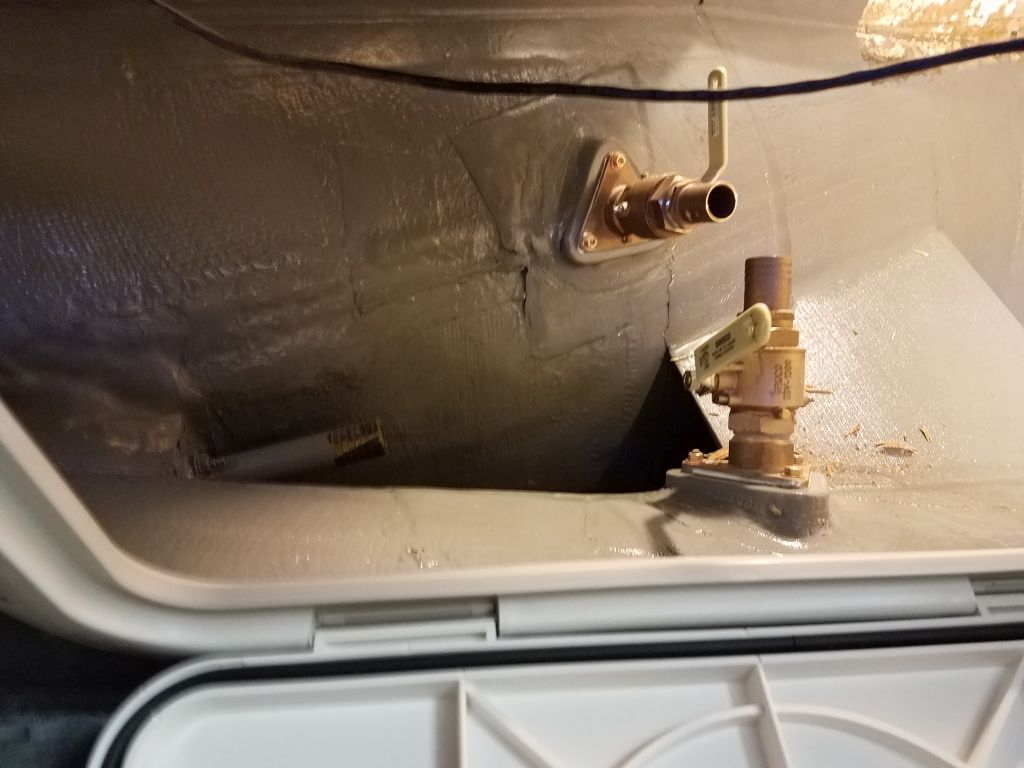
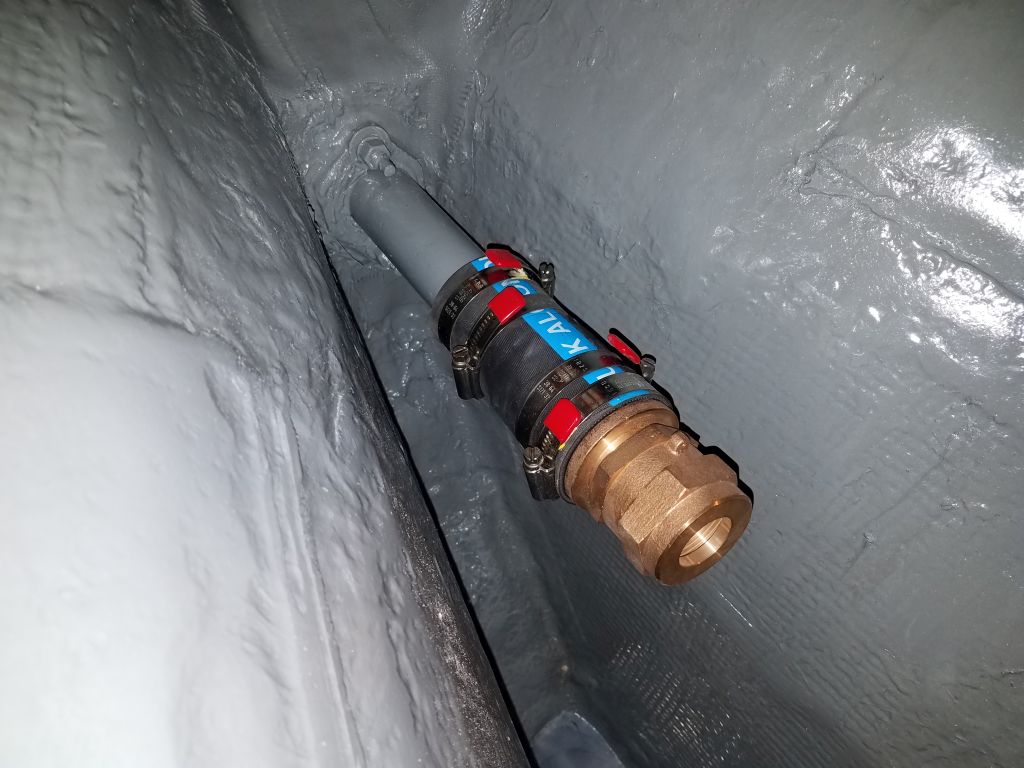
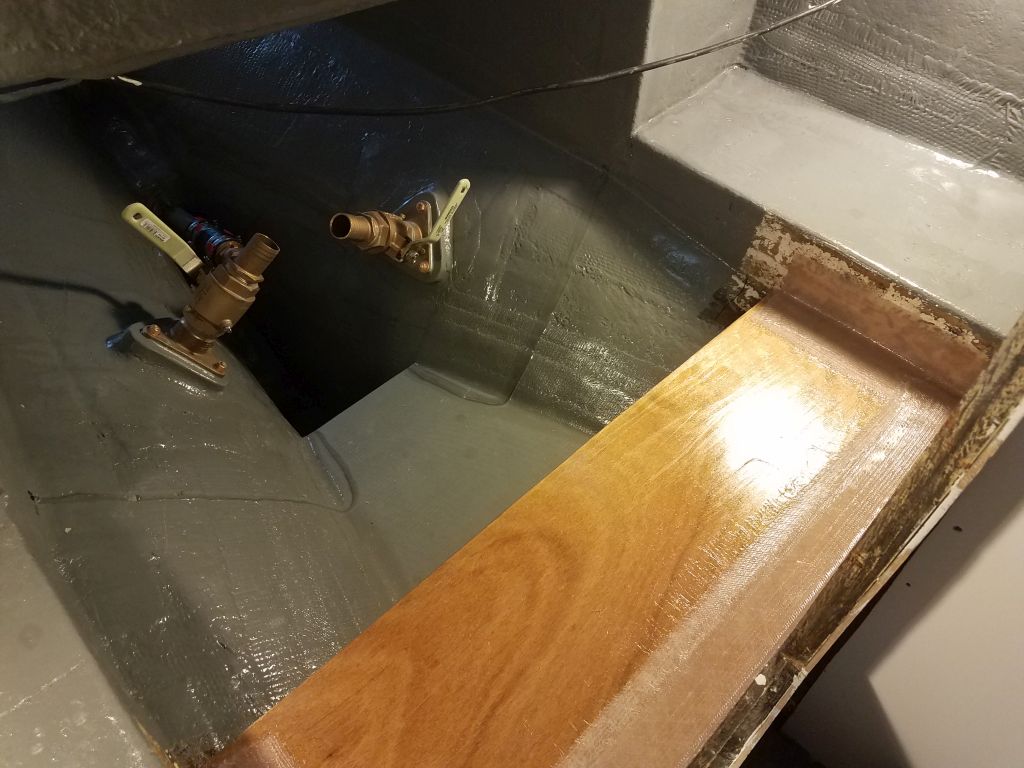
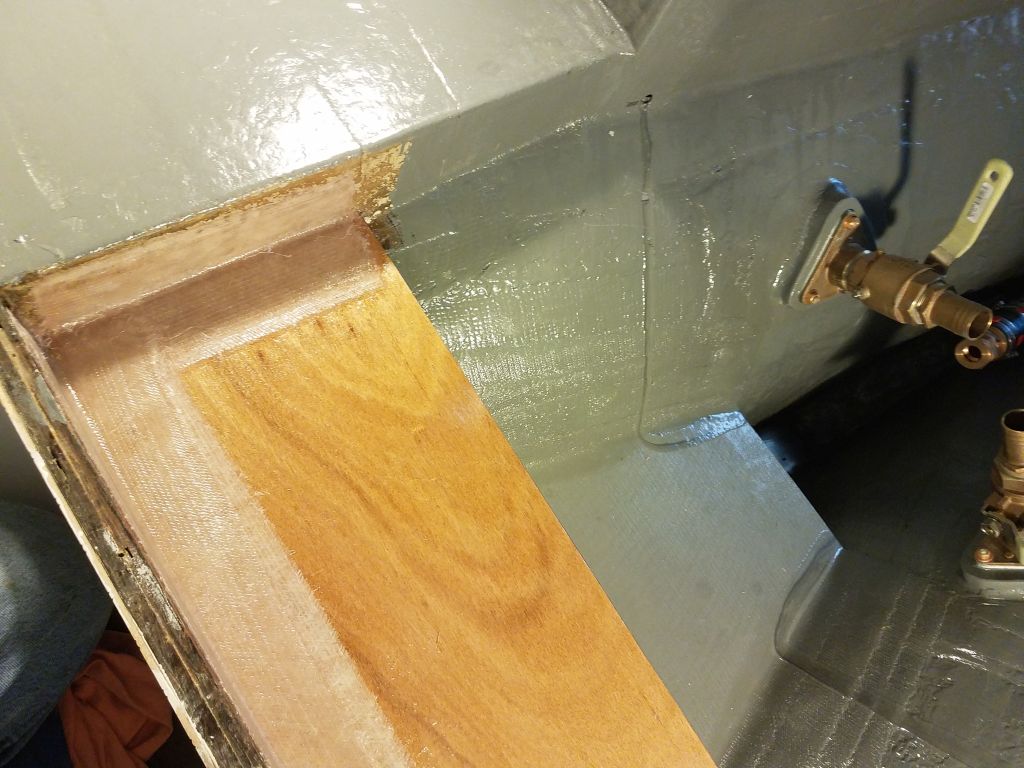
While it was on the mind, I went ahead and installed the new packing box from inside the engine room, securing it to the stern tube with solid-band clamps. I had the new graphite packing on hand, but didn’t yet install it.
I’d held off installing the forward transverse battery shelf in the engine room while I finished up other chores in the space, especially painting the area beneath and around the location, but now it seemed like as good a time as any to complete the installation. I’d built the shelf itself earlier, and had left an unpainted area at the forward end to await the shelf’s final installation.
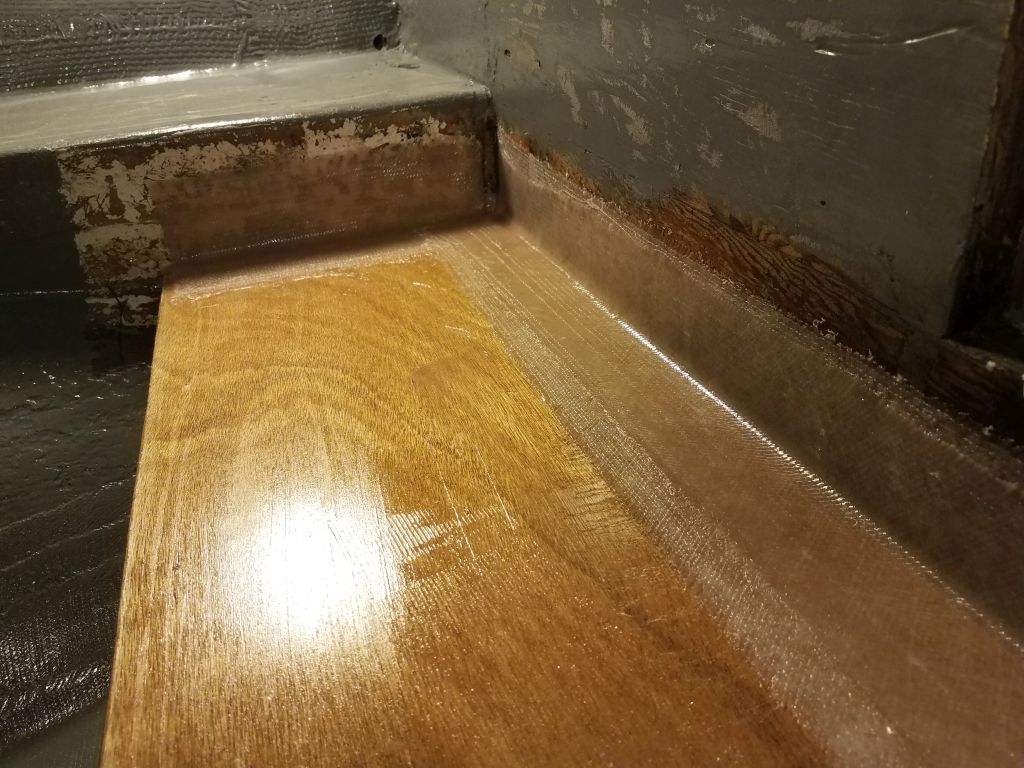
After a final test fit and thoroughly cleaning the bonding area, I coated the underside and edges of the shelf with epoxy, then set the shelf in place on the hull to each side and the wooden cleat I’d installed along the forward bulkhead, using thickened epoxy as an adhesive and to create a nice fillet along the top edges of the shelf. I used excess epoxy to coat the top side of the shelf as well.
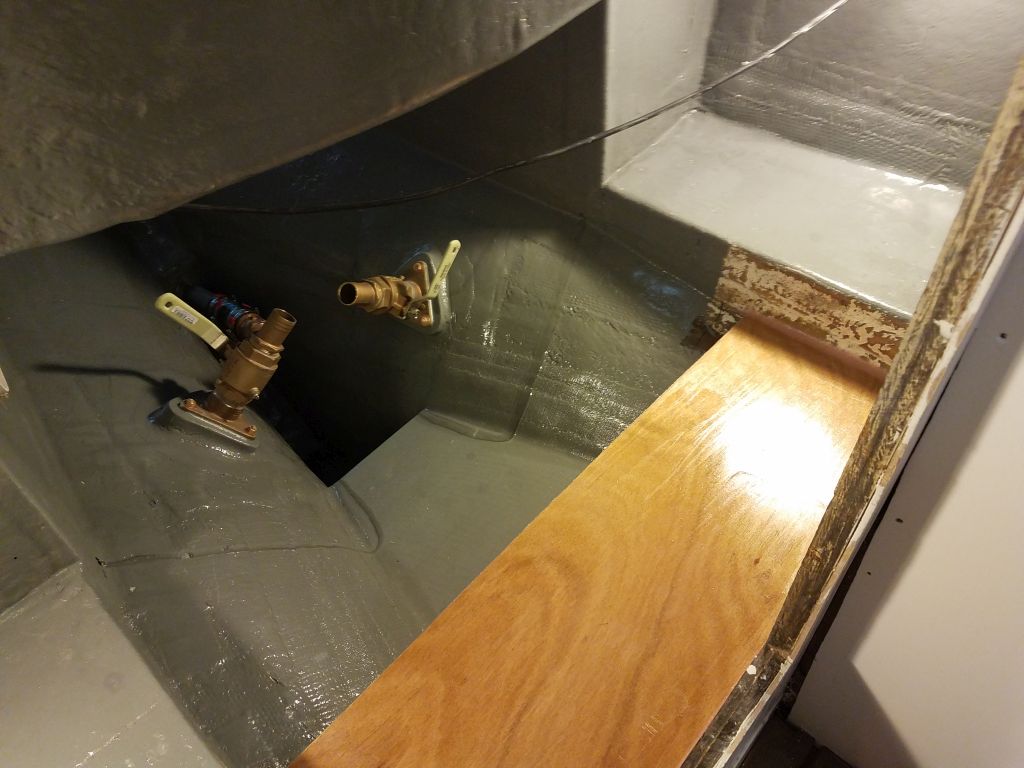

Afterwards, I cut two layers of tabbing to fit the three sides of the shelf, and installed it in epoxy resin.


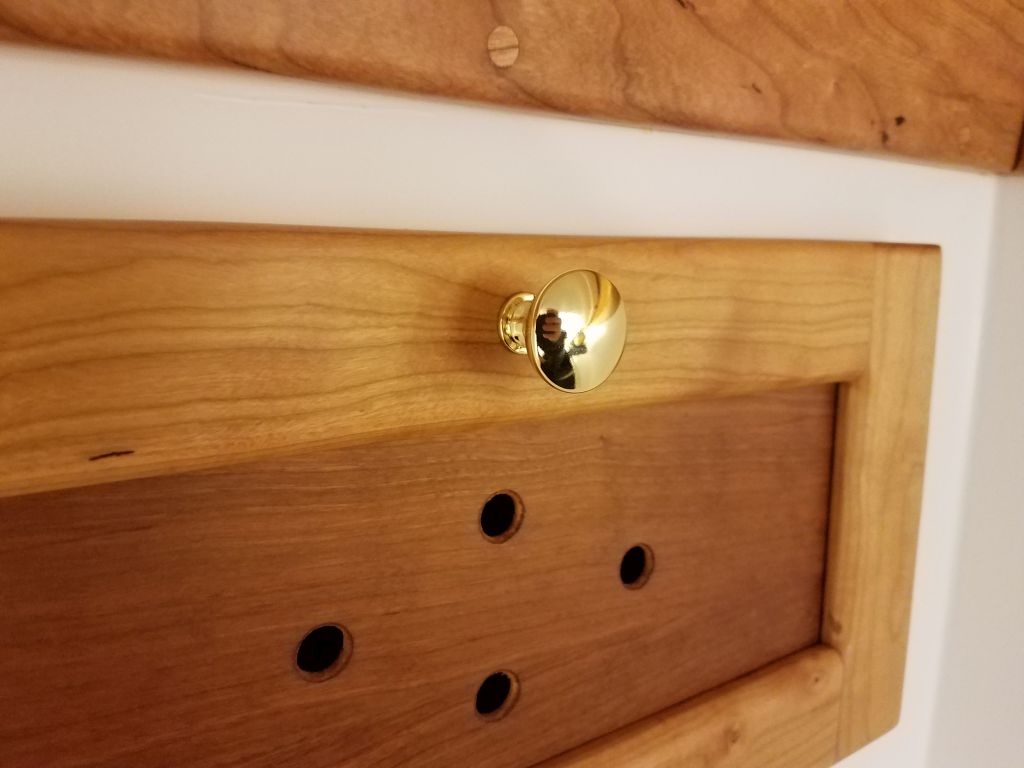
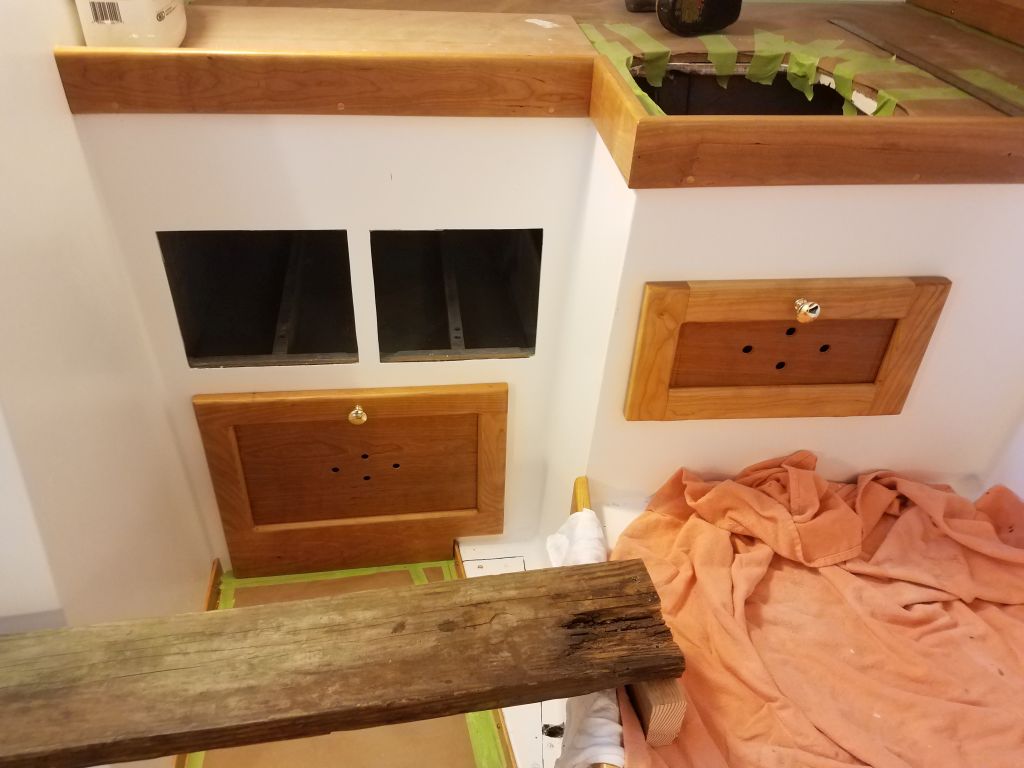
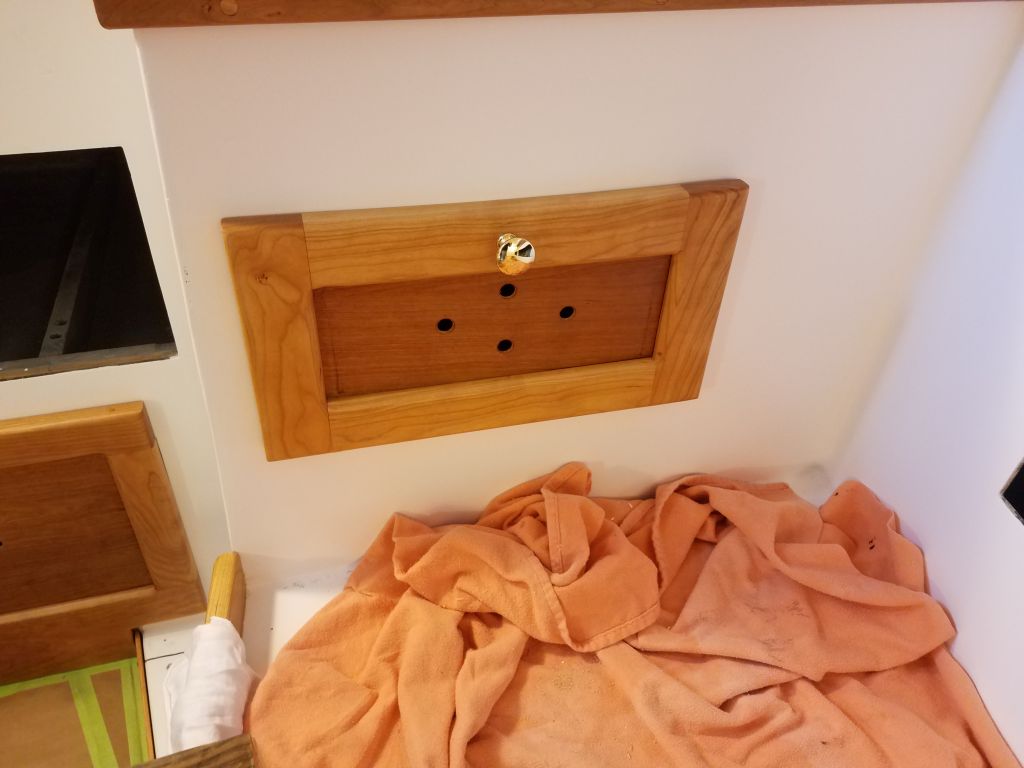
With nice weather outside and a pending date for another boat in the yard to be transported out, I took some time to uncover and prepare the boat for its departure in a few days, but with that complete I returned to Scupper and finished up the installation of the interior doors, installing hinges, knobs, and door catches at each location as required.
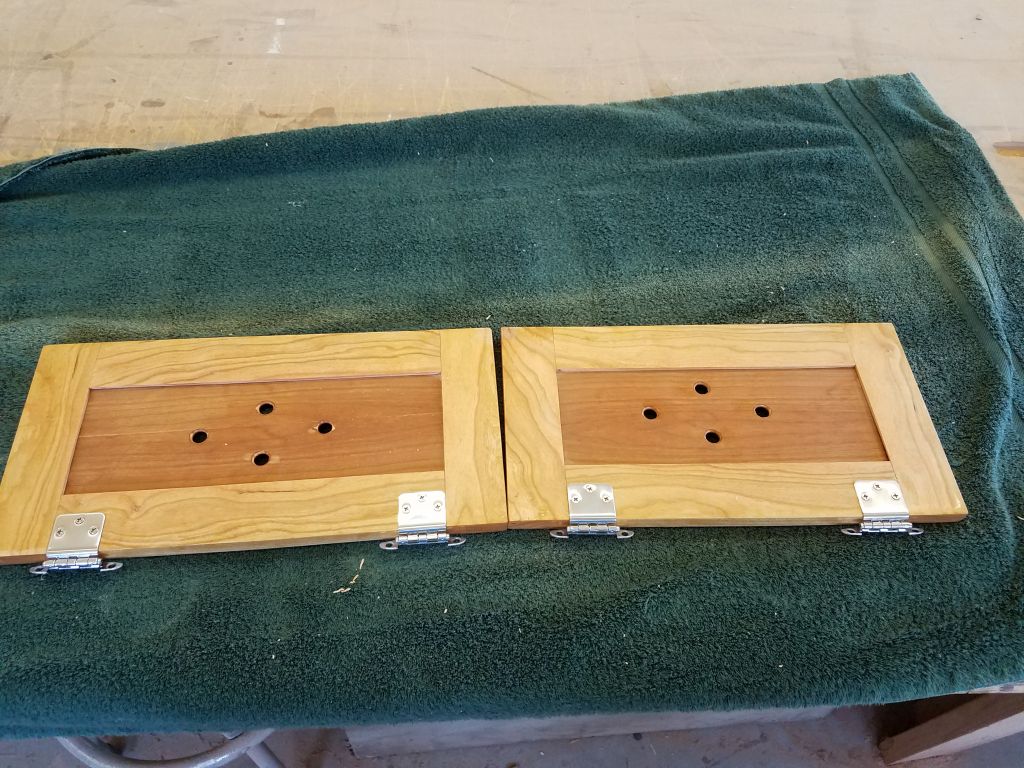

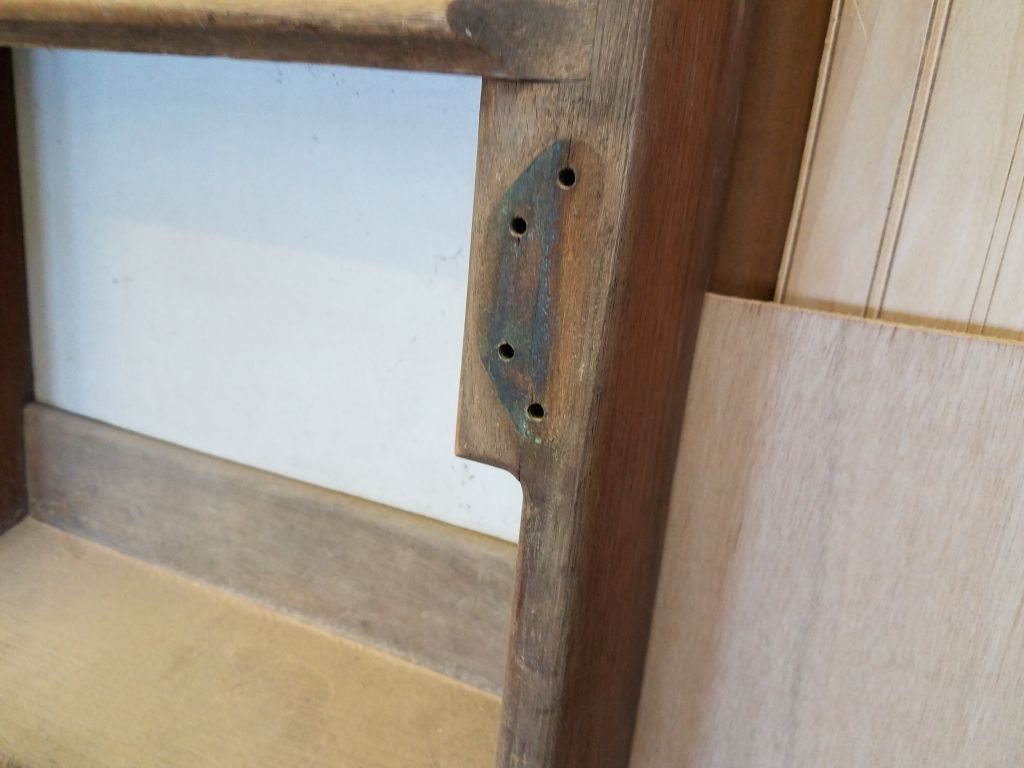
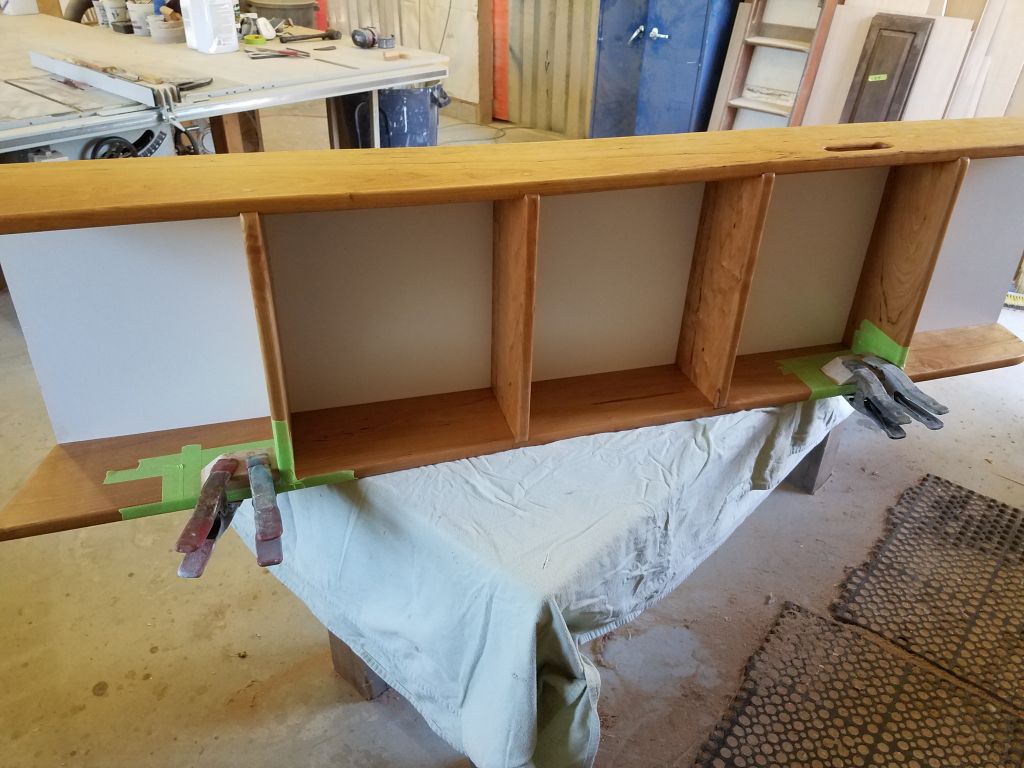
The companionway ladder required a pair of hinges salvaged from the original ladder to mount and operate the door unit. Truth be told, I’d completely forgotten during the new ladder’s construction to add some additional blocks as required to support the hinges properly, since the hinge bases were wider than the ladder sides. I’d long known about the doublers on the original ladder, but regardless it had slipped my mind to install the new ones when I’d originally assembled the new ladder.
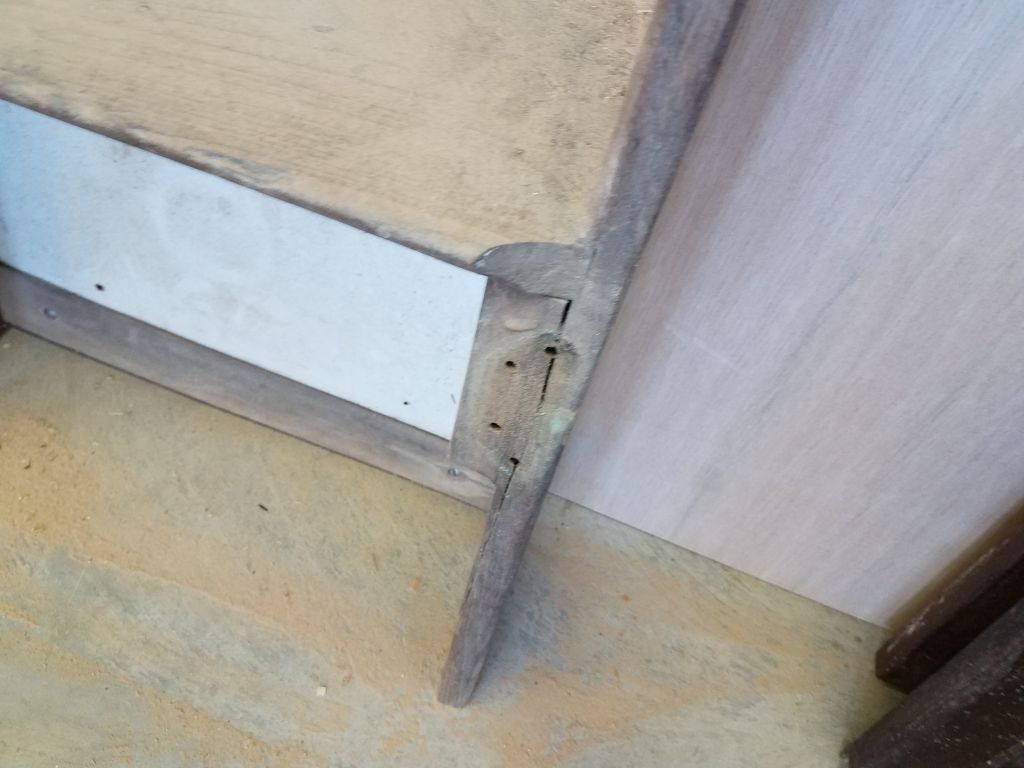
So now I set about building and installing the little blocks so I could eventually move on with the ladder’s final installation, to which completion was also tied the installation of the last (not insignificant) trim bits in the main cabin and head to finish off the last raw edges in the boat.
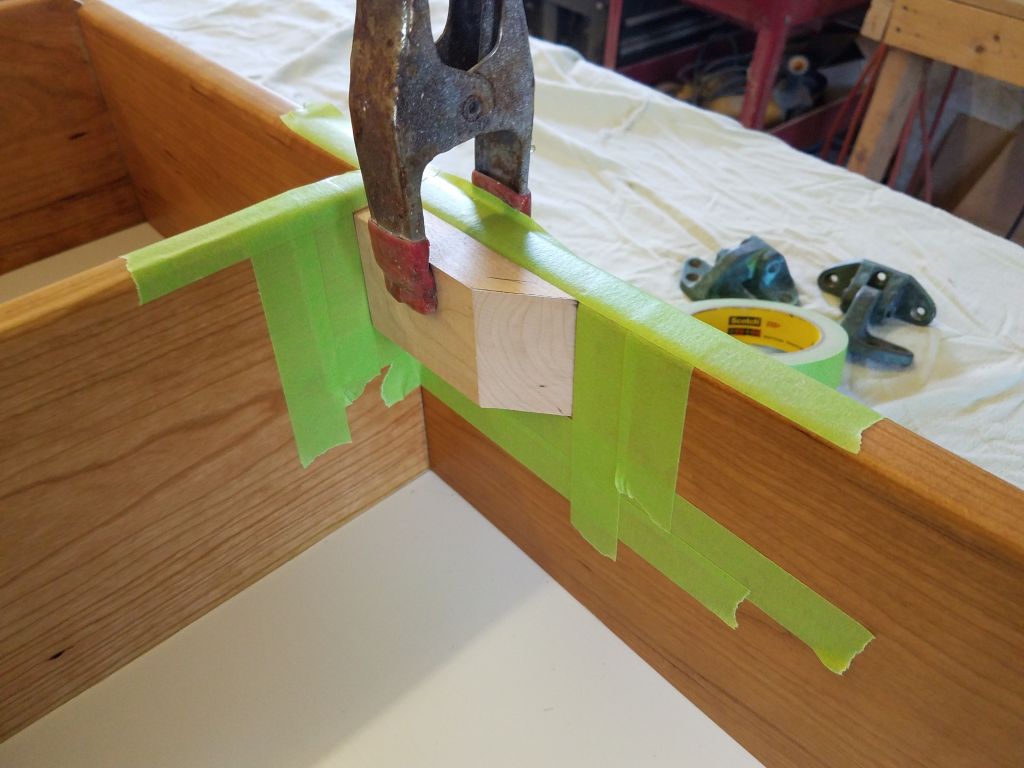
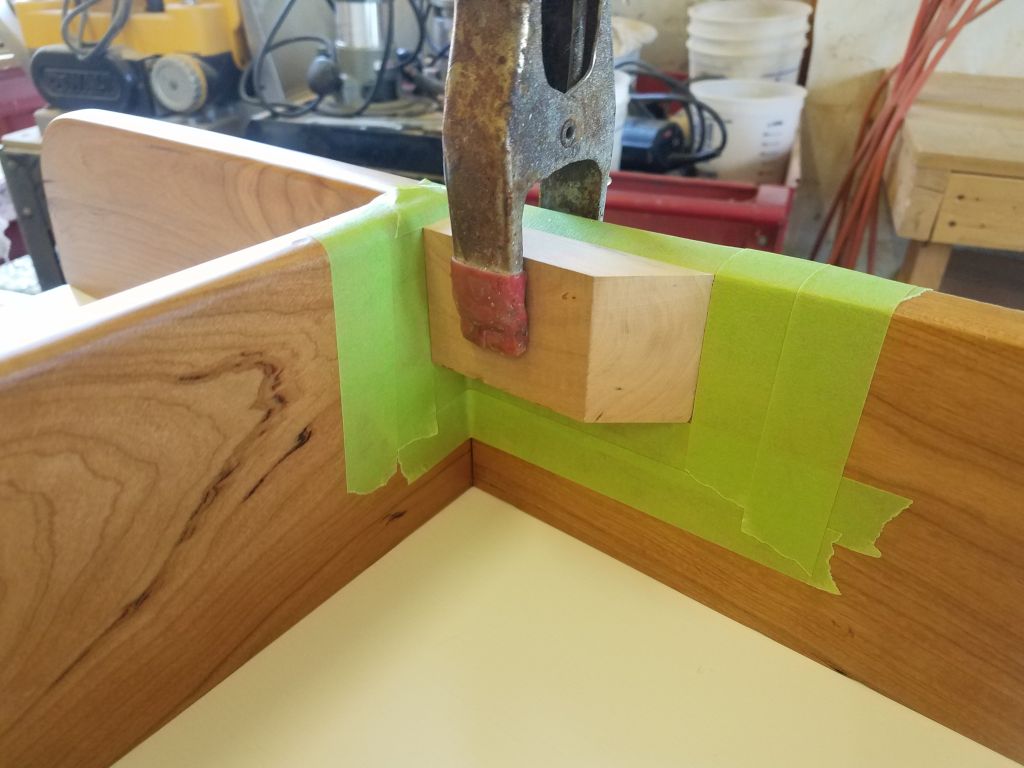
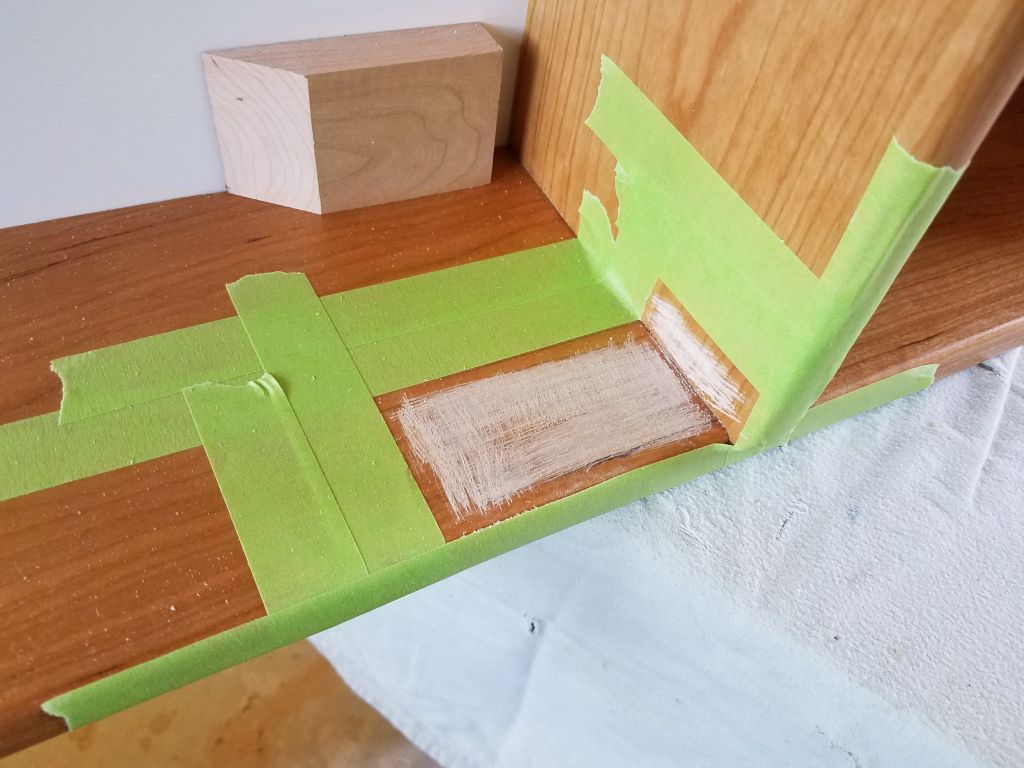
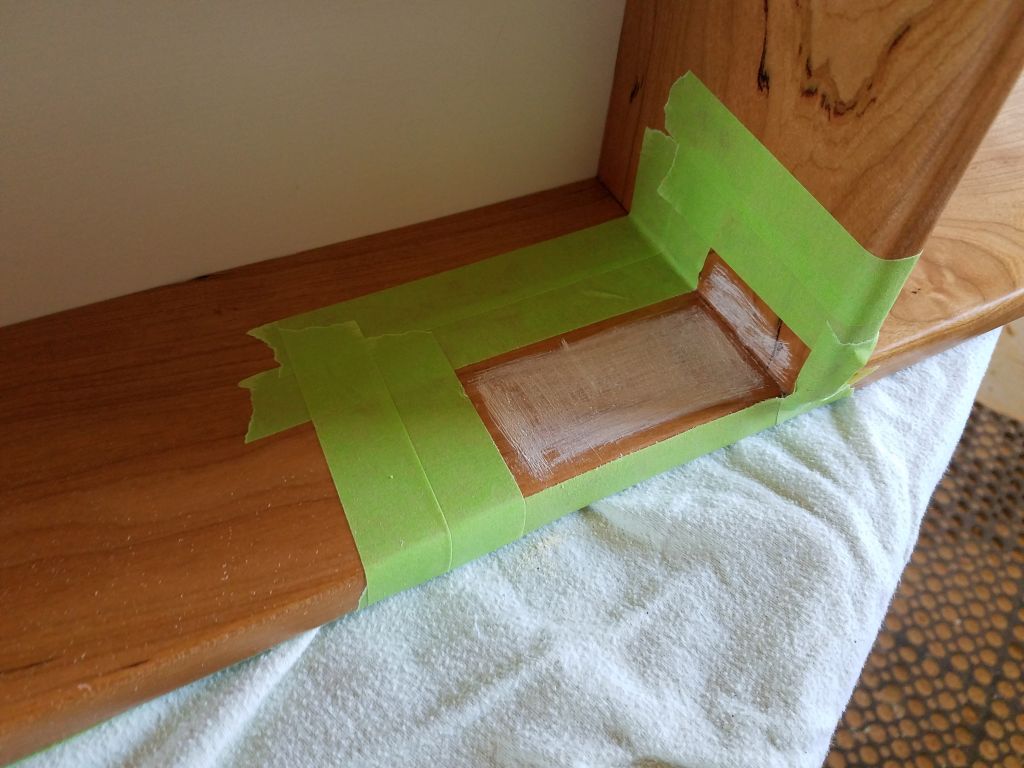
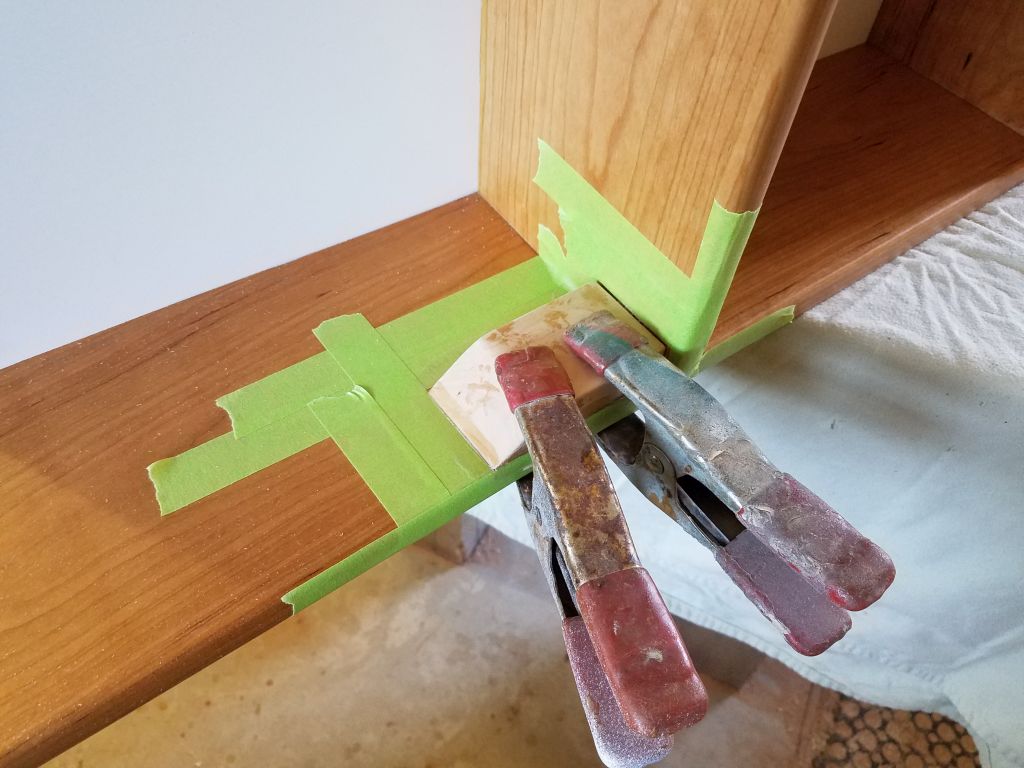
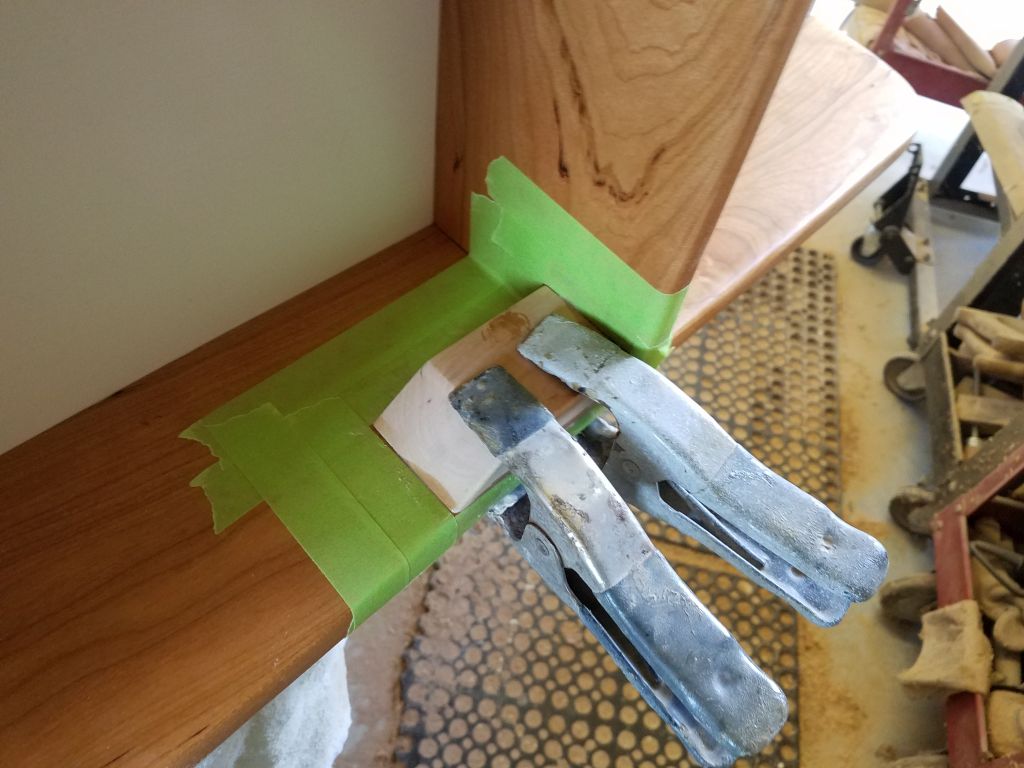
From cherry stock, I made a pair of small blocks to fit the hinge profile in as unobtrusive a manner as possible, and with the blocks clamped dry in place outlined their locations with masking tape. Then, I scuffed off the varnish inside the tape, and secured the new blocks with epoxy, clamping them securely and carefully cleaning up any excess. I set the ladder aside for the adhesive to cure.
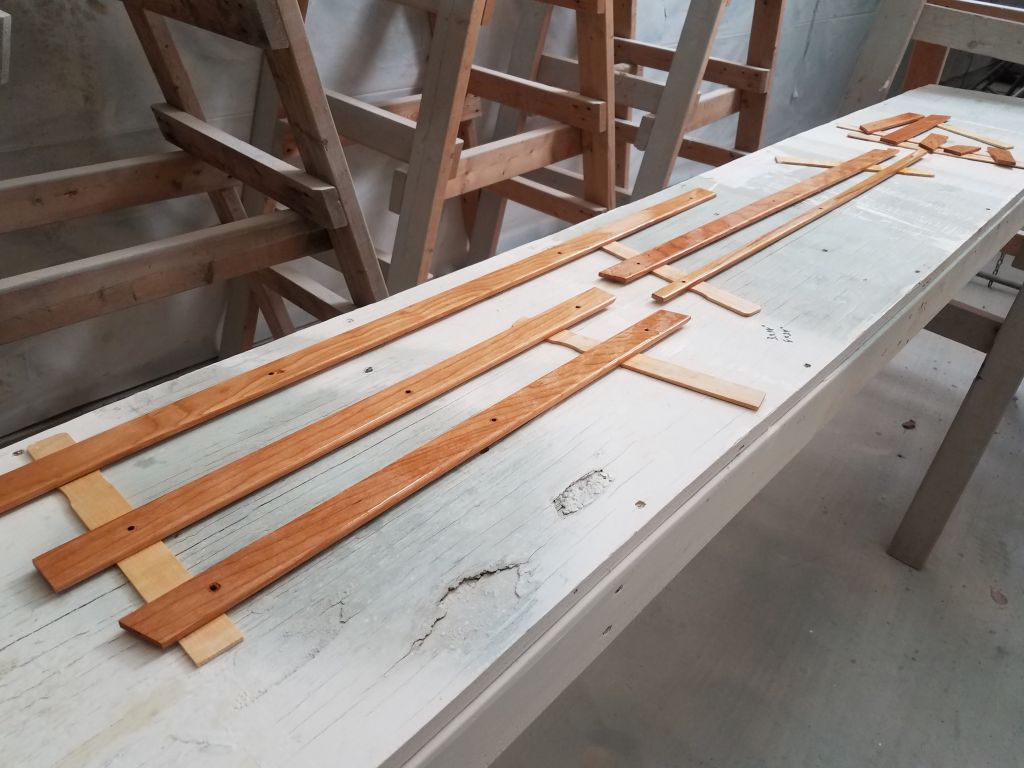
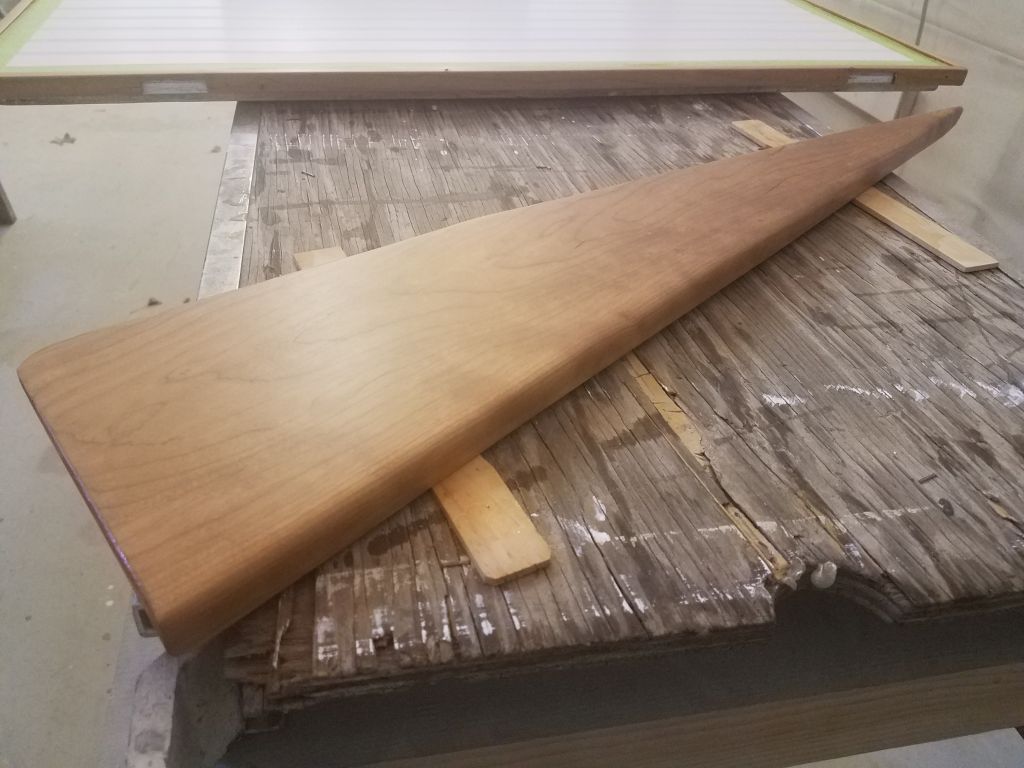
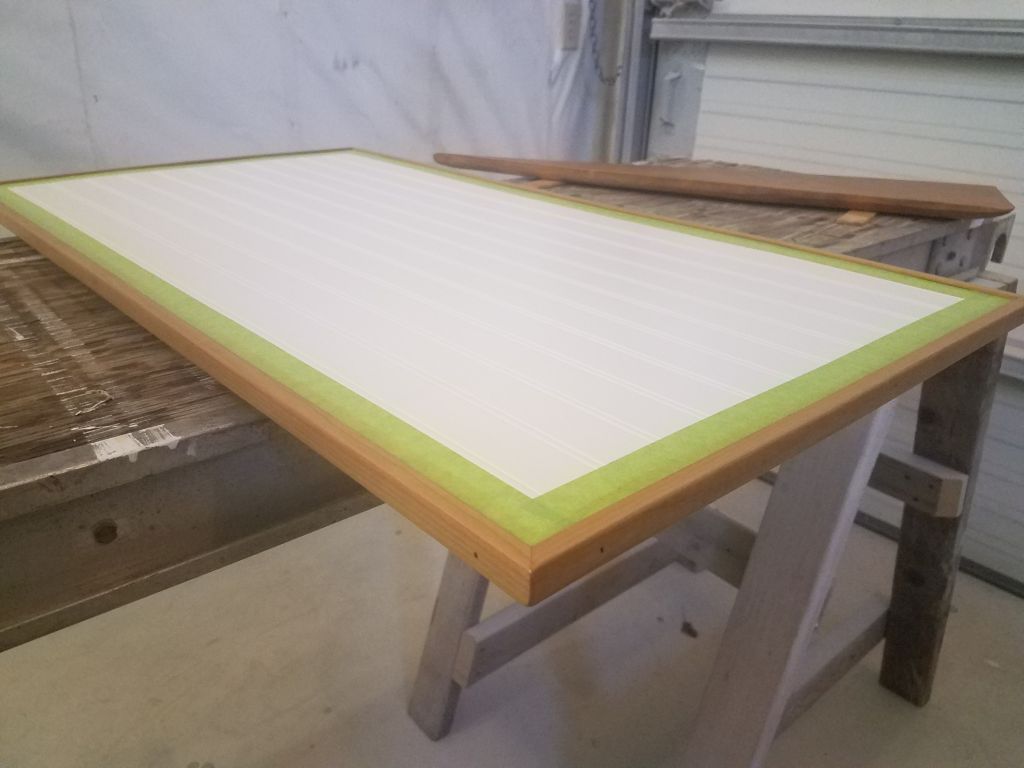
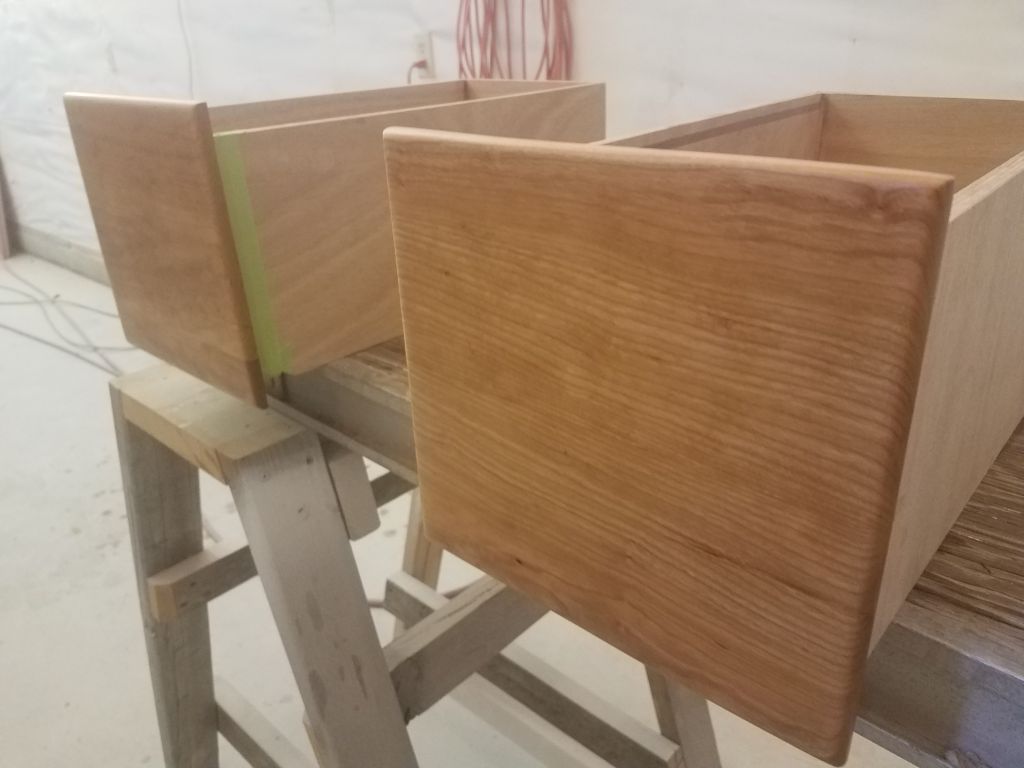
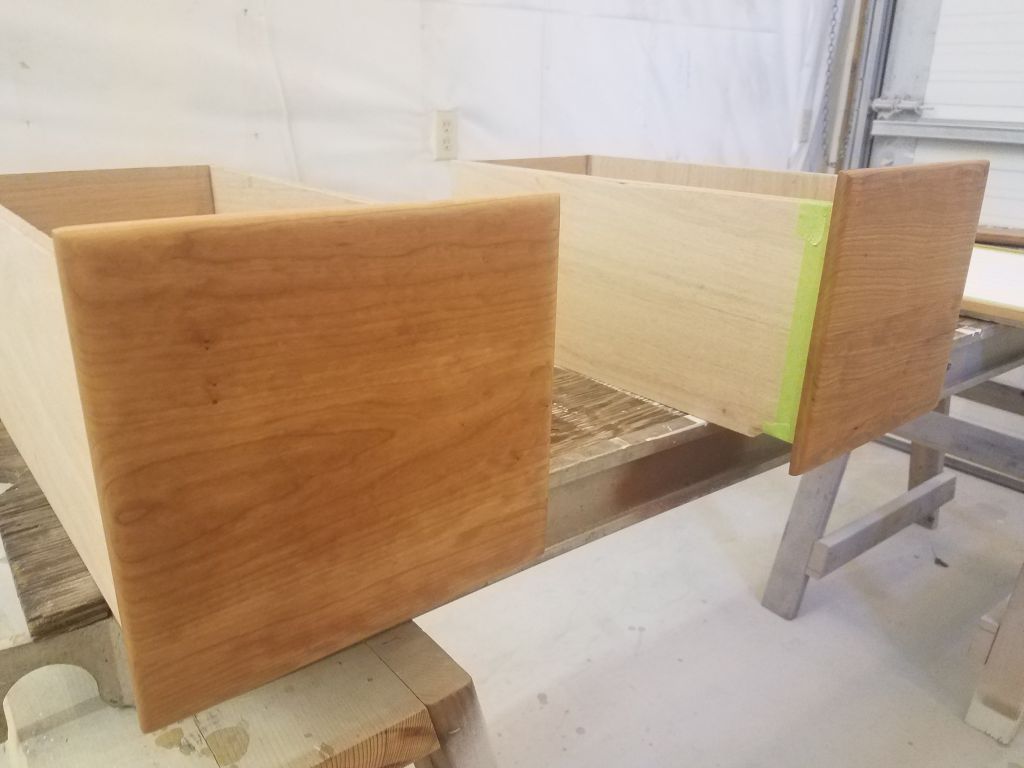
To finish up for the day, I applied a second coat of varnish to the new head trim pieces, and a coat of satin varnish to the drawer fronts, engine room door trim, and galley sole piece.
Total time billed on this job today: 6.25 hours
0600 Weather Observation: Clear, 40°. Forecast for the day: Sunny, 57°