


October 21, 2019
Scupper 163
Monday
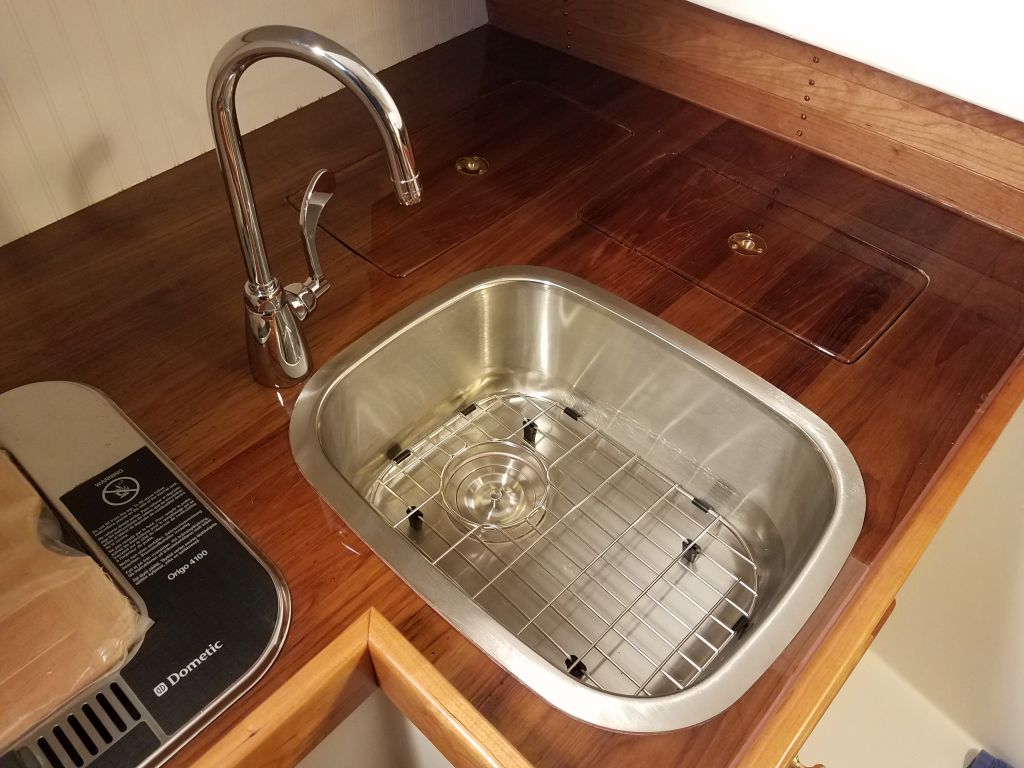
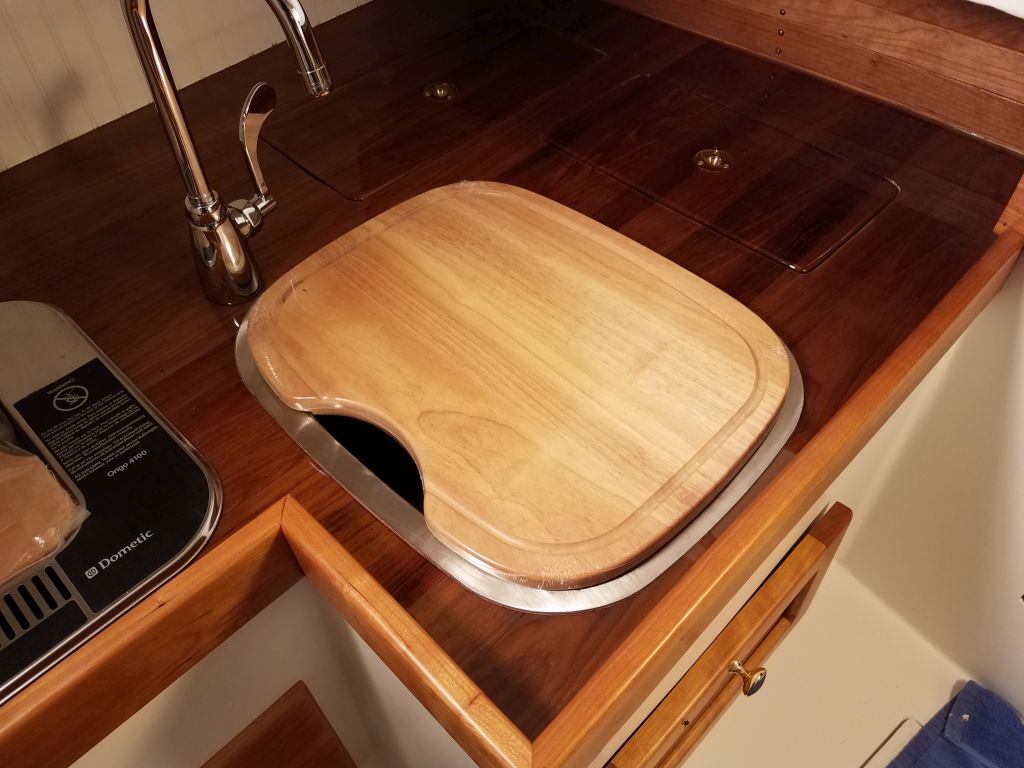
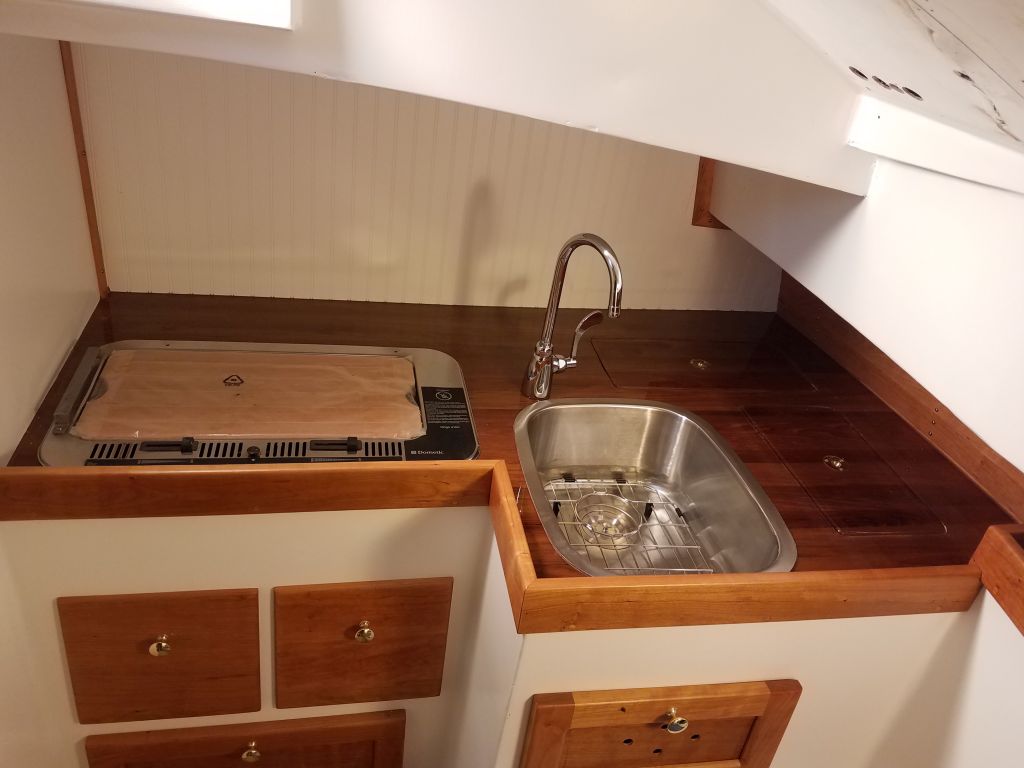
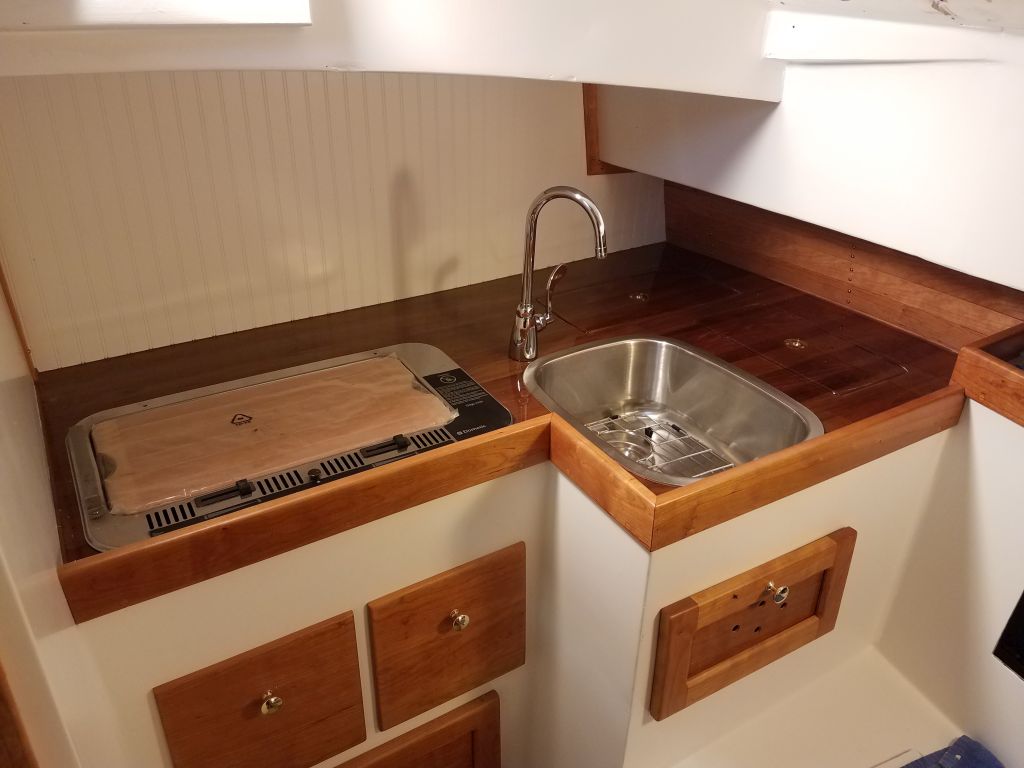
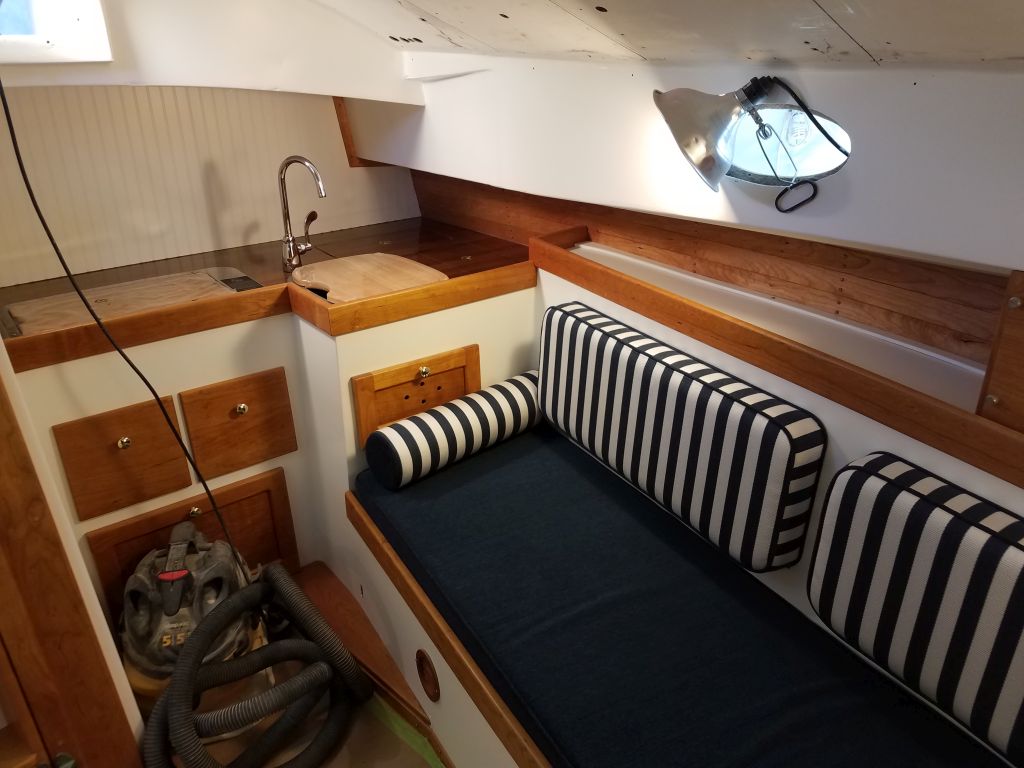
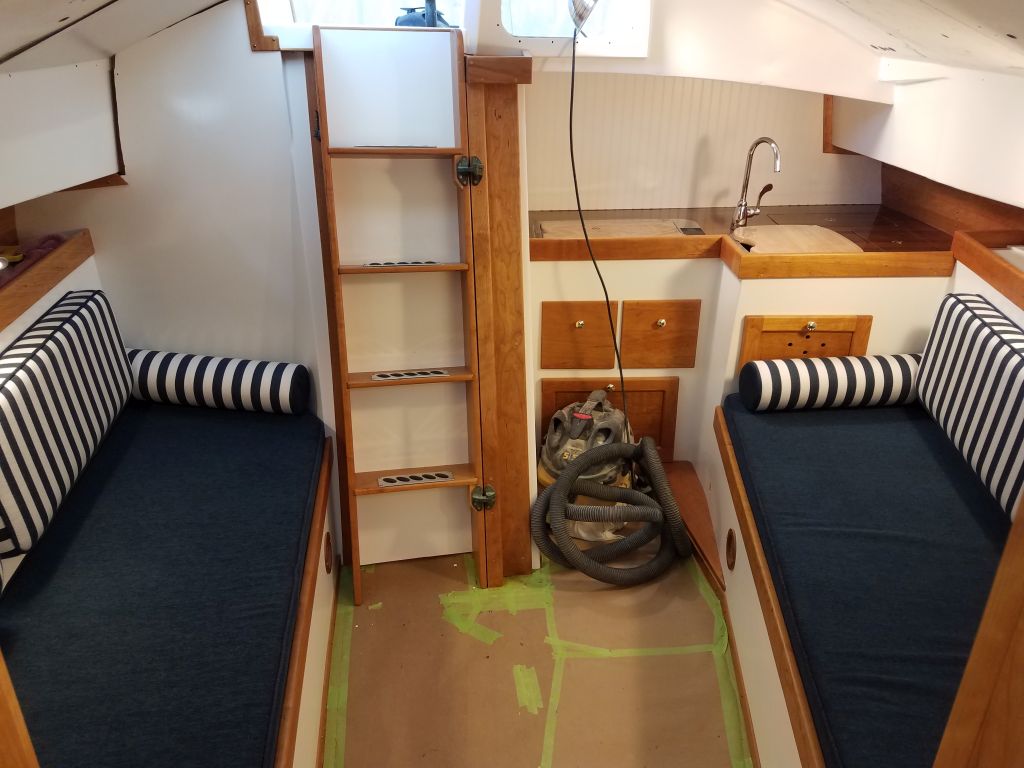
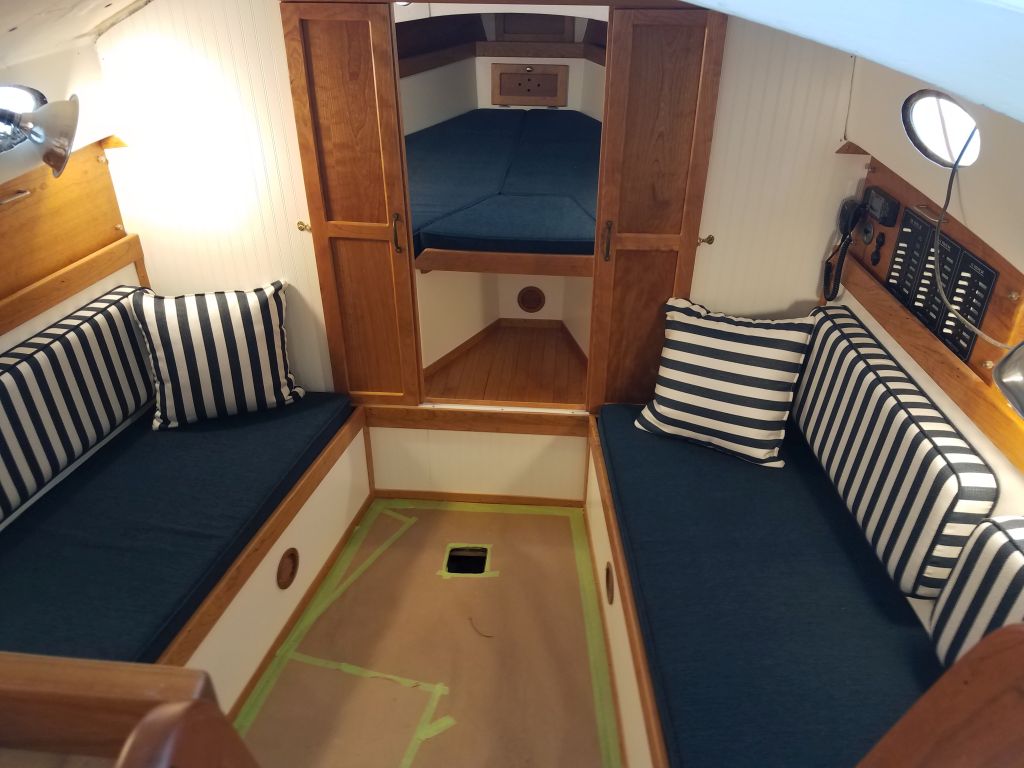
At the end of the last phase of the project, I’d installed and secured the galley sink in place, but never posted any photos of the completed installation.
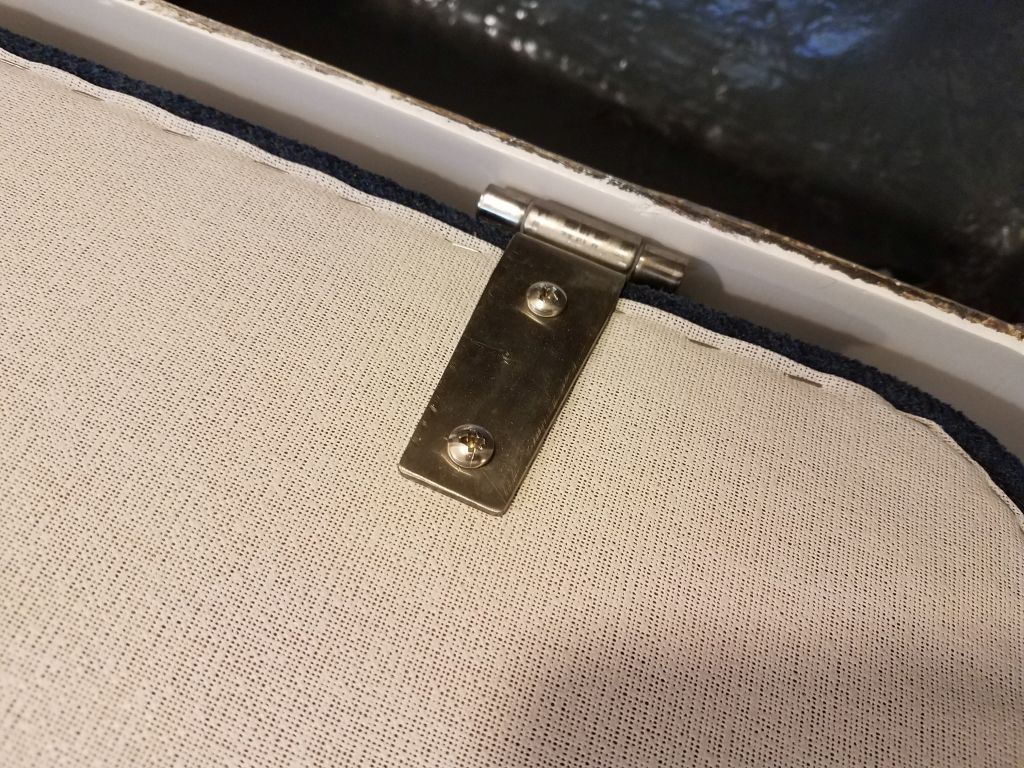
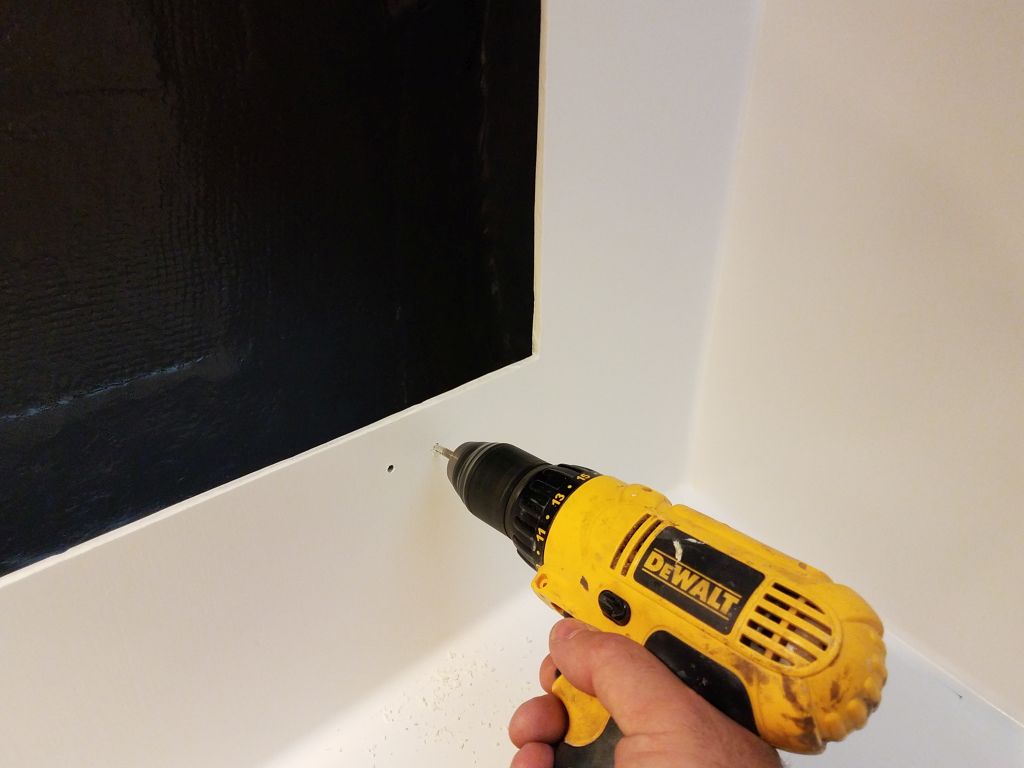
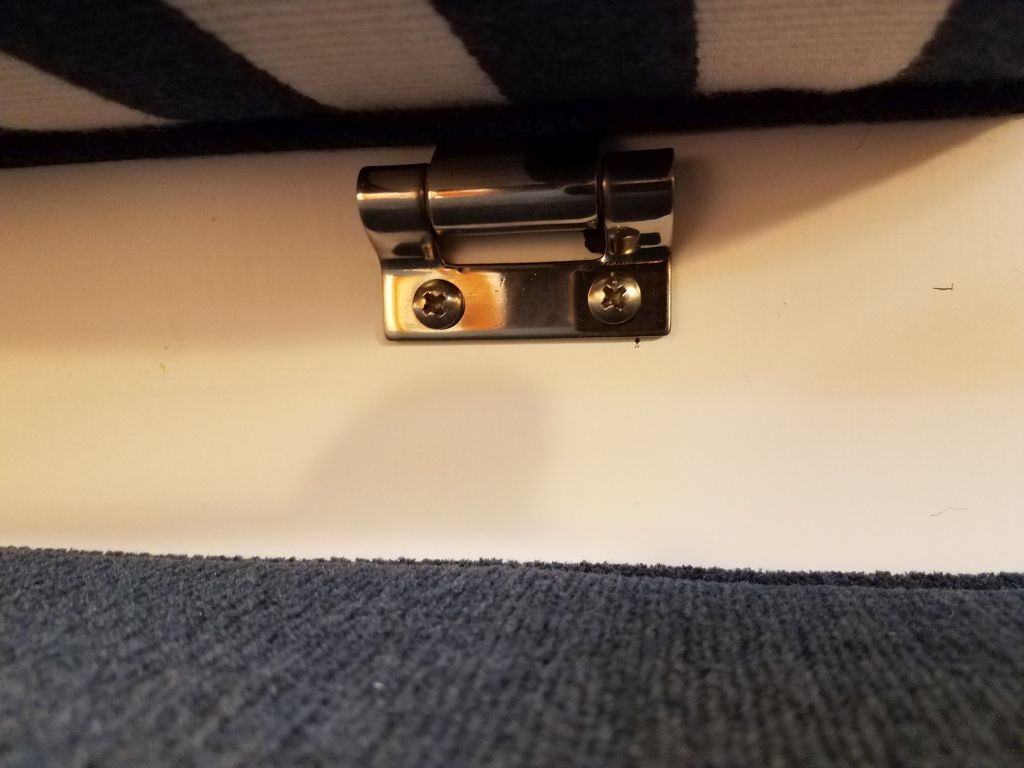
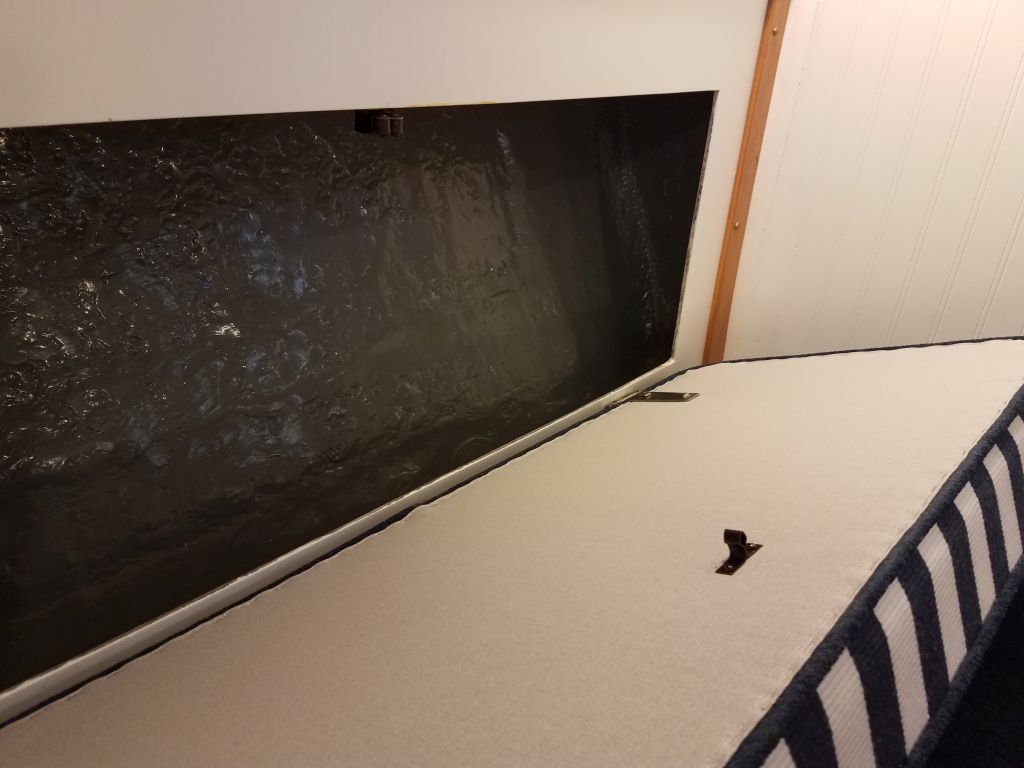
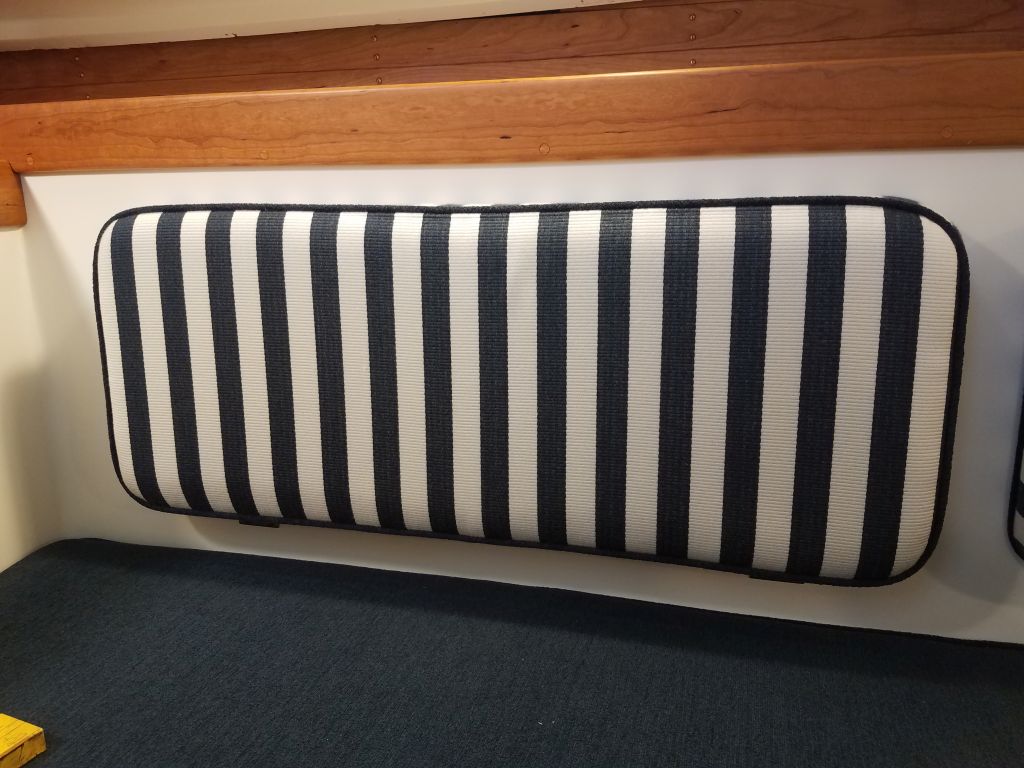
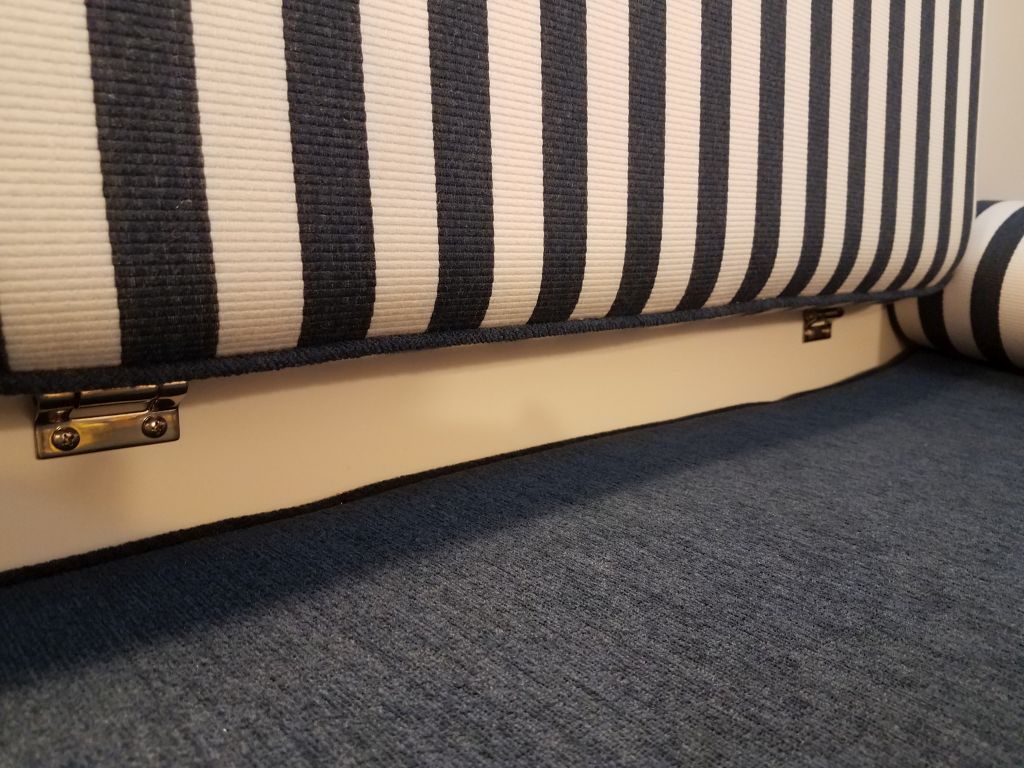
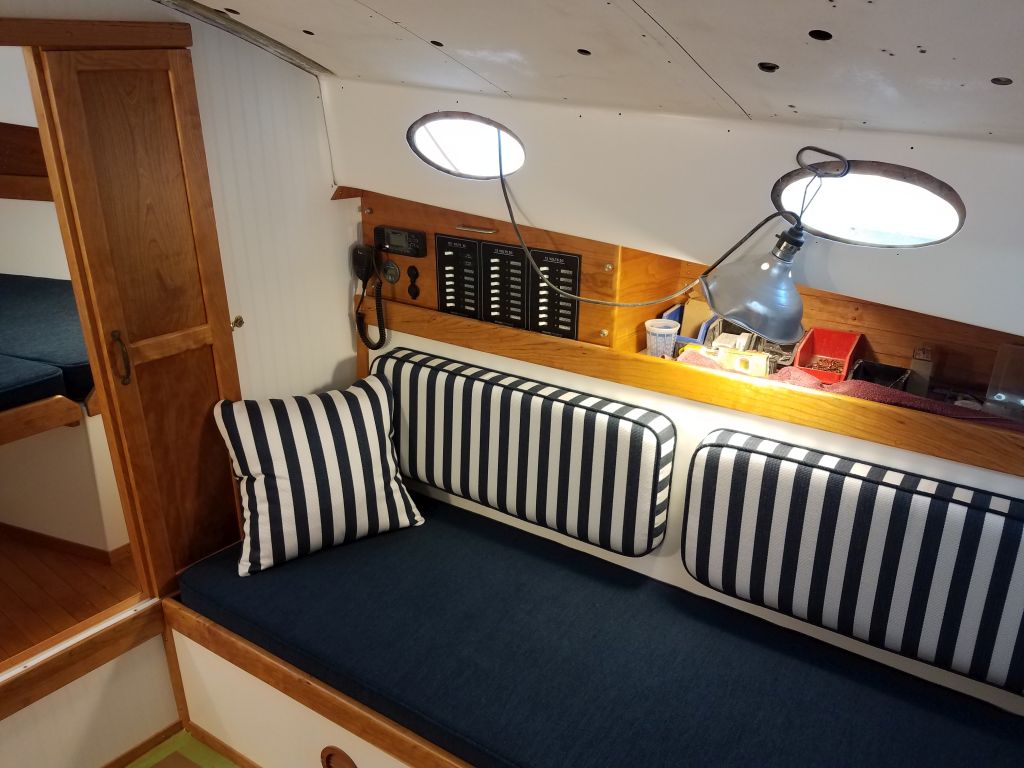
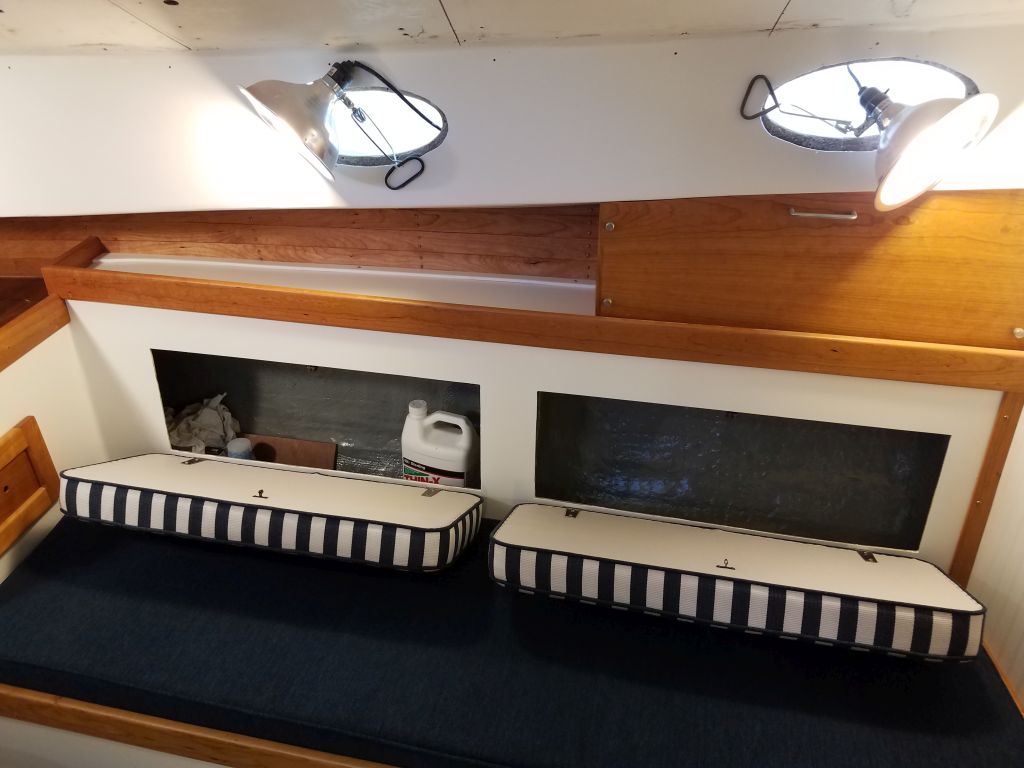
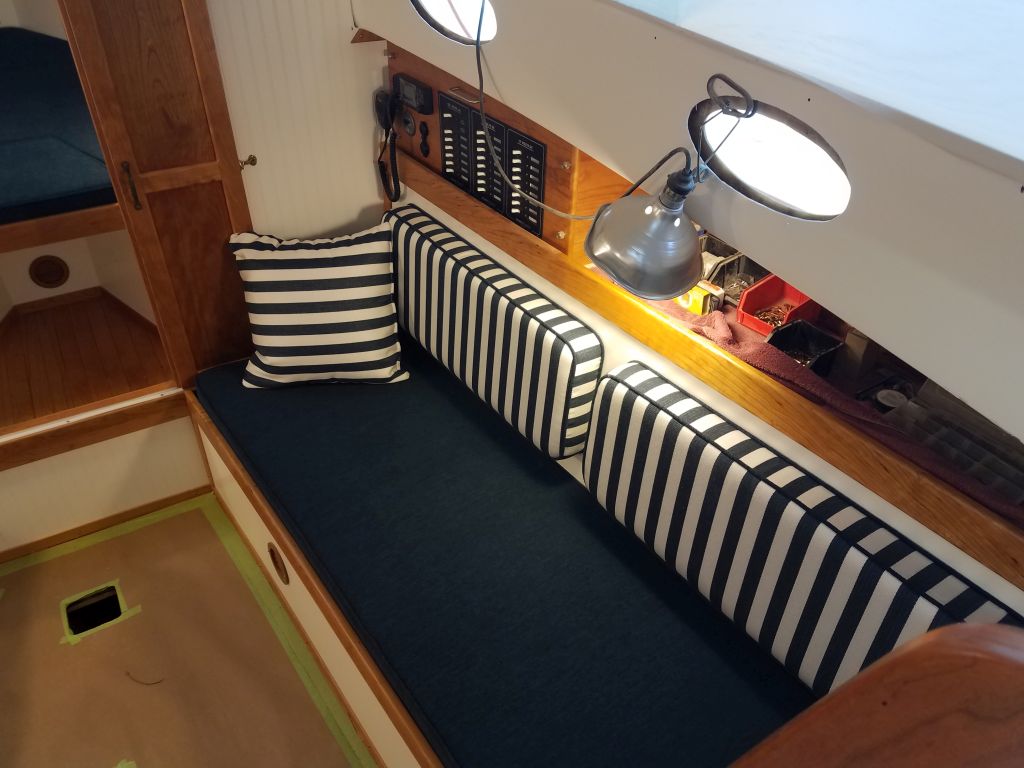
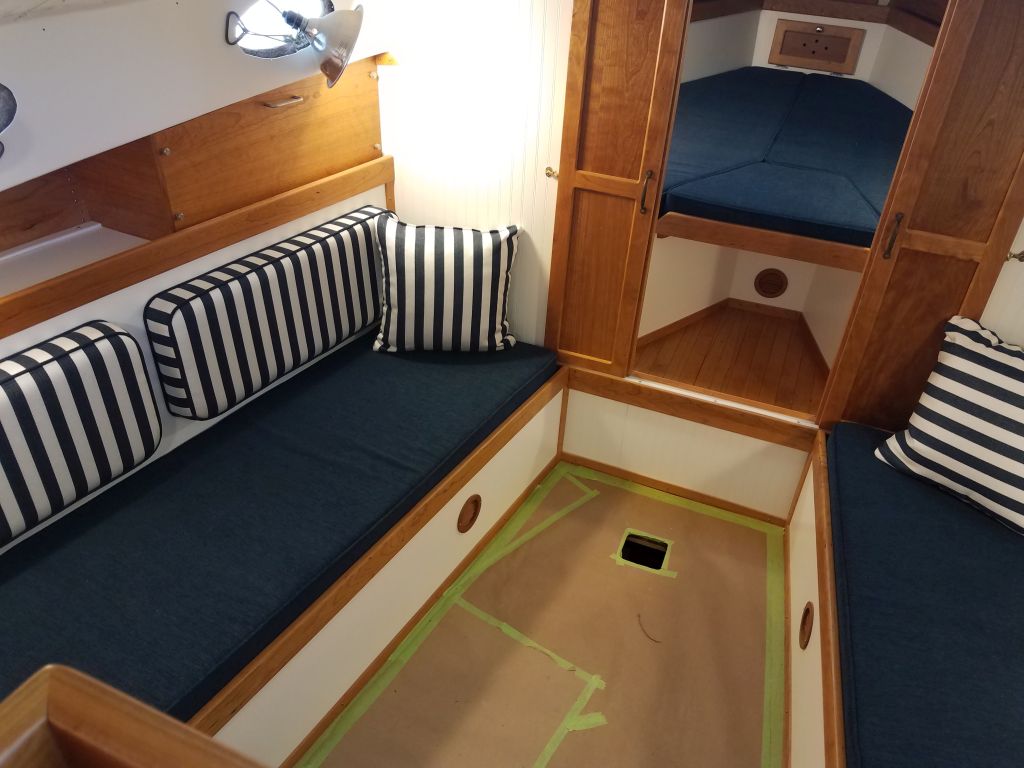
My upholstery contractor had been patiently storing the new interior cushions and backrests for some time, but now was anxious to finish the job and check everything, so I cleaned up the cabin a bit before he arrived with the new upholstery. The backrests, which covered the storage areas behind the settees, required hinges and catches for access, which I installed to complete the job. I installed the hinges to the fiberglass settee with machine screws in tapped holes; in the final installation, I’d add nuts and washers as well. I’d long ago installed wooden support blocks within the cabinet openings to accept the door catches, so installation was straightforward now.
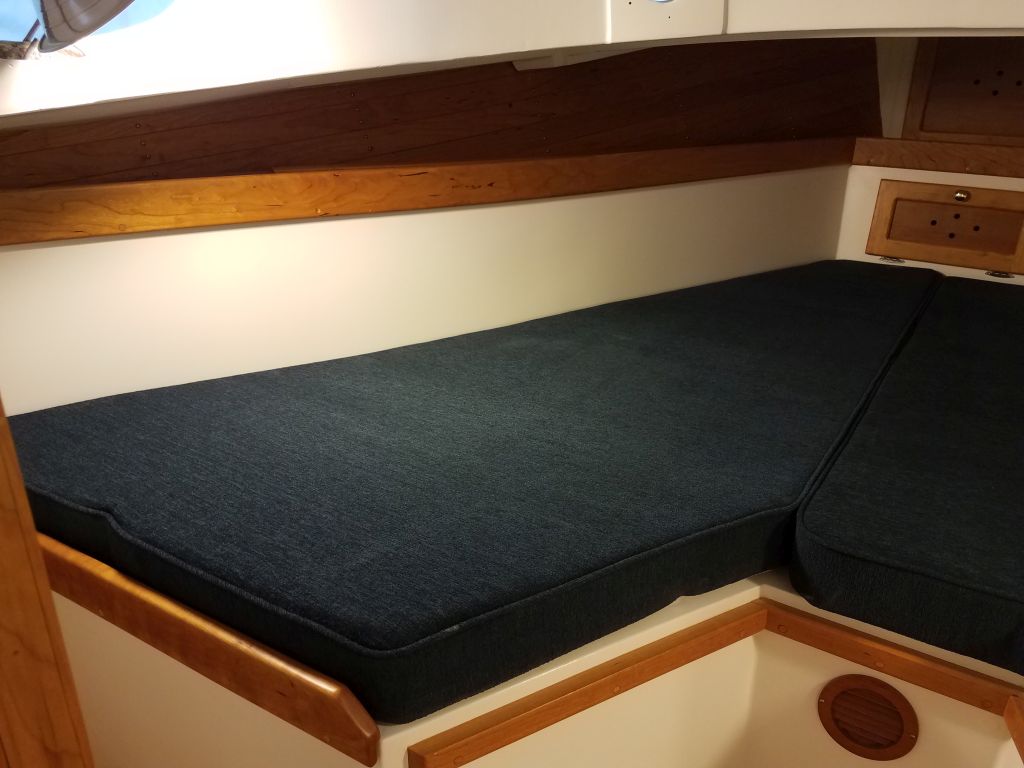

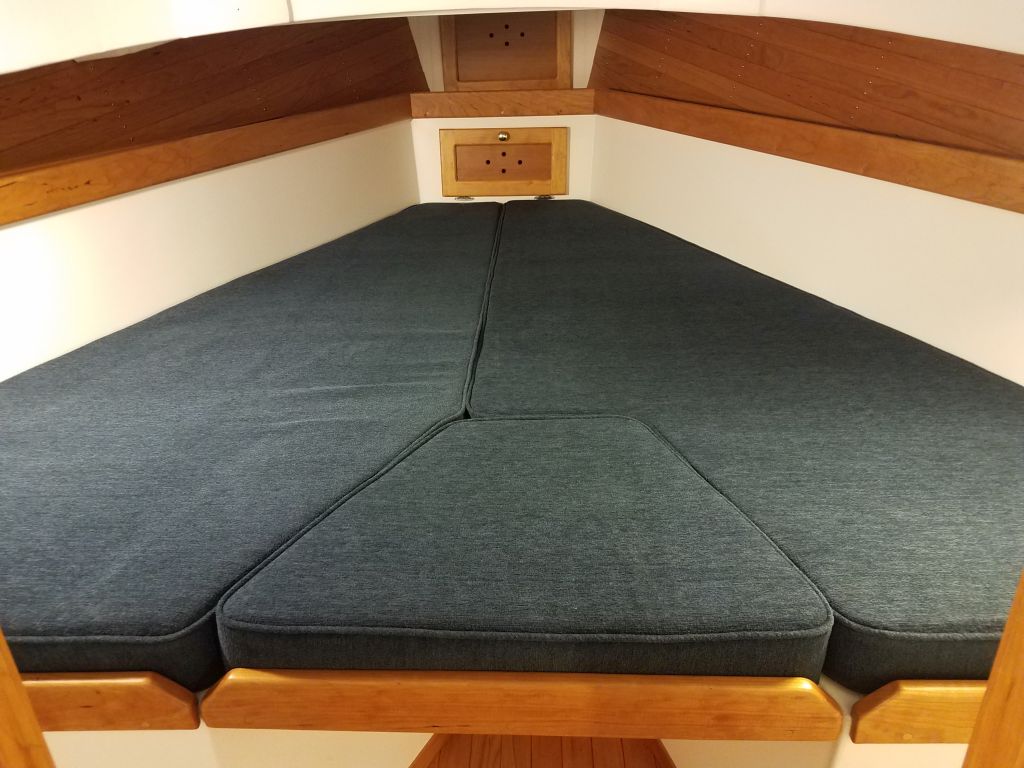
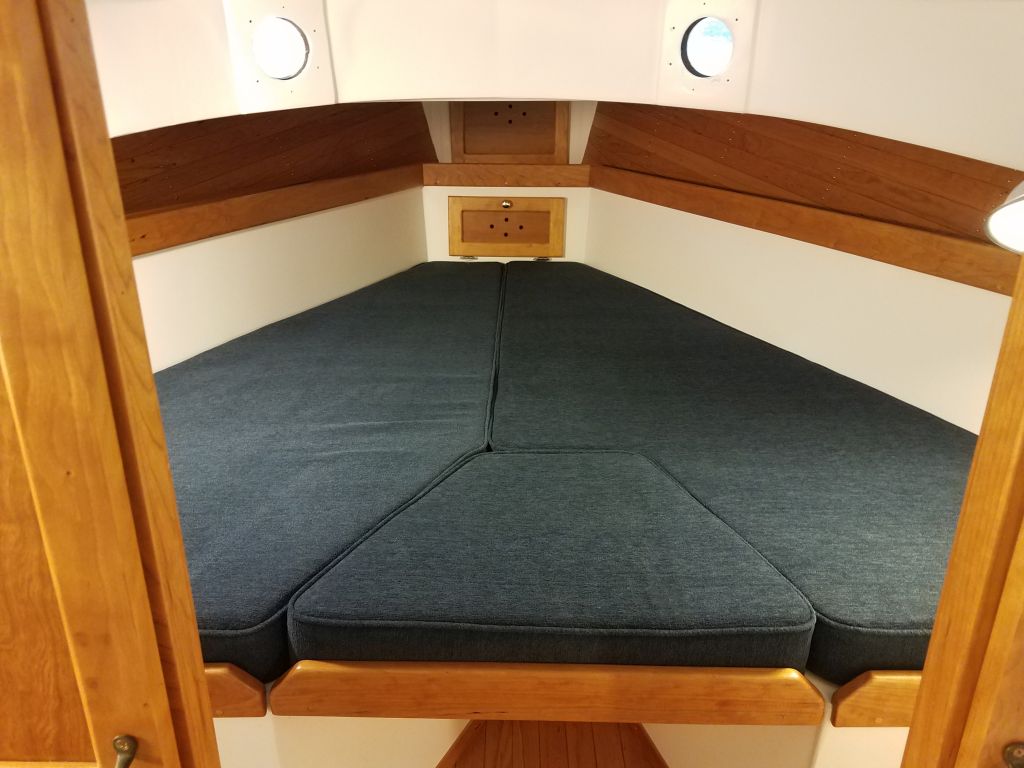


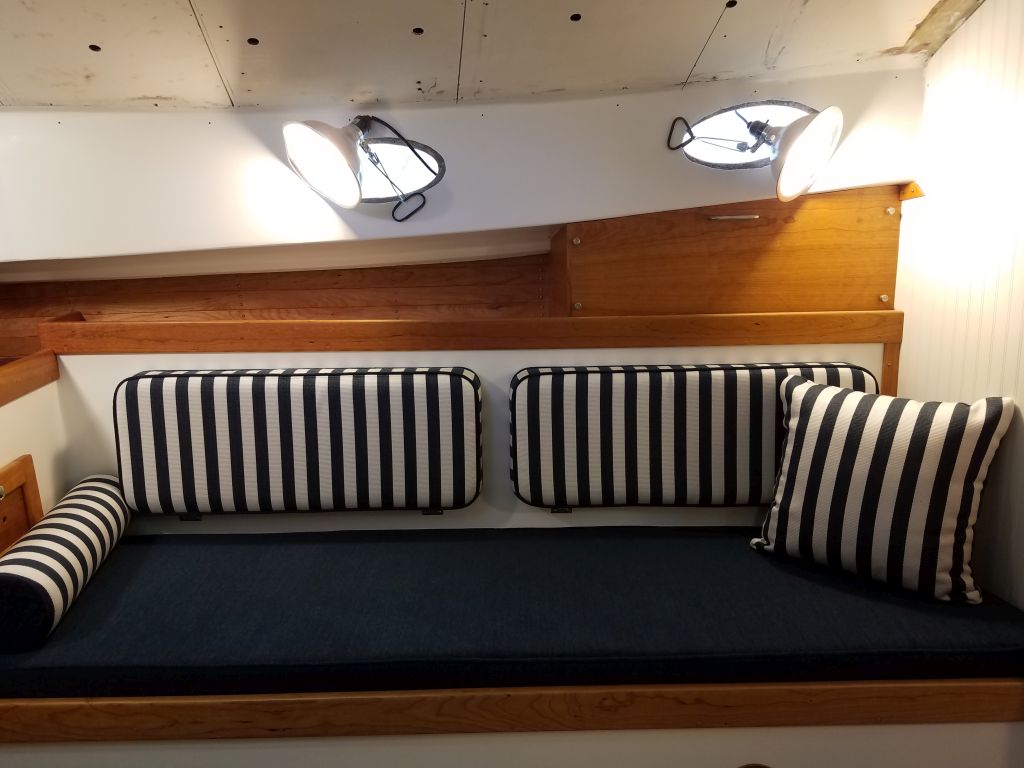


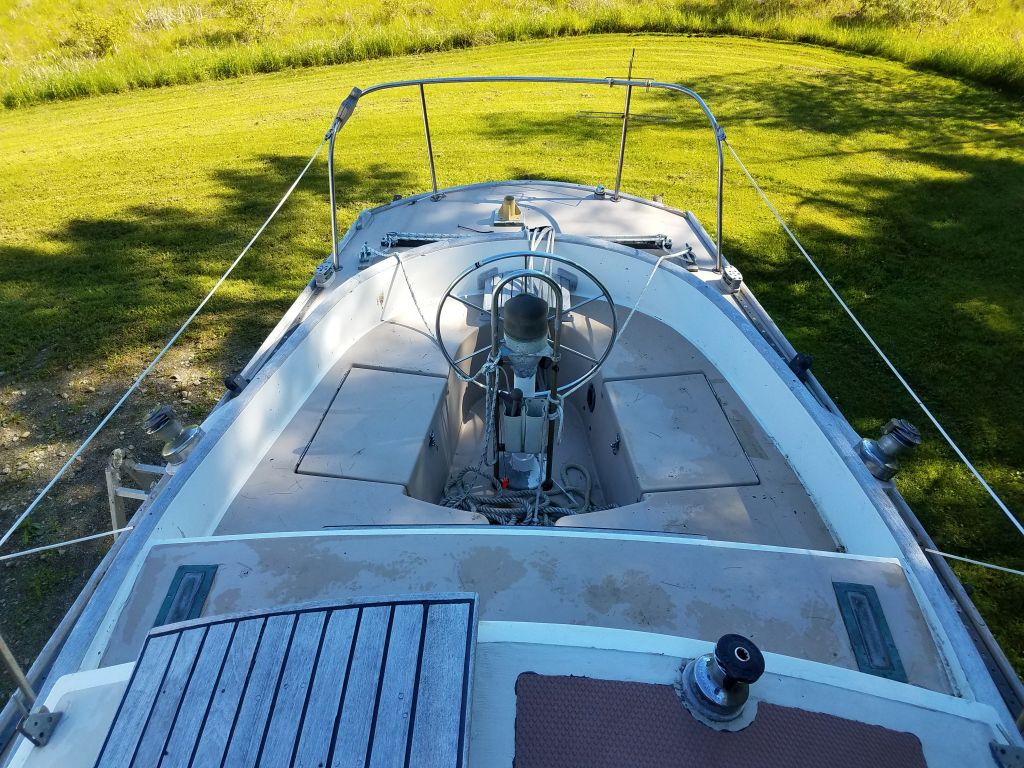
Cockpit cushions:
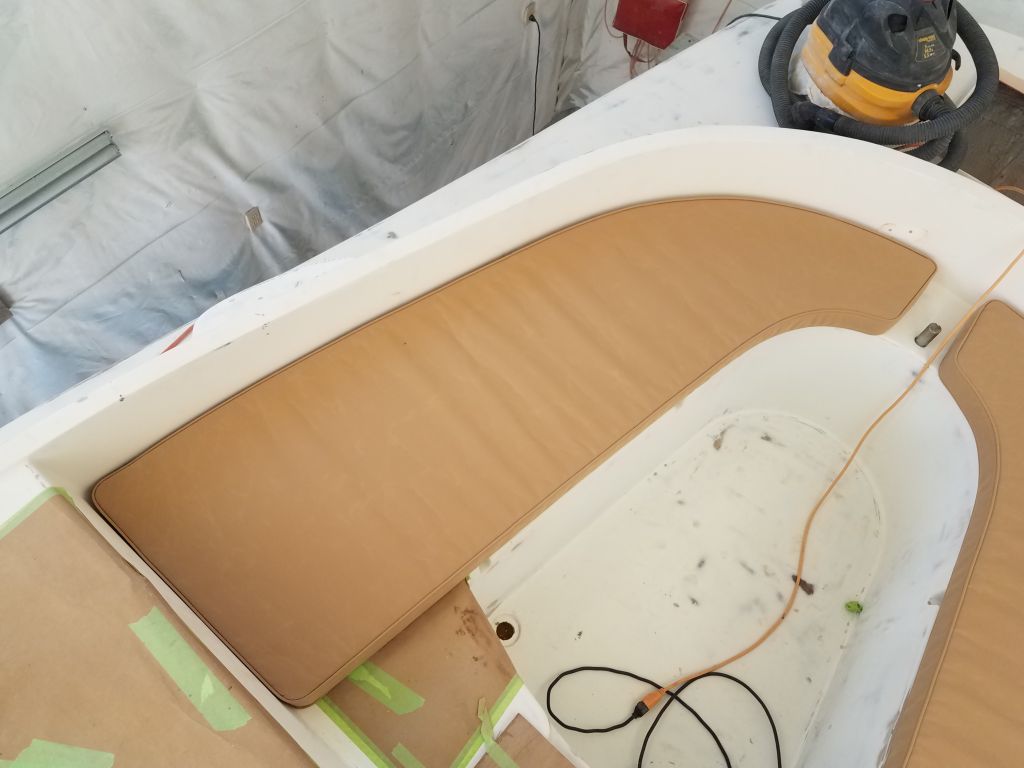
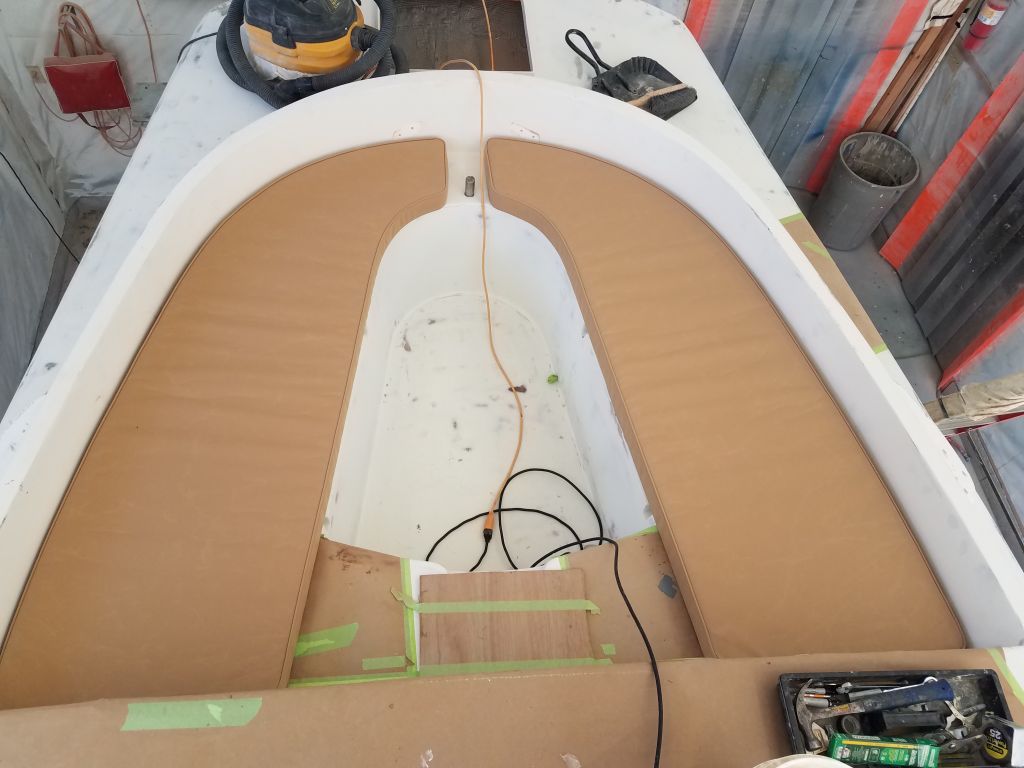

With the cushion installation complete, I removed all the cushions and stored them in my basement for safekeeping till the end of the project.
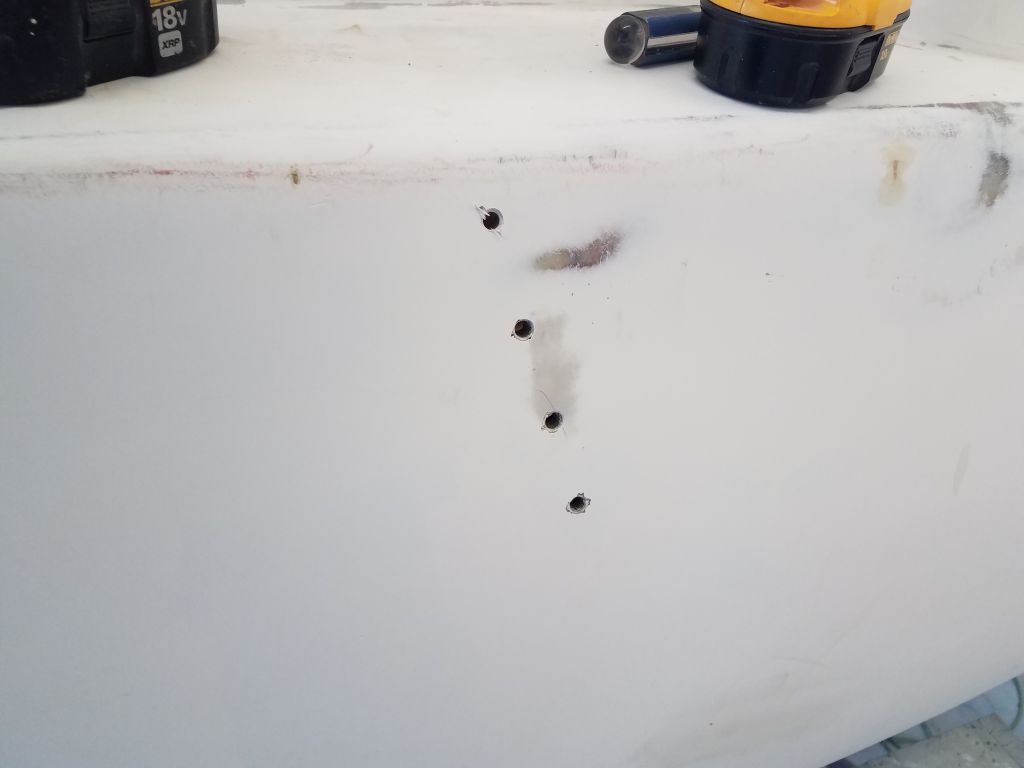
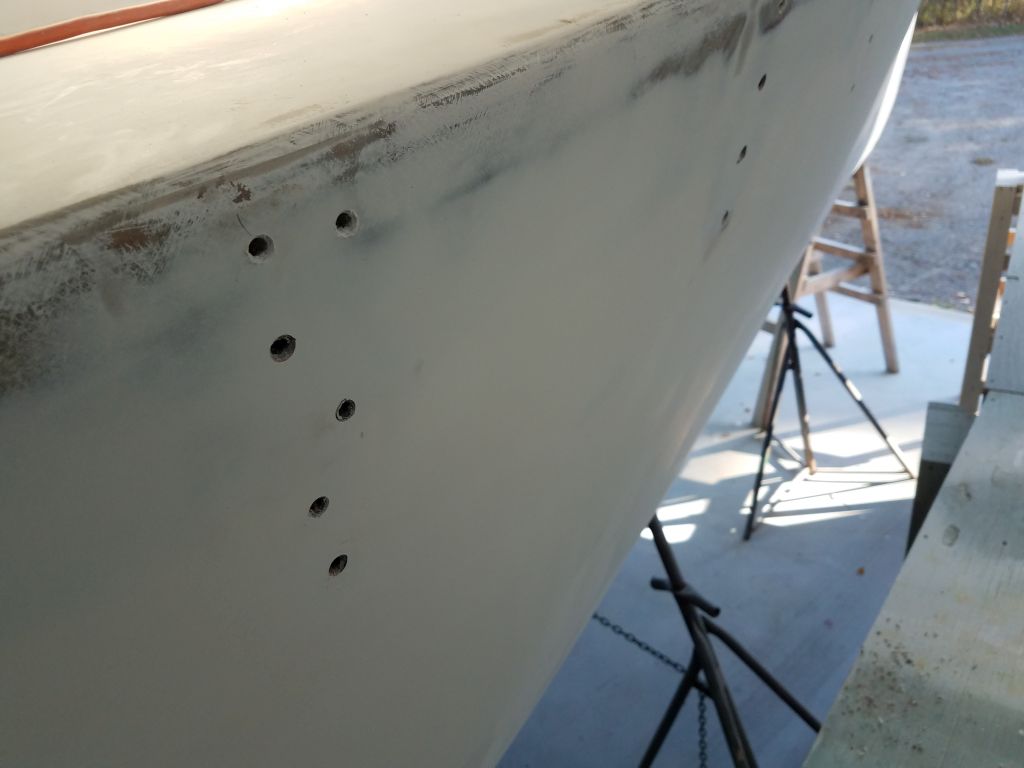
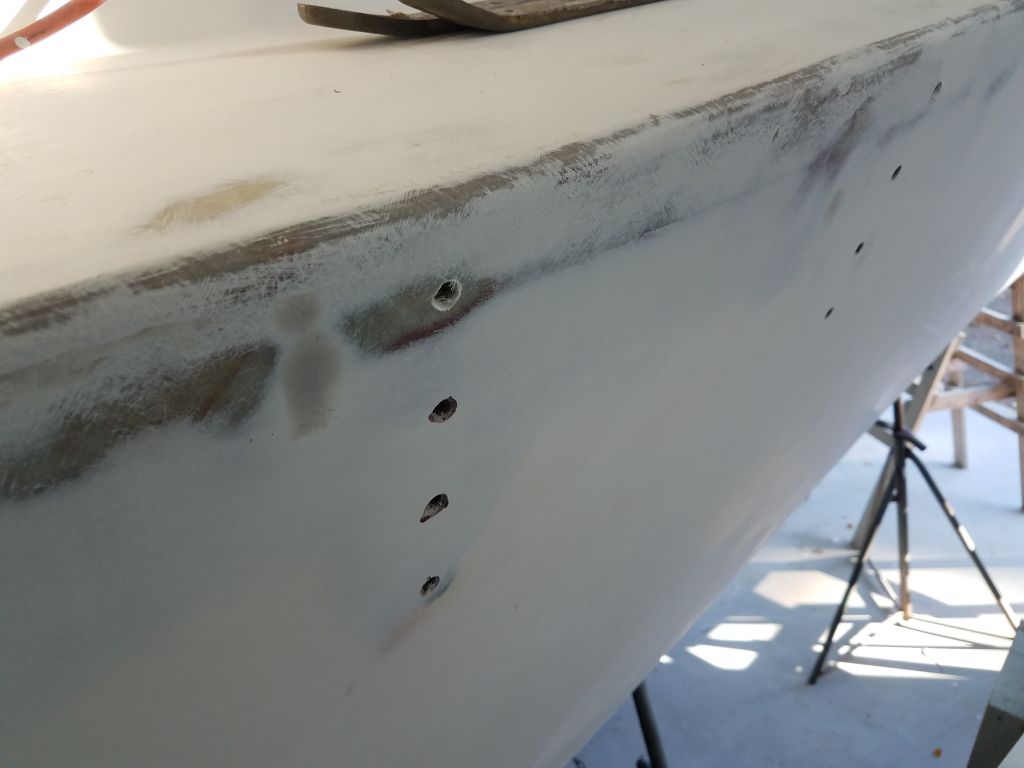
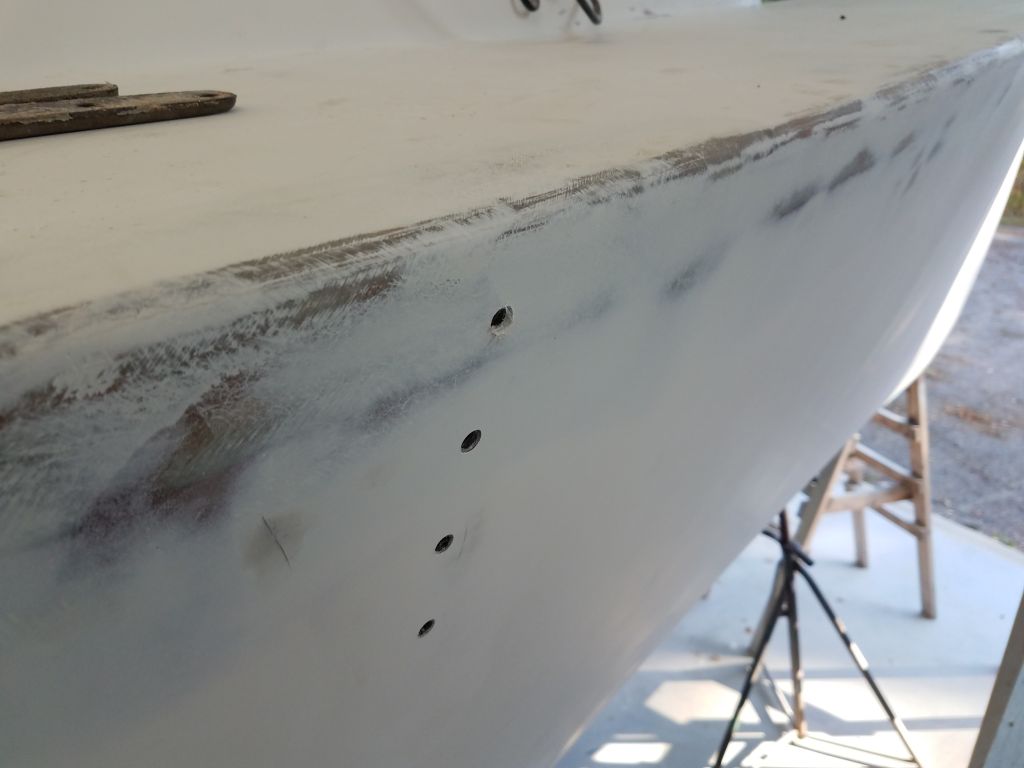
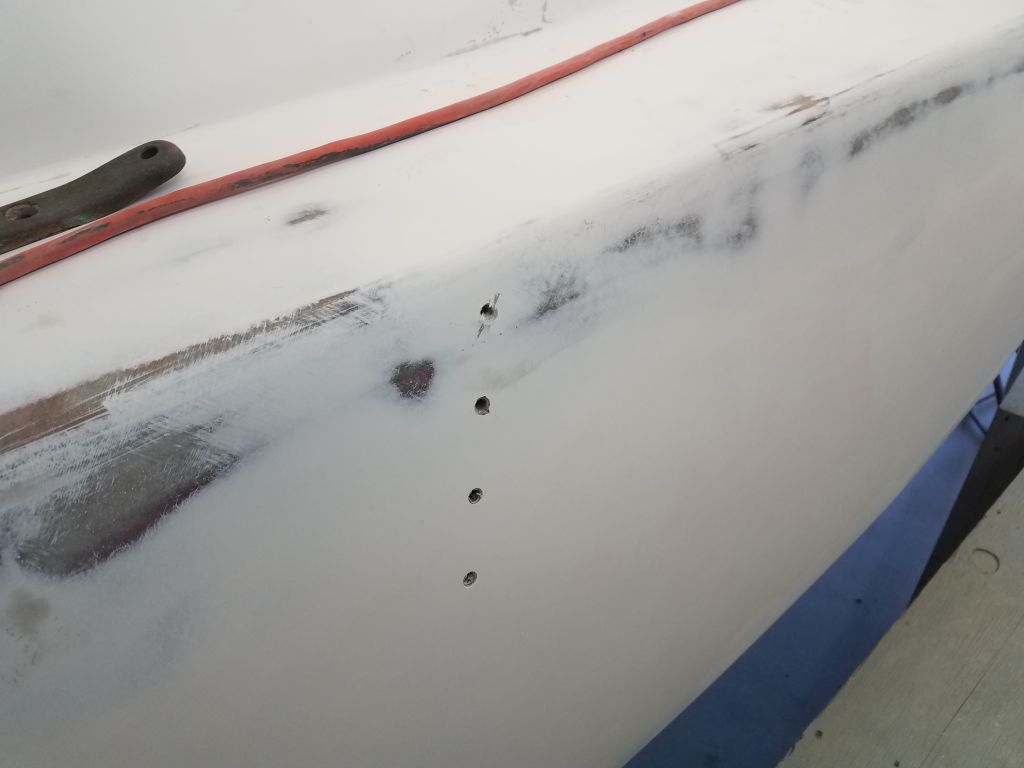
My immediate focus was to finish up any lingering exterior work required before I could apply finish primer and topcoats. To begin, I used the chainplates to finish marking and drilling the bolt holes through the hull. Faithful readers may recall that sometime earlier, I’d redrilled many of the holes from inside the boat, since the exterior of many of the holes had been filled with fairing compound or covered with fiberglass during the hull and hull/deck joint work, but the topmost holes were inaccessible from within, and I’d left their completion for later. Later was now, so I finished up the final holes and, using a countersink, milled a slight chamfer on each hole to ease any rough edges.


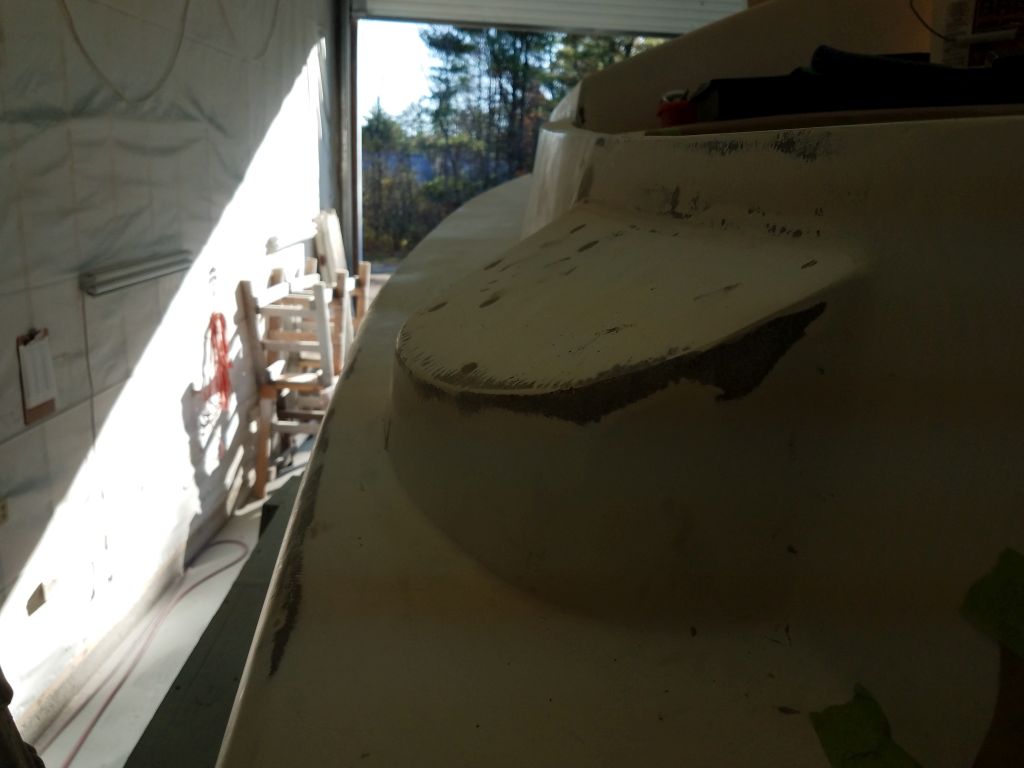
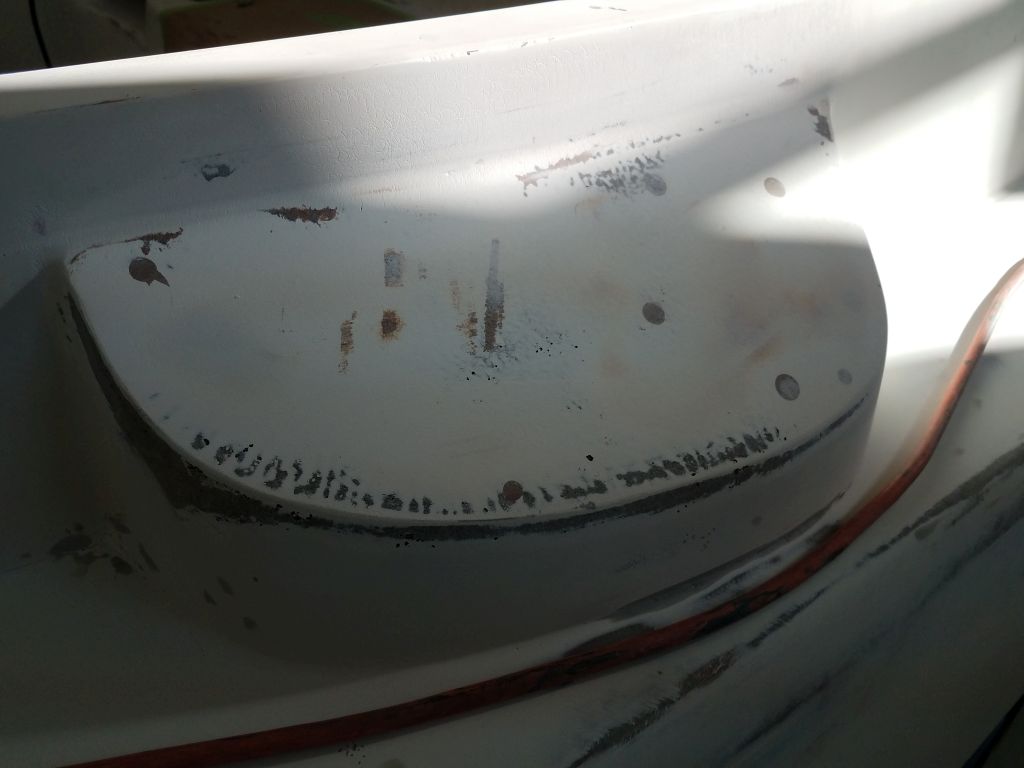
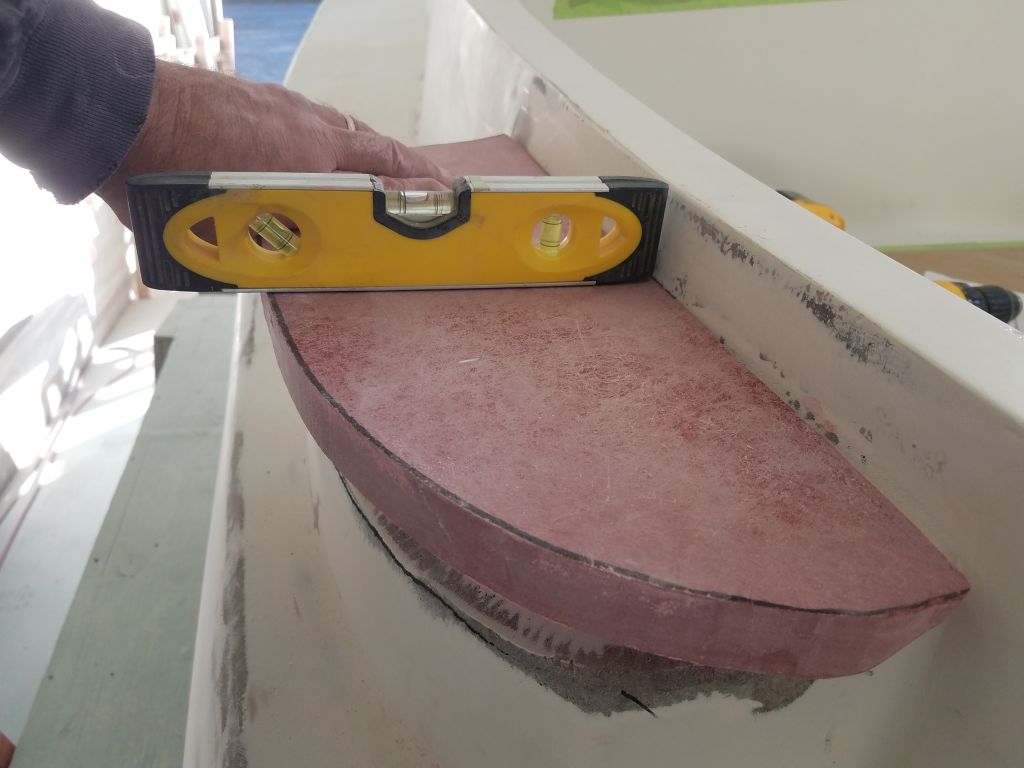
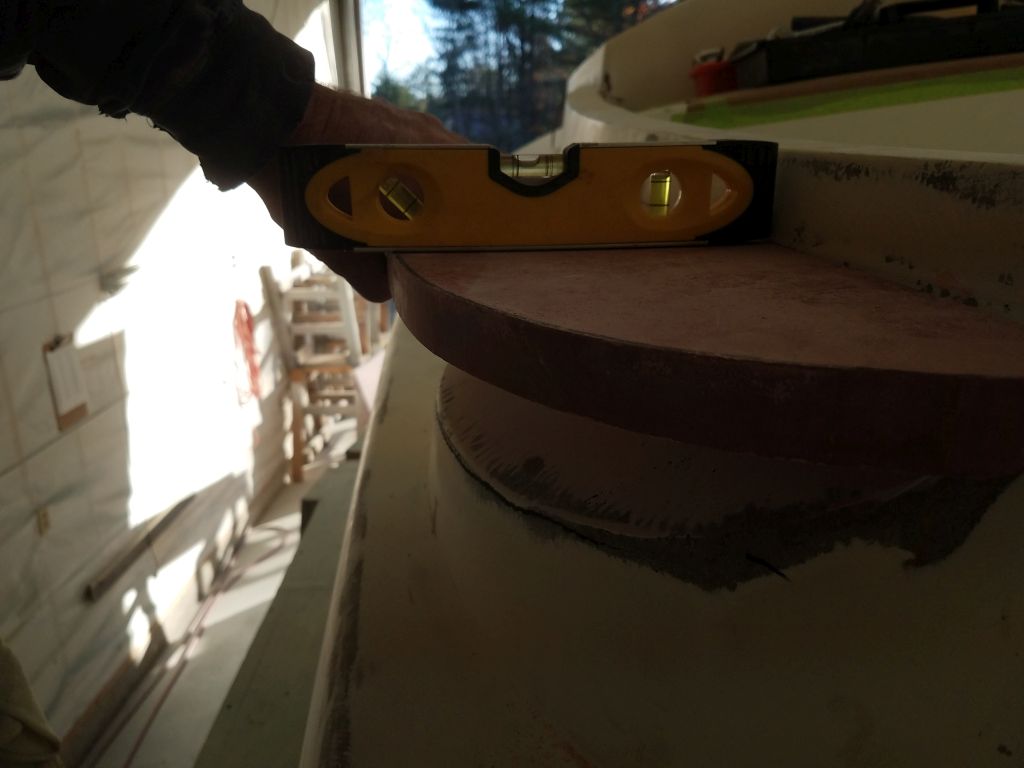
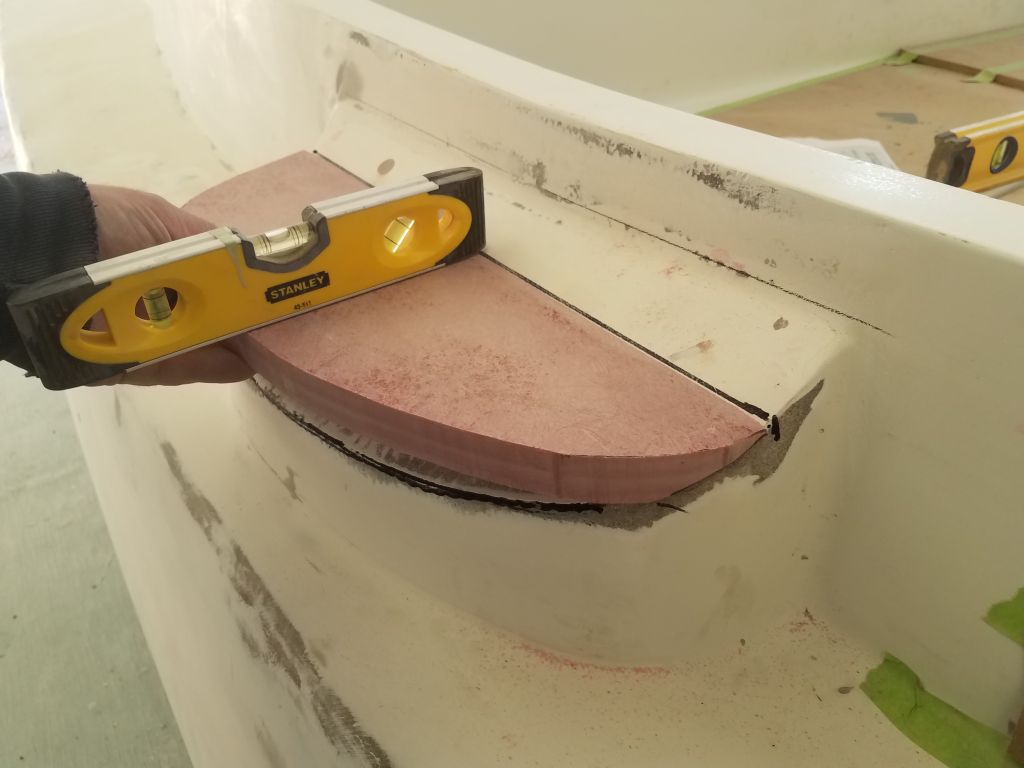
The main task on my short pre-primer list was the molded winch islands in the cockpit. These winch islands featured a sharply angled top surface, for purposes unknown, but it looked goofy and caused the winches to lean severely outboard and even past the gunwales, as seen in the photos below, which were taken upon the boat’s delivery here and the early part of the disassembly long ago.


The owner, upon first seeing the boat during his visit to the shop at the beginning of the second phase of the project, pointed out that he didn’t care for the angled winch islands, nor did I, and nor could we conceive of why it would be beneficial to the operation of the winches, so he asked if we could level the tops. I had hoped to complete the leveling work earlier, but phase 2 was consumed by interior work and there wasn’t time to get to the winch islands, though I’d sanded off the primer at one point. Now, though, they were a priority.
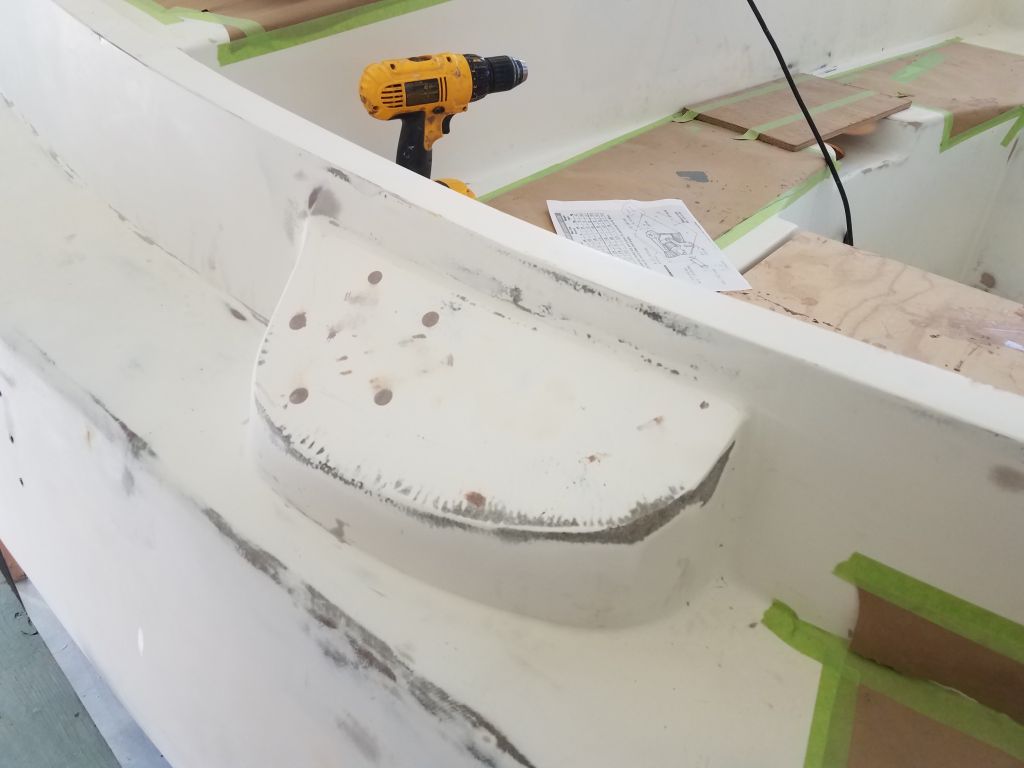
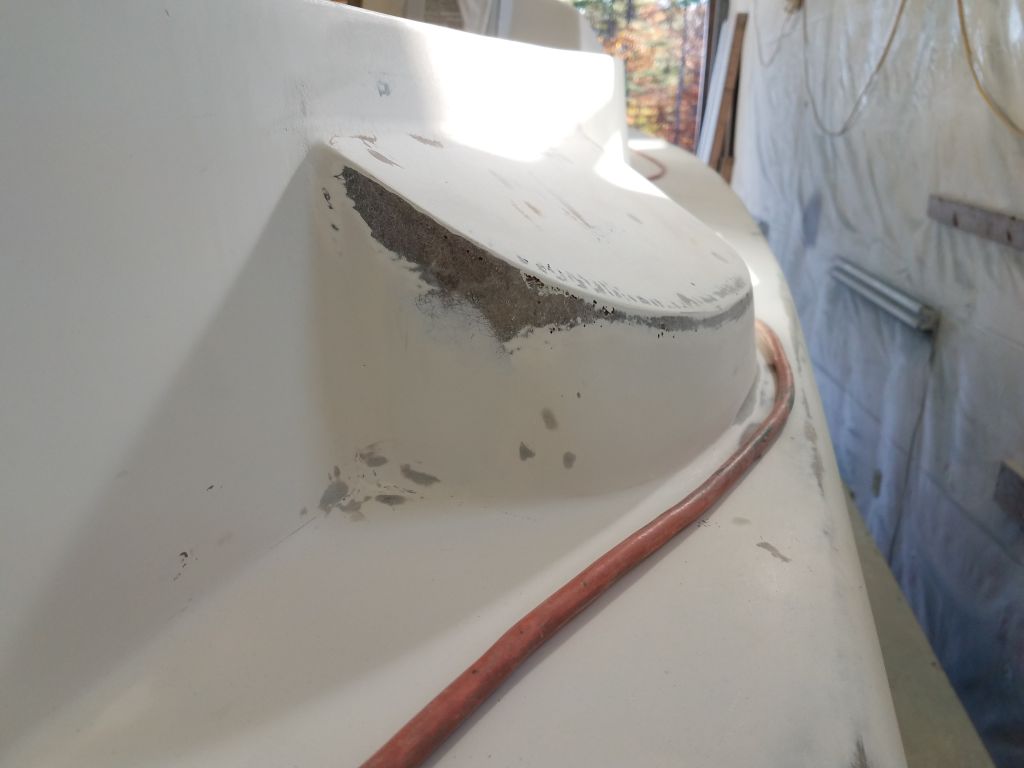
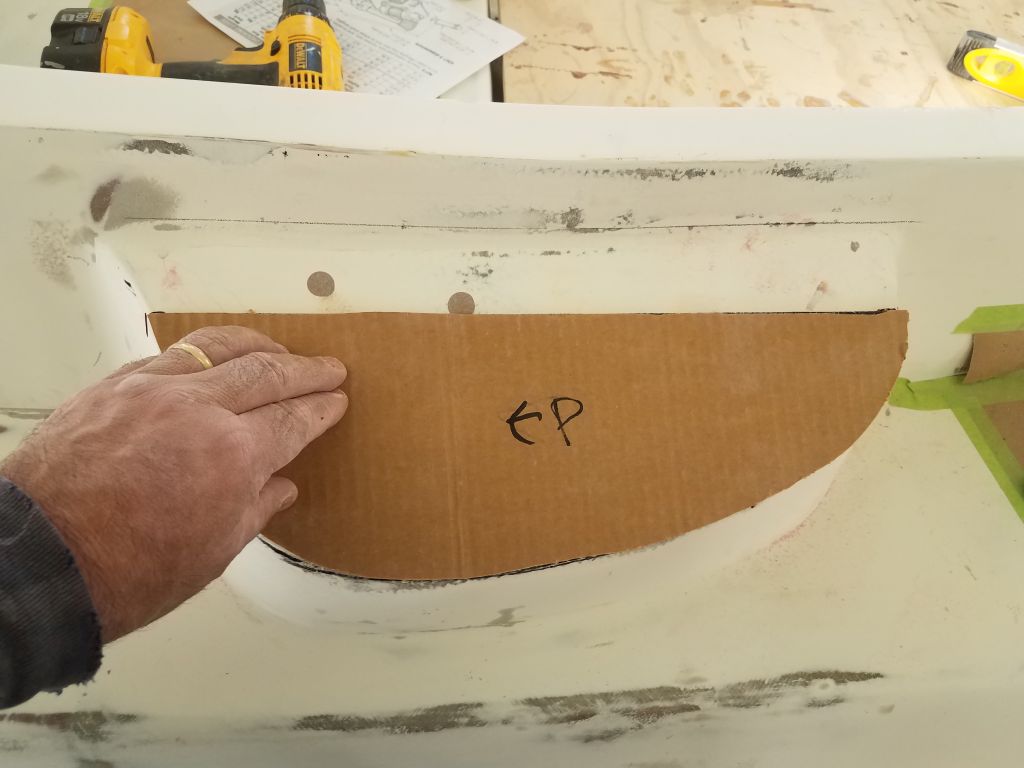
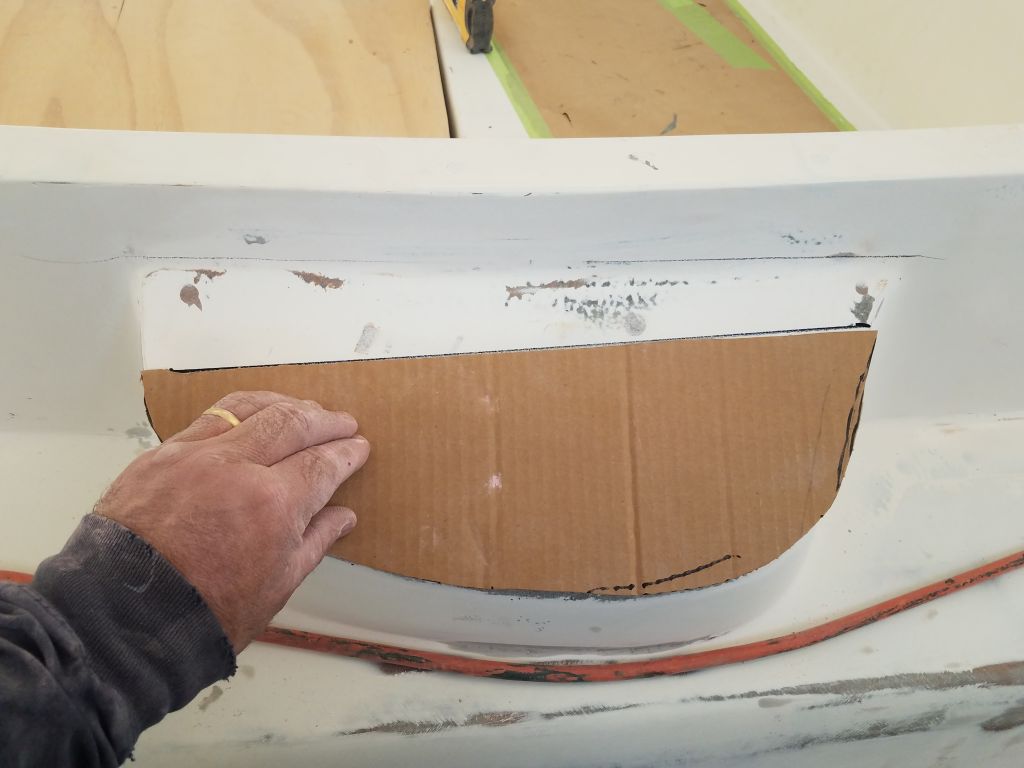
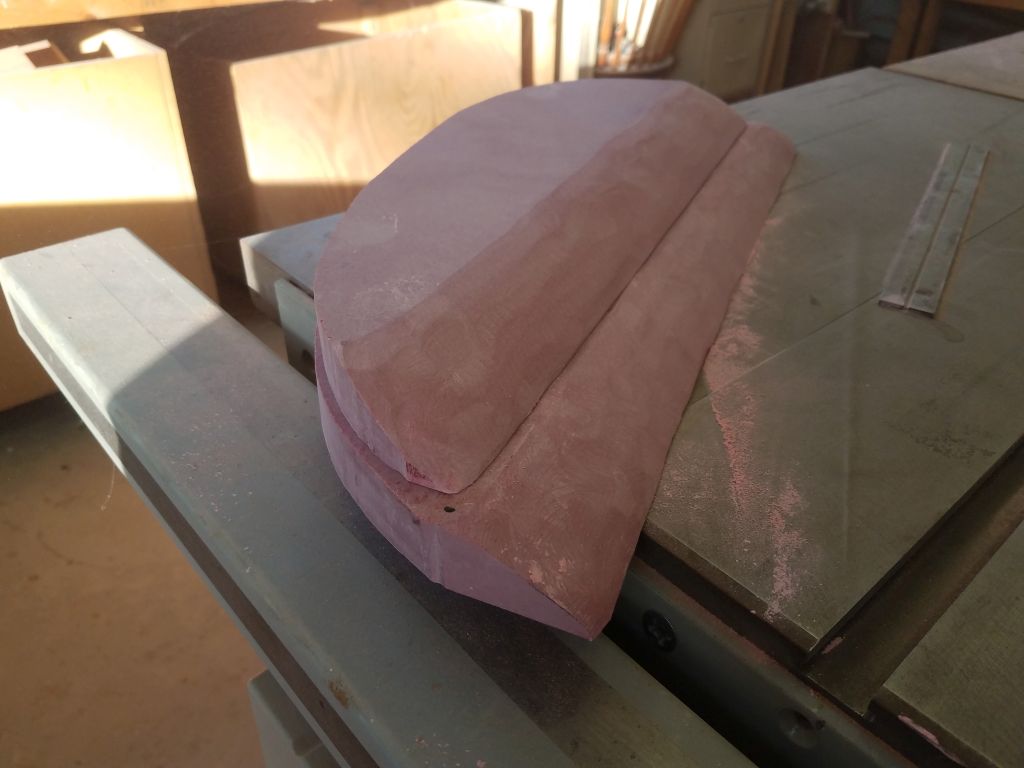
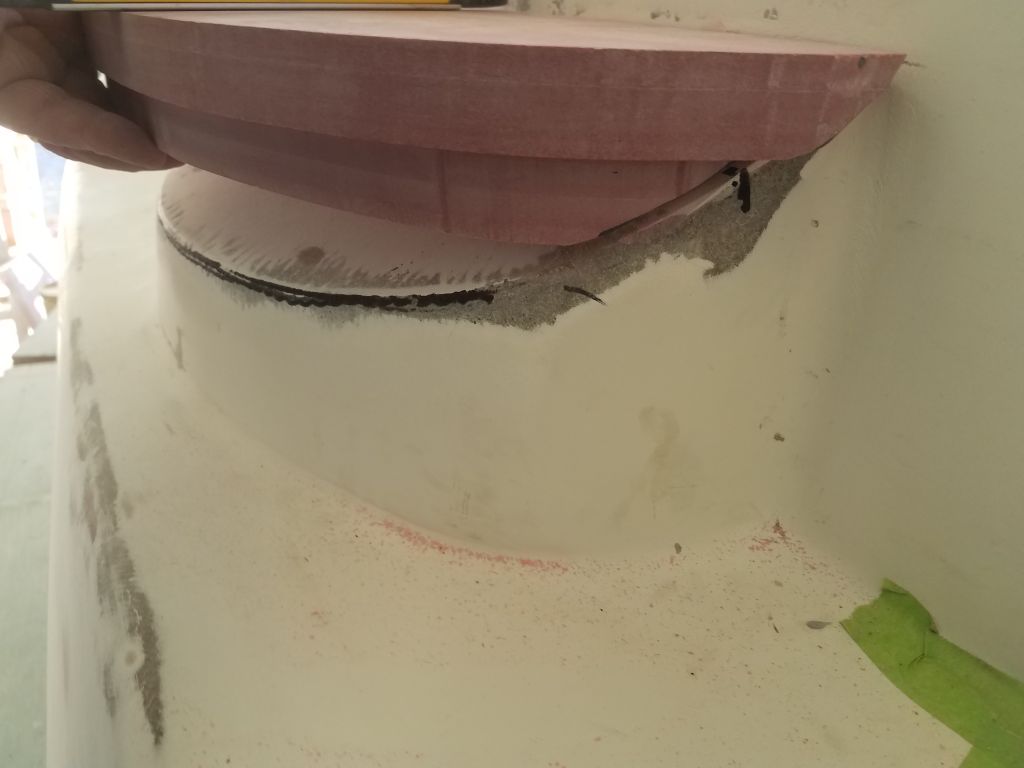
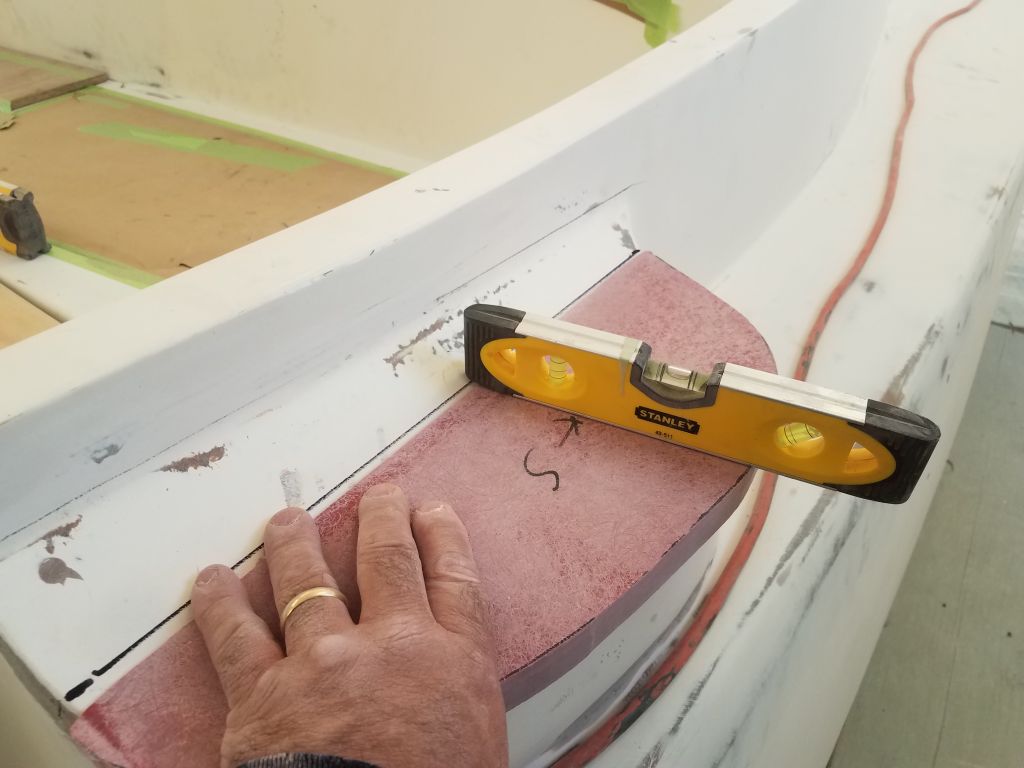
My plan was to build up the top with solid fiberglass sheeting, which I had on hand. To begin, I made a cardboard pattern of the island top (they were for all intents and purposes identical to port and starboard, so I could use the same pattern for each). The angle of the existing winch islands was quite strong, and to bring the tops level would require almost 3″ of material at the outboard edges.
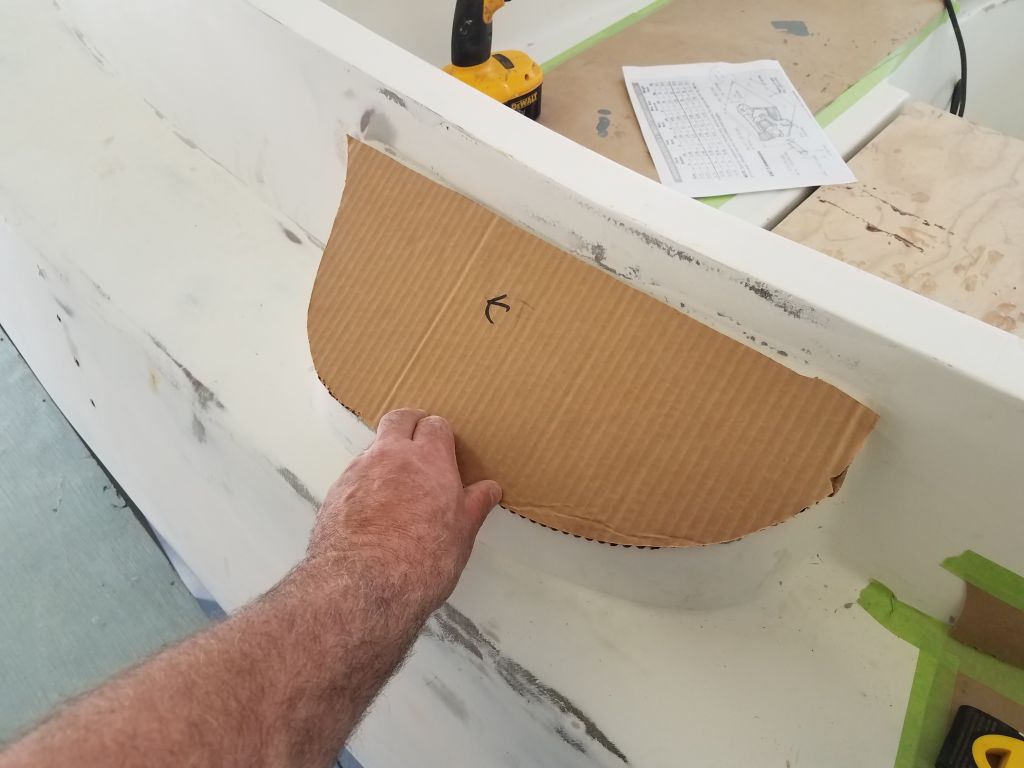
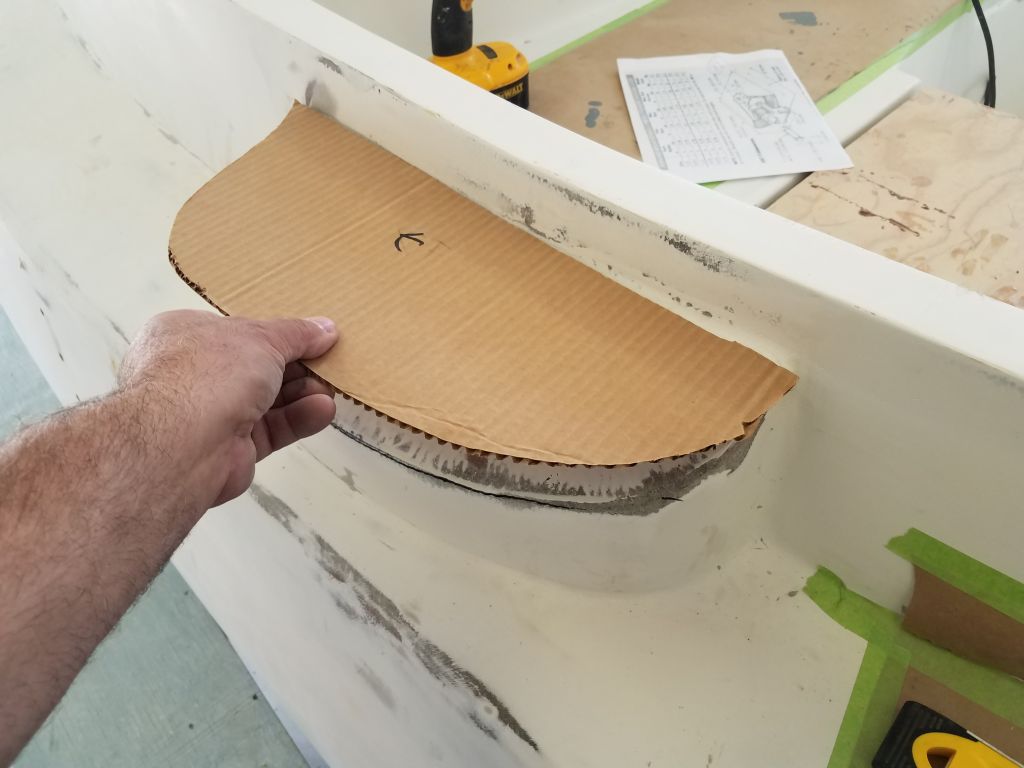
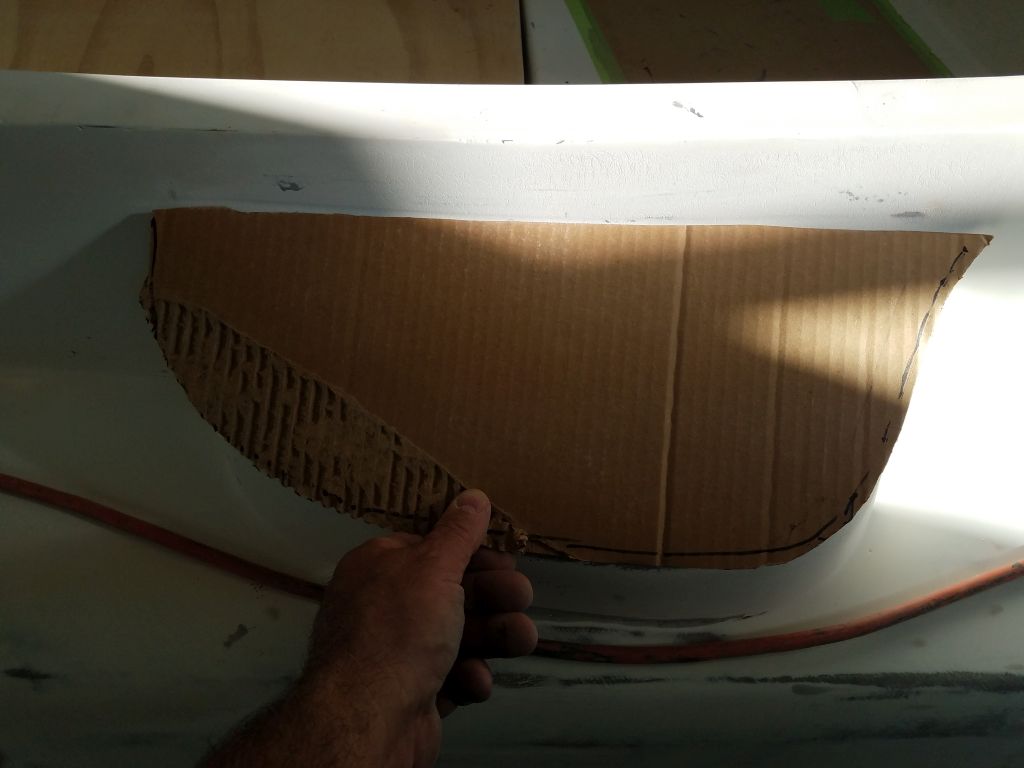
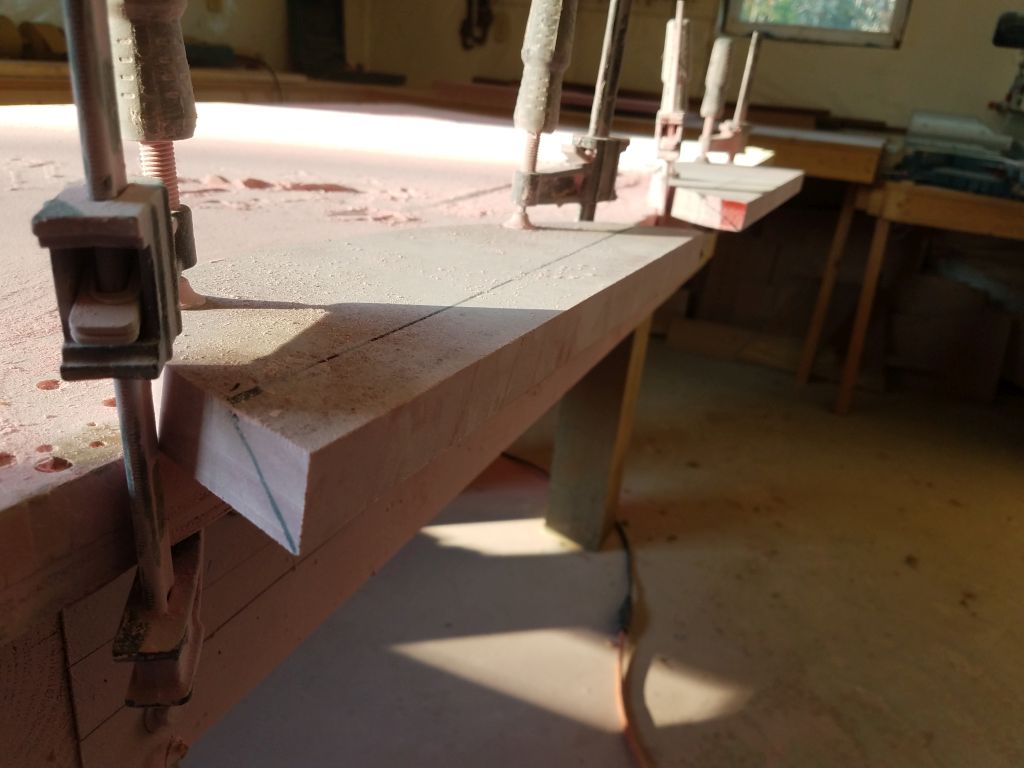
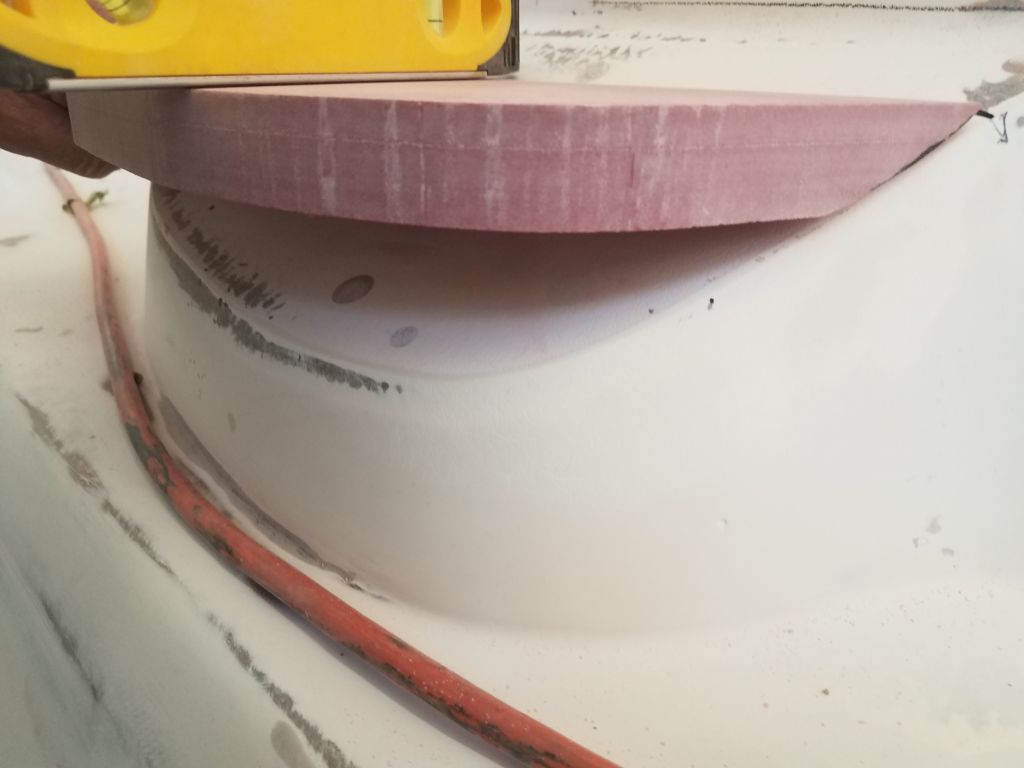
I transferred the patterns to a sheet of 1″ thick prefab fiberglass and cut out the shapes, then, holding the blanks basically level on each side, I made some marks so I could shape the inboard edges to match the sharp angle beneath.


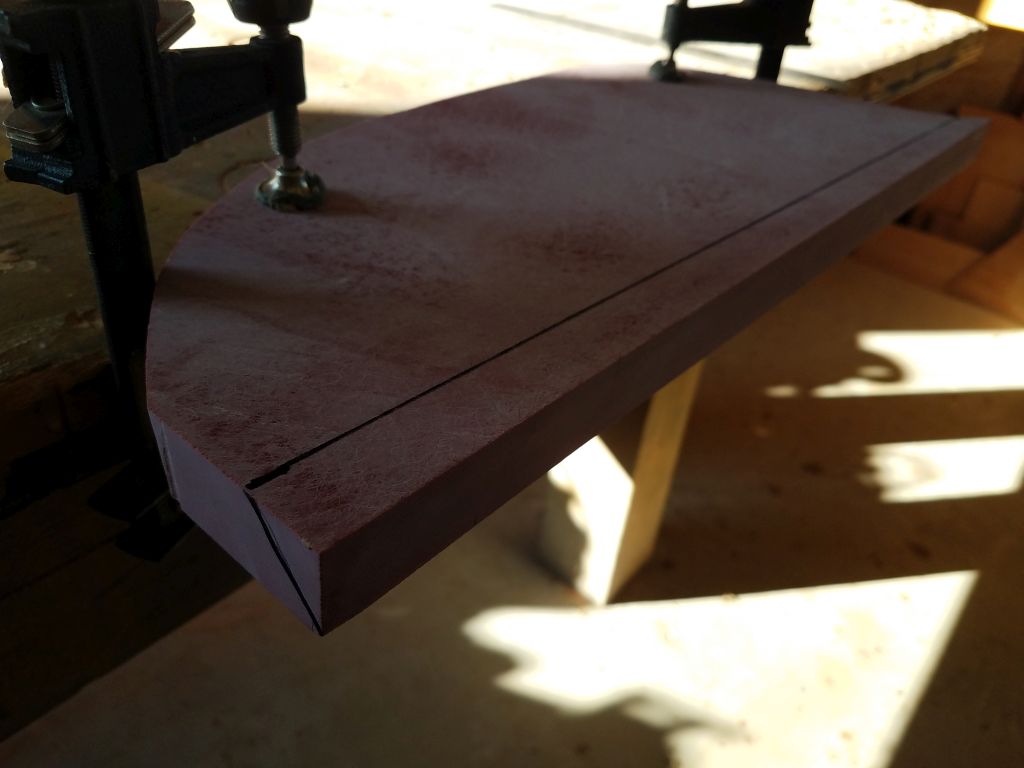
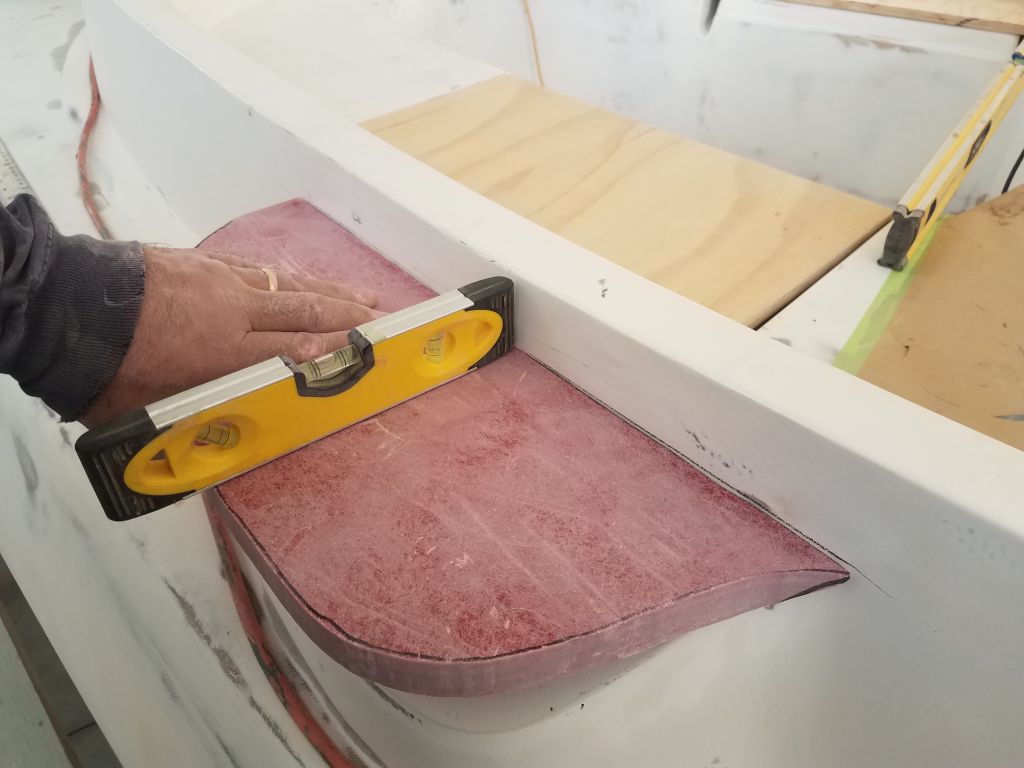
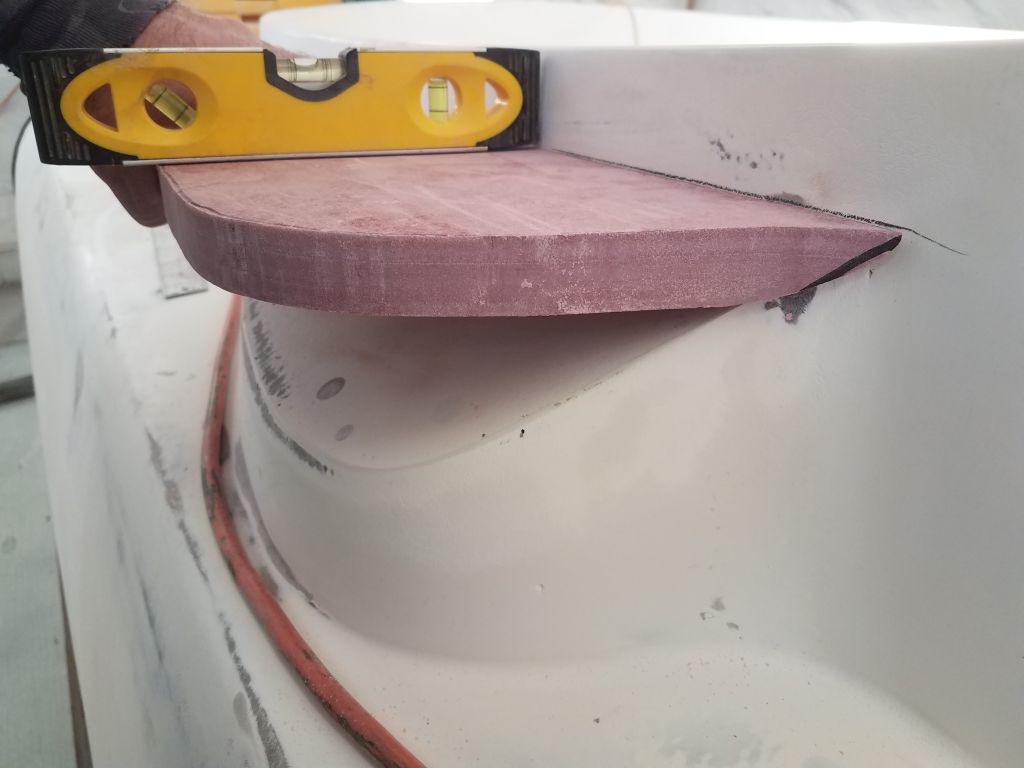
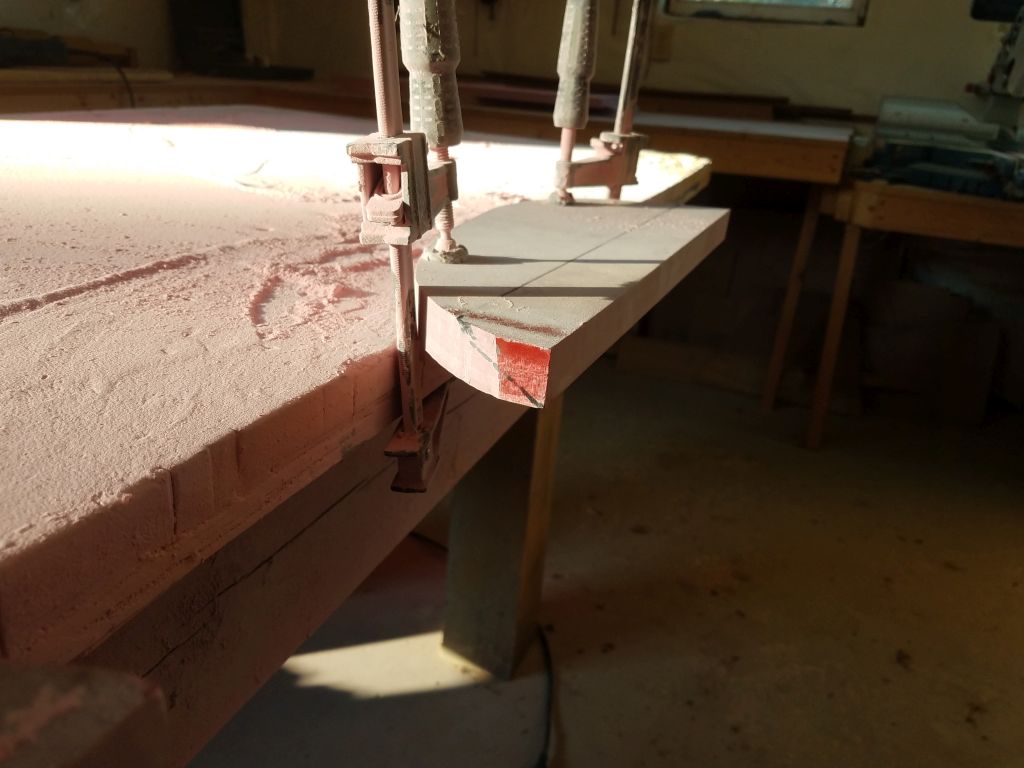
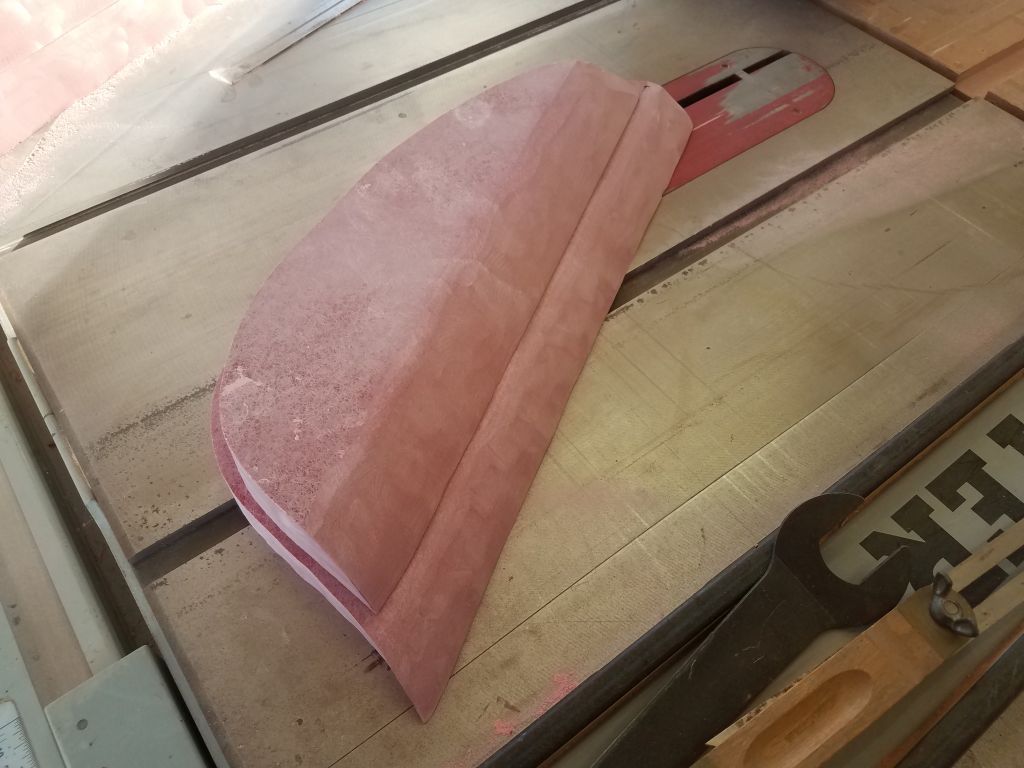
Satisfied with the first piece, I marked its lower edge and, using the original cardboard pattern now held down to the new line, created similar templates for the second piece of the solid lamination, and cut and shaped these to fit by the end of business. The top section on each side was a bit oversized, but now with the second piece in place I marked the tops so I could make another saw cut to trim them down before continuing.
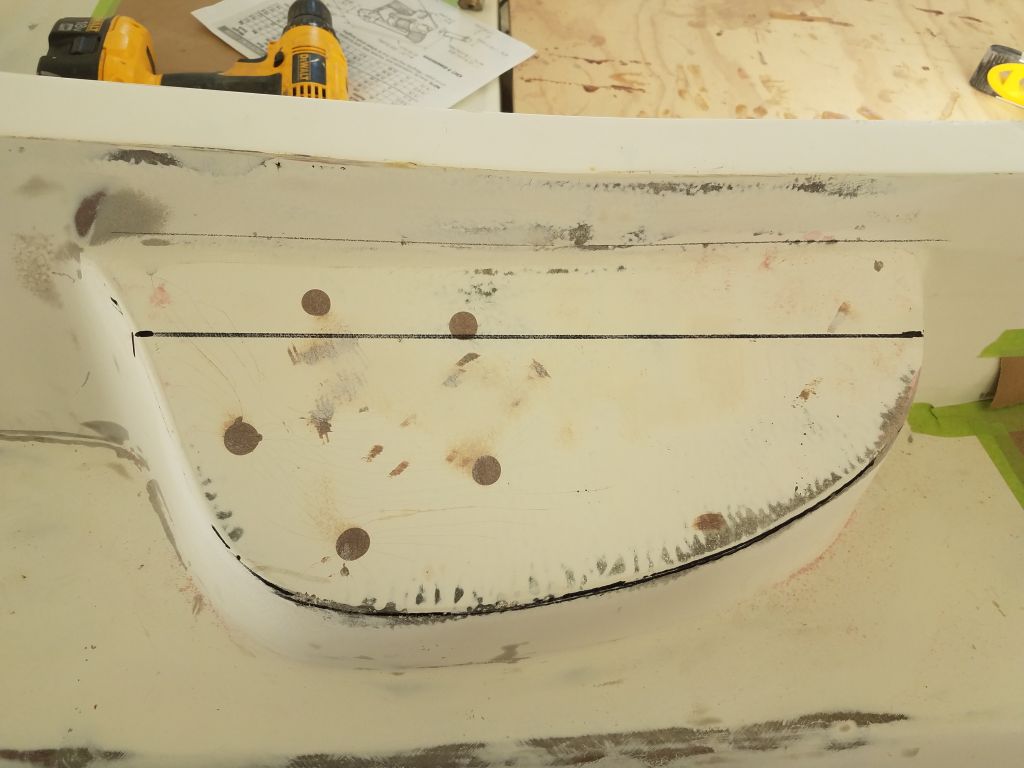


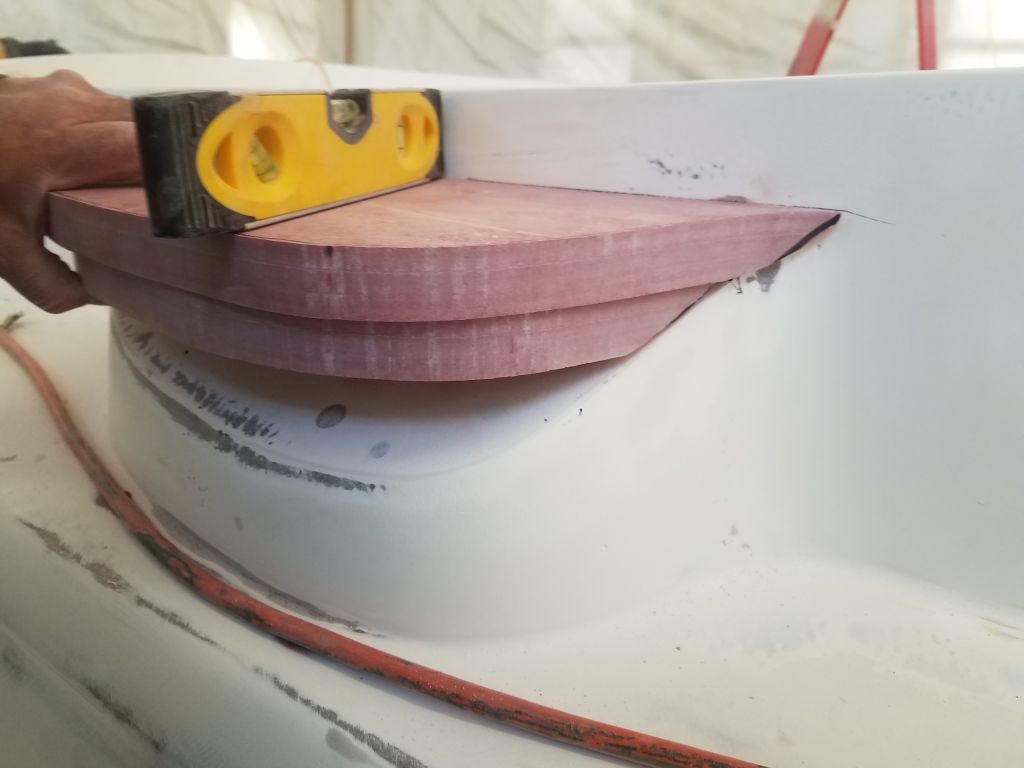
I’d need one more smallish section to complete the build-up, but I’d finish that next time.
Total time billed on this job today: 8.5 hours
0600 Weather Observation: 44°, partly cloudy. Forecast for the day: Mostly sunny, 63°