


February 19, 2019
Scupper 83
Tuesday
To begin, I removed the various clamps and temporary screws securing all the paneling I installed last time.
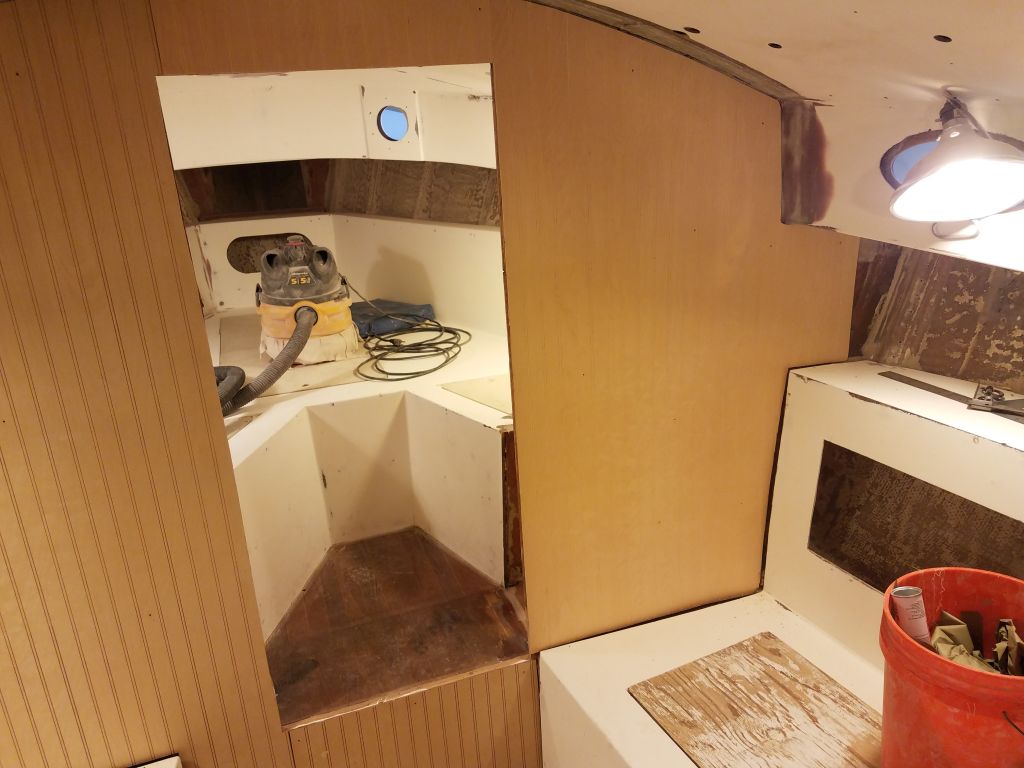
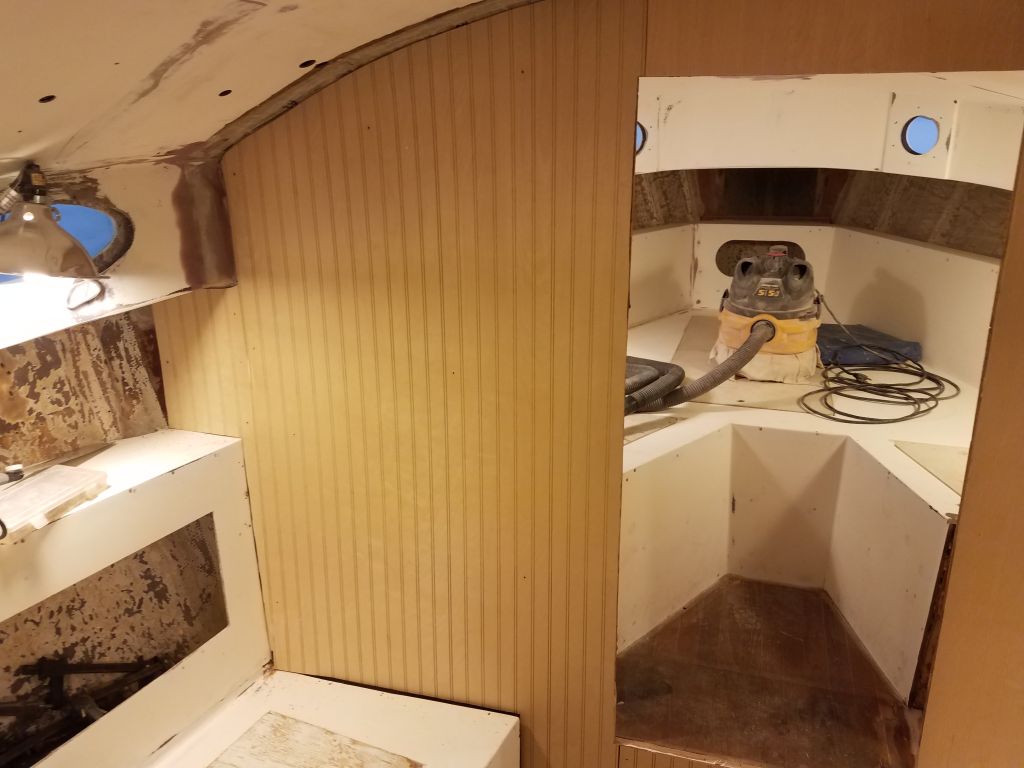


In the forward cabin, I lightly sanded the new fiberglass at the ends of the berths and liner, and after cleaning up, applied a skim coat of epoxy fairing compound over the new fiberglass, as well as over the existing plywood ends of the berth itself. This would eventually prepare all these areas for primer and paint.


After a trip out into the world to a paint store to investigate the possibilities of using a specific color the owner hoped to use on the painted interior surfaces, I returned to the shop and spent the remainder of the day working on the galley sink and surrounding area. I’d purchased a new slightly larger, deeper stainless steel sink to fit the space, and now I traced the outline of the sink’s flange on the countertop in the appropriate position so I could better align the cutout template provided with the sink.
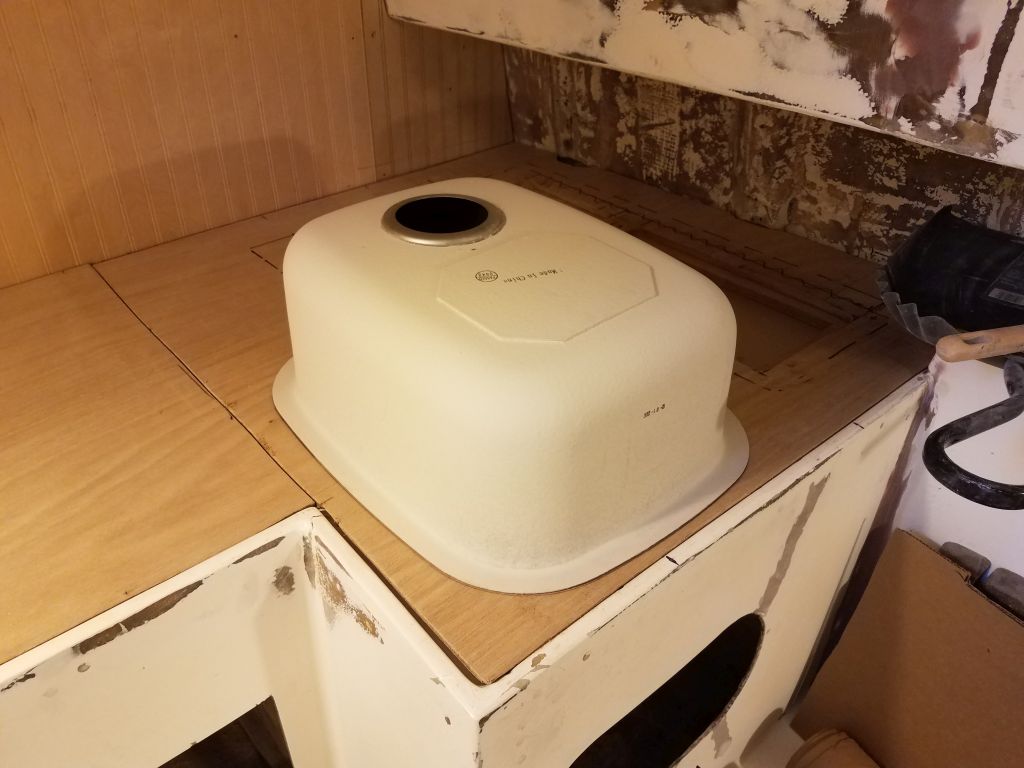


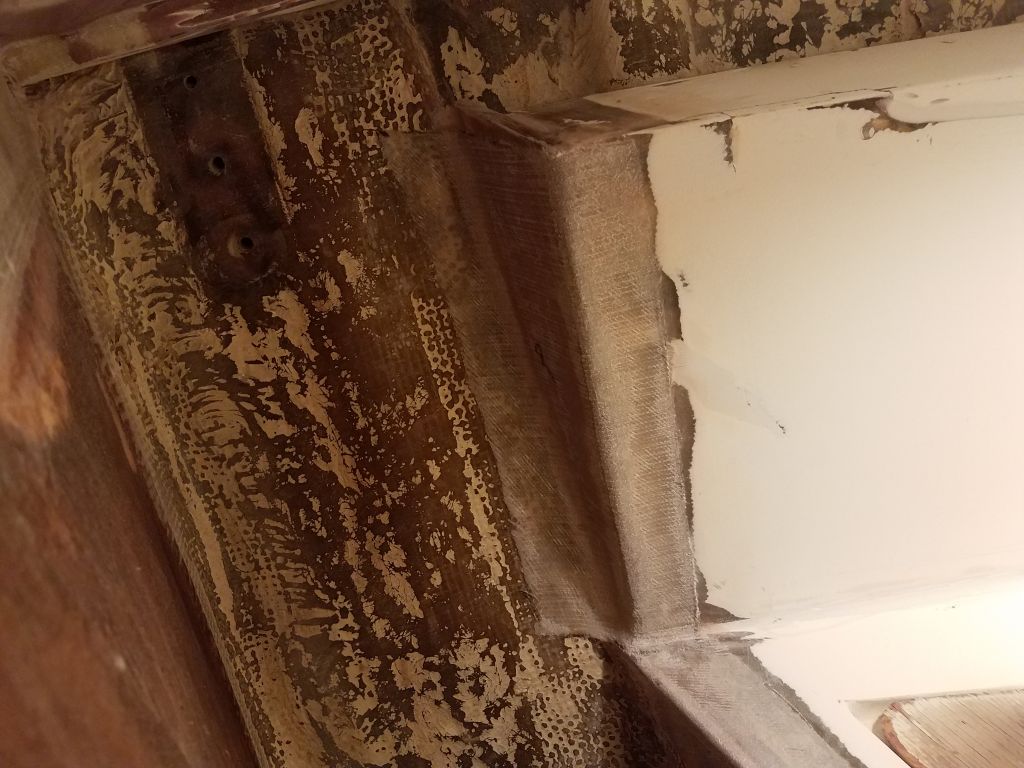
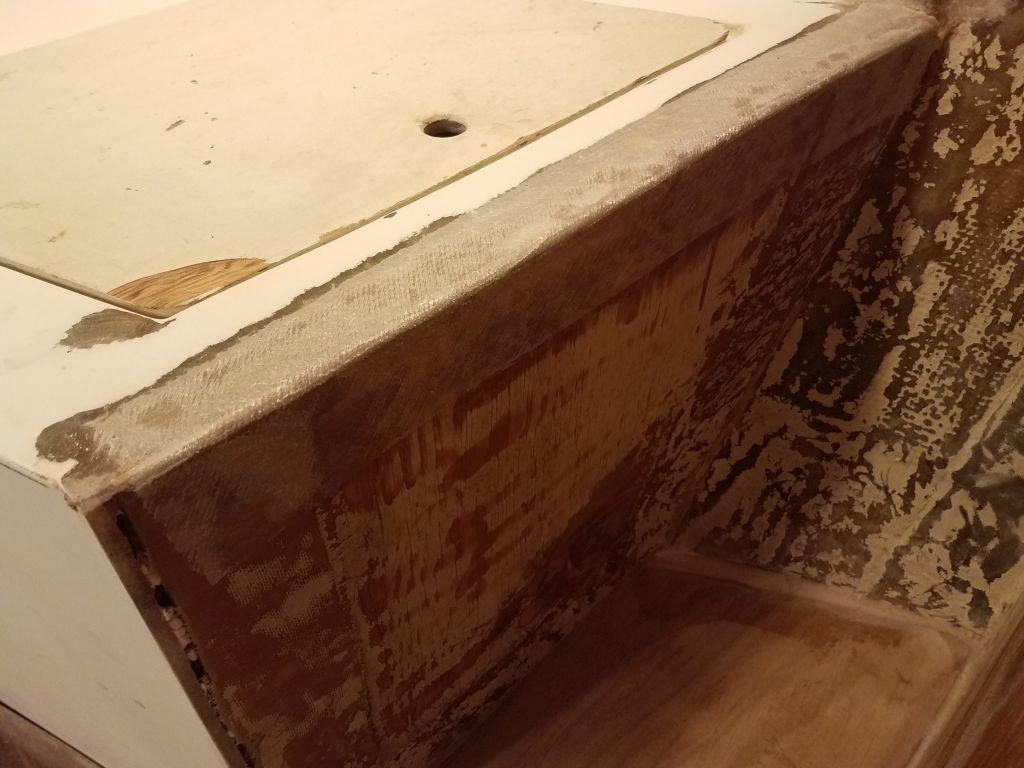
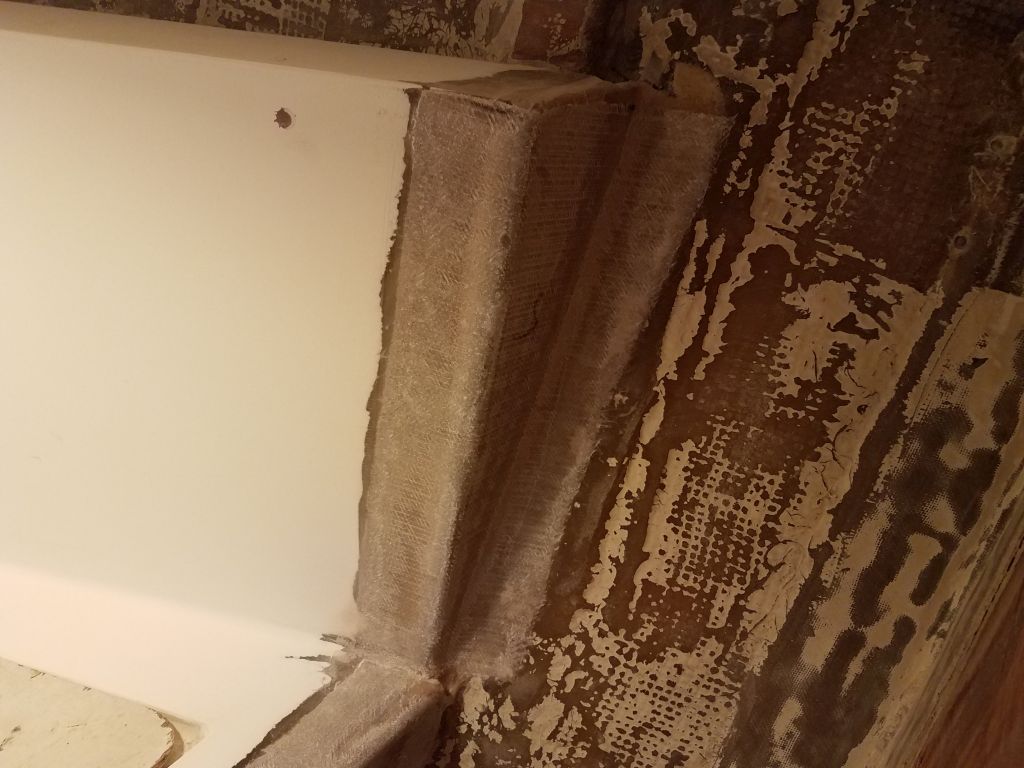
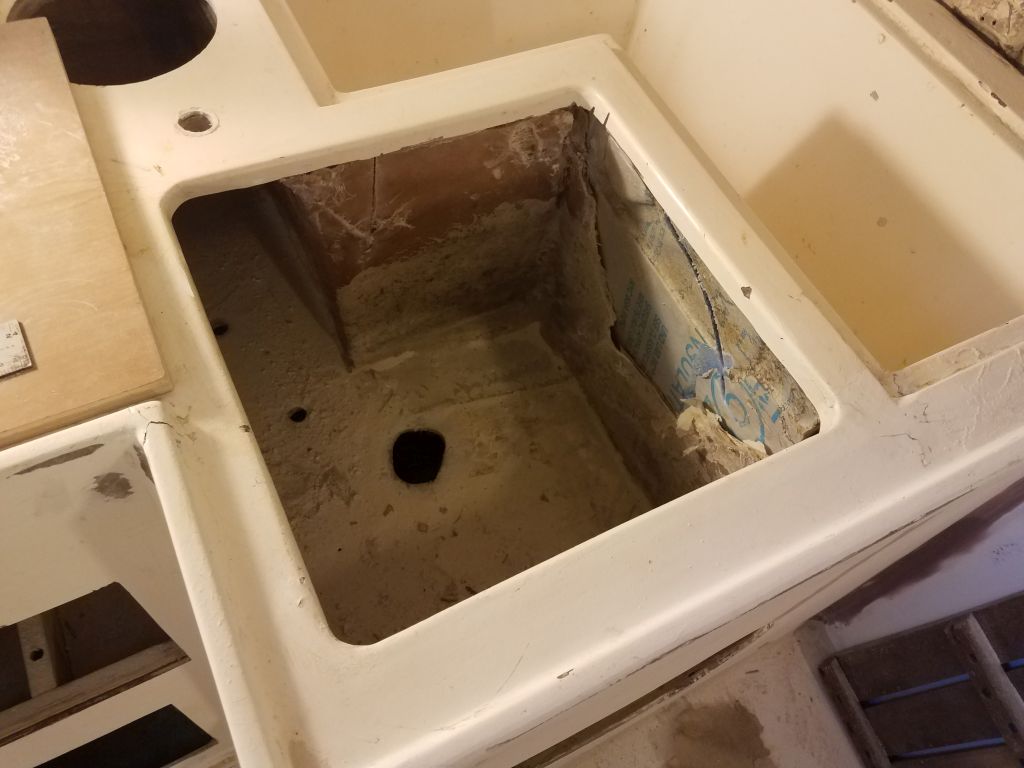
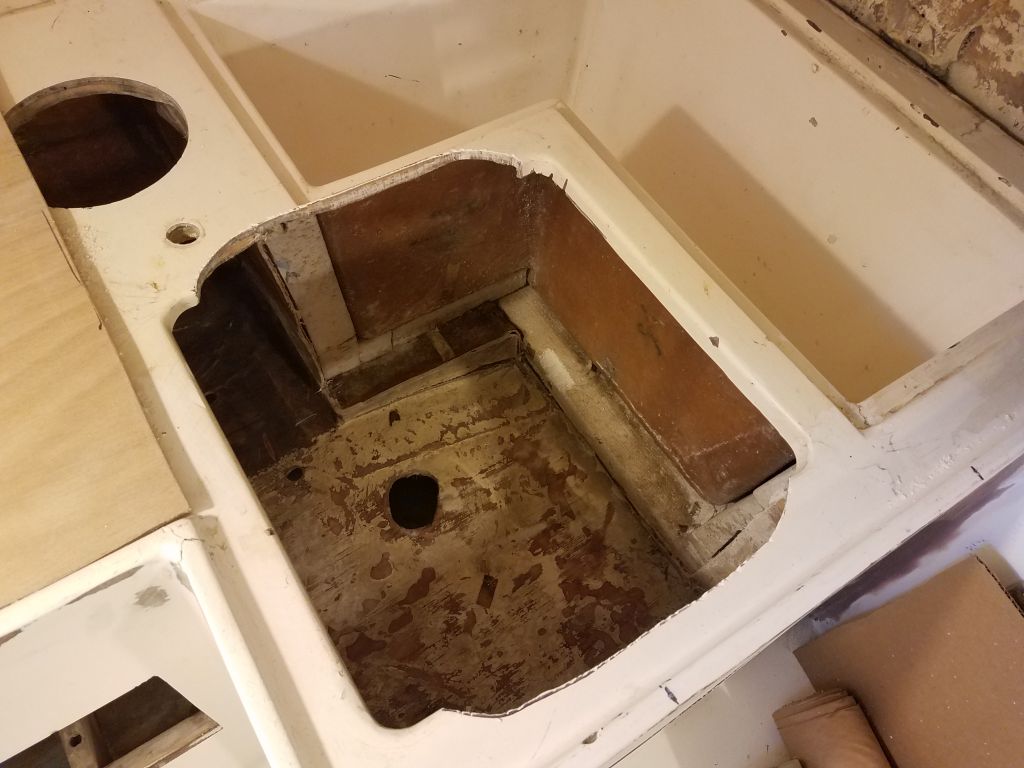
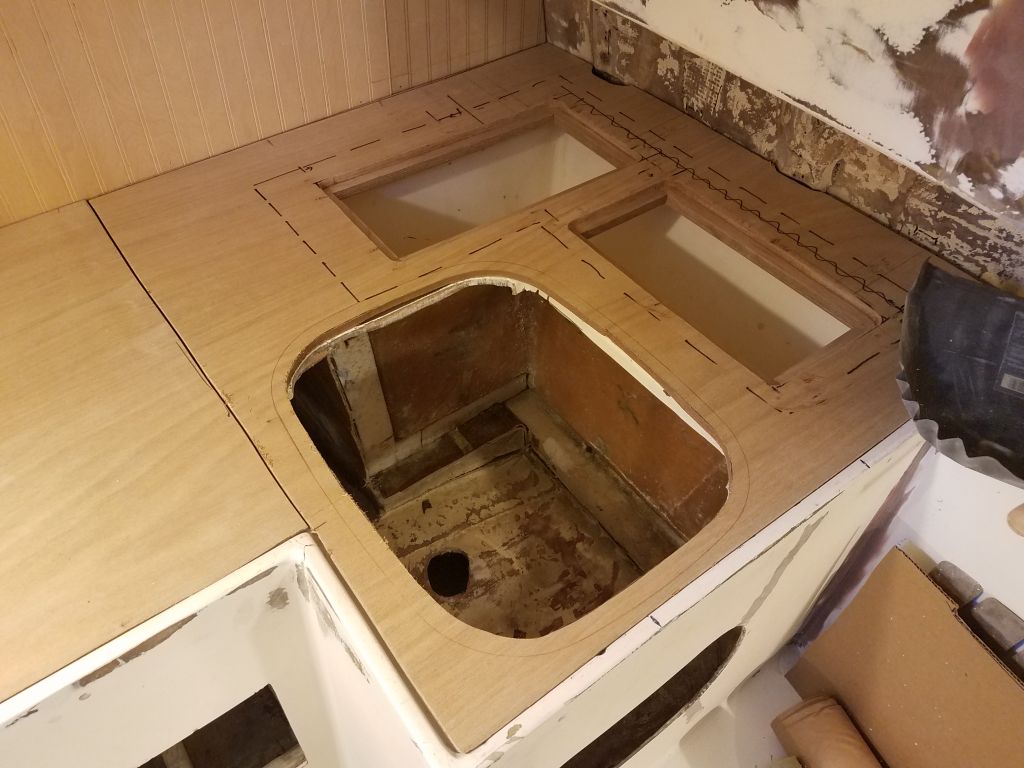
With the marking complete, I cut out the opening in the plywood countertop, then used the new opening to mark where I had to enlarge the hole leftover from the old sink and made those cuts. At the after end, this cut extended well into the fiberglass and foam that had been built around the old (now repurposed) icebox, and this inevitably led to some project scope since I had to remove some of the old material and foam now that I’d exposed it, as I couldn’t see leaving it as is. Removing the old sink earlier had also damaged some of the adjacent fiberglass on the other side, so this was an opportunity to deal with that area now as well. The first image below shows how the area looked right after I cut out the old sink a few days earlier. I cut out the fiberglass (it was rough and raw and awful anyway) and removed the foam pieces from the two newly-exposed sides, revealing the molded side of the storage compartment.
With the cutout complete, I could test-fit the sink and countertop. This sink came with a nice wooden cover/cutting board as well, so the space would be usable for other purposes, a handy feature since there was little counterspace otherwise. With a big hole saw, I also neatened up and enlarged the hole through the compartment bottom for the sink drain, which can be seen in the photos at the bottom of this page. When the time came to install a new sea valve for the drain, I hoped I could work through the new opening as well.

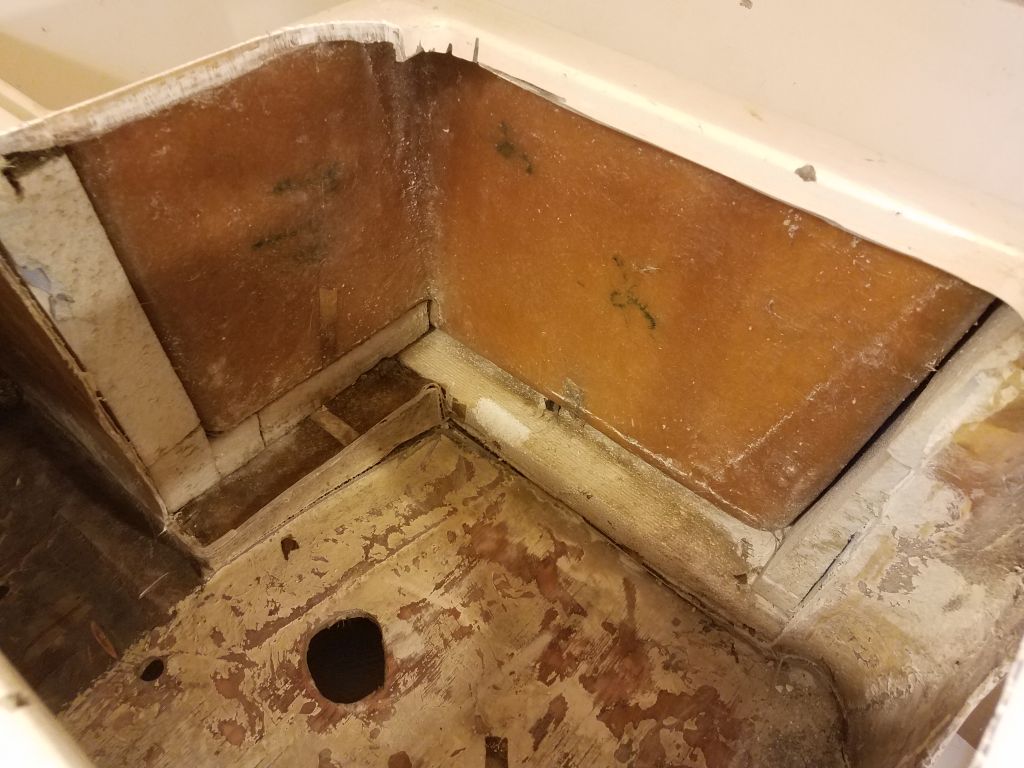
I was reluctant to dig any deeper into the area beneath the sink and around the old icebox, as there was simply no point and it would have been a waste of time and resources–and any further work in this area hadn’t been in my plan to begin with. I also didn’t want to disrupt any materials that might be helping to hold the whole galley in place in the first place. Nothing I’d done so far had had any such effect, but it was far better to leave well enough alone at this point. What structure (using the term for lack of a better one) remained was fine and stable, but now I wanted to close it off in a way that was simple and effective for the required purposes.
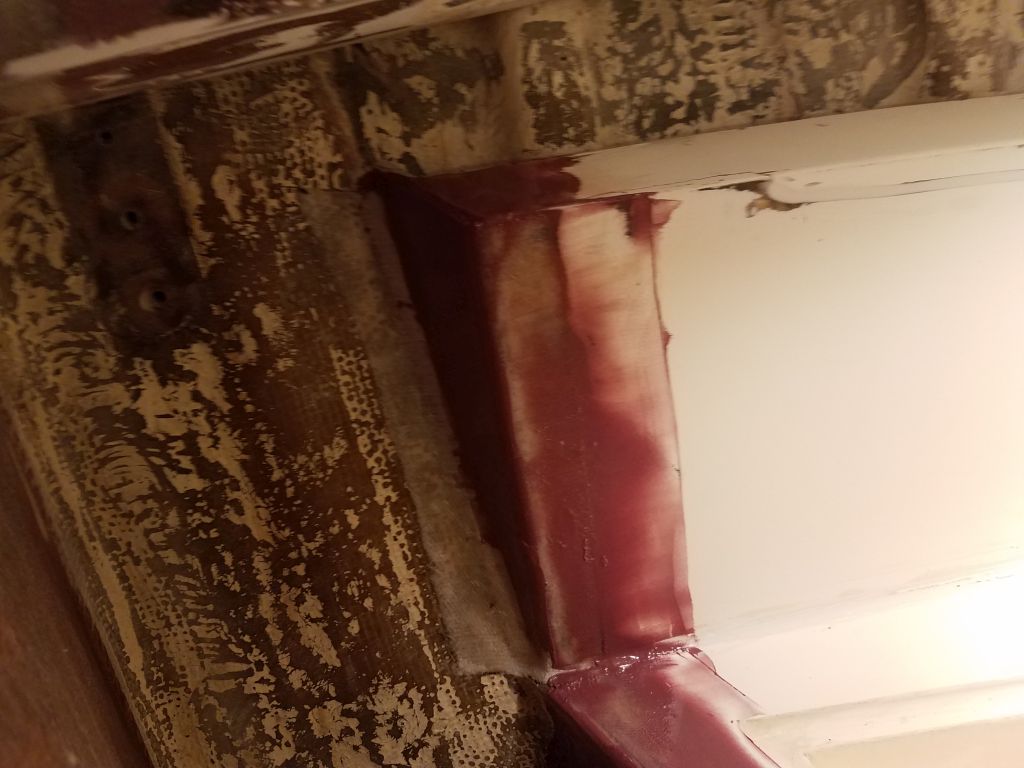
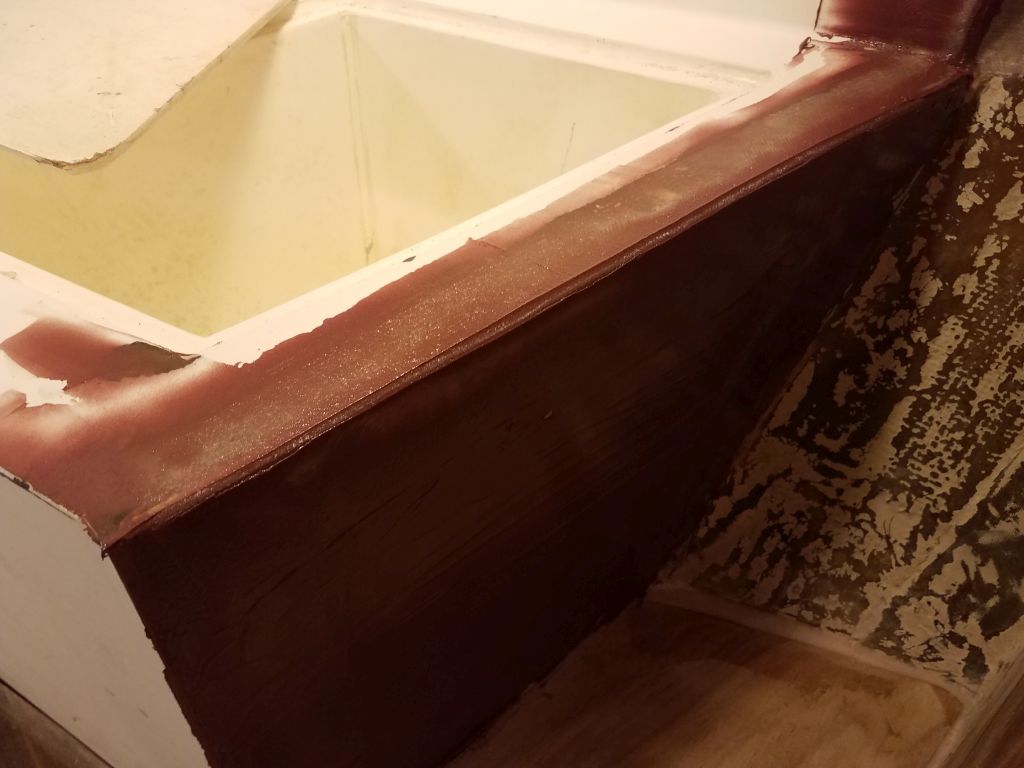
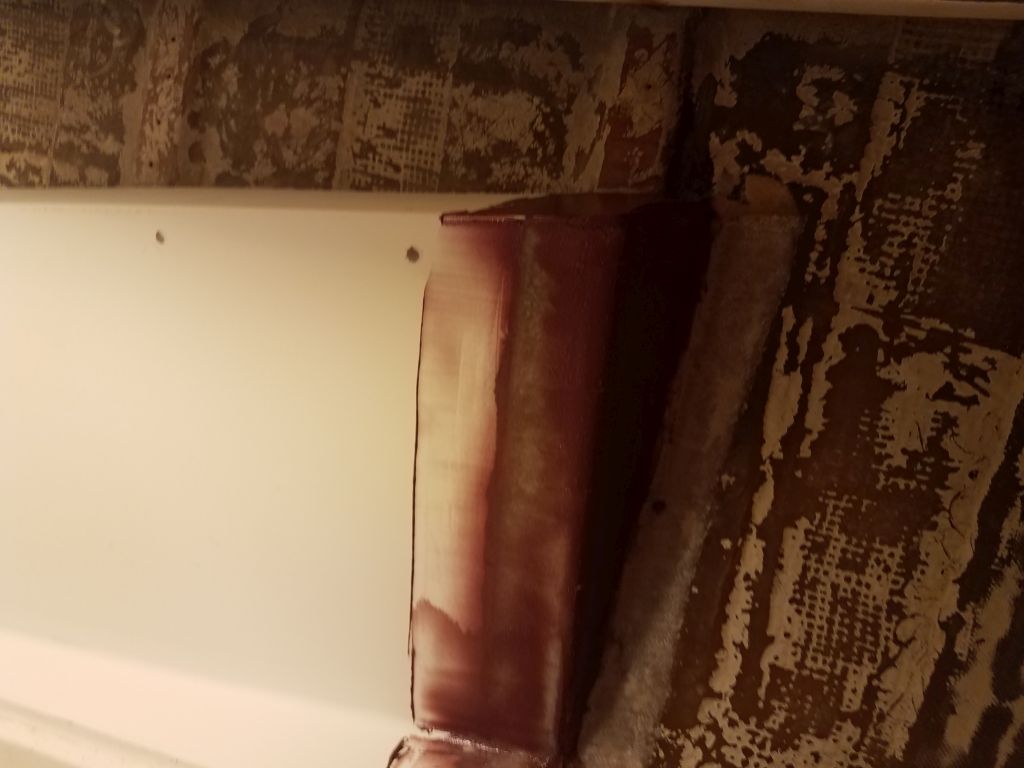
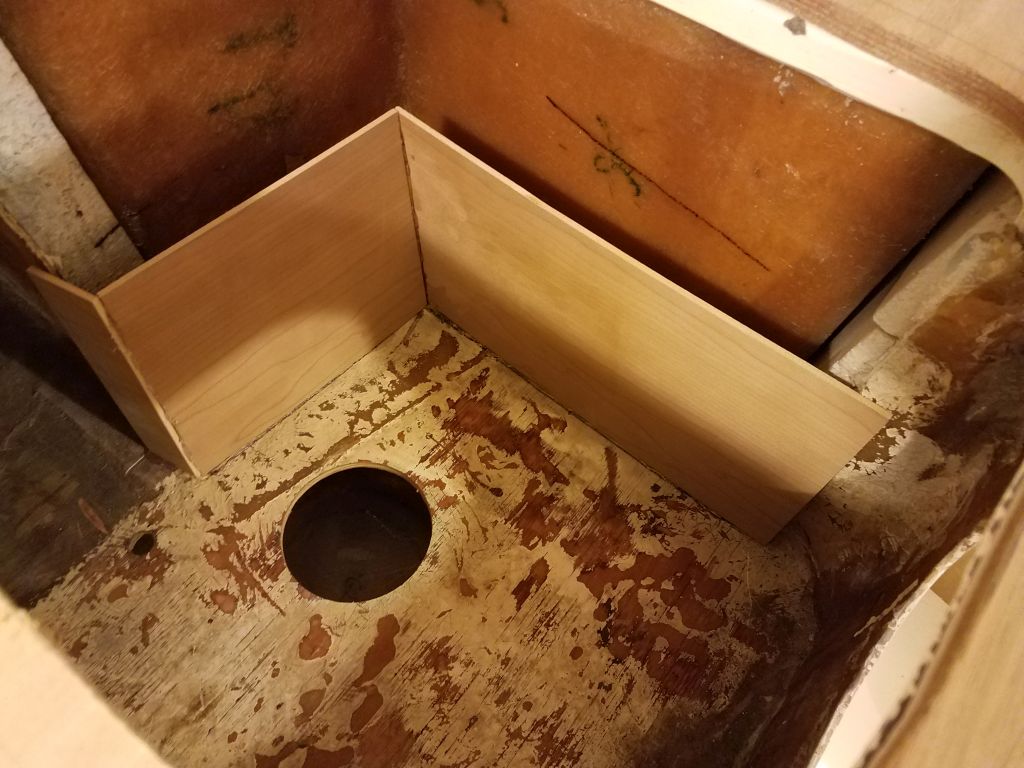
The only access here in the completed galley would be through an opening in the bulkhead directly beneath the sink, and with the sink’s protrusion and various plumbing, the space would be effectively fairly small and unlikely to be used extensively. I considered various means to finish off the area, but at length, I decided to built a simple partition of 1/4″ plywood running from the compartment’s floor to the level of the bottom of the sink bowl and enclosing the rough area behind. I tacked the three required pieces together with hot glue, and secured them to the boat with epoxy fillets in all available areas, which closed off the gaps at the edges, would provide a smooth finished appearance once painted, and effectively solved the mission requirements with as minimal wasted time as possible.


Total time billed on this job today: 7.75 hours
0600 Weather Observation: 8°, clear. Forecast for the day: Sunny, 20°