


March 14, 2019
Scupper 100
Thursday
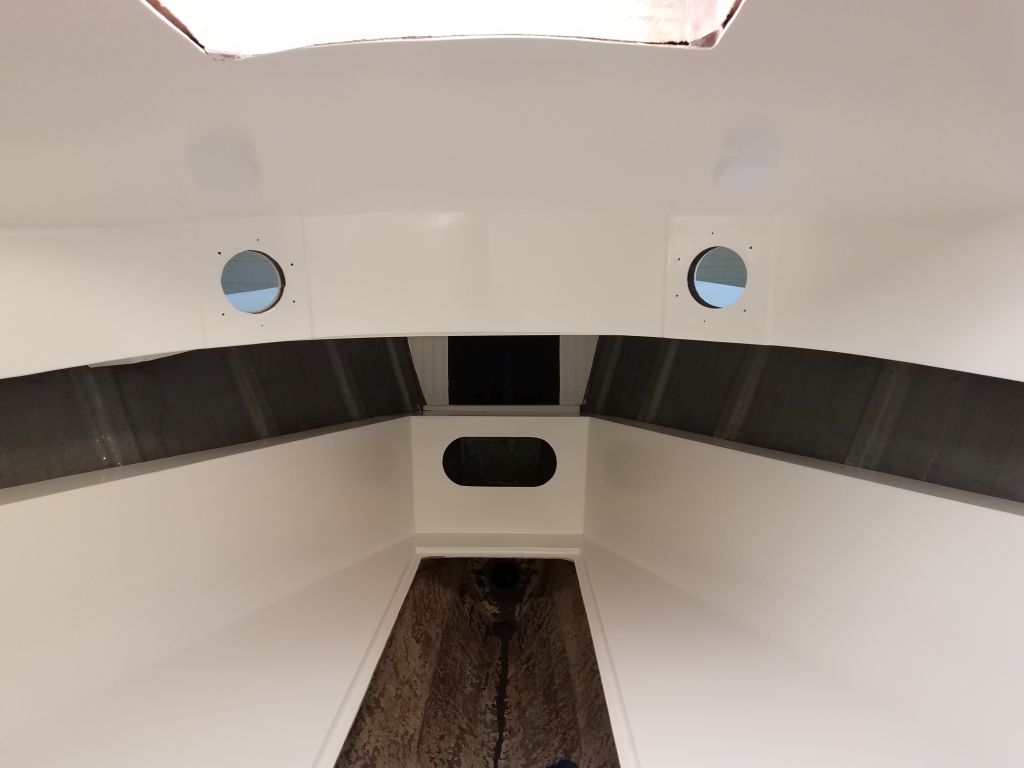
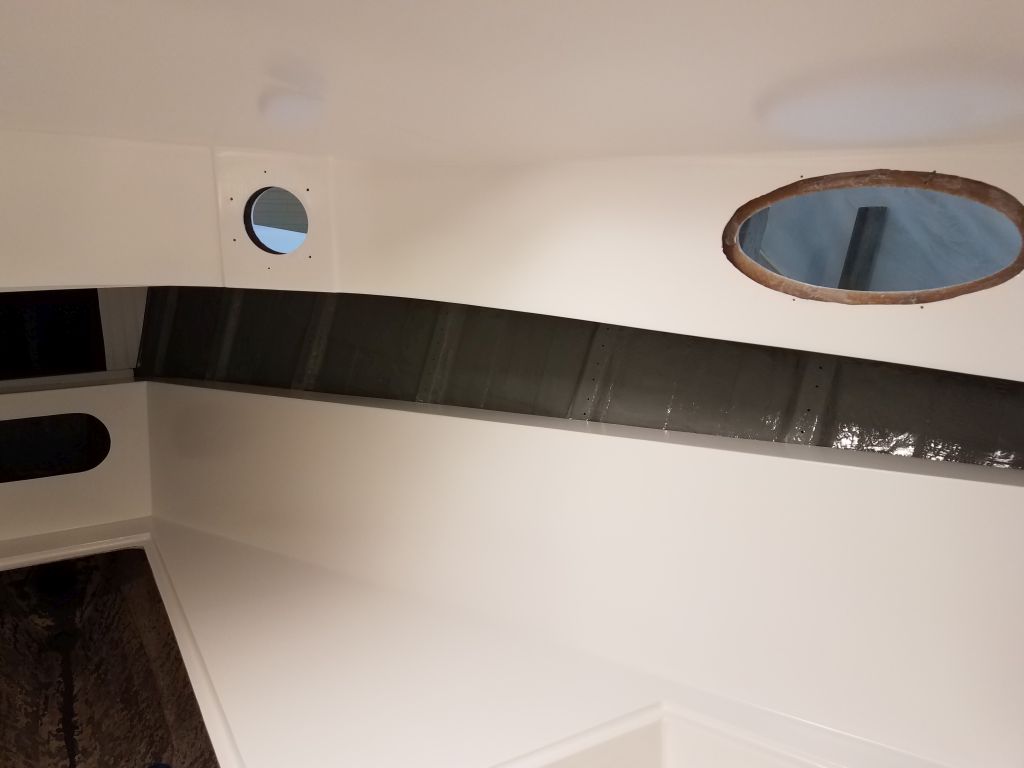
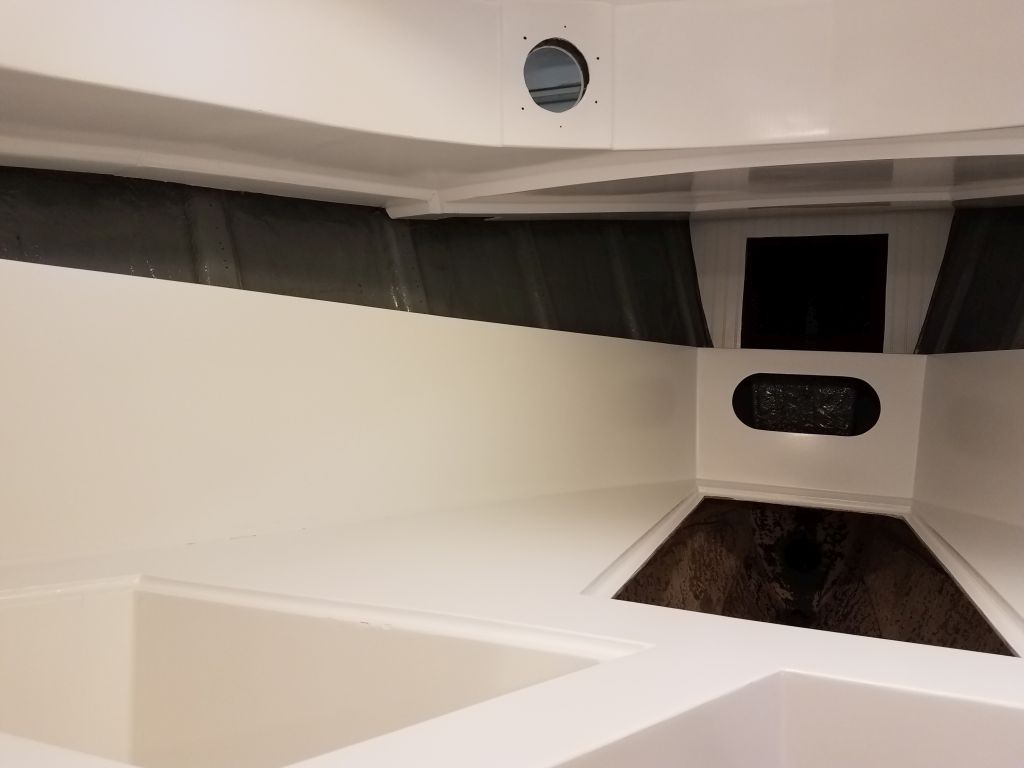
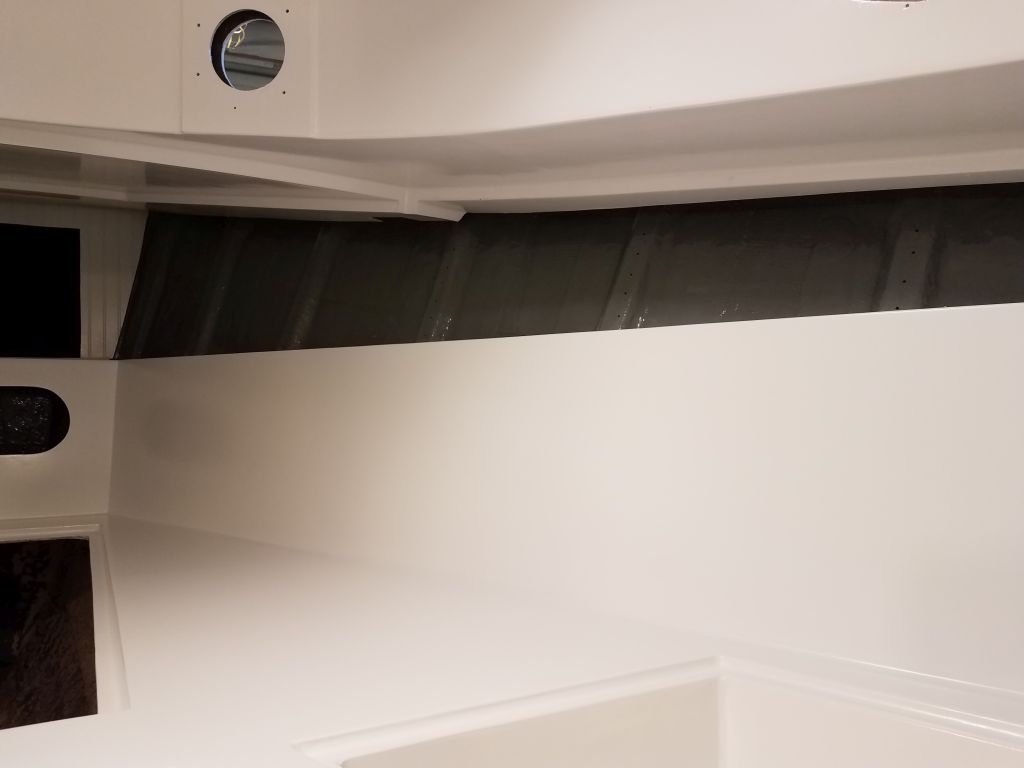
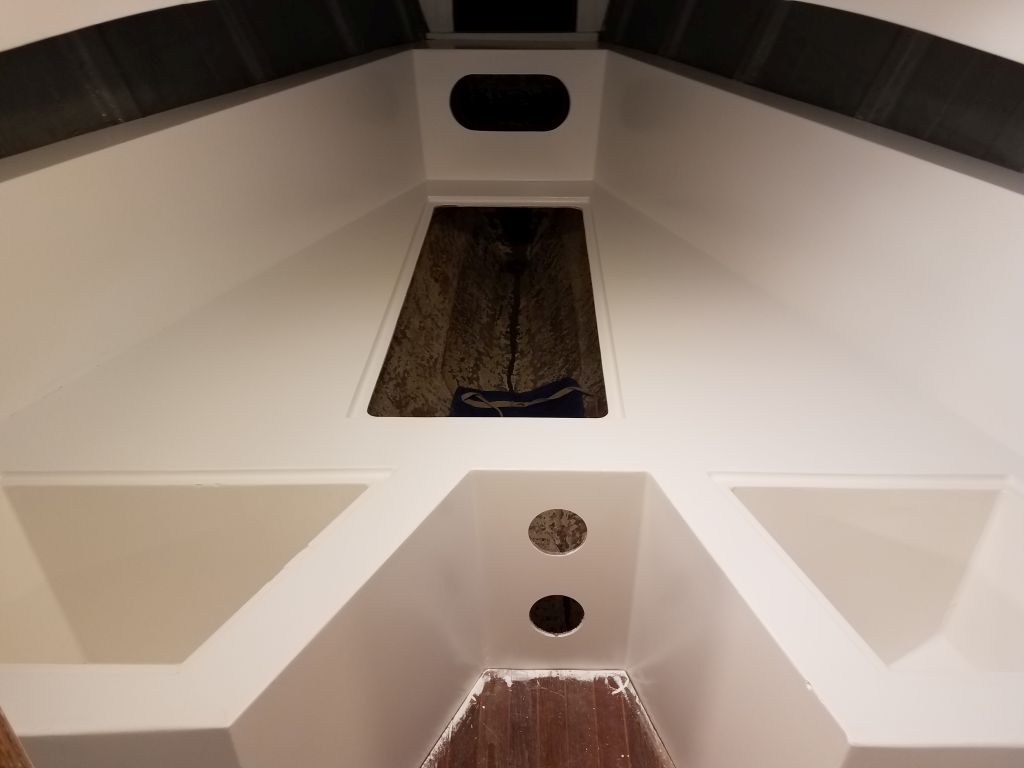
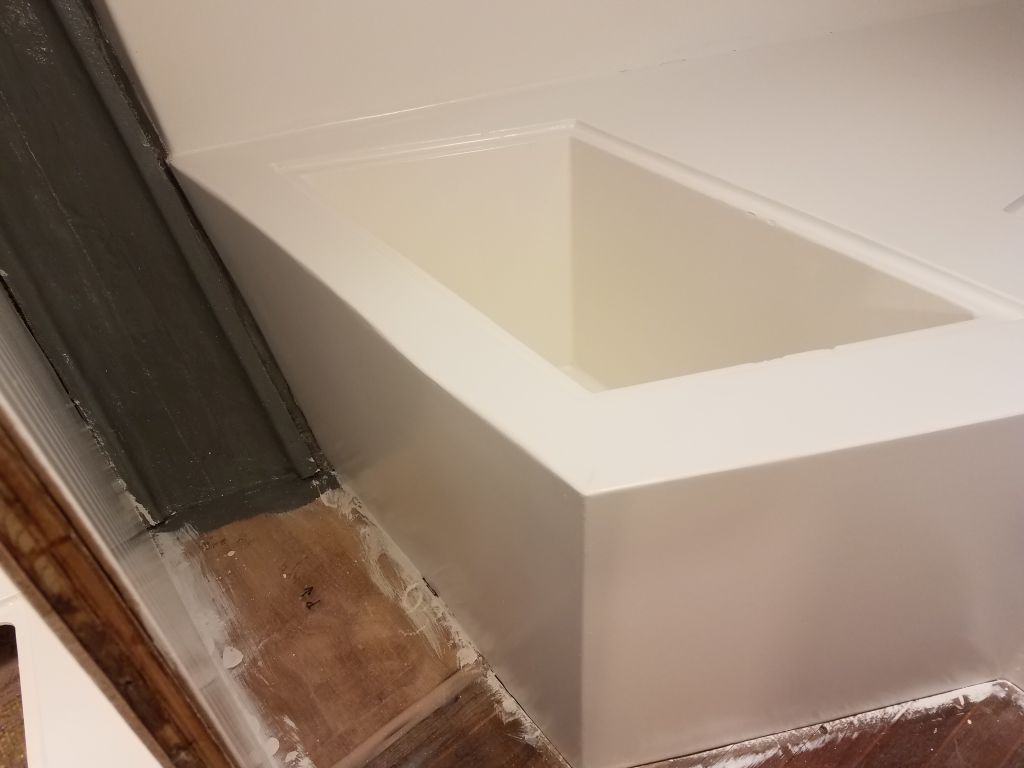
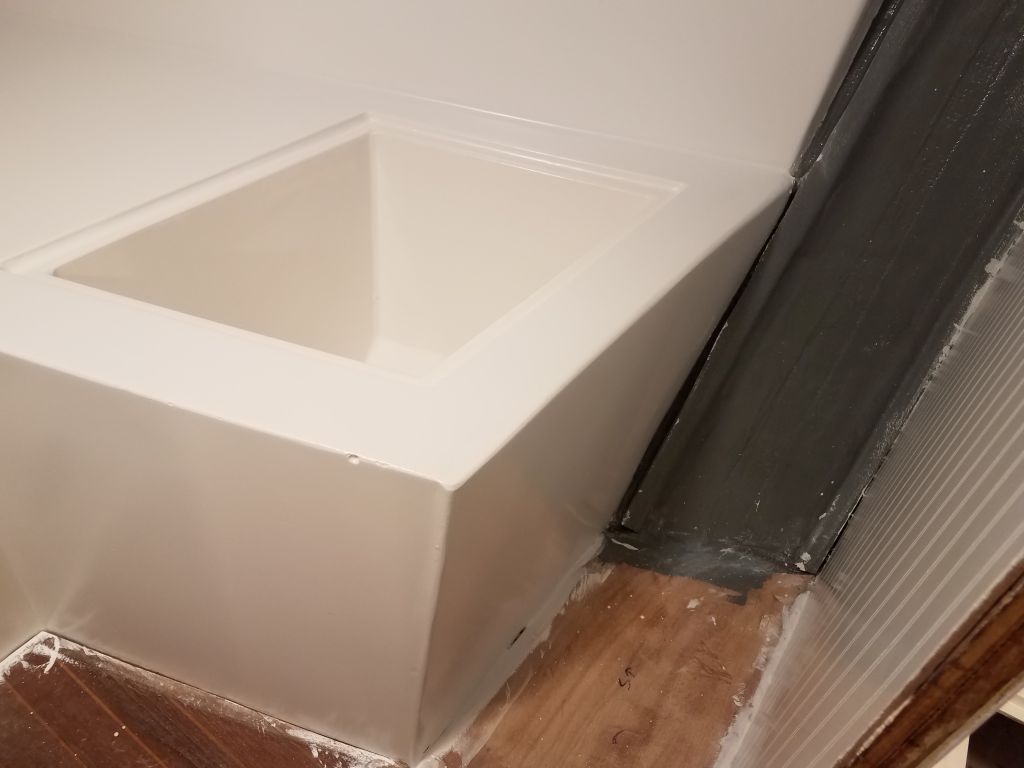
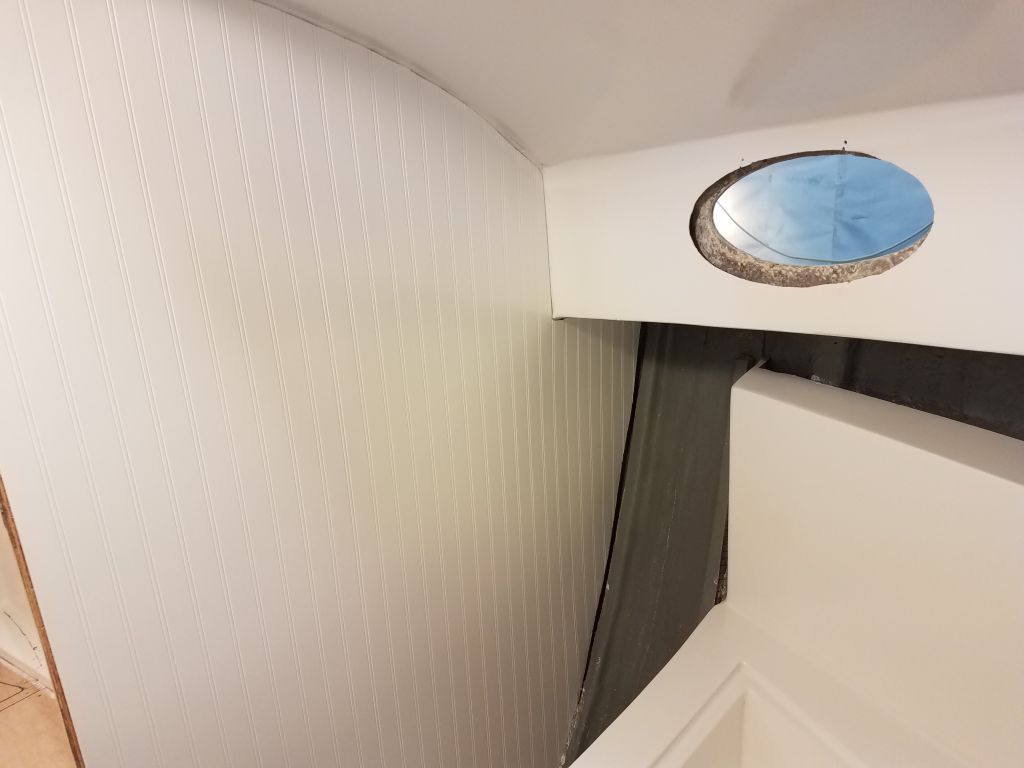
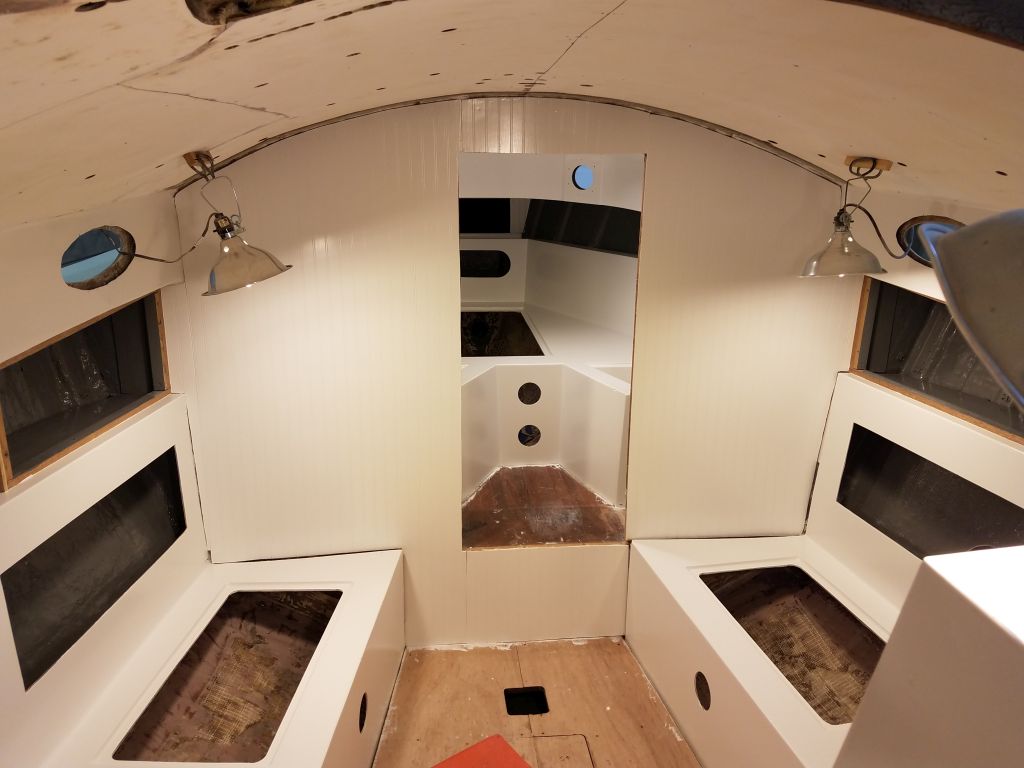
These photos show the new interior paint work after the second coat, and with the coating cured and in its final appearance.


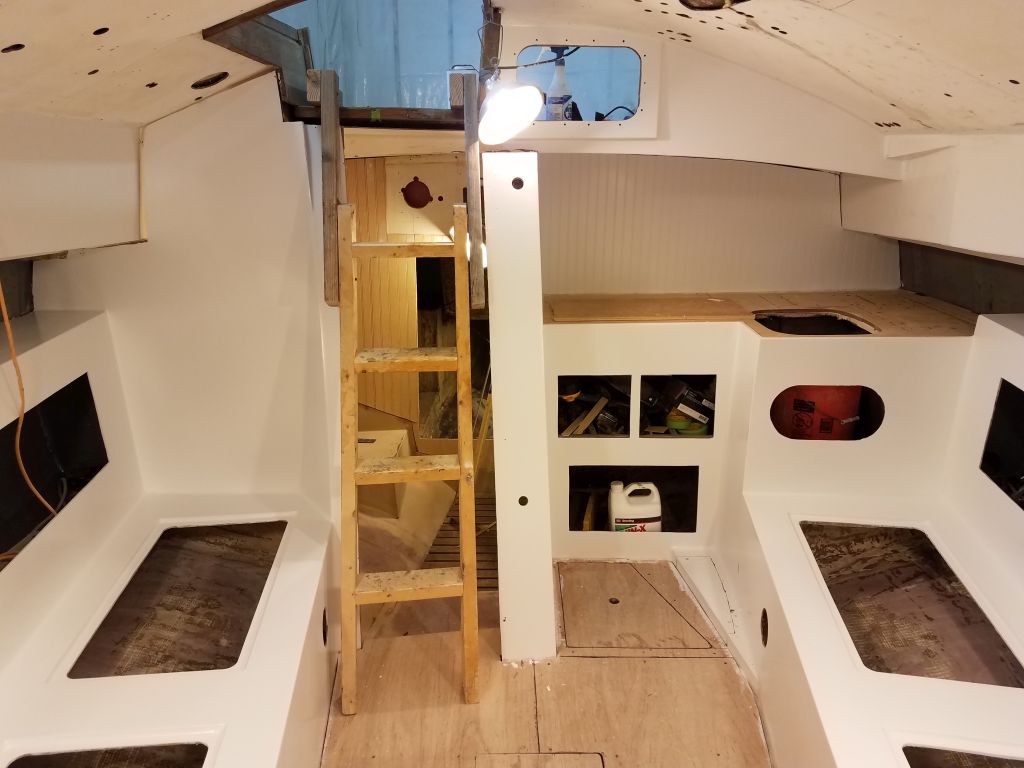
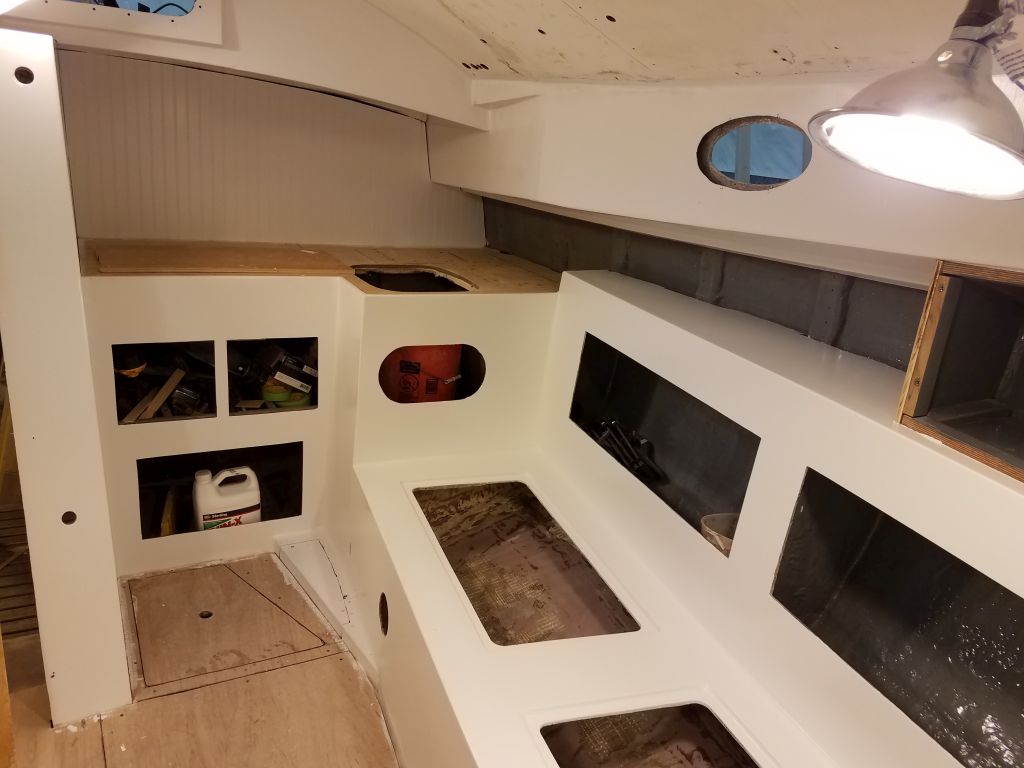
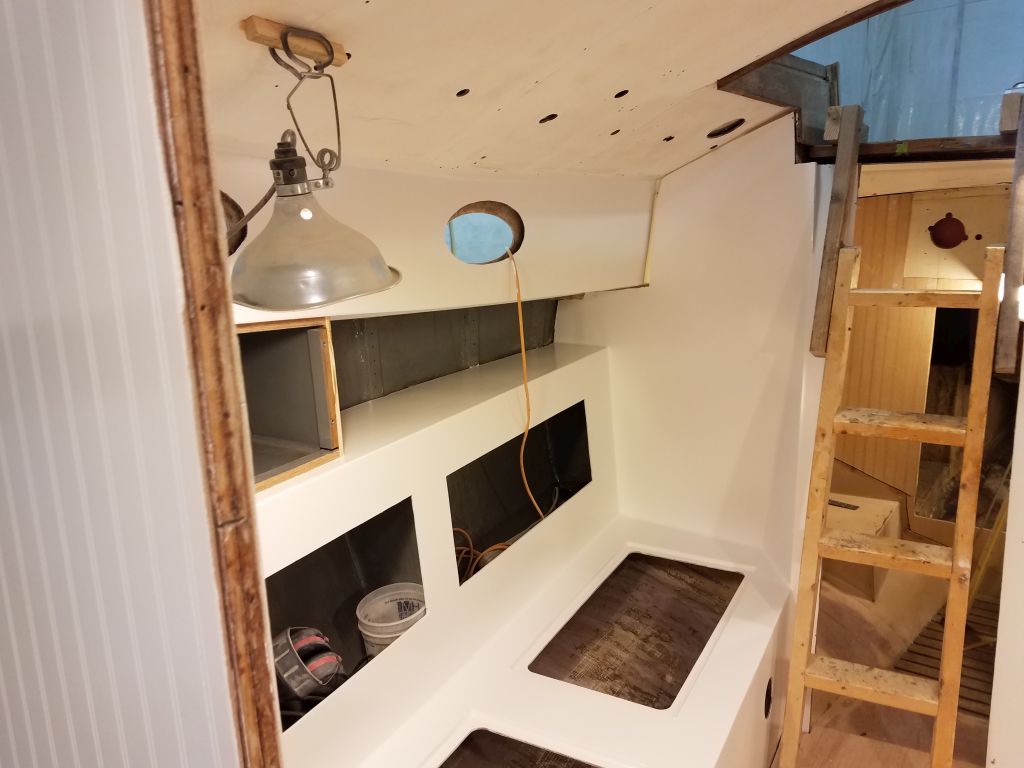
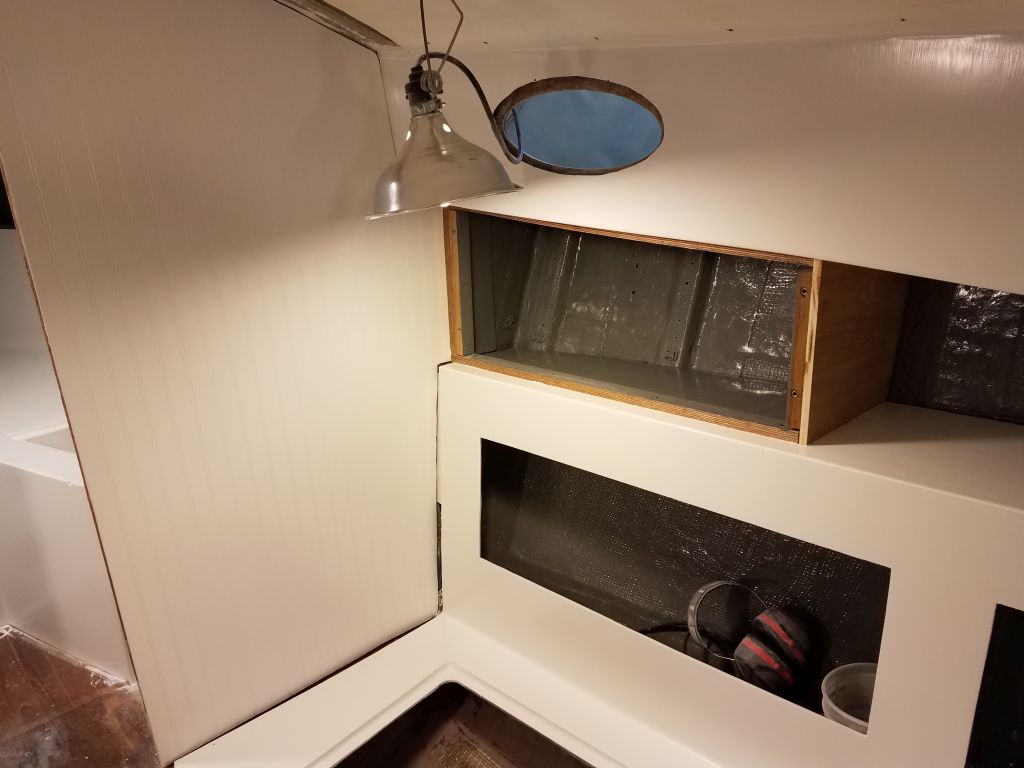


To allow the fresh paint plenty of time to fully cure and harden up, I planned to more or less stay out of the cabin for the rest of the week, which gave me time to continue to focus on some of the cherry trim preparations and other tasks.
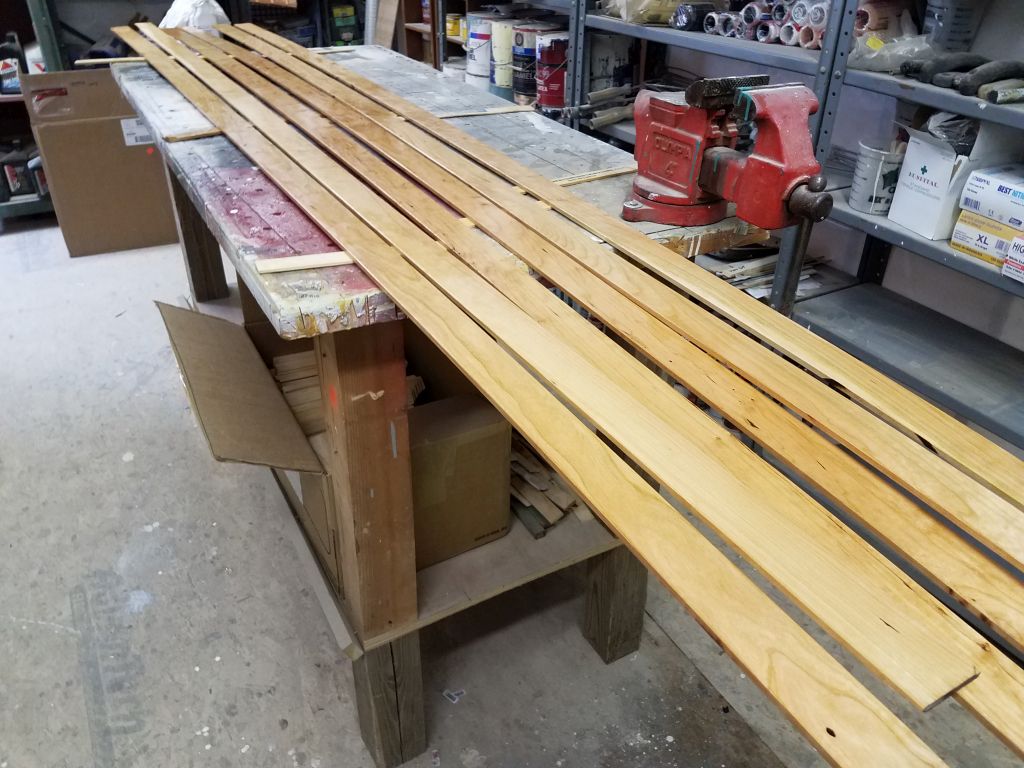
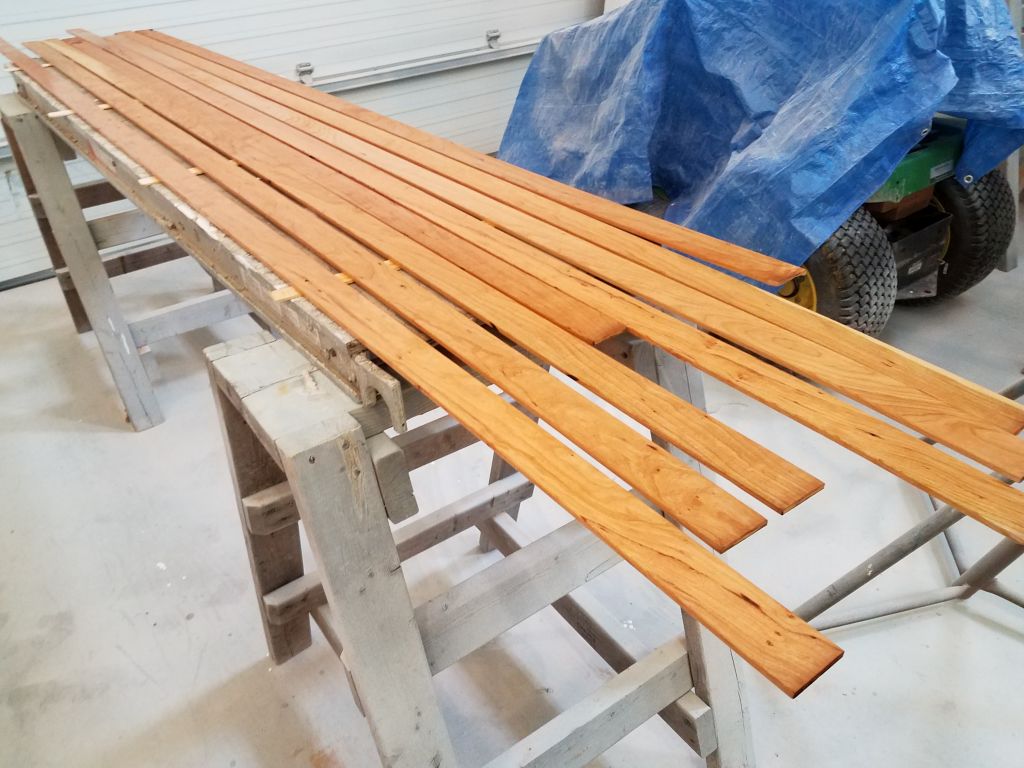
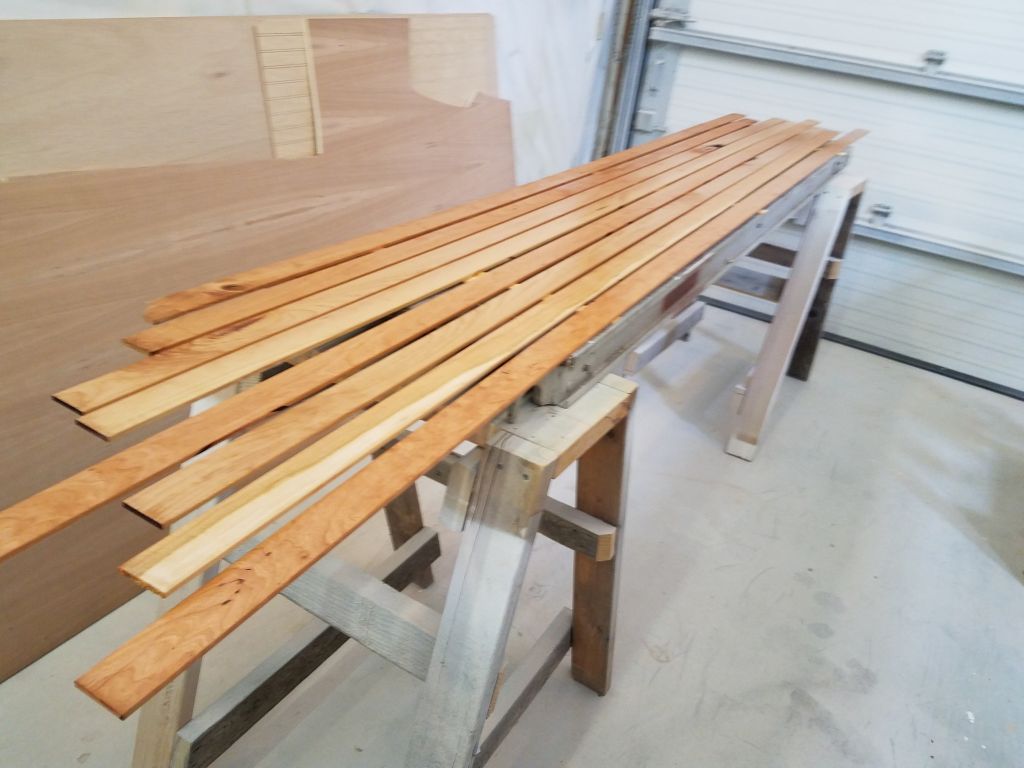
To that end, I cleaned all the new ceiling boards I’d cut earlier, and set them up on three separate benches so I could apply a thinned coat of varnish to all sides of all the pieces.
The new hatch opening I’d cut and prepared in the poop deck required a hatch cover. Since the boat was to have no exterior woodwork (all future exterior trim would be made with “vegan” wood or other substitutes), I chose to build the new hatch from fiberglass, which would eventually receive paint to match the rest of the deck. Using prefab 3/8″ fiberglass sheeting, I cut a lid of appropriate size, and 1″ tall strips of the same material for the edges of the hatch. The fore and aft ends would require scribing to match the deck camber, but I planned to to that later, after assembly.
I epoxied the pieces together into a hatch shape and set the assembly aside.

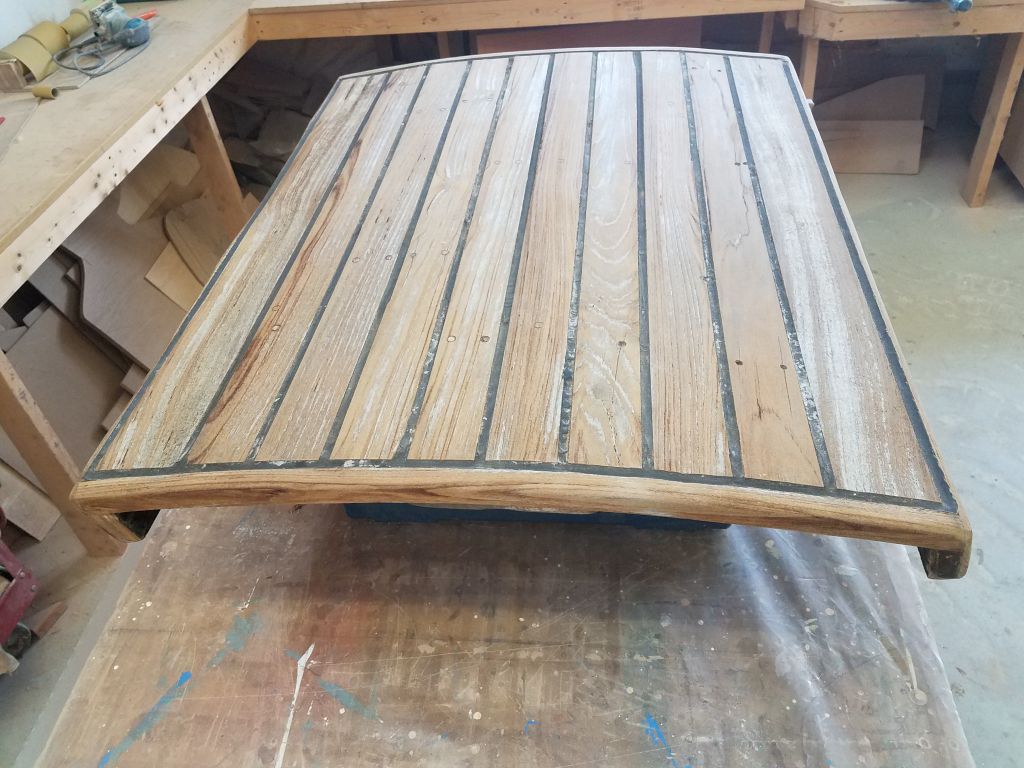
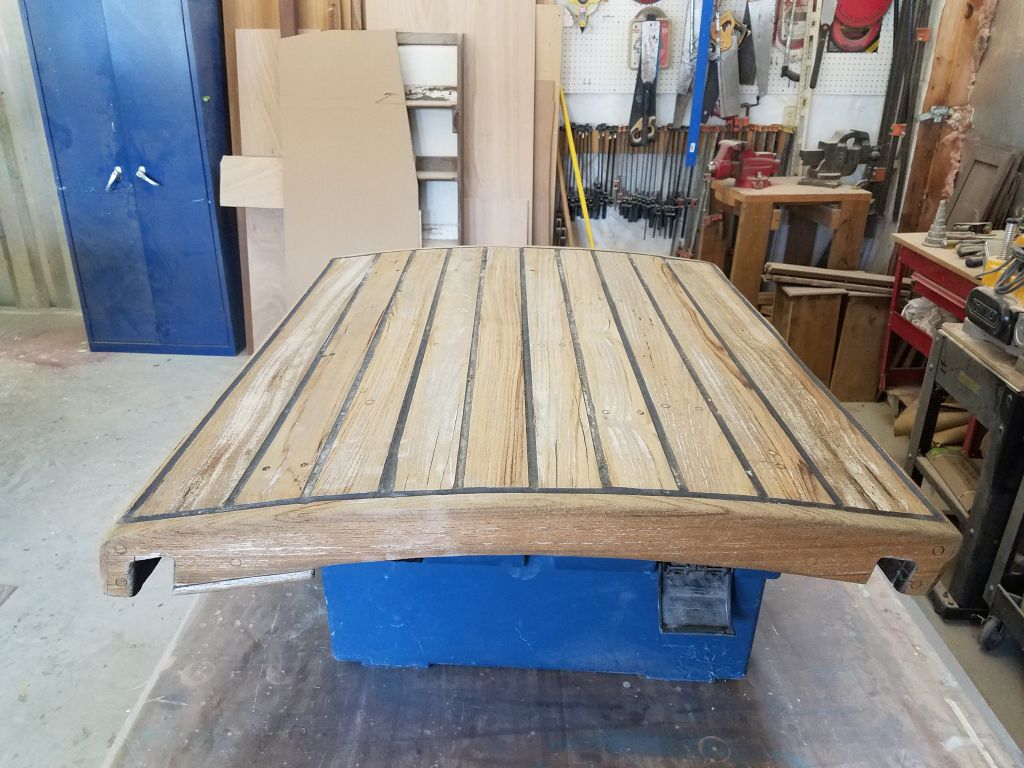
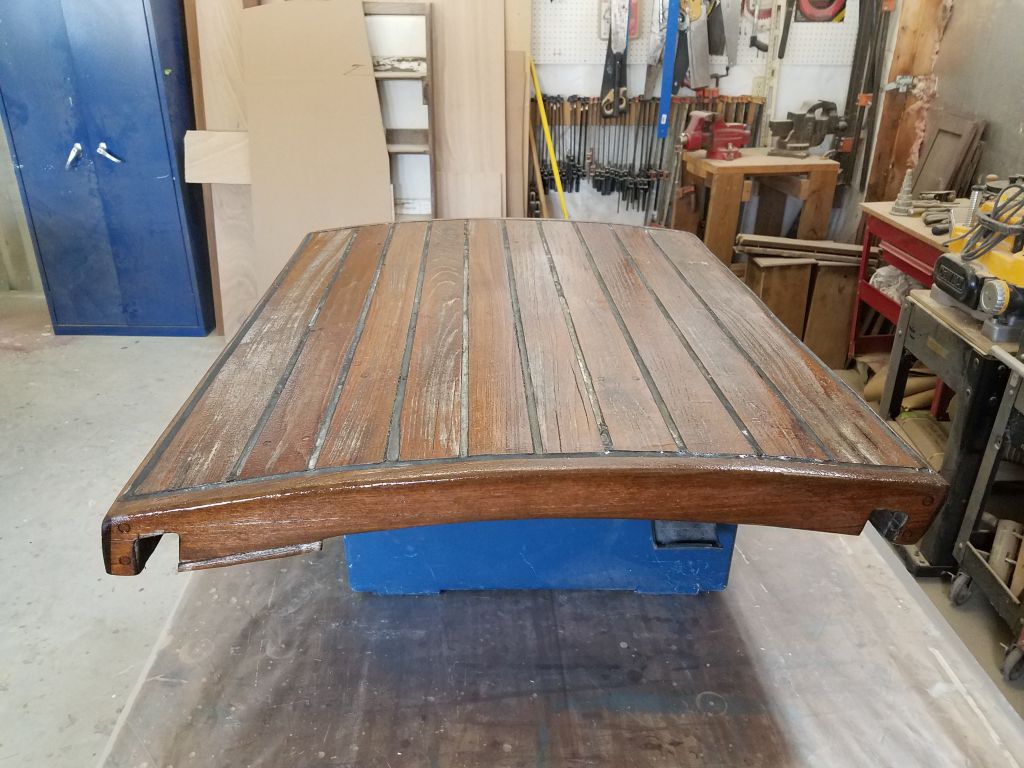
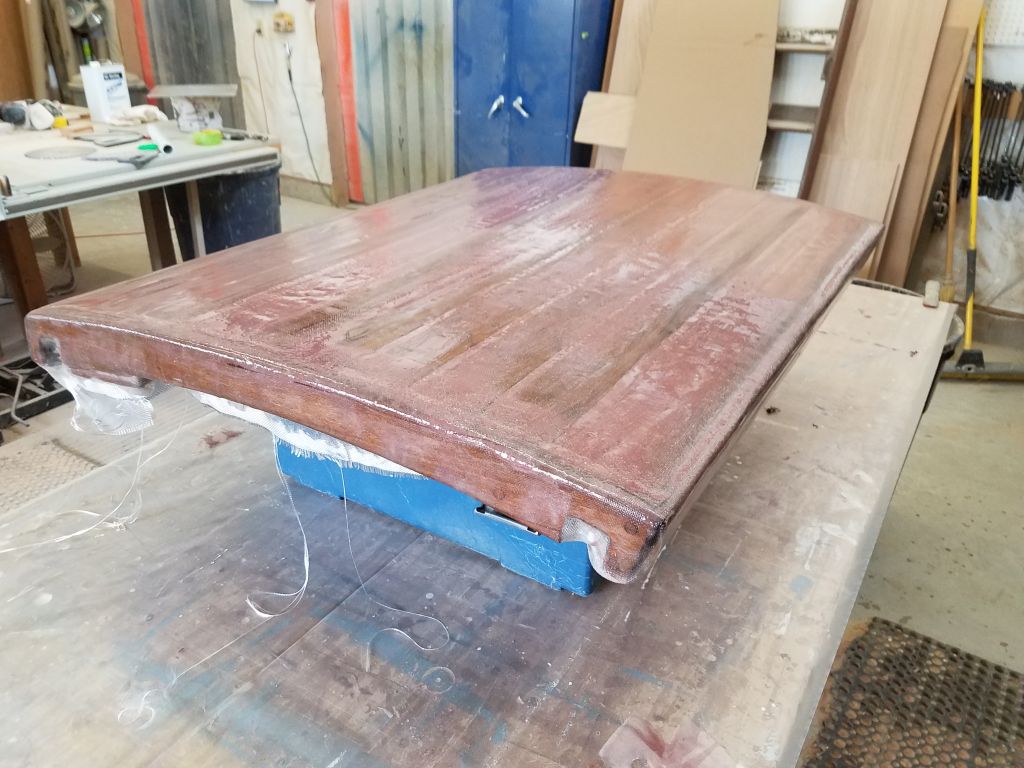
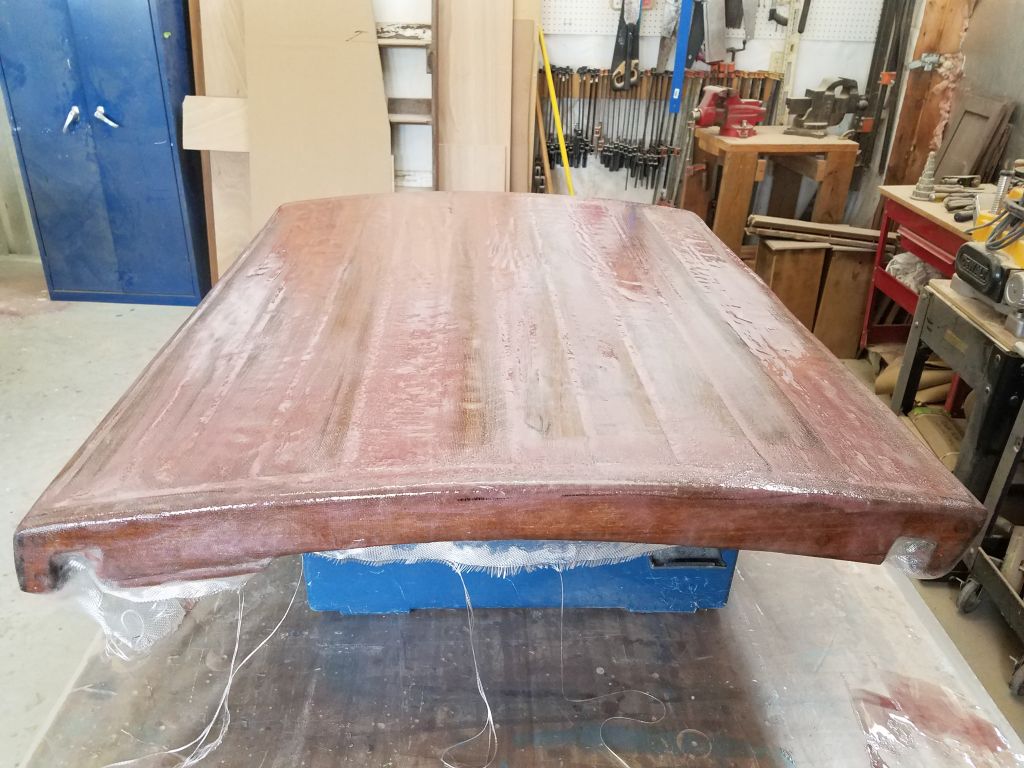
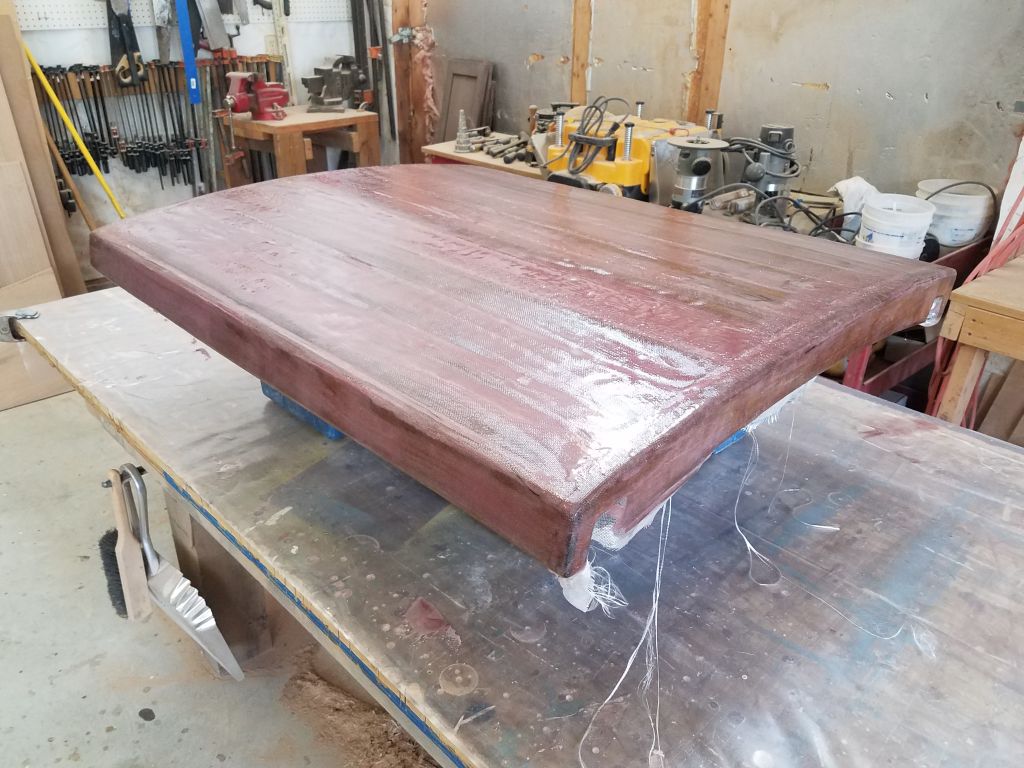
The original sliding companionway hatch was a massive assembly of plywood and teak strips, and was in sound structural, but poor cosmetic, condition. The old teak, neglected for years, was heavily weathered and rough, and unsalvageable from a cosmetic standpoint, though it remained solid all around. During earlier discussions, the owner and I agreed to try sheathing and painting the existing hatch, in keeping with the no-wood mantra.


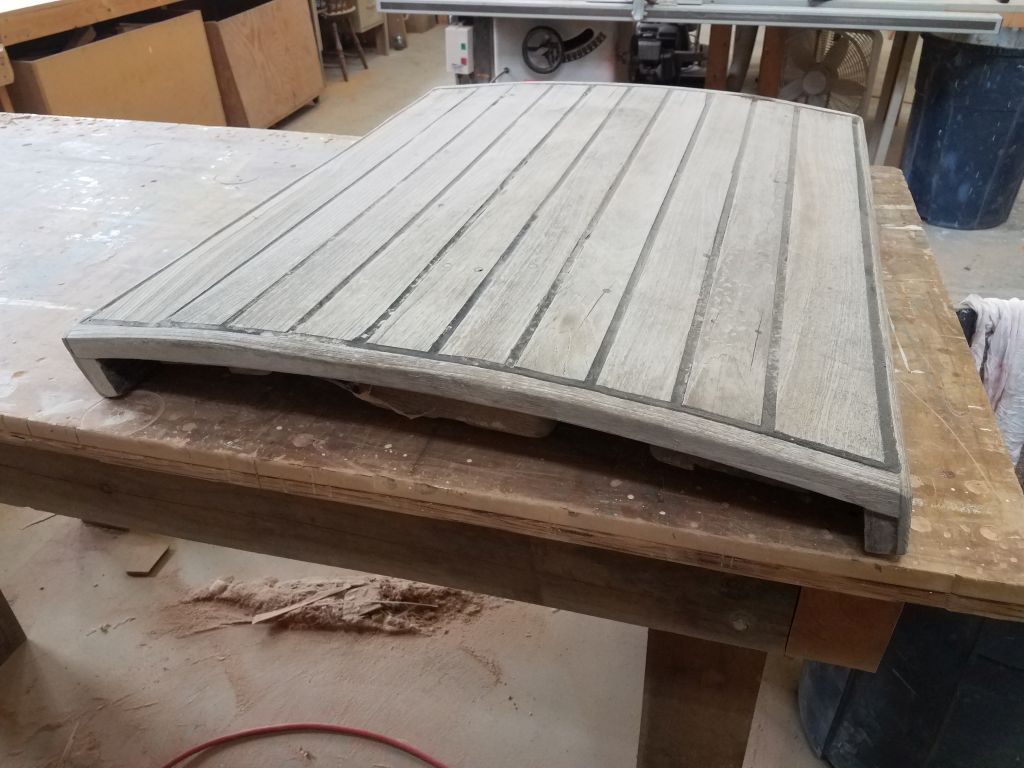

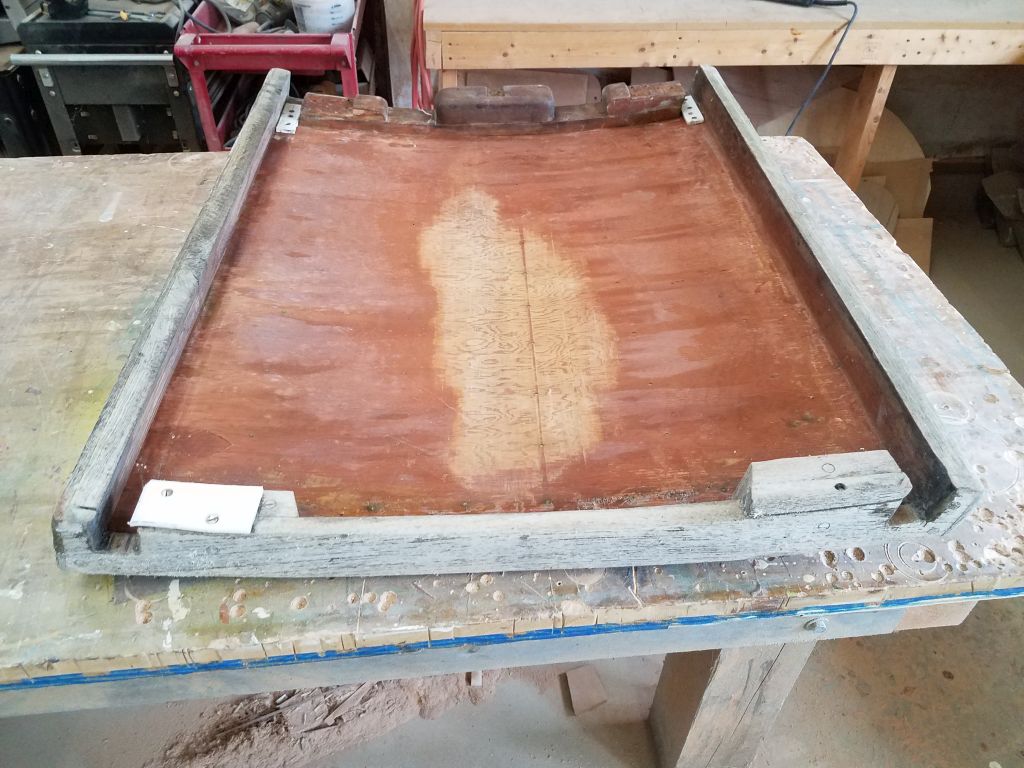
To prepare the surfaces for the work ahead, I sanded the hatch with coarse paper, exposing fresh wood in many areas. The black sealant between the wood strips was generally quite a bit lower than the wooden surfaces, so by skimming the sander across I eased the hard edges to bring the surface into general fairness and smooth enough for what was to come next.
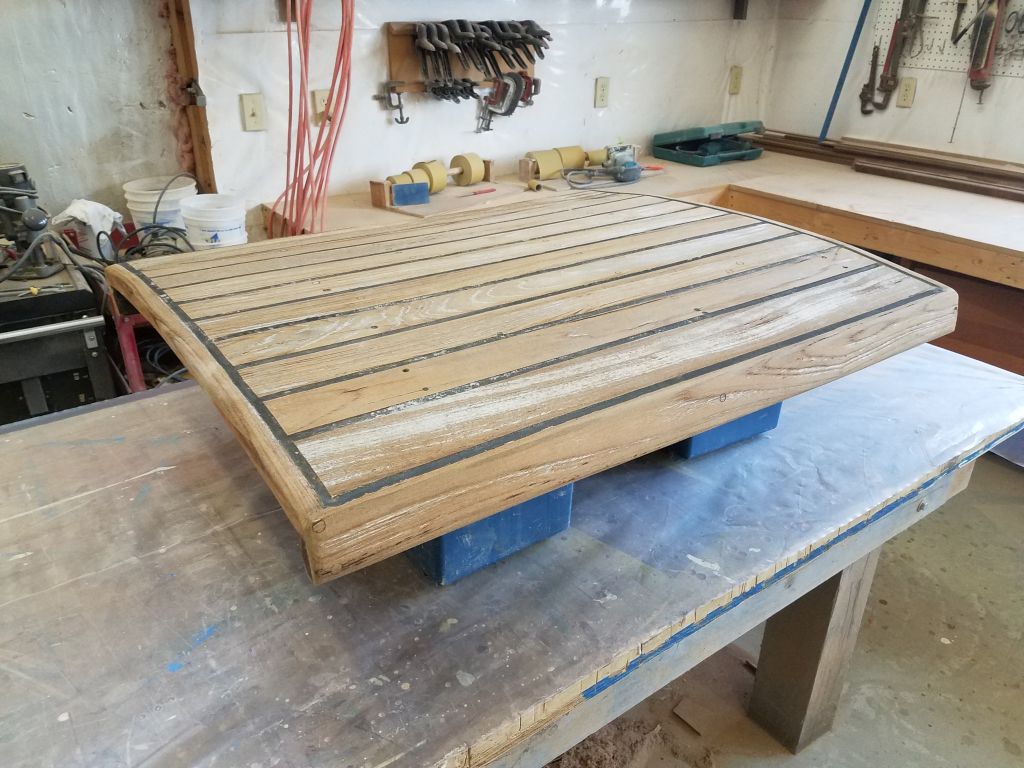
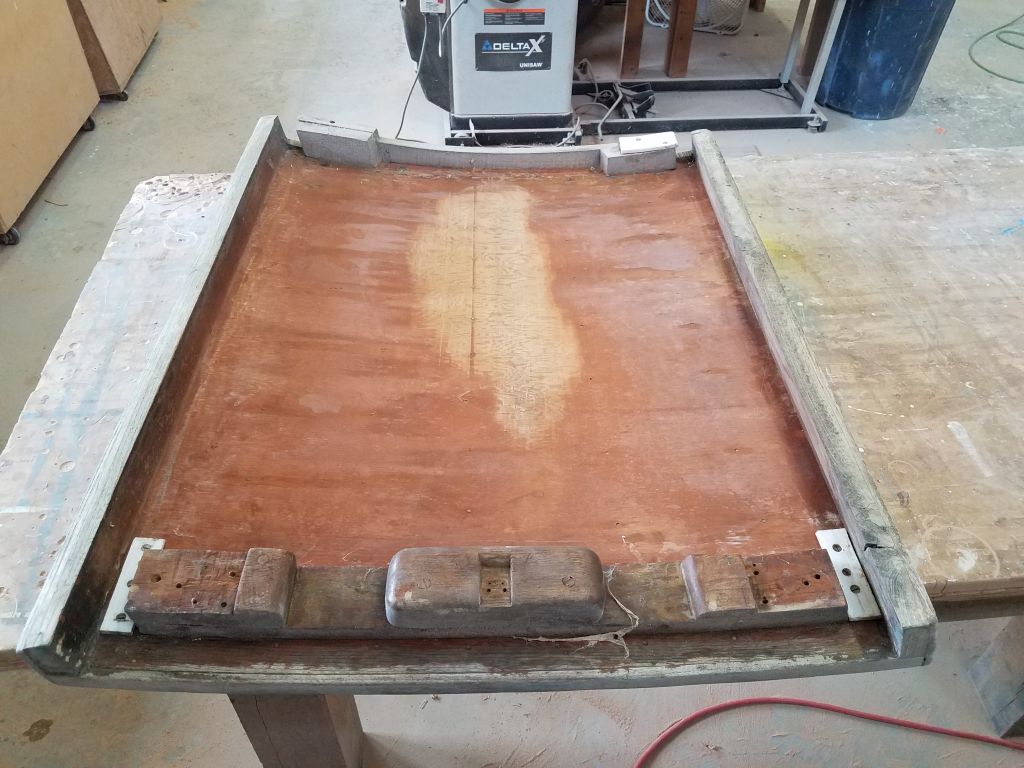
I applied a coat of unthickened epoxy to the wood and, after allowing that to sink in for a little while, applied a coat of epoxy fairing compound, mainly over the curved top surface of the hatch to fill in the seams and smooth the surface. I also used the filler to smooth any grain patterns in the sides and ends of the hatch, as needed.
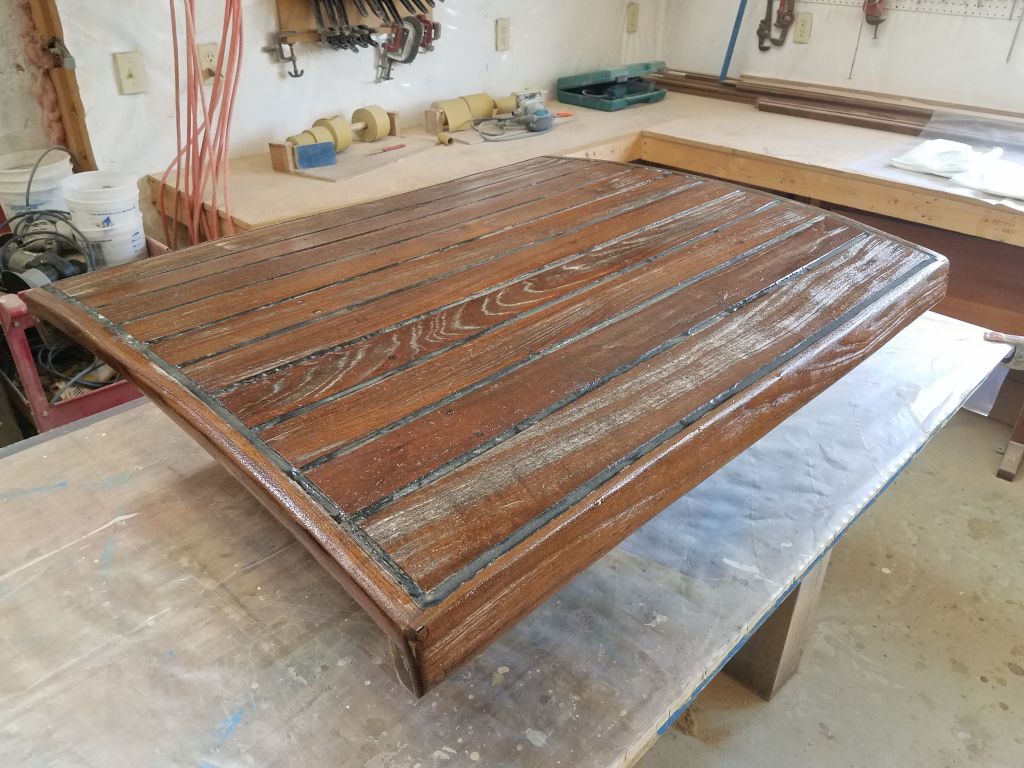

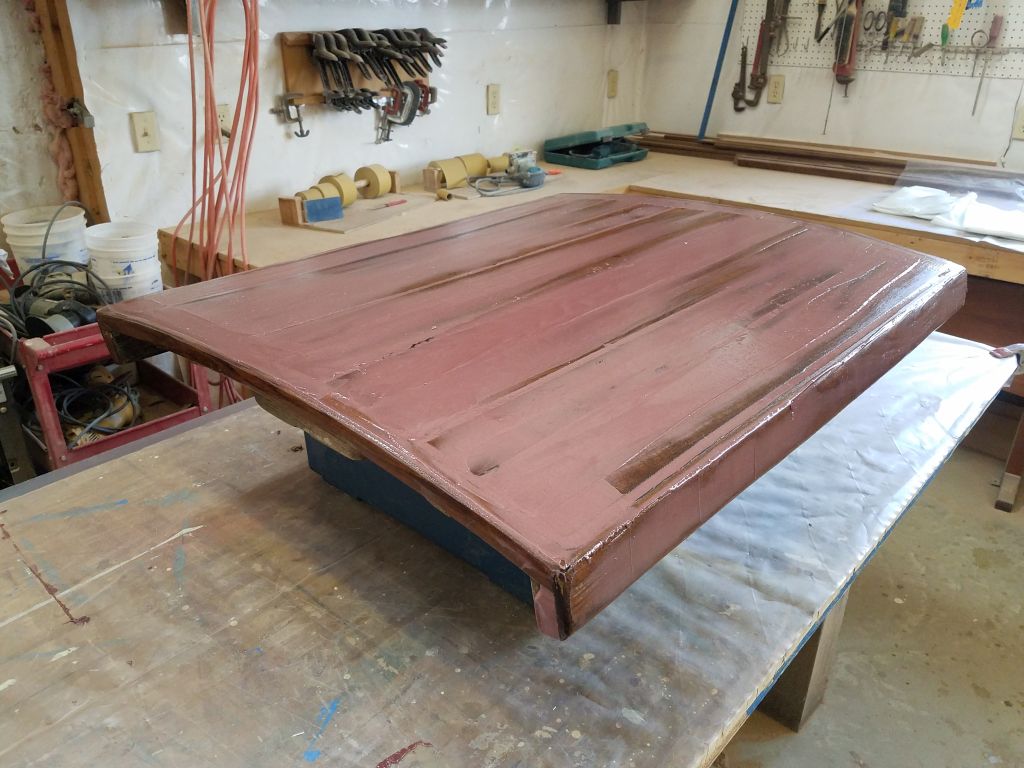

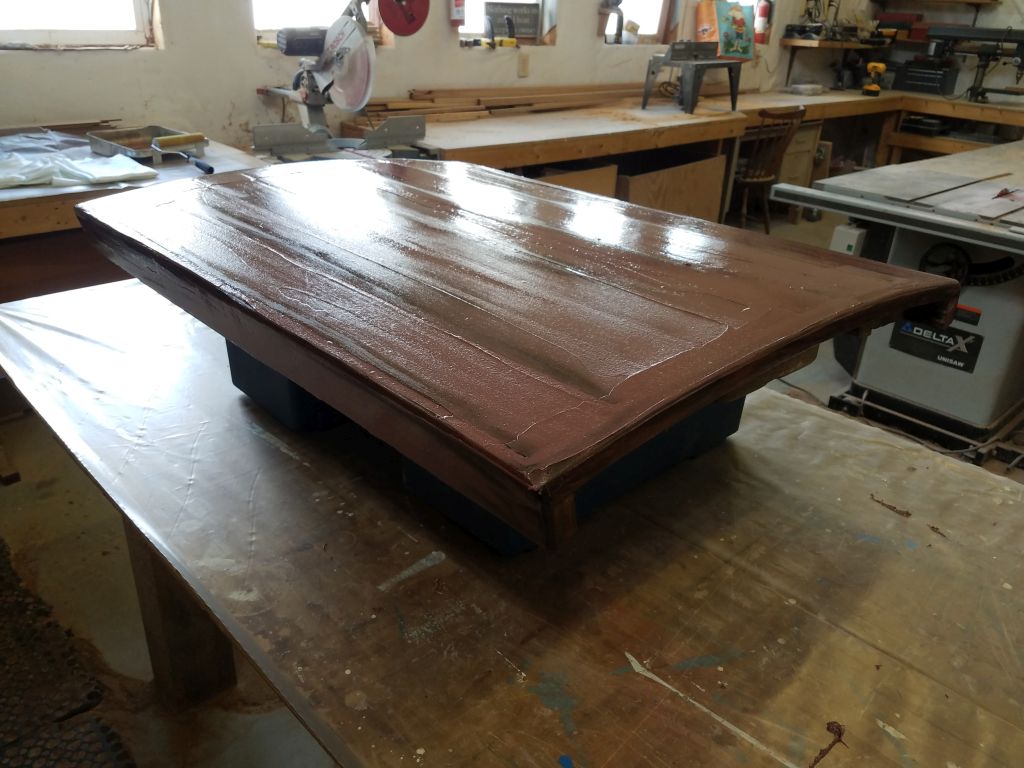
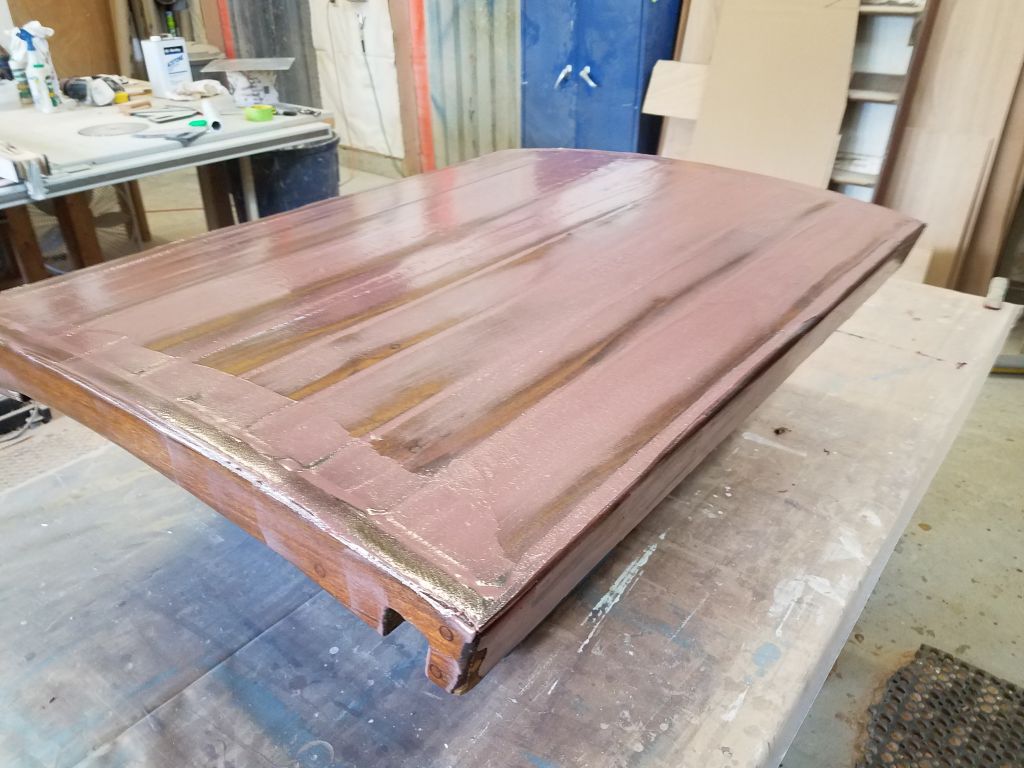

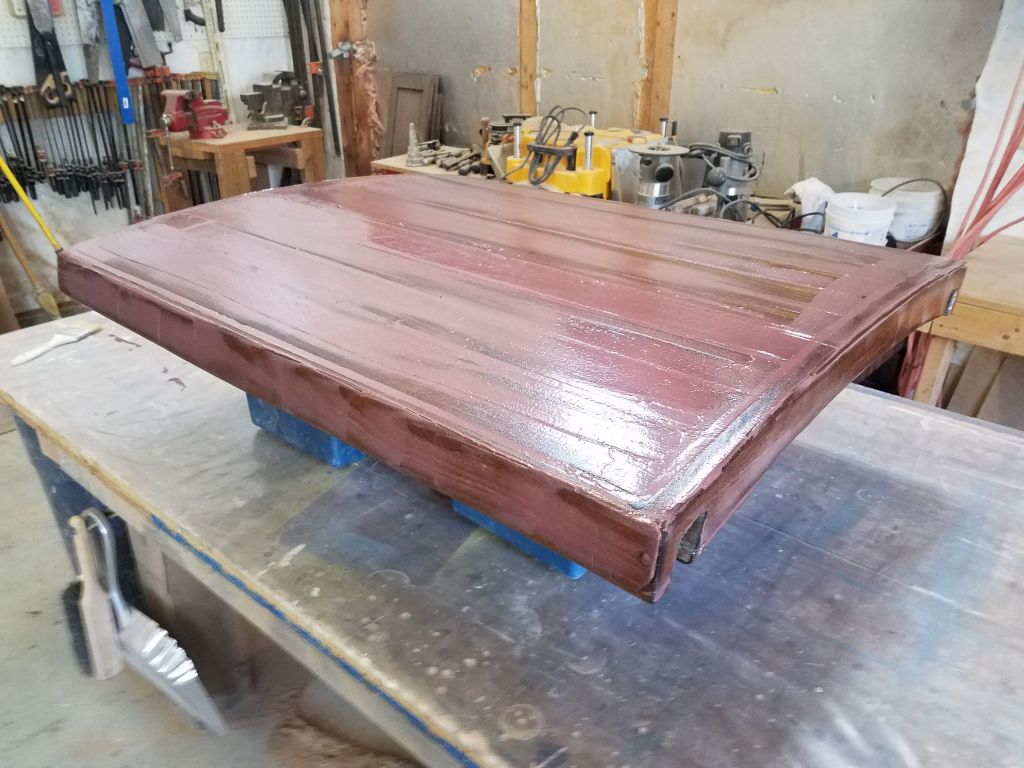
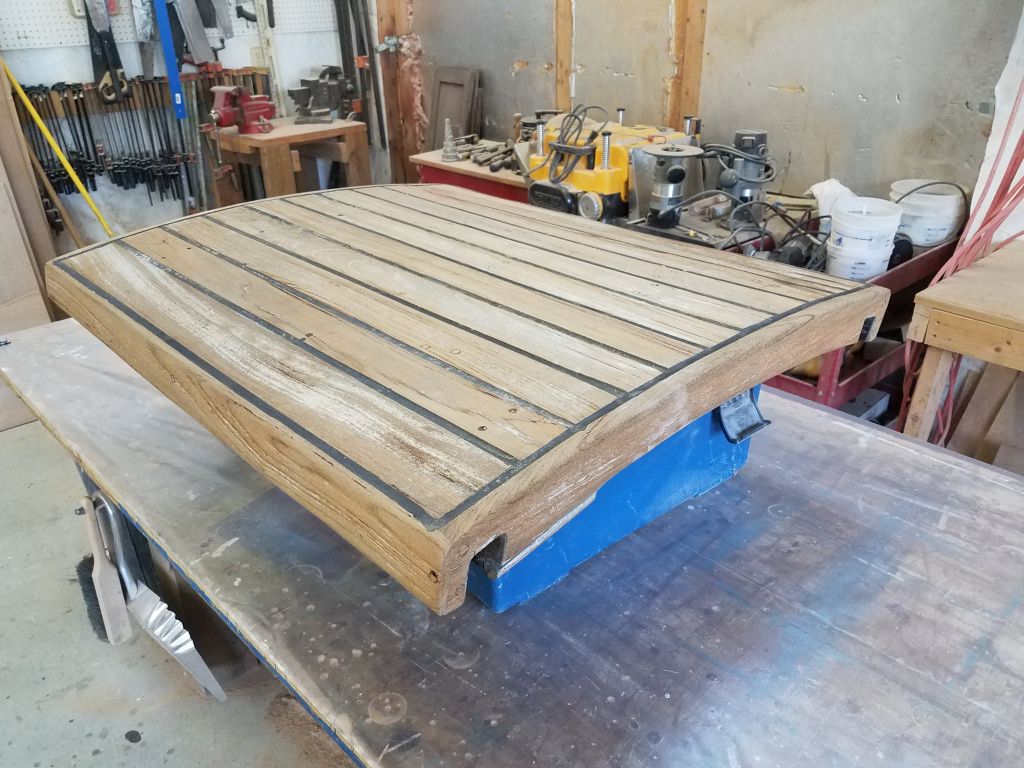
Next, I installed a layer of 10 oz. fiberglass cloth that I’d previously cut to the appropriate size. I allowed the cloth to drape below the edges of the hatch in all areas, and sheathed the top, sides, and wrapped around the bottom edges of the side and end rails where possible and as necessary. It would have been nice to come back sometime later with the epoxy in a green state to trim the excess cloth, but the timing didn’t work out for that so I’d cut and sand off the excesses once the epoxy cured fully overnight.


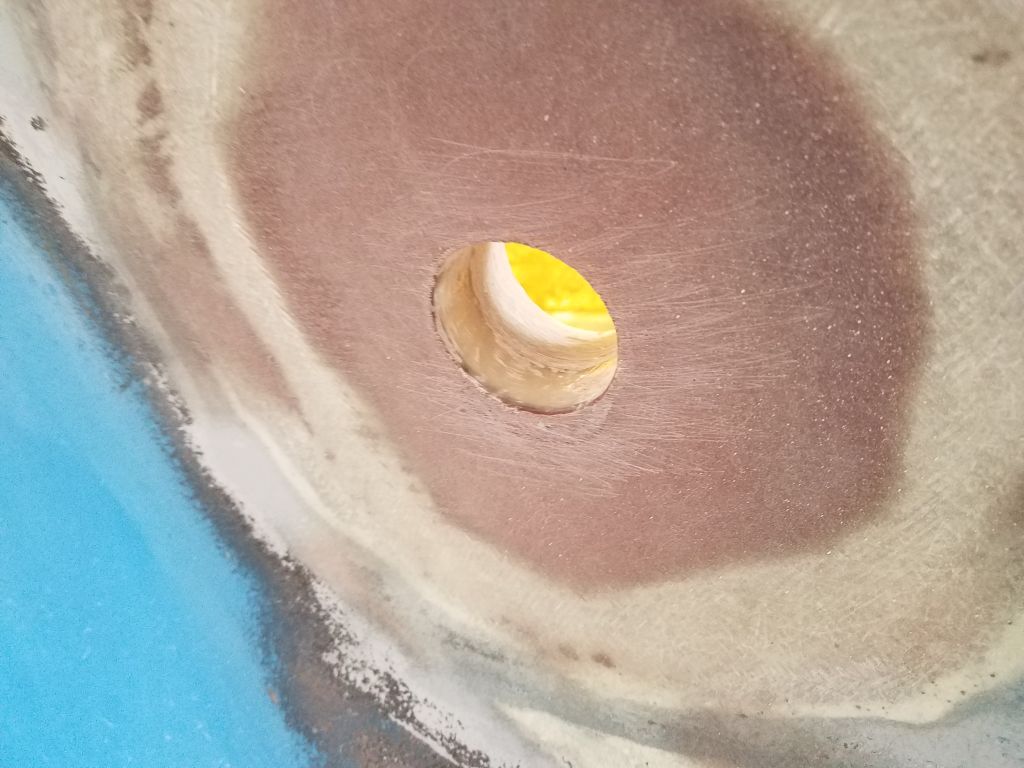
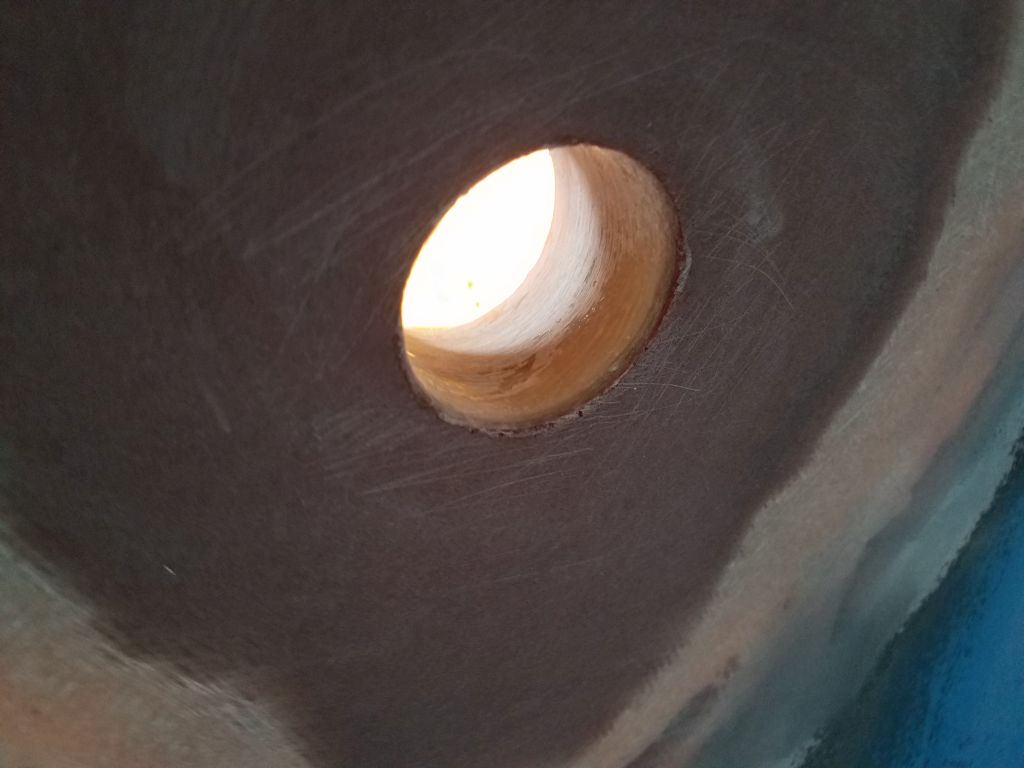
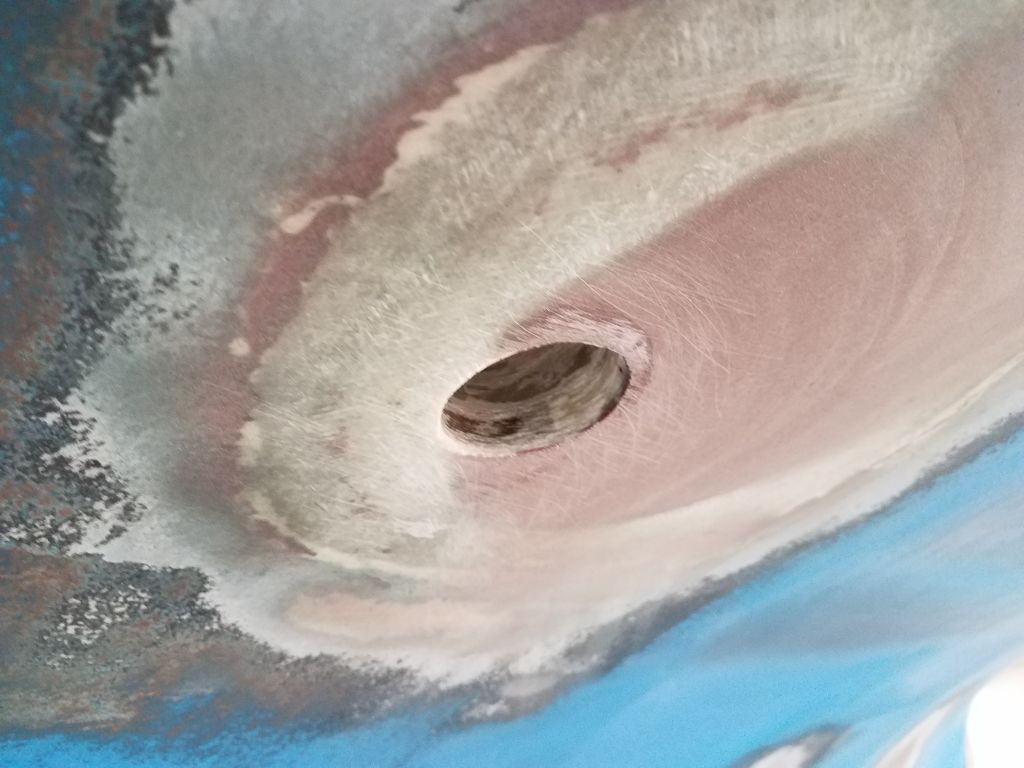
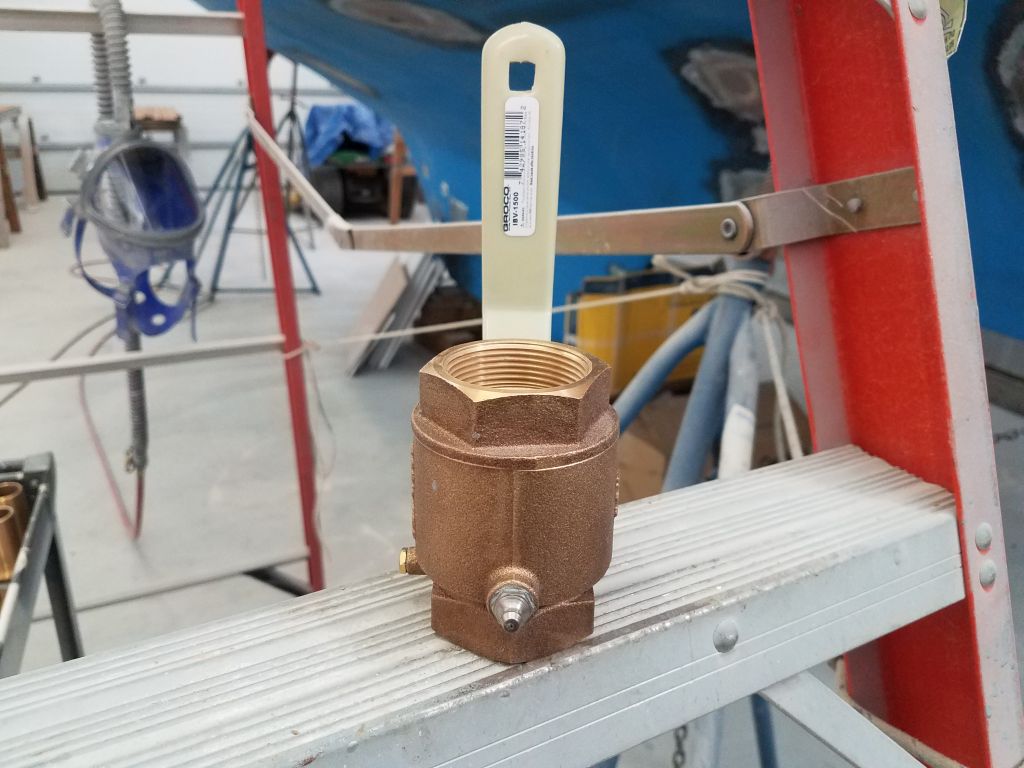
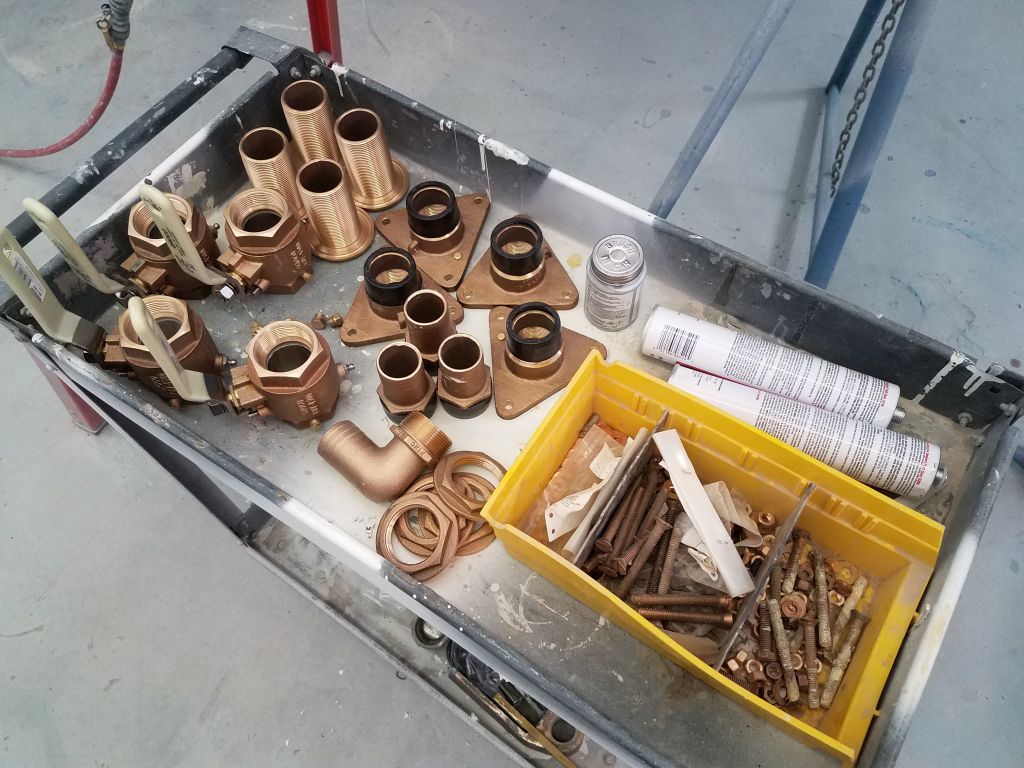
To round out the day, and prepare ahead for one of my planned tasks next time, I used a drum sander to ream out all the through hull holes, removing any excess epoxy that had squeezed out when I installed the interior backing pads. Then, I took care of various pedestrian–but necessary–tasks with the bronze through hull hardware itself, removing too-sticky pilfer-proof labels (that is, labels that only come off in tiny pieces to prevent removal and transfer to another item) from the pieces and replacing the bronze plugs in the valves with the supplied zerk grease fittings, and otherwise getting in order for the through hulls’ installation.


Total time billed on this job today: 7.75 hours
0600 Weather observation: 32°, cloudy, 2″ sticky new snow overnight. Forecast for the day: Mostly sunny, 46°