


March 16, 2020
Scupper 260
Monday
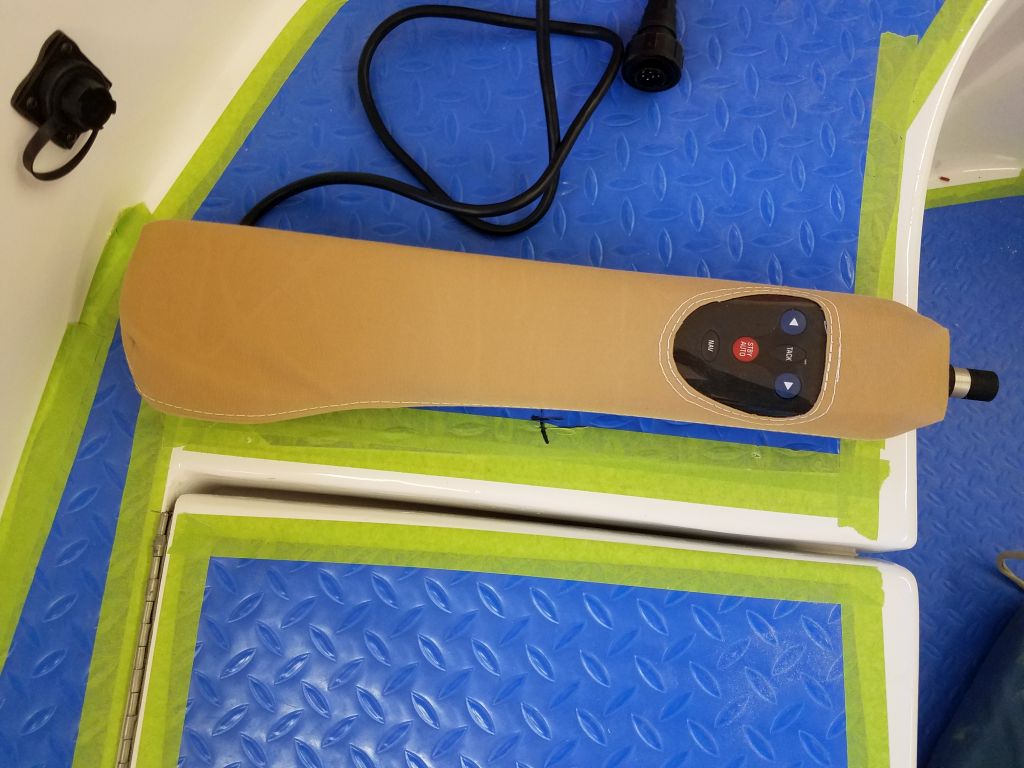
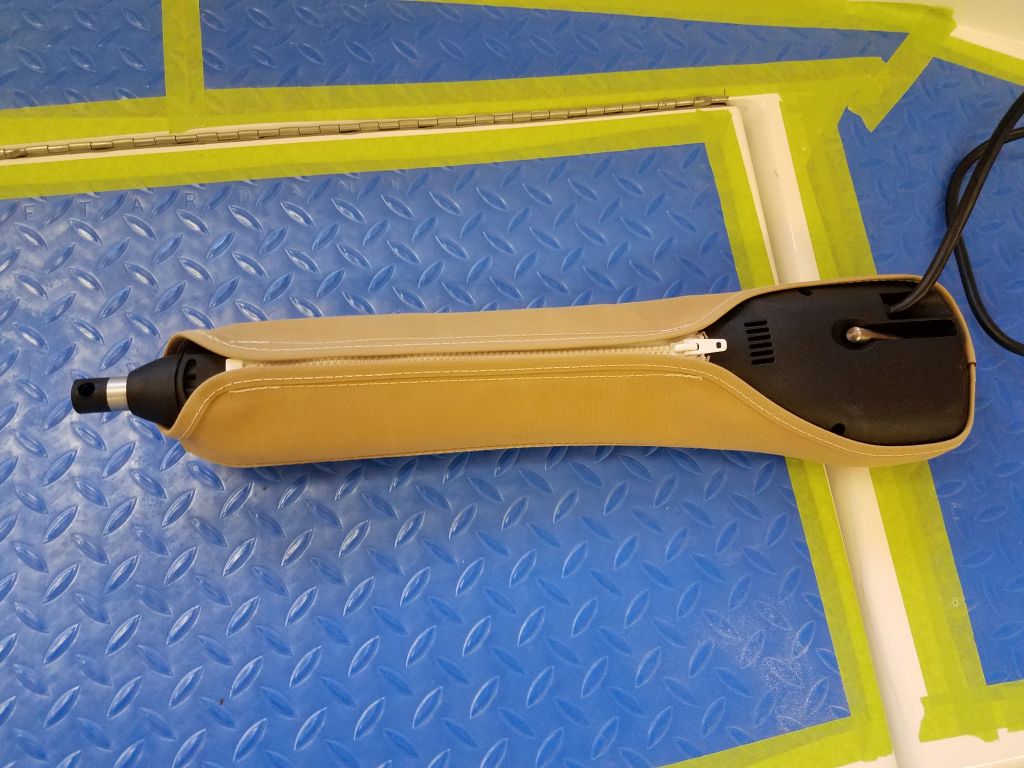
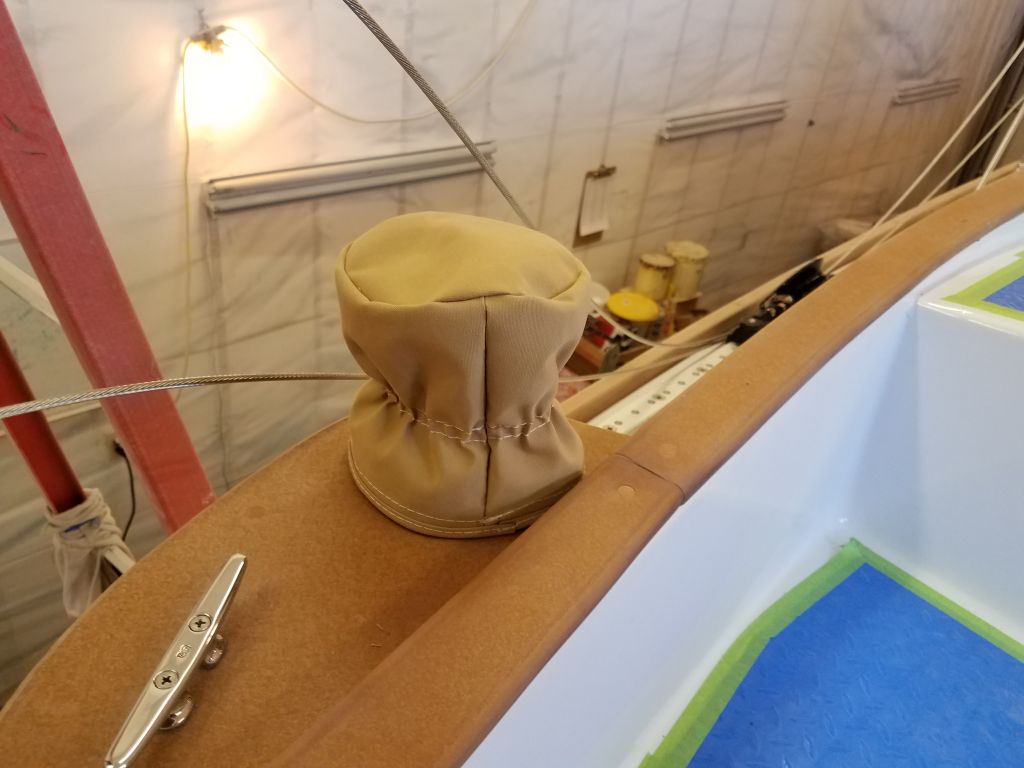
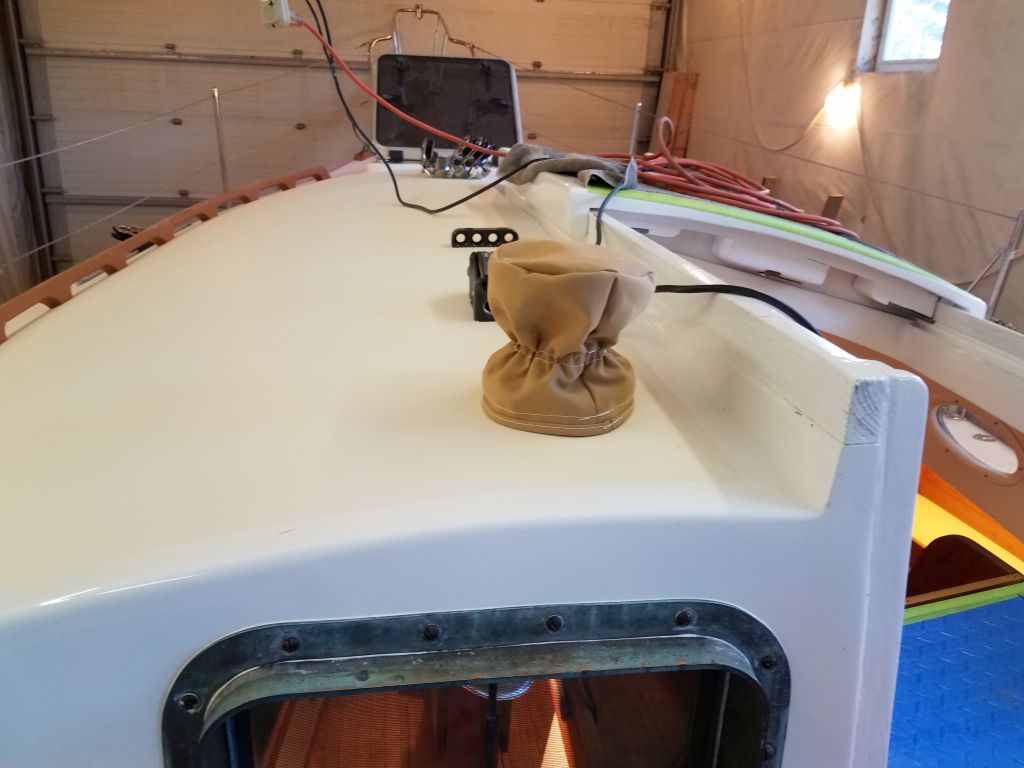
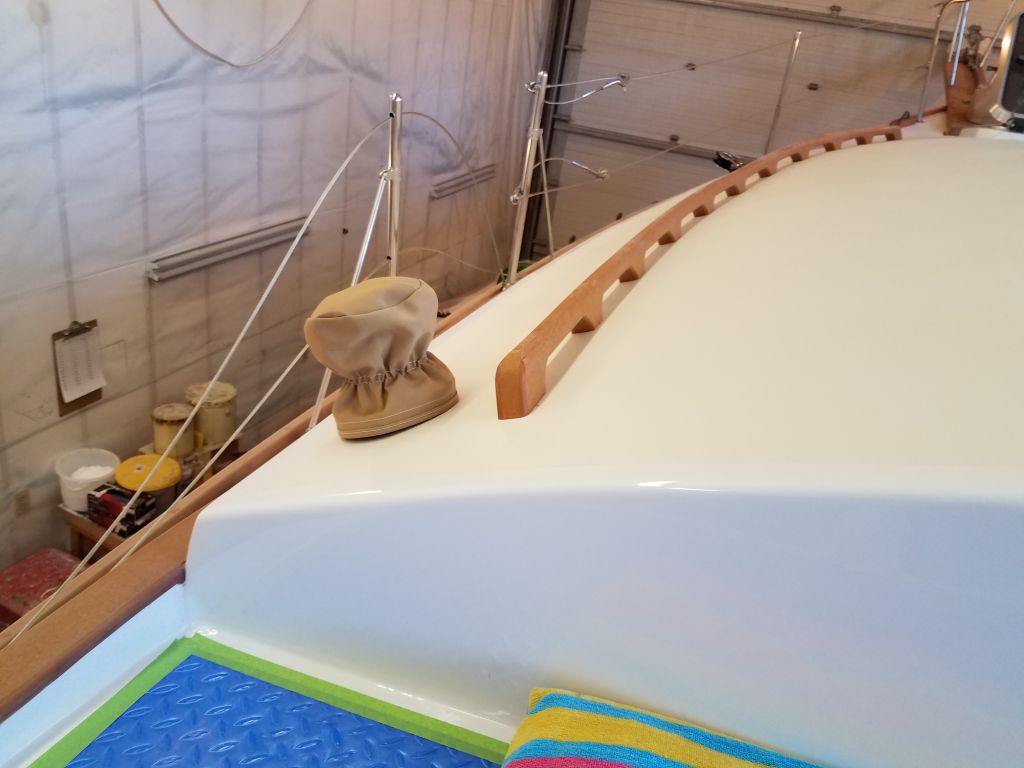
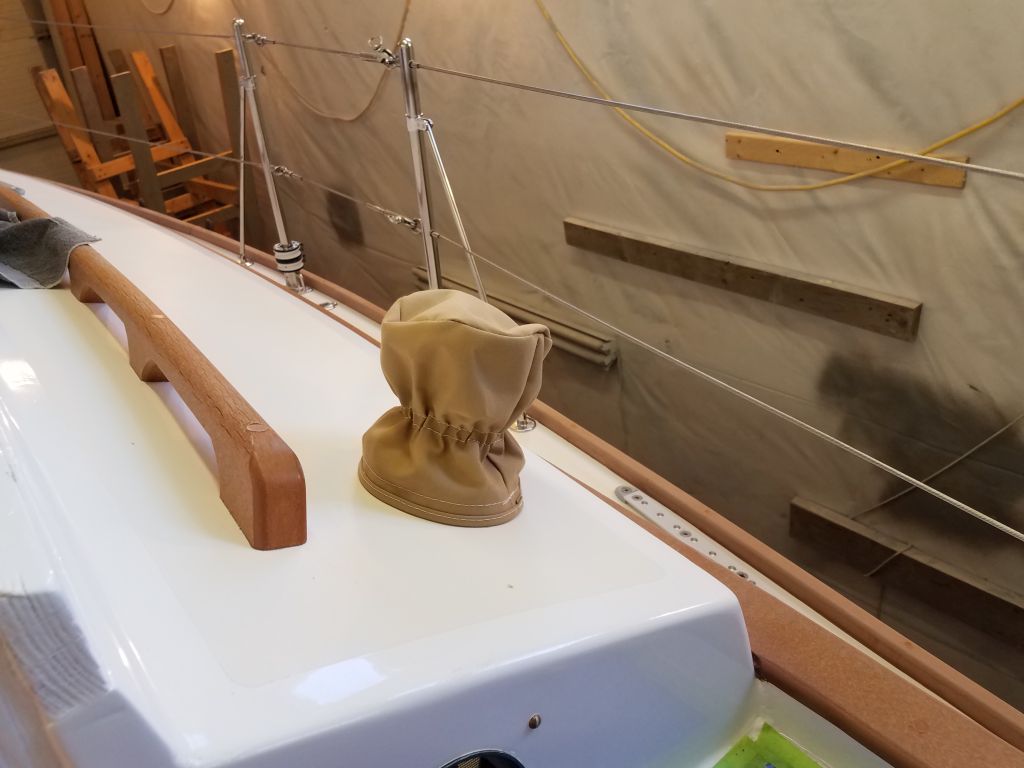
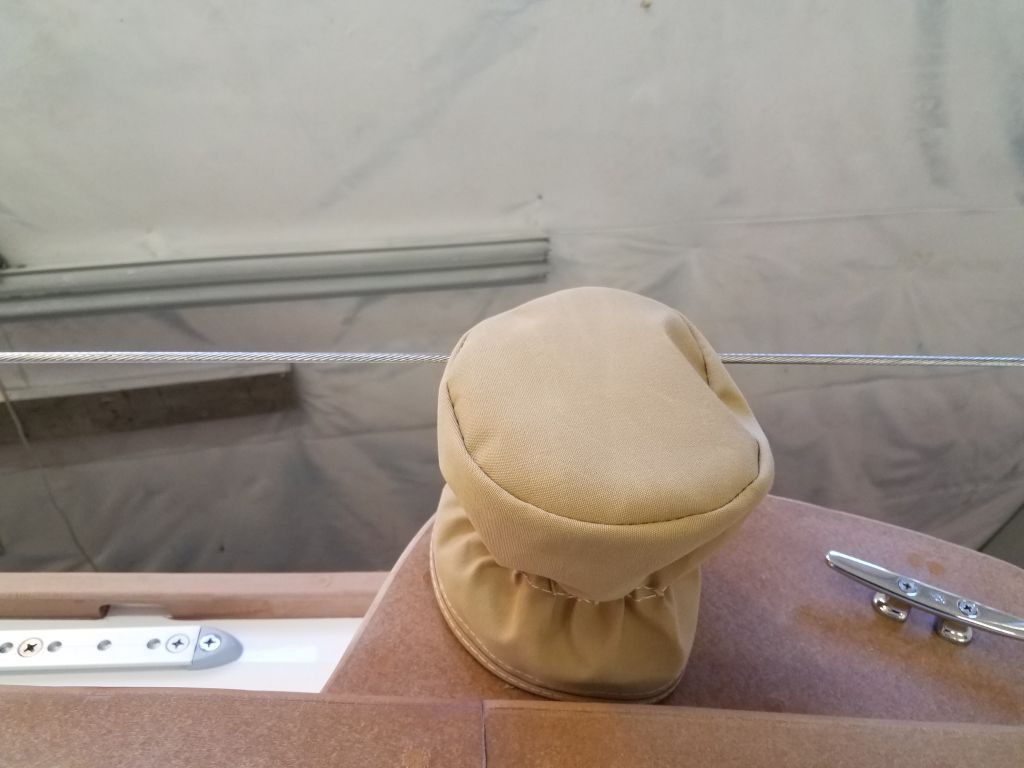
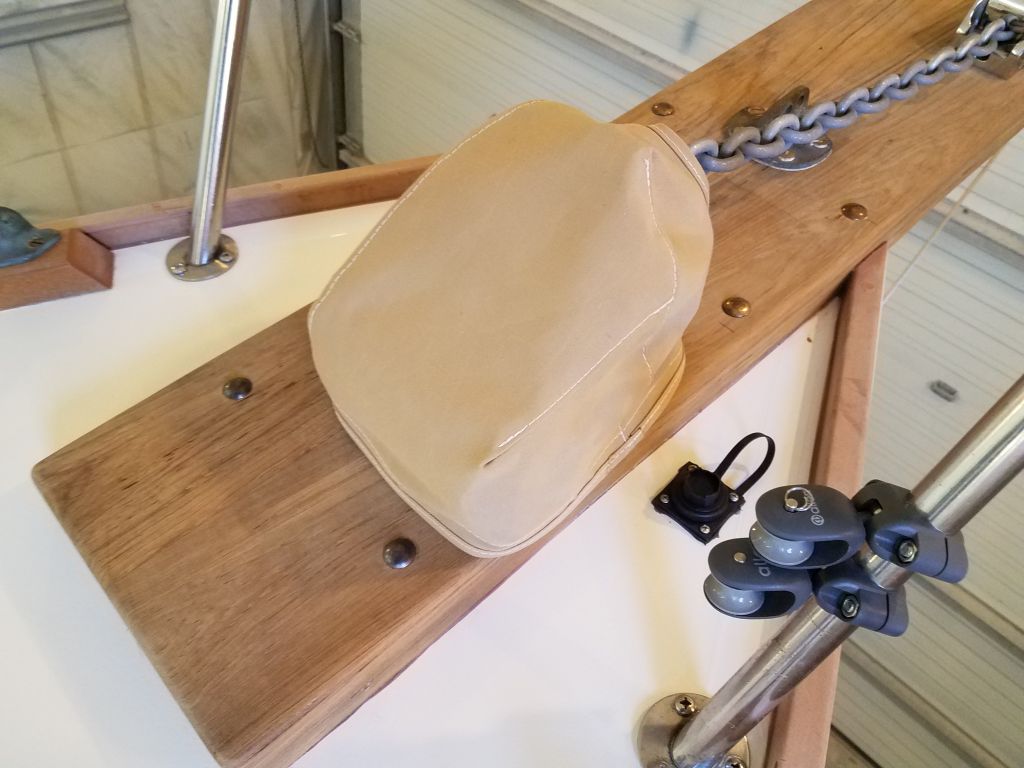
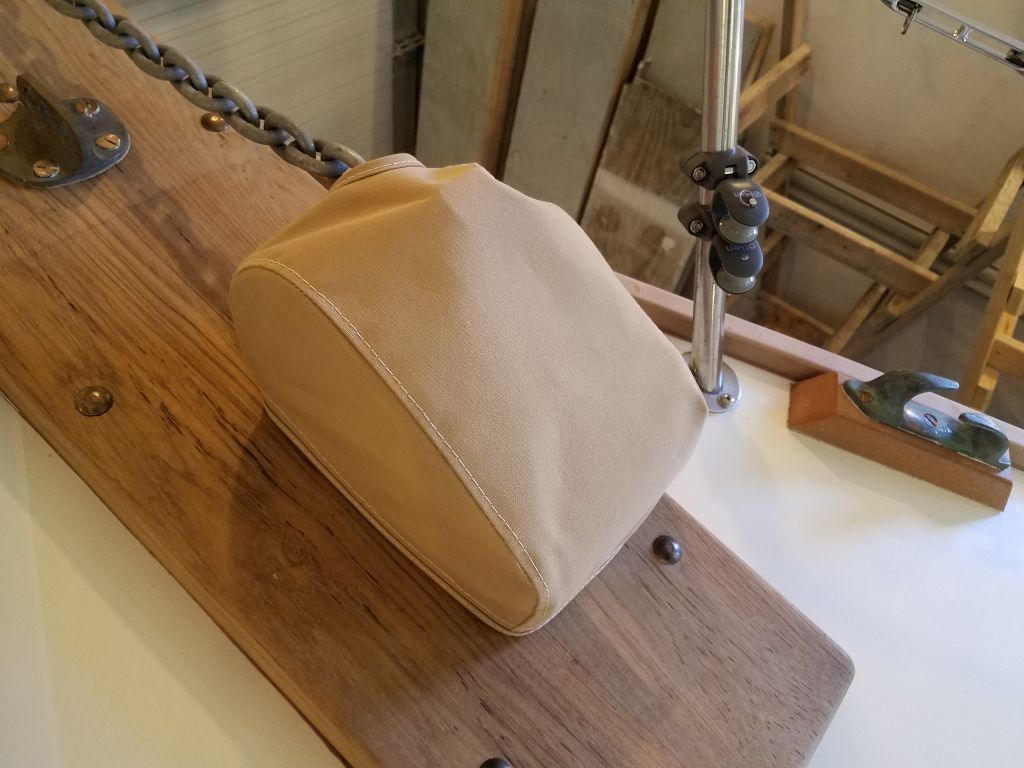
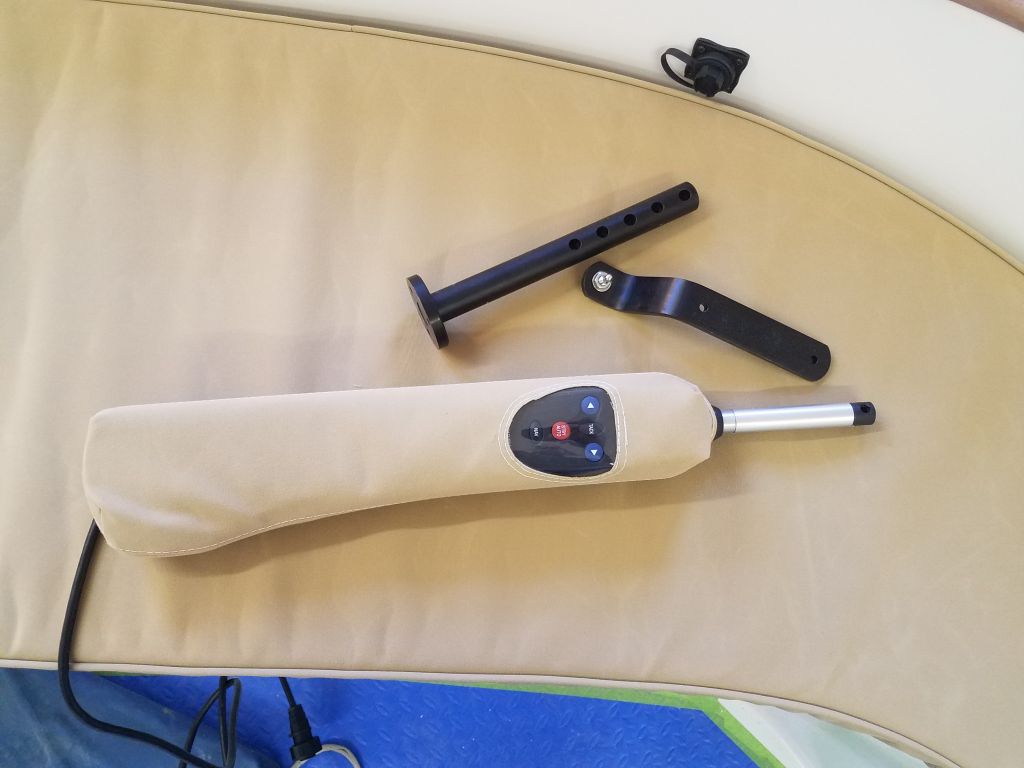
At the owner’s request, I’d asked my intrepid canvas contractor to make up several covers for the winches, tiller, autopilot, and the windlass. True to form, he exceeded expectations with some really nice work on these covers, delivering them all only a few days after he came by to measure and pattern.


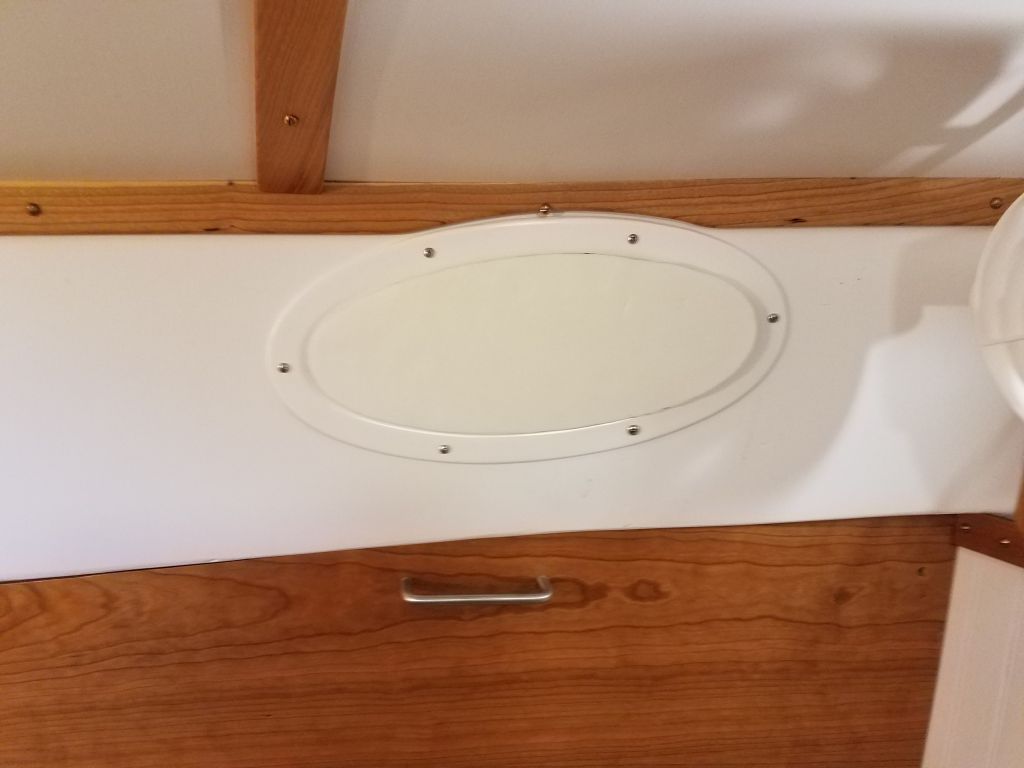
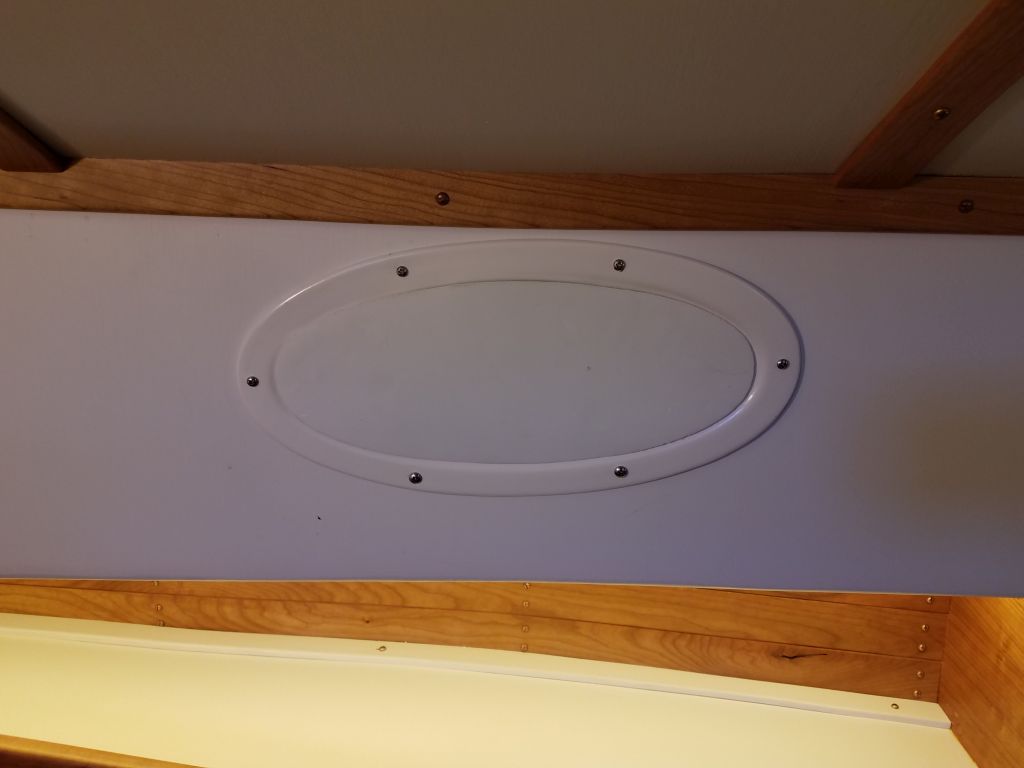
The owner had also requested some simple friction-fit foam fillers to use for privacy in the small elliptical ports. These weren’t fancy, but they did the job well. There were enough of these for all the ports, plus an extra or two.
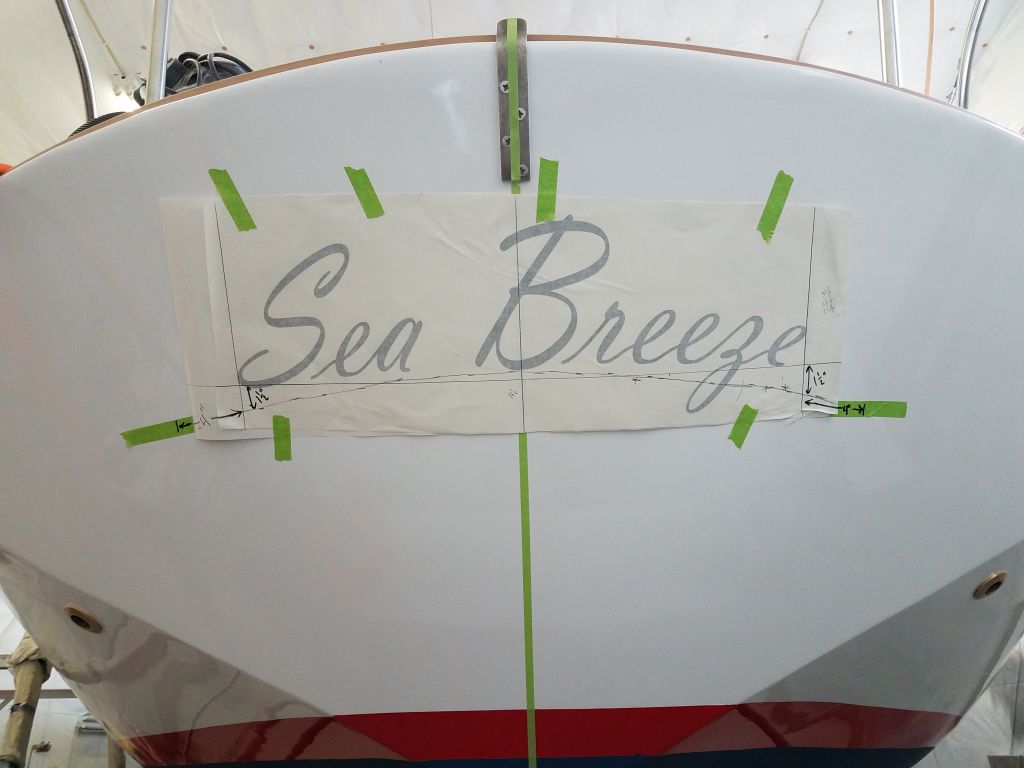
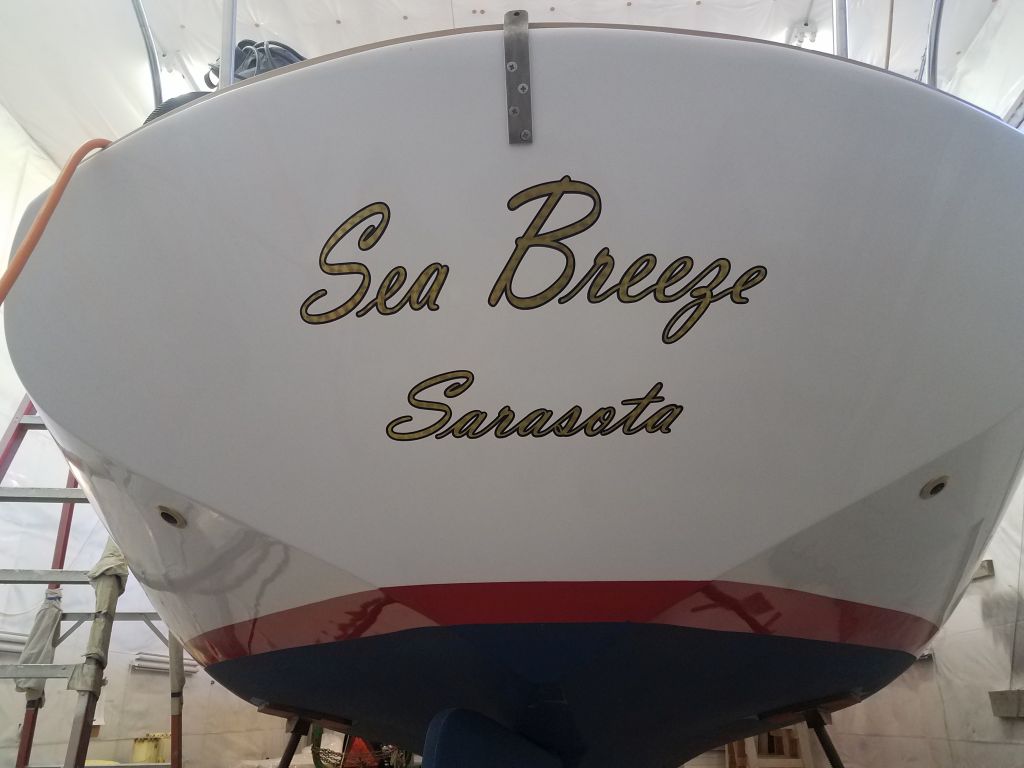
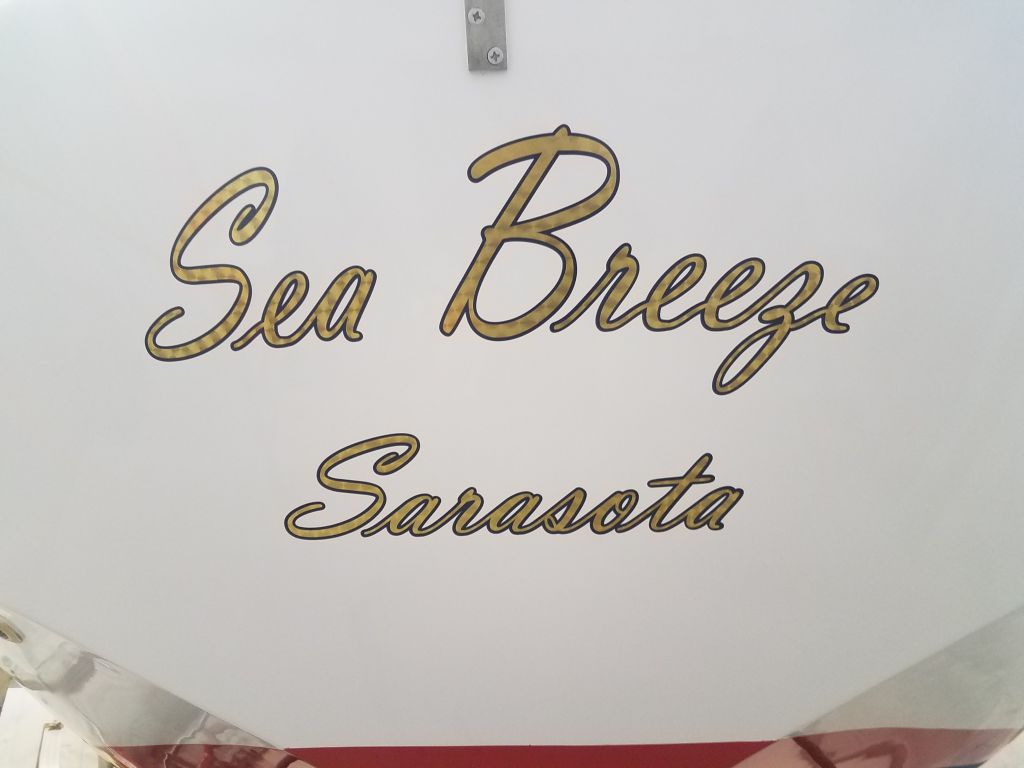
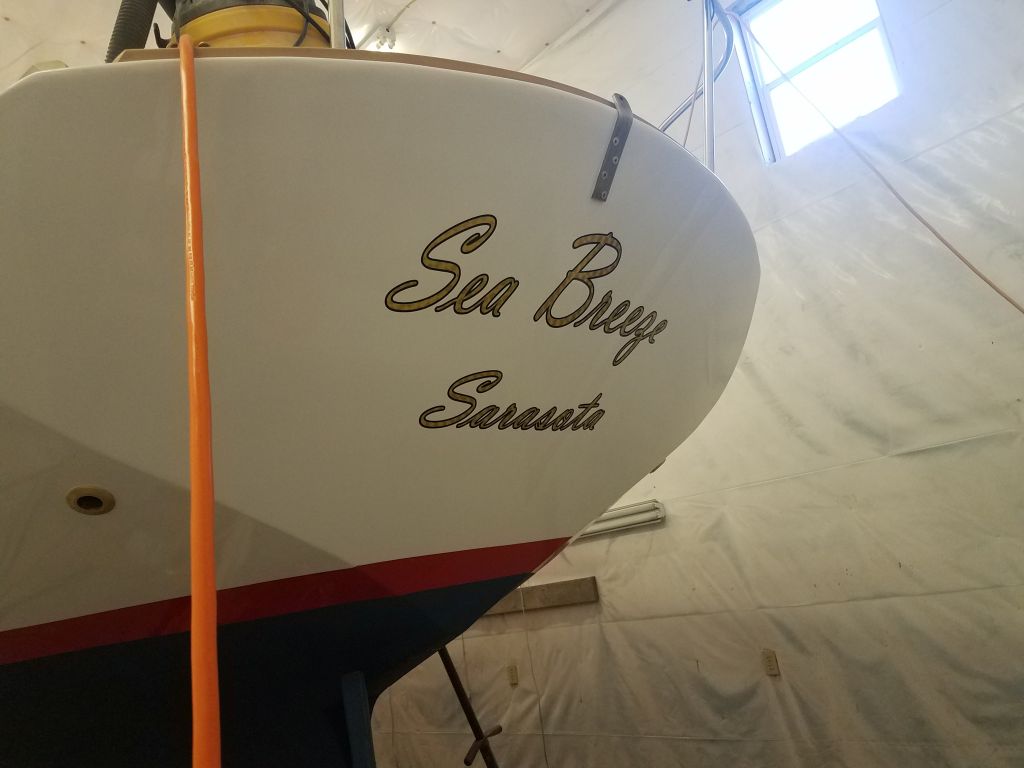
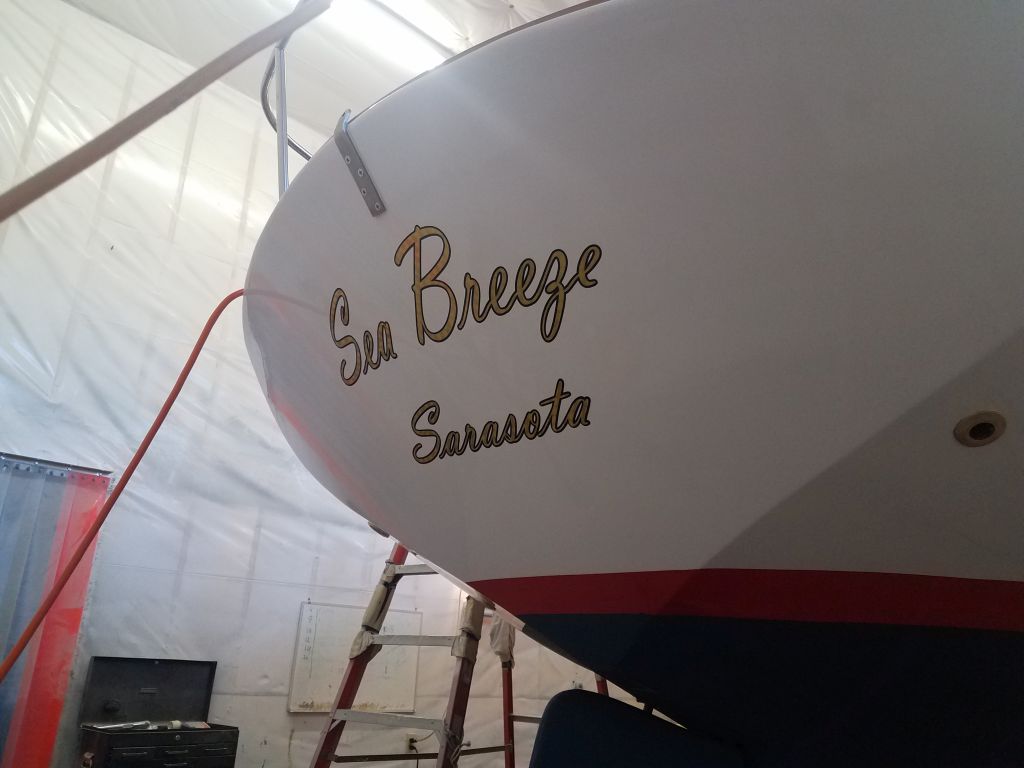
Meanwhile, I continued working with a local sign shop to finalize the lettering. The owner’s choice of script for the new name meant that I felt it was worth various extra efforts to ensure that the name was the “right” size given all the considerations (transom size, individual letter size, overall appearance of the graphics), and properly matched the arc of the deck camber at the top of the transom. To this end, the sign shop produced a cheap test version on throwaway vinyl that I picked up and tried out on the transom. The owner liked the shape and size, so we went forward with the final version shortly thereafter.
With the final version of the name on hand in the owner’s choice of gold leaf with dark blue outlines, I finished up the installation a couple days later.
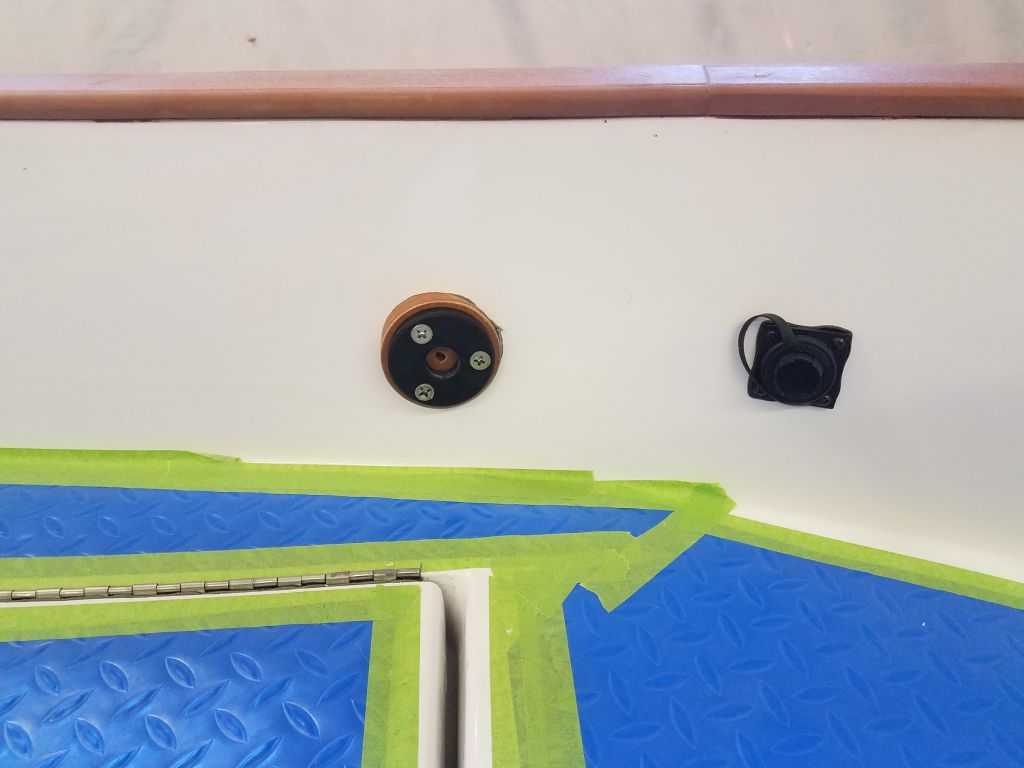
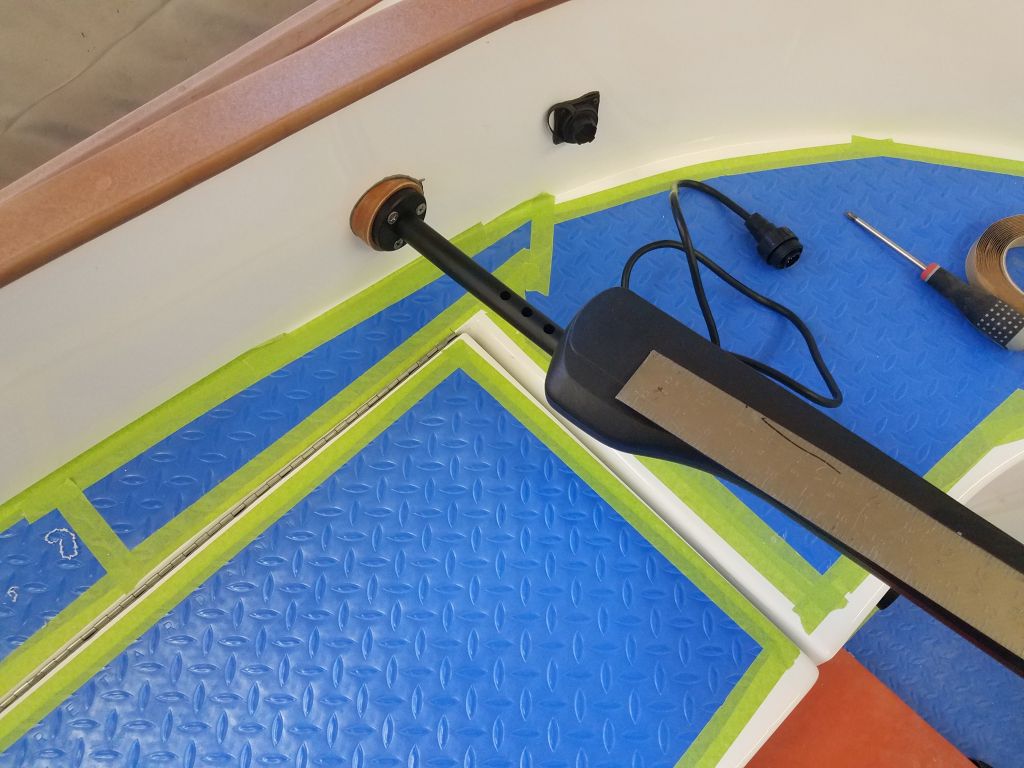
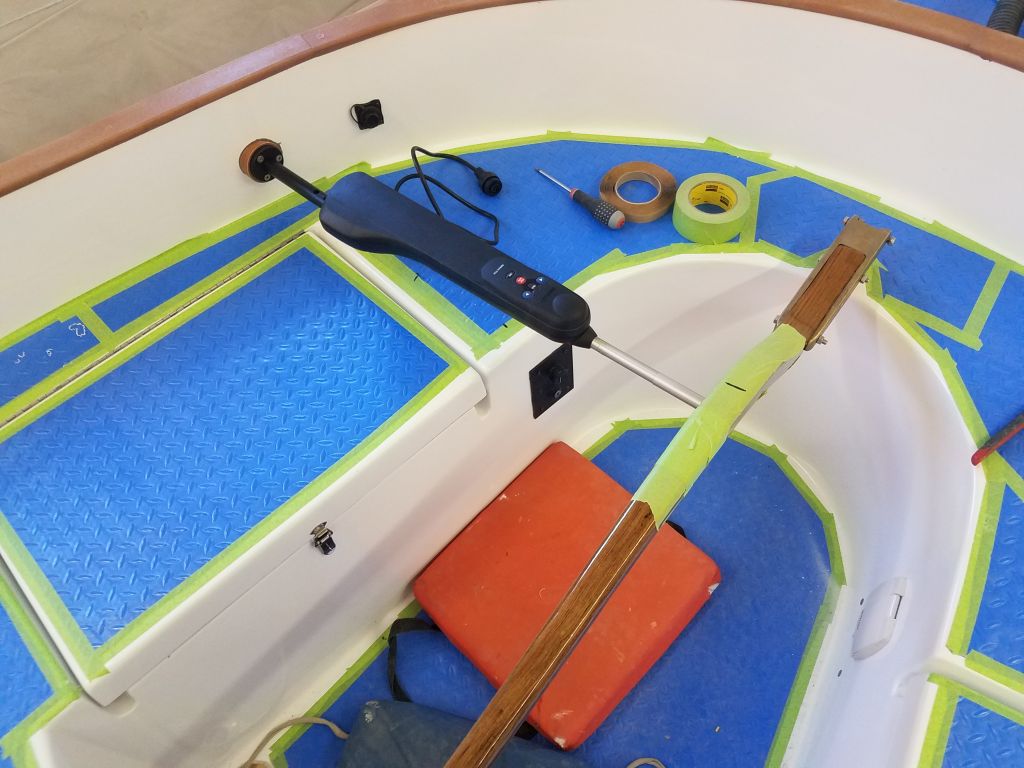
With the accessory installation brackets for the tillerpilot on hand, I could finish up its installation now. The way the geometry of this boat worked out, the standard tillerpilot required an under-tiller mount, plus a pushrod extension, plus a cantilever bracket for mounting the outboard side of the tillerpilot to the side of the cockpit coaming. I put the starboard cockpit cushion in place temporarily so I could ensure the tillerpilot cleared the cushion when installed, which the rise of the tiller dictated anyway. I installed the 4″ pushrod extension to the end of the tiller, then extended the pushrod about halfway through its stroke for the initial setup.
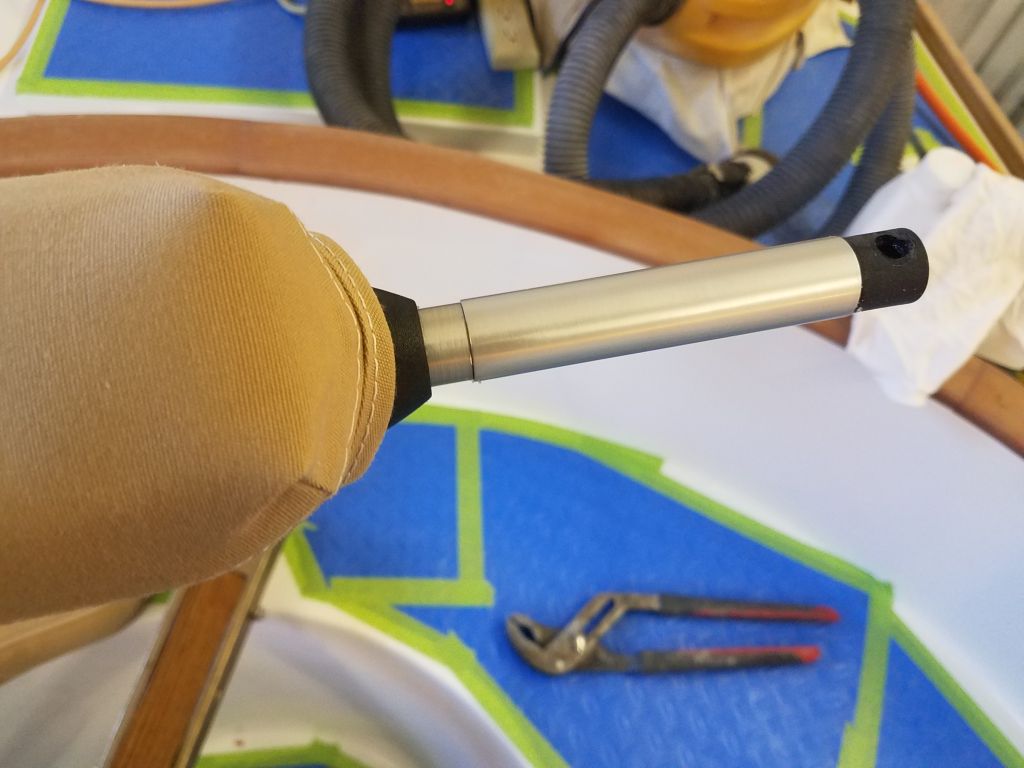
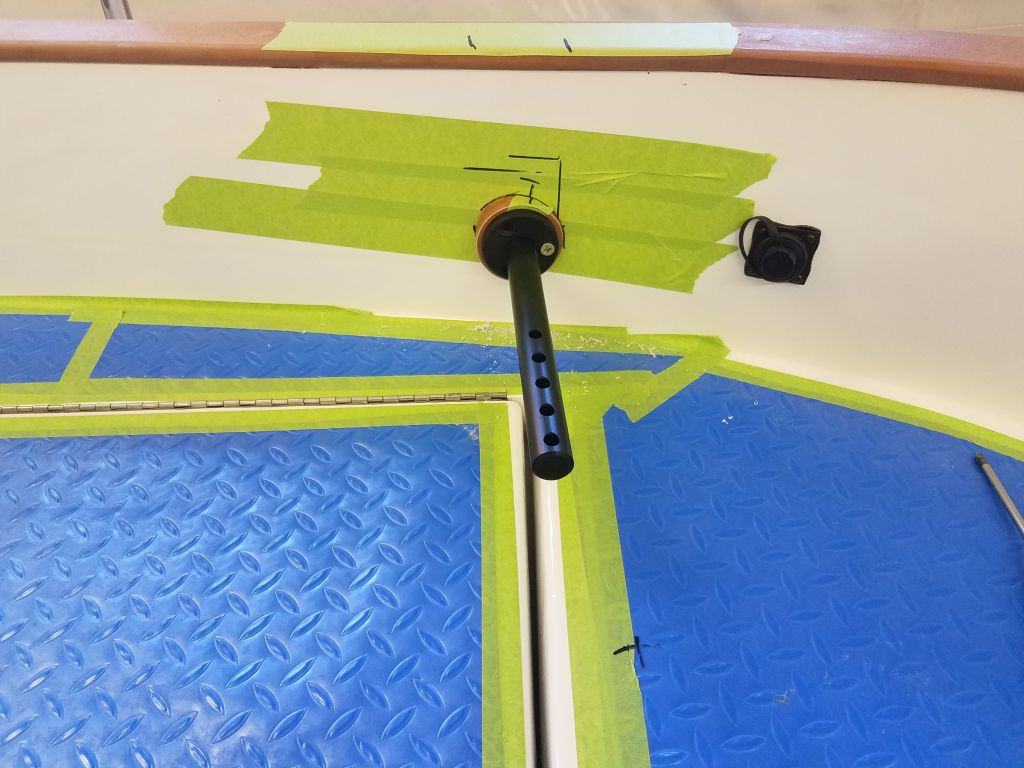
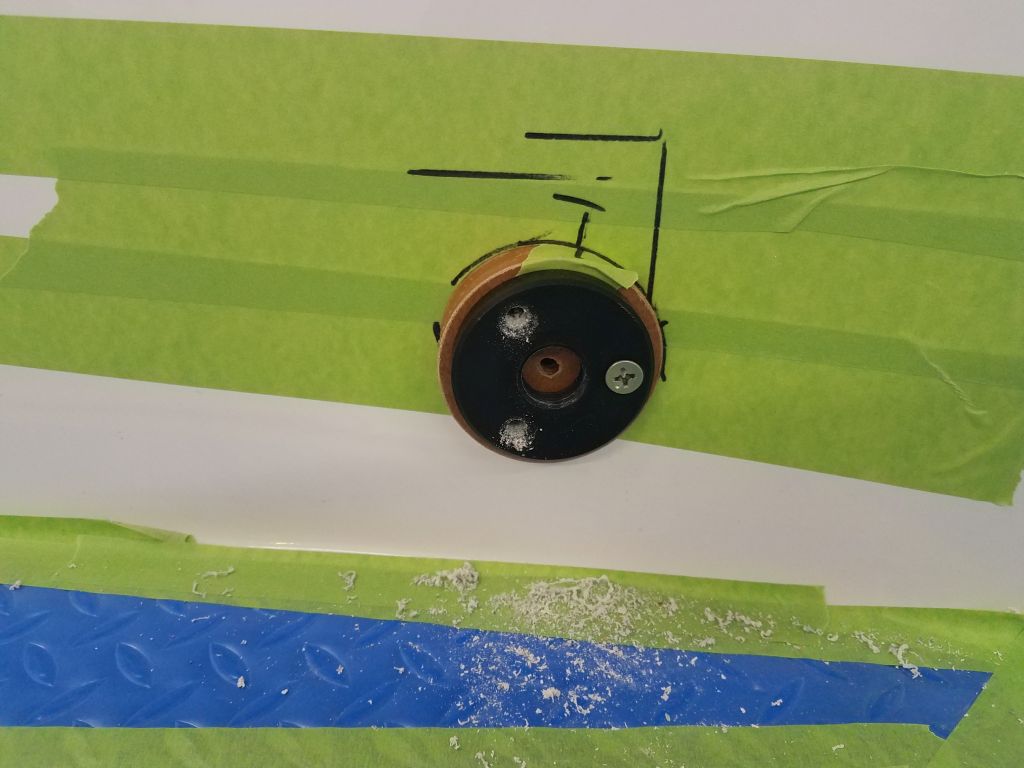
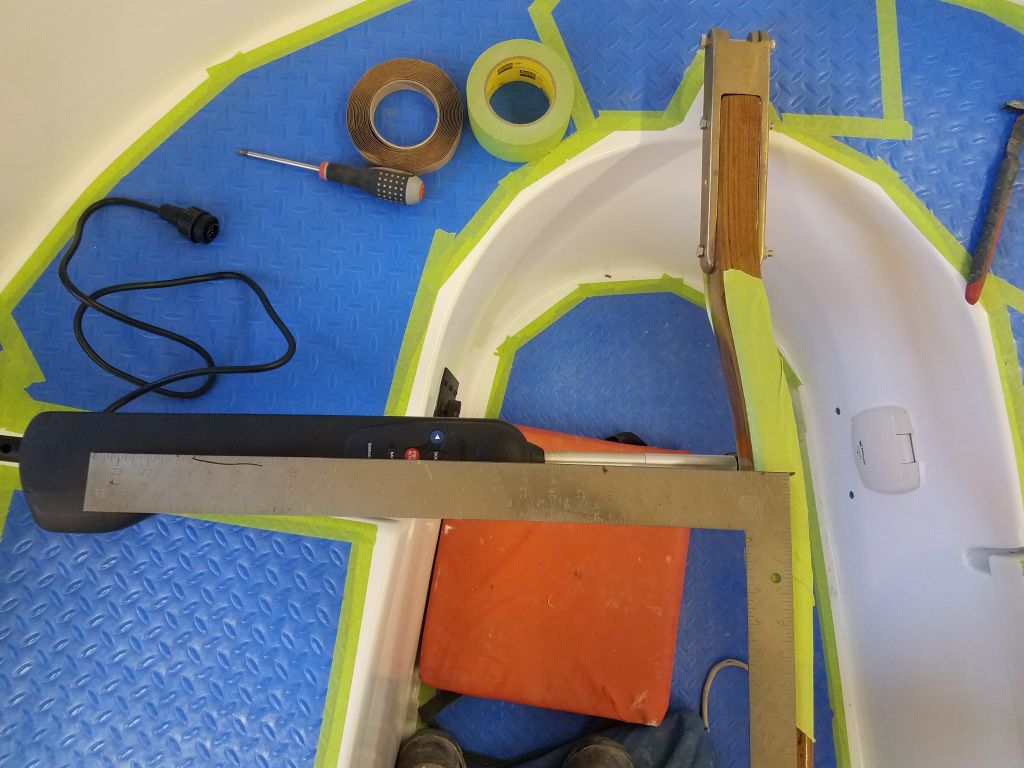
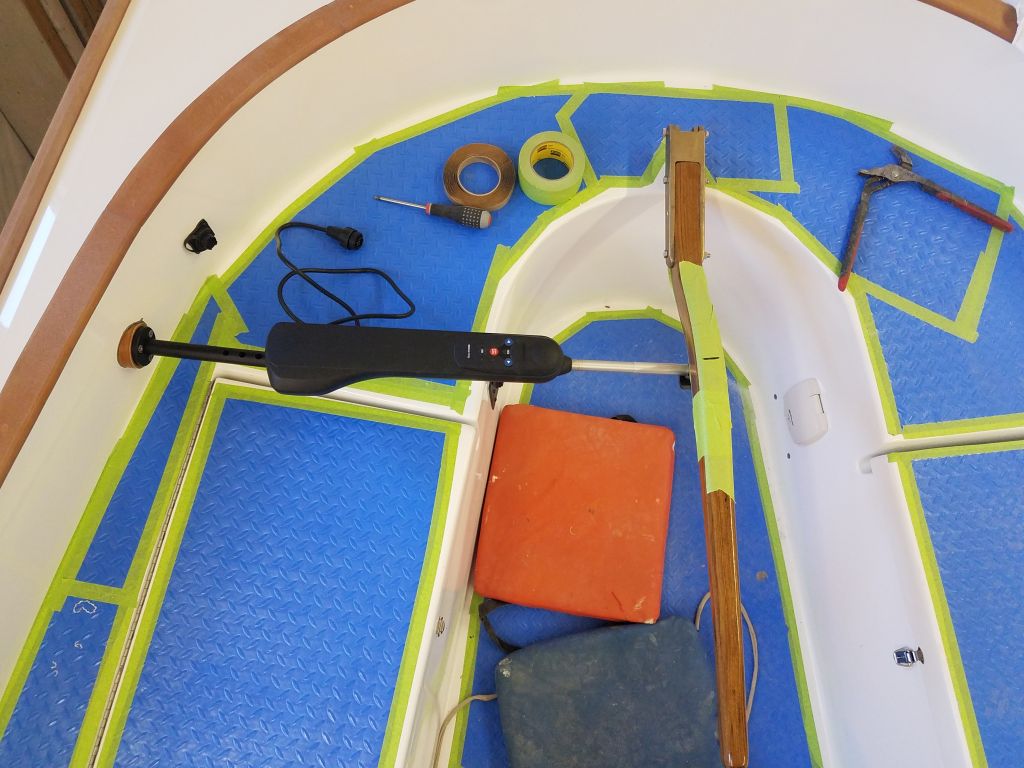
With the tiller temporarily in place, and measuring the required 18″ distance forward from the center of the rudderpost, I made a mark on the tiller where the pin for the tiller end of the unit needed to go, and taped the new bracket in place beneath in the proper position–both for testing and minor adjustment and because I wasn’t ready to permanently install the bracket, since the tiller needed a few more coats of varnish. I put the starboard cockpit cushion temporarily in place to ensure that I mounted the tillerpilot above the cushion, which the shape of the tiller dictated anyway. I installed the 4″ pushrod extension to the end of the tiller pilot, then spent quite a bit of time fussing with the overall setup to determine the final mounting location for the coaming-mount bracket, which, because of the fore and aft angle of the coaming, required an angled spacer block behind.
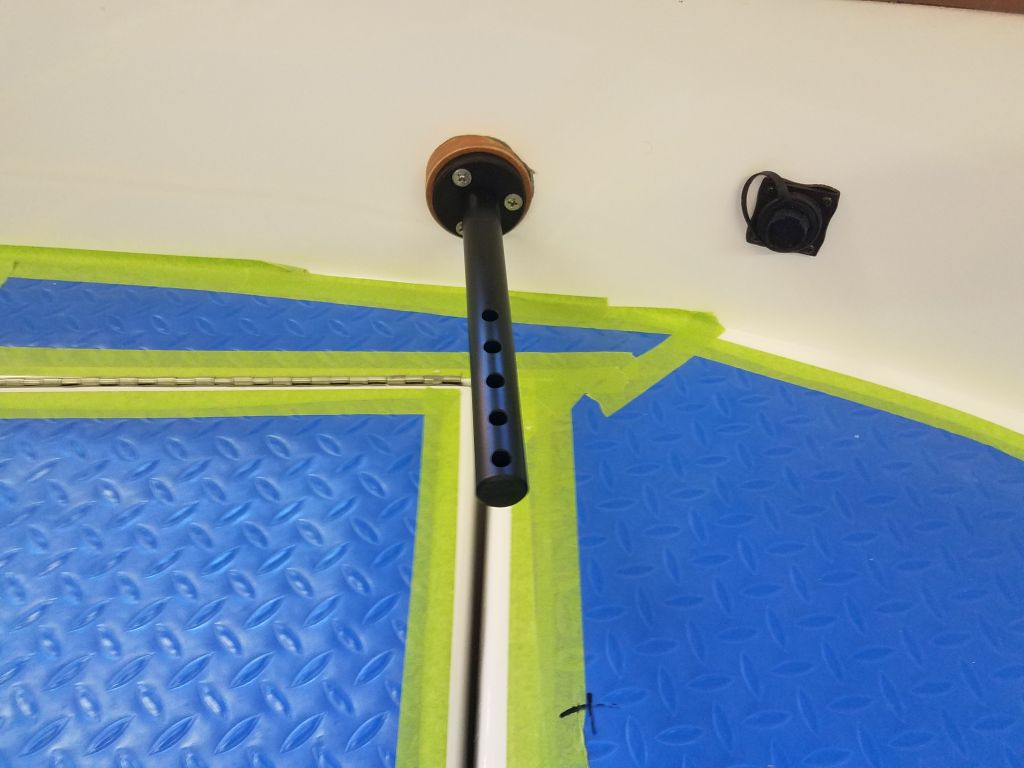
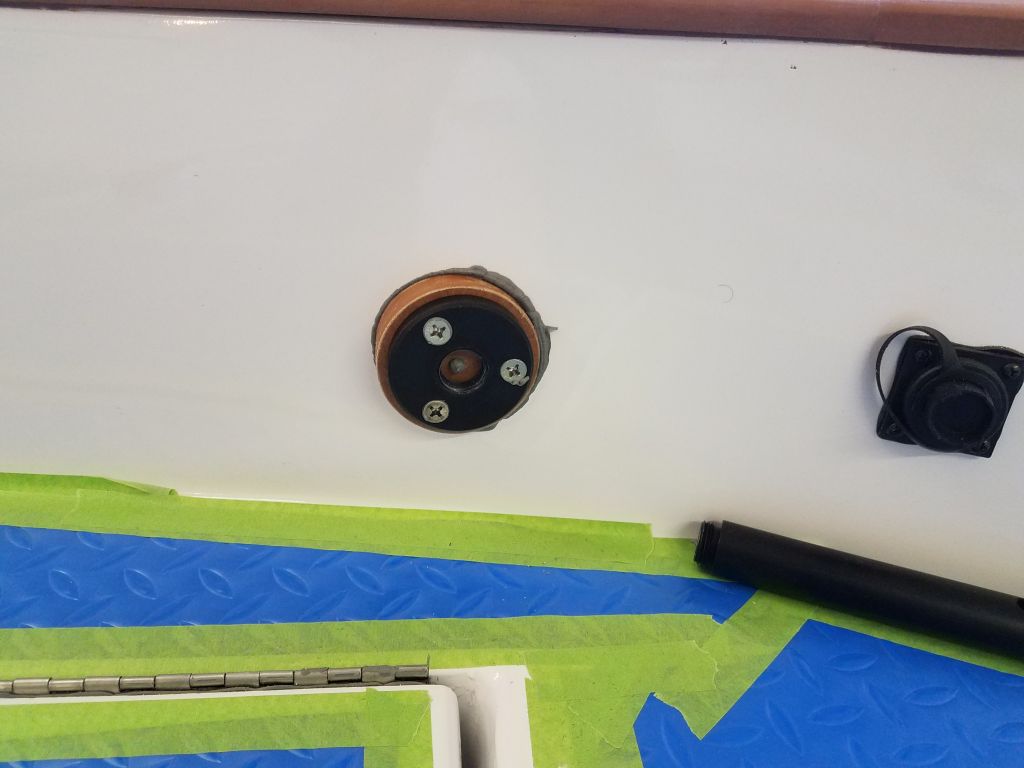
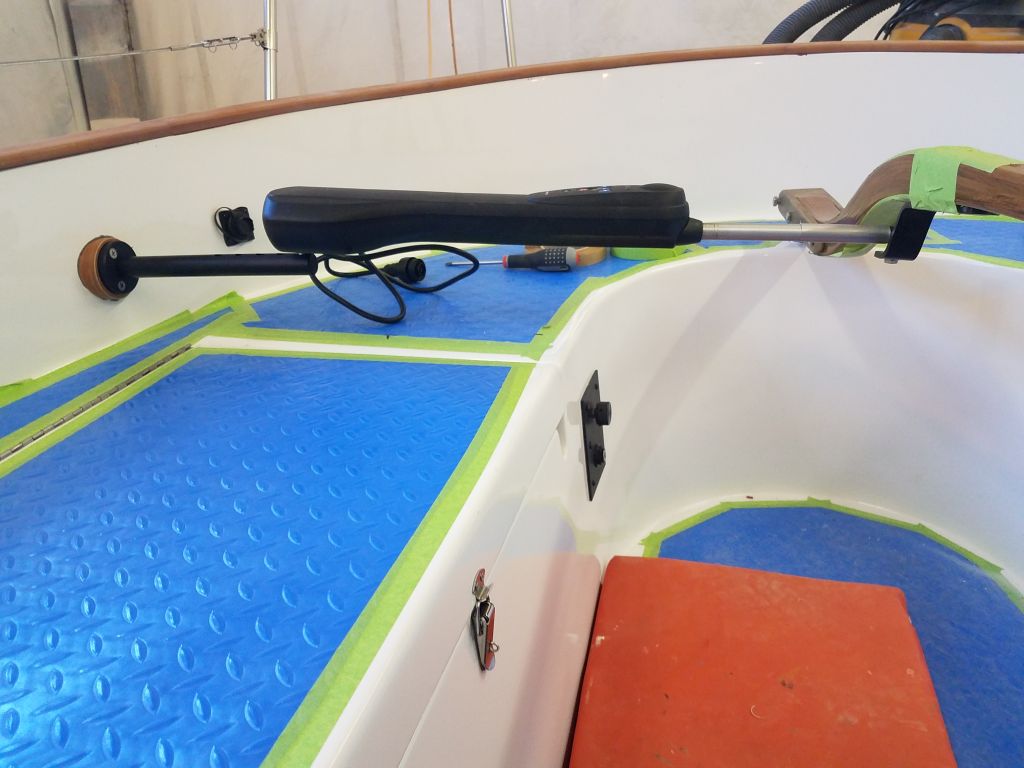
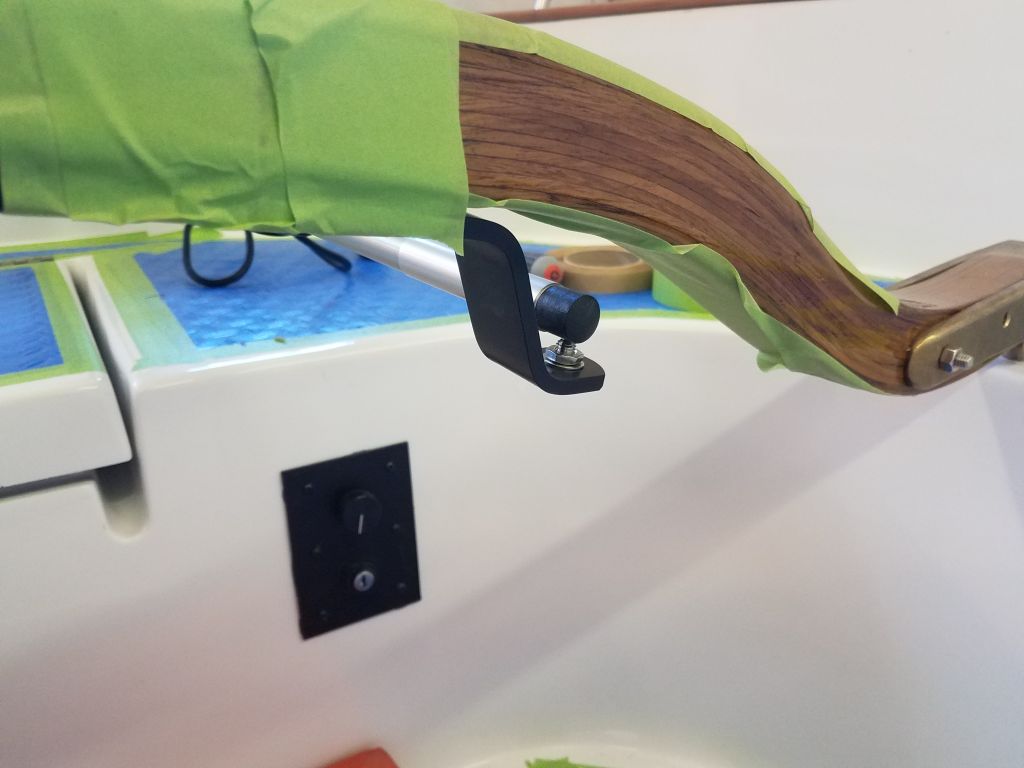
At length, after one failed version of the angled block and various trials, I determined the final mounting location and dry-fit the bracket so I could permanently mount it. This location was clear above the cockpit cushion, in line with the pin on the tiller itself, and met all the other installation criteria. The tube containing the various cantilever mounting pin locations was removable from the base, leaving a relatively clean installation when the tillerpilot was not in use; the cockpit locker lid just cleared the assembly when installed, which was fortunate but happenstance since the geometry of the cockpit and tiller arrangement dictated its position.


With the bracket permanently installed with sealant, bolts, and a backing plate, I fitted the tillerpilot and double-checked its position. With the tiller centered, the tillerpilot (i.e. the pushrod) was at 90 degrees to the tiller, as required. I’d await an electrical test till I could mount the tiller bracket to the tiller once the varnish work was complete.

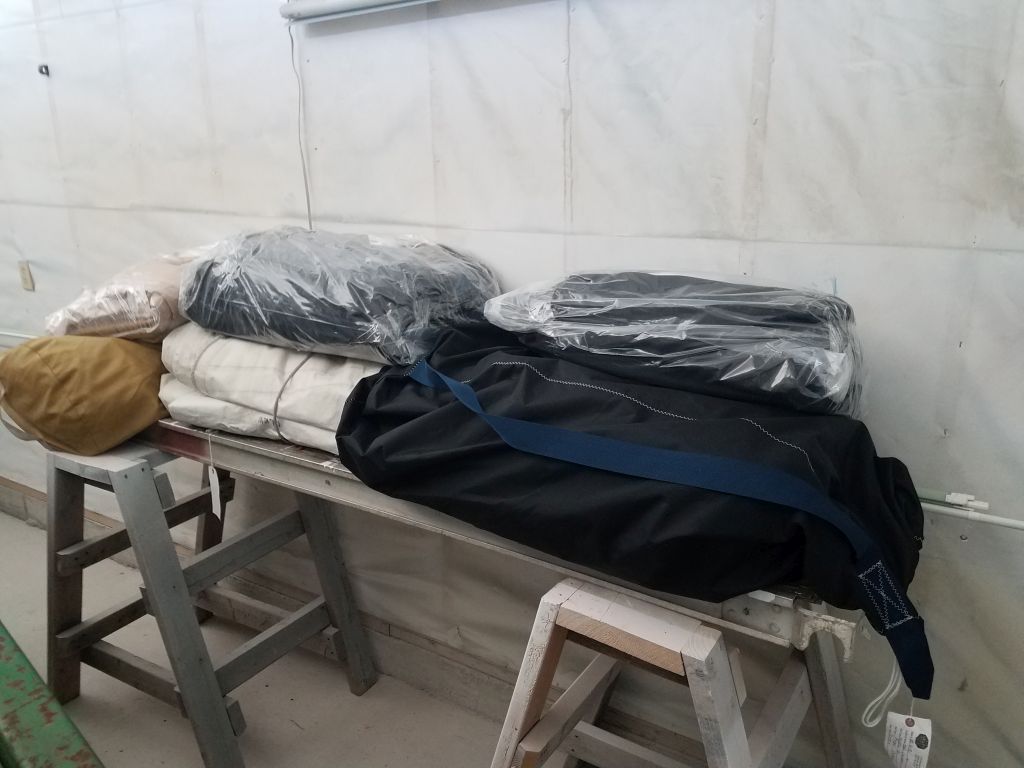
With these final installations complete, my work list came virtually to its end, other than some final loading onto the boat and ongoing varnish work. To wrap things up, during the afternoon I picked up the boat’s new sails from the sailmaker. I’ll wrap up any lingering work or details in a final post as progress dictates.
Total time billed on this job today: 7 hours (Over a couple days)
0600 Weather Observation: 15°, mostly clear. Forecast for the day: Sunny, 36°