


February 21, 2019
Scupper 85
Thursday
In the forward cabin, I removed the clamps and screws from the new paneling.

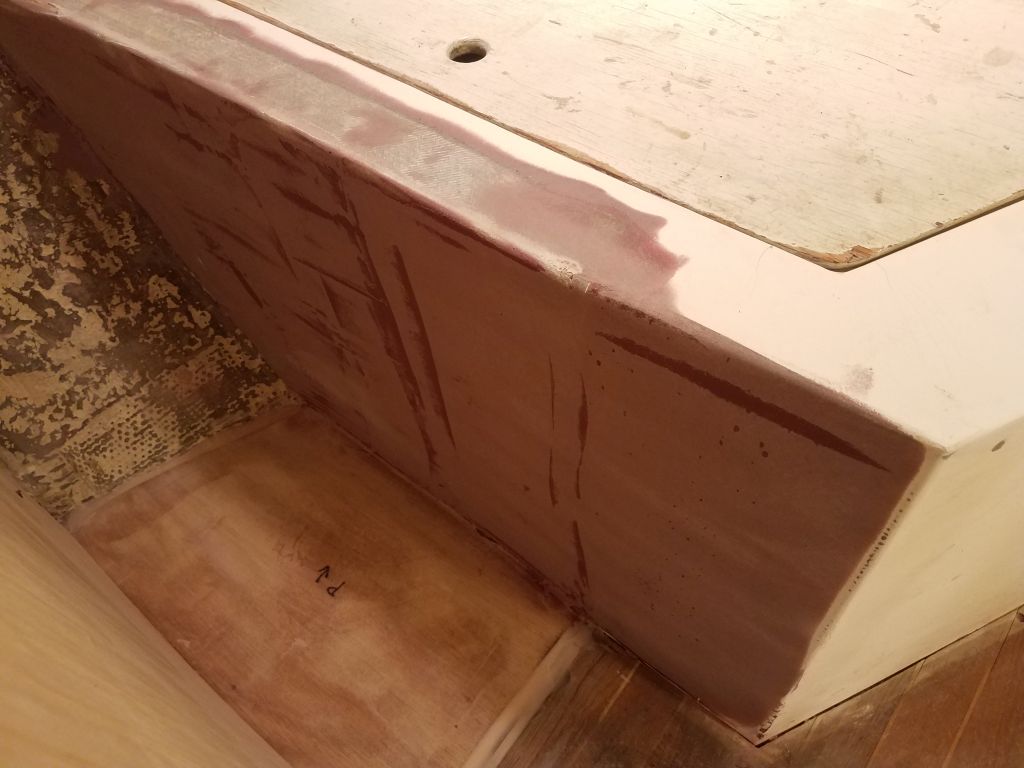
With good access restored, I sanded the latest application of fairing compound on the berth ends, highlighting various low areas (mainly in the center of each panel) requiring an additional round of filler, which I took care of next.

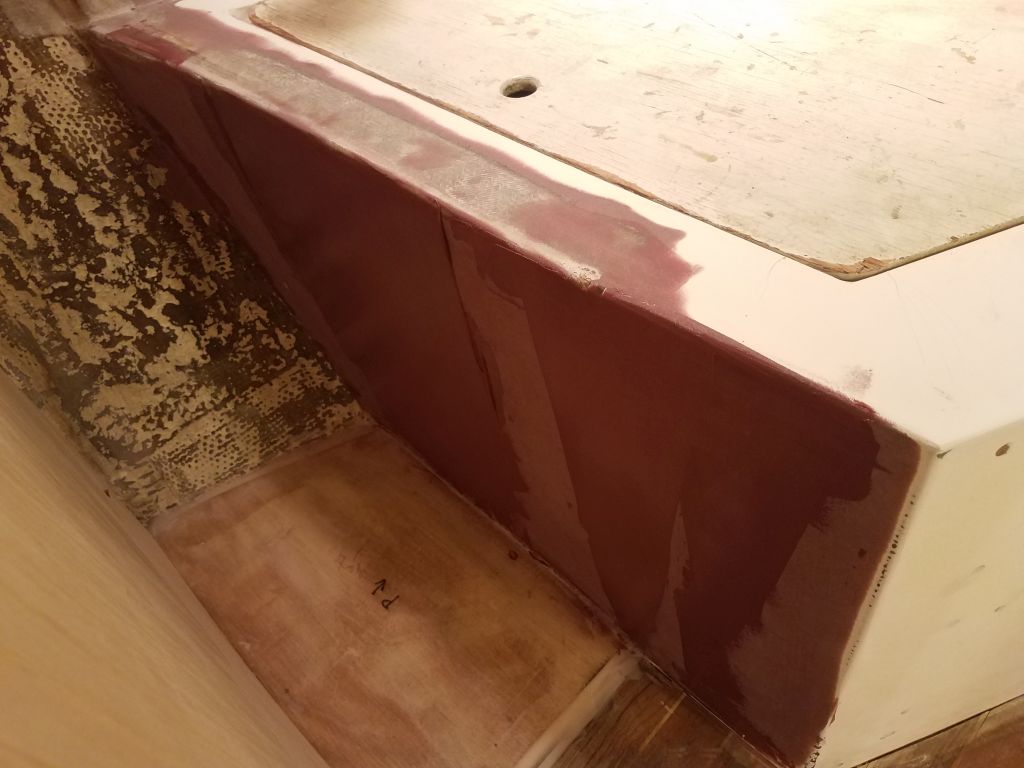
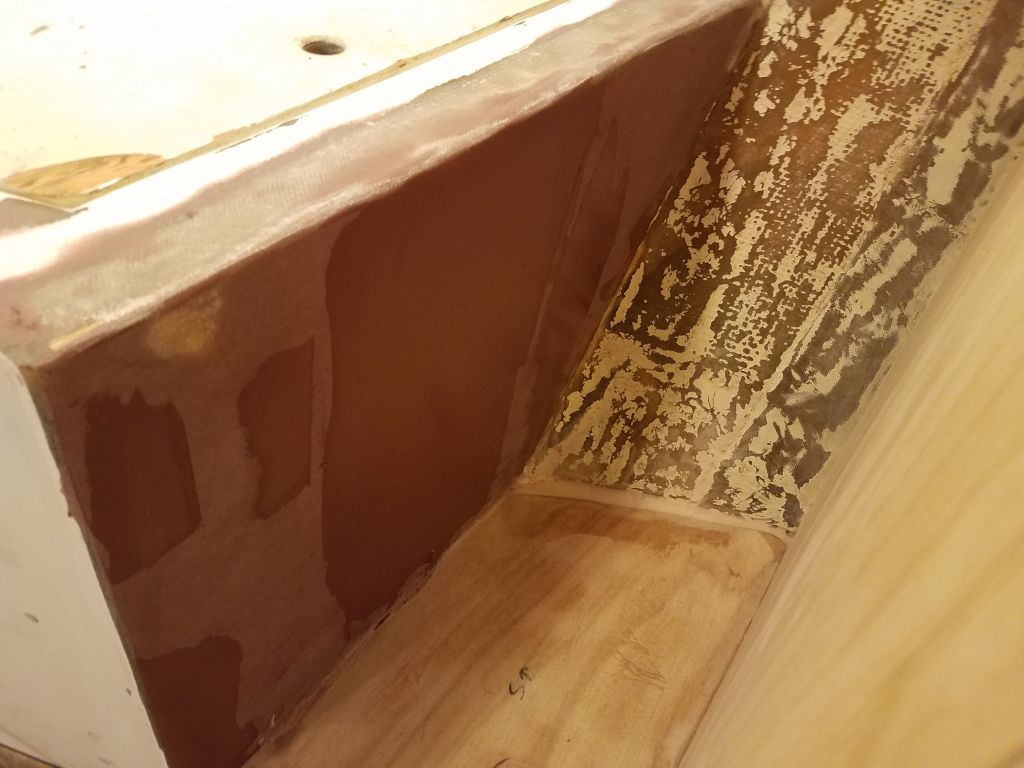
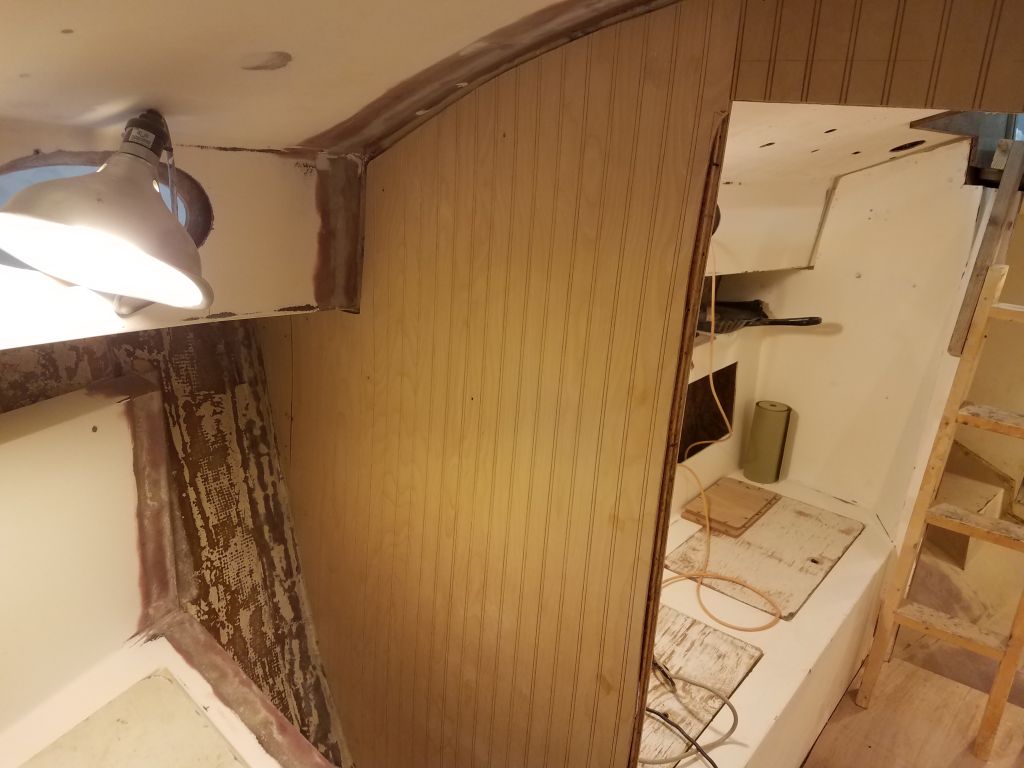
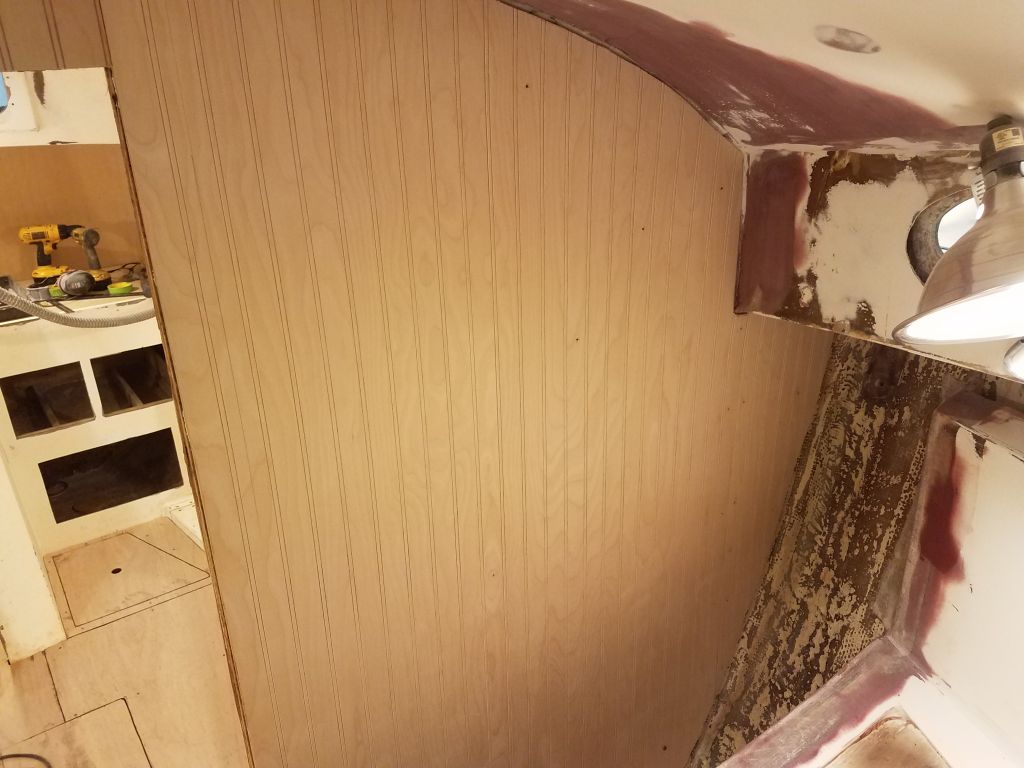
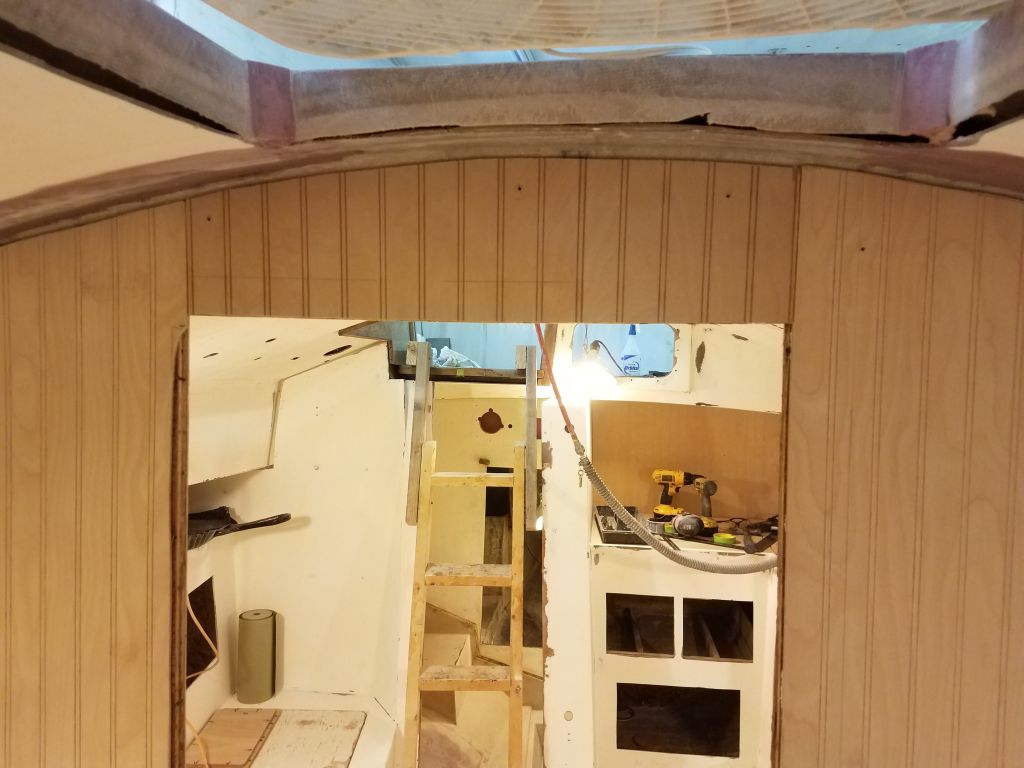
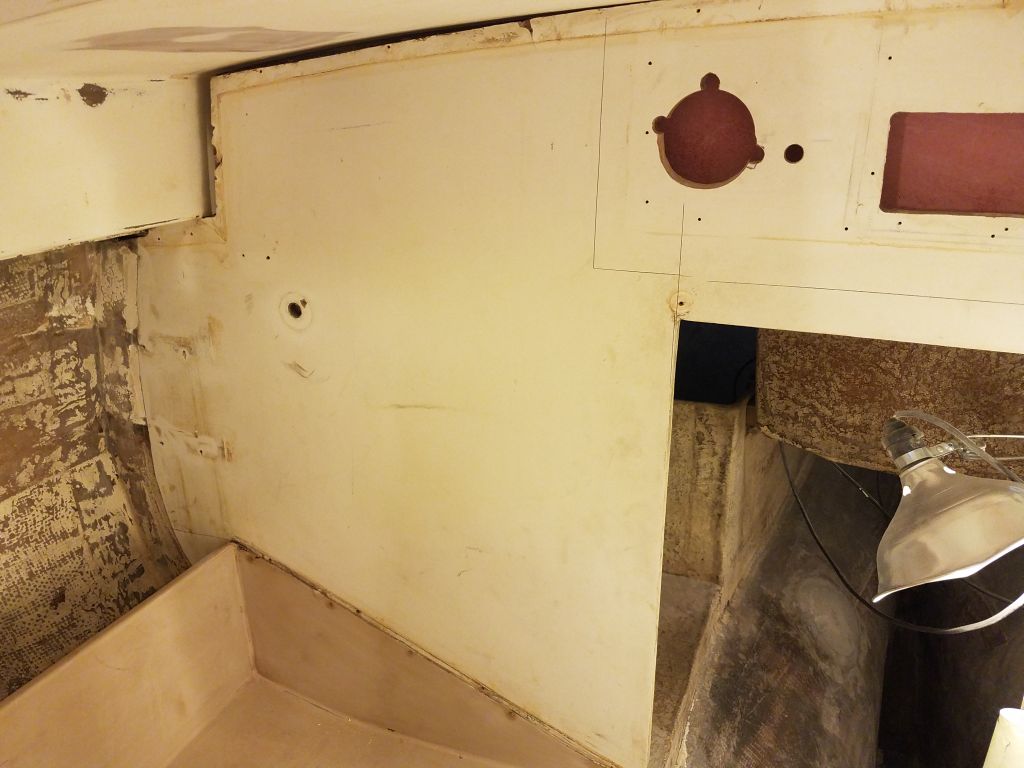
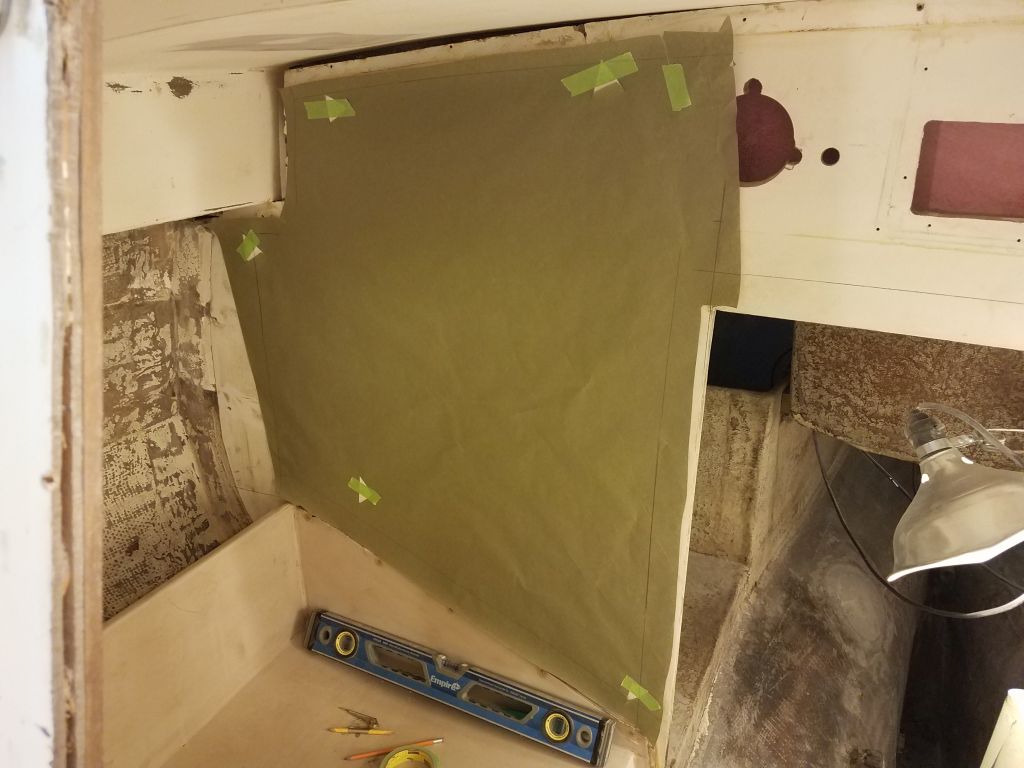
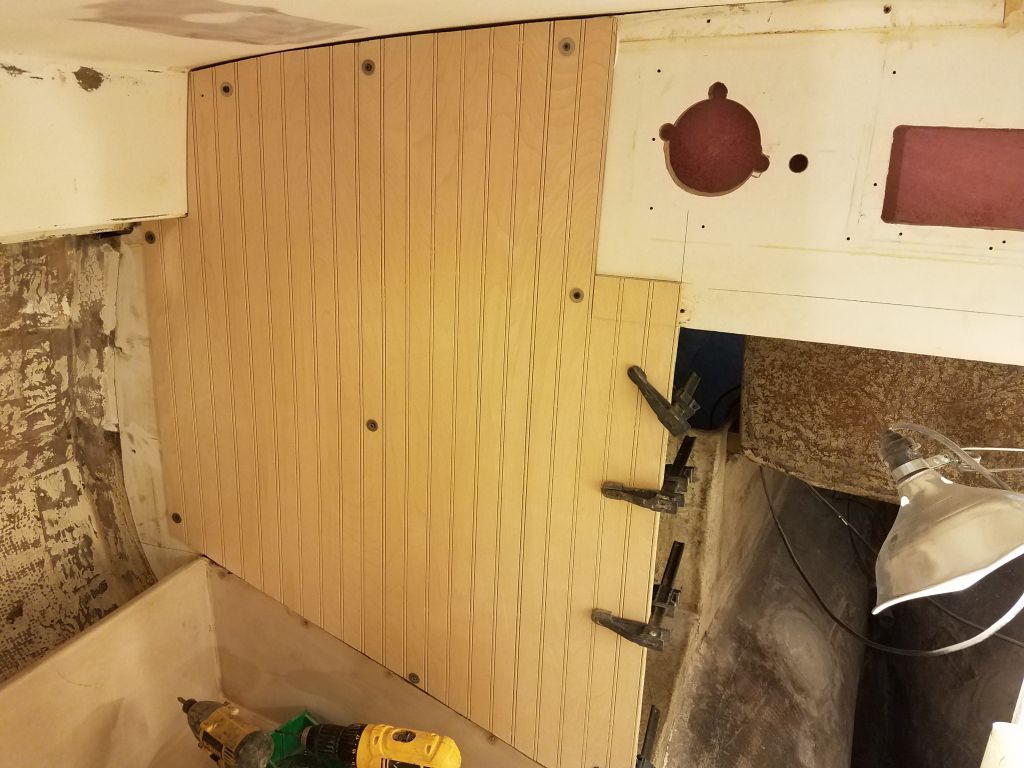
The final place that required new paneling was the after bulkhead in the head, which, like its twin in the galley, was plywood covered with old Formica and riddled with holes. In the usual way, I made a paper pattern of the large section and cut out the paneling accordingly. I extended the paneling slightly under the sidedeck, but this area would later be covered with another longitudinal panel to hide a holding tank and associated plumbing (more on this presently), so I extended it only far enough that the other panel would cover the edge. This also helped keep the overall panel width within the confines of the companionway measurement. After a dry fit and minor recutting for a better fit, I installed the panel with clamps and screws as needed.
I left a planned cutout at the top edge towards the centerline, in way of the cutouts from the old electronics and engine panel. Later, I’d build a removable cover panel for this area to allow for future installation of display screens or instruments in this space, which faced the cockpit from beneath the bridgedeck.
Next, I patterned the small areas remaining around the doorway to the engine room, and cut paneling to fit, then installed it as usual. Much of this area would later be covered with trim as well.

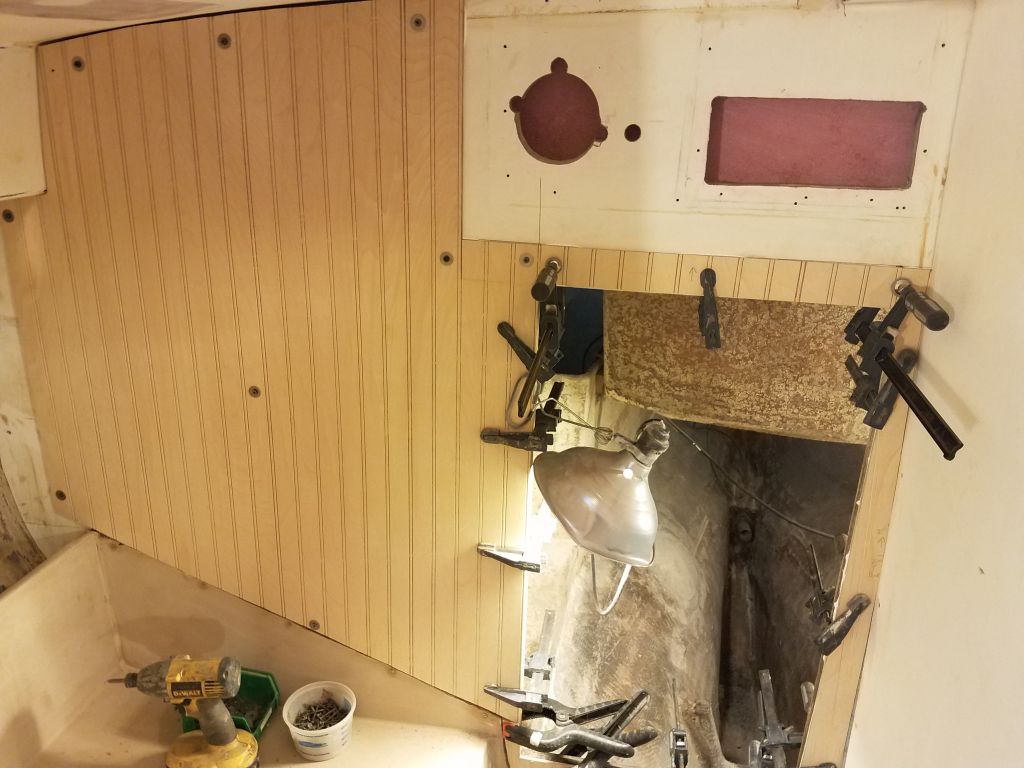
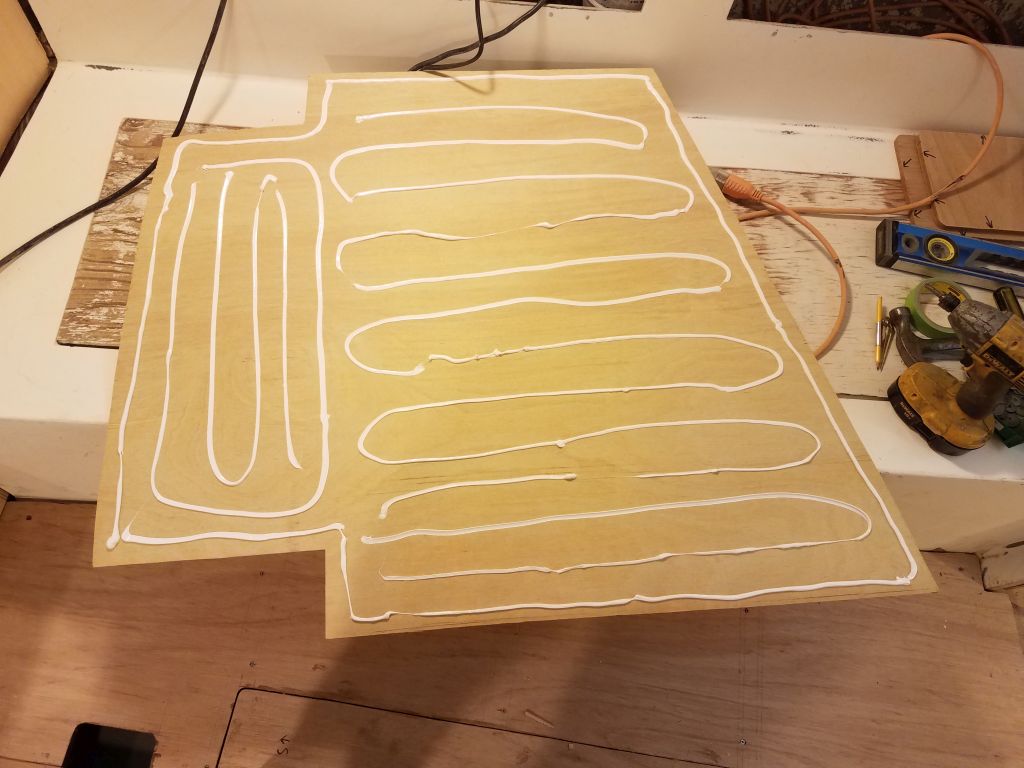
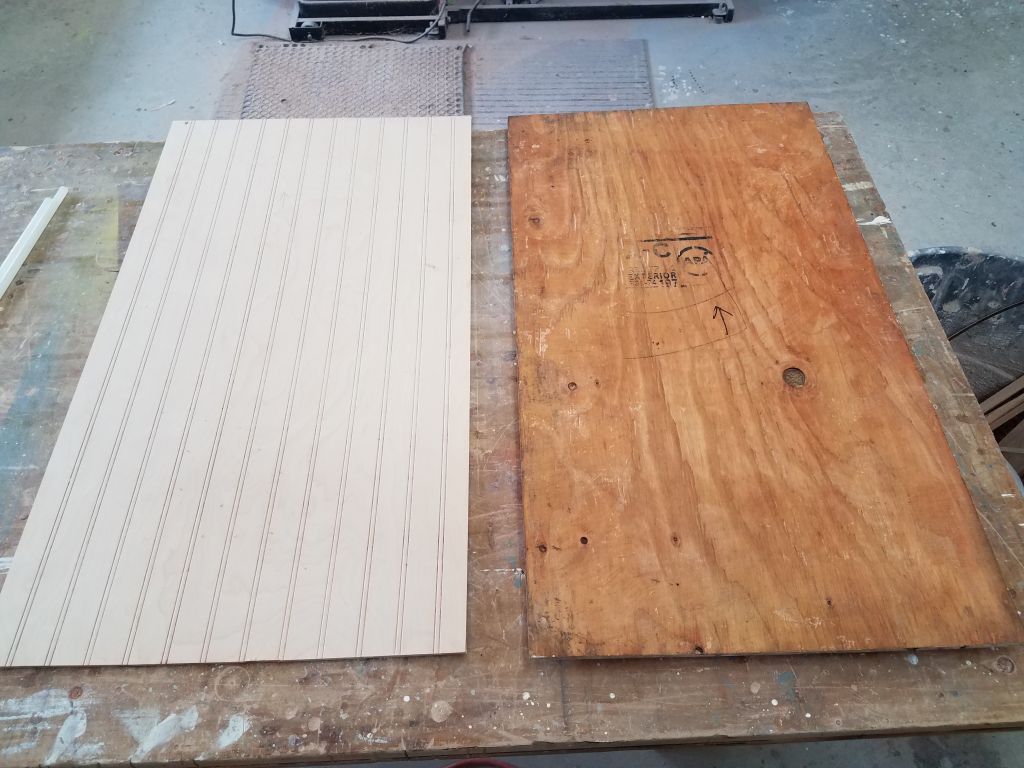
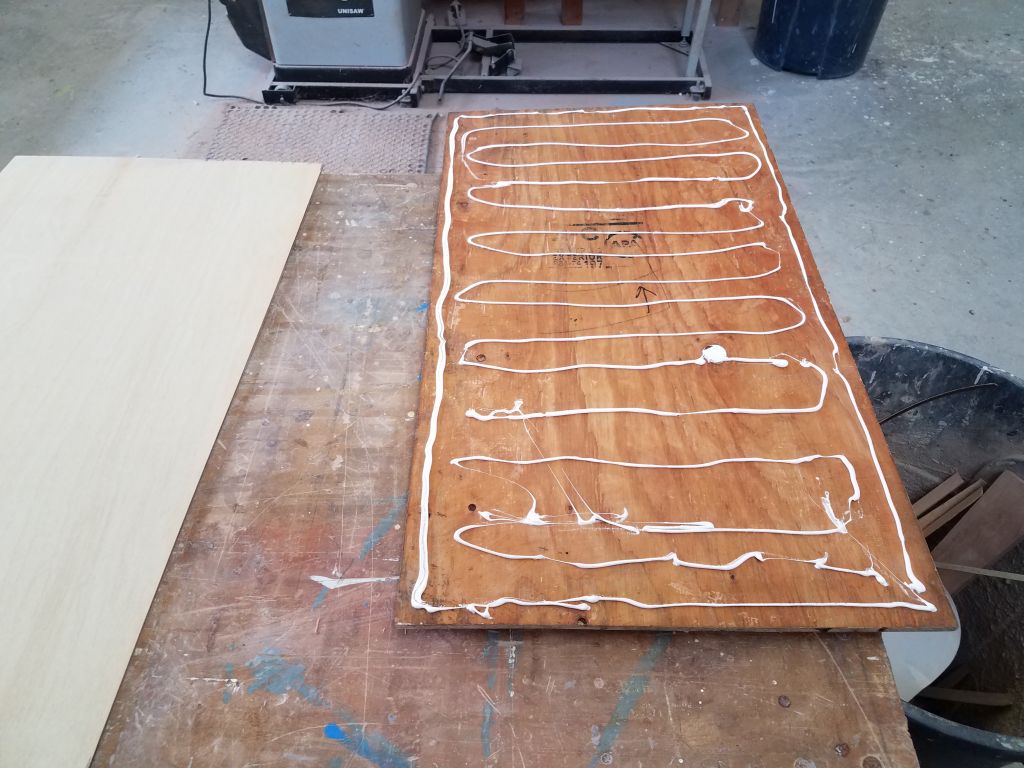
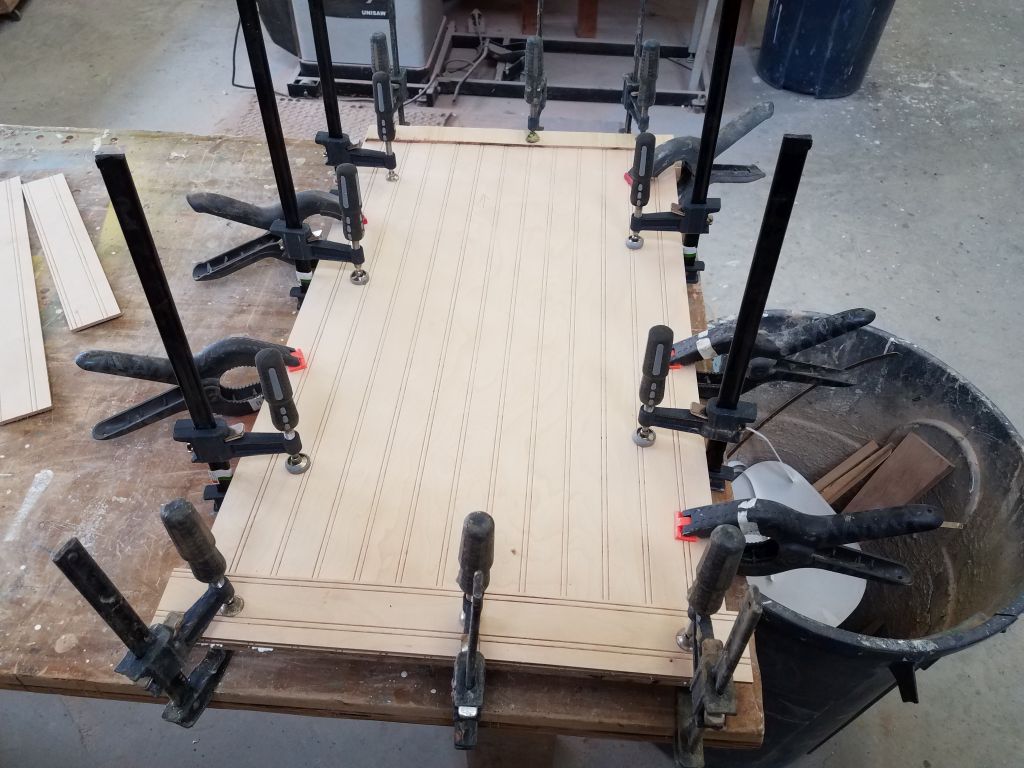
To complete the work in this area, I prepared the plywood door, which I’d long ago removed for storage and for better access to the engine room. I removed the Formica from the door, and cut a beadboard panel to fit, ensuring that the starboard (left in these photos) side of the door matched the pattern of beads already in place on the bulkhead.
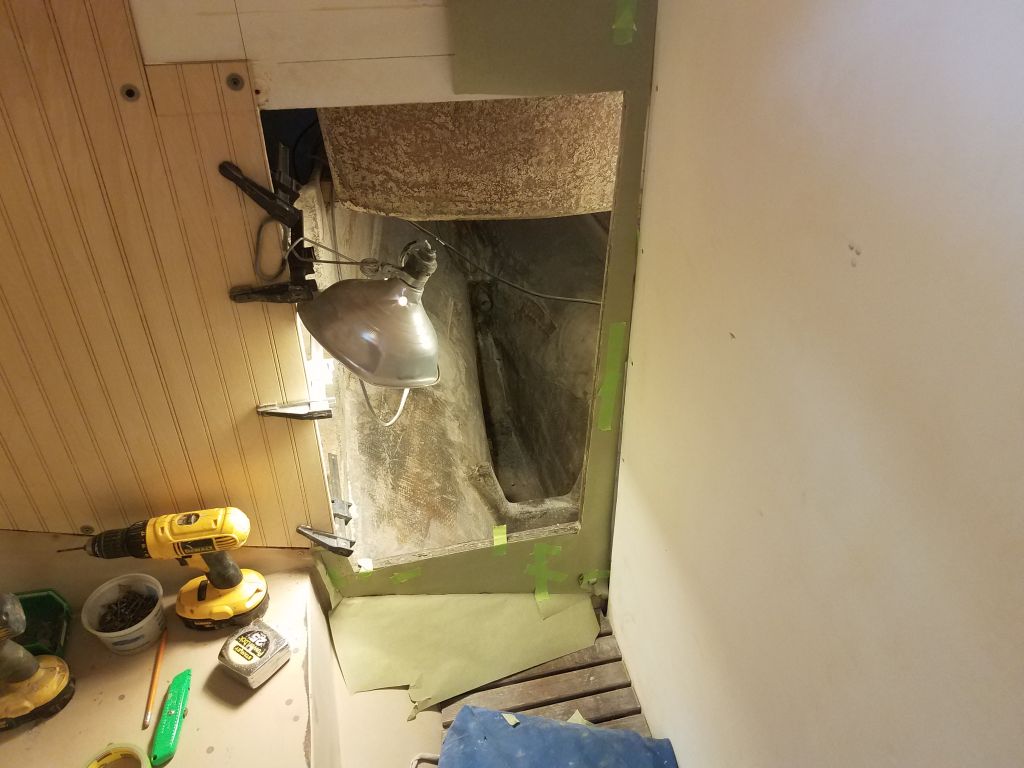
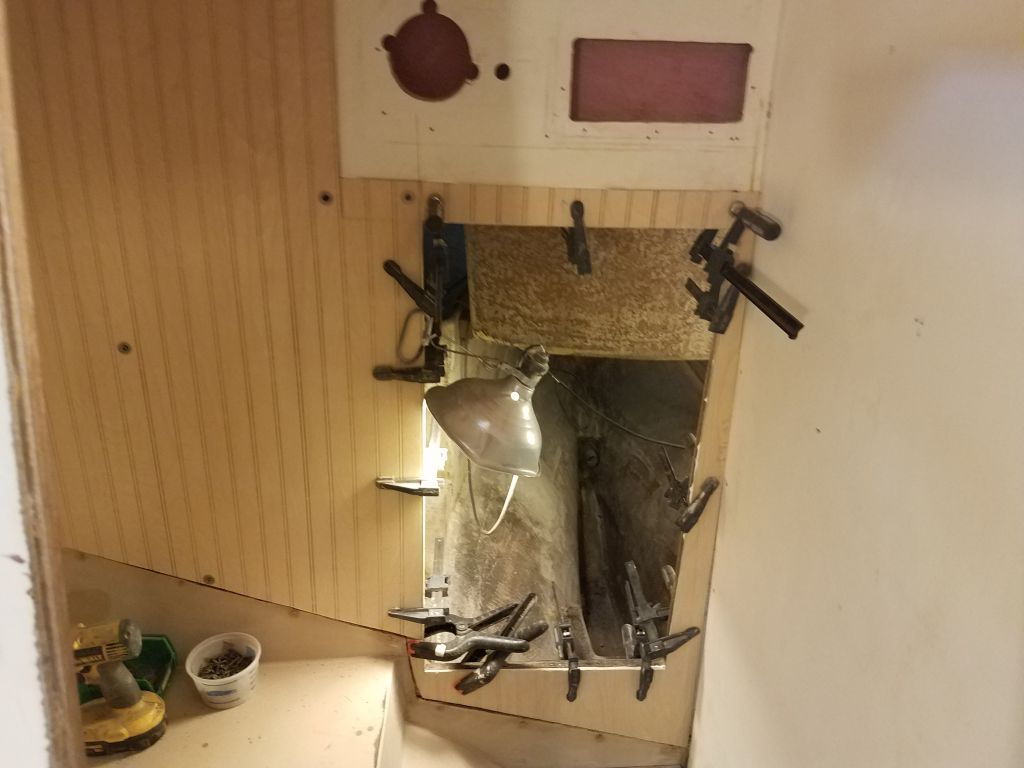
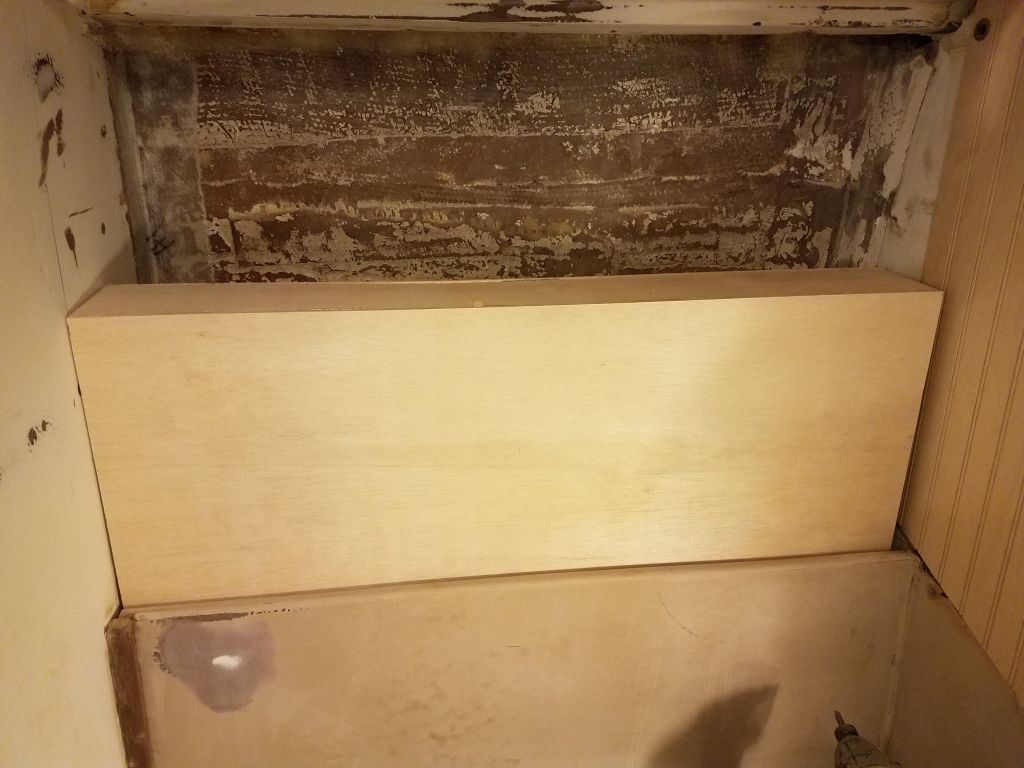
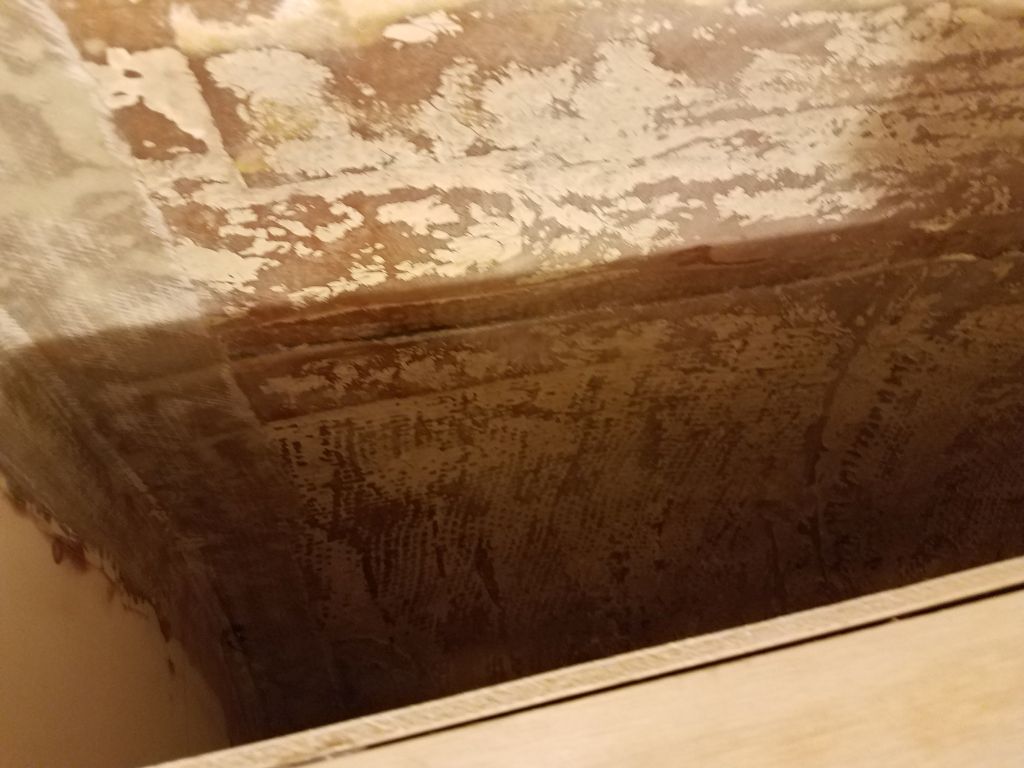
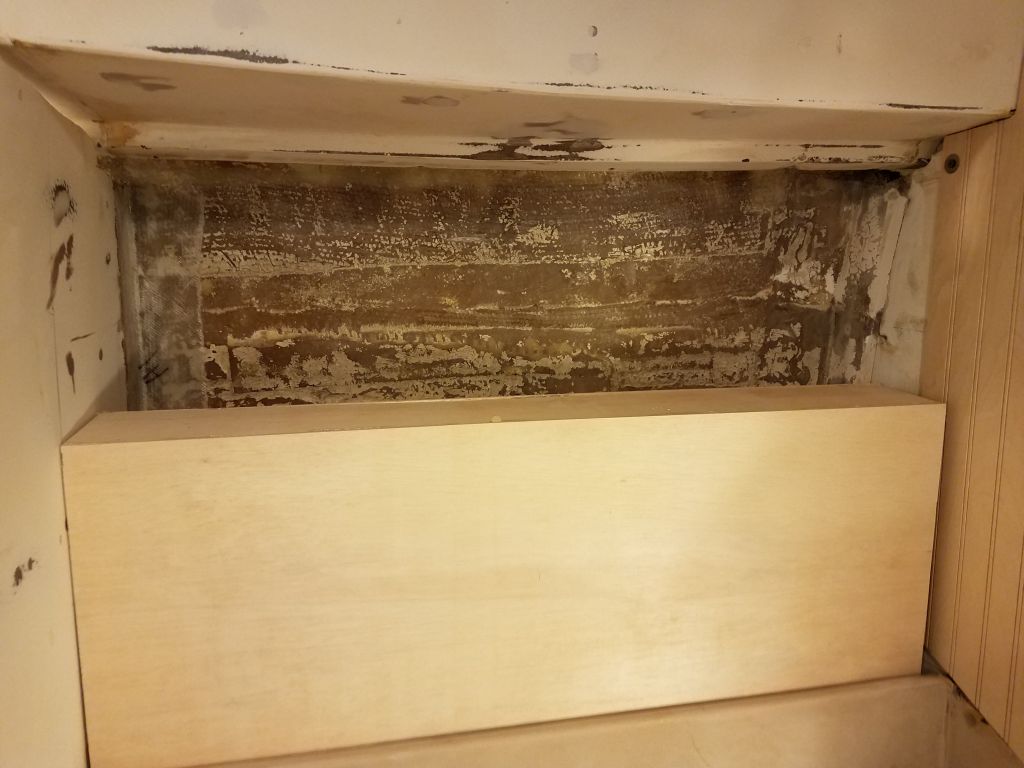
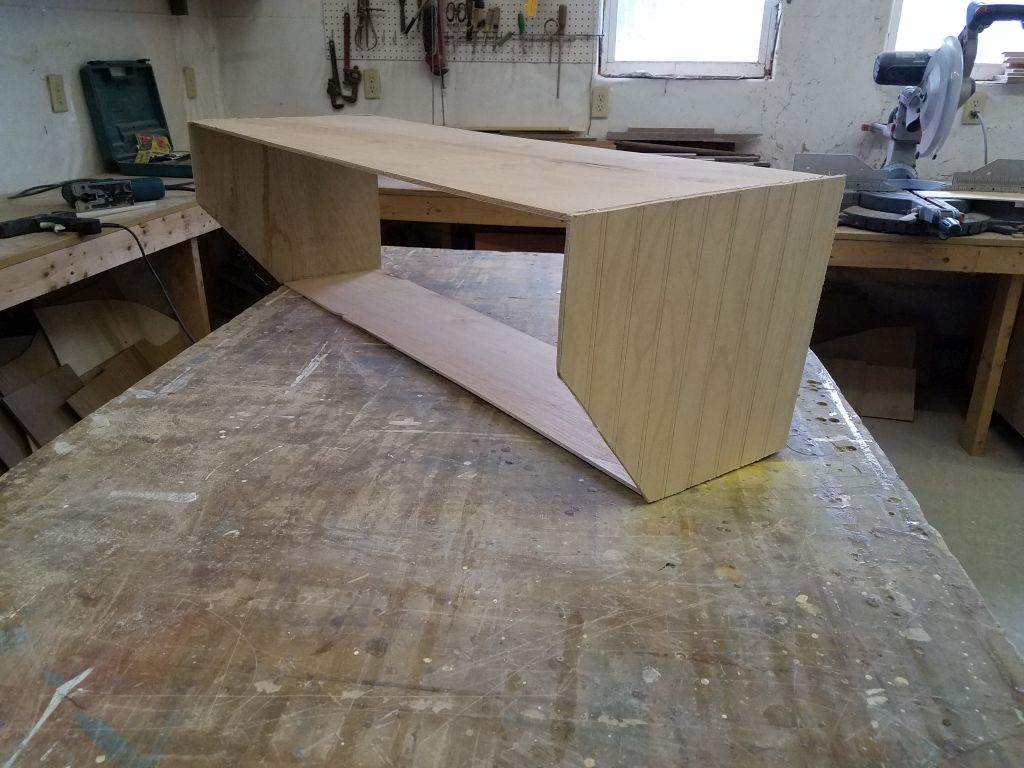
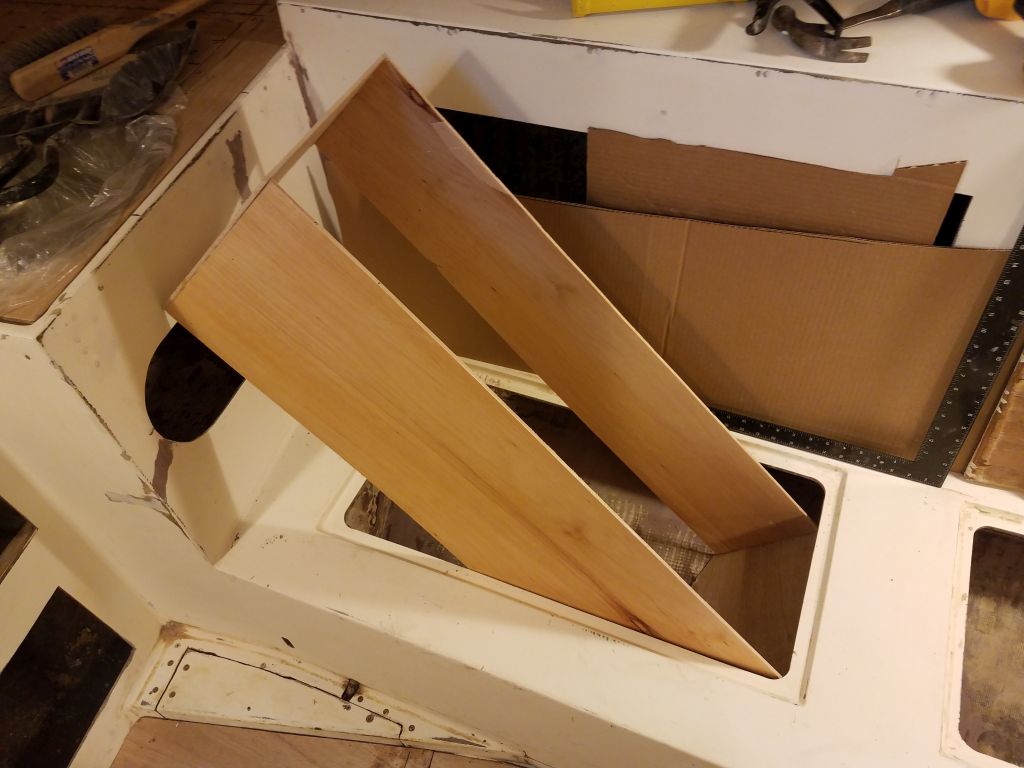
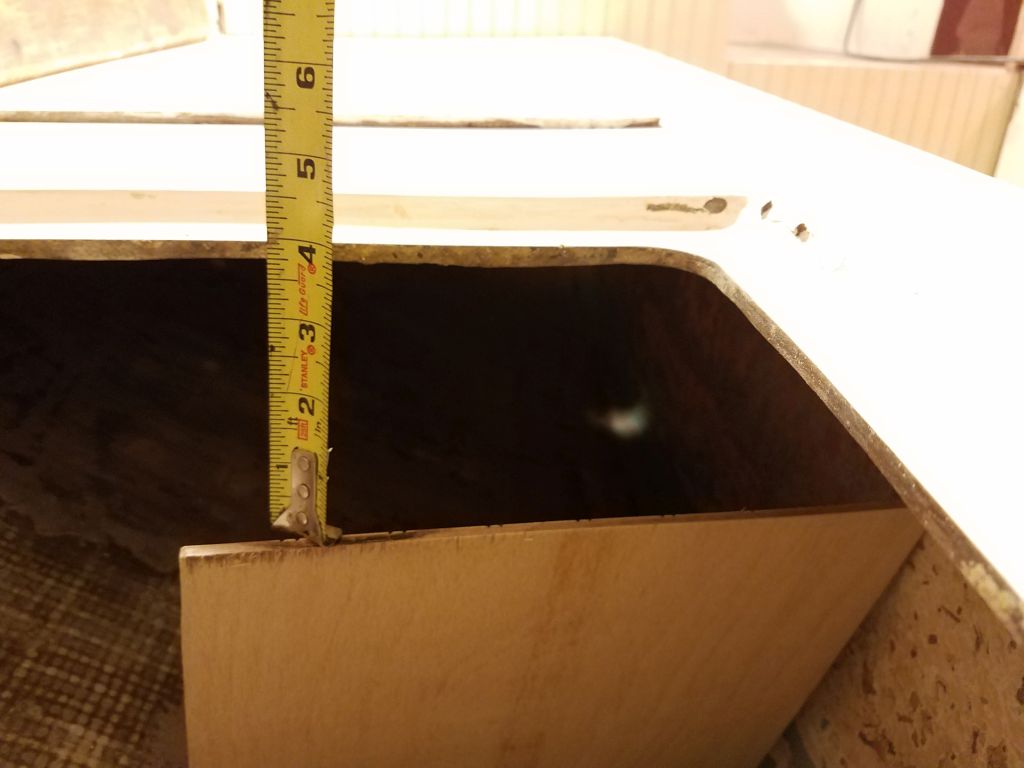
The owner hoped to install a new waste tank just outboard of the head, in the space previously occupied by shelving. To this end, I’d spent some time over the past couple weeks perusing various tank options till I found something that seemed like a good fit in the space. Measurements are one thing, but fitting the three-dimensional object anywhere can be an entirely different thing, so to check the real-world fit of this possible, tank, I built a plywood mockup to the proper dimensions.

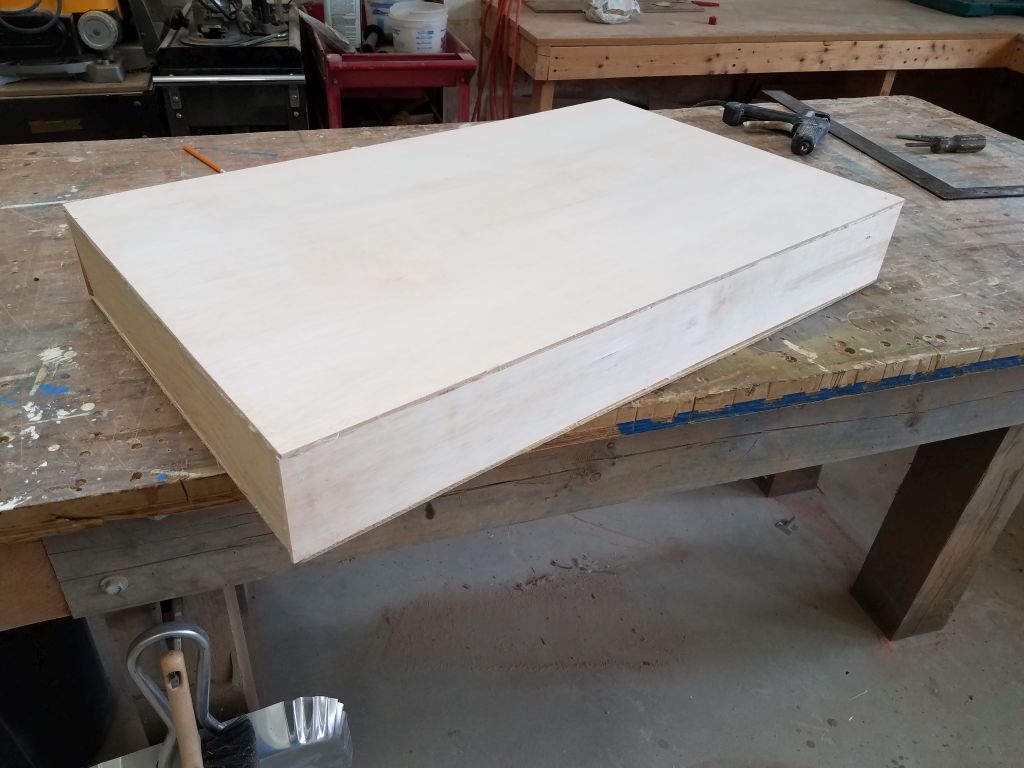
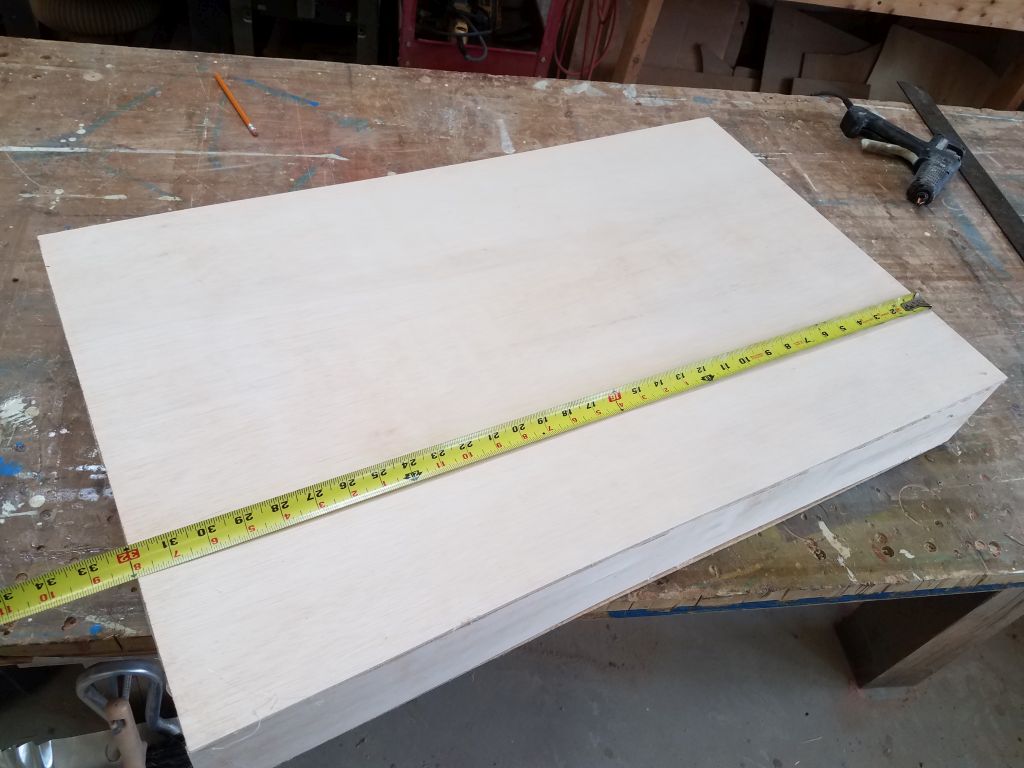
Bringing the tank into the boat, after some brief concern when the outer portion of the head seemed narrower than the tank, but the actual space where it needed to fit was a bit wider thanks to the shape and position of the liner and bulkheads. The tank fit nicely in the space, and if I built a small platform down in the space behind that brown divider panel, I could mount the tank back against the hull, leaving ample room for tank fittings and plumbing, as well as access to the deck for unrelated deck hardware attachment and the like. In the photos, the tank is shown up against the divider because that’s where it anted to sit without any support, thanks to the curvature of the hull, but in the final installation it’d be pushed further back to the hull.
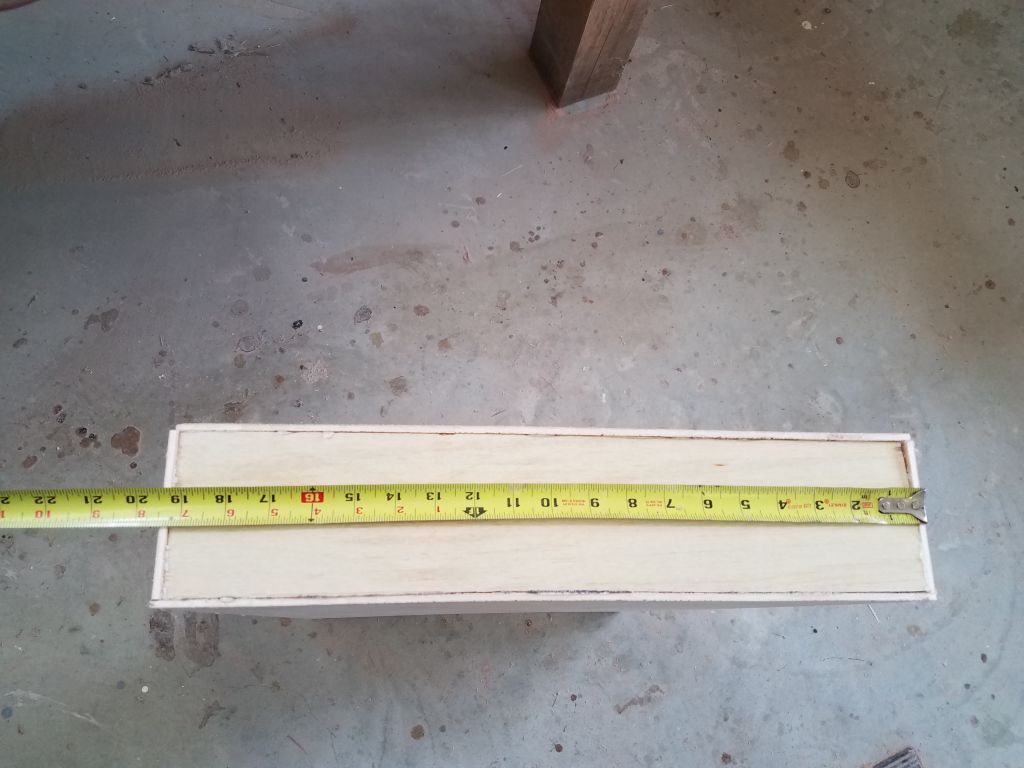
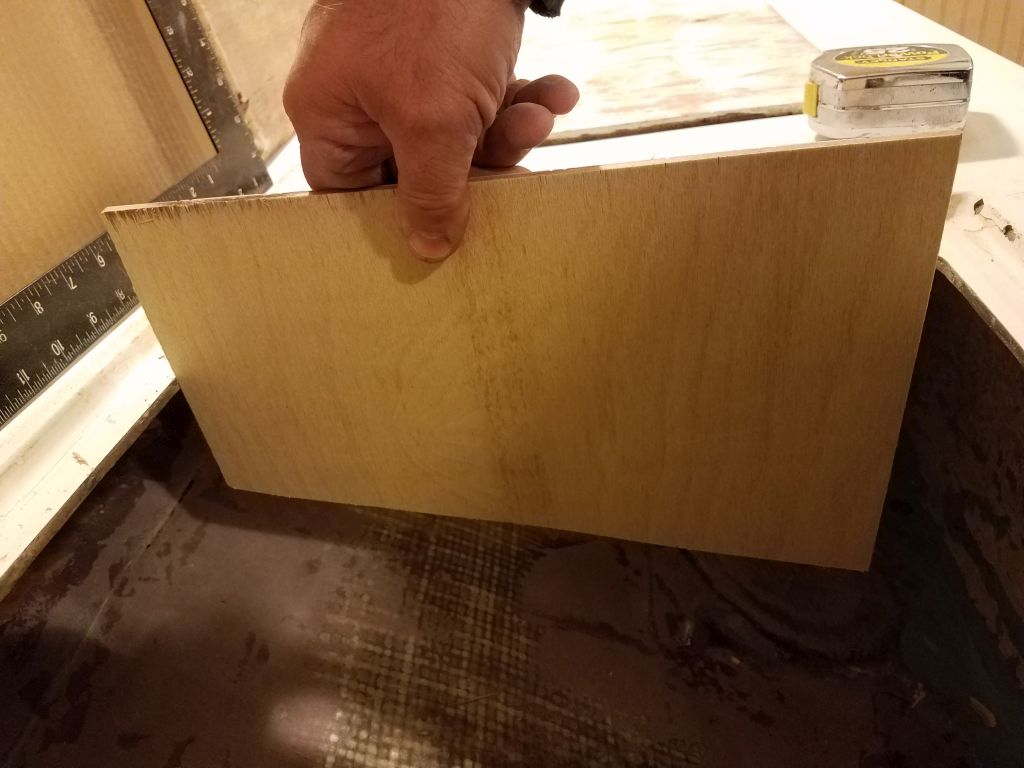
While I was on tankage, I wanted to finalize plans for a smallish “day” tank of fresh water near the galley, part of a two-tank system the owner requested (with a larger, possibly portable, tank under the v-berth). The locker beneath the settee just forward of the galley was a good space for this tank, which would service not only the galley but also the fresh water flush toilet the owner specified for the head. One limiting factor for the tank was the size of the locker opening in the settee top, and I’d found a few possible tanks that I thought might fit. Had a large capacity tank been critical for this very space, we could have considered opening the top of the berth to allow installation, but in this case those additional modifications weren’t desired nor necessary since there was plenty of additional space elsewhere in the boat for larger tankage.
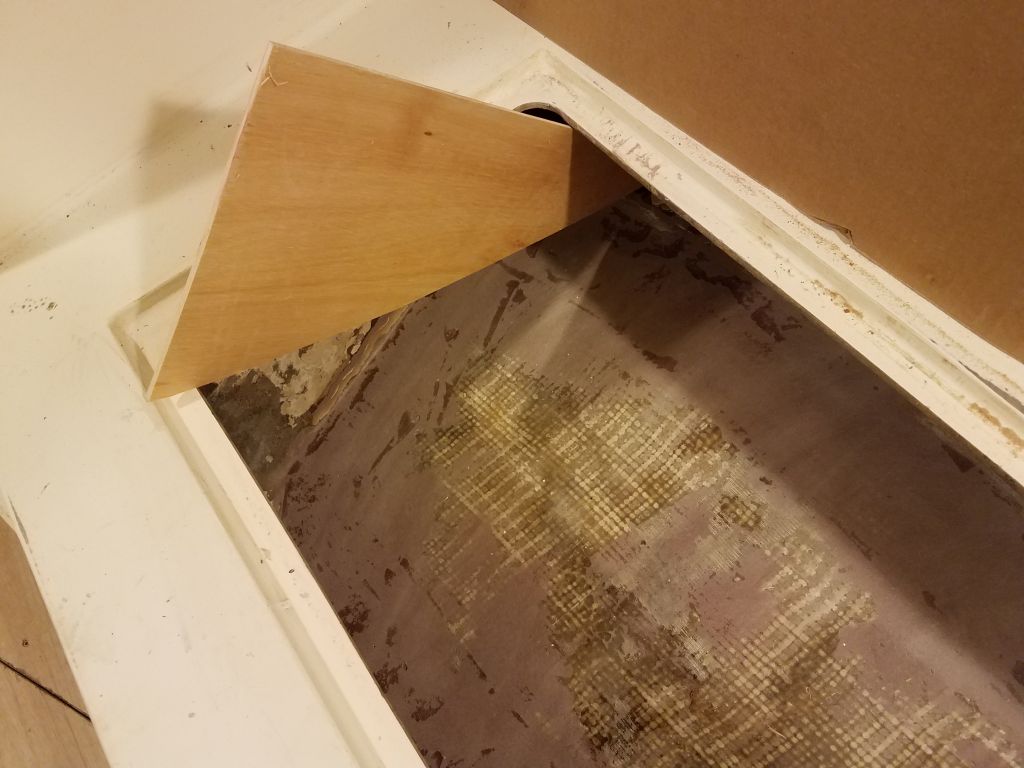
I started with one that seemed like it ought to fit, and built a mockup to the correct size. I didn’t bother with plywood to fill in the additional sides, as I only needed the basic shape and dimensions for the test fit. The dimensions seemed like they should work, but I soon found out I’d been overconfident–in other words, when I saw how the tank (didn’t) fit, I wondered how I could have ever thought it would. As it happened even the basic shape of the ends of the tank wouldn’t fit in the space, as the two-sided back was incompatible with the realities of the space even if the tank had been able to twist through the opening.

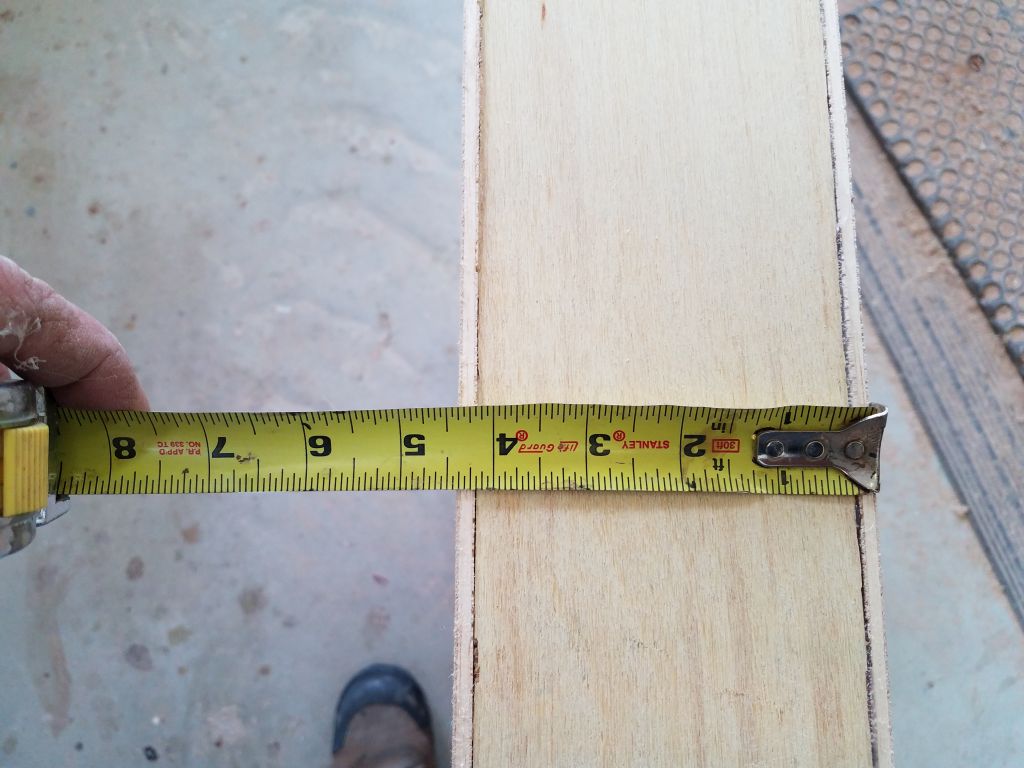
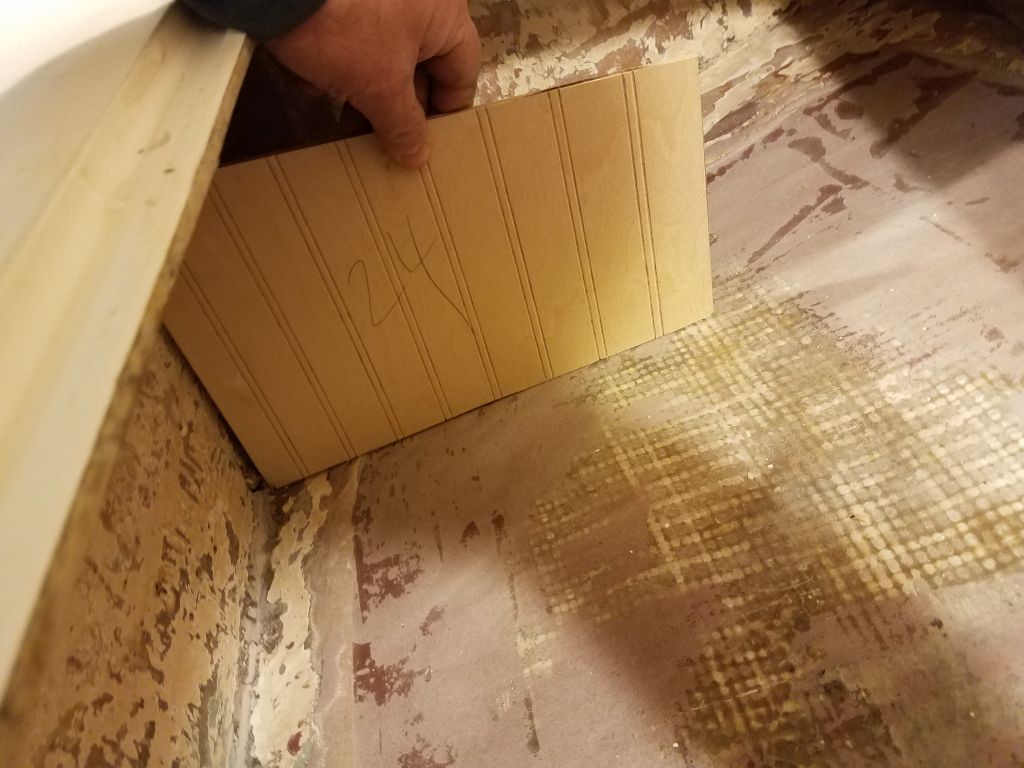
Next, I cut just the end shape of another possible candidate, not wanting to waste time on a full mockup when there was doubt about the shape in the first place. Again, on paper this size and shape seemed like it would work, but in reality there was no way to twist the tank through the opening, as the top width of the tank was simply too wide to allow the inside edge to pass through the opening.

Armed now with good knowledge of how the real-world space actually worked, I chose a final version of the tank that would fit without issue, and which left enough room for fittings clearance as well. This one looked like a winner.


After cleaning up from the week’s panel-cutting operation, and a phone conference with the owner to discuss some of the questions for work ahead, I called it a day.
Total time billed on this job today: 7.5 hours
0600 Weather Observation: Snow, 2-3 inches down, 22°. Forecast for the day: Snow through mid-morning, about 3-4″ total, then clearing, into the 30s