


February 18, 2019
Scupper 82
Monday
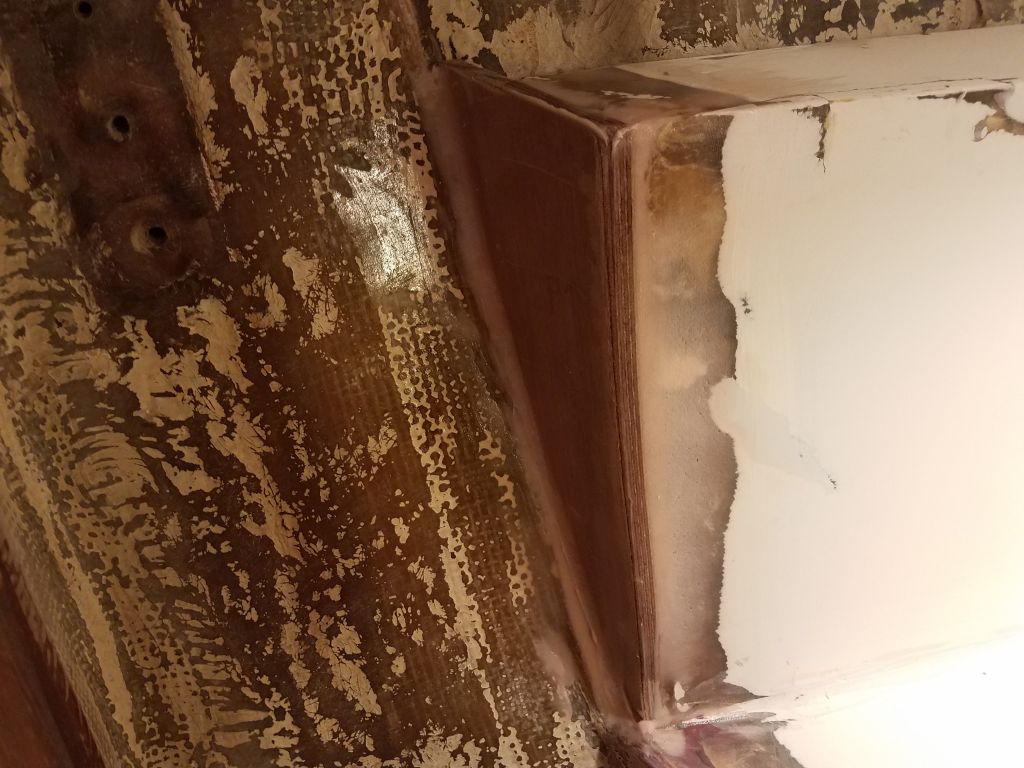
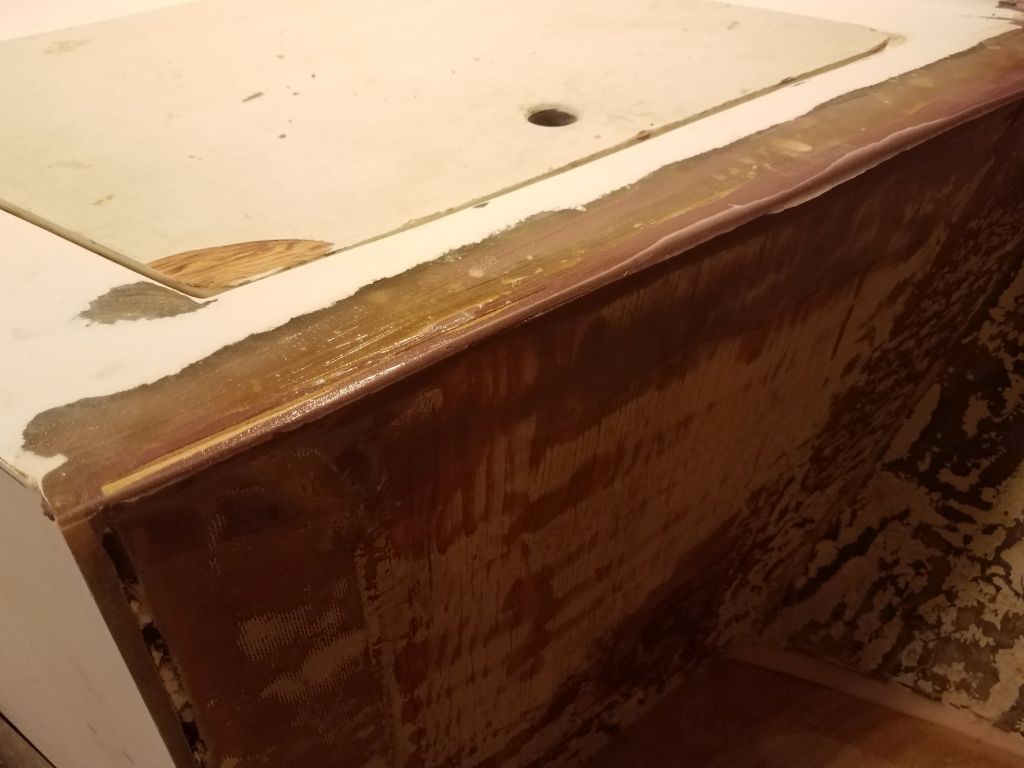
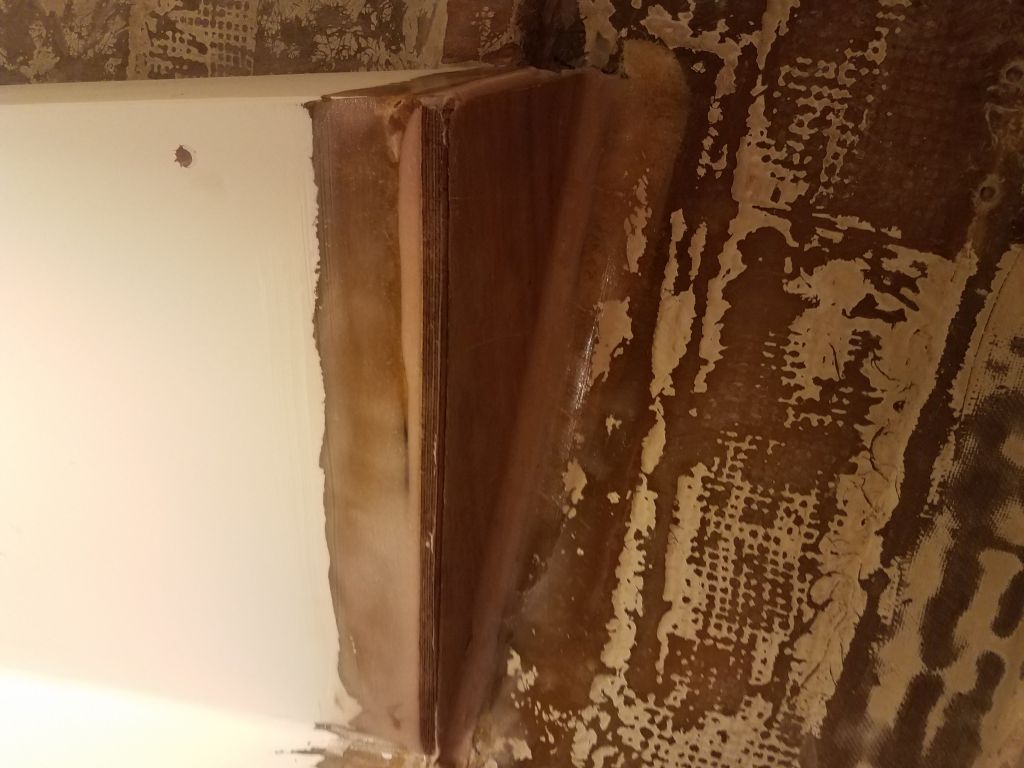
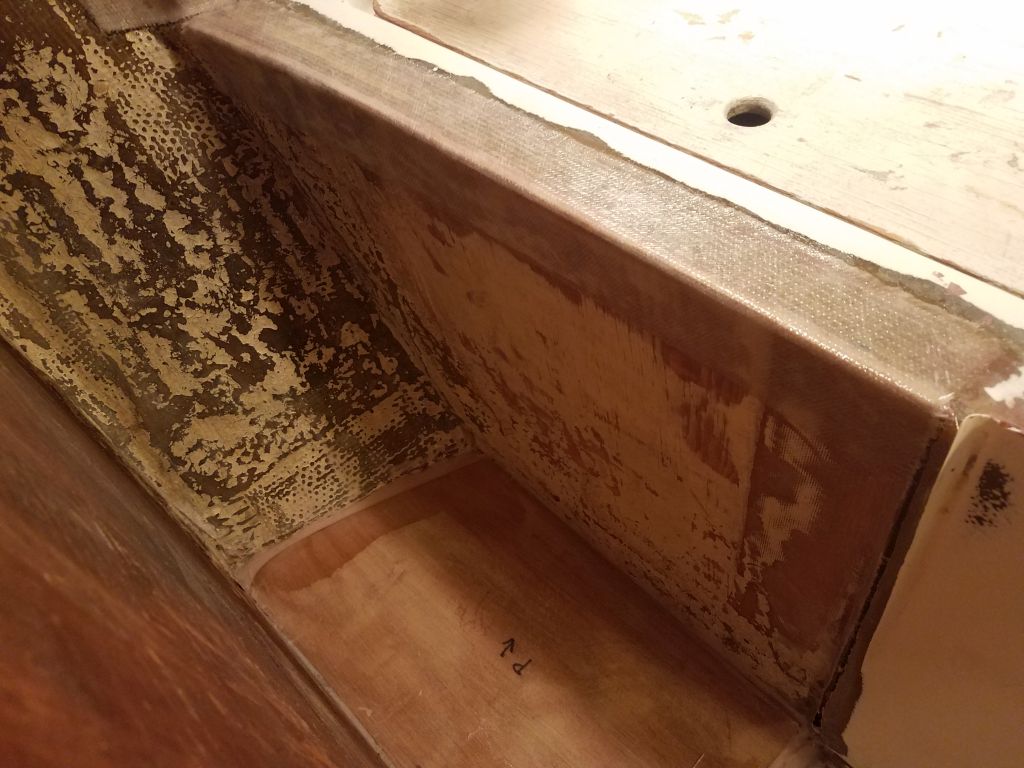
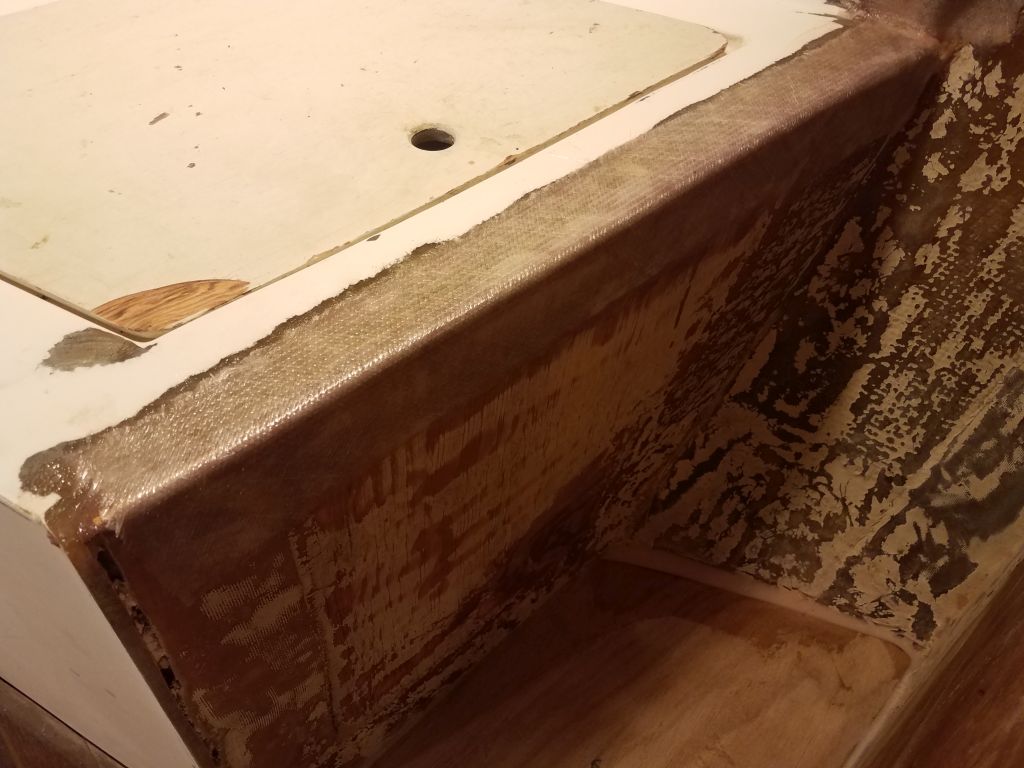
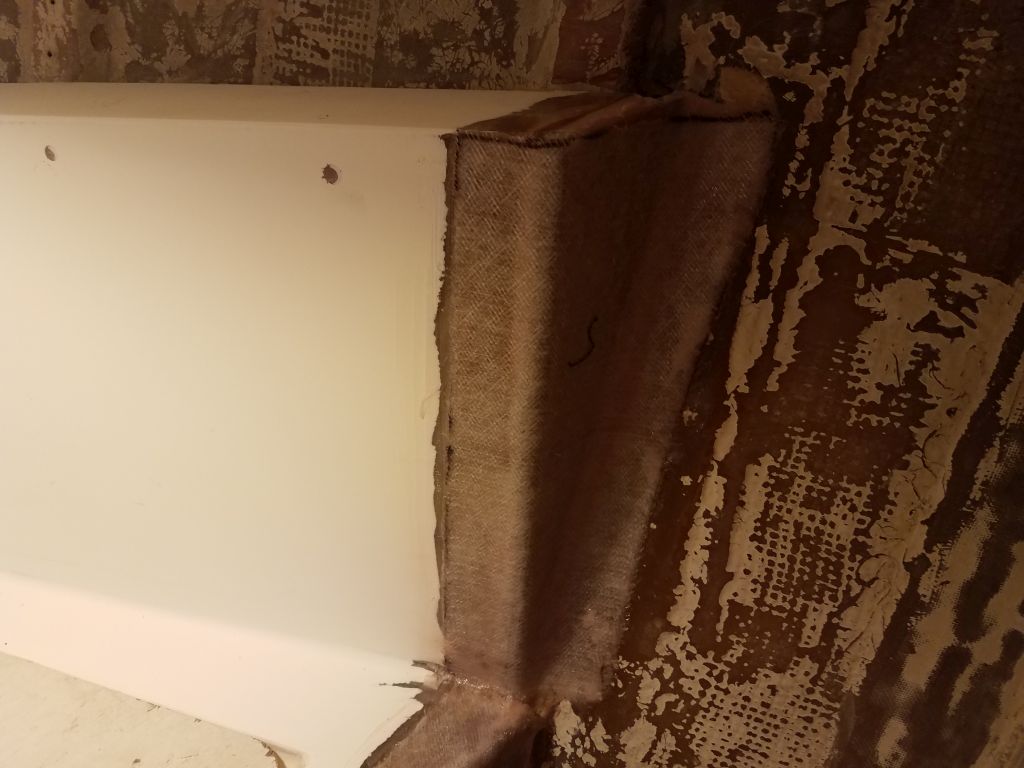
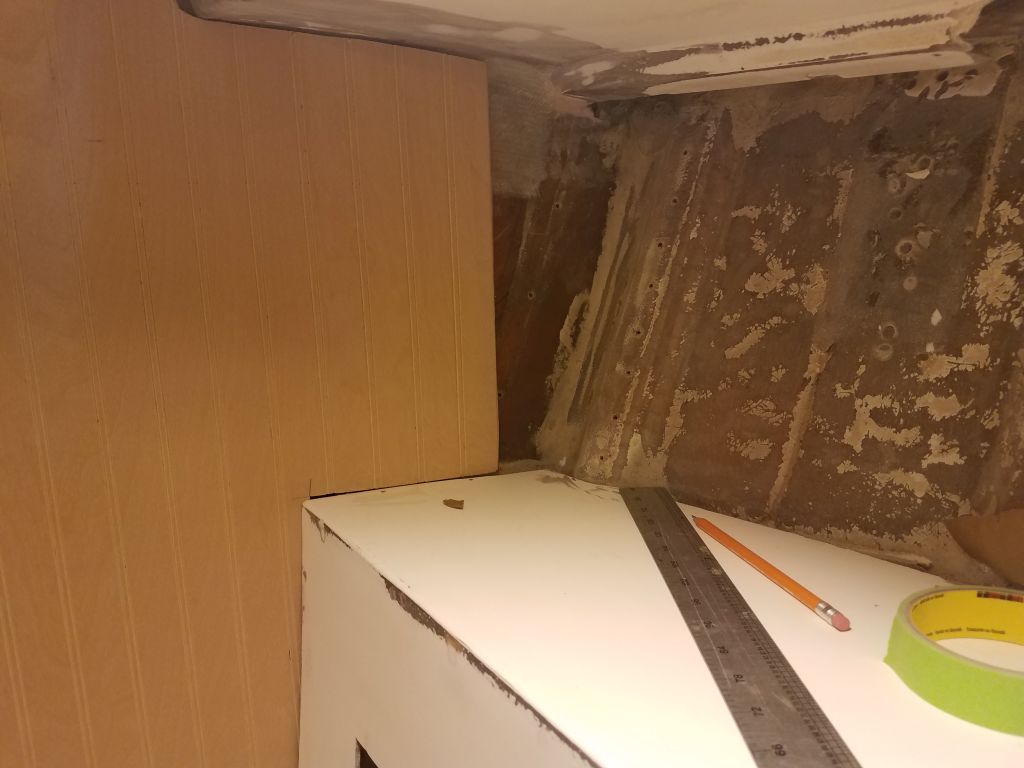
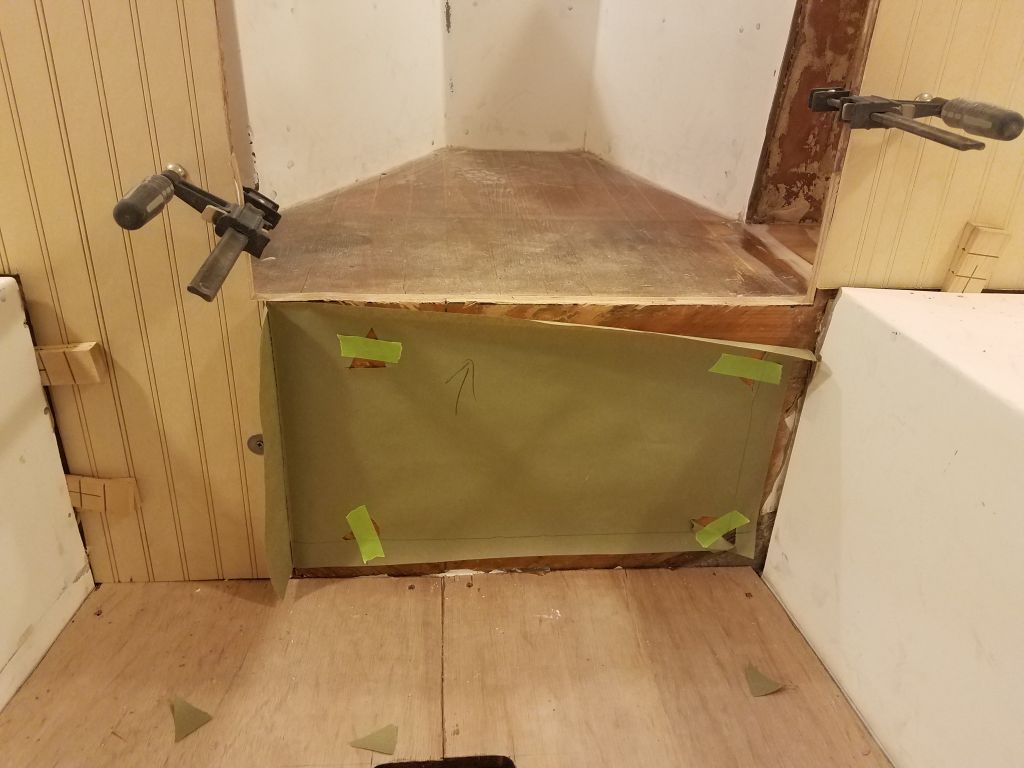
In the forward cabin, I lightly sanded as necessary the new little bulkheads at the ends of the upper liner, easing the outer corner and otherwise preparing these areas for fiberglassing. The installation was probably fine as is in this application, but I wanted to tab over the new material and into the hull to ensure that everything would remain stable and secure.
Afterwards, I used some thickened epoxy to fill a few minor low areas and give a better substrate for the fiberglass and, after cutting out pieces of fiberglass to fit, glassed between the liner, over the triangular panels, and out a bit onto the hull. I also added a piece of tabbing over the edge at the aft end of the berth tops, to cover the plywood edges there and tie that area in; I’d previously prepared these areas for this step.


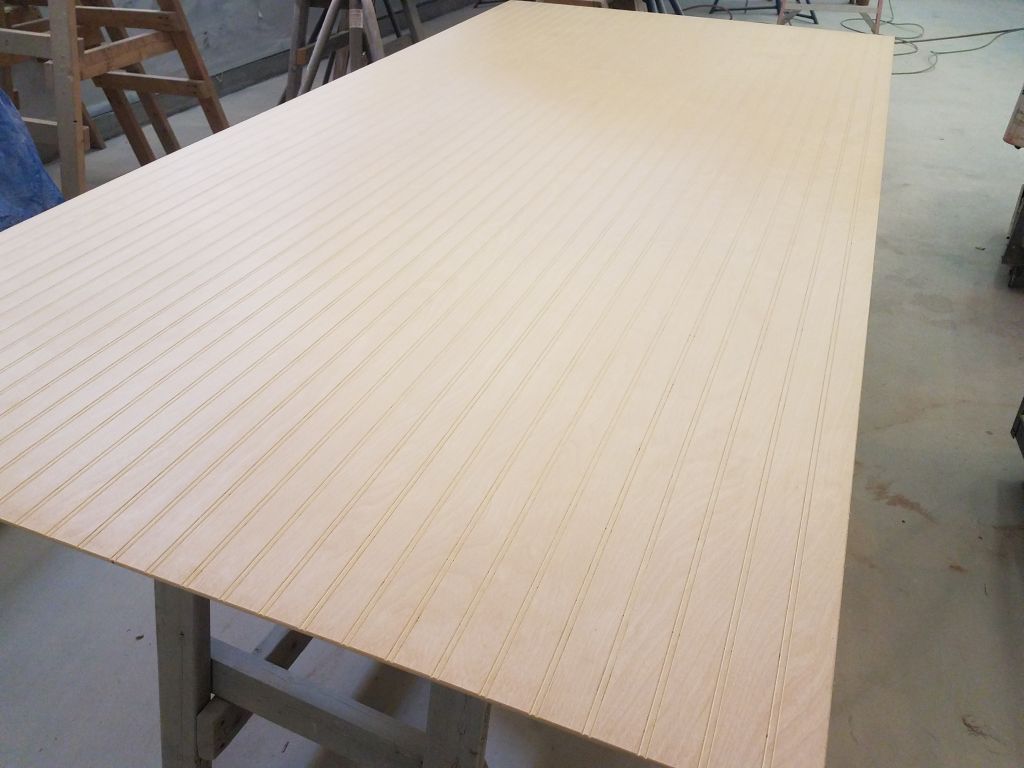
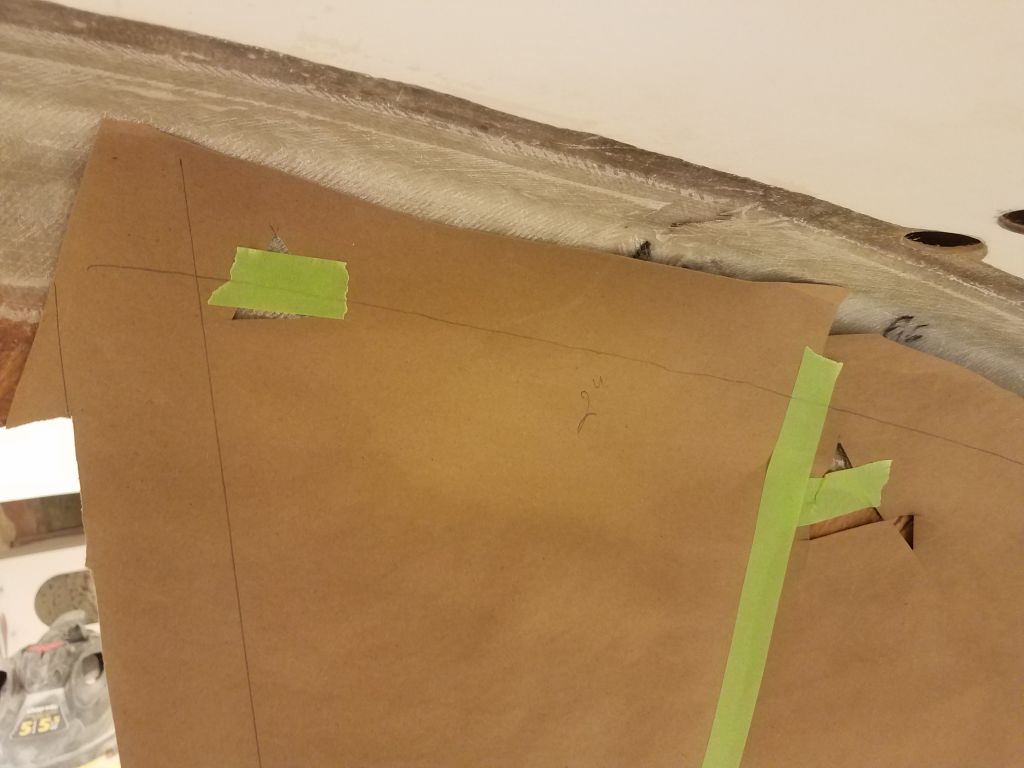
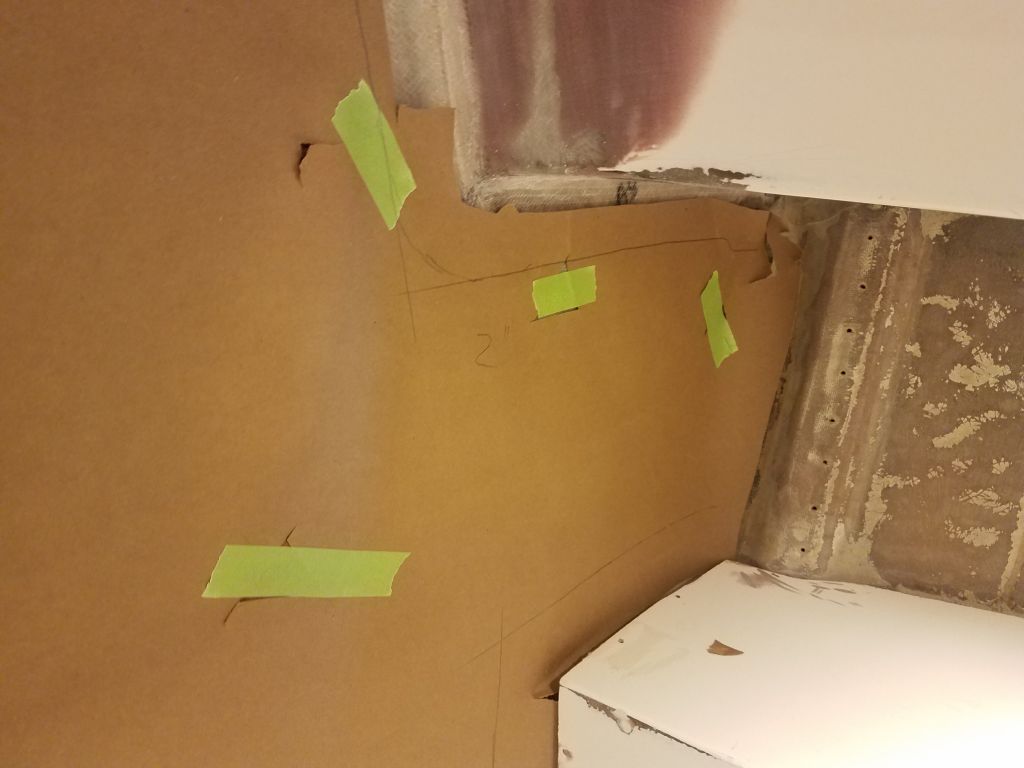
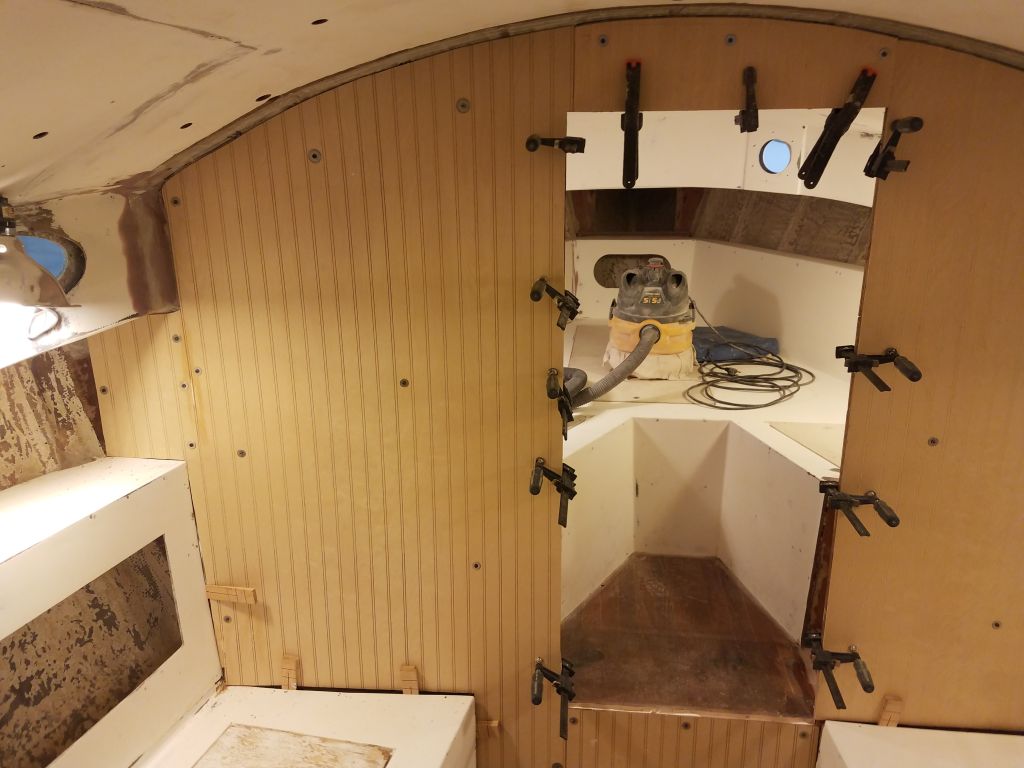
The owner’s choice for the final surface on the main bulkheads throughout the boat was beadboard paneling, which would be finished with primer and paint and offset with solid cherry trim throughout. Most manufactured beadboard paneling seems to be built on an MDF core, which I didn’t like the idea of using on this (or any) boat, but I found a birch-faced plywood paneling for the job. Now, starting with the starboard bulkhead in the main cabin, I prepared a paper pattern of the bulkhead shape that I could transfer to the paneling. On all sides of the paper, I traced a line 2″ in from the edges, both straight and curved, which would make it easy to transfer the pattern to the plywood.
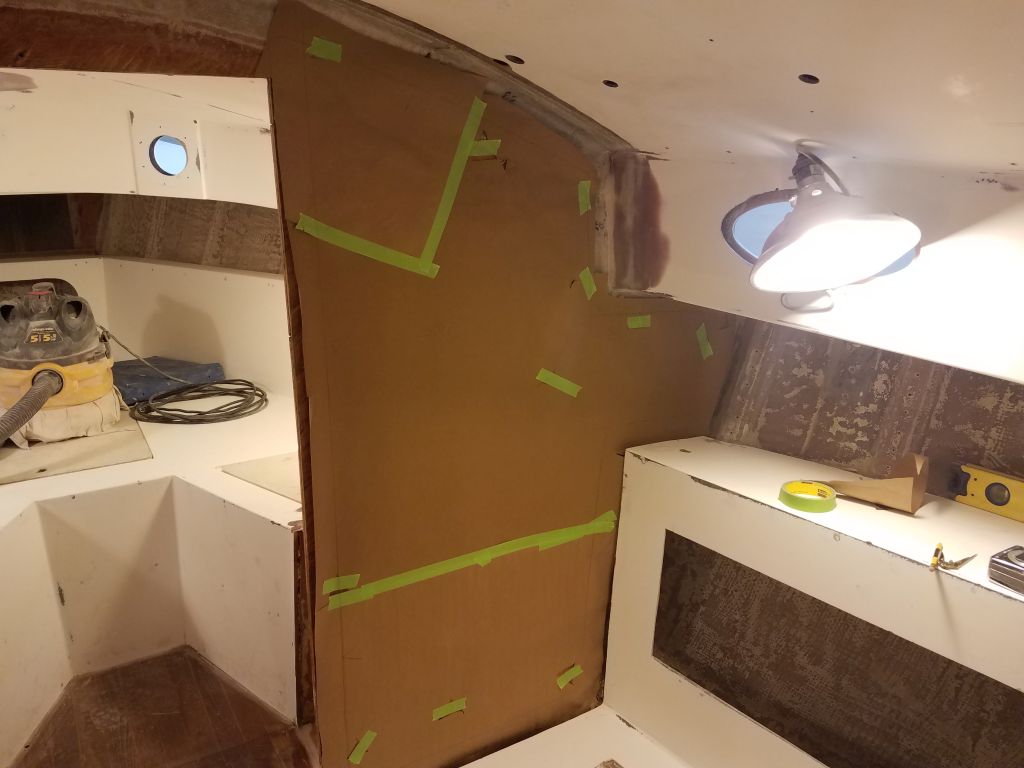
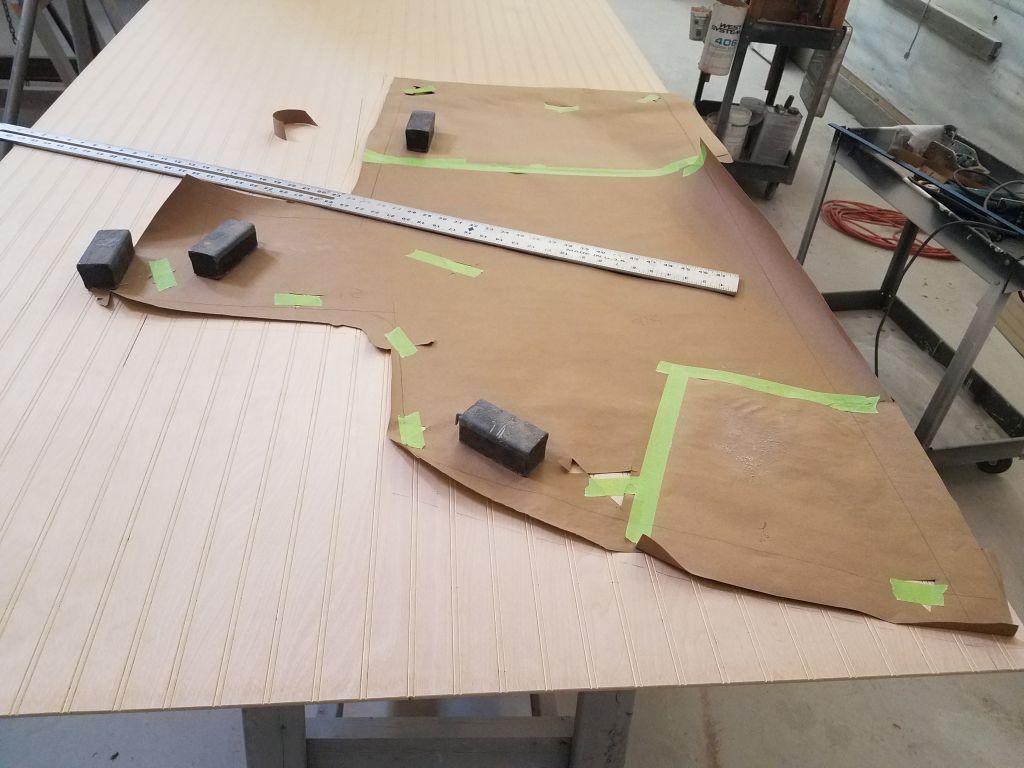
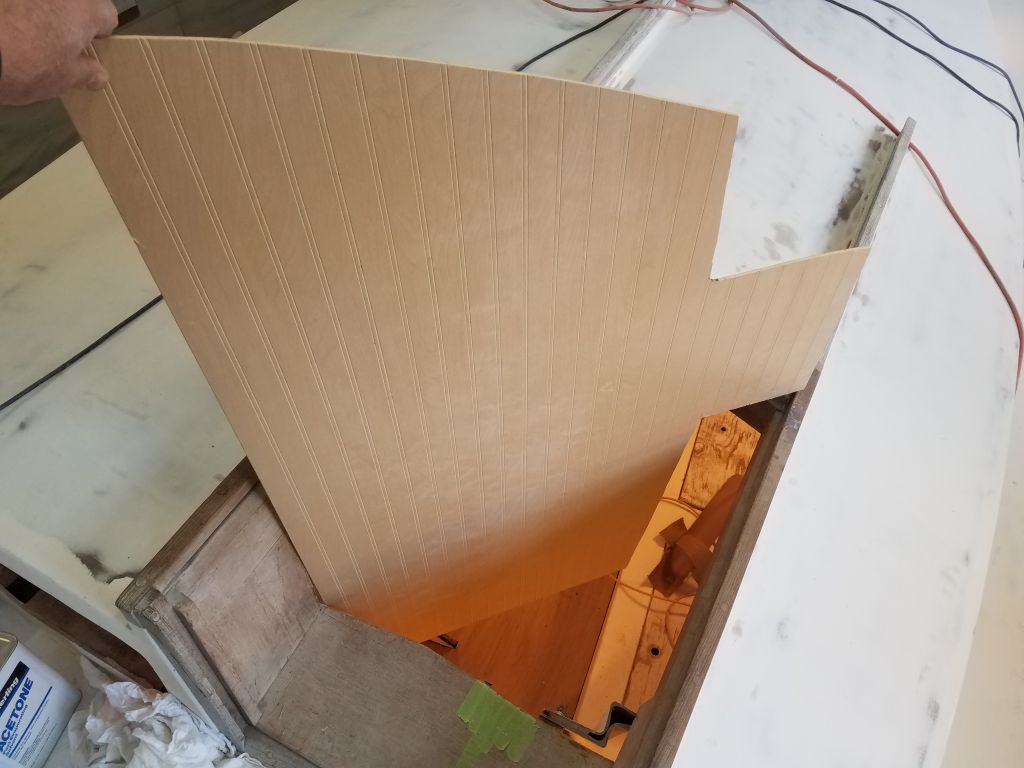
On the bench, I transferred the pattern and cut out the plywood piece. Bringing it to the boat, I was once again hampered by the companionway shape and size: I couldn’t fit the piece, as originally cut, into the boat, no matter how I tried. In this case, the fit was close, and since the part of the panel that extended beneath the sidedeck would eventually be largely hidden behind another cabinet I planned there, it wasn’t the end of the world to trim a couple inches off this part of the panel, which allowed the panel finally to fit into the boat. I planned the inboard edge of the panel to minimize the length of the seam between it and the next section of panel, locating the seam at the top of the doorway to the forward cabin.
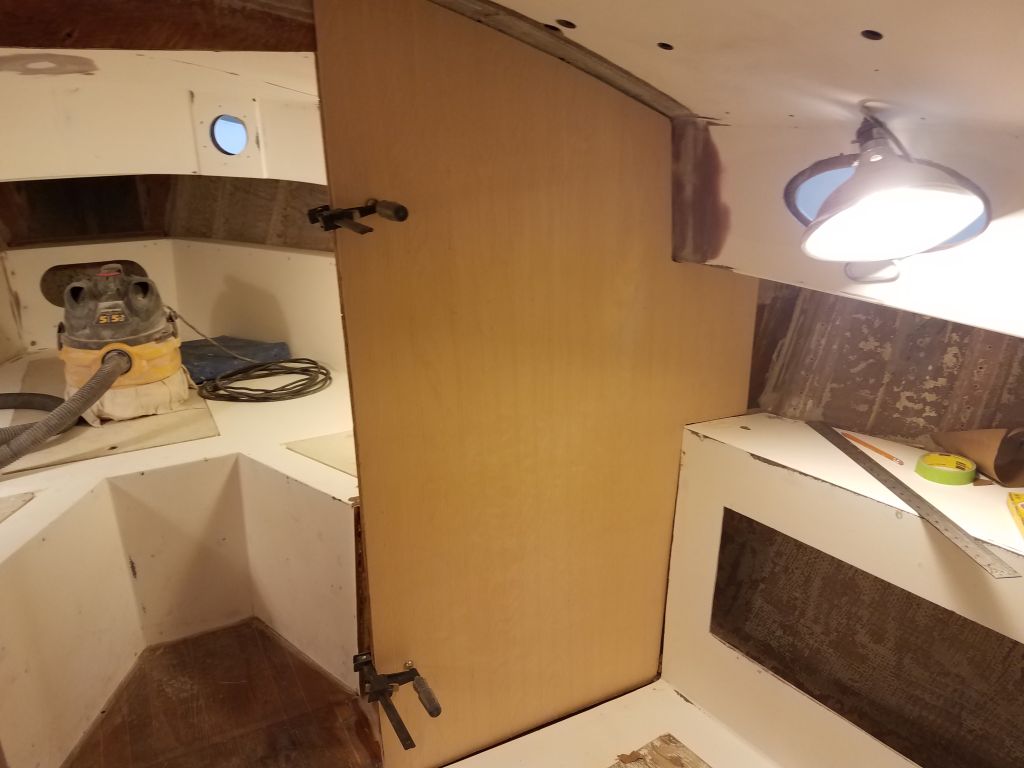
With the first section clamped in place, I continued with a small piece to cover the top part of the bulkhead above the opening.
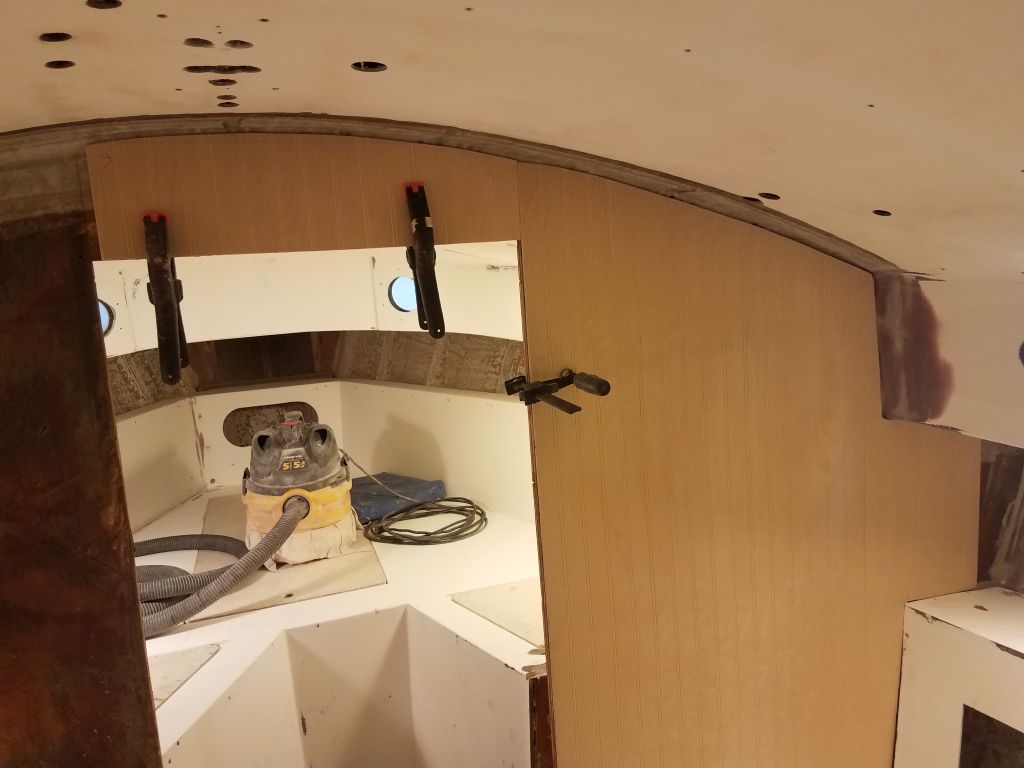
The last section of this bulkhead–the largest piece, since the doorway was off-center to starboard–required some additional planning, since there was no chance of the full-size piece fitting in through the companionway. I had to choose a way to divide the panel that would allow proper alignment with the bead pattern, and also hopefully locate the seam in as unobtrusive a location as possible. I was limited to about a 33″ panel width to fit through the hatch, and eventually chose the location for the seam as far outboard as practical based on these limitations. I held the outermost edge of the panel (beneath the sidedeck) the same distance back from the hull as on the starboard side for continuity.

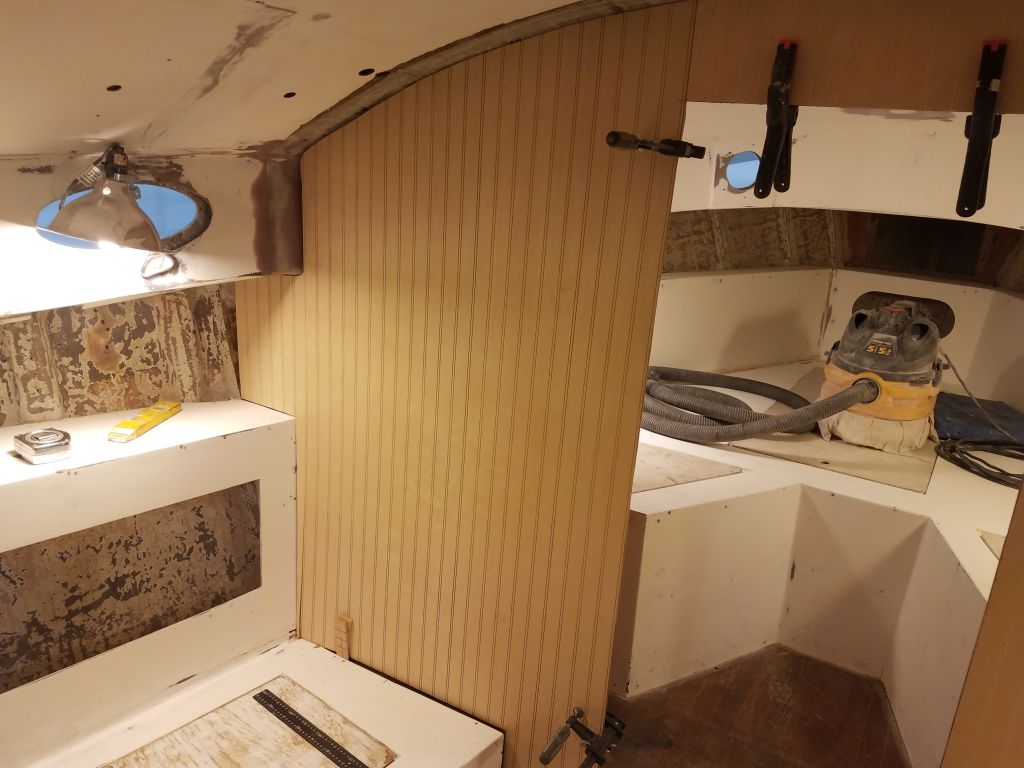
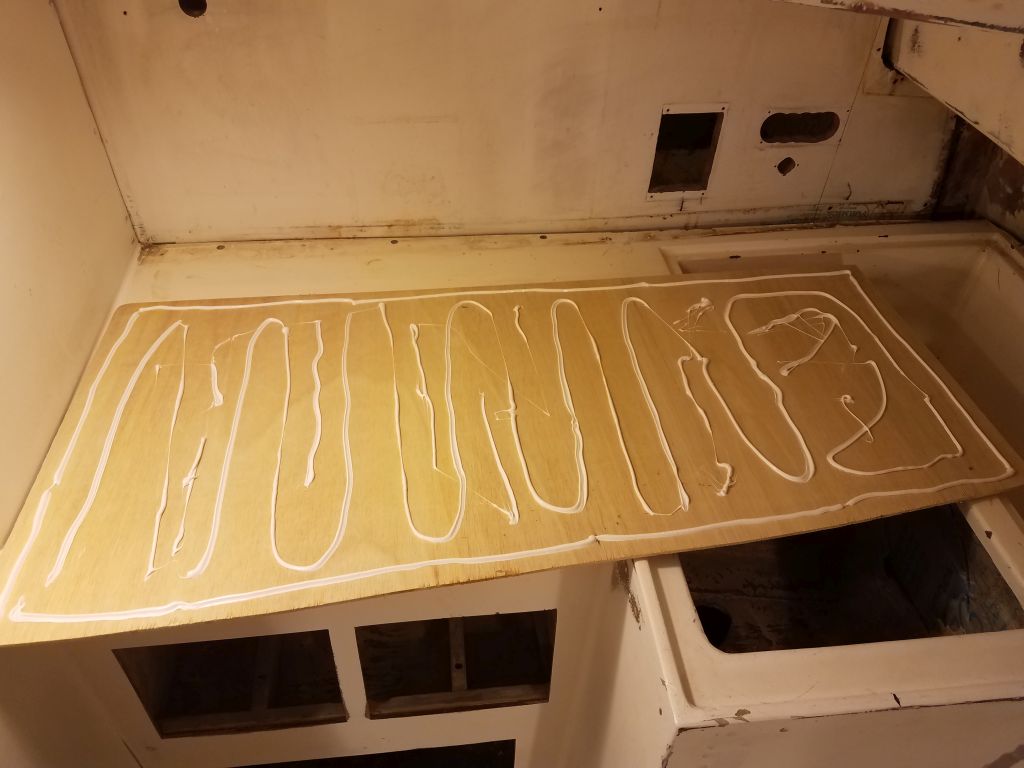
With the first three crucial pieces cut and fit, I proceeded with final installation, leaving the small section beneath the forward cabin doorway till afterwards. To install the panels, I chose a quick-cure polyurethane adhesive for its strength, ease of application, and long-term flexibility. I applied beads of the adhesive to the back of the panel–enough to securely hold the panel without issue, but without being excessive or so dense as to prevent the panel from squeezing the adhesive as needed during installation. To hold the panels while the adhesive cured, I used clamps where possible, wedges in the spaces along the settee tops and backs, and, sparingly and only as necessary, screws and washers in other areas to draw the panel in tightly. I’d remove the screws and patch their holes later, once the adhesive cured. In this way, I installed the three panel sections I’d cut already.


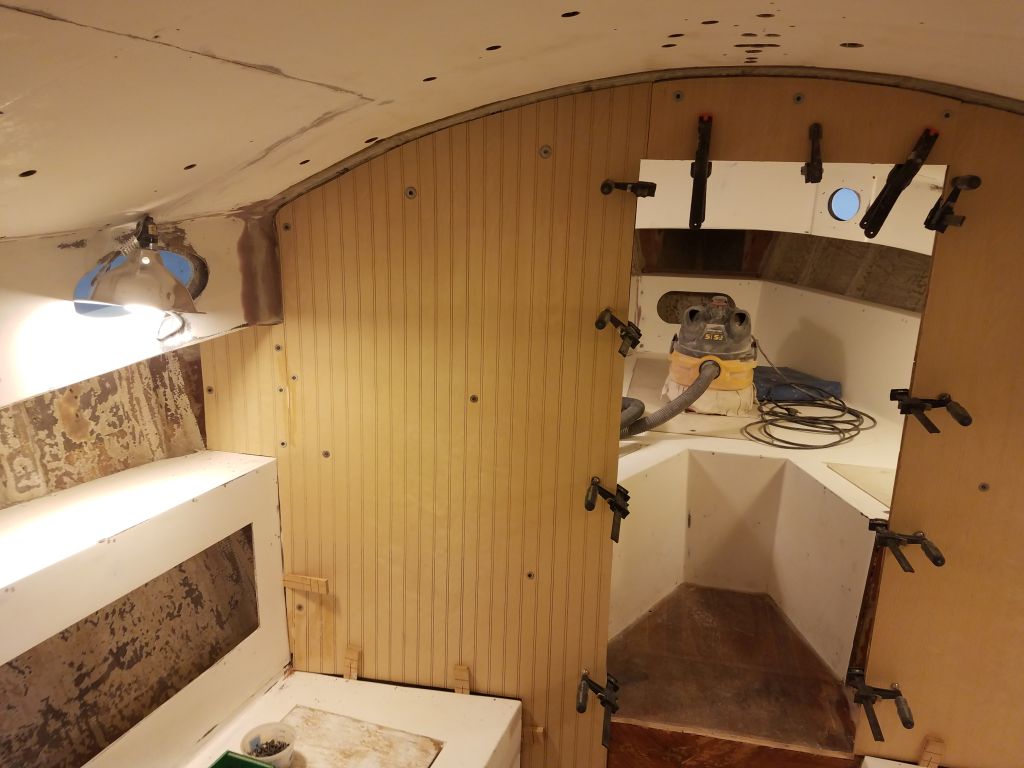
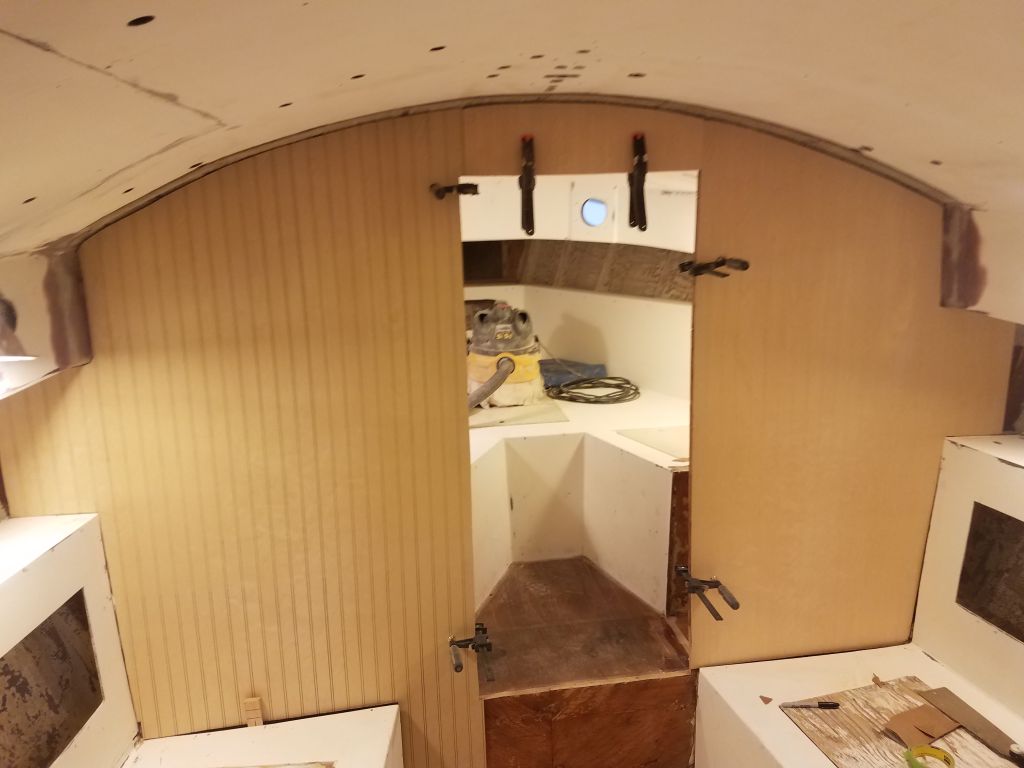
To finish off the main bulkhead, there was one small piece remaining–below the opening to the forward cabin. In the same way as before, I patterned, cut, and installed the final section.


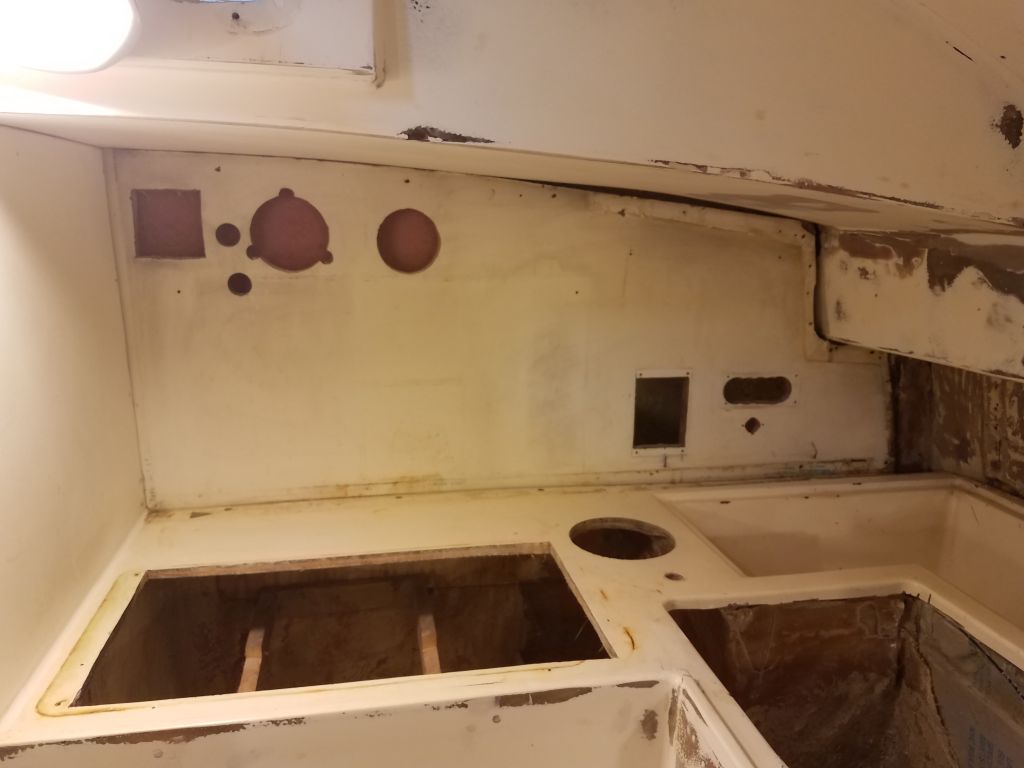
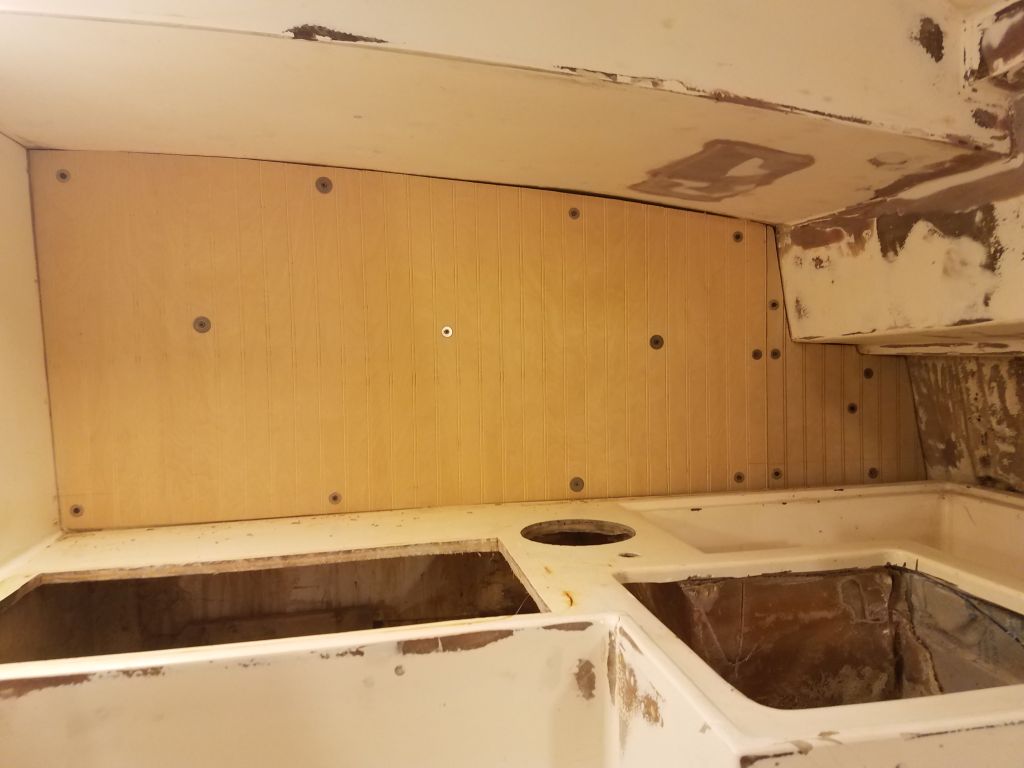
Next, I turned to the bulkhead behind the galley, and followed the same steps to pattern, cut, and install the new paneling here to finish off the day’s work.

Total time billed on this job today: 8.25 hours
0600 Weather Observation: 20°, cloudy. Forecast for the day: Light snow, up to an inch or so, then clearing in the evening or overnight.