December 2, 2019
Scupper 193
Monday
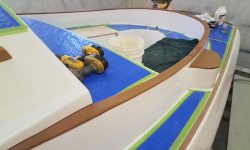
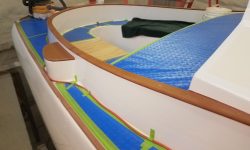
To finish up the deck trim, I pared away the bungs on the coaming caps that I’d installed last time.
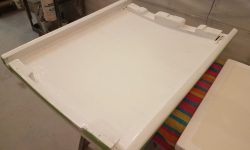
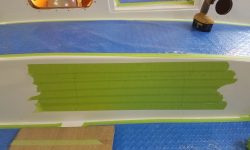
The companionway hatch required a light sanding and then a second coat of the semi-gloss white enamel.
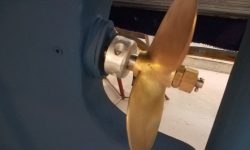
A while back, after completing the shaft and propeller installation, I’d ordered a shaft zinc, and now, to get it out of the way and checked off the list, I took two minutes to install it on the shaft.
With those small chores complete, I planned to shift gears and start getting into the electrical and plumbing systems in the cabin, and to that end I spent some time preparing orders for some of the materials I’d need to continue work in those directions. Then, I set to work in the cockpit, where I planned to install the electric motor controls and a cockpit shower housing, all of which were on hand now.
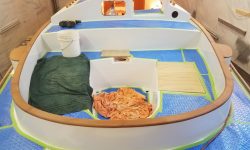
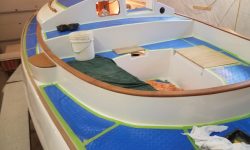
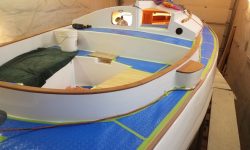
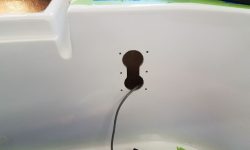
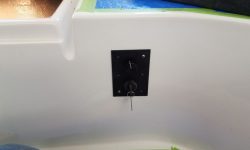
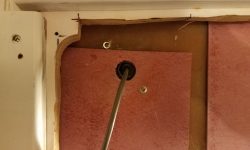
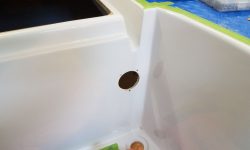
The motor controller (throttle) was a simple panel with a rheostat control and key switch, and the owner had asked that I install it in the cockpit well aft of the starboard cockpit locker. After some quick layout, I prepared the opening for the controller, drilling a pair of 2″ holes and then connecting them through the center. Afterwards, I aligned the control panel and drilled for the six screw holes. I installed the panel dry and only temporarily for now with two screws, since I might need to change some of the wiring leads on the back depending on whether the control knob was properly set up from the factory.
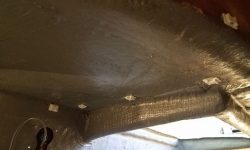
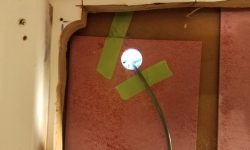
To eventually lead the control wire forward and down to the electric motor, I needed some additional wire tie mounts, so from the starboard locker I installed what I thought I needed, sanding away any locker paint in way of the mount locations before securing them in place with the mount adhesive. I ran additional mounts aft towards the transom, planning ahead for sternlight wiring later.
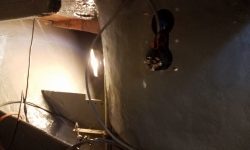
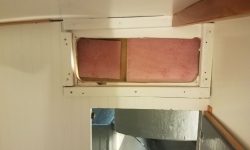
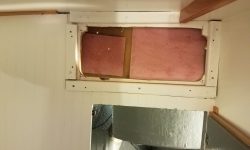
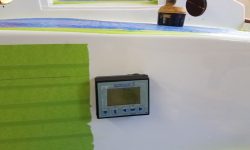
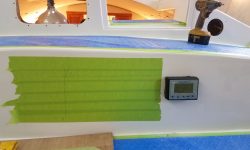
The electric motor system also required a battery monitor, which I planned to install in the raised portion of the cockpit well beneath the bridgedeck. I’d built in access to the back side of this area from the head, and to begin I removed my access panel, then made various measurements so I could roughly transfer the location of the open access area to the exterior so I’d know where to install the panel, along with some sailing instruments later on. After the initial layout, I decided to open up the access panel a bit more along the top edge, which I did with a multi-tool. This increased access at the top side and allowed me to install the panel where I wanted it to go.
After additional layout, and double-checking, I drilled the holes needed to install the battery monitor, which had a rather fussy means of securing it with two screws from the back side only. There was a mounting template supplied with the panel, but I discovered–fortunately before I relied on it to do the cutting–that the template was not accurate and didn’t exactly match the actual panel and its pre-marked screw locations.
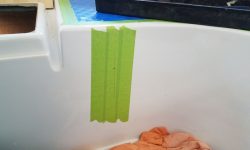
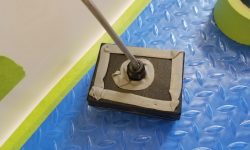
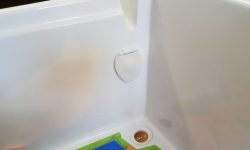
Securing the panel in place from behind, when there was no direct communication between the spaces and no helpers to be found in my one-man shop, was an exercise in patience, frustration, and fortitude, and required numerous trips back and forth between inside and outside before I could properly align, hold in place, and then tighten, the small screws to secure the panel. I applied butyl tape sealant to the panel and around the central wiring port before installing it (the photo shows an early version of the sealant that I ultimately replaced after the first panel installation attempt failed).
At length–far greater length than such an inherently simple installation ought to require–I secured the panel successfully.
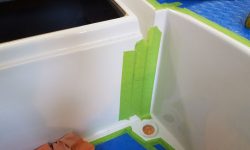
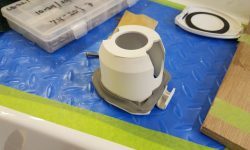
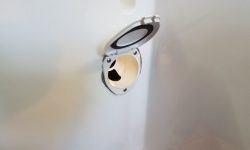
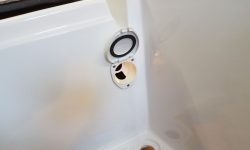
The final cockpit installation for the moment was the shower housing, which the owner had supplied and asked me to install at the forward port corner of the well. This covered housing would ultimately hold a small shower head and hose leading from within, but for now I worked with the bare housing. Installation was straightforward with a single large hole, butyl sealant, and three screws.
With some personal business to attend to in the afternoon, I had to call it quits for now, but next time I could lead and connect the wiring from the engine panel and battery monitor and continue with various other aspects of the systems installations.
Total time billed on this job today: 5.5 hours
0600 Weather Observation: 24°, cloudy, a snow shower. Forecast for the day: Cloudy, snow showers, and snow beginning late in the evening, 31°


