


May 1, 2019
Scupper 137
Wednesday
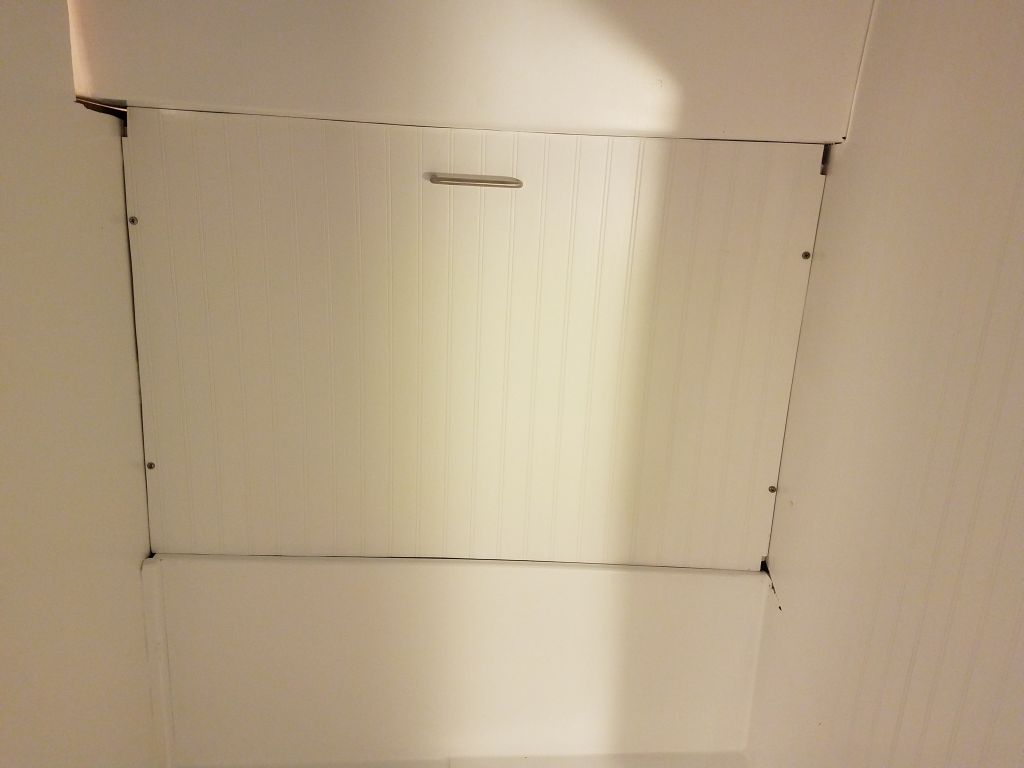
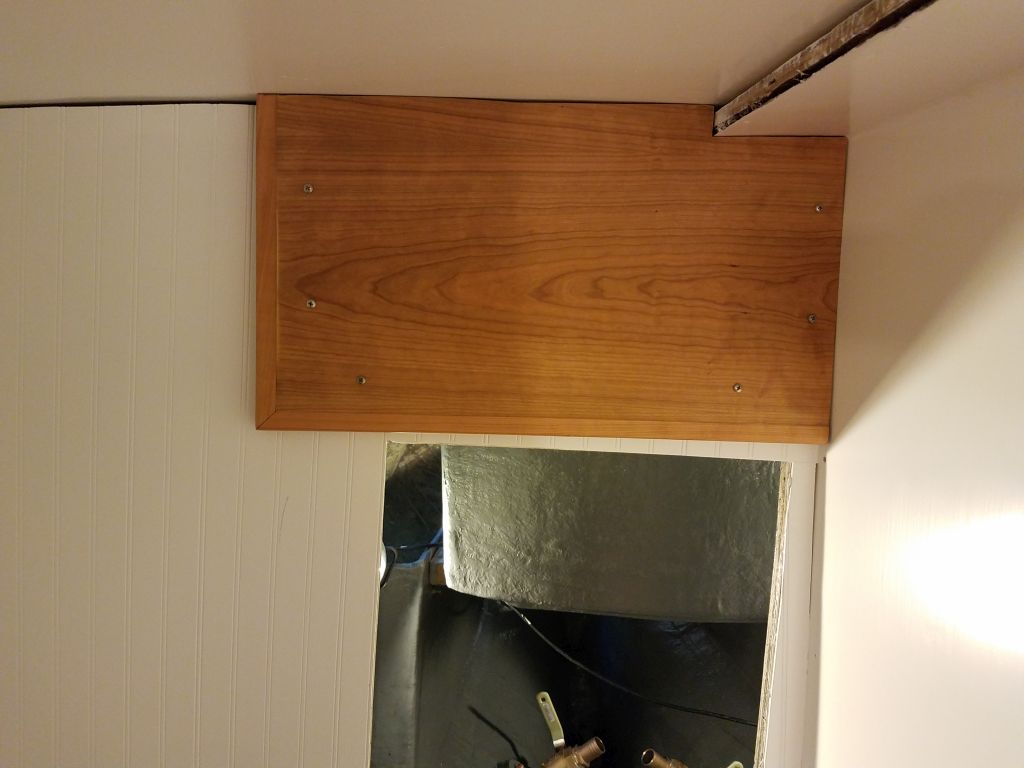
Most of the remaining trim work still ahead was either in the head itself, or near it (i.e. the companionway/head door). I’d be focusing on that all very soon, but for the moment I started with the loose ends of the two cover panels I’d built earlier for the space: Over the waste tank, and the future instrument panel access to the cockpit. These needed to be in place so I could trim around them.
For both panels, I first used tape to mark existing screw locations in the backing cleats at each location; left to my own devices, I seemed to have an uncanny ability to choose and attempt to drill into the exact location of some screw in the underlying structure unless I marked them first (if only I could find them when I wanted to). Then, I laid out for screw locations to secure the panels. Both needed to be removable for access, but wouldn’t require regular access, so I chose regular screws to install the panels.
To allow the future trim to slip behind the waste tank panel, and to allow the panel’s removal later as needed, I used some future trim stock to mark the corners of the panel as needed, and then cut out the reliefs. I planned to finish up the trim in the head soon, but wanted to get the engine room door hung so I could trim around it as needed (clearances for required trim at the bottom edges of the opening were tight). For now, though, I awaited the door’s final finishing (underway), and, with the cabin sole finishing in its final stages also didn’t want to be in and out of the boat unnecessarily, so the trim project would continue next week.
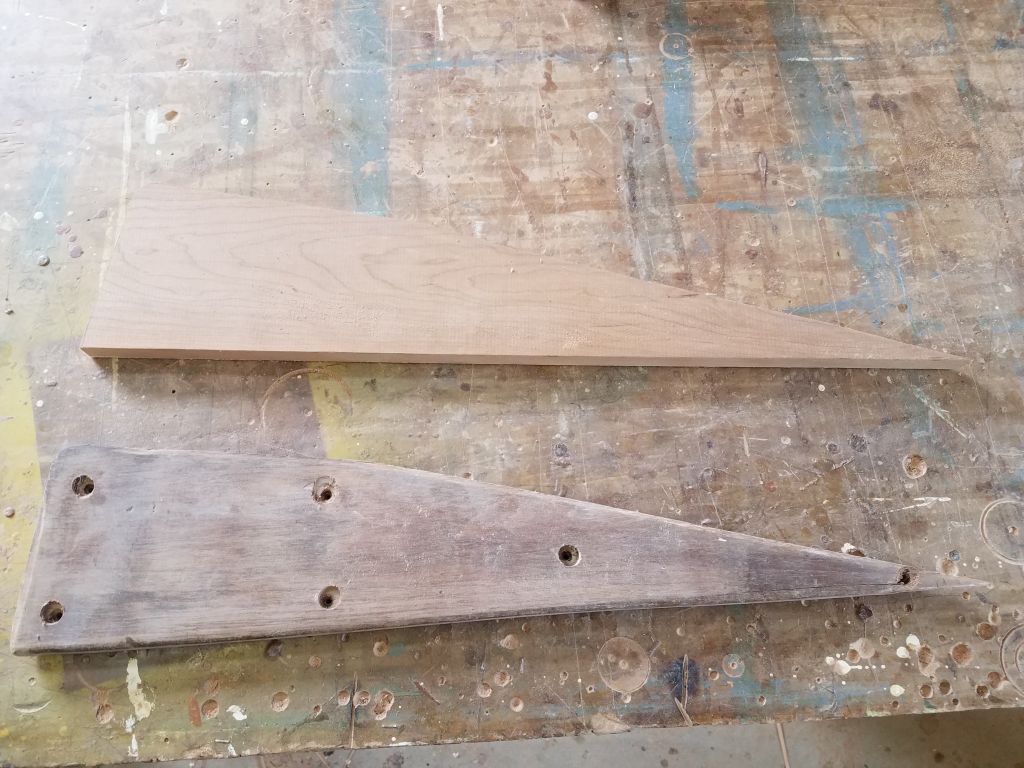
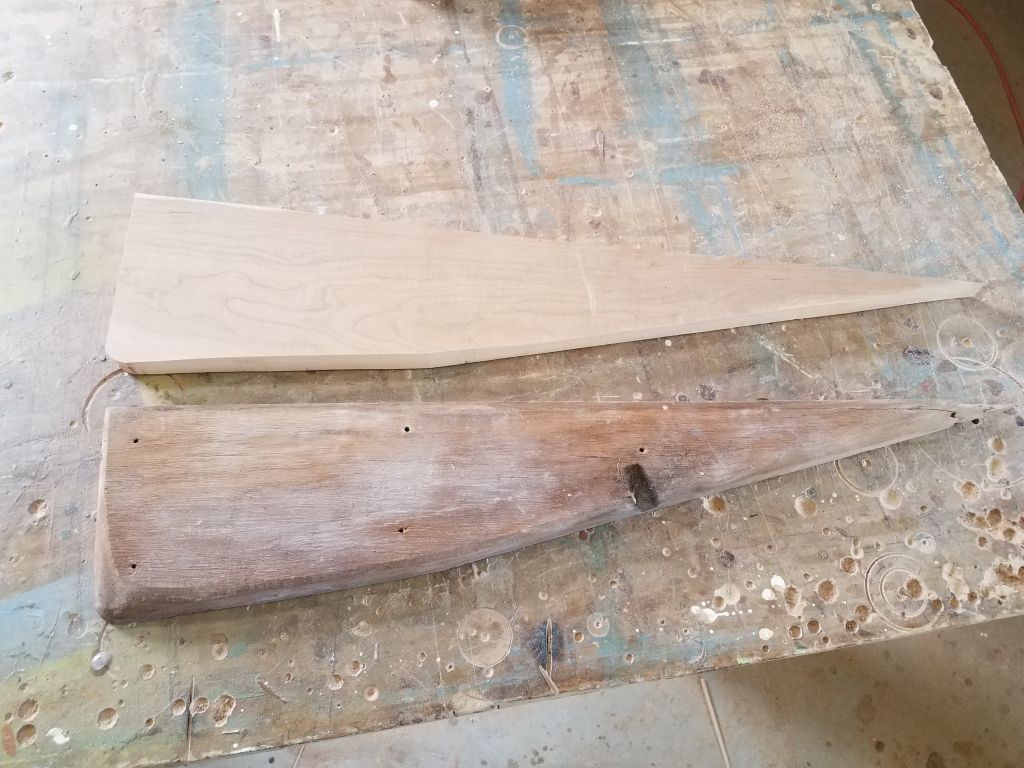
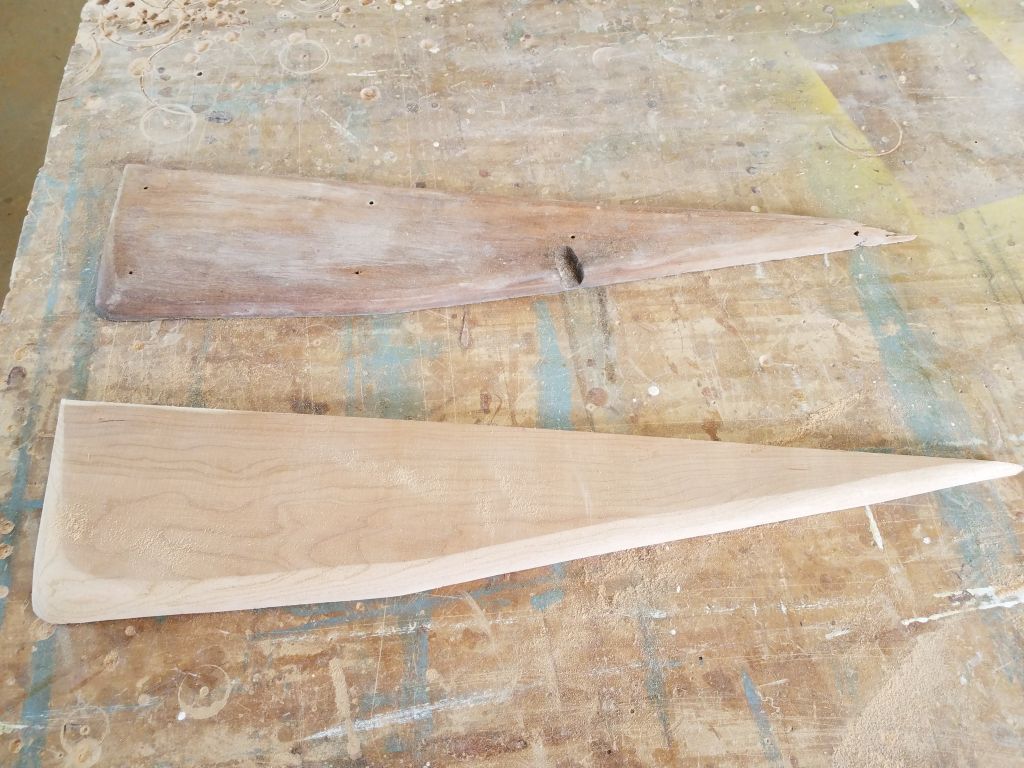
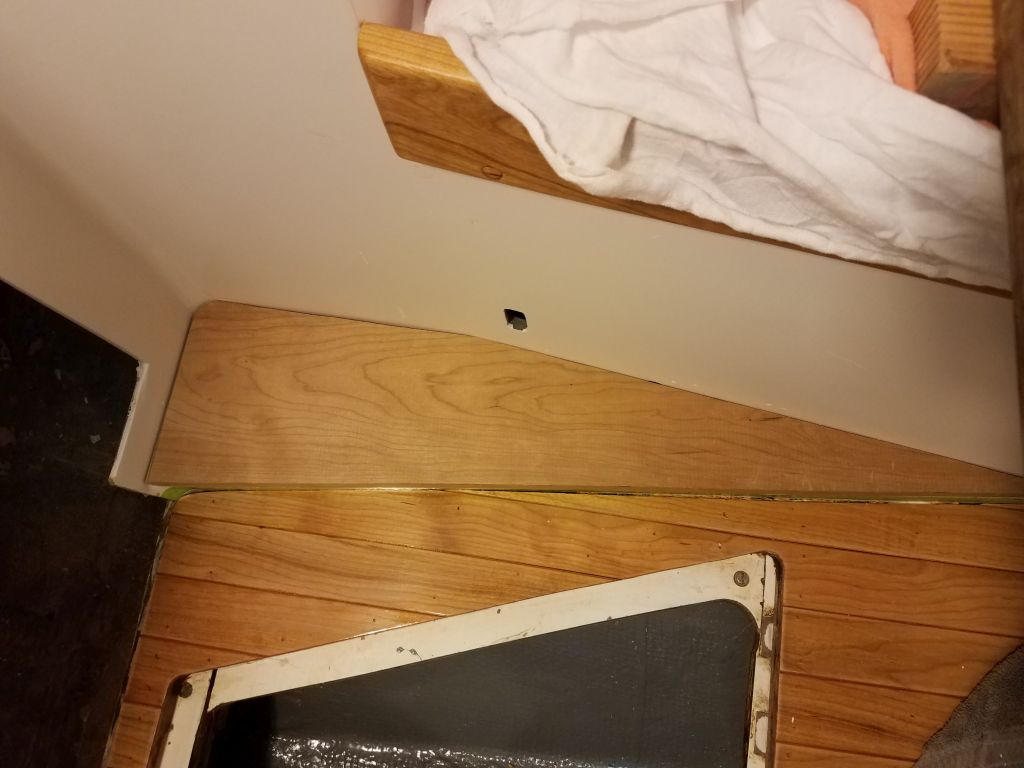
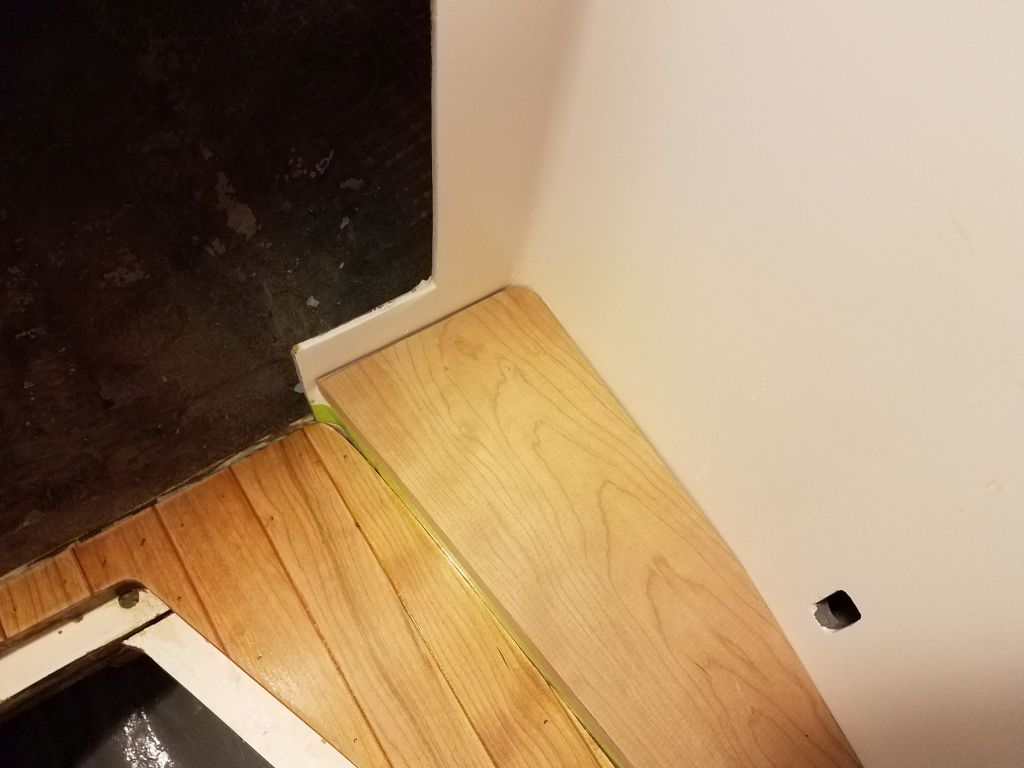
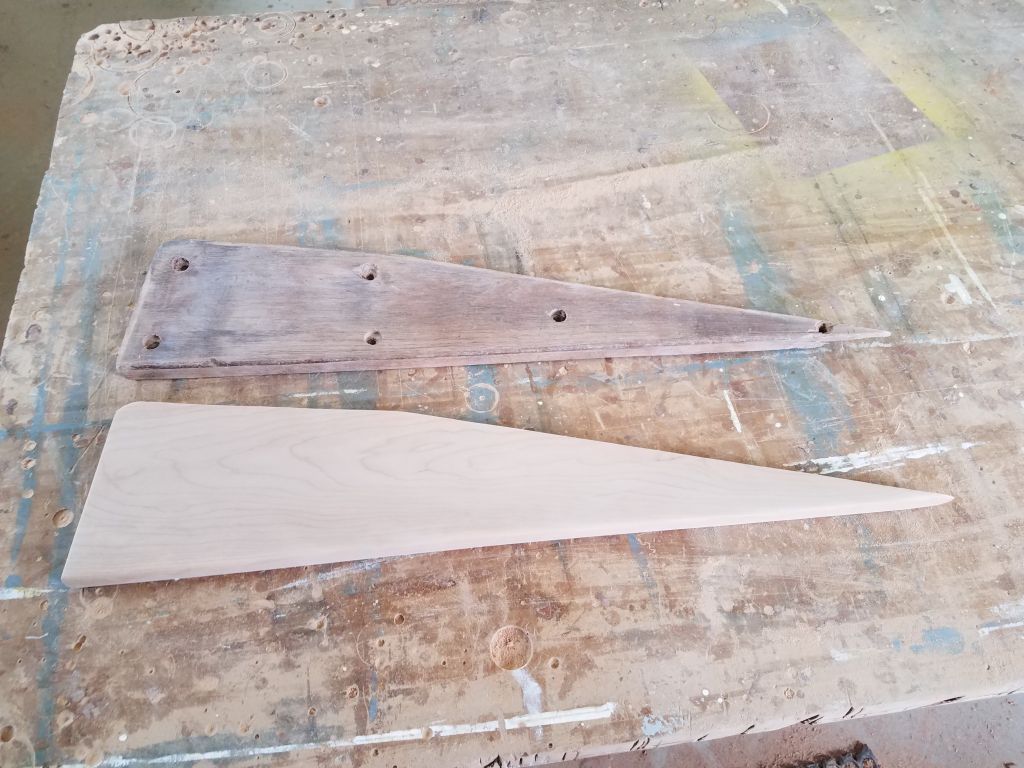
Another trim-my loose end was a small molded raised area in the galley, where the original interior molding had to take a little step to allow hull clearance while maximizing the galley sole area. I’d saved for duplication the original teak piece from the area, and now used it to cut a new cherry blank to fit. With the rounded corners of the molded liner, I had to relieve the back edges of the piece to fit, as per original, and after one test fit I found I needed to take off a bit more, after which the new piece fit as expected. Afterwards, I sanded the new piece clean and to prepare it for finishing before installation. The old piece used many screws, but I planned to install the replacement with adhesive alone.
Note that the cabin sole baseboard trim I built earlier would cover the lower vertical edge of this new piece once installed.
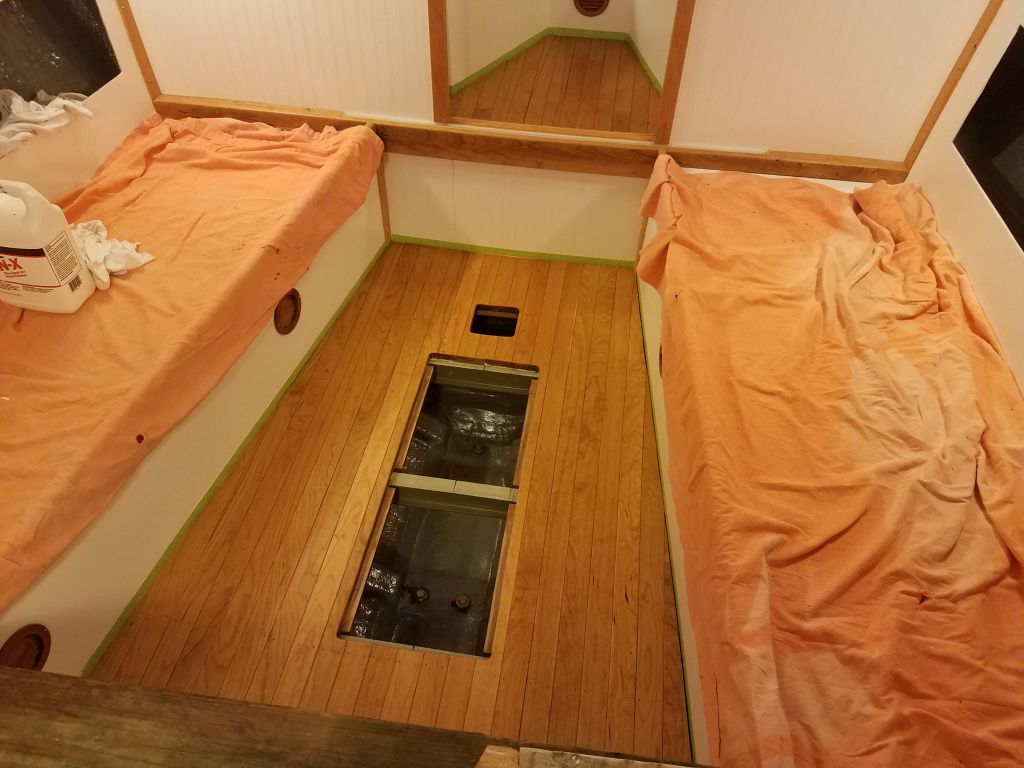
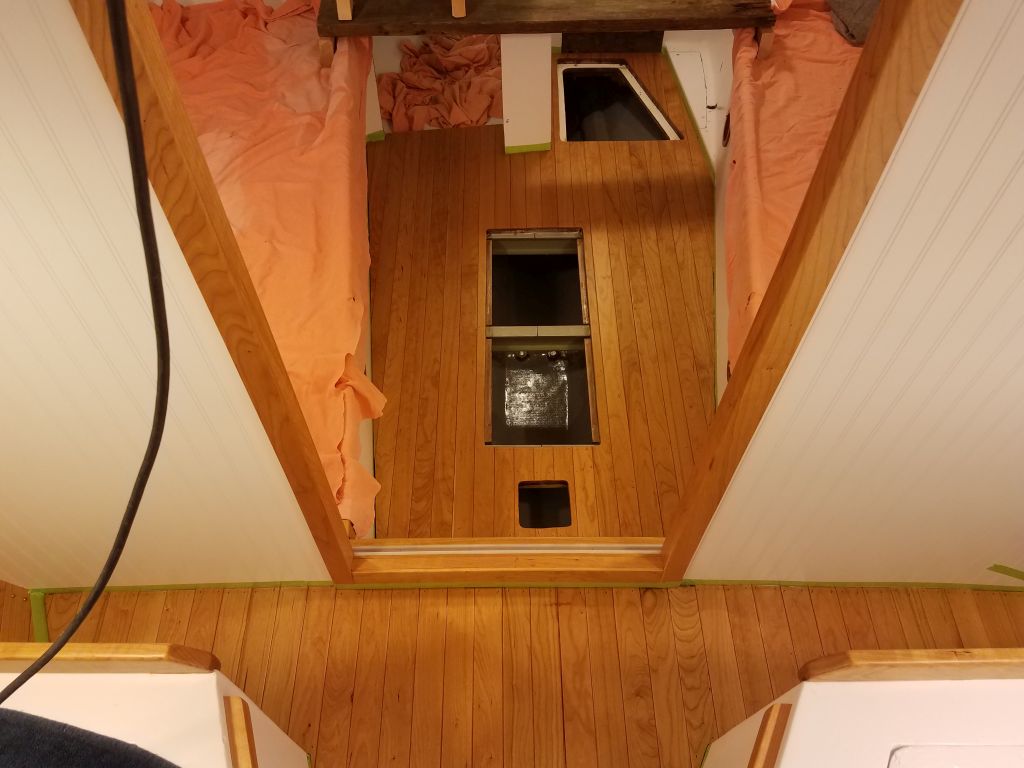
That was about all I planned inside the boat this day, so now I lightly sanded, then cleaned, the cabin sole to prepare it for its final coat of varnish. These photos show the sole after drying overnight, all taken from deck level since I planned to stay strictly off the fresh sole till it had several days of cure time. I’d planned this around other aspects of my schedule.


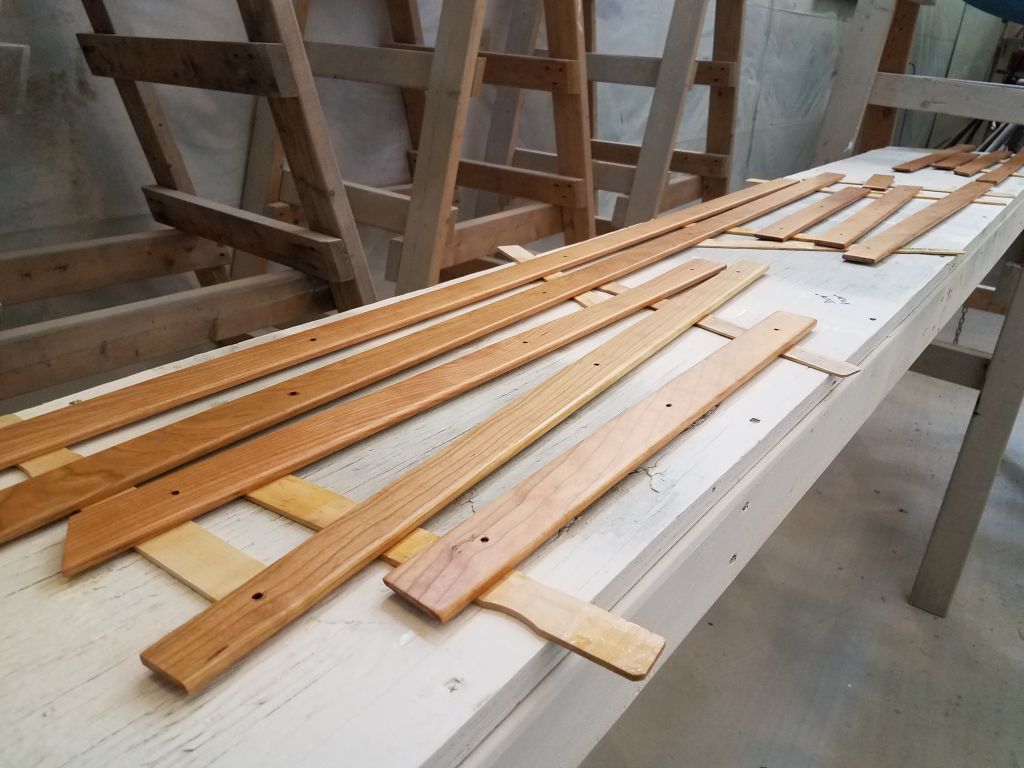
I also finished up the varnish work on the cabin sole trim pieces; this photo shows them after curing overnight.
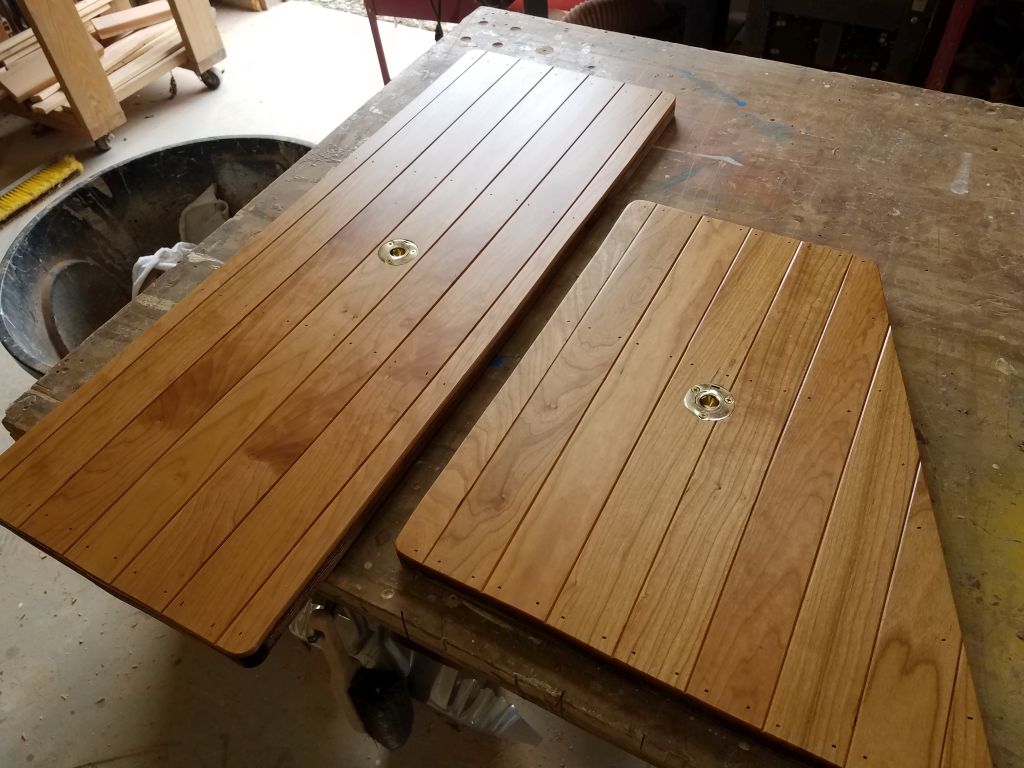
The two cabin sole hatches, which were now complete, looked good, and I installed the brass ring pulls to finish them up.
Meanwhile, I continued the varnish buildup on the remaining ongoing parts, including the drawers, engine room door trim, and now the new galley cabin sole piece I’d just milled.


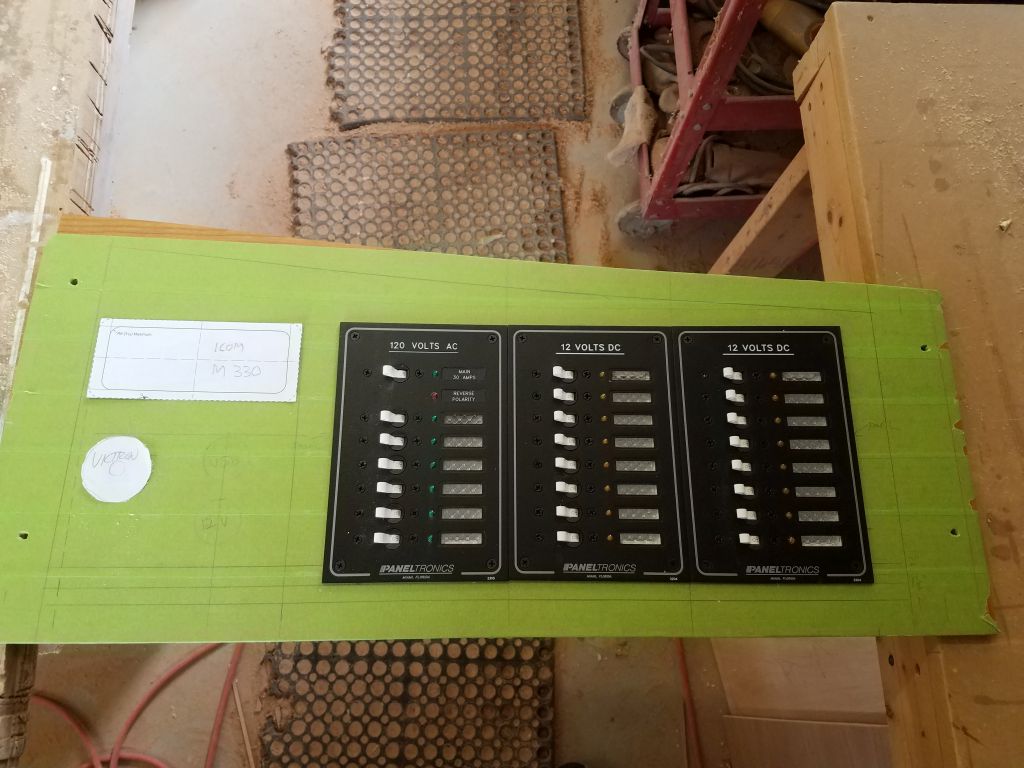
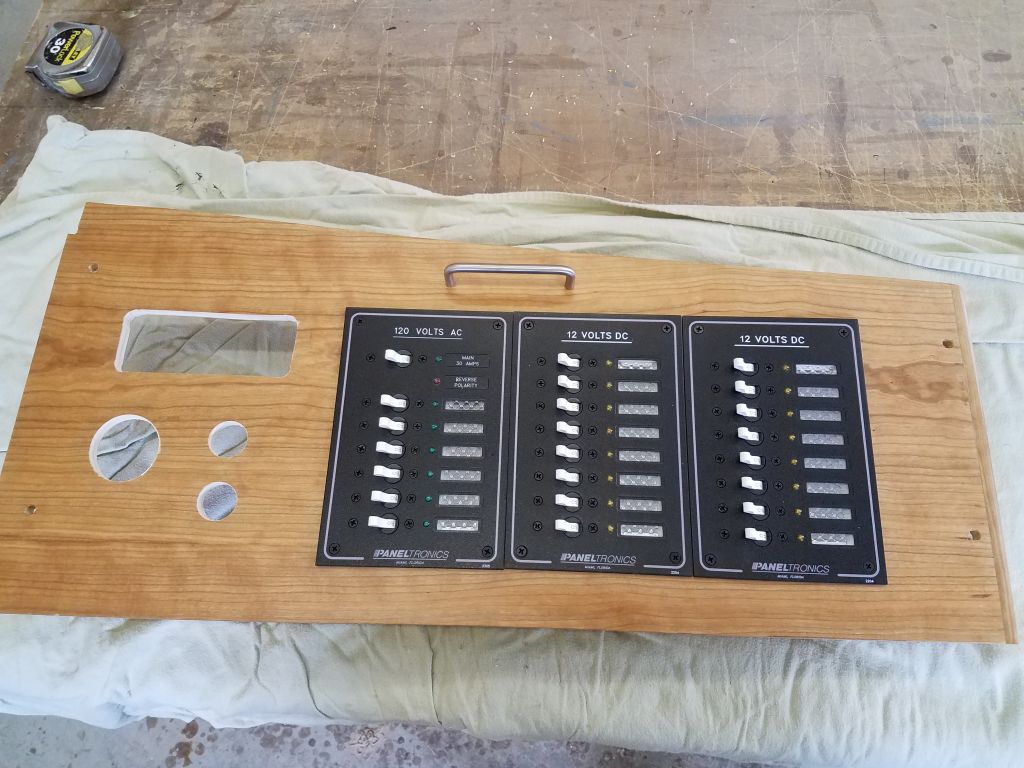
After confirming the layout I’d produced earlier, I went ahead and cut out the openings for the electrical service panels as marked. I ended up leaving narrow vertical strips of the original cabinet in place between each panel for added strength, whether required or not. Once I had the openings cut, I test-installed the three panels, then confirmed the locations of the additional installations I required at the forward end before marking and cutting those openings, working from both sides of the panel to avoid tearout on the back. I didn’t yet have on hand the VHF, monitor, and outlets, but would install them once they arrived. To finish up the panel for now, I installed a handle at the top edge.


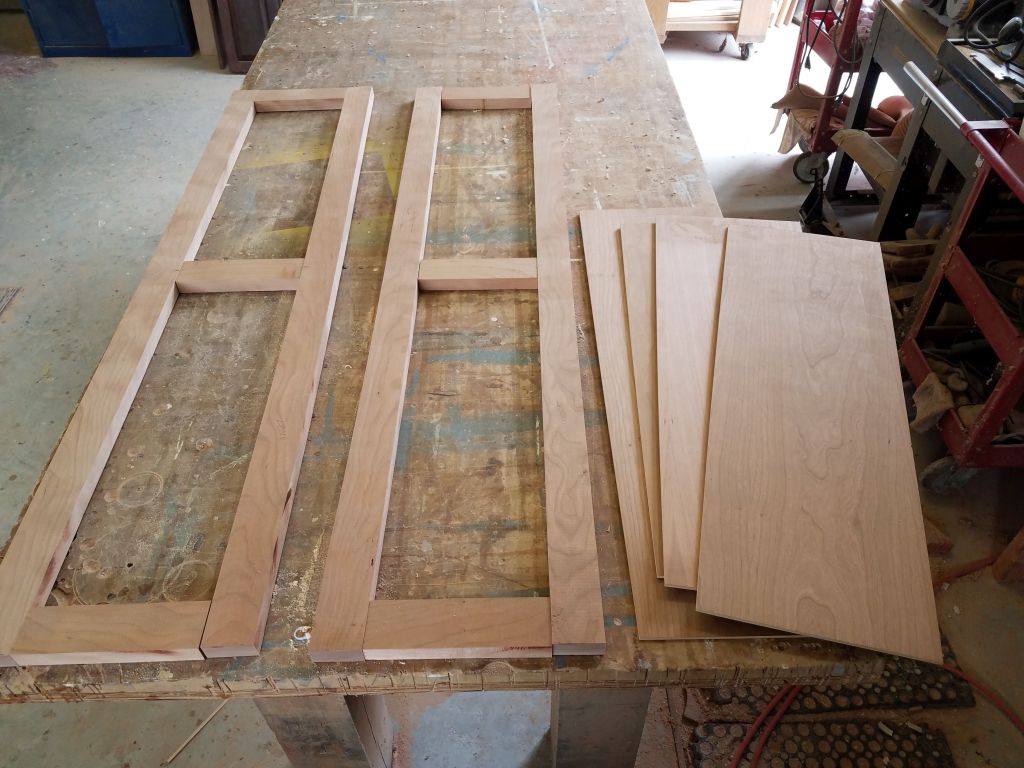
To finish up for the day, I prepared all the rails, stiles, and panel blanks for the doors into the forward cabin. I’d previously cut a sample stile (vertical piece) to get the length and end details right, and had measured the width of the opening, so knew my doors had to each be 11″ wide, so I cut the rails 7″ long. I pre-cut four panels to generous dimensions but would wait till I’d milled the grooves before cutting them to final size. For that, I had a new router bit on the way to streamline the job, so for now this was as far as I could take the doors’ construction.
Total time billed on this job today: 7.25 hours
0600 Weather Observation: 28°, clear. Forecast for the day: Increasing clouds, 56°