


January 9, 2020
Scupper 216
Thursday
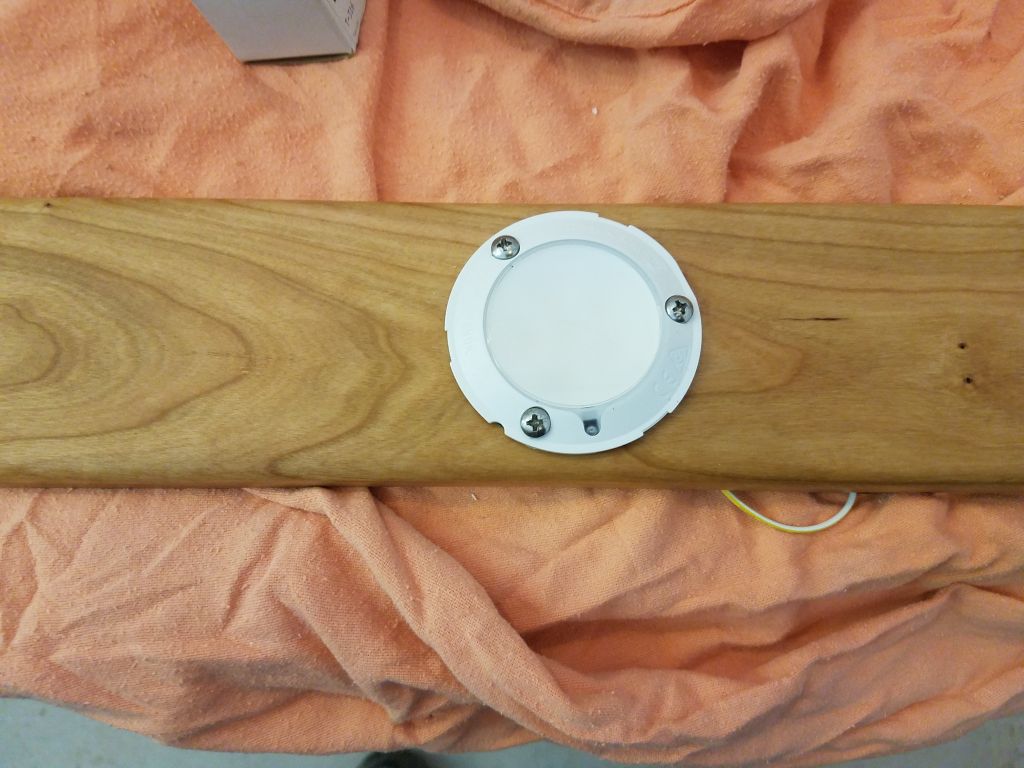
The cherry trim piece I built to accommodate the owner’s selection of two small flush-mount lights was complete now, and I turned to the final installation. Each of the two lights fit in the holes I’d prepared in the trim, and I secured them with screws before installing the trim rings.
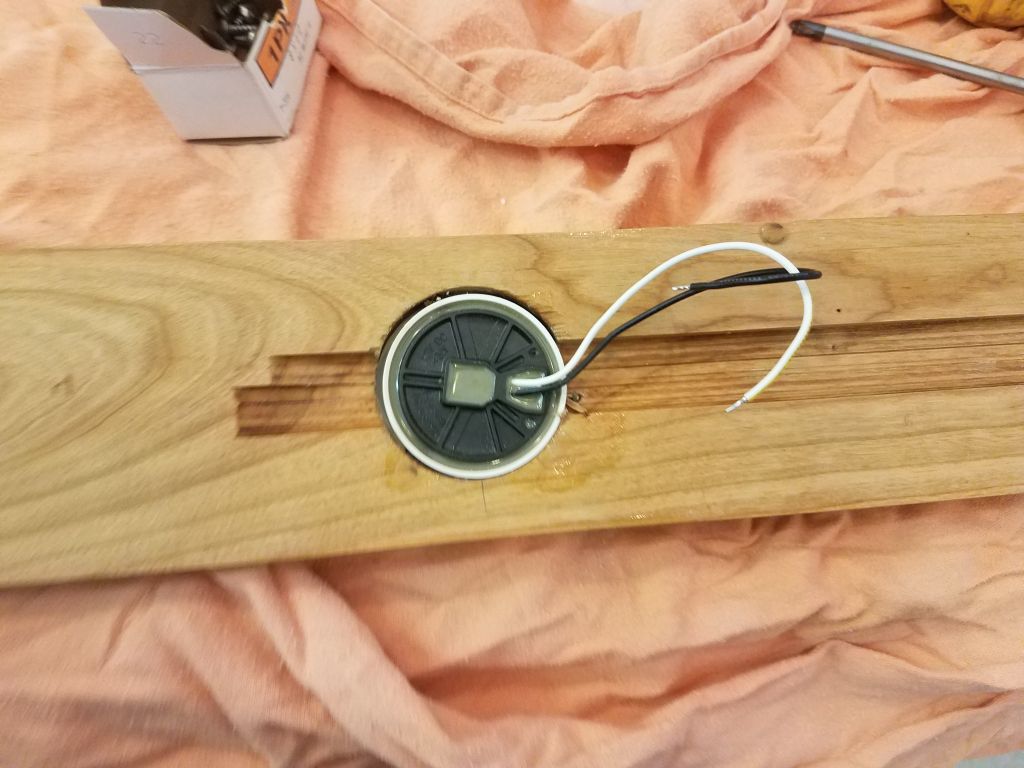

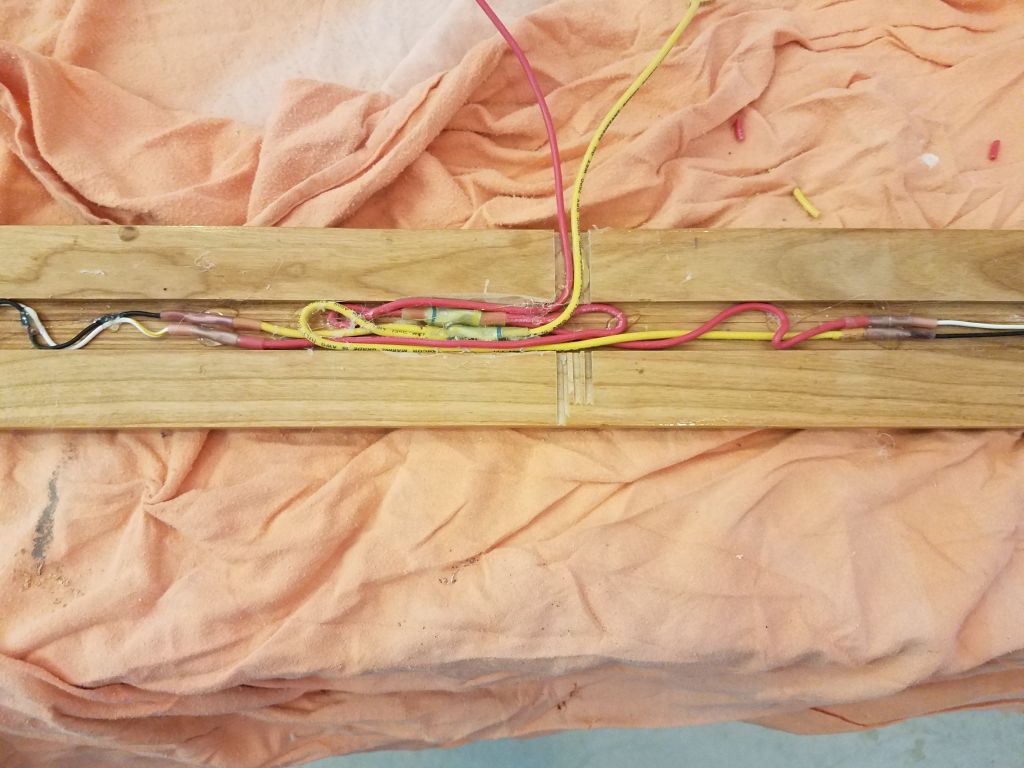
I’d routed a wire channel on the back side of the trim, and I spent some time at the bench wiring up the two lights and conjoining the wire leads to a single wire pair that would exit the trim and eventually connect to the circuit I’d run into the engine room for these lights. To accommodate the larger butt connectors needed to connect both lights together, I had to ream out a portion of the existing wiring channel to make it deep enough for the connectors to remain flush. I used dabs of hot glue to hold the wiring and connectors in place within the channel so they wouldn’t move during installation.

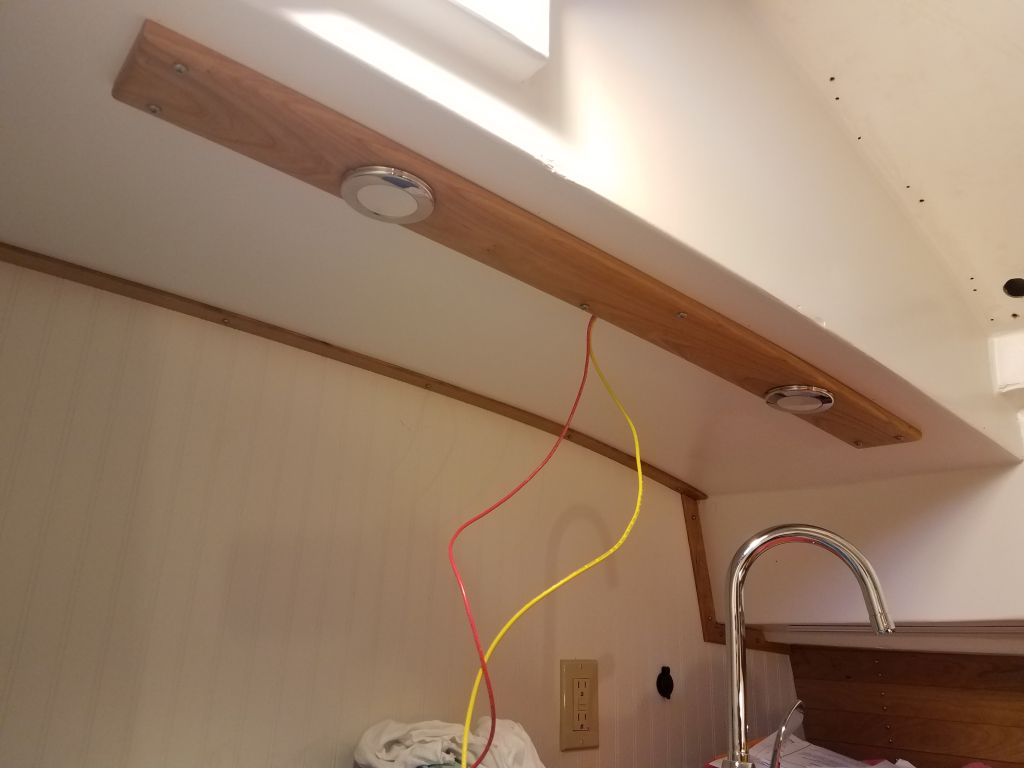
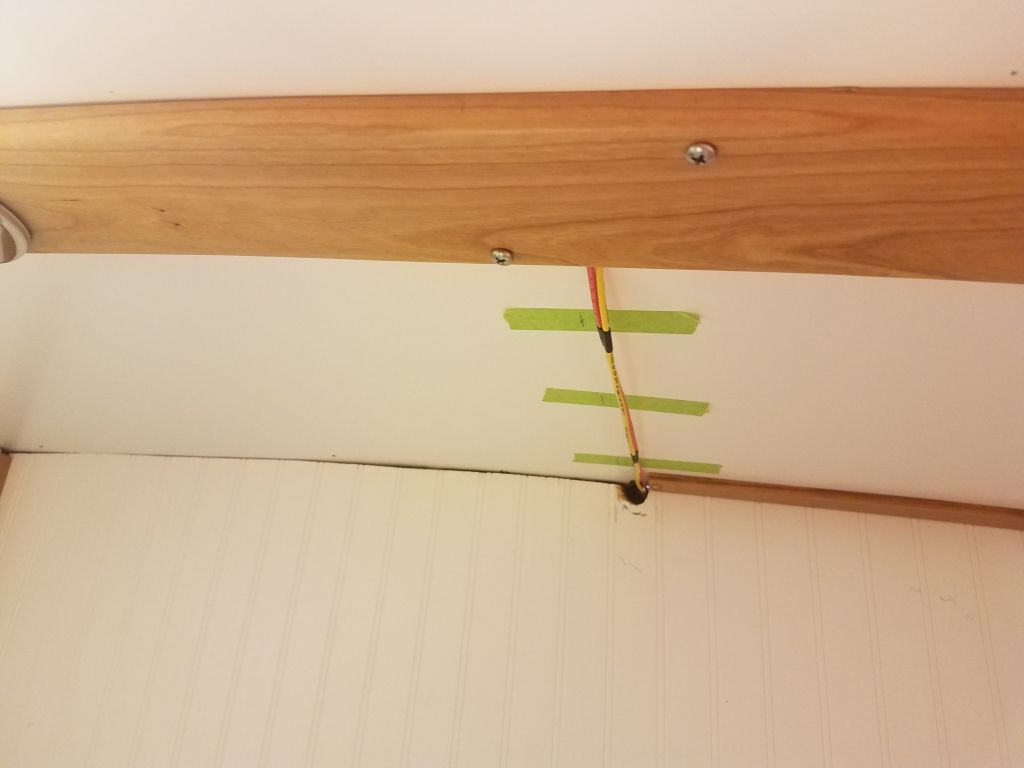
After some layout, I installed the trim with the lights above the galley, securing it to the overhead with screws. I planned to lead the wiring directly aft to the bulkhead, as I knew there was an open space between the bulkhead and the after bridgedeck molding through which I could lead the wires. I chose this because it was the most direct and (irony to follow) easiest route for the wires given all the other complications in the mounting location. I laid out a line perpendicular to the light trim and leading aft to the bulkhead to show where I needed to drill a hole for the wiring (not shown here).

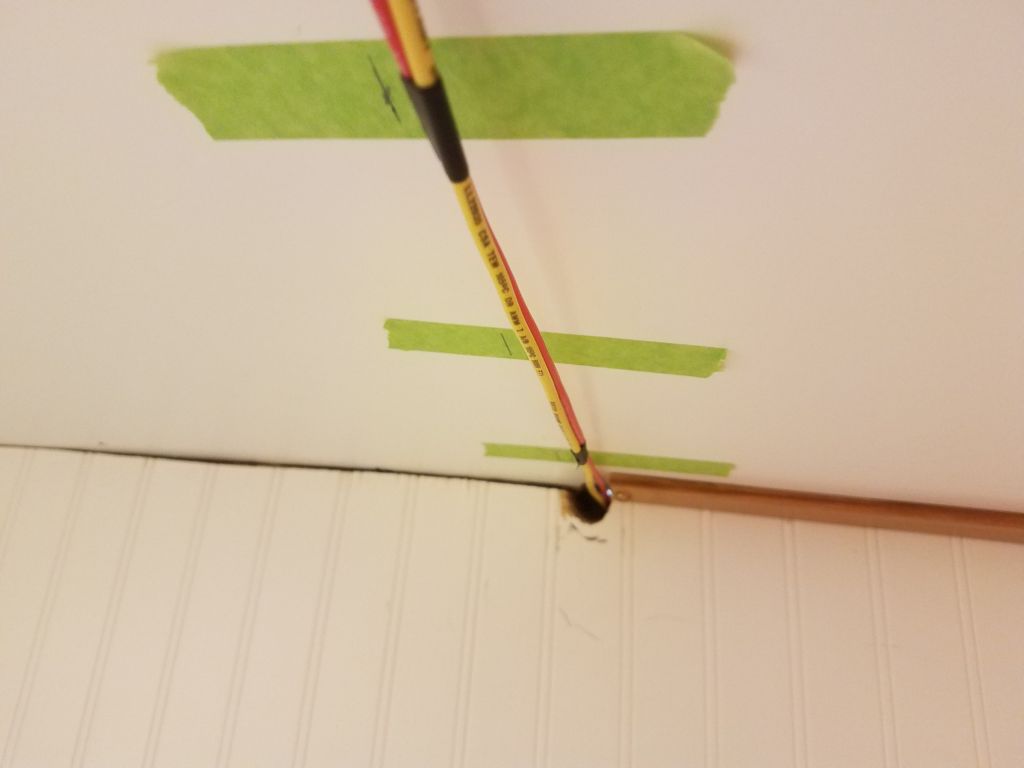
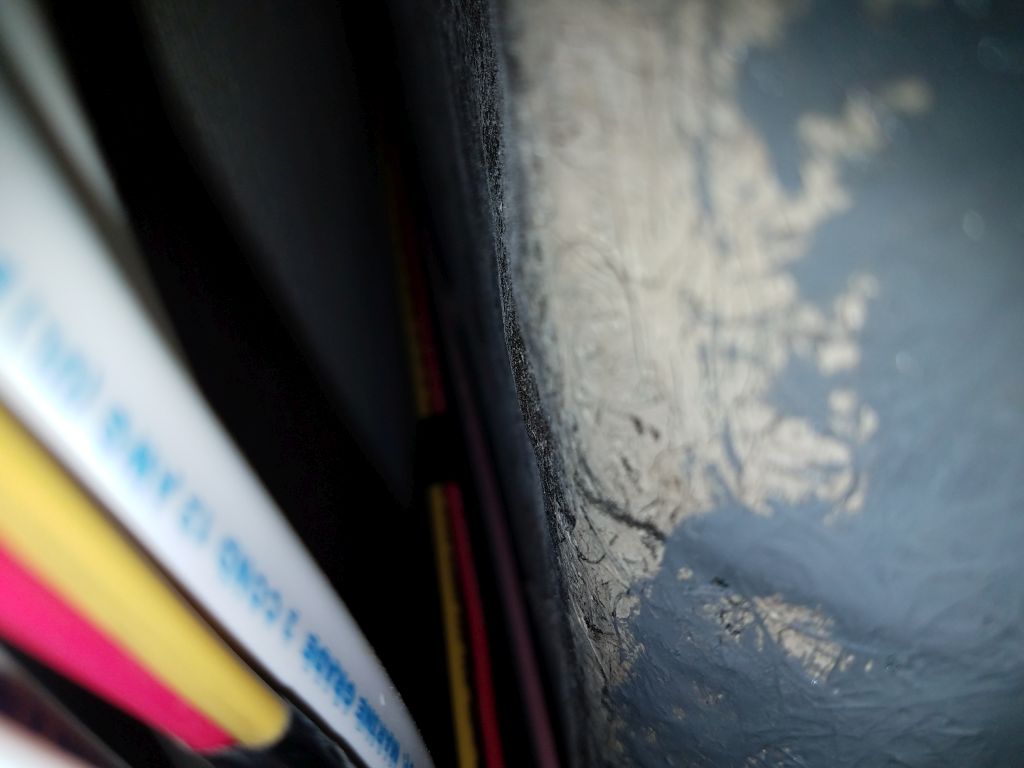
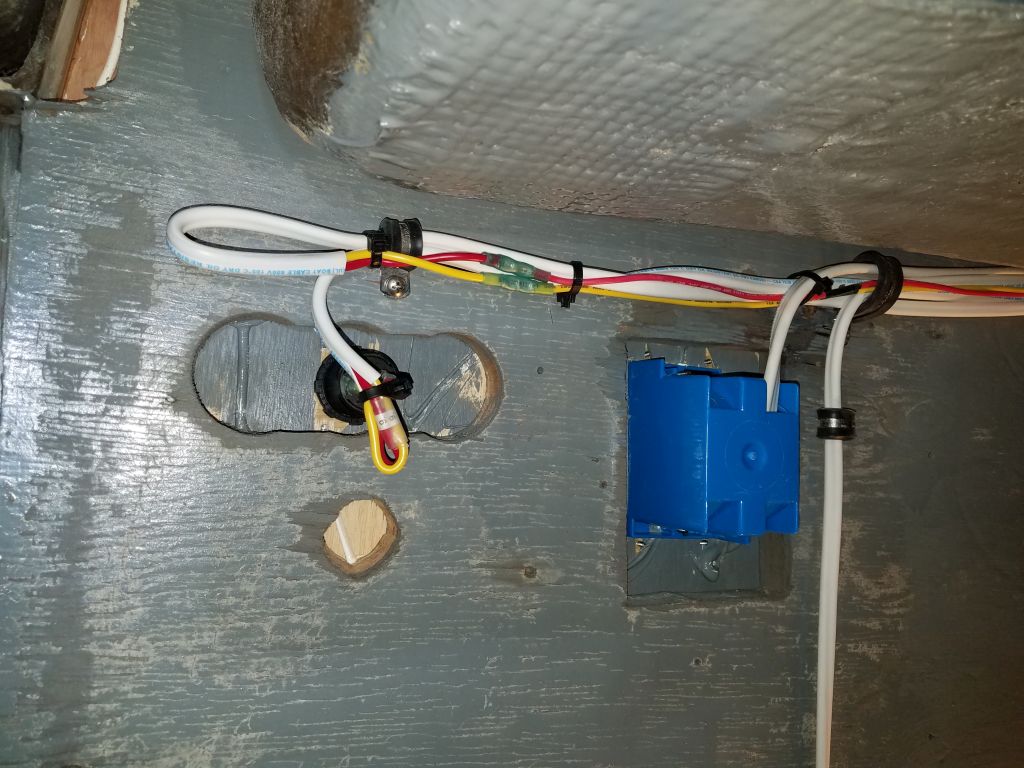
This is where the job got fun. To drill my hole, I first removed the trim along the upper aft edge of the bulkhead, then drilled a hole through at my mark. What I’d not counted on was the fact that the actual bulkhead didn’t extend quite all the way up, so there was a small gap hidden behind the beadboard. This meant that the hole, drilled at the extreme edge/corner of the bulkhead to hide it behind my wiring trim, didn’t come out cleanly or even in the proper orientation, and I had a bear of a time snaking the wires through. There was no direct, or even indirect, access to the back side, and after various failed attempts I had to open up the hole more than I wanted in order to have a chance at accessing the space for my wires. At great length I eventually managed to get a tiny, relatively stiff solid copper wire I had on hand through the hole and far enough down into the narrow, tall gap behind so I could finally grab it with a long grabby tool. Once I had the messenger through, pulling through the wire pair from the lights was straightforward enough, but this had taken inordinately long.
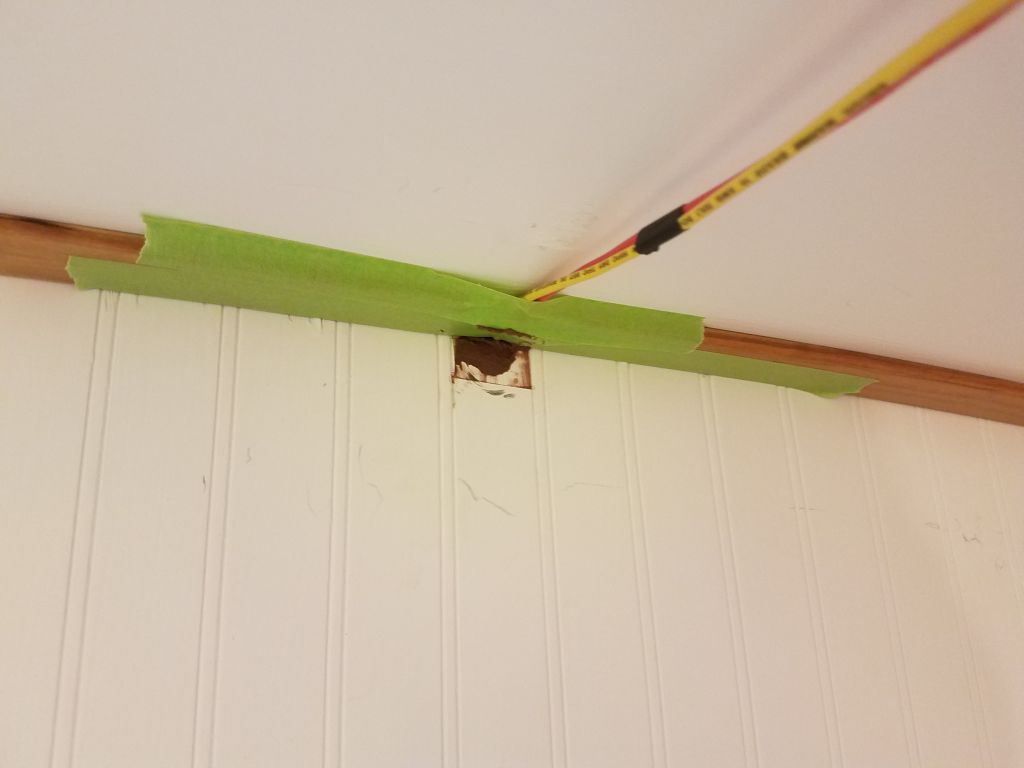
This left me with a larger and uglier hole than I had planned on–a bit too large for the trim to cover properly, so I’d have to patch the hole and repaint the area. But what mattered for right now was that the wires were in place.
I temporarily installed the new wiring trim after cutting it to length, and reinstalled the aft bulkhead trim that I cut to accommodate the wires and trim. So this would be ready to quickly install later, but for now I removed the trim and, after masking and other preparations, filled the excess hole in the bulkhead with an epoxy mixture.


Working from the port cockpit locker, I finished up the wiring connection for the galley lights, securing the new hard-won wires to the end of the circuit I’d run in for the purpose.
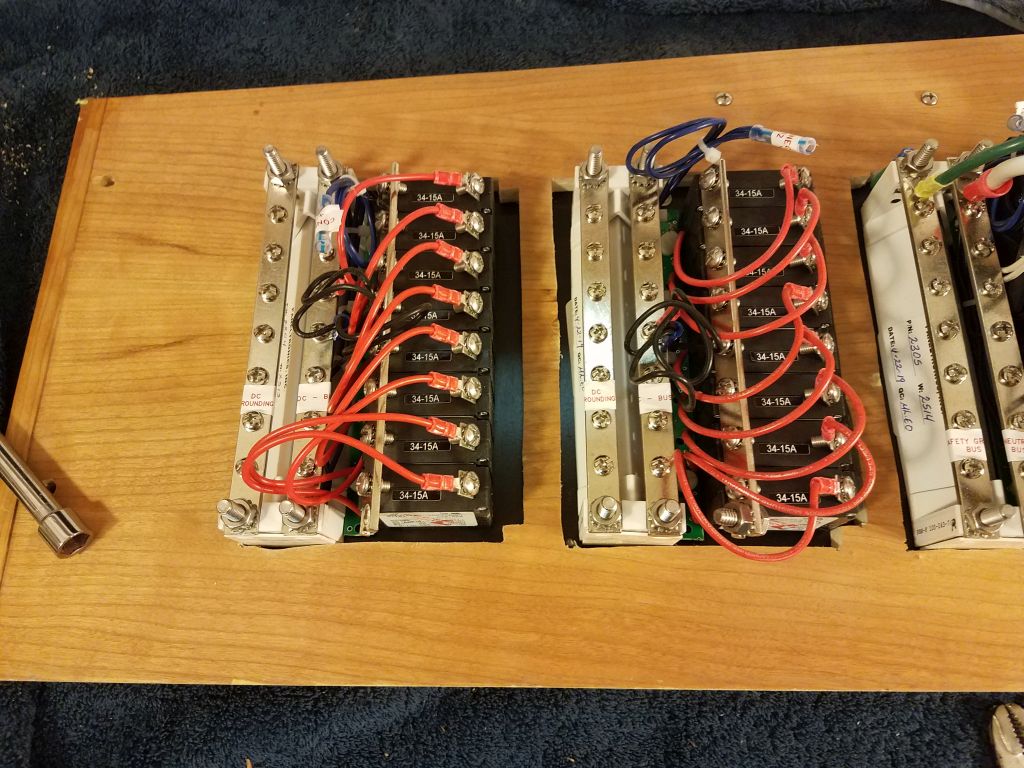
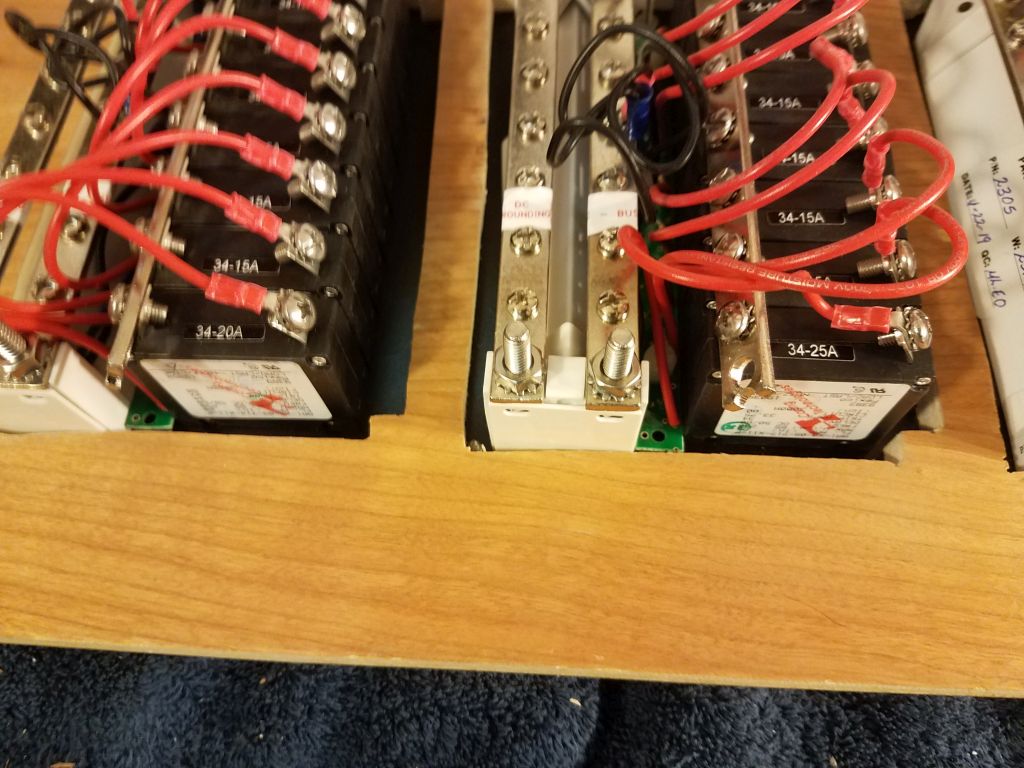
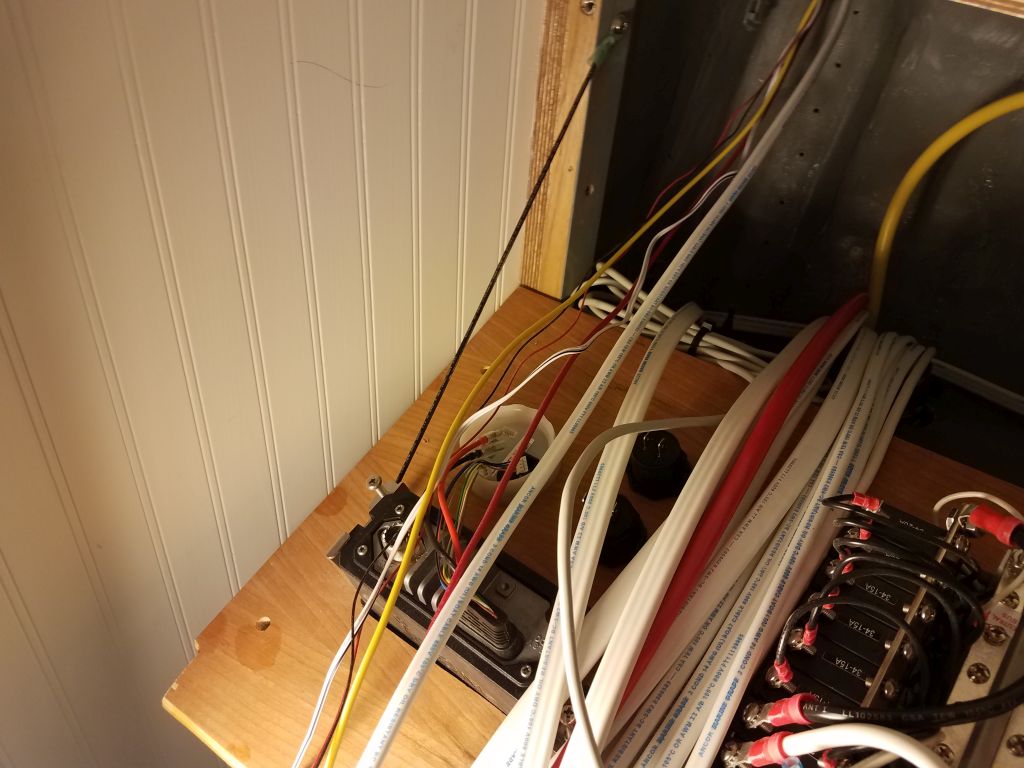
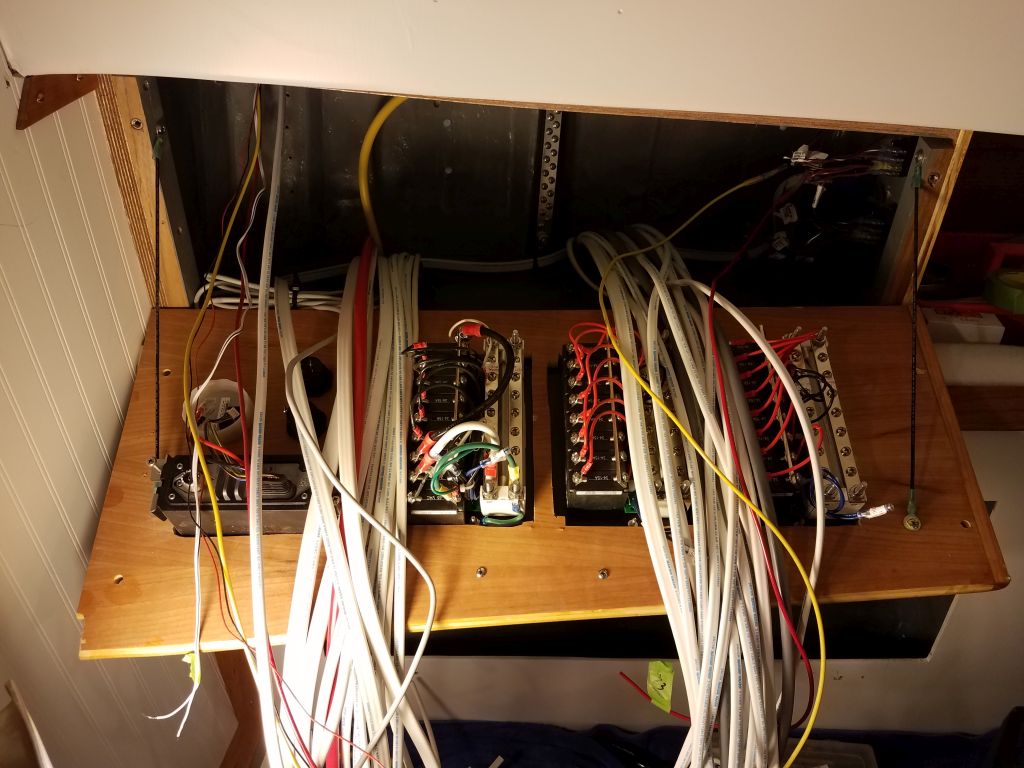
With only an hour or so left in the day, I decided to get ready for the final panel wiring and installation. To accommodate a couple higher-draw appliances on board, namely the electric toilet and the potable water pump, I needed to replace a couple of the stock 15-amp circuit breakers in the panel with larger ones: 25-amp and 20-amp, respectively. I decided to put these larger breakers at the bottom of each panel, so I disassembled the panels as needed to remove the old breakers and install the new.

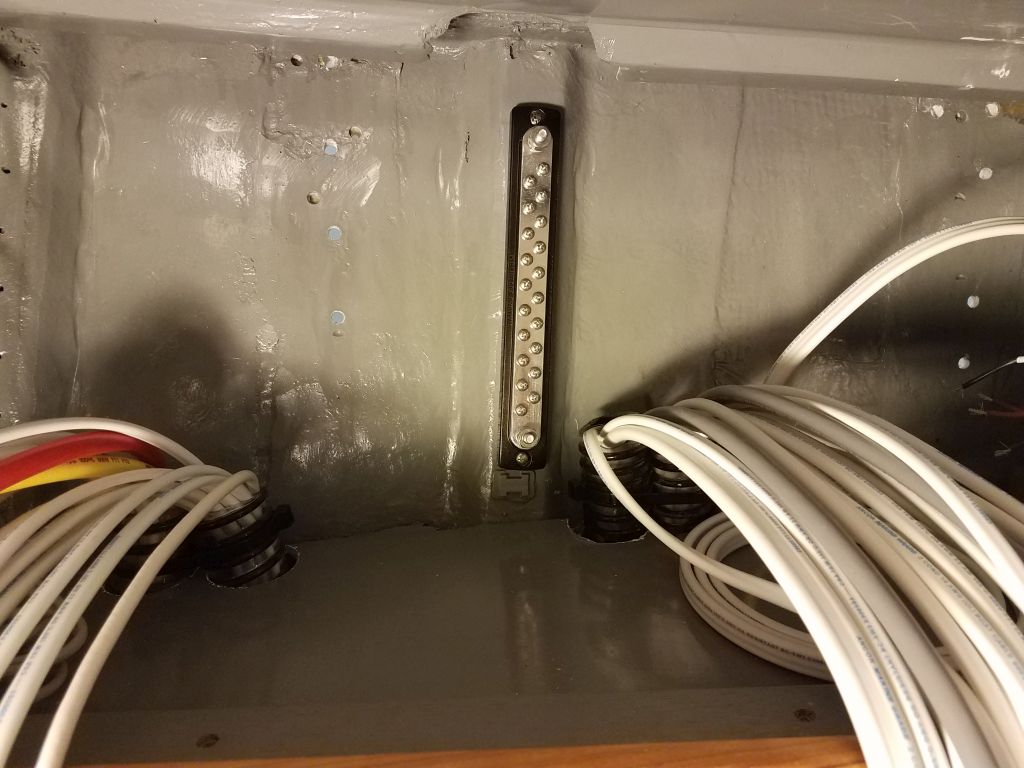
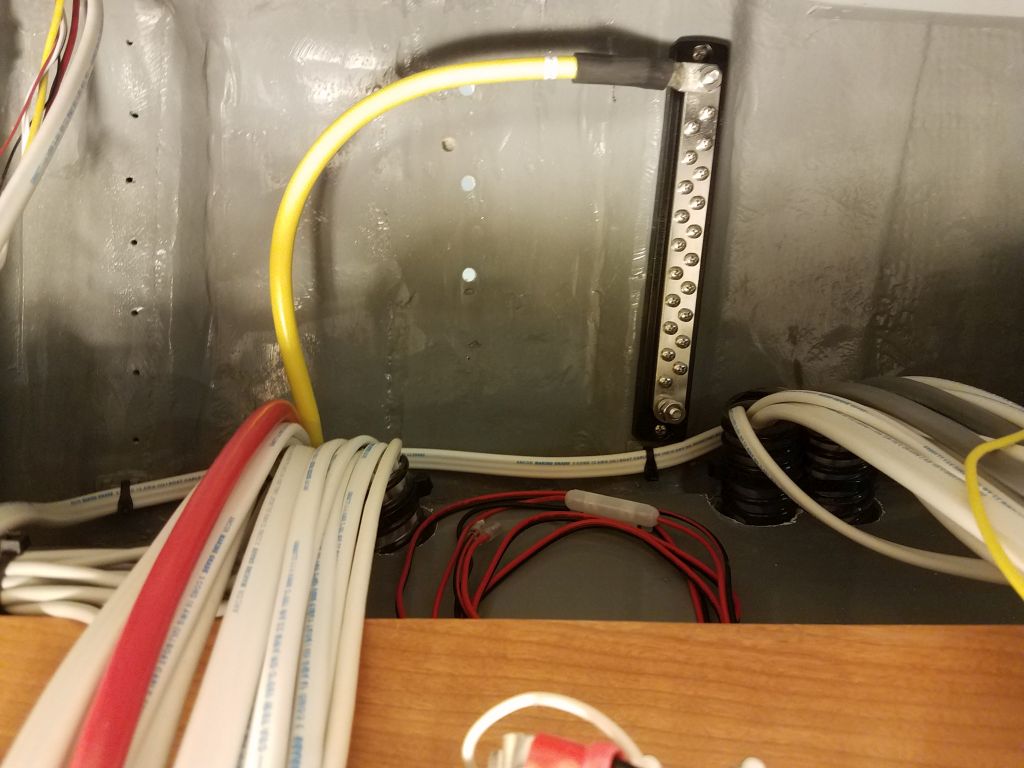
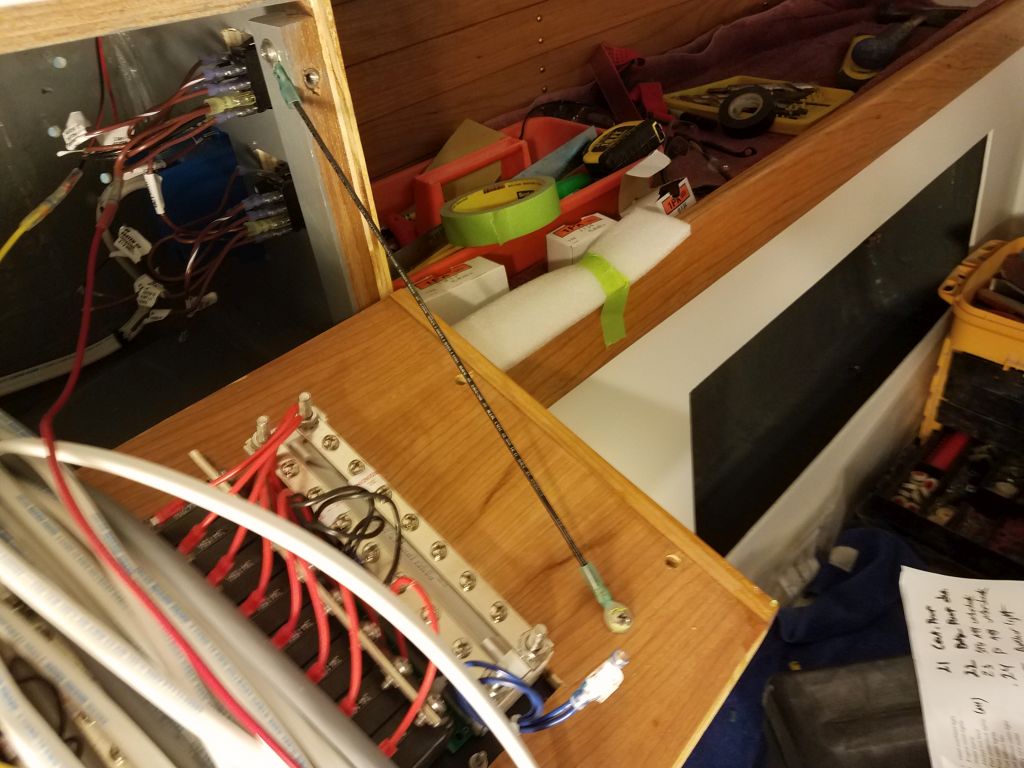
In the electrical locker, I chose a location for and installed a large negative distribution buss, so which I’d install all negative wires. To begin the process, I cut to length and terminated the yellow wire leading to the panel from the house battery location and negative buss there.
To secure the locker cover and electrical panels while working on the final wiring, I made up a couple supports from spare wire, which let the panel hang in an open position with good access for wiring now, and maintenance later. I looked forward to making order from the wiring mess starting next time.
Total time billed on this job today: 8 hours
0600 Weather Observation: 12°, clear. Forecast for the day: Sunny, 22°