


April 11, 2019
Scupper 122
Thursday
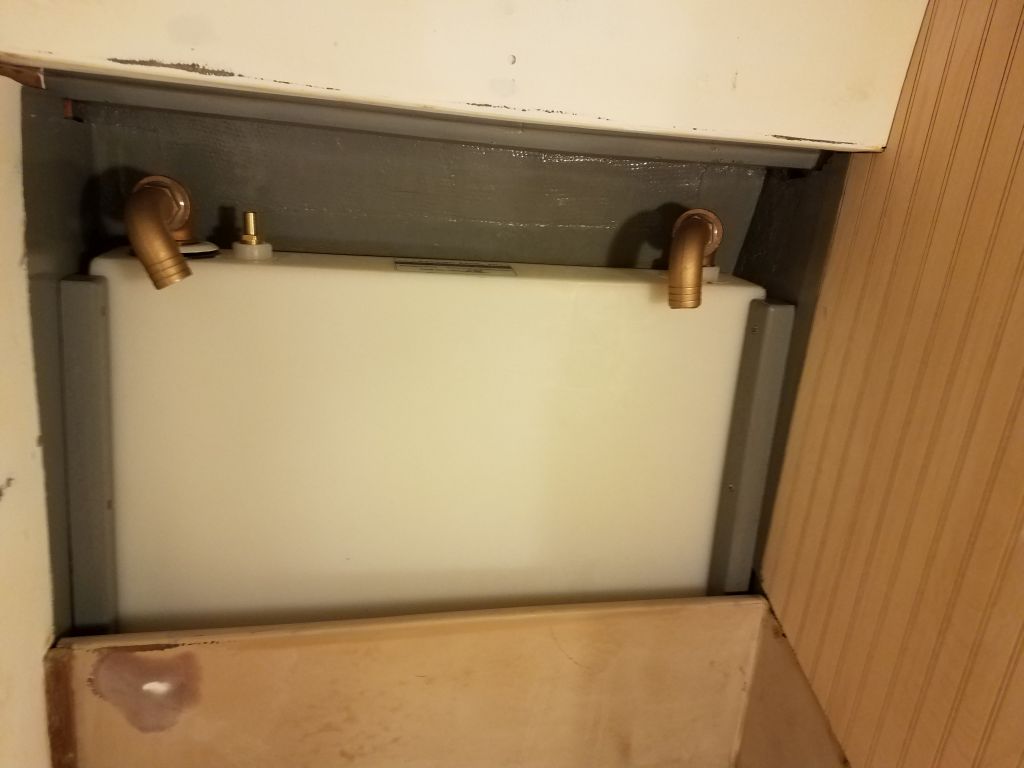
First thing, I installed the holding tank, securing it in place with two of the cleats I’d made and painted earlier. I didn’t like the cleats I’d prepared as hold-downs for the top edges of the tank–in the final analysis they didn’t really do the job as I’d hoped–so I made some new, larger ones and set them aside to paint before installation.
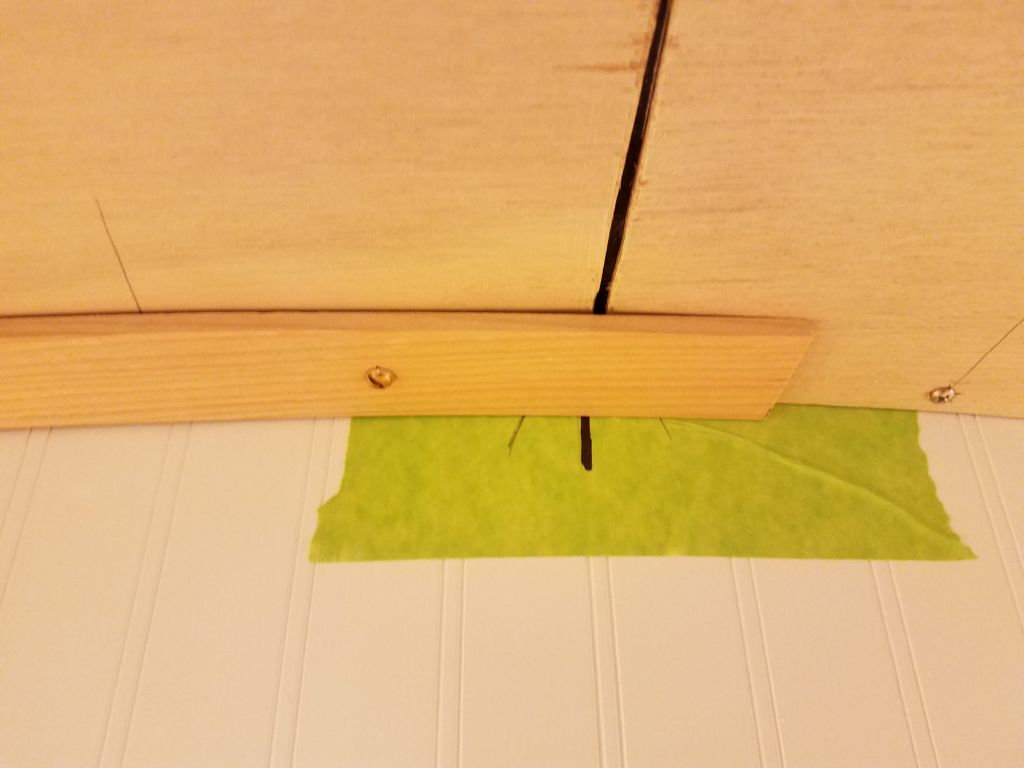
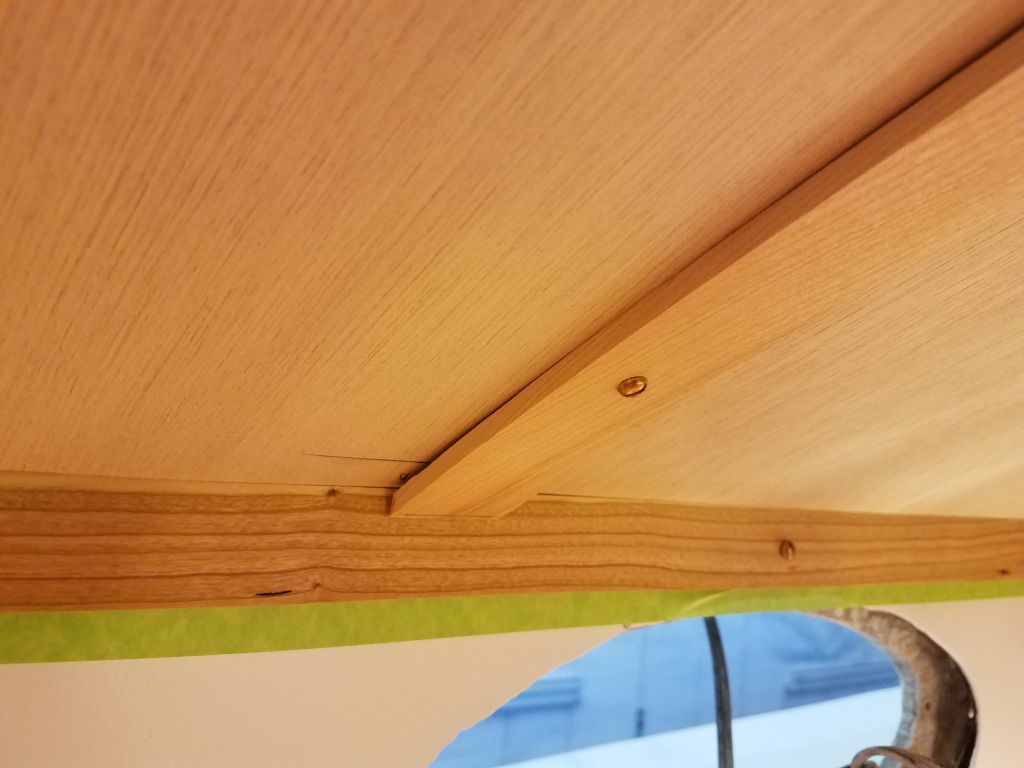
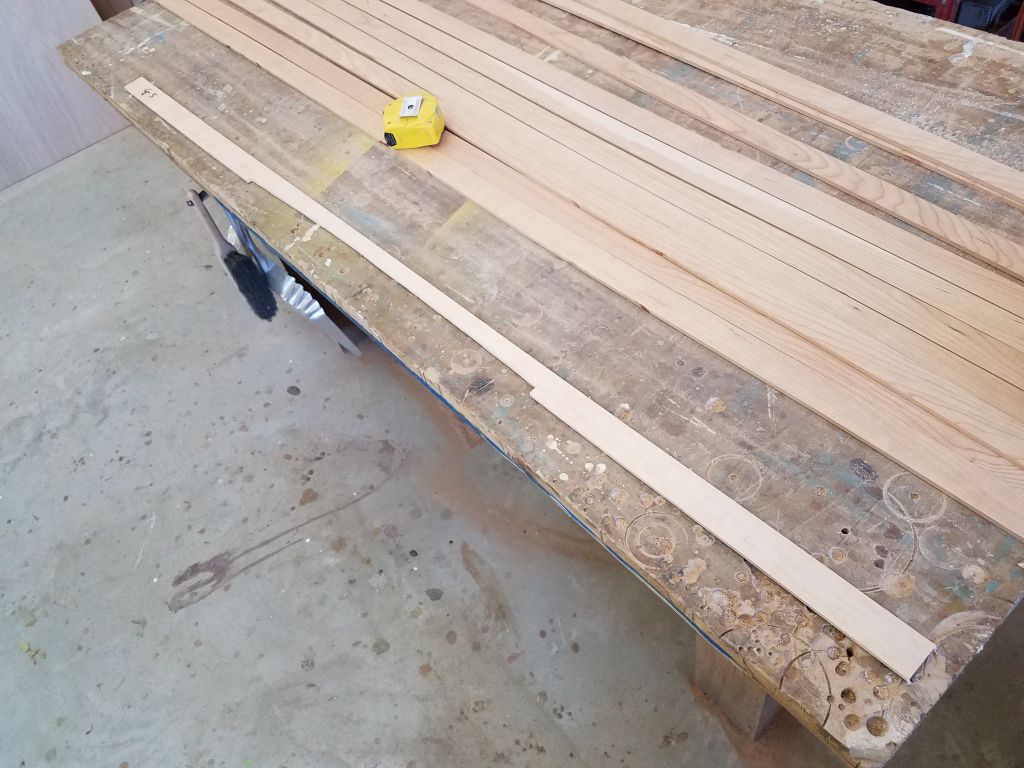
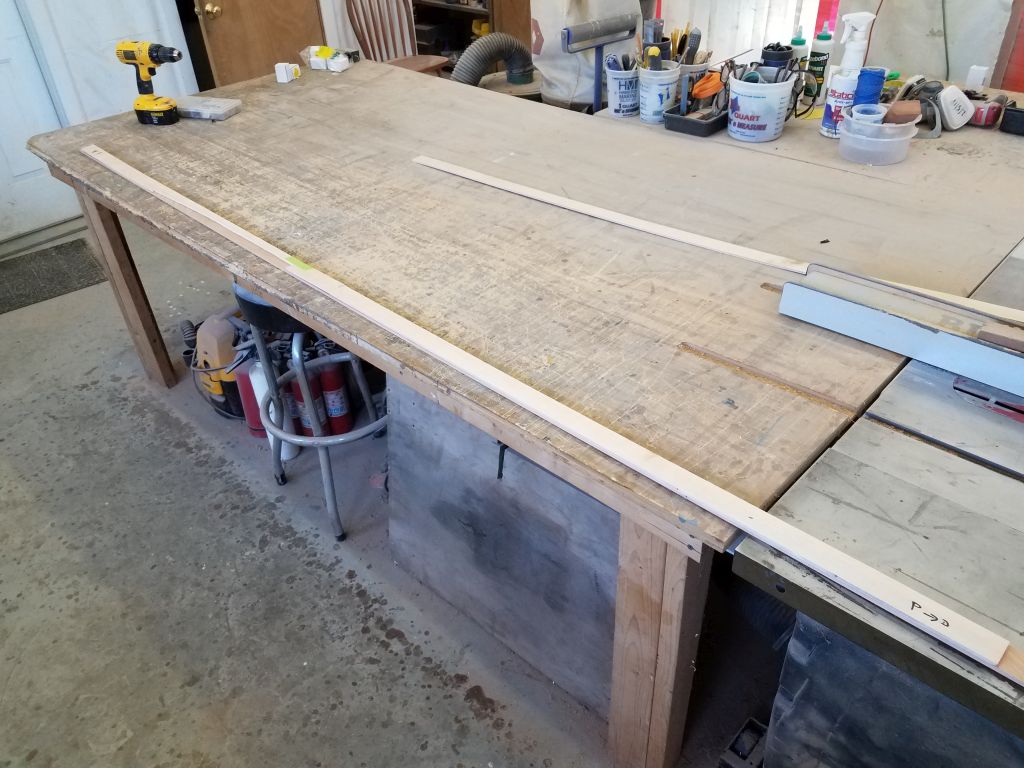
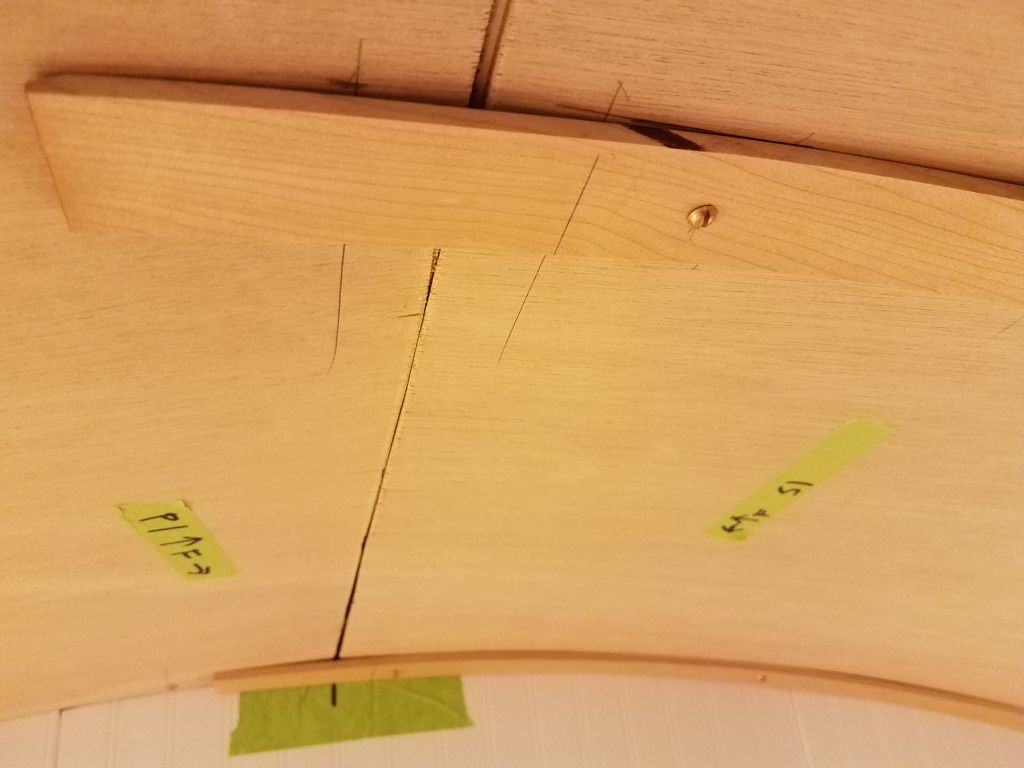
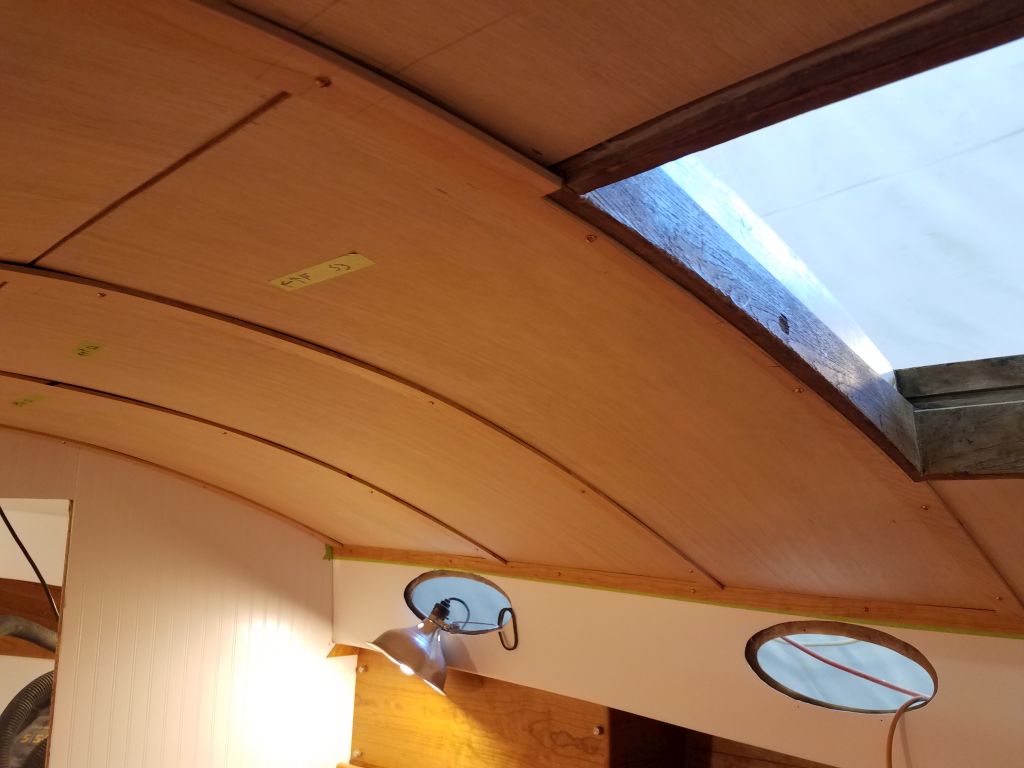
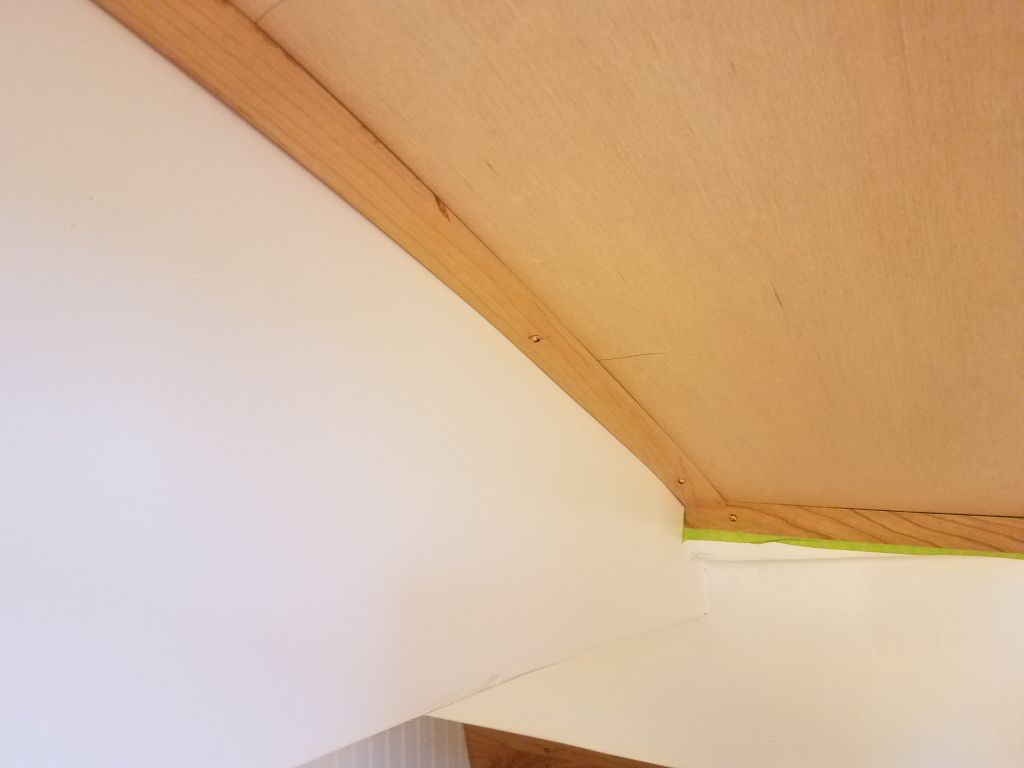
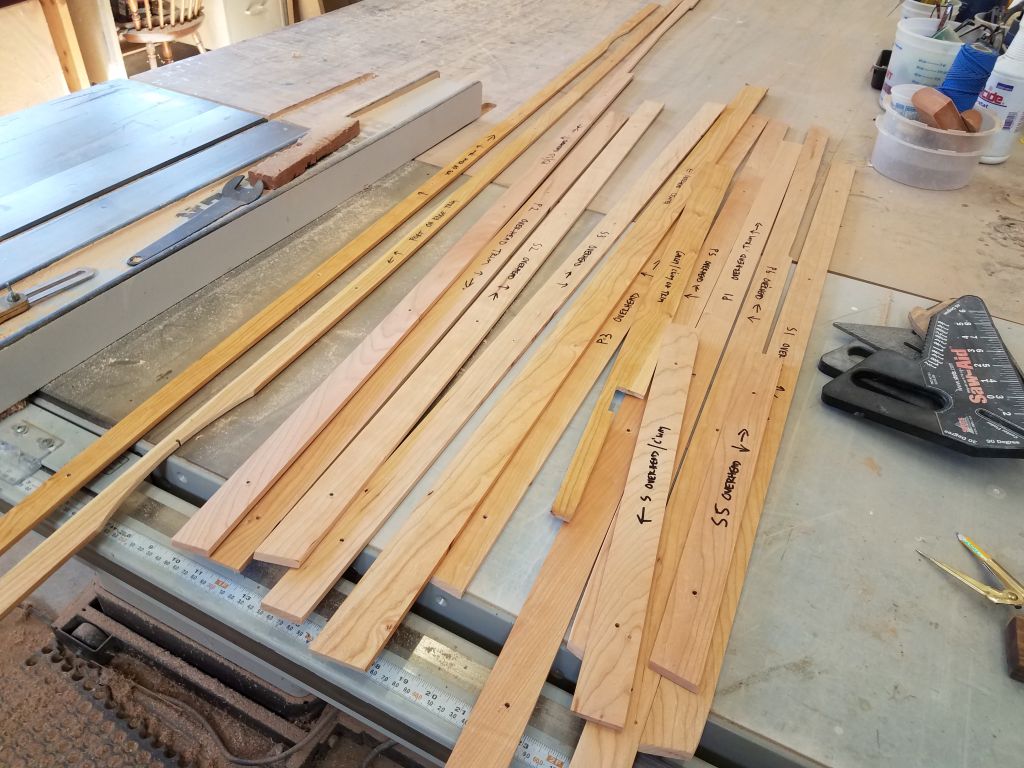
With my new stack of milled trim lumber at the ready, I got to work on the overhead trim, starting randomly at the port forward side. These trims would cover the edges of the plywood panels, and also the screws holding the panels in place, and I planned to run them from each side up to the centerline, where I’d install a longitudinal trim strip across the center seams of the panels. Keeping the transverse trims only half-width made installation more straightforward, since I could run them overlong at the centerline rather than having to cut and fit an exact length to both sides at once.
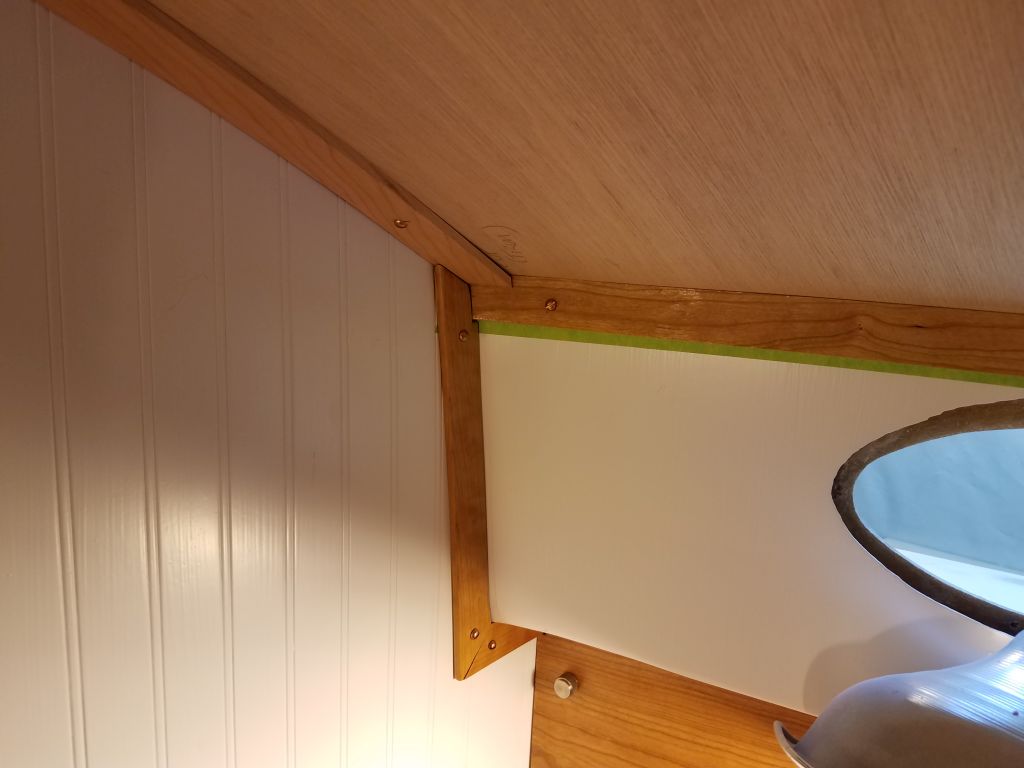
With a piece of trim cut to generous, rough length, I scribed the angles where it met the cabin trunk (or, more specifically, the trim I’d installed there), and with a satisfactory fit I fastened it in place with bronze trim screws. I let it overhang the centerline for now. This piece of trim also required a slight scribe and cut where it met the vertical bulkhead, since the bulkhead had a bit of a burble in it at this top edge.
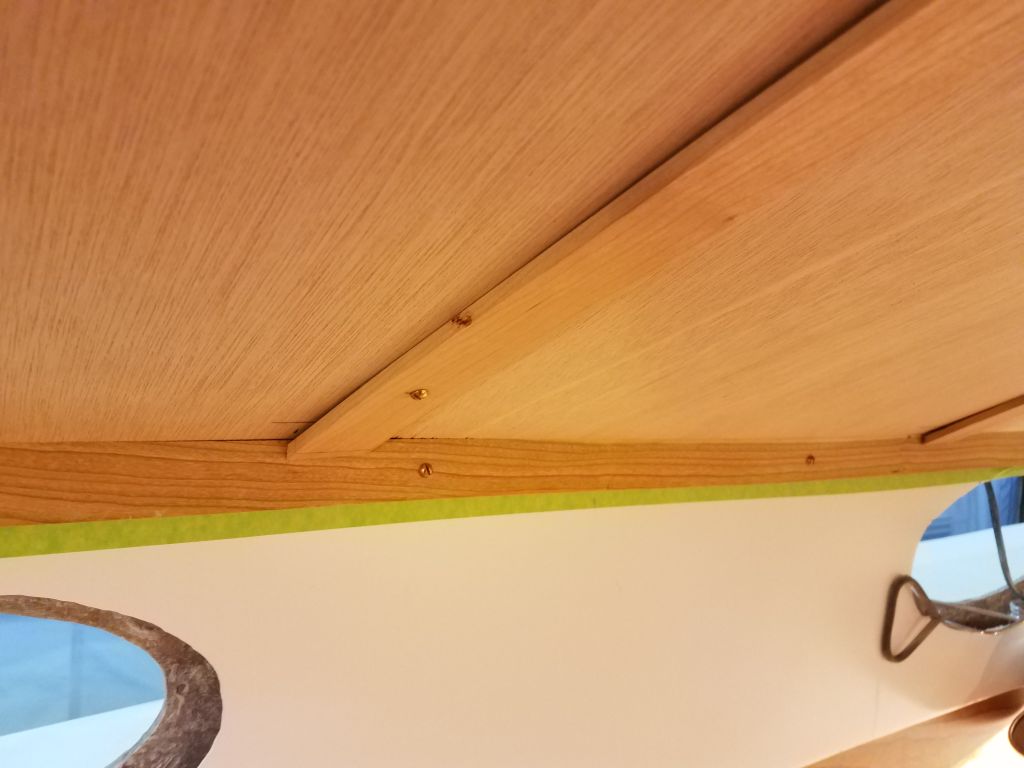
The way the two pieces of overhead trim came together caused me to rethink my original plan for integrating the existing (but temporarily-removed) vertical bulkhead trim beneath. I’d first thought I would trim the new trims to fit around the existing piece, but this just didn’t make any sense, so instead I re-cut the top edge of the “old” trim to fit into the new situation above.


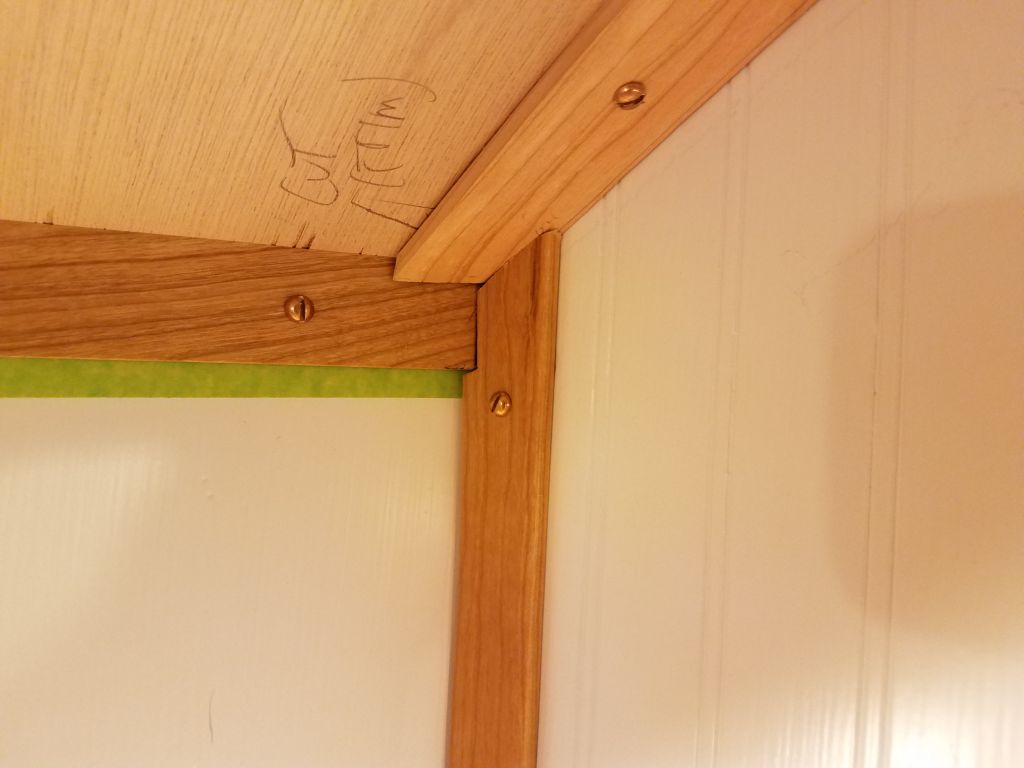

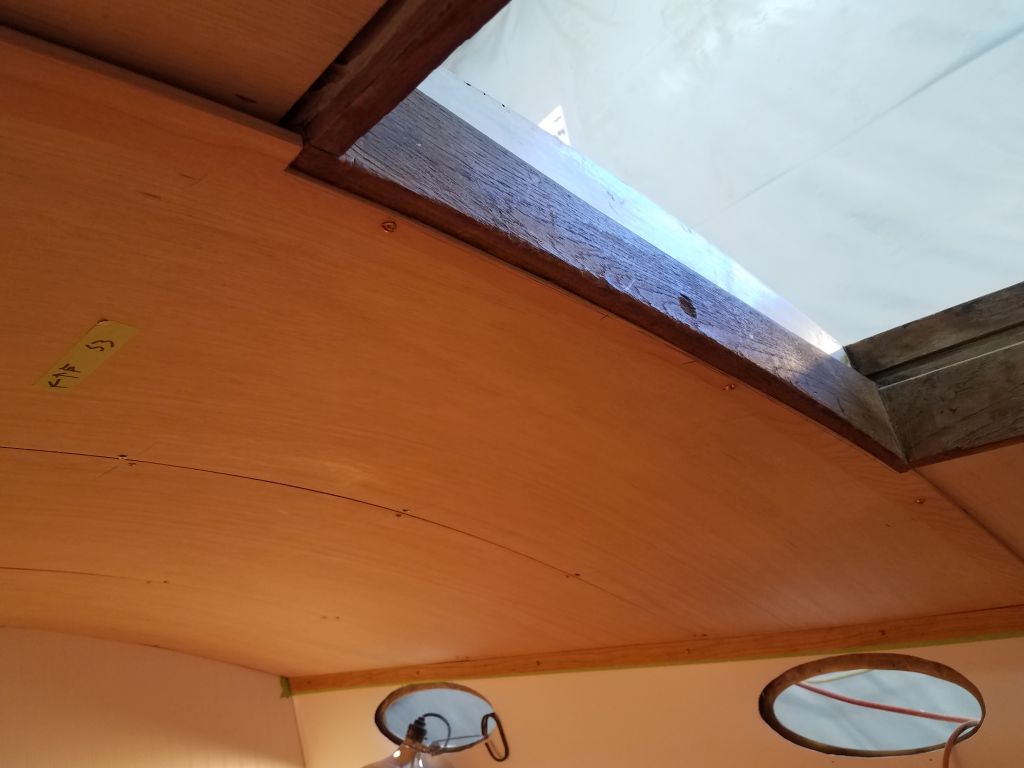
Moving aft on the port side, I cut and installed the second and third pieces of transverse trim, each of which required a compound cut on the outboard ends; as before, I let the inboard end run past the centerline for now, awaiting later trimming to length. Note that any gaps between the new trim and the plywood indicate where the panel screws are located beneath; I purposely avoided over-tightening the screws for the dry fit, but in the final installation, these screws would be flush, and allow the trim to fit tightly along its length in each case.
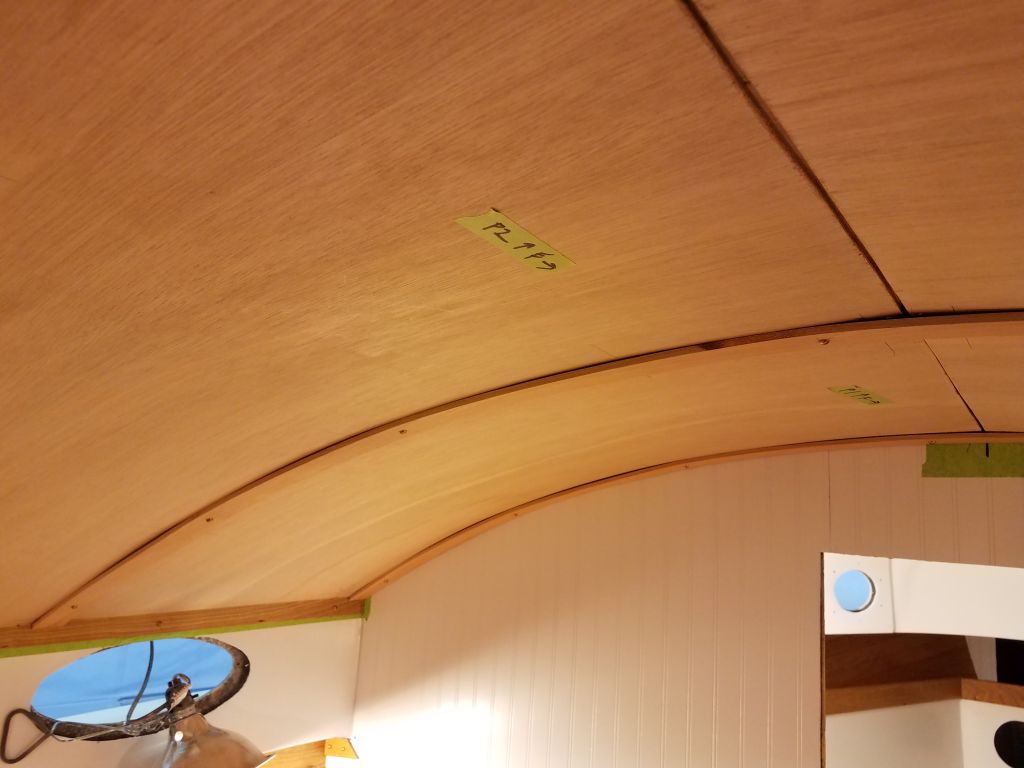

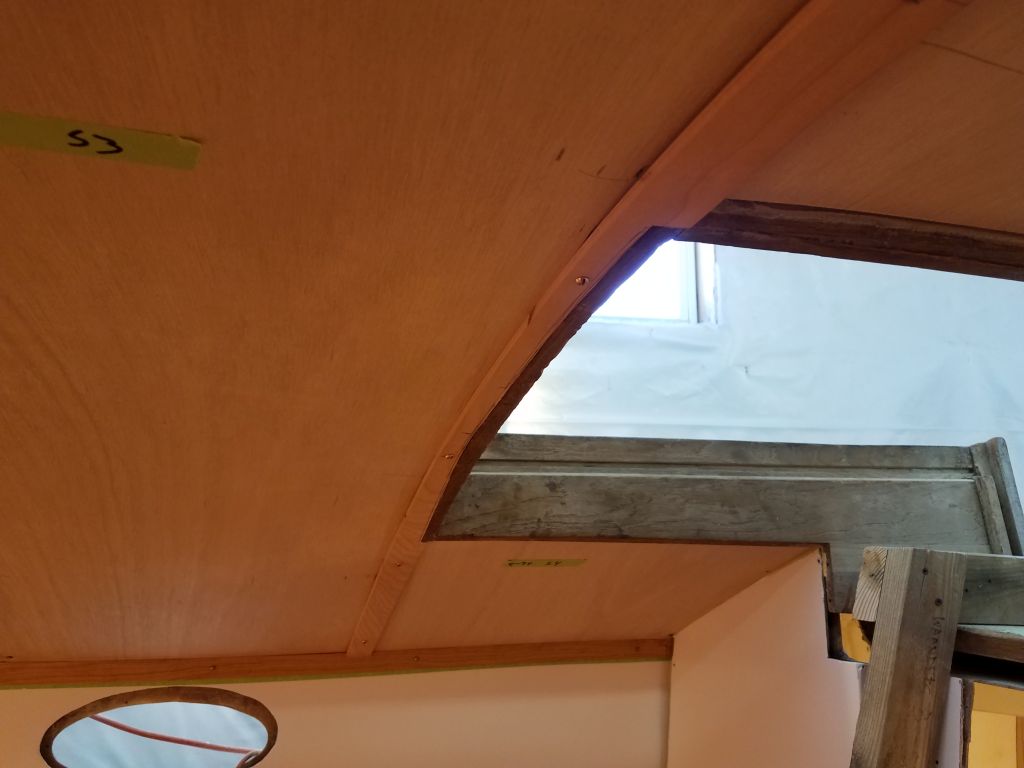
The next piece of trim coincided with the forward end of the companionway opening, and also signaled a visual transition between the symmetrical forward portion of the overhead and the two distinct sections of the aft portion. It would also serve as an end point for the longitudinal centerline trim, as the two panels required aft of this point on the port side would actually pass by the centerline before ending at the off-center companionway hatch. Therefore, I decided to make this a single piece spanning the entire width of the overhead, and incorporating the companionway opening.
Because the forward edge of the opening was not straight nor square to the rest of the trim, I couldn’t let a regular piece of trim just butt against the forward edge; this would have been nice, but instead I had to make a relief cut to allow the trim to fit. With a specific length required from side-to-side, and compound cuts at both ends, I chose to make a two-piece plywood template of the trim, using pattern plywood cut to 1-1/2″ wide, same as the trim. This way, with a few reference marks on the overhead, I could more easily determine the end cuts, the cutout around the companionway, and the final length, after which I transferred the shape to a piece of the cherry and cut out the piece accordingly.


Before continuing with the starboard side trim, I used a piece of 2″ wide stock intended for the longitudinal centerline to mark the ends of the three pieces of port trim where I’d need to cut them; then, I removed the port trim so I could repeat the installation steps with the three forward sections of trim on the starboard side, including changing the cut at the top of the bulkhead trim in the corner. Then, I marked the new pieces of trim at the centerline as well.
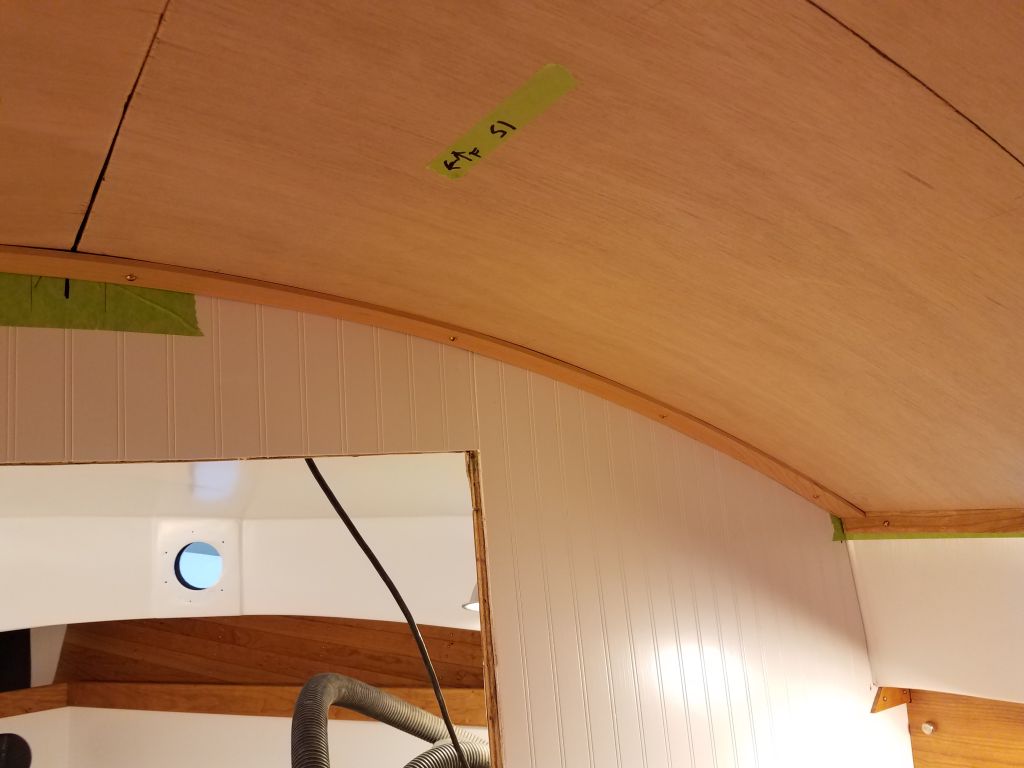

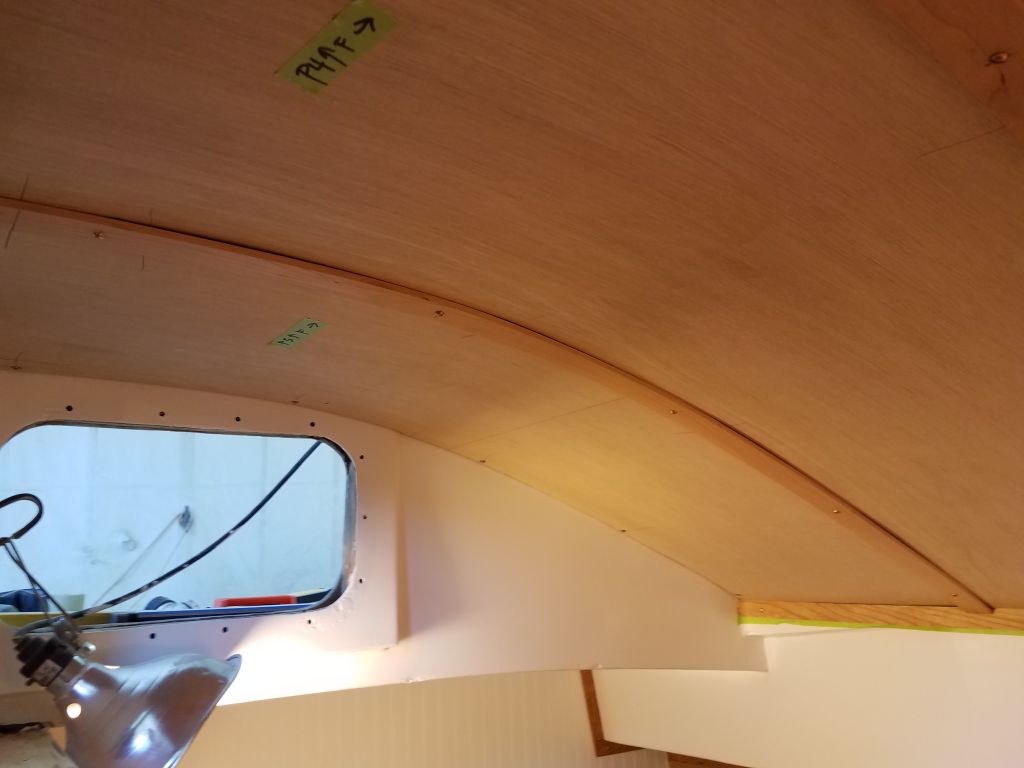
The port after section above the galley required three pieces of trim: two transverse arcs, plus a wider piece at the companionway edge, which I scribed to fit the shape of the space as needed. The forward of the two transverse trims was straightforward to install, much as the similar sections forward had been, though this one passed by the centerline and would ultimately end with a butt against the companionway trim; I made a reference mark there for later cutting.
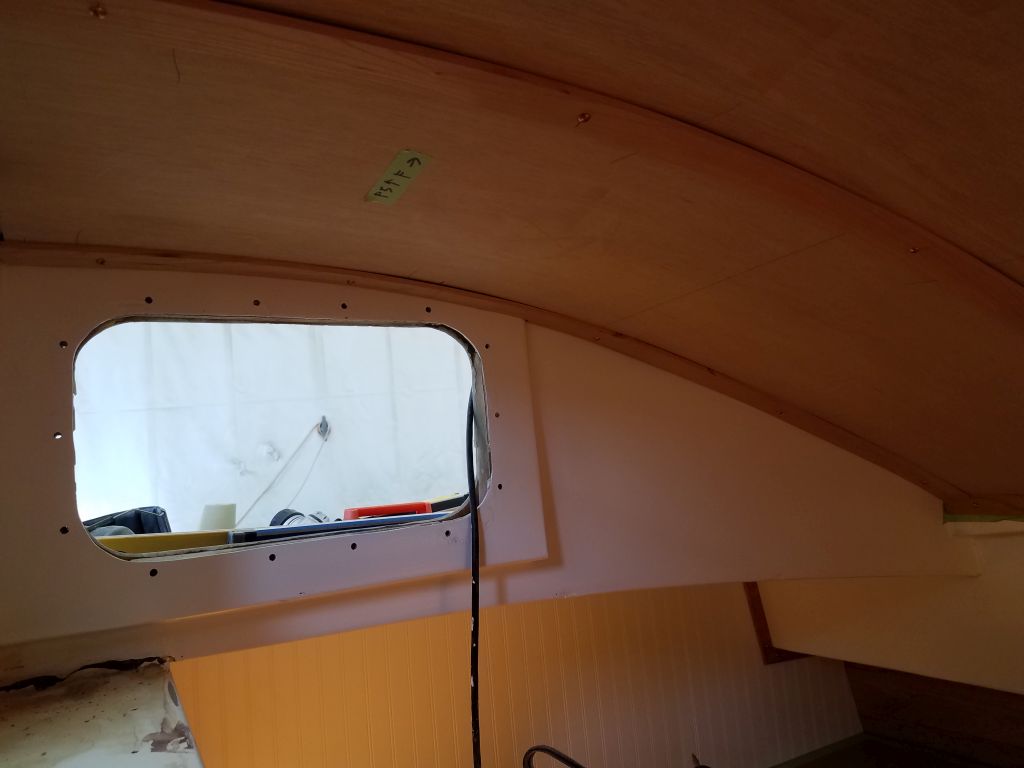
The aftermost piece, against the bulkhead, required another plywood template to fit, as it required a relief cut around the molded flat where the large opening port fit, plus the end cuts to fit properly in the defined space.

Finally, I cut and fit two short pieces of trim as needed to complete the small starboard section of overhead, and re-cut the vertical bulkhead trim to fit the new configuration.


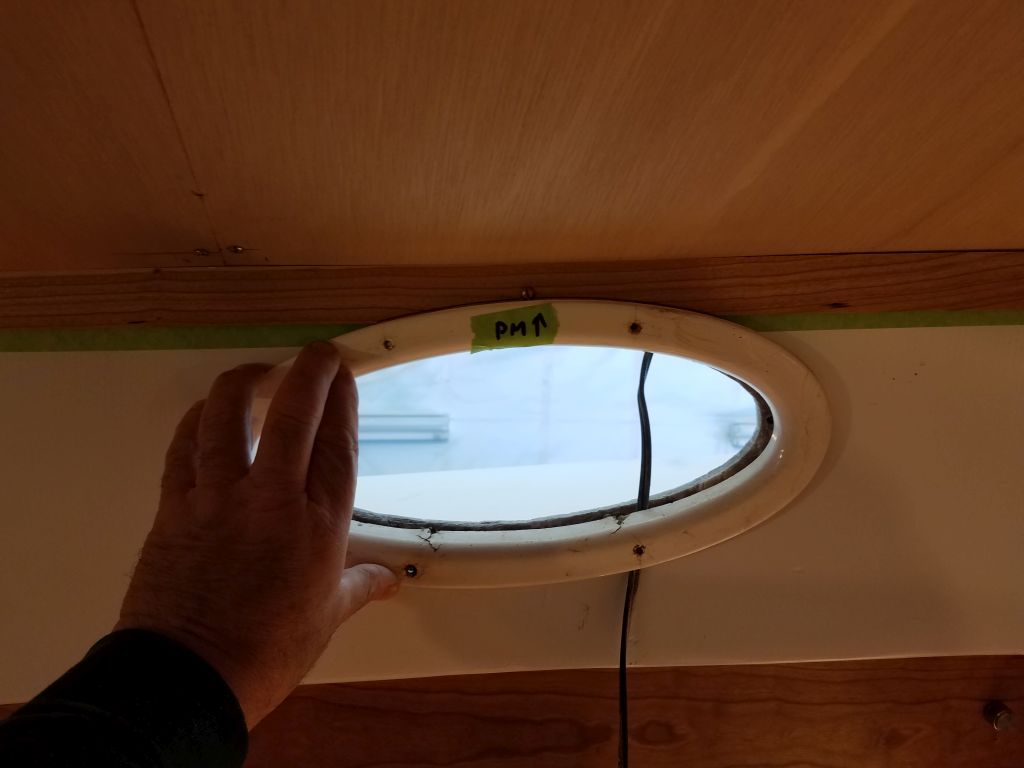
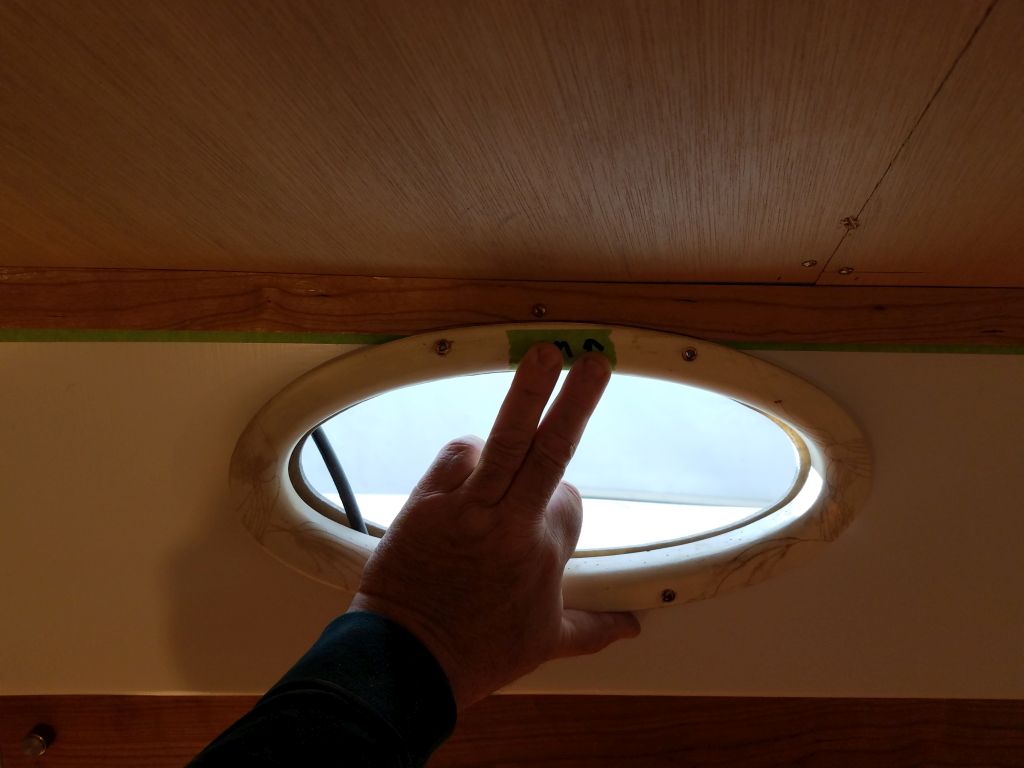
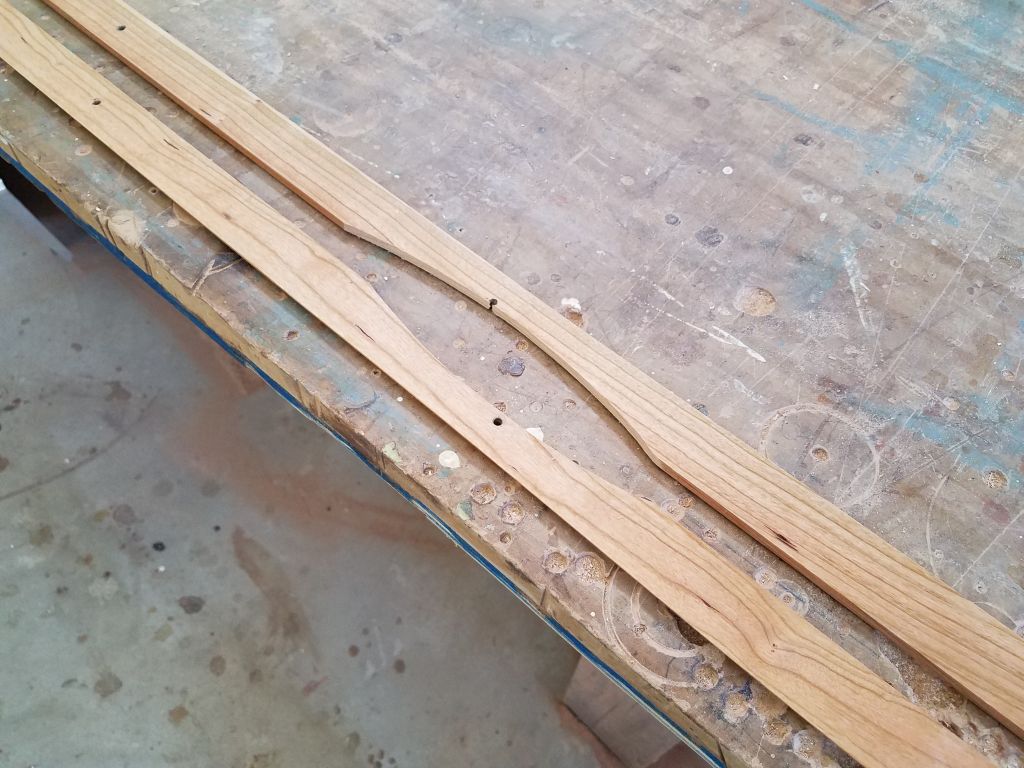
At the two forward deadlight openings in the main cabin, I used the fiberglass inner trim rings to mark each of the edge trims for a relief cut that would be required in order to reinstall the trim rings. Later, after I’d removed all the trim, I made these cuts.
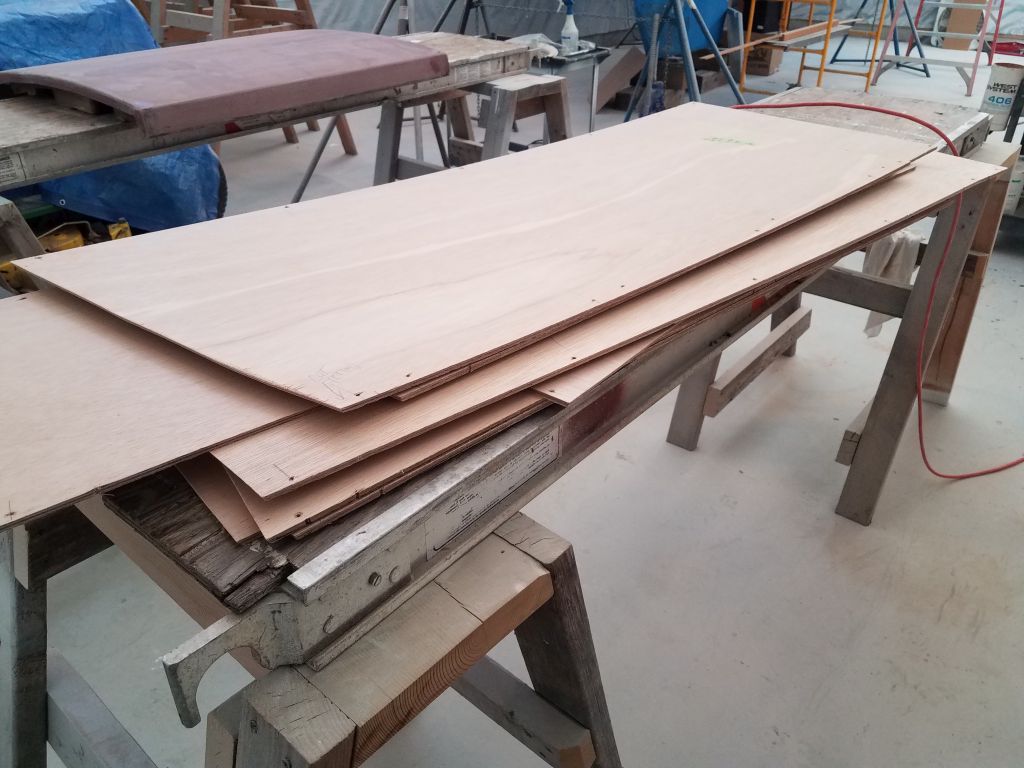
Now, I removed all the trim pieces, and then the overhead panels themselves, setting all aside for final preparations, varnish, and painting.
Total time billed on this job today: 8.25 hours
0600 Weather observation: 20°, clear. Forecast for the day: Sunny, 48°