


February 12, 2020
Scupper 240
Wednesday
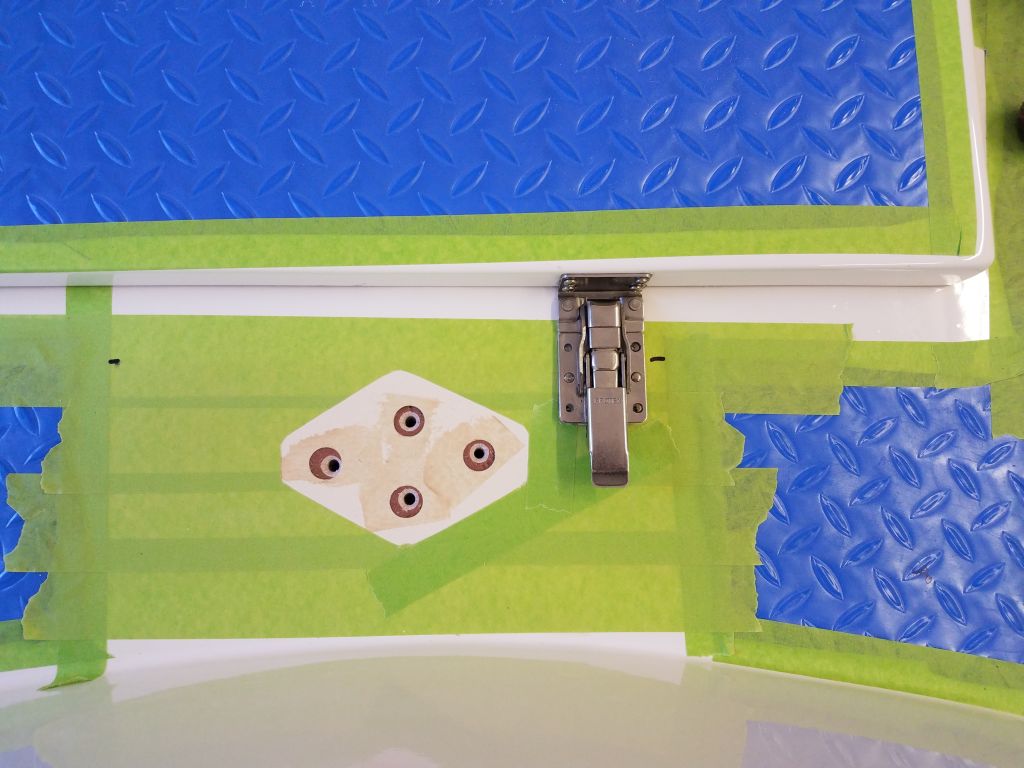
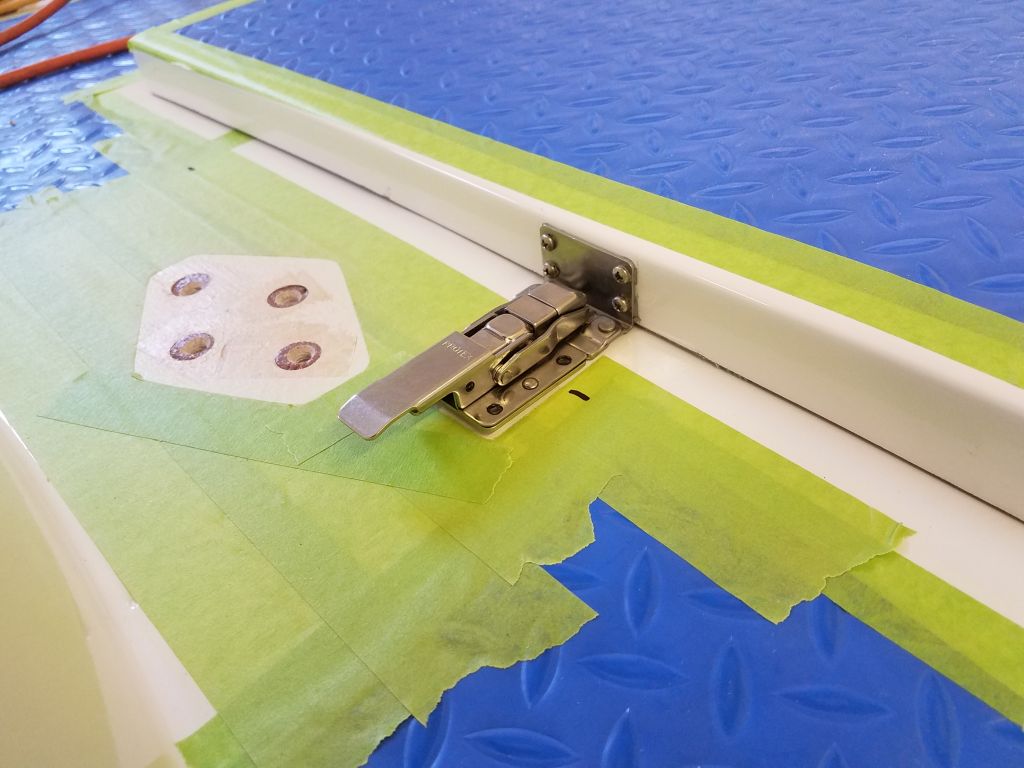
The slim height of the lazarette hatch required a specific sort of latch, one that could work in the narrow inside corner formed by the hatch and the adjacent deck, securing the hatch in place as well as providing a means of locking. I obtained just such a latch, and now went through the usual motions of installation, beginning with the hatch-mounted side of the latch, which I screwed directly to the forward side of the new hatch with four machine screws and sealant.
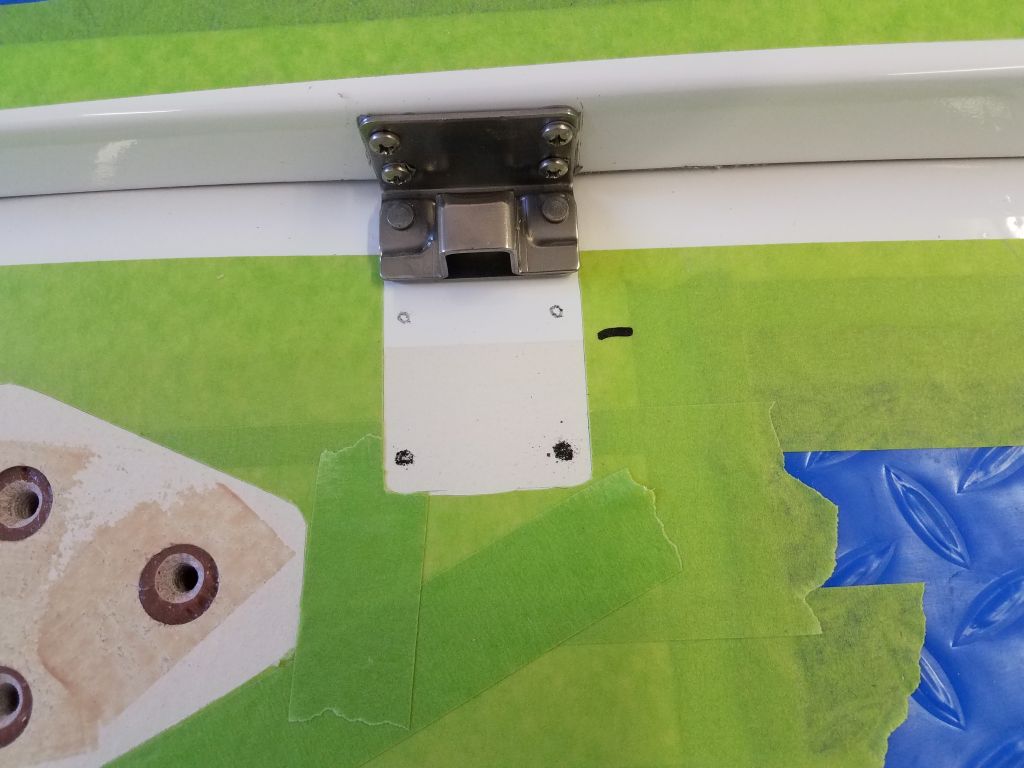
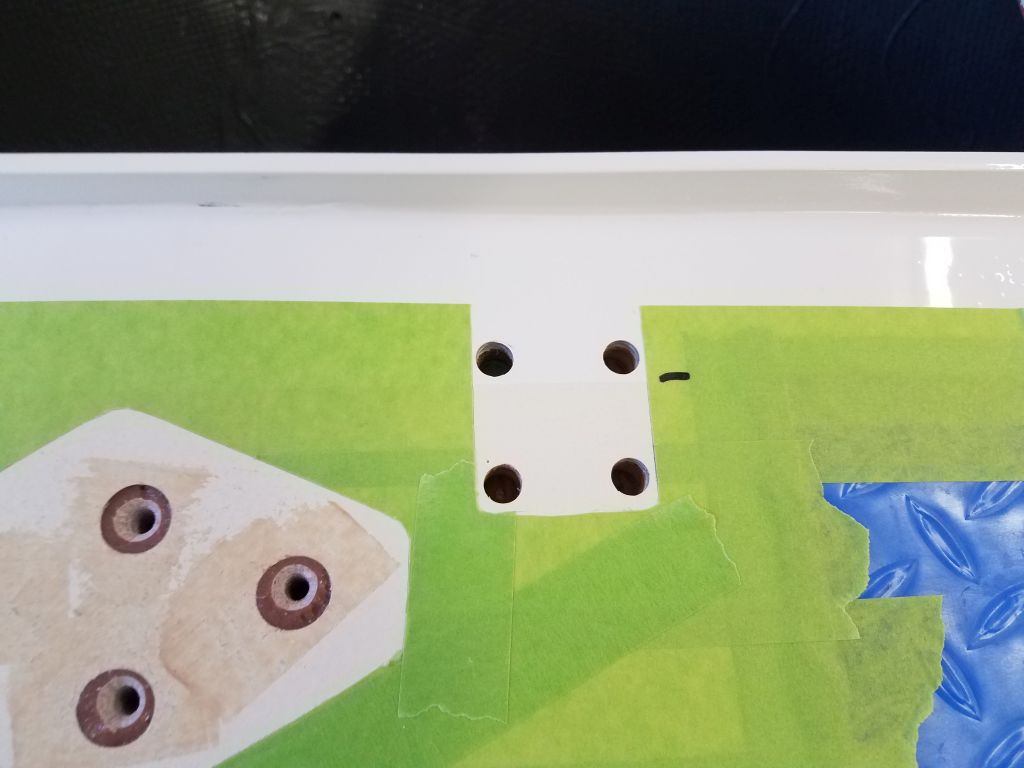
Once that was in place, I could lay out the deck side of the hasp and prepare the holes in the usual way.
During a couple of my normal trips up and down the ladder in the morning, I lifted two of the new batteries up on deck, and eventually into the cabin, working in stages: each battery weighed around 90 pounds, so to lift the batteries 10′ up to the deck, then down 6′ into the cabin, and using the formula W = Fs, where W is the amount of work done in Newtons, F is the amount of force applied (1 Lackey), and s is…well, it’s been a long time since school, but it was a lot of work. Too much, really, and I vowed to find other than human means to raise the remaining 8 batteries, but for now the two house batteries were aboard, and I looked forward to finishing up their installation so I could test the electrical installations.


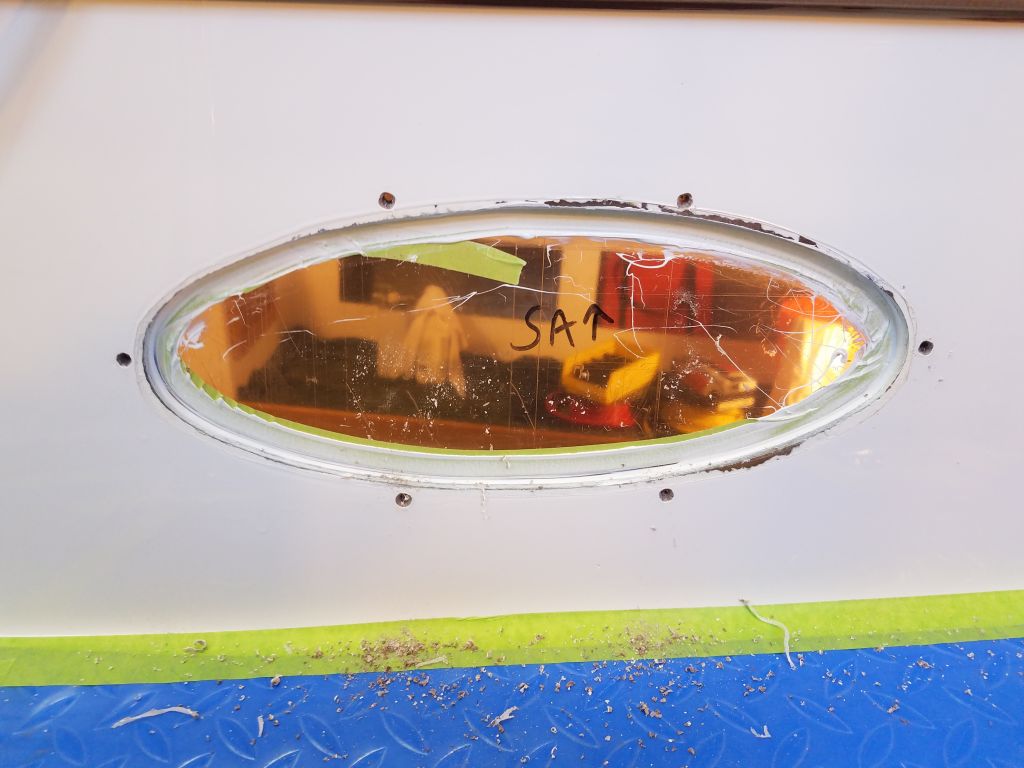
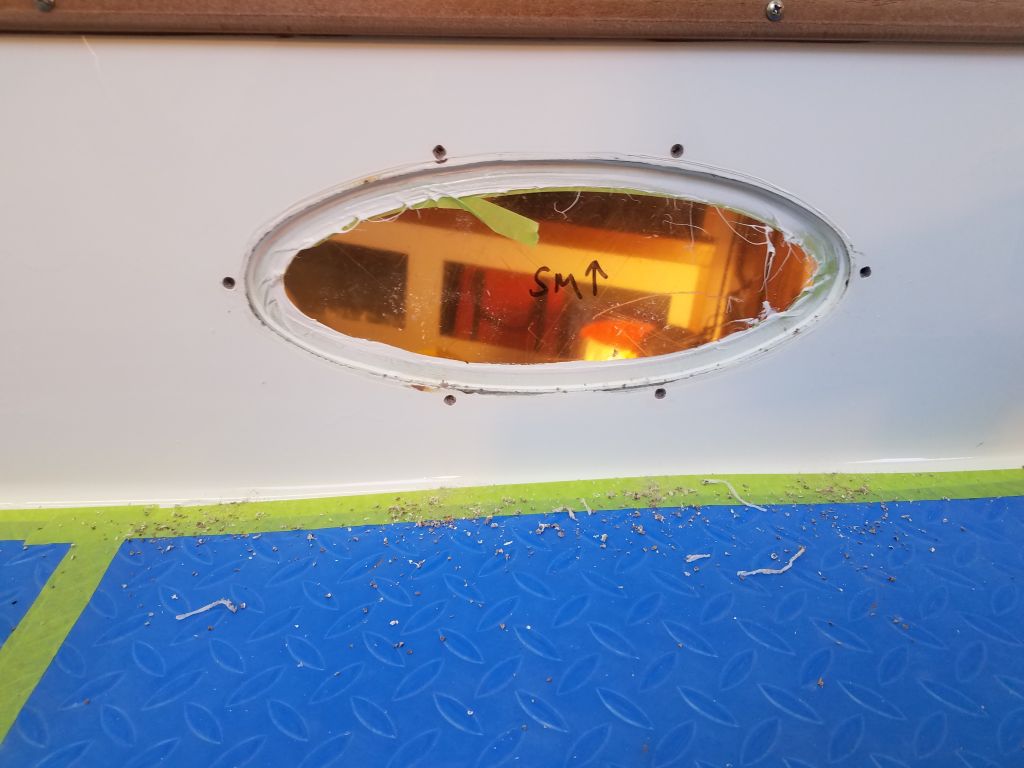
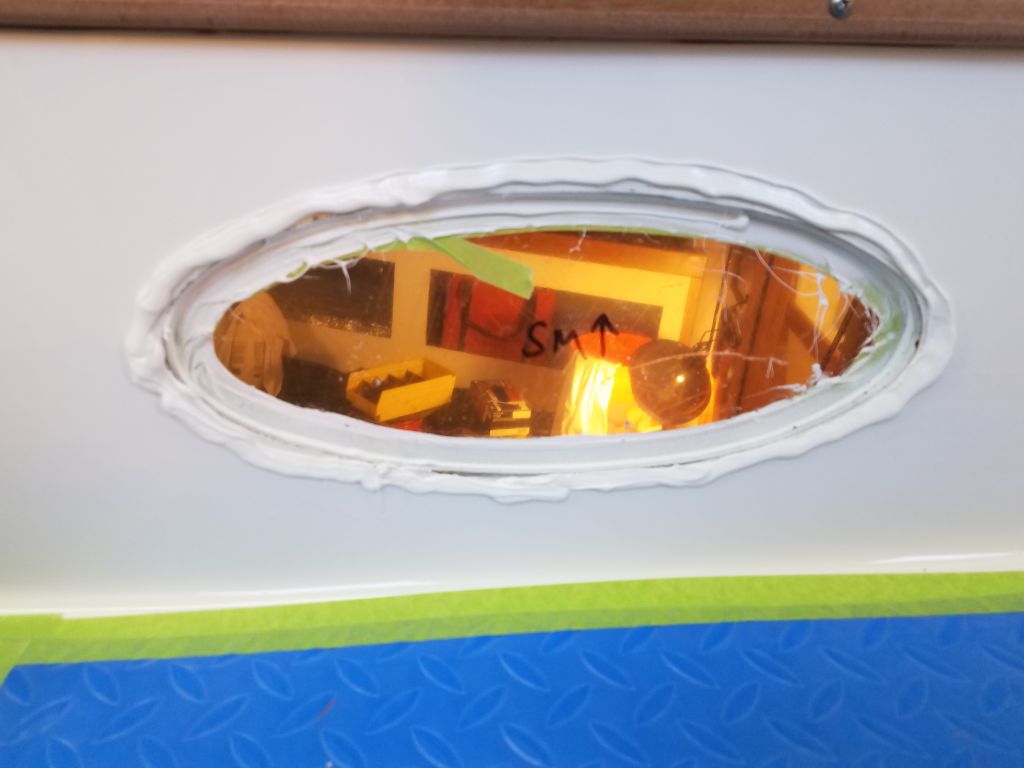
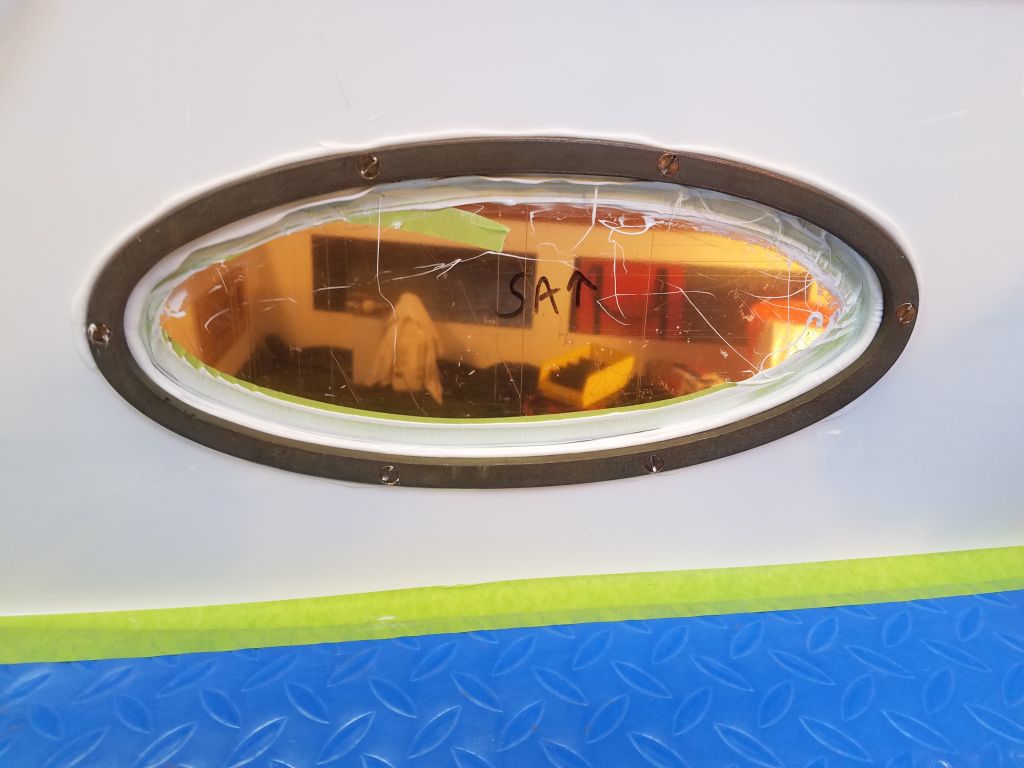
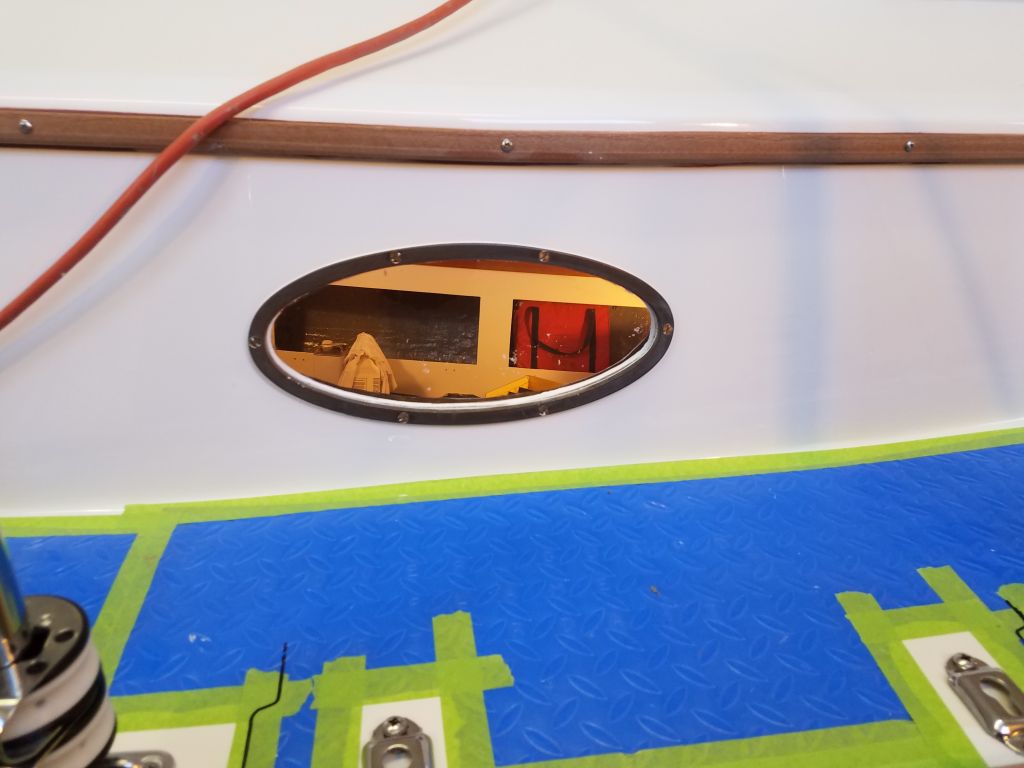
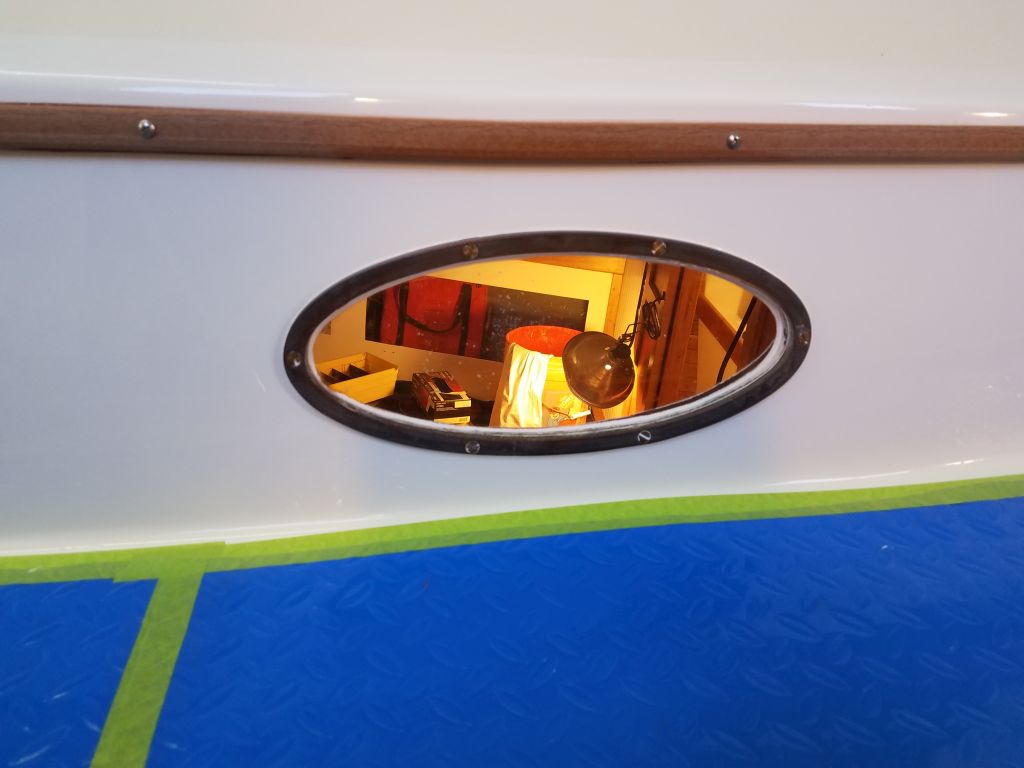
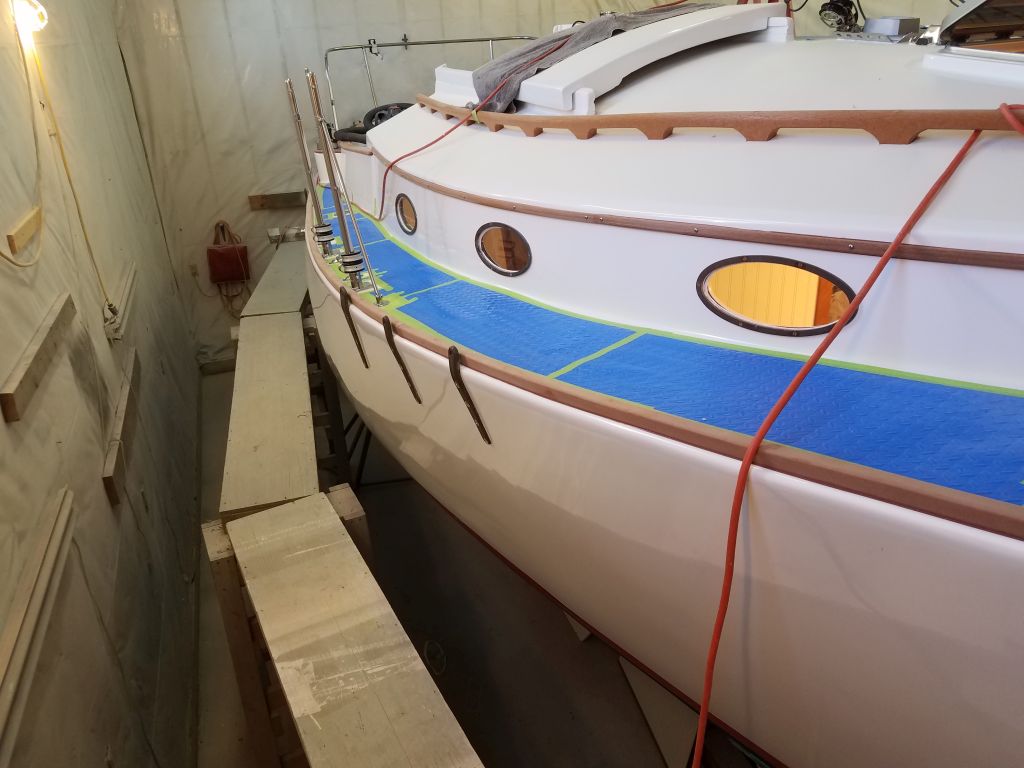
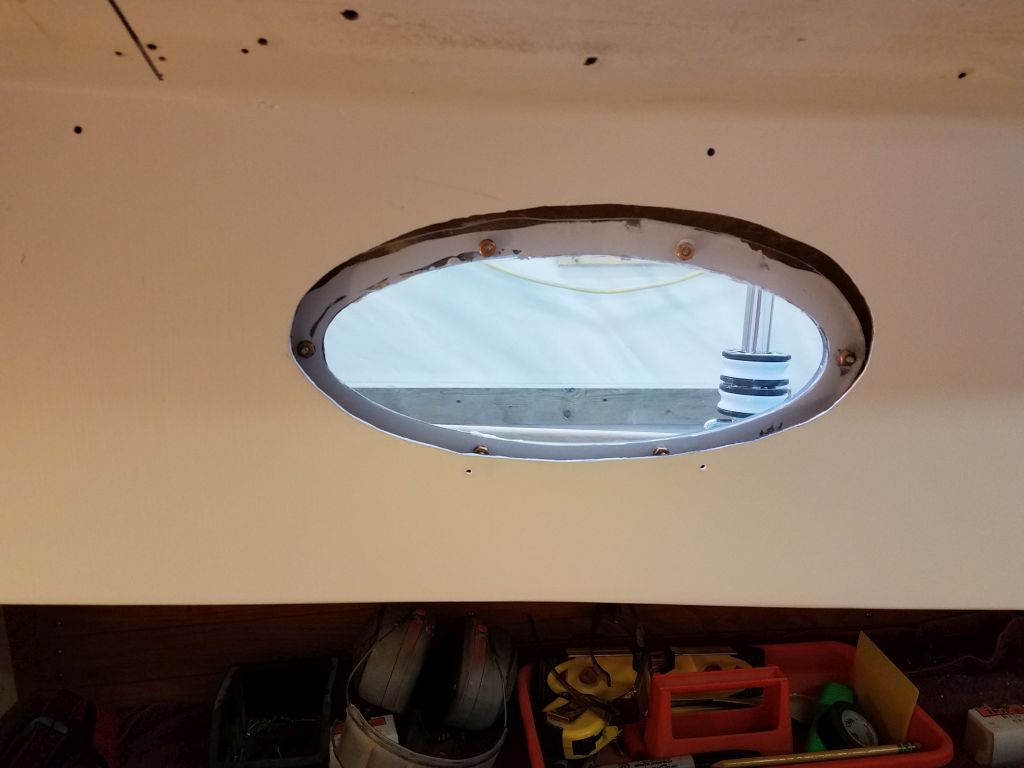
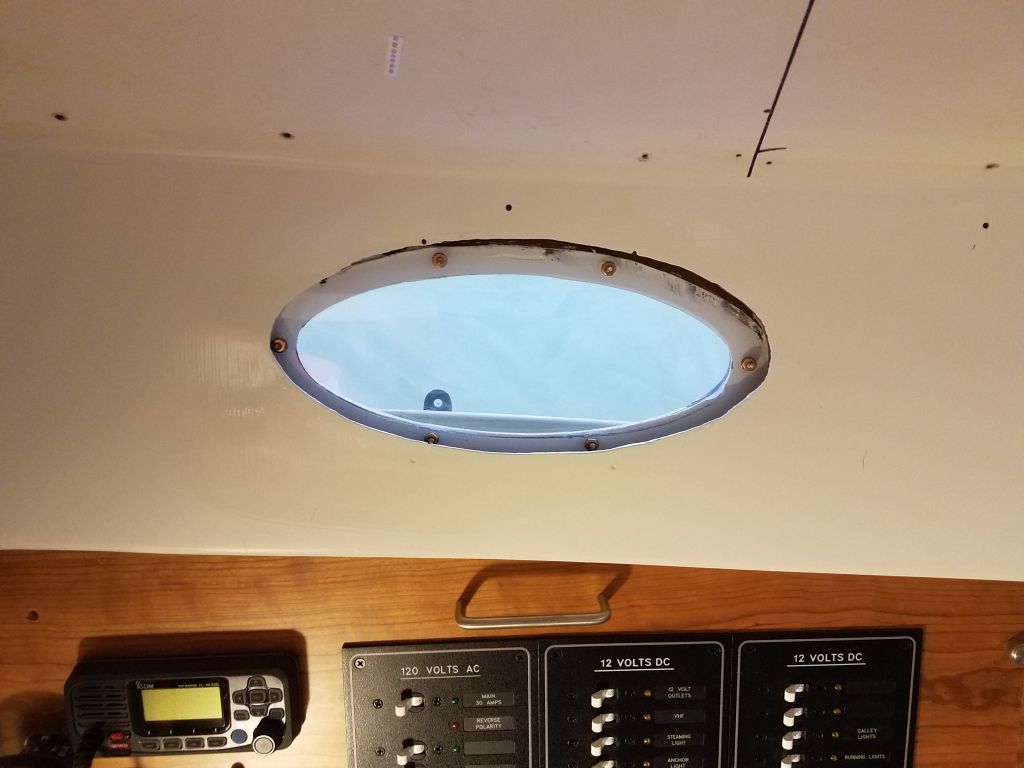
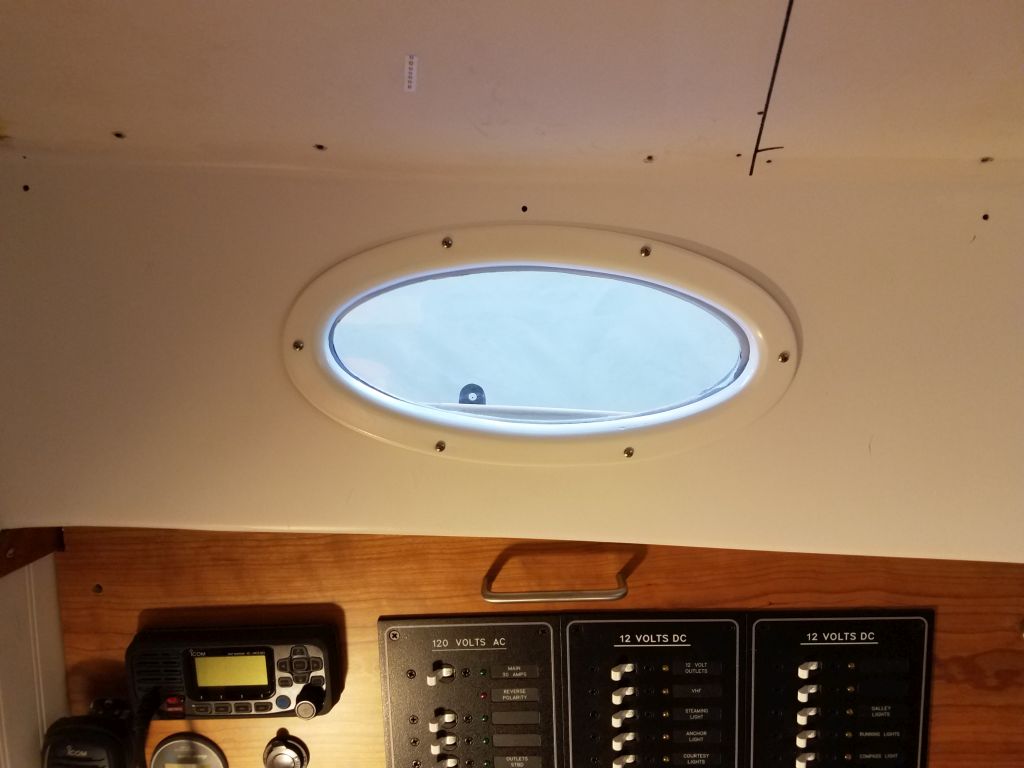
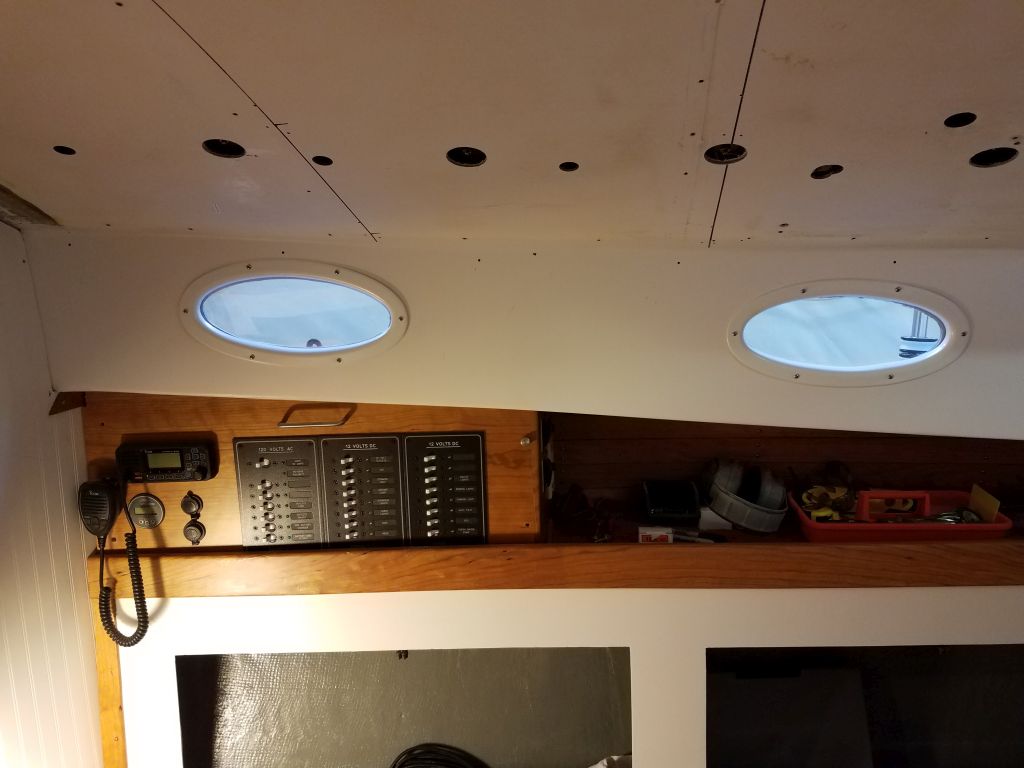
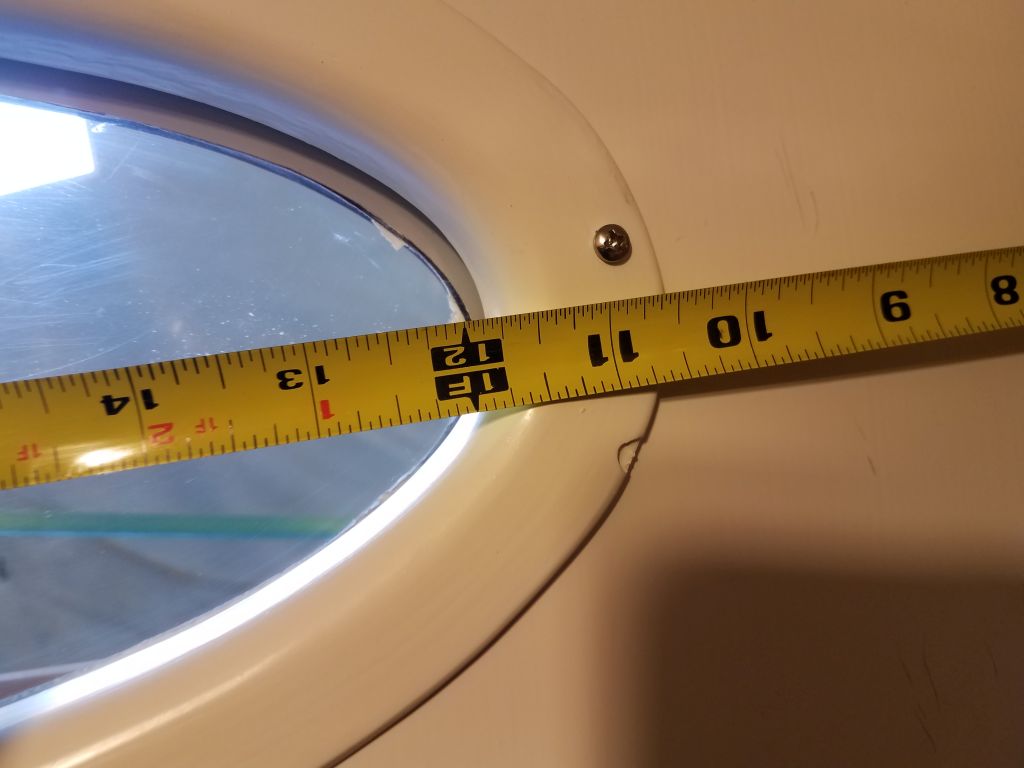
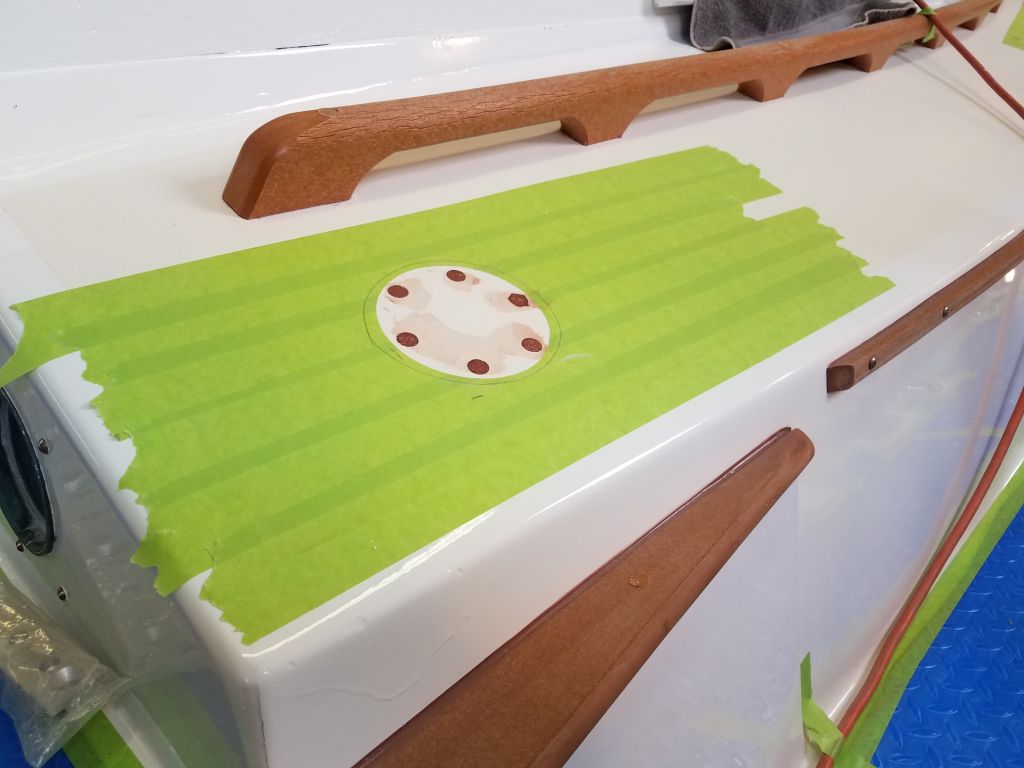
For now, though, it was time to finish up the final two deadlights on the starboard side. The lenses had had a couple days to cure in place, so I removed the wedges and protective plastic from inside, then, back outside, laid out and prepared the screwholes for the bronze trim rings before installing them and finishing them off as I’d done earlier with the other four.


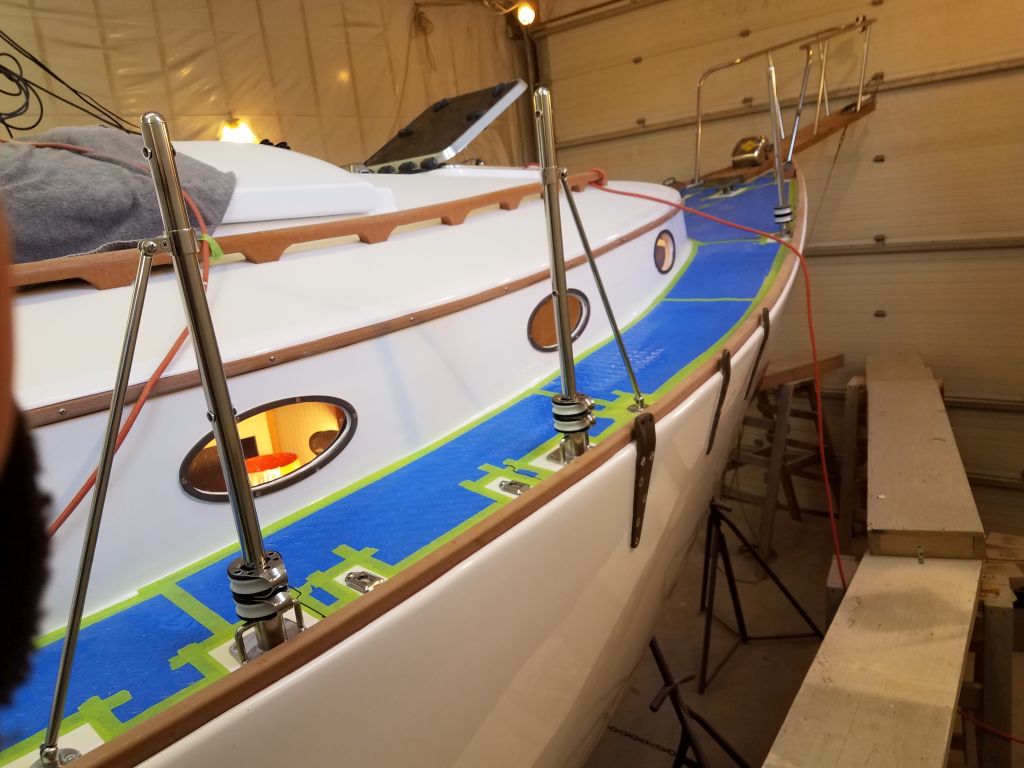
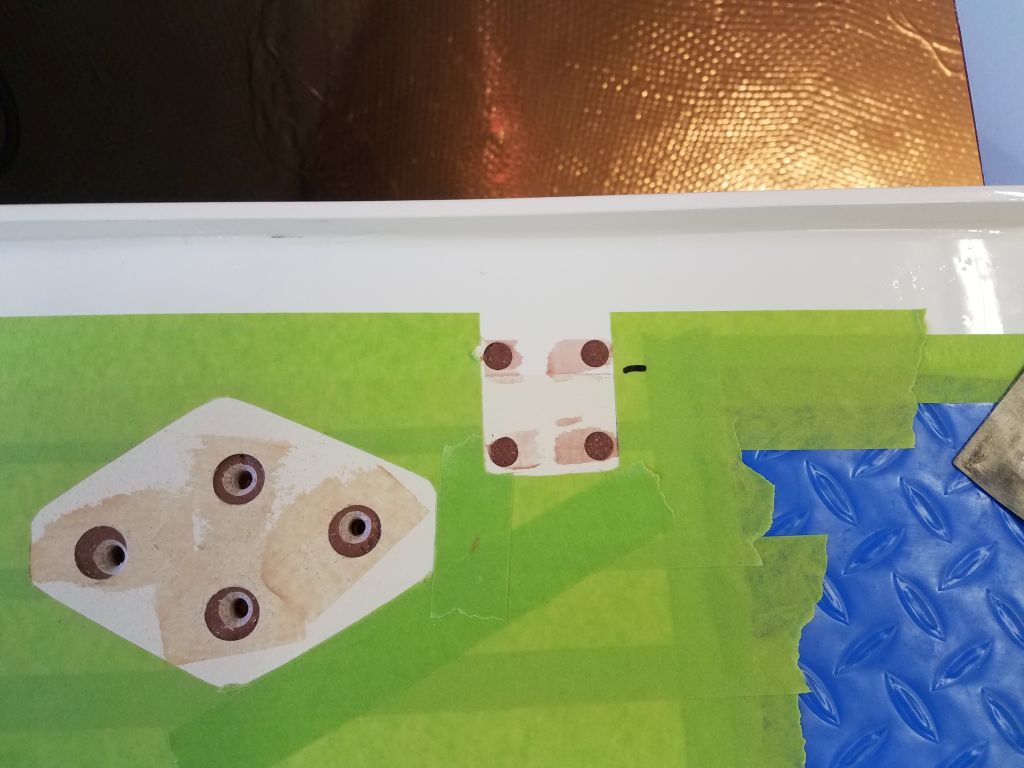
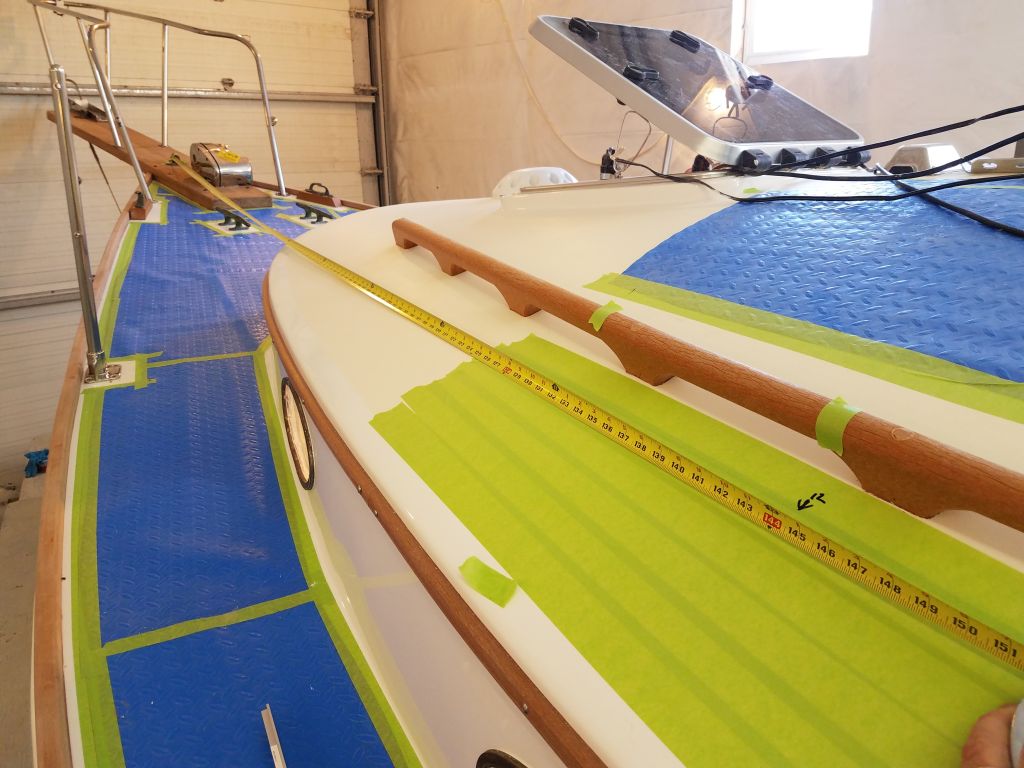
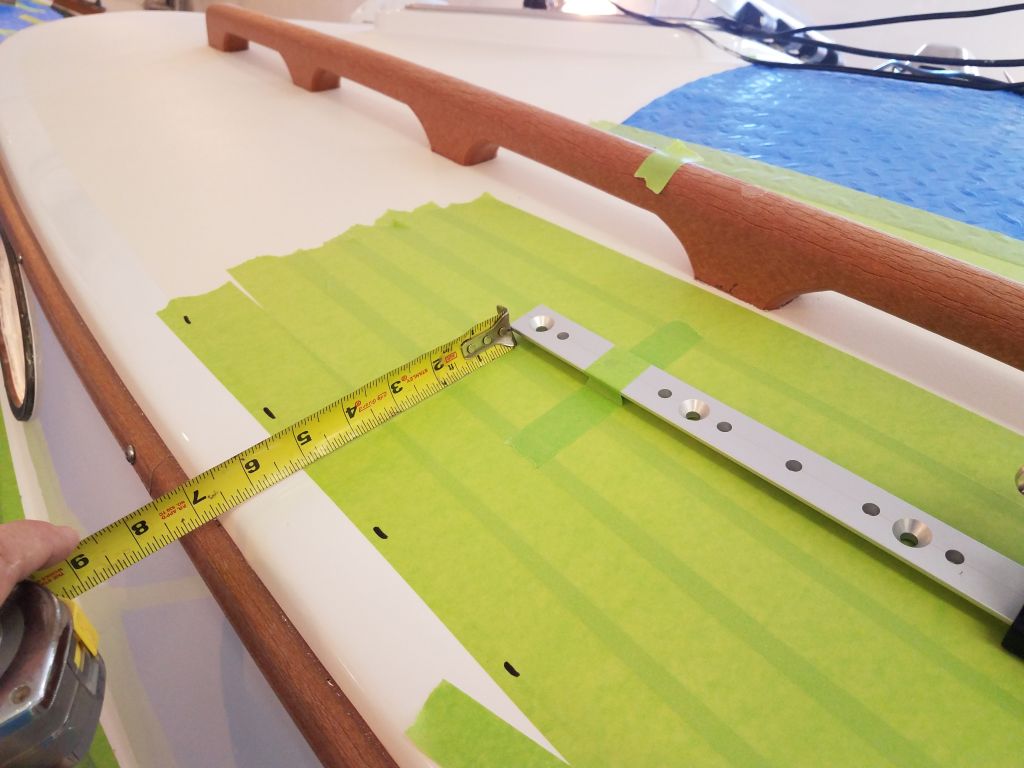
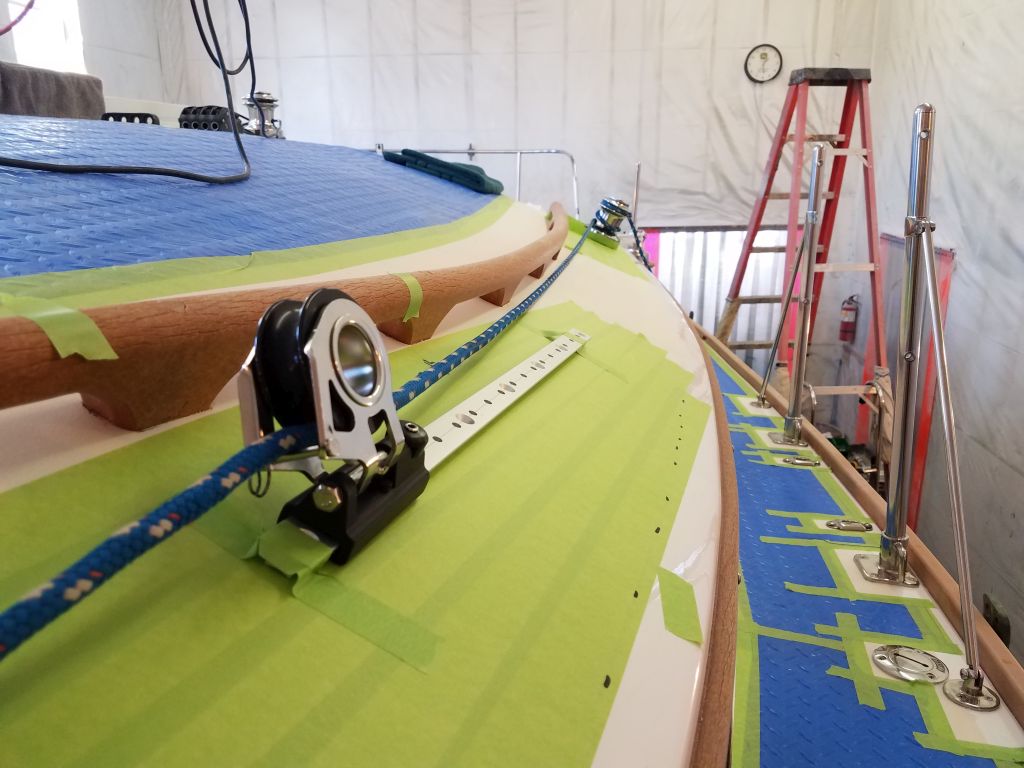
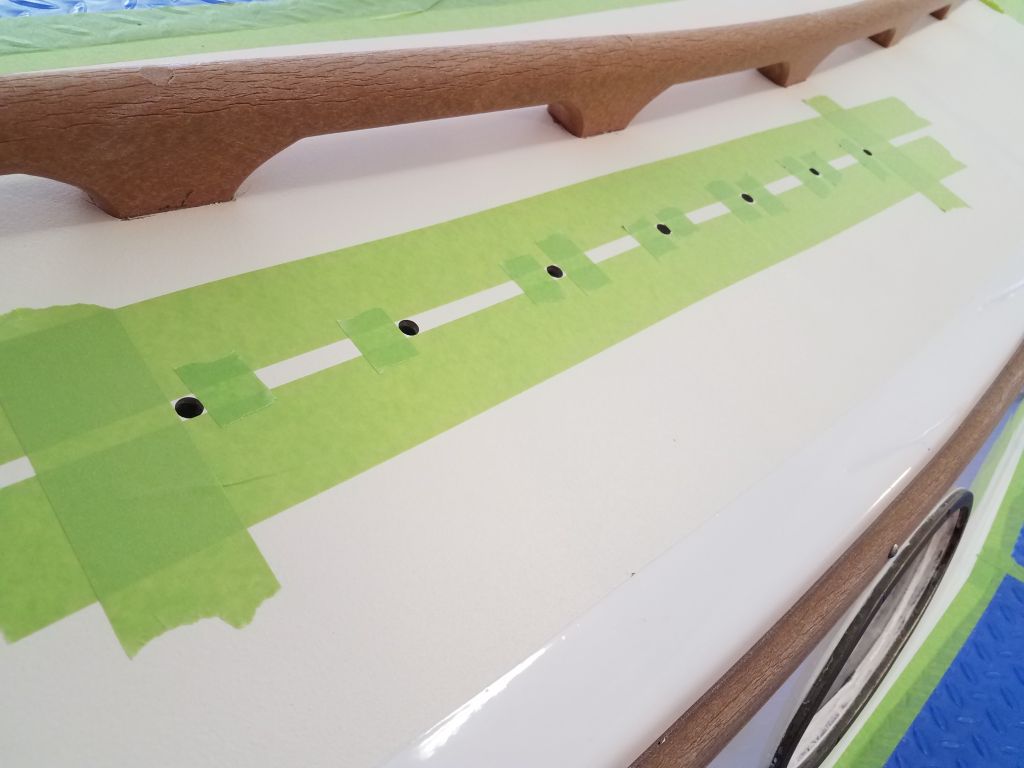
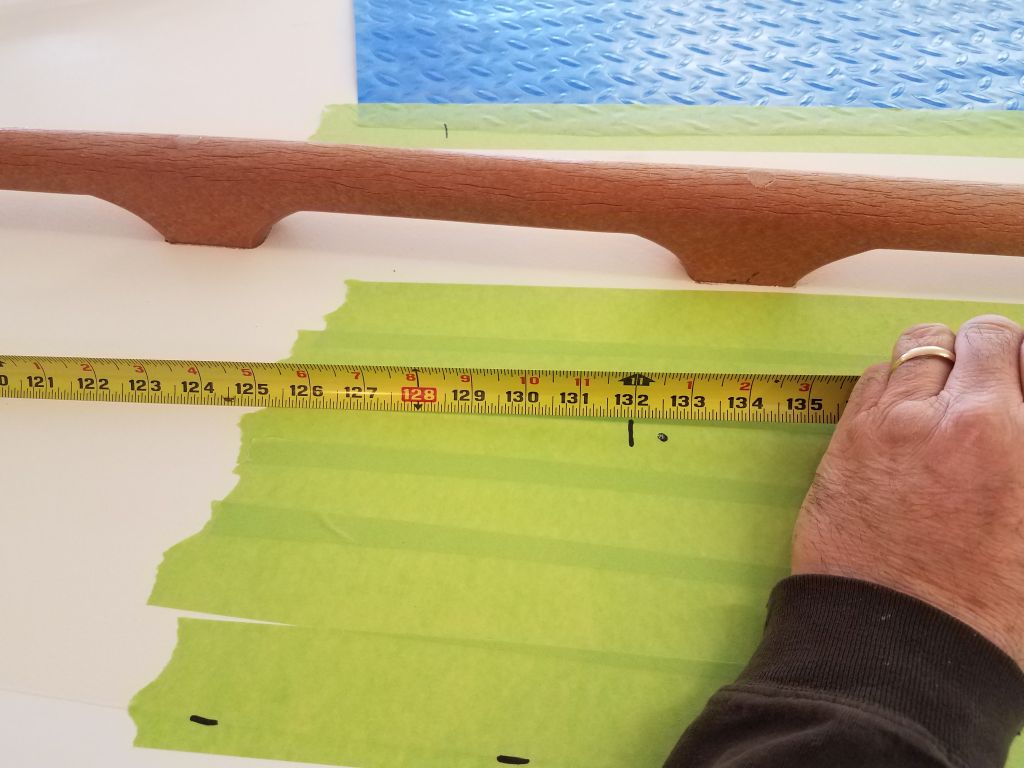
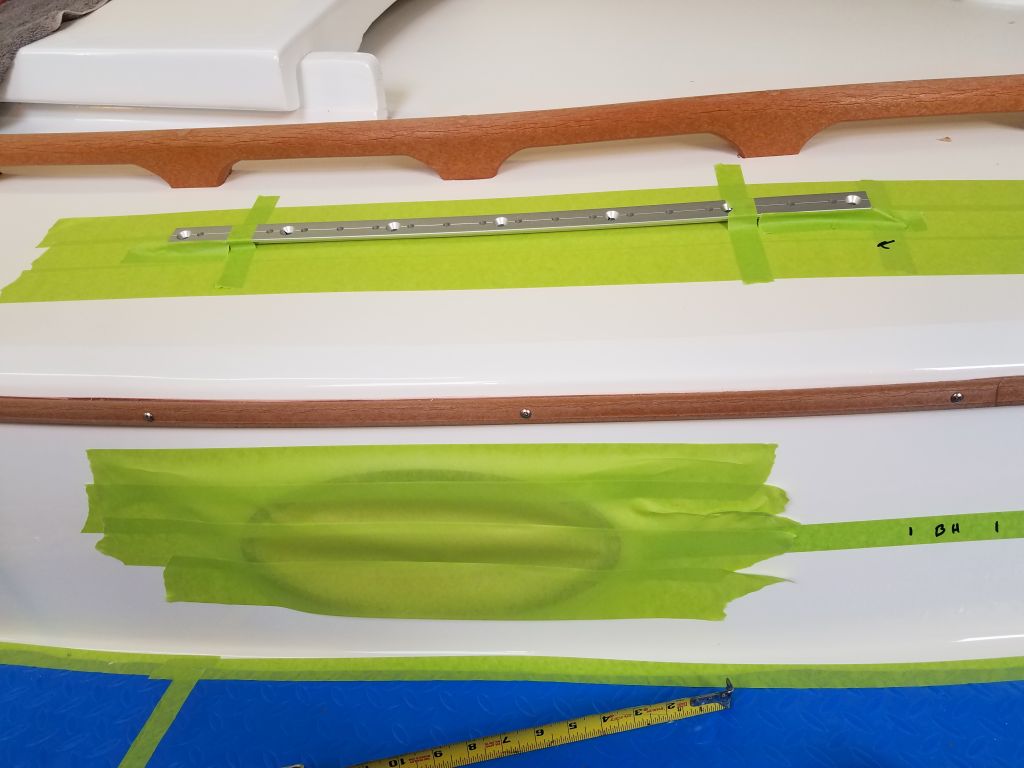
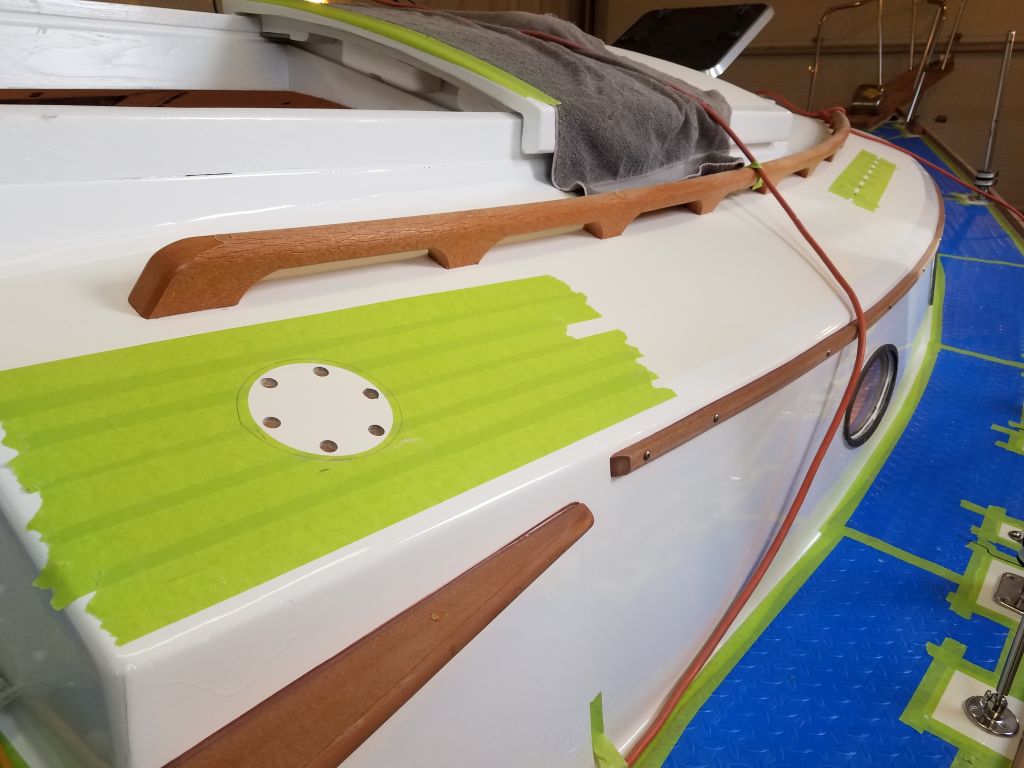
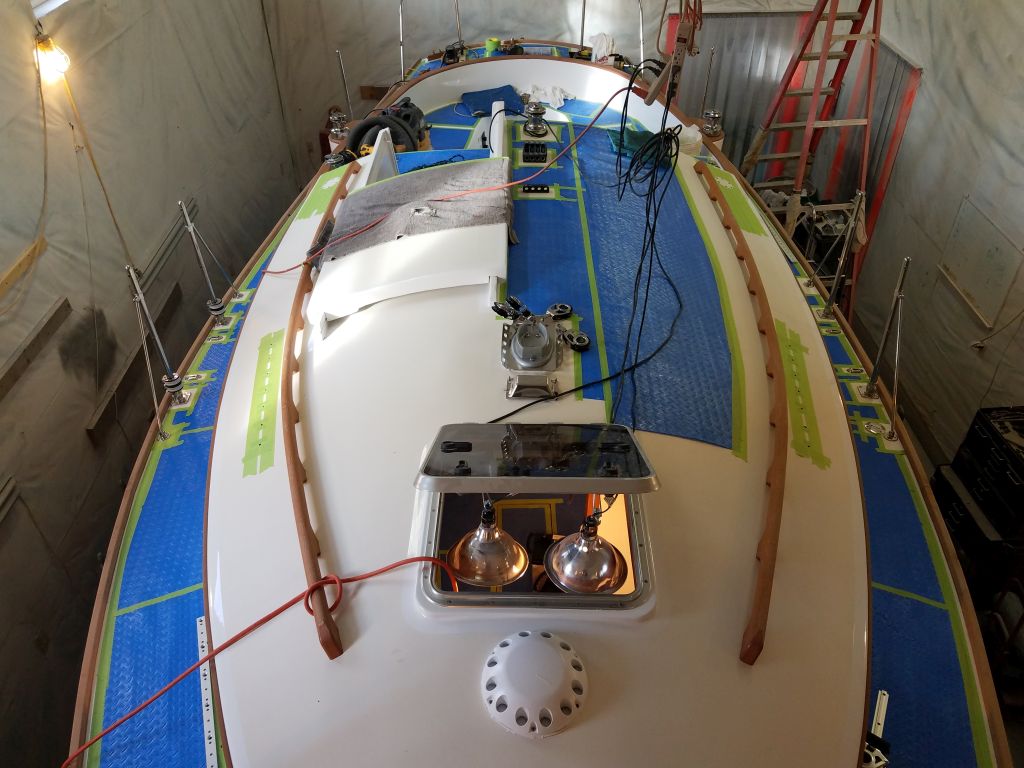
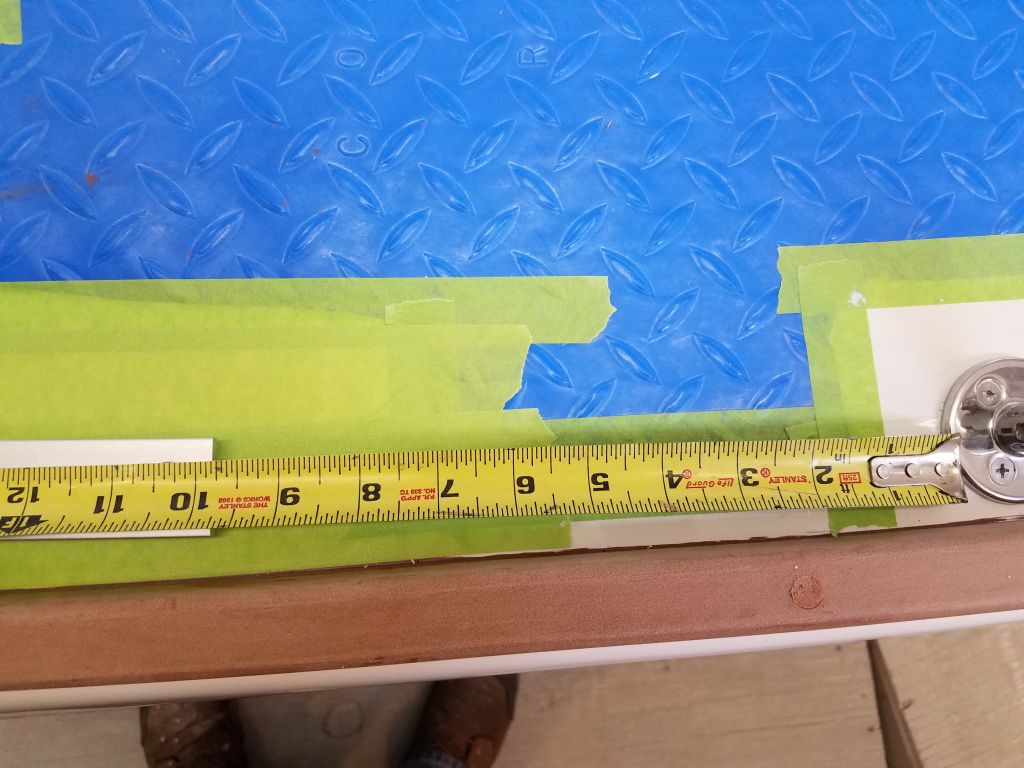
Armed now with information from the sail loft about sheet leads for the new staysail arrangement, I could proceed with the layout for the new staysail sheet tracks and winches, some of the final hardware installations still required. With a basic measurement of twelve feet aft of the inner forestay attachment point, which equated roughly to a point even with the mast step, I prepared the deck with some masking tape so I lay out the new 2′ tracks I had for the staysail sheets. I started on the port side since it was there.
The design of the coachroof required that the staysail sheet tracks be somewhere outboard of the handrails, which fit in fine with the requirements of the sail, but I had to be sure the sheet could lead fairly from the chosen point adjacent to the mast (with the center of the track at the 12′ sweet spot) aft to the winch locations, which had to be near the outboard corners of the cabin trunk on each side.
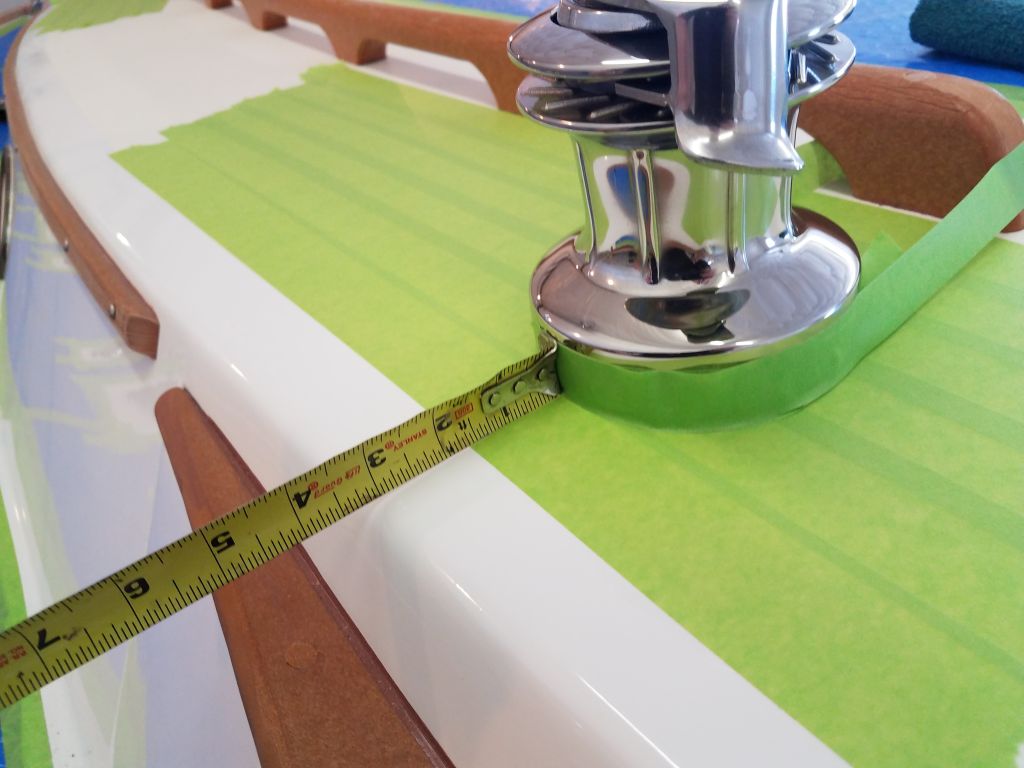
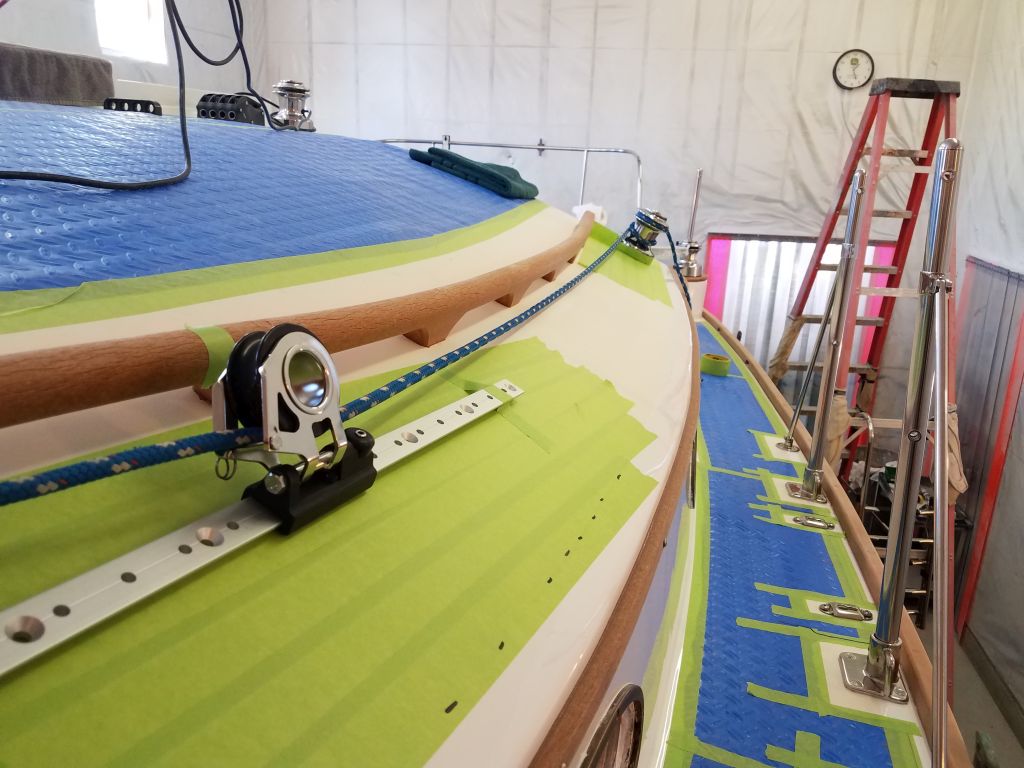
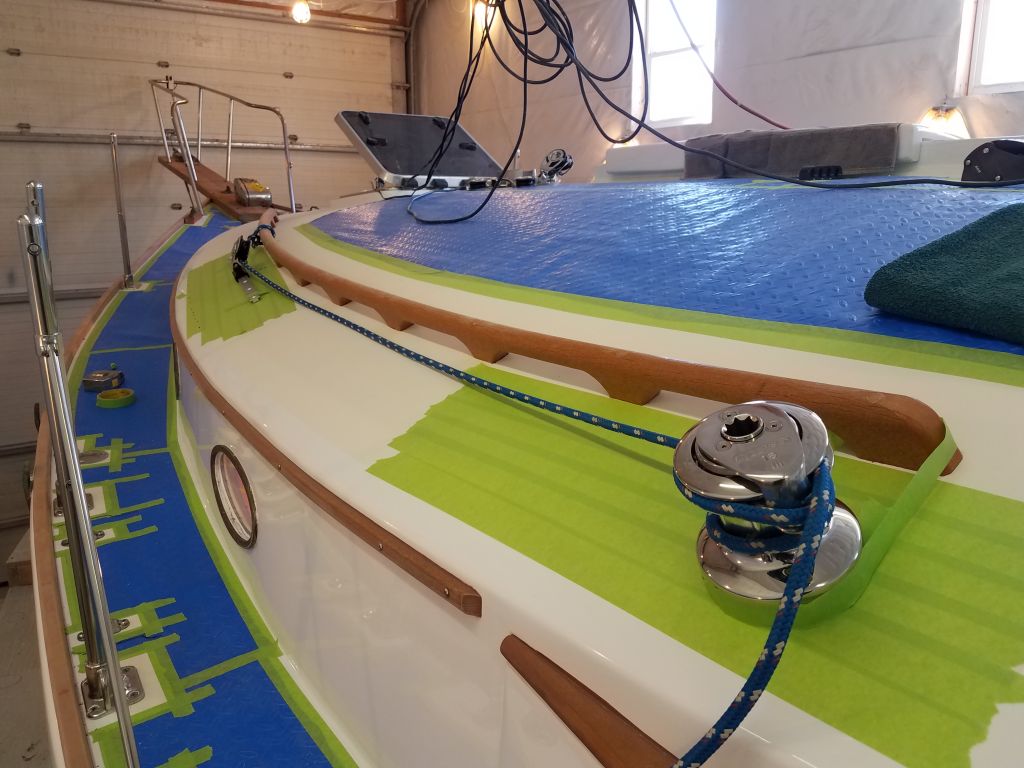
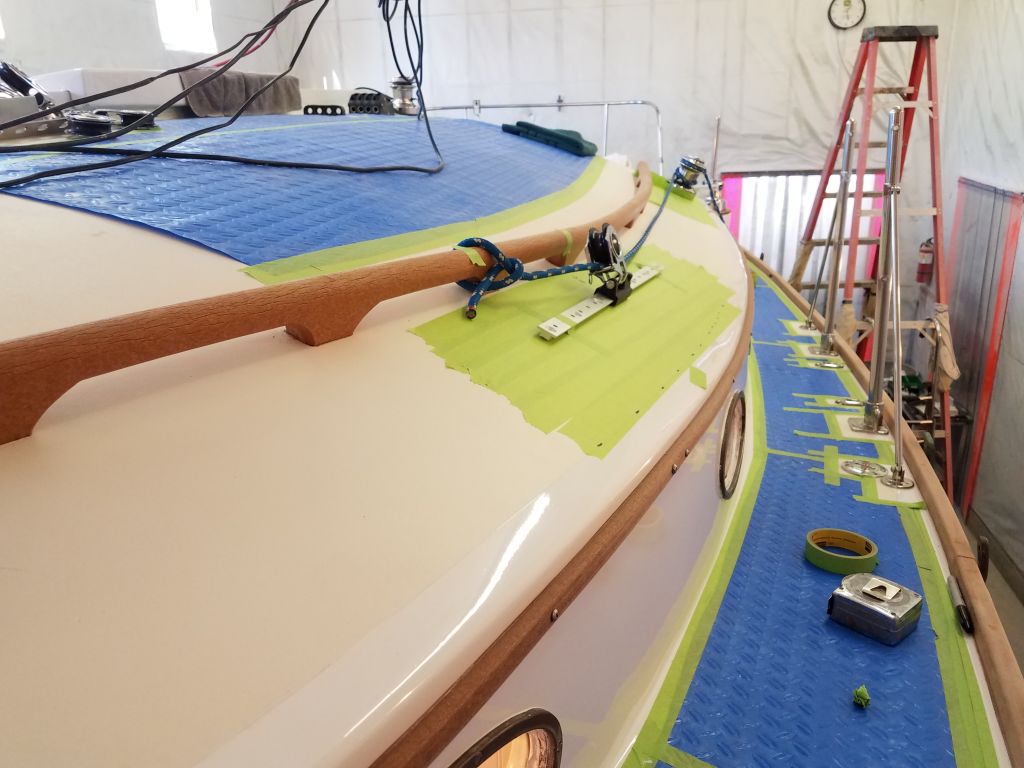
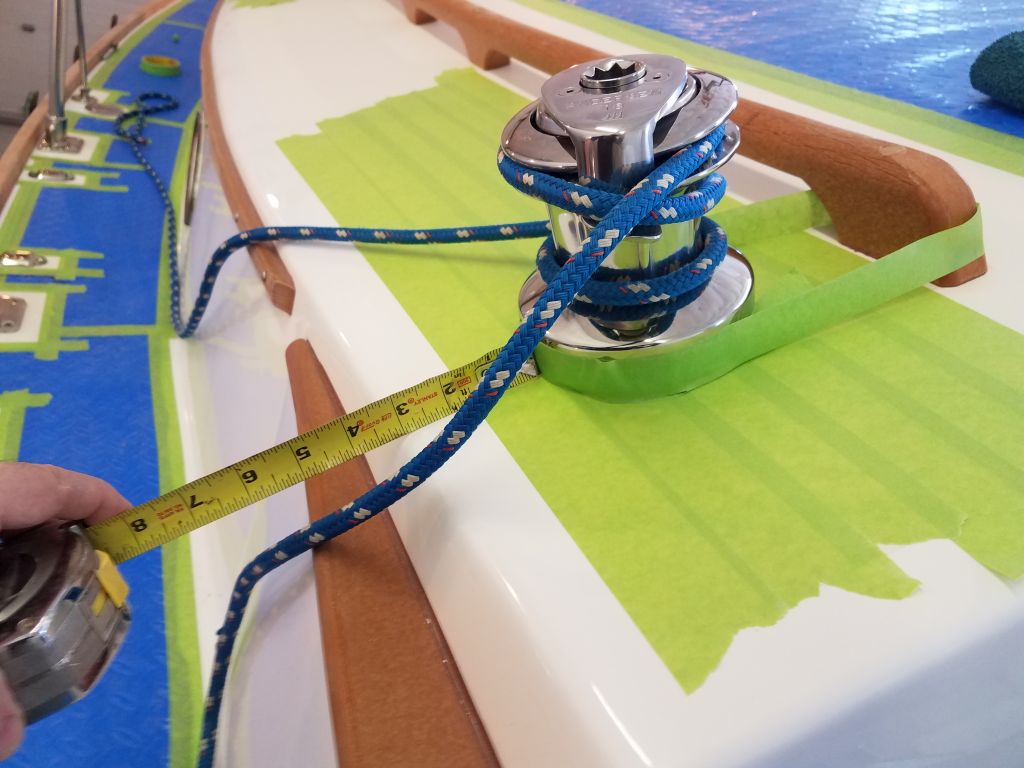
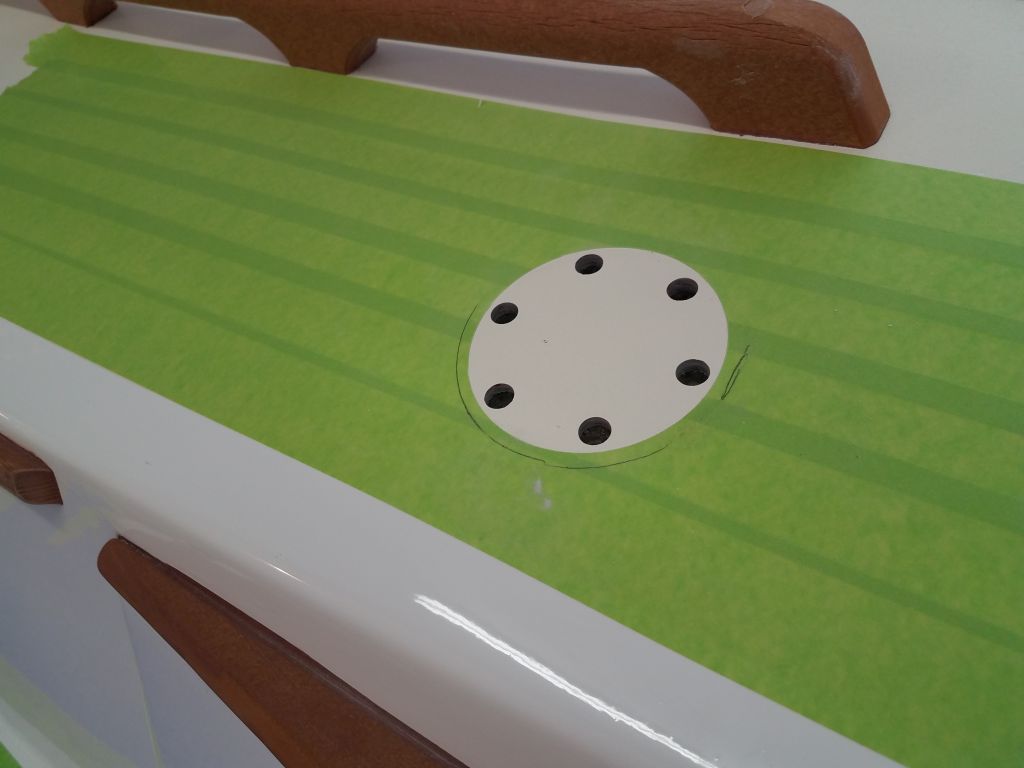
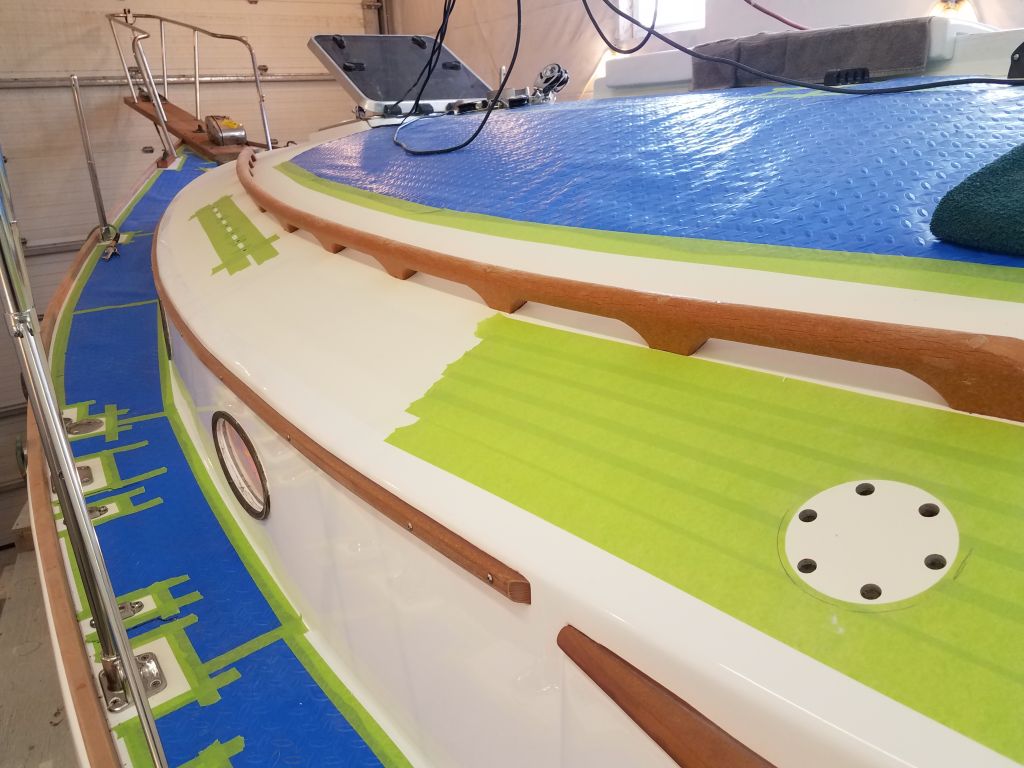
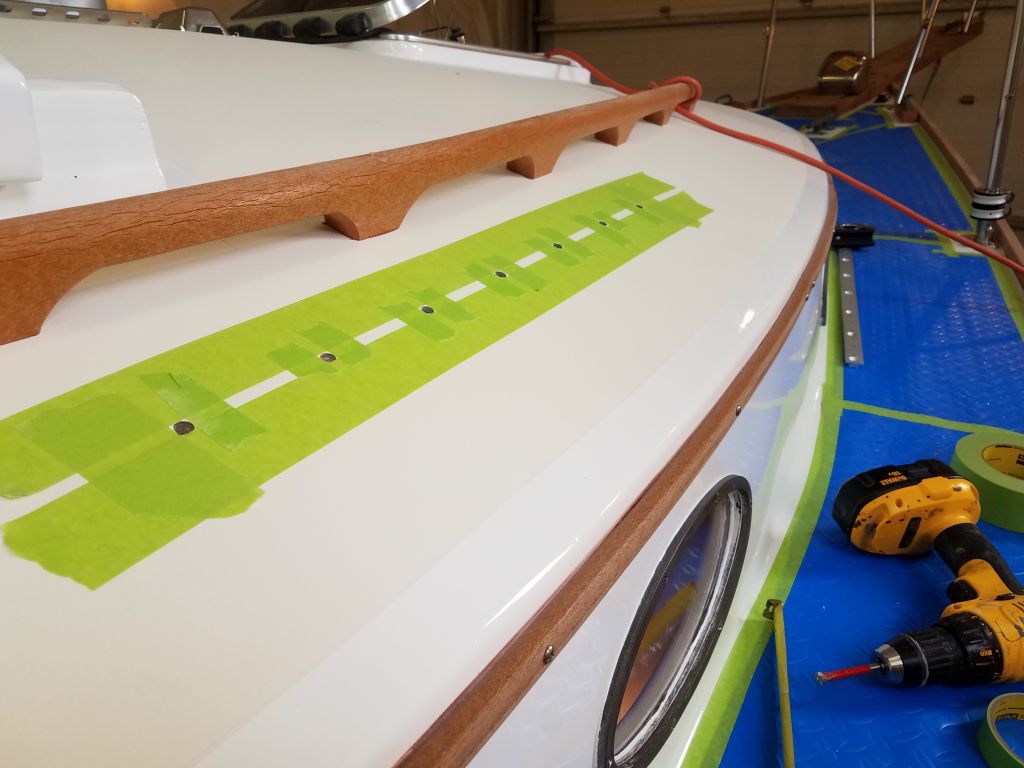
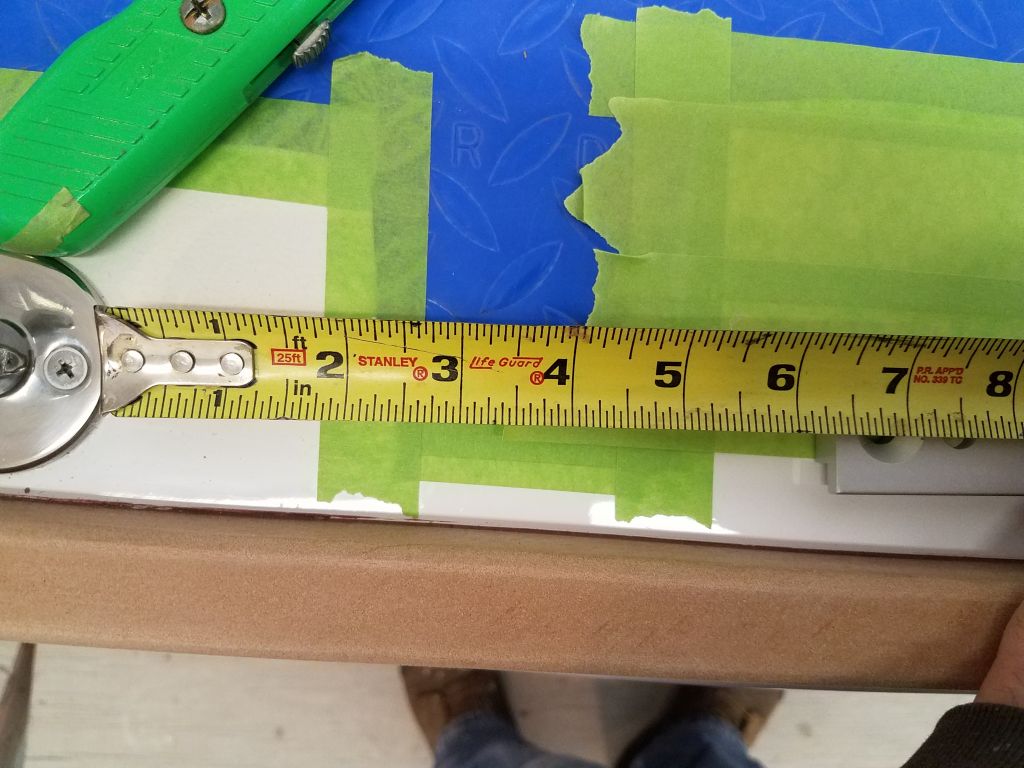
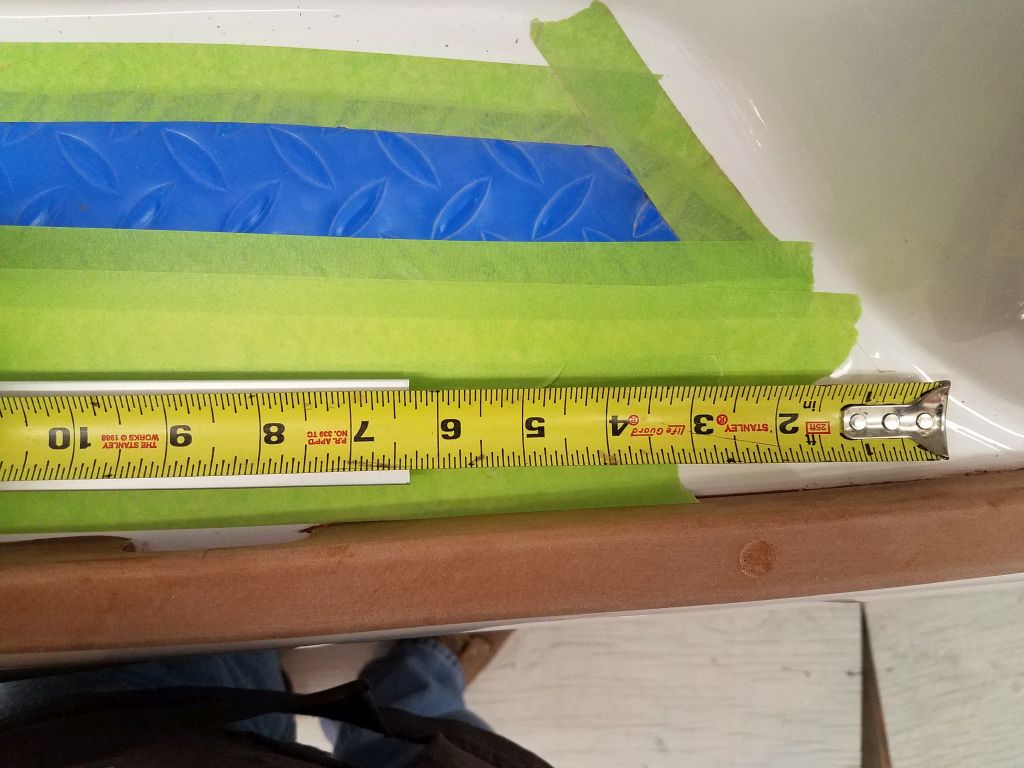
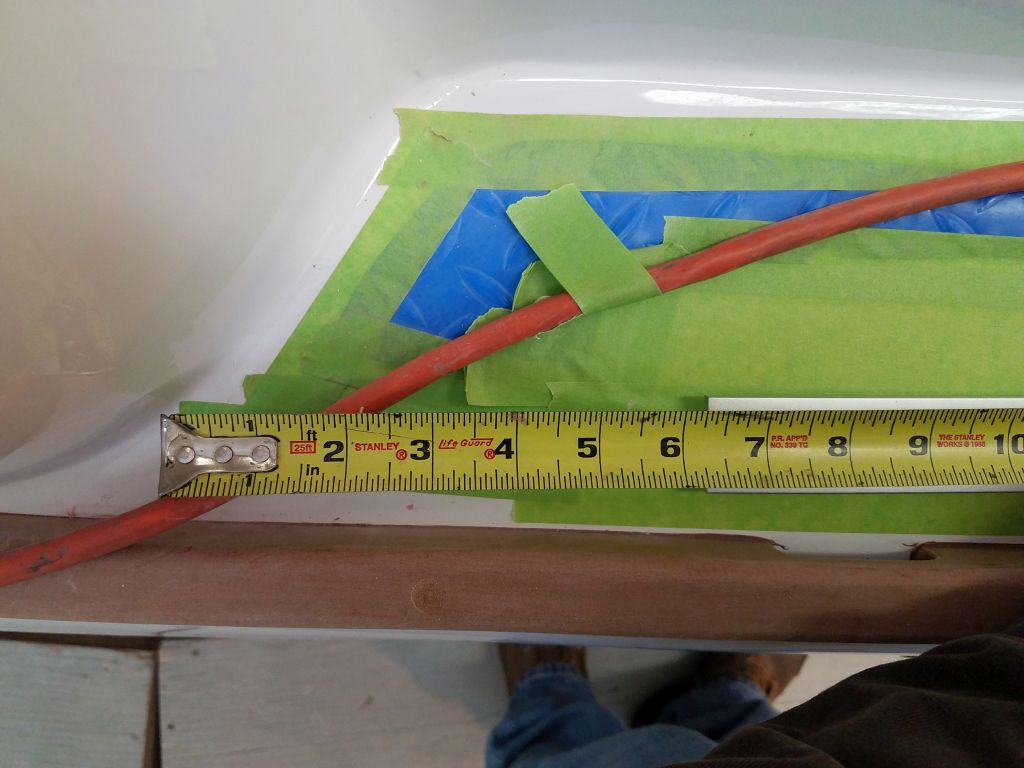
So as part of the initial layout, I placed the winch where I thought it should be, roughly centered between the handrail and the edge of the cabin trunk (3″), and in line with the aft edge of the handrail (6″). I held the winch in place against the slope of the coachroof with some masking tape. Then, more or less visually, I determined roughly where I thought the track should go, which I wanted as far inboard as possible while retaining clearance from the handrails for the lead car, as well as a fair lead aft to the winch. This ended up being 5″ inboard from the edge of the nonskid.

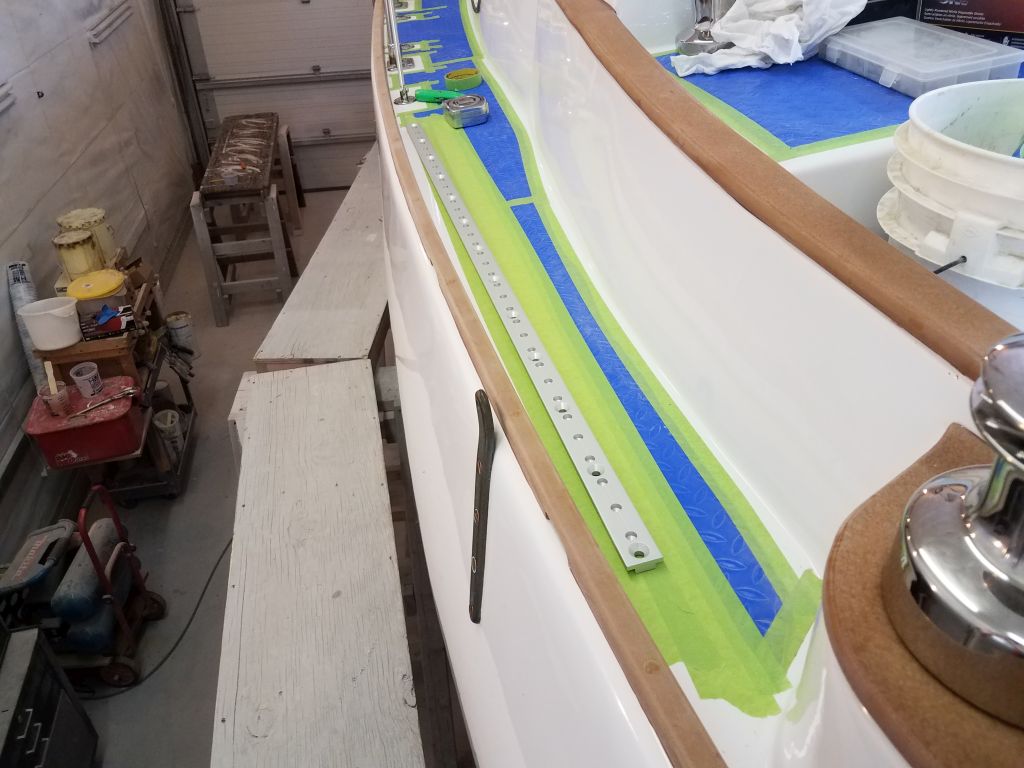
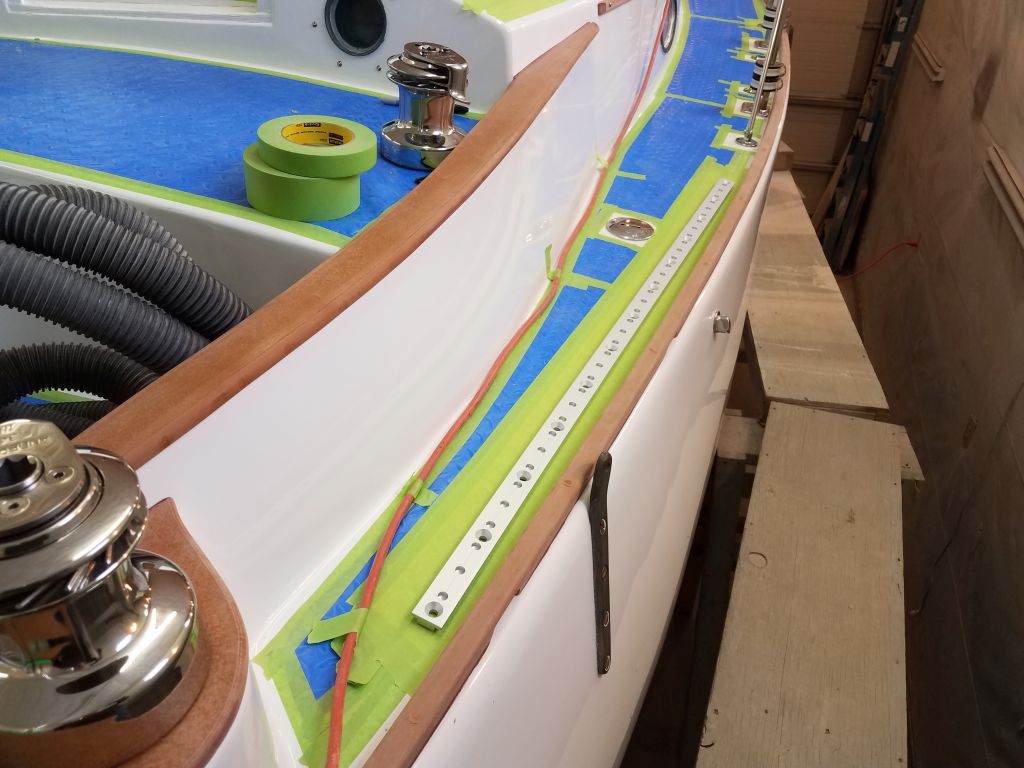
With the tracks thusly placed, and taped in place with the lead car installed in the center of the track, I used a line to mock up the sheet lead, satisfying myself that it would be fair all the way to the winch, not only from the ideal mid-track position, but also from the forwardmost position. With minor adjustments, the initial layout worked as I’d hoped.


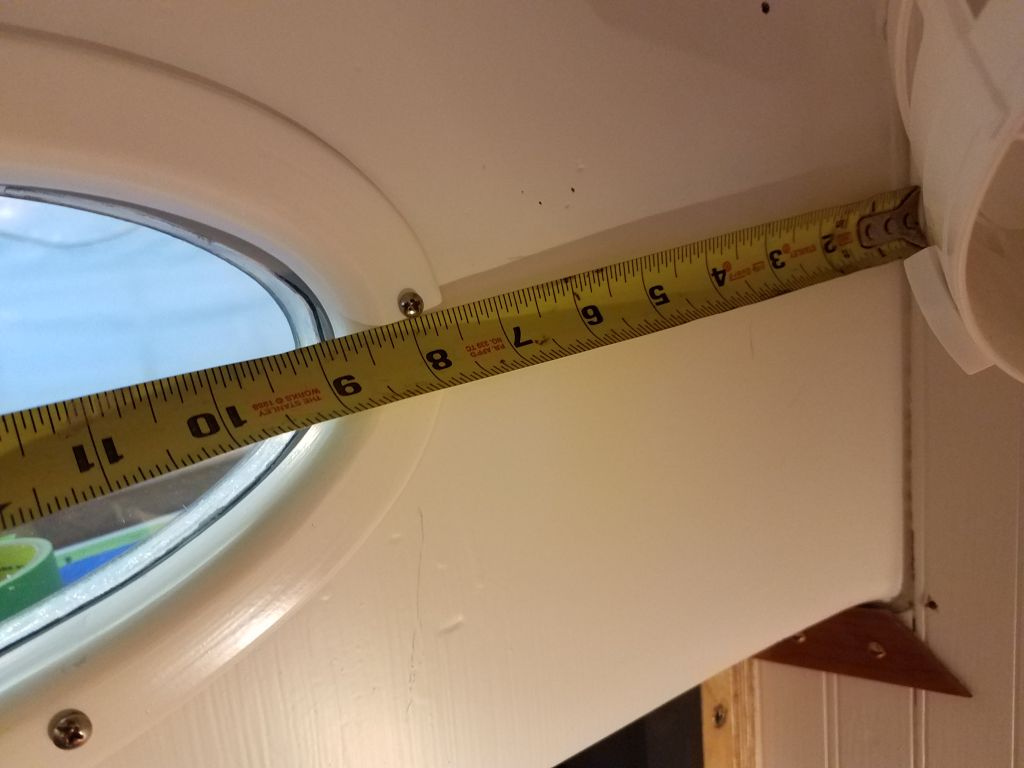
A final consideration before I went ahead with installation steps was to see where the track fell in relation to the main bulkhead: I wanted to be sure the bolts cleared the bulkhead and didn’t end up in the middle of it. In the cabin, I measured from the port openings on each side to the bulkhead, then transferred these measurements to the exterior so I could double check the track placement. As it happened, the forwardmost fastener was a couple or few inches aft of the bulkhead, which was ideal since it meant there’d be no more holes required through the finished overhead in the forward cabin.

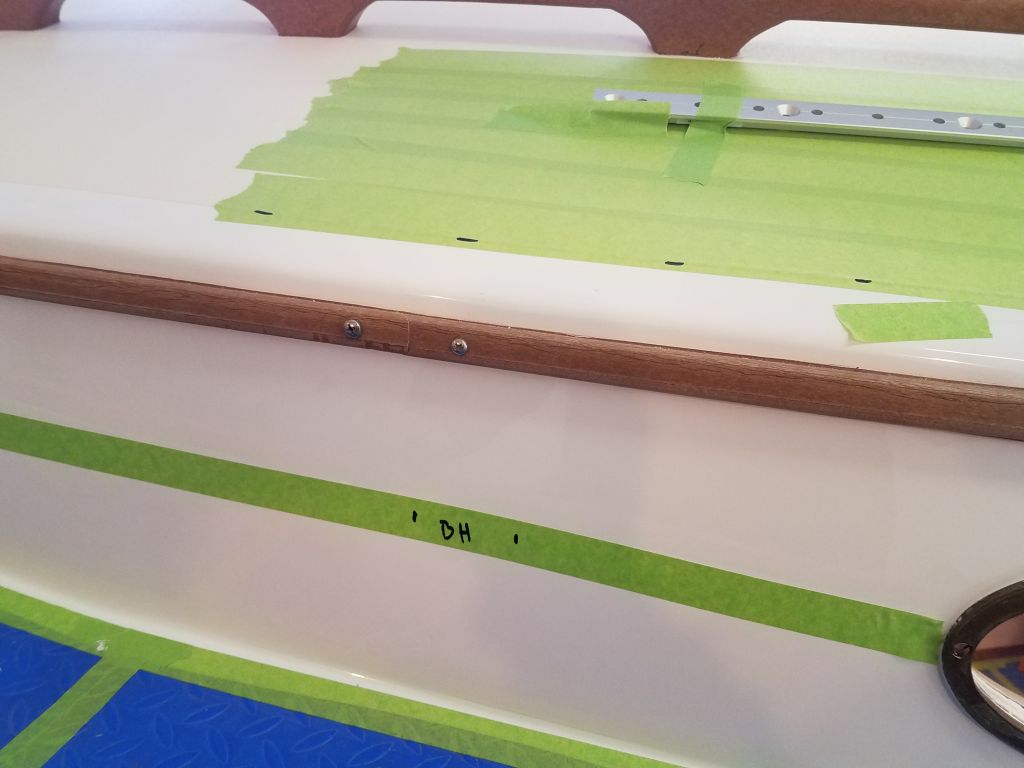
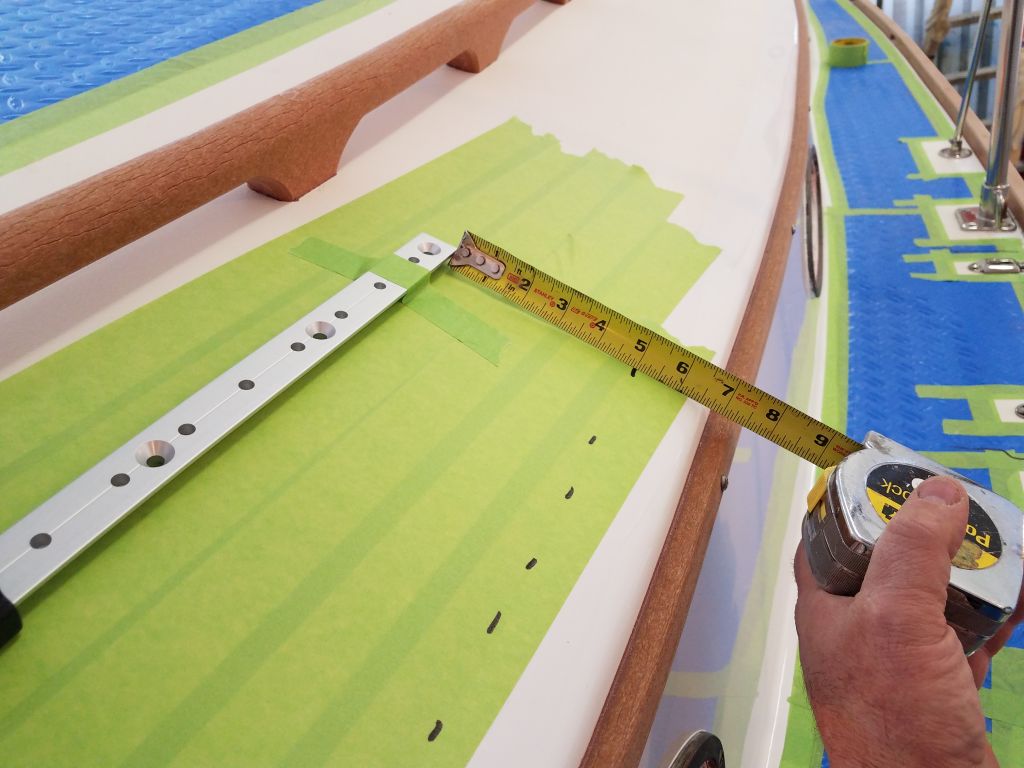
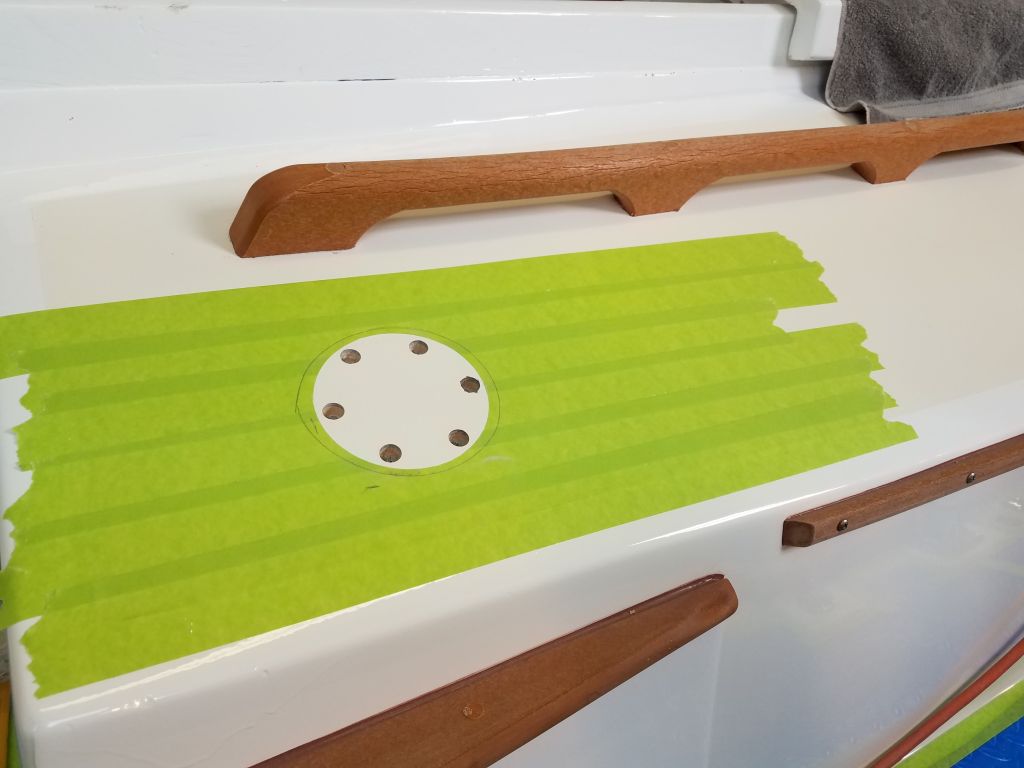
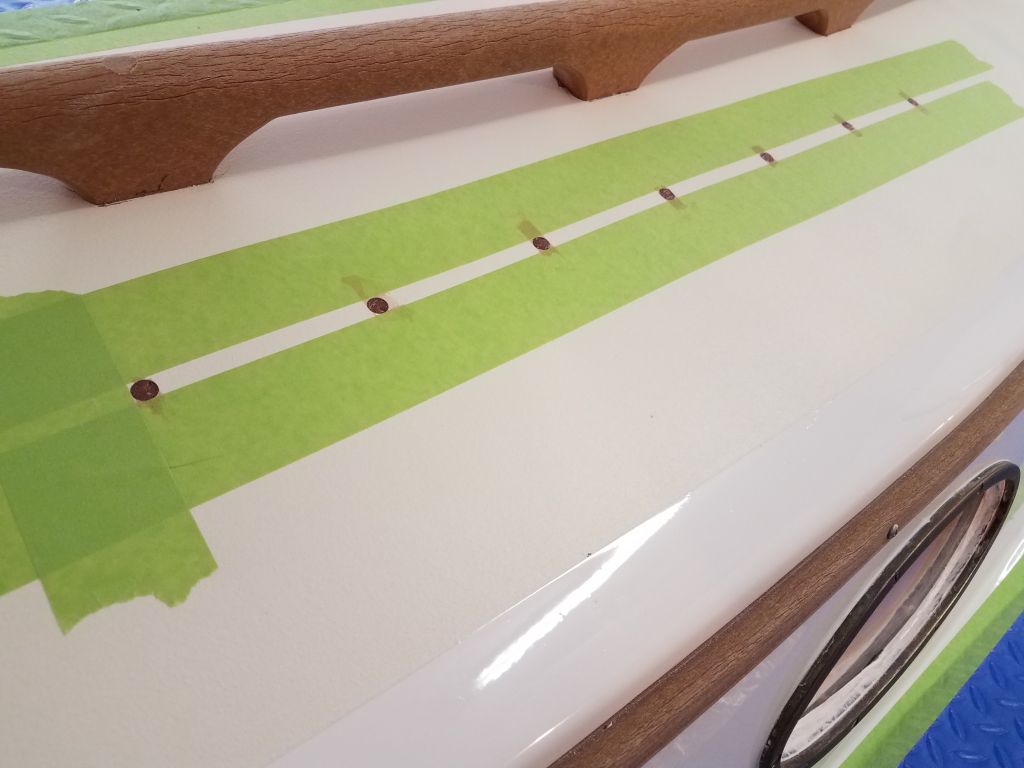
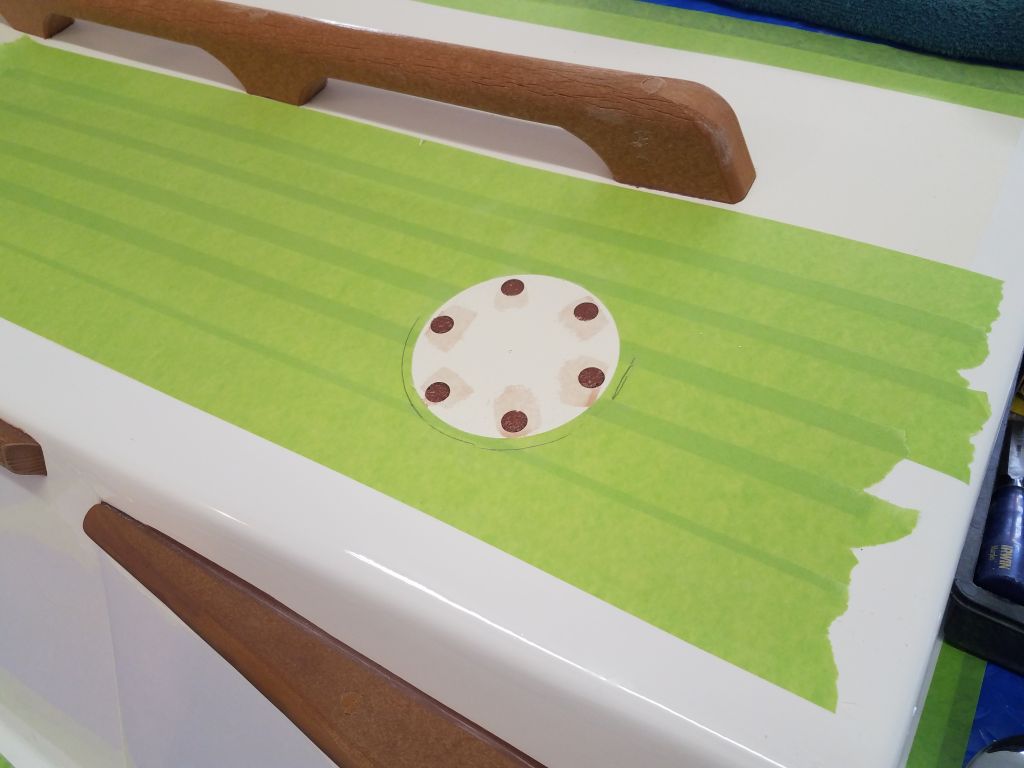
With the locations finalized, I marked the holes for the staysail track, then drilled out the top skin and core in the usual way. At the winch location, I cut away the masking tape in way of the base, then aligned the winch as I wanted it (and in accordance with the winch instructions) and marked and drilled out the core in way of those holes as well.

Laying out and preparing the fastener locations on the starboard side went more quickly, since now I could transfer measurements from the port side with no need for mockups and trials.


Afterwards, I filled all the new holes with a thickened epoxy mixture.

To round out the day, I got started on the layout for the jib/Yankee tracks, which was more straightforward since I knew where they had to go all along. Still, I needed to do some final positioning, and, again beginning to port, eventually settled on a position 1/2″ from the toerails at each end, and centered between the winch island and the stanchion gate brace at the forward end.


With these basics, I repeated the process on the starboard side. Here, the distance to the gate brace at the forward end was somewhat longer, a result of how I’d had to cheat the positions of the port-side braces in order to fit around the water tank fill, so this resulted in a slightly different base placement. I kept the measurement from the winch island consistent (6-3/8″), so the tracks were the same from side to side.
For now, I was out of time, so I left final hole preparation for next time. I hoped the tracks would be in the solid fiberglass portions of the deck on each side, but I’d find out for sure when I started the hole prep.
Total time billed on this job today: 7 hours
0600 Weather Observation: 29°, clear. Forecast for the day: Sunny, 39°