


November 8, 2019
Scupper 178
Friday
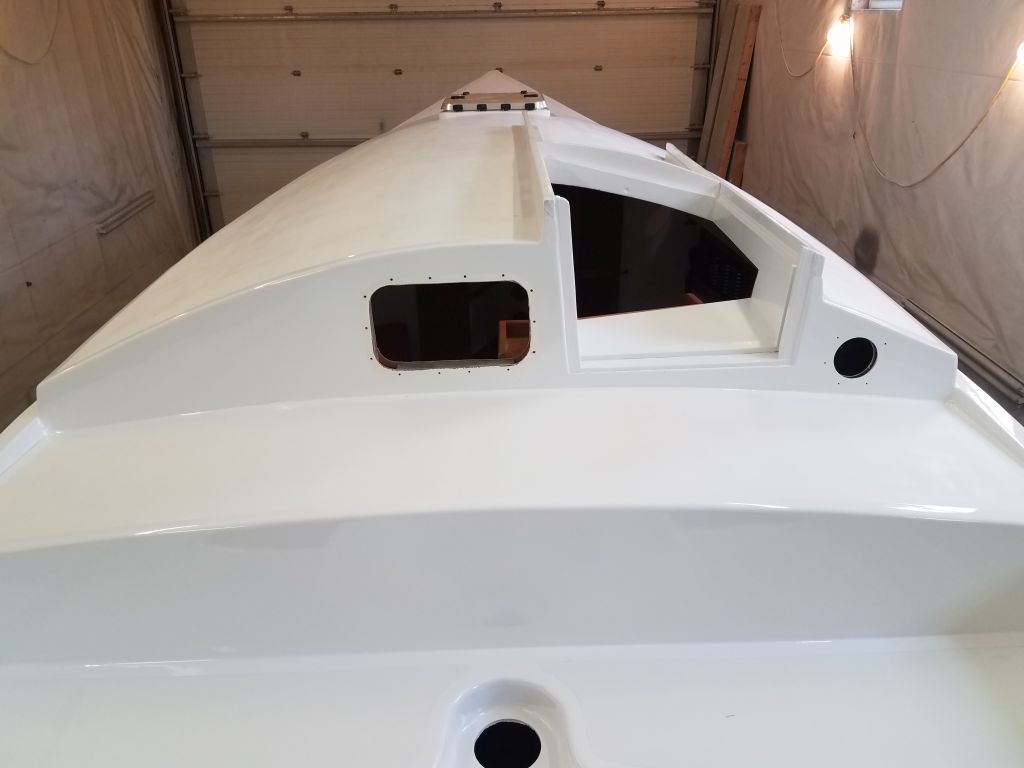
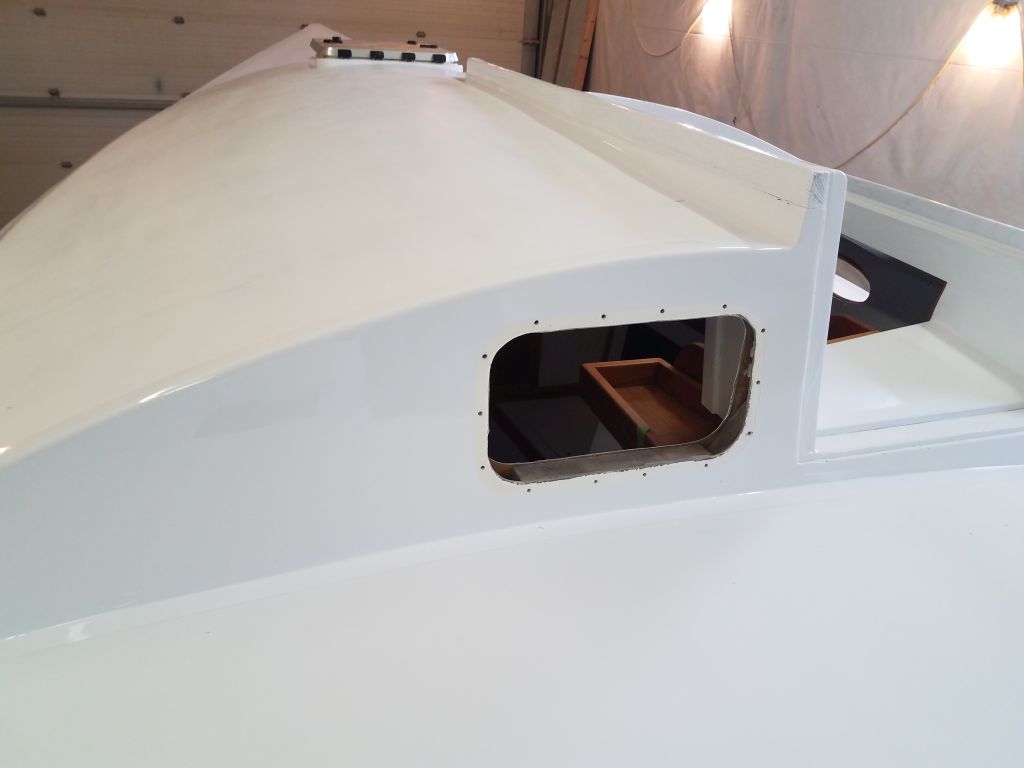
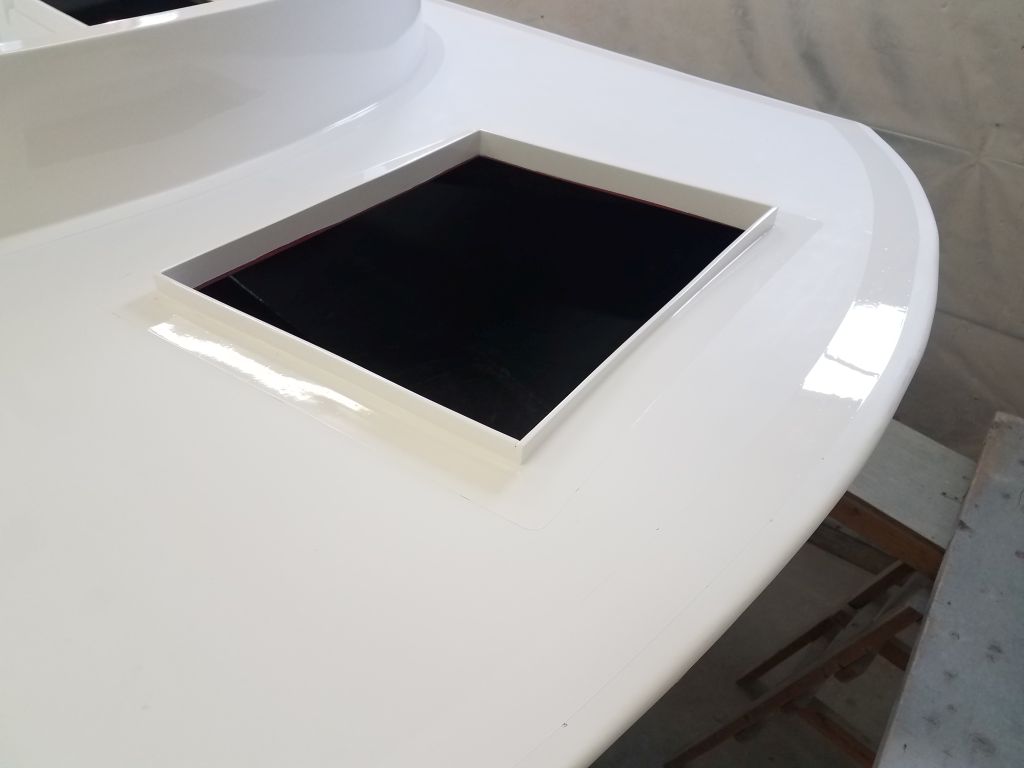
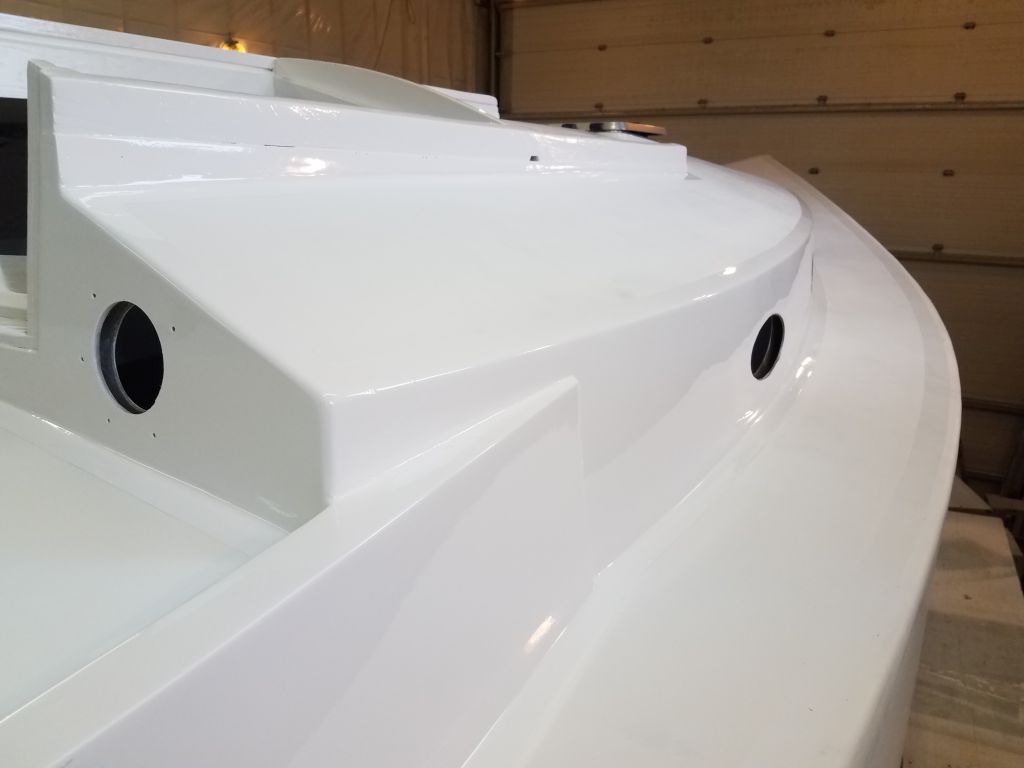
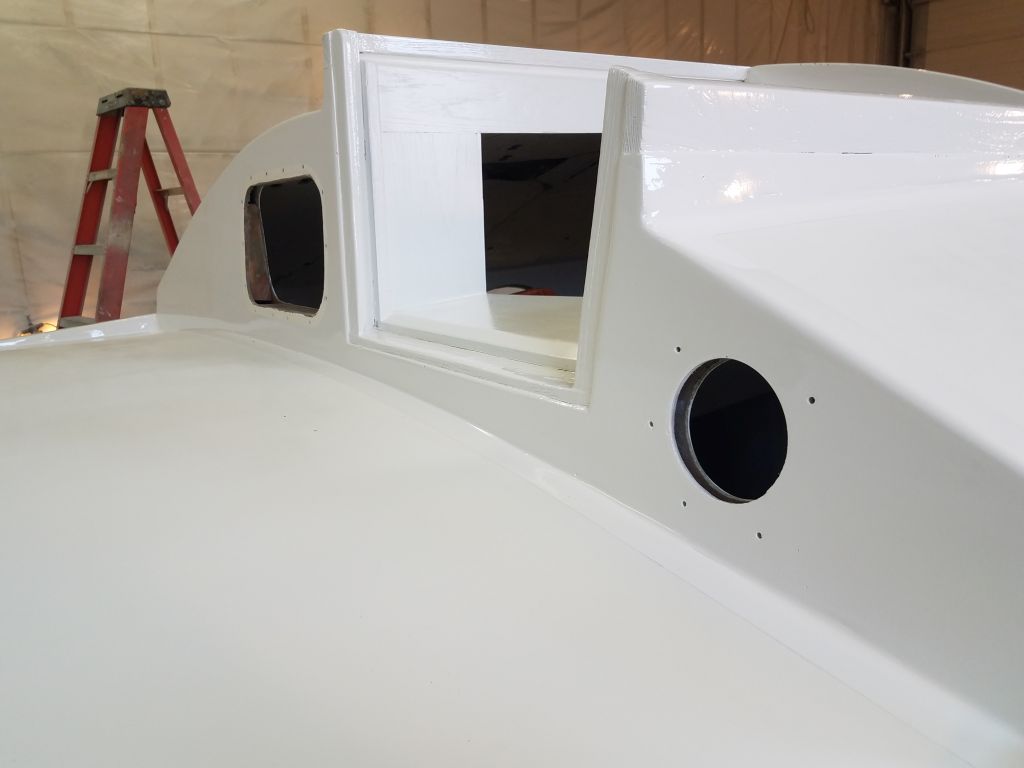
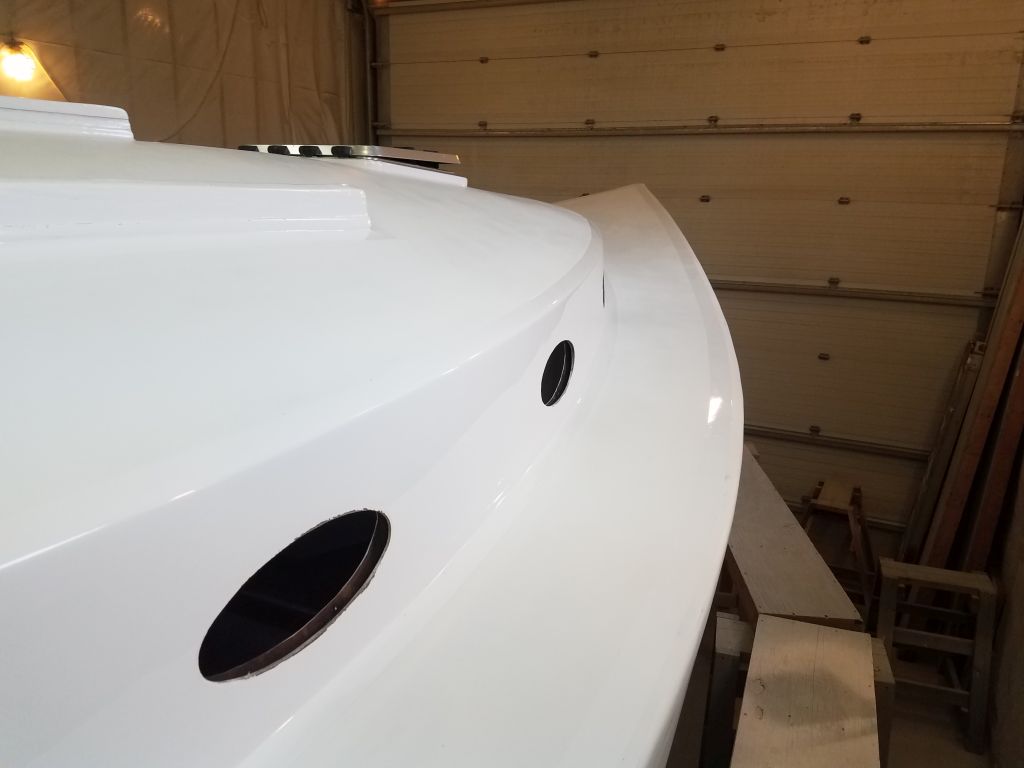
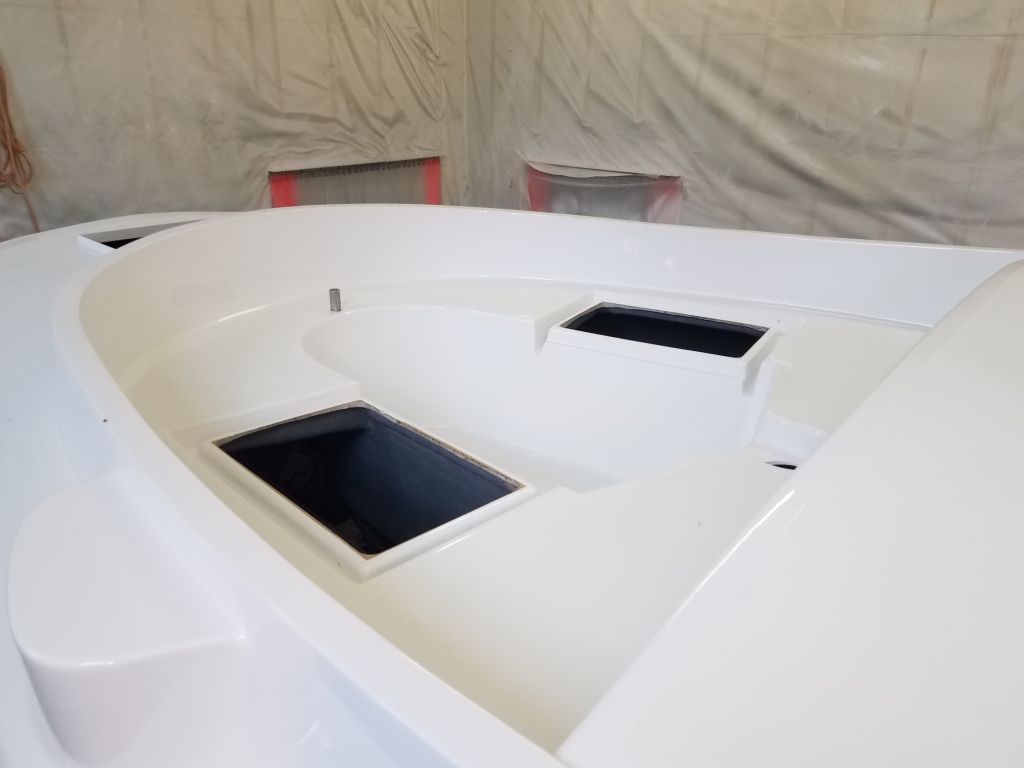
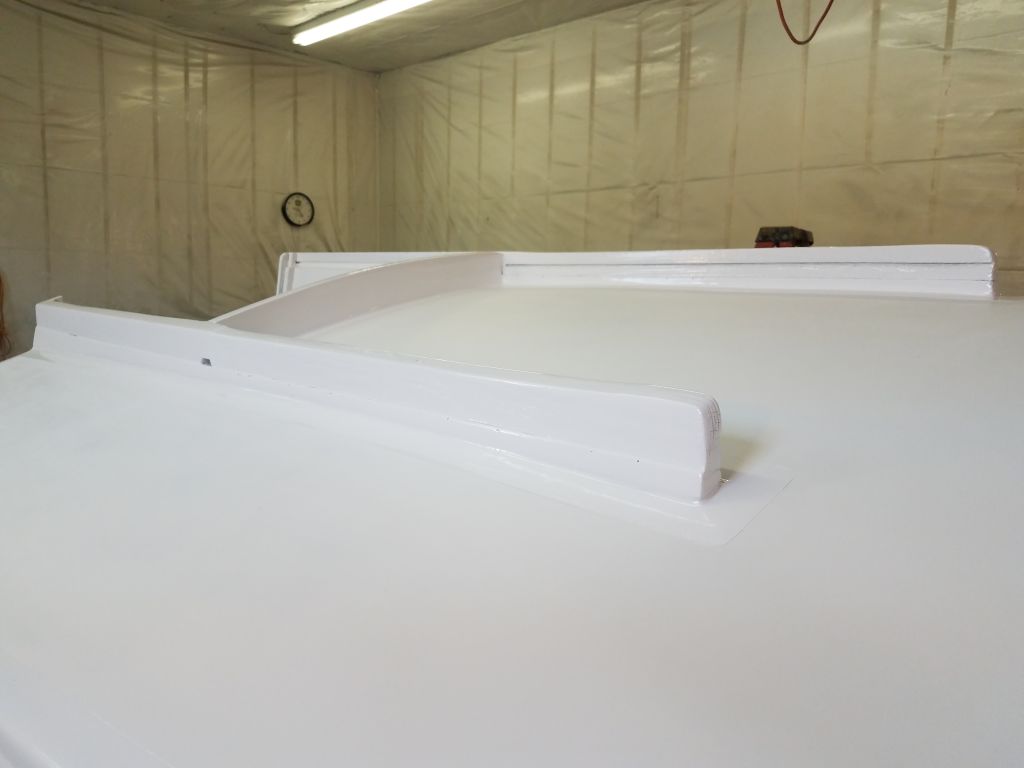
I spent the first part of the day removing all the masking tape, paper, and plastic from the decks, hull, and loose parts.


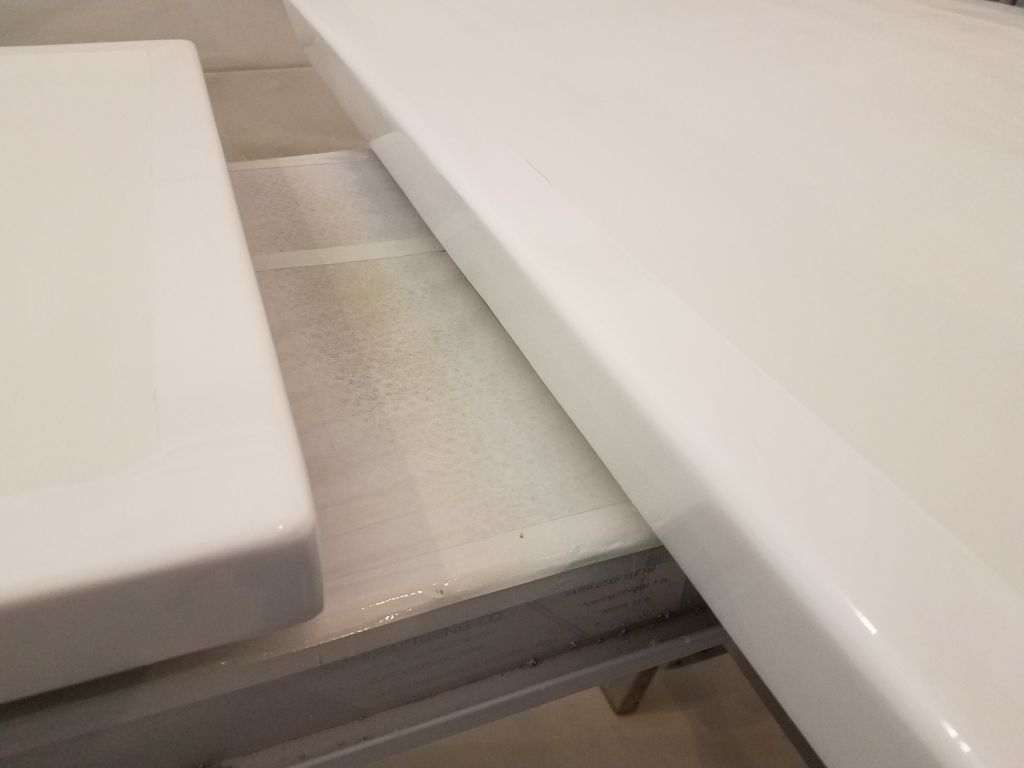


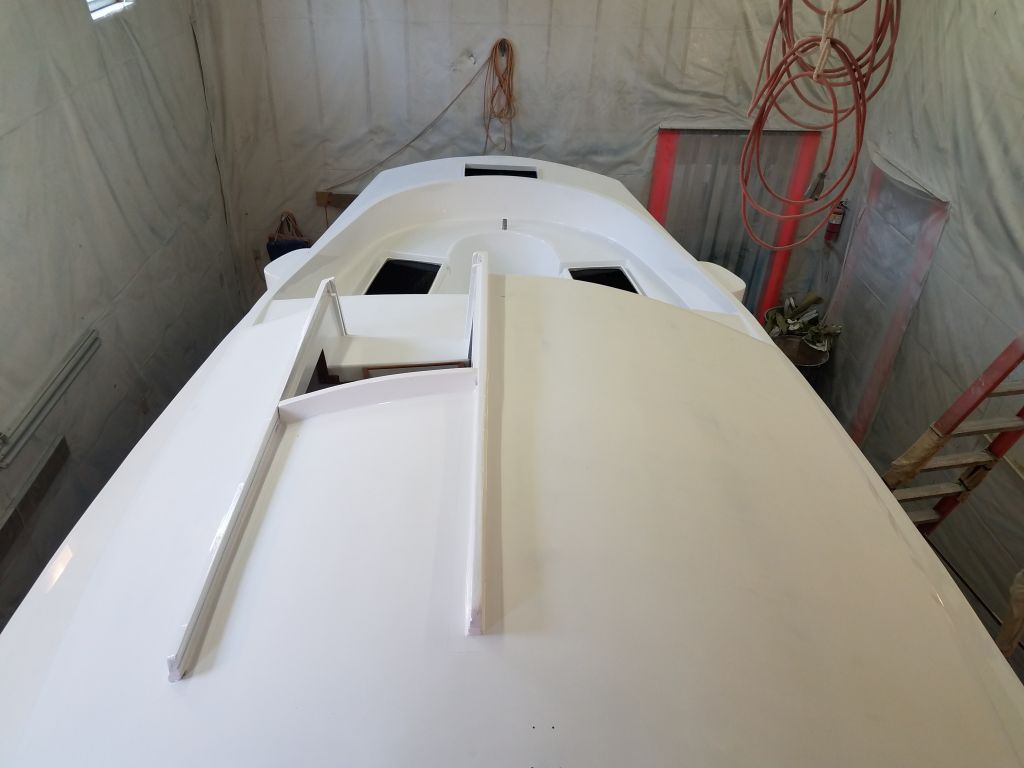


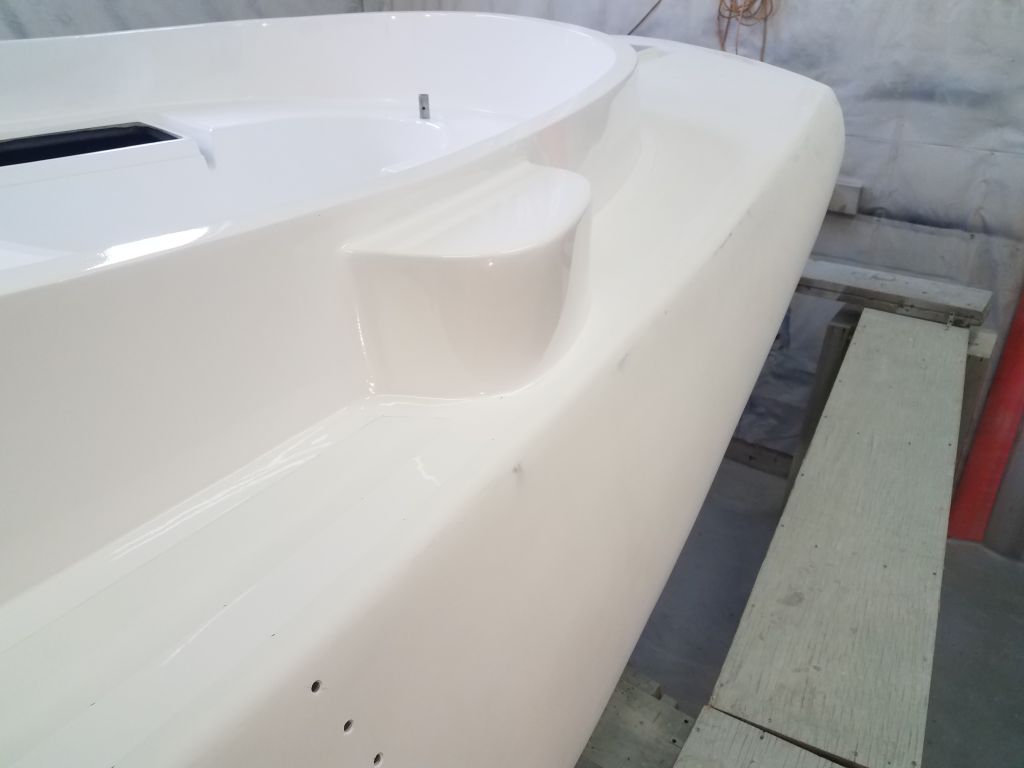

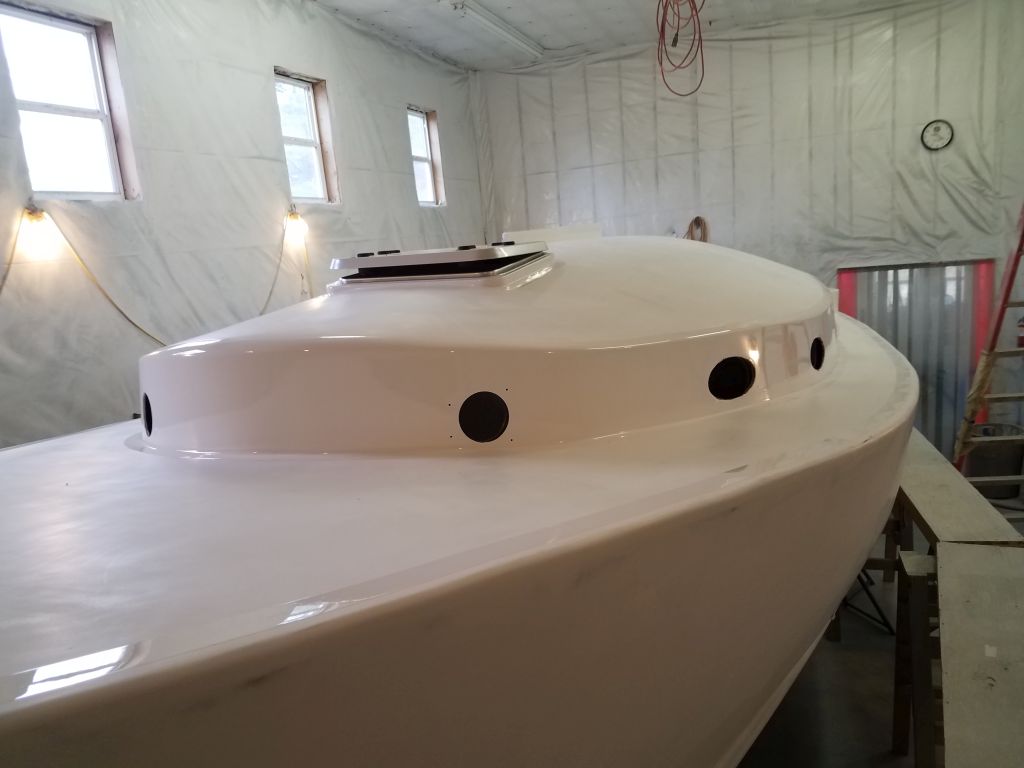
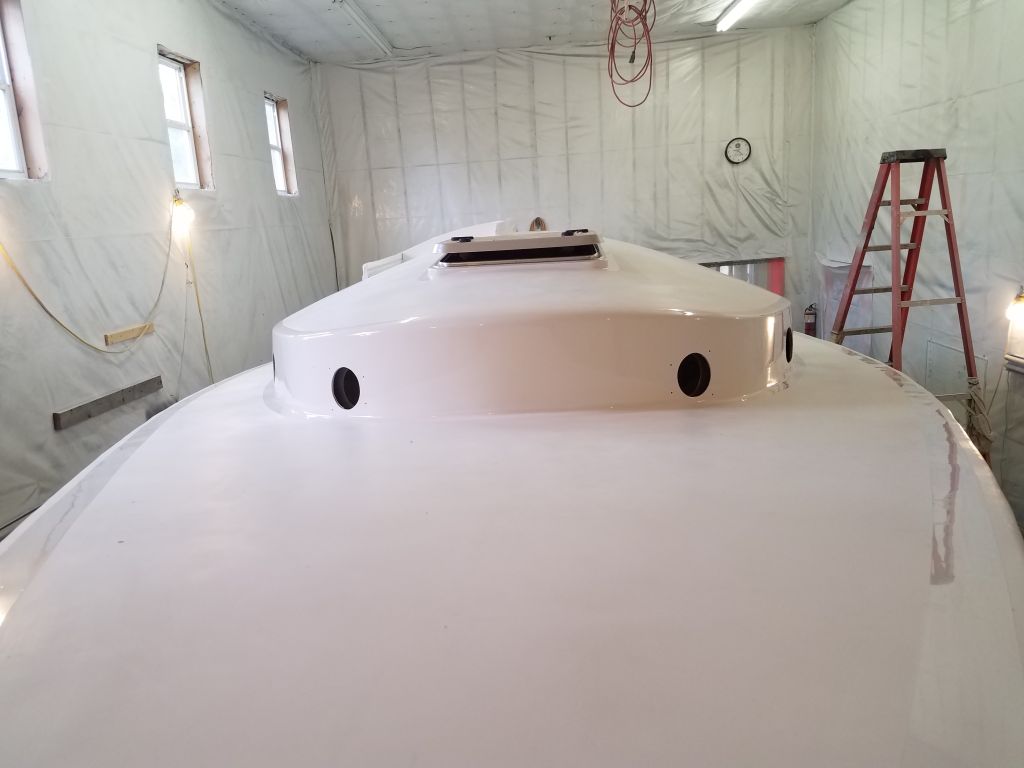
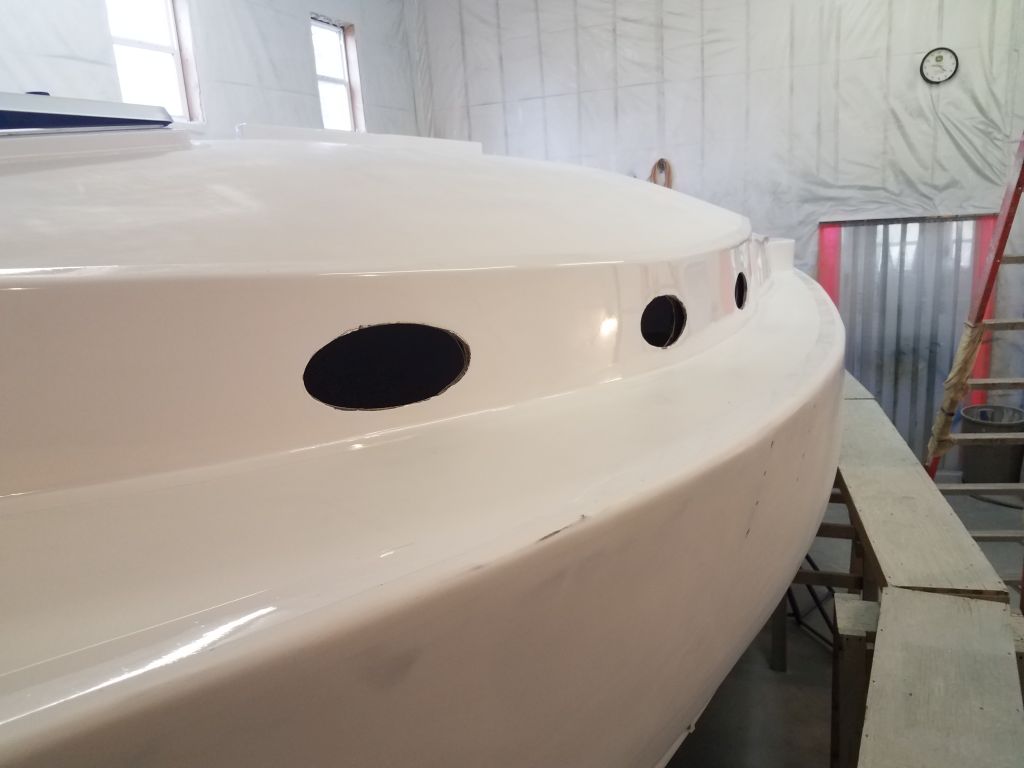
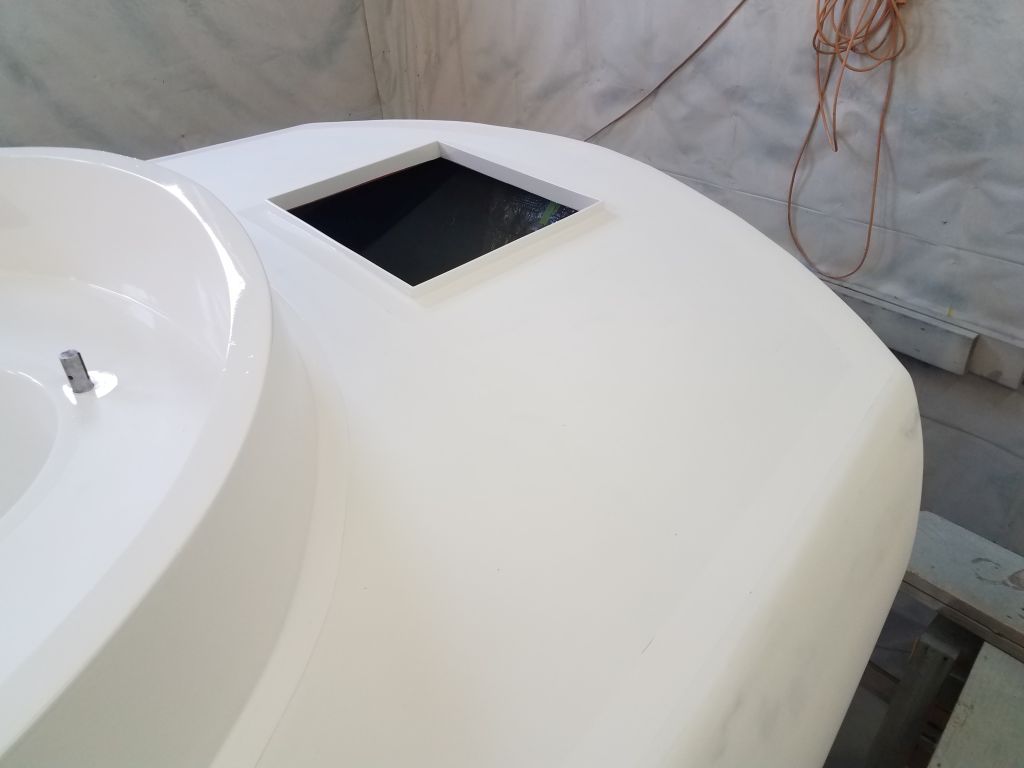
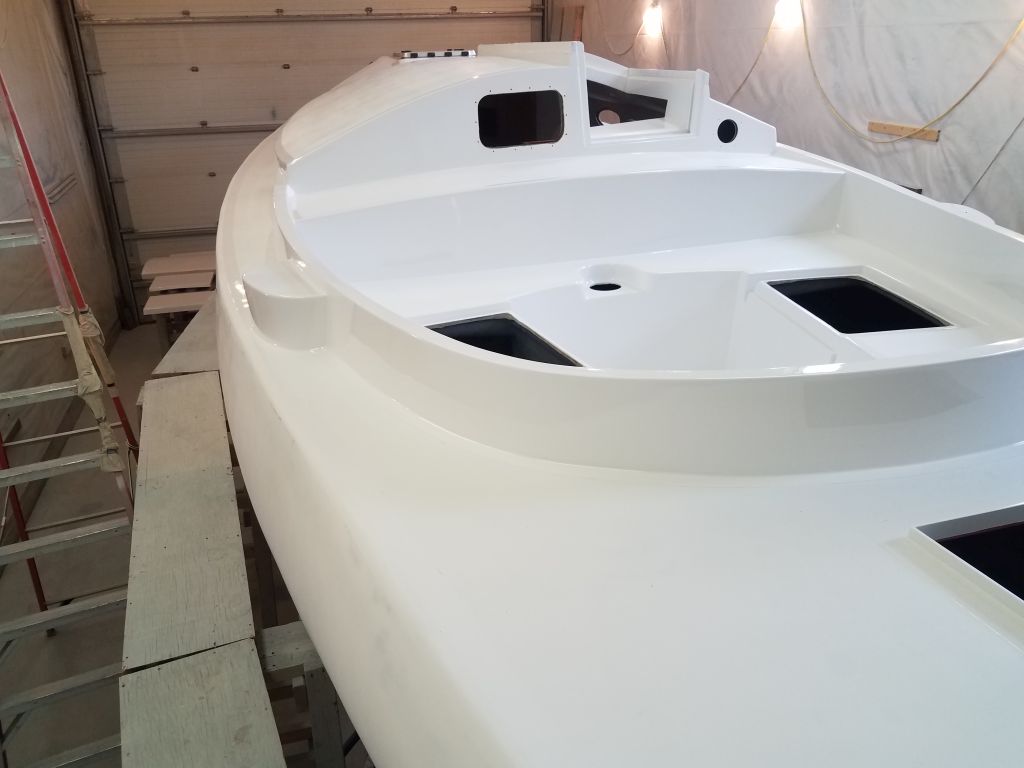

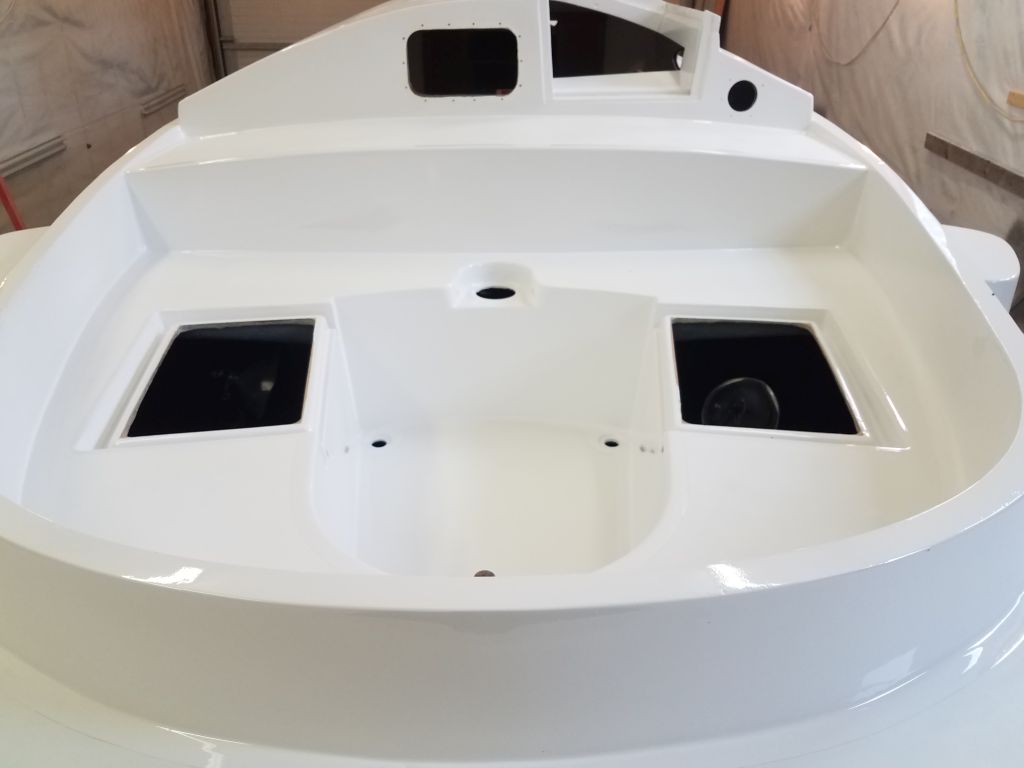


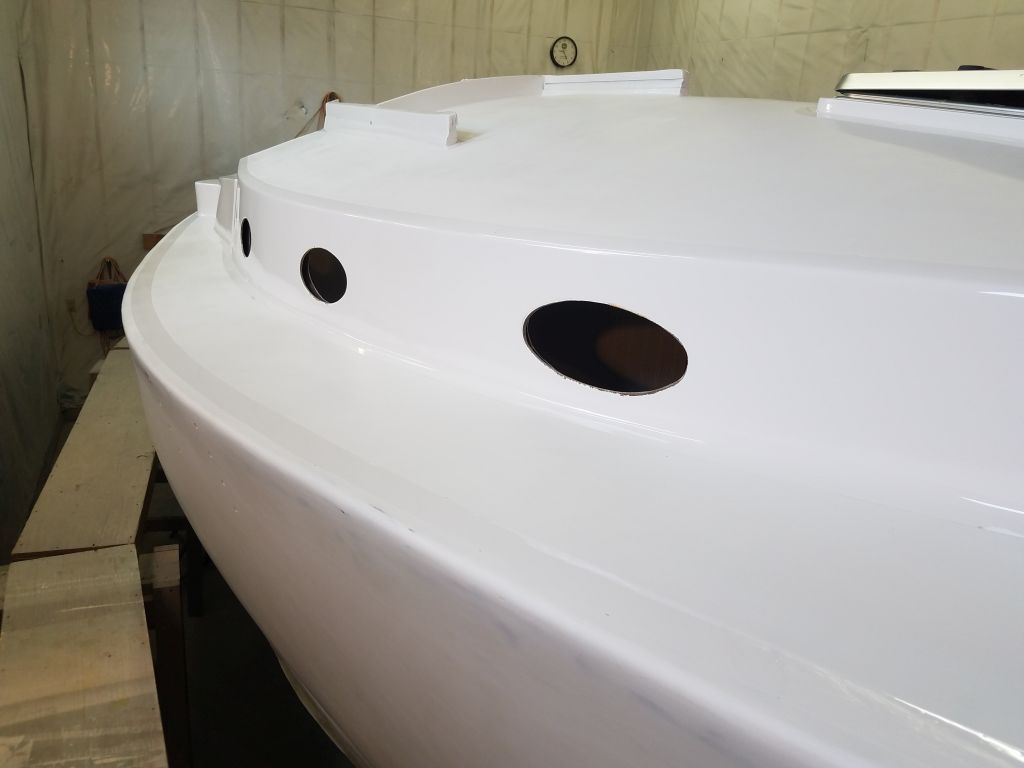
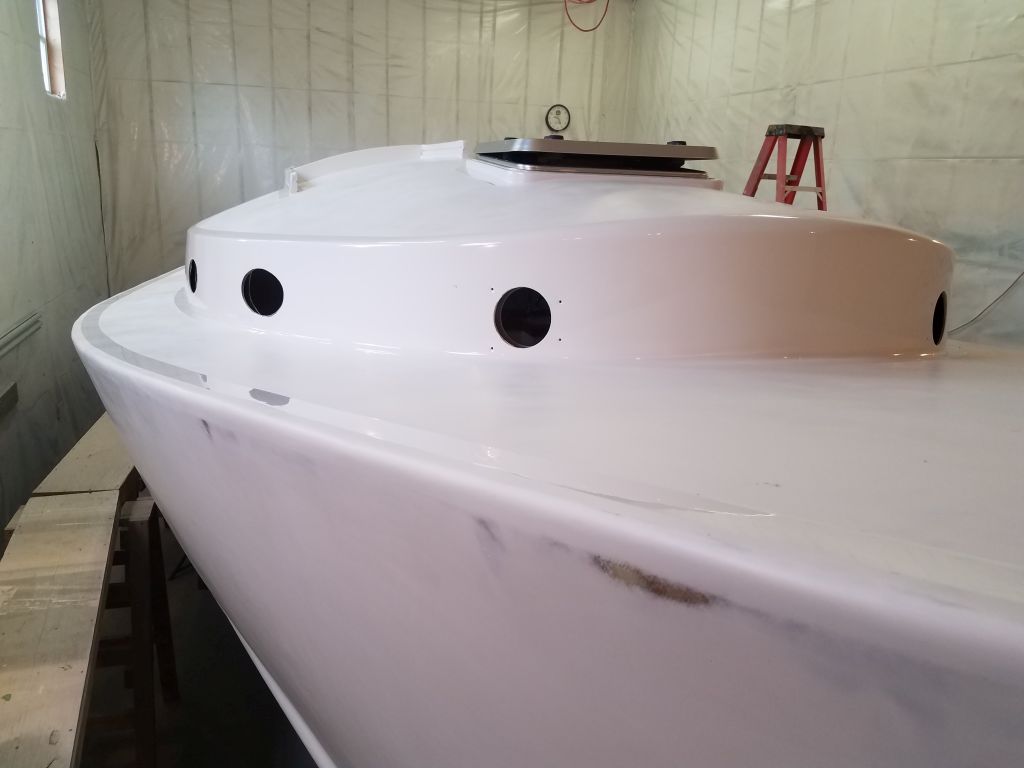
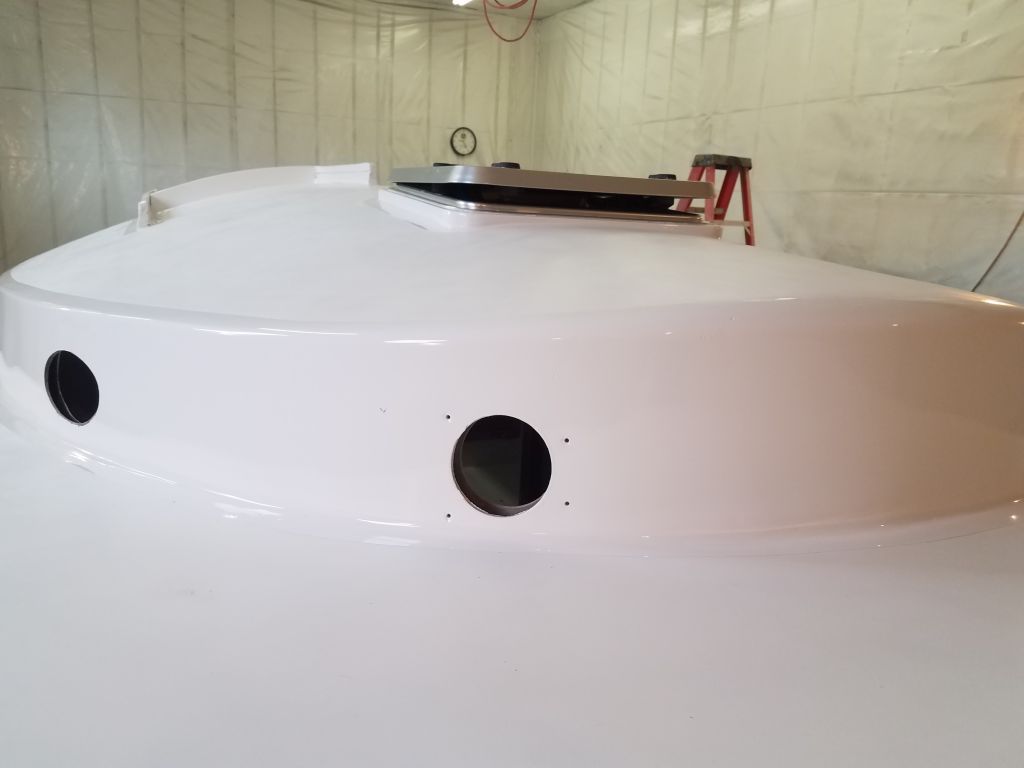
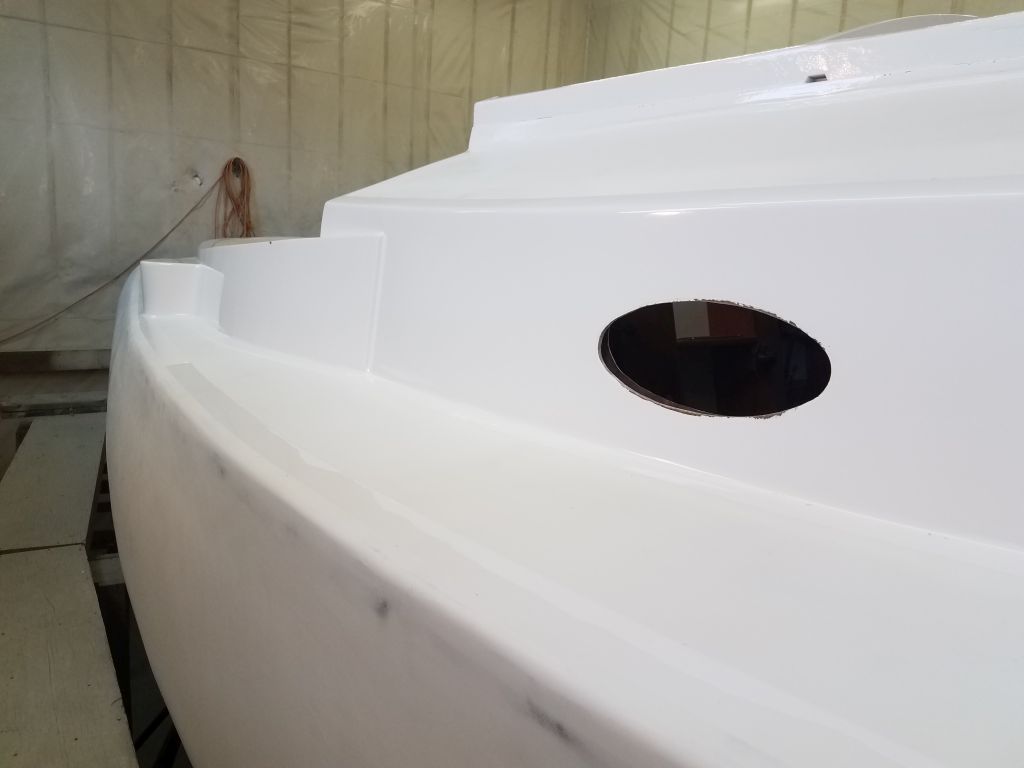
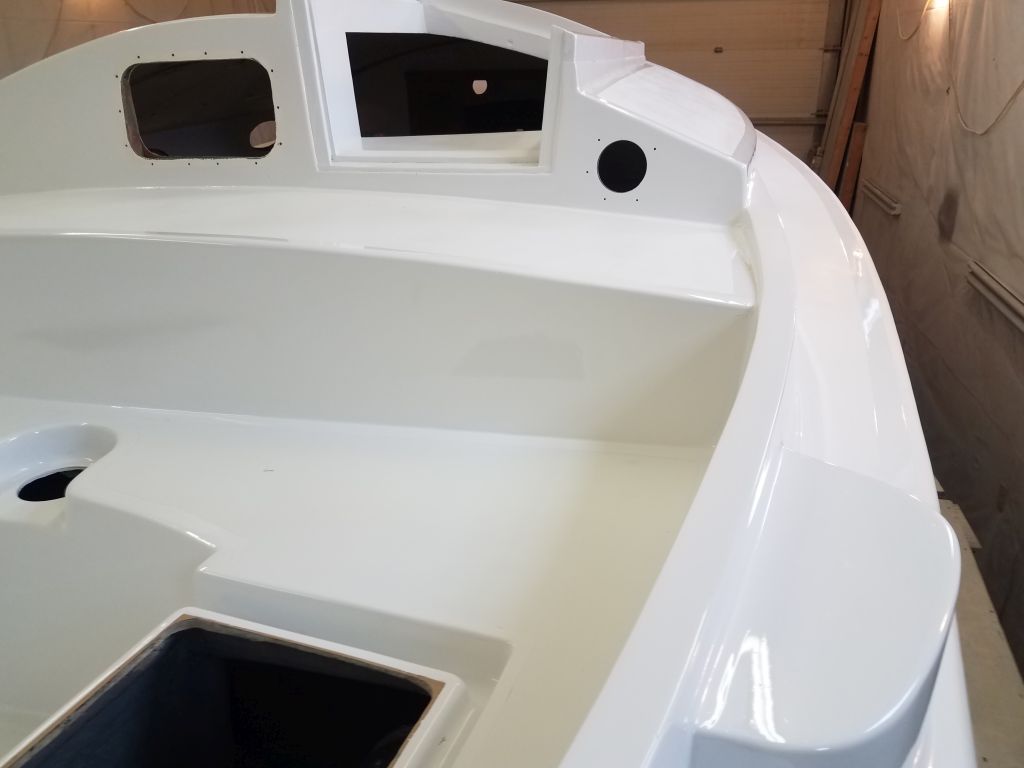
I planned to continue the painting with the topsides next, but final preparations for that would have to wait just a little while so the fresh deck paint could cure enough to be masked over, so I couldn’t work on that today. I wanted to leave the staging at its current height till I covered the decks with tape and plastic, so for the moment there wasn’t much I could do conveniently to move forward on the hull.
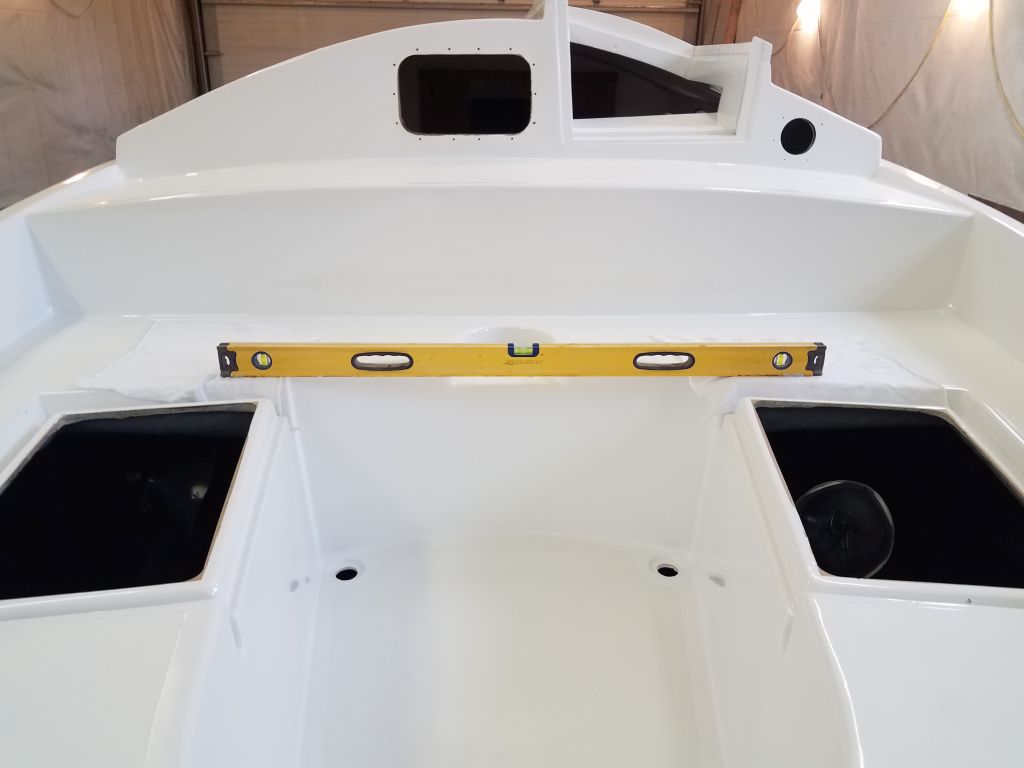
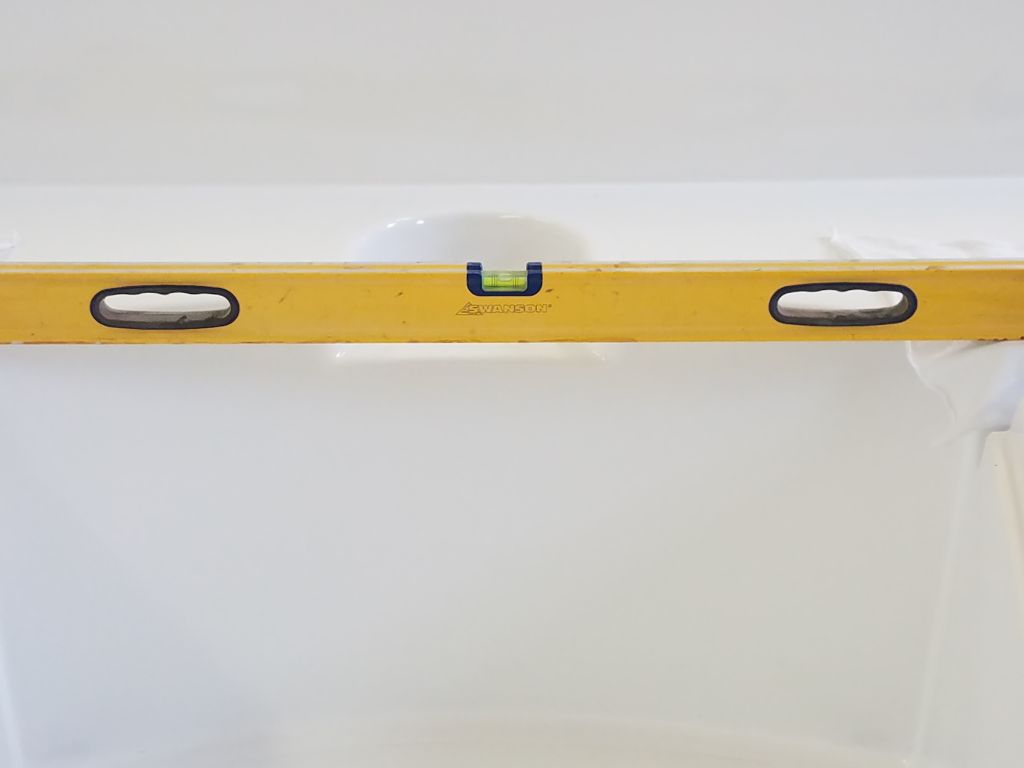
One thing I could do now was to double-check the level of the boat from side to side, which was important for laying out the new boottop, so I set up a level and made some minor adjustments to the boat stands till I was satisfied.
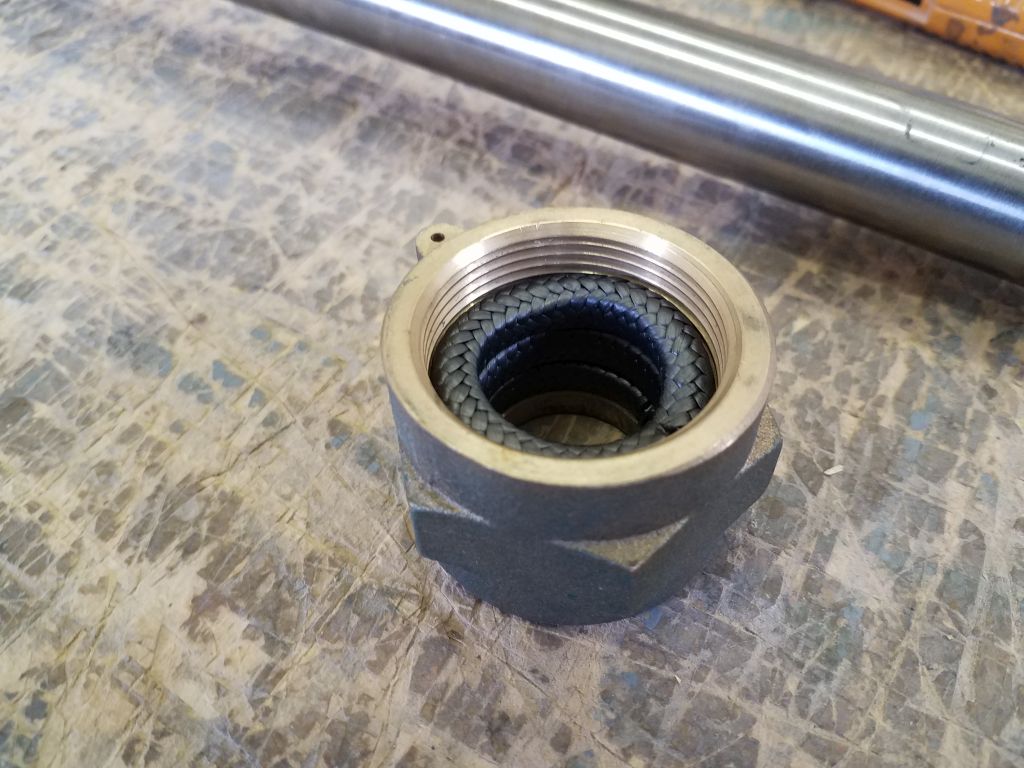
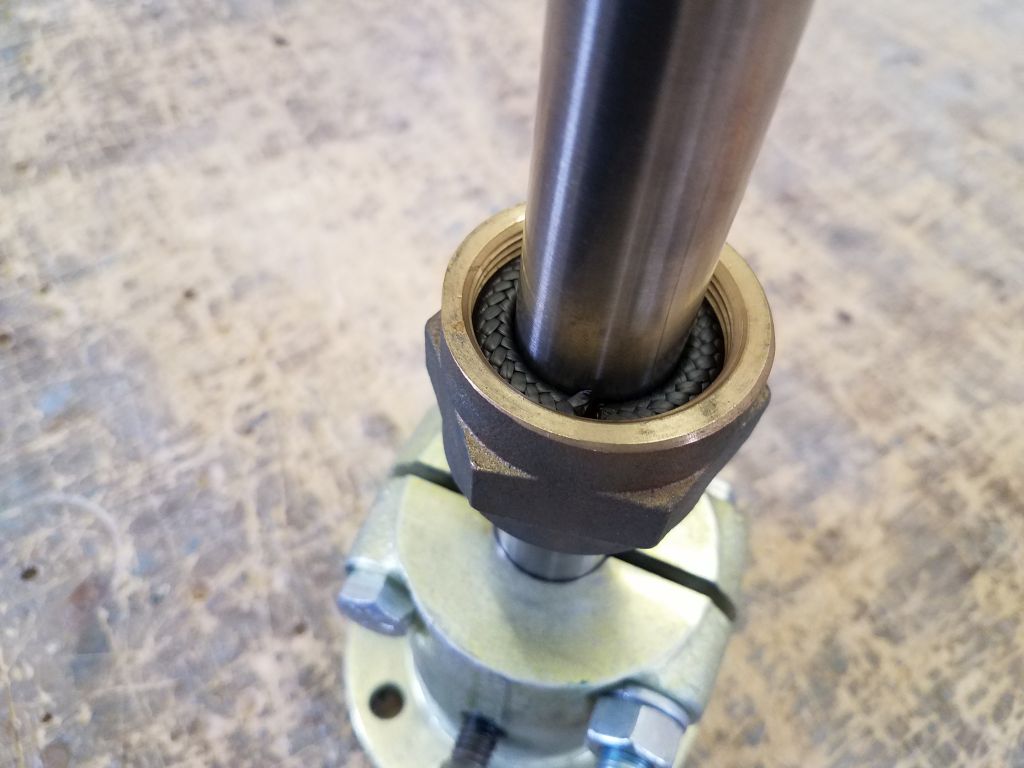
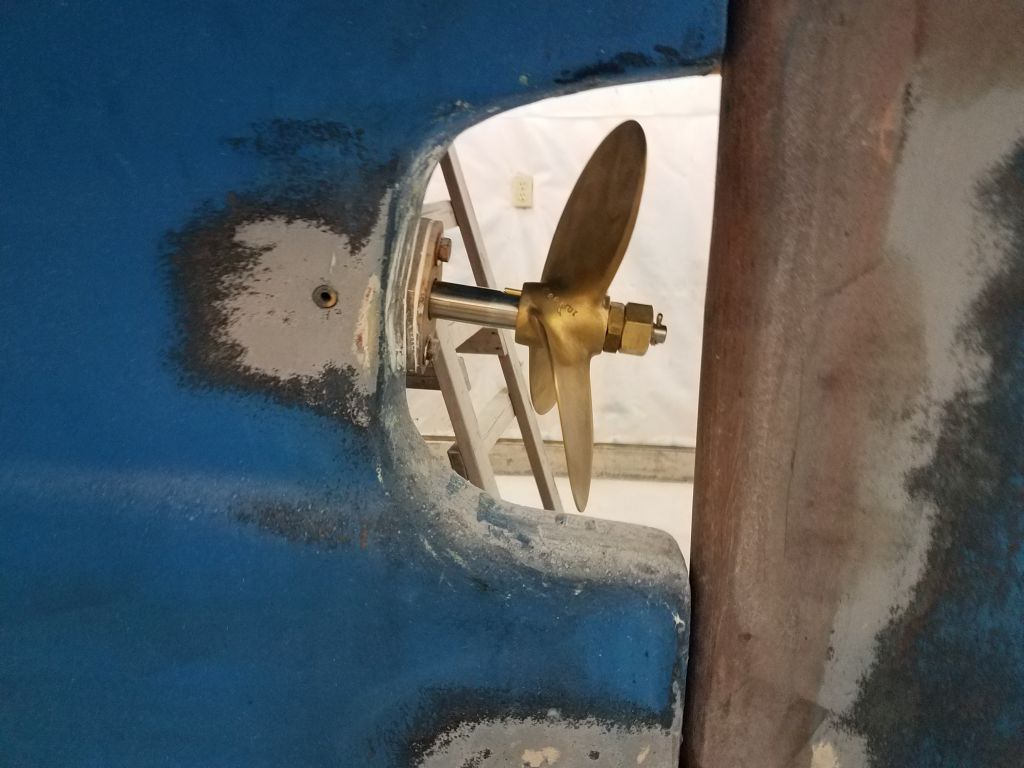
With little more I could do to advance the painting project for now, I decided to go ahead and install the new prop shaft and propeller. On this boat, the shaft needed to be installed from inside, since the rudder blocked access from without, so I could install the shaft coupling down on the bench first. Then, I installed new graphite packing in the stuffing box nut and pre-installed that on the shaft before inserting the shaft from inside the boat. I’d intended to mouse the coupling setscrew while I had the shaft on the bench, but forgot about it and didn’t notice till I’d proceeded far past the point of re-removing the shaft, so I’d complete that in place later.
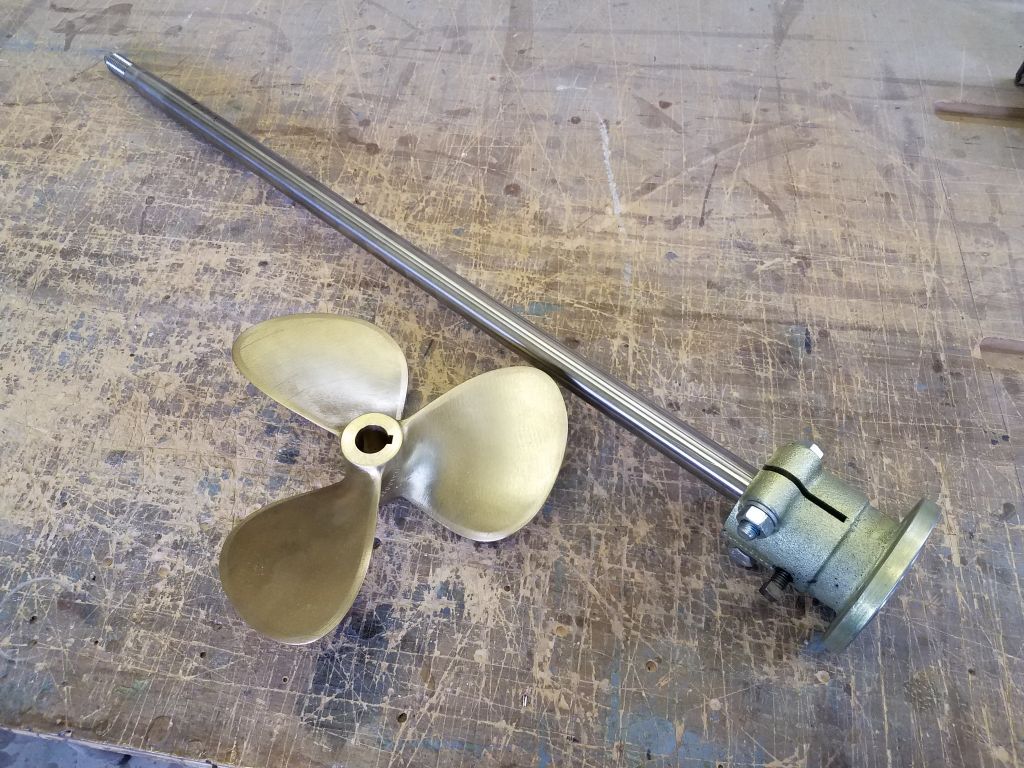
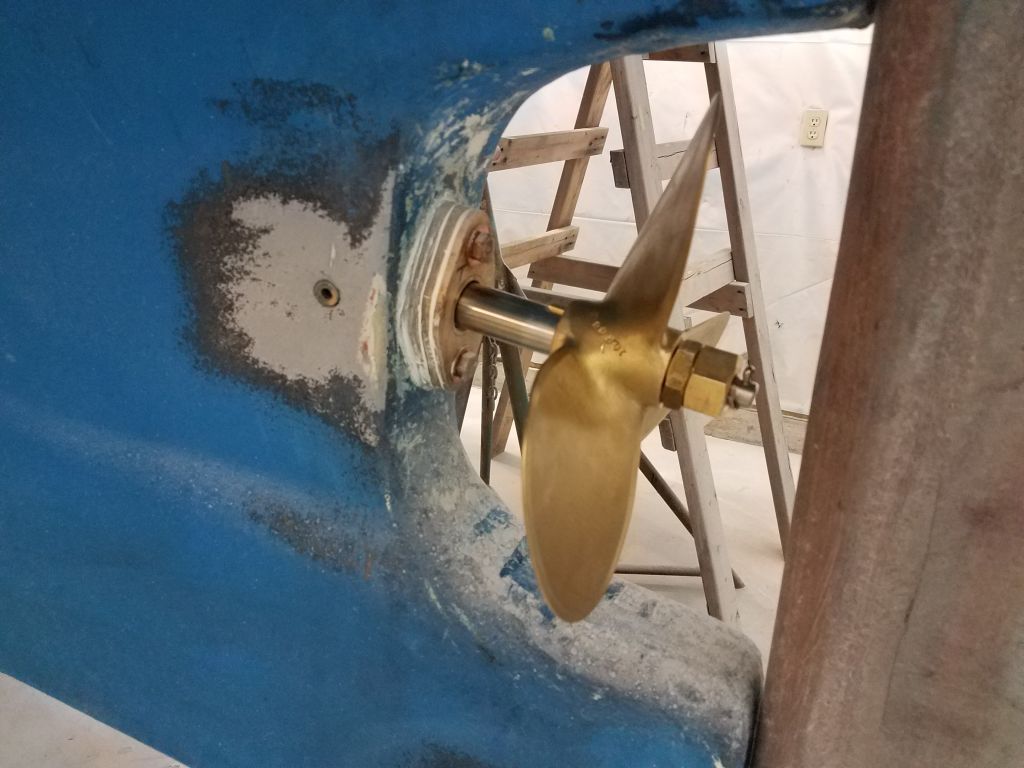
With the shaft in place but still free within the boat, I installed the new propeller (3-blade 10RH8, as calculated to match the requirements of the boat, aperture limitations, and electric motor combo), since the only way it could fit (again thanks to the tight aperture and rudder) was to have room to move the shaft forward a bit to make room for the prop hub.
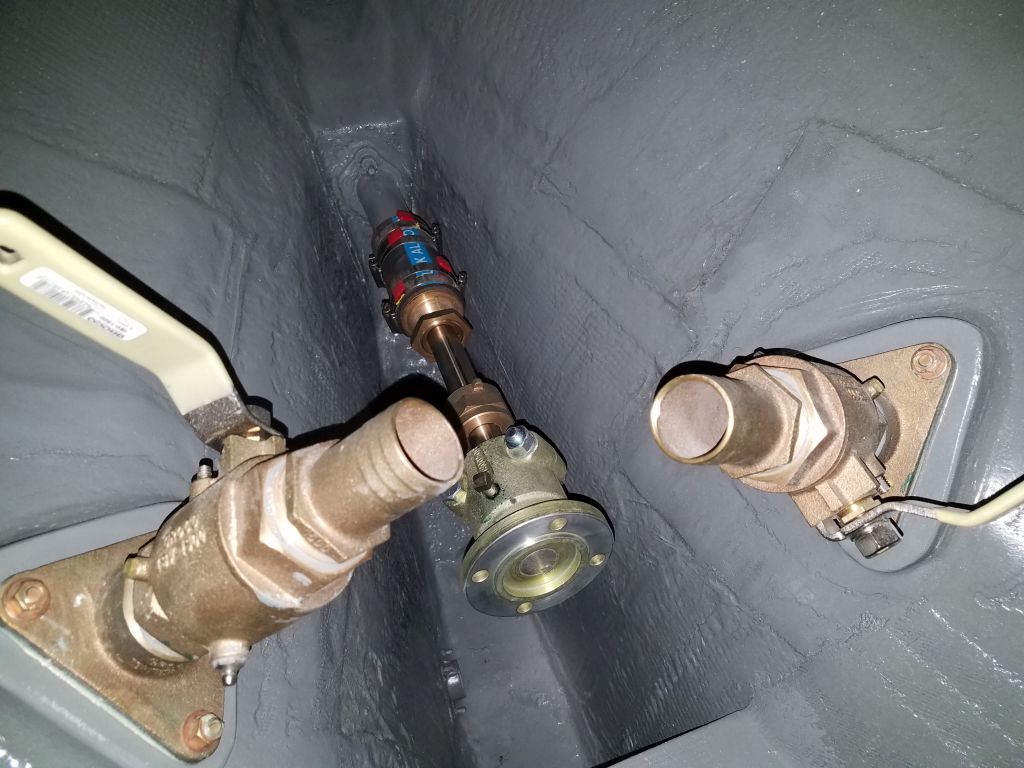
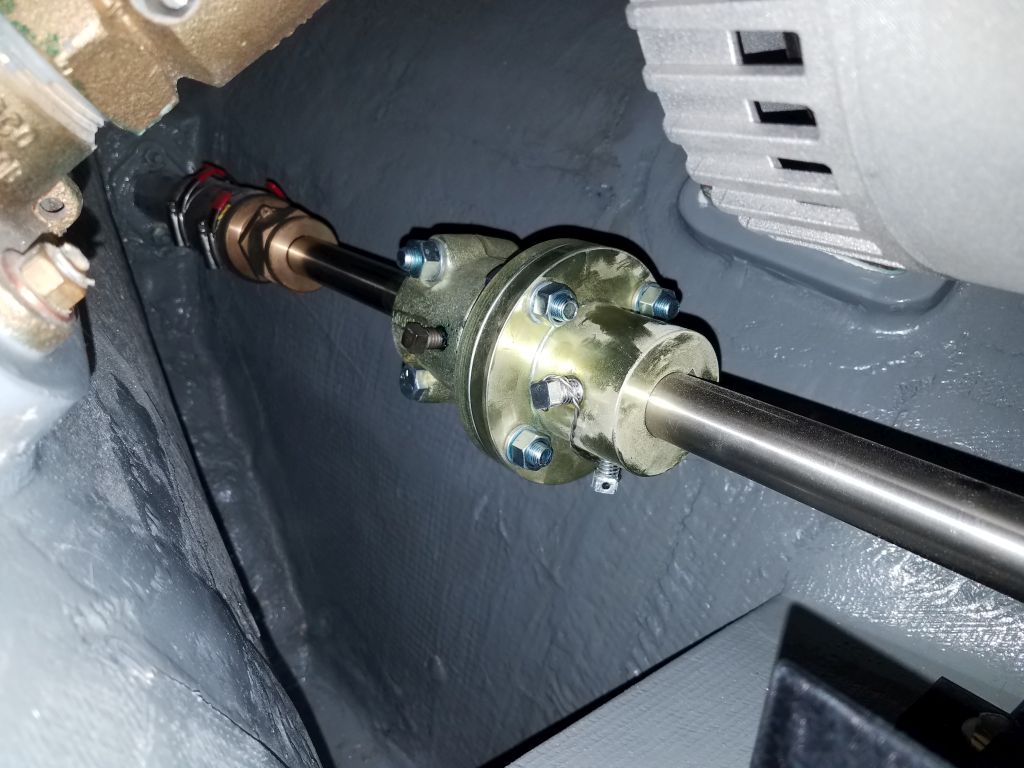
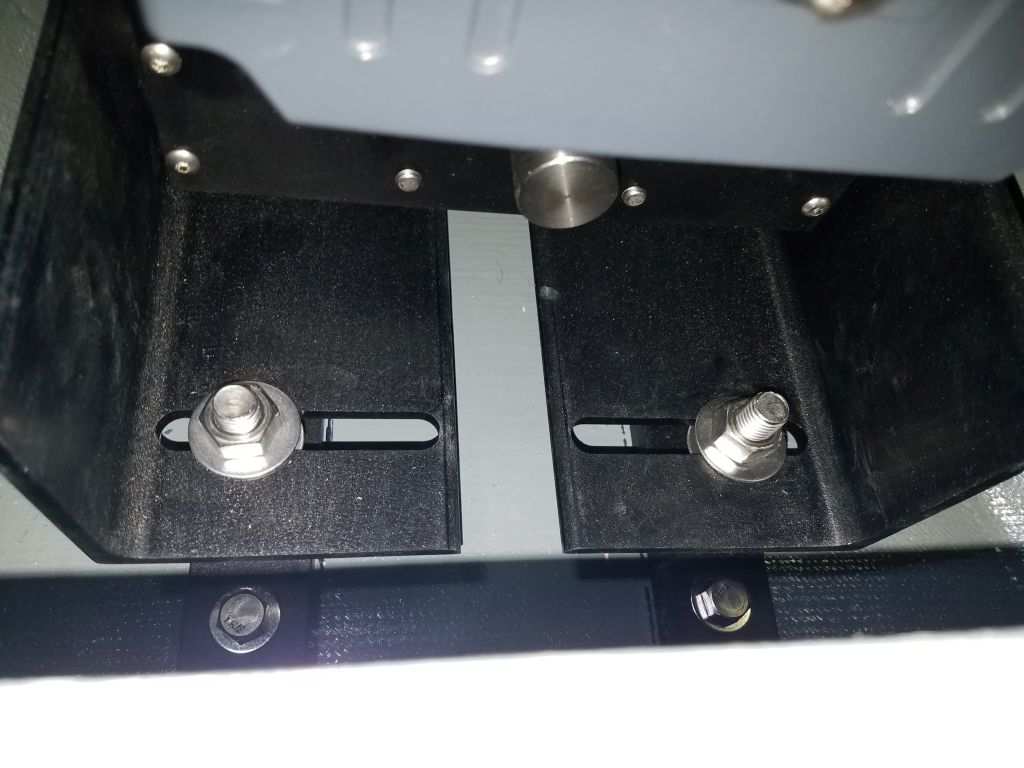
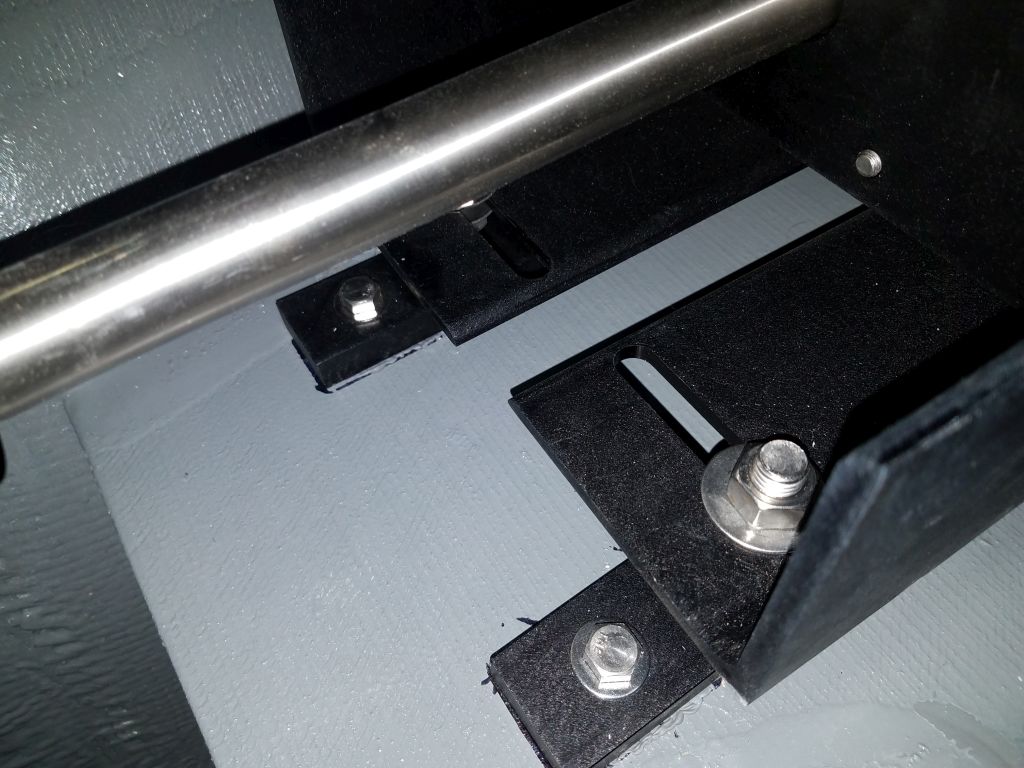
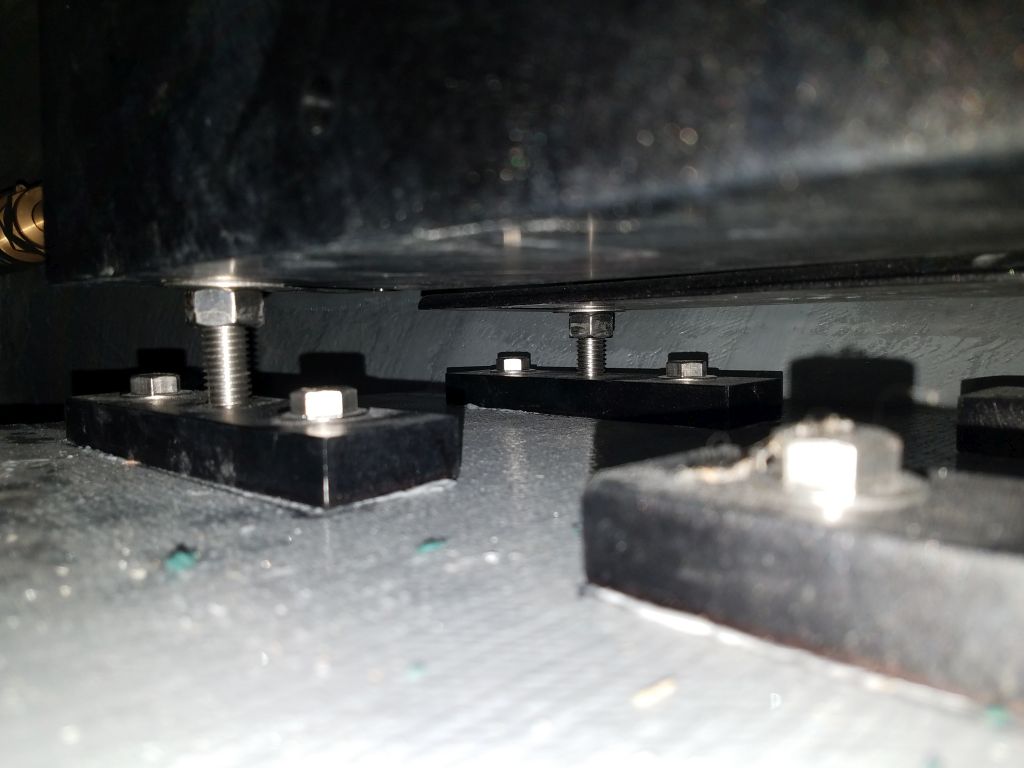
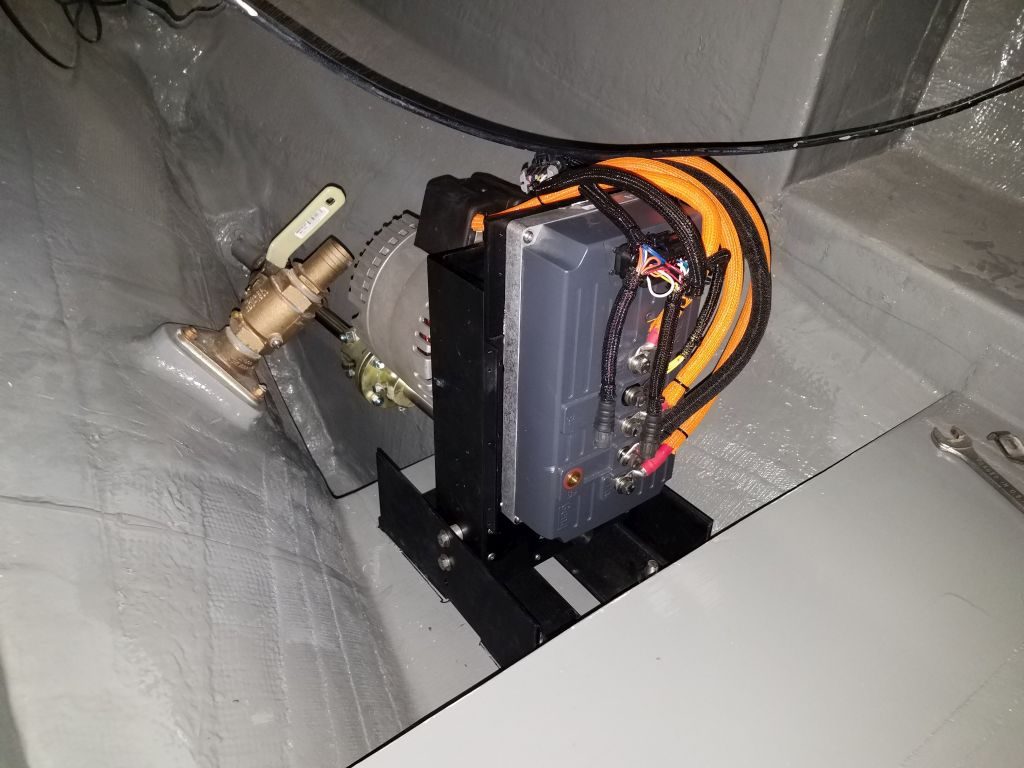
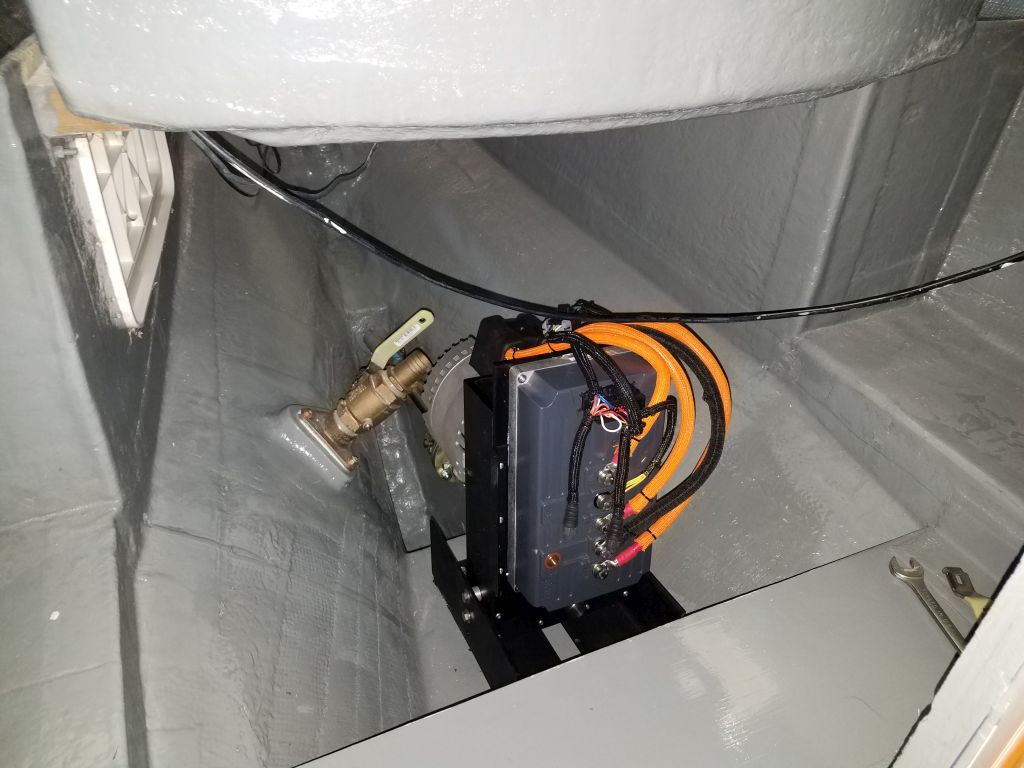
This was as far as I’d originally planned to take the task for now, but I couldn’t resist continuing and installing the electric motor and finishing up the shaft connection now. This was quite straightforward since I’d already more or less completed the alignment and engine mounts installation earlier, when I measured for the new shaft, so it was a pretty simple matter of placing the motor on the mounts, completing some minor adjustments, and securing the shaft couplings and engine mounting bolts. Note that the cover housing for the electric motor assembly is not installed in these photos, pending final connections and electrical work that would happen soon once the painting project was done with.
That was about all I could do now without disrupting the “clean room” condition of the shop pending the final paint, so I called it quits on this project for the day and worked on a couple micro-jobs I had on hand for other, unrelated projects at the shop.
Total time billed on this job today: 4.75 hours
0600 Weather Observation: 25°, clear. Forecast for the day: Mostly sunny, 35°