


February 8, 2019
Scupper 76
Friday
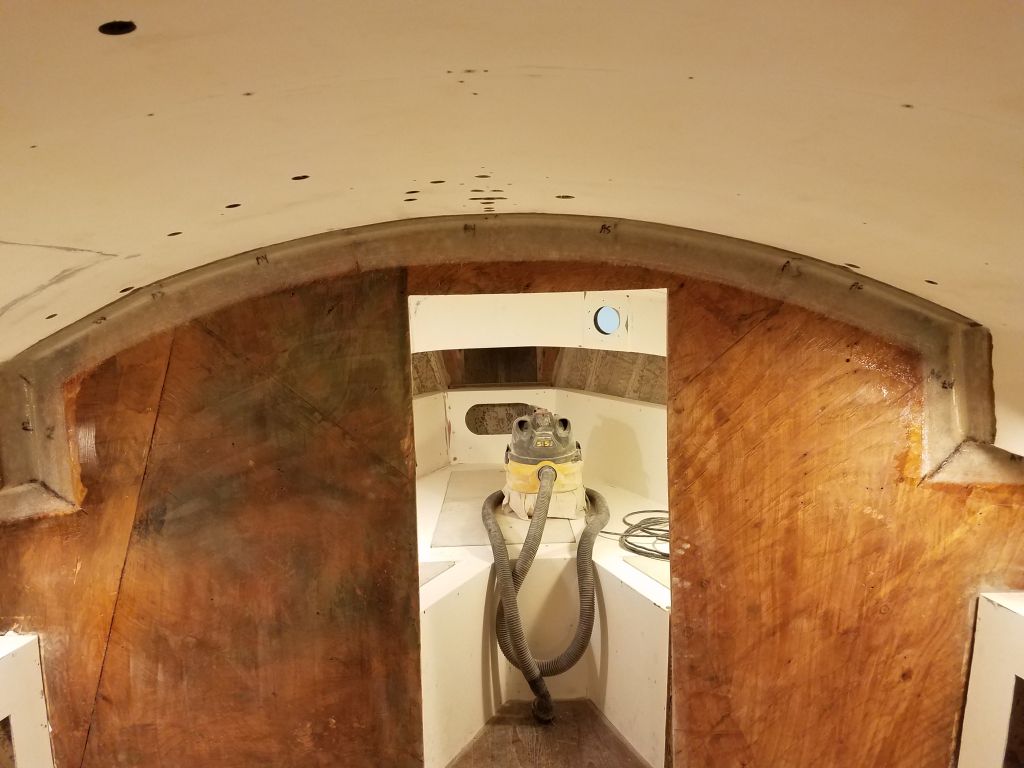
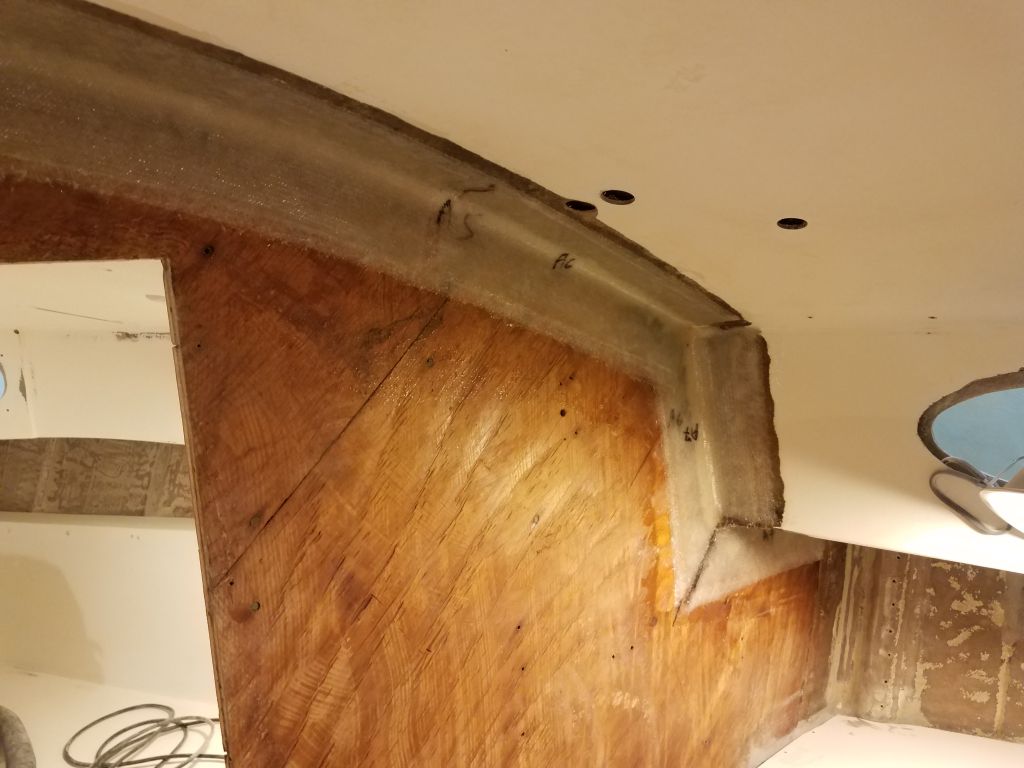
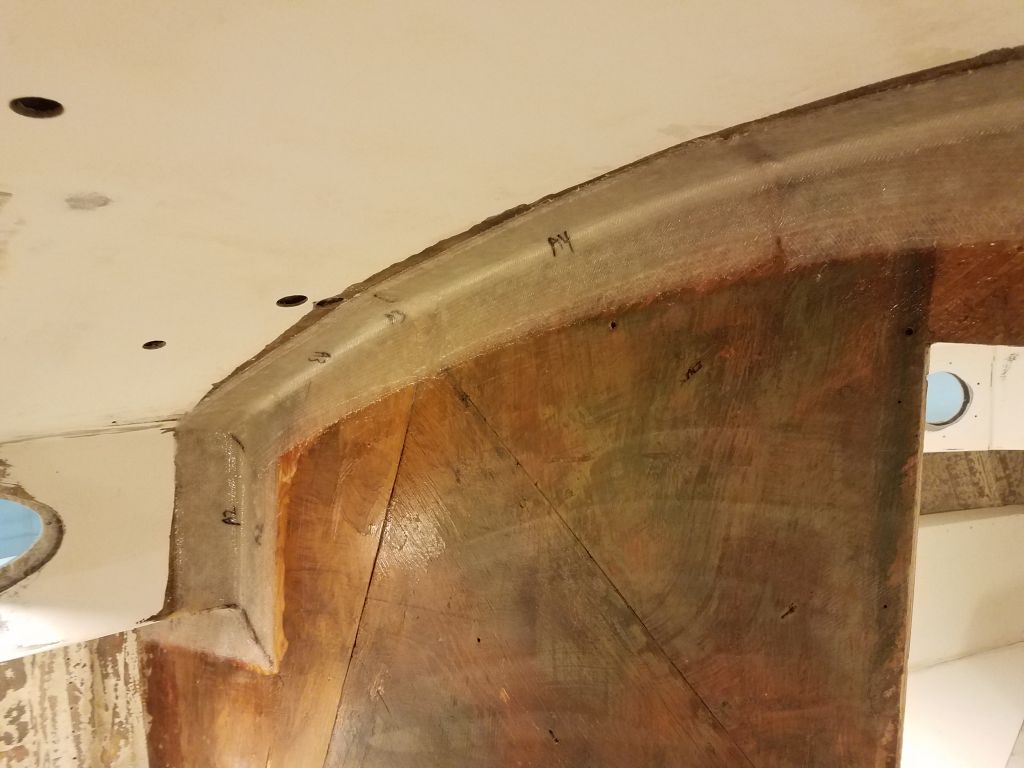
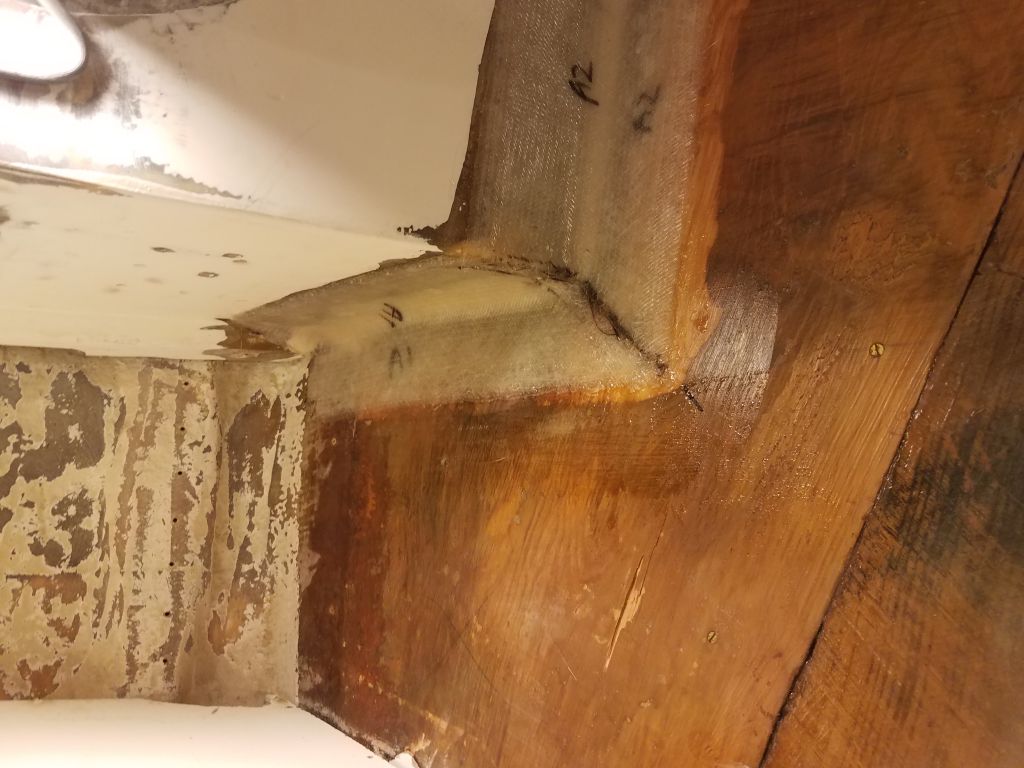
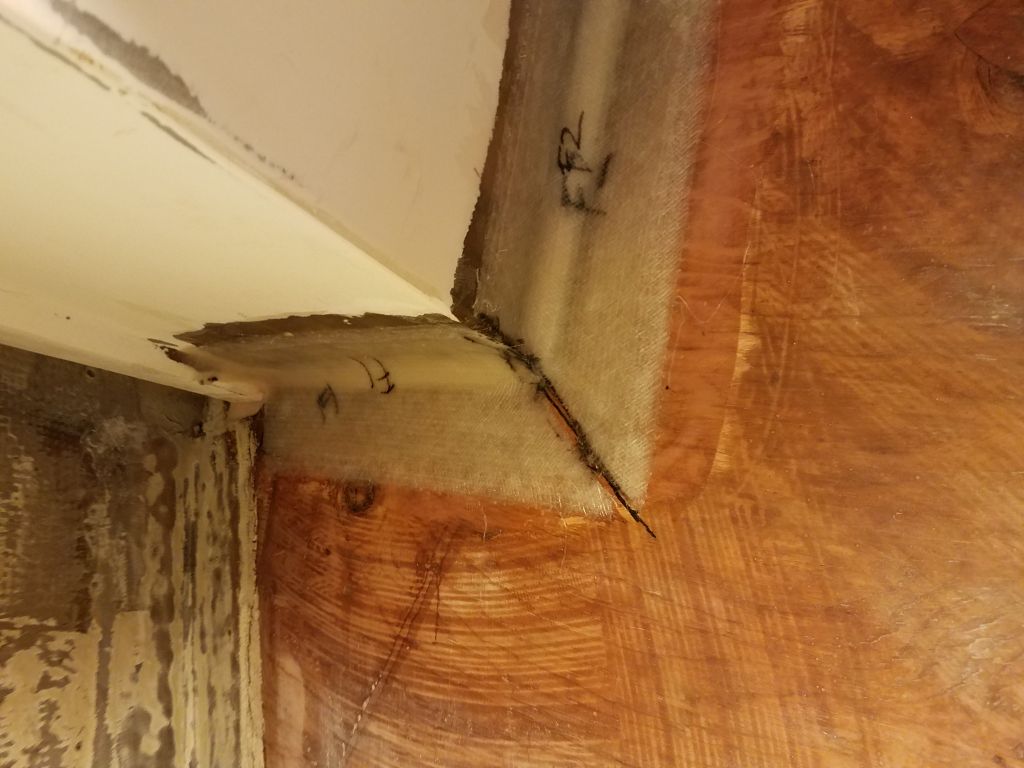
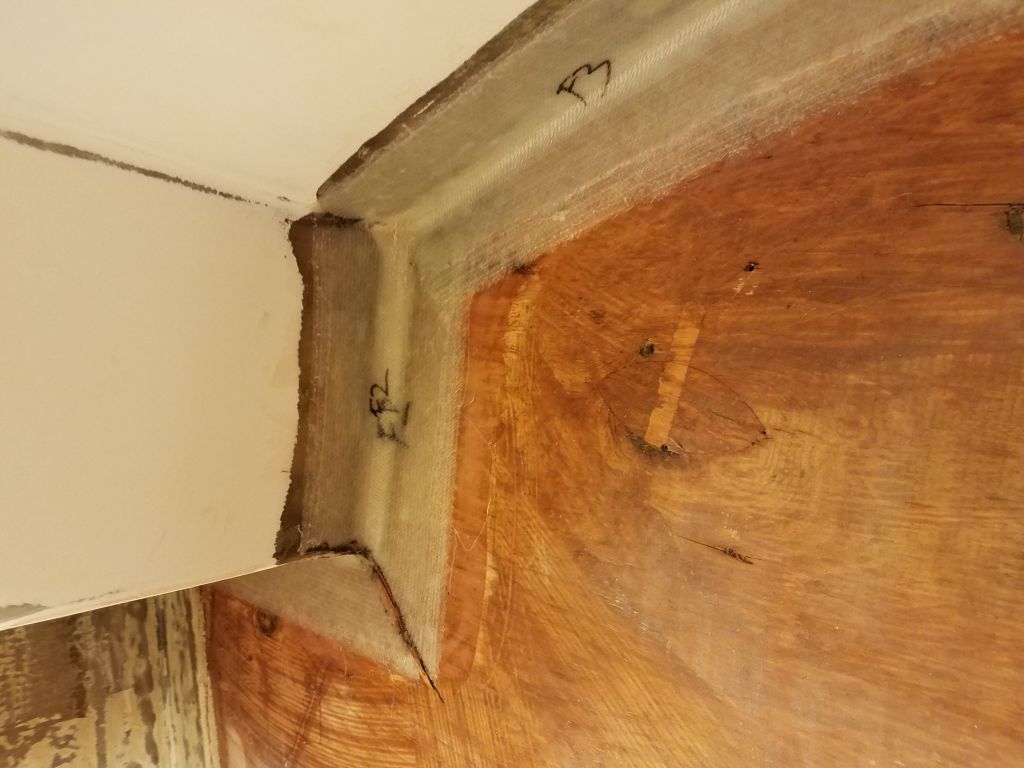
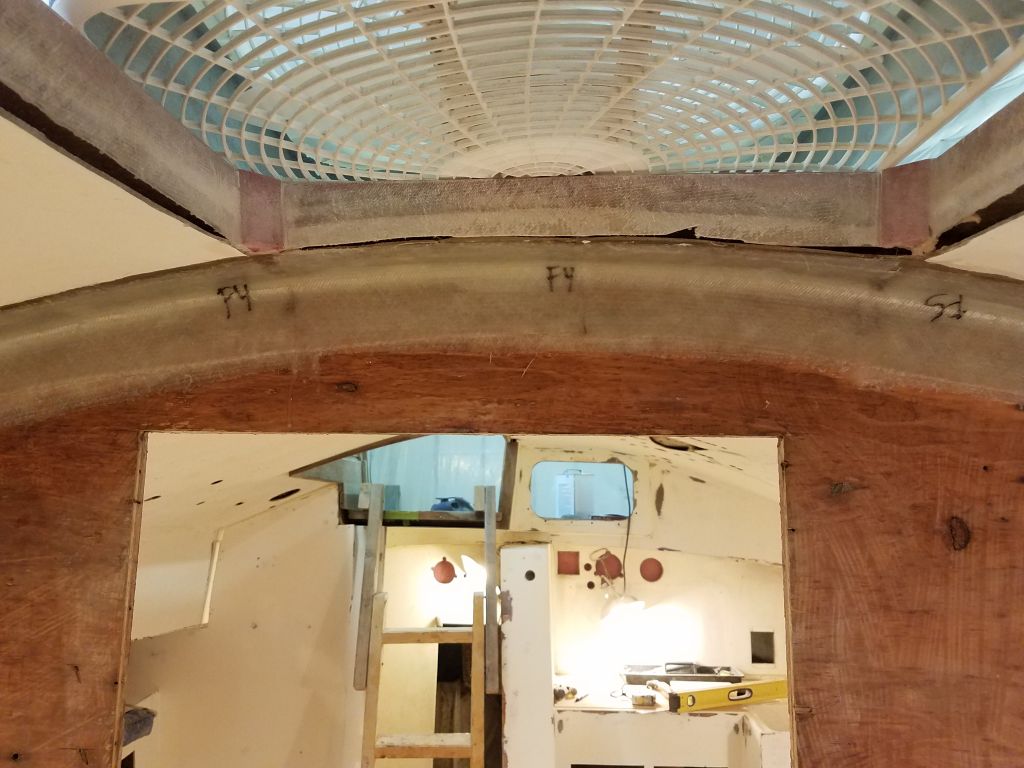
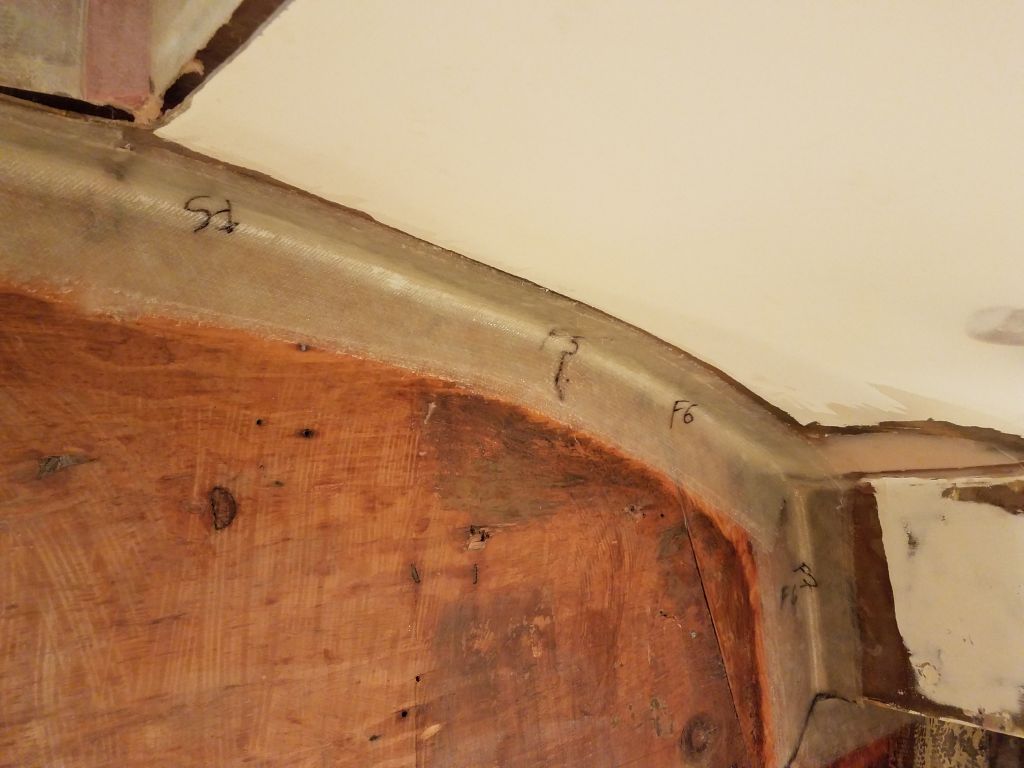
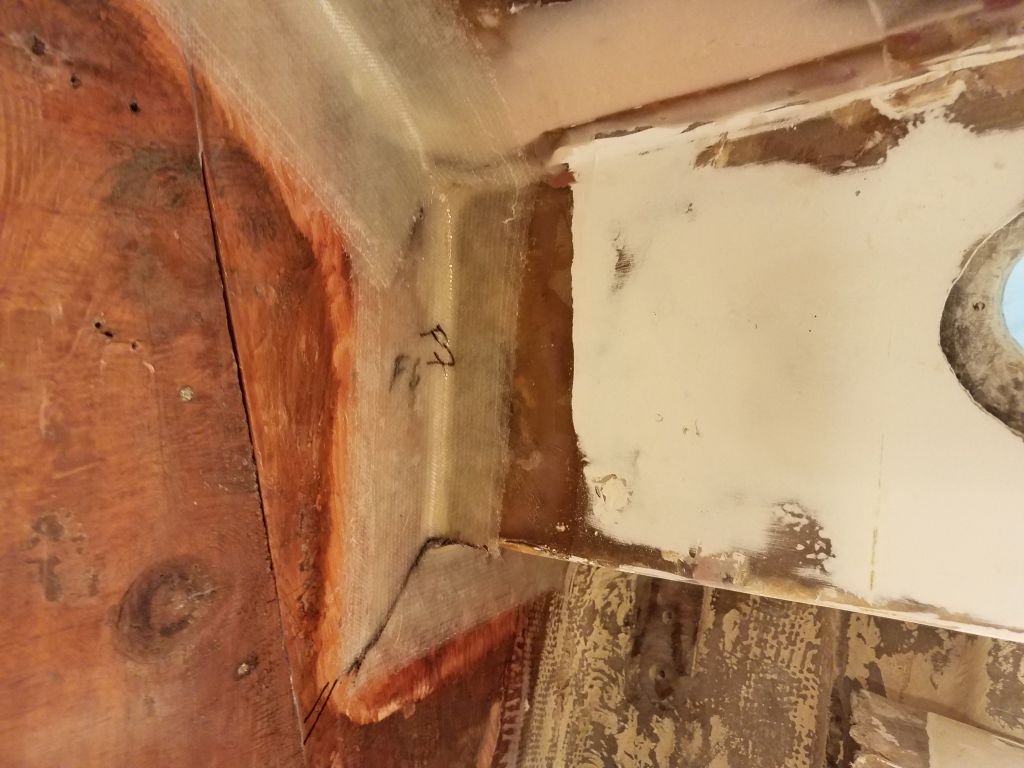
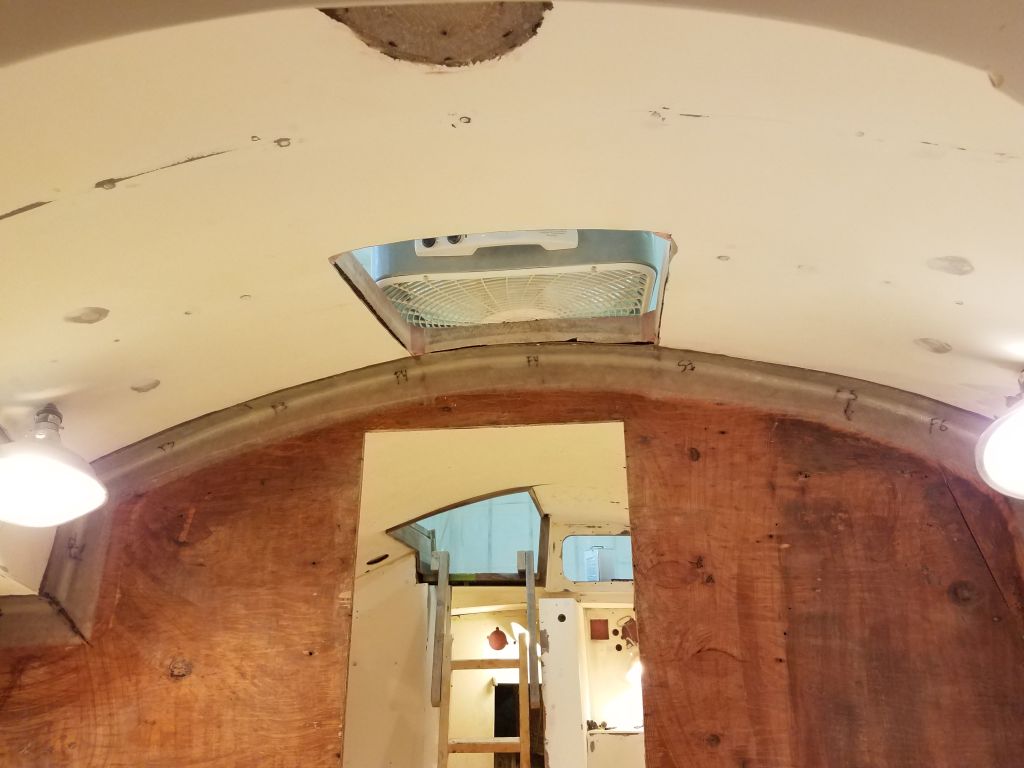
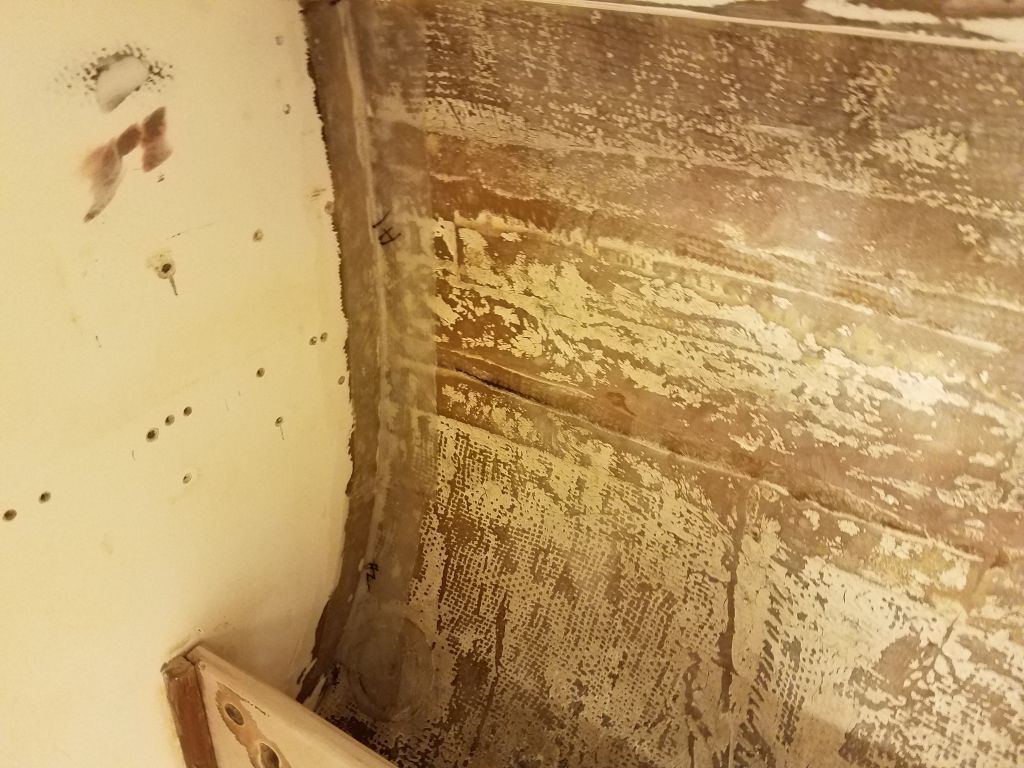
I began the prepwork for tabbing the main bulkhead by measuring the spaces for the tabbing required. Afterwards, I used thickened epoxy to install a nice fillet all along the intersection between the bulkhead and the deck above, filling any small (or larger) gaps and creating a consistent and smooth transition along both sides of the bulkhead.
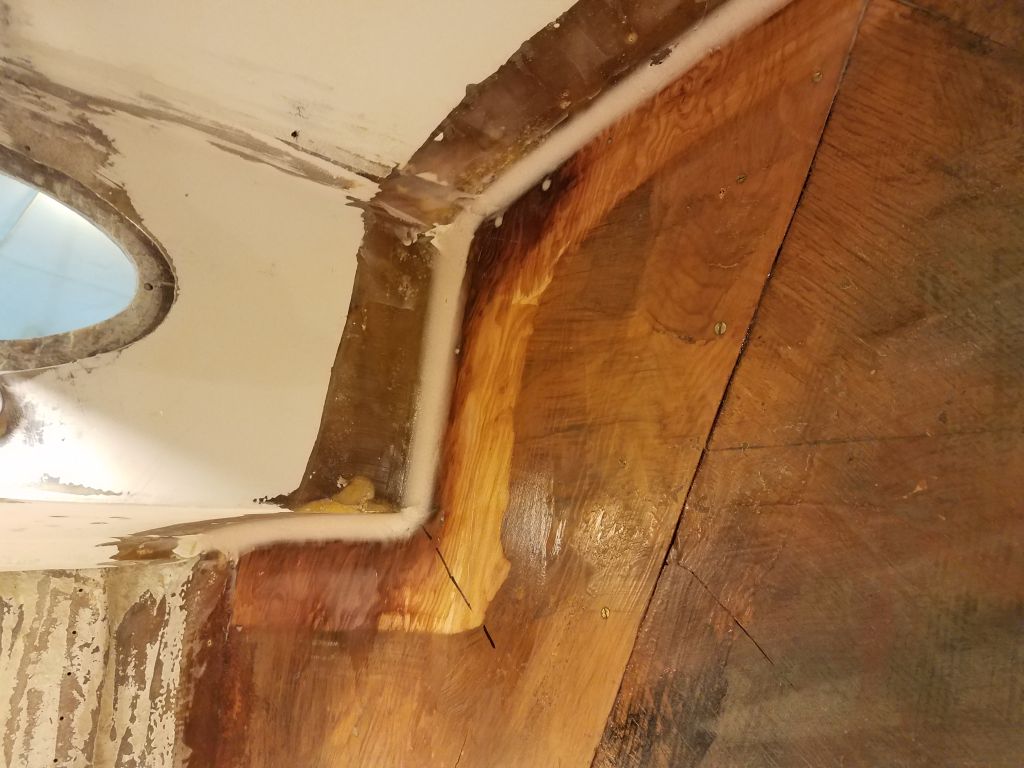
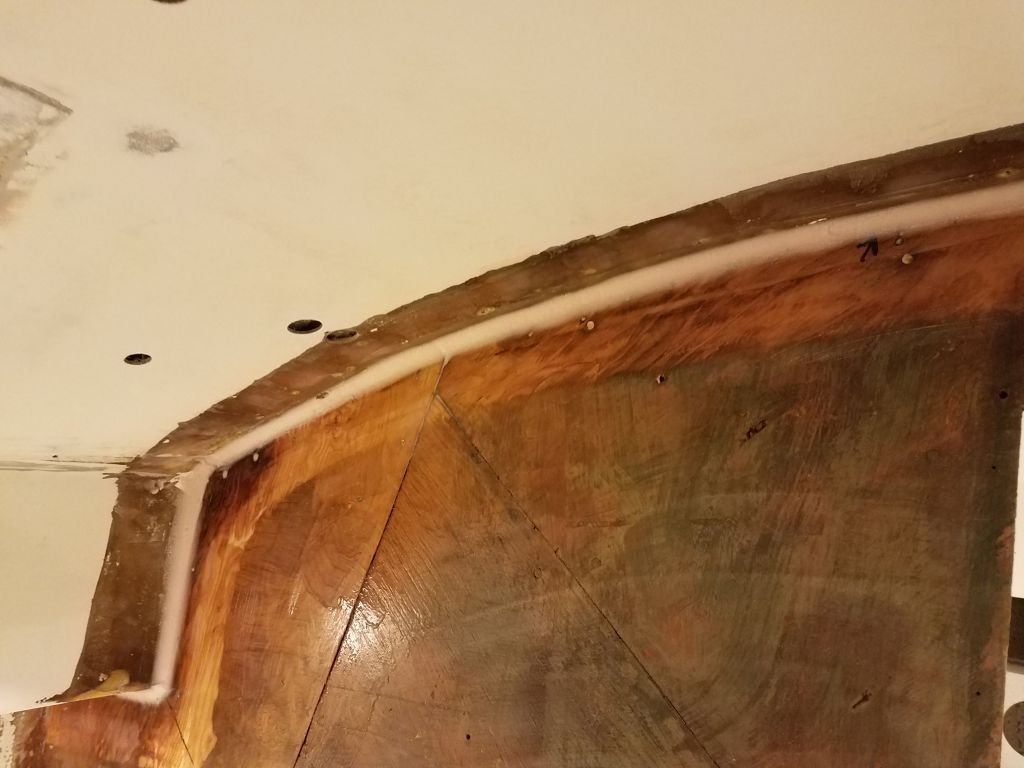

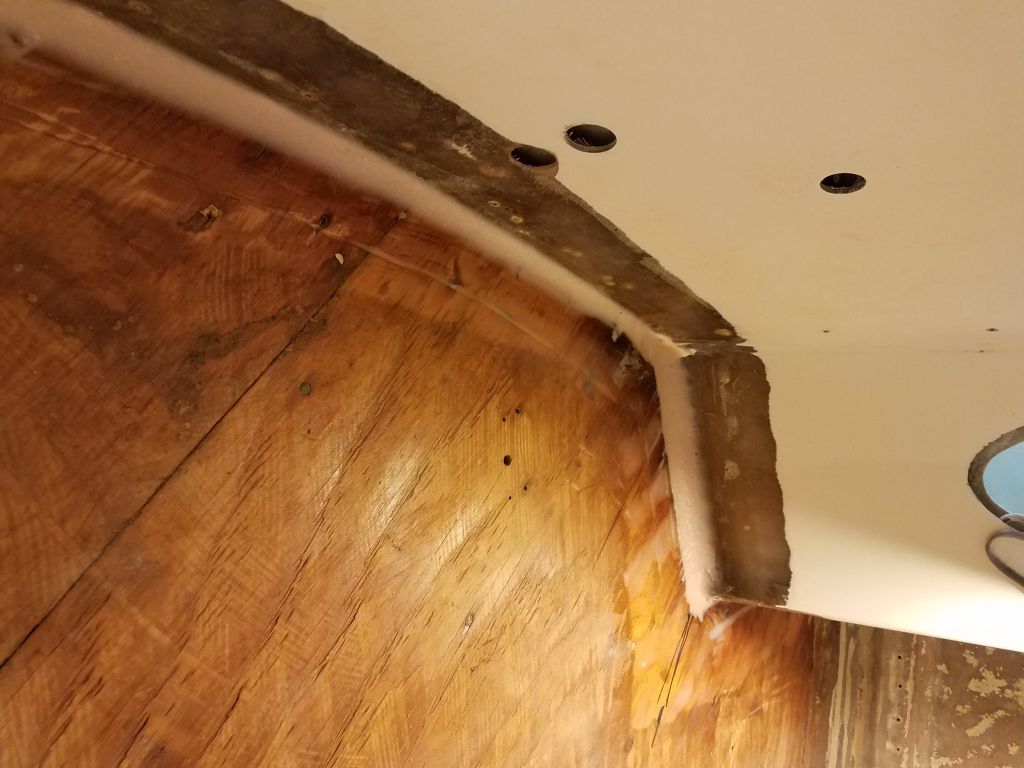

While the fillets gelled slightly, I cut all the tabbing needed for the job: two layers (6″ and 4″) for each side, in several manageable and logical pieces with joints staggered where appropriate.
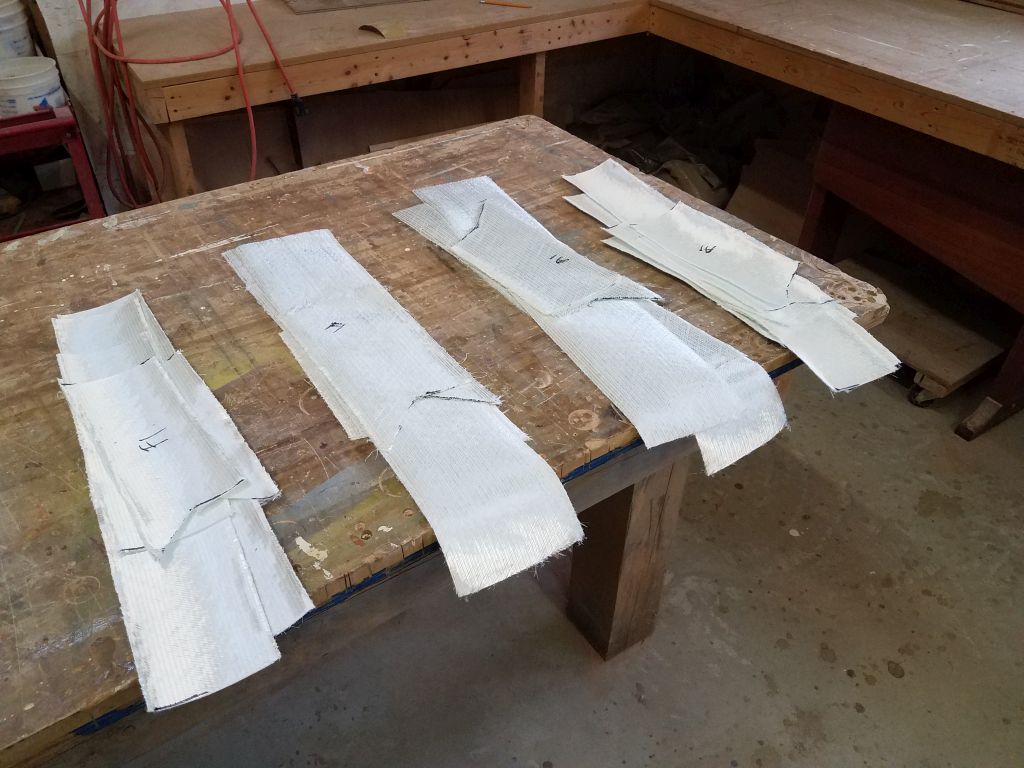
With that done, it was time to start wetting out and installing all the new tabbing on both sides of the bulkhead.


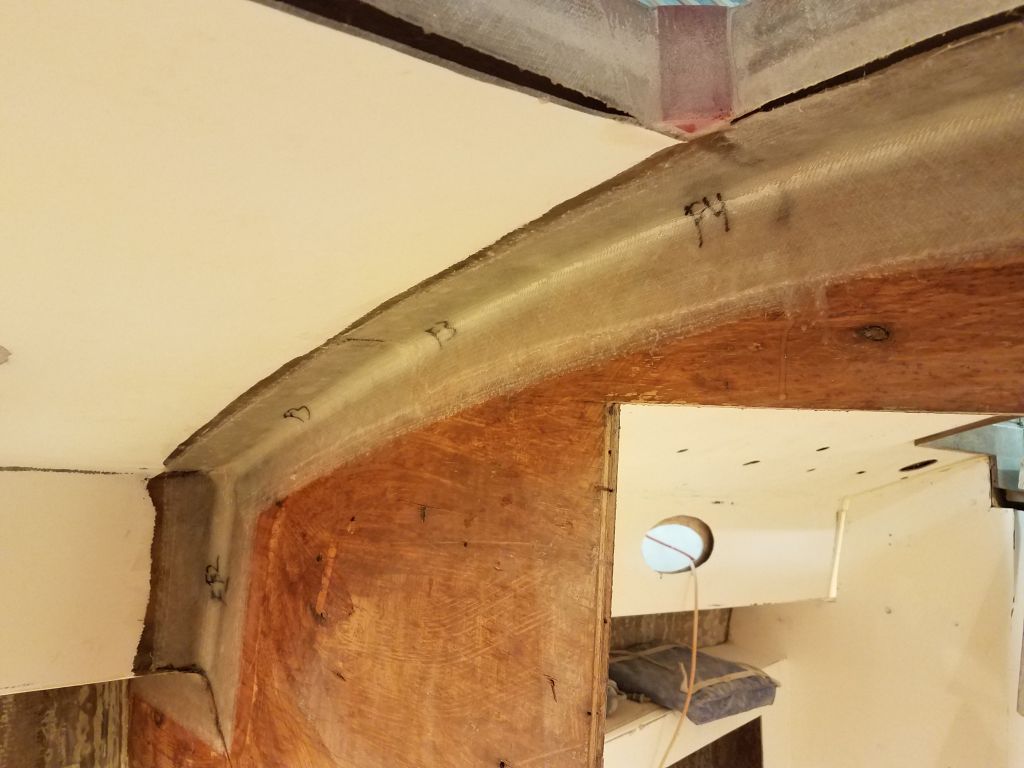

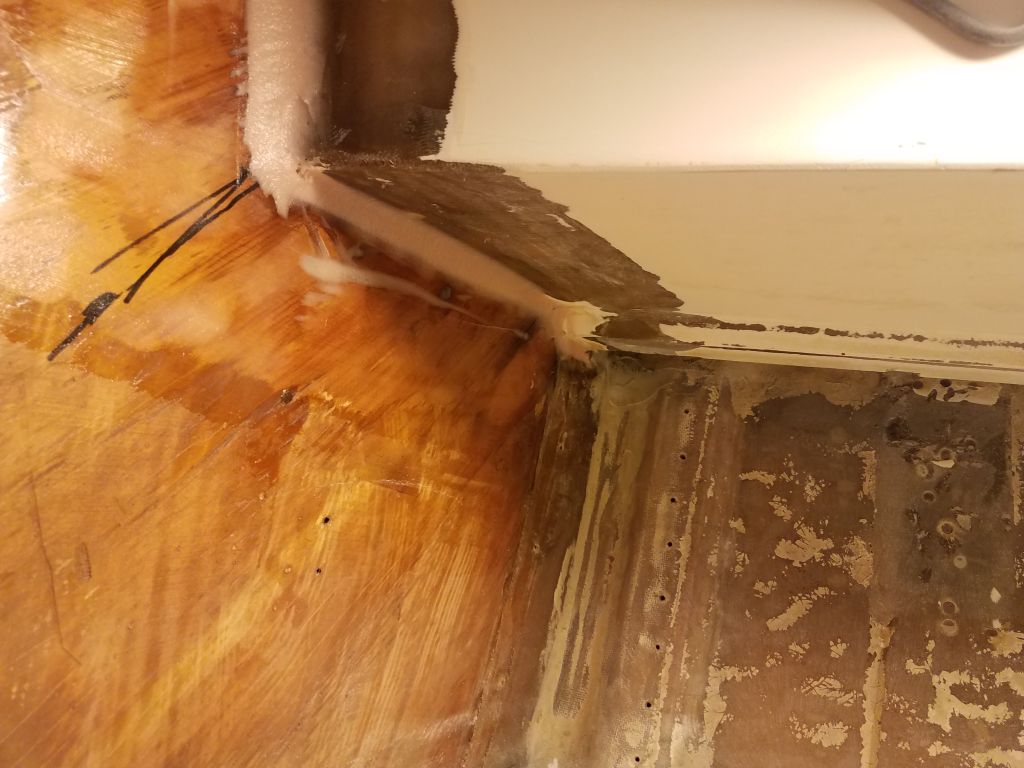
In the head, when I’d removed the two tabbed-in shelves I’d also prepared the hull and part of the liner for a simple layer of tabbing just to secure the liner, since the shelves’ removal had left it a bit floppy. Now I installed a single layer of tabbing just to tack the liner in place.
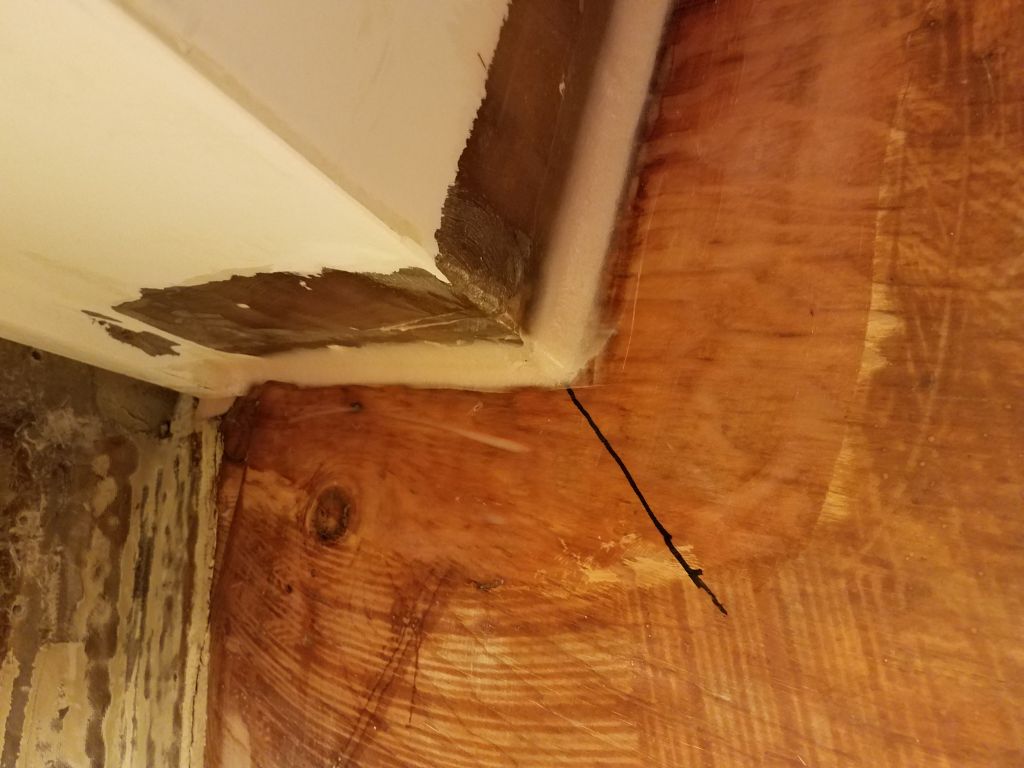
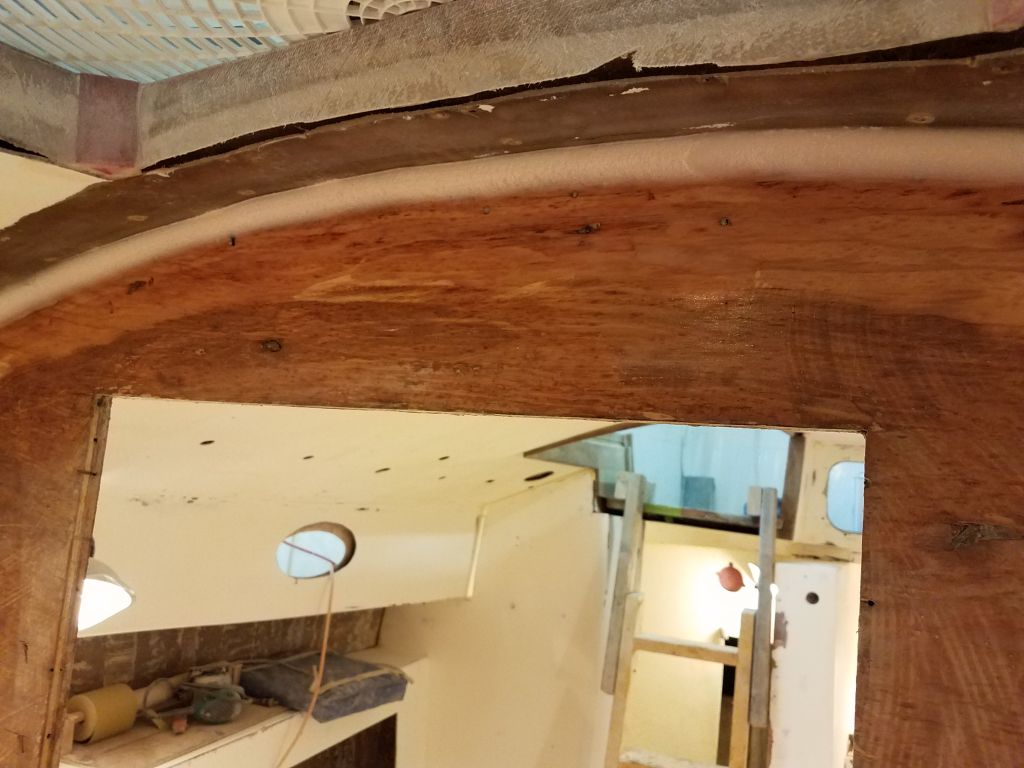
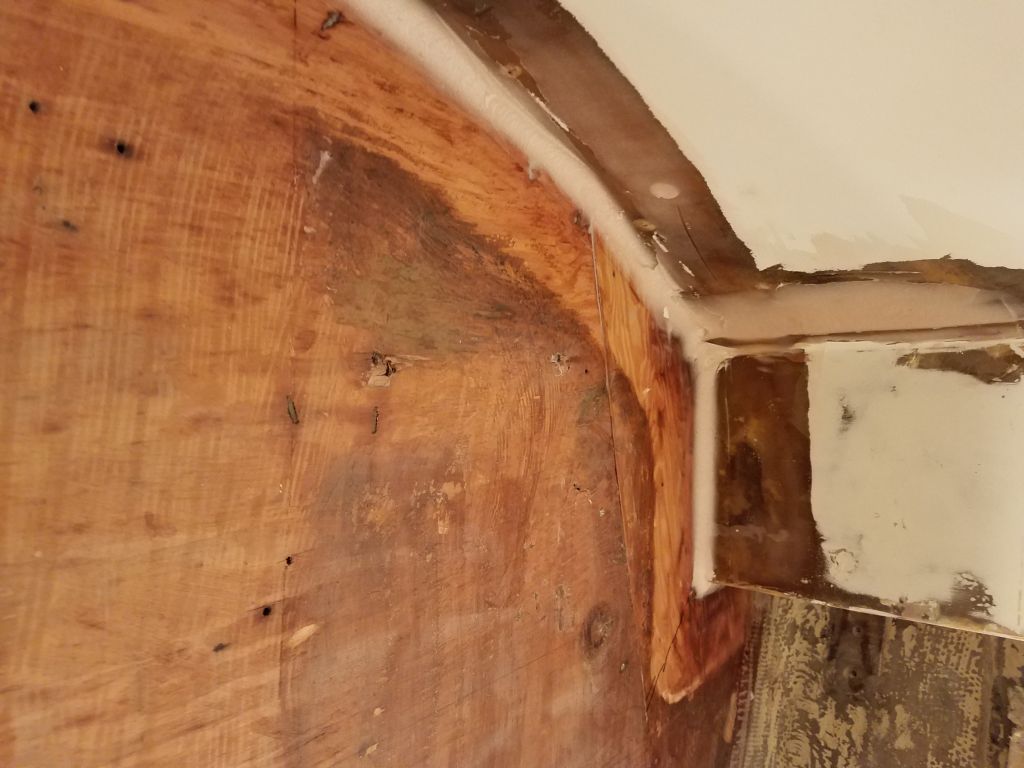
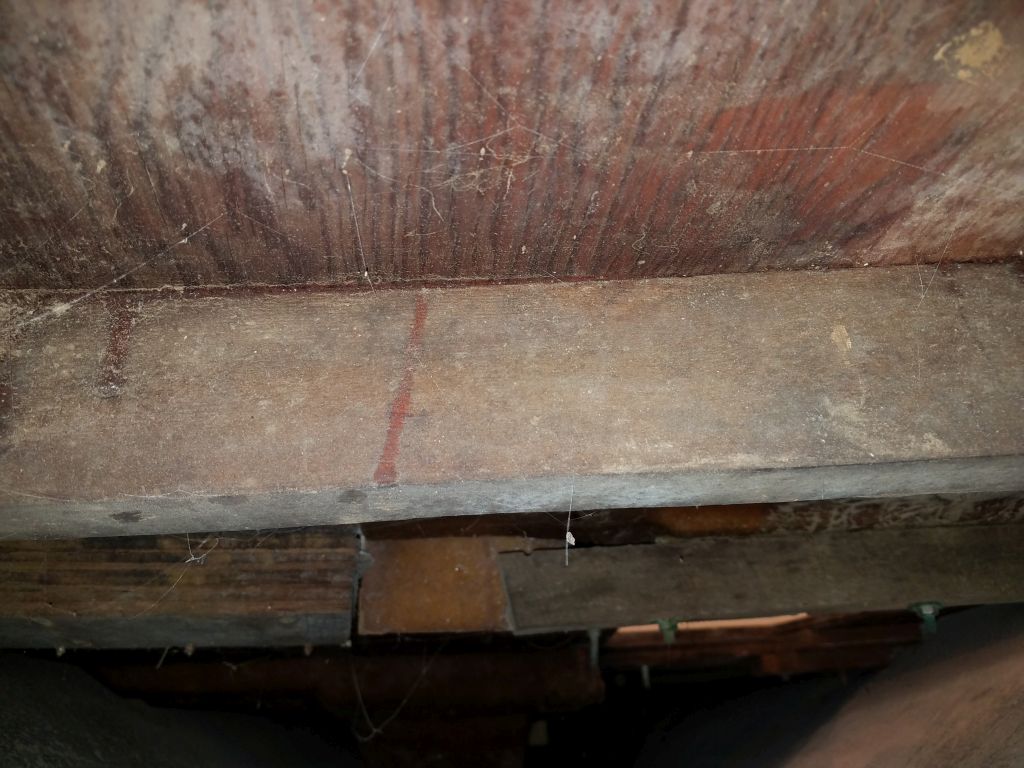
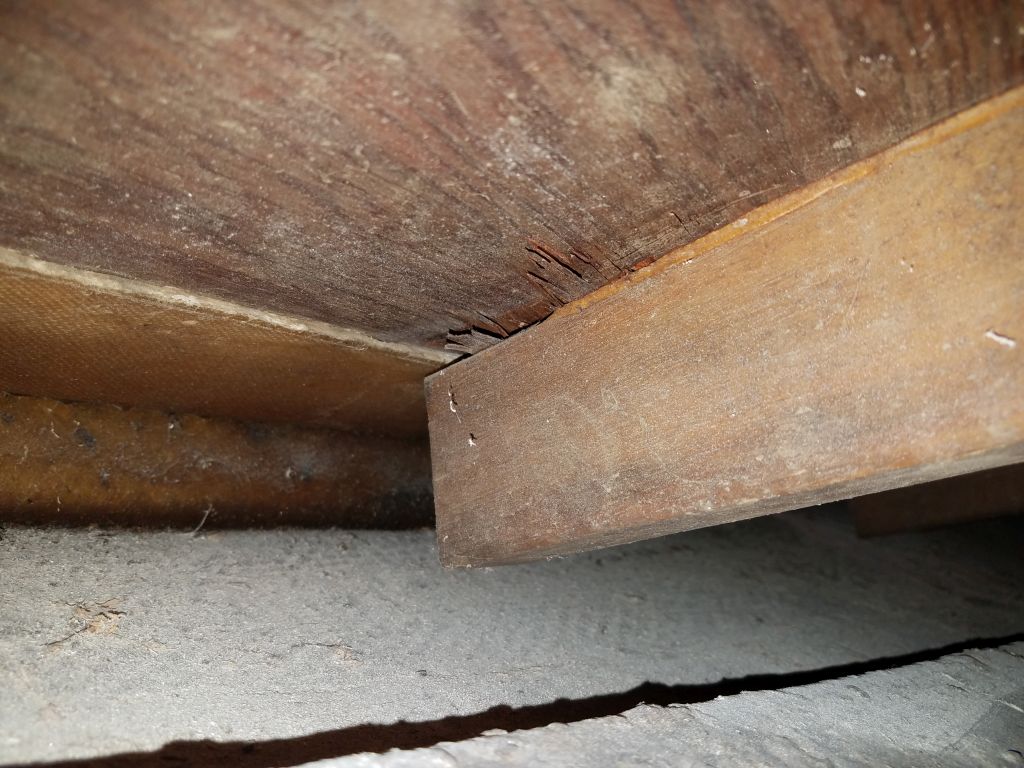
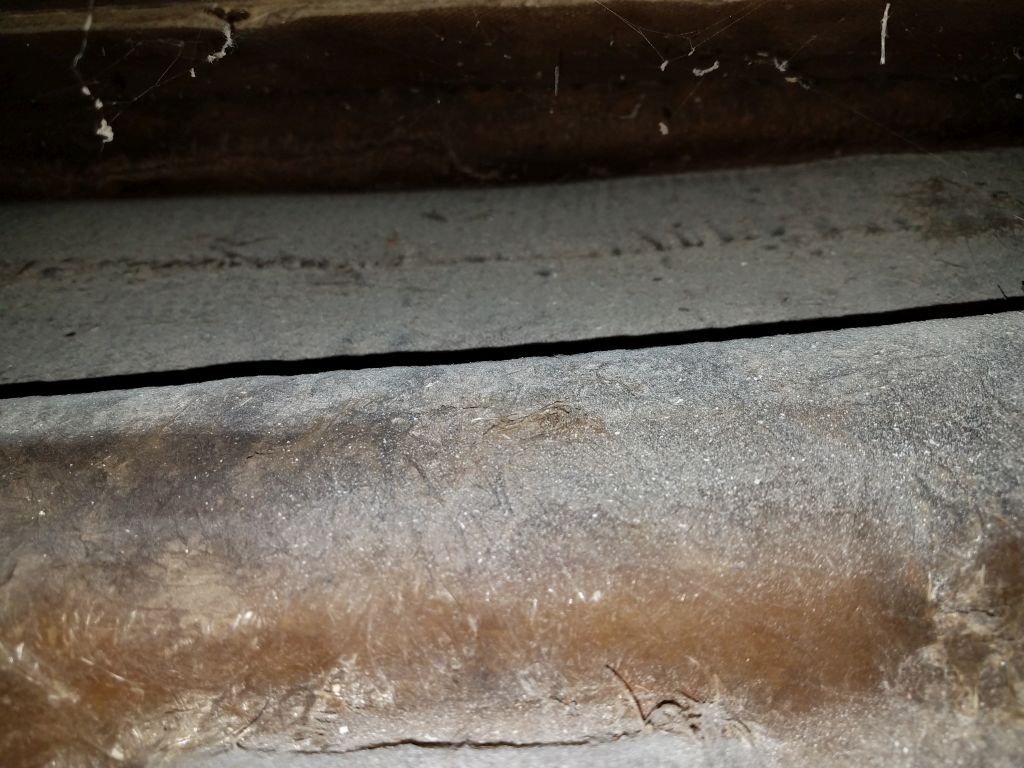
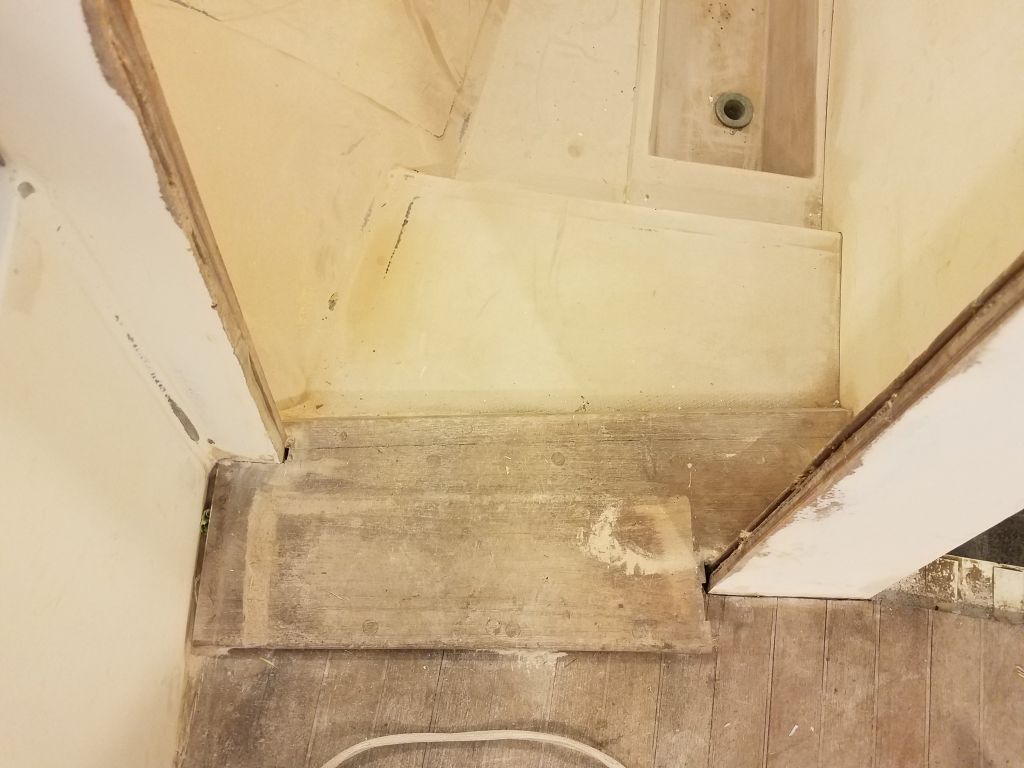
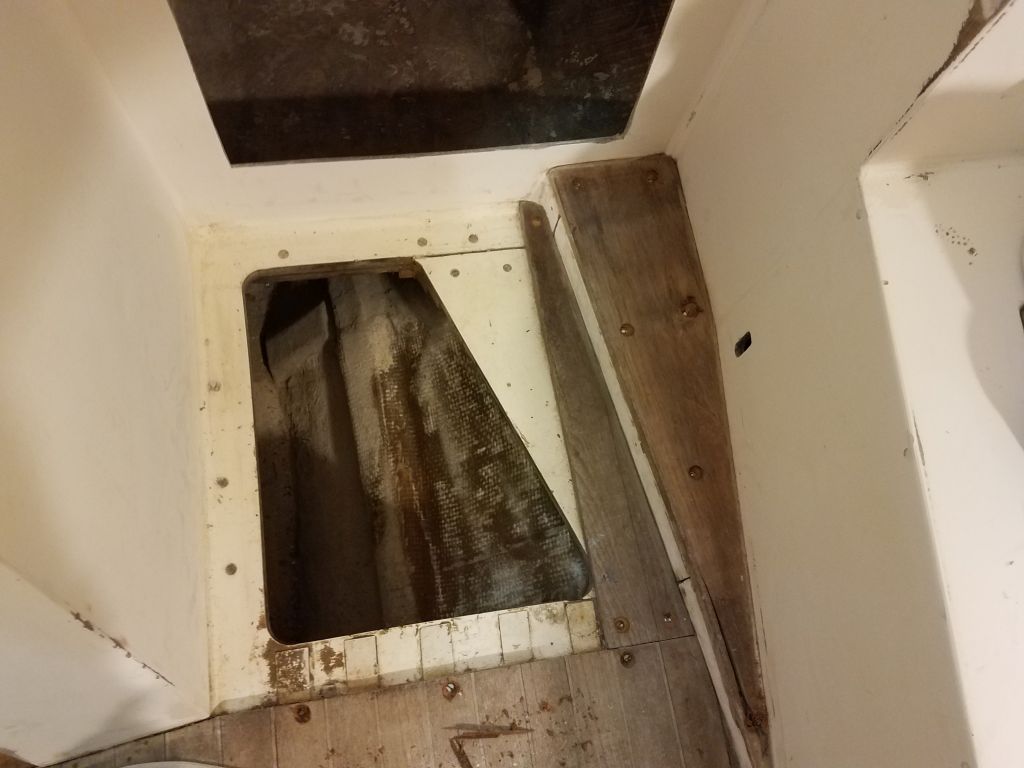
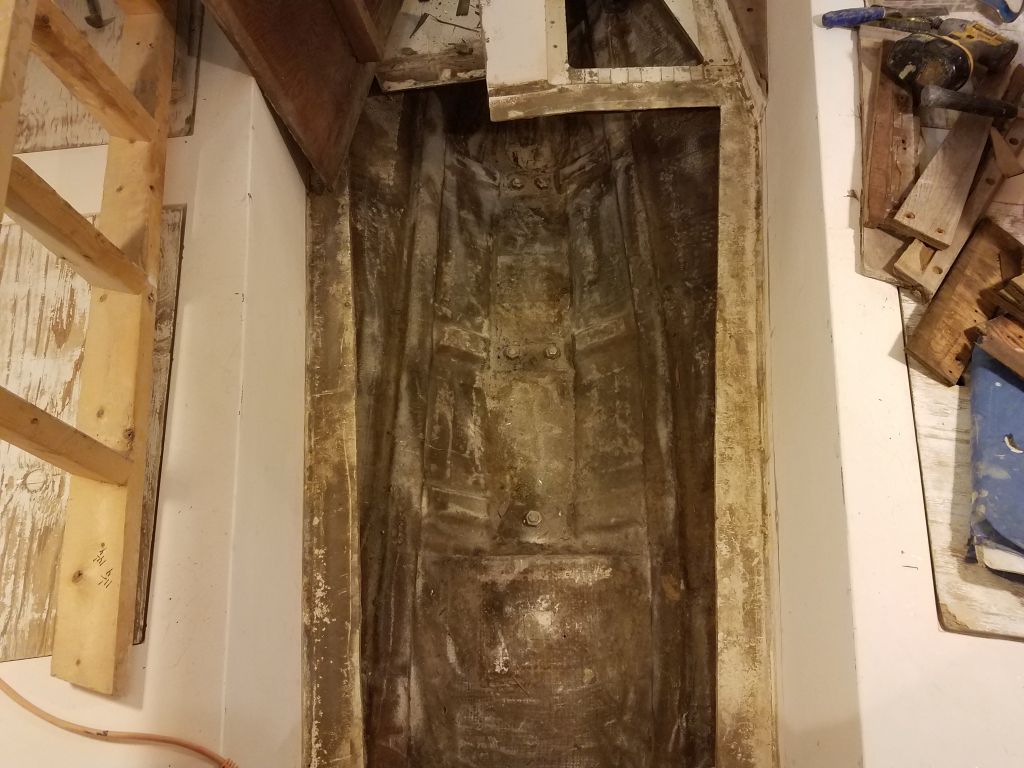
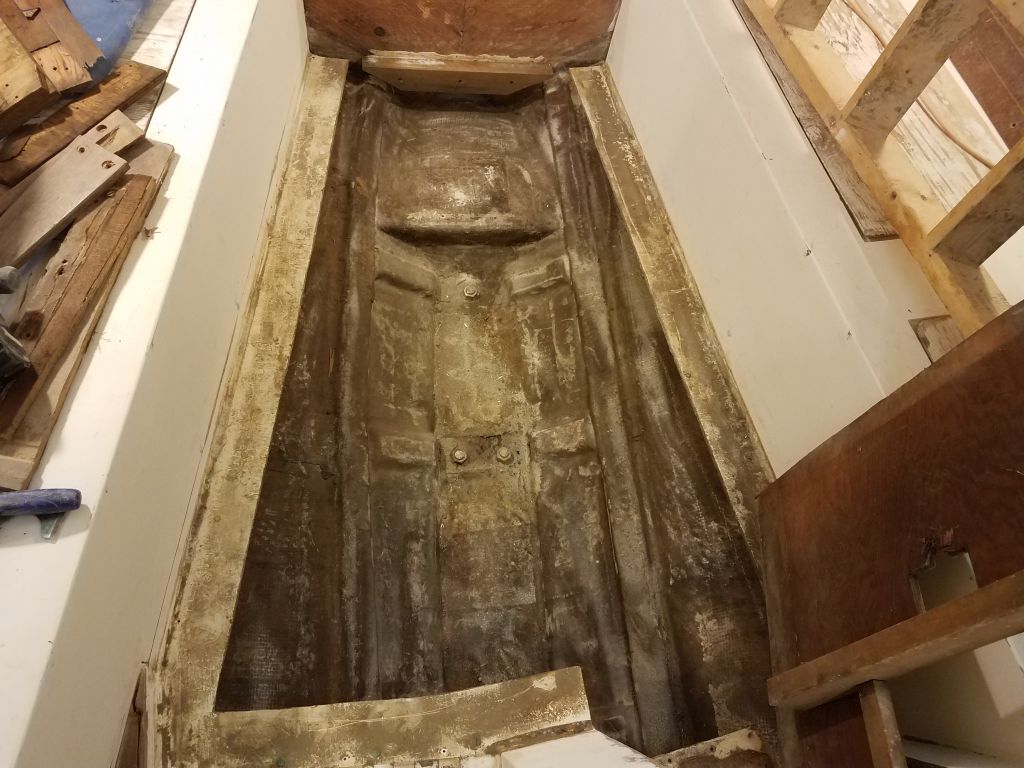
The cabin sole, besides being dirty and worn, was also creaky and weak, which the owner had immediately noticed during his visit. Now it was time to look into the problem and determine whether the existing sole could be shored up and used as a substrate going forward, or whether it made more sense to rebuild and start fresh. While I wasn’t entirely sure how the sole was supported and installed, I suspected that it rested on flanges connected to the settees along the sides, and there was clearly an additional molded section at the aft end in the galley, on which the plywood sole rested. The main body of the sole had a series of wooden beams beneath, but at this point they were not doing their job and had allowed the sole to sag. Access was limited beneath the sole, but with a camera I could get a sense of things, and frankly it looked like there wasn’t really much securing the sole at this point.


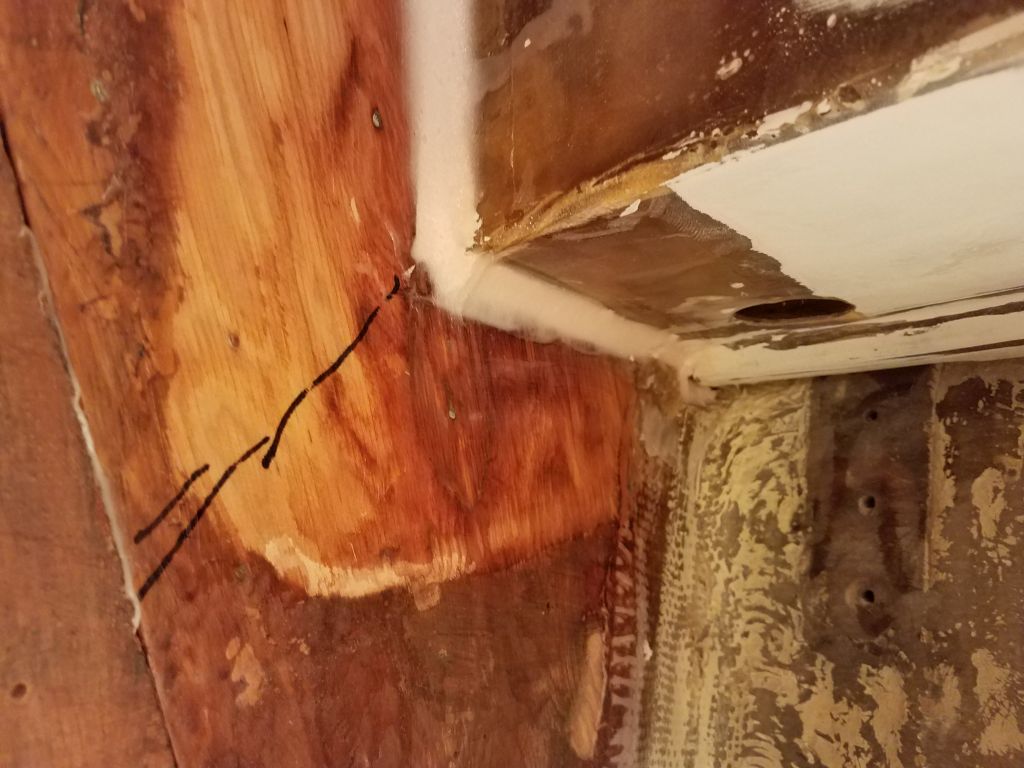
There were a couple obvious, exposed screws here and there along the edges, plus some bunged fasteners at the aft end, but the first thing I knew I’d need to do in order to remove the sole was to remove the teak threshhold between the head and main cabin. With no plans to save this threshhold, I used a large bit to bore out the bungs in the fastener locations, then removed the screws and, at some length, pried up and removed the old threshold (saving the pieces to aid in creating a new one later) and revealing layer after layer of delaminated plywood beneath, none of which was still glued together.
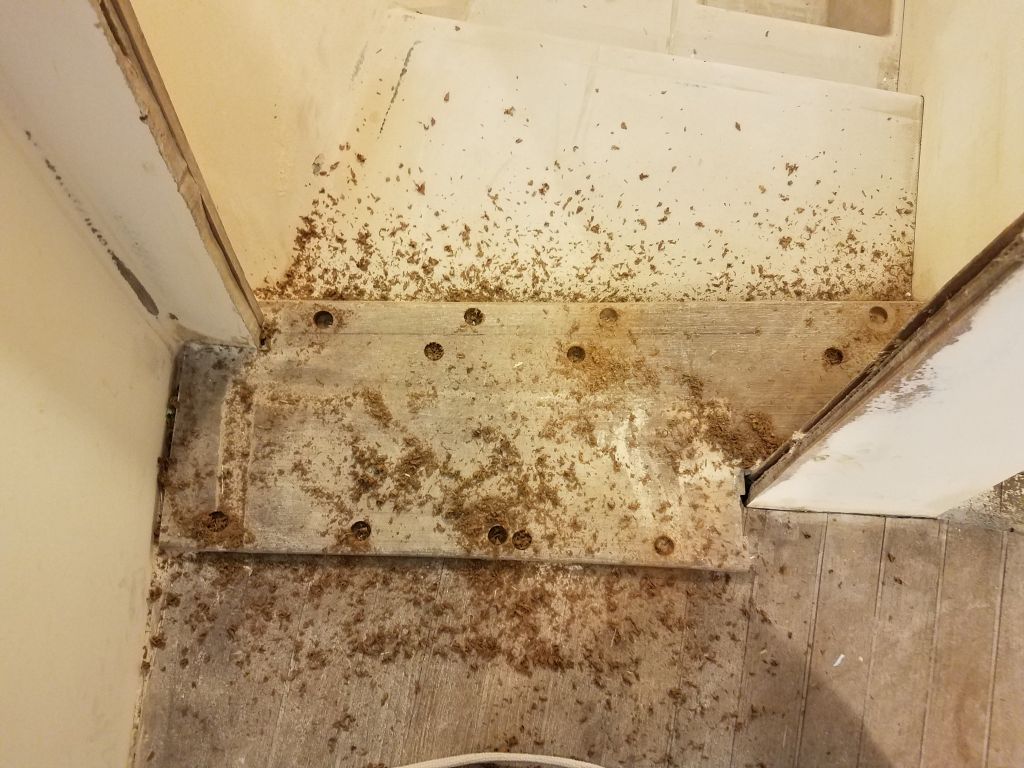
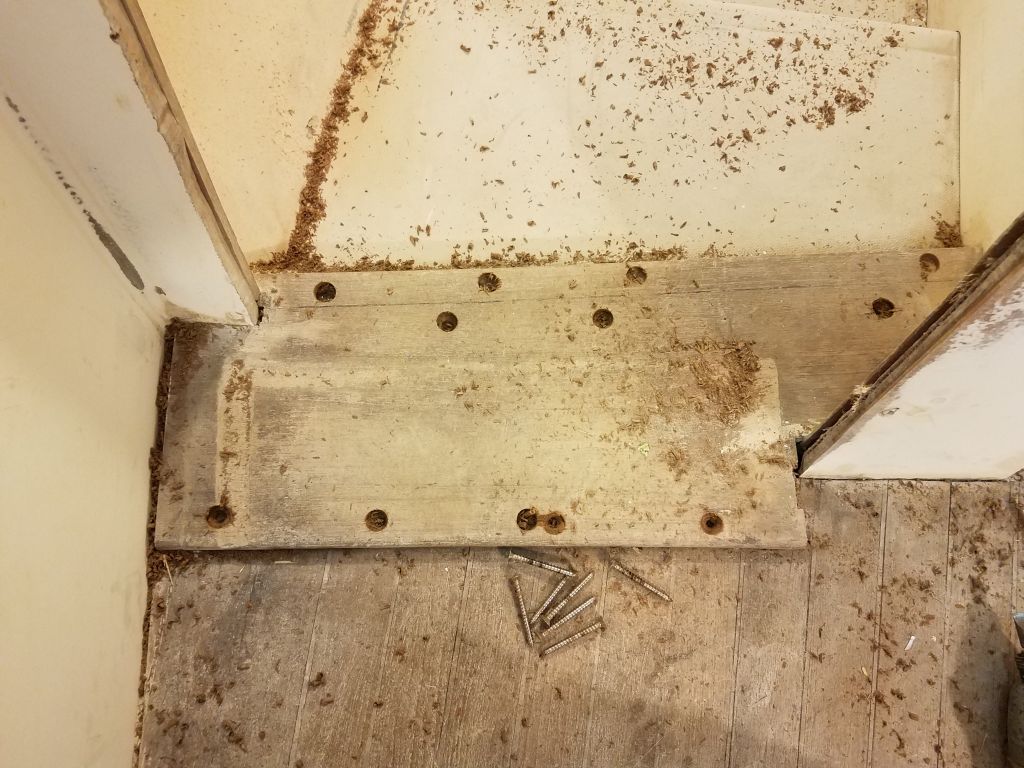
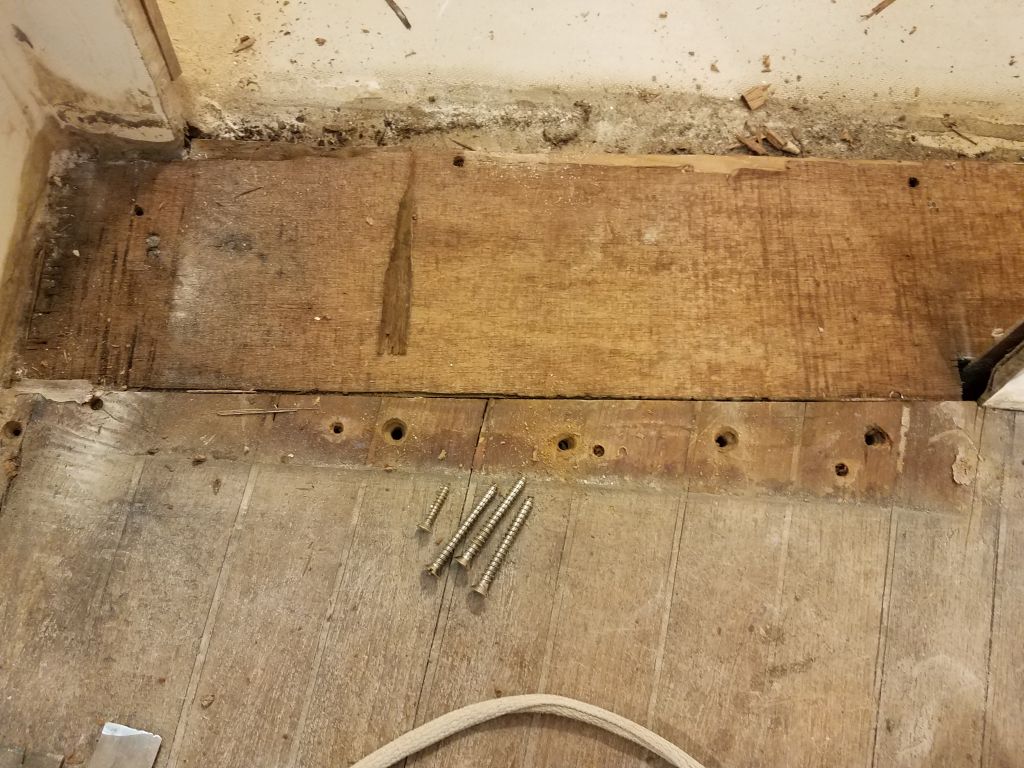
Afterwards, I removed any remaining fasteners around the edges of the sole and then lifted up the whole arrangement in one piece, including the ineffective wooden beam network beneath (which hadn’t been attached to the hull nor the settee flanges at all).
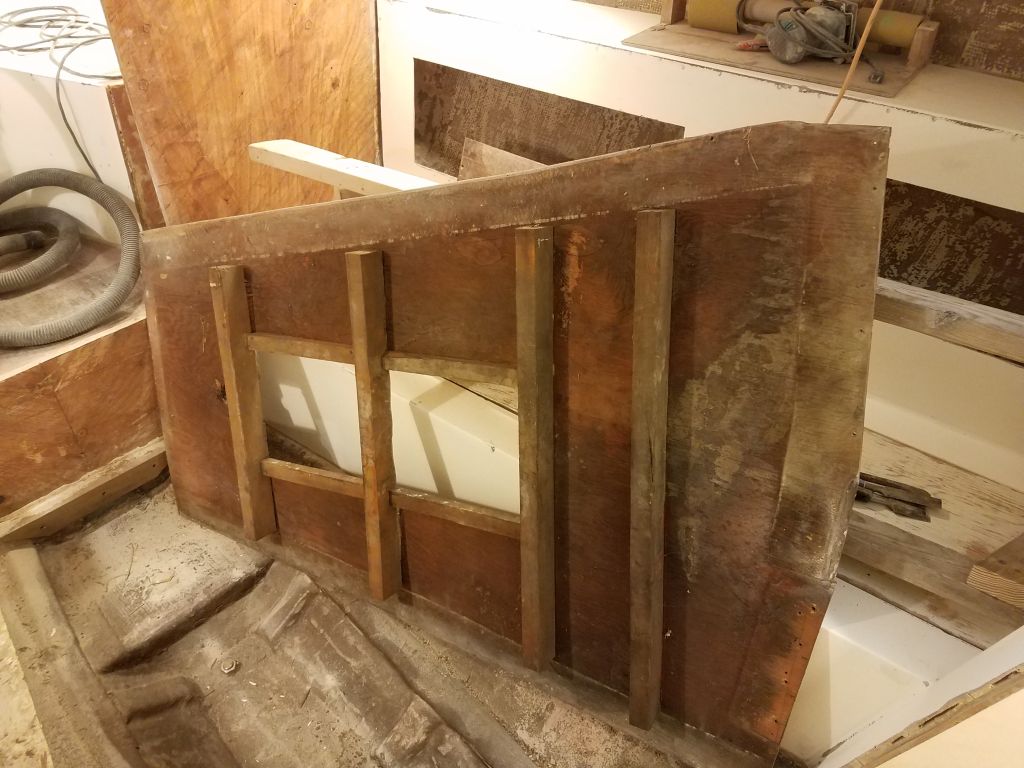
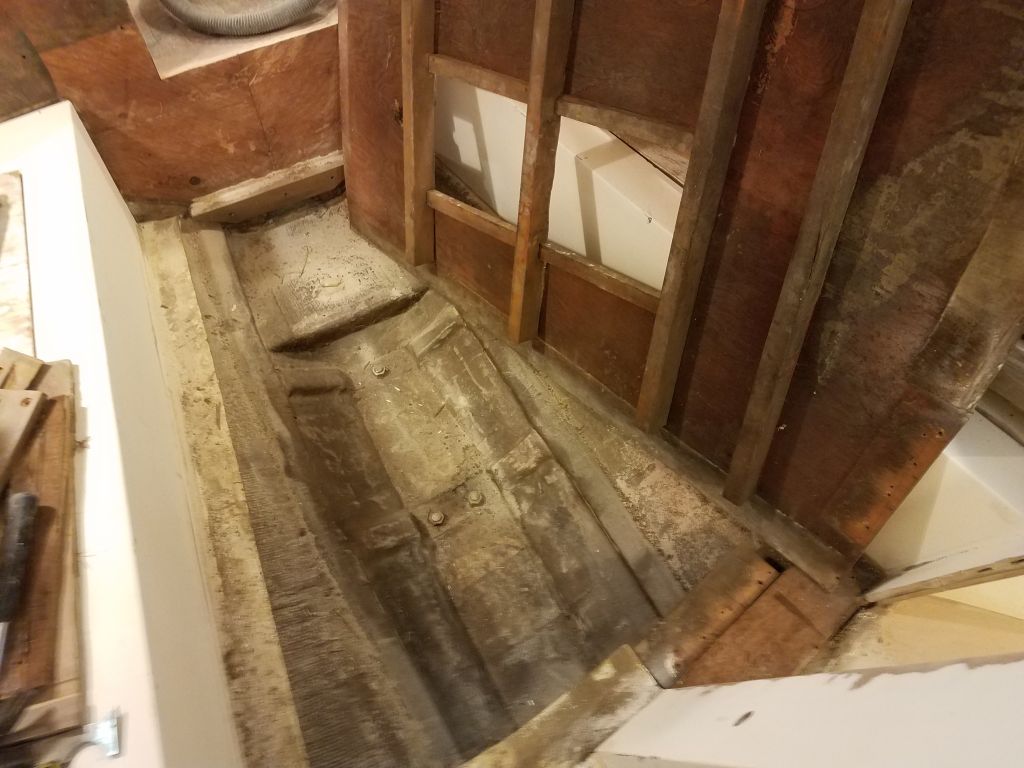
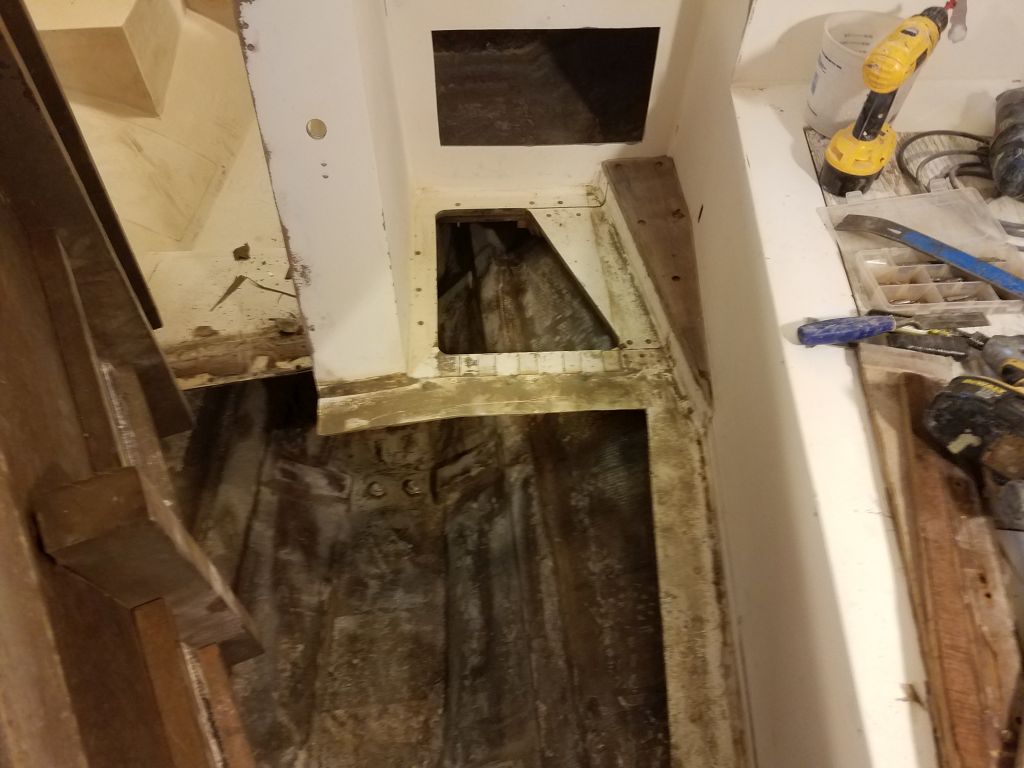
By now there was no question that I would be building the substrate anew (later to be covered with cherry planking to match the rest of the woodwork in the new interior). It would be pretty straightforward to build a new and better support system, and a new plywood substrate would ensure a comfortable sole for many years to come. Having the sole removed would also allow me to better clean up and paint out the bilges too. For the moment, I moved the sole back into the head and vacuumed up the worst of the mess beneath, but then I relaid the sole loosely so I could still use my ladder to get in and out of the boat until I could actually build the new sole. This unexpected-but-not-really-unexpected project moved well up the priority list, and I ordered some materials with which to build the new support system starting next week.
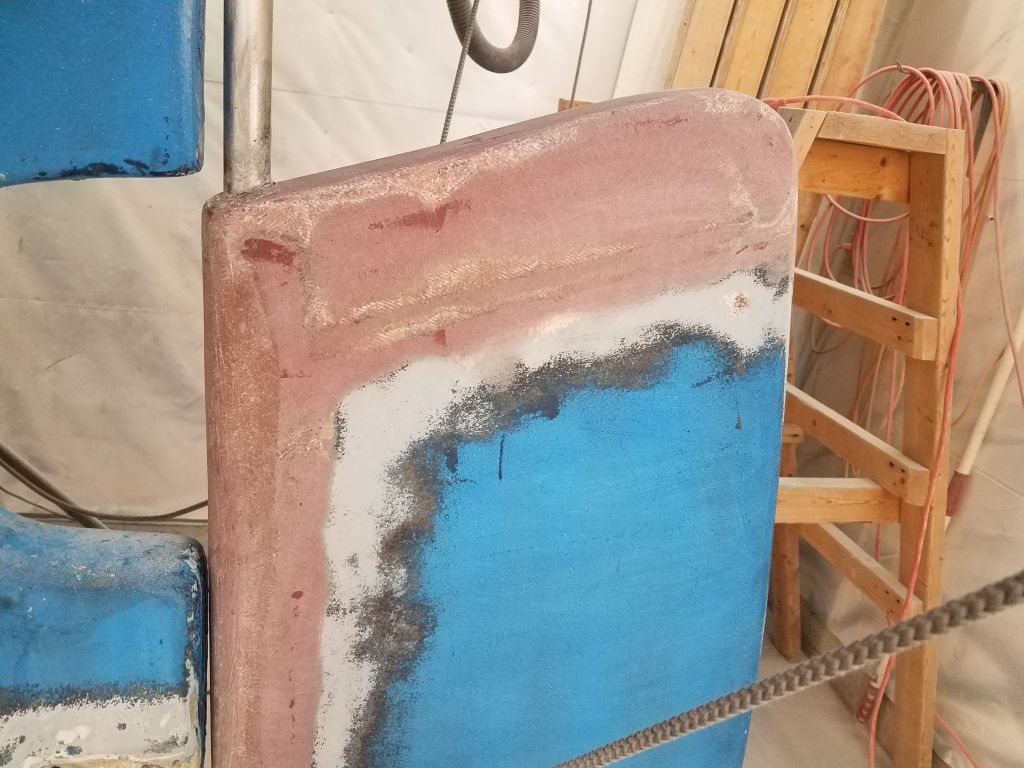
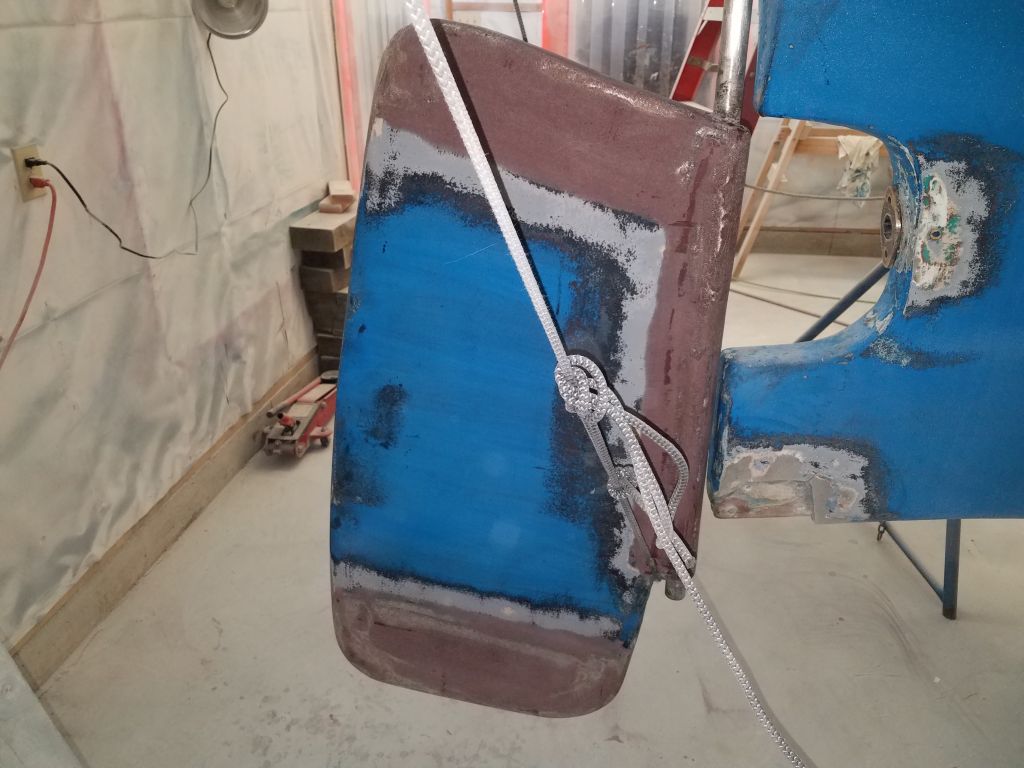
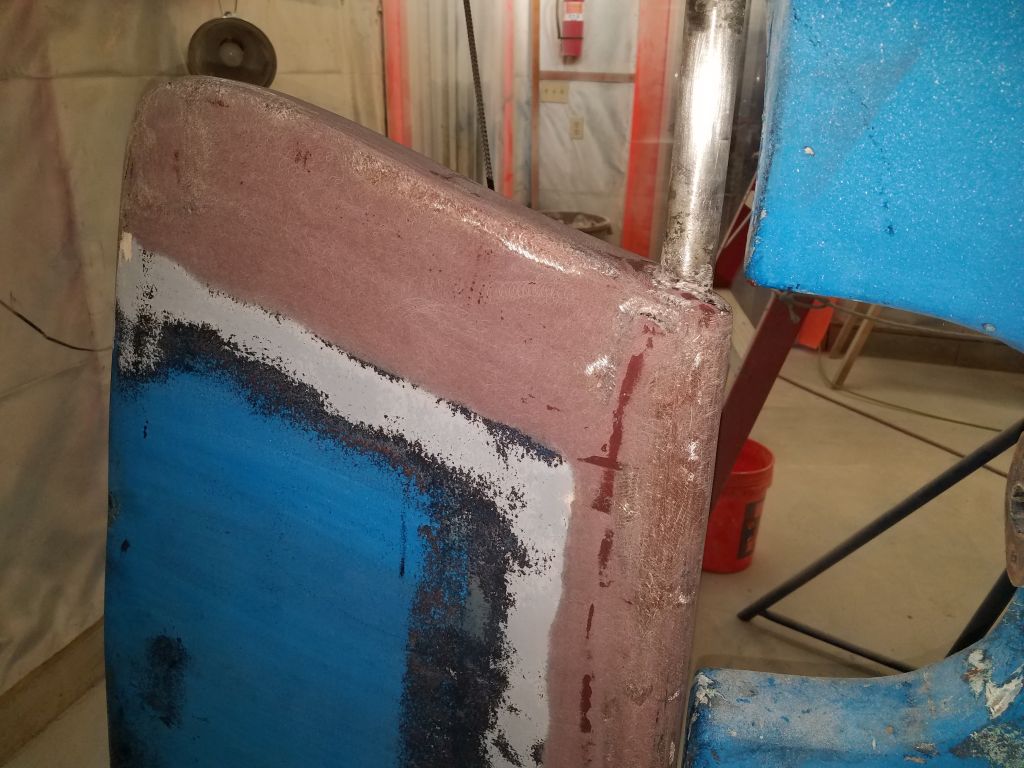
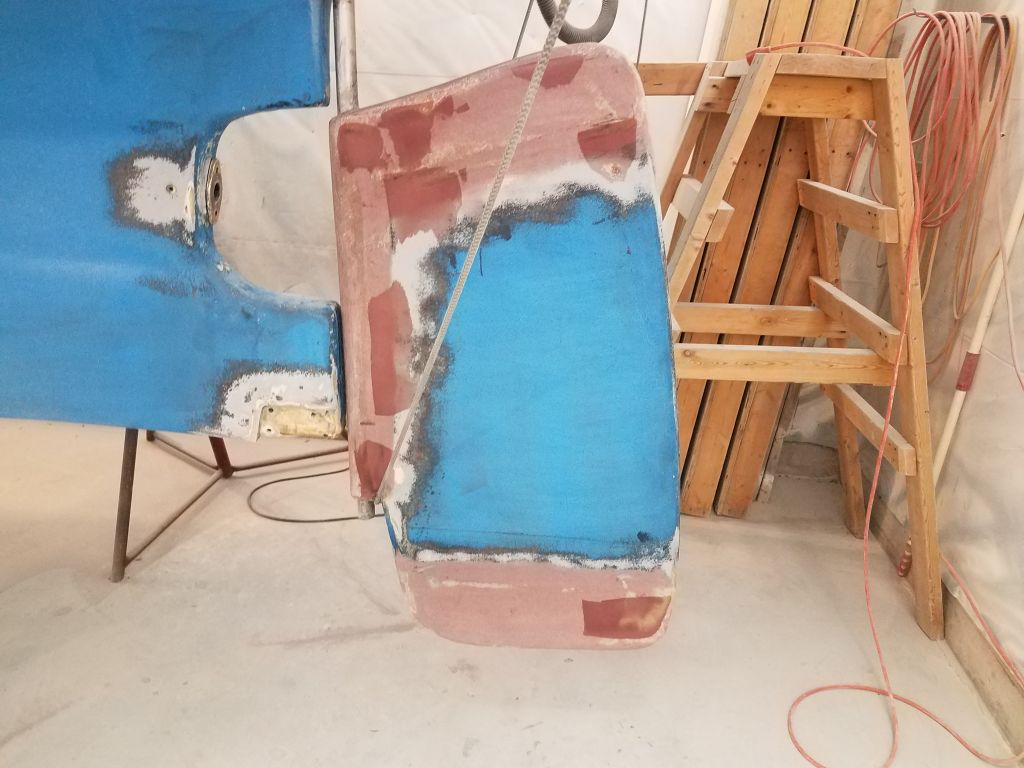
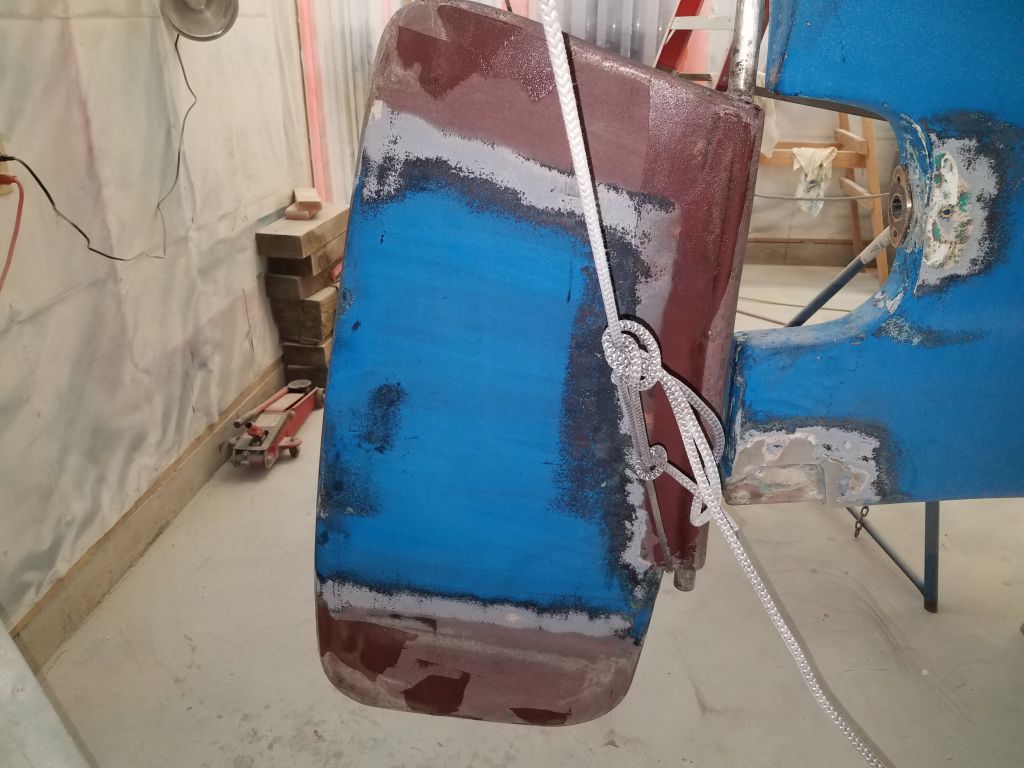
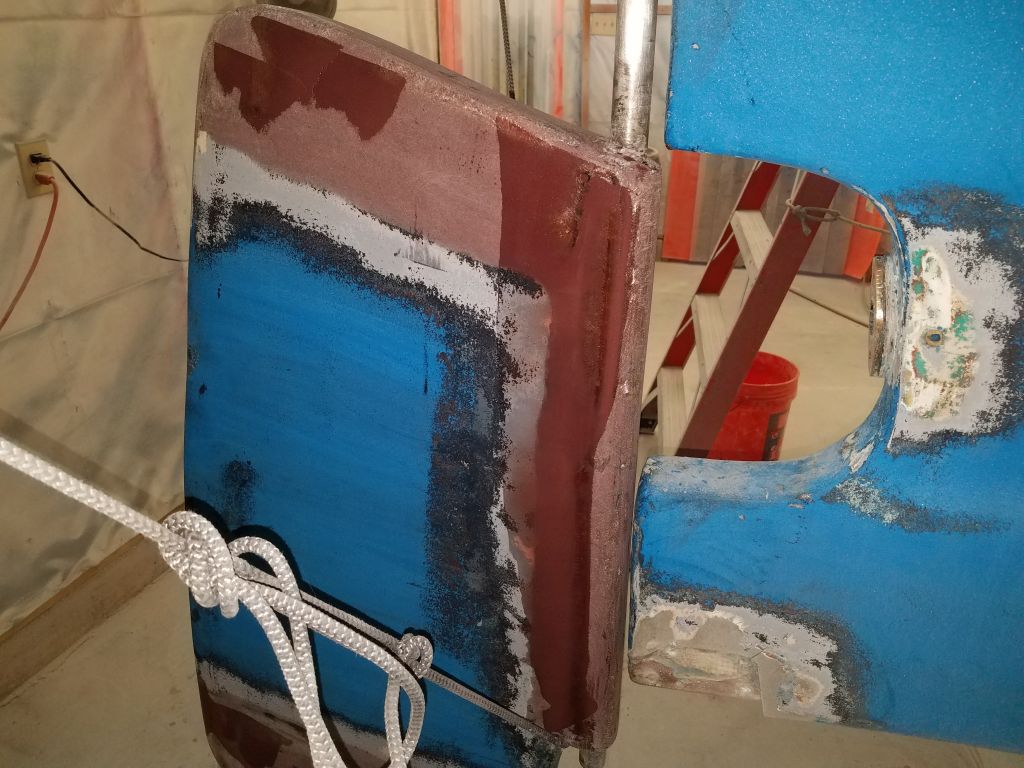
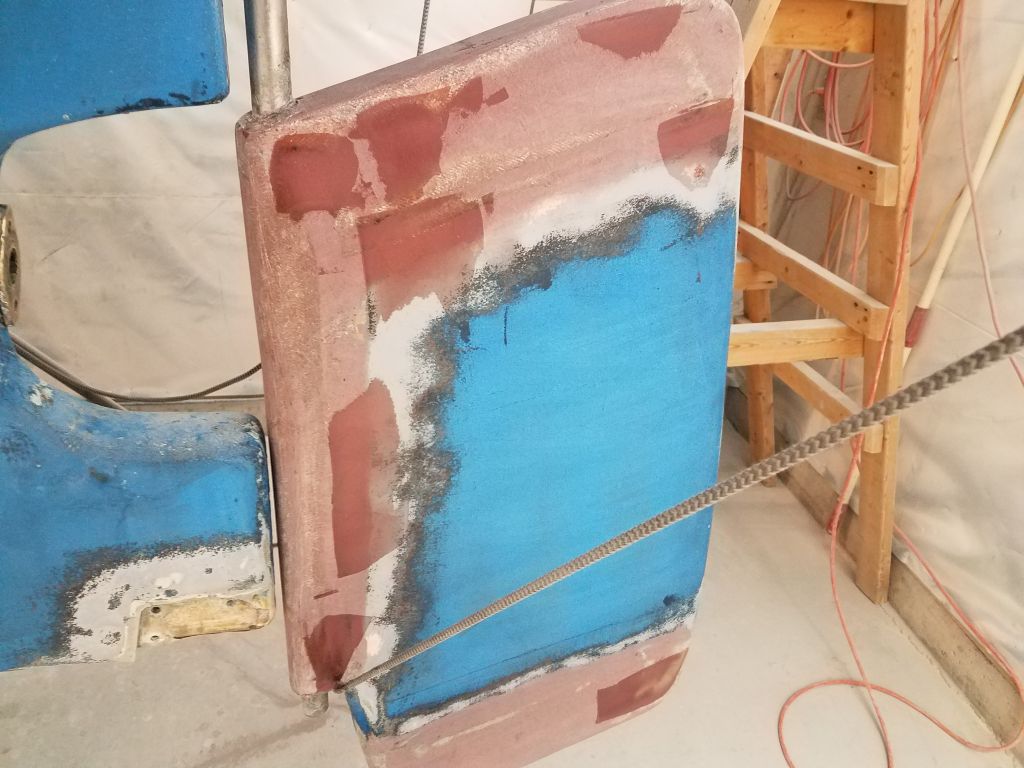
With the day running out, I decided to sand the fairing compound I’d applied to the rudder last time. I was pleased with how well it turned out after just the single coat, with only a few minor low spots that required another round of filler, which I installed once I’d cleaned up and prepared the newly-sanded surfaces.

Total time billed on this job today: 7.75 hours
0600 Weather Observation: 33°, light rain. Forecast for the day: Showers, cloudy, well into the 40s