


March 19, 2019
Scupper 103
Tuesday
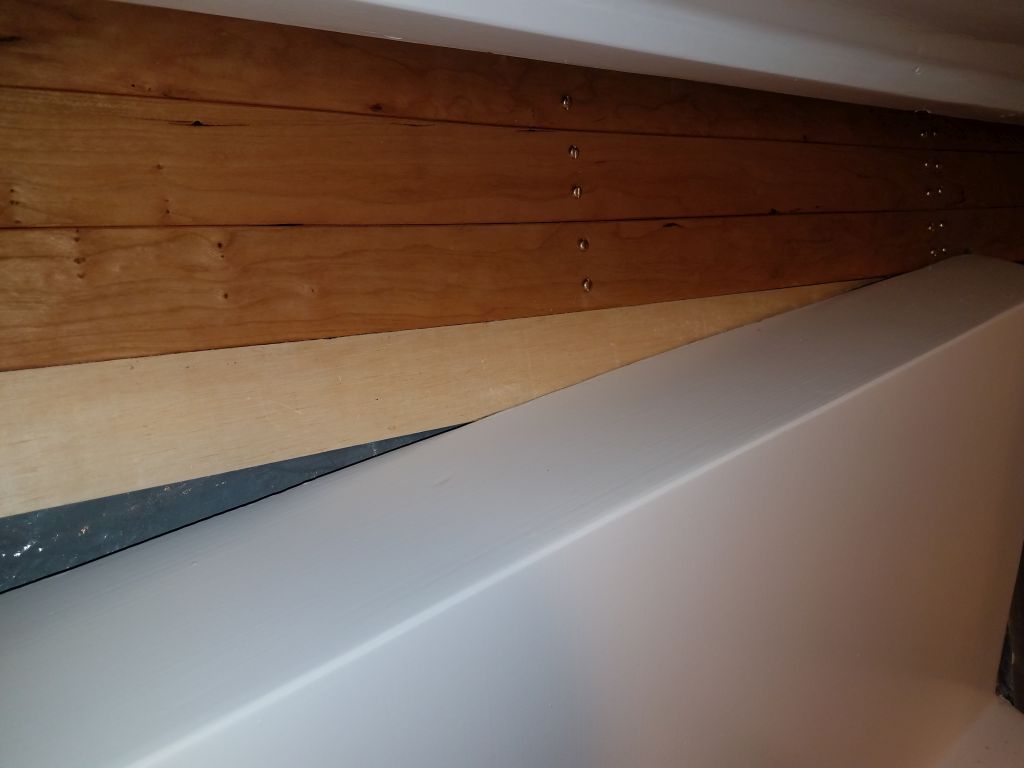
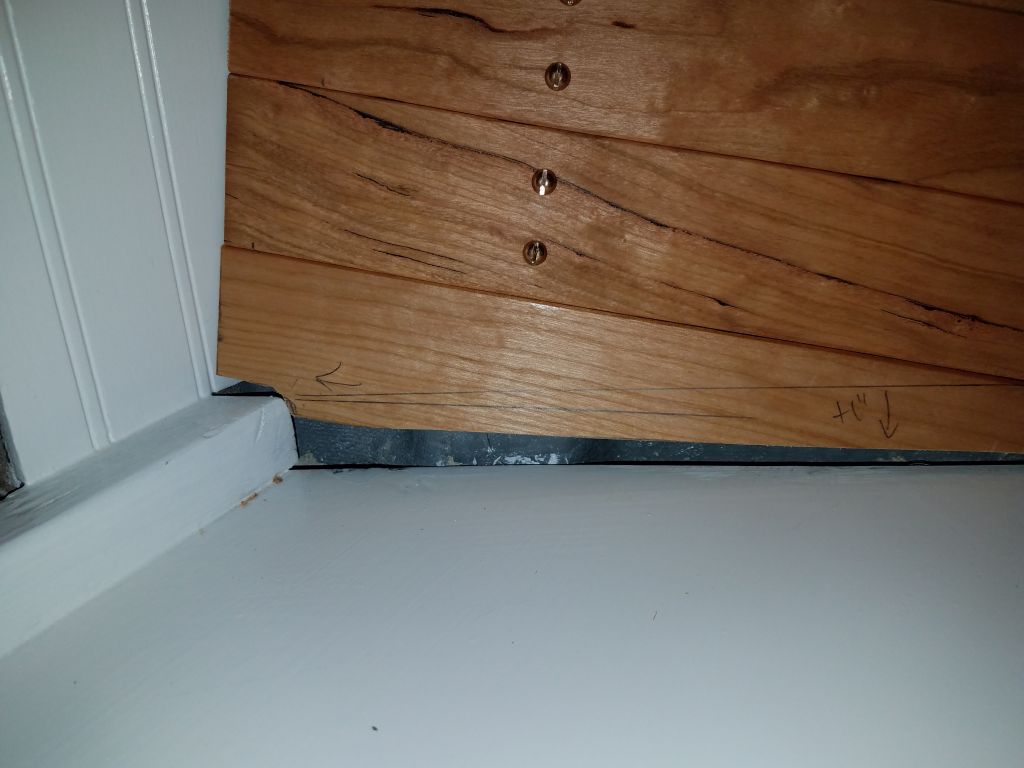
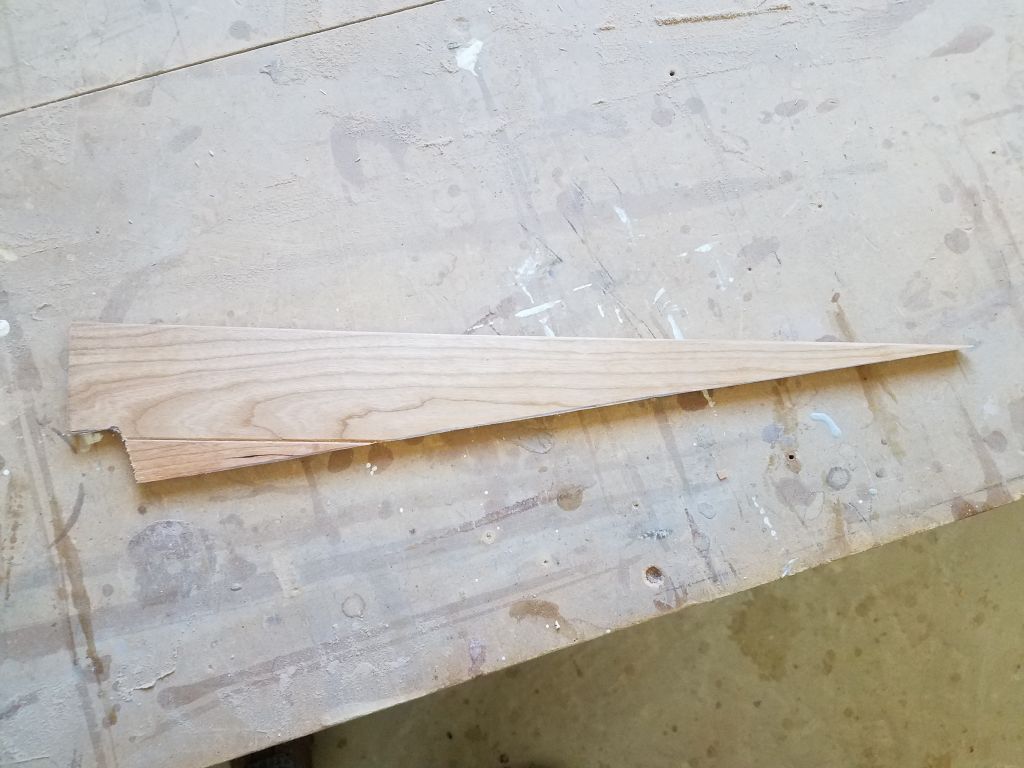
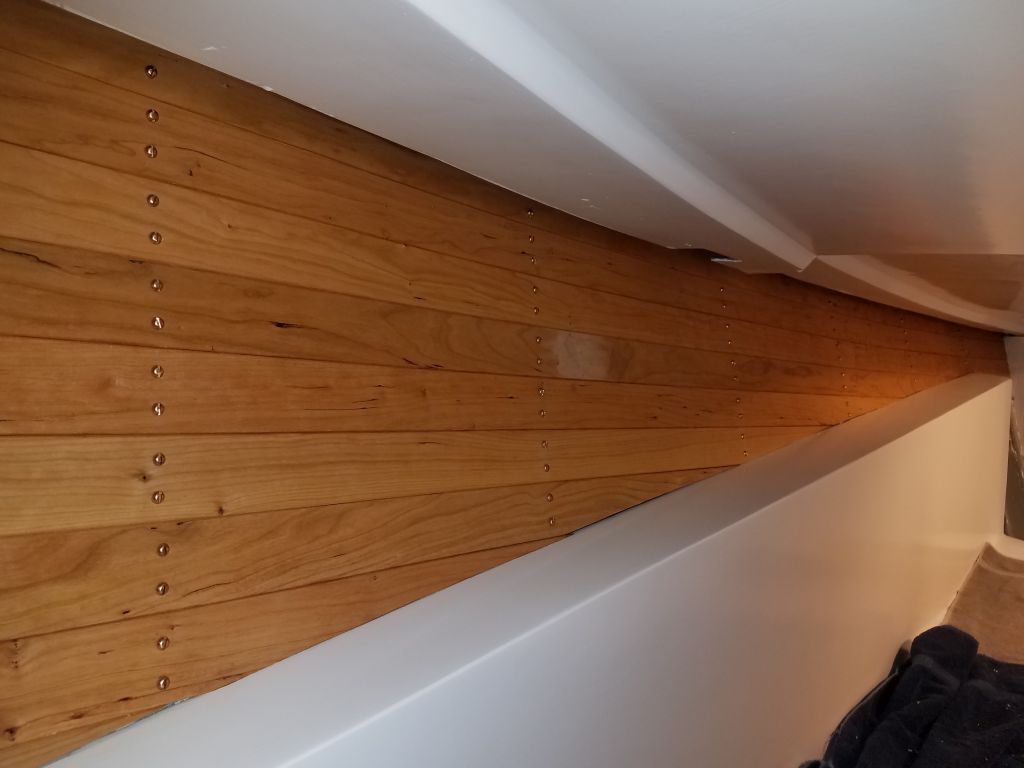
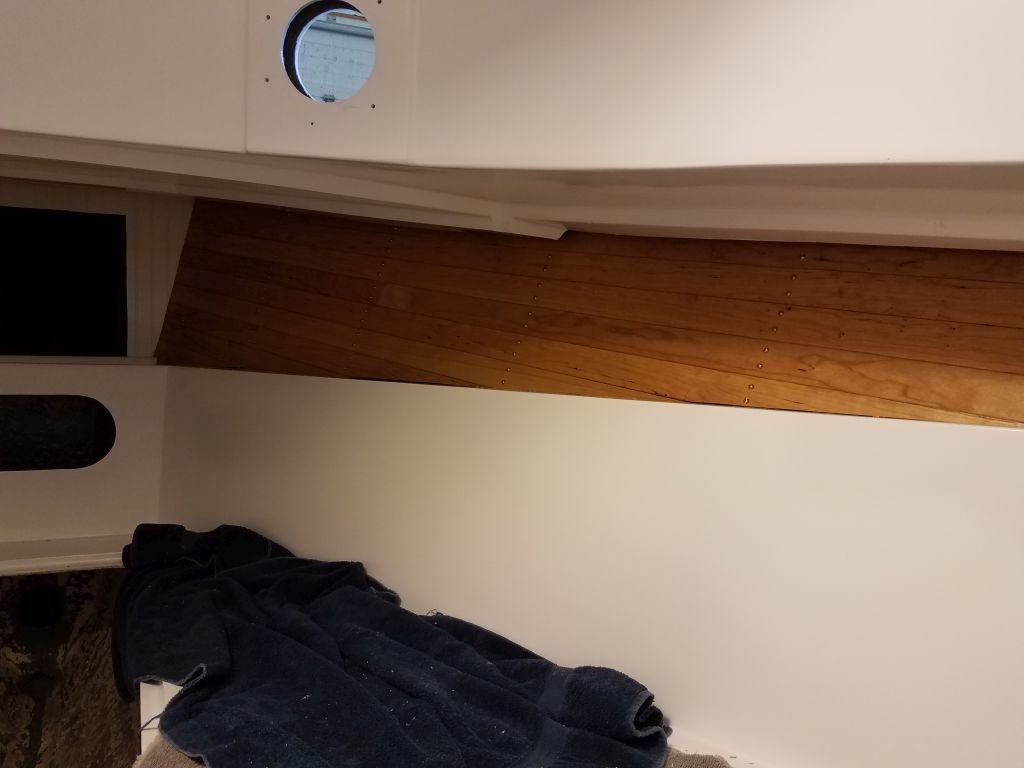
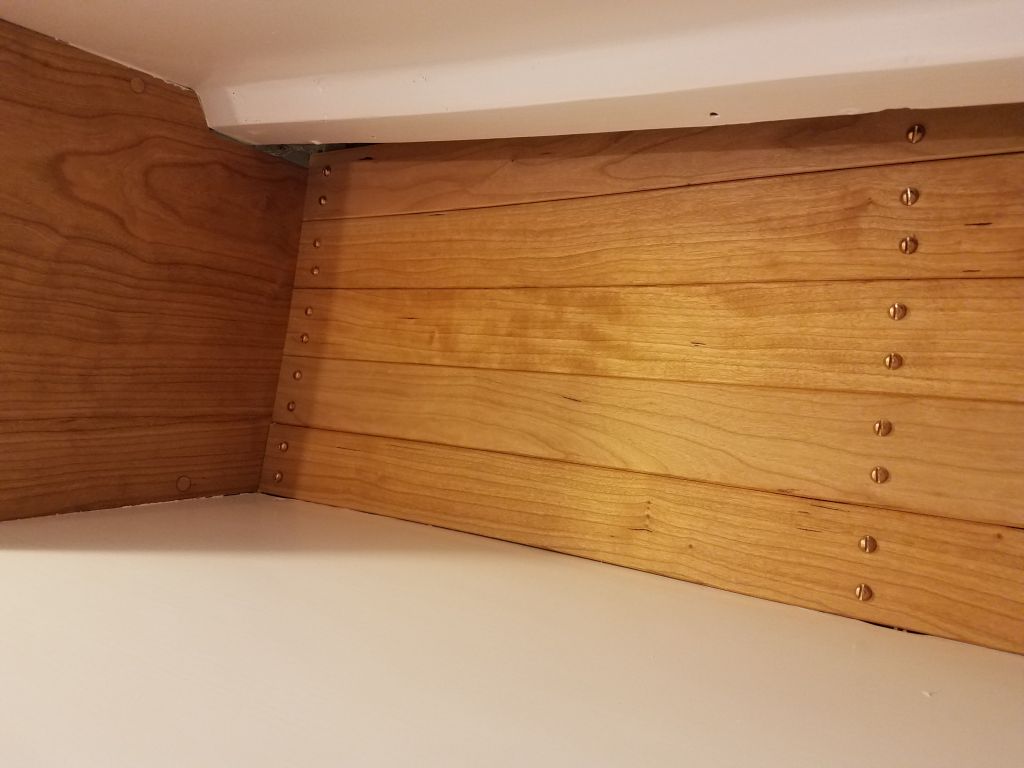
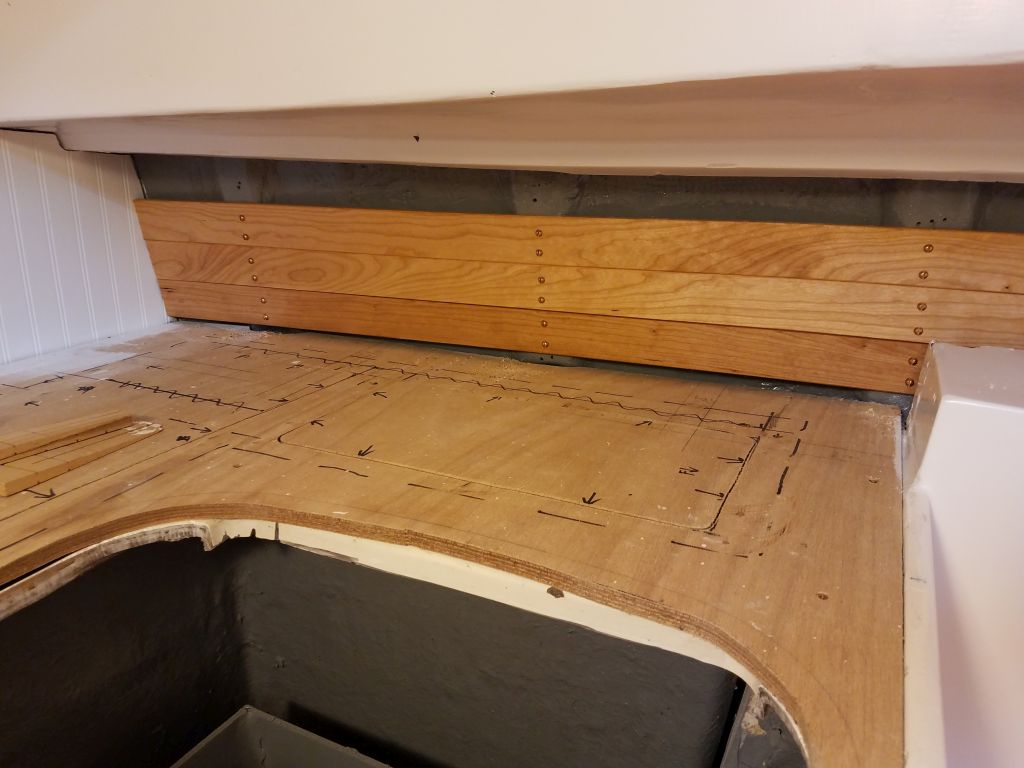
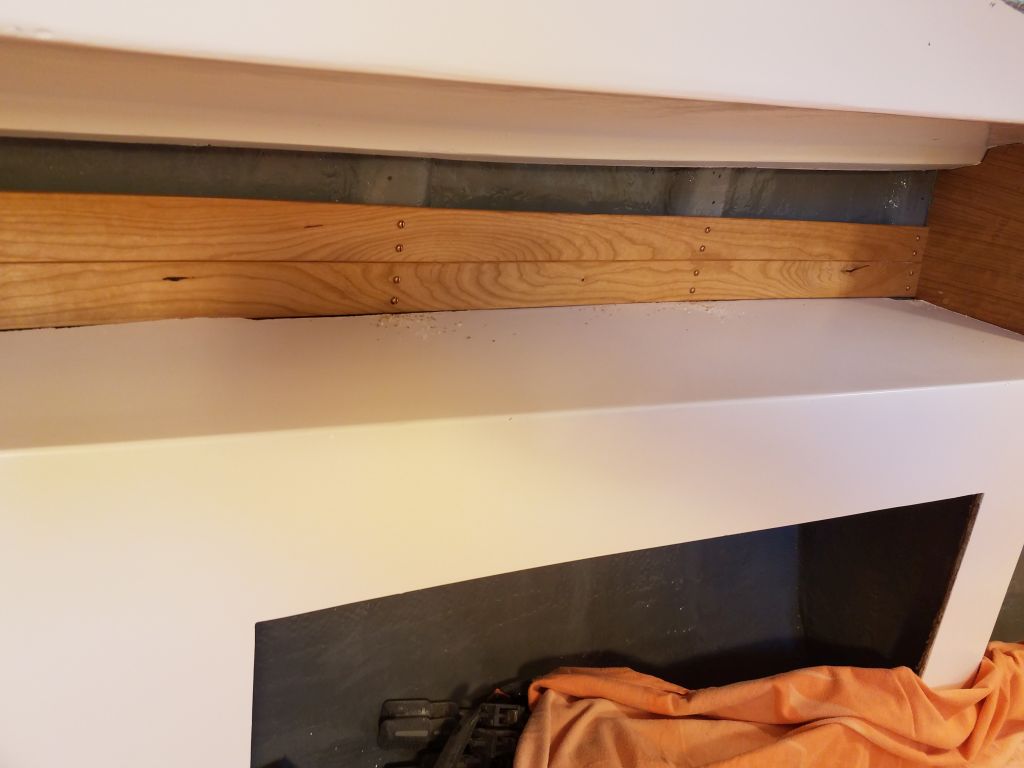
The way the liner met the hull on the starboard side didn’t leave enough space to slide the ceiling boards neatly behind it, as I’d done on the port side, so I’d have to cut a steep angle on the end of each new board where it died out into the liner shelf as I moved forward. To help with this, I made a template using the 2″ wide plywood strips, and I could use this template to not only help determine the final lengths of each remaining board, but also to mark and cut the angles in each case.
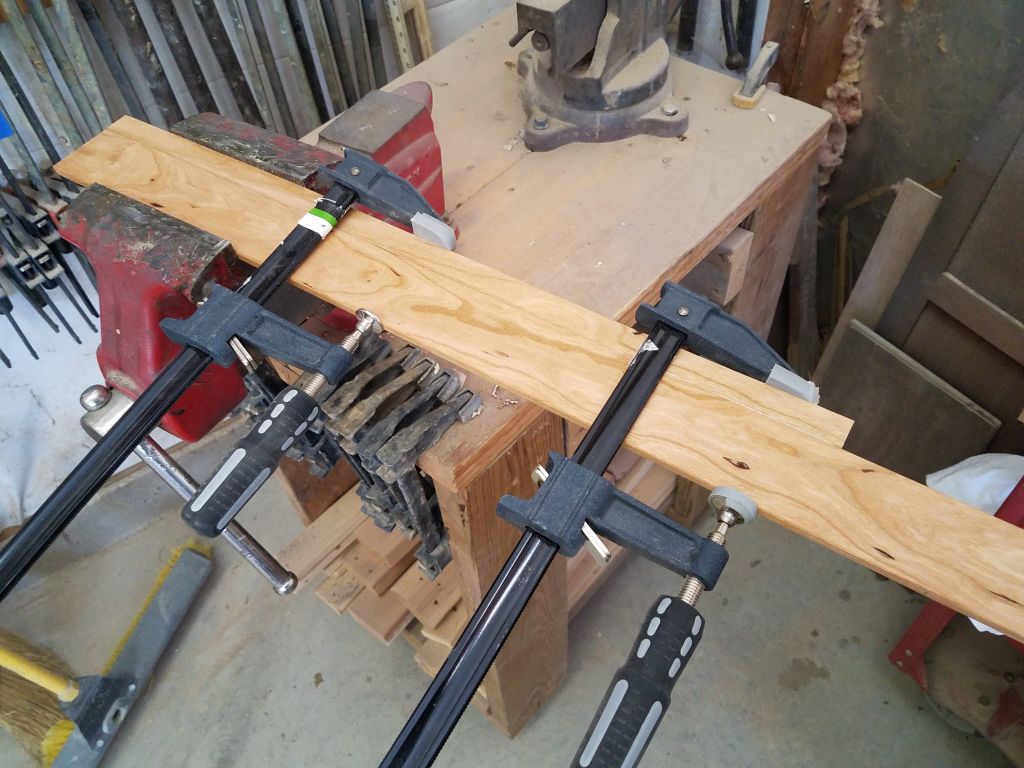
While this meant an extra cut, and a little additional care, I found that it didn’t otherwise slow down the process significantly, and by the end of the morning I’d reached the last piece at the bottom forward corner. The height here was just a bit more than a single board width at the forward end, and the tiny piece required beneath would be too small to live on its own, much less secure to the cleats, so after cutting a template of the shape needed out of my junk plywood, I glued up two pieces of the ceiling stock along their narrow edge, from which I could later cut out the final piece as one, thus completing the main part of the ceiling on the starboard side. I’d return soon to finish up the short boards at the aft end on each side.

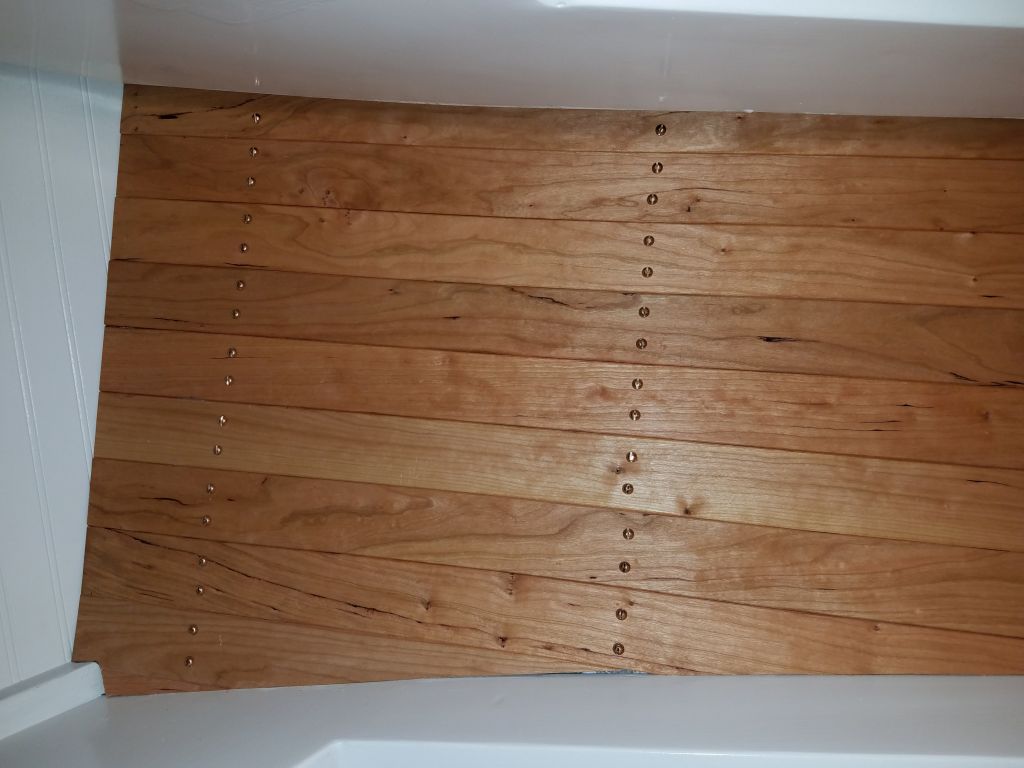
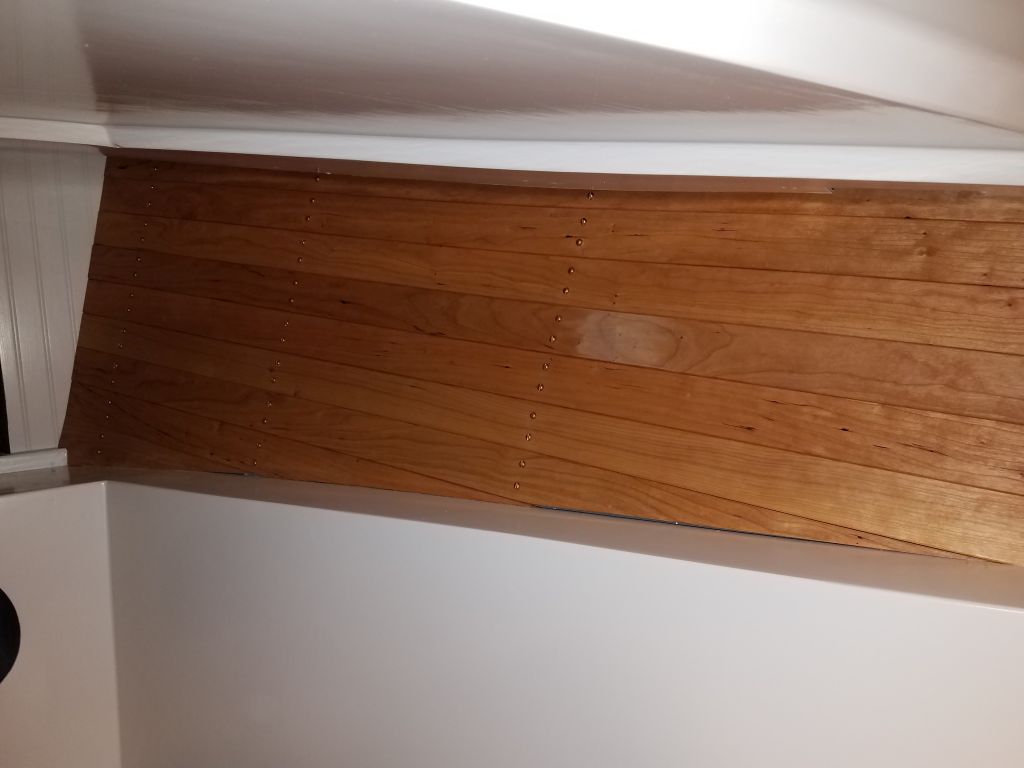
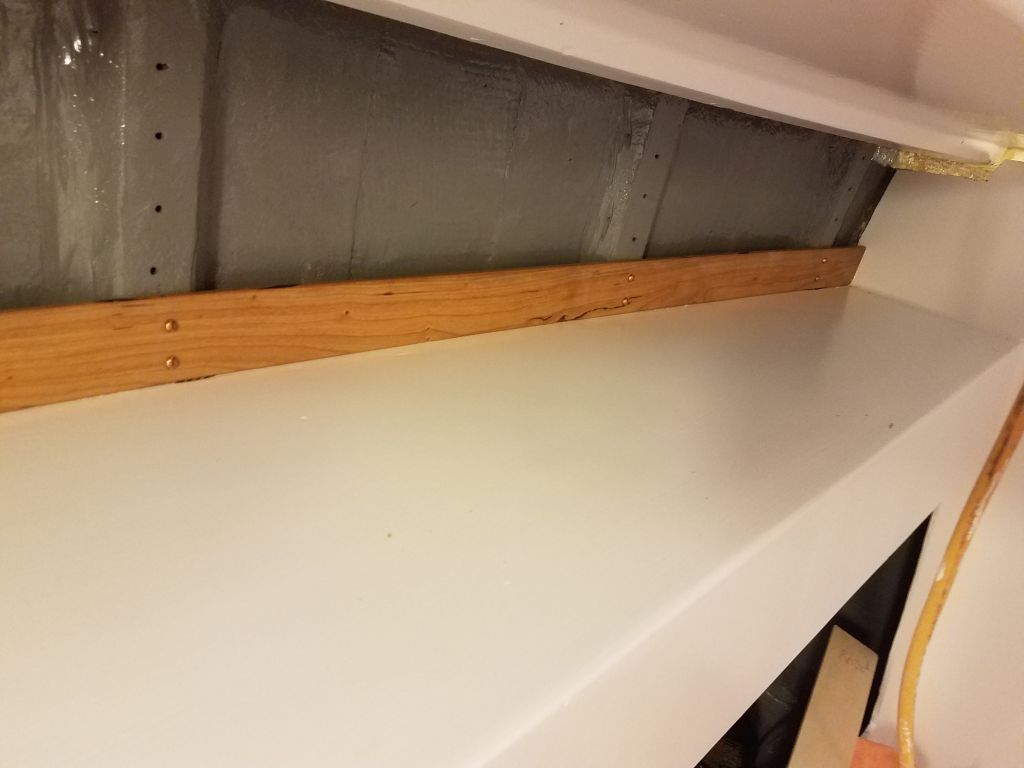
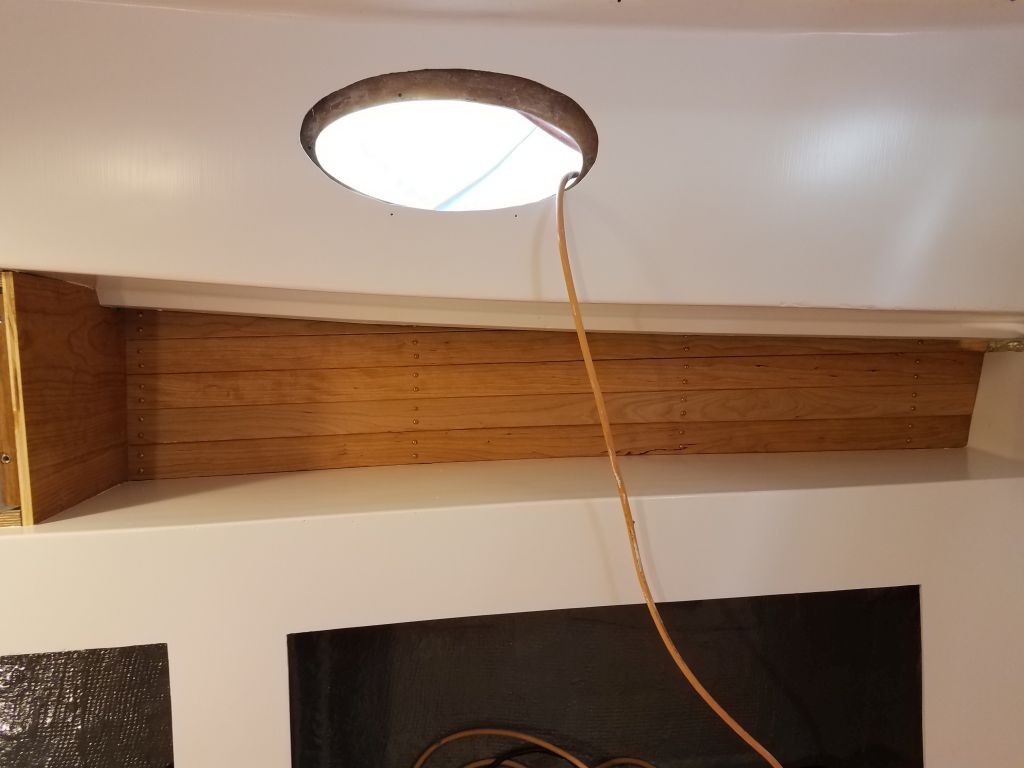
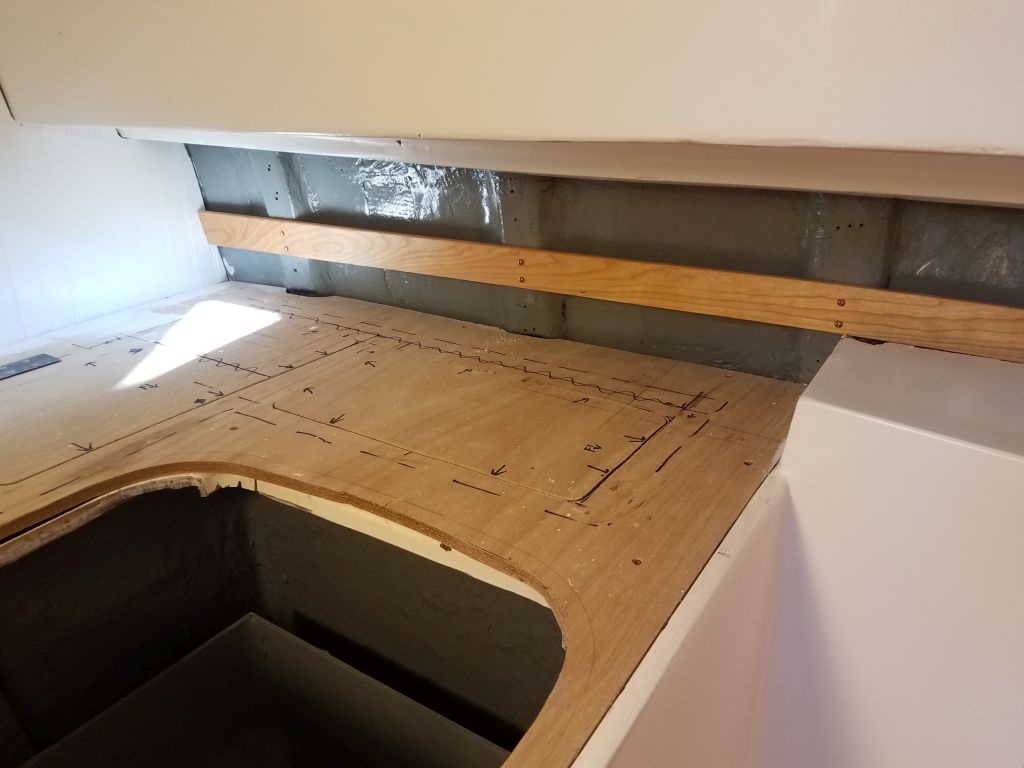
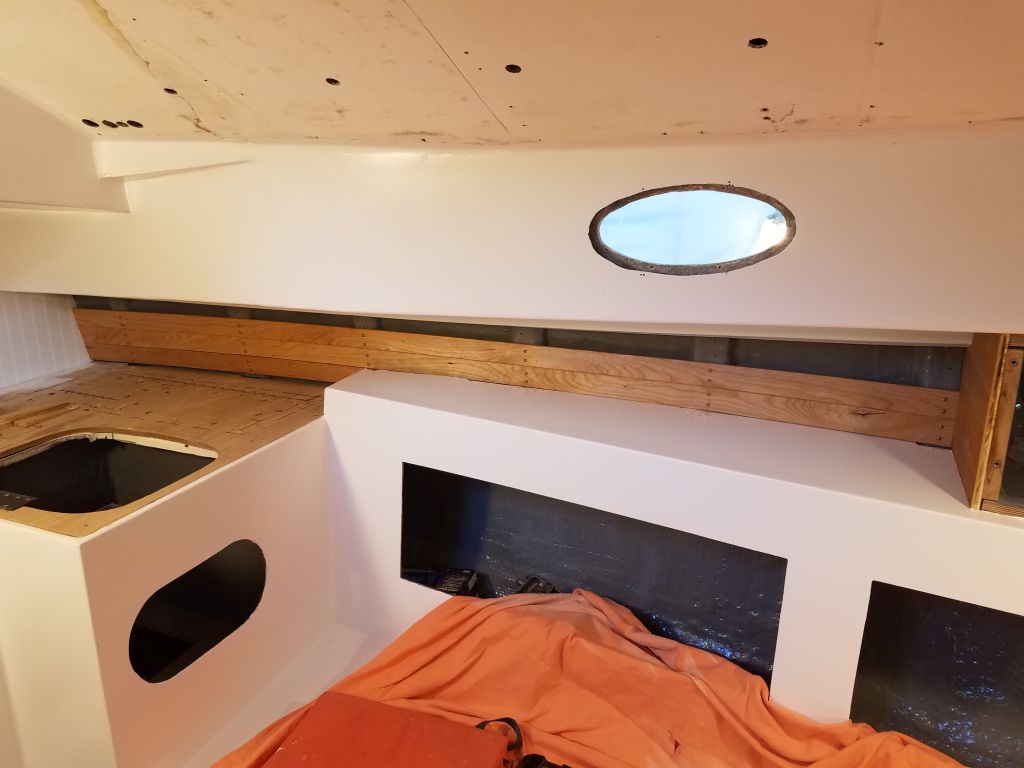
I continued the ceiling installation in the main cabin, starting with the small section on the starboard side. Here, I decided to start at the bottom and work up, allowing the boards to follow the plane of the shelf rather than the sheerline and allowing a full-width board along the bottom. This made sense given the shape and size of the shortened space, since the new locker at the forward end covered over the more extreme part of the boat’s sheerline that, had it all been exposed as in the forward cabin, I’d have wanted to follow here as well.
To cut the first board, I used one of my plywood templates, cut just a little short of the overall length, to template the angles on each end, and then, afterwards, to determine the final length.

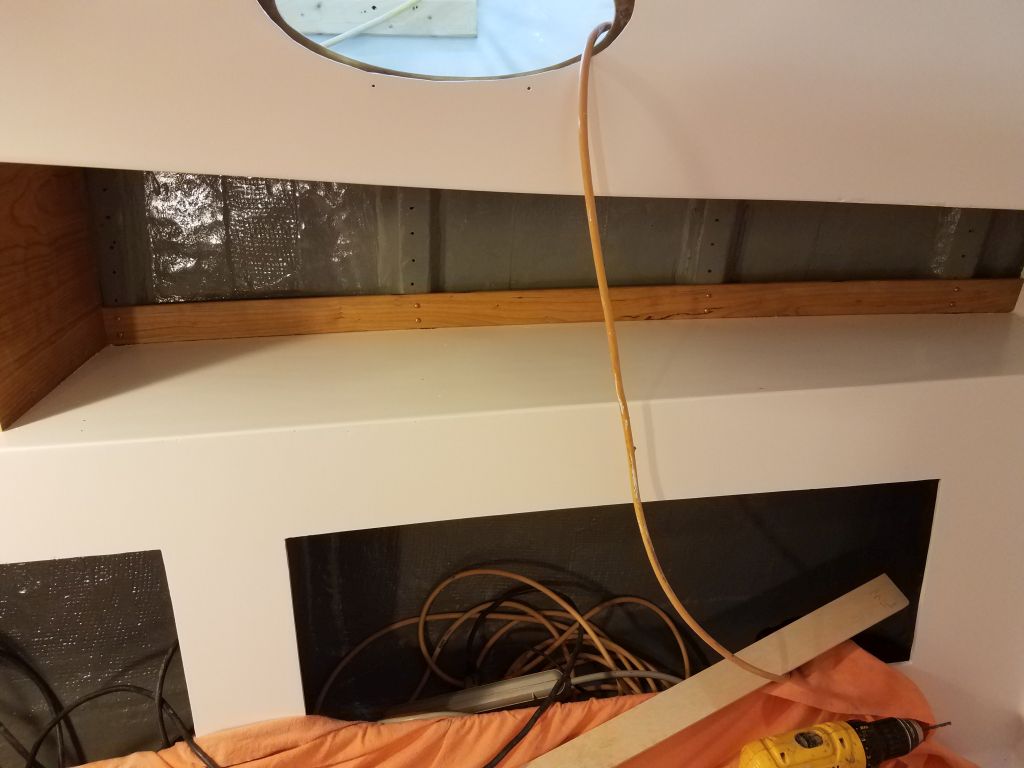
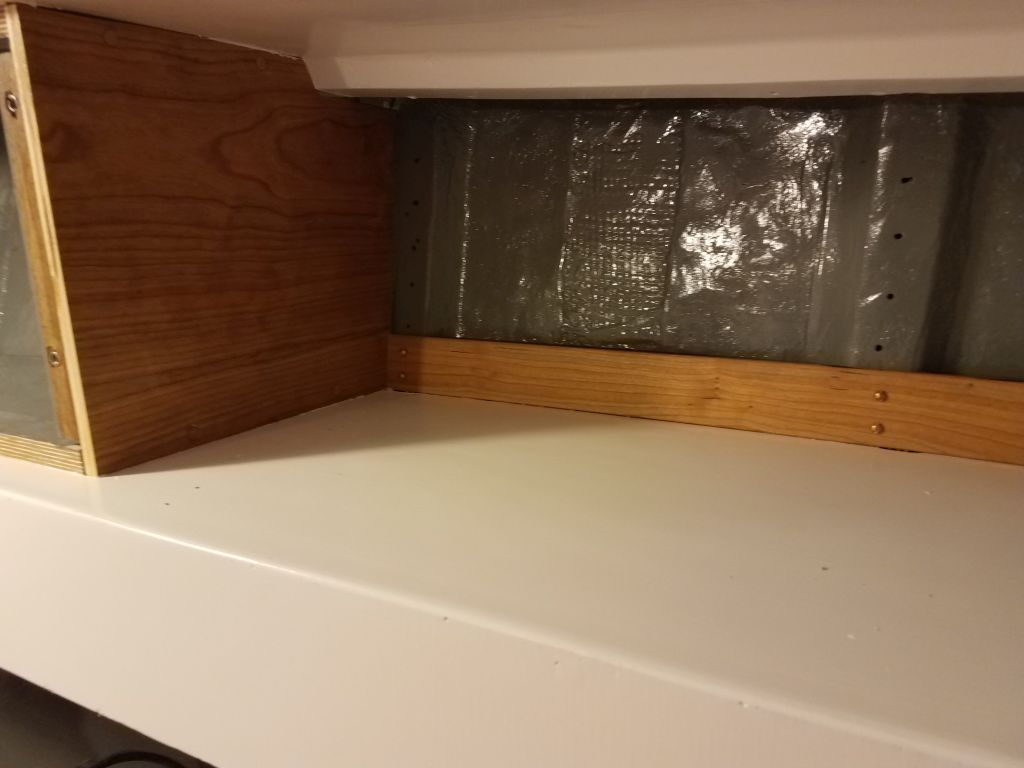
From there, it was pretty quick to fill in the rest of the space, with only the top tier requiring any additional cutting to slip behind the overhead liner and fit beneath the deck above.
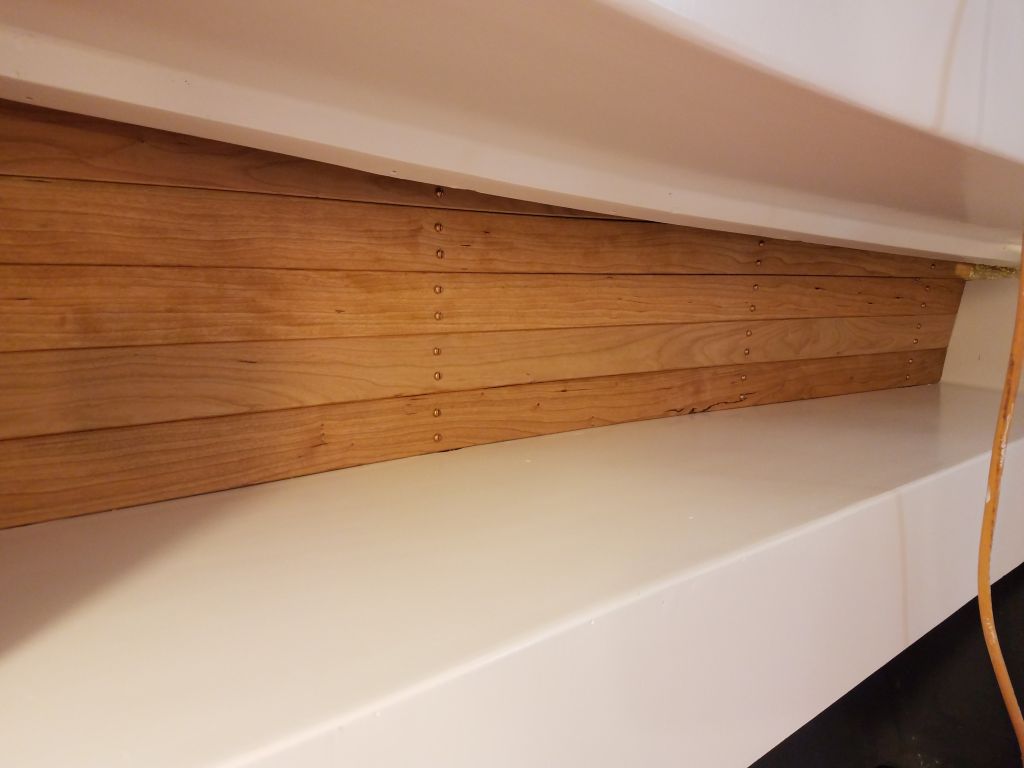
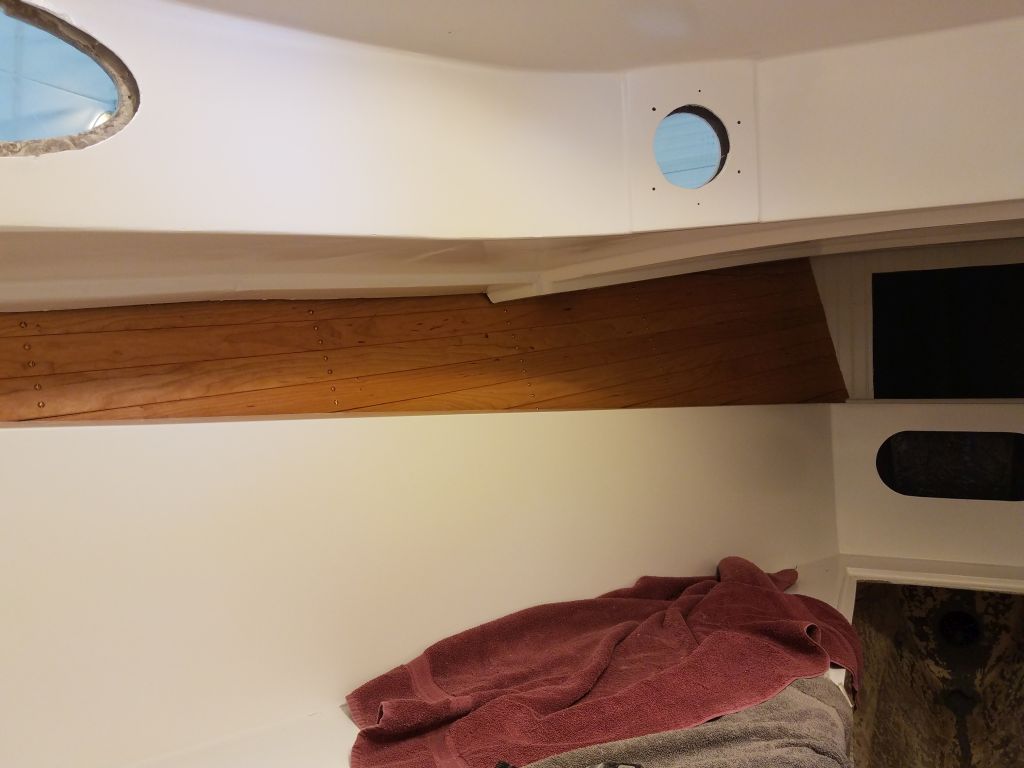
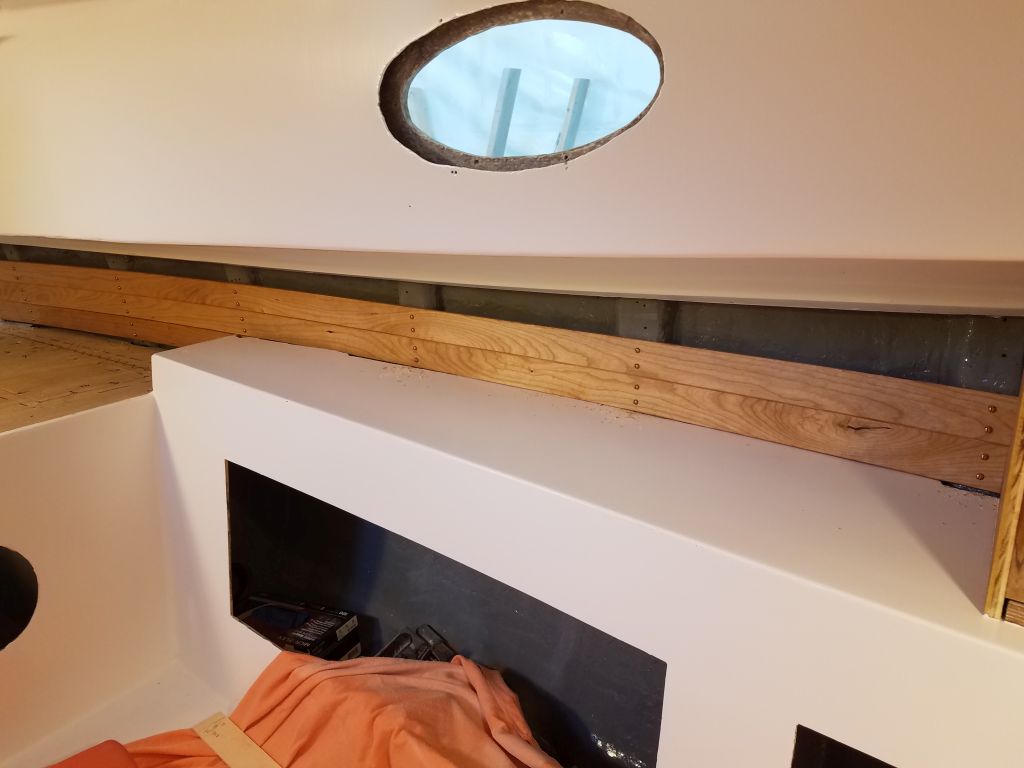
On the port side, the space was longer, leading aft over the galley, but otherwise similar in shape and concept, and once more I registered my first board against the top of the shelf, and extending aft from there. Here, the shelf/liner had some ragged cutouts on its outer edge, so I’d have to add some additional trim later to cover the raw edge, since the ceiling boards couldn’t hide it.

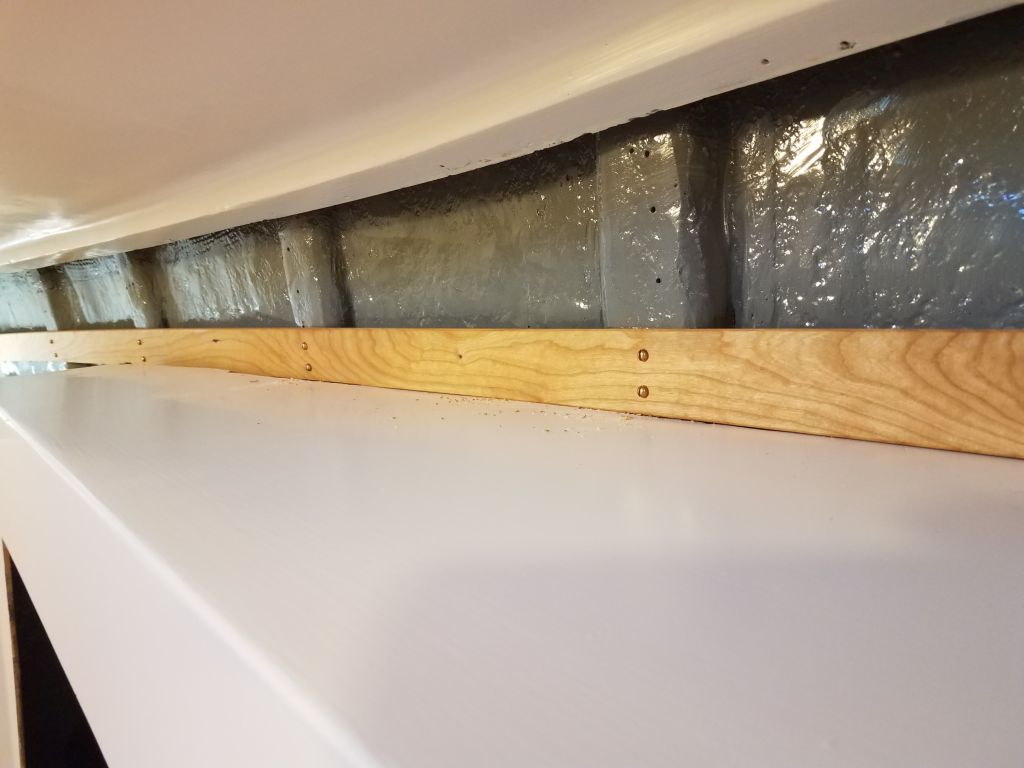

Before the end of the day, I had time to fit and install a second full-length board above, and also a shorter board below the first one in the galley, which left a small space beneath that would allow the countertop boards to slide beneath. I’d figure out final trim details in that area once the countertop was complete later.
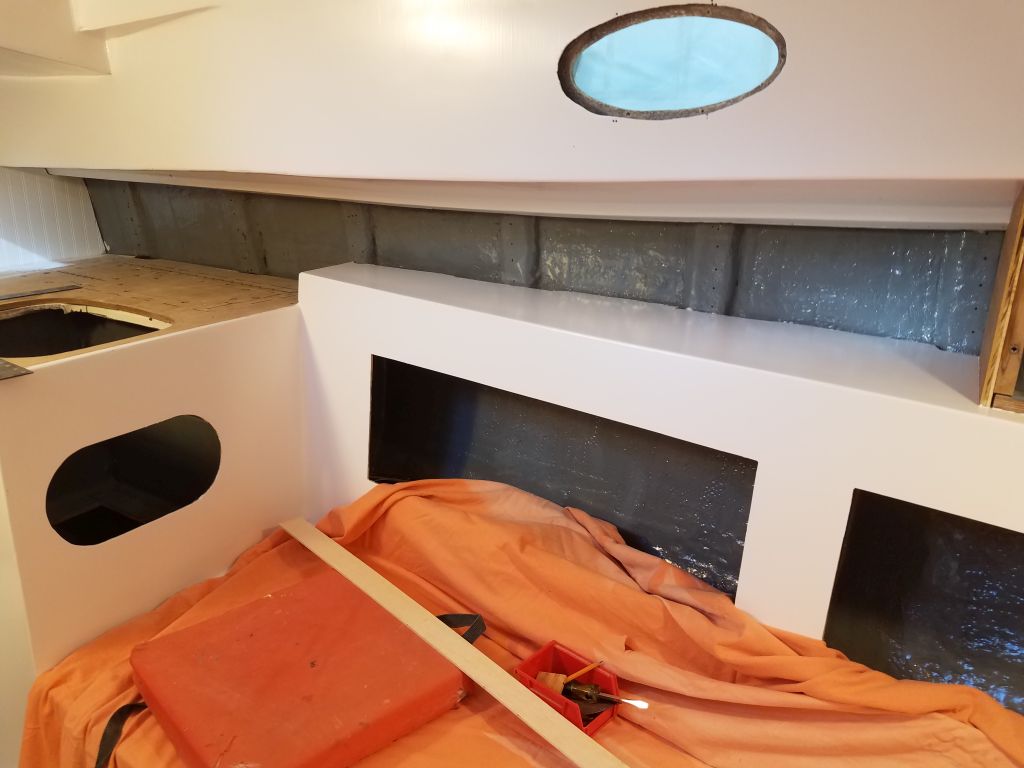
Checking the fit for the next board in the series, I could see that the way the overhead liner was cut and configured at the aft end over the galley meant that from certain angles, the eye could see up farther than in other areas, so the cherry ceiling would have to extend a bit higher there. I could also see that it was going to require another narrow strip that would be hard or impossible to secure on its own, so before closing for the day I prepared another glued-up section with an additional width secured to the top edge of the third ceiling board with glue, which I left clamped up overnight.
Total time billed on this job today: 7.25 hours
0600 Weather observation: 11°, clear. Forecast for the day: Sunny, 38°