


March 4, 2019
Scupper 92
Monday
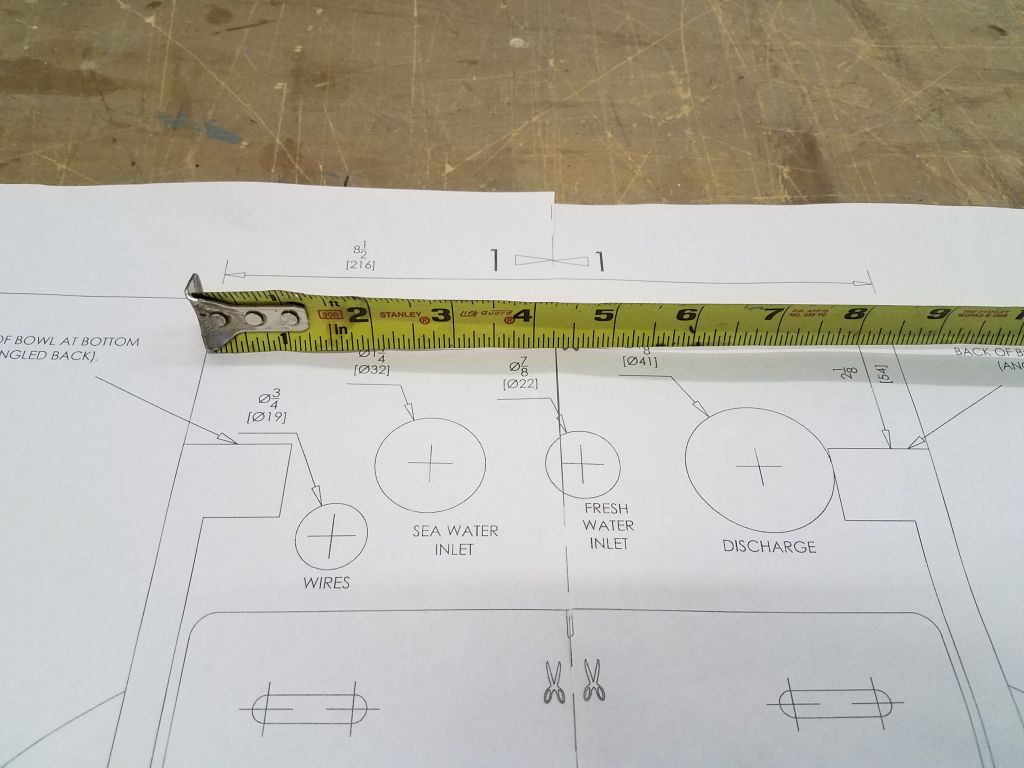
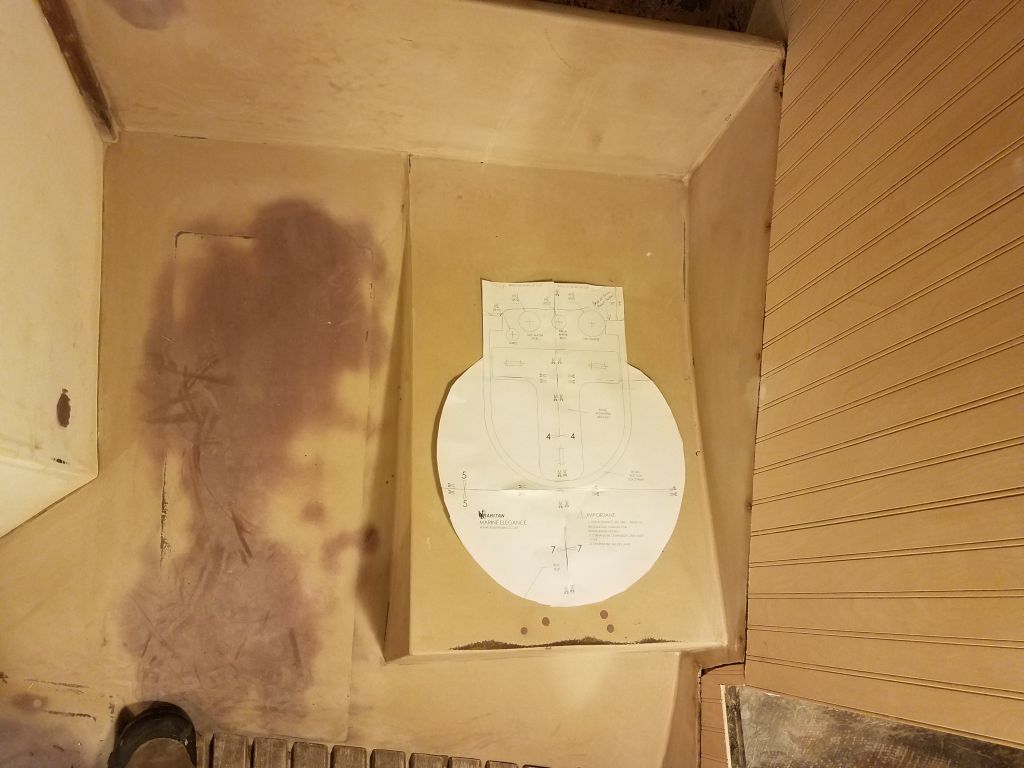
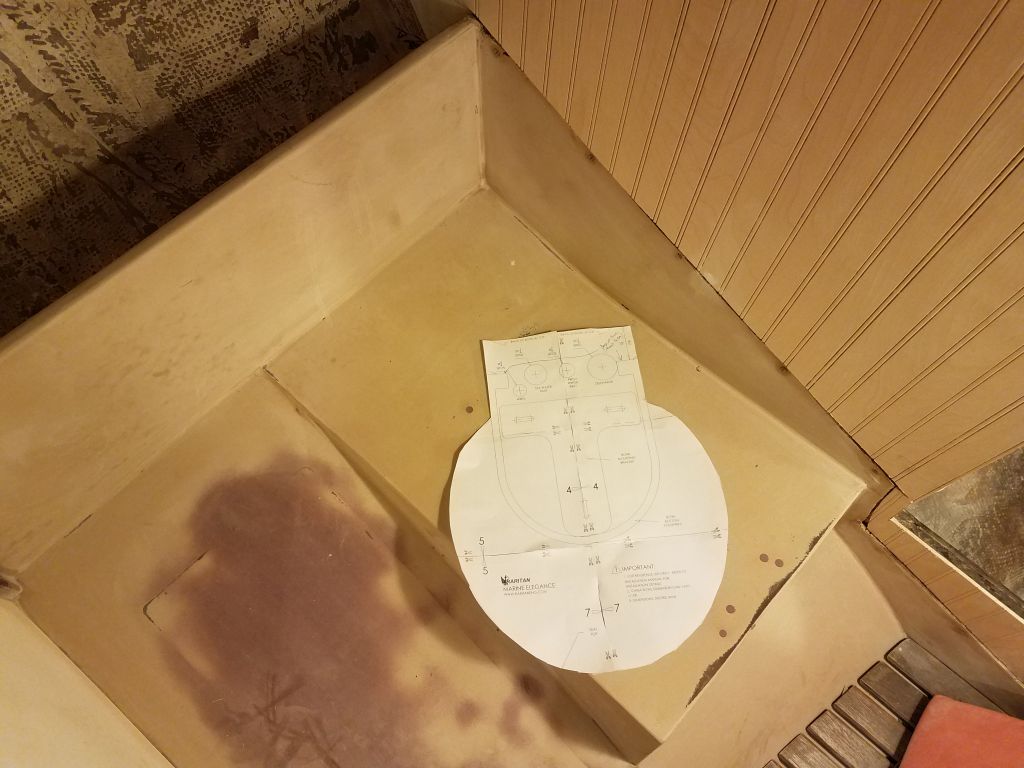
Preparing ahead to be sure we were on the right track in the head, I printed out a full-size template of the owner’s chosen unit, the Marine Elegance, so I could test its fit in the head compartment. I used the included measurements to check the accuracy of the size of the printout and then cut out the template, which I then test-fit in various positions on the platform in the head compartment. The cutout, which represented the overall size of the bowl and base together, seemed to fit well in any of the possible positions, and with room for adjustment in the final position, so with that step out of the way we could continue planning accordingly. Actual installation would be some time in the future.


Much of my work in the cabin during this week would focus on various chores required before I could begin the primer on all the paneling and fiberglass surfaces, and this meant taking care of numerous smaller tasks throughout the spaces with this overall goal in mind.
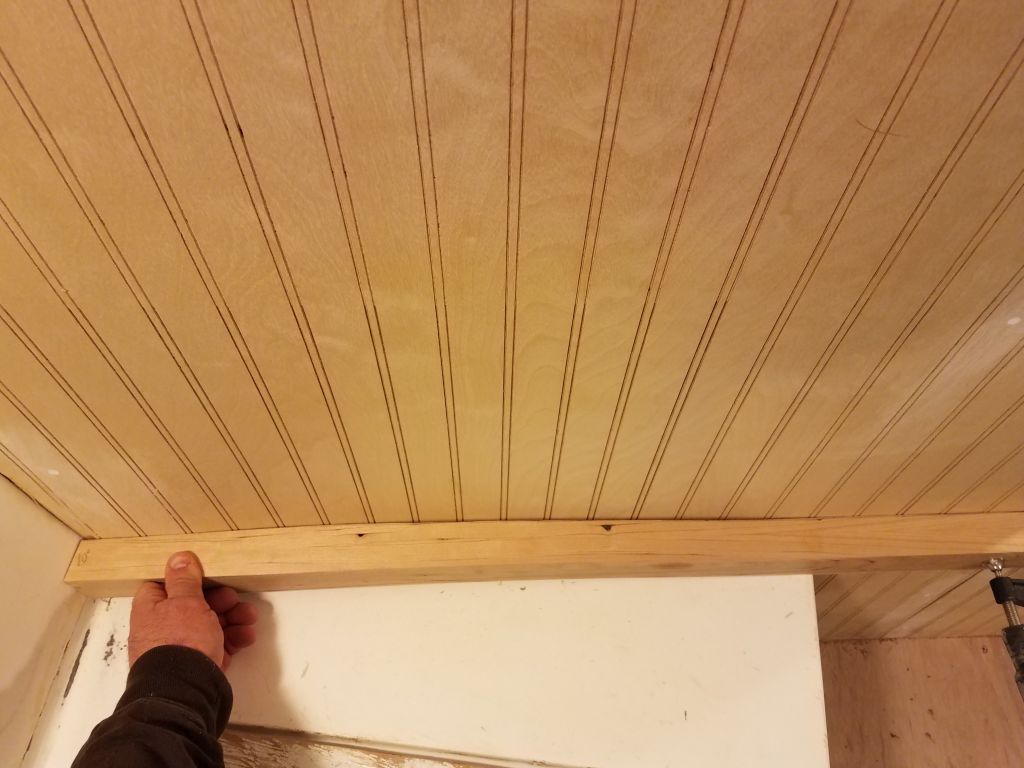
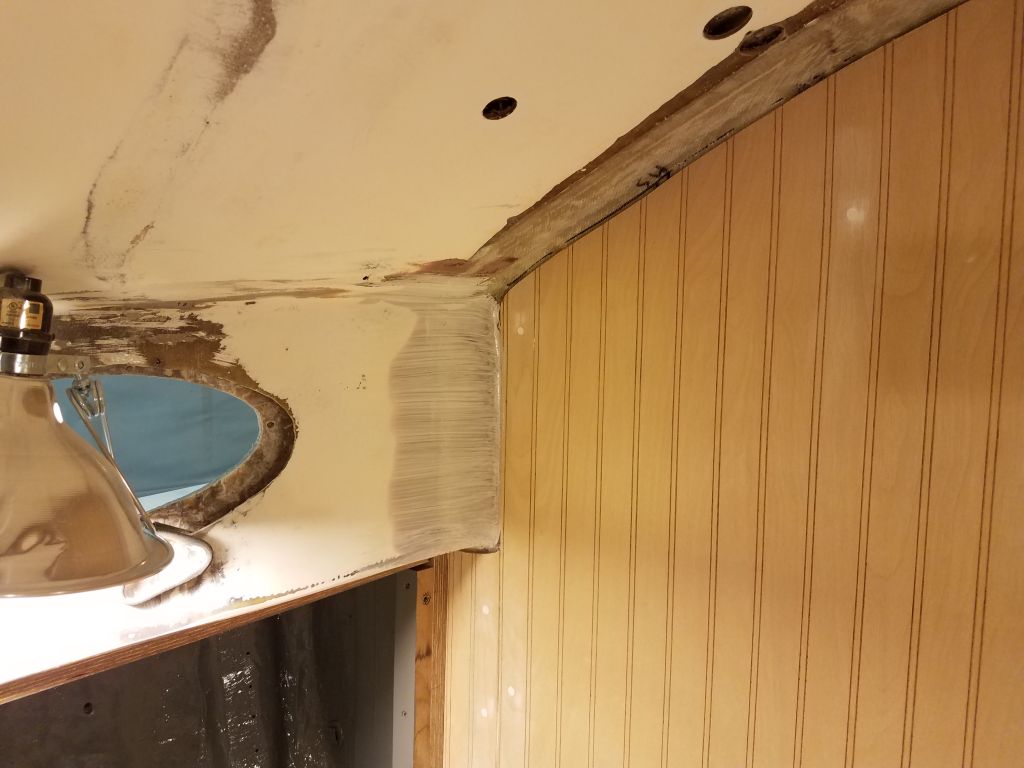
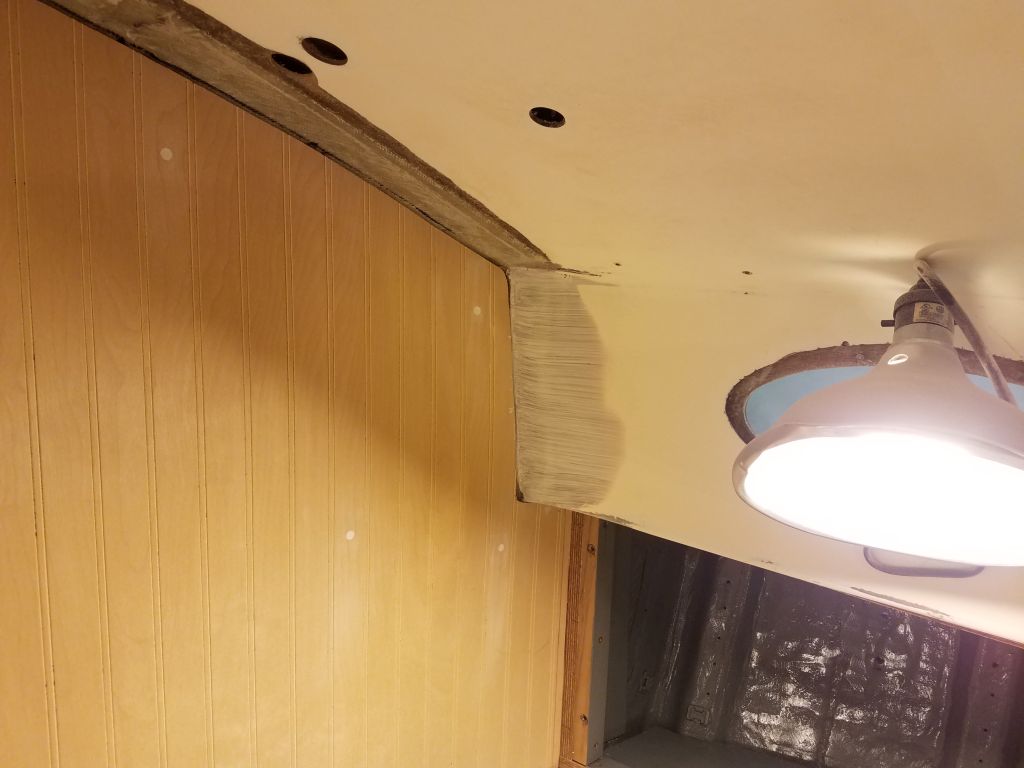
In the forward cabin, I lightly sanded the new fiberglass over the ceiling support cleats at the aft end of the space, completing the basic work there.
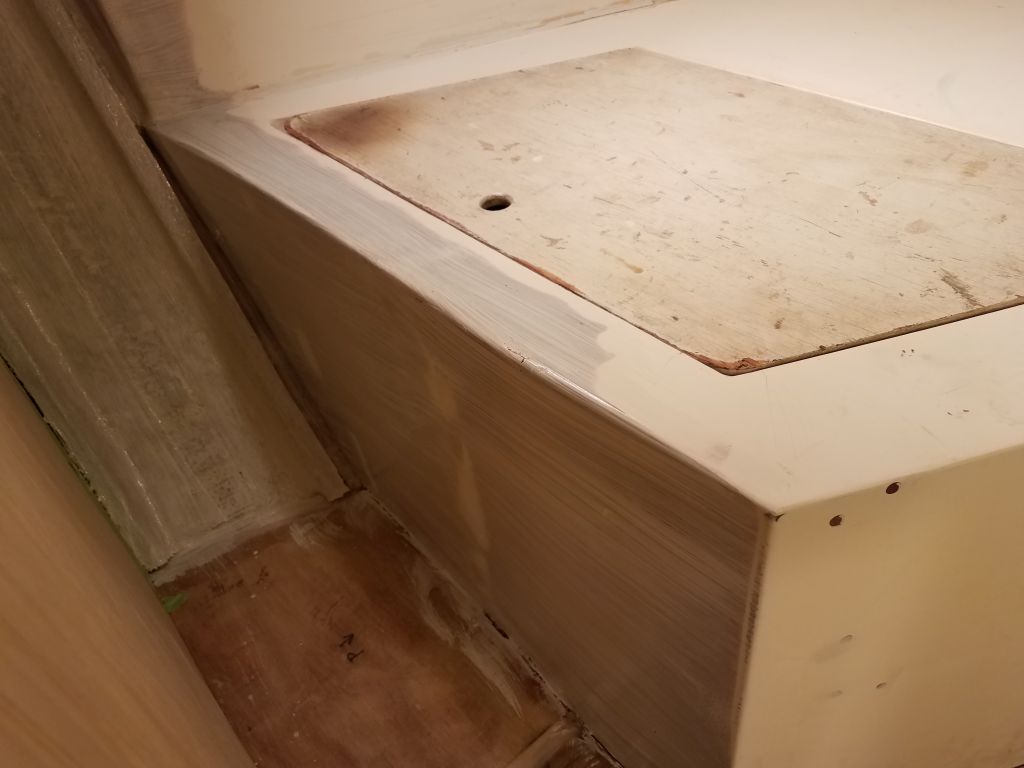
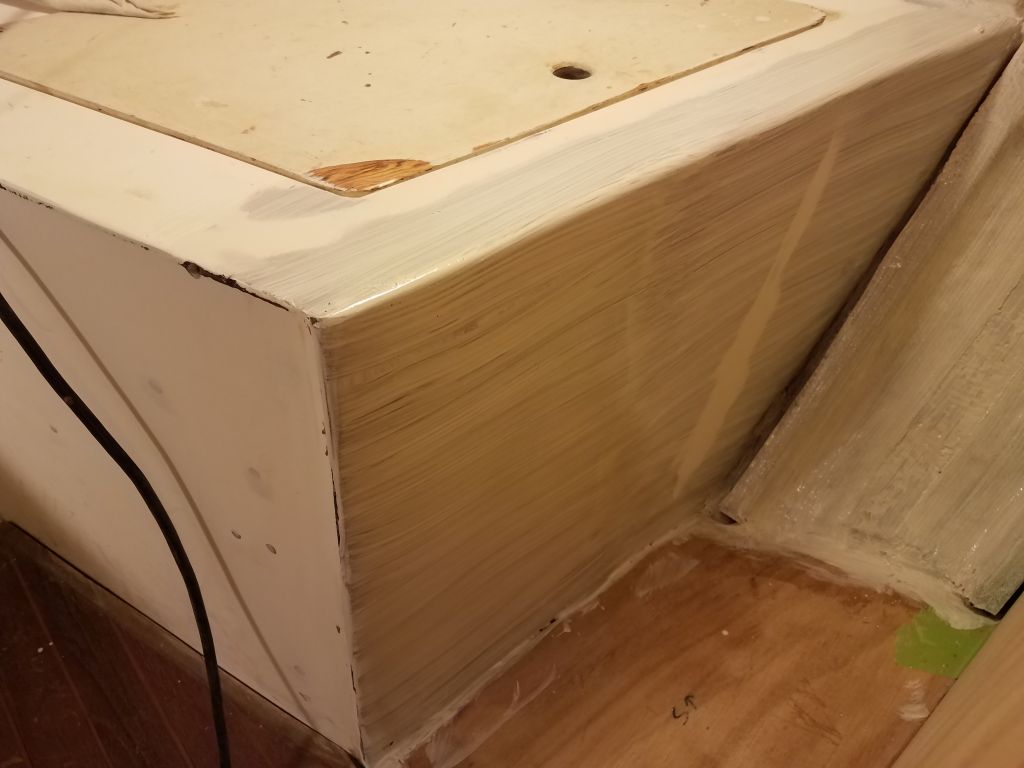
Next, I turned to the galley countertop. Using marks I’d made on the bottom of the substrate earlier, I cut out the opening for the stovetop and then, with nothing else standing in the way of final installation, secured the plywood substrate to the fiberglass galley with polyurethane adhesive and screws. The finished countertop surface would come a bit later.


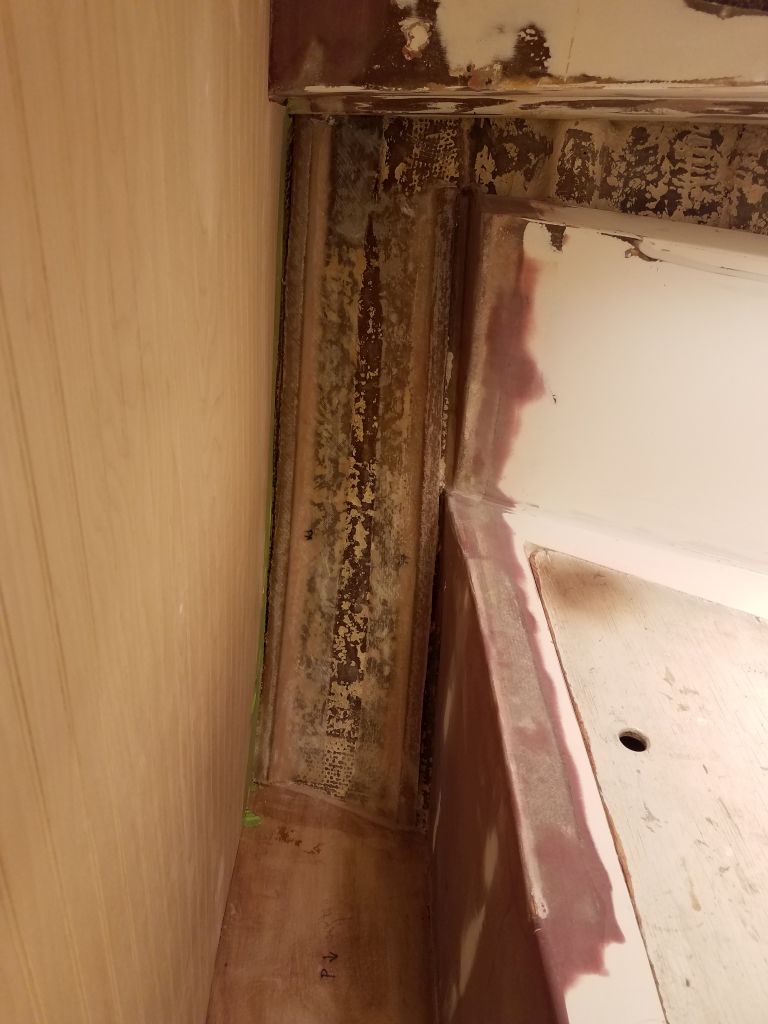
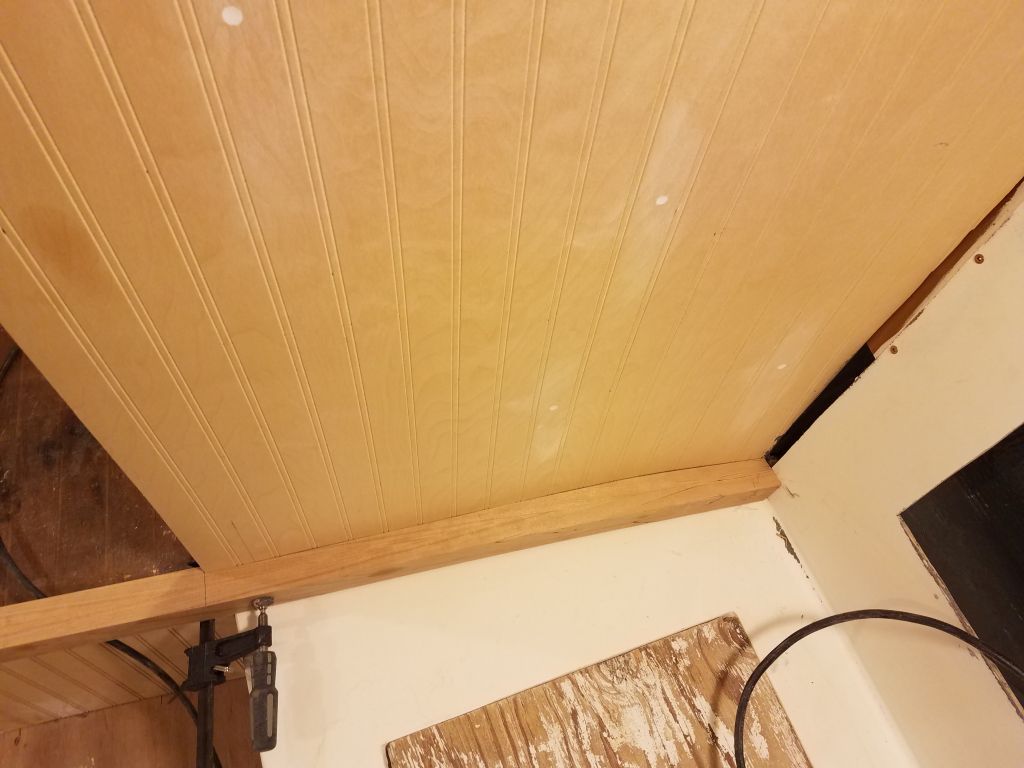
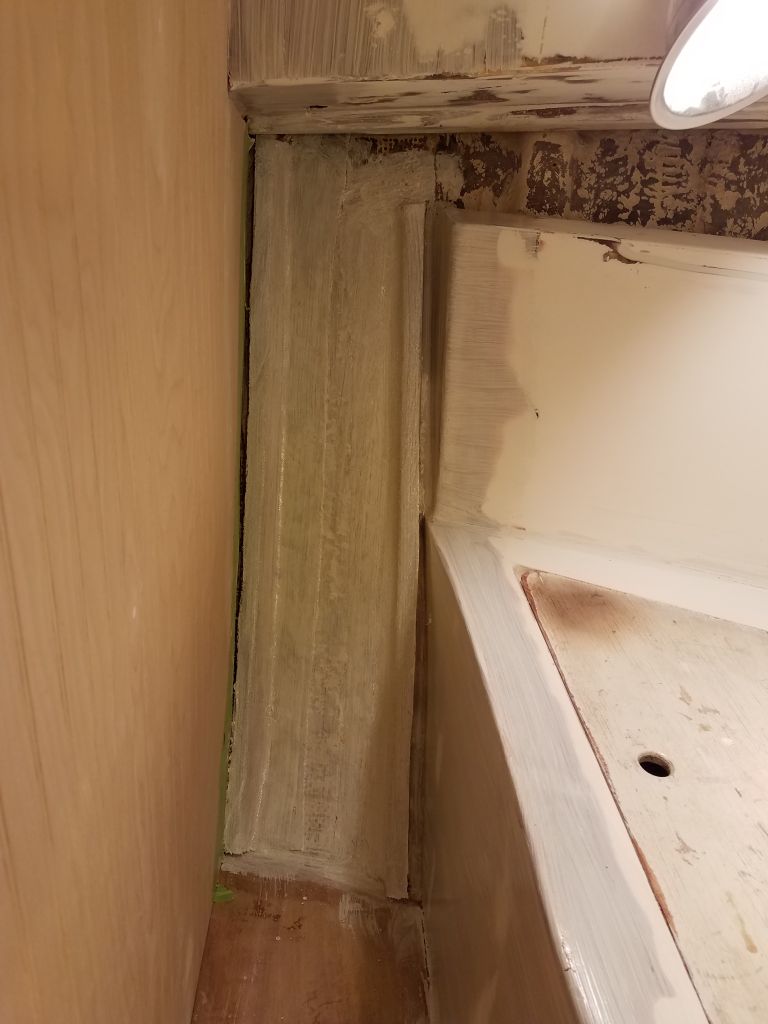
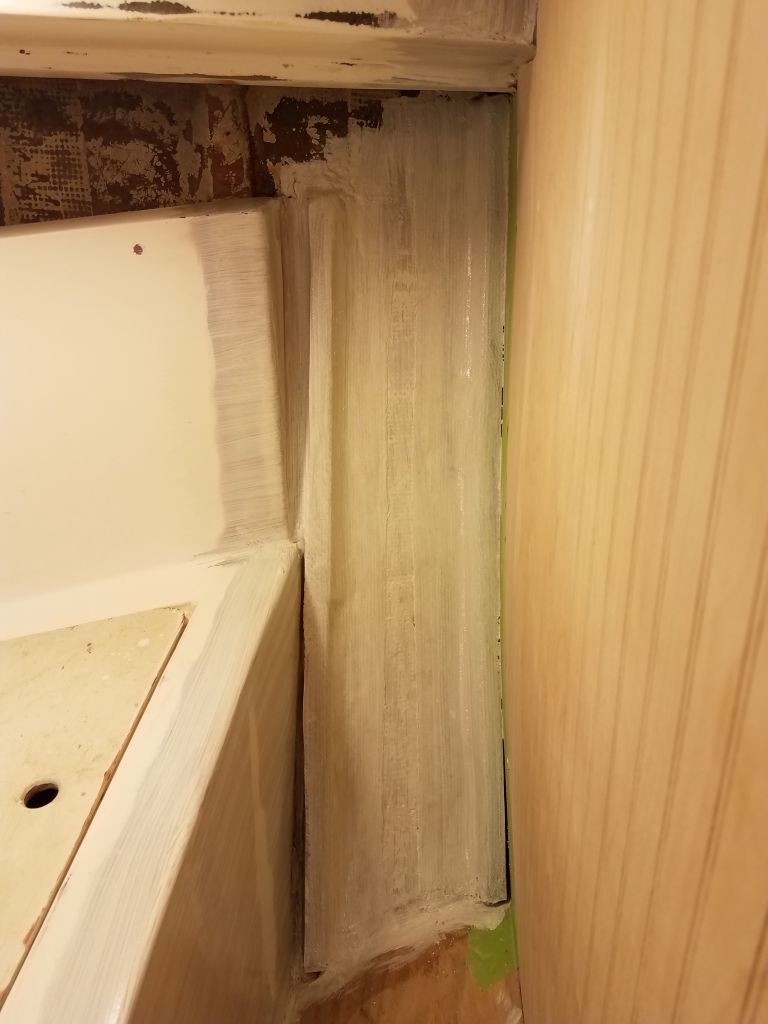
At the main bulkhead, relating to the new sliding door trim, I made various measurements and recorded some compound angles for the ends, then transferred these to the ends of the trim blank I’d made earlier till I could fit the piece in position. The bulkhead itself had some curvature at its lower edge, which I’d known in advance and planned for in making the blank so I could scribe it to the actual shape.
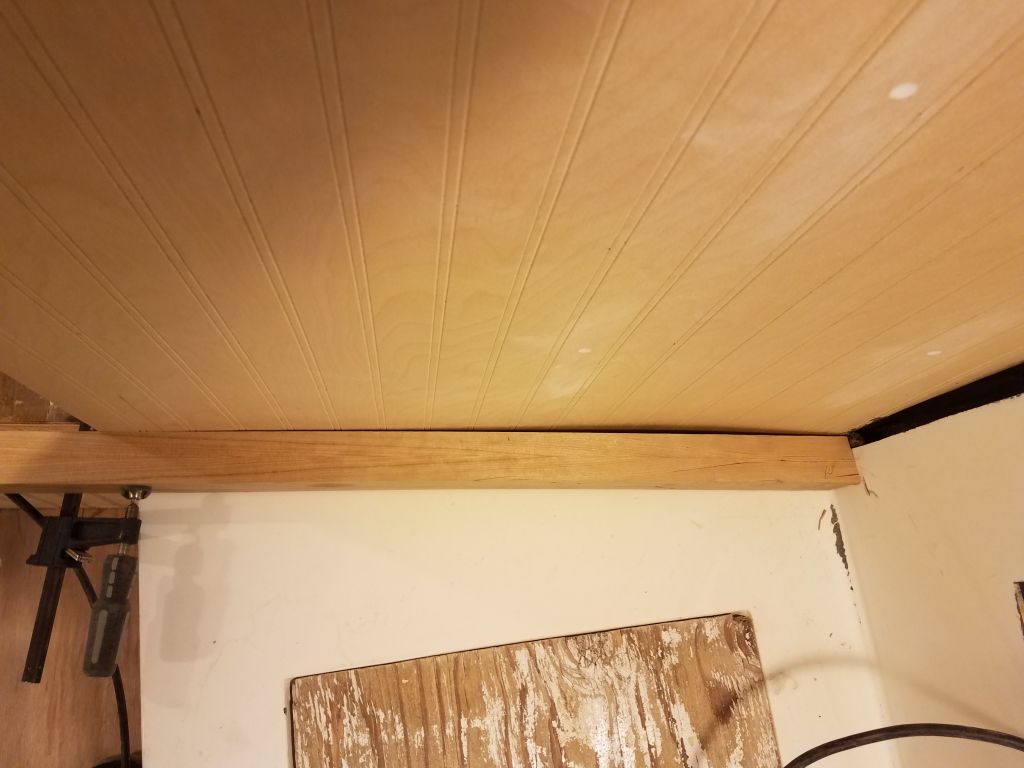
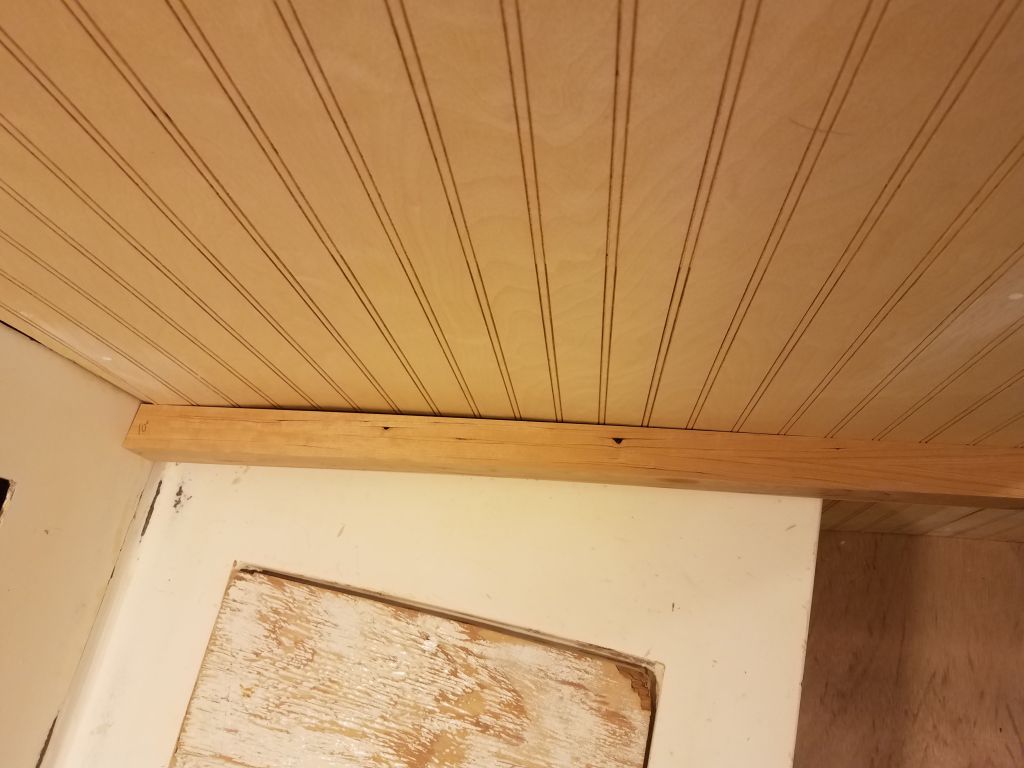
After scribing the bulkhead to the new trim, I cut the trim as needed and eventually achieved a decent fit in all areas as required. There’d be some additional milling work on the trim to prepare the grooves for the doors, which groove I planned to line with slippery plastic for better operation, but that would come in just a bit once the new materials I required arrived.
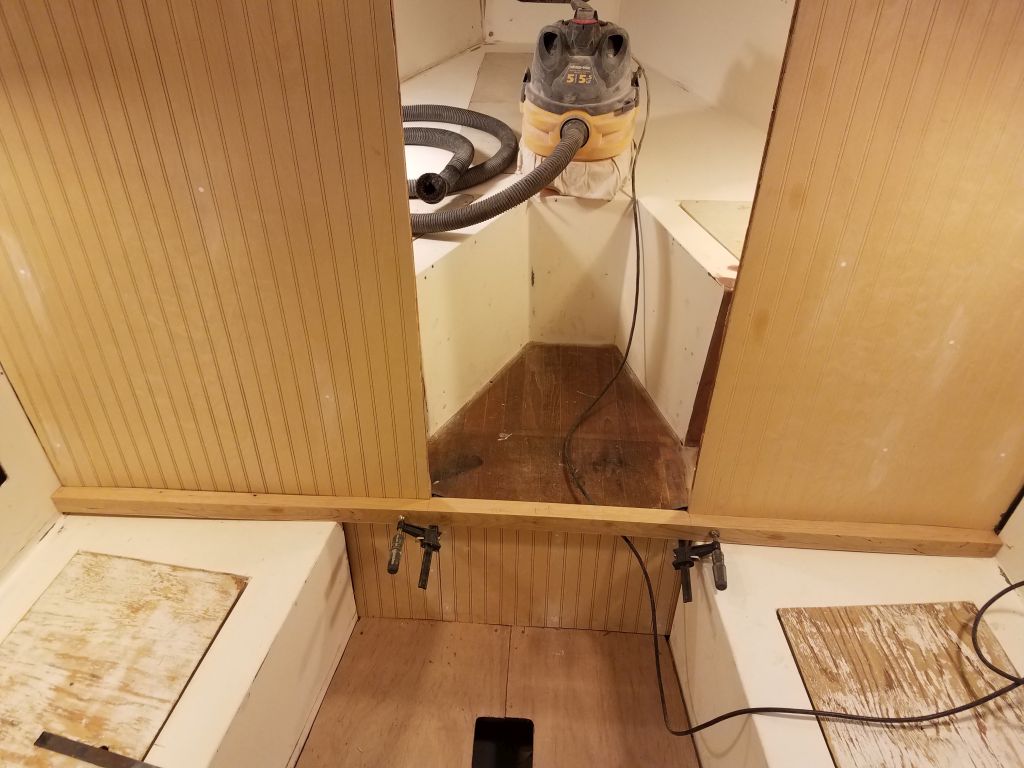
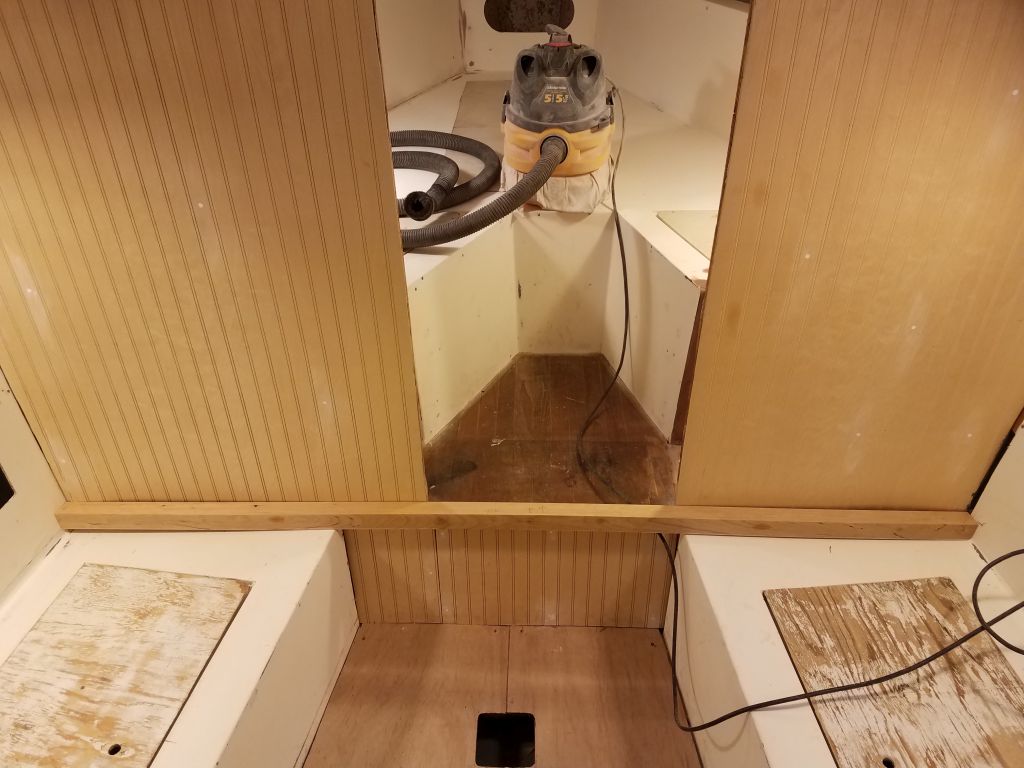
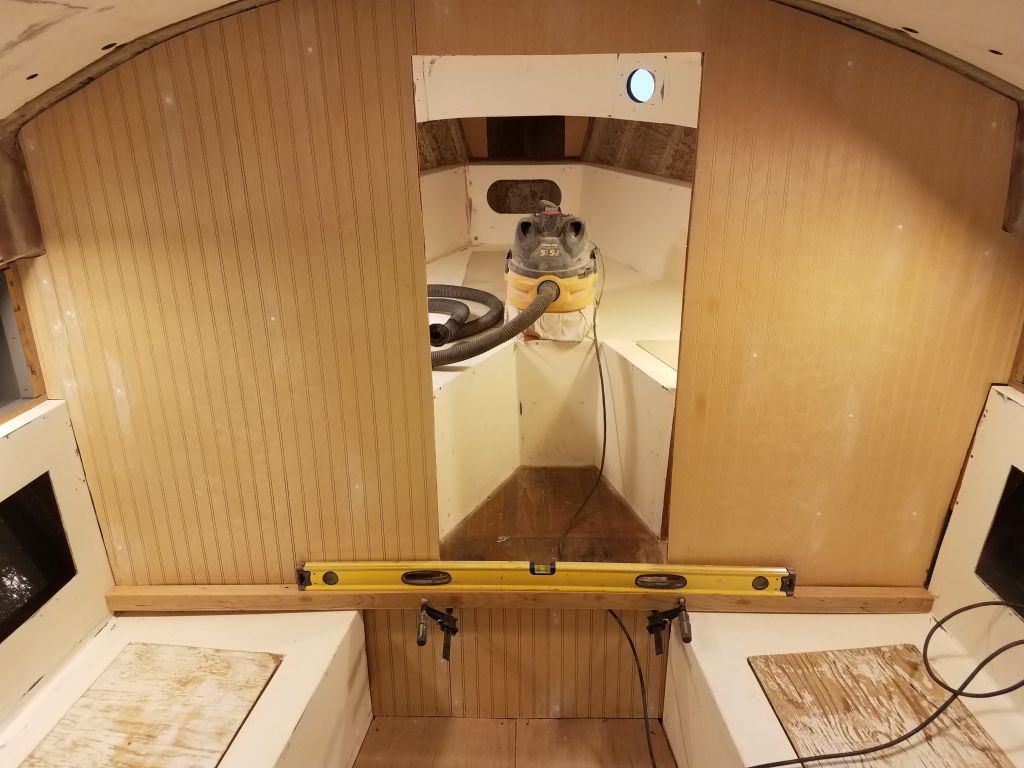
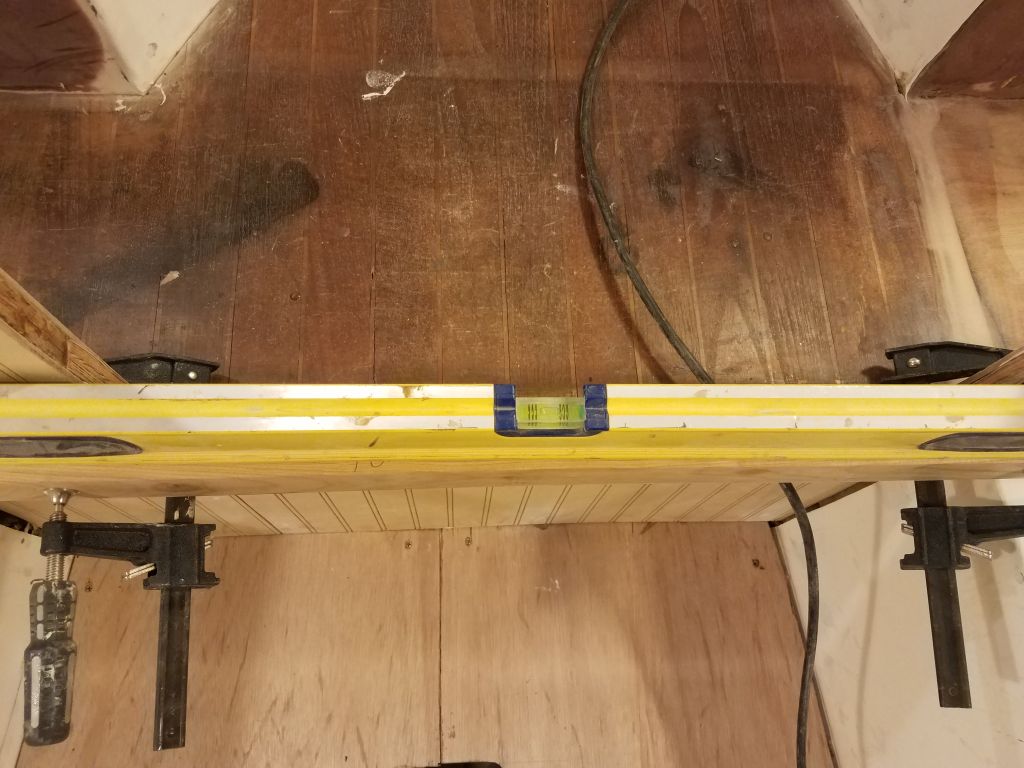
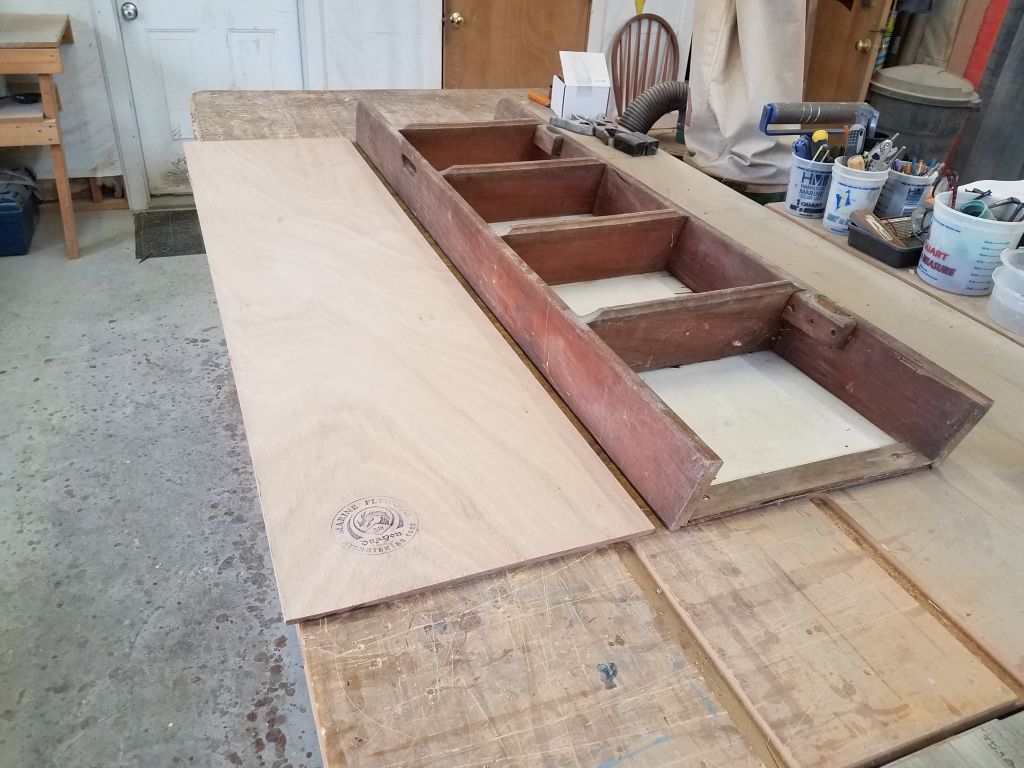
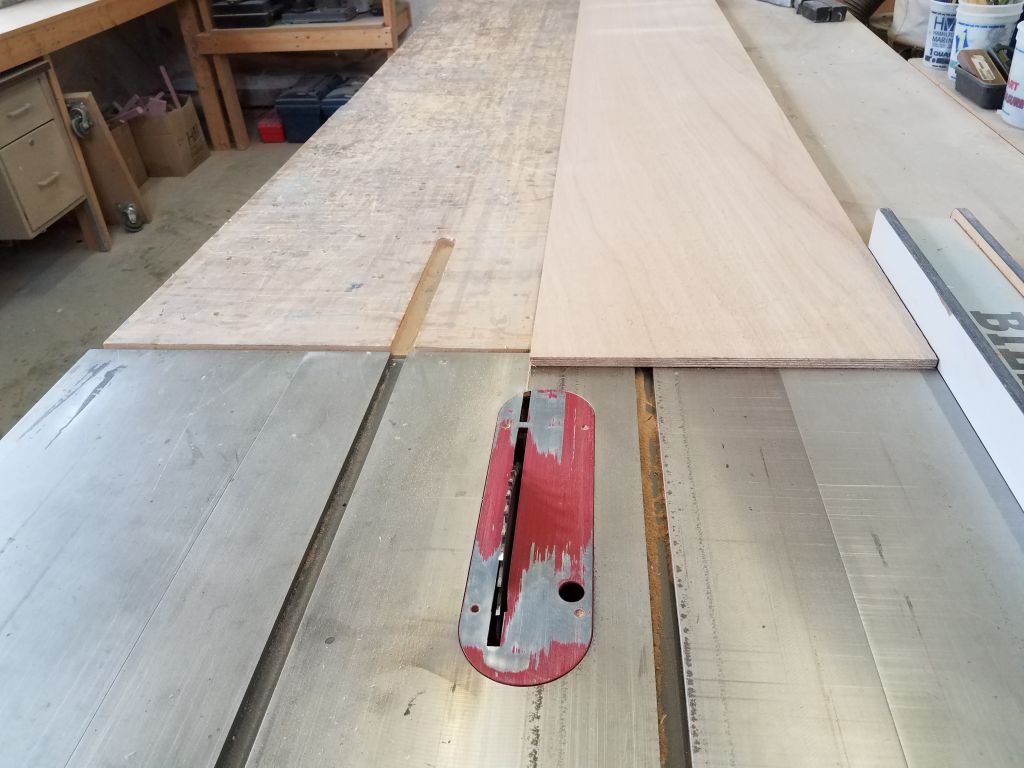
I also worked briefly on the companionway ladder. Using the old one as a general guide, I prepared a piece of new 12mm plywood for the backing for a new replacement ladder (and head doorway). I chose to do this now because I needed some of the plywood for other uses soon, but first wanted to set aside the large piece required for the ladderway. I’d continue working on the ladder later, but for now I set it and its new plywood backing aside.

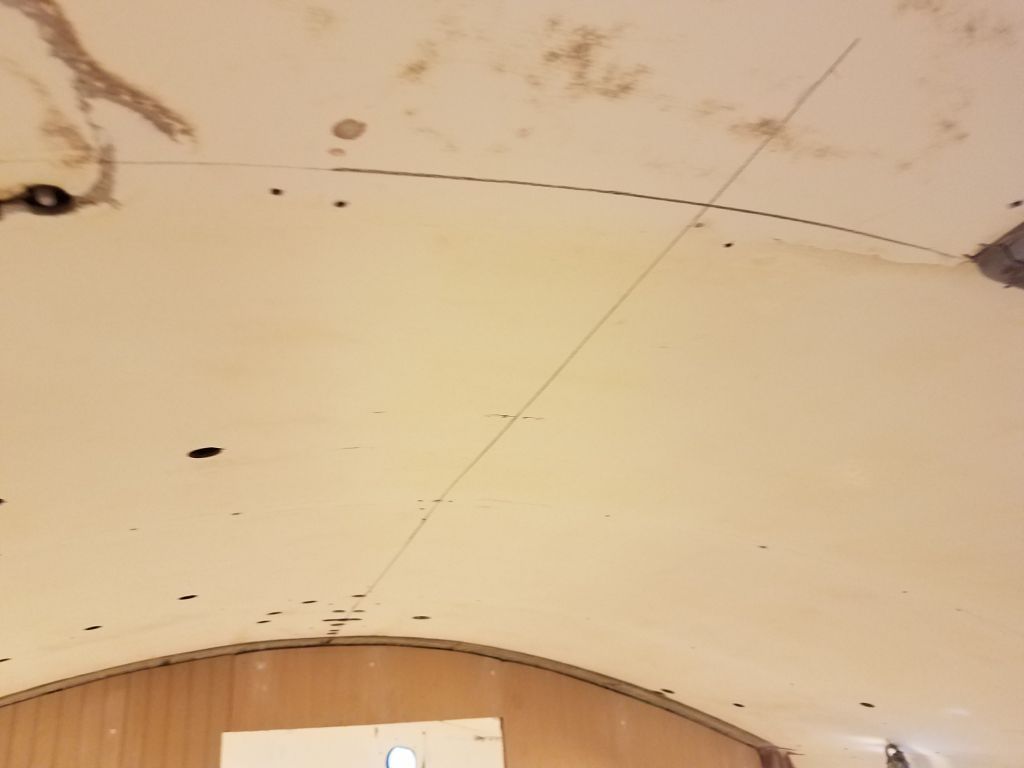
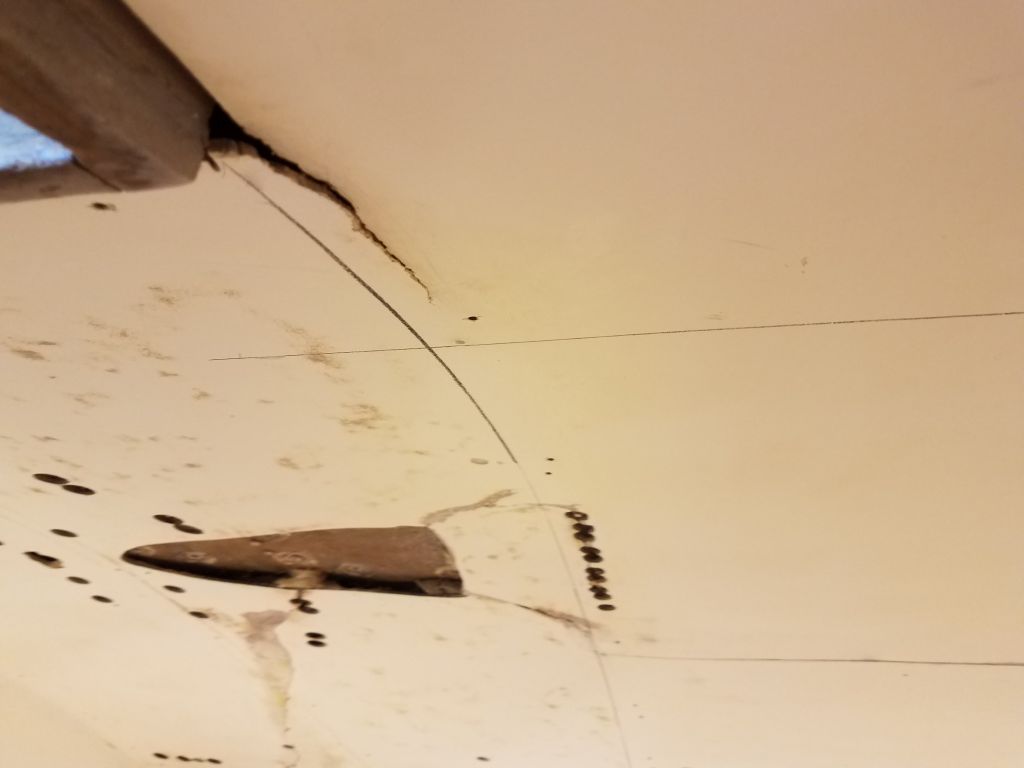
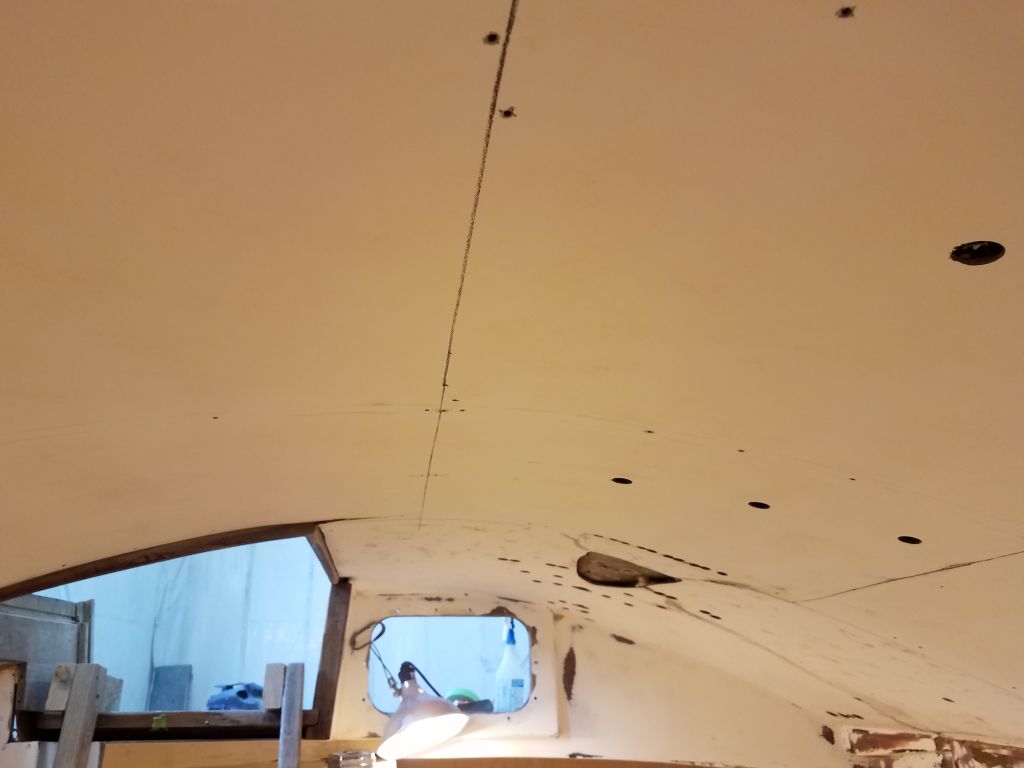
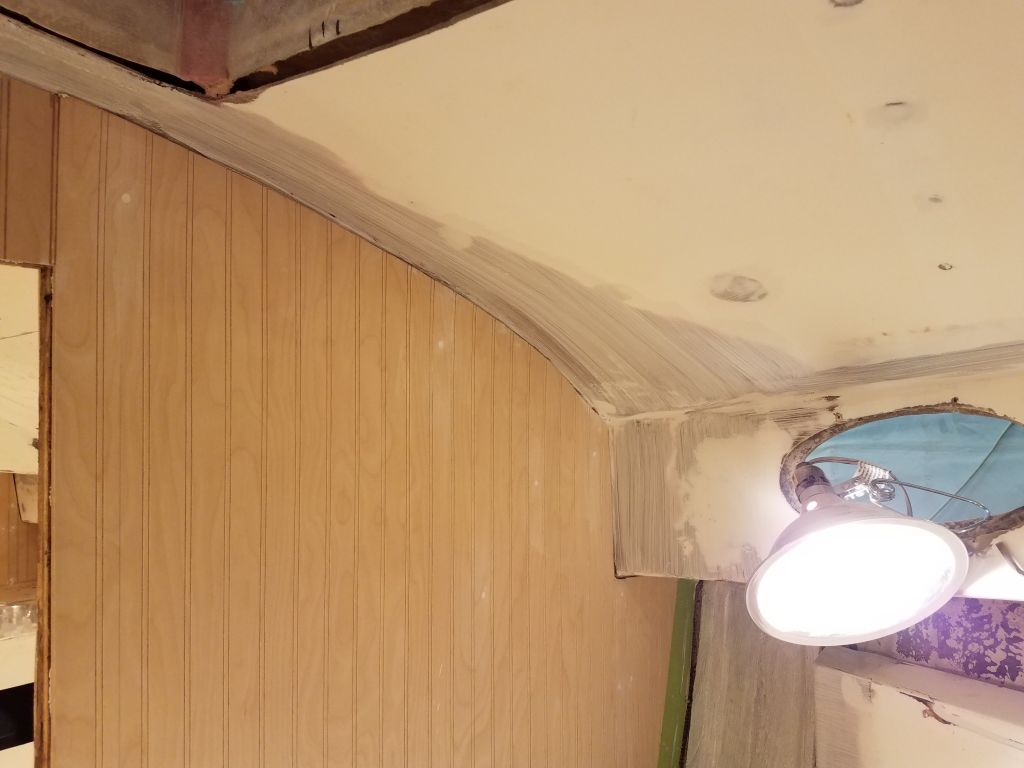
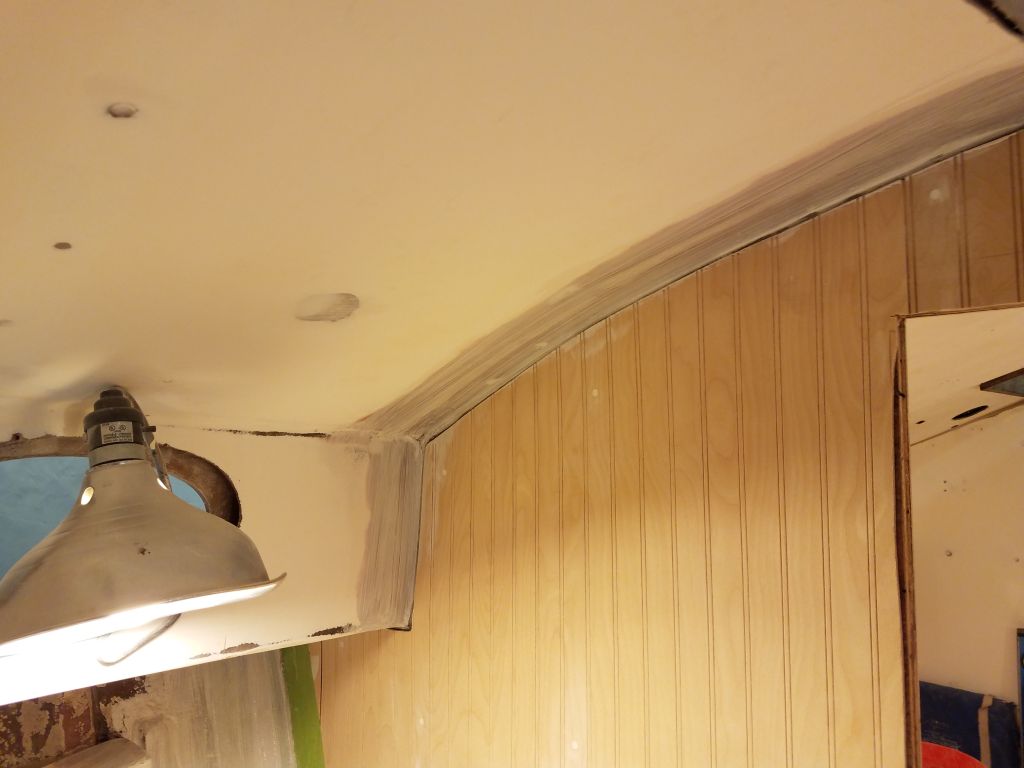
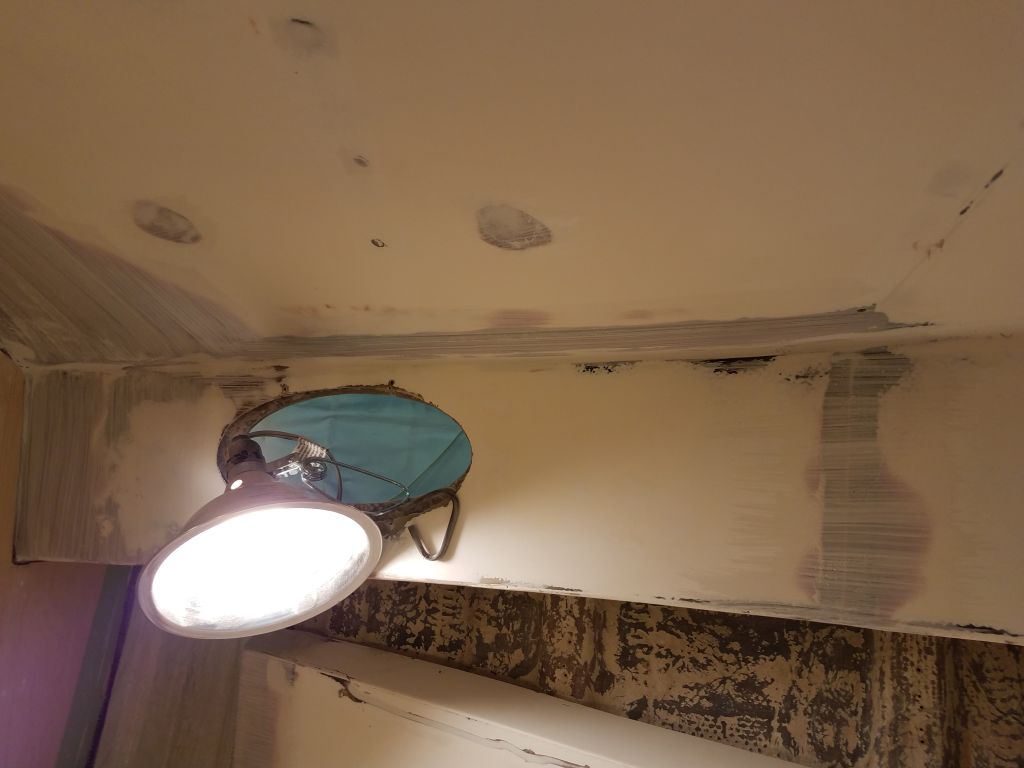
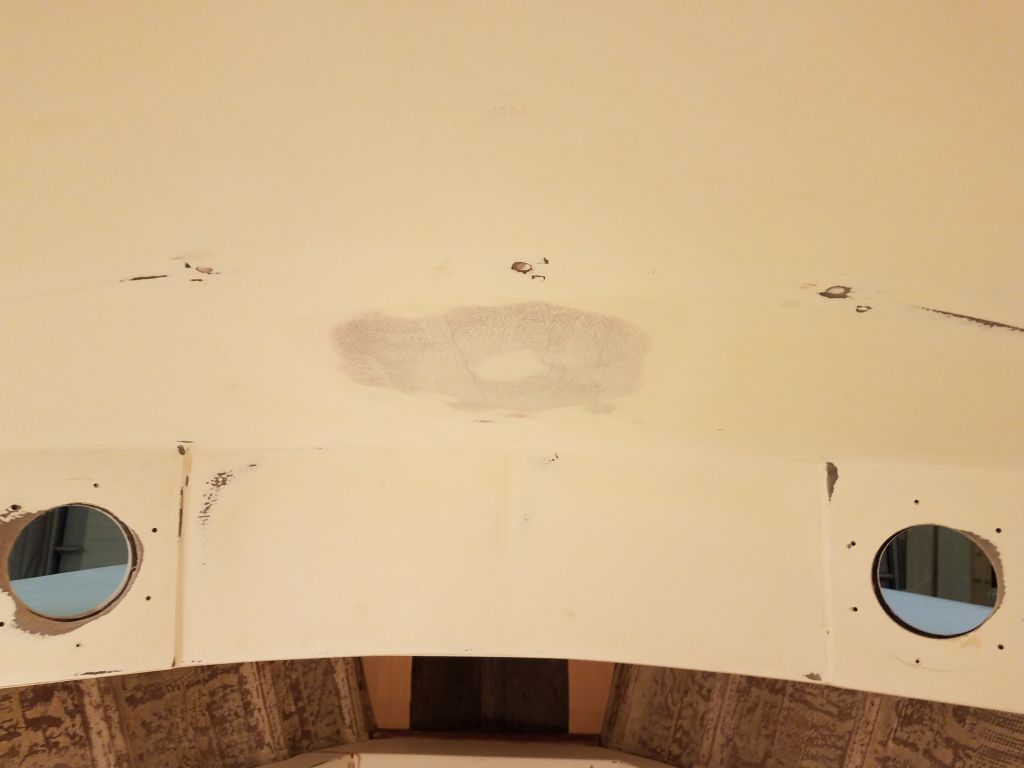
There were many directions I could go and projects I could do, but as I was having a little trouble focusing while I impatiently waited for the snow to end so I could head out and clean up from the storm, I spent a little time beginning the layout for the main cabin overhead, which required a cosmetic veneer of painted plywood to hide the existing fiberglass liner, which was riddled with holes and poor repair work. I laid out a longitudinal centerline, along with a known seam location corresponding with the companionway opening, then began to work out other seam and trim locations that in the end would make the overhead look good. More to come on this project soon.

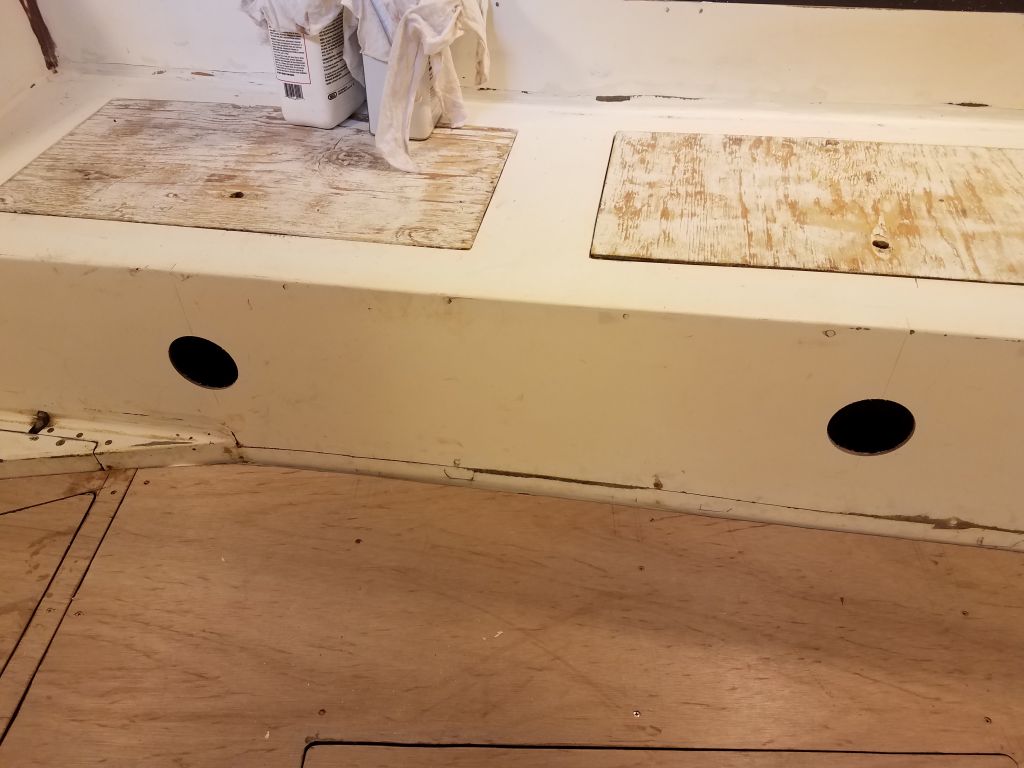
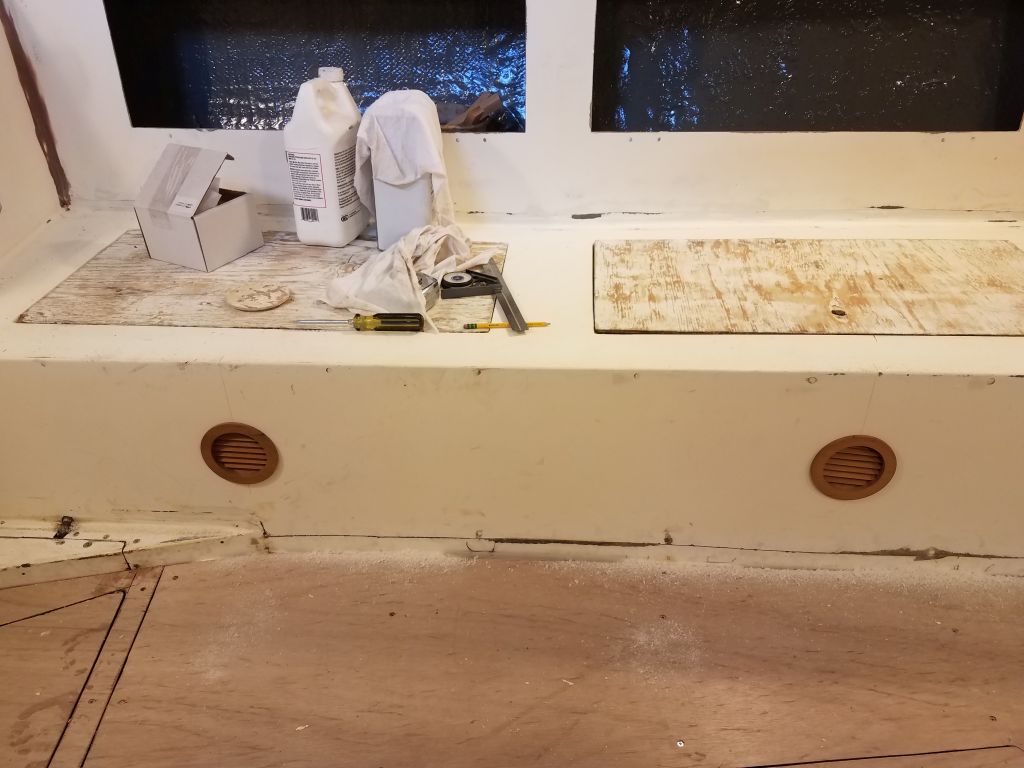
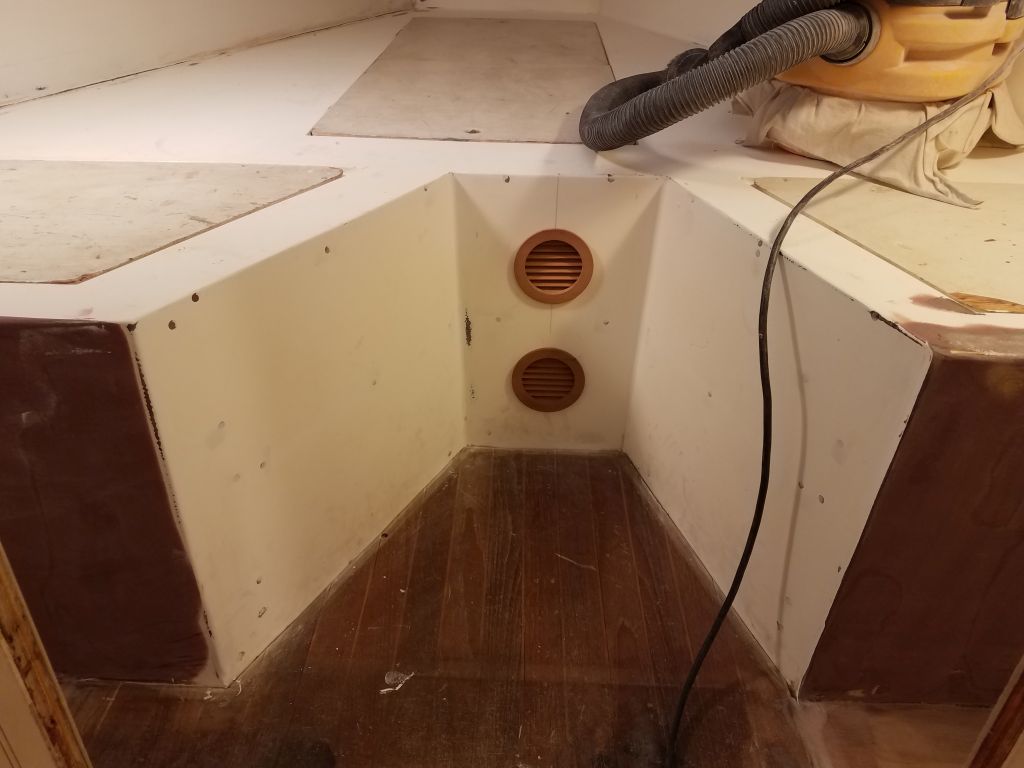
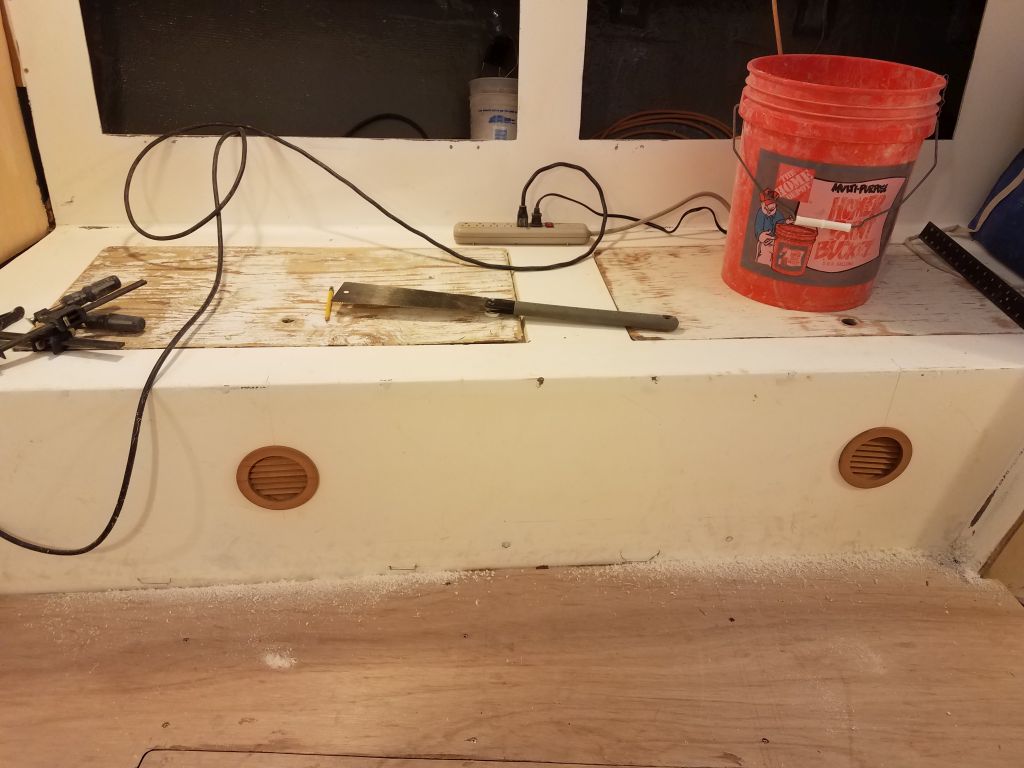
With snow over with and cleanup outside complete, I returned to the shop in mid-afternoon, with an hour or so to kill before I could start the epoxy pre-primer work on the new fiberglass in the forward cabin and elsewhere (I left this till the end of the day because of the strong paint fumes), so I decided to cut holes in the settees and v-berth for some little vents that I’d bought to satisfy the owner’s request for natural ventilation through all the lockers. I chose round louvered vents made from cherry to match the rest of the cabin trim, and now armed with an appropriate hole saw, I laid out for and drilled six holes (two in each main cabin settee, and two in the v-berth) for the 4-1/2″ round vents. I’d pre-finish the vents and install them permanently later, once the cabin paintwork was complete.


After final preparations, I went through the forward and main cabins and applied a coat of epoxy-based primer to all the recent glasswork and fairing compound, including the new chainlocker floor, bulkhead tabbing, v-berth ceiling cleats, and other areas throughout. This primer coat was required in order to allow one-part paints to cure over the fresher epoxy (some of the work was old enough that it wouldn’t likely be a problem, but I pre-primed it regardless).

With just a bit of time left in the day, I worked in the woodshop to select several cherry boards that I’d soon begin milling into the various fiddles and other trim for the cabin.
Total time billed on this job today: 7.75 hours
0600 Weather Observation: 30°, snow, an inch or two down. Forecast for the day: Snow, 4-8″ total, then clearing.