


December 13, 2019
Scupper 202
Friday
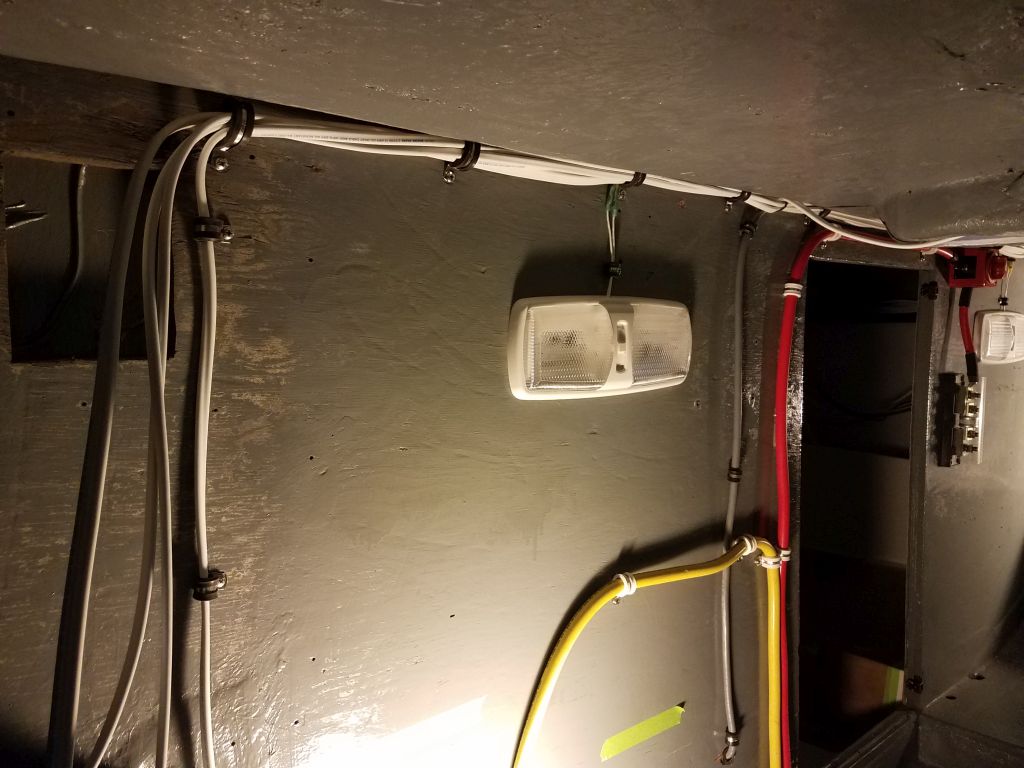
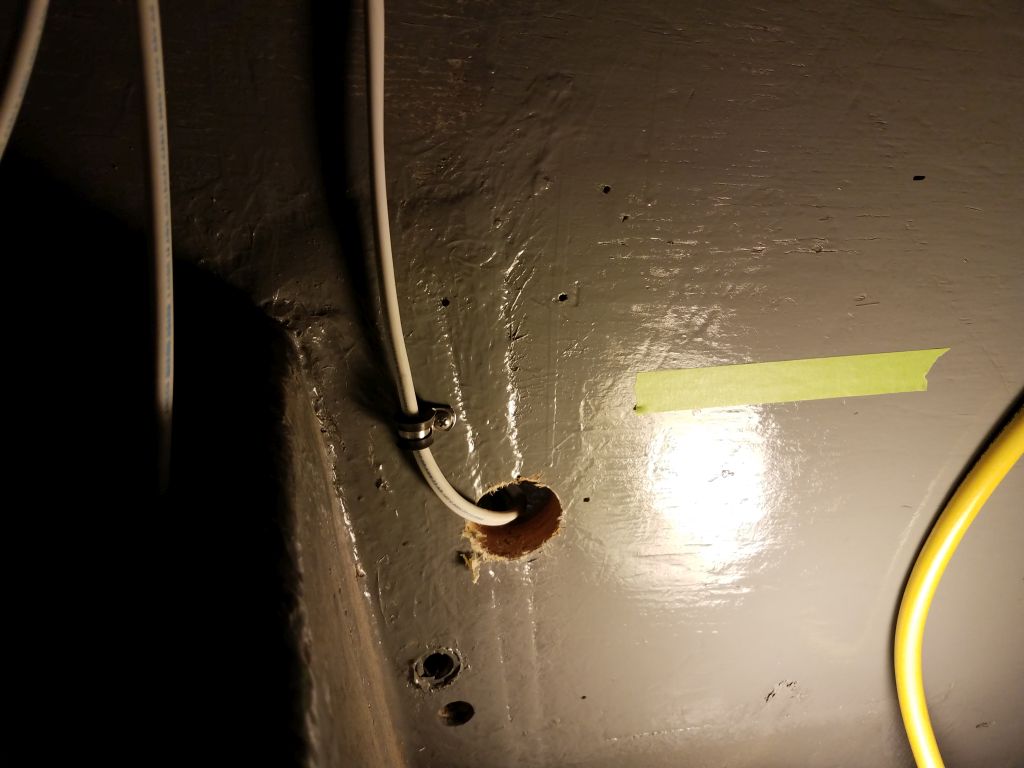
In the engine room, I finished up securing the new wires in their run across the forward, upper edge of the space, and leading the larger wire pair for the new potable water pump (12 AWG to accommodate the amperage draw) down the bulkhead and through the conduit I’d installed earlier into the space beneath the galley. (The conduit is there, but slid forward since it wasn’t yet secured.) I left the other two circuits unsecured at their very ends pending final leads and connections to the galley 12-volt outlet and galley lights, which installations would come soon.
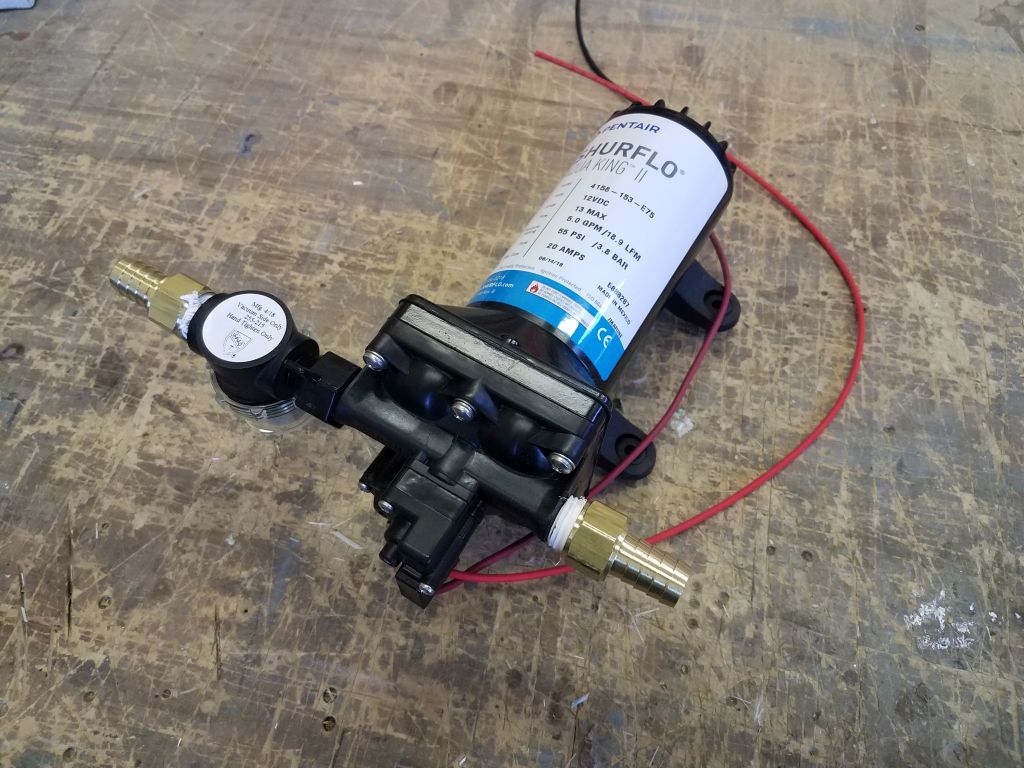
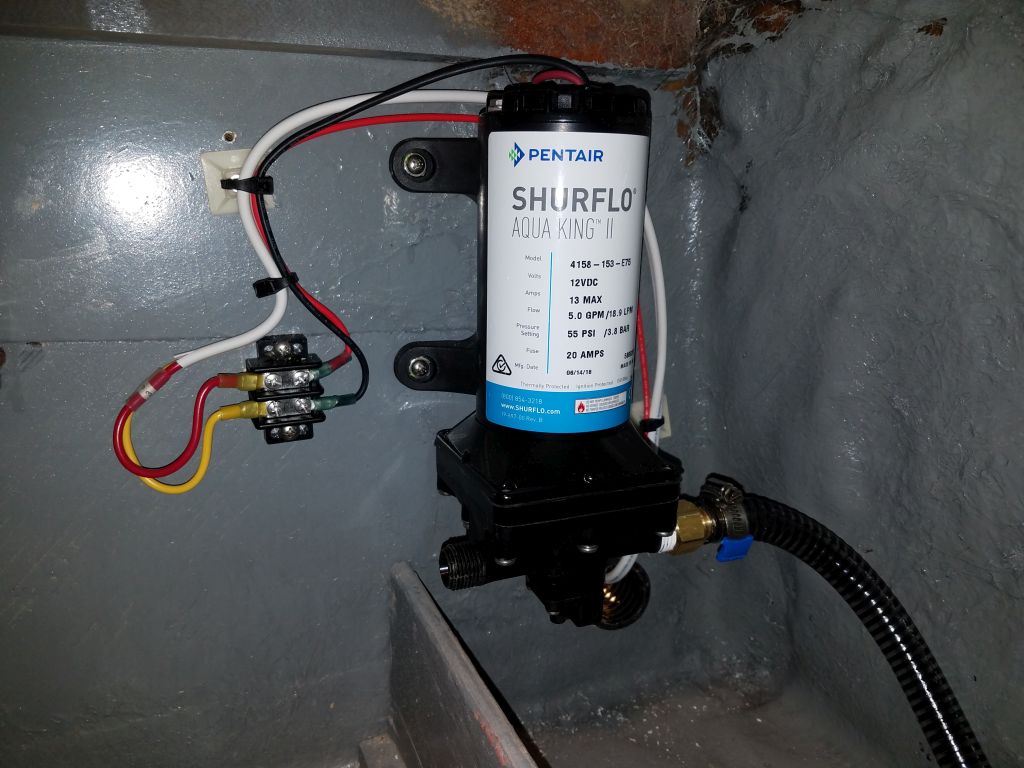
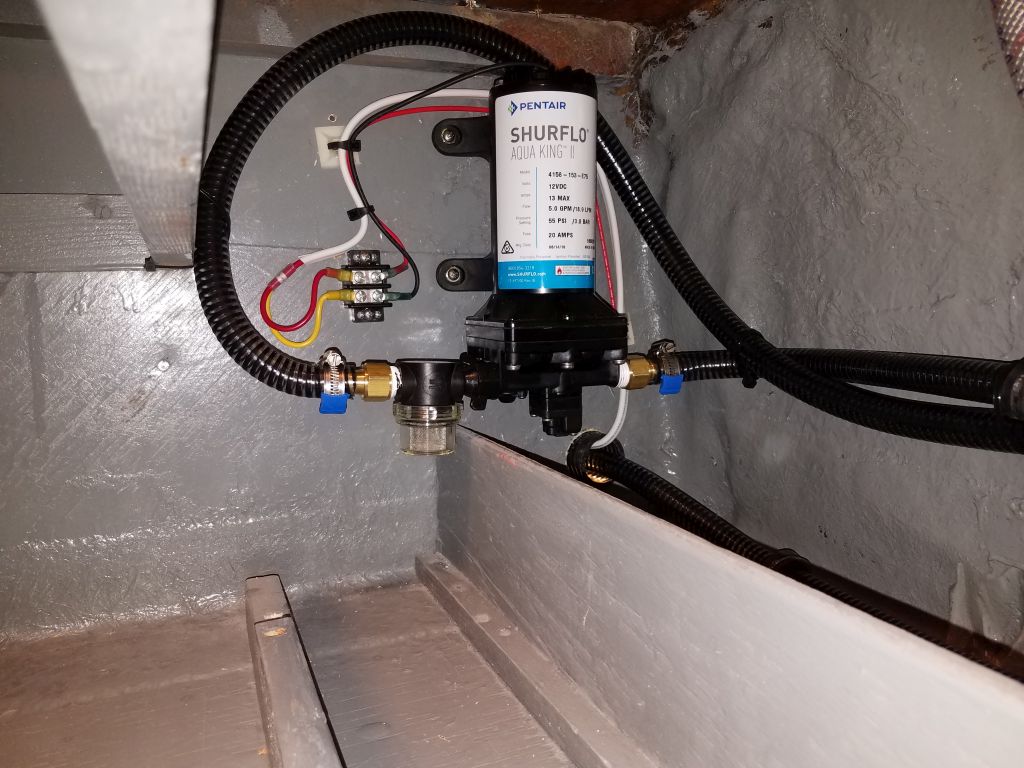
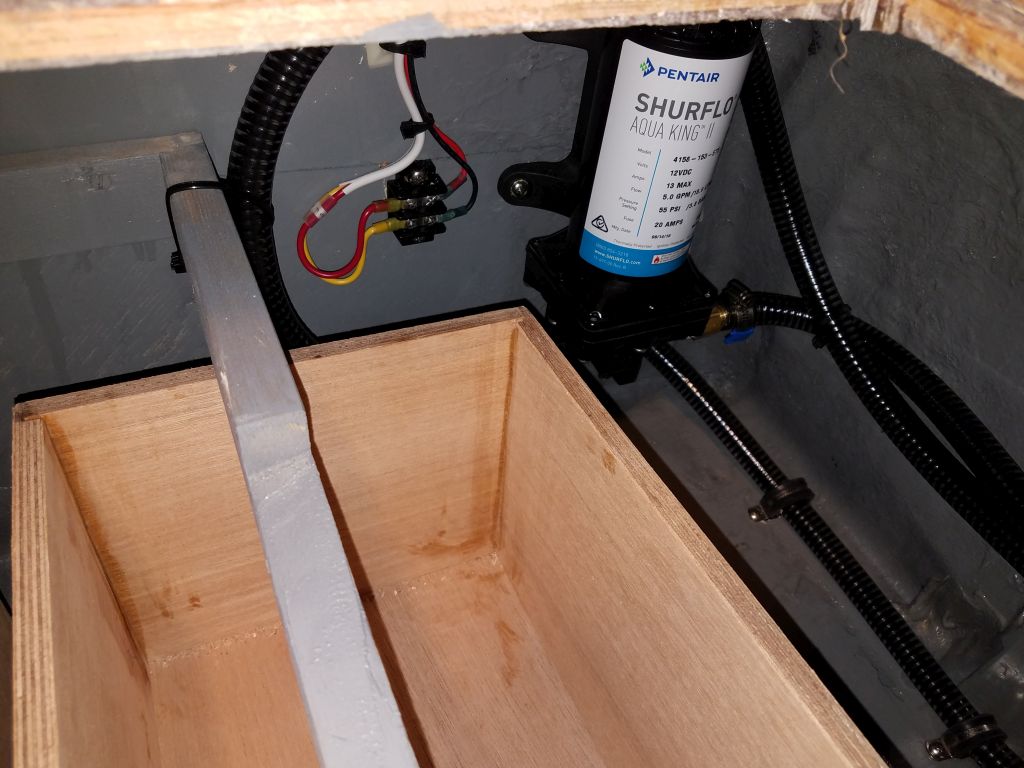
To accommodate the requirements of the fresh water flush toilet the owner selected, I chose a hefty water pump with more than ample capacity. After preparing the hose fittings on the bench, I brought the pump up to install it in the galley. However, I found that the size of the pump, including its end fittings, made it an awkward fit anywhere on the shelf beneath the sink, which is where I’d imagined installing it, and after trying various locations I finally settled on the bulkhead at the back of the space, not where I’d hoped to install it, but workable for wiring, hose runs, and maintenance access while keeping the rest of the compartment more or less free for storage.
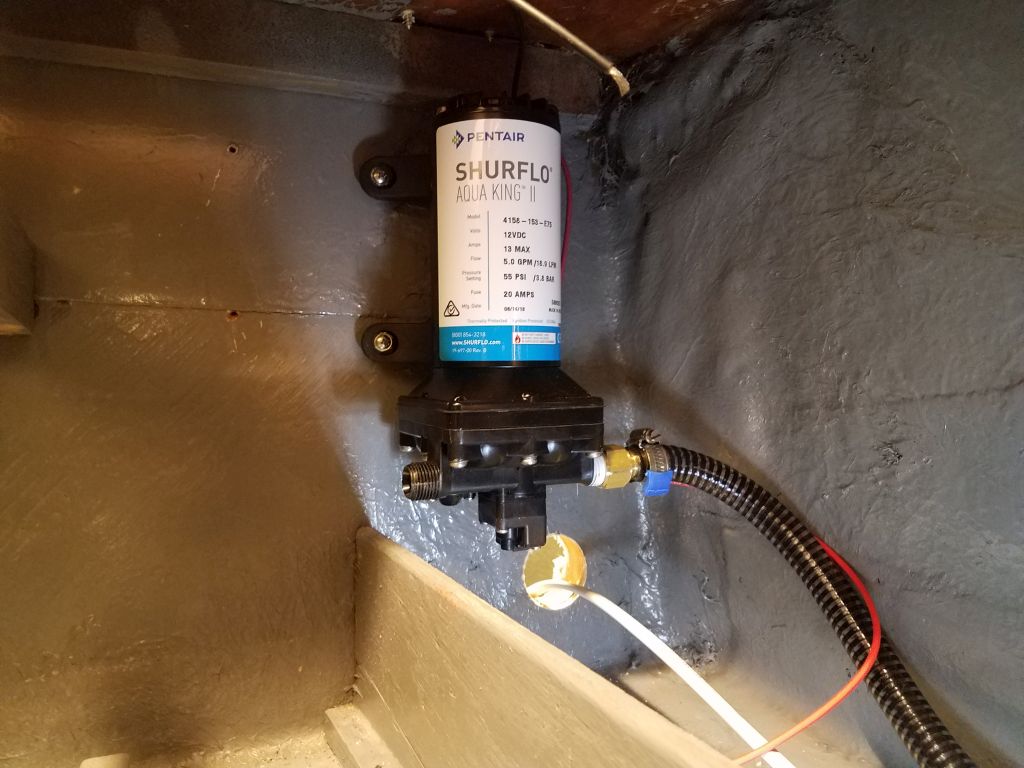
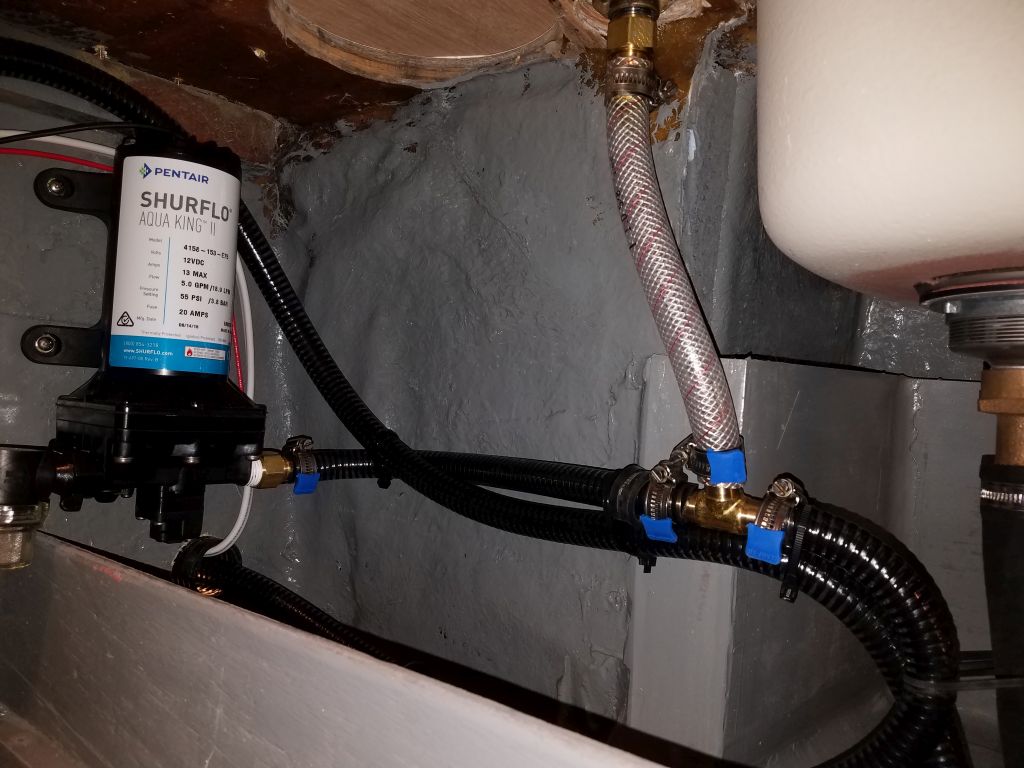
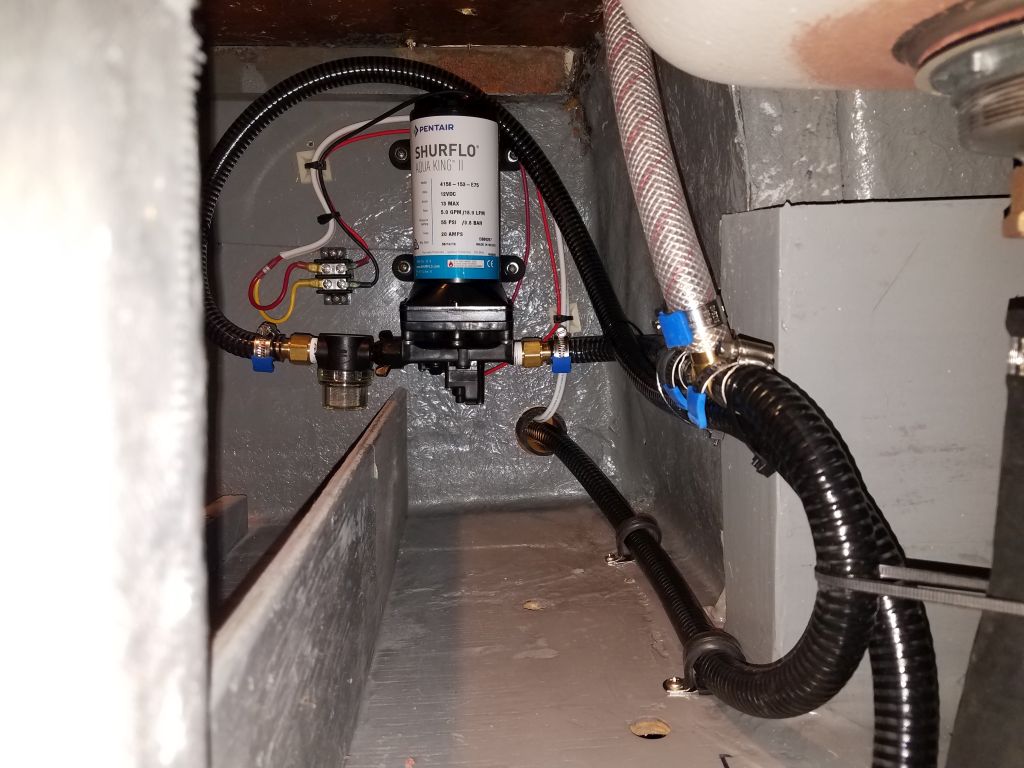
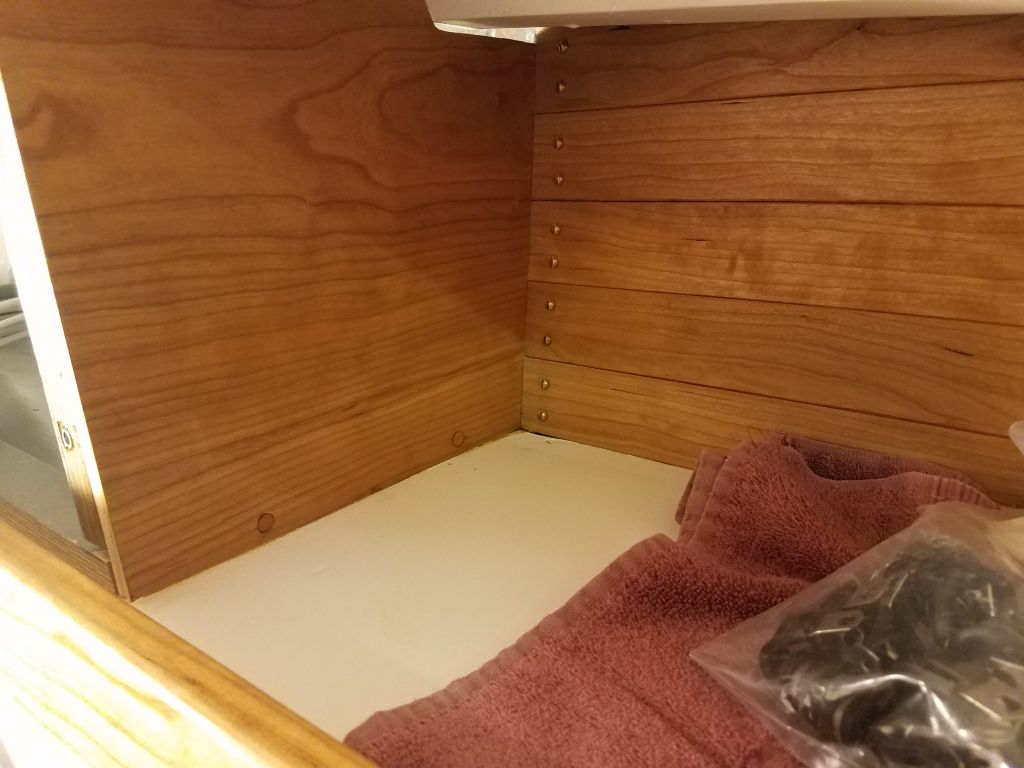
With the pump finally secured to the bulkhead, I finished up the wiring and hose runs, incorporating a tee fitting to service the galley faucet above, and with the discharge line continuing back aft and through into the engine room where it would ultimately service the cockpit shower and fresh water toilet. I led in the supply line from the water tank and secured all the hoses and wiring as needed to complete the installation. There was access to the pump and the intake filter through the drawer openings, though for installation I removed the cooktop from the countertop, which provided good access. I’d continue the hose runs in the engine room soon, but required another hose fitting that I didn’t have on hand.

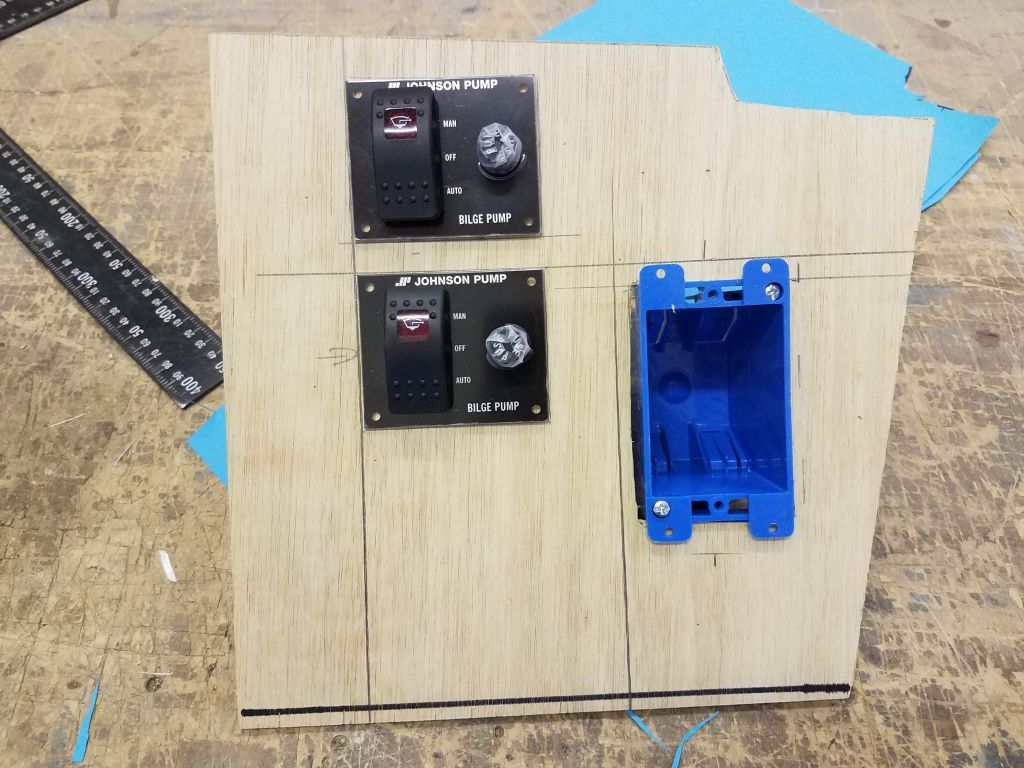
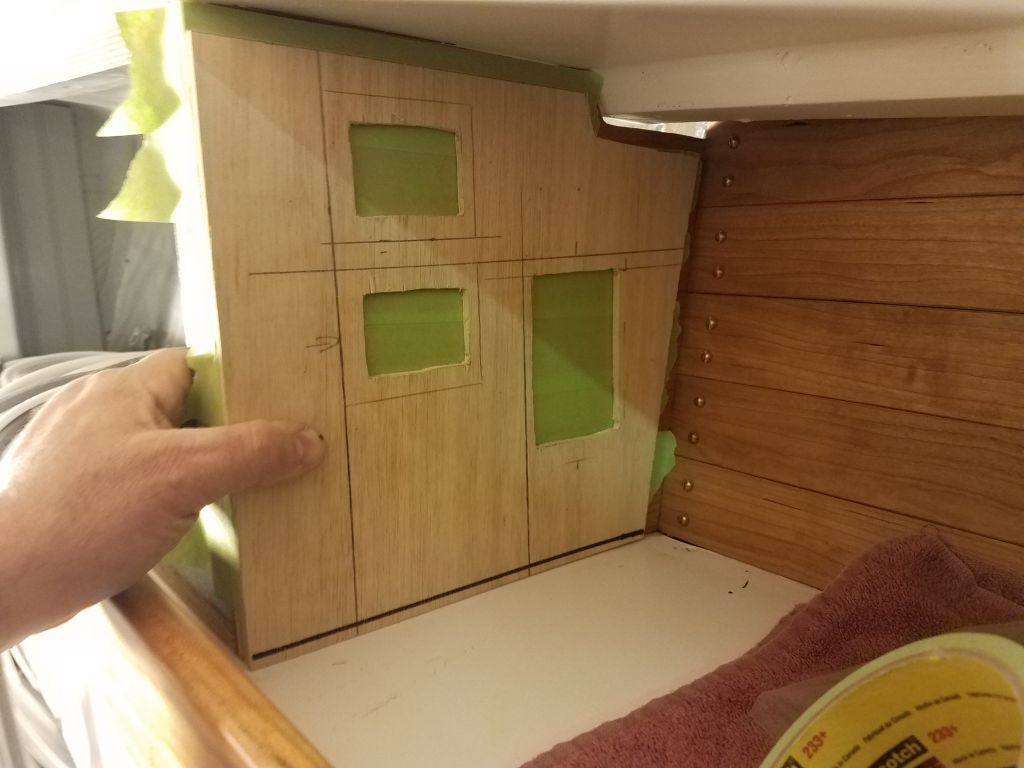
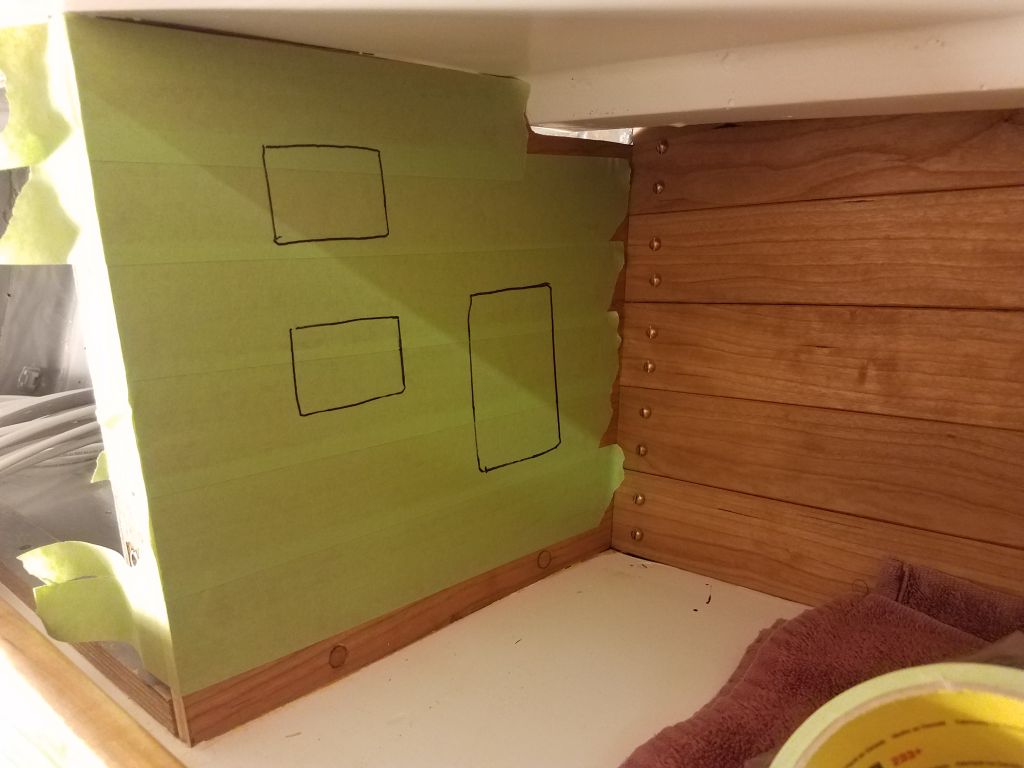
That whole process took up the entire morning, so in the afternoon I turned to the electrical panel area, where I needed to install some fittings in the aft side: two bilge pump switches and a 110-volt outlet. I wanted to do this now before I got started on any of the final wiring inside the locker. It might have been nice to cut these openings before the little bulkhead was permanently installed, but that was a different phase of the project many months before. Since I only had one chance to make the cutouts right in this finished bulkhead, I chose to make a layout template to ensure I got the holes cut just so, so working from an initial paper template I made a template from some scrap 1/4″ plywood that served my purpose to replicate the size and shape of the bulkhead.

After making some templates of the cutouts required for the bilge pump switches and outlet box, I laid out the plywood template accordingly, taking into account various constrictions on the space, and cut the openings as a mockup.
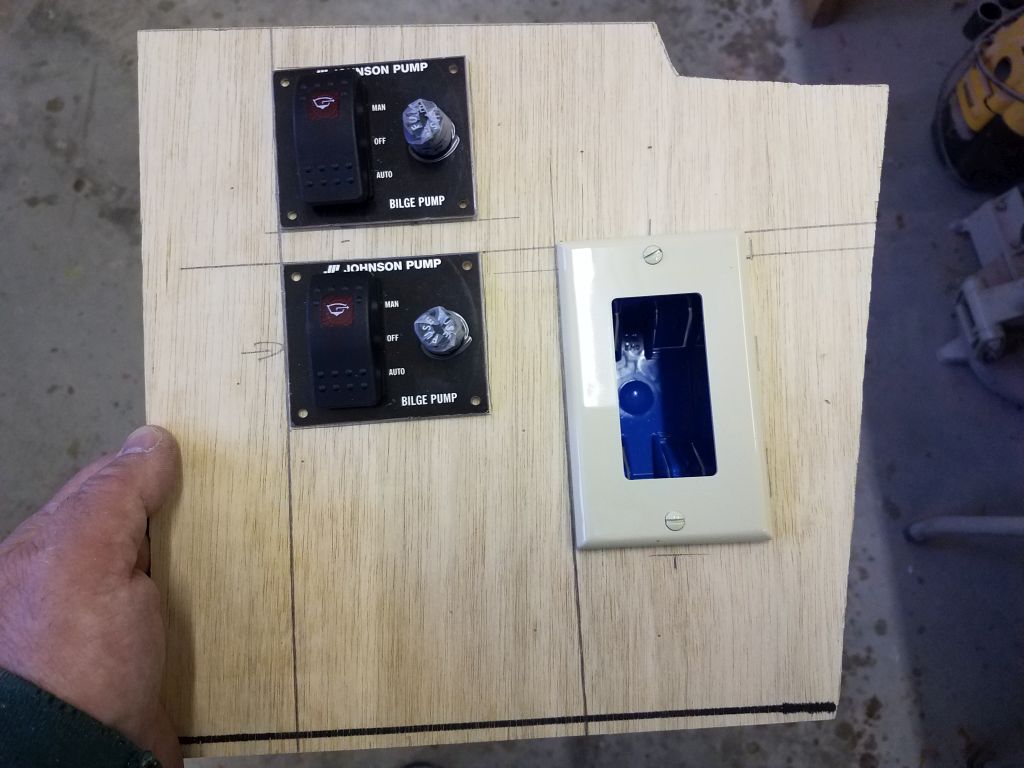
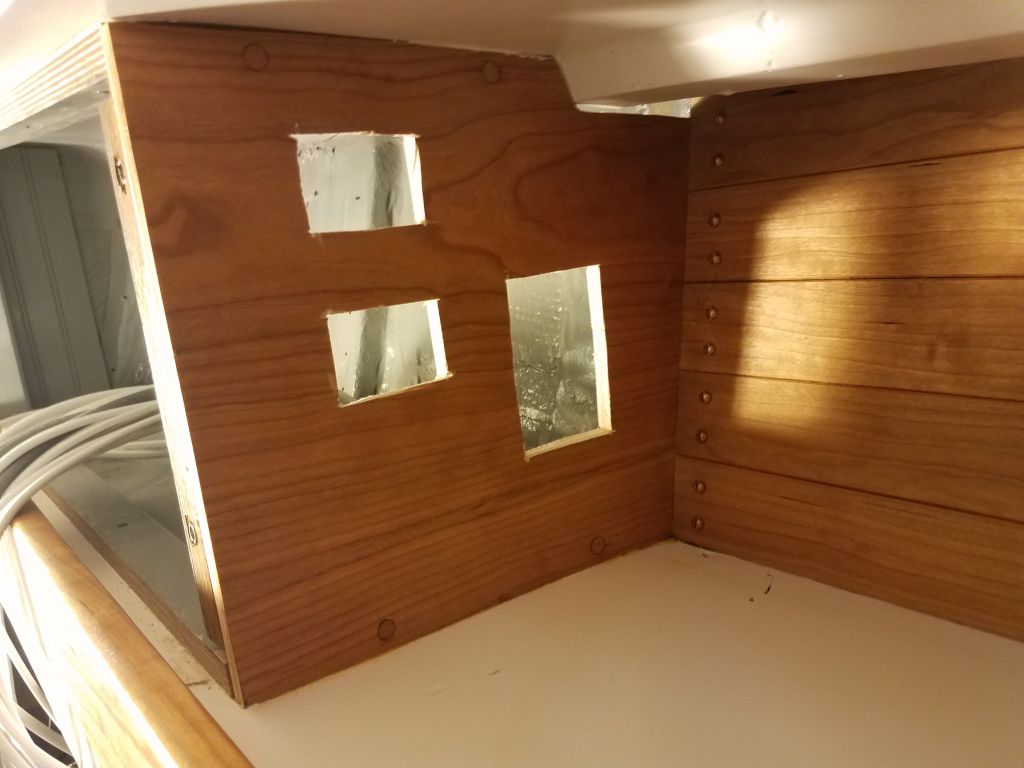
After covering the bulkhead with tape, I transferred the holes from the template onto the tape, then cut out the openings as needed, which allowed me to install the switches and the 110-volt outlet, to which I connected a short length of 12/3 cable that I’d presently lead back to the AC service panel when I got to that stage of the wiring project.


After straightening up the boat and my tools and supplies, I called it quits for the day, and for the week.
Total time billed on this job today: 7.5 hours
0600 Weather Observation: 21°, partly clear. Forecast for the day: Mostly cloudy, chance of drizzle late in the afternoon, 41°