


April 9, 2019
Scupper 120
Tuesday
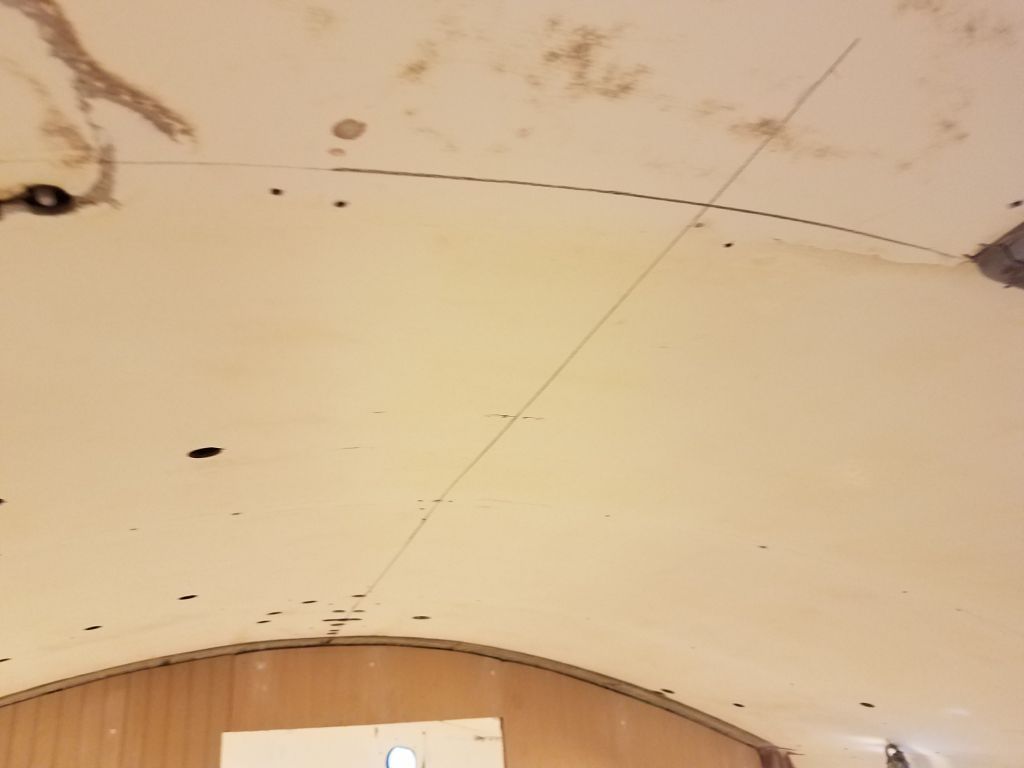
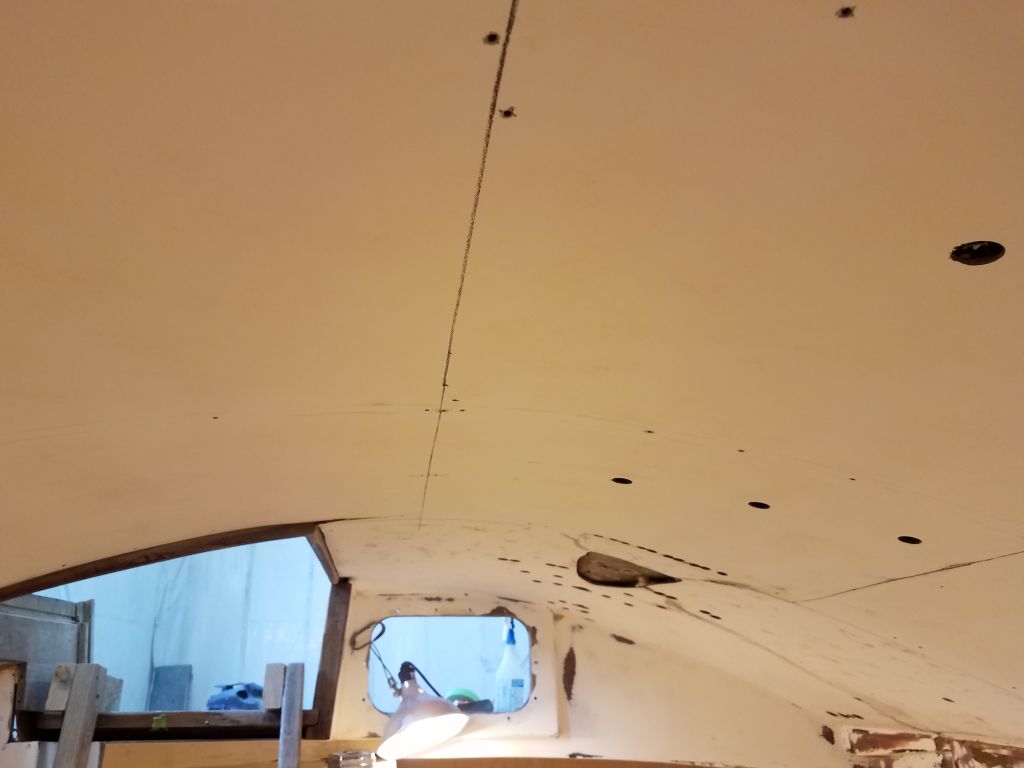
The original main cabin overhead, part of the molded full interior liner, was in atrocious condition, peppered with numerous hardware access holes and a devastatingly bad opening at the aft side above the galley. There are numerous photos elsewhere in these pages to document the existing condition of the overhead, but now my task was to construct a cosmetic covering to hide the nasty, while still allowing access for future hardware installations and the like. I chose 1/4″ (6mm) marine plywood for the task, which I’d paint to match the rest of the cabin.
I did some basic figuring to determine how many, and what size, panels I should use; each seam would require trim to cover the butt joints and fasteners required, so from that perspective fewer sheets would be better. But practical considerations and logistics dictated smaller panels, and the companionway opening limited the maximum width to no more than 31″ under any circumstance. The companionway hatch itself also formed a sort of natural end point that demanded to be factored into the overall panel (and ultimately the trim) size.
In the end, I decided to break the largest part of the overhead–between the companionway hatch and the main bulkhead–into three sections per side, or six pieces. Then, the after portions of the overhead would require a few additional pieces to complete.
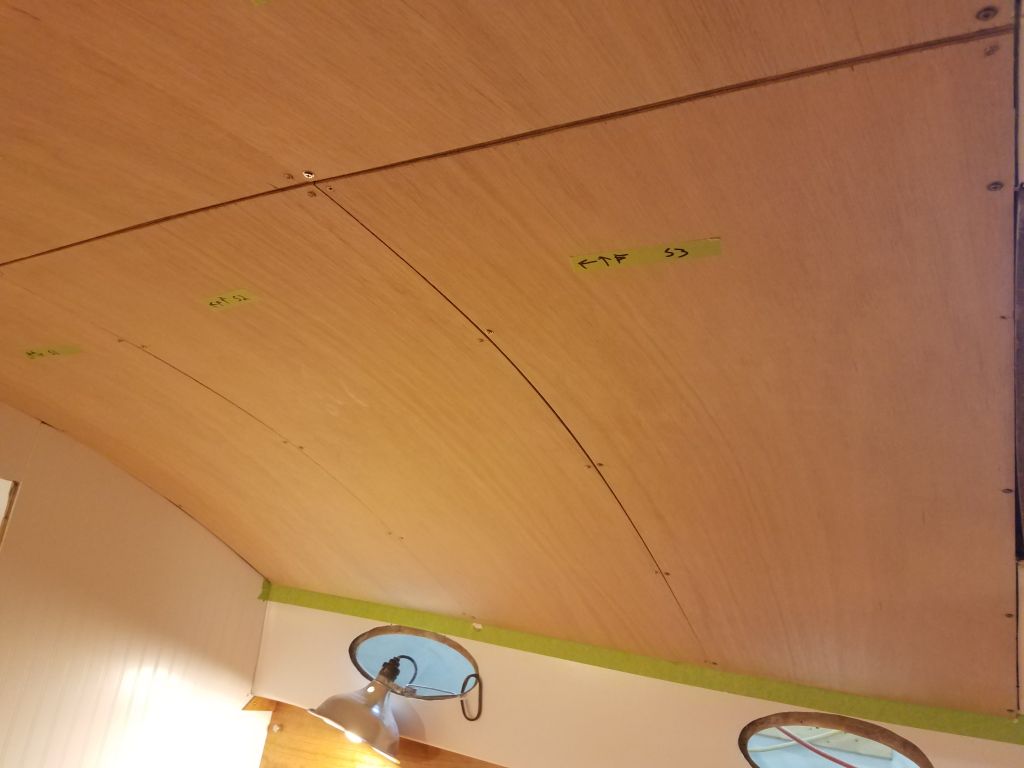
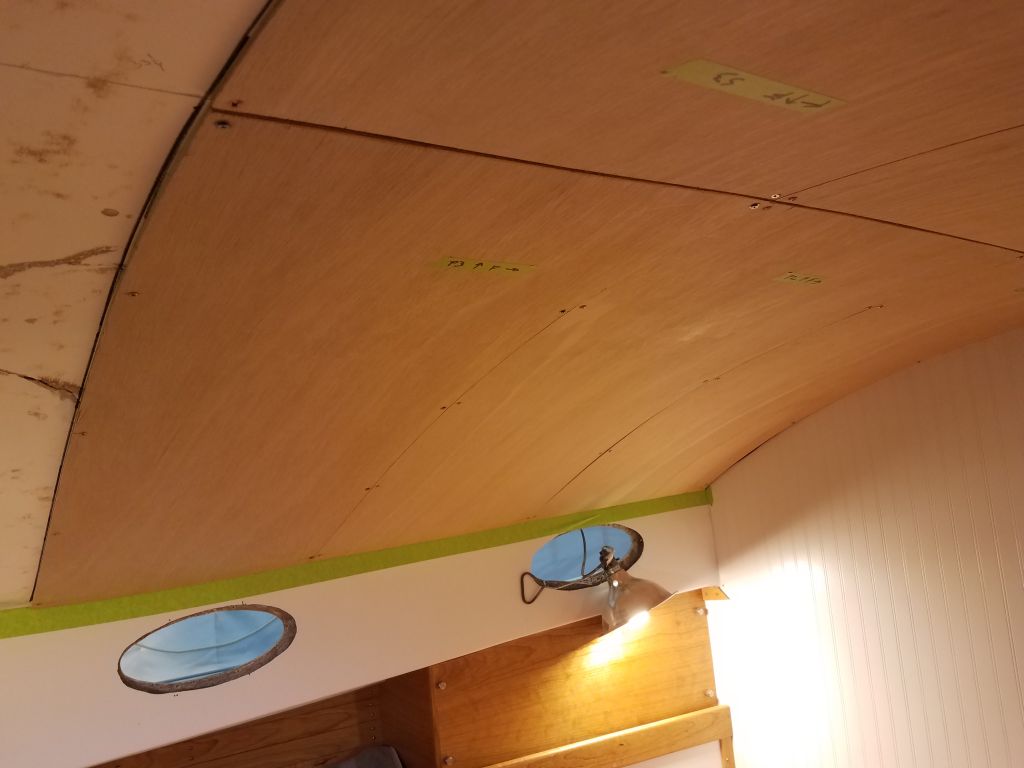
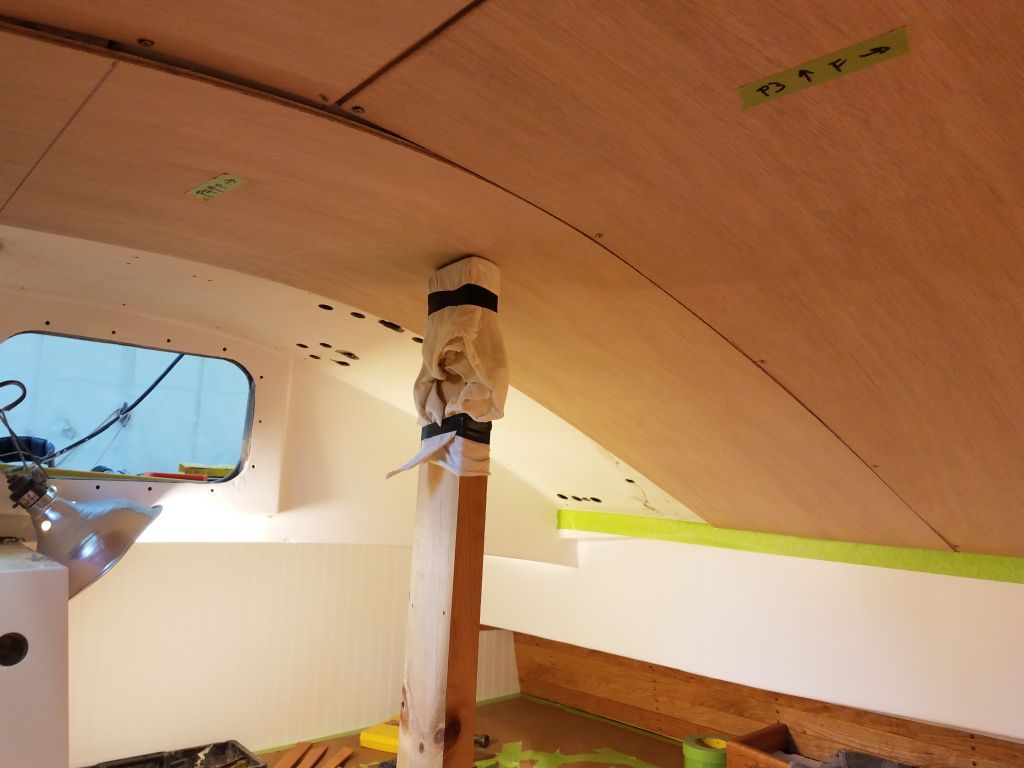
These photos date to March 4, 2019, and show some early layout that I’d done at that time. This basic layout was still valid now, and shows the spaces at work here.


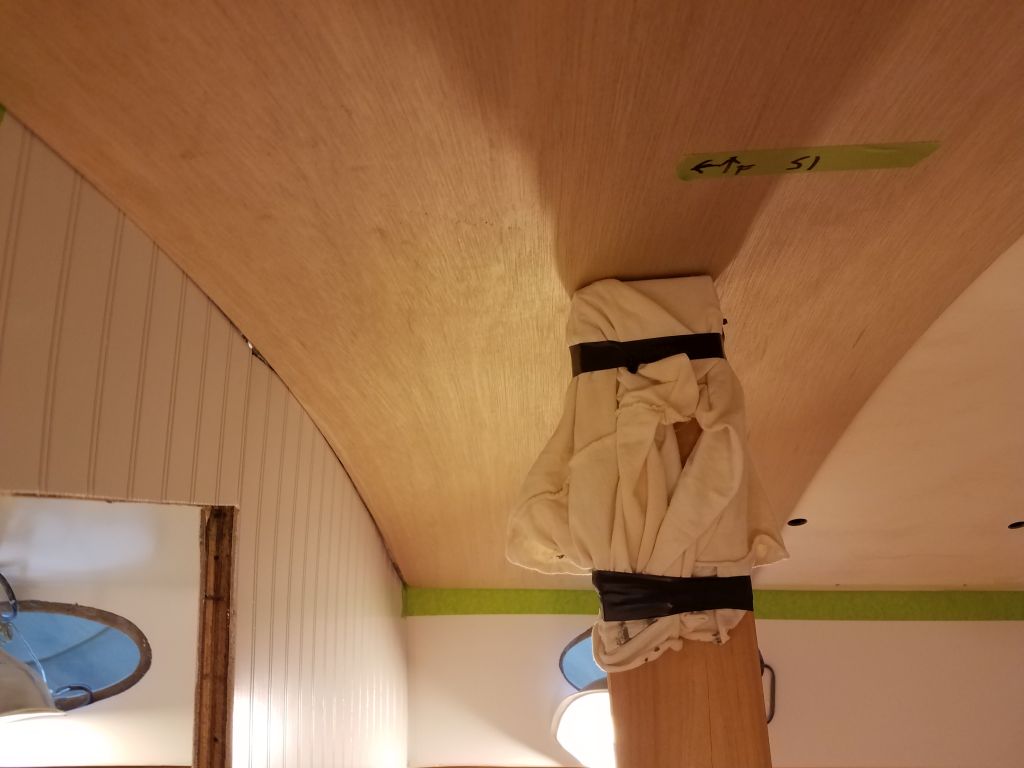
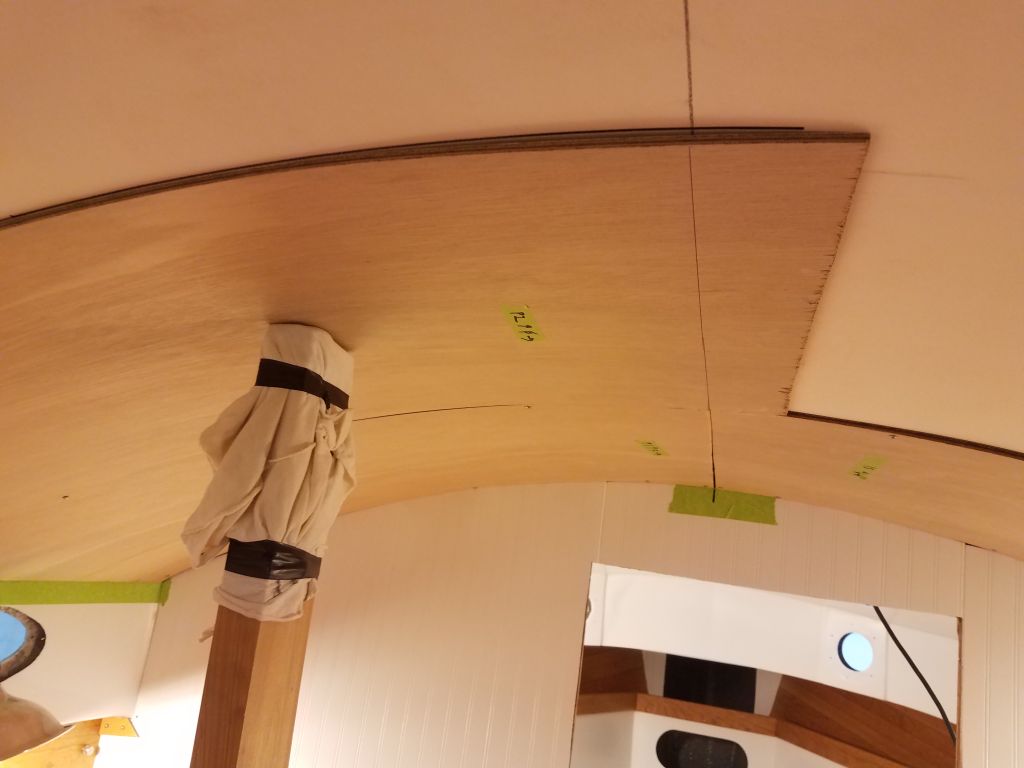
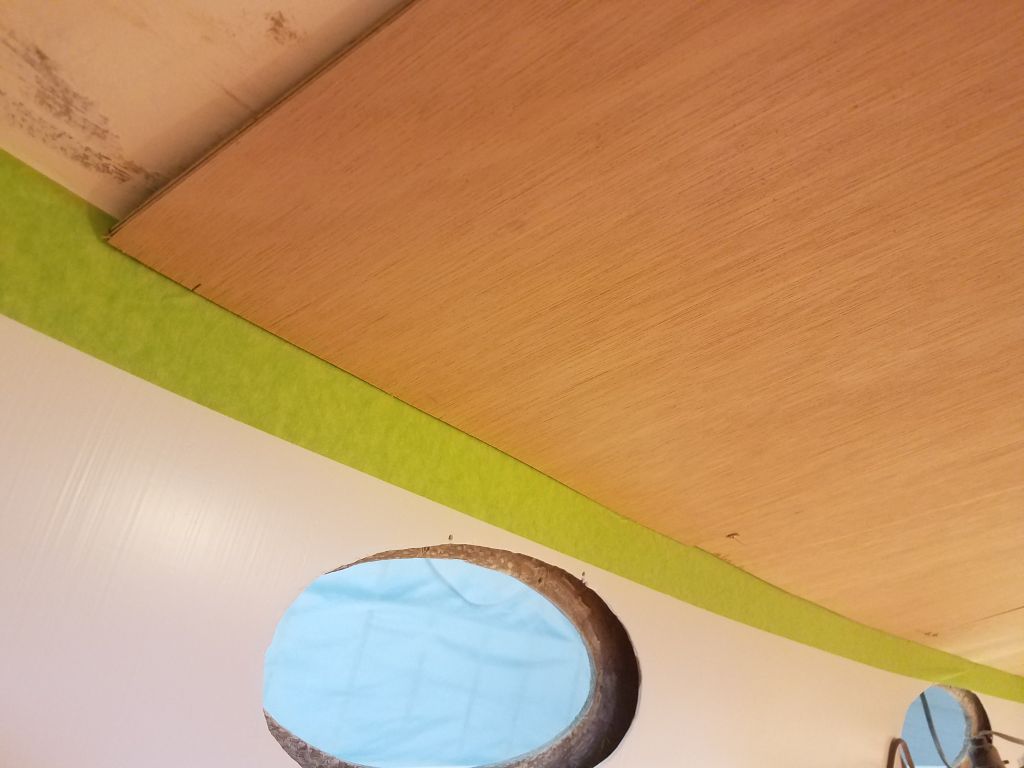
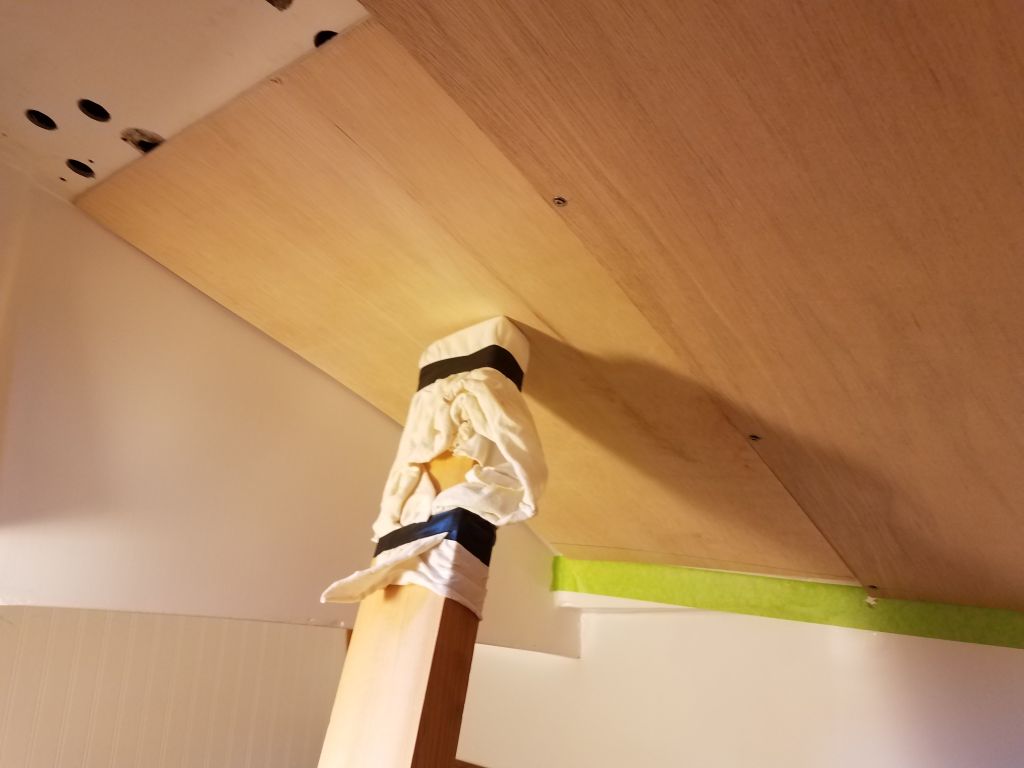
These calculations led me to a panel width of 19-7/8″, and rough lengths of around 52″ to bring me to centerline while allowing extra material for scribing and trimming. With the first panel cut to size, I fit it in place on the port forward side, next to the bulkhead, and pressed it into the sharp curvature with a deadman cut to length, which held the panel in position so I could work.
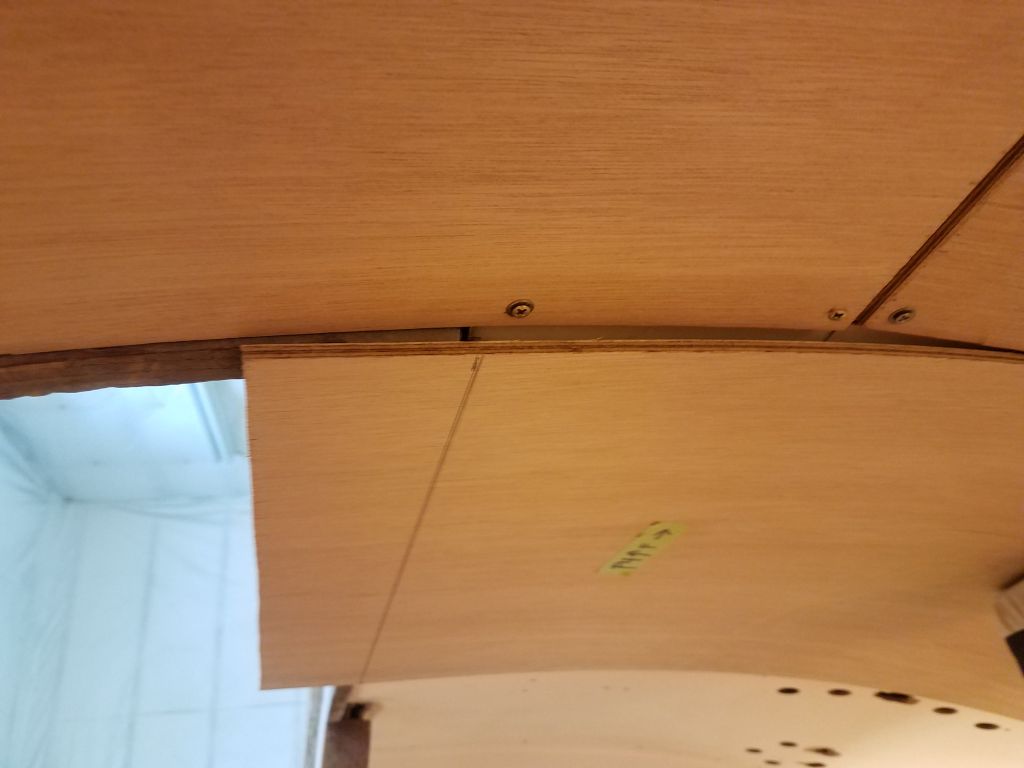
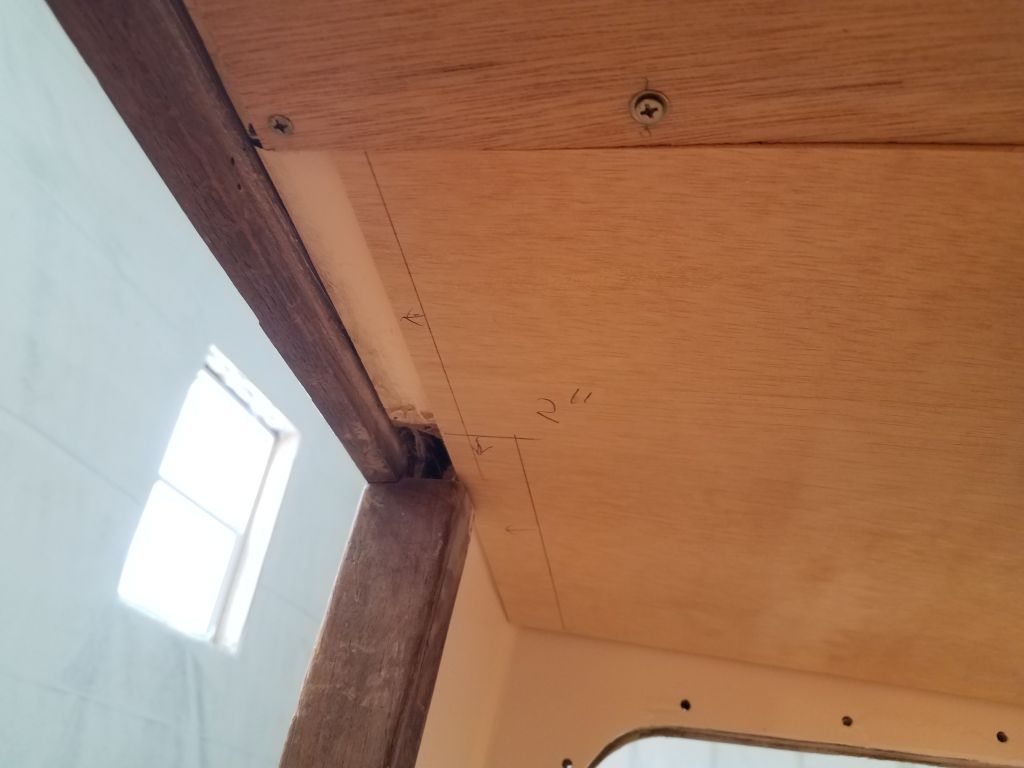
The square end of the panel didn’t even come close enough to the shape of the cabin trunk side for me to scribe, so I made a basic measurement, removed the panel, and cut the rough angle required to bring the panel closer to the cabin trunk so I could scribe the final shape of the outboard edge, which I did next and, after cutting the shape (with a bevel to match the angle between overhead and cabin trunk), fit the panel in place for final marking of the centerline of the boat, where the panel would end.


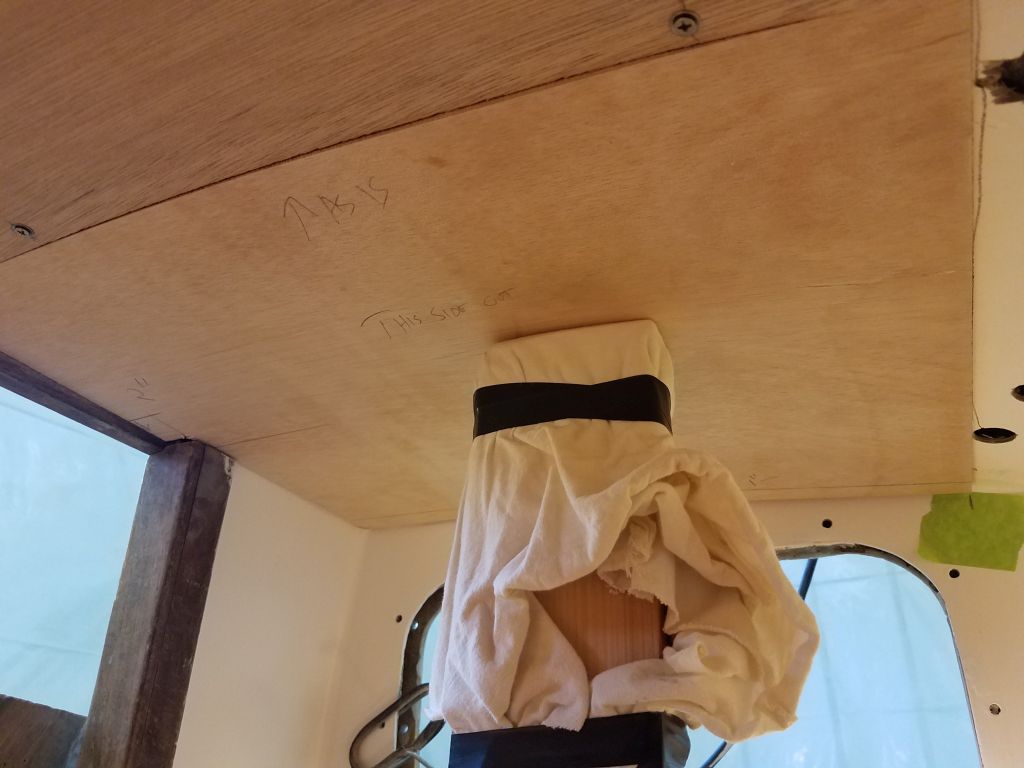
Now I removed the first panel, and repeated the fitting process on the starboard side, though this time I cut the raw angle on the outboard edge first to make it easier to scribe.
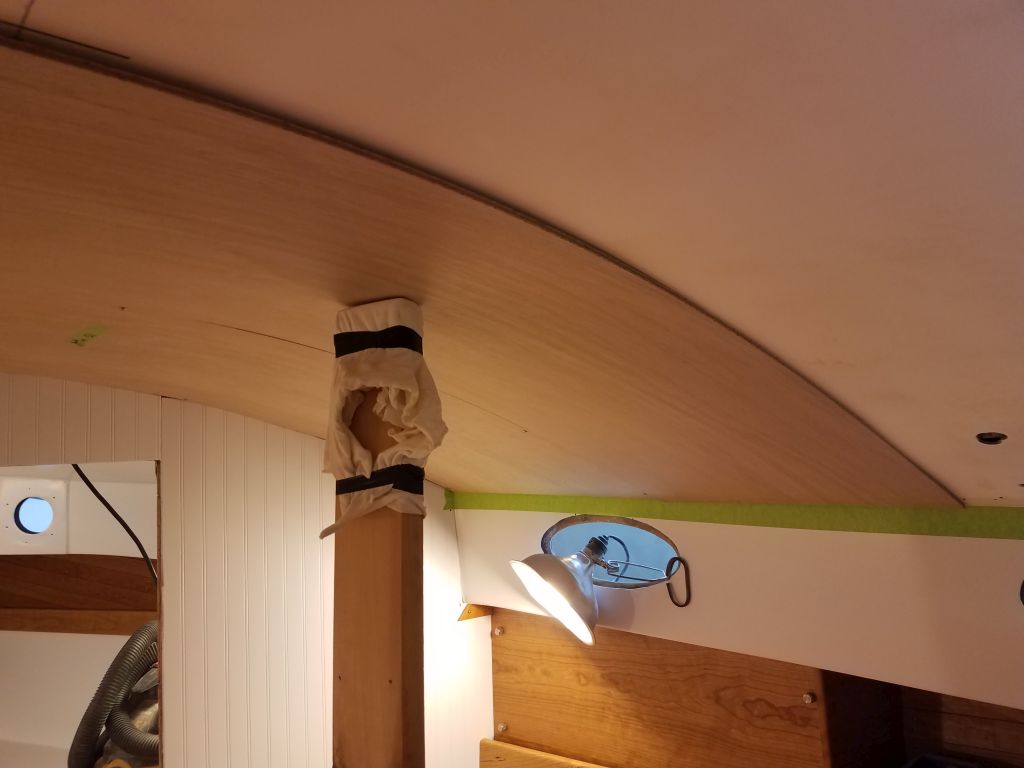
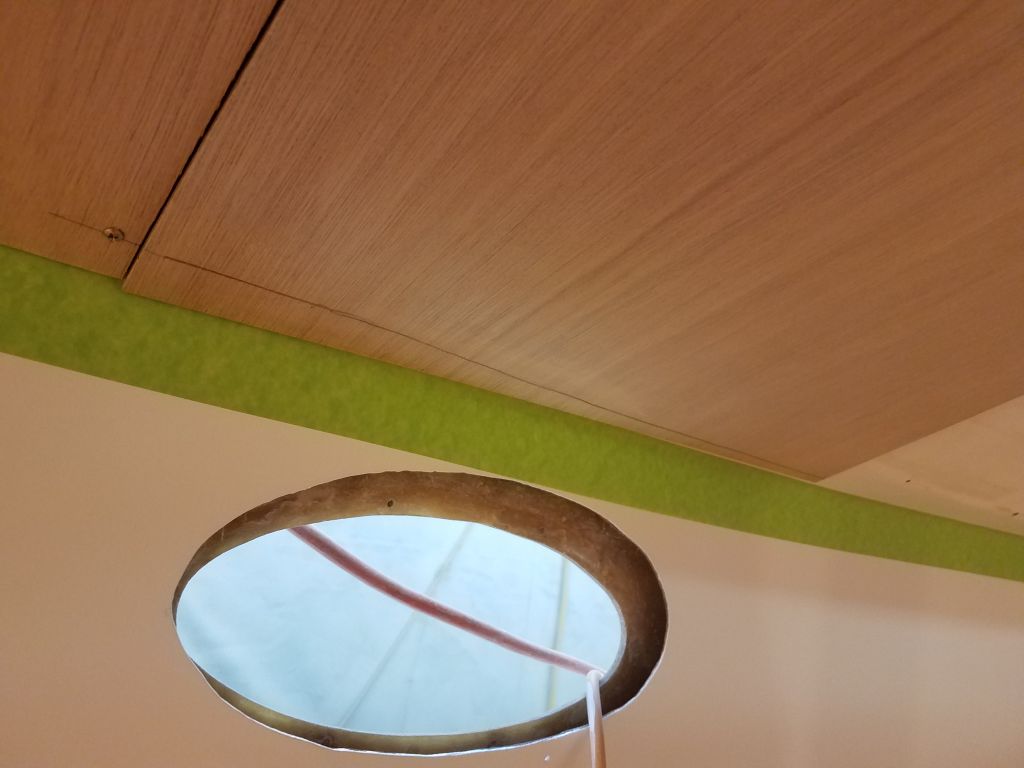
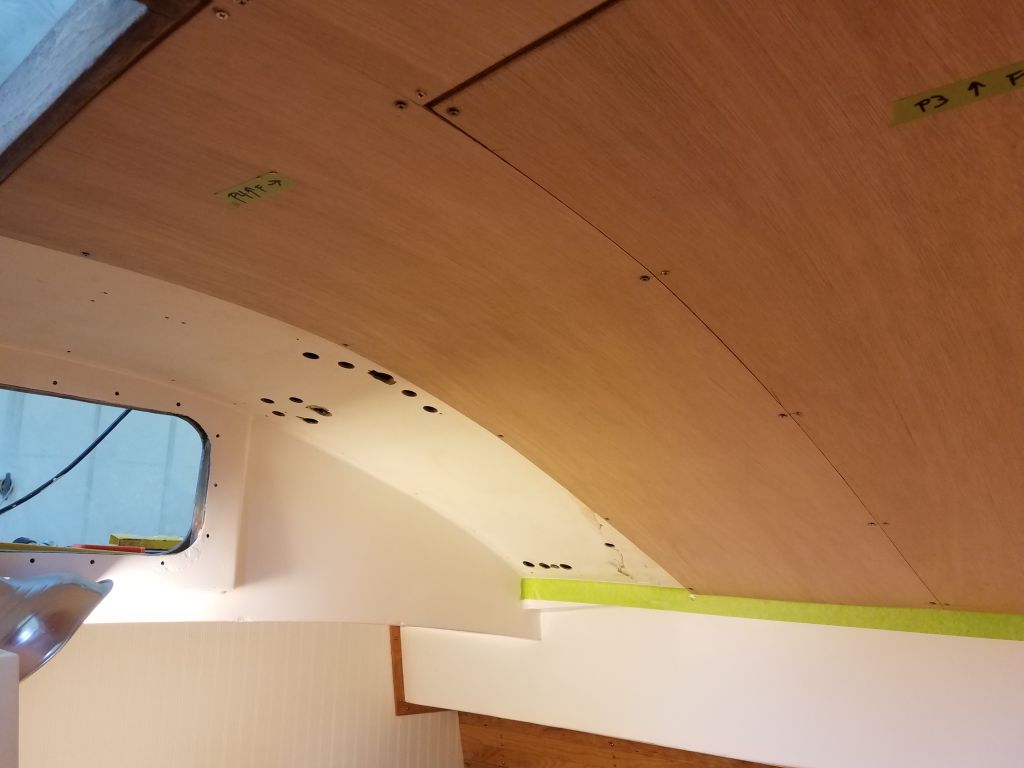
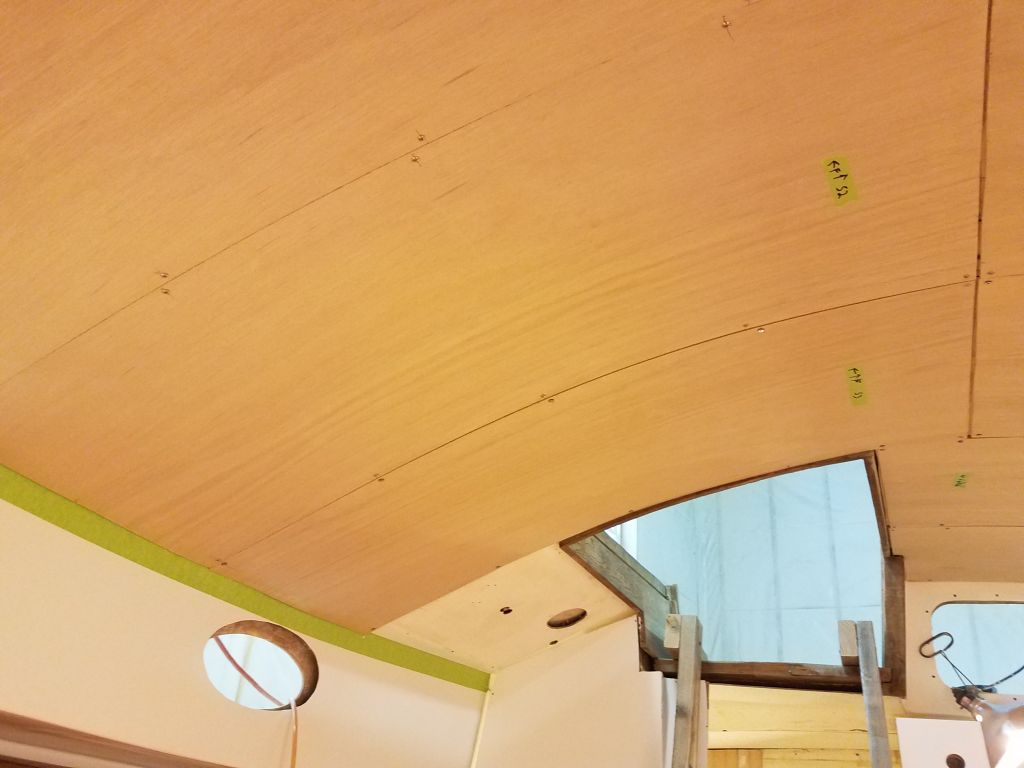
After cutting both panels to length for the centerline, I secured each with screws along the edges, directly into the old fiberglass liner. There was ample space between the liner and the underside of the actual deck for the screws.

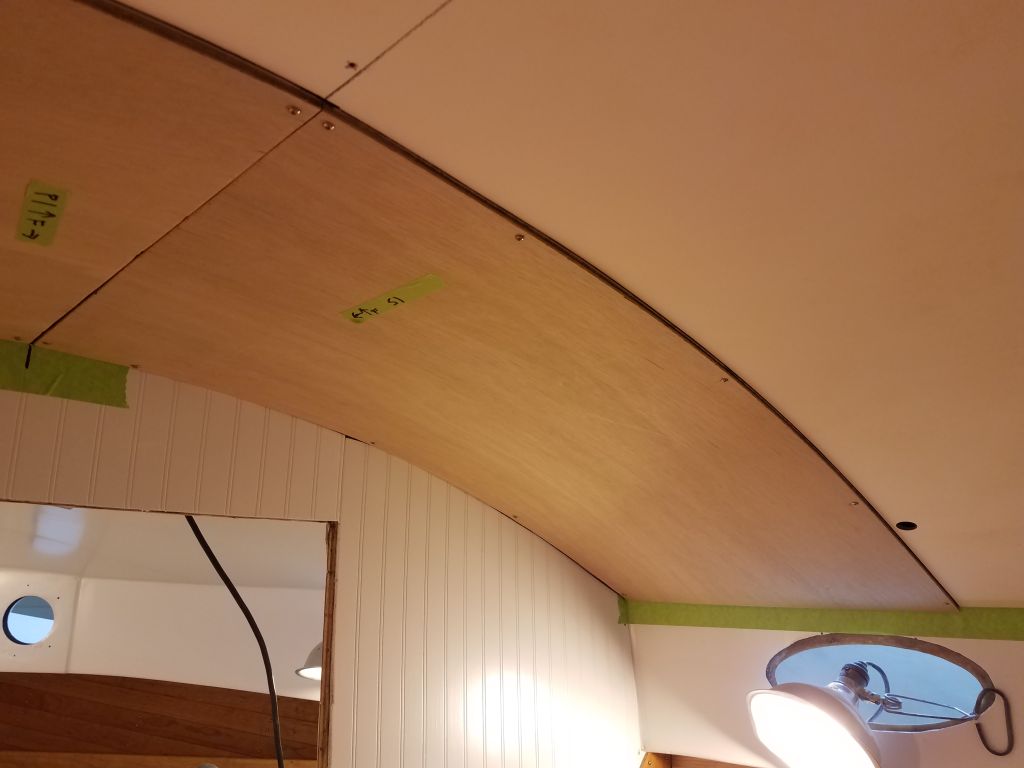
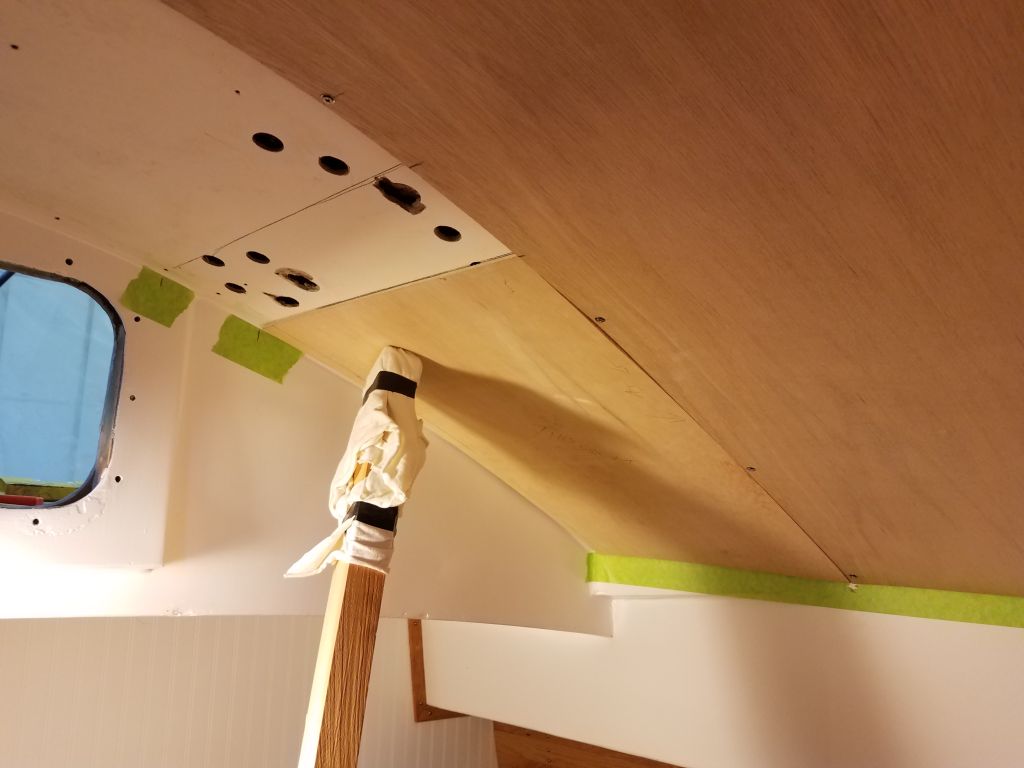
I repeated this process with the second set of panels, eventually securing these with screws as well.

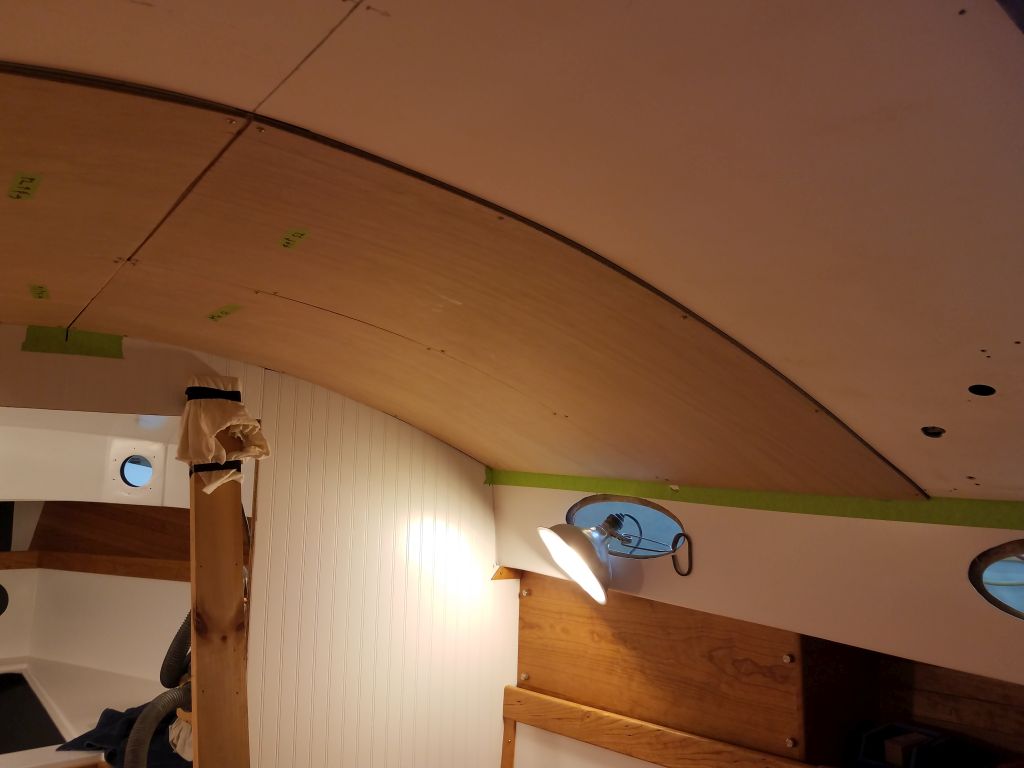
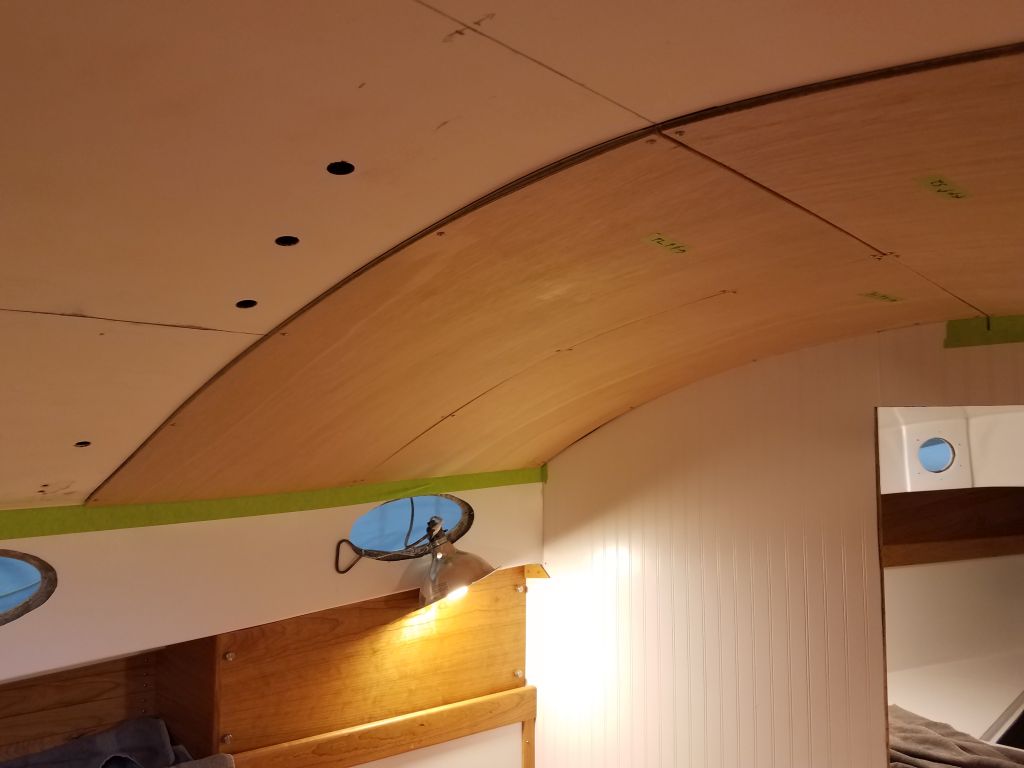
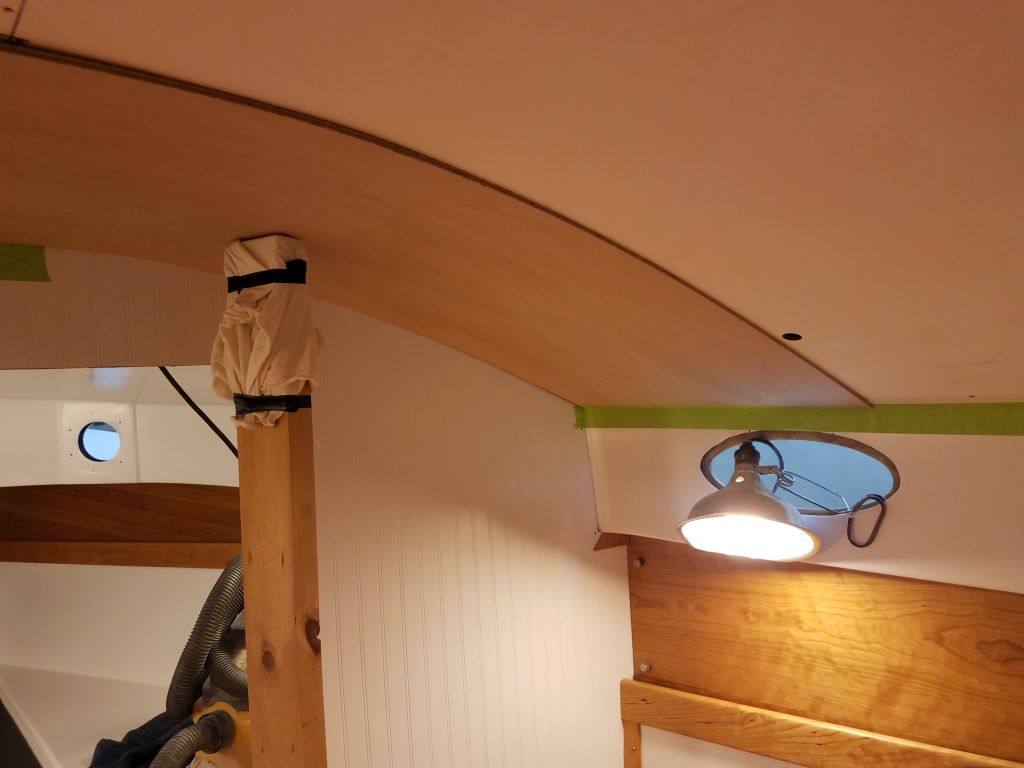
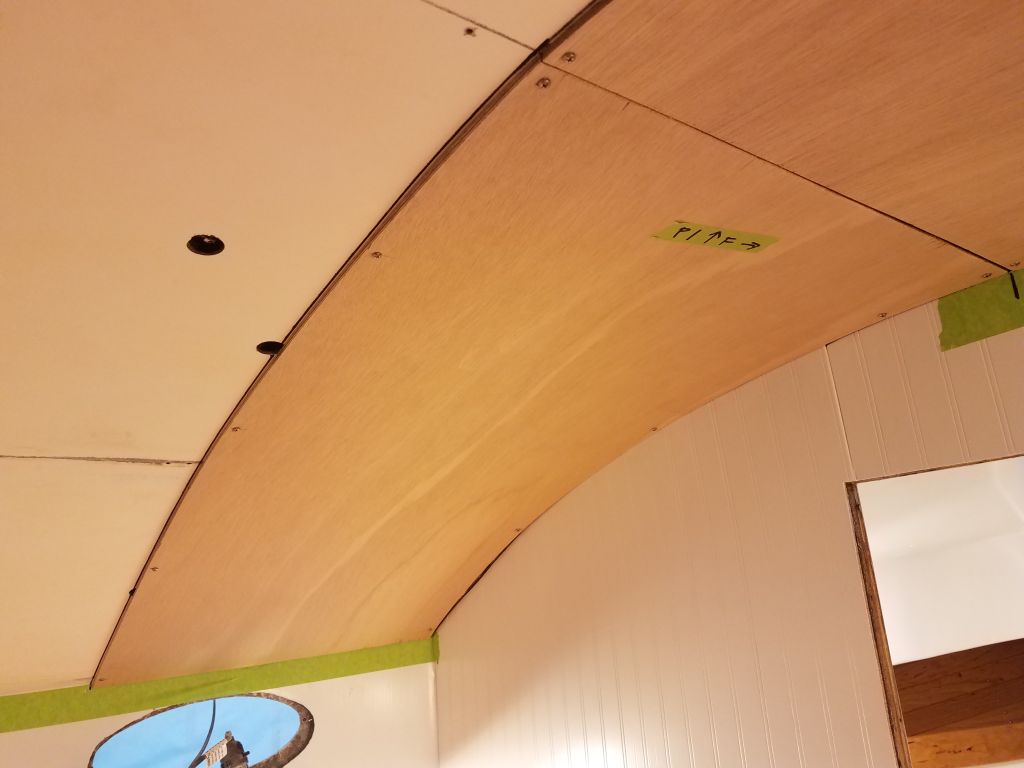
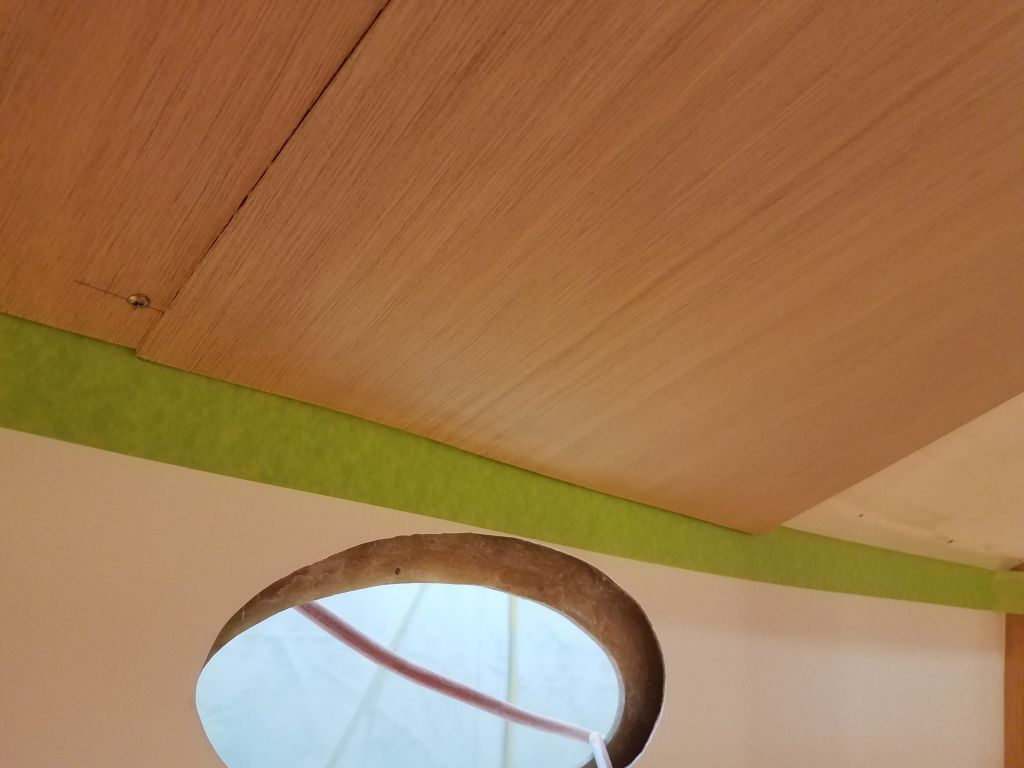
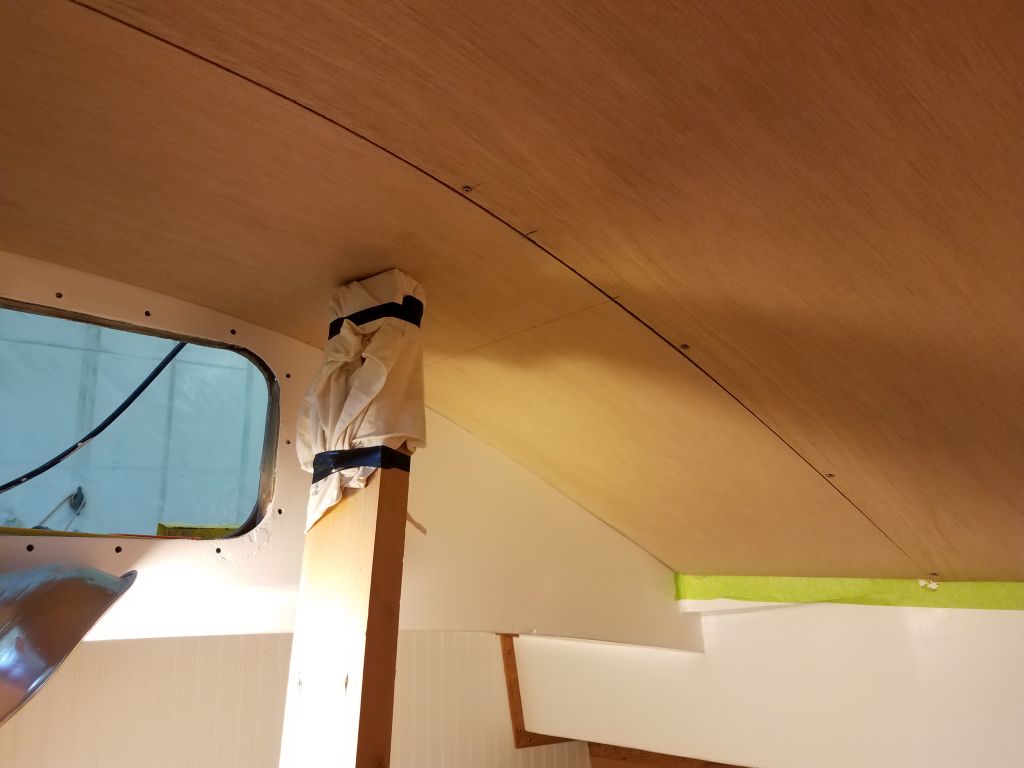
The third set of panels had to butt against the existing companionway opening trim on the starboard side, and this dictated the final width of both panels in this pair–just a bit narrower than the first two sets. The forward trim of the companionway wasn’t square or entirely straight, but I didn’t try to fit the panel exactly since the edge would be trimmed in any case. After going through all the various fitting steps for both sides of this section, the main, and largest, section of the overhead was complete.

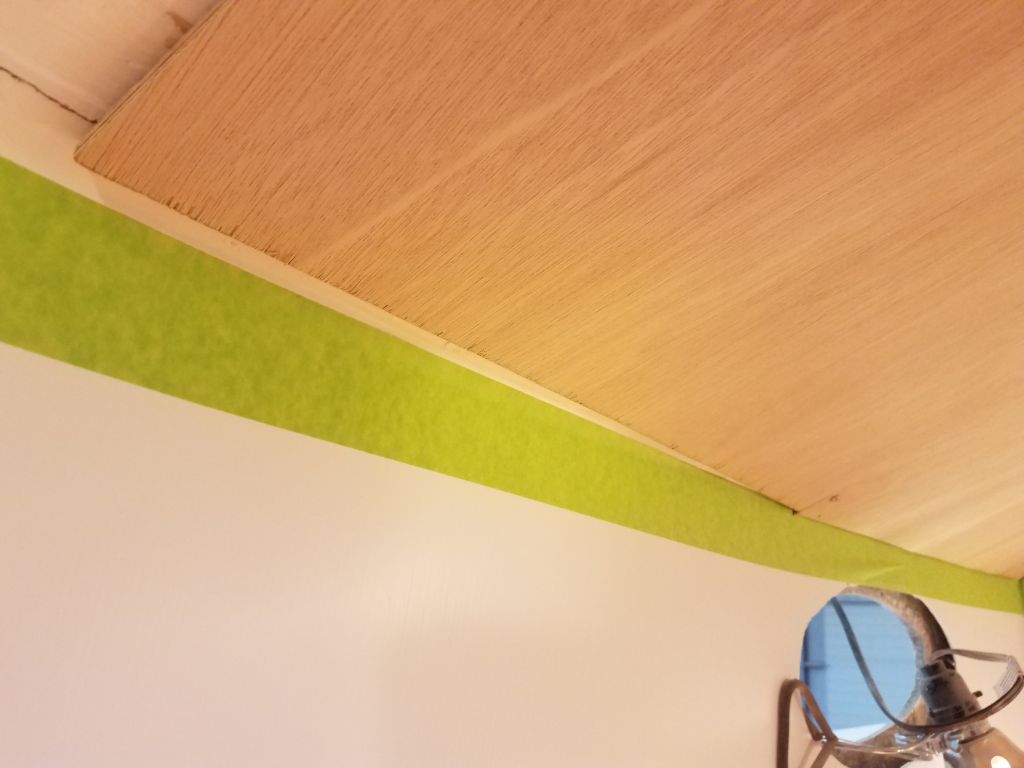
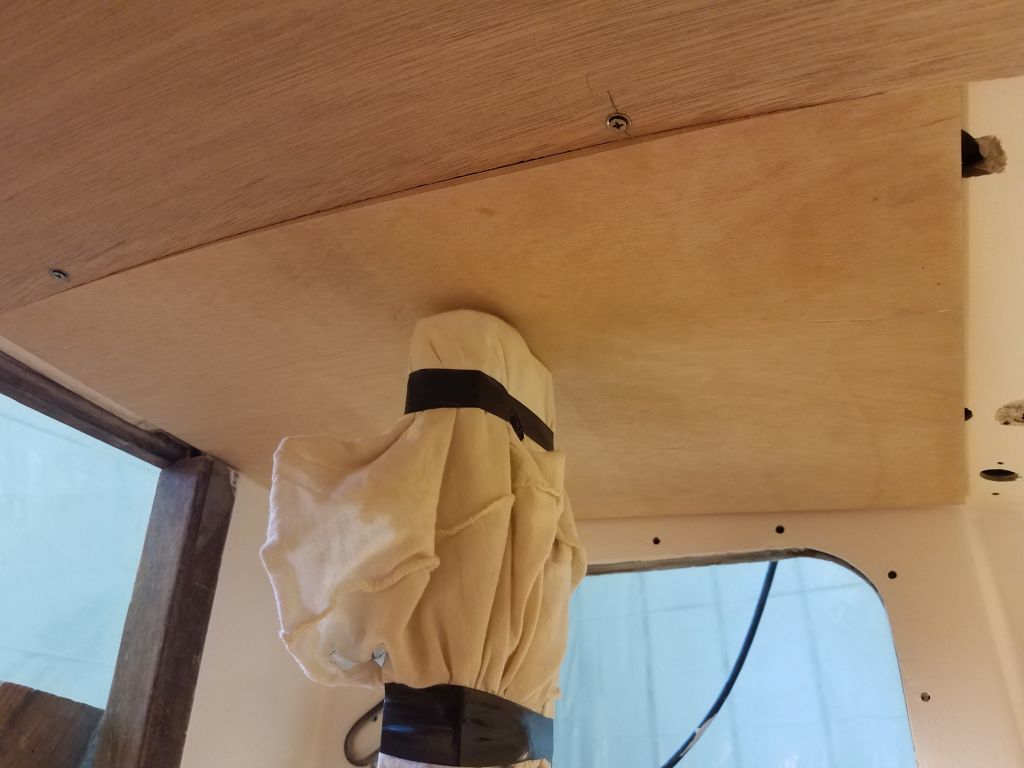
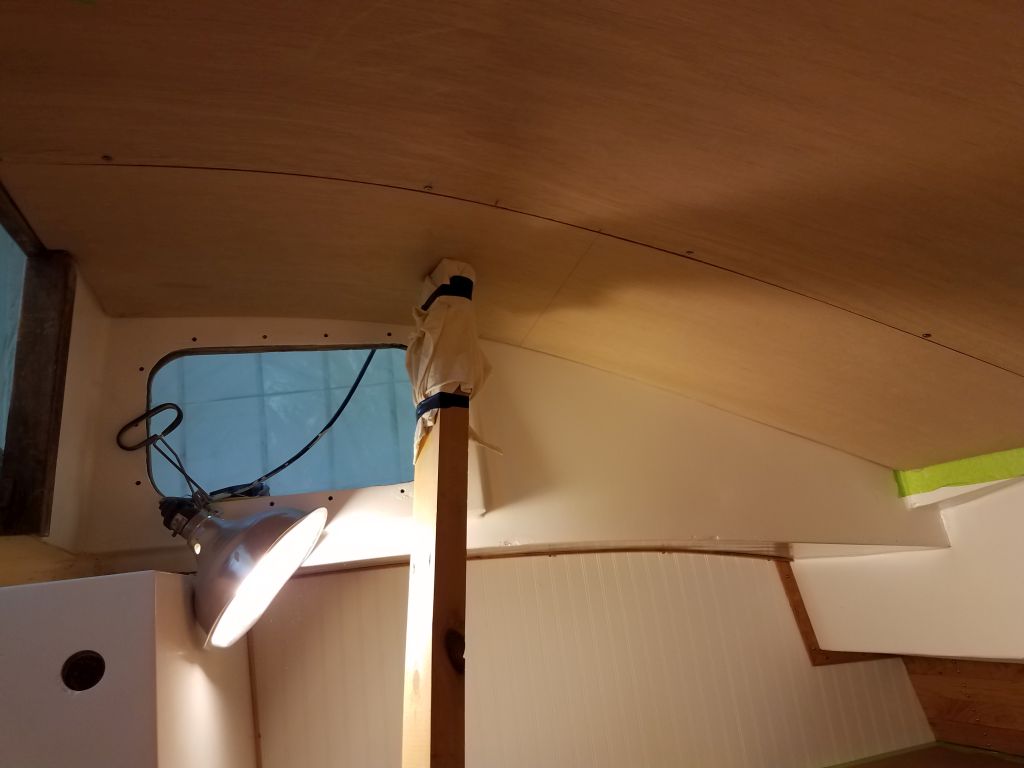
The port after section above the galley required two panels running between the companionway opening (off-center to starboard) and the edge of the cabin trunk. The general size of these panels fit in and coordinated with that of the three panels in the main section, which was one reason I’d chosen the widths I did in the first place.
The first section in the galley was straightforward enough.

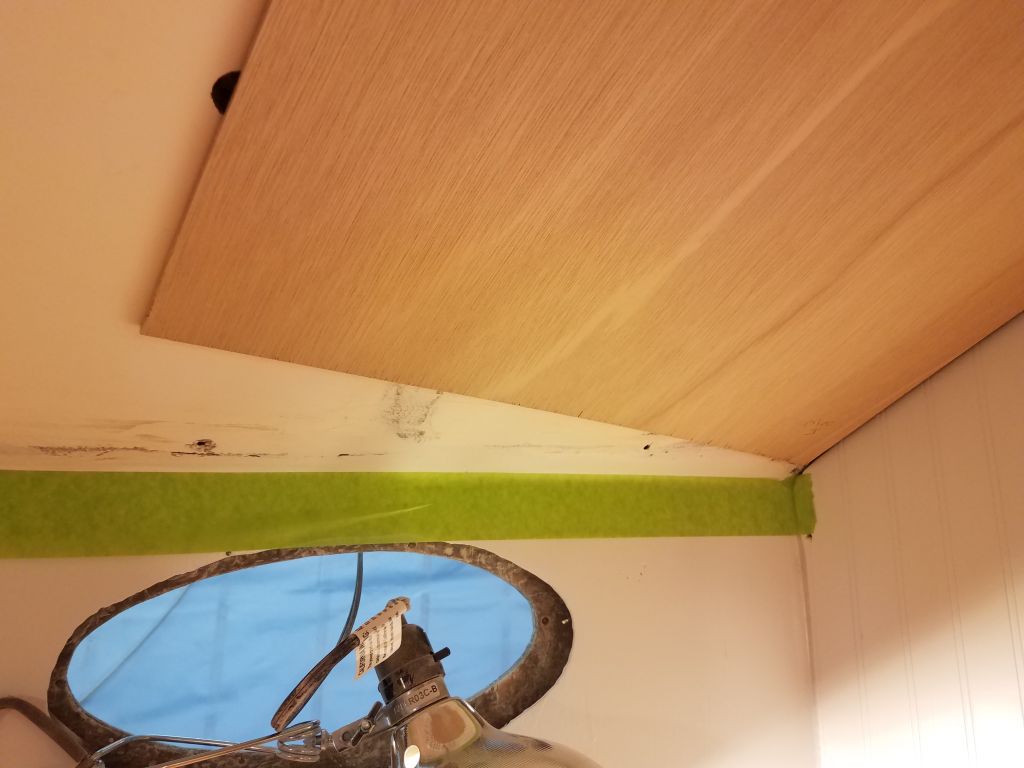
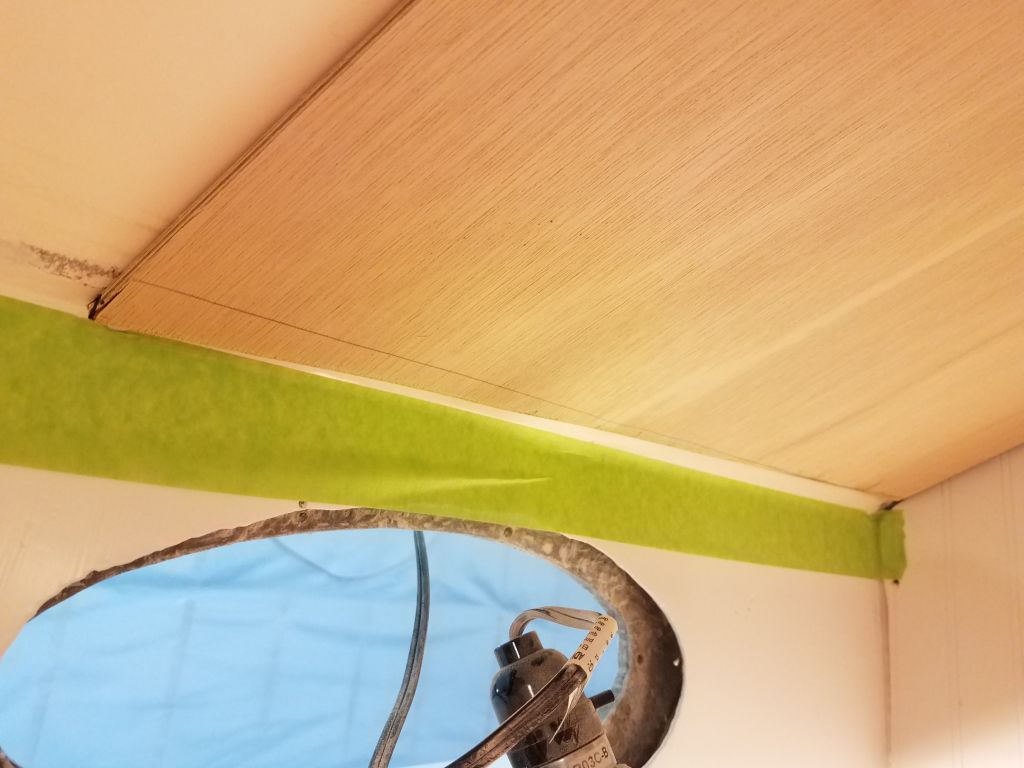
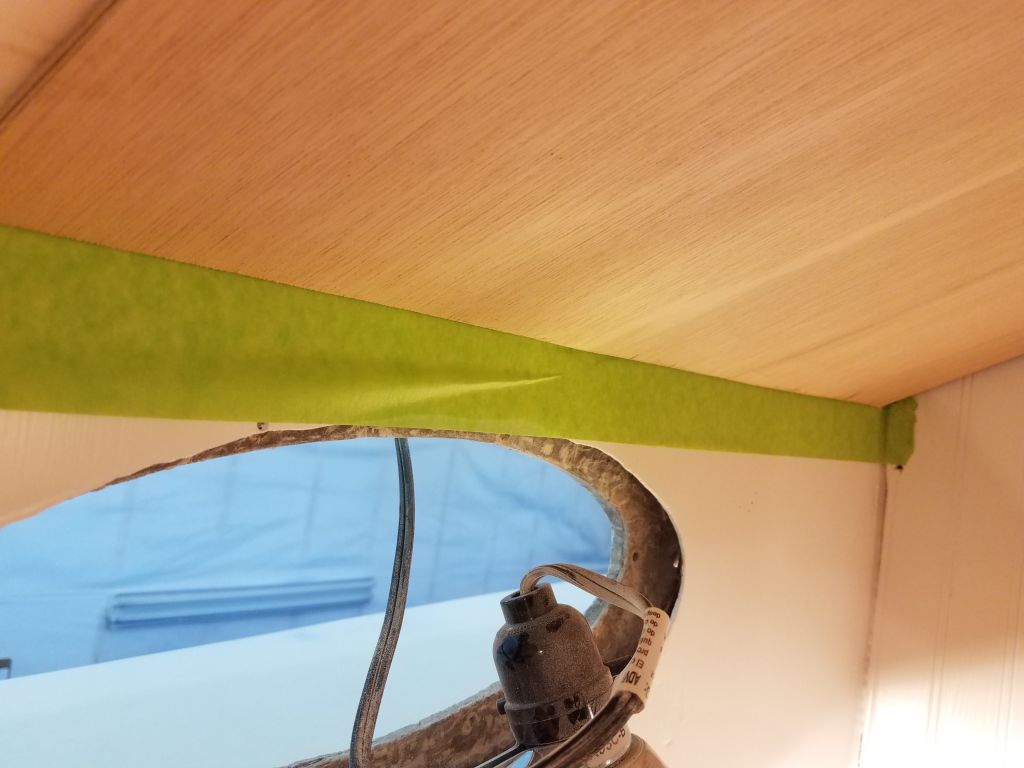
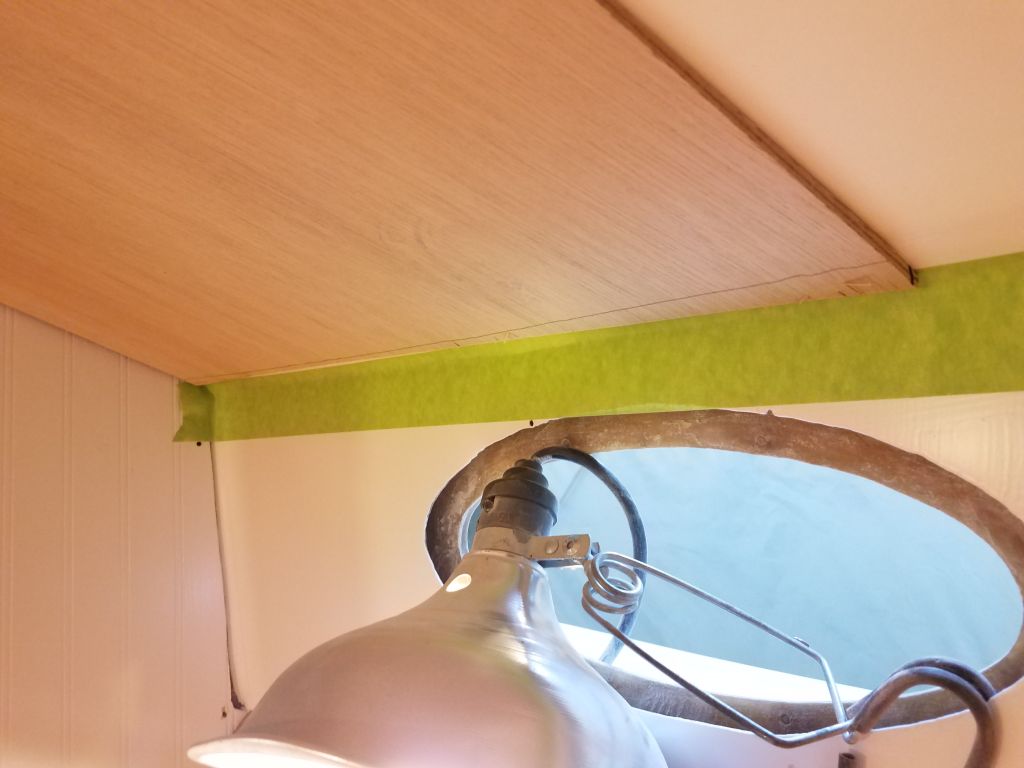
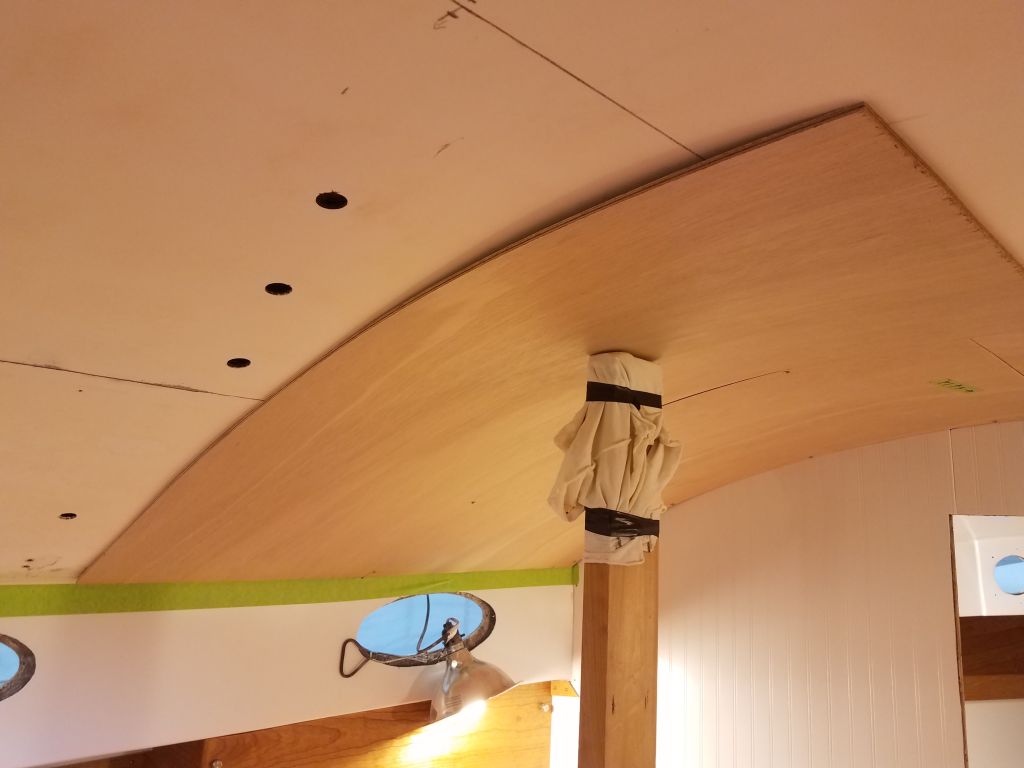
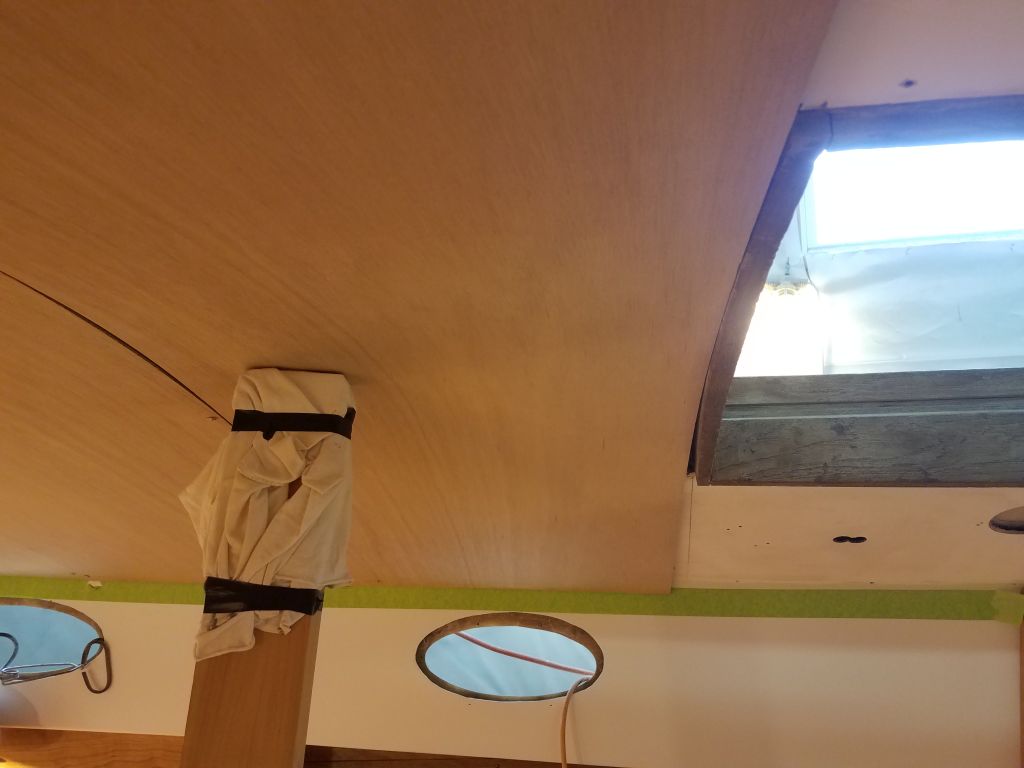
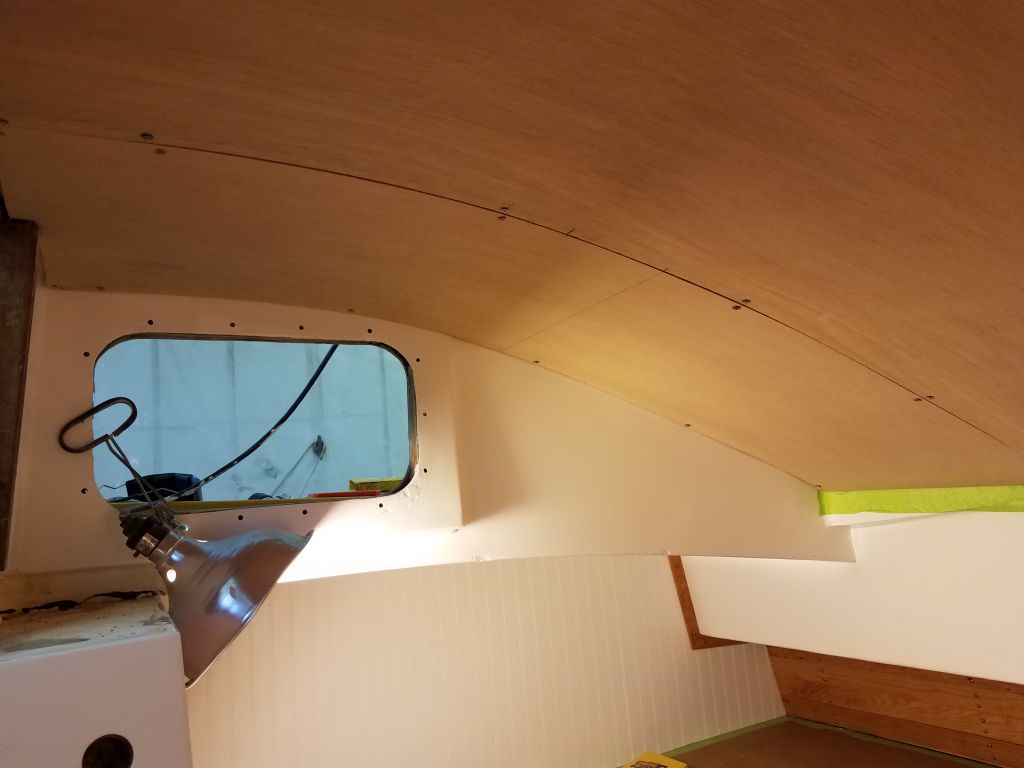
The final piece here required some additional fitting, since it had to fit around the molded area surrounding the large port in the aft side of the cabin, as well as some cuts around the companionway itself. For this, I used some pattern plywood to mark and fit the various edges first, after which I transferred the shapes to the actual plywood for the overhead. I mistakenly cut the template piece for the outboard side shorter than intended, but this was of little matter in the end; I just had to measure between my two template pieces and transfer that measurement accordingly.
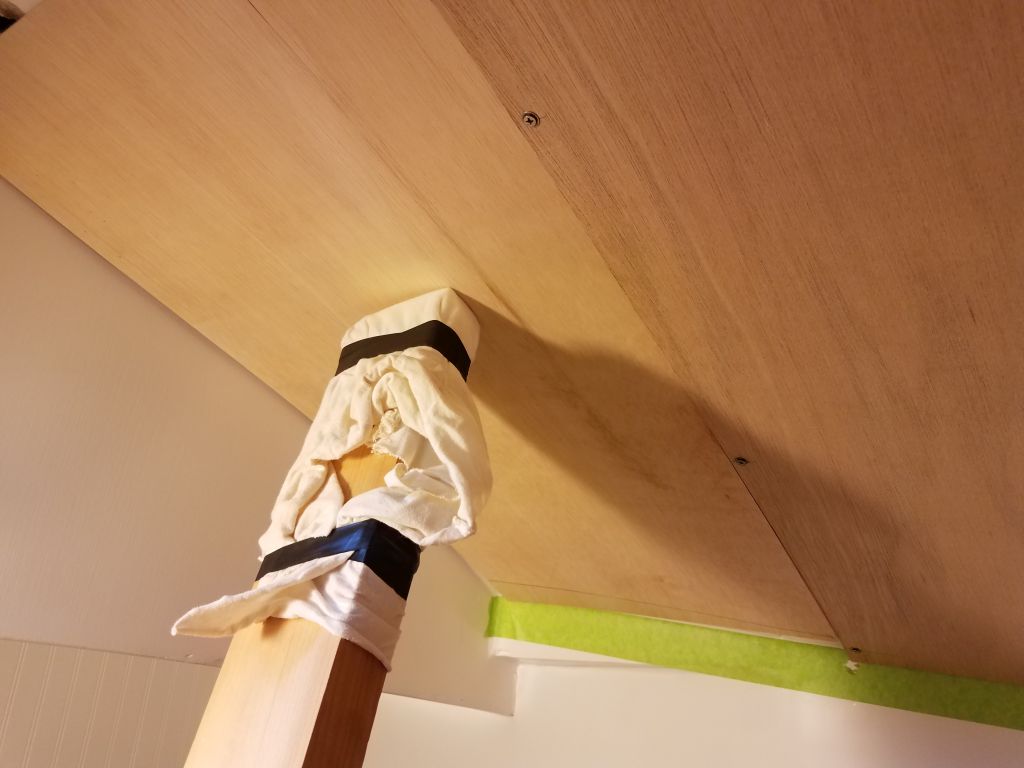

After a few minor cutting manipulations to get the final piece to fit properly at some of the fussier corners, particularly the flat area around the opening port, I fit the final panel in place as per all the others.


This left only a small section on the starboard side, which I’d finish up next time.

Total time billed on this job today: 8 hours
0600 Weather observation: 32°, cloudy, about 4-5″ of snow down after yesterday. Forecast for the day: Mainly cloudy, 37°