


January 24, 2019
Scupper 65
Thursday
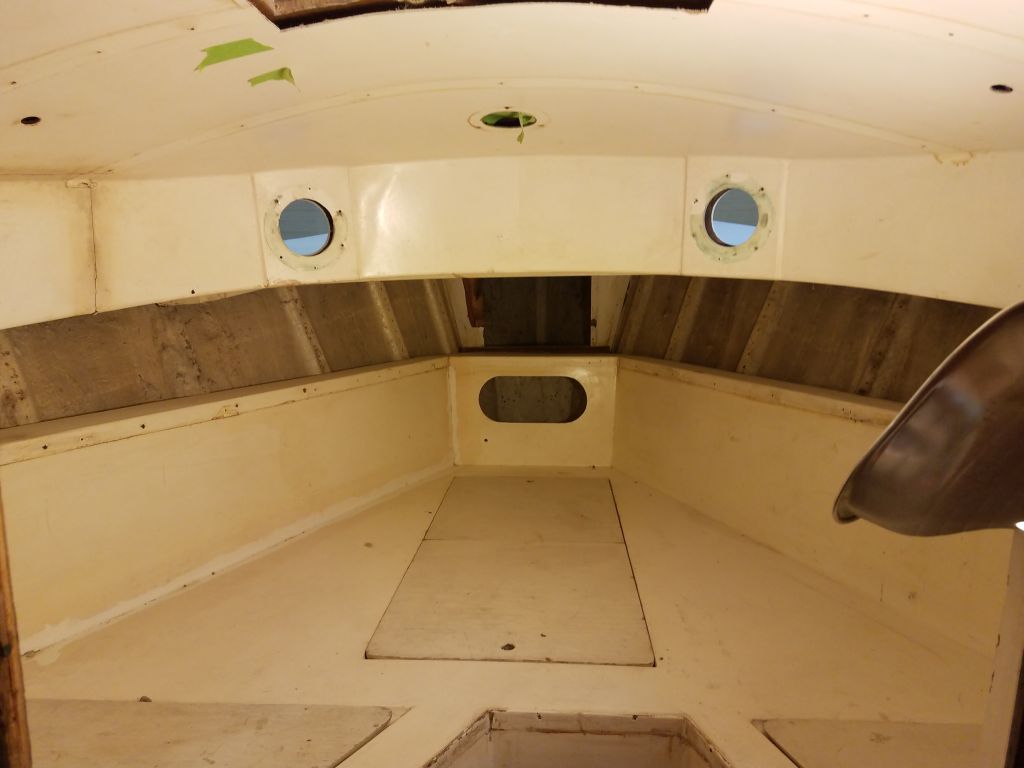
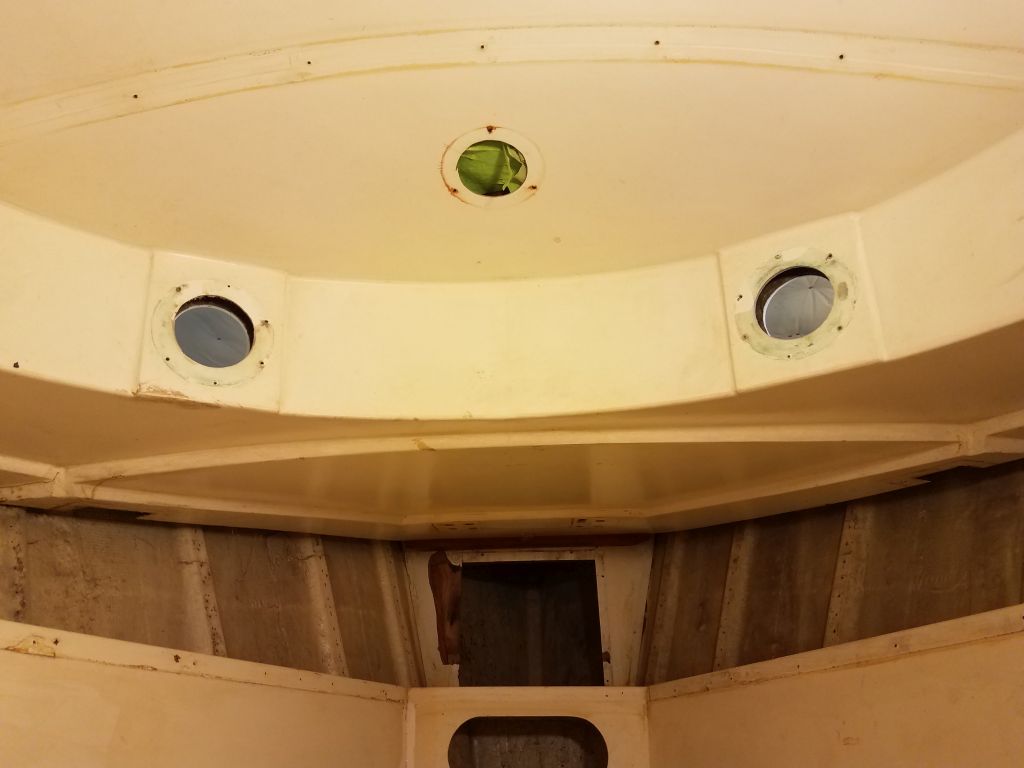
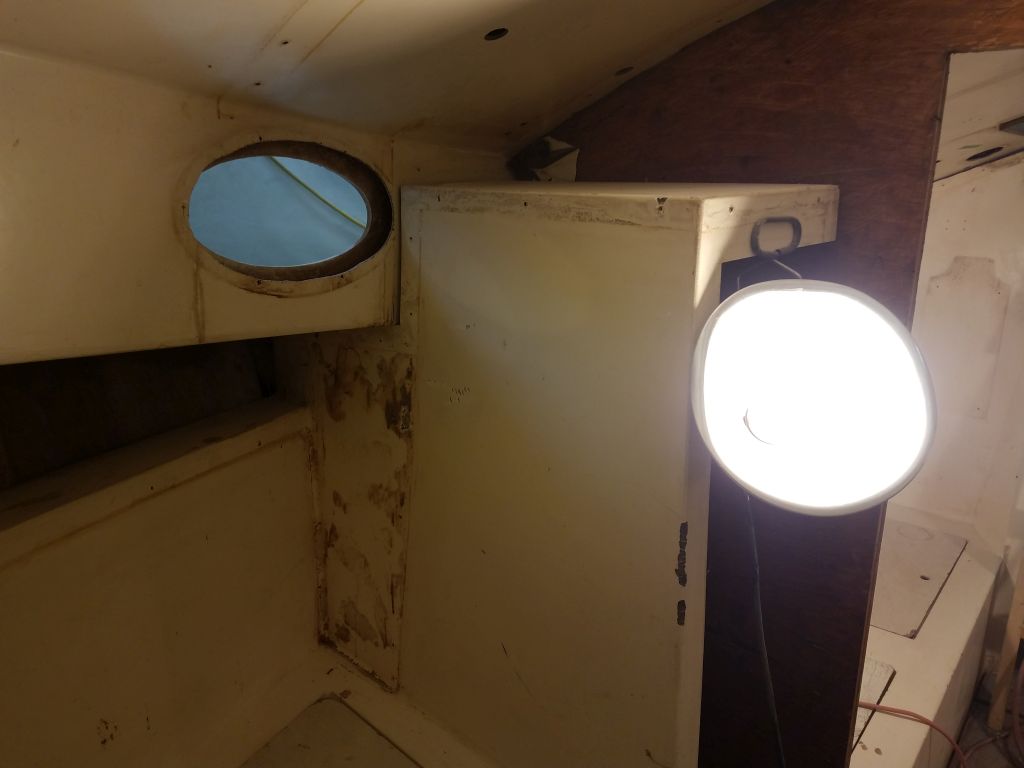
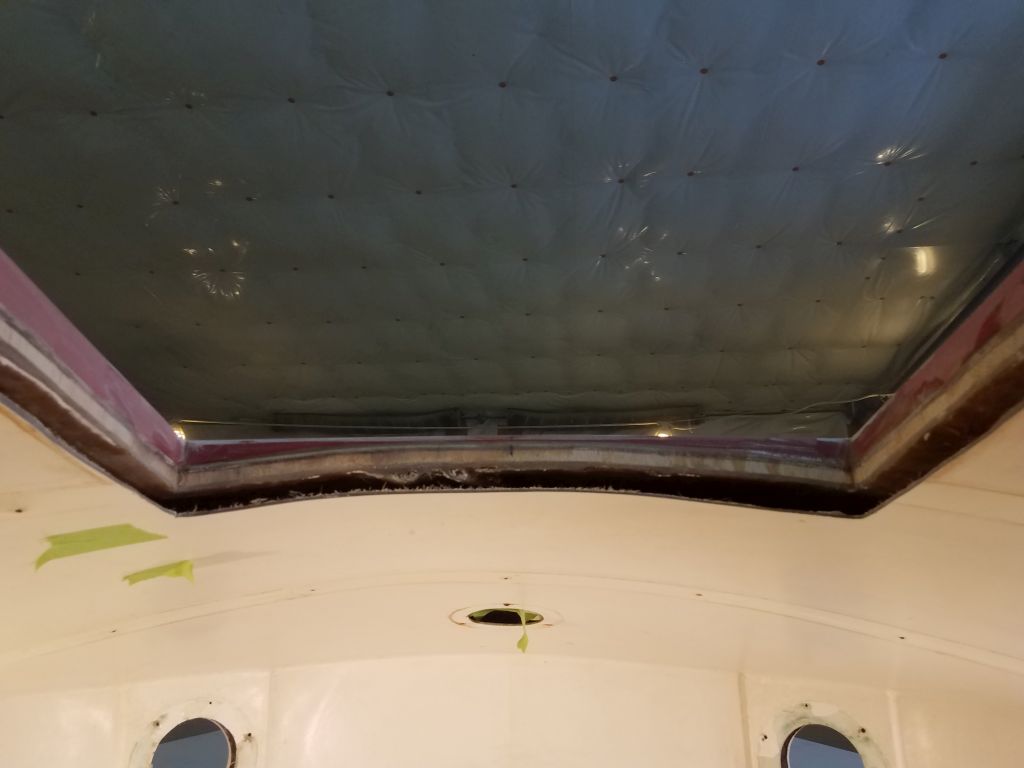
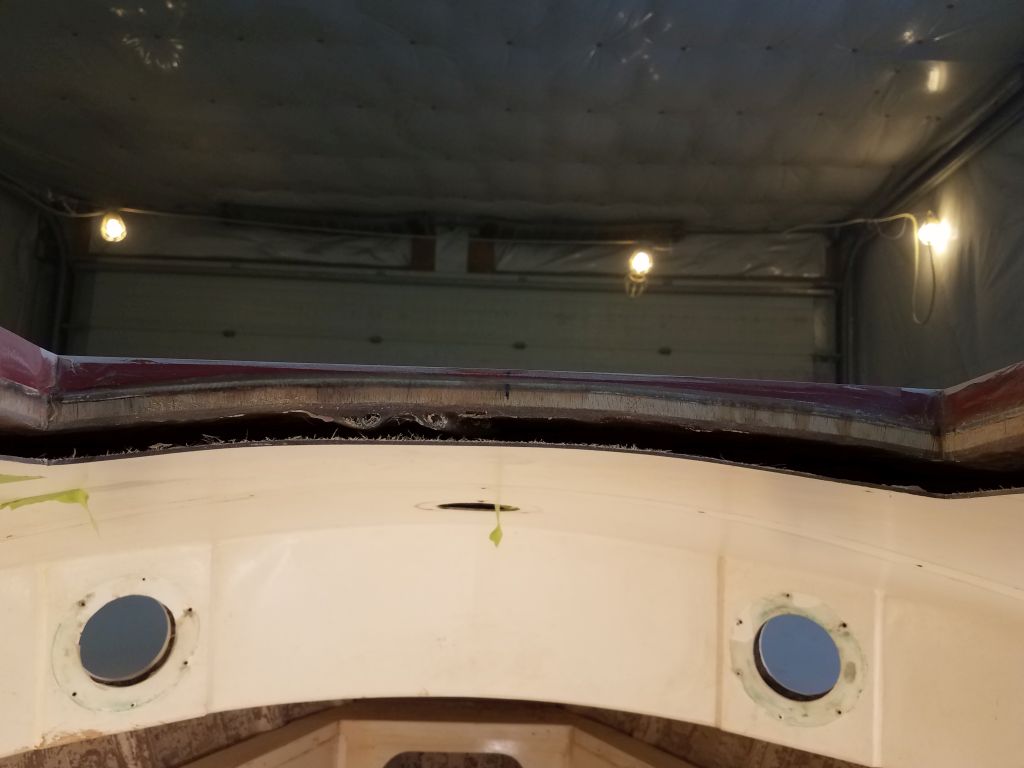
After a hiatus to work on other projects, and in keeping with the overall delivery schedule for this boat, I returned to work on Scupper, this time with my focus on the interior. During the first phase of work, I’d removed interior trim and the like, but the main surfaces remained largely untouched and now required what I tend to call “bulk prep”–sanding and related surface prep. All the interior surfaces would require some level of prep, including the molded overhead and interior components (the largest area of the interior), plus all locker and bilge spaces and any exposed areas of the inside of the hull.

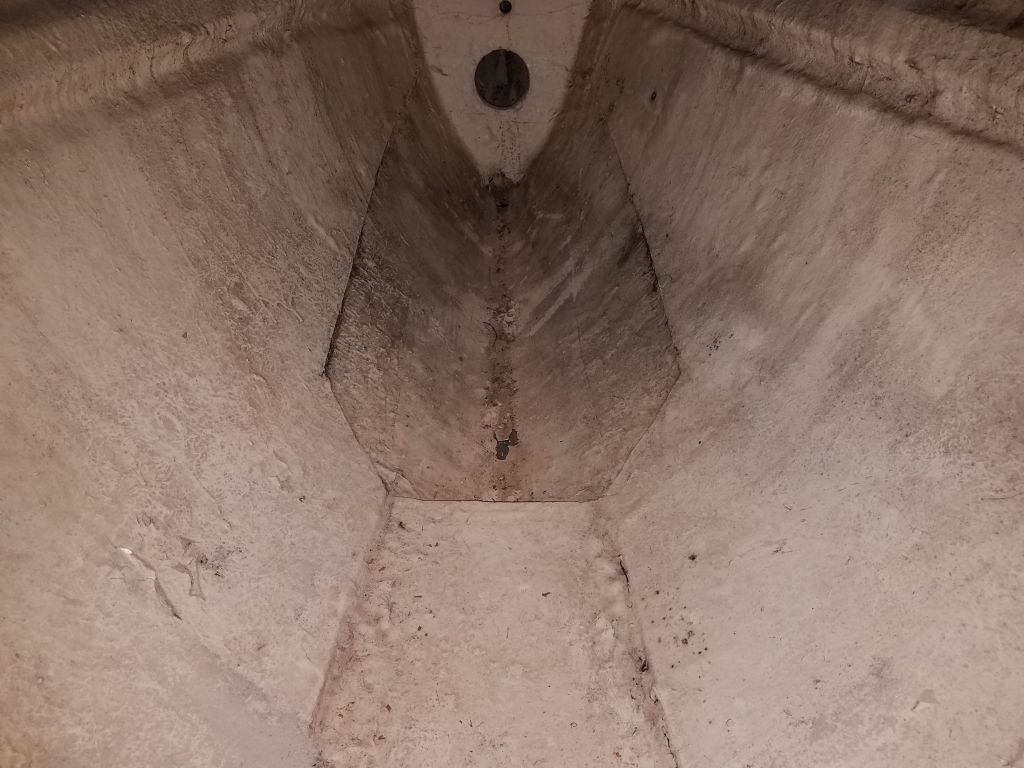
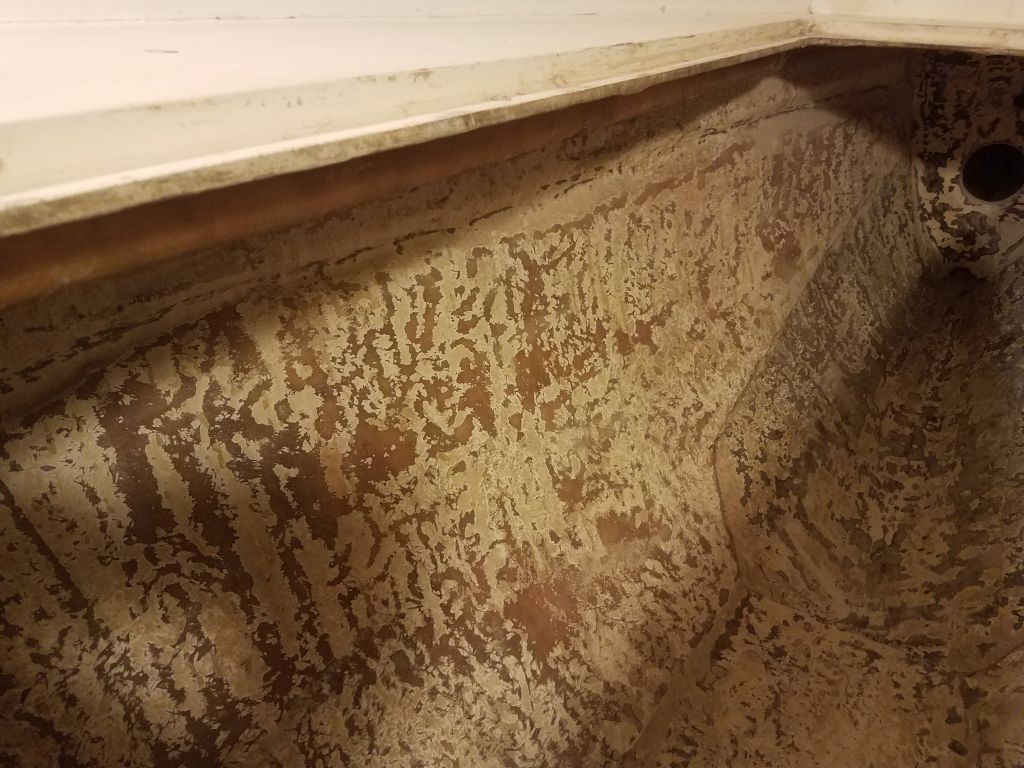
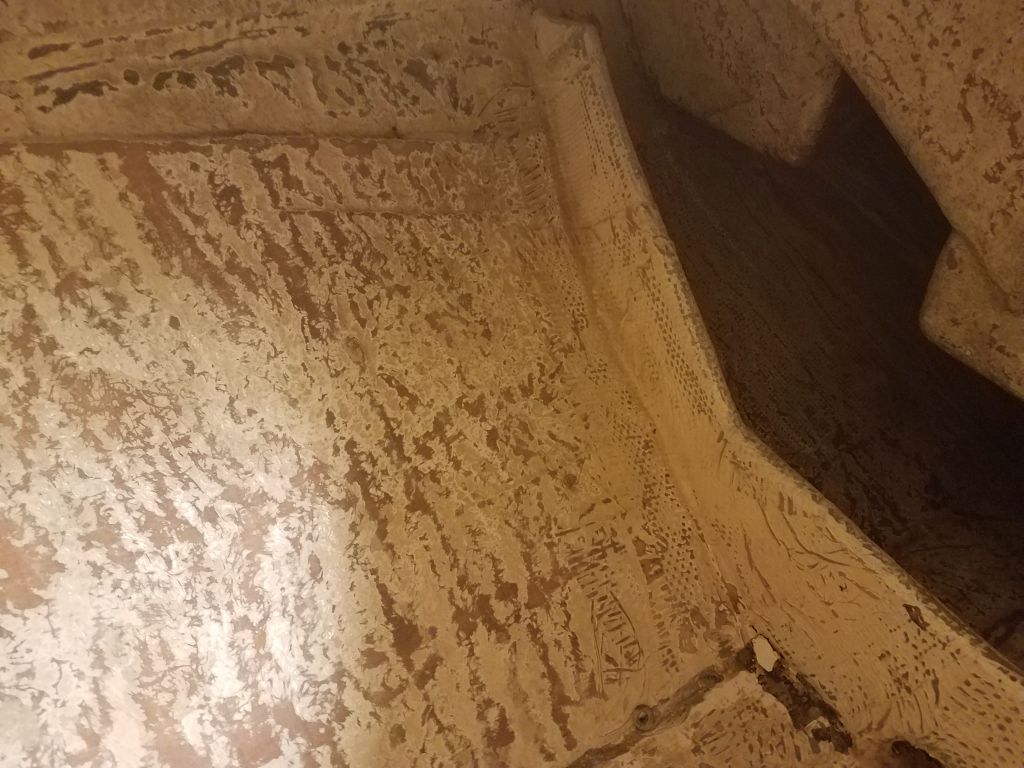
After getting set back up with the various tools and lighting I needed, I got to work at the stem and started working my way back. In the forward cabin, I used a sander to clean up the inside of the chainlocker, the huge space beneath the v-berth (in the forward section and as far aft as I could reach beneath the protruding molded lockers), and the exposed hull above the molded v-berth liner, removing as necessary old paint, grime, and generally smoothing the often rough surfaces to better prepare them for new paint and work ahead. These areas wouldn’t be exposed in the final interior, but still required prep and other finishing work.
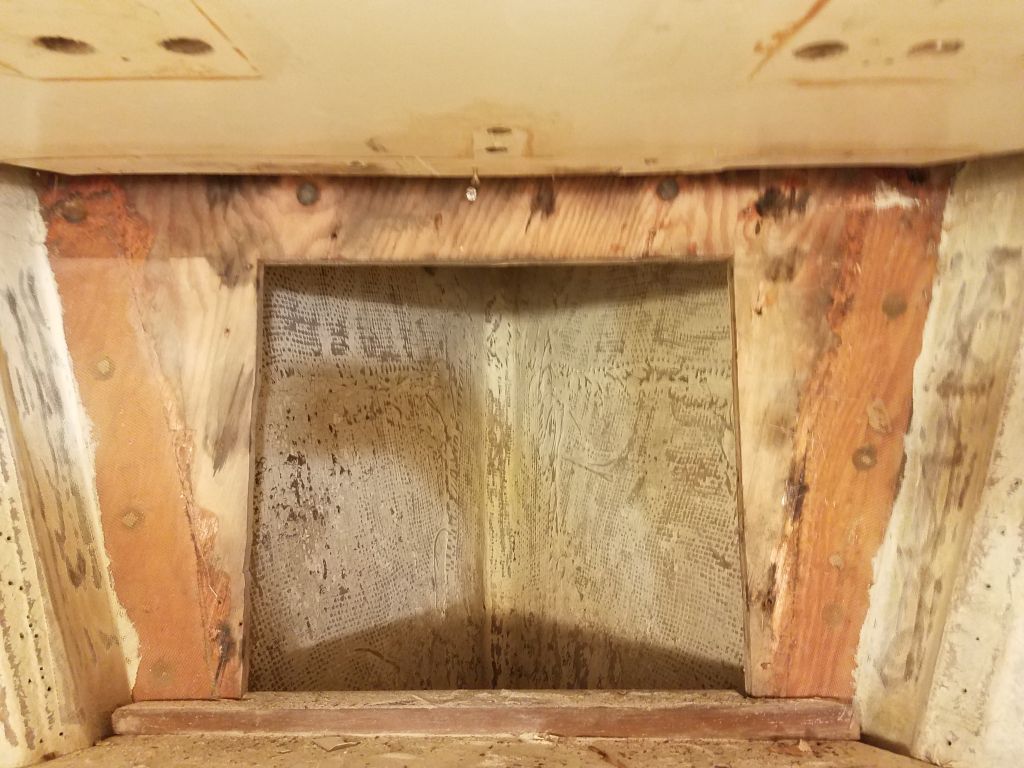
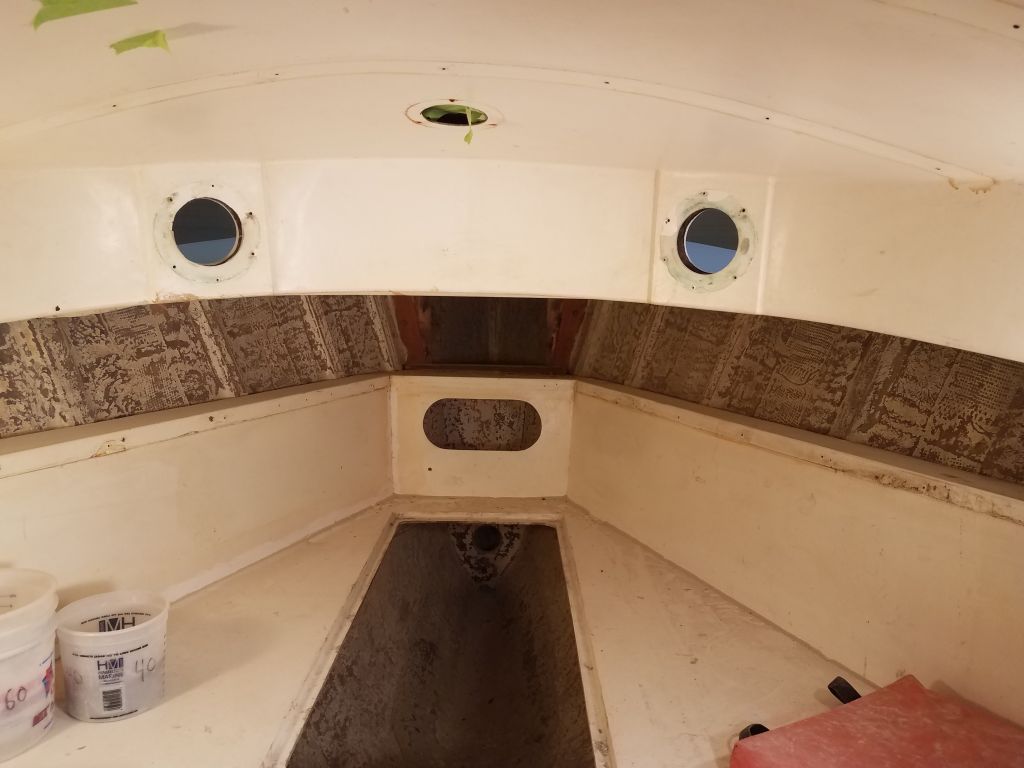

The v-berth featured two awkward and confining (and useless) “hanging lockers” molded into the aft end, which the owner and I had discussed removing. These lockers seemed to close in the berth space, didn’t provide useful storage, and greatly limited decent access to the hull and chainplates. For now, I stopped my prep work just forward of these looming, ineffective, unpleasant, unnecessary, and undesired walls, but planned to cut them flush with the berth in the immediate future (I was awaiting saw blades for this).
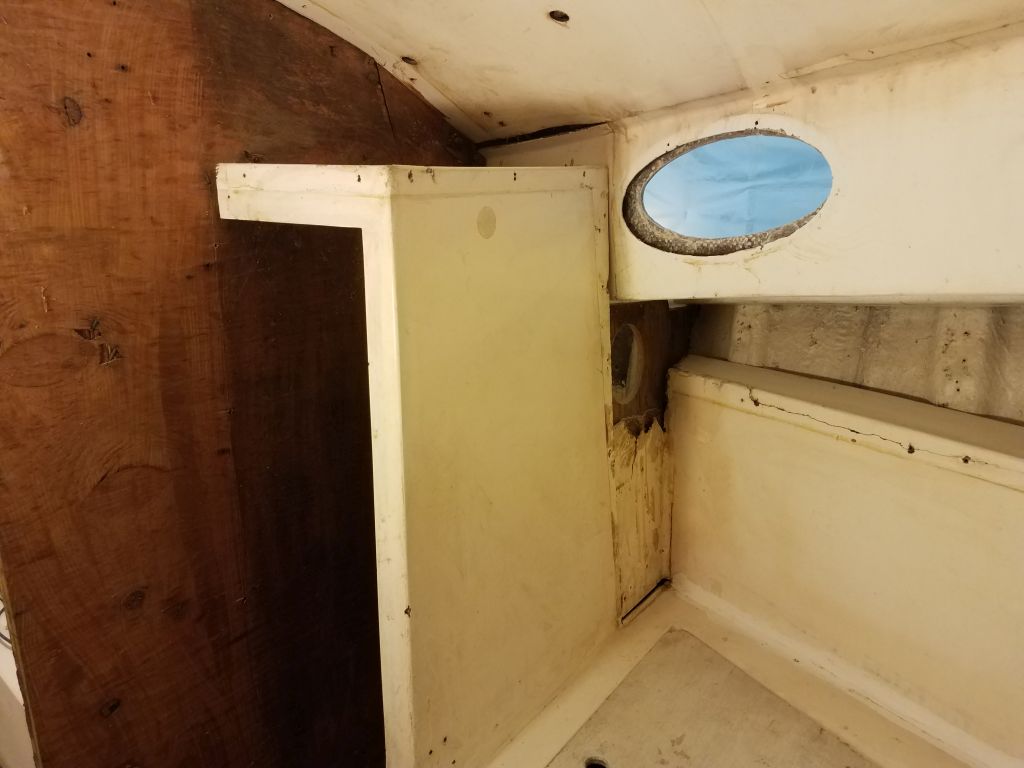
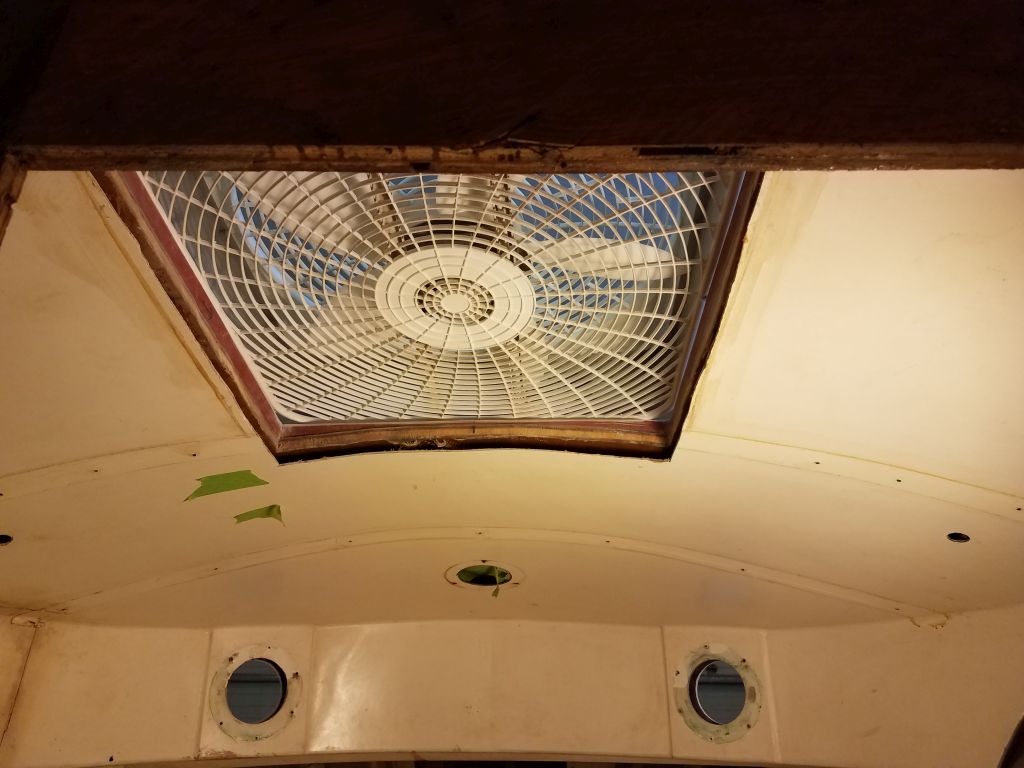
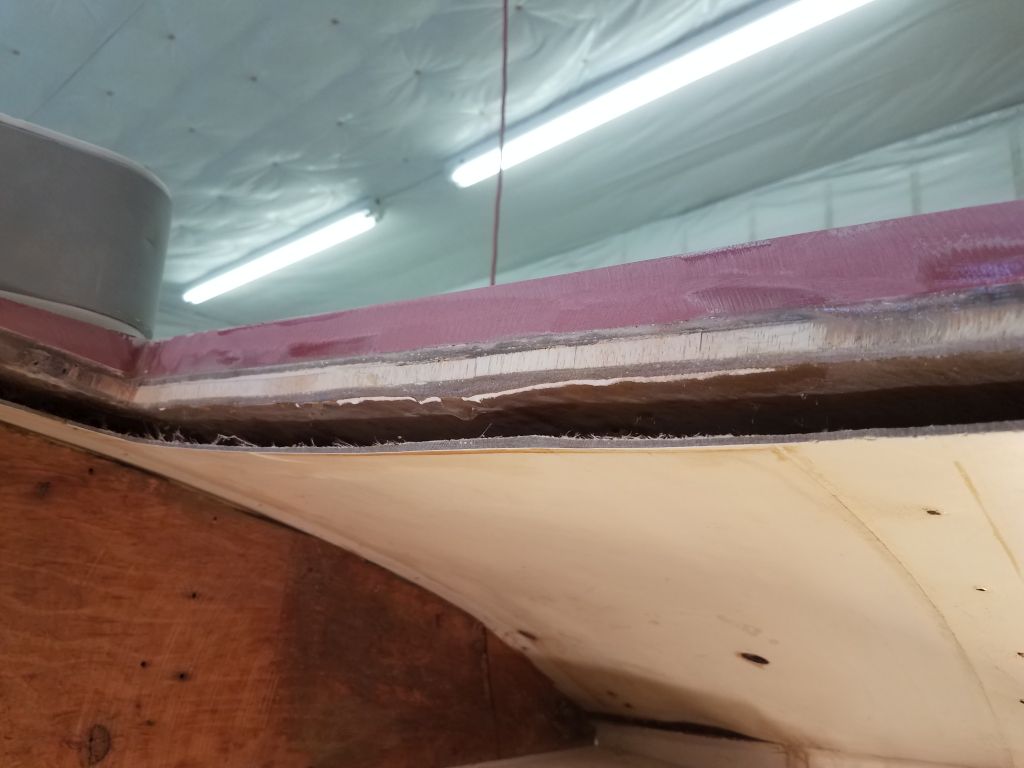
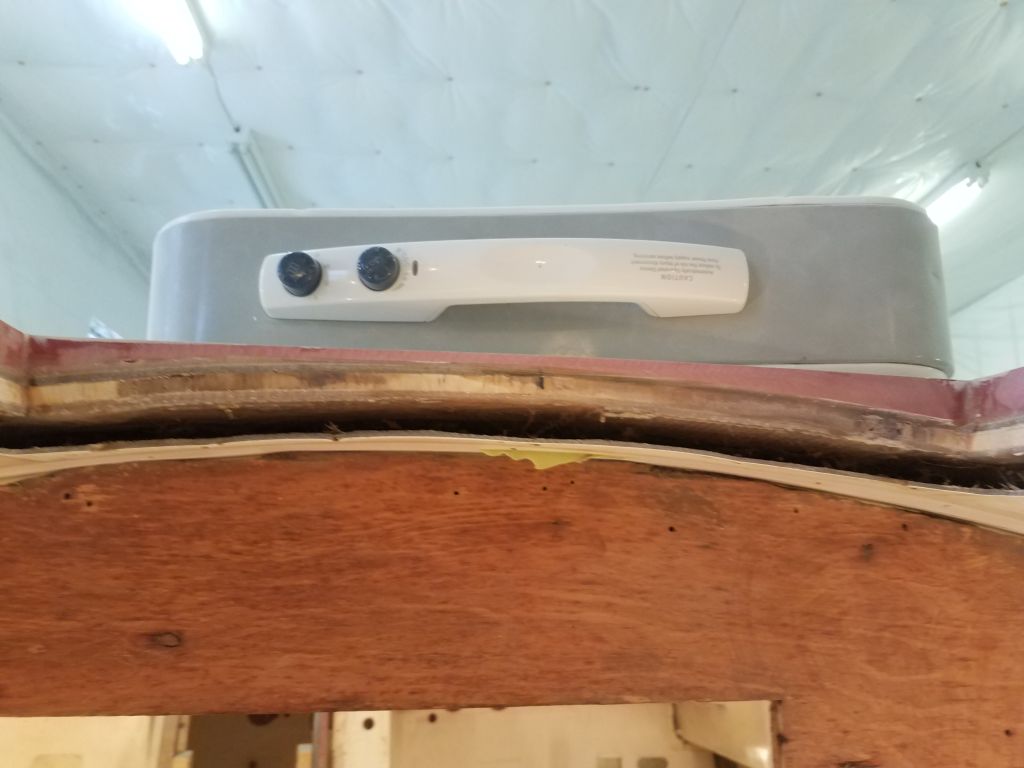
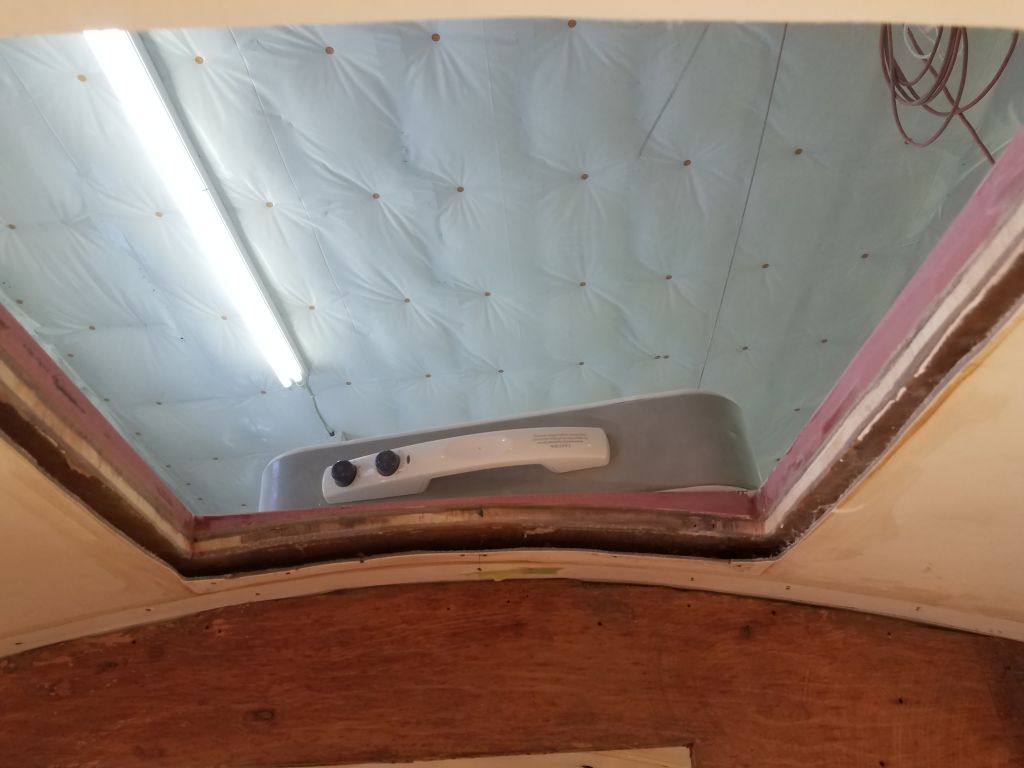
While I was in the forward cabin, I took the opportunity to clean up the inside of the forward hatch opening to prepare it for some interior glasswork to complete the new fiberglass frame I’d built earlier. I planned to install a layer of fiberglass over the insides to seal off the exposed core, help tie in the hatch frame, and close off the opening between the interior liner and deck above.

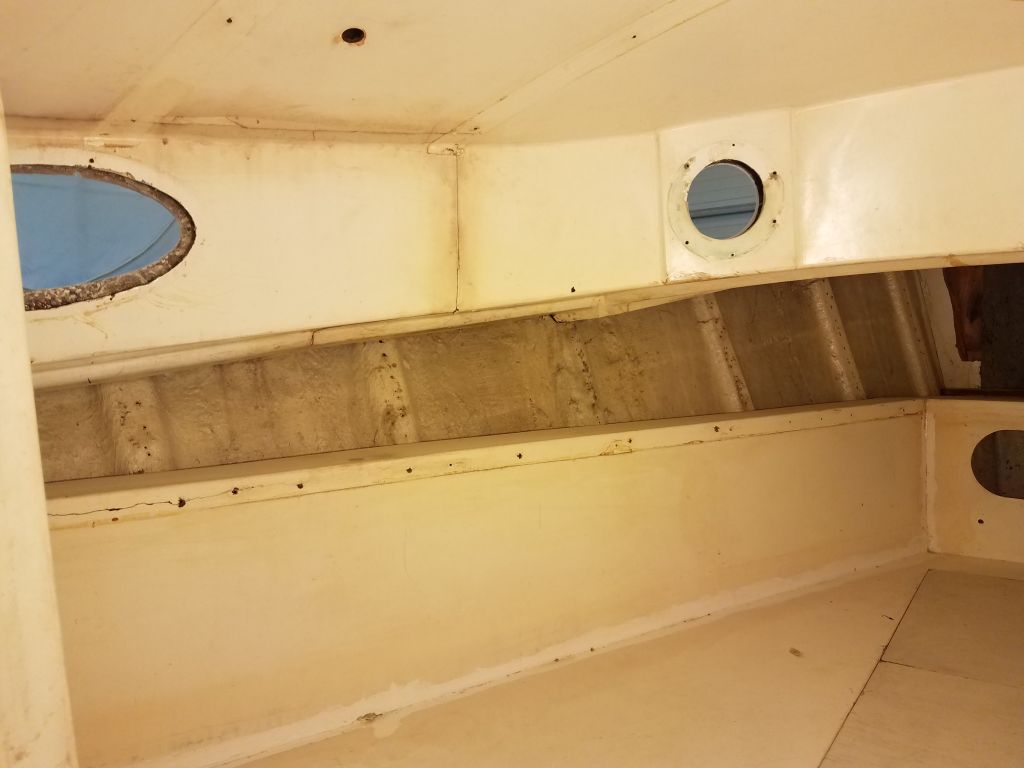
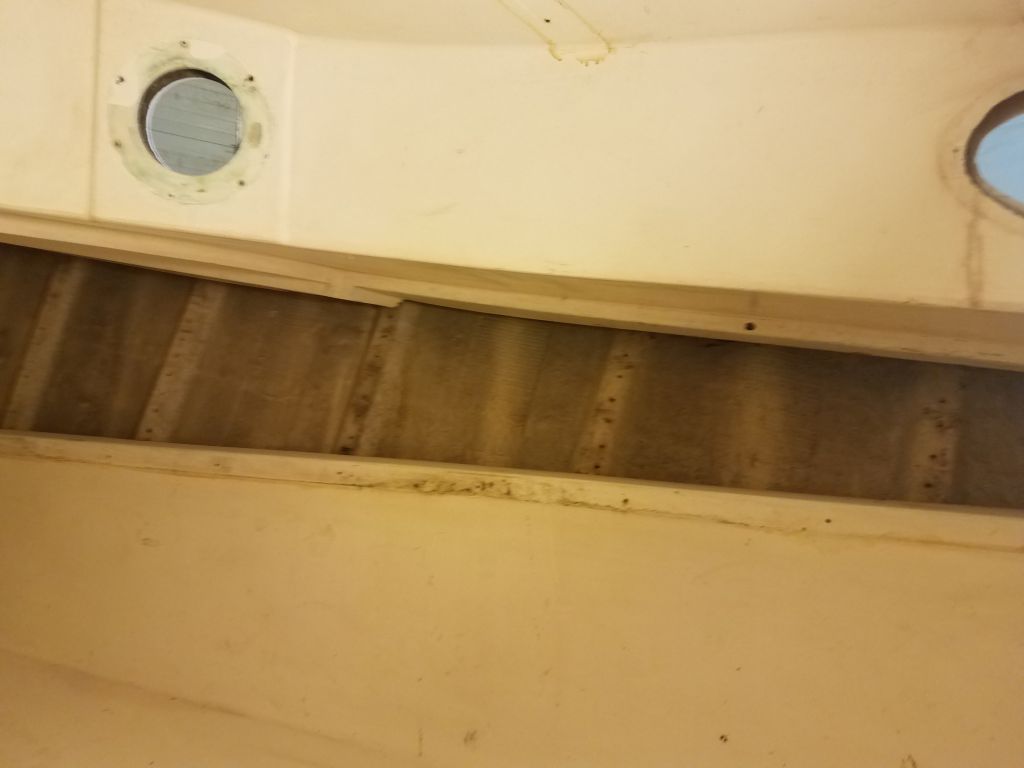
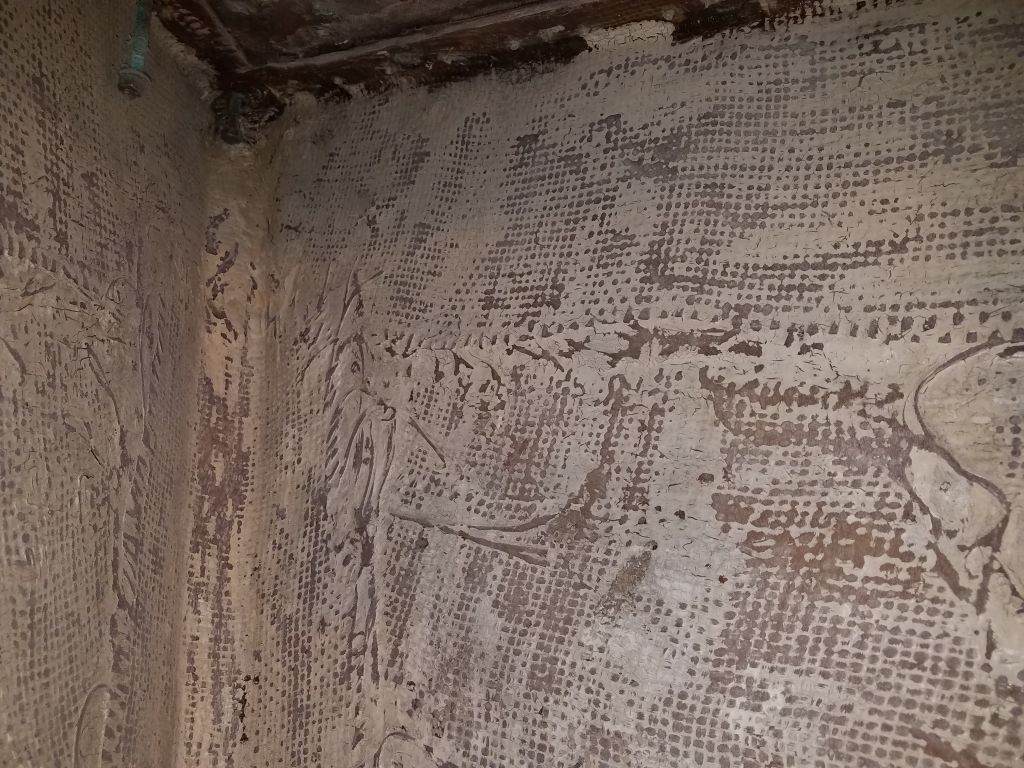
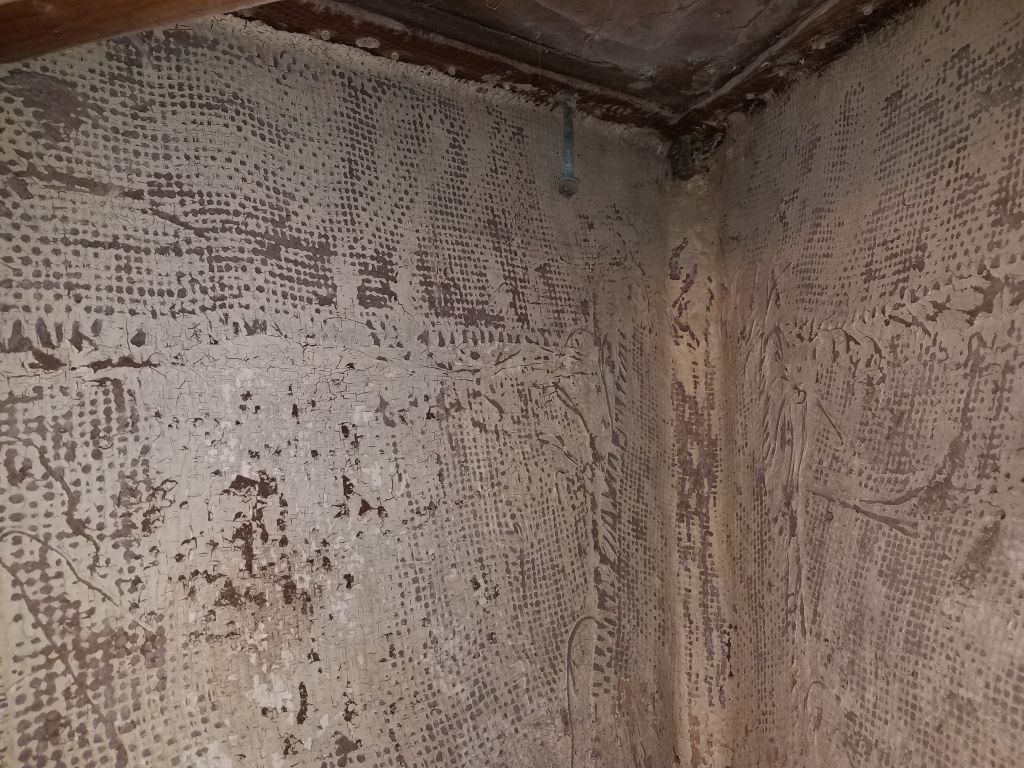
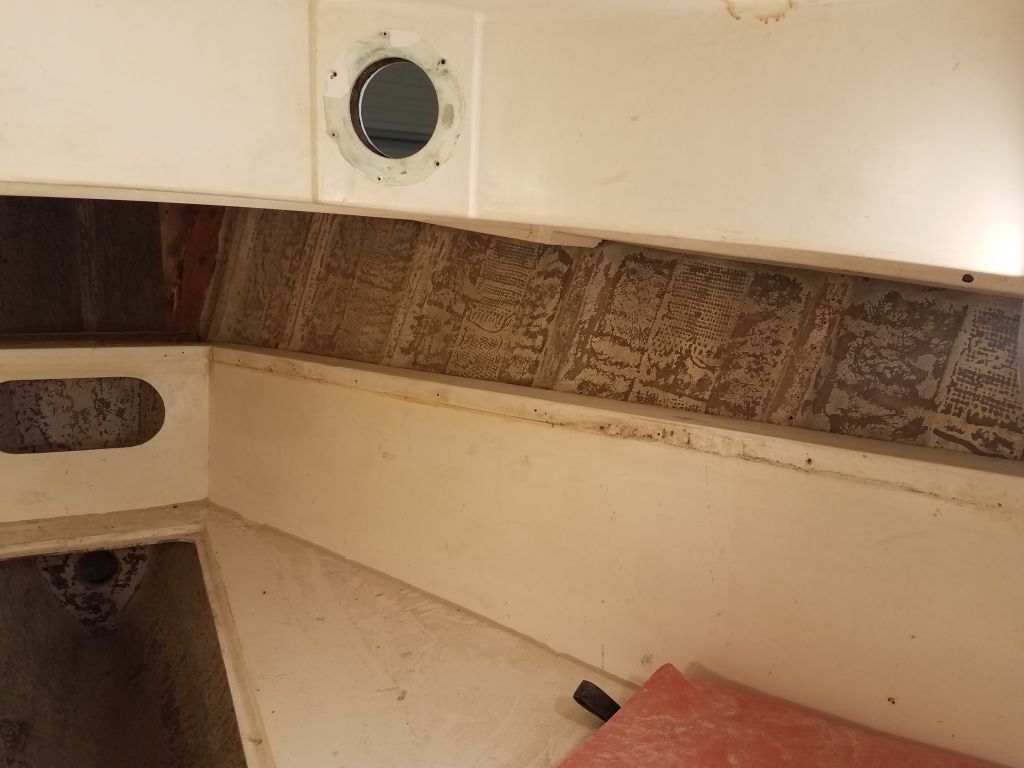
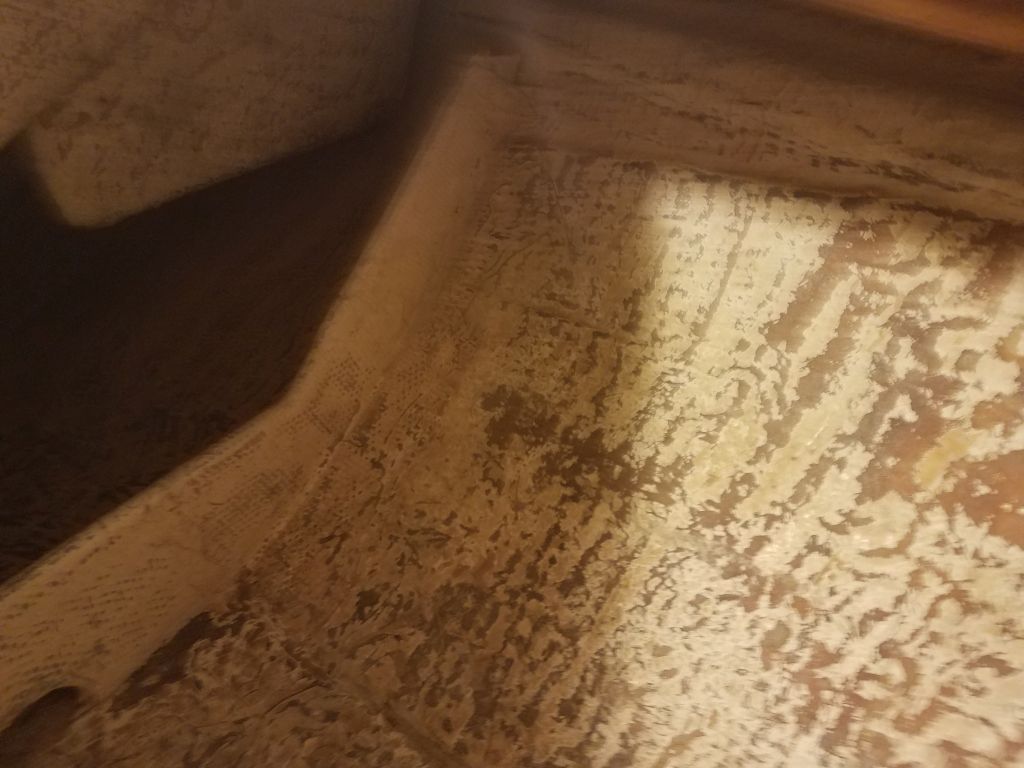
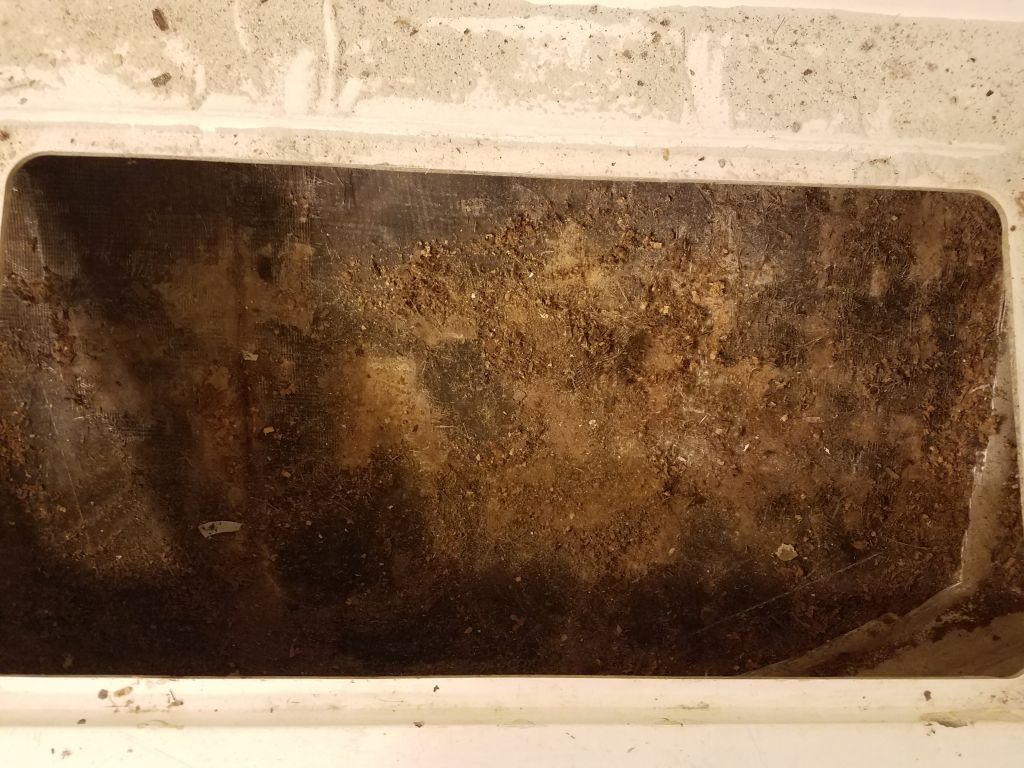
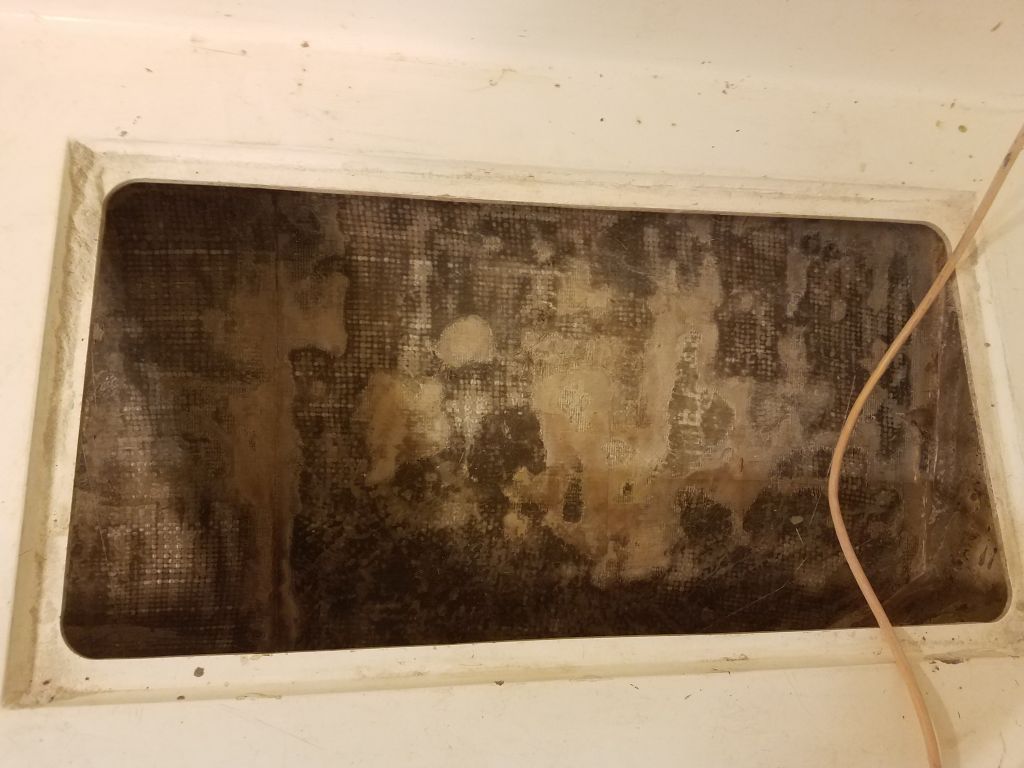
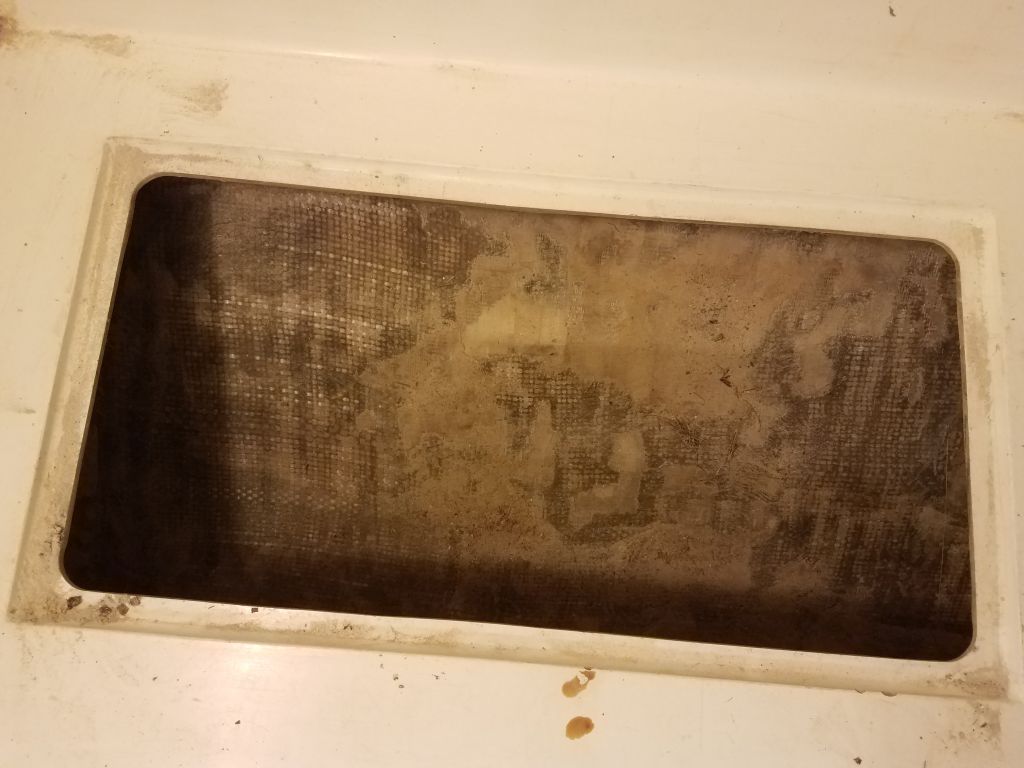
Continuing aft, I worked in the main cabin to clean up the hull above the settees on each side (again, an area that would not be exposed in the final interior), and also inside the settee back lockers themselves, removing old paint and cleaning the surfaces as needed without going overboard. I also similarly cleaned up the inside of the hull inside the locker spaces in the head.
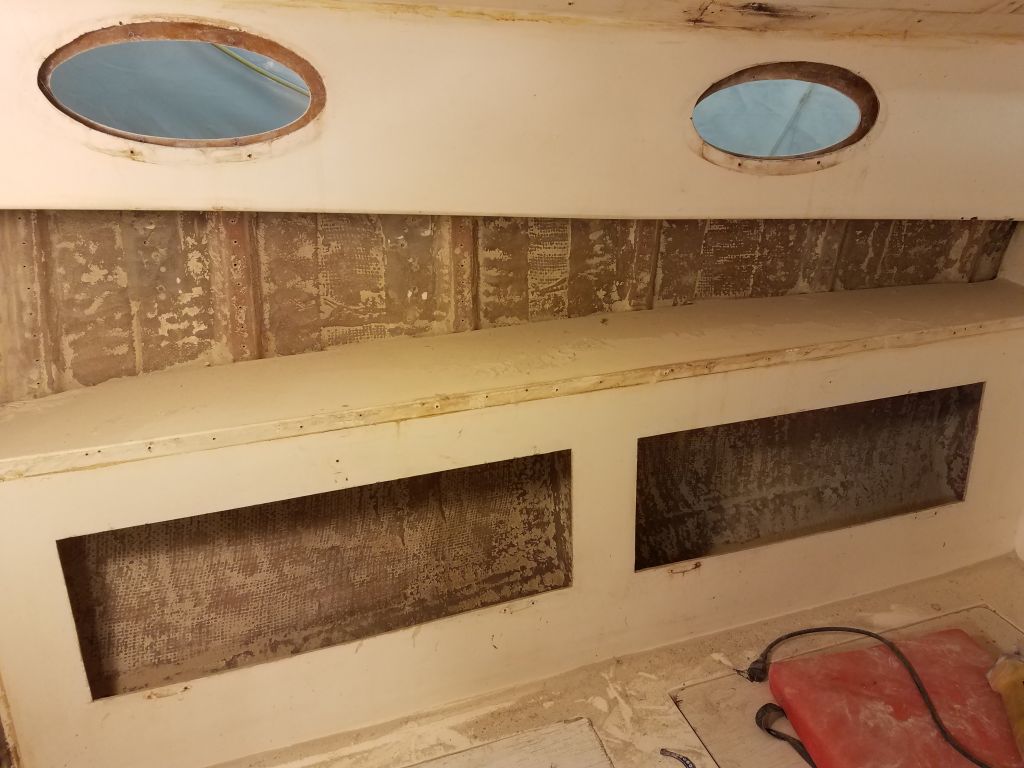
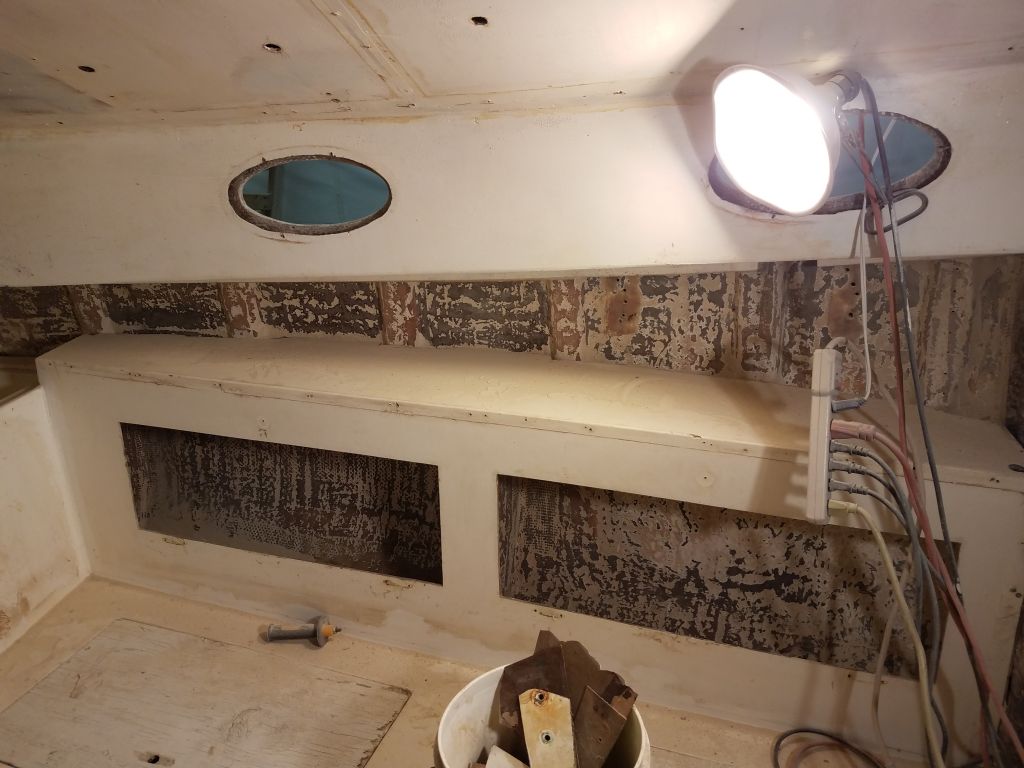
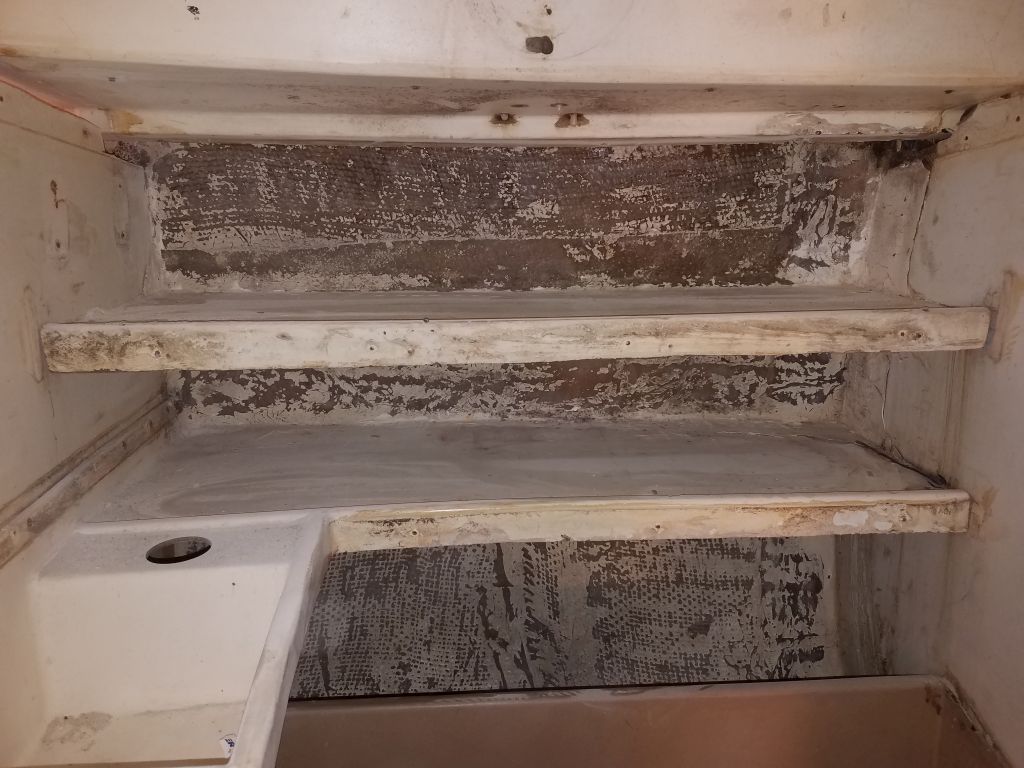
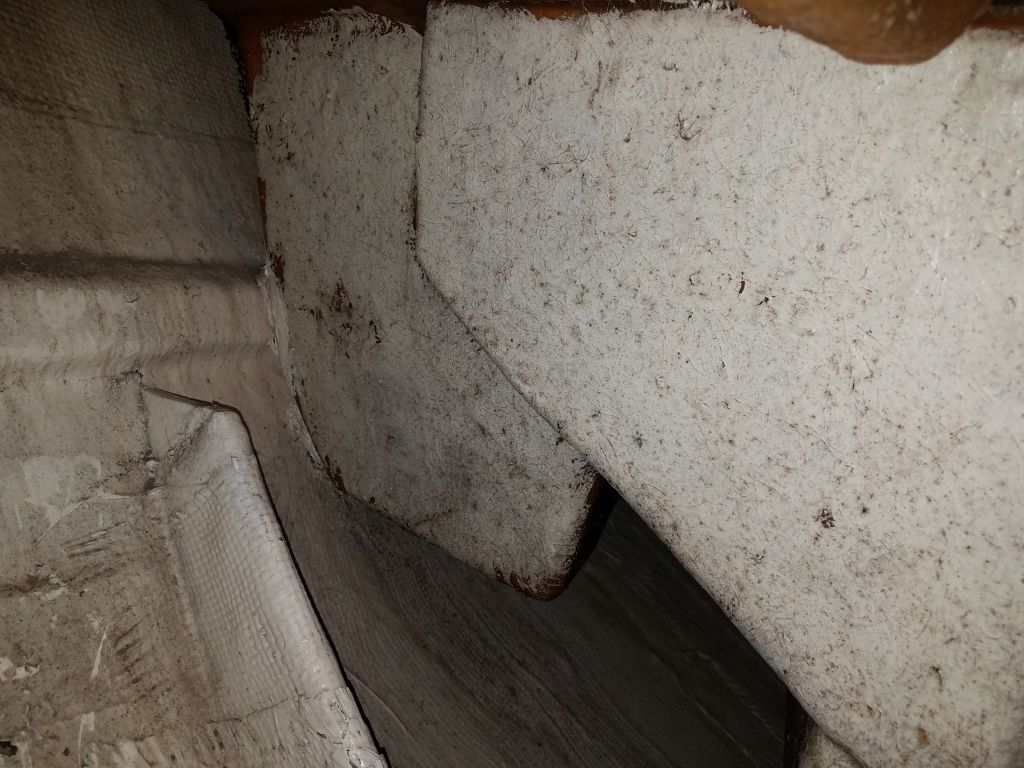
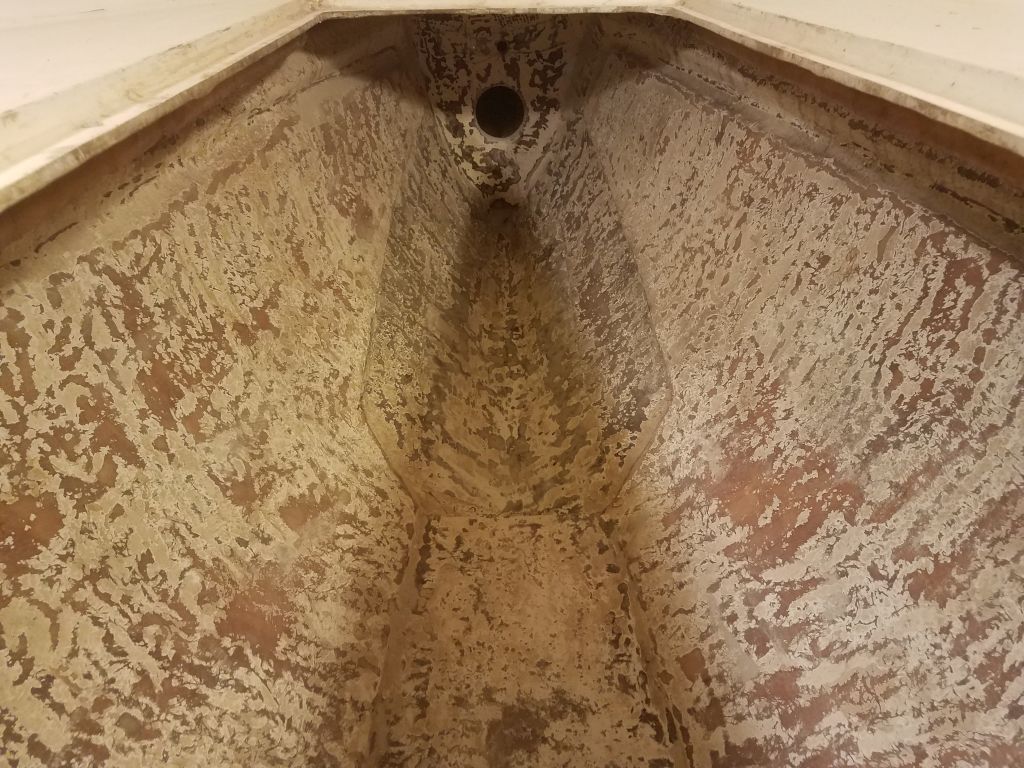
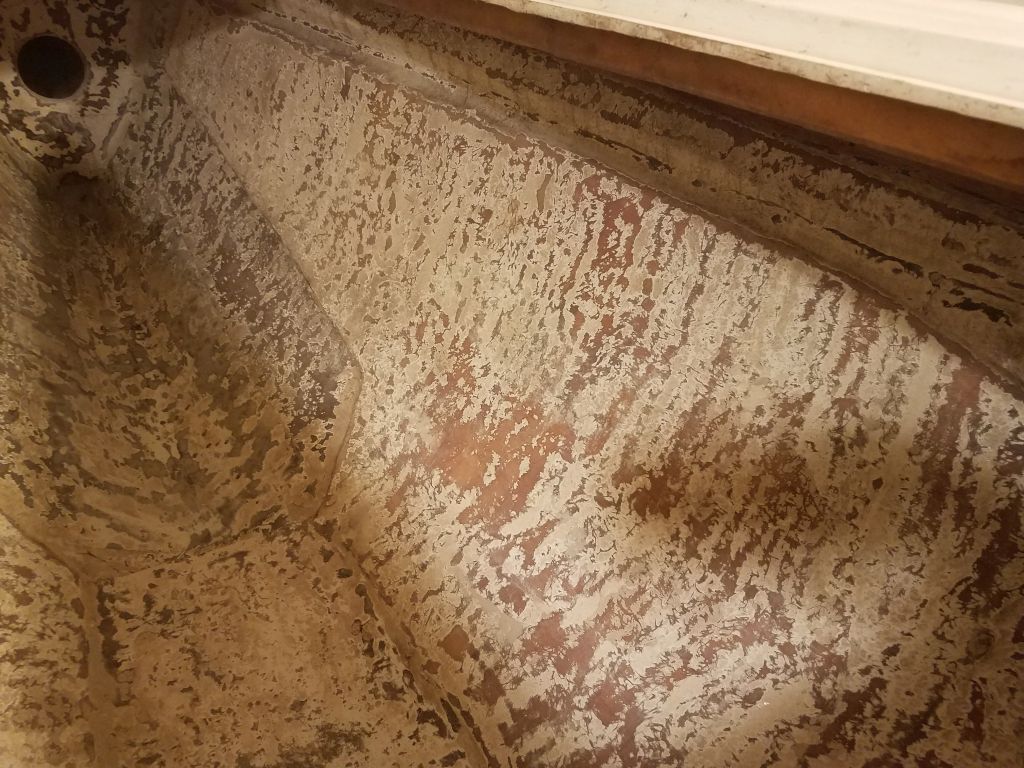
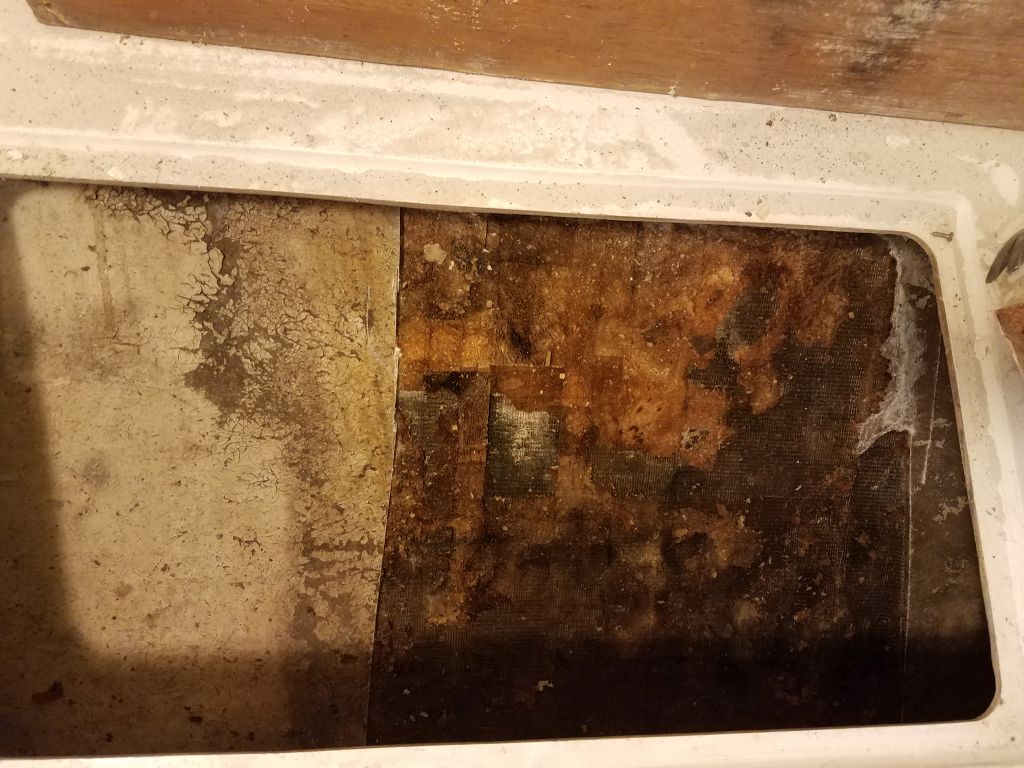
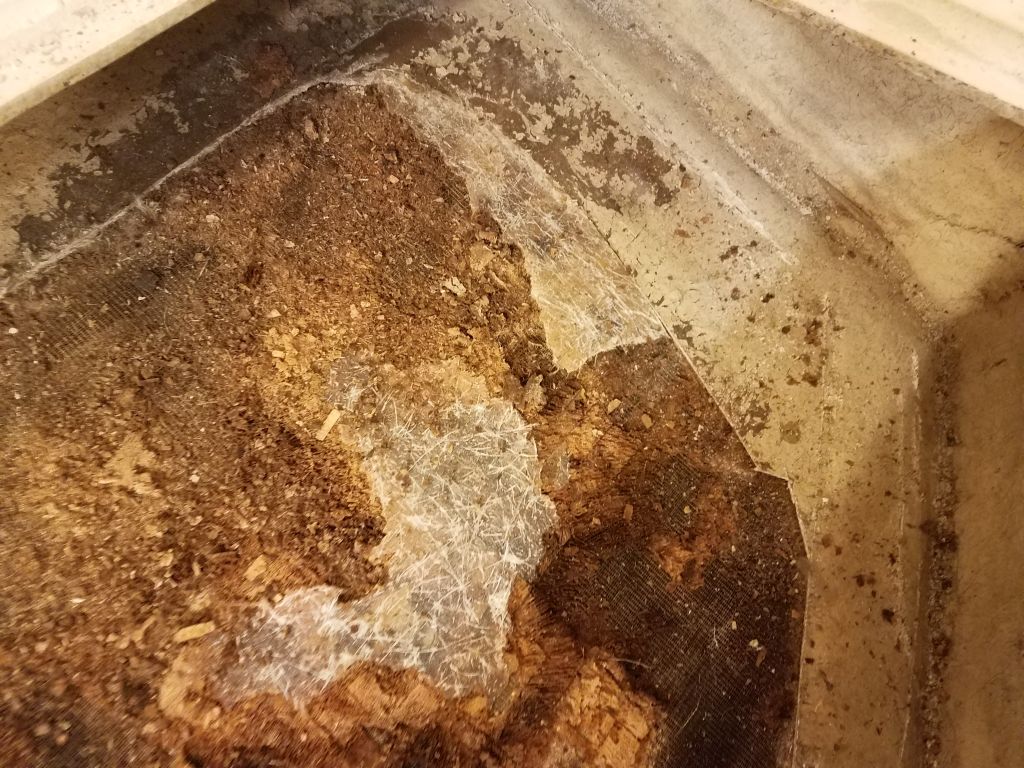
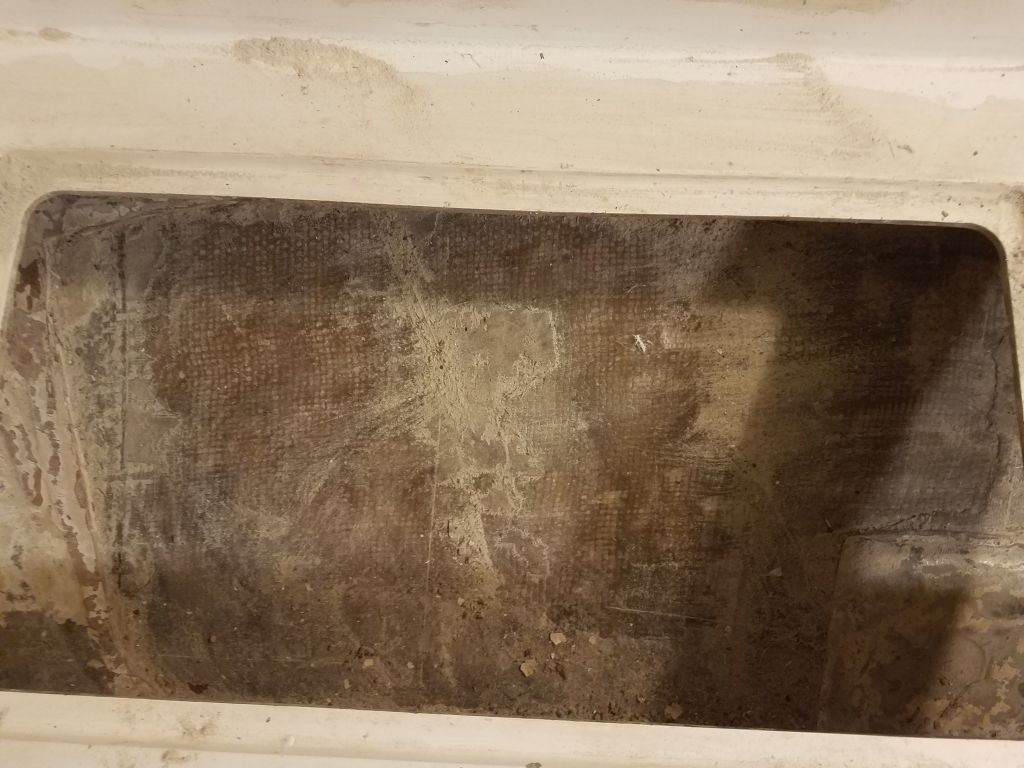
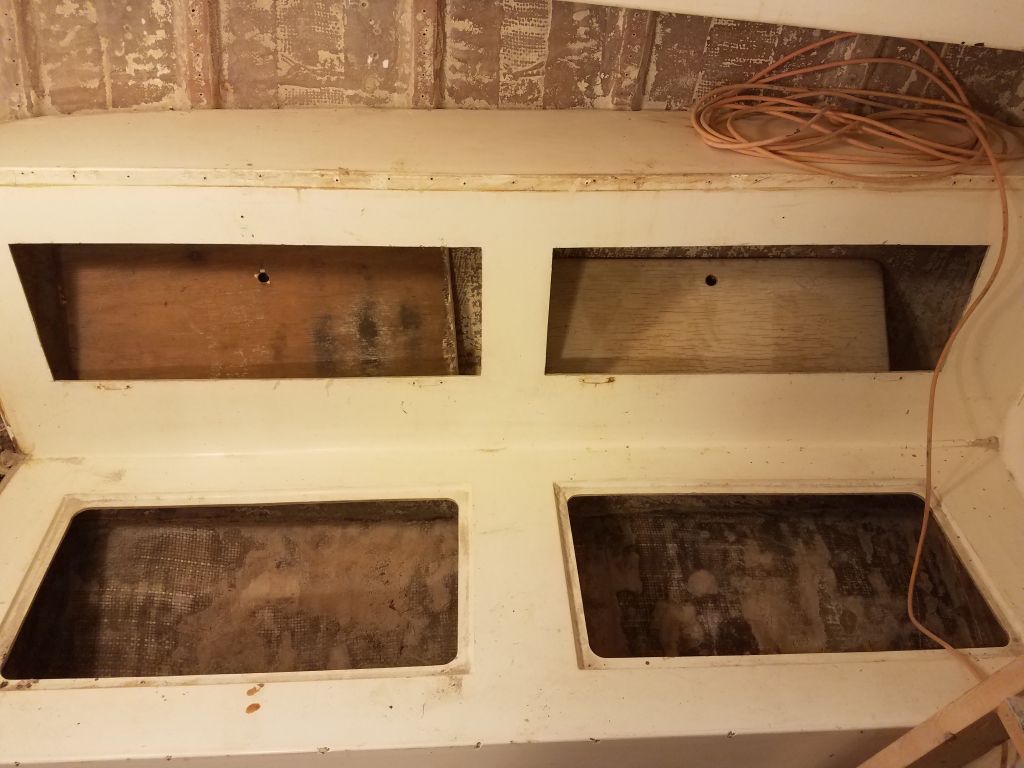
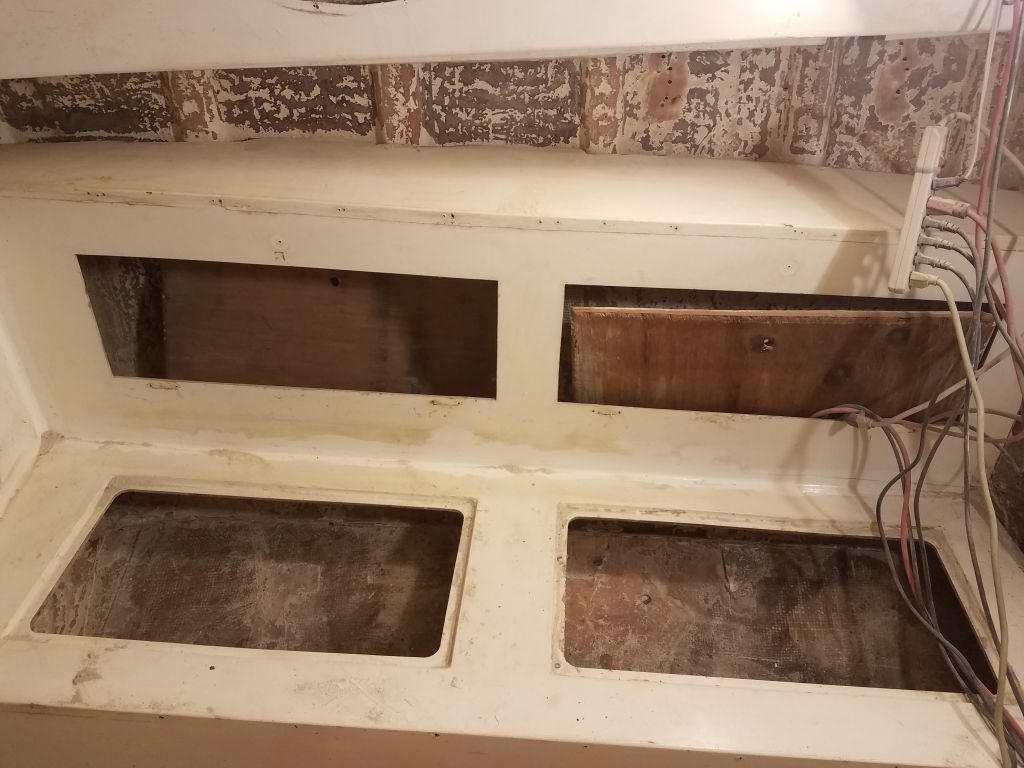
The lower lockers beneath the settees themselves required some extra work. Much earlier in the project, during other rounds of work, I’d discovered that these lockers featured thin core against the hull, the purpose of which wasn’t clear (it wasn’t structural). The core was on top of the inside of the actual hull laminate, and covered with an additional skin of fiberglass inside the locker. What was clear was that the installation had been poorly executed, and the coring was damp and debonded from the skins above. At the time, having determined that this wasn’t a serious structural issue, I left the lockers for another time. That time was now.
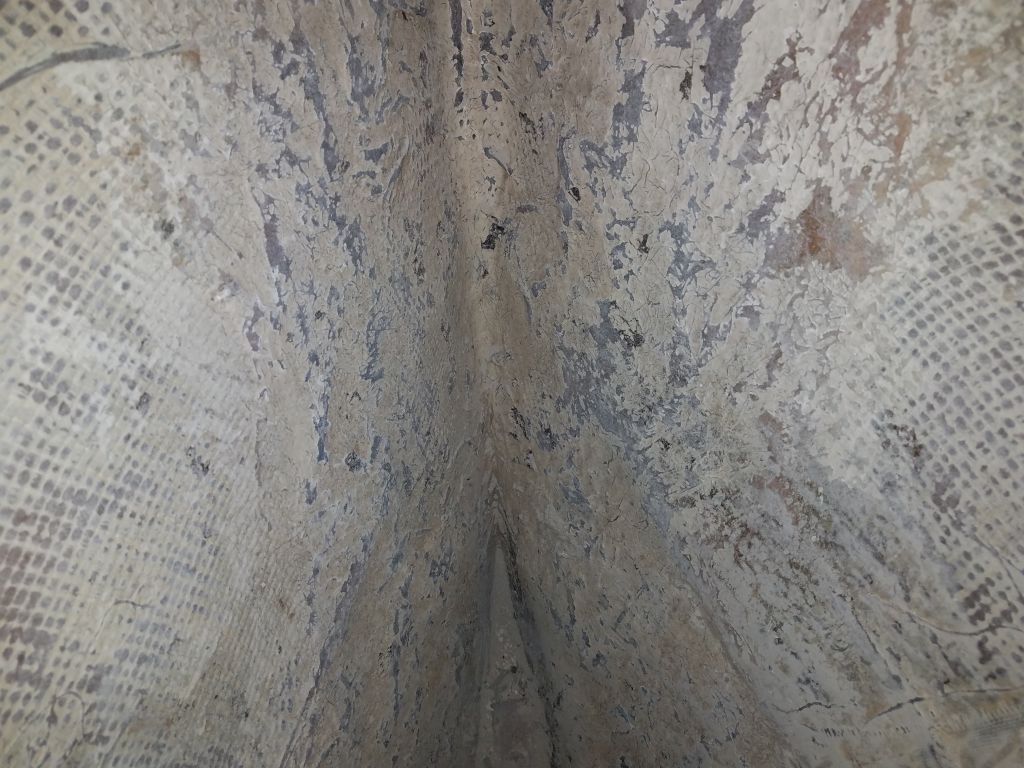
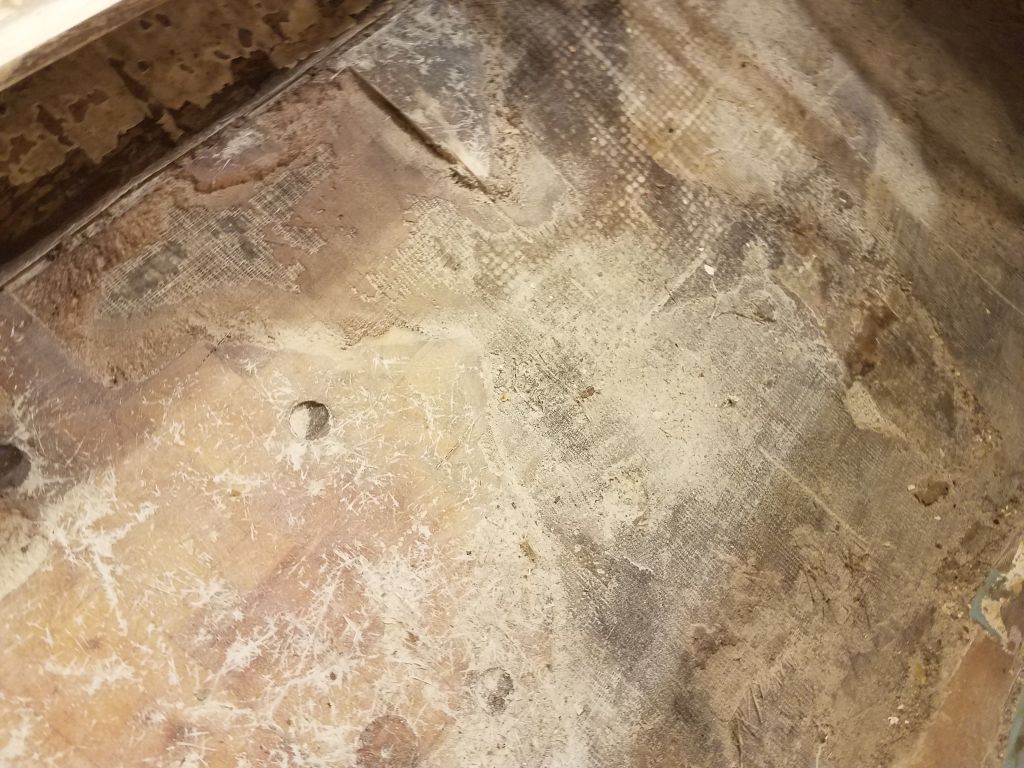
On the starboard side, the old skins and coring were pretty easy to remove, so poor was the core’s condition. With a cutting tool, I sliced through the top edge of the skin and along the edges as needed, eventually cutting the skin into large but manageable pieces that I could easily pry off. This took most of what remained of the core with it, and the leftovers were easy to scrape free of the hull.


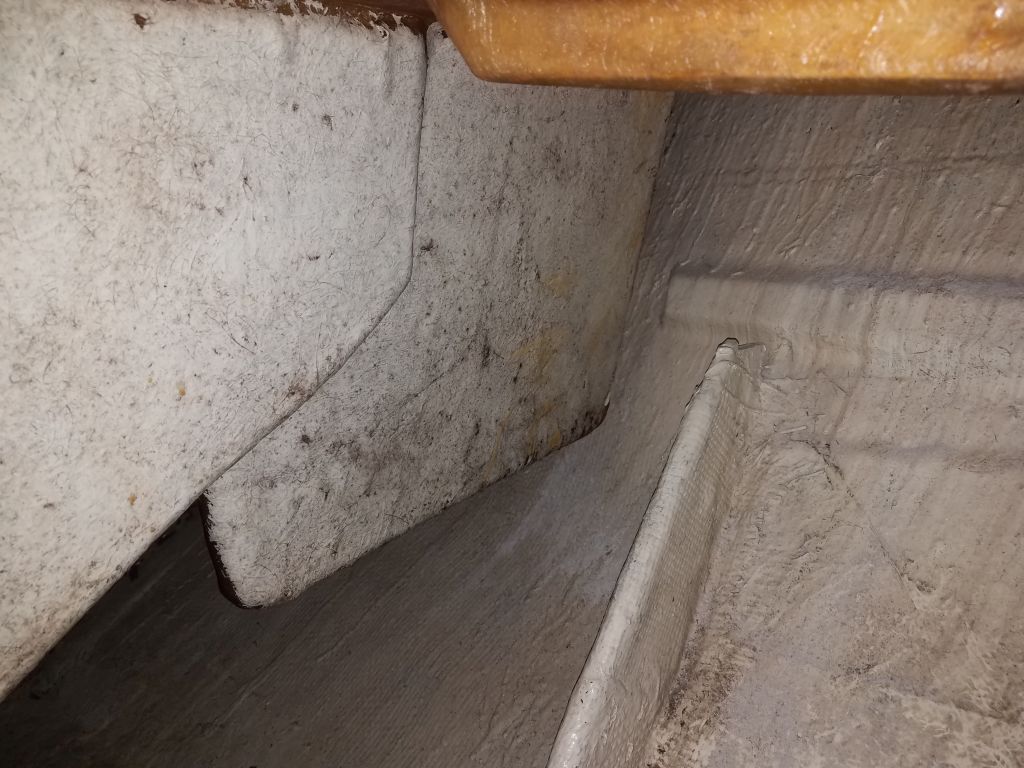
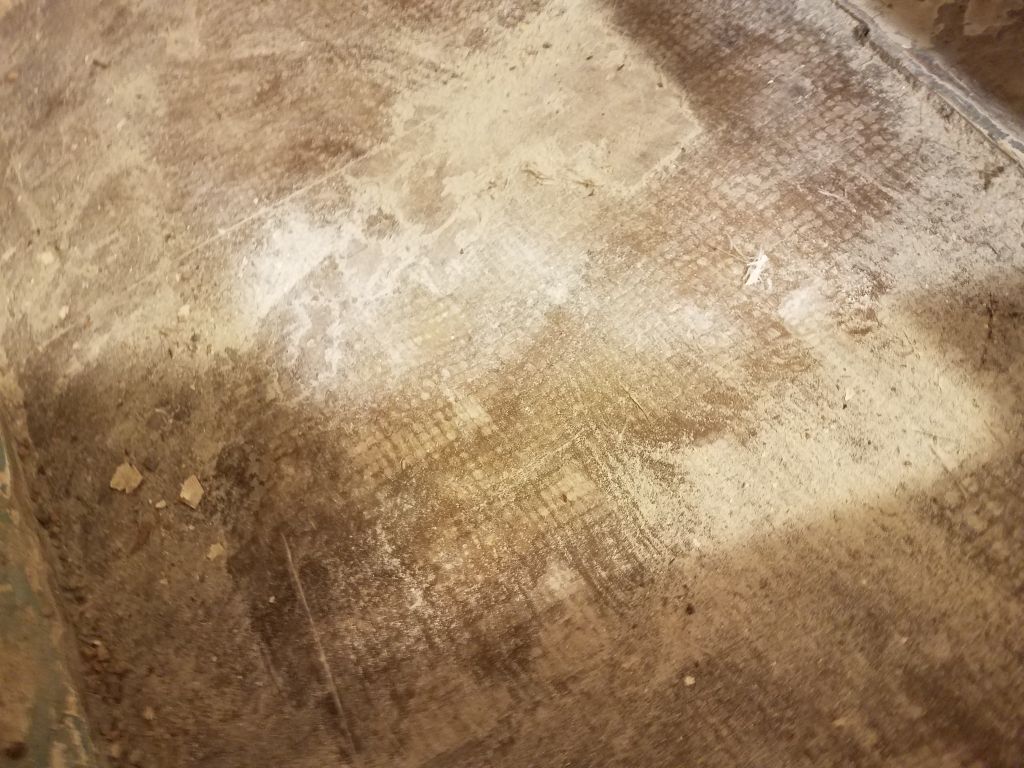
The port side, where everything was harder (this was the side that had received whatever major damage somewhere back in time, many of which repairs I’d already had to face and rebuild during the deck and exterior work), fought me tooth and nail. The coring was generally in as poor condition as to starboard, but in some areas there was much thicker fiberglass over the top–probably part of the previous repair cycle–and some of the coring was still well-stuck despite its poor condition. At some length and with effort, I eventually got most of the old core and top skin out, leaving some of the still-stuck areas for later removal with better tools (I didn’t want to stop and go down to get my core chisels right then).

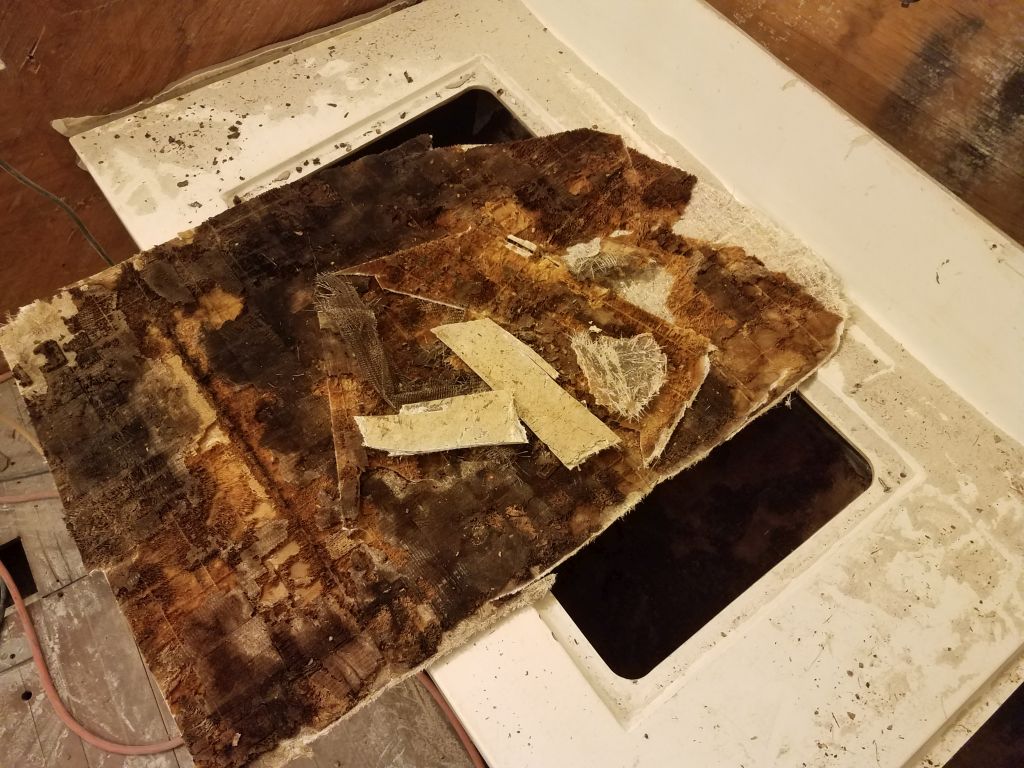
Afterwards, I did a quick initial cleaning pass over the insides of these lockers with my grinder, using a couple of worn-out discs for now as I’d used up my supply during the day’s efforts. This initial pass got rid of most of the leftover core scrim and loose bits, and some of the old paint, but I’d come back with fresh abrasives and finish up the job as soon as I could. For now, my work here was done.

Total time billed on this job today: 7.25 hours
0600 Weather Observation: 40°, rain. Forecast for the day: Heavy rain, 50s