February 25, 2020
Scupper 249
Tuesday
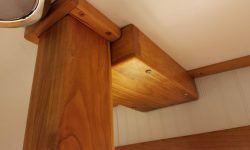
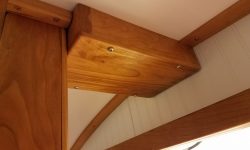
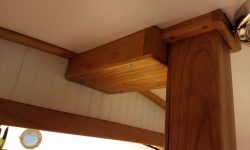
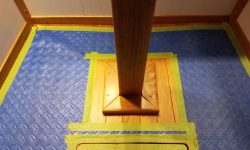
Over the past week or so, I’d finished up the varnish work on the trims for the compression post, including the replacement lower trim, the new upper trim, and the box to cover the mast wiring. Now, I installed the various trims to complete the work.
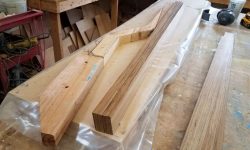
Next, I turned back to the tiller. In order to get the teak strips to conform to the required shape without breaking, I needed to reduce their thickness, so after milling several extras I planed all the laminations down to about 1/8″ in thickness, a dimension I’d earlier determined would just about meet the curvature.
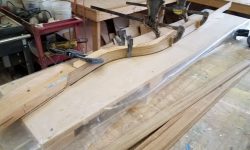
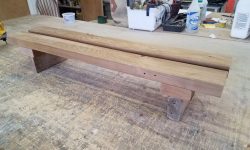
From here, I used a sacrificial lamination clamped against the raw tiller mockup to determine, first, whether the strip would bend to the exact shape (not quite) and, second, to what extent could I bend it. A comfortable bend turned out to be just slightly less severe than the curve I’d cut into the mockup, but close enough that the basic shape and function of the tiller would remain, so this was a fair (and required) compromise I could work with. I used the bent lamination to draw a new line on my plastic laminating board, and this would be the line to which I’d work going forward.
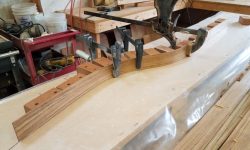
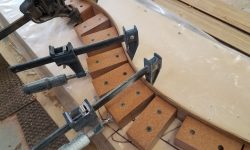
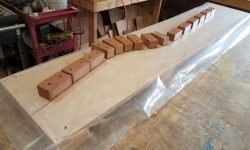
Using that line as a guide, I cut and installed with screws a series of blocks along it, using some scraps of the plastic lumber I’d used for the deck trim since it was nonstick (I hoped). Then, I test-bend another lamination against these blocks to confirm that I could make the bends required in the final step.
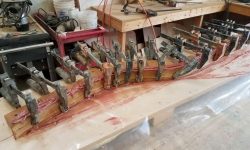
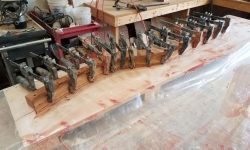
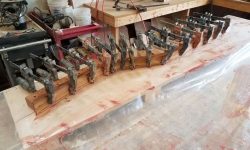
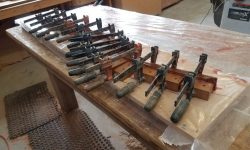
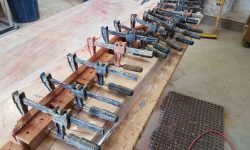
With 10 or 12 laminations required to make up the total bulk of the tiller, I decided to break the lamination into two stages, since that many strips would be hard to handle all at once with a complex curve like this. After final preparations and acetone-washing all the teak strips, I applied thickened epoxy adhesive to the first set of six laminations, then bent and clamped them to the form, creating lavish squeezeout. I had no issues bending them into place. I cleaned up the bulk of the excess, and made sure the top edges of the laminations were flush with one another and pressed tightly against the board beneath before cleaning up any final excess that I could, after which I left the jig alone for the epoxy to cure. I planned to leave the first round in the clamps for nearly 48 hours before proceeding with the second round of laminating.
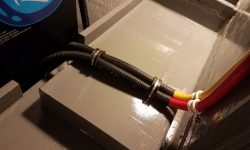
With the engine room and battery areas repainted, it was time to move on with the final steps towards engine battery installation. To begin, I reinstalled the large cables across the center of the platform; I’d unclamped these earlier to allow room for a large wooden cleat in the center, between the two sets of batteries on the centerline shelf. I tested battery boxes in all the locations to be sure they fit properly within the new cleats.
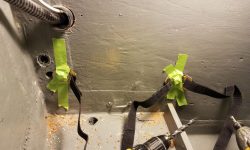
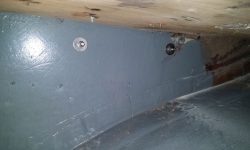
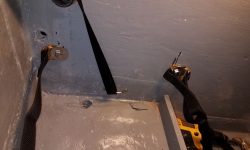
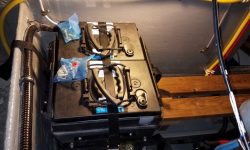
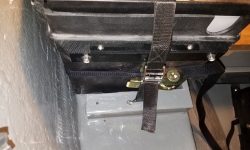
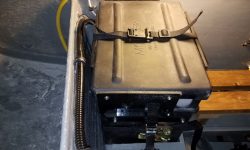
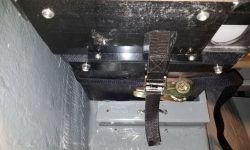
Starting with the port outboard battery location, I used the battery box to mark locations for the ratchet strap and hold-down strap, then installed the ratchet strap with bolts through the bulkhead into the space beneath the galley. I used tape to hold the bolts on one side so I could get the nuts and washers started on the other. I installed the brackets for the hold-down strap with screws to the bulkhead on the forward side, and to the after cleat behind.
I had originally thought of pre-installing all the straps first, before getting the batteries in place, but instead I decided to do it more piecemeal, both to spread out the work with the heavy batteries and to get the hardest installation–this port outboard location–completed first. I’d been thinking through the complications of installing the batteries in this tight space for weeks. There was no way to put the box in first and then lift in the batteries, as there was no direct overhead access and the batteries were far too heavy to lift from any of the possible contorted positions one might force themselves into, so all along I knew I’d have to pre-install the batteries in their boxes, then get the 200-lb combined units into place from there. This meant basically sliding them into place.
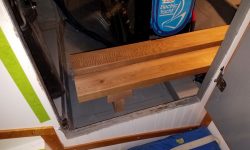
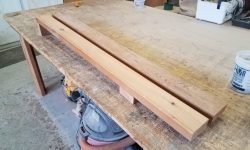
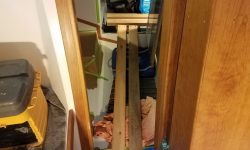
To this end, I built a couple simple platforms from scrap construction lumber: First, a platform that spanned the center battery shelf from the engine room door to the port side, and built to a height that was just above that of the battery box cleats; second, a similar platform/ramp to run from the head doorway up to the engine room and the other platform. These platforms would allow me to move the filled battery boxes around and over the various obstructions to their destinations.
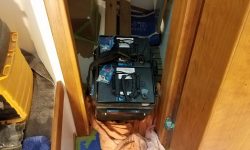
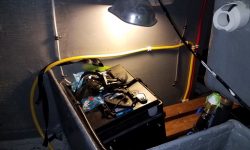
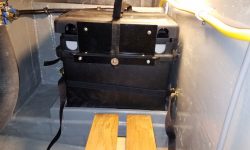
Over the past week, I’d gotten all the remaining eight batteries up to the cockpit, and now I lowered two of them into the cabin, and from there placed them in an awaiting box that I preset on the engine room ramp. With a slight uphill slope, it wasn’t easy to push the laden box, but it was possible, and soon I had the box in the engine room, where on the flat platform it was quite easy to push the box over to the port outboard side and get it started in the nest between the cleats.
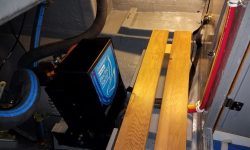
The cleats were tight enough that I had some trouble getting the box to fit inside properly. The issue was that I needed to lift the far (bulkhead) side a bit to get the aft end in. Working from the port cockpit locker–the only way I could directly access the space–I tried various things, all of which were complicated by the weight of the batteries and the lack of overhead access, but the box kept hanging up on the bulkhead. By the same token, I couldn’t edge the box in sideways either (as seen in the photo above). Access was too tight, and the batteries too heavy, for me to do the relatively simple maneuver required.
At length, I decided I needed to rig up a little block and tackle on the bulkhead, which would allow me to pull up that side of the box as required for it to fit (note that I knew the box fit, as I’d tried it earlier when it was empty). After rounding up a padeye, some line, and the block and tackle, I prepared to set things up, starting with a line around the cleat I’d installed on the front of the battery box (to accept the lid). To my astonishment, as I looped the line beneath the cleat and started to make preparations to tie it off somehow, the box just popped into position. Done.
This was a great relief, as I’d been fussing with the box for some time, and in the end I was saved the extra work of installing and then dismantling some kind of lifting system. I expected the remaining three boxes to be much easier to get in place, and I always knew the port outboard location would be toughest simply because of its access issues, so it was a victory after a long afternoon.
Now I could finish up securing the battery with the ratchet strap and overhead hold-down strap, and then finish up the lid as well, marking and cutting clearance notches for the hold-down strap as needed. I’d pre-installed the light strap to secure the lid itself before I put the box in place.
Total time billed on this job today: 8.25 hours
0600 Weather Observation: 32°, cloudy. Forecast for the day: Mostly cloudy, 47°


