


February 12, 2019
Scupper 78
Tuesday
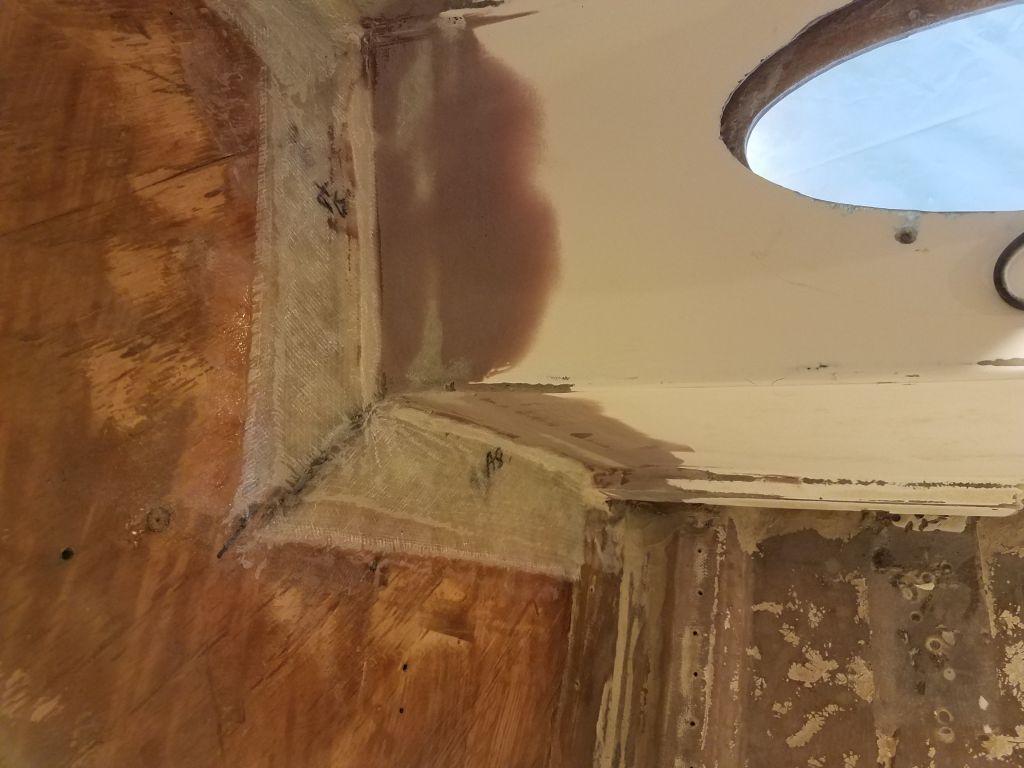
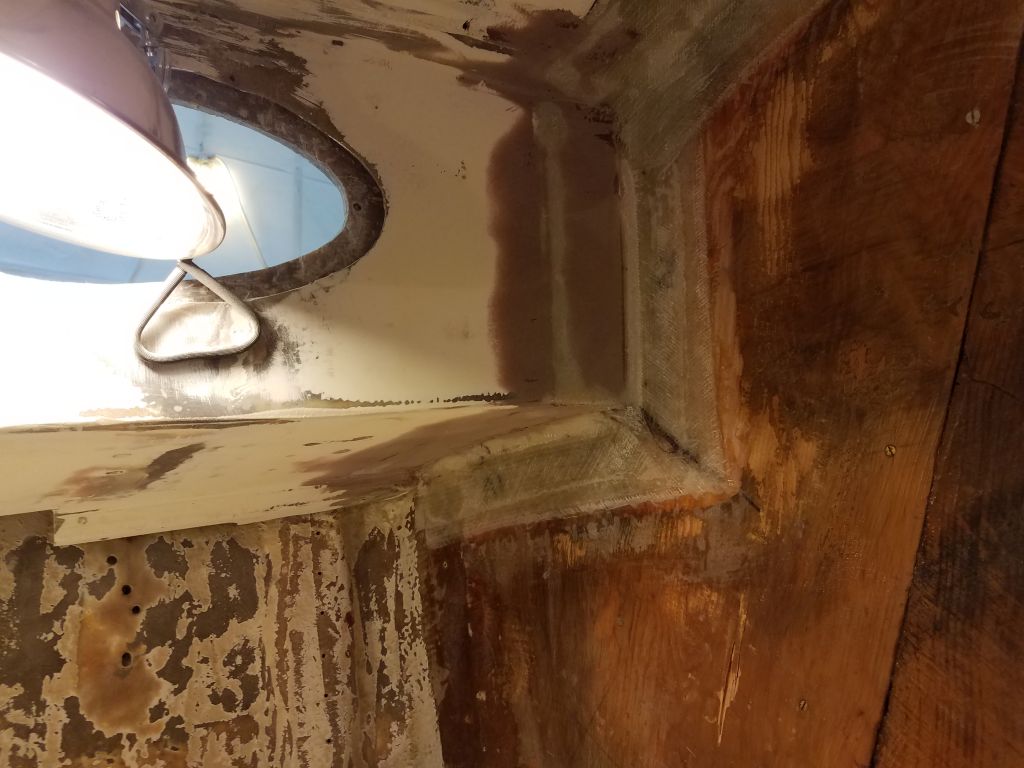
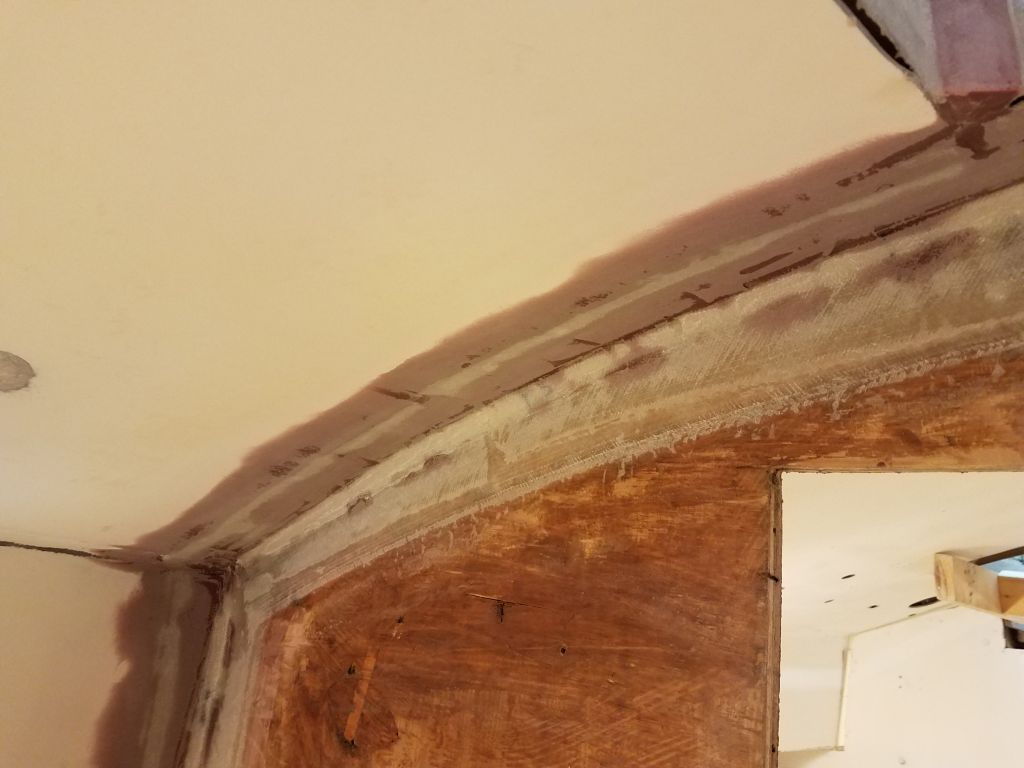
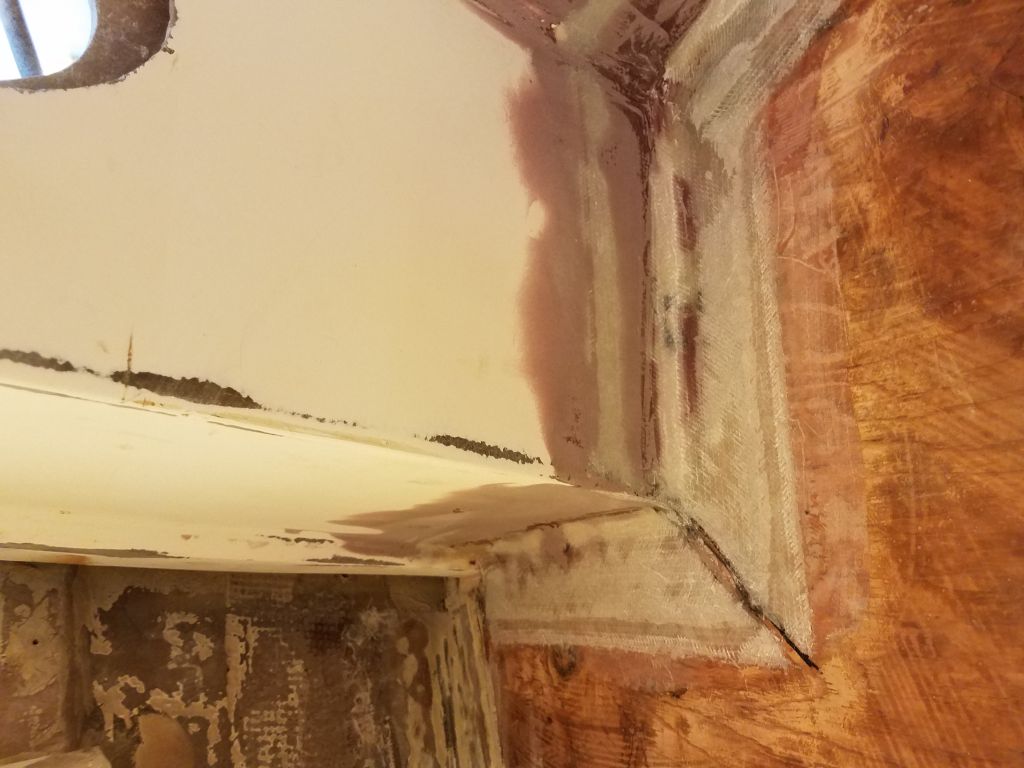
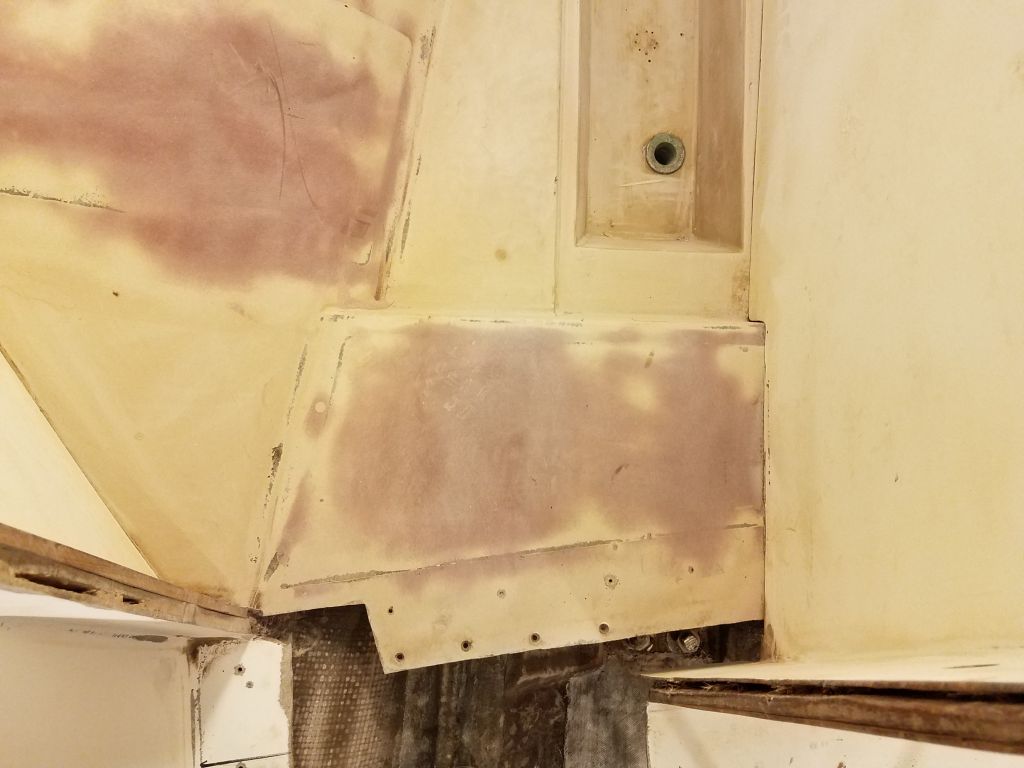
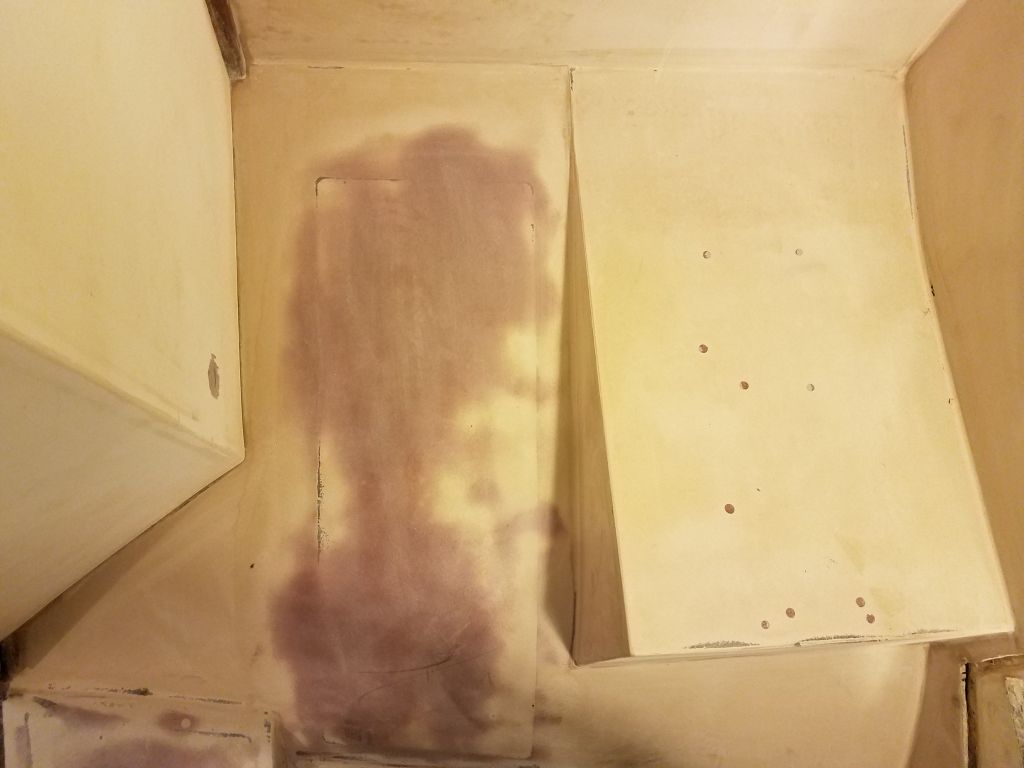
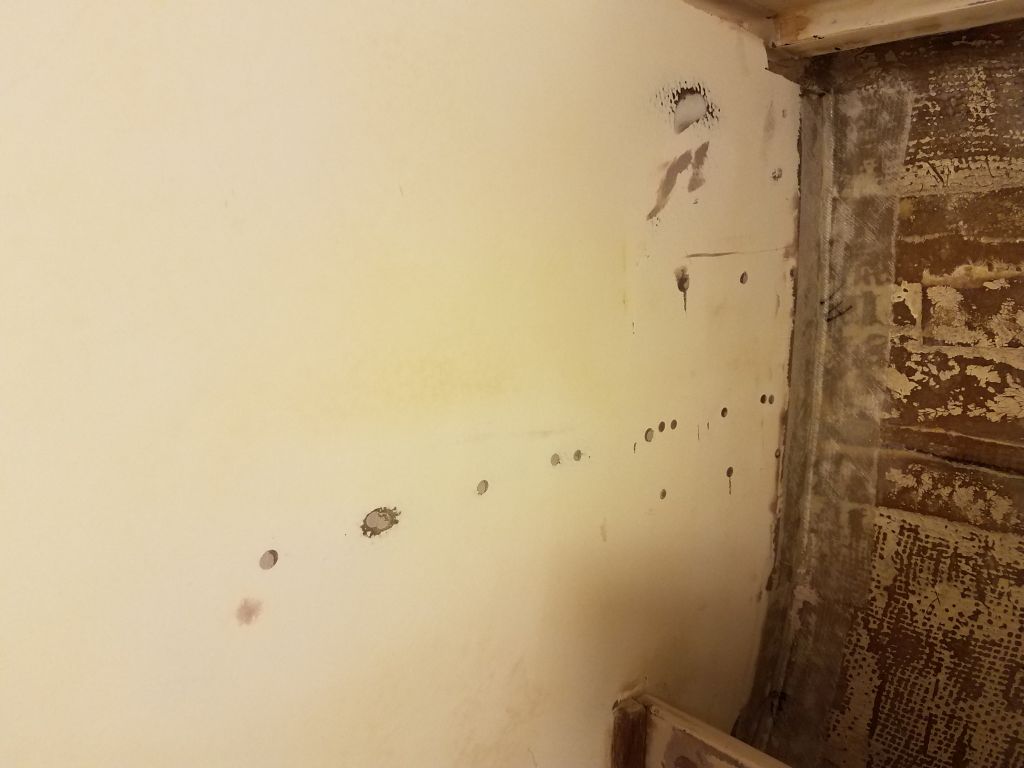
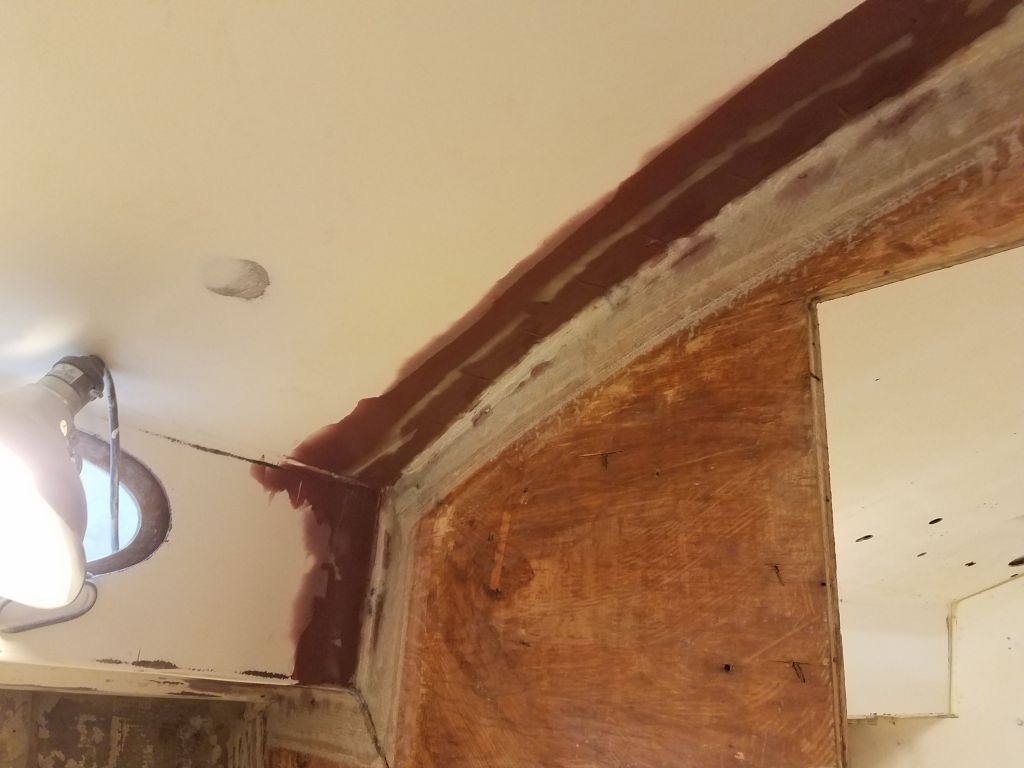
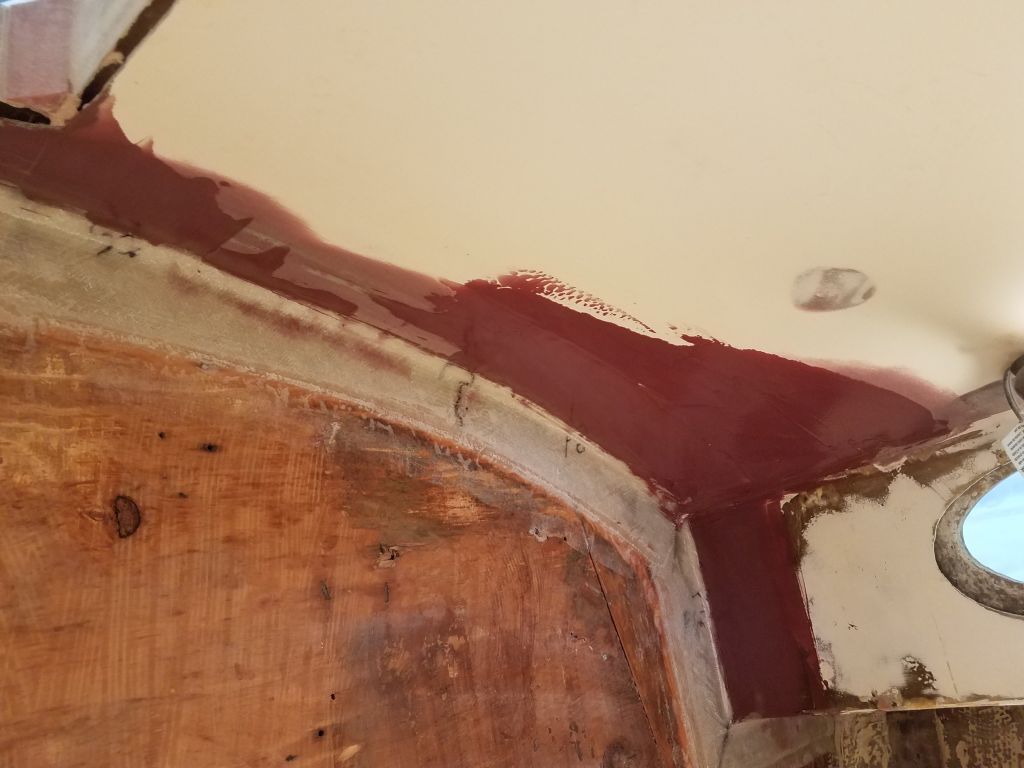
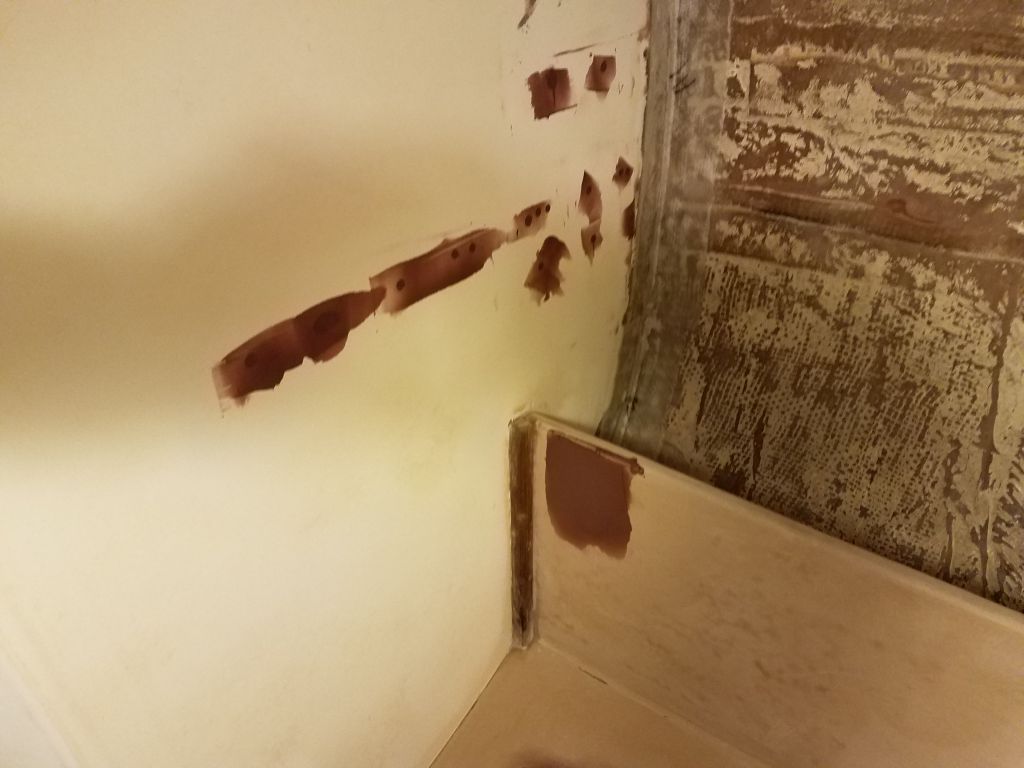
In the ever-continuing process of bulk surface prep, I started the day once more with the sander, and sanded all the new fairing compound I’d applied over the bulkhead tabbing and in the head.
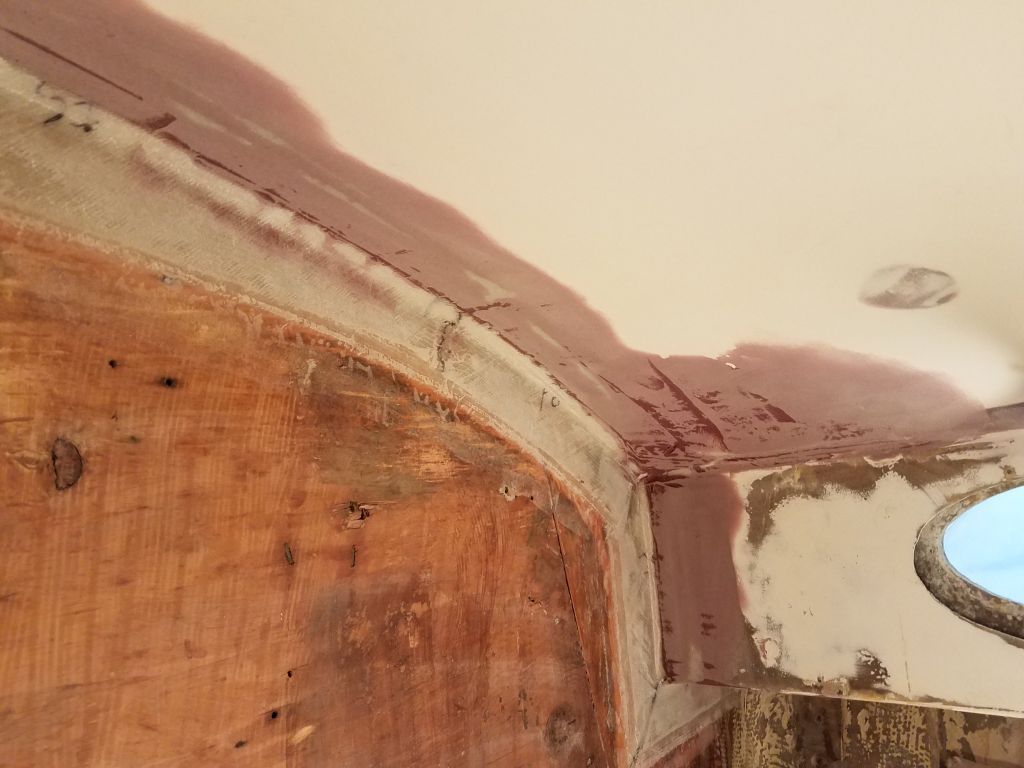
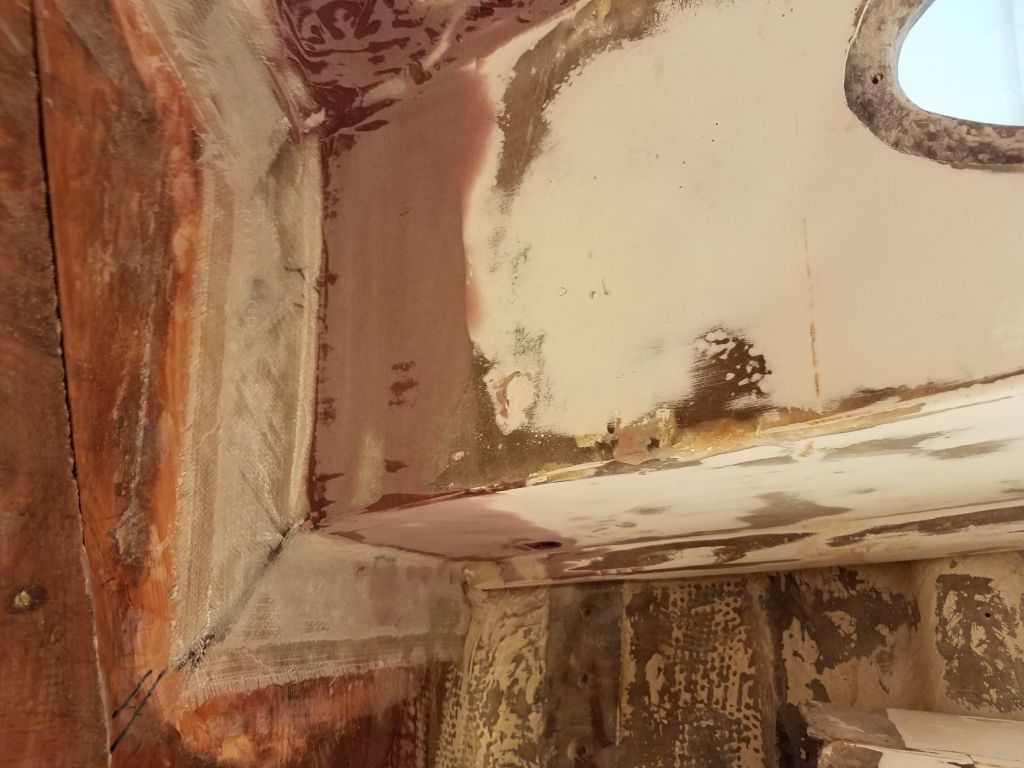
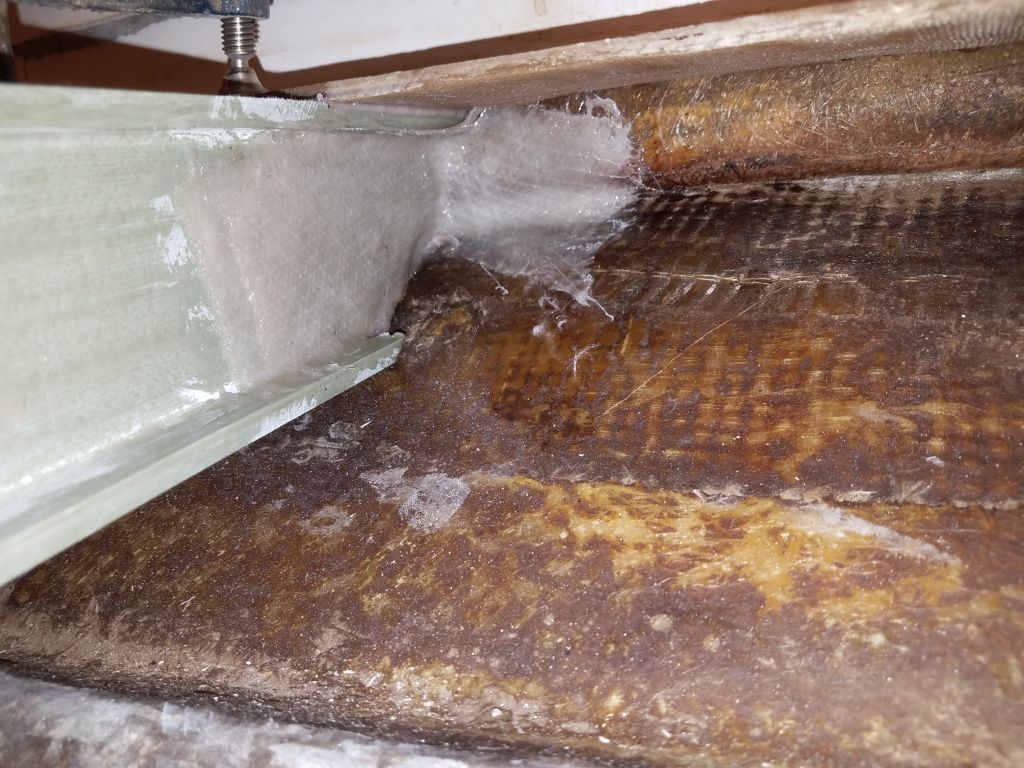
In the main bilge, I lightly sanded the new fiberglass I’d installed, and cleaned up the new mast step base.
After cleanup, I spot-applied additional epoxy filler in areas of the tabbing and head as needed.


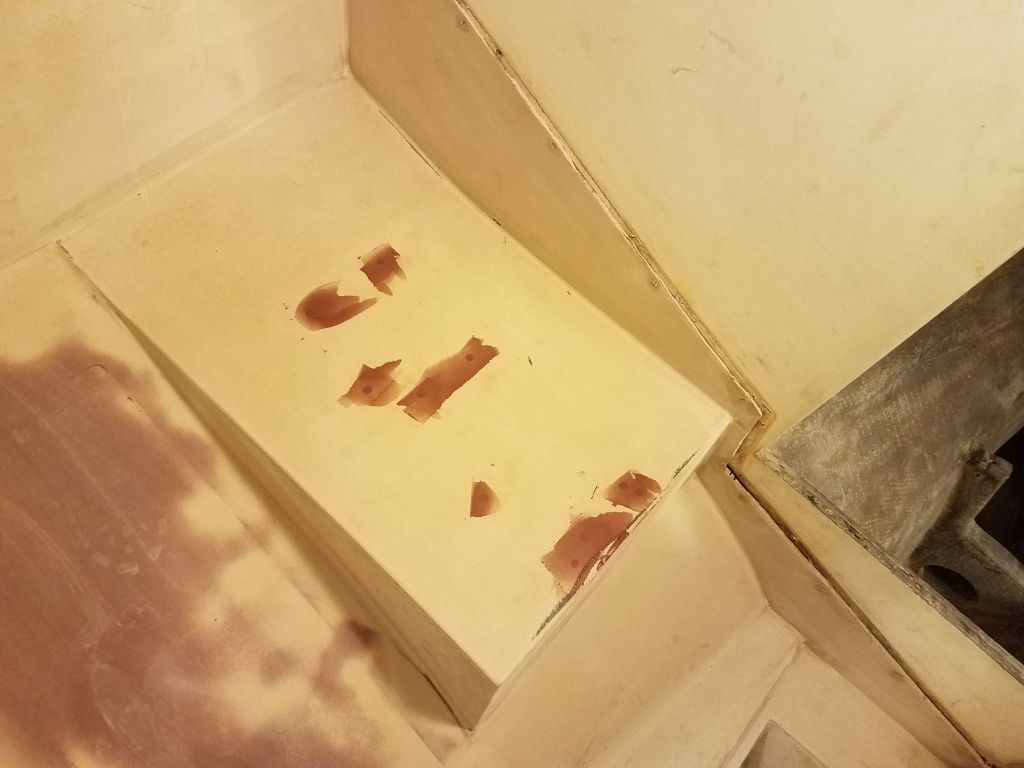

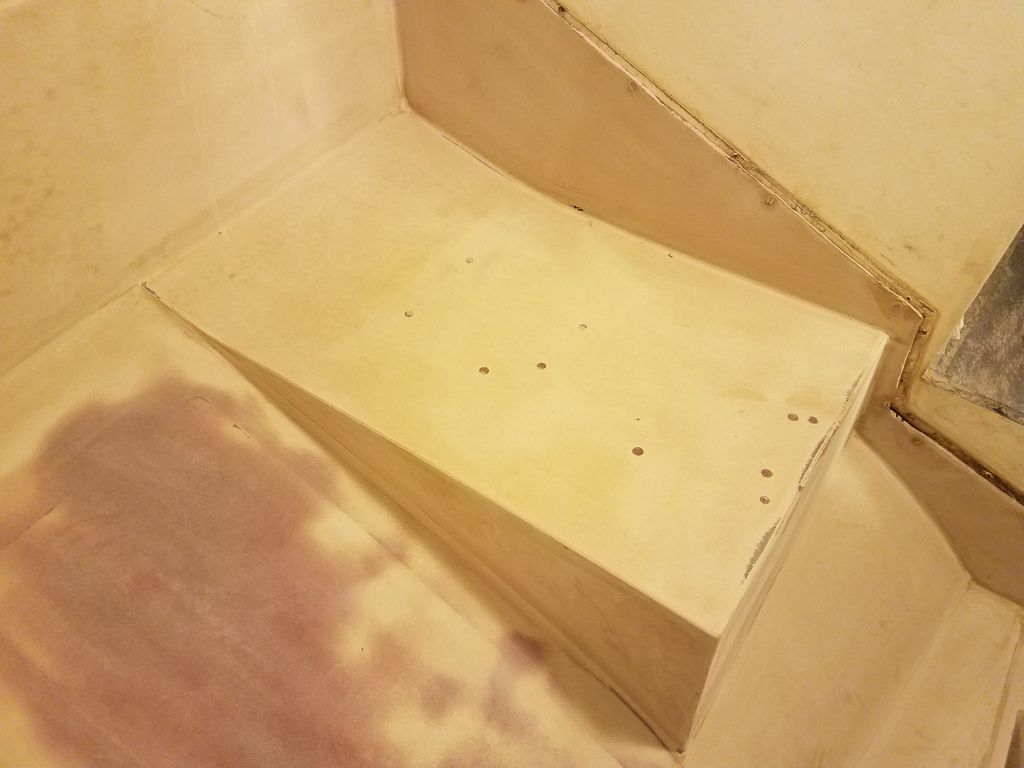
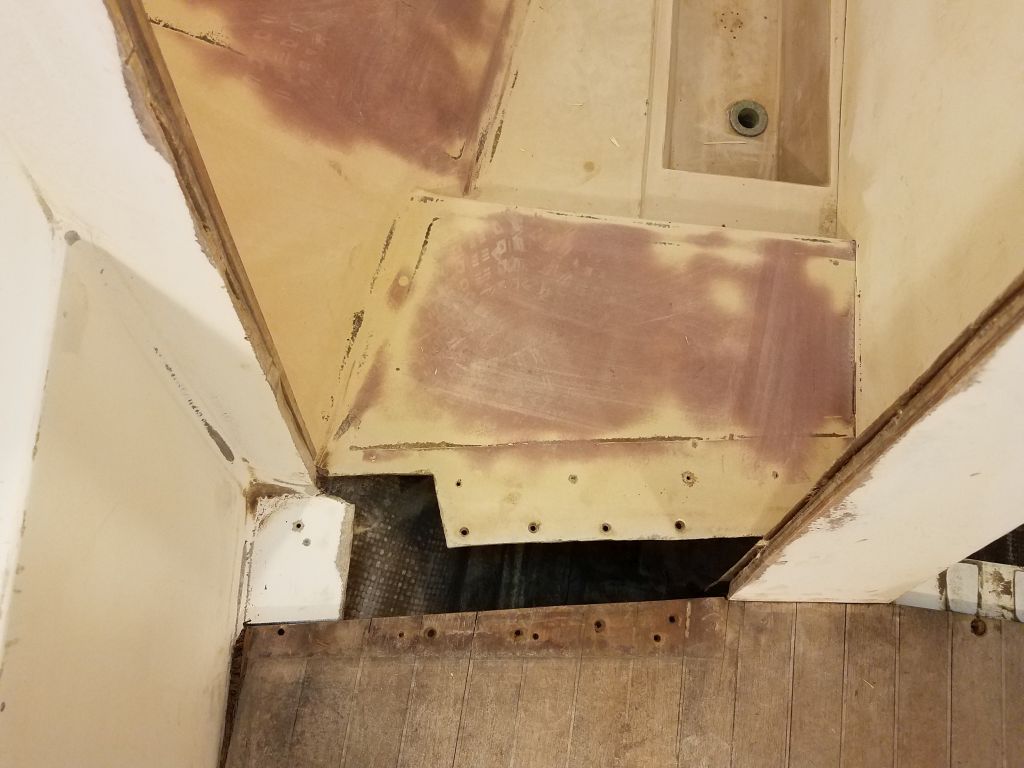
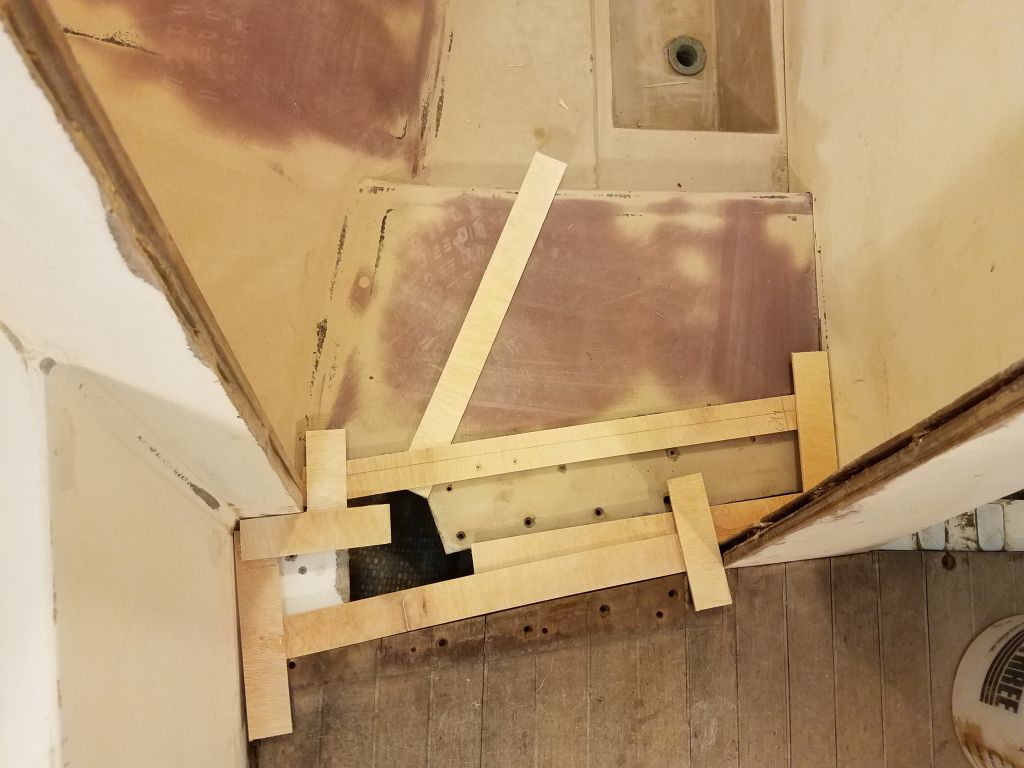
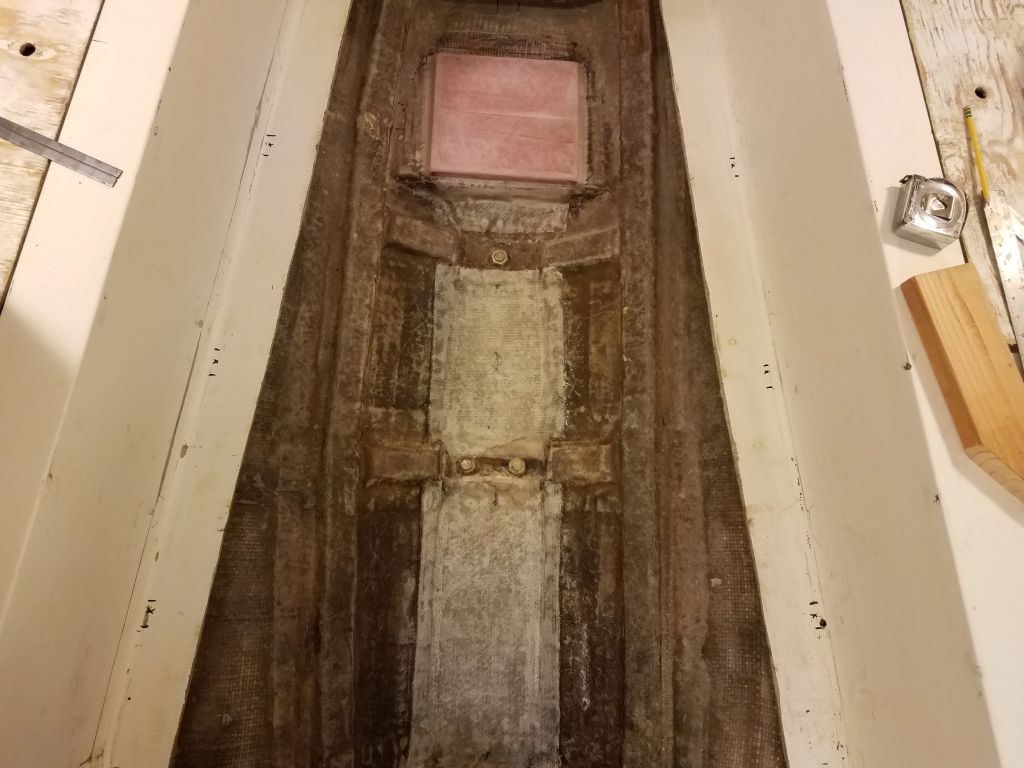
The existing cabin sole had ended shy of the entry into the head, and I wanted the new substrate to extend further aft to better transition between these two areas. So I used narrow strips of cheap plywood and a glue gun to create a rough, basic template of the shape; because of the way this wrapped around the center portion of the liner, on the inboard side of the door opening, I wasn’t sure I’d be able to build the new sole to fully enclose the area like my template, but at the very least I could extend it straight back through the doorway. I chose to build this template now because I had hoped I might get to cut the new sole plywood later in the day, but as it happened I didn’t have time.
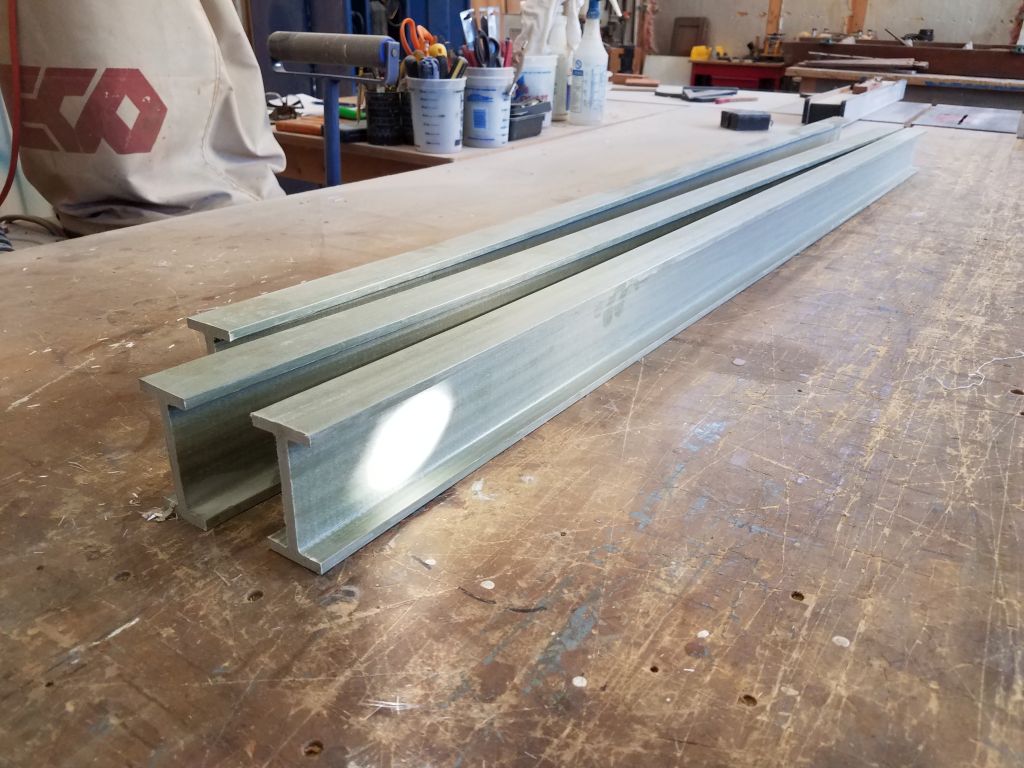
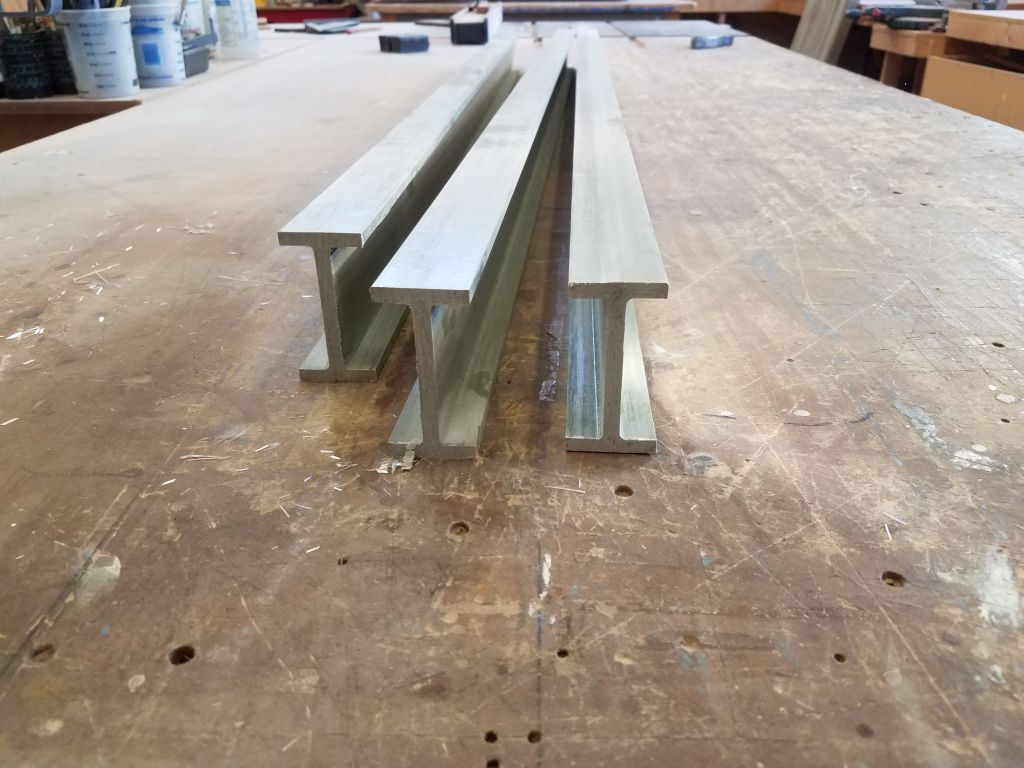
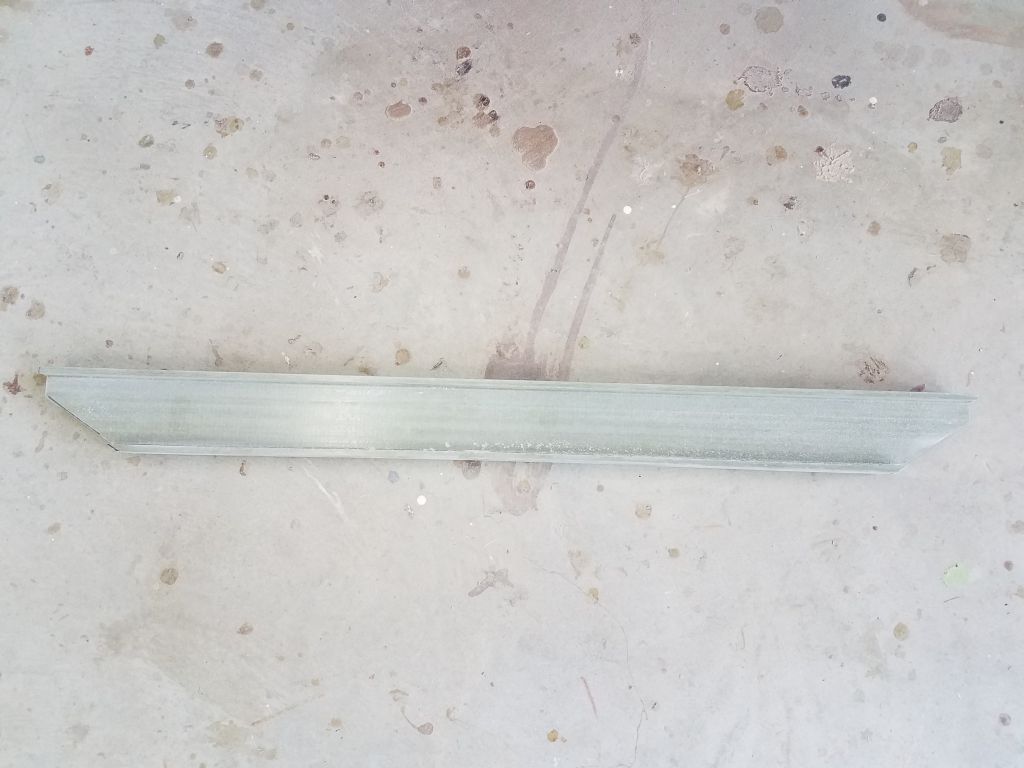
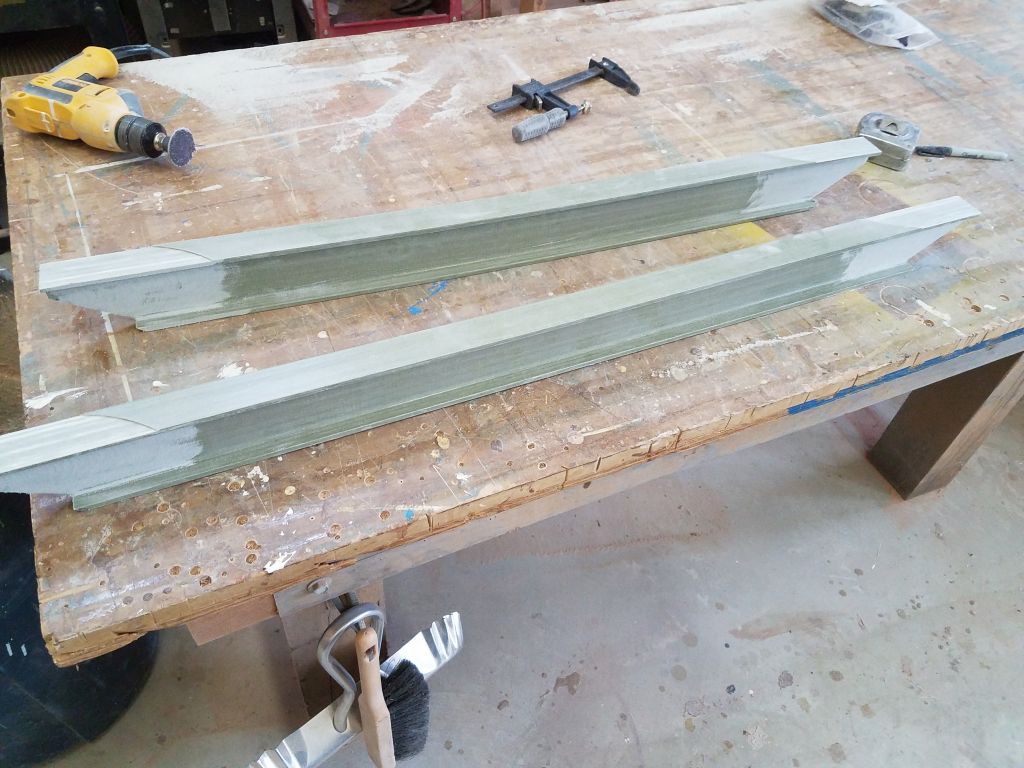
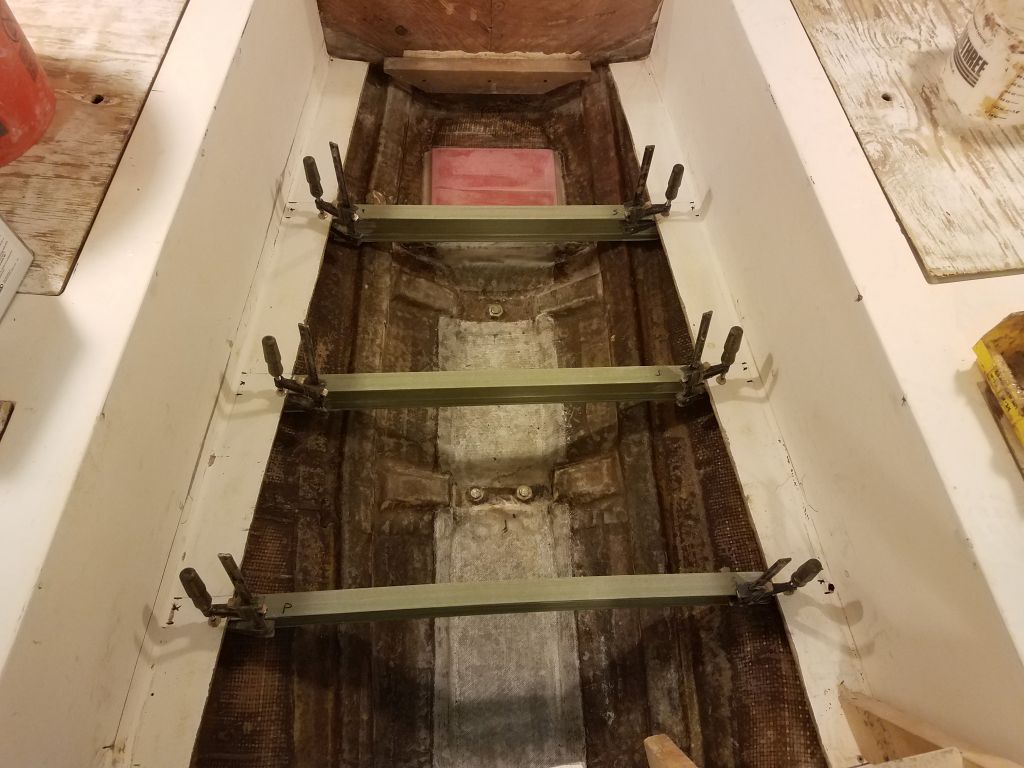
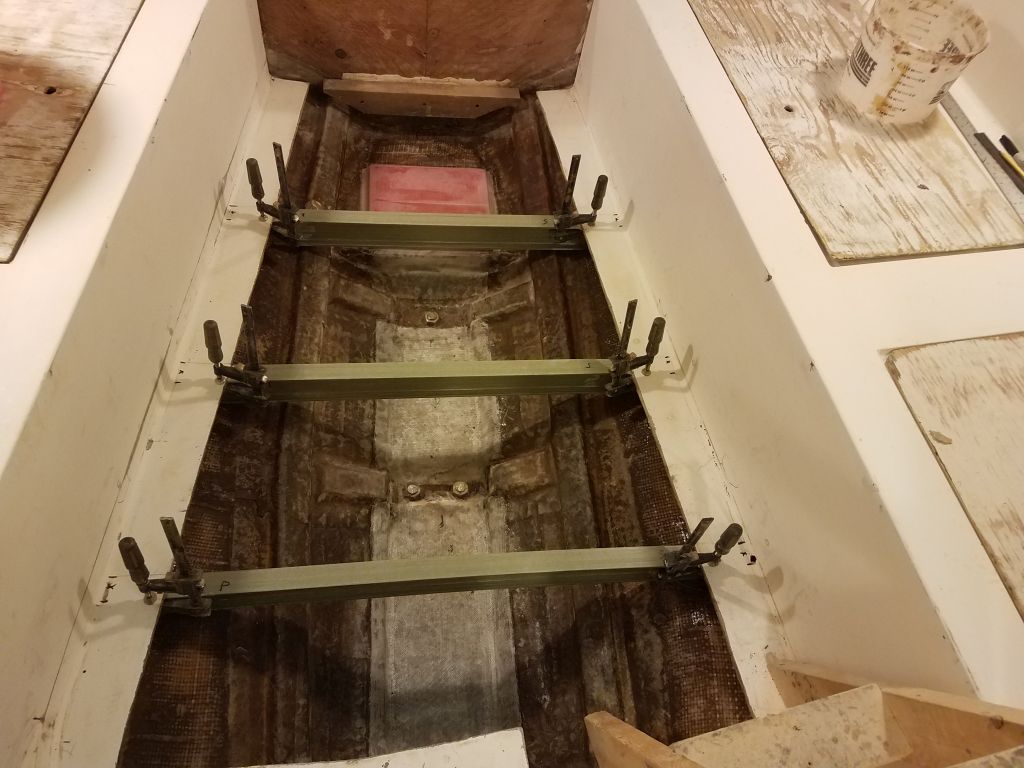
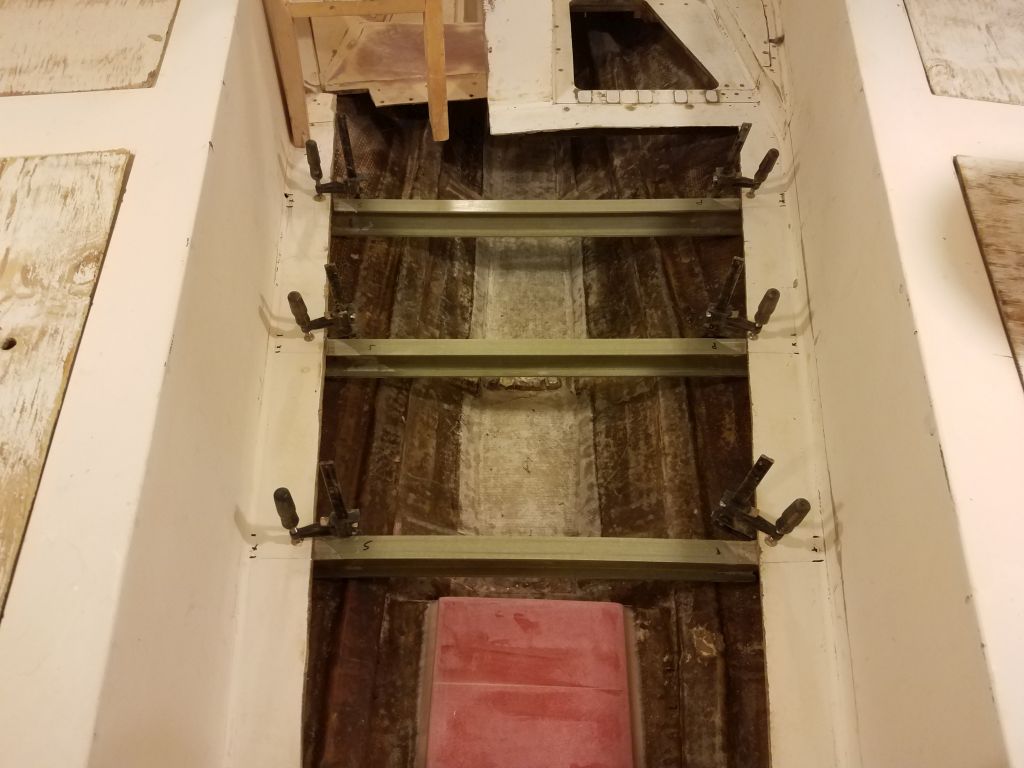
To provide support for the new cabin sole (which I planned to build from 18mm marine plywood eventually overlaid with cherry planks), I chose to use these 3″ x 1-1/2″ x 1/4″ fiberglass I-beams, which would be very strong and stiff, and of course not subject to moisture issues in the typically damp bilge.
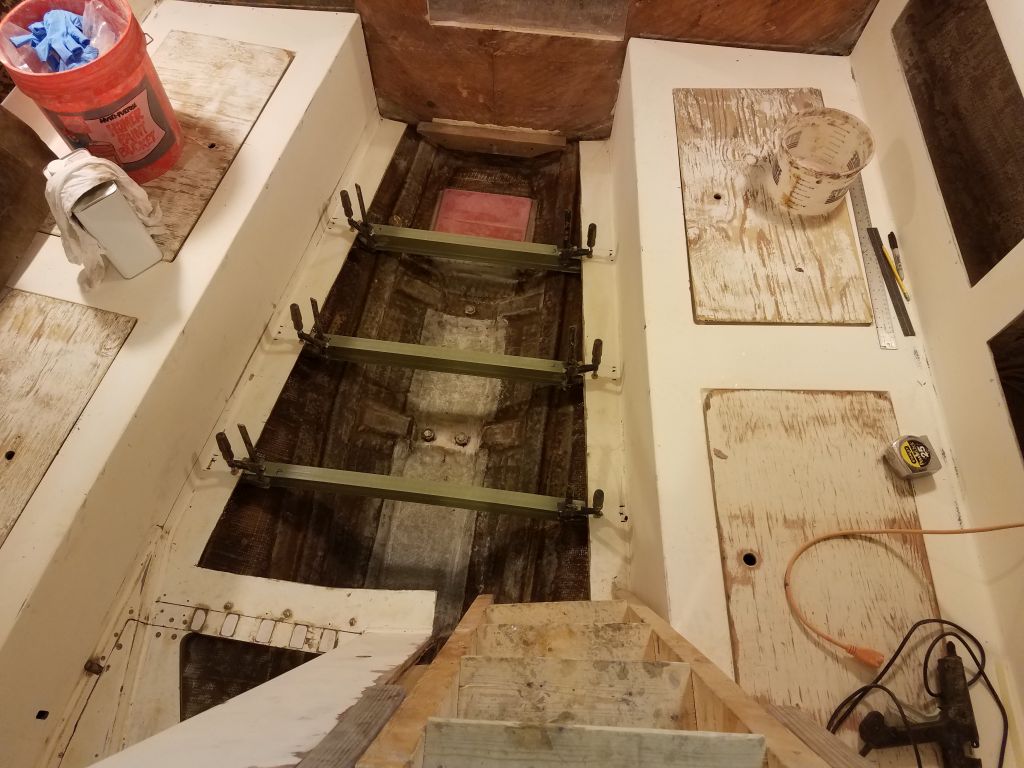
Starting at the main bulkhead and using it as my my measuring reference, I laid out positions for three beams across the bilge area. I positioned the forwardmost beam just aft of the new mast base, and evenly spaced the remaining two over the remainder of the space leading aft. This left sufficient space for a hatch in the location of the original one, and the overall positions of the beams would well support the new sole.
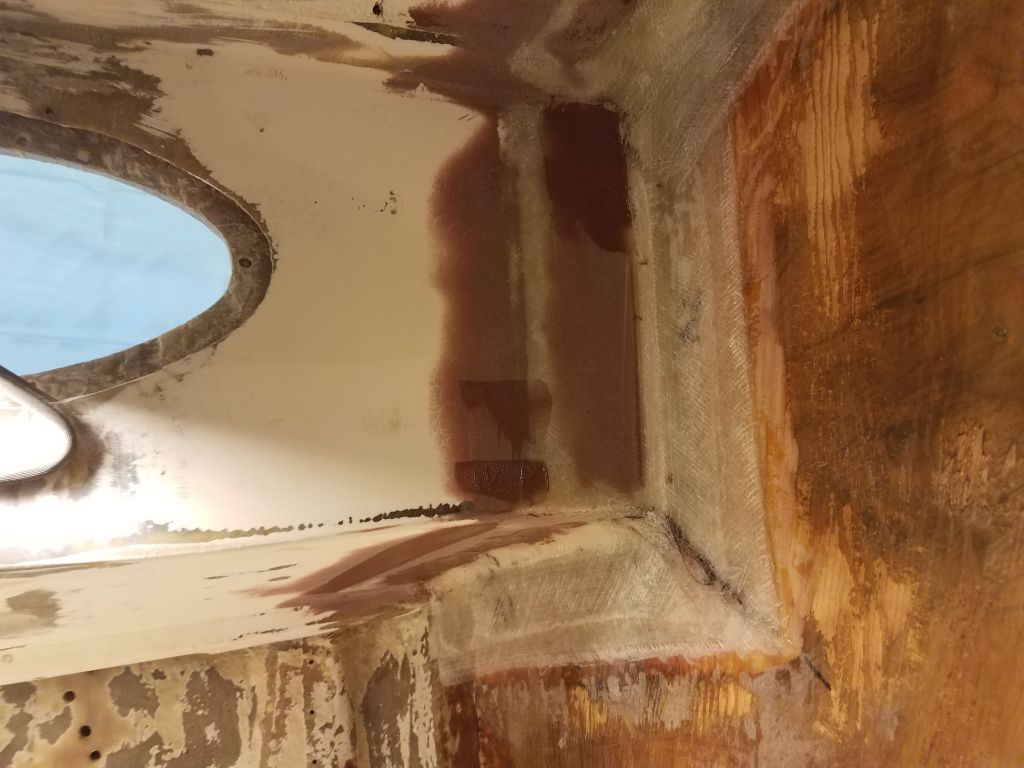
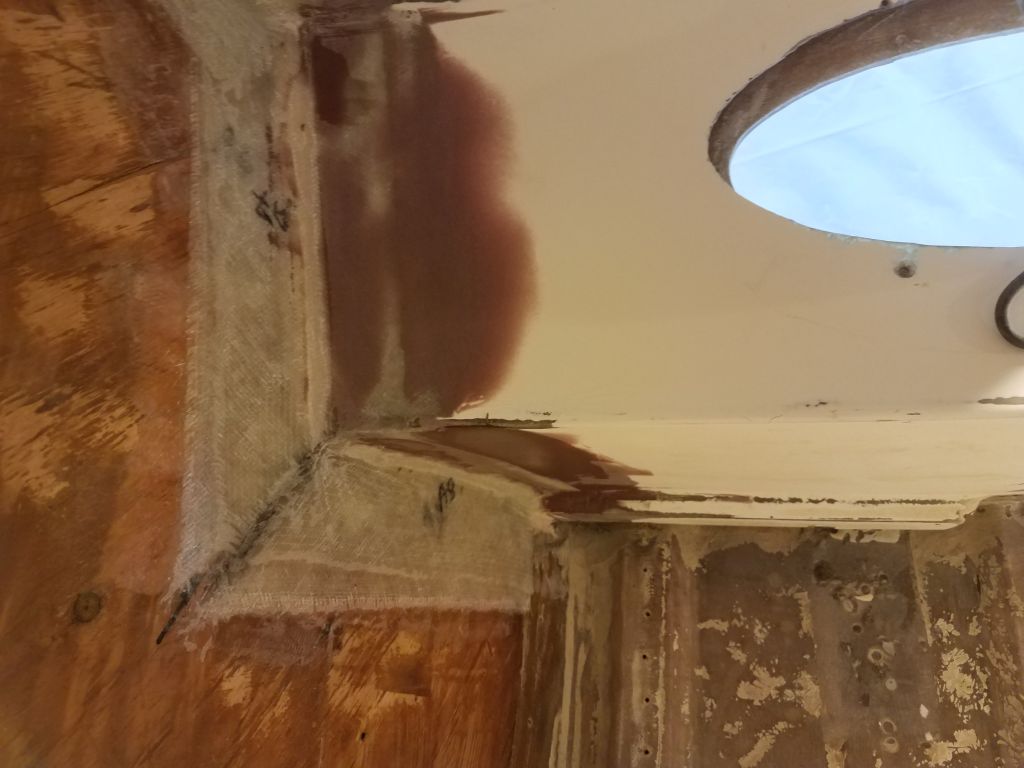
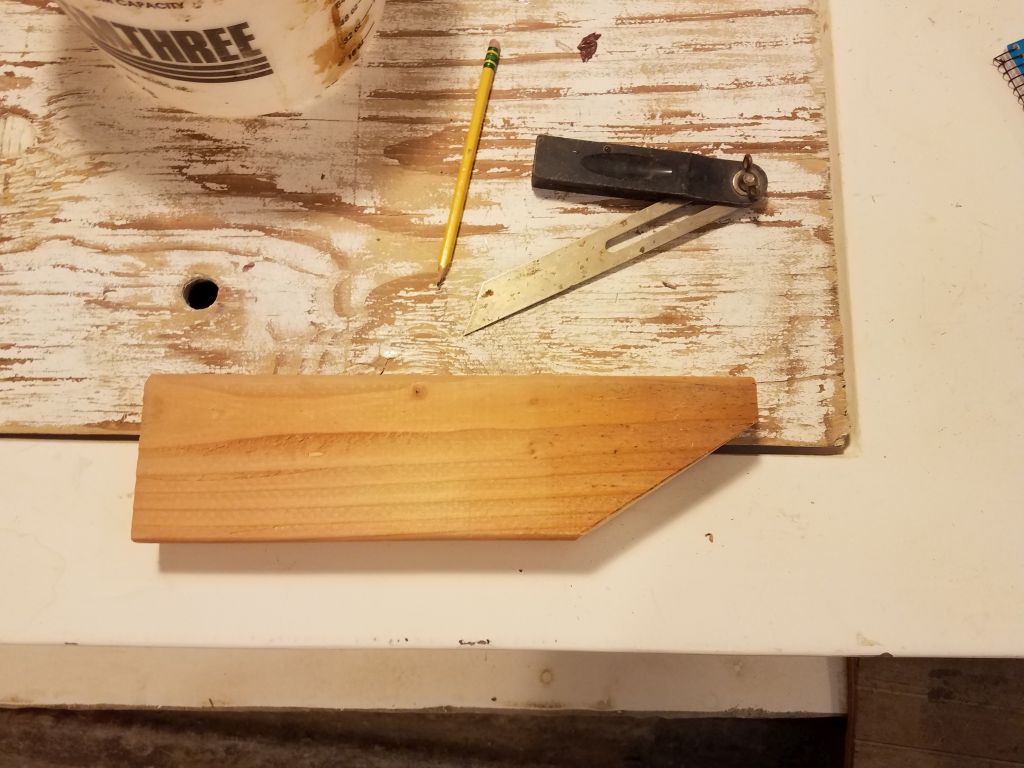
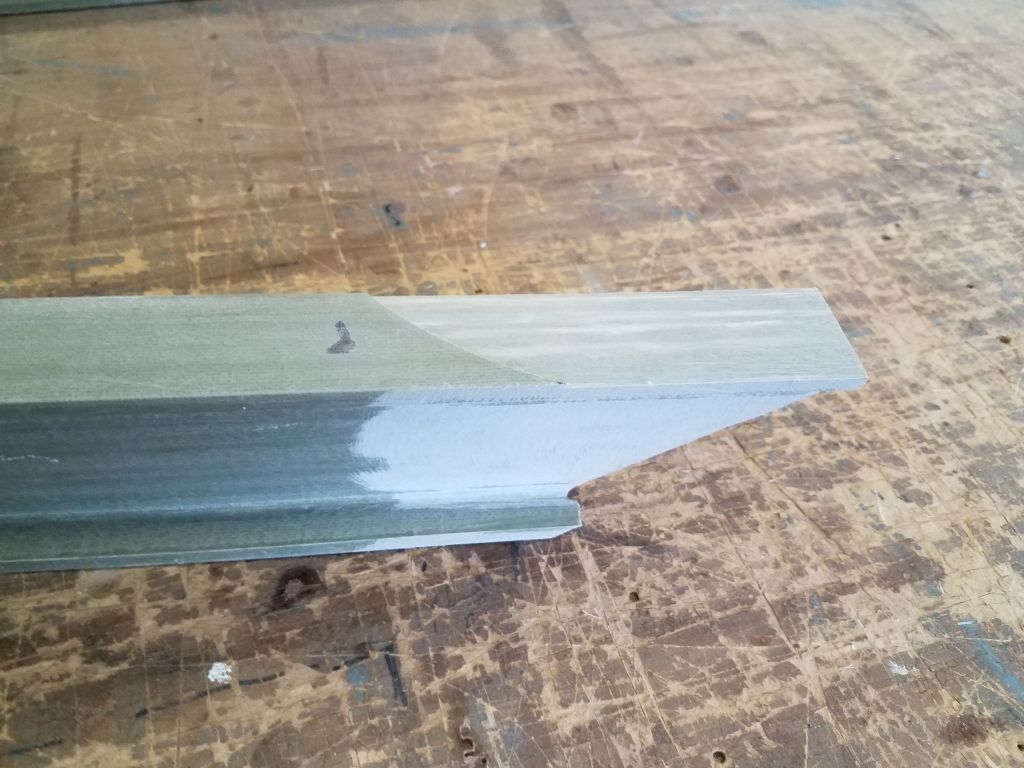
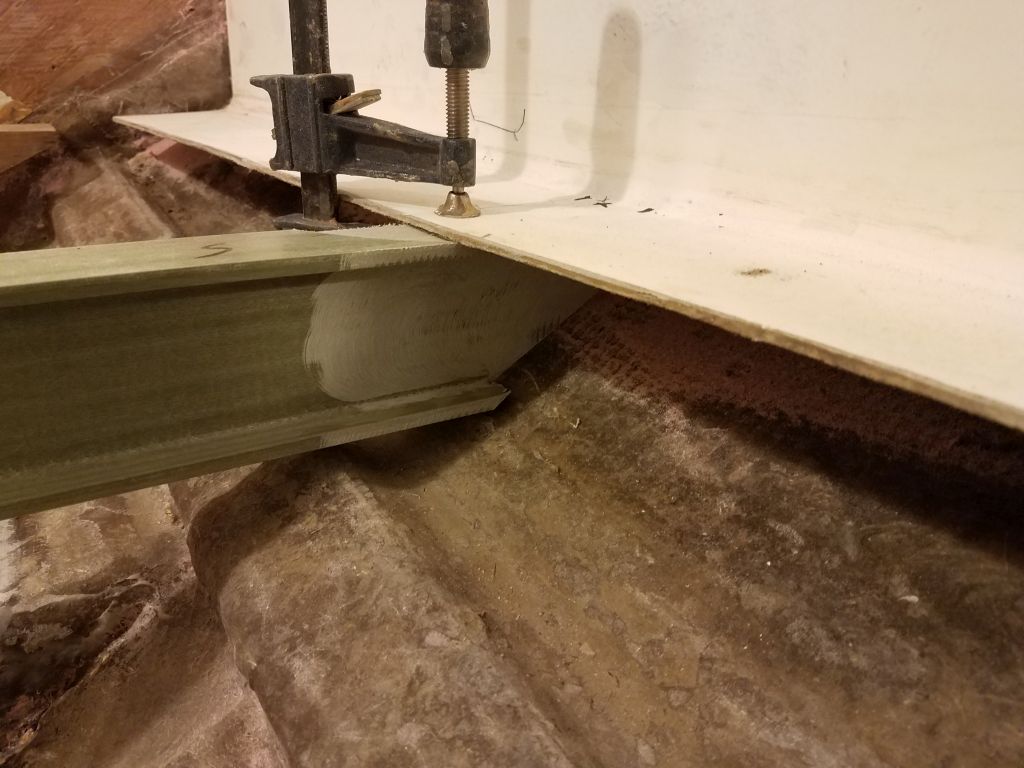
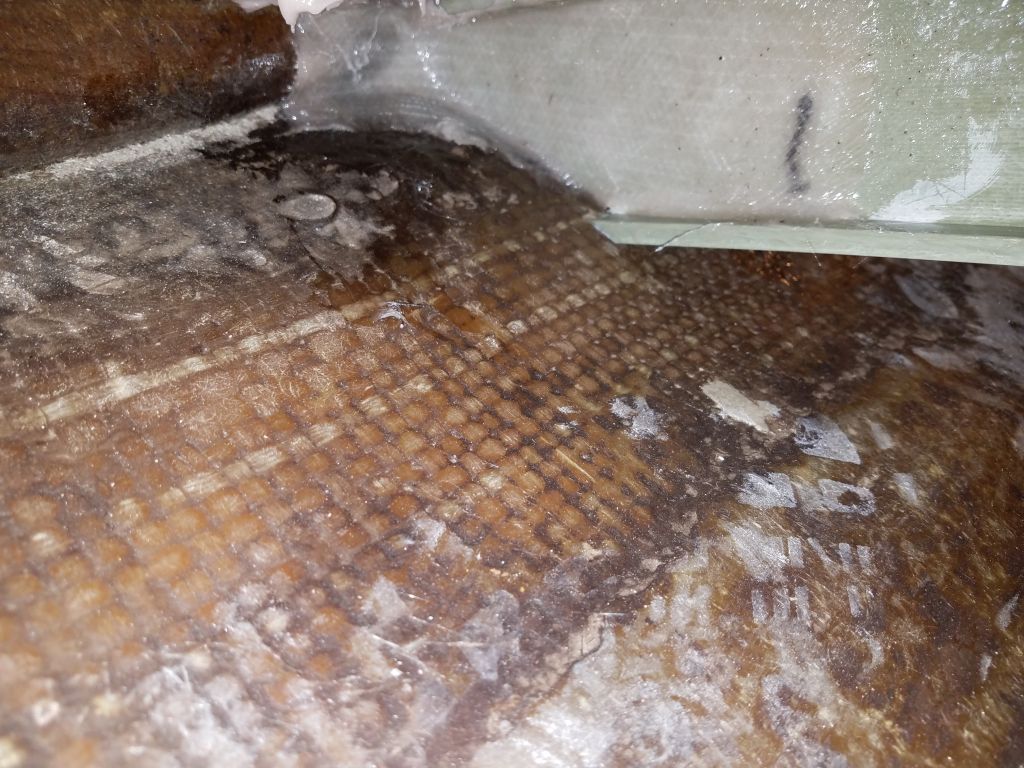
The beams would rest beneath the overhanging settee flanges at the edges, and needed angle cuts on their ends in order to accommodate the shape of the hull. I used a bevel gauge and scrap 2×4 to rough out the angle required (the same angle would work well enough in all locations).

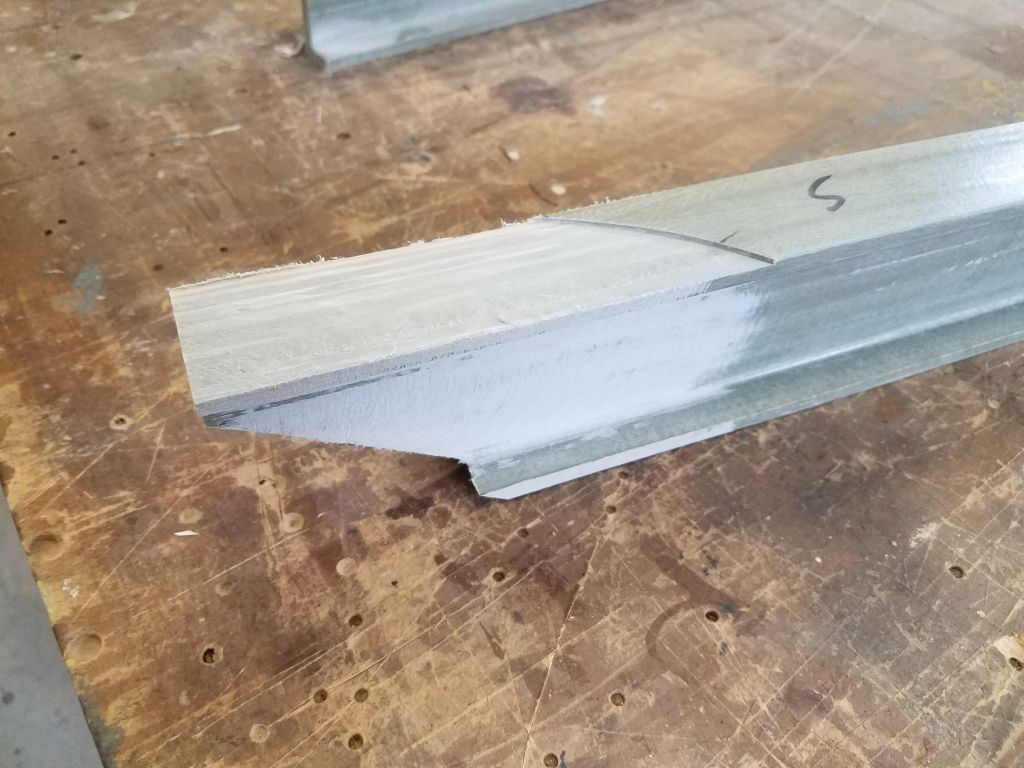
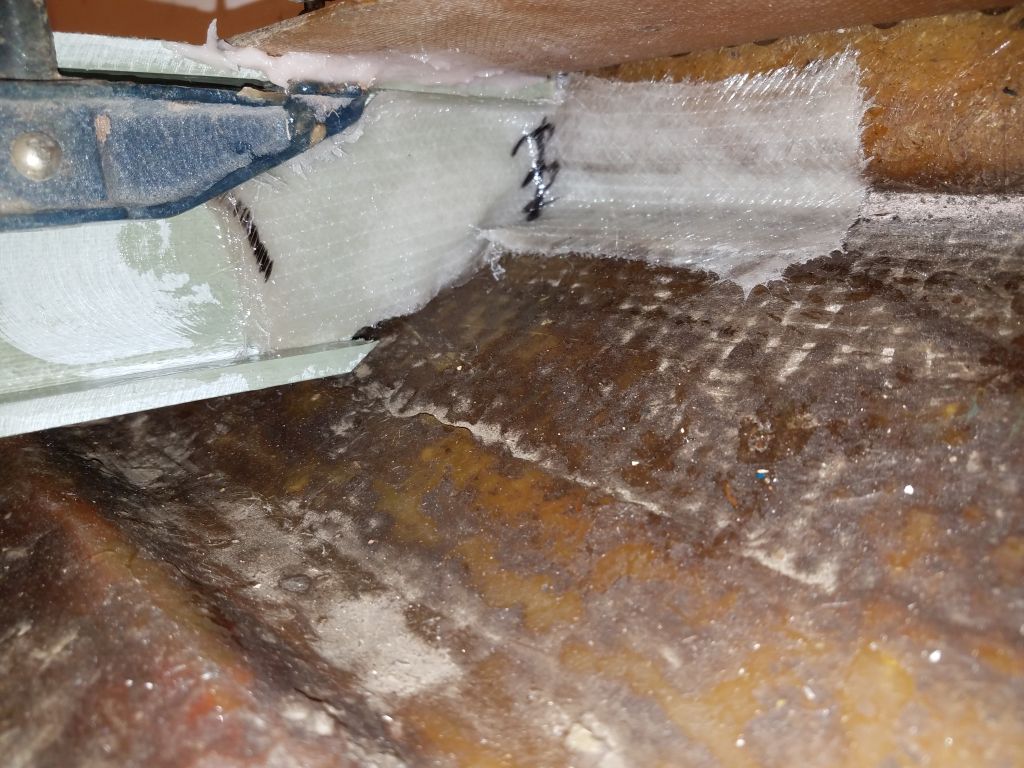
After figuring the amount of the beams that would fit beneath the flange, I measured the overall lengths of each of the three beams, and, starting with the first, shortest beam, cut the ends to the proper angle. The top edge of the beam had to be relieved in way of the settee flanges, so that the main portion of the beam would be flush with the tops of the flanges (and therefore properly supportive of the plywood sole), so after getting a measurement I cut about 1/8″ from the top of the beam at each end, using a table saw. To allow for epoxy bonding and some fiberglass tabbing that would secure the beams, I sanded the webs of the beam at each end, extending in far enough for my tabbing.

Satisfied with the basic setup for the ends of the beams, I continued and prepared the remaining two beams in the same way.
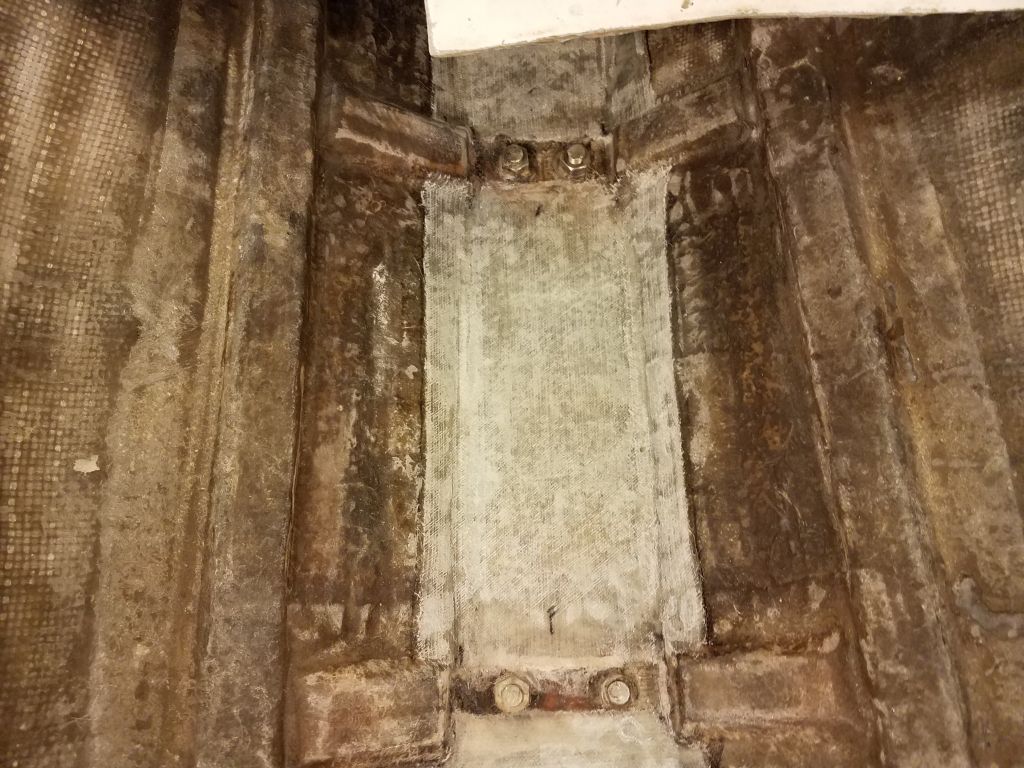
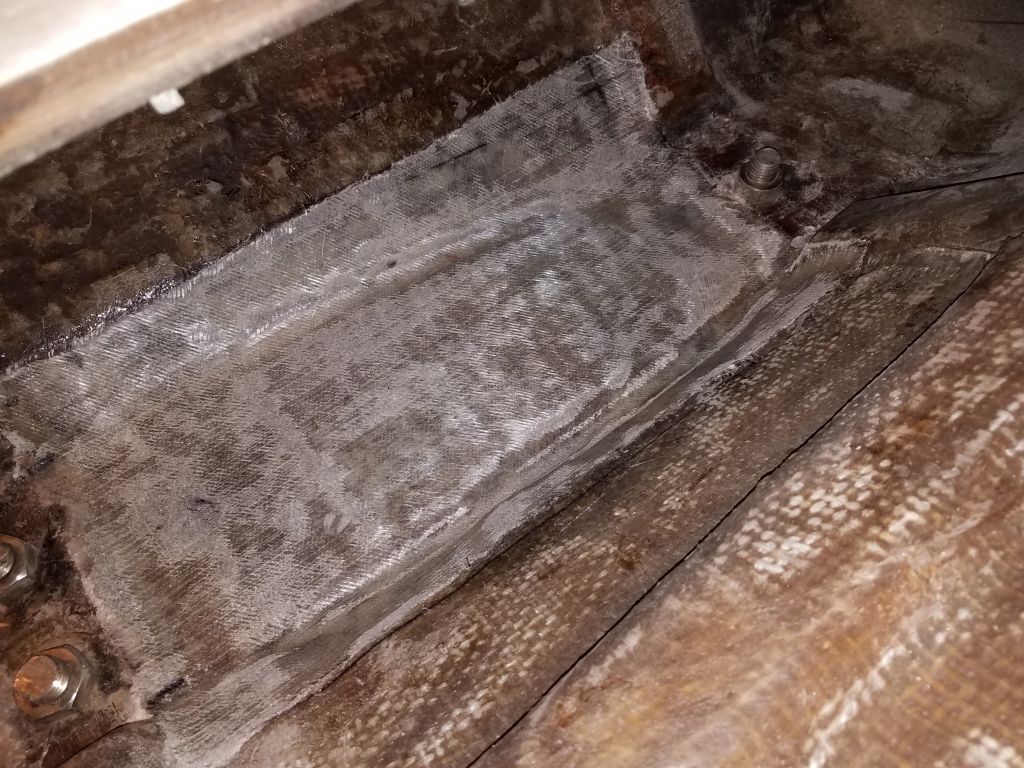
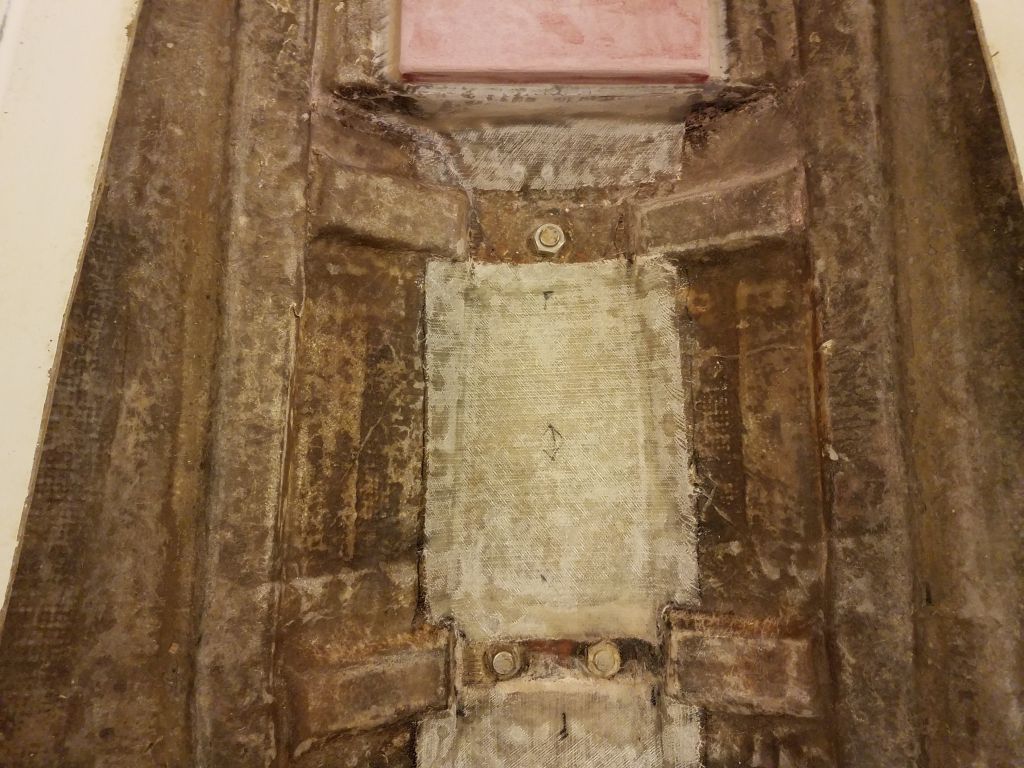
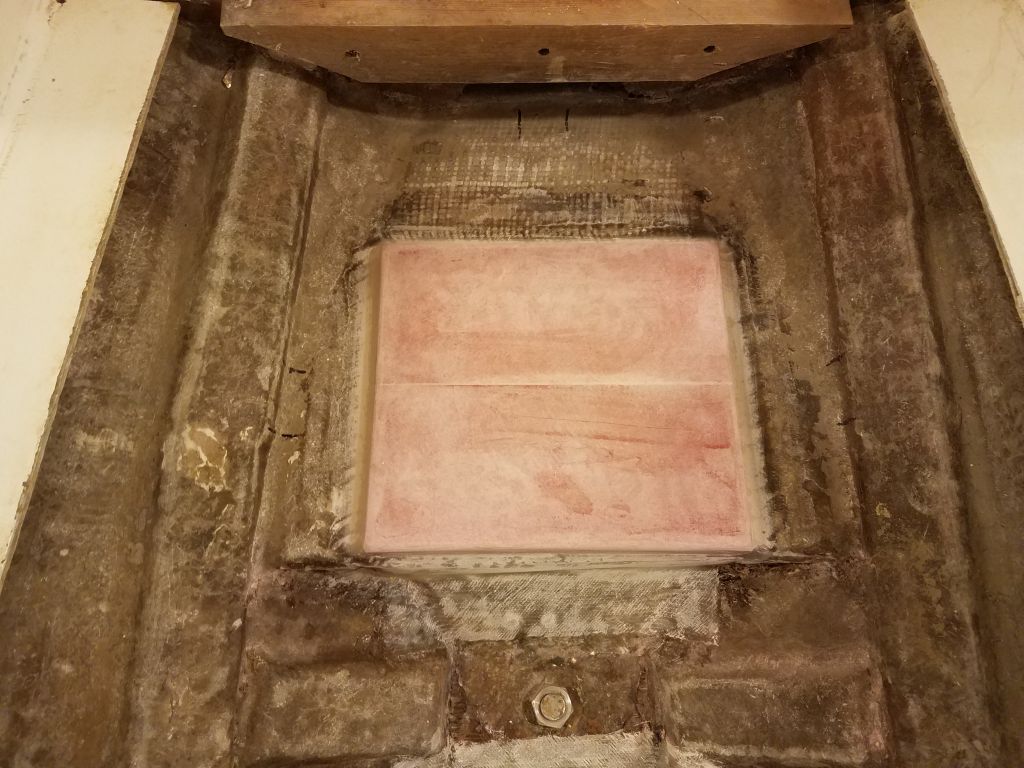
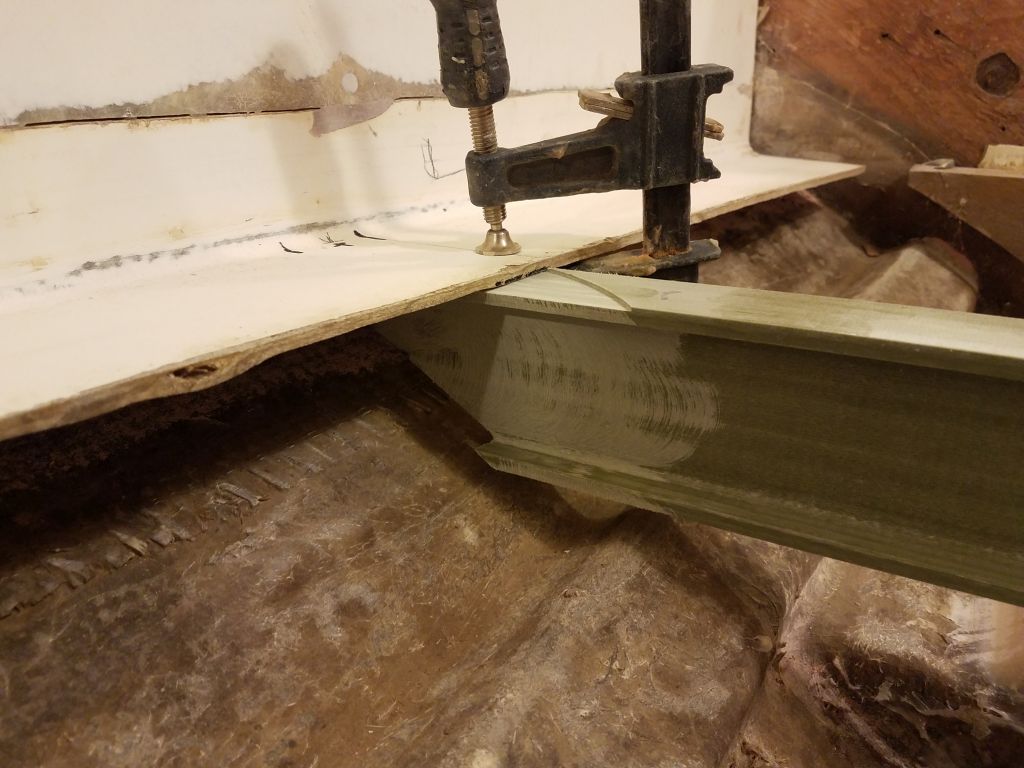
After dry-fitting all three, and cleaning up the bonding surfaces at each location, I installed the beams with epoxy on the surface against the settee flange, and clamped the beams in place. Then, I prepared two layers of tabbing cut to fit within the beam web and installed the tabbing on both sides at each beam end. The working space was tight and mainly visually inaccessible, especially as I had to take care not to jar any of the beams in the tight space, so the tabbing isn’t necessarily pretty, but it would do the job, and no one would ever see or touch these areas anyway, once the sole was in place.
Later, once the fiberglass had cured, I thought I’d probably add mechanical fasteners through the beam flanges and the settee overhang later as well, but perhaps not.
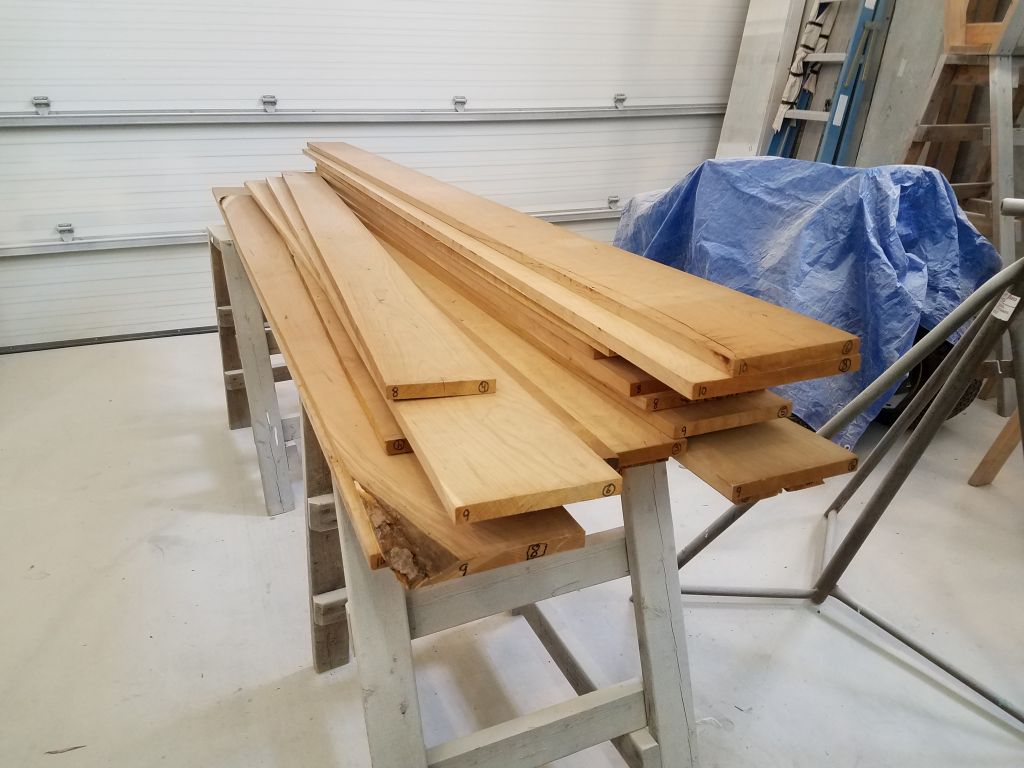
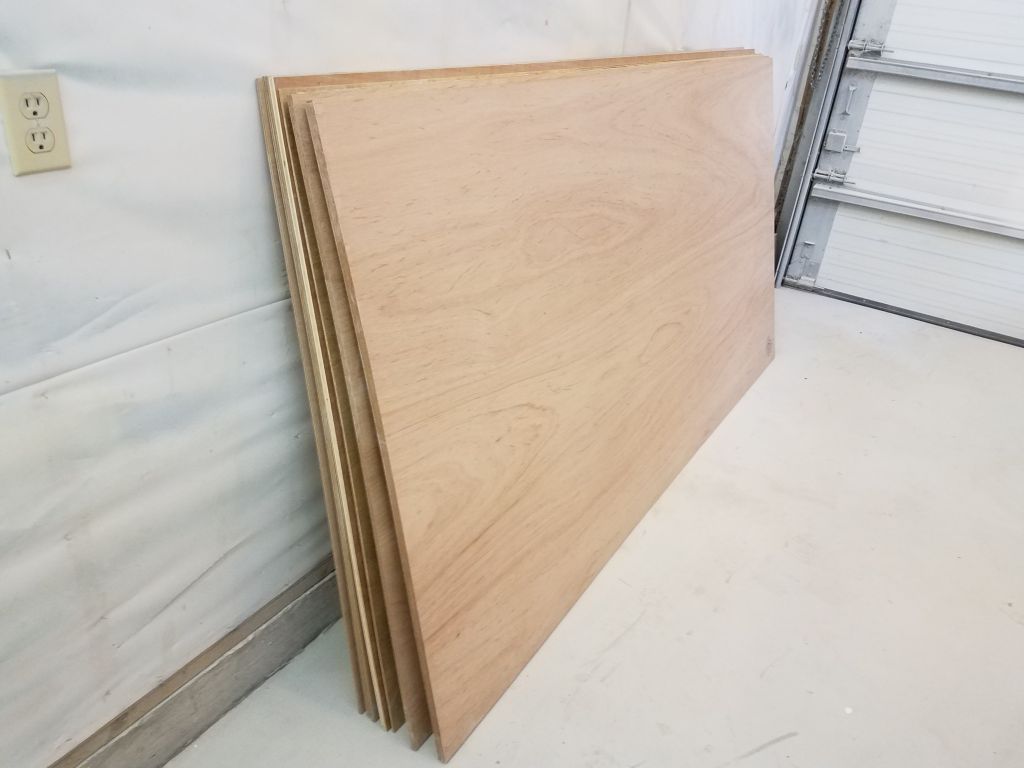
In the middle of the day, my order of new cherry lumber and various sheet goods arrived, and I looked forward especially to building the new cabin sole so I could close up the bilge again and get to work on the remaining interior projects.
Total time billed on this job today: 7.75 hours
0600 Weather Observation: 6°, clear. Forecast for the day: Sunny but becoming cloudy, 20°, snow to sleet coming overnight