


June 13, 2018
Scupper 48
Wednesday
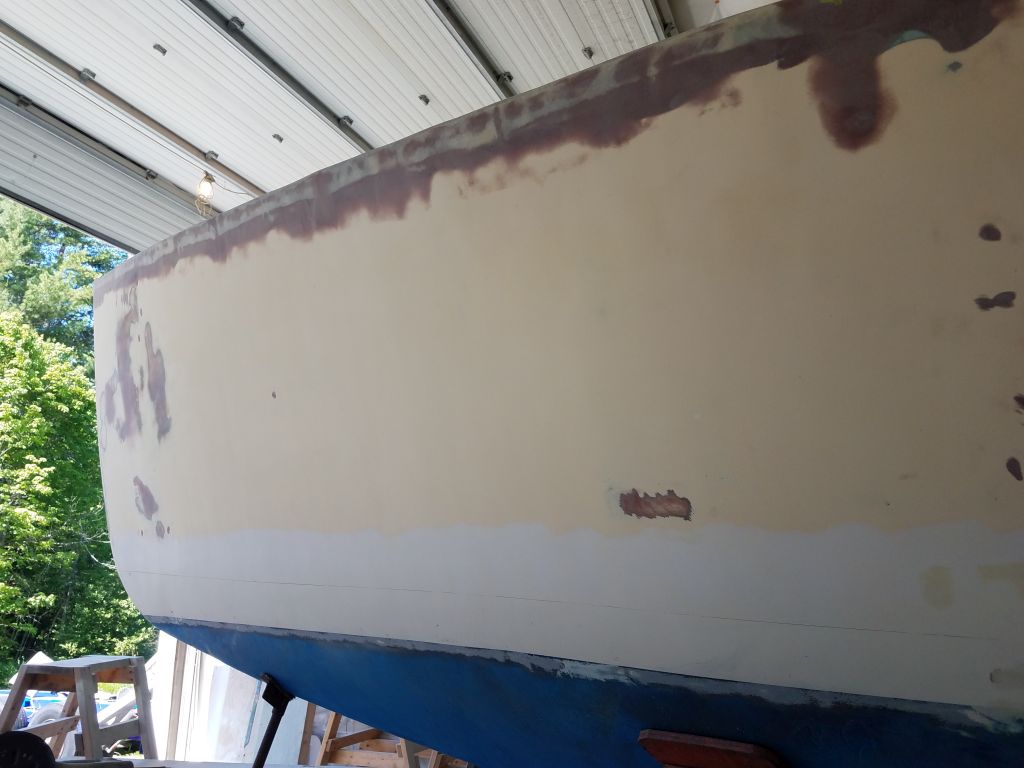
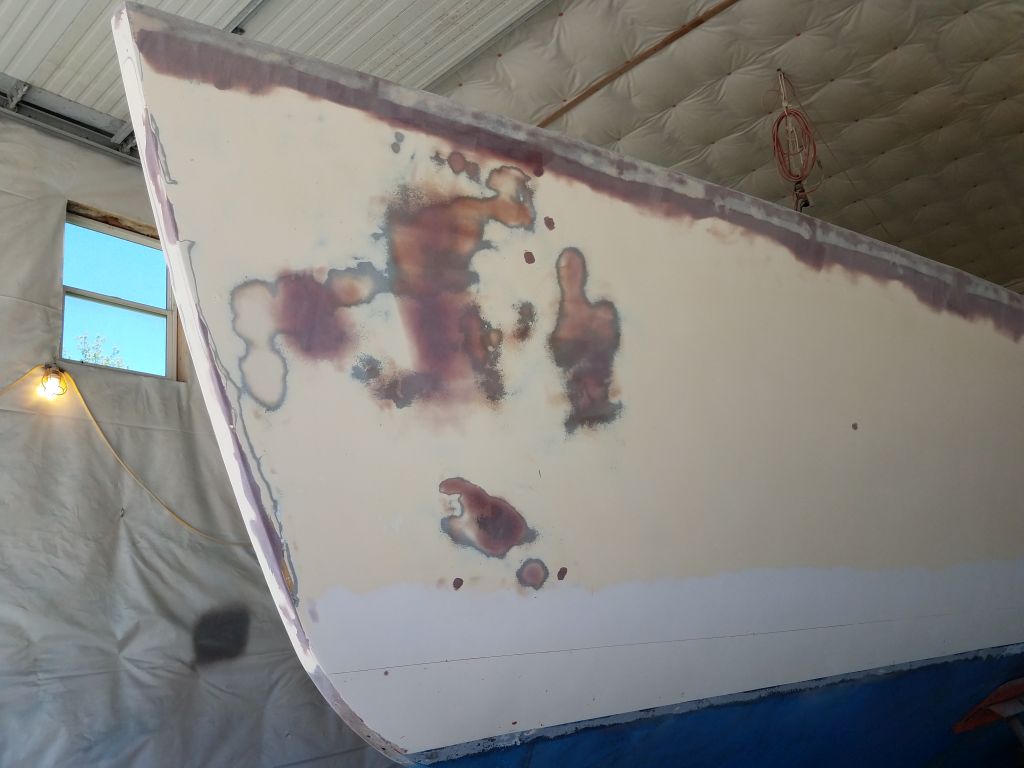
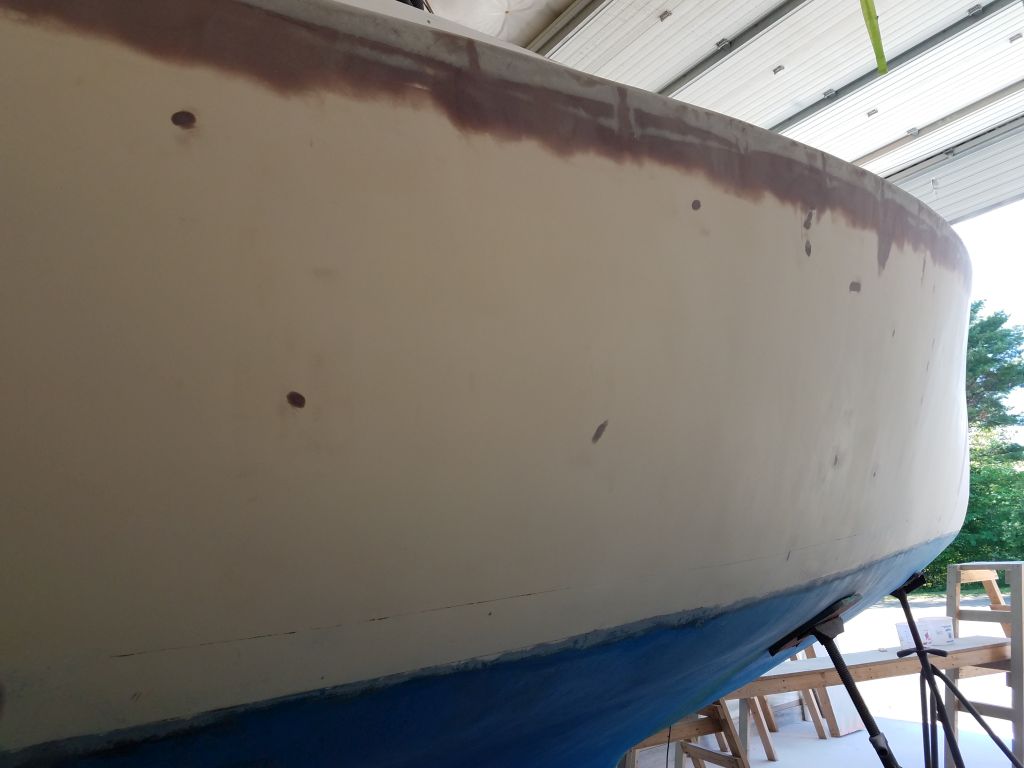
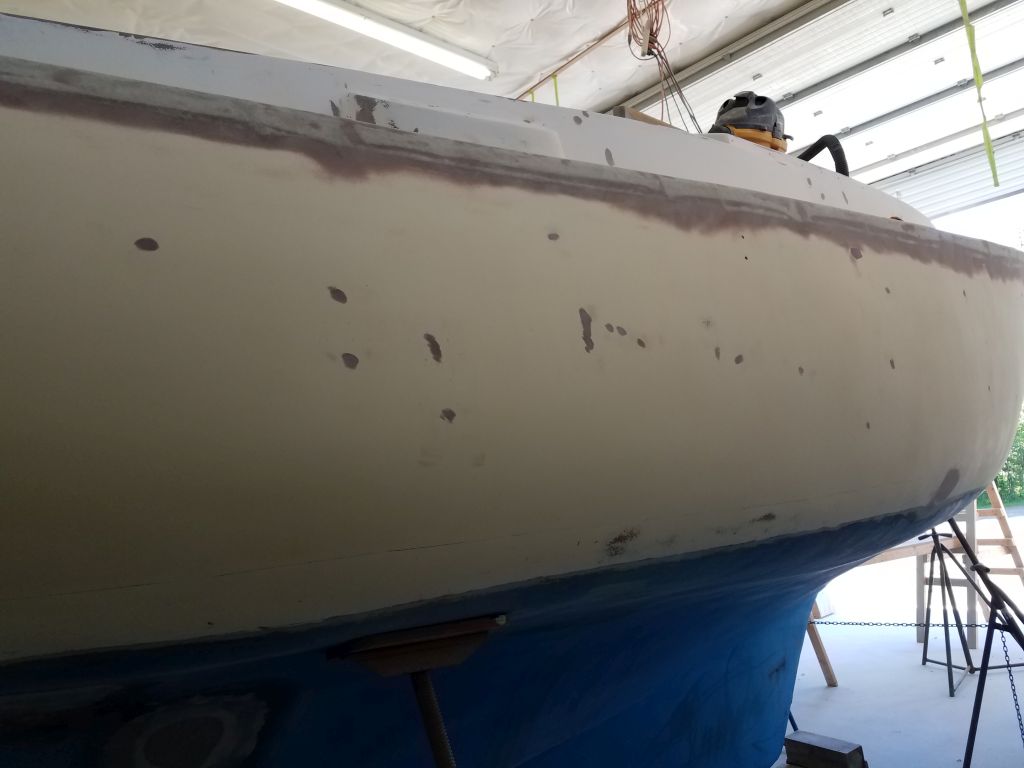
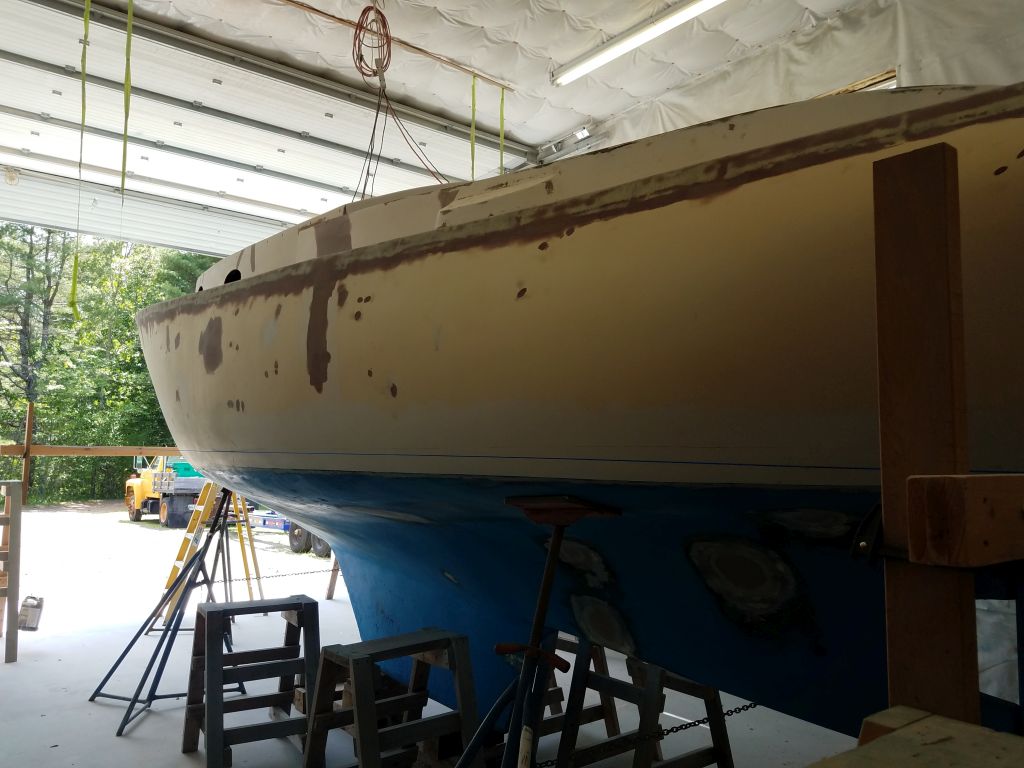
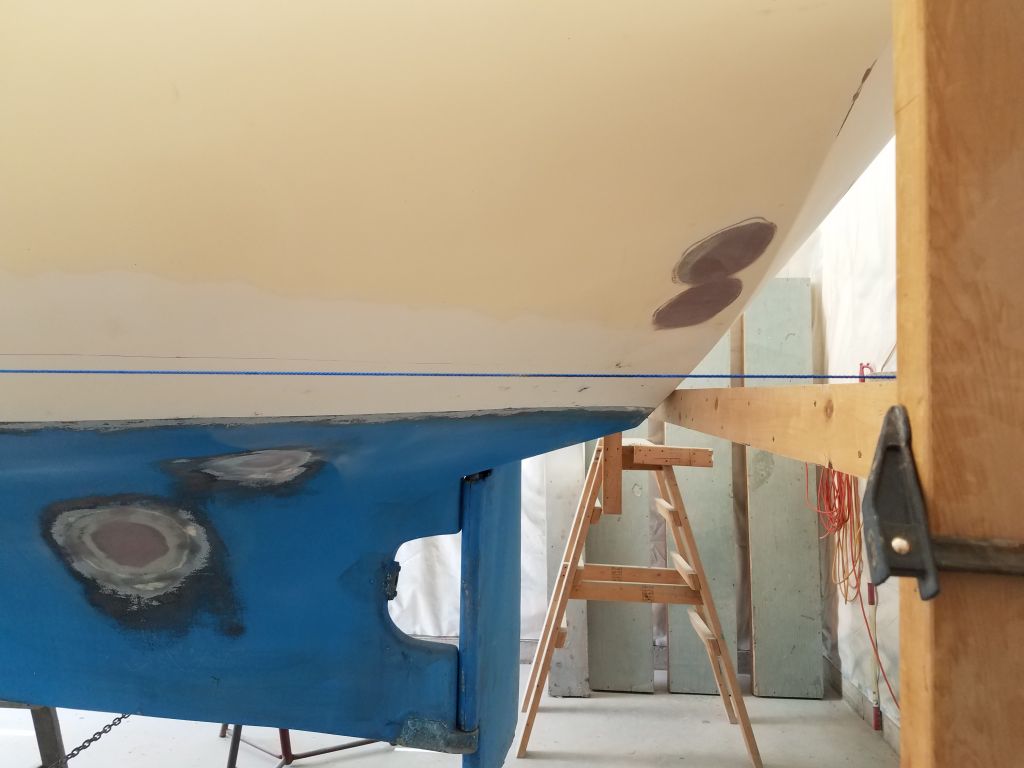
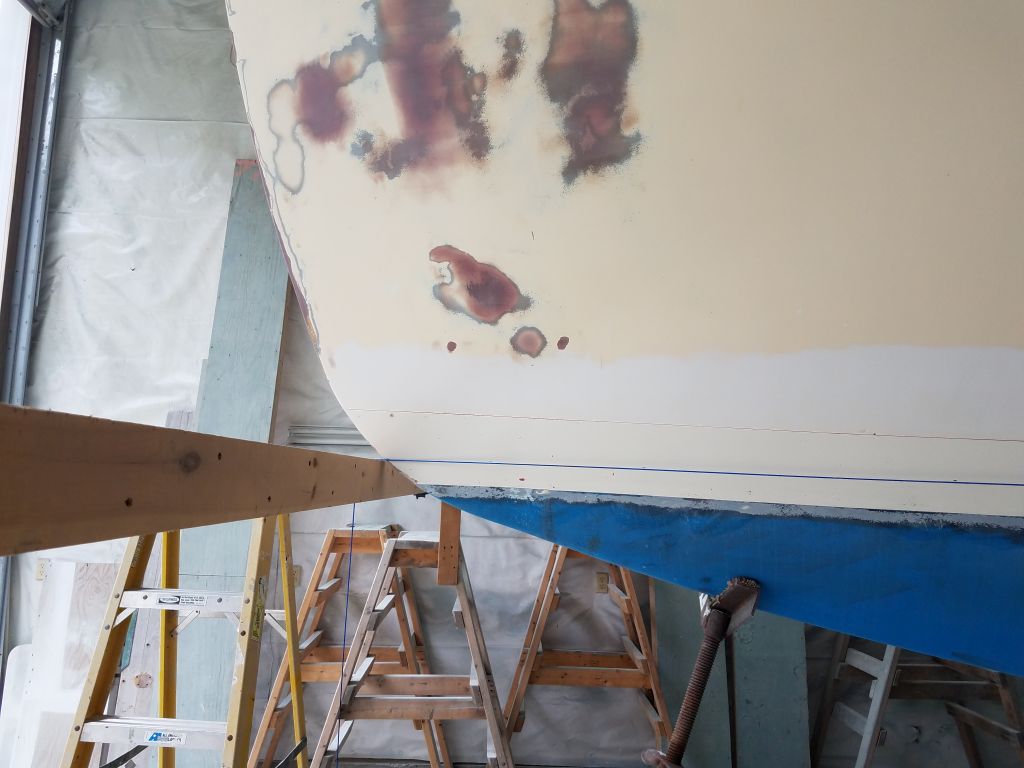
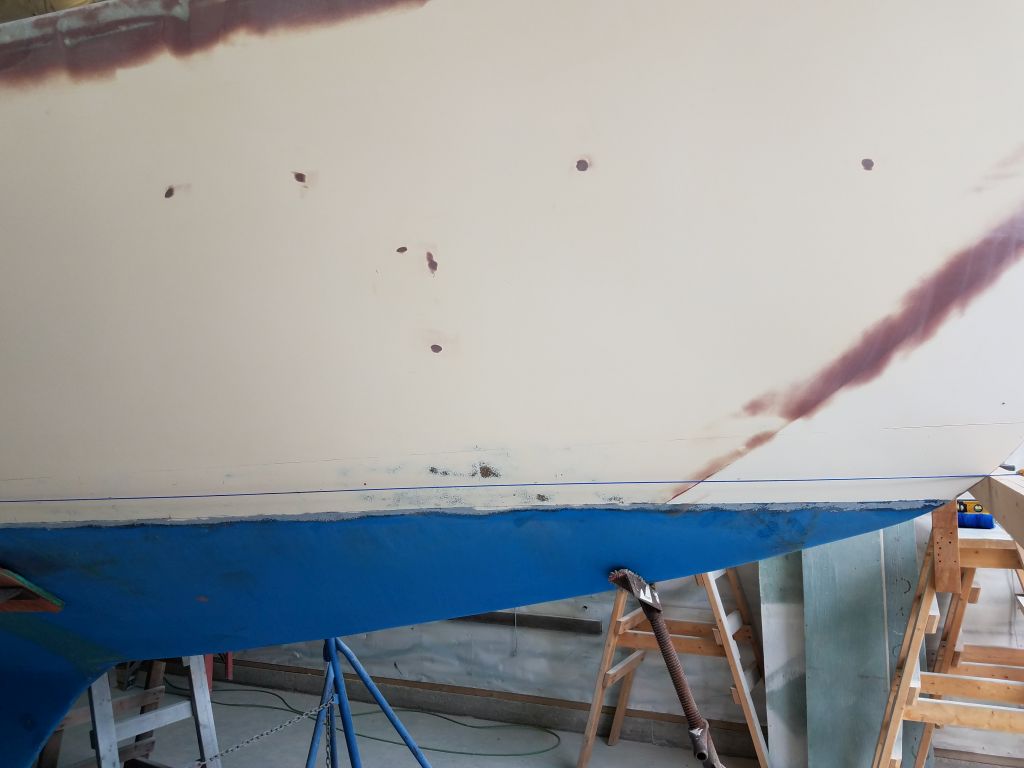
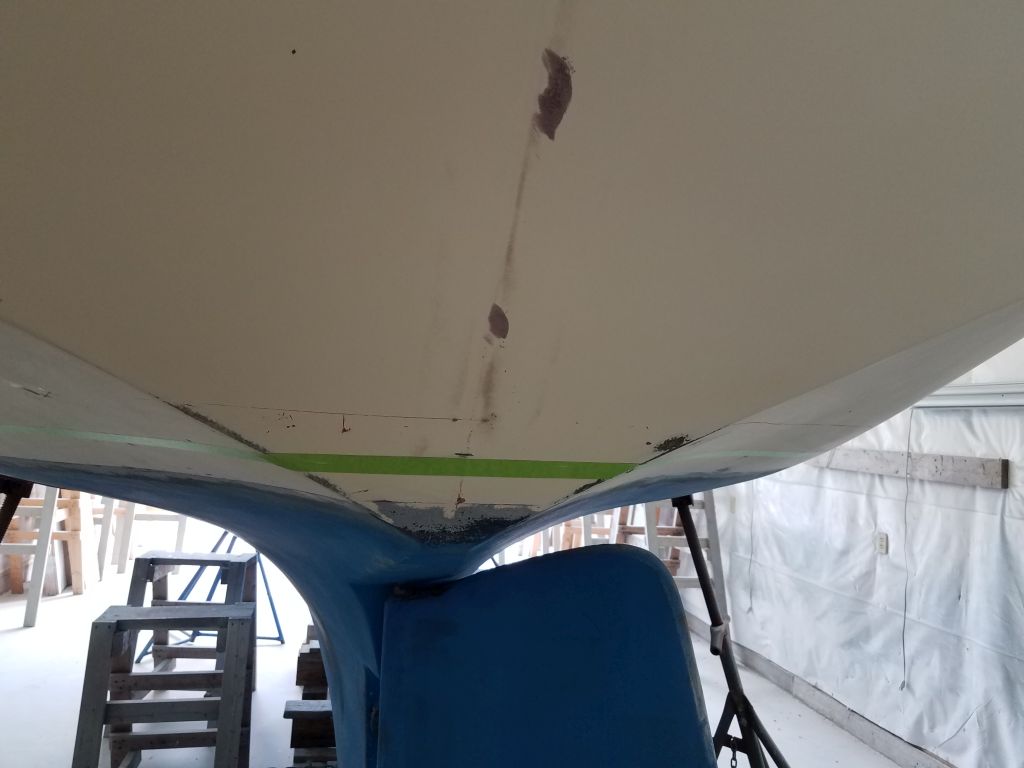
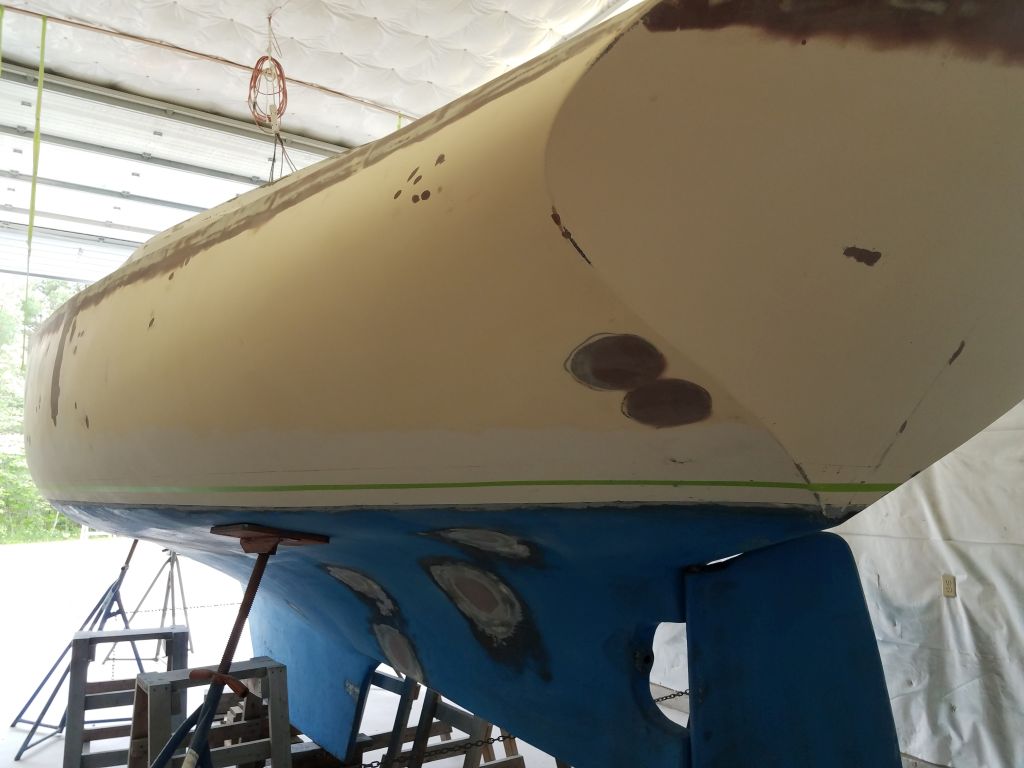
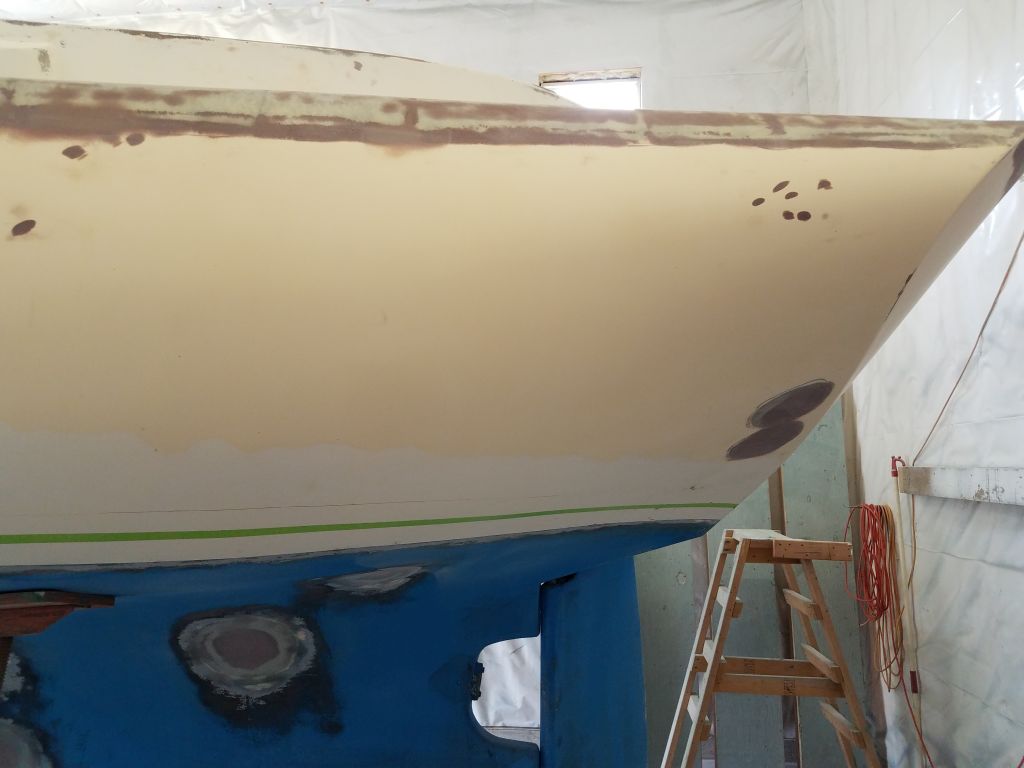
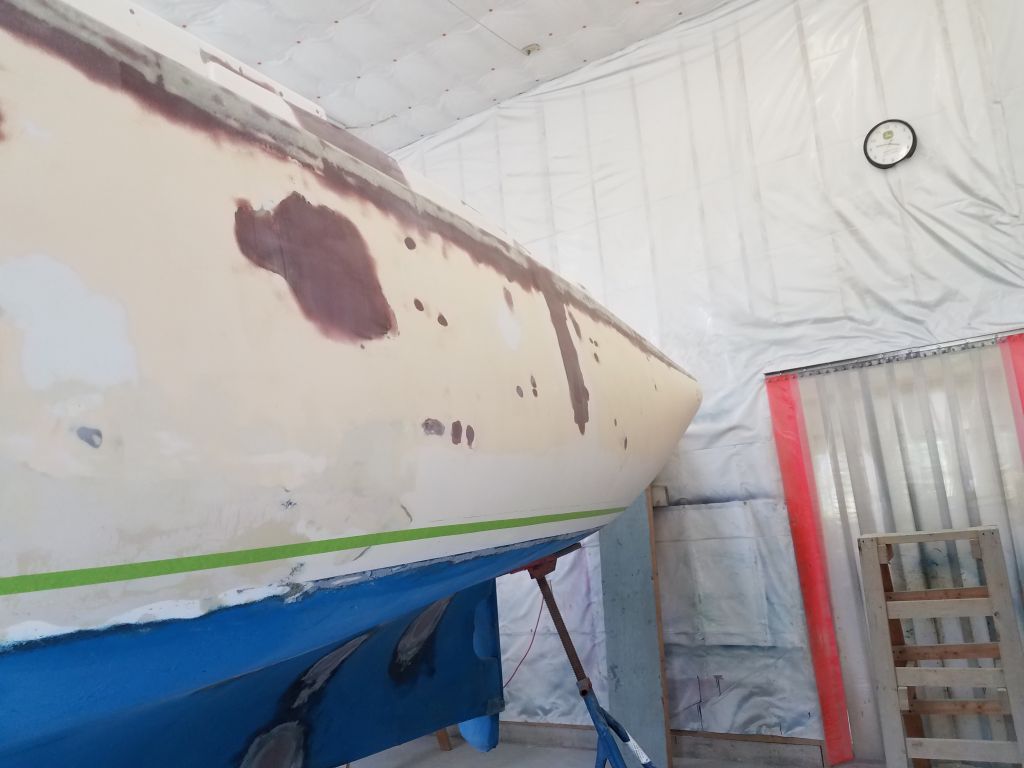
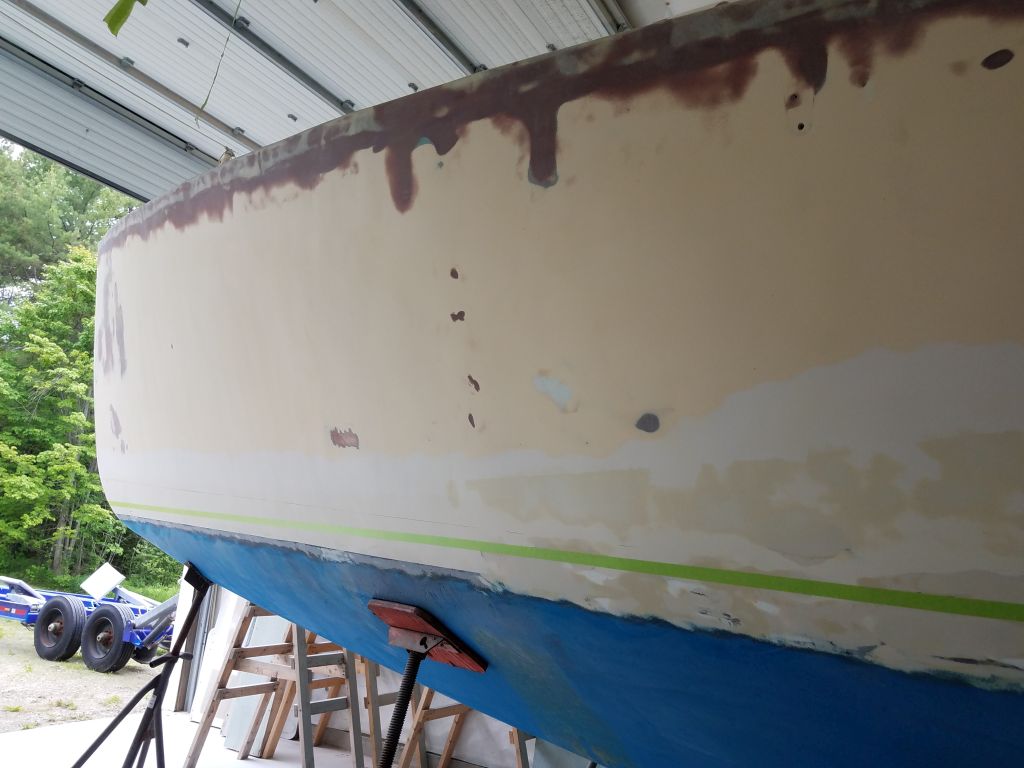
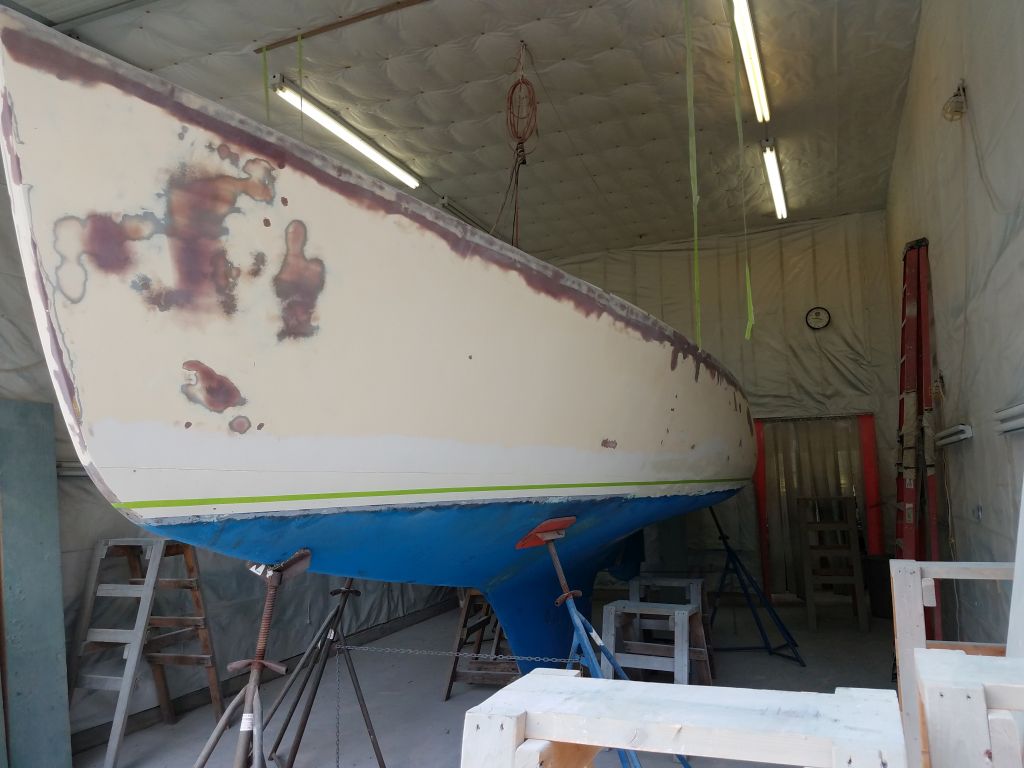
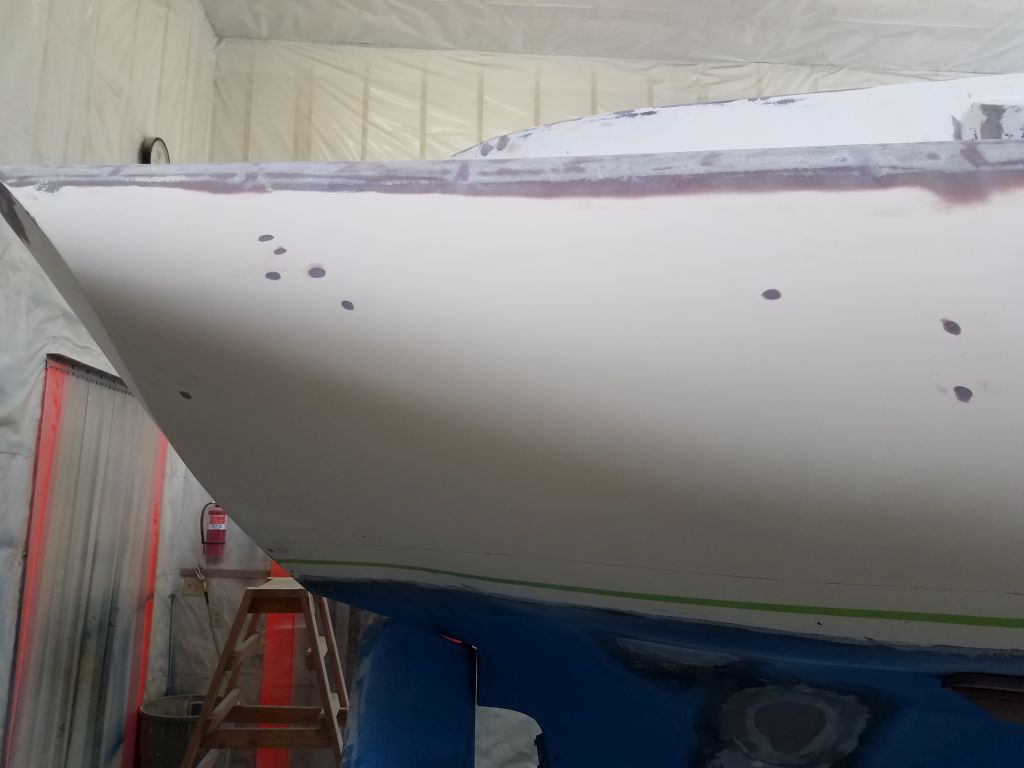
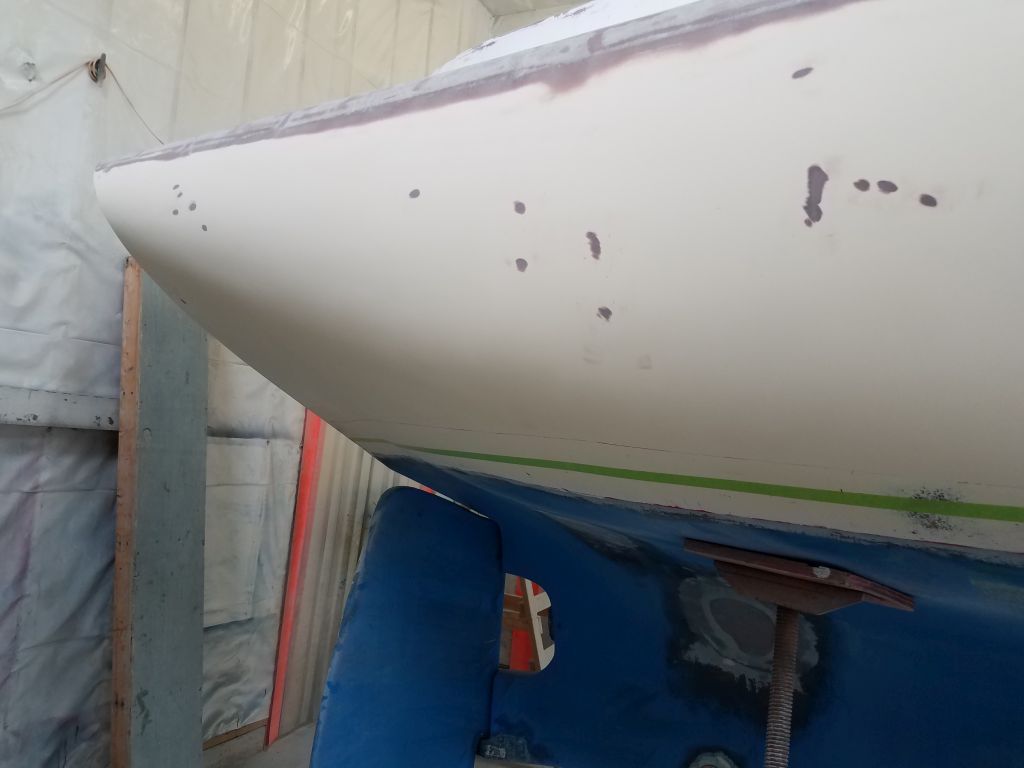
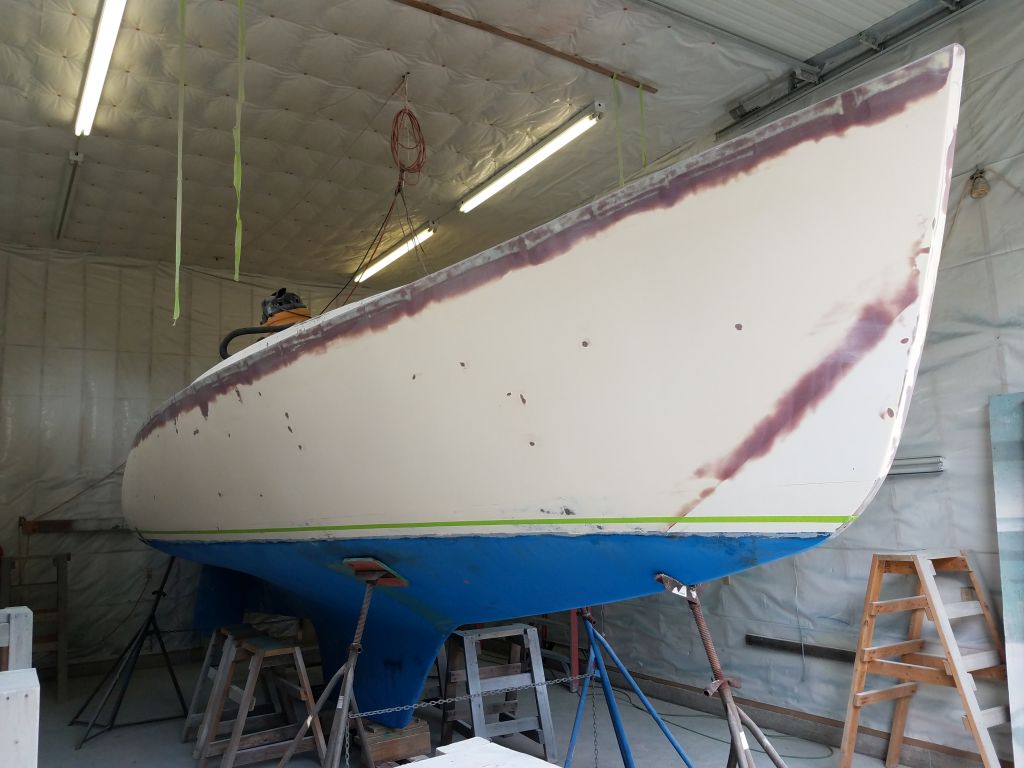
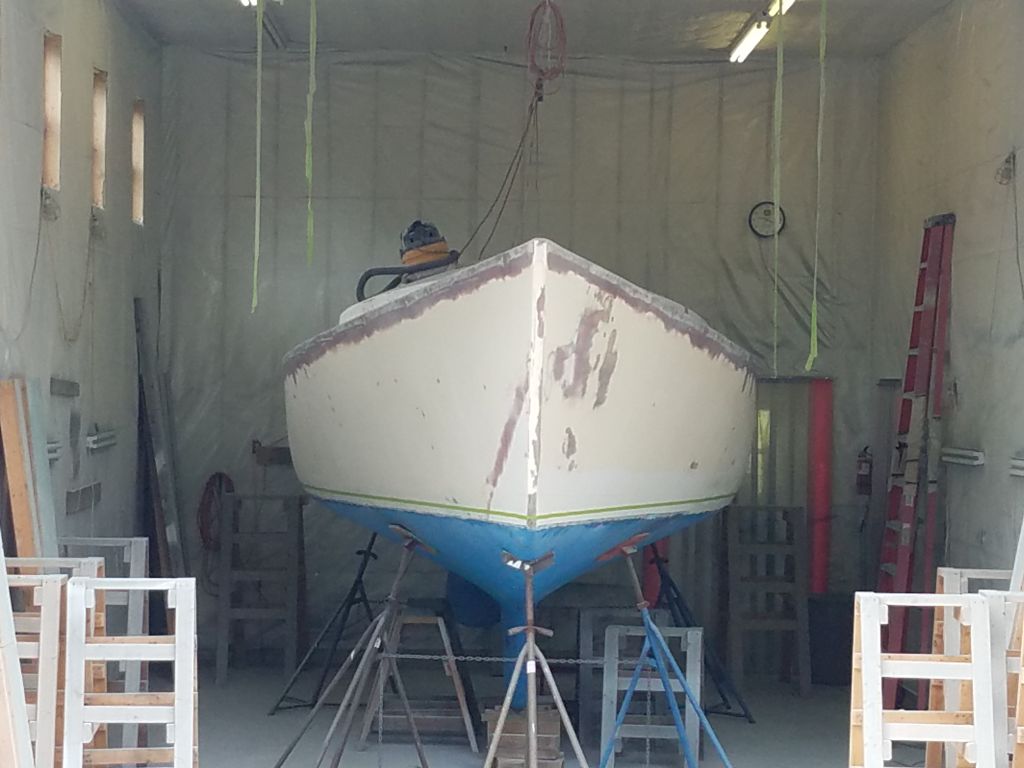
While I was away on a break, the various spots of epoxy fill on the hull had lots of time to cure, so I continued work on the hull with another round of sanding to smooth the latest epoxy application and generally complete the sanding for the hull. I worked through 80-120 grits on a finishing sander, bringing the hull to its final readiness before high-build primer. I’d actually expected to need another round of filler here or there, so completion now was a bonus. I’d take care of any minor areas that remained after high-build, which would also inevitably reveal additional small flaws to correct. But for now, I’d taken the hull as far as I could, or needed to.

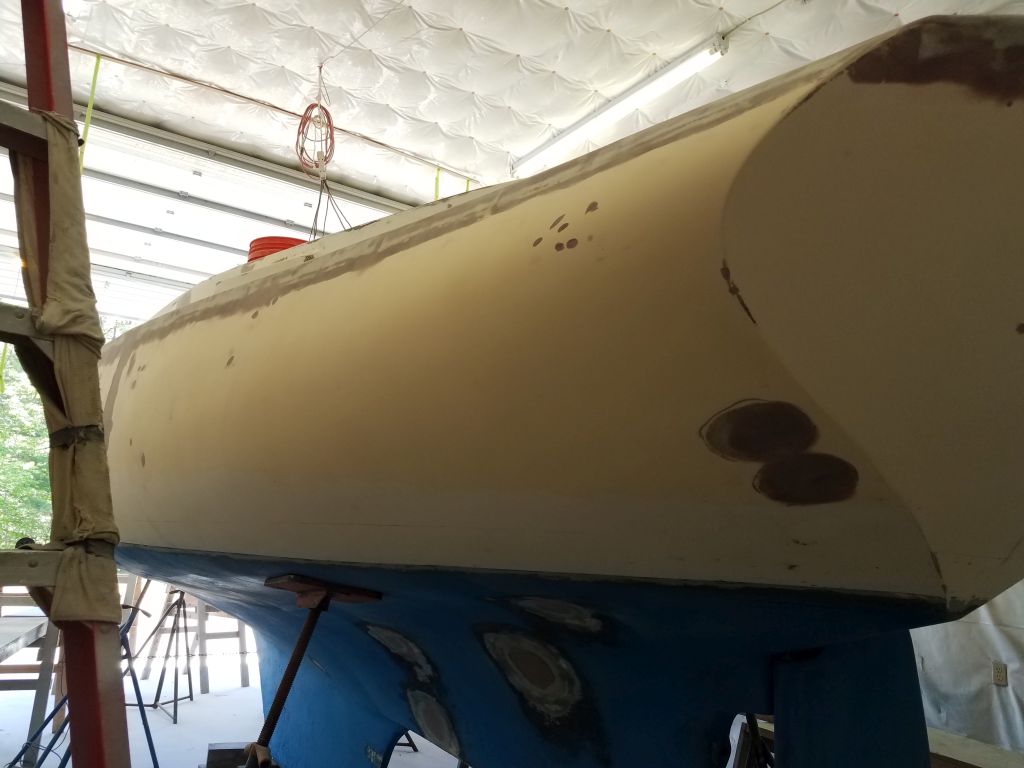
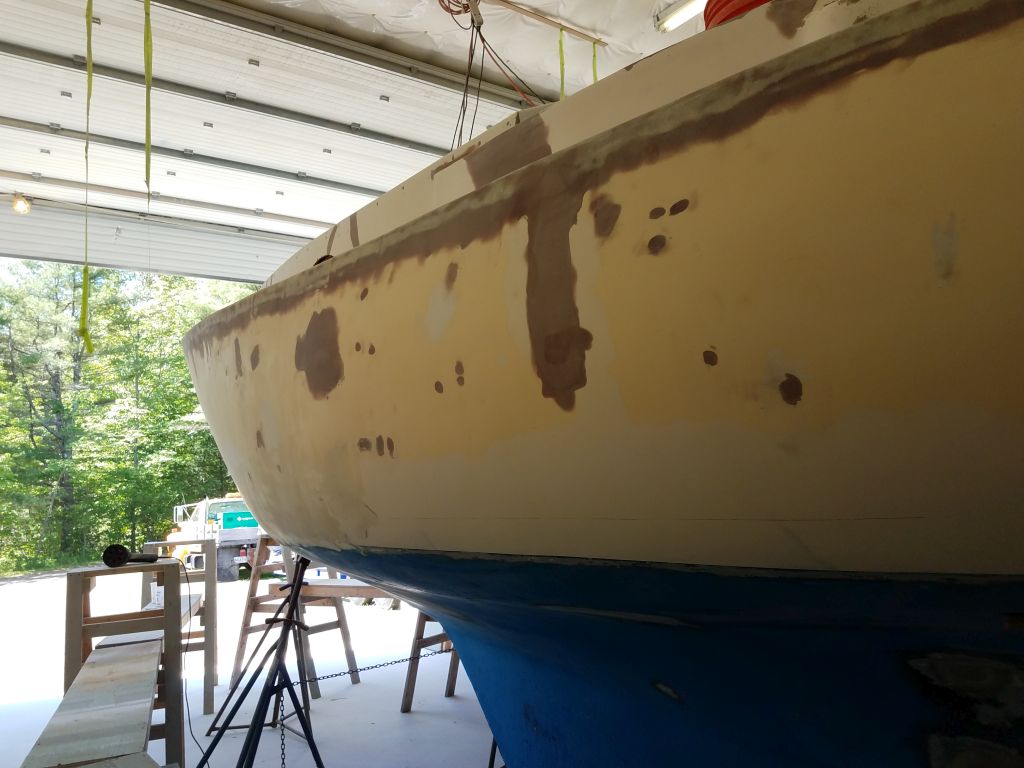
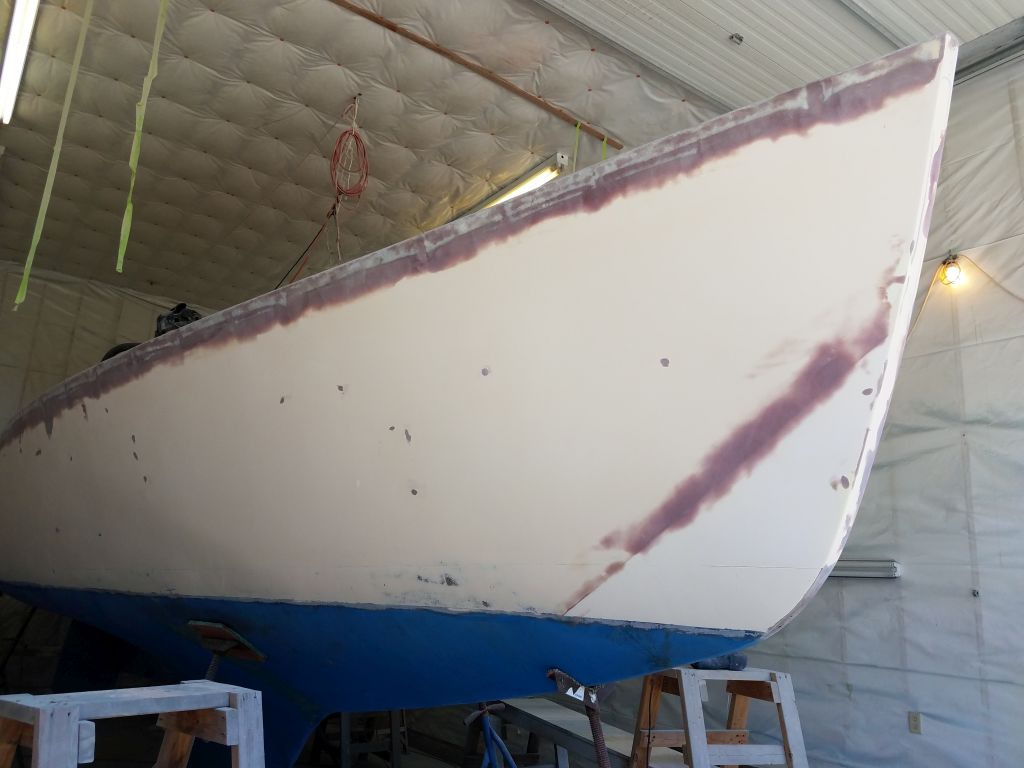
With the hull work done for now, I moved the staging aside for better access, and to await its further need later. I decided to take advantage of the clear access at the moment and restrike the waterline (i.e. top edge of the bottom paint). The original waterline was still visible, but the original lines were a bit wonky, and had clearly been too low (especially amidships), evidenced by the scum line and boottop paint failure I’d observed early in the project, and photos of this boat and sisterships found online, including this one.

I strove to correct the existing waterline (and, later, the boottop), as well as raise the waterline to improve appearance and help avoid paint damage that would occur if the new hull paint was submerged.
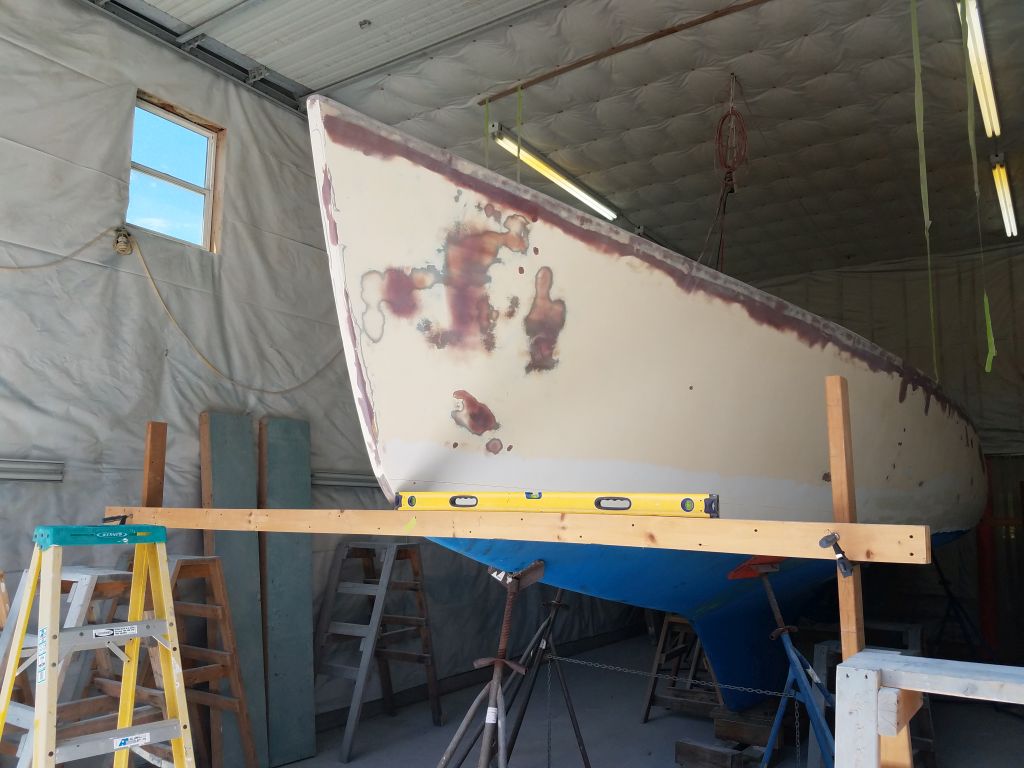
To begin, I first checked the boat for level. When I moved her into the shop, I’d only leveled by eye, since it was winter and the boat happened to still be covered at the time. The repair work hadn’t required the boat be perfectly level, but she was pretty close all along, leaning just a bit to starboard.
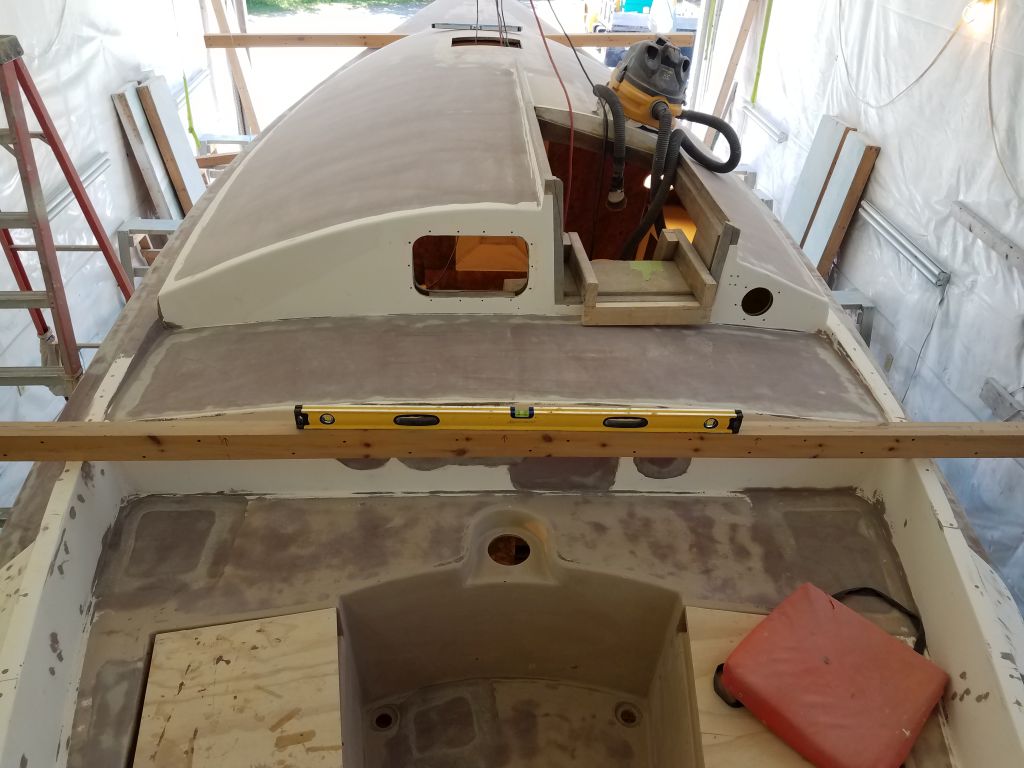
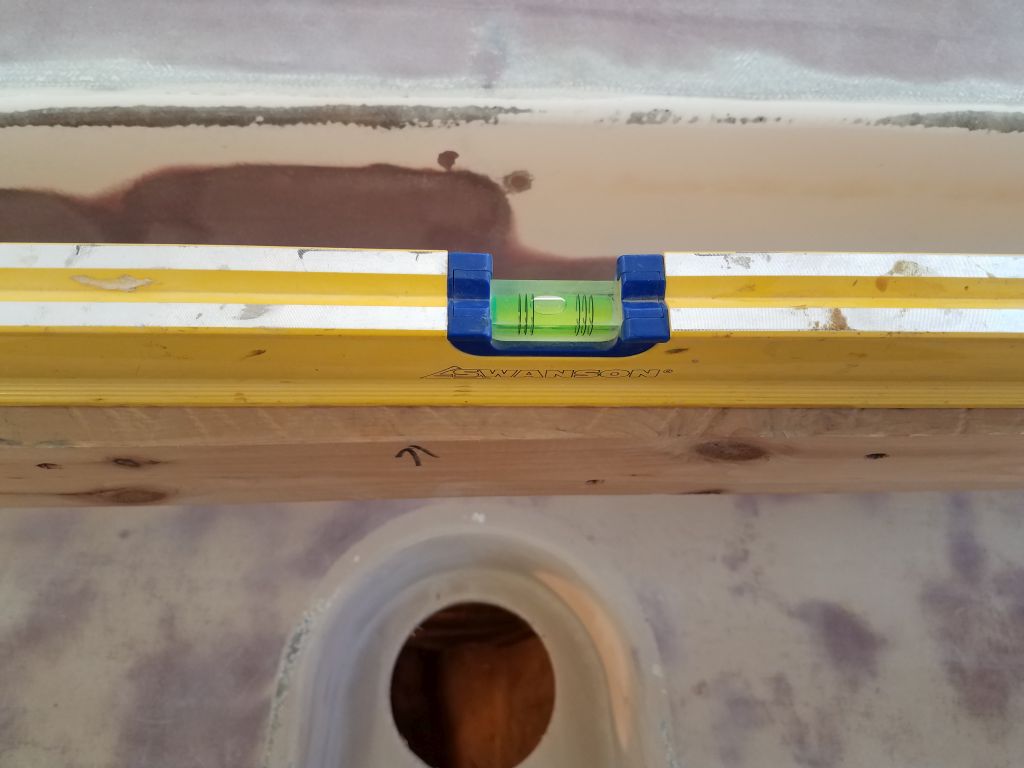

I spent a few minutes adjusting the stands to bring the boat level from side to side.


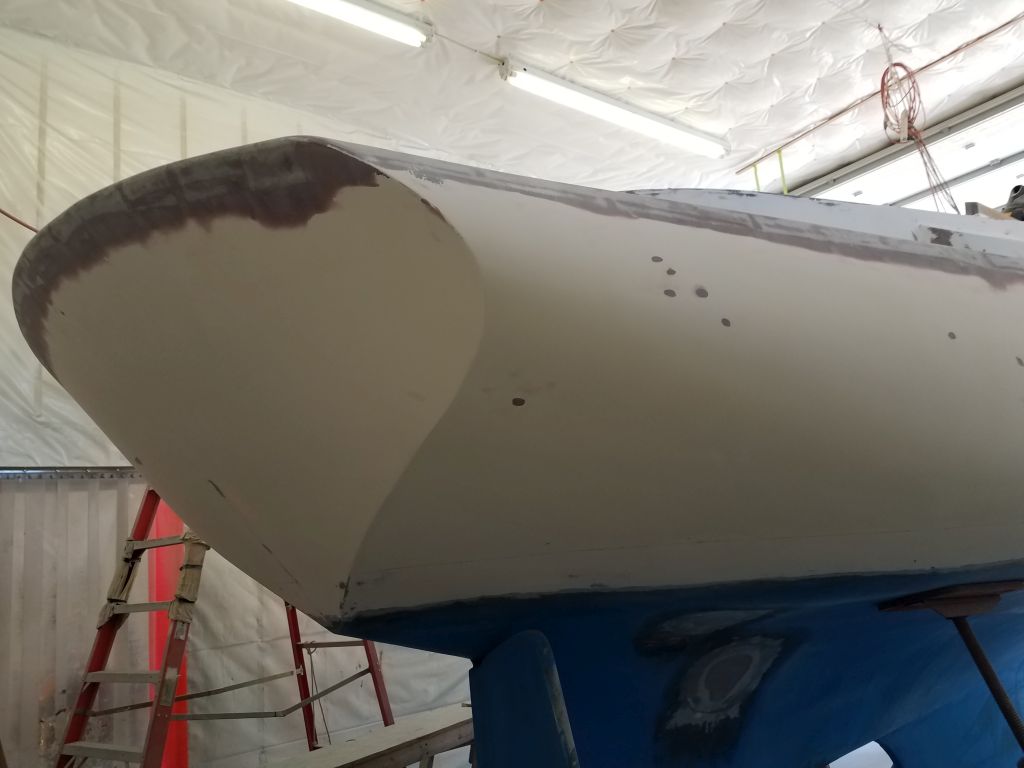
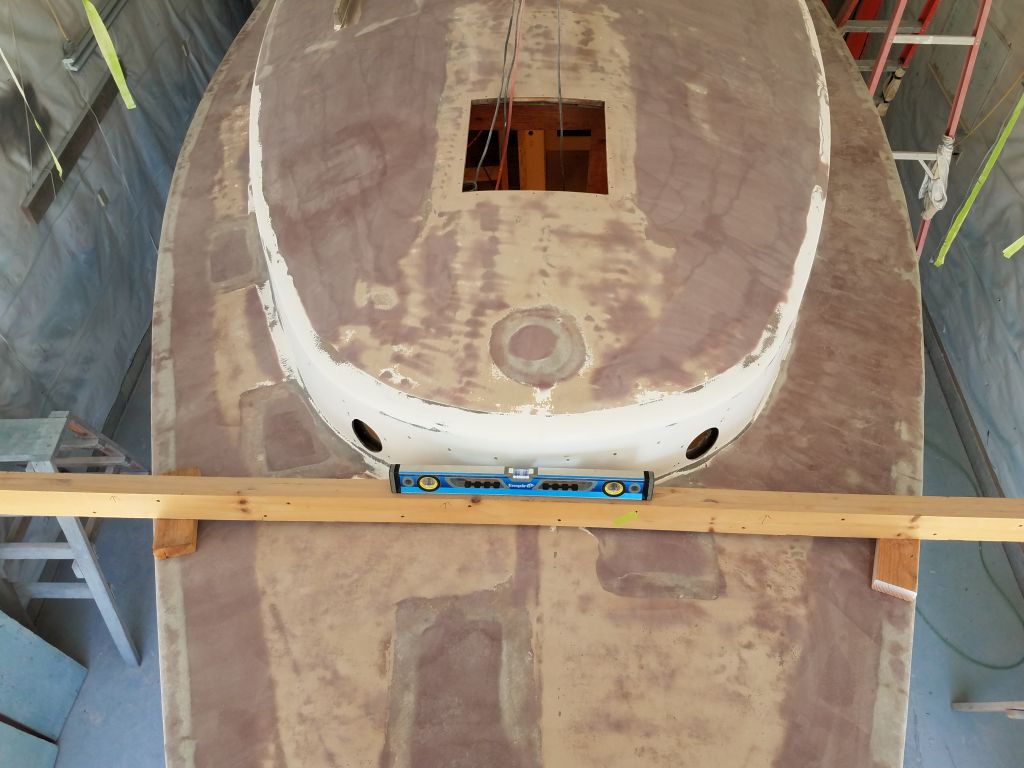
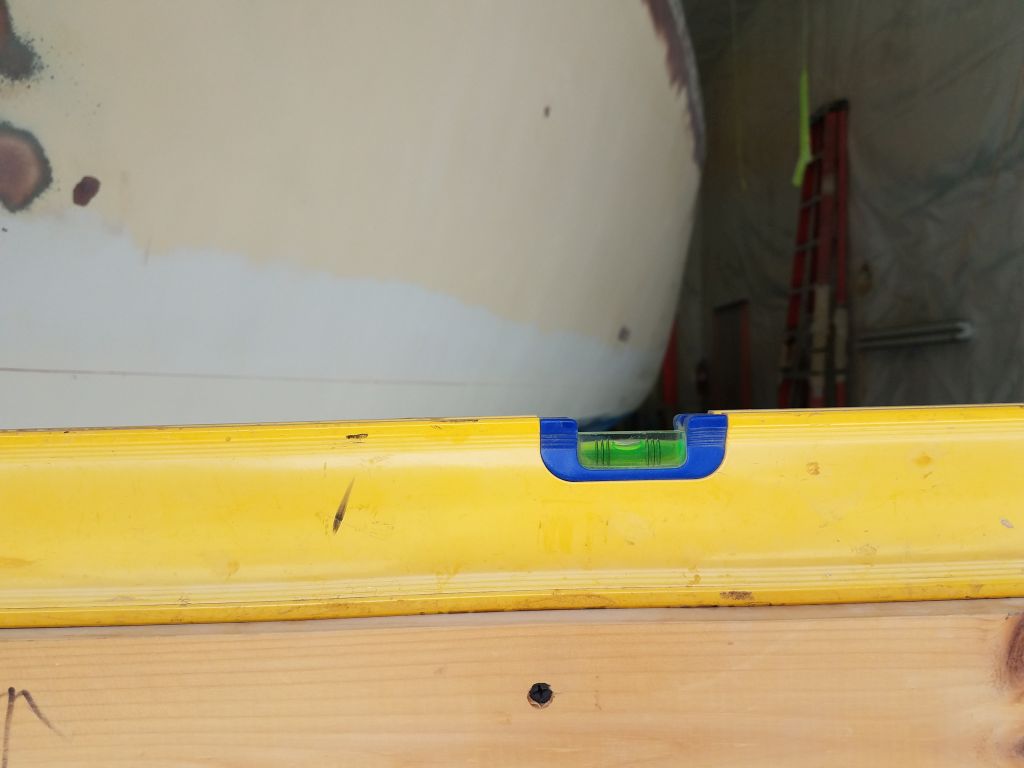
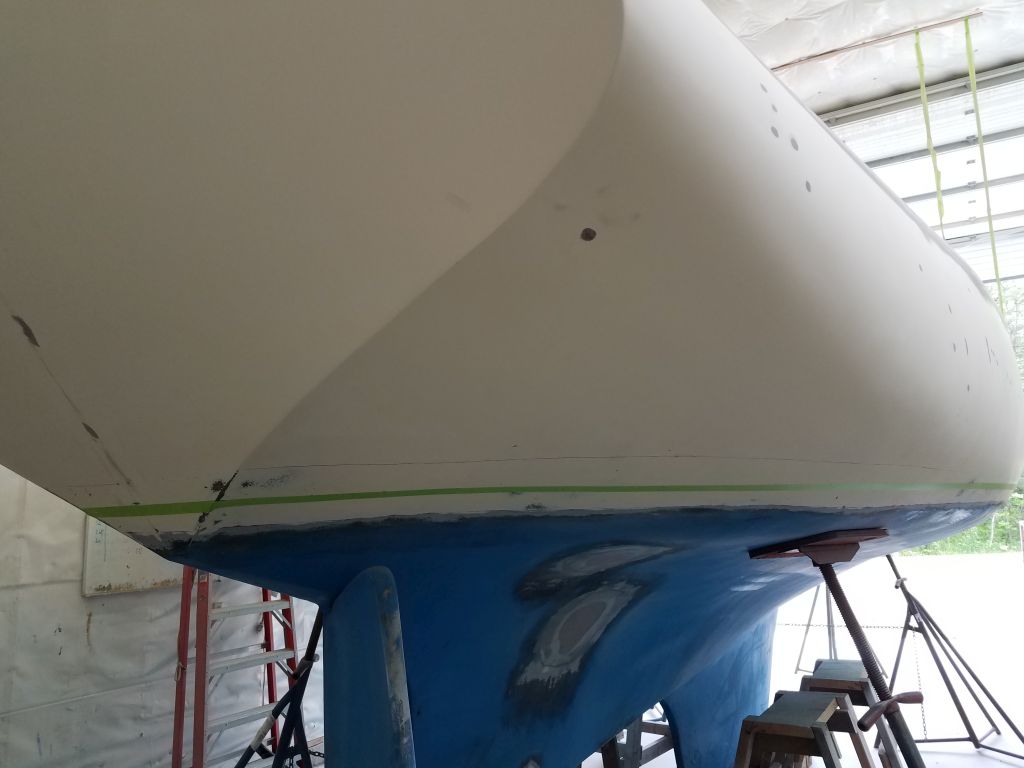
Based on my earlier observations, I decided to raise the waterline 2″, and used a level and steel rule at stem and stern to make reference marks above the existing line (still clearly defined by an original scribe mark and top edge of the bottom barrier coat). Then, I set up horizontal beams at each end, leveled side to side and located at the new marks I’d just made at the bow and transom.
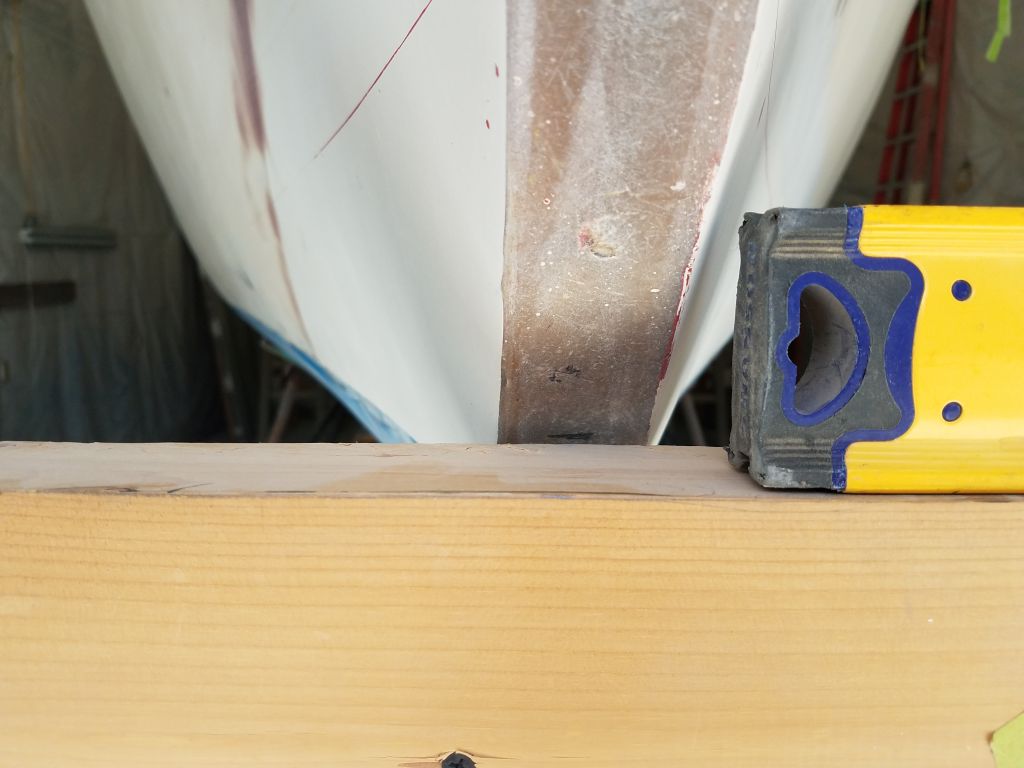

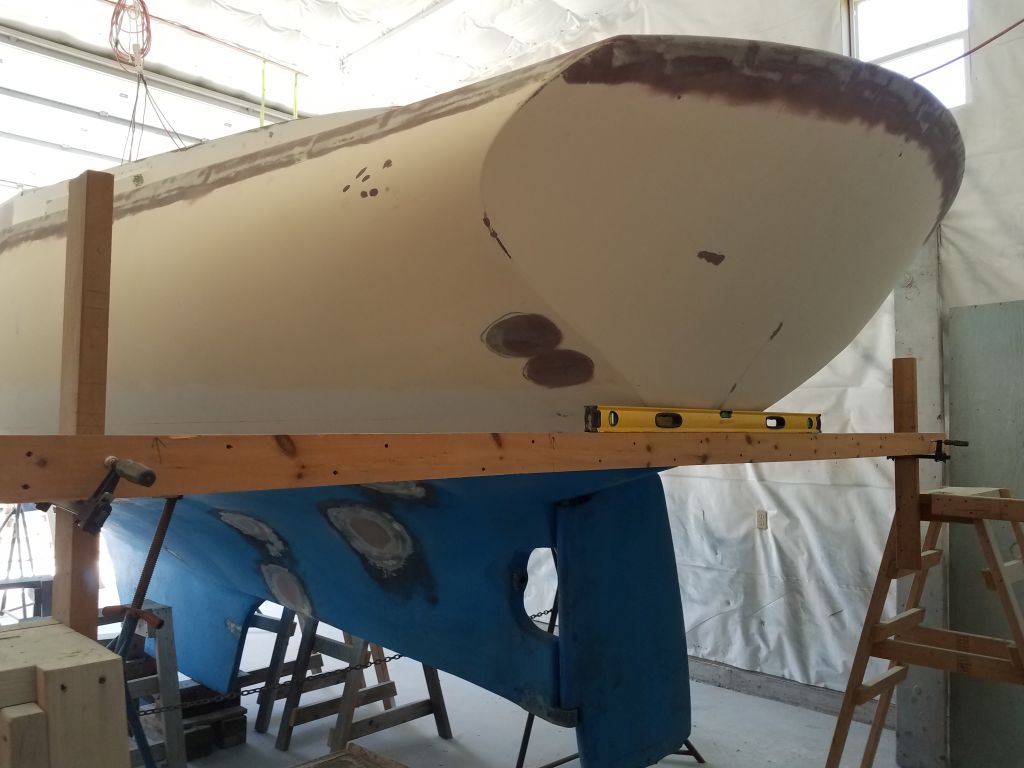
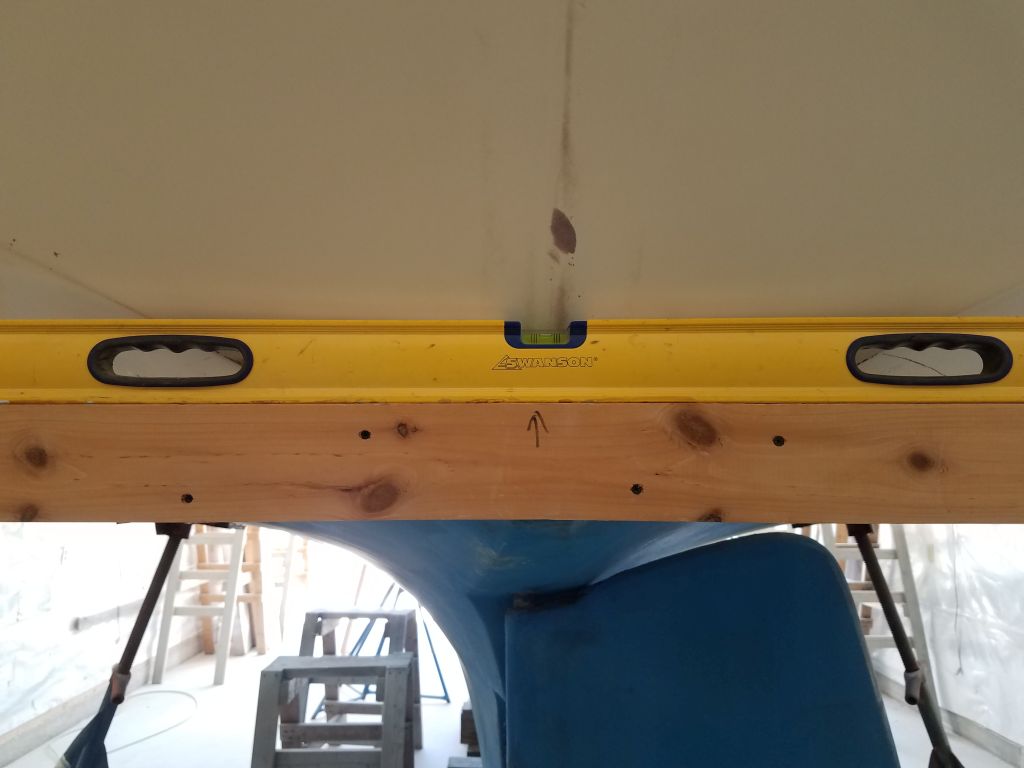
Next, one side at a time, I strung a taut line between the forward and after beams (essentially creating an planar analog for the water’s surface) and made a series of reference marks where it touched the hull, bringing it closer by increments and taping it in place as I went. Faithful readers have seen this any number of times over the years. I started with the after half of the boat on the port side, then the port forward side, then repeated the whole process on the starboard side.
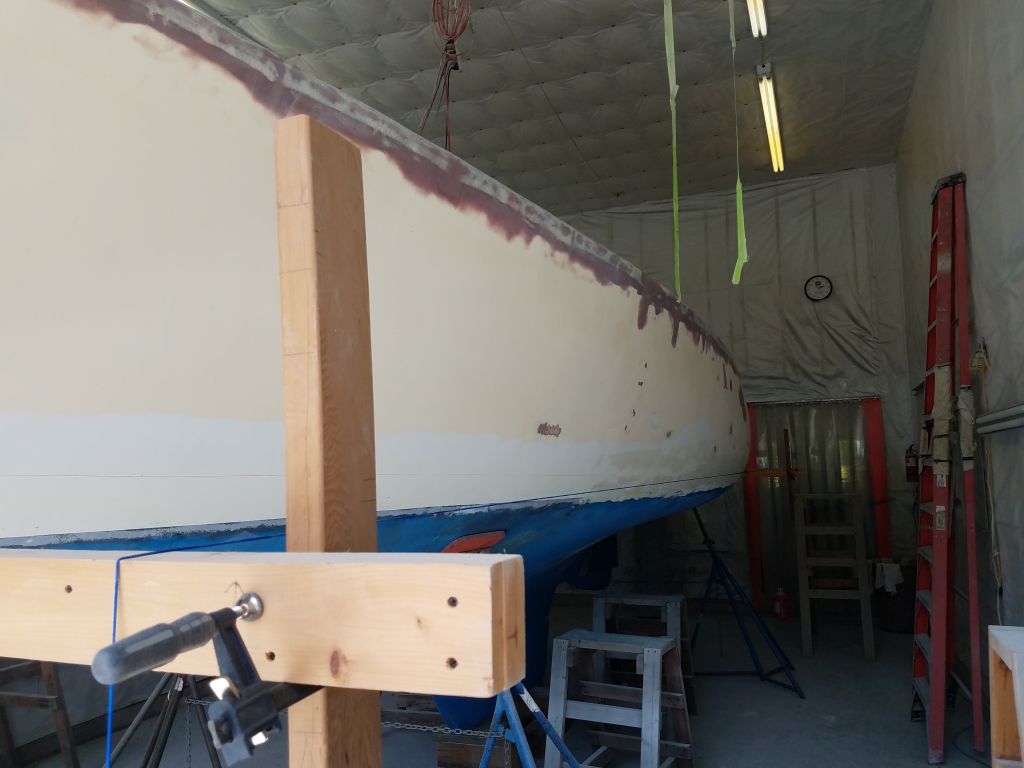
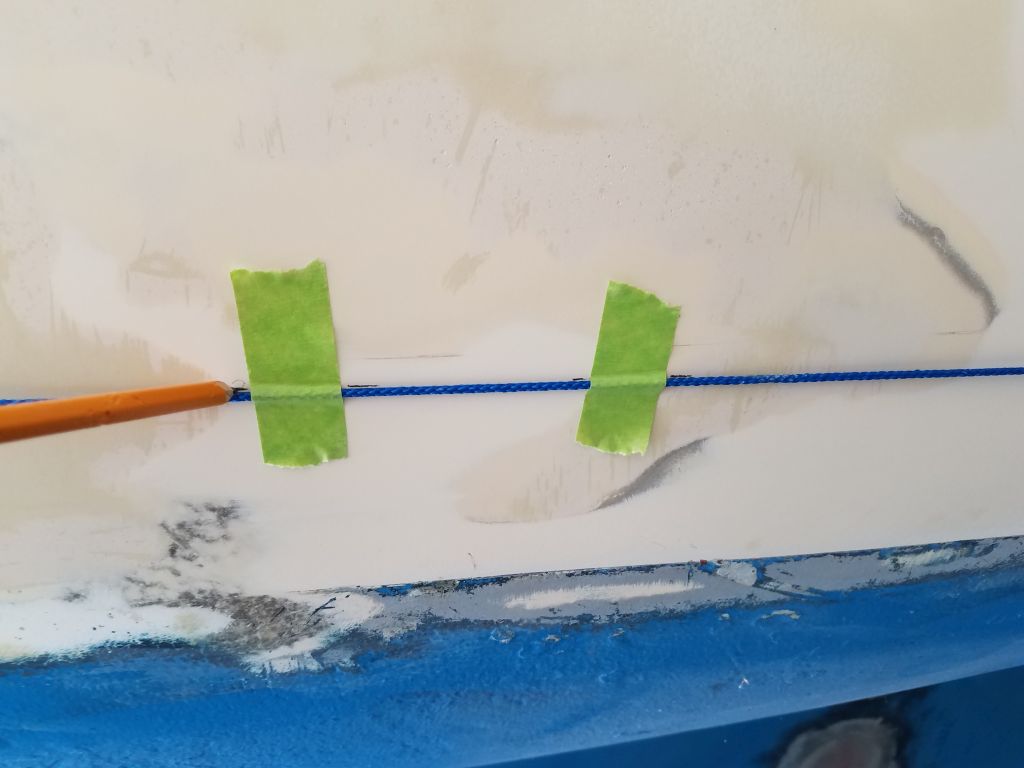


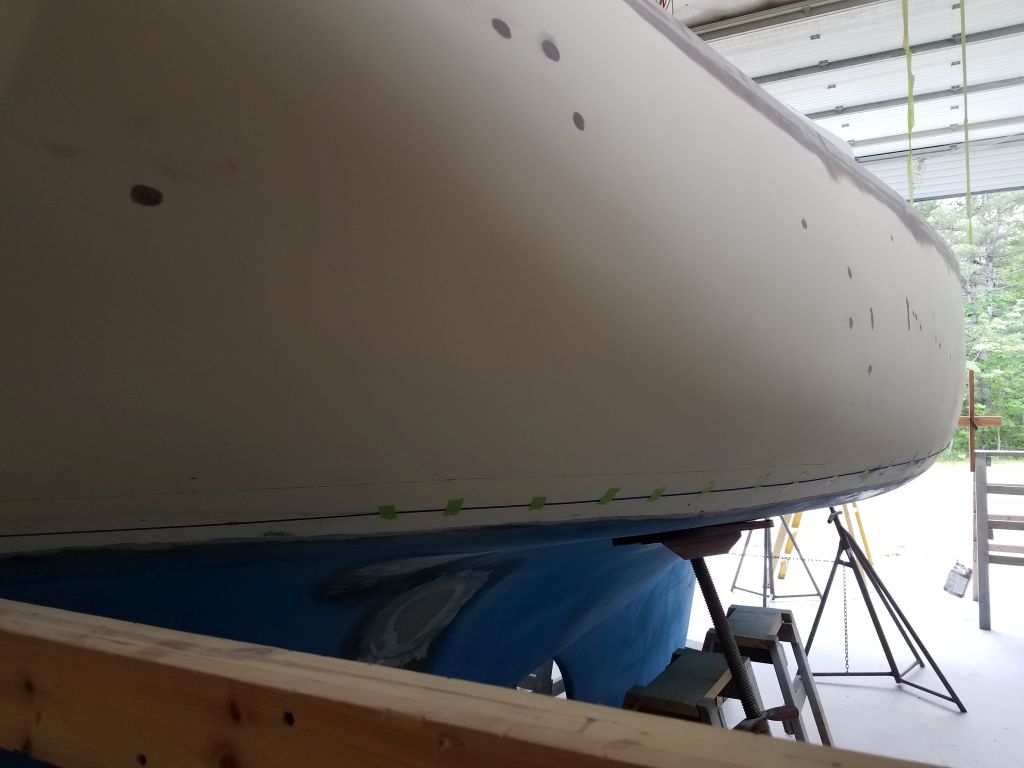
With the waterline marked, I applied masking tape just below the tick marks. I’d apply primers and paint to the top of this line, and bottom paint below.


Total time billed on this job today: 6.25 hours
0600 Weather Observation: 60°, clear. Forecast for the day: Sunny, 80s