


May 17, 2019
Scupper 146
Friday
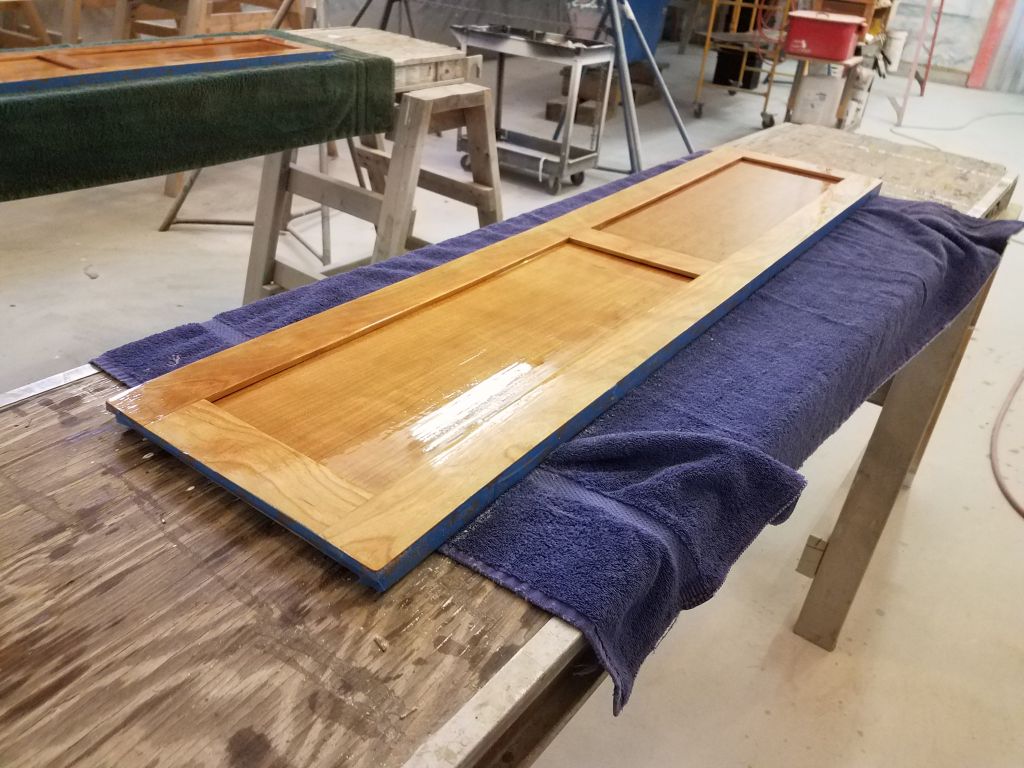
To avoid the chore being lost to absorption in the day’s other major job, I started once more with the sanding and varnish work on the forward cabin doors.

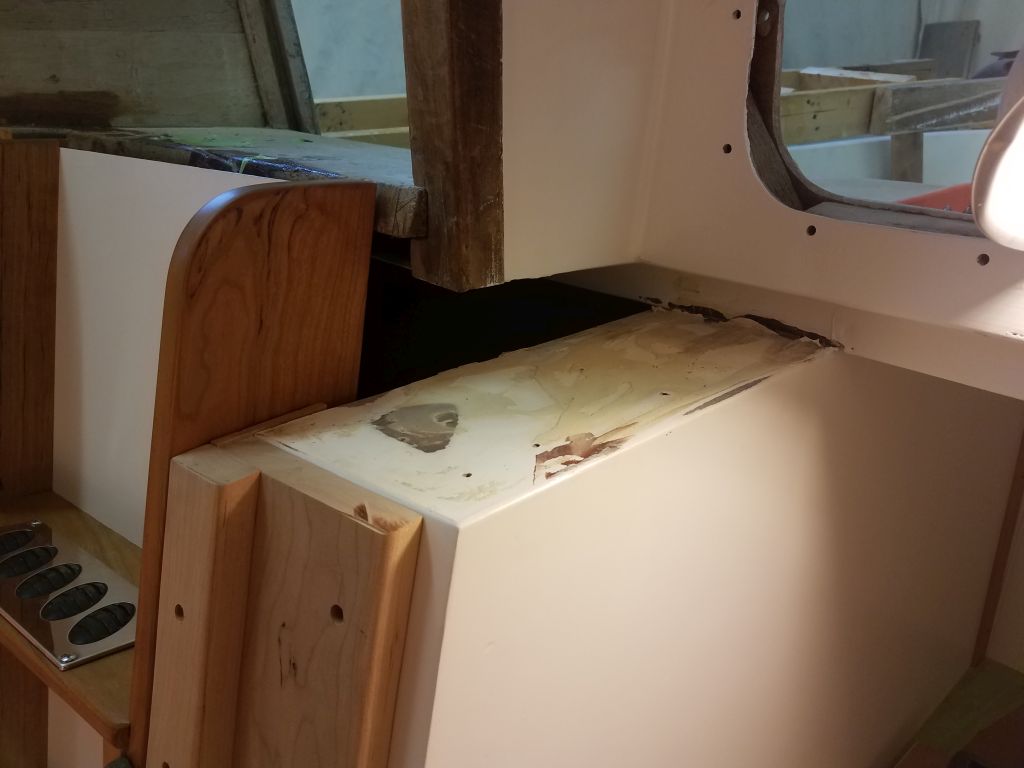
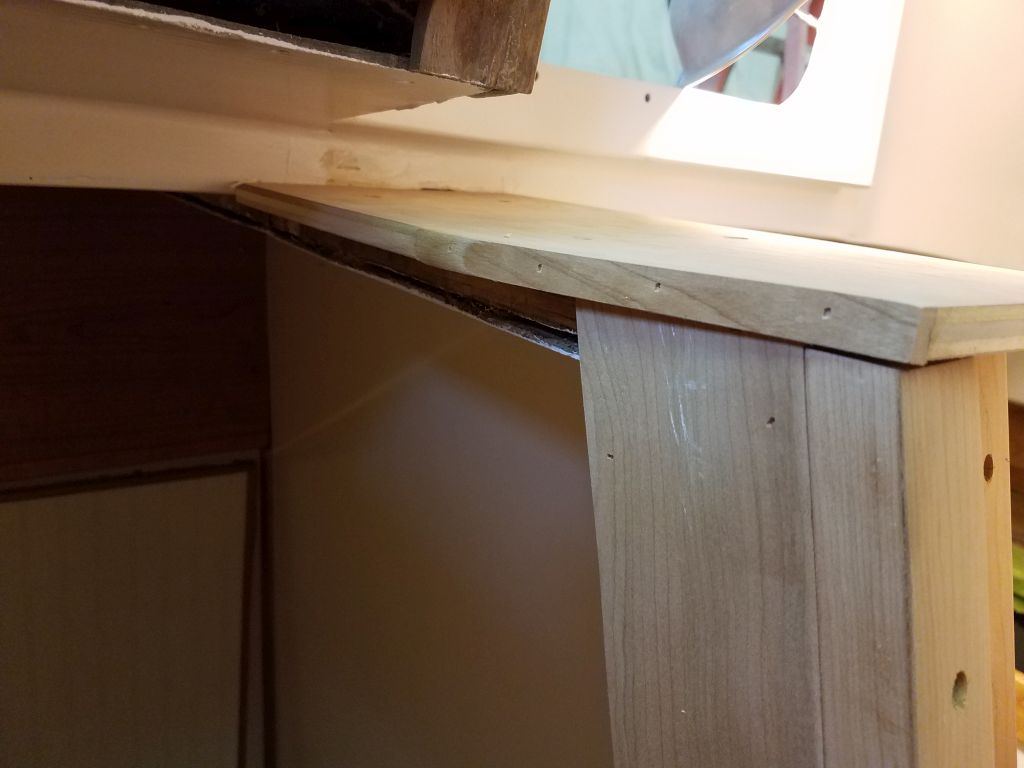
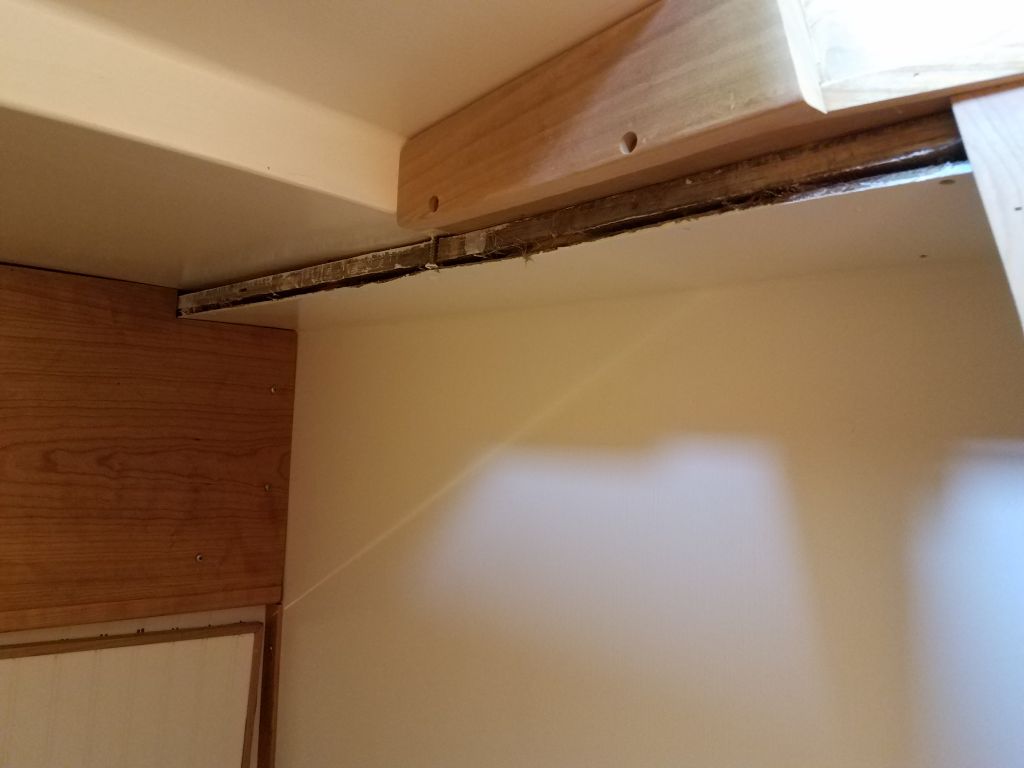
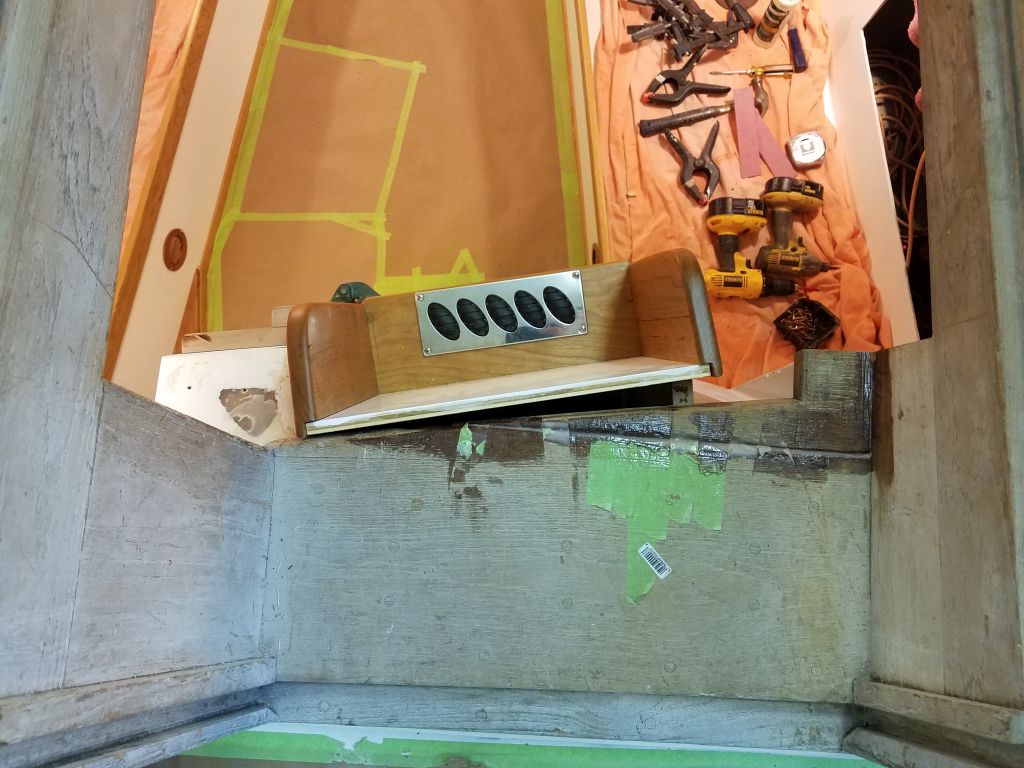
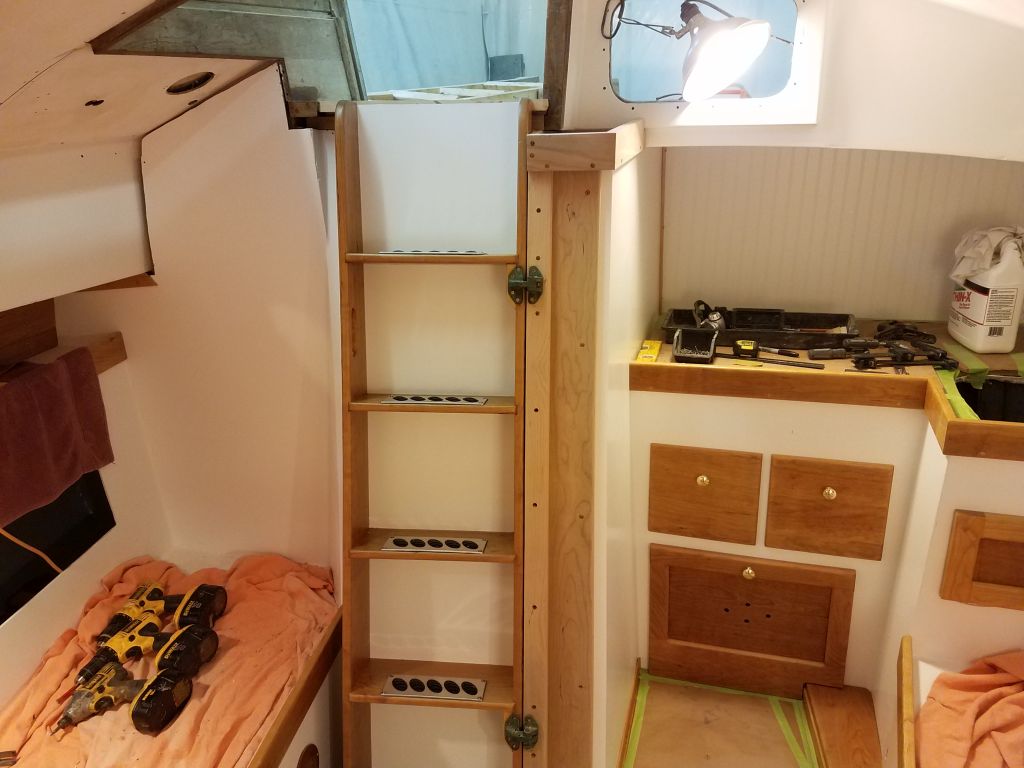
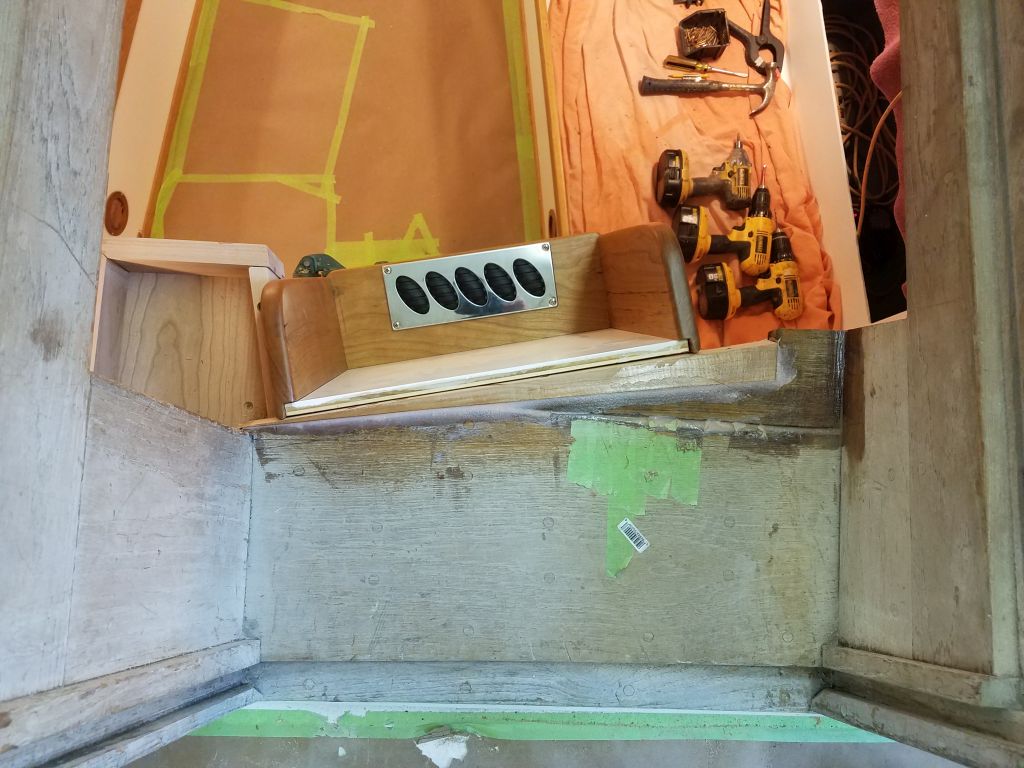
Next on the companionway trim agenda was the little shelf area to port of the ladder, covering a flat area on the top of the molded liner components. The original trim here had been secured with heavy beads of silicone sealant, most of which was still present (as shown below), so my first task was to scrape this away.
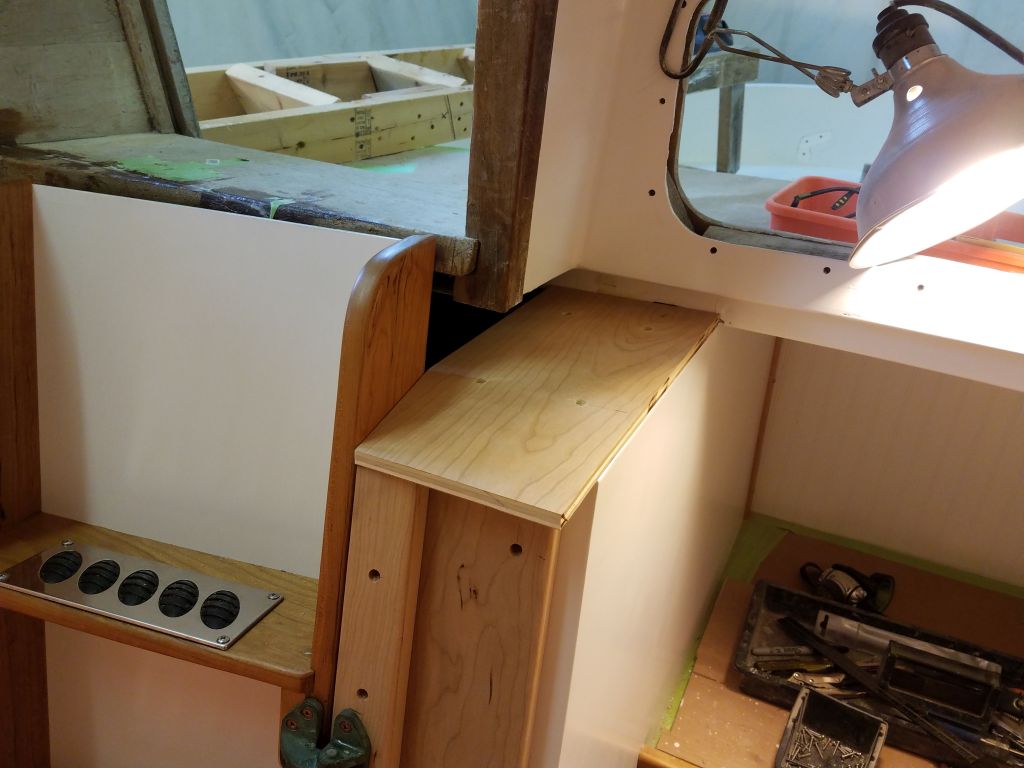
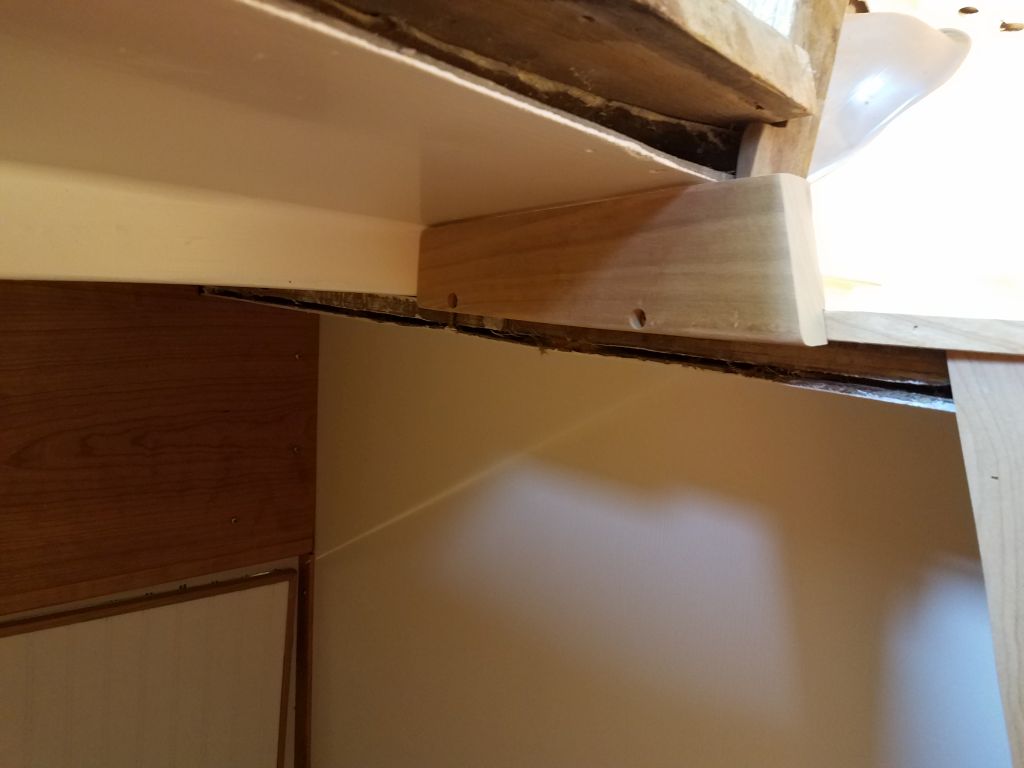
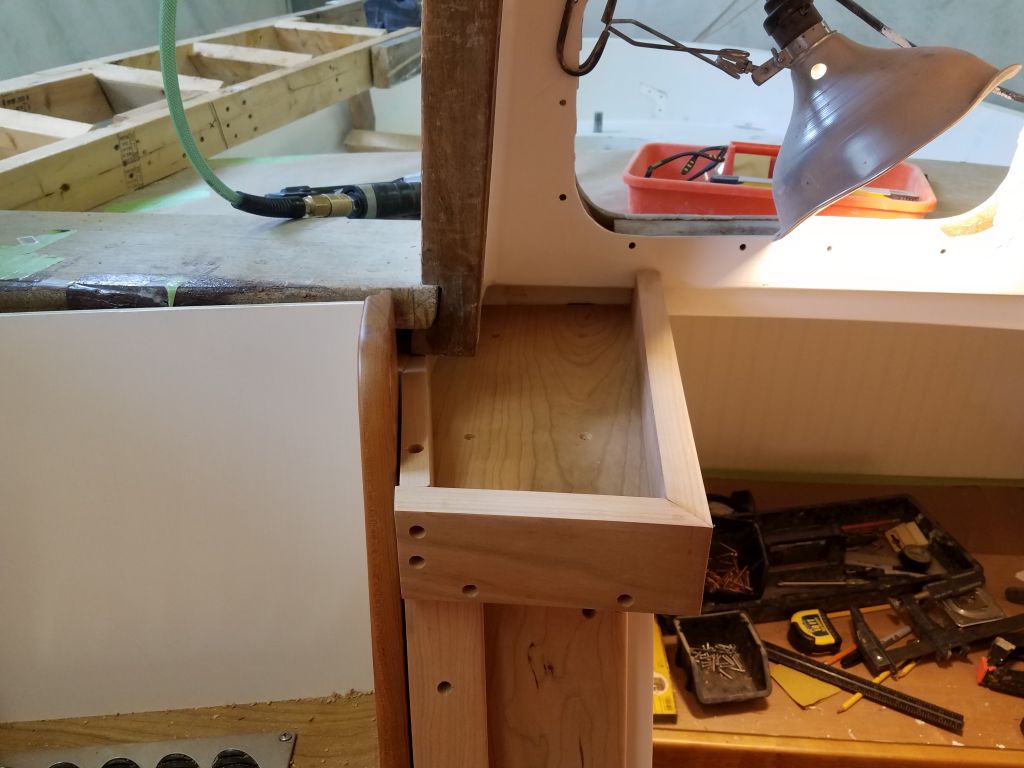
In a series of test-fits and markings, I prepared a base piece of 1/2″ cherry plywood for the shelf. I angled the shelf past the ladder itself, and edge-banded that portion of the shelf with solid cherry since it would be exposed when the ladder/door (should I call it a laddoor?) was opened. I extended the shelf past the trim on the center part of the unit, and secured the platform with screws that I’d bung later.
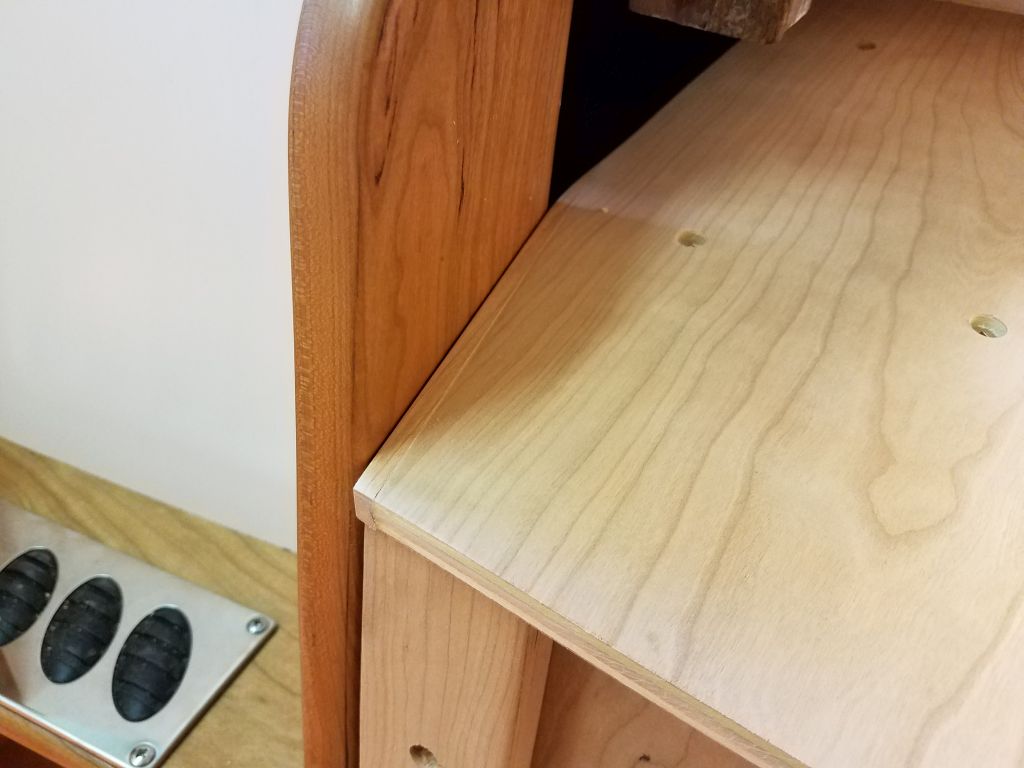
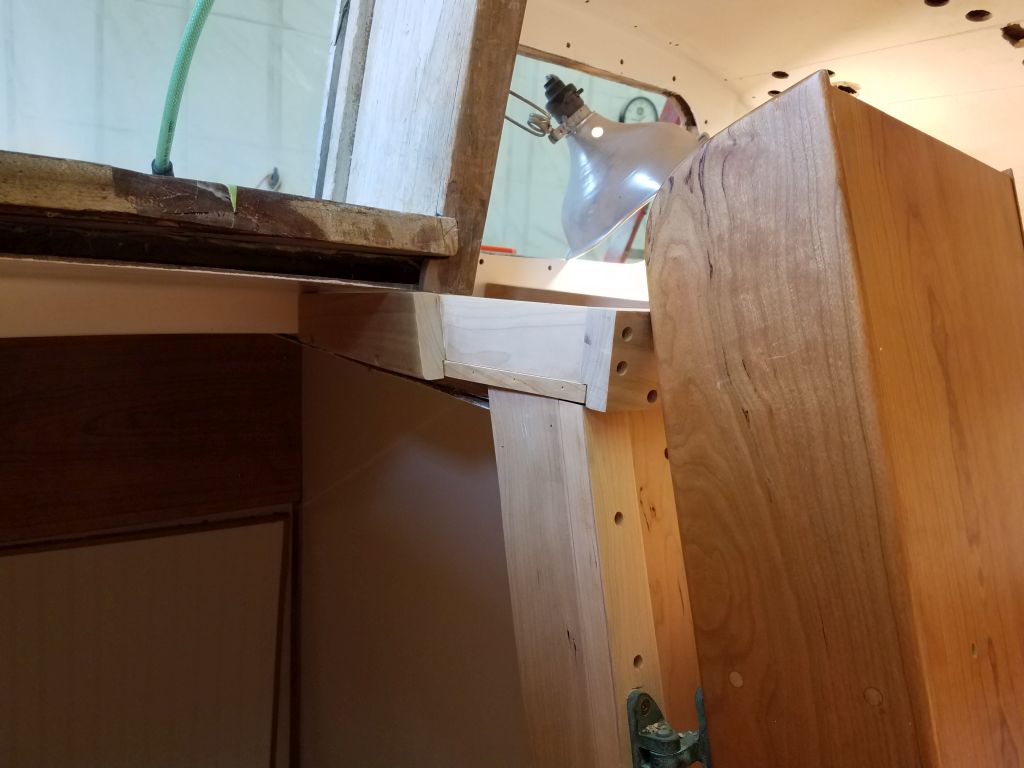
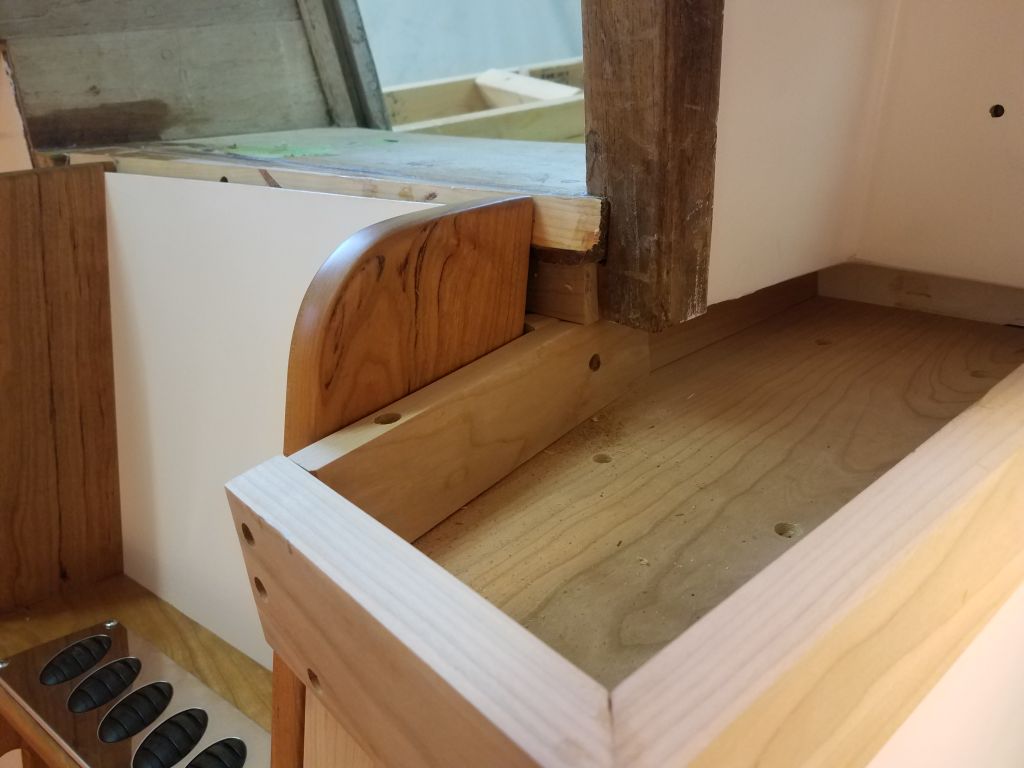
With this basis in place, I continued with the aftermost piece to starboard, which extended up to meet the overhead and out to meet the back edge of the laddoor. I milled a small rabbet so the fiddle could extend past and cover the plywood edge grain within.


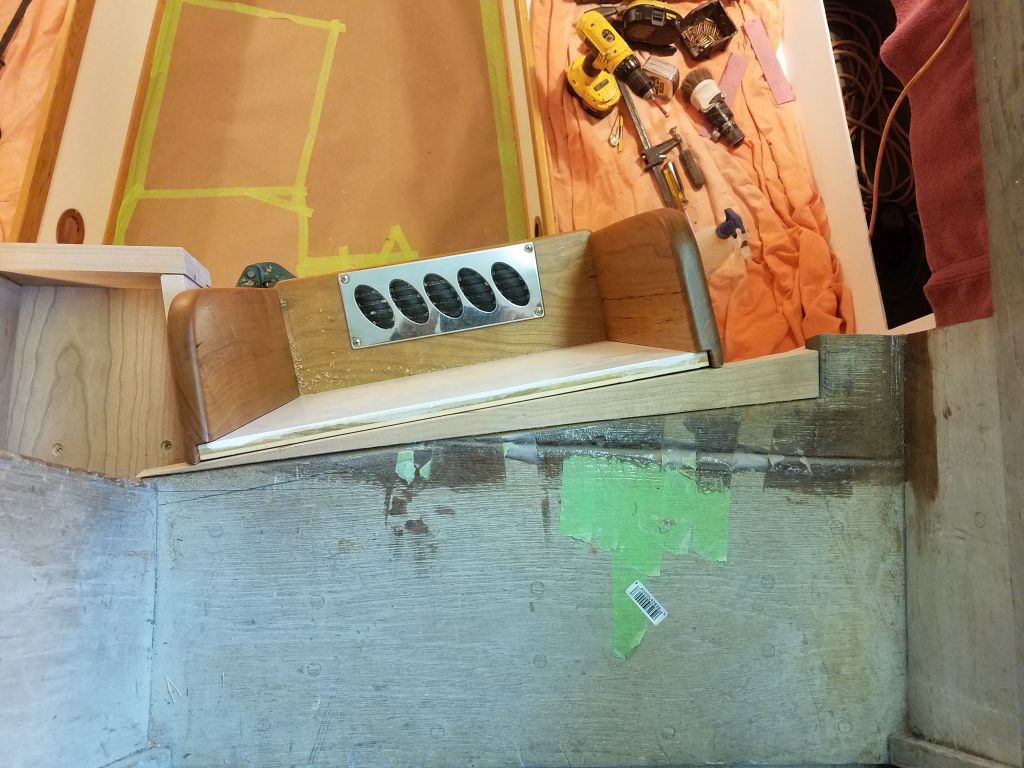
At considerable length belying the small area in question, I laid out, milled as necessary, and installed the remaining fiddles to surround and trim out the shelf. This was particularly complicated at the ladder side, but because the existing moldings and adjacent surfaces were all at various small yet noticeable angles to one another and everything else in creation, the cuts to conjoin various pieces of this essentially simple t rim required many small adjustments and test-fits to approach serviceability. These remaining fiddles didn’t really come together for installation till all three pieces were carefully cut and fitted, so photo-wise, it turned in ton an all-or-nothing proposition.
I purposely left the new trim unprofiled at the top edges and corners, since I didn’t want to pre-mill anything and find that it interfered with the various joints. Instead, I planned to profile and ease these final edges later, along with some related and similar cleanup and sanding required on much of the companionway trim area and following bunging of all the screw holes.
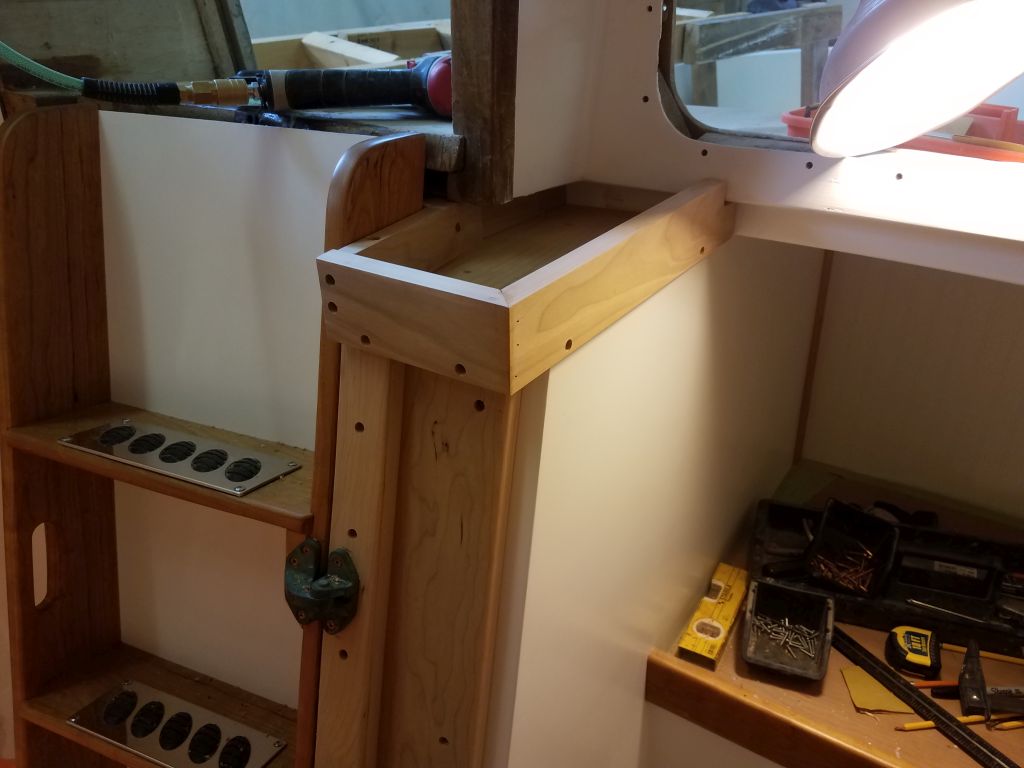
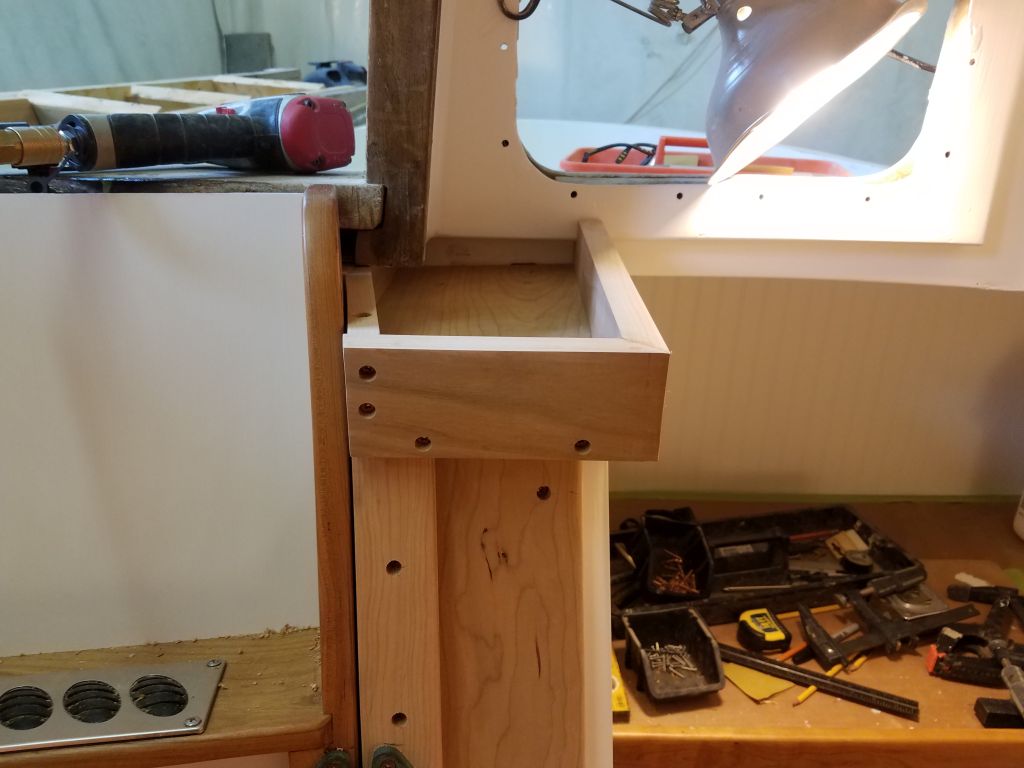
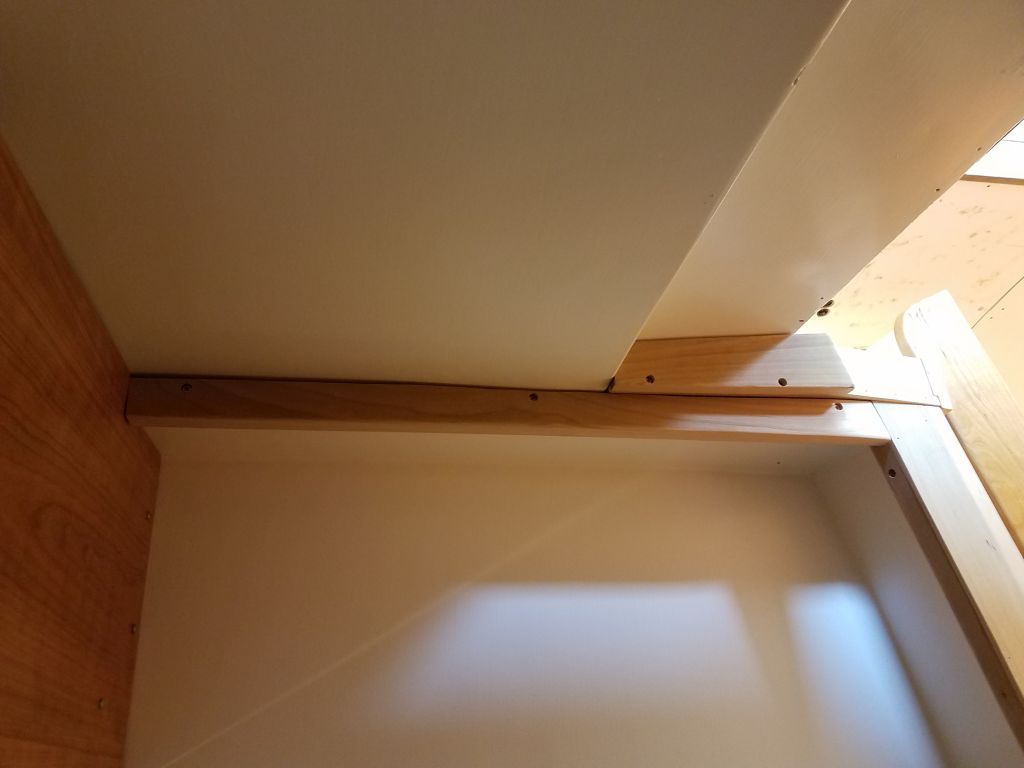
Next, I laid out, milled, and eventually installed a piece of trim to cover the last piece of exposed raw liner edge running from the companionway/head opening aft into the head along the overhead near) centerline.
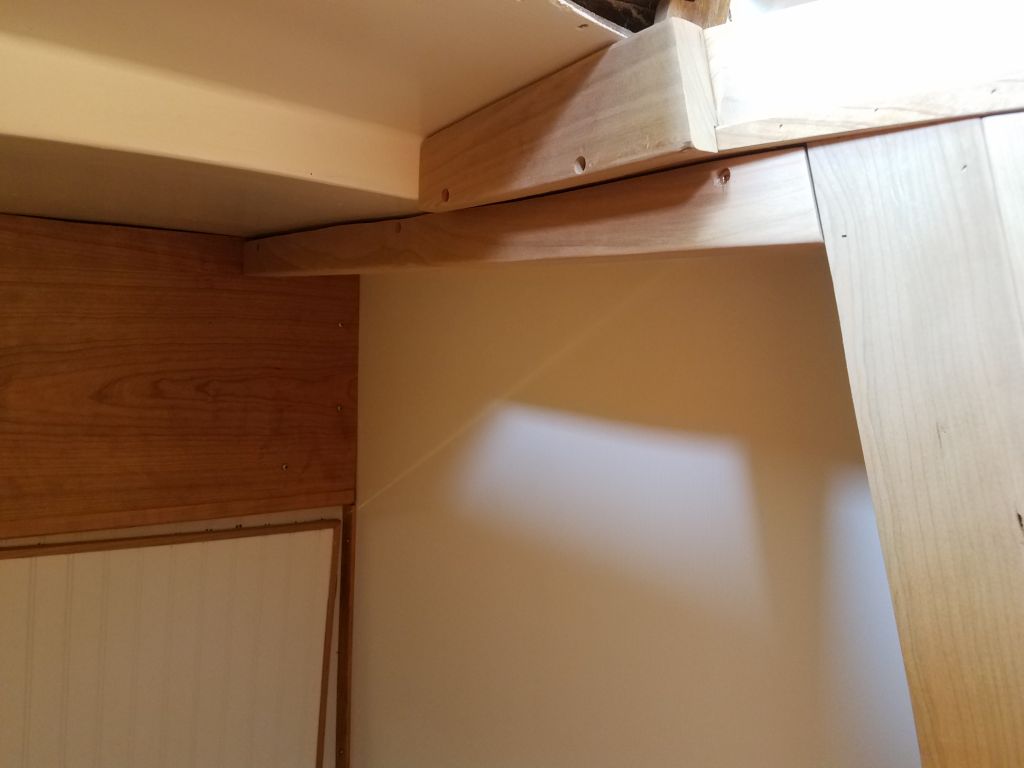
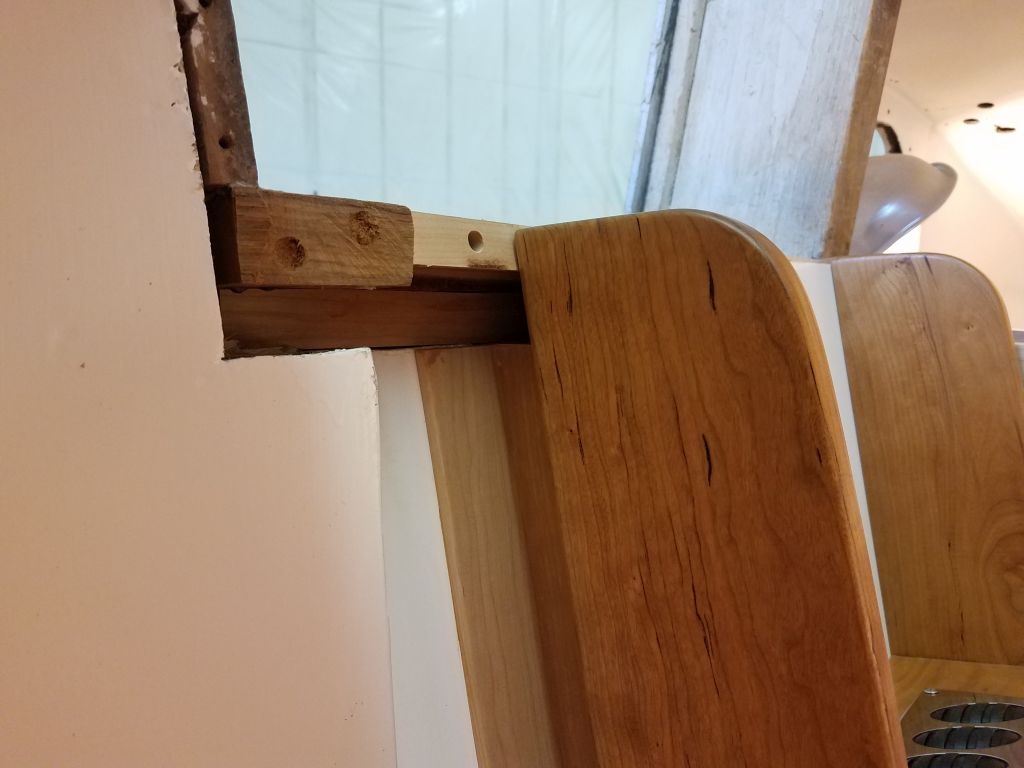
Now all that was left (though by now I’d no illusions about this representing a straightforward nor minimal effort) was the final trimming at the top of the ladder, where the existing teak companionway trim required modification and enhancement to complete. The minor change in how the laddoor rested in its final place meant that I needed a wedge-shaped piece of trim to fill in at the very top edge, which piece was simple to make and install with epoxy adhesive and screws (after preparing the bonding surfaces accordingly).
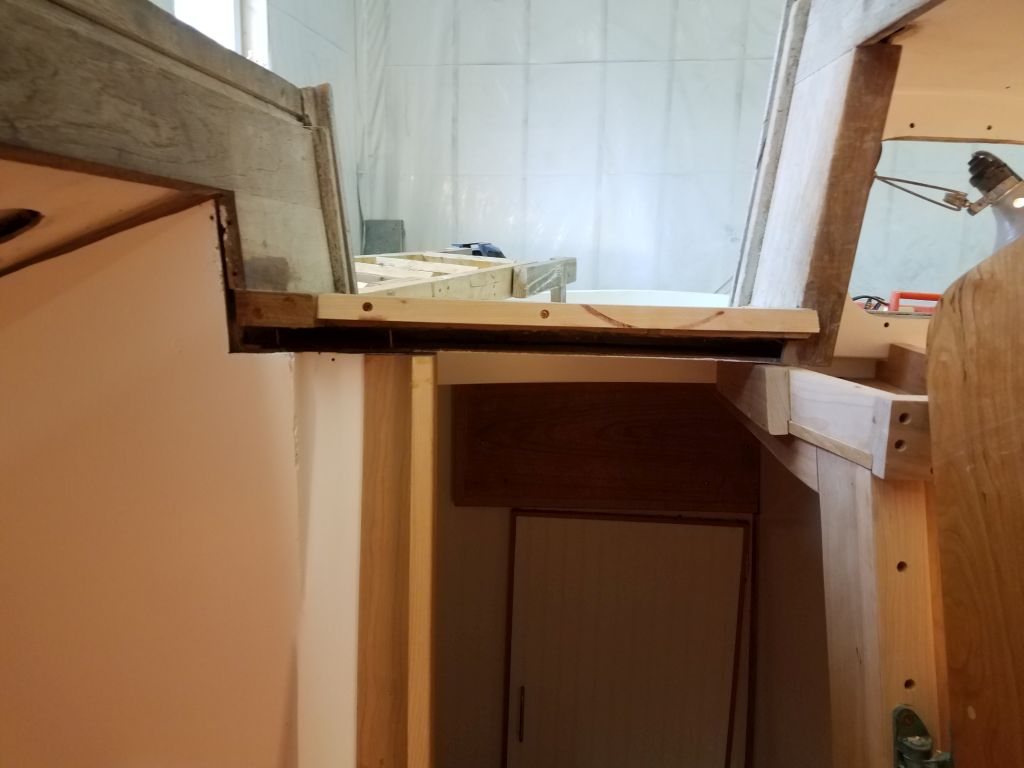
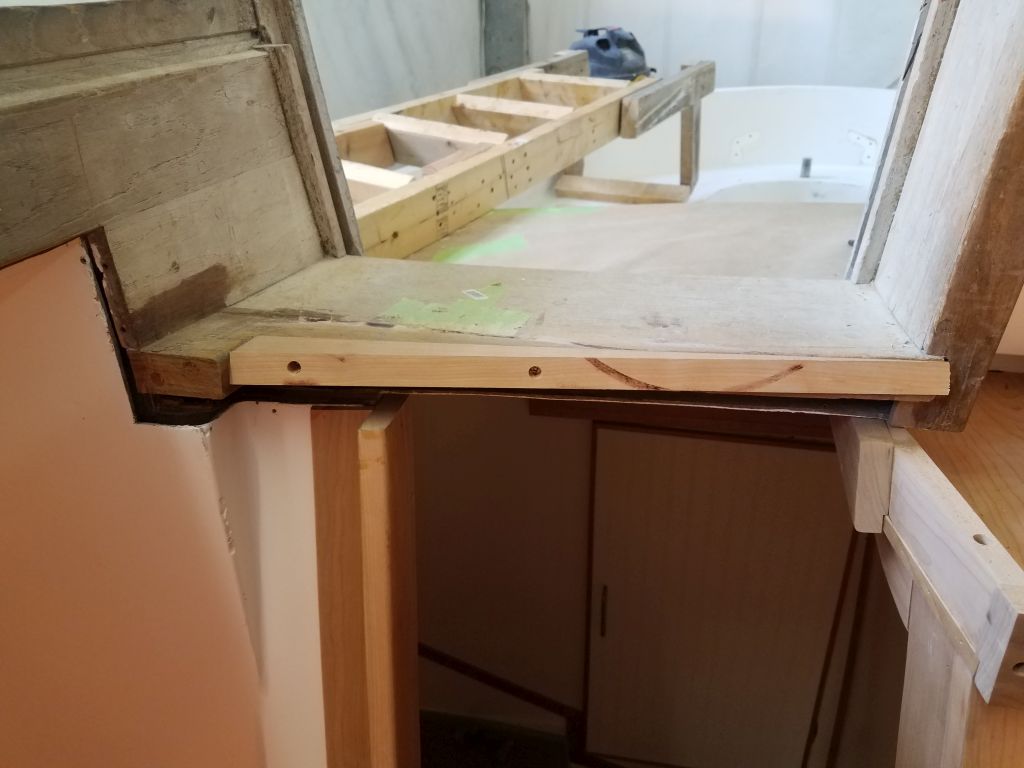

This filled in the top part of the gap (and later I planned to apply a new surface to the companionway walkway that would cover and reinforce these various glue joints and improve cosmetics for the planned paint finish), but there was still a substantial trim challenge ahead to finish off the remainder of the opening from inside. This would clearly require a multi-step approach, and with the day drawing to a close I knew I’d never get it all done now, but I started with a piece of cherry to close off and support from beneath the gap between the head liner and the companionway above. Once I’d fit this piece as needed, I secured it with screws into the wood above.

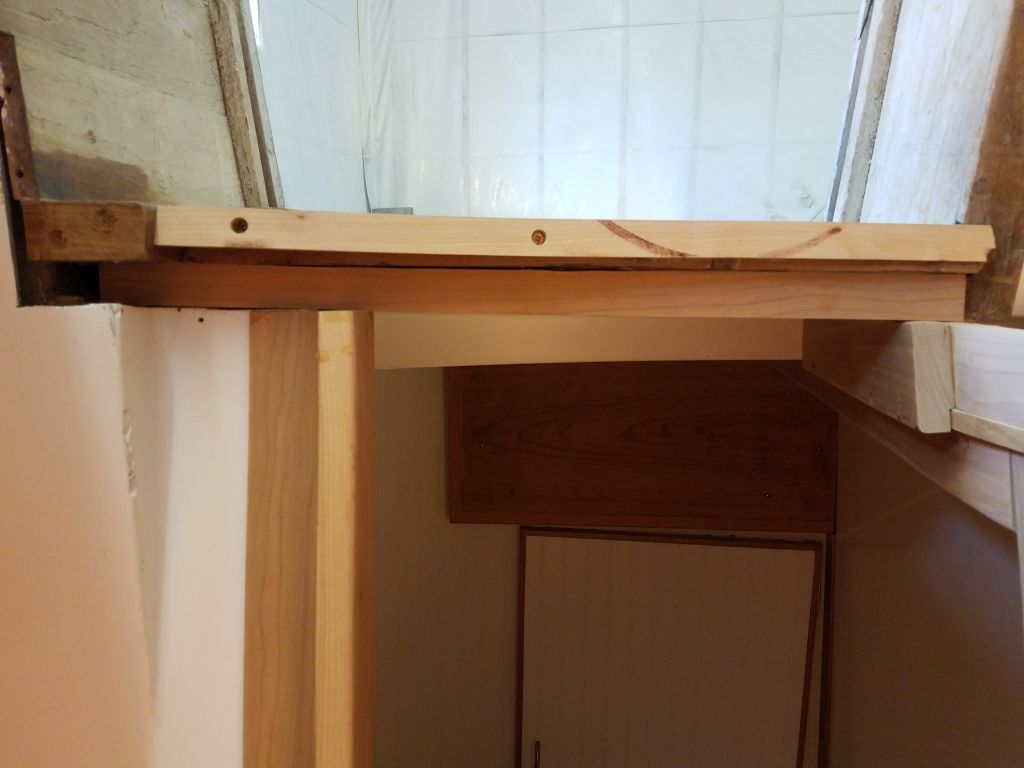
There were still gaps to be dealt with around the top of the laddoor, which I figured I’d build with additional solid wedge-shaped and angled pieces as needed, but for now, with fresh glue on the piece above and the day’s time run out anyway, I left this final trimming task for next time.
Total time billed on this job today: 8 hours
0600 Weather Observation: Partly cloudy, 40°. Forecast for the day: Mostly cloudy and showers likely, 53°