


January 10, 2020
Scupper 217
Friday
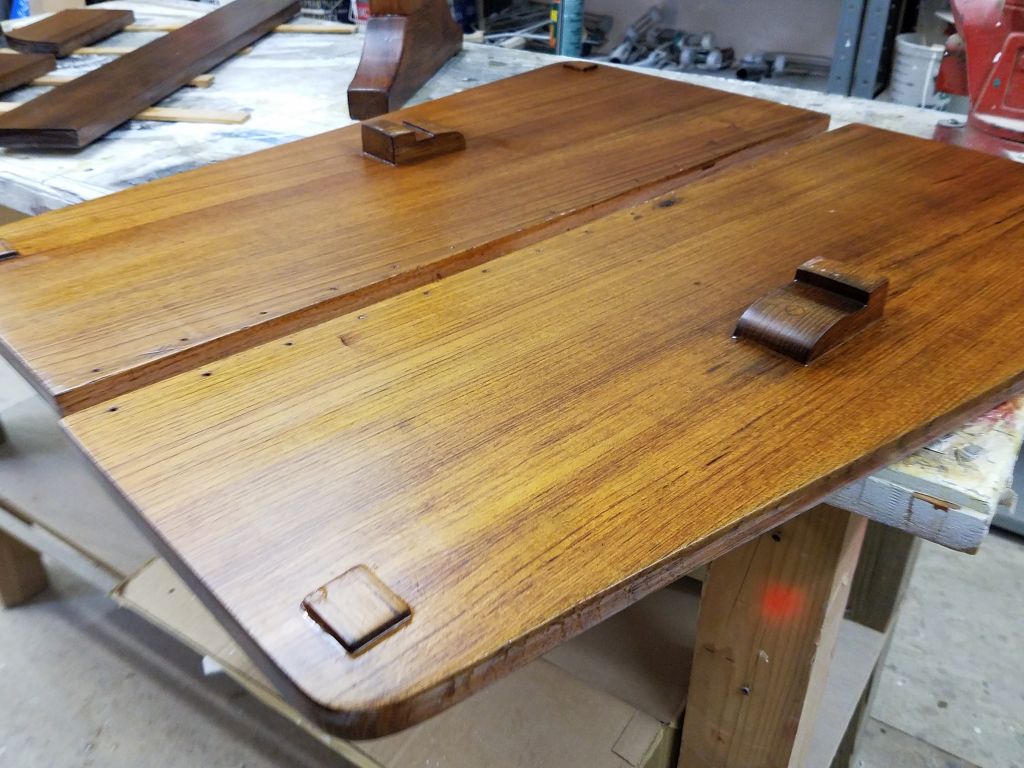
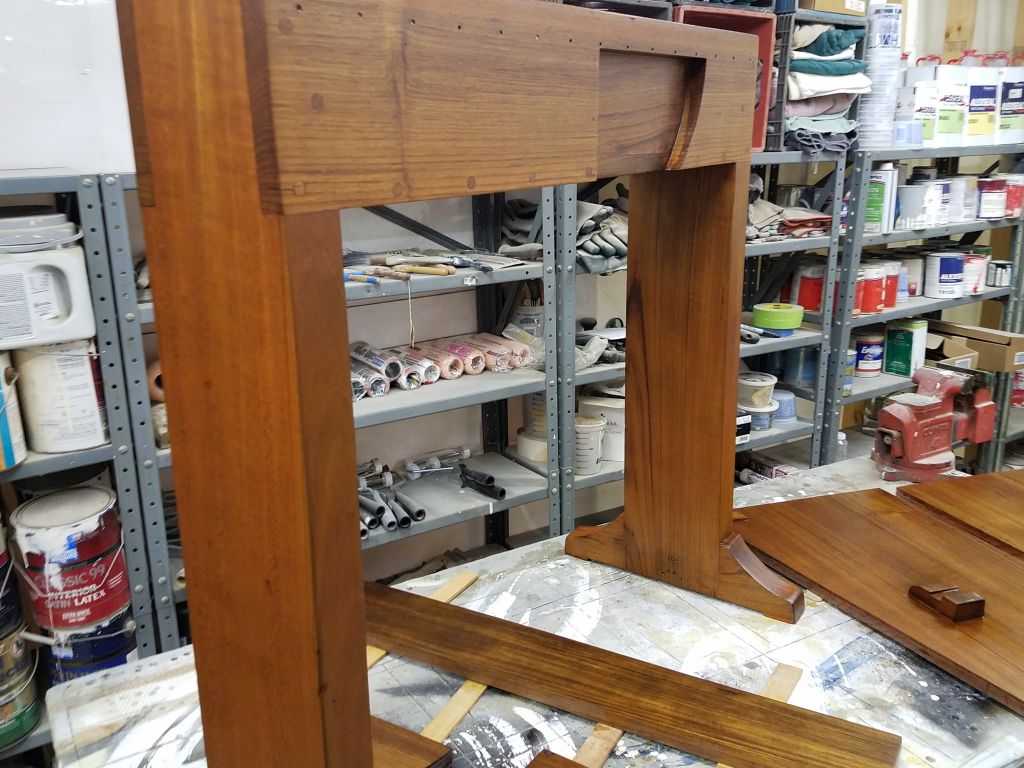
To get started, I lightly sanded the last coat of gloss base varnish on the table parts, then, after cleaning up, applied a coat of rubbed-effect satin varnish to the secondary sides of the leaves and supports, and to the table base itself.


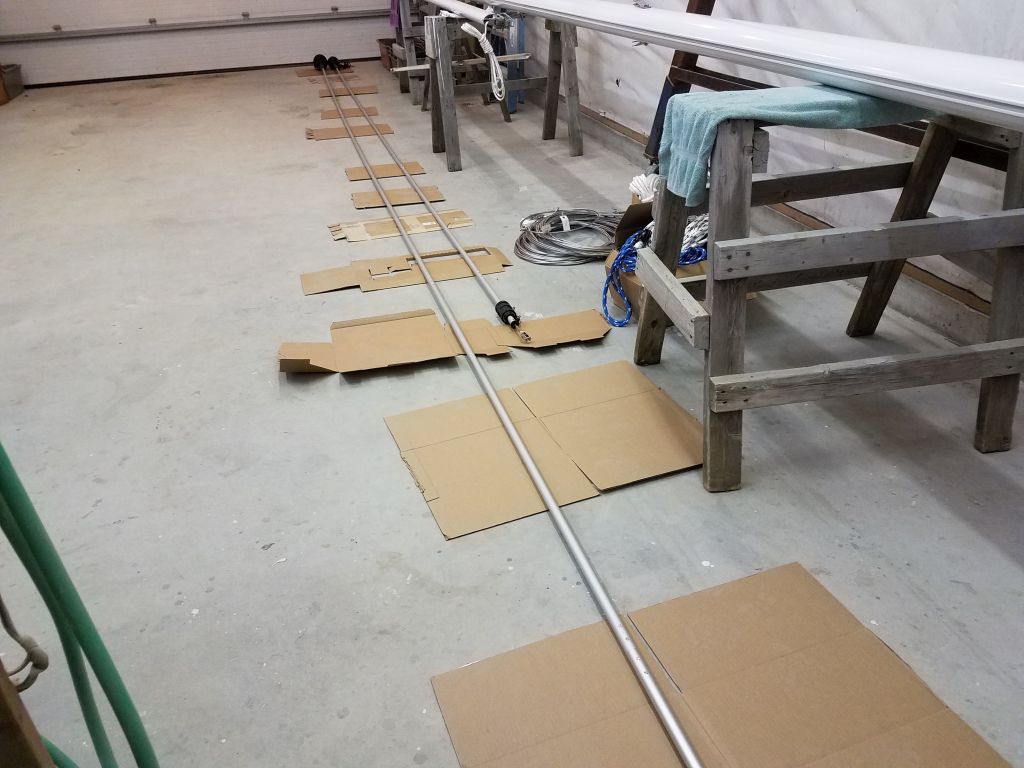
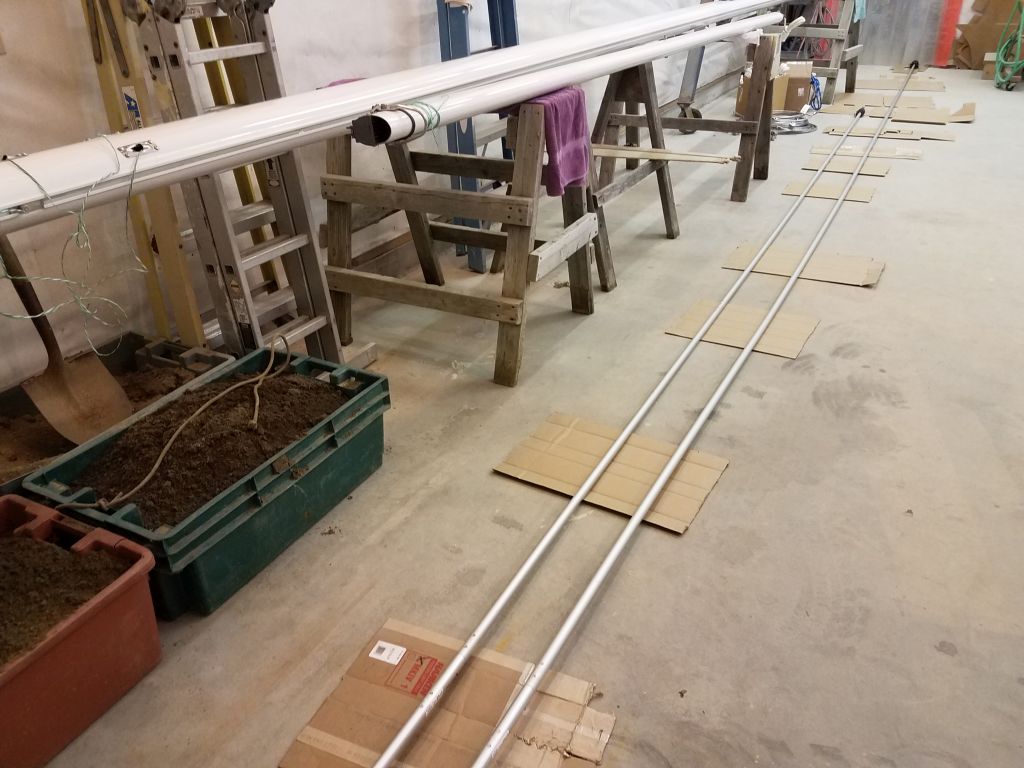
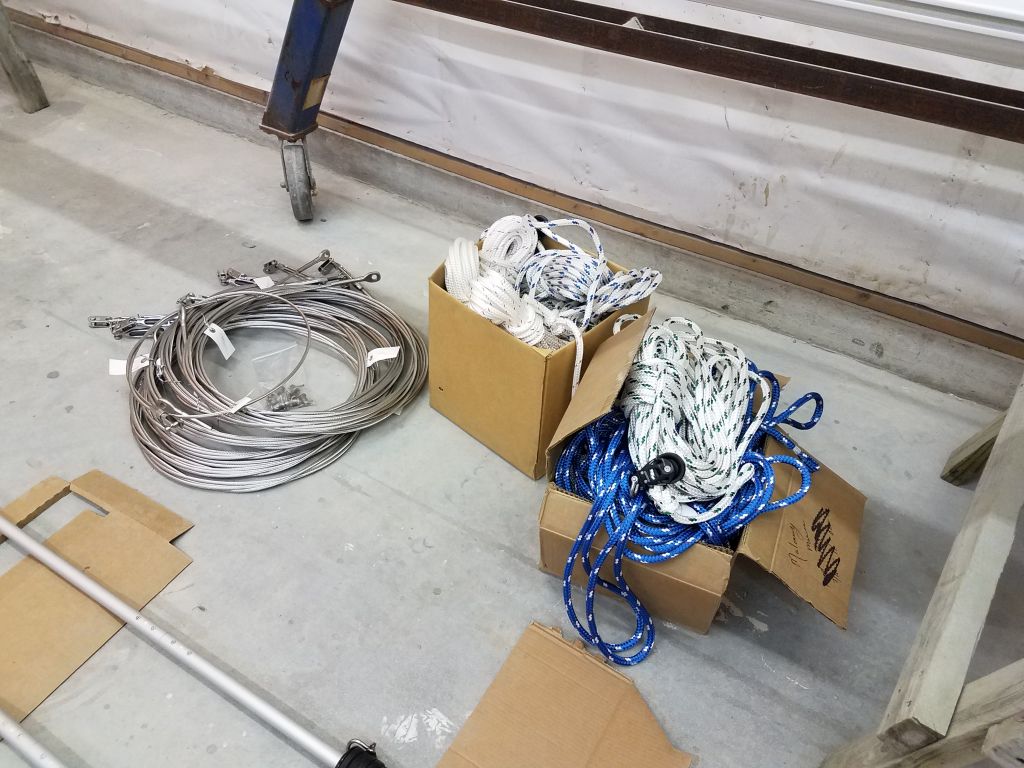
The riggers were on site to assemble the new furlers, install the revamped outhaul system, and deliver the running and standing rigging. For now, we left the rigging uninstalled pending final mast wiring and any other prep work.


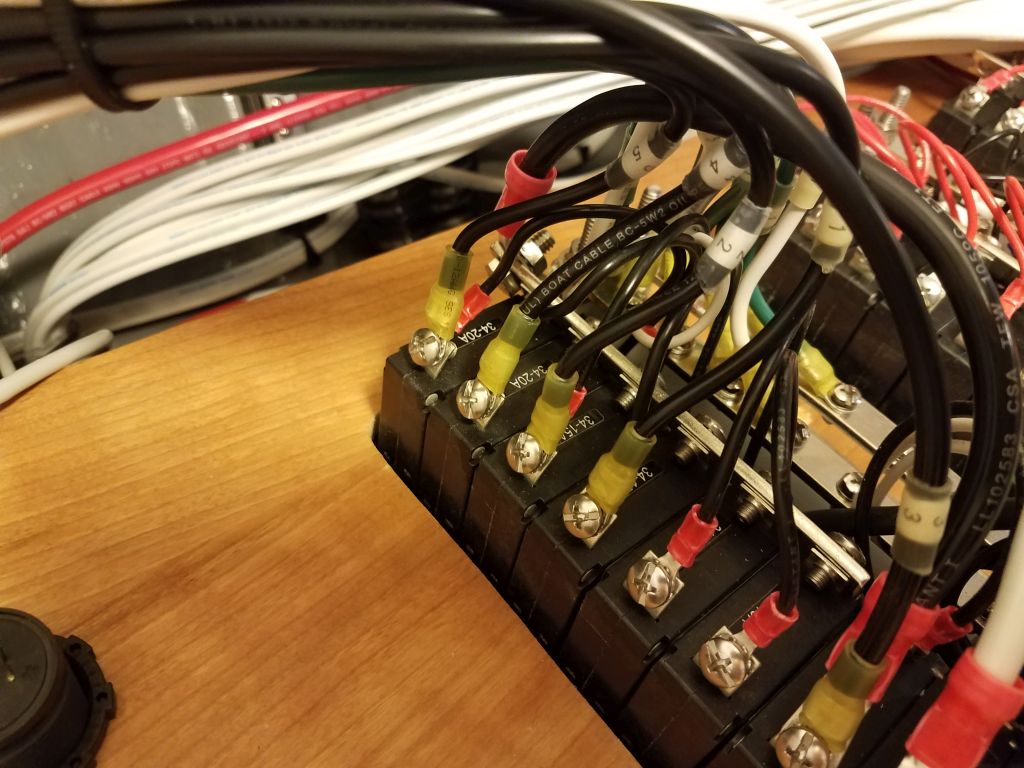
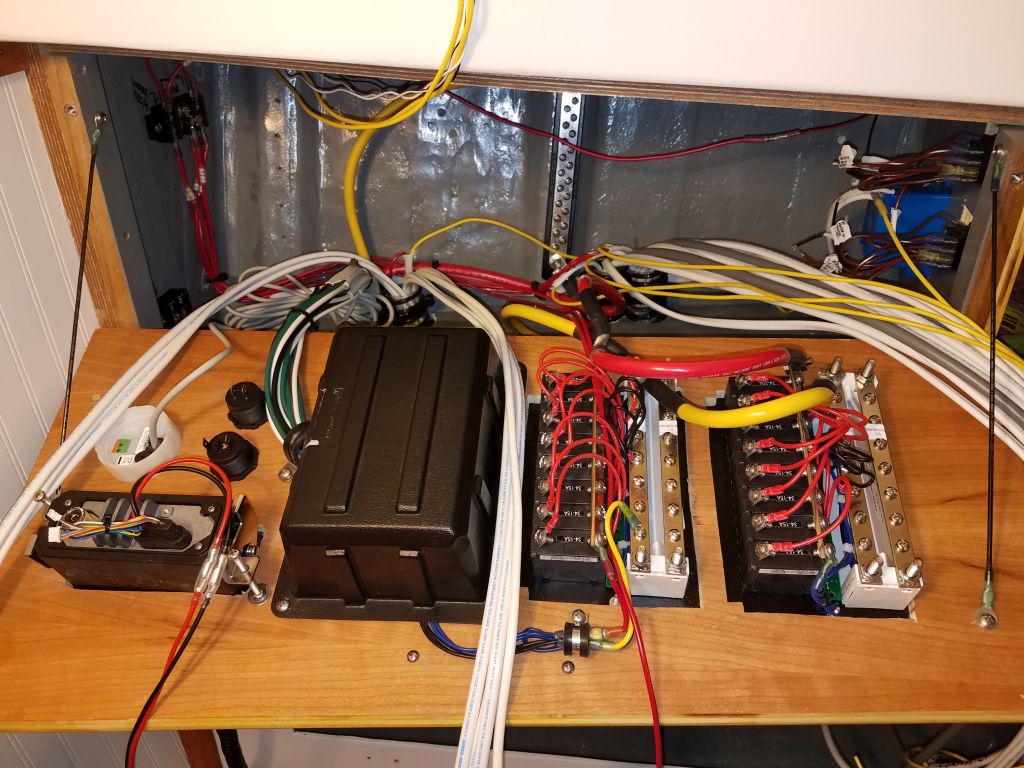
I spent most of the day working at the electrical locker, starting to sort out and terminate the various circuits. I began with the 110-volt AC panel since the job there was more finite, with only four circuits plus the main cable from the shore power outlet. Leaving ample slack for wire routing and to allow the main panel to be easily raised and lowered, I terminated all the AC wiring ends, securing them to the breakers and other parts of the panel as needed.
When the AC wiring was complete, I installed a plastic cover over the back of the panel to protect against accidental contact with the higher-voltage circuits when the panel was opened.
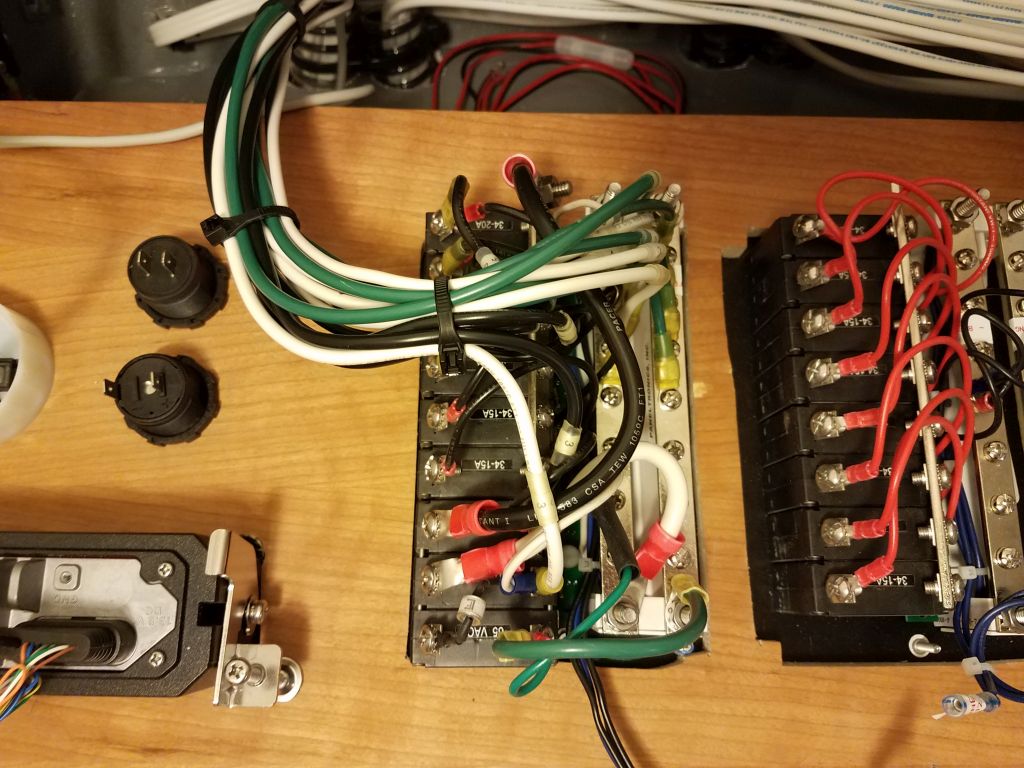
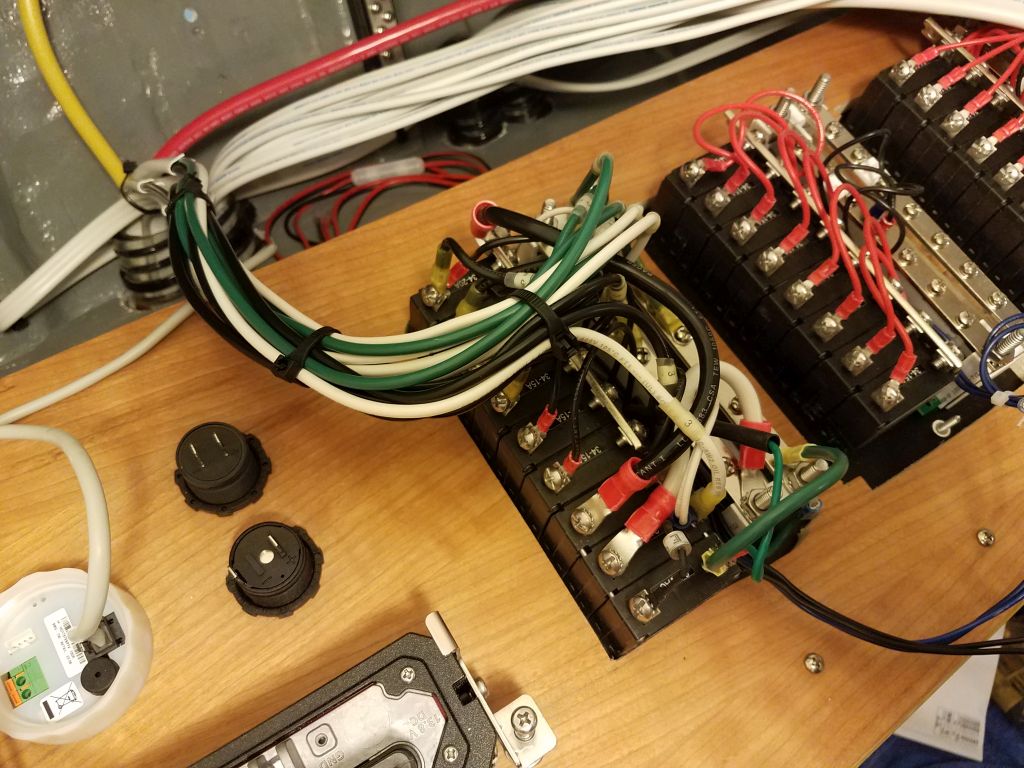

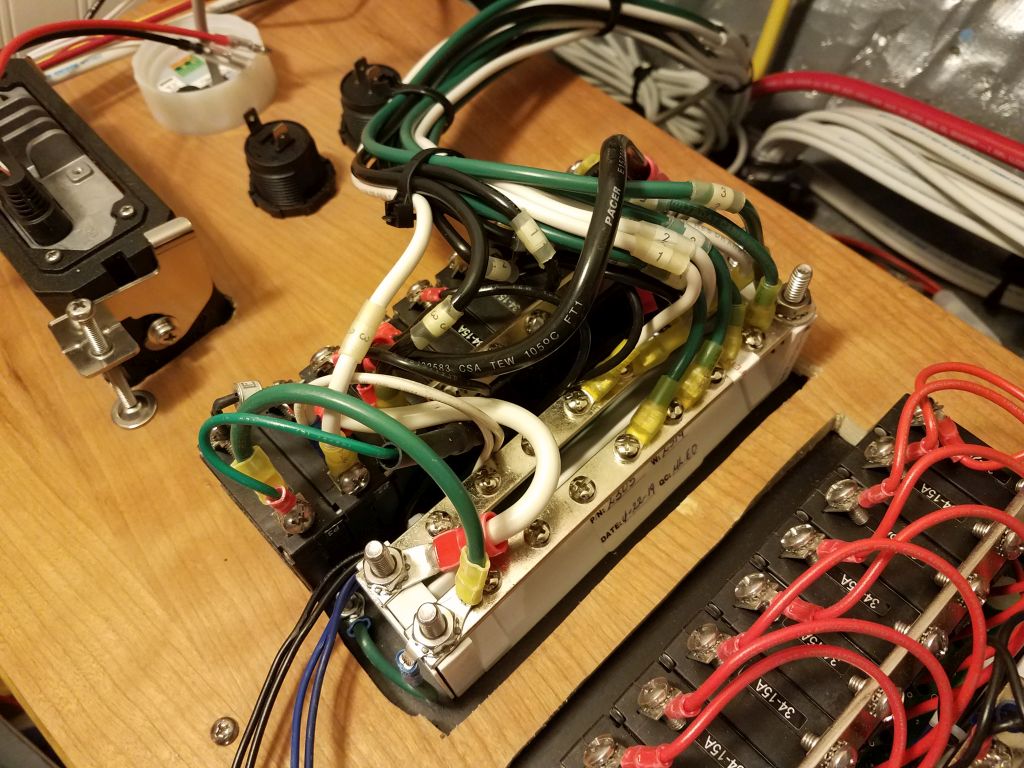
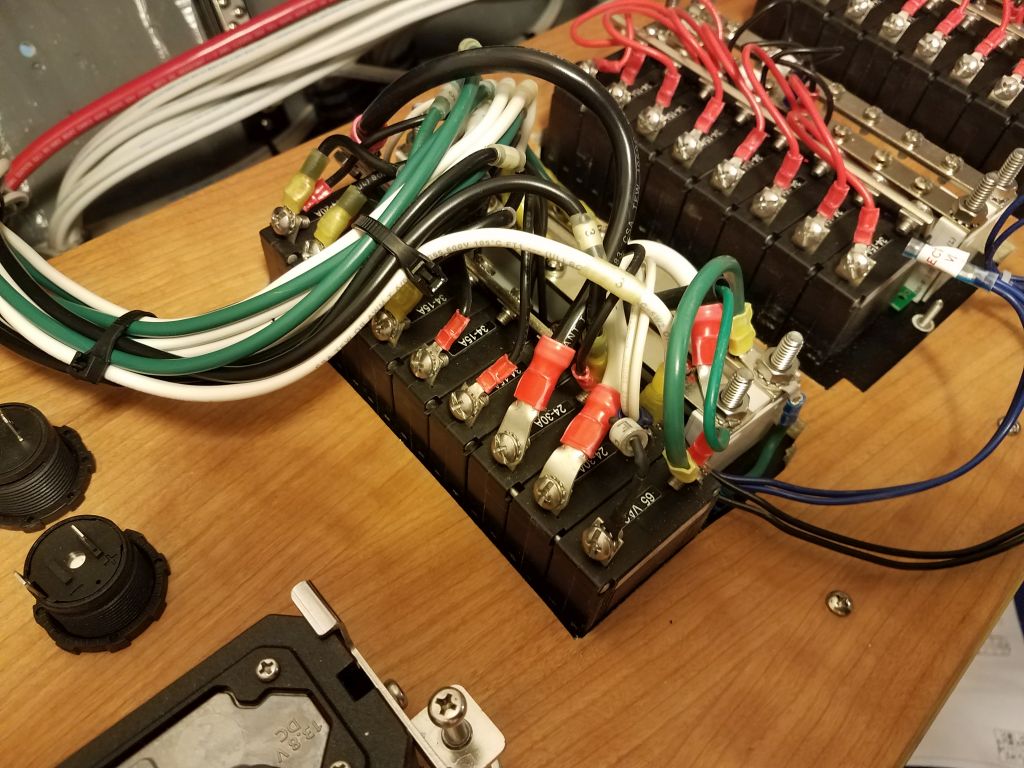


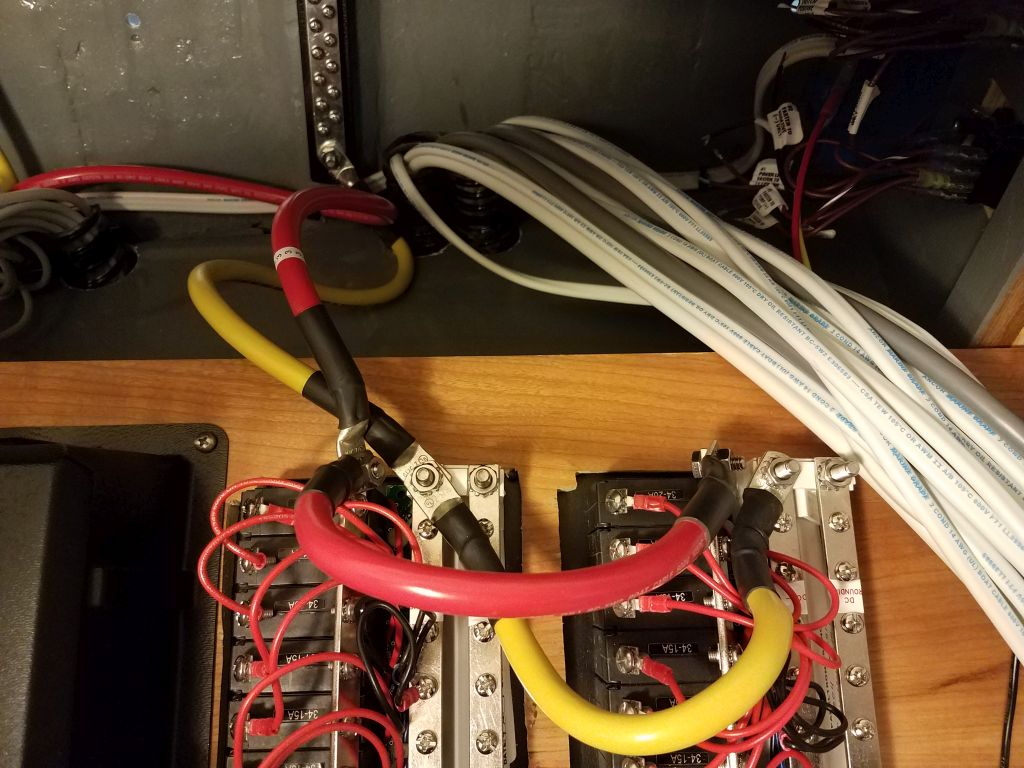
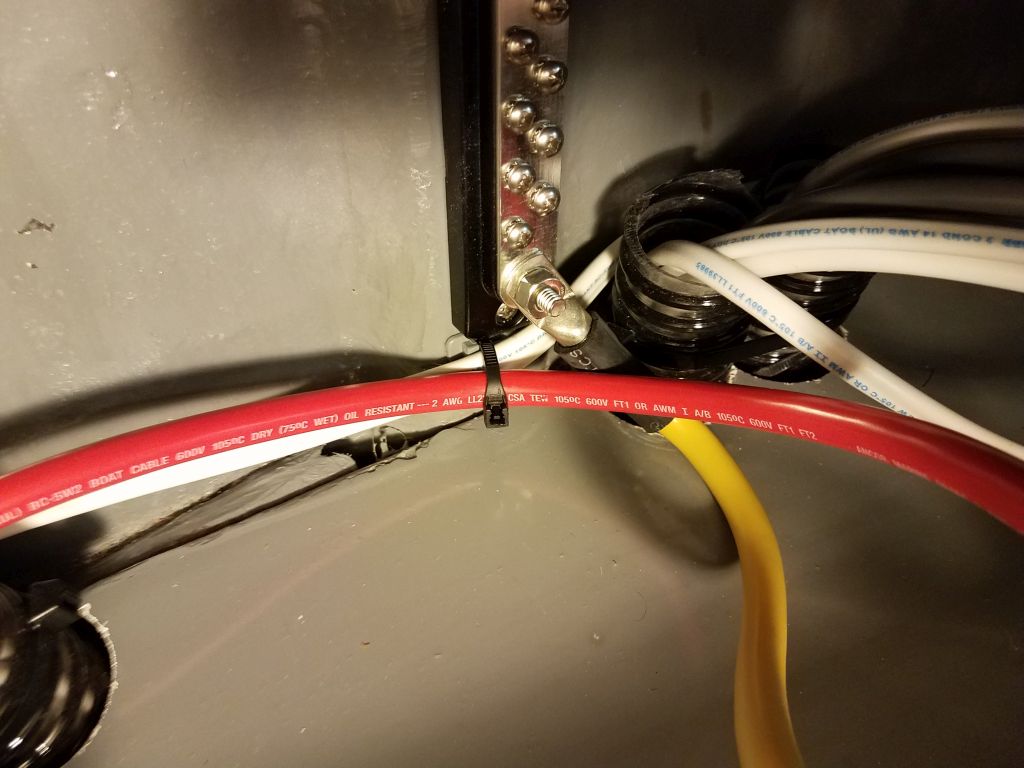
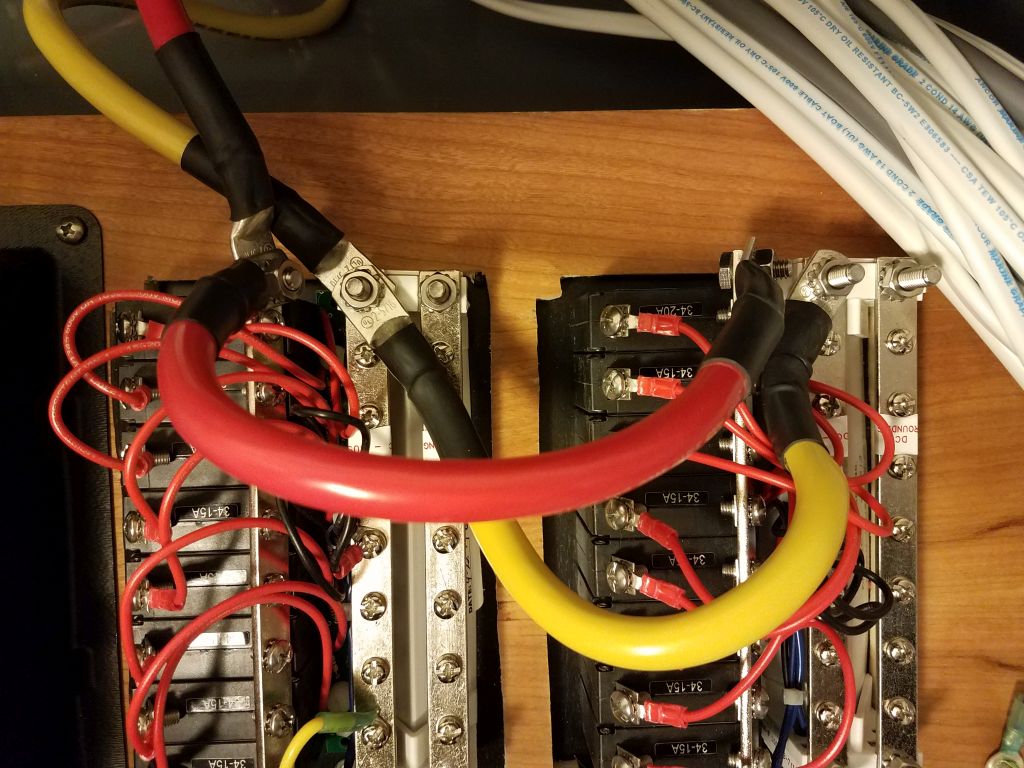
The AC panel, as well as the two DC panels, featured small circuits for backlighting that needed to be installed to the DC positive and negative. I took care of this next. Then, I installed the main feed cables from the (eventual) house battery bank, and conjoined the two DC panels with additional cable.

Next, I sorted through the various wires and separated out all the lighting circuits. I planned two main lighting circuits–one each for the underdeck secondary lighting and the main cabin lights–plus a third, separate circuit for the galley lights and a forthcoming light at the companionway, which three lights would be serviced by a switch near the companionway for convenience.
To reduce wiring leading to the panel itself, I installed my habitual terminal block to accept all the lighting circuits, and from whence a single wire could later lead to the appropriate breaker. In this instance, I combined three of the terminal pairs with jumpers to service the main cabin light circuits, and left the remaining pair separate to service the underdeck lighting circuits. Then, I began working my way through the wires, separating positive and negative leads and making up the terminal ends and identification labels for some of the positive cabin light leads. I left the negative wires to one side for later attention. As I went, I planned the final wire locations and, in some cases, temporarily secured wires along the way, though final securing would only happen once all the wires were terminated and in place. By the end of the day’s work, I’d made good progress on the cabin lights, though a few circuits still remained untouched–along with the bulk of the other circuits on board.


Total time billed on this job today: 7 hours
0600 Weather Observation: 12°, partly clear. Forecast for the day: Cloudy, slight chance of rain or sleet, 38°