


December 16, 2019
Scupper 203
Monday
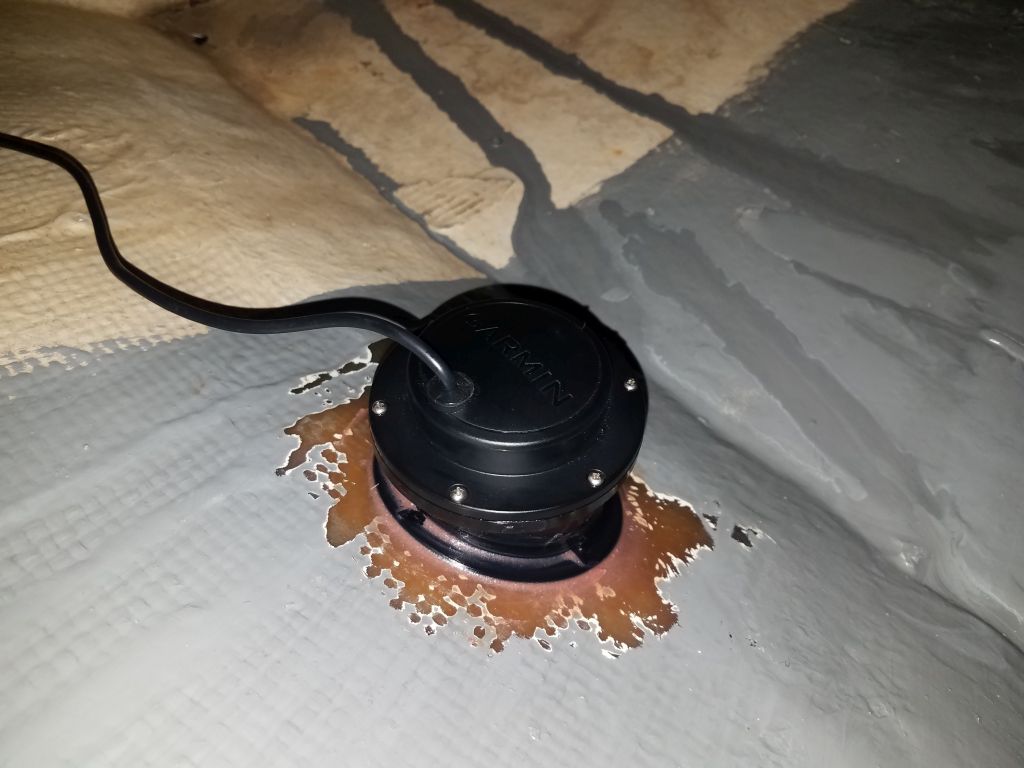
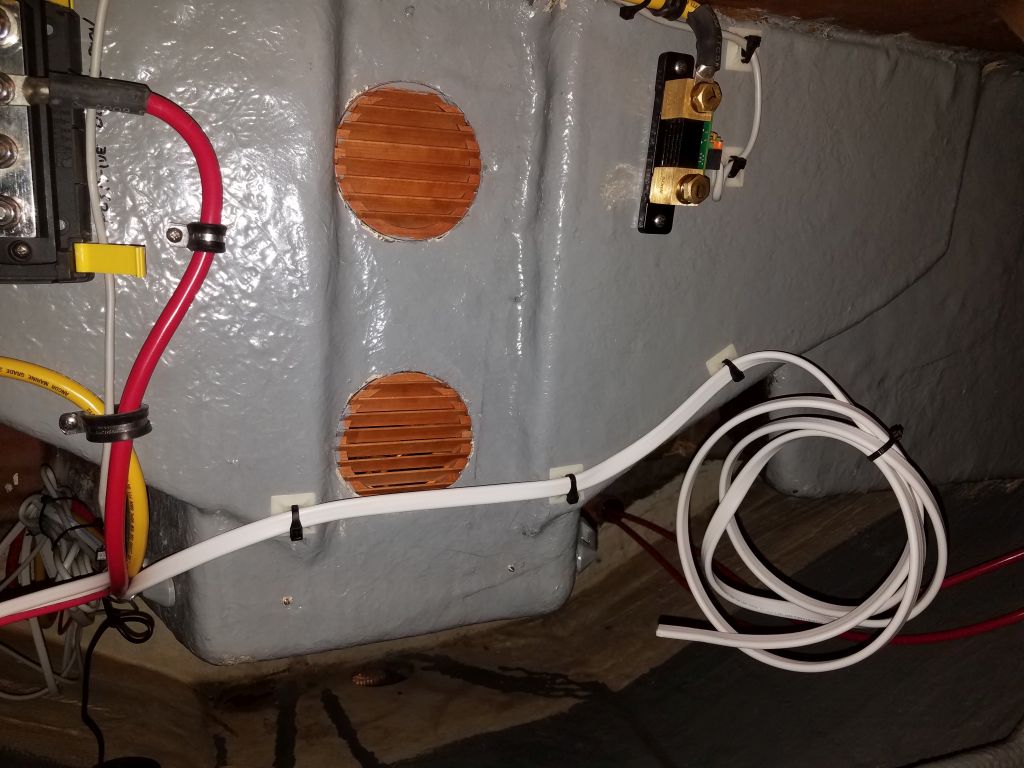
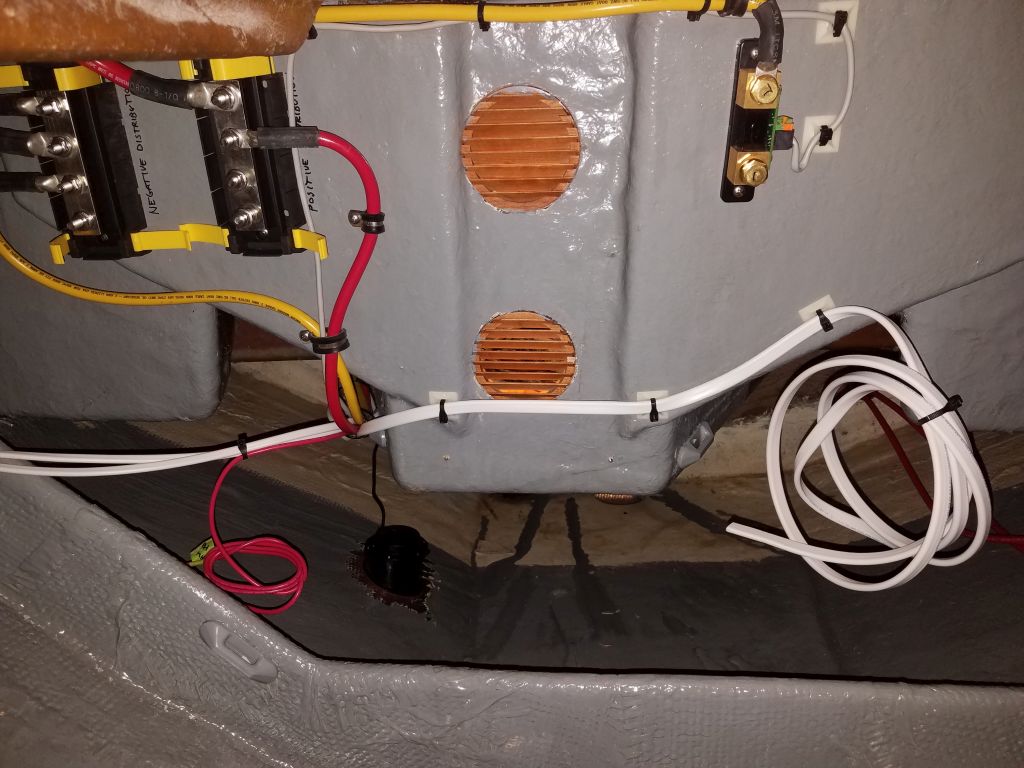
I spent most of the day wiring, starting with the final transducer installation. The epoxy securing the tank to the hull had had quite a few days to cure, so now I filled the reservoir with mineral oil and installed the transducer and gasket atop. It would have been nice if there had been a fill line inside to suggest how much oil to install, since the transducer was designed to extend into the tank and would displace a certain amount of the liquid. I knew if I filled it completely I’d have a mess on my hands, but using one of the spare (differently-angled) tanks that came with the unit, I estimated a reasonable level based on how far the transducer extended in, and when I secured the transducer only a small amount of excess oil was pushed out, minimizing the mess but also confirming that the transducer was completely submerged within. I was at the ready with rags. I planned to come back later and touch up the gray paint around the transducer.

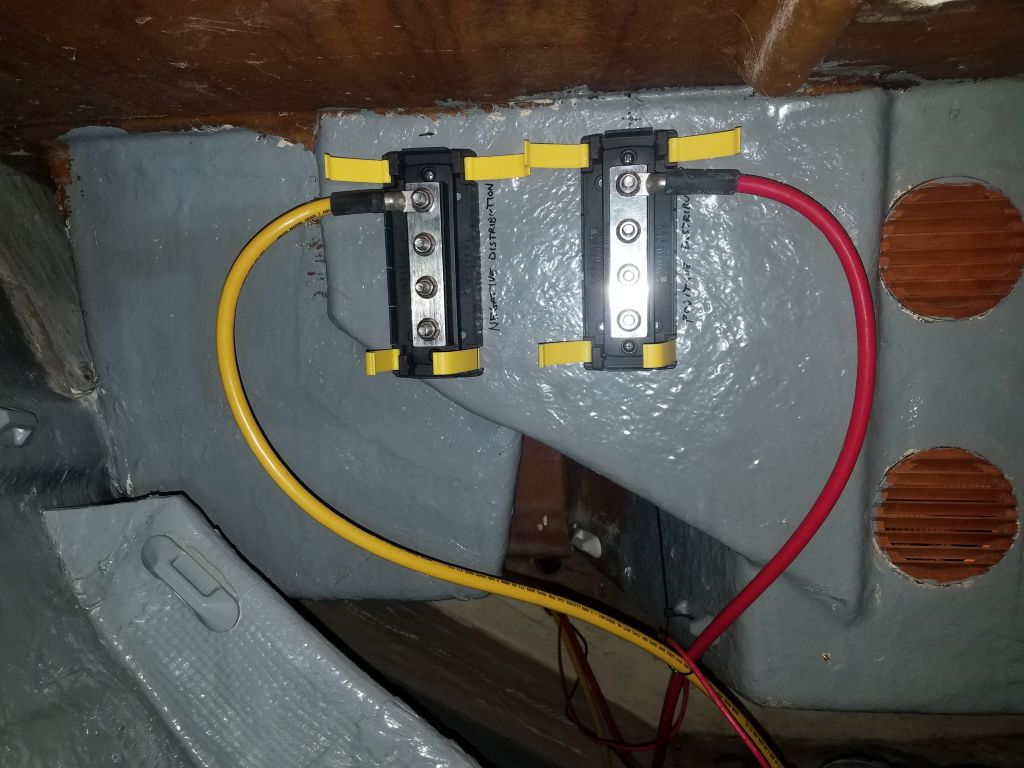
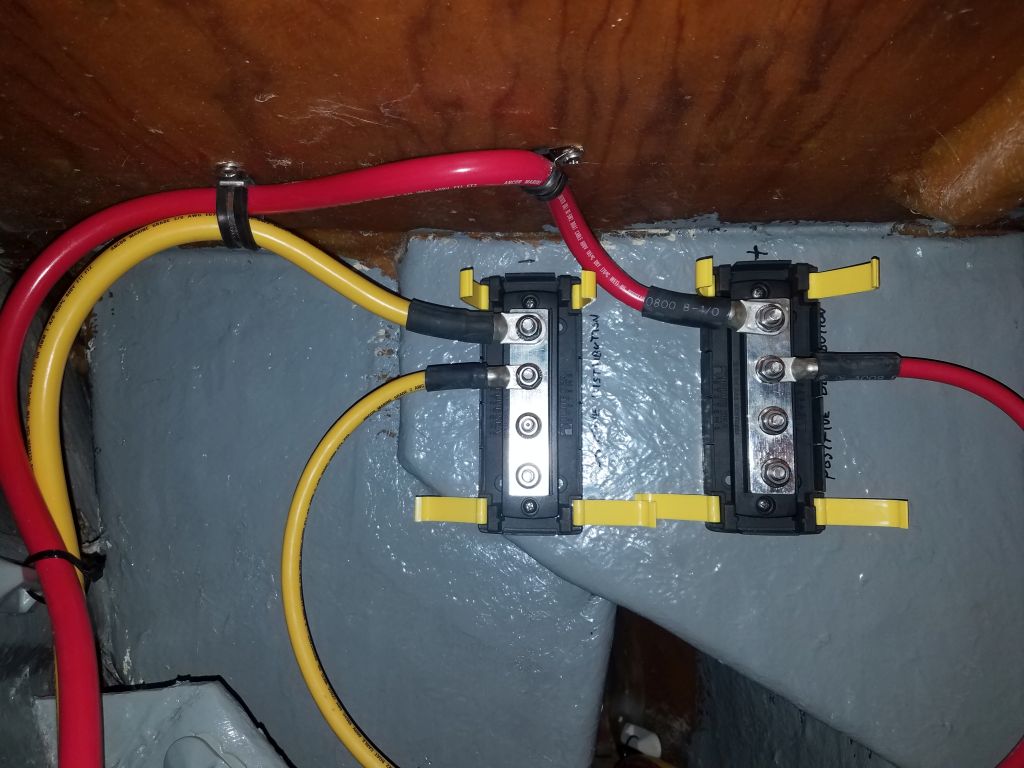
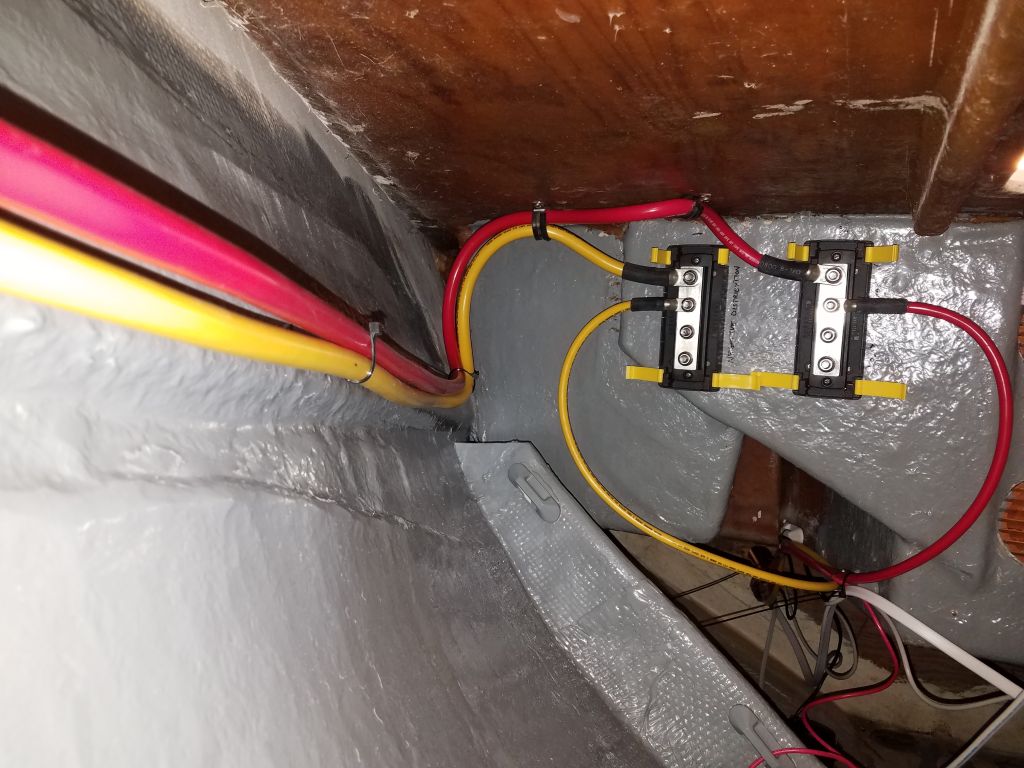
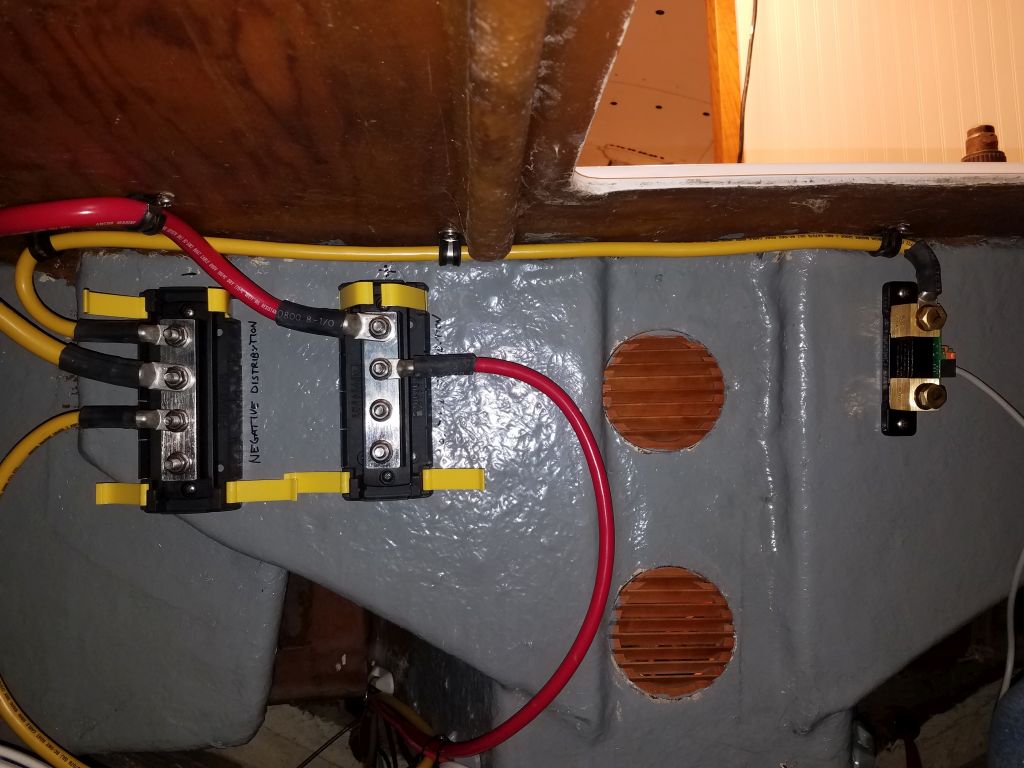
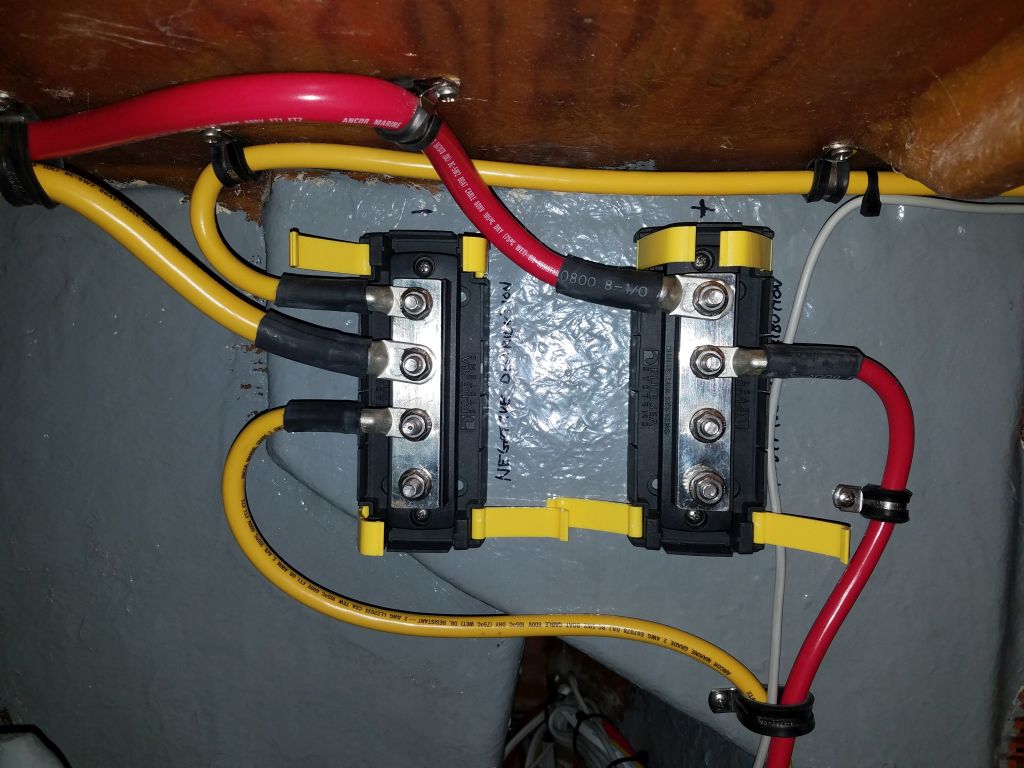
Now that the wiring runs leading aft along the starboard side were all roughly in place, I continued the wiring project with various wires and cables leading from the electrical panel area forward into the storage and utility space beneath the v-berth. Here, there would eventually be a completely separate house bank of batteries to service the lighting and all other loads unrelated to the propulsion system. I began with a pair of #2 battery cables that would provide the main power supply from the house battery to the panel, sized to be substantially larger than required for the anticipated electrical loads. In the forward locker, I chose a location for the two main distribution busses and installed them, then made up the cable ends before pulling most of the slack back into the electrical panel area for later termination. The distribution busses were an ongoing work, and one might notice the cables’ positions changing through the remainder of the day’s work.
The distribution busses were to be on the downstream side of the main house shutoff switch, and I spent some time considering where the switch should be mounted. It needed to be accessible, yet out of the way so as not to be an eyesore, and also required access to the back for installation and wiring. The design of the molded forward cabin unit obviated all of my first choices, and eventually and at some length I settled on the forward end of the port settee base, which satisfied all the requirements. I chose the port rather than the starboard side because it was a bit more out of the way (i.e. not as immediately visible in the finished boat with the table in place), and there was also a lot more going on in the starboard locker with the main wiring runs, and I didn’t want to add the extra clutter.
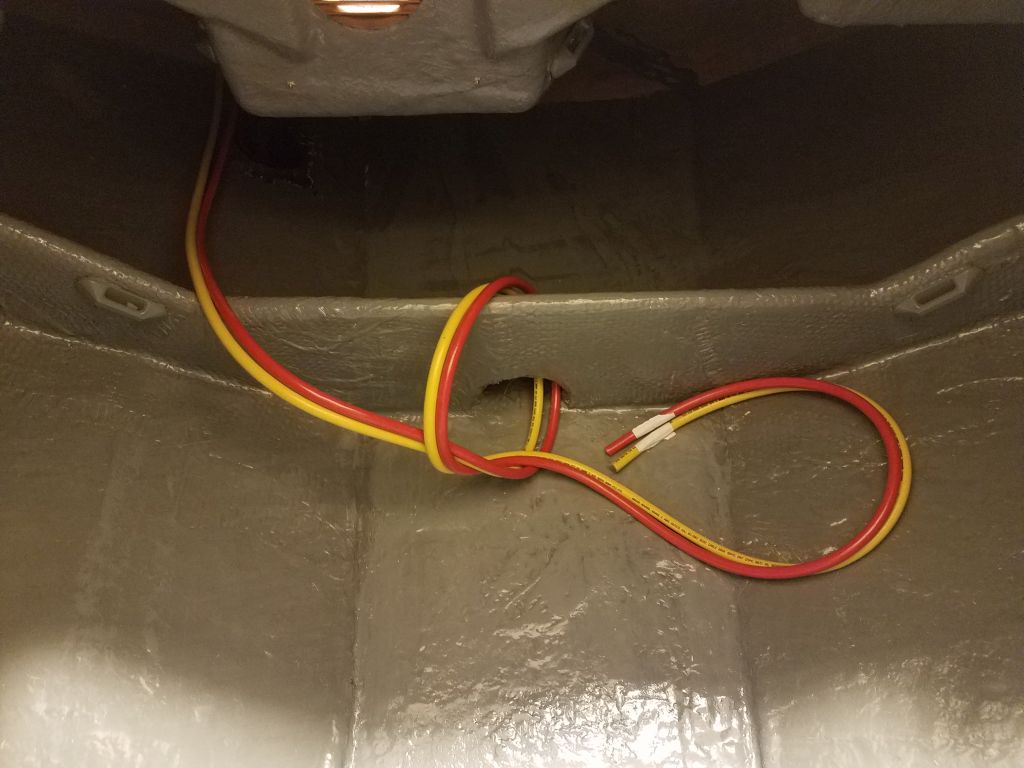
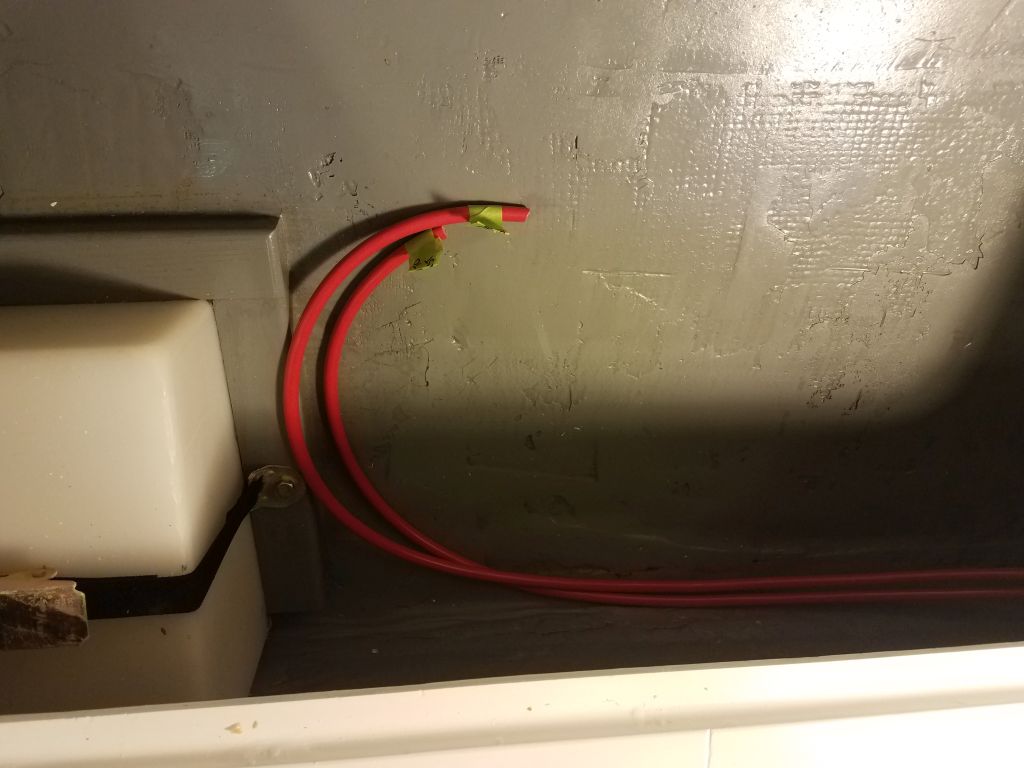
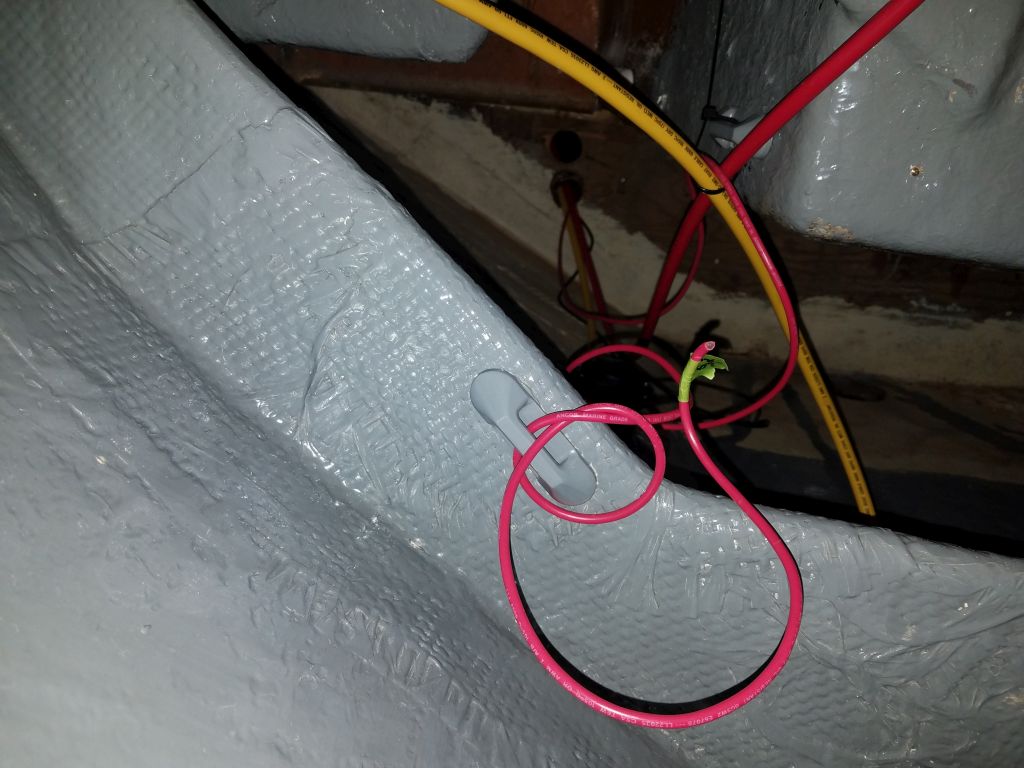
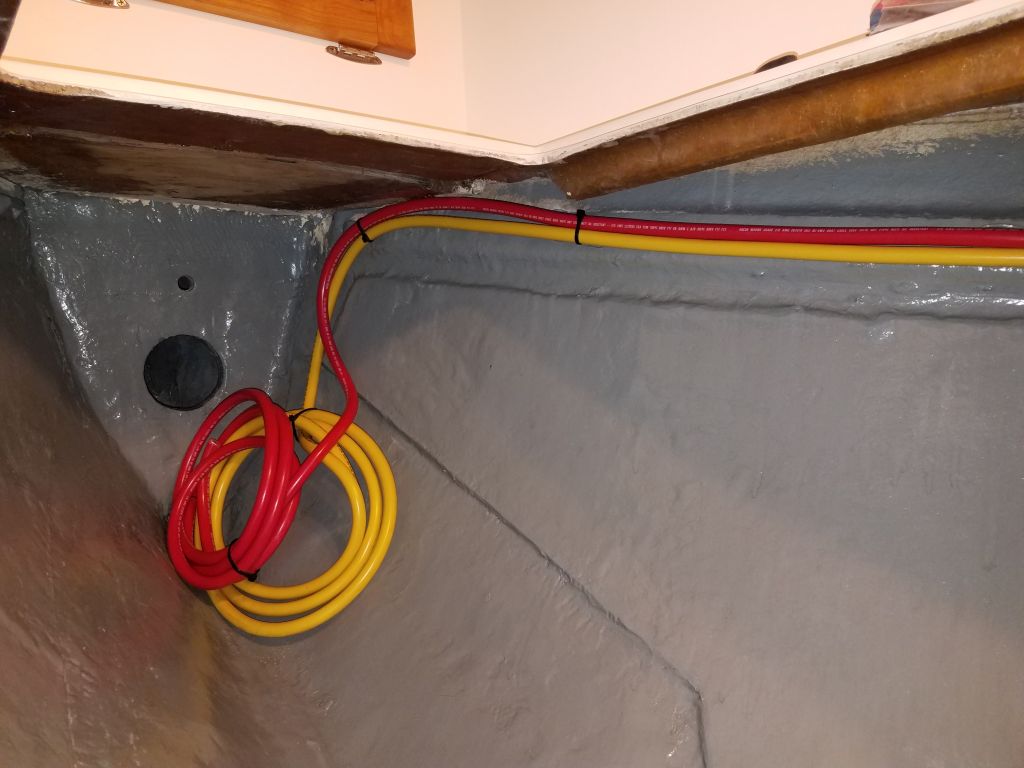
To this end, I ran red battery cables between the switch location and the battery location beneath the v-berth, preparing ahead for the switch installation, which would have to wait a day since I didn’t have the correct hole saw on hand for a flush installation. The switch I chose was a small, basic one that fit the requirements of this system, and also happened to be the same as the one in the engine room for the electric motor.


To connect such items as electric bilge pumps, which needed to operate at all times regardless of the position of the main battery switch, I ran in a 10AWG cable from a small distribution buss in the electrical panel area; this wire would later be connected directly to the battery positive.

I had on hand enough heavy 2/0 battery cable to make the run forward from the battery distribution buss to the chainlocker, where these cables would eventually connect to an electric windlass. I left the excess cable coiled up forward while I contemplated how best to run them into the tight chainlocker.
Two regular circuits also needed to run forward to supply the running lights, and a chainlocker light, and I now led these forward from the electrical panel, again leaving ample slack for their final runs and connection.

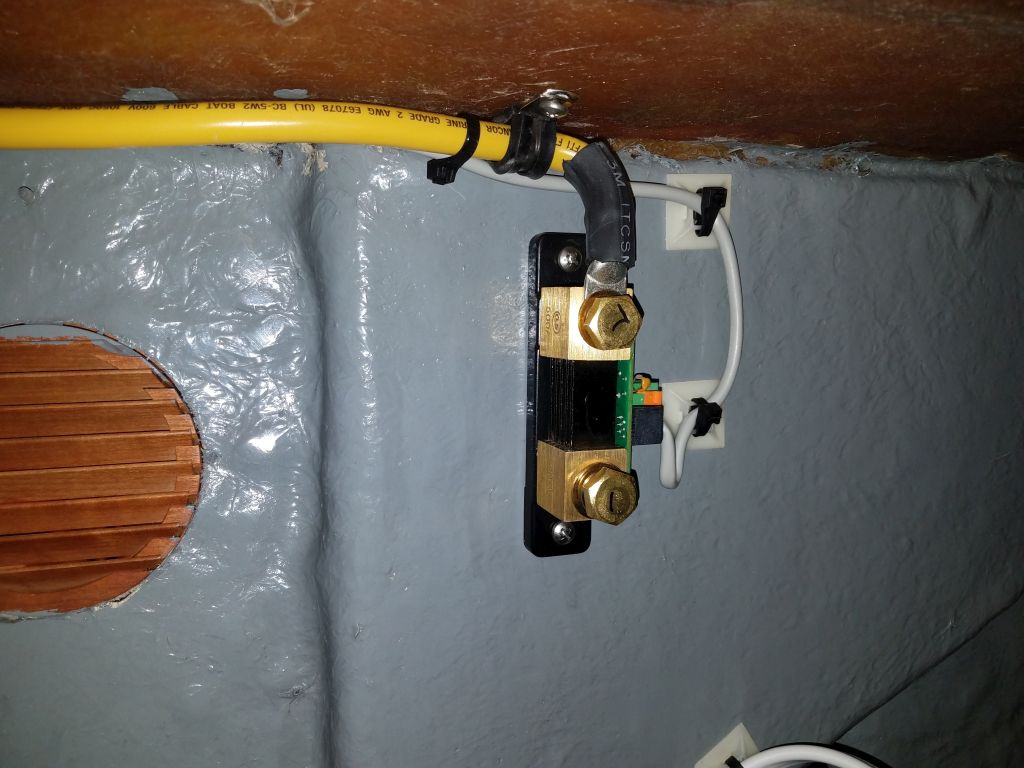
The last wires I needed to run along the route from electrical panel to the forward battery area were the control cable for the battery monitor (an Ethernet-type cable) and a 12/3 cable to power the house battery charger. Also required for the battery monitor was a small shunt, which needed to be installed in the negative battery cable between the battery (not yet on hand) and the load side, which in this case was the negative distribution buss, so I made up that length of cable and installed it and the shunt in a convenient spot.
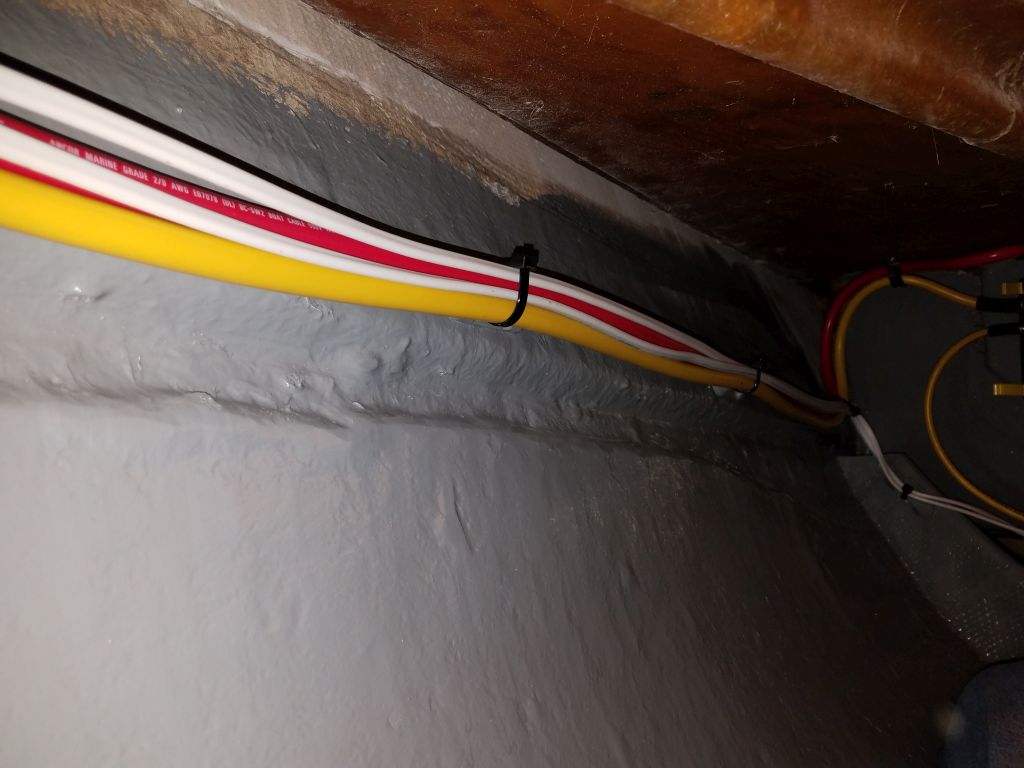
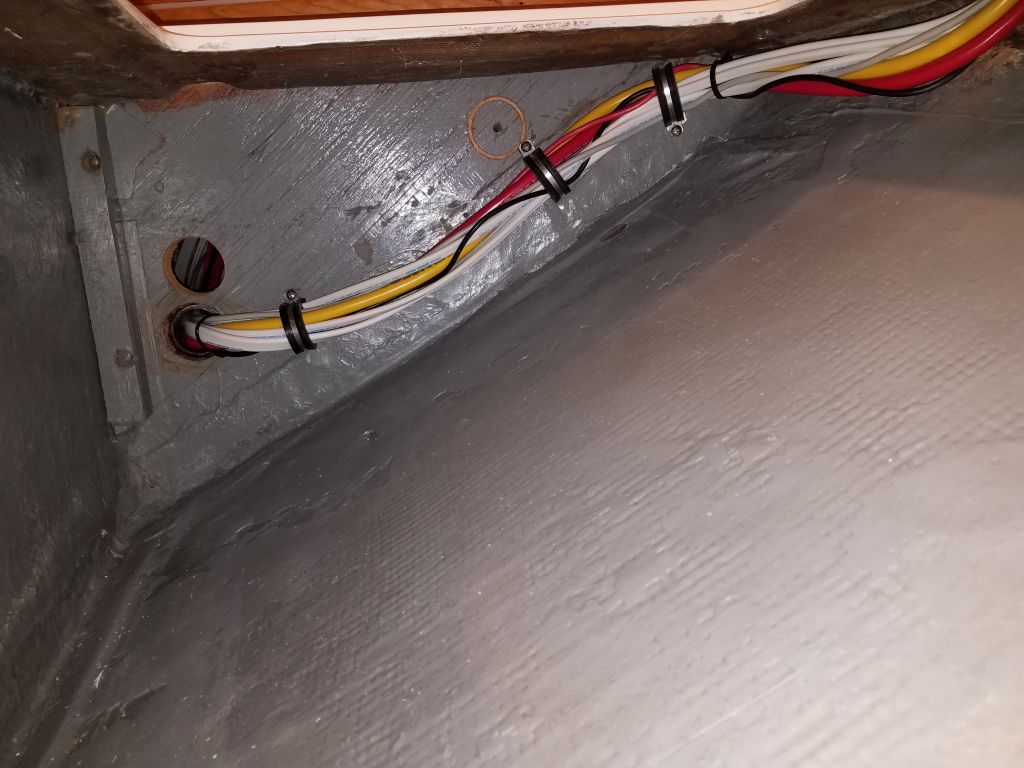
Now, working down and aft from these new installations, I secured the cables and wires as needed, using pre-installed mounts that I’d glued in long before during another phase of the project, and adding new mounts and supports as needed for the specifics at hand. I secured most of the excess bundle of Ethernet cable for the battery monitor along with the other wire and cable runs leading aft, and secured the transducer cable into the bundle with a small stress-relief loop below.
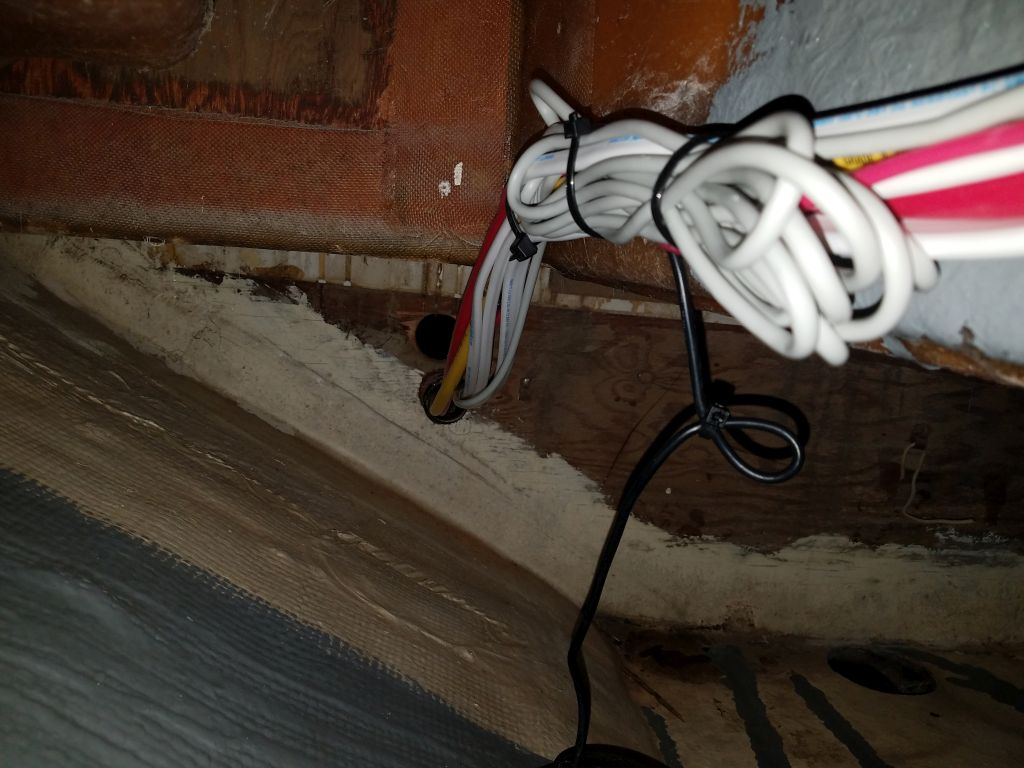

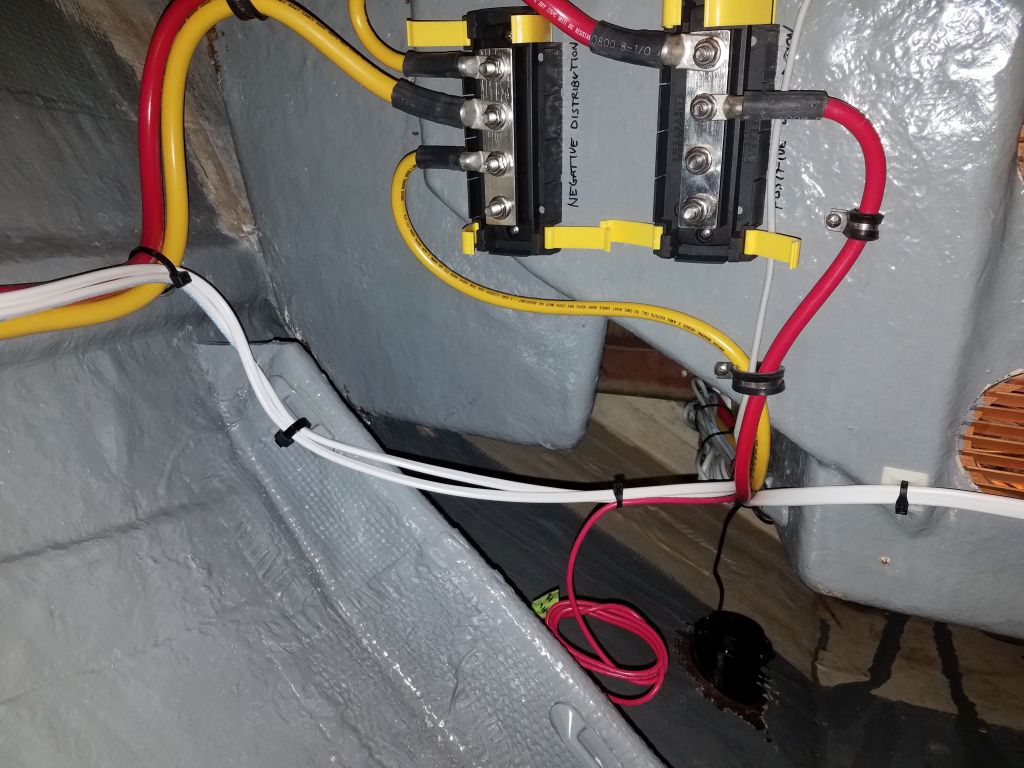
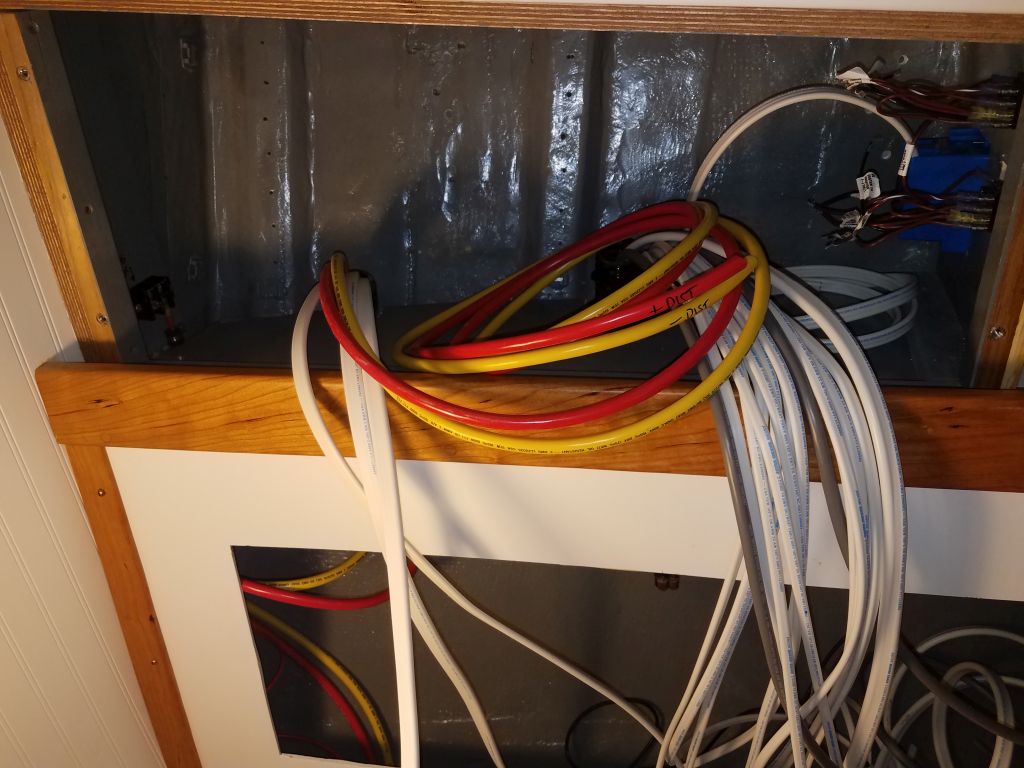
In the locker beneath the starboard settee, I pulled in the remaining slack and secured this large cable bundle in several places along the base of the bulkhead and leading to the wire chase to the settee back before the end of the day. This left me with a bit of organized chaos at the electrical locker and in the settee back, but I’d continue the organization and securing next time before continuing with the final wire runs required over to the port side of the boat.

Total time billed on this job today: 8.75 hours
0600 Weather Observation: 20°, clear. Forecast for the day: Sunny, 30°