


March 7, 2019
Scupper 95
Thursday
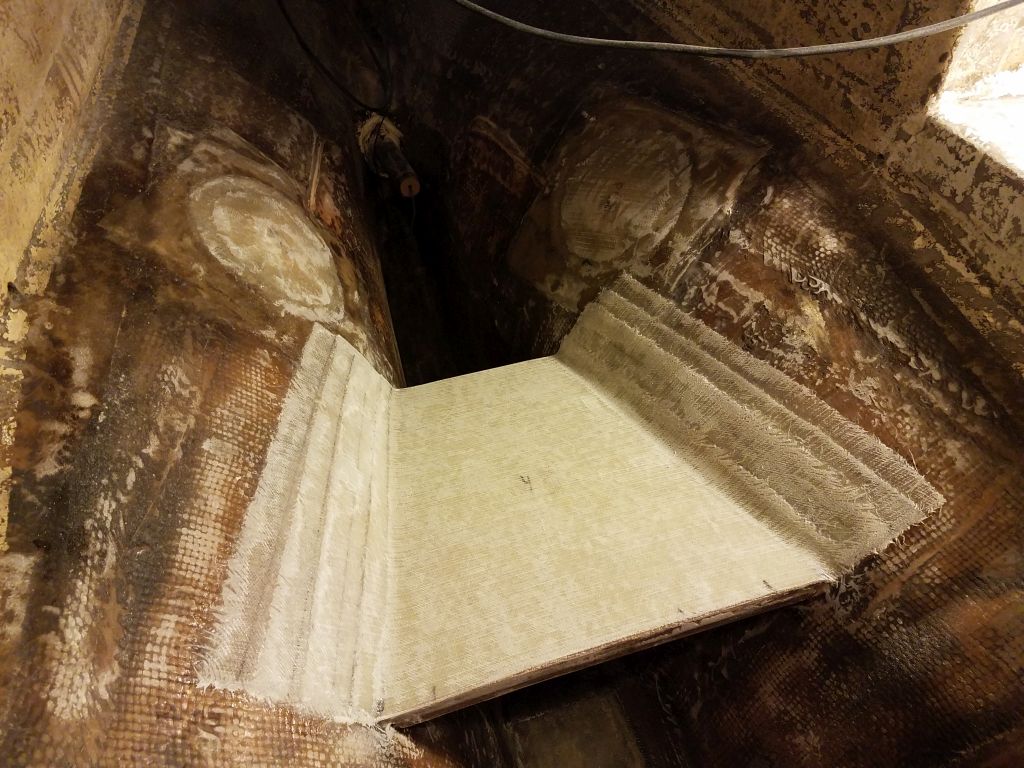
Starting in the engine room, I lightly sanded the new support platform and cleaned up the results.
With a couple cardboard “shelves”, I tried out some various battery placement configurations in the engine room, starting with a potential shelf running across the very forward end of the space, with battery overflow onto the existing platforms on each side. This might have been nice in some situations, but here, with the only access to the space through the doorway from the head, the batteries, were they to be placed as shown here, would intrude too much on the doorway opening and make access difficult to the other parts of the space. It would also make construction, installation, and maintenance more difficult because of the way it limited access. This configuration assumed the full-width shelf would be at the same height as the adjacent platforms.
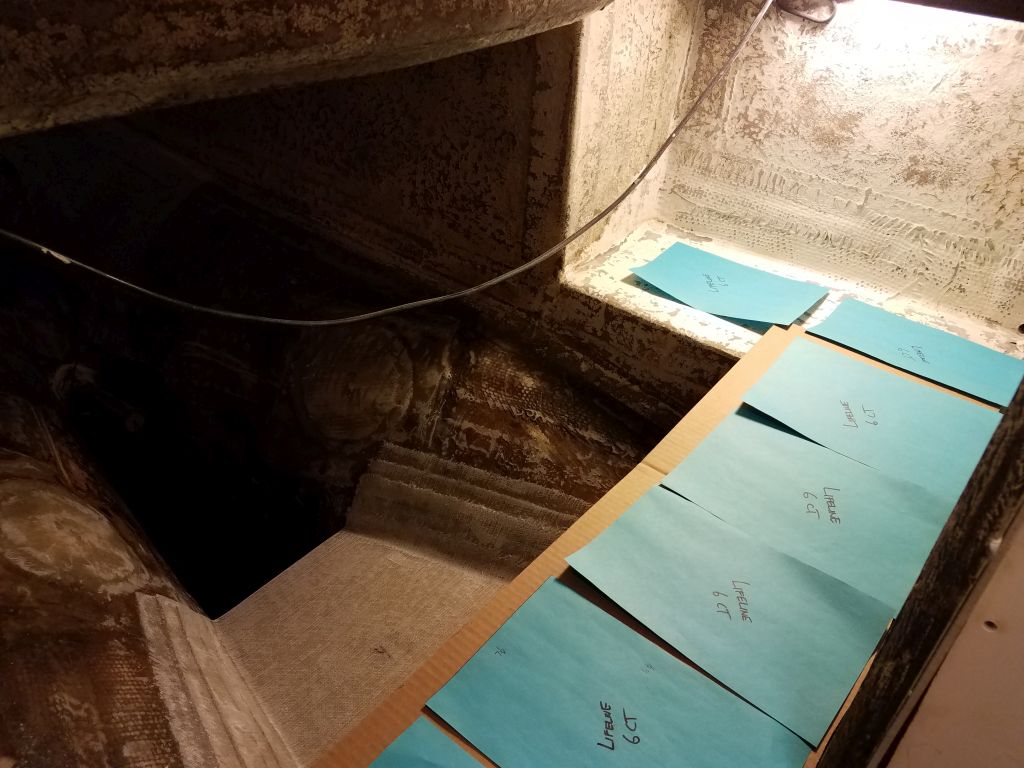
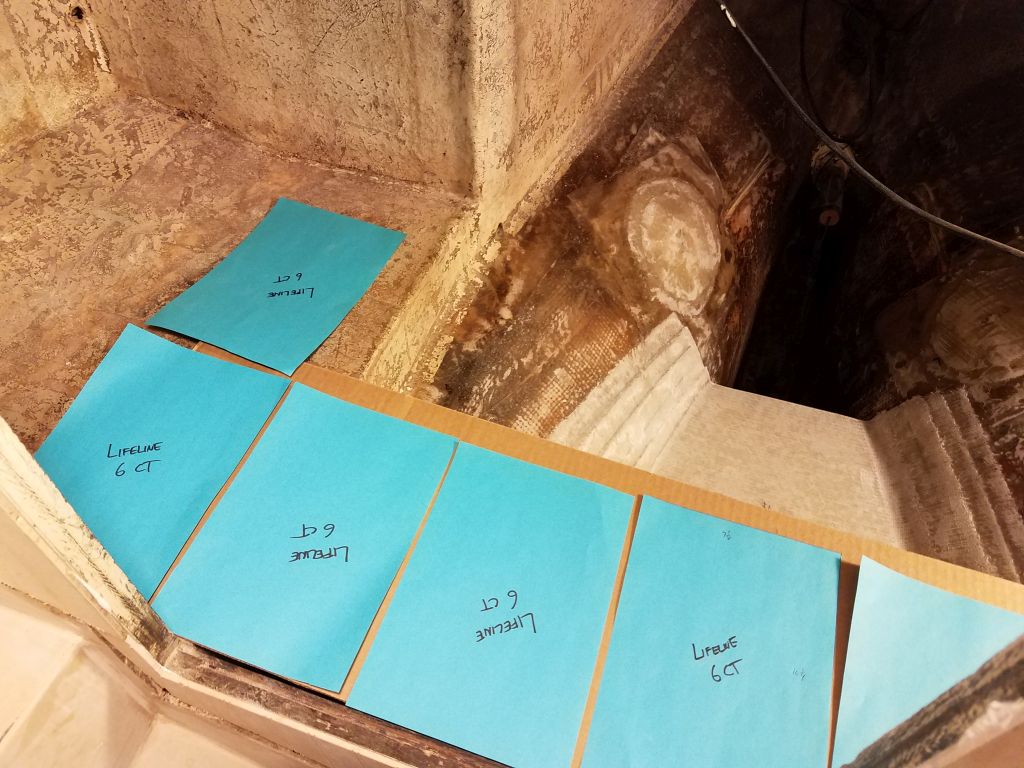
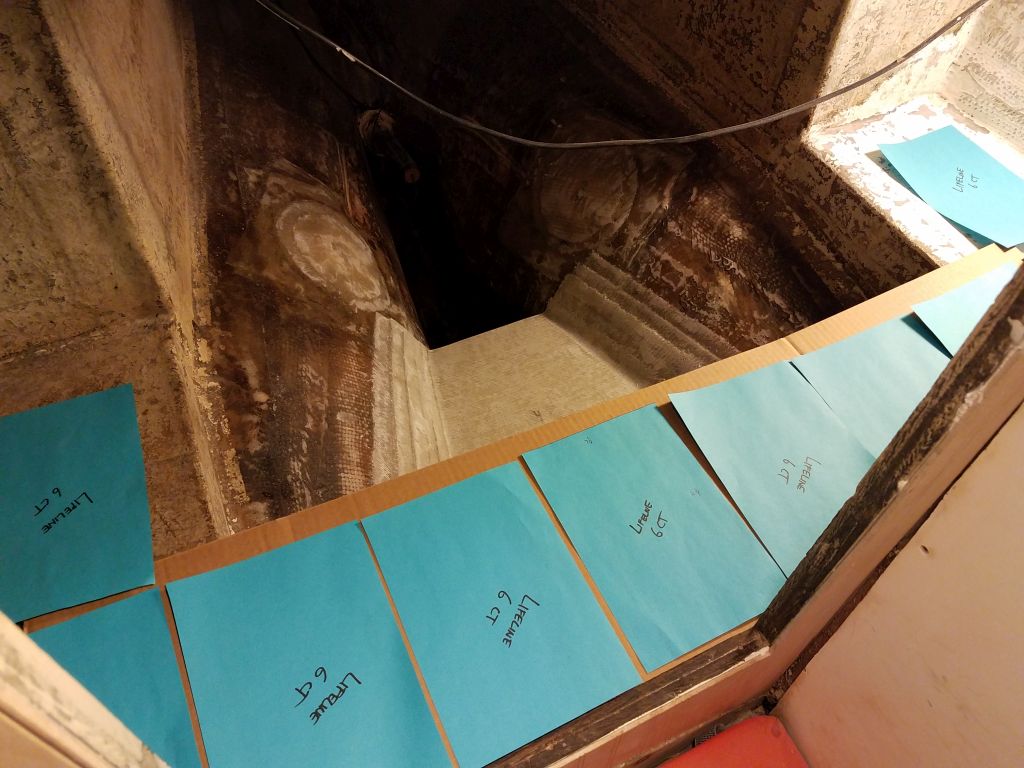
A close alternative idea was to run a shelf between the two side platforms, but down at hull height, several inches lower. This limited space to five batteries on the shelf, with the remainder to be distributed on the two platforms on each side. While the extra inches would improve access through the door, all the other pitfalls remained.

Ultimately, I thought the best probable solution was also the simplest: Divide the batteries into two banks of five on each side of the boat, using the existing platforms. Because of the way the existing dividers were configured, this plan would require modifications to the port side to increase floor space, and because of some curvature to the platforms because of their existing height, which died into the hull as they moved outboard, I’d have to raise slightly the platforms on both sides, just enough to provide sufficient space for the five batteries.
For now, the port platform held only three batteries, but imagine it in an expanded state and identical to the larger starboard side.

I’d probably choose to orient the outboard pair of batteries in the other direction to save space and better fill the floor plan. Access would be straightforward, but out of the way, and weight distribution would be equal. It’d be as simple as possible to enclose and/or cover the battery areas as needed. Regardless, this was a fair bit of weight to add here, somewhat more than the original diesel installation when all was said and done, but there was no other–and no better–location for the substantial battery banks in this case.
Moving on, I had a meeting with my upholstery contractor to discuss early details about the interior work, and start the process in motion. More on this to come soon.
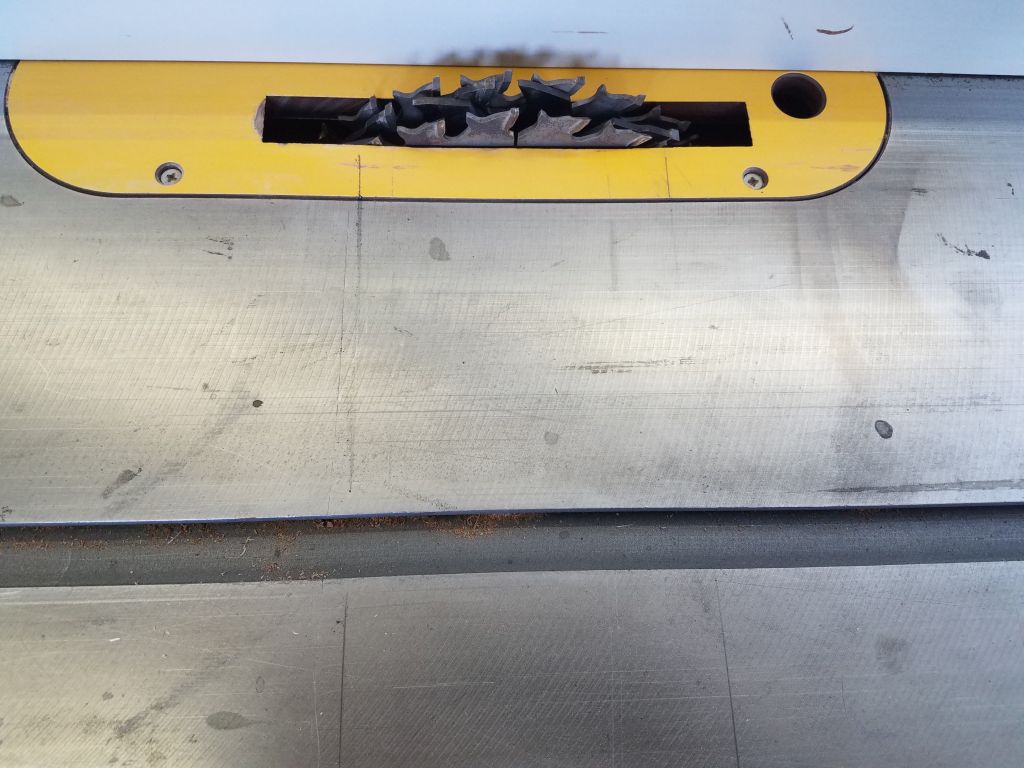
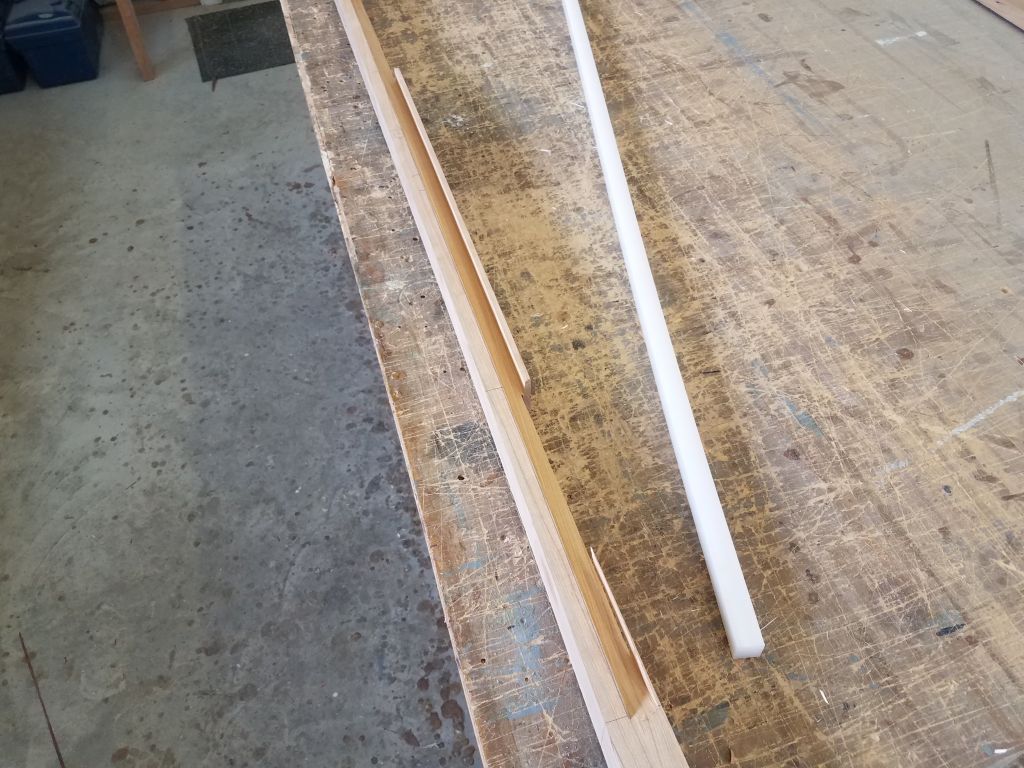
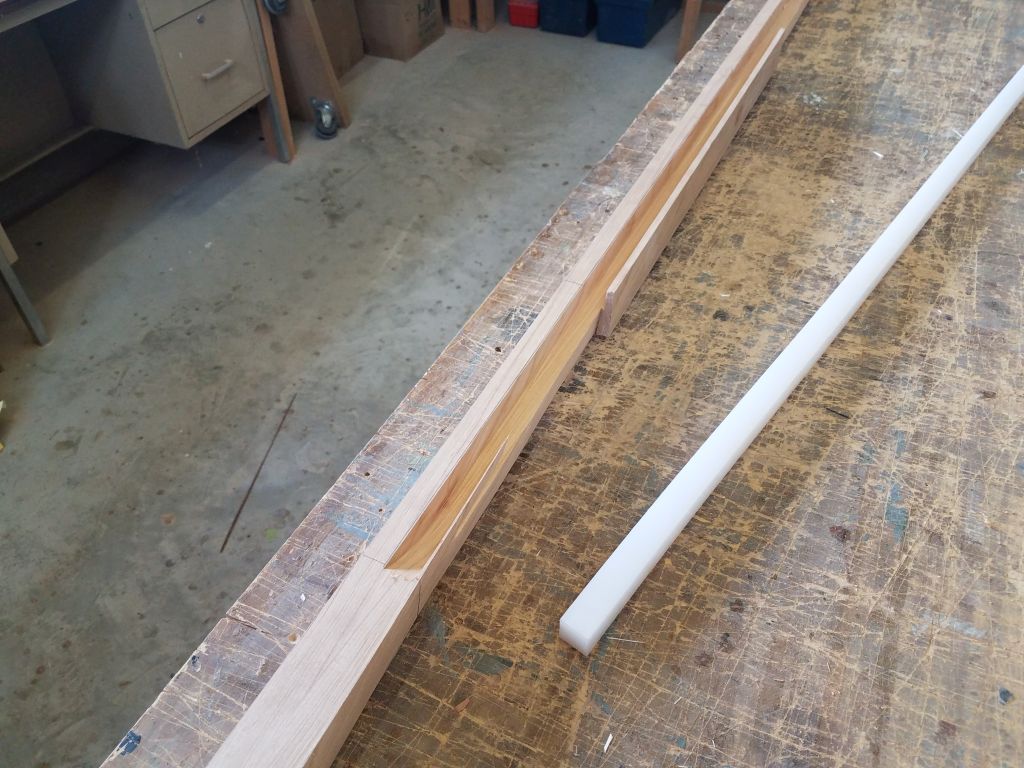
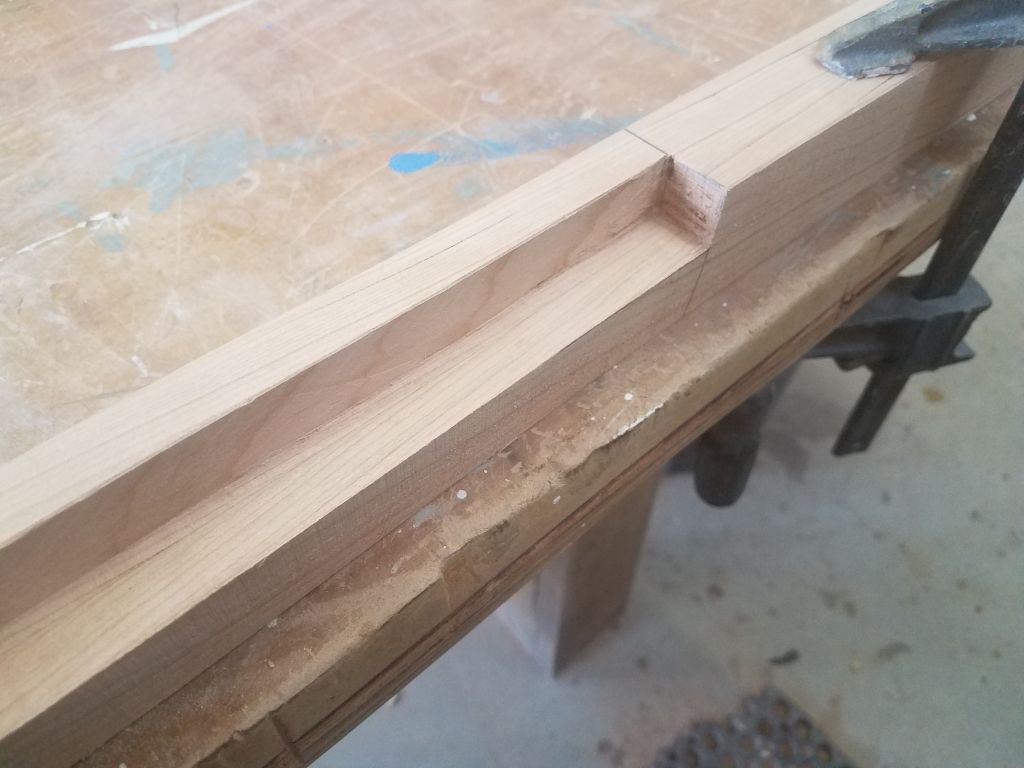
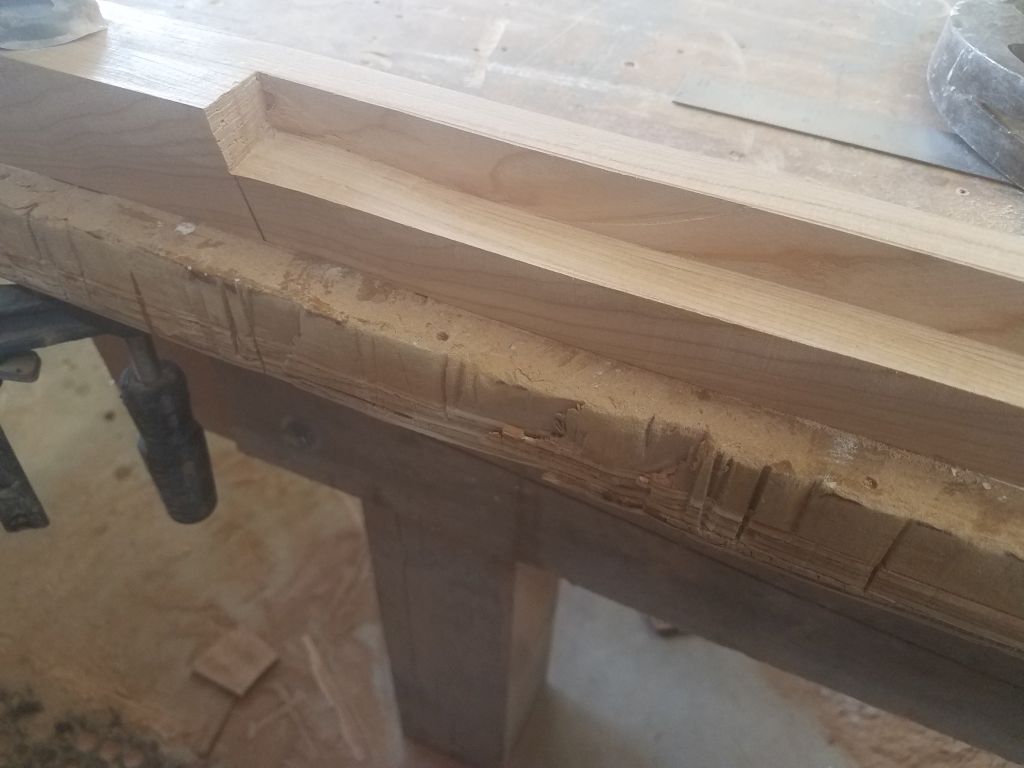
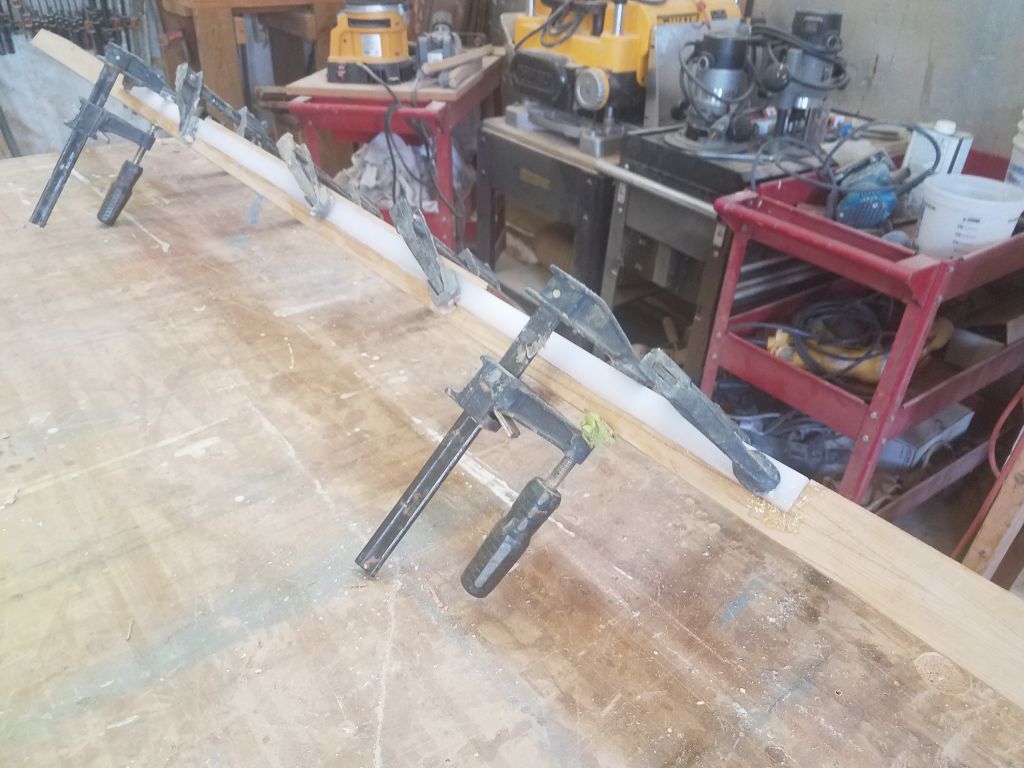
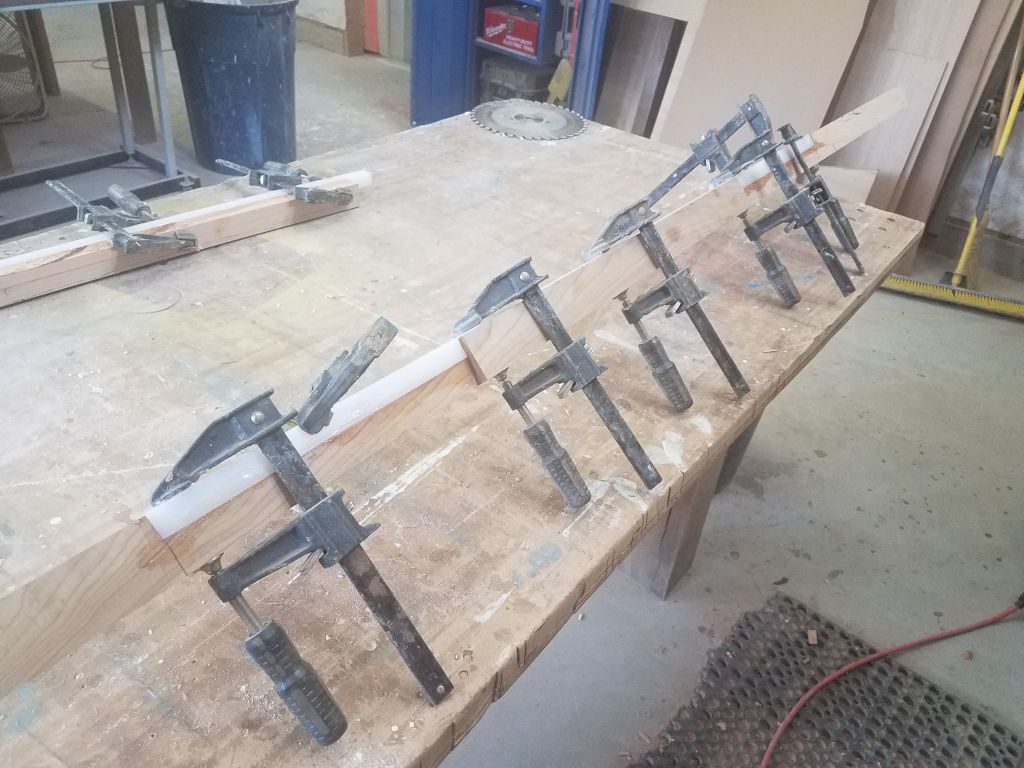
Next, I got back to work on the forward cabin door trim. After some final layout, I set up the table saw with a dado cutter and milled the grooves required to accept the UHMW inserts in the two trim pieces. The shorter upper trim was straightforward, as the plastic insert could run from end to end, but the long bottom piece required a blind plunge cut that started and ended well inside of the ends of the trim, but with some additional layout work the process went as expected. I intentionally milled the dados just smaller than the plastic to allow final trimming to the exact size desired.
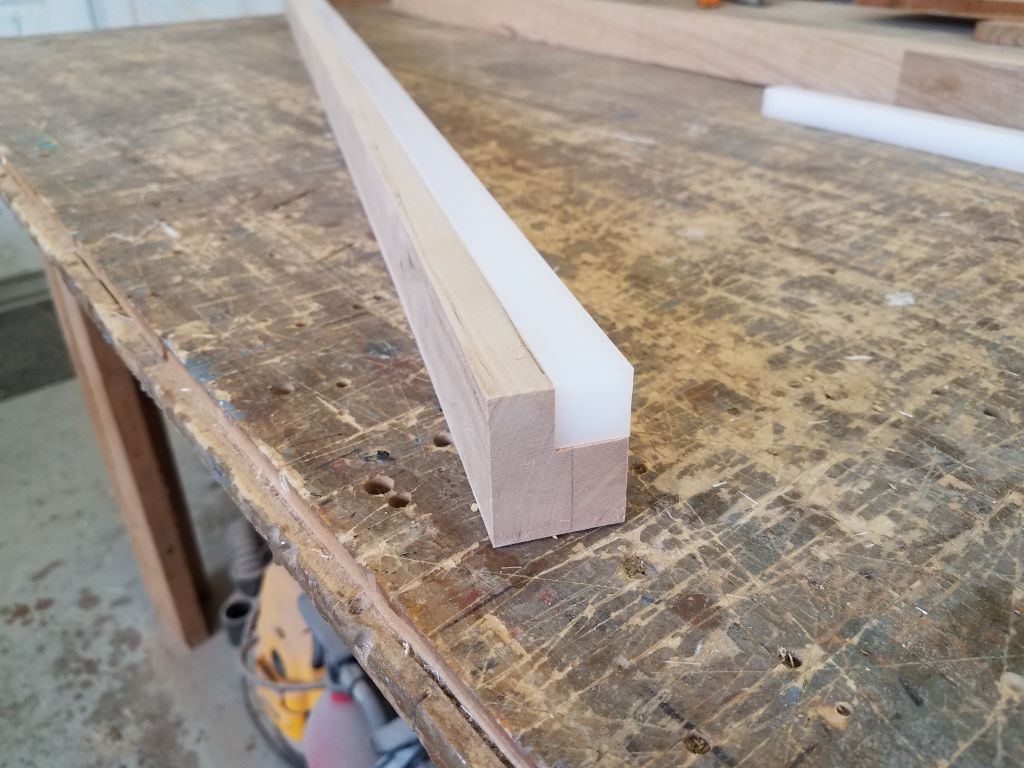
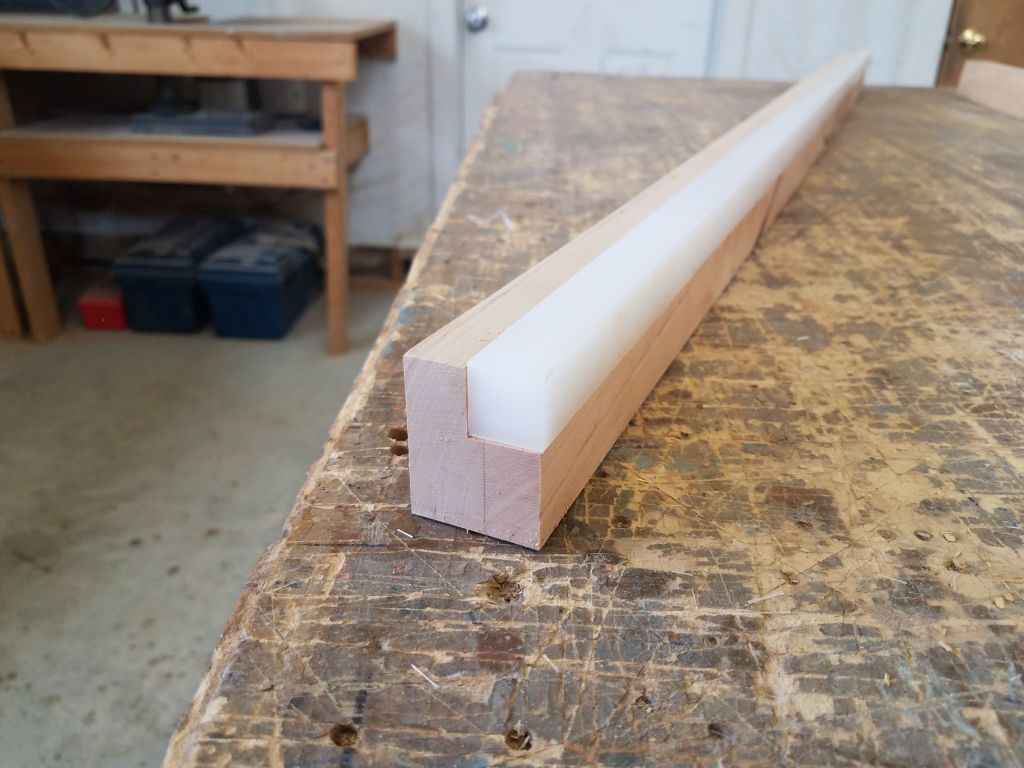
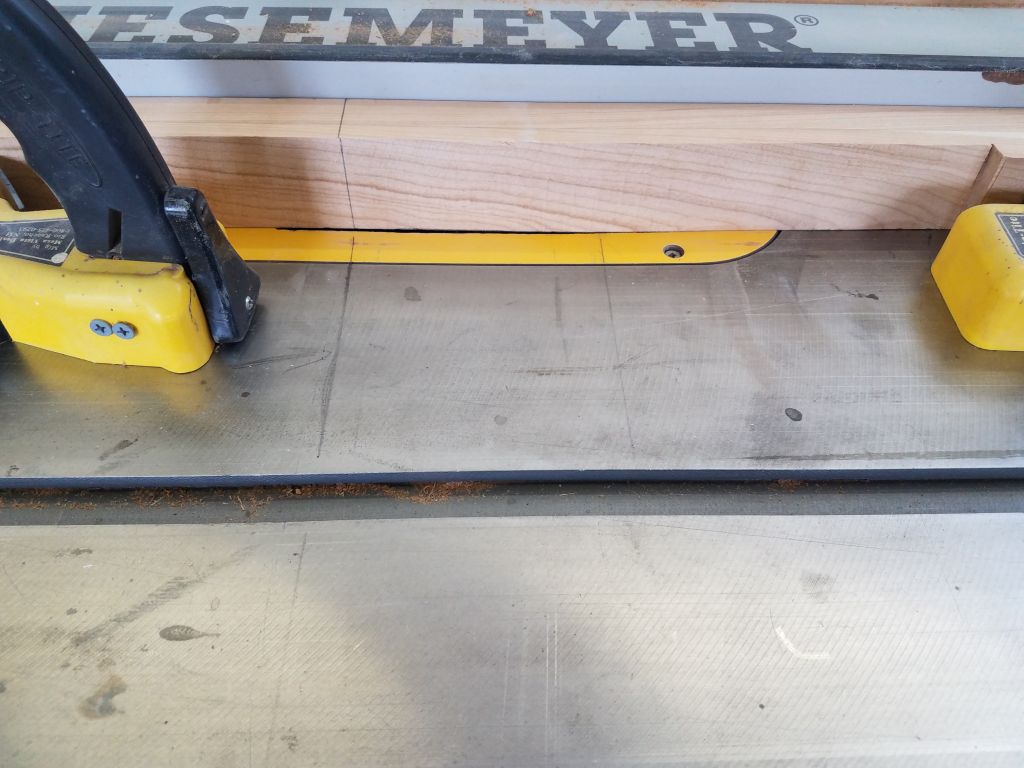
To finish off the ends of the dado in the long trim, which were arced because of the circular saw blade, I chiseled them square to accept the 3/4″ square plastic.
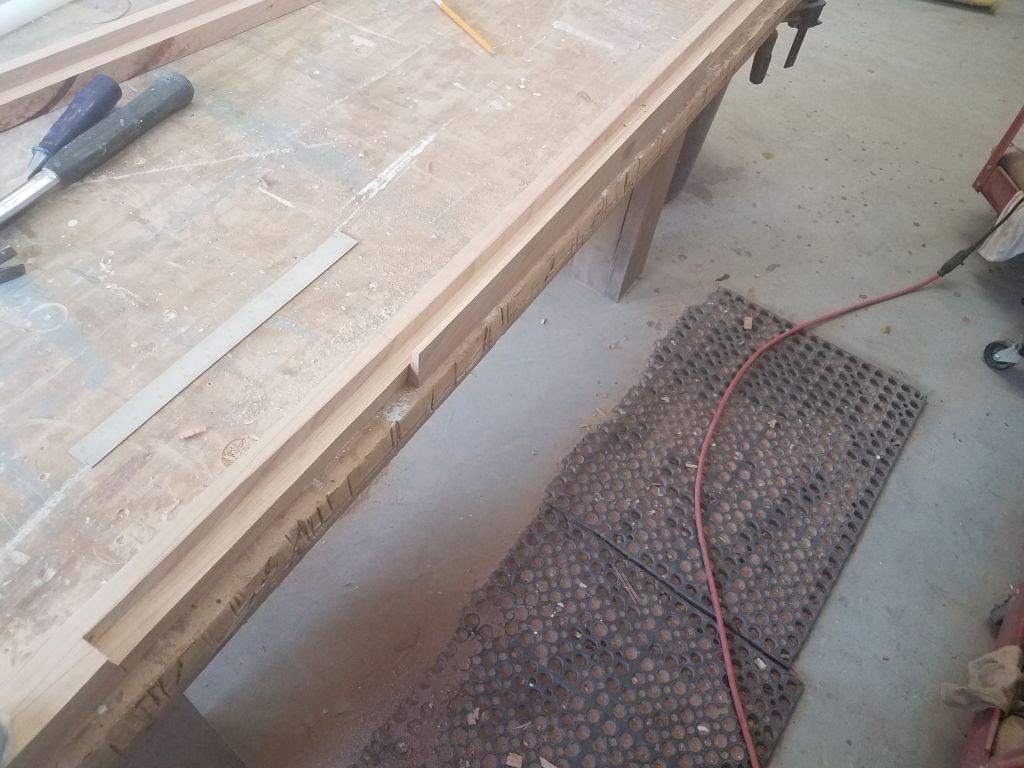
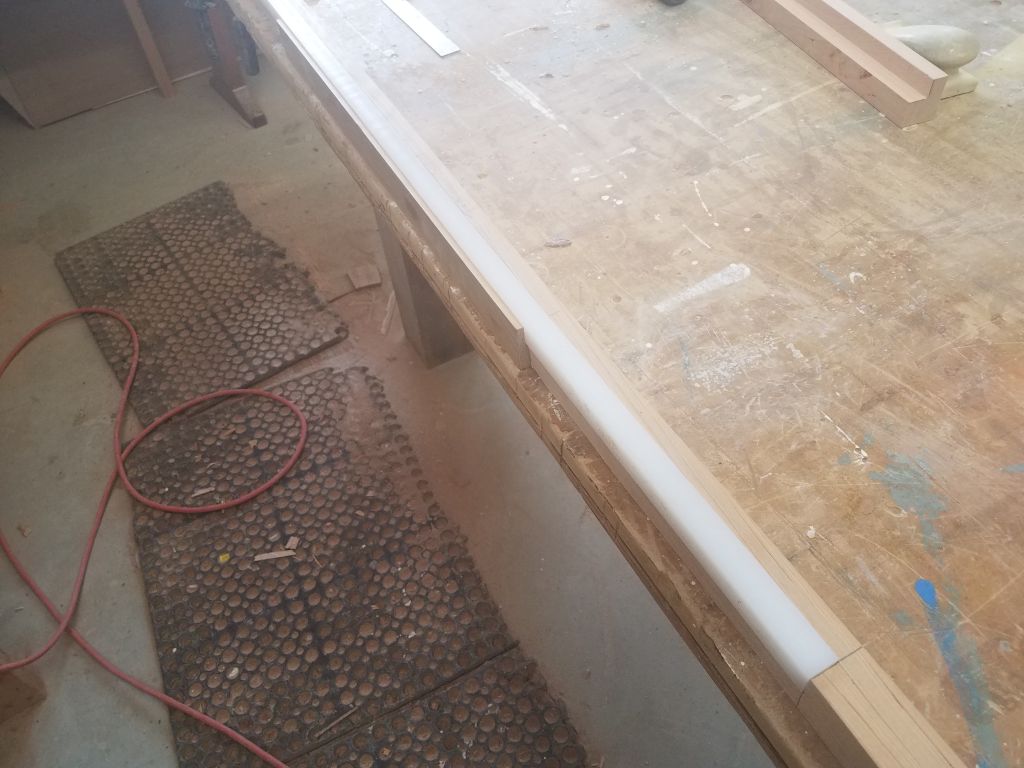
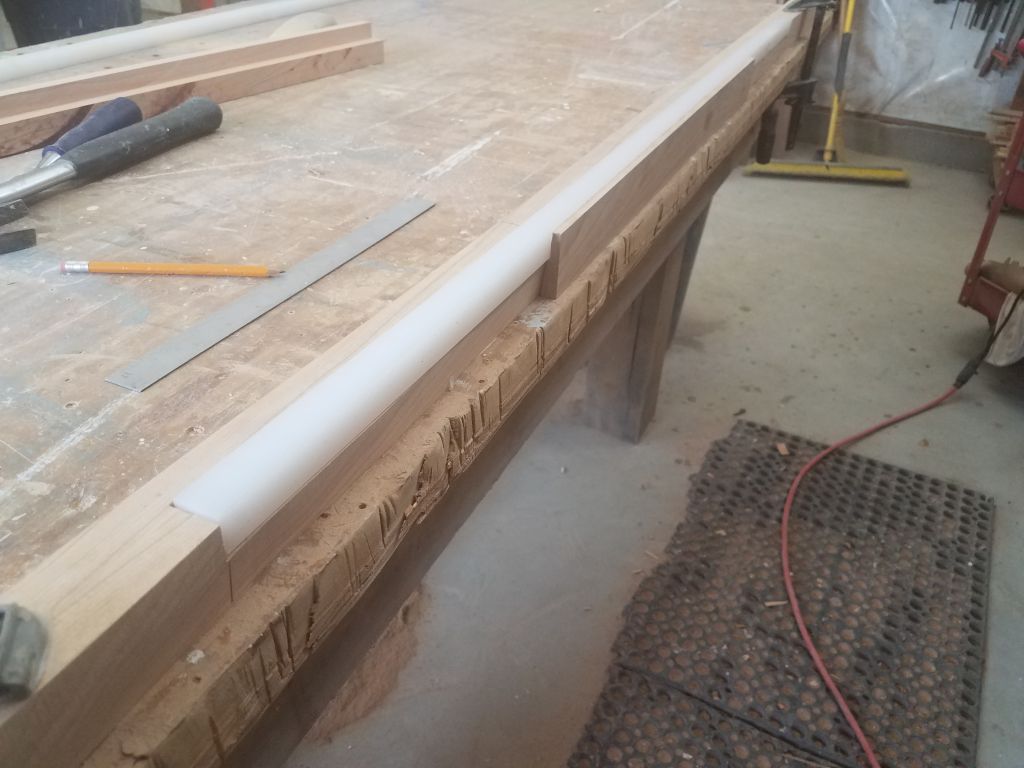
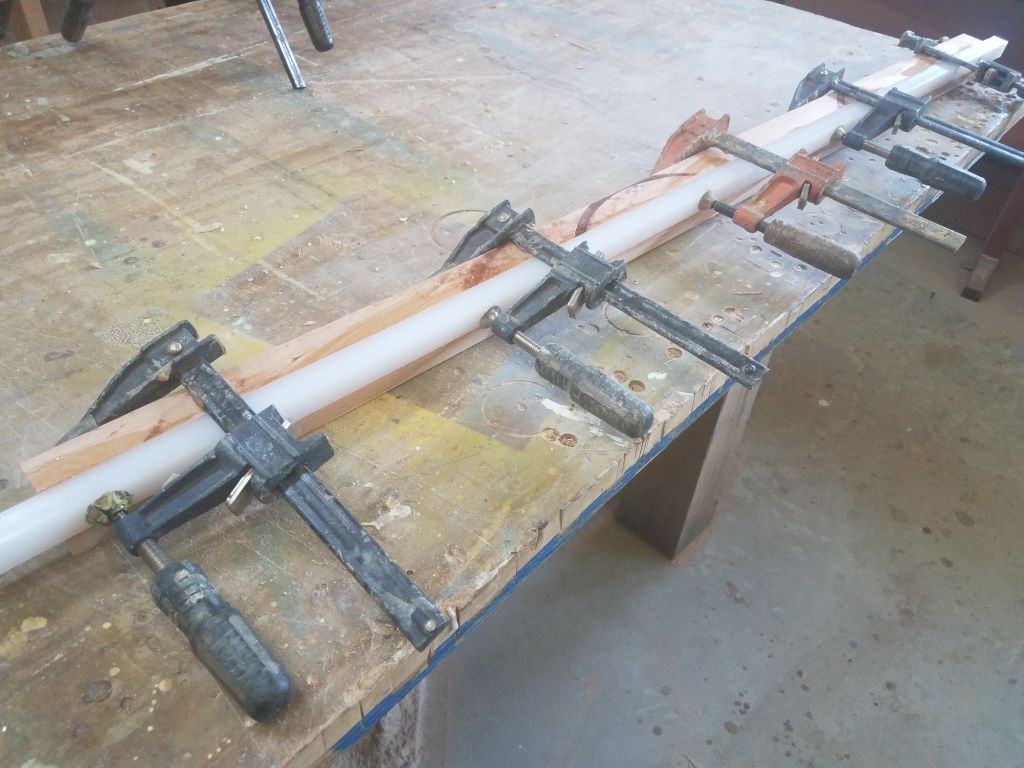
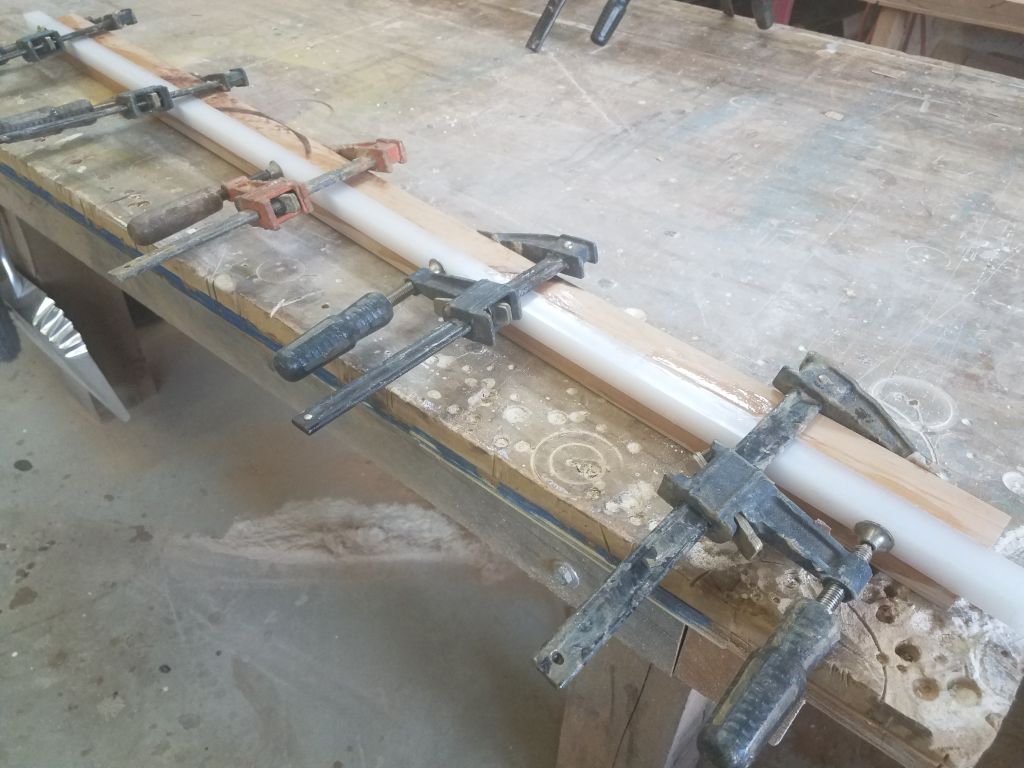
Finally, I roughed up the two bonding sides of the plastic inserts for the trims, and epoxied them into place. Despite the anti-adhesive nature of the plastic, I hoped that this would prove sufficient for the requirements here, but later, should it be necessary, I could install screws through the final groves that I’d cut later once the epoxy was cured.
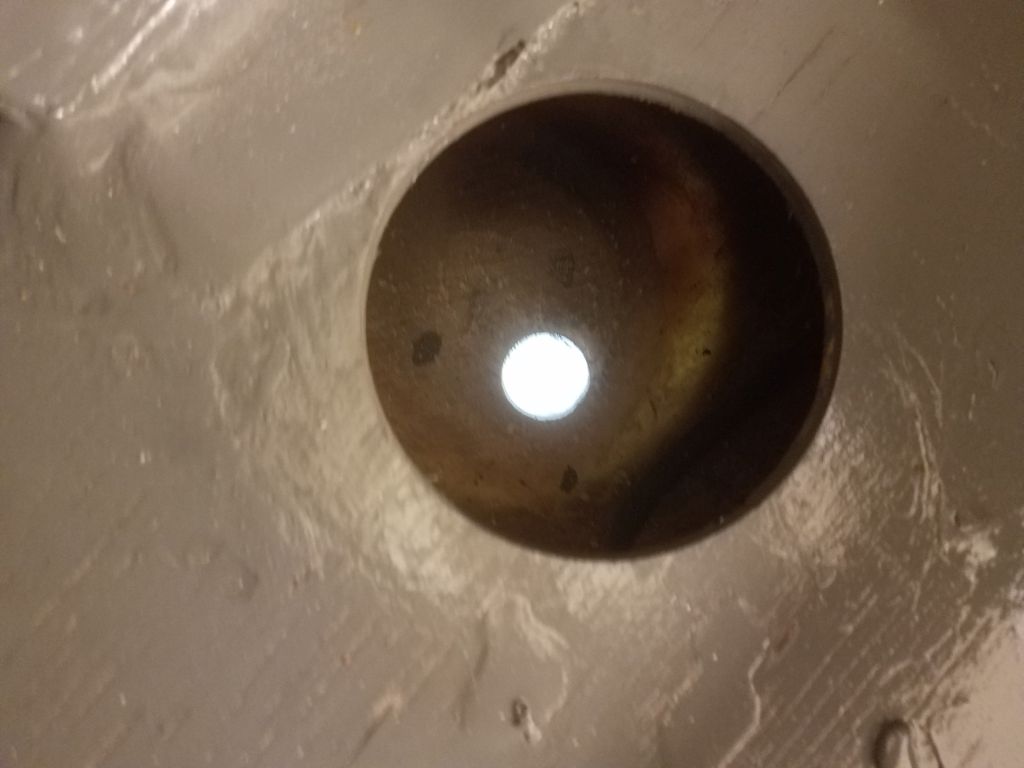
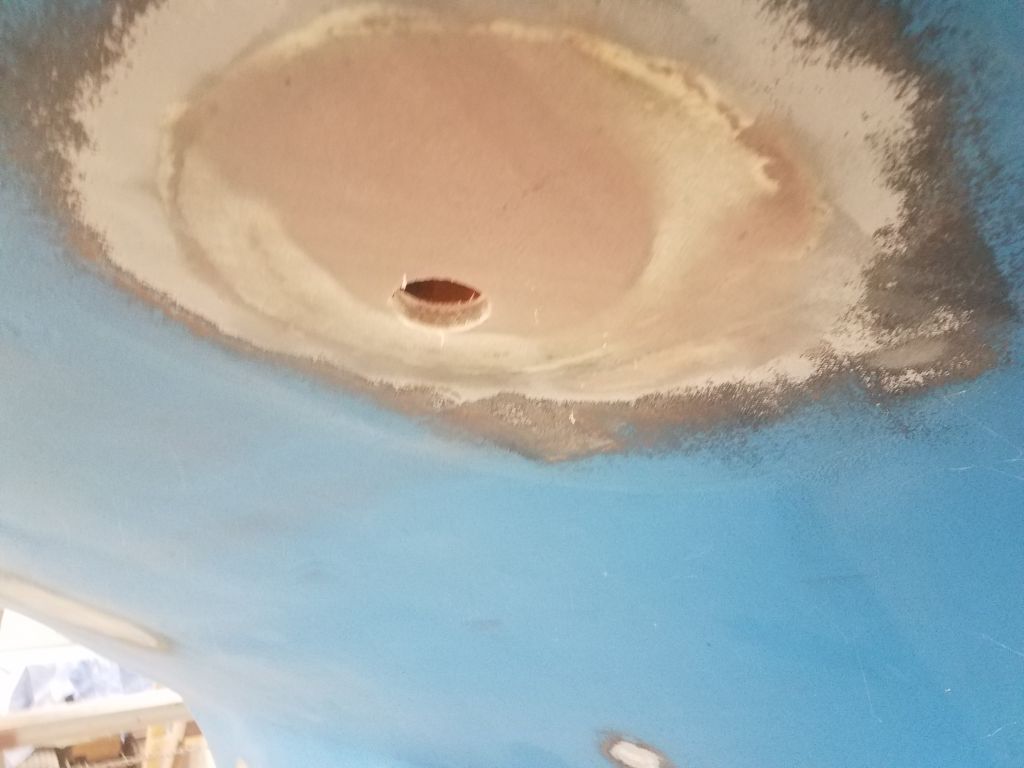
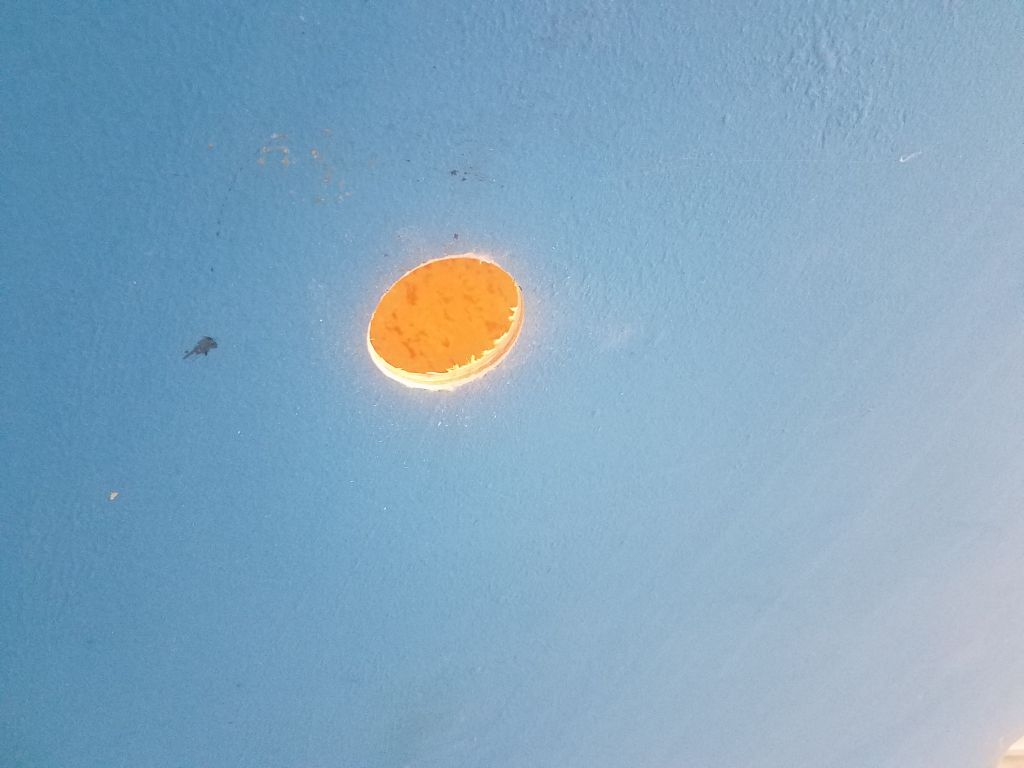
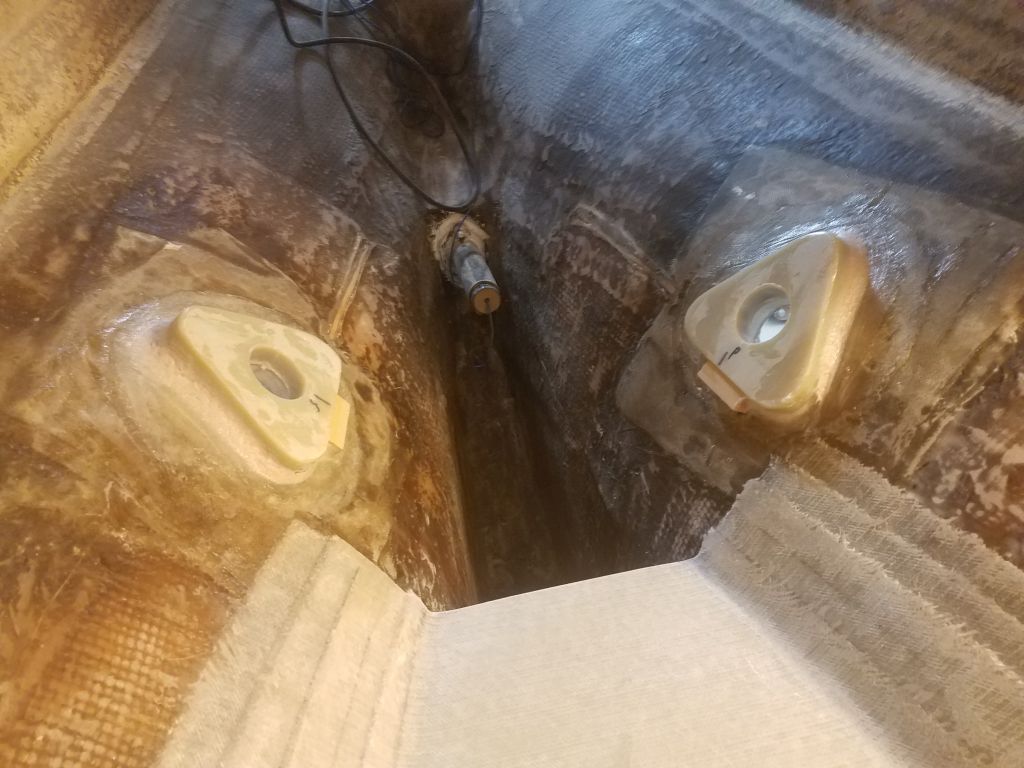
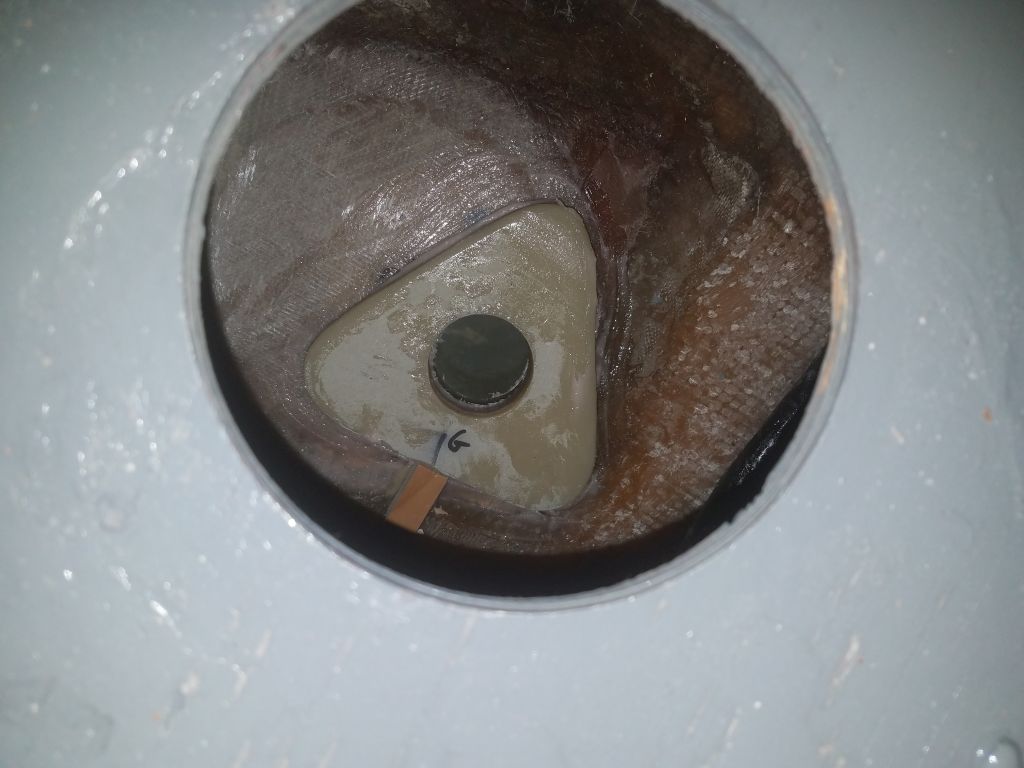
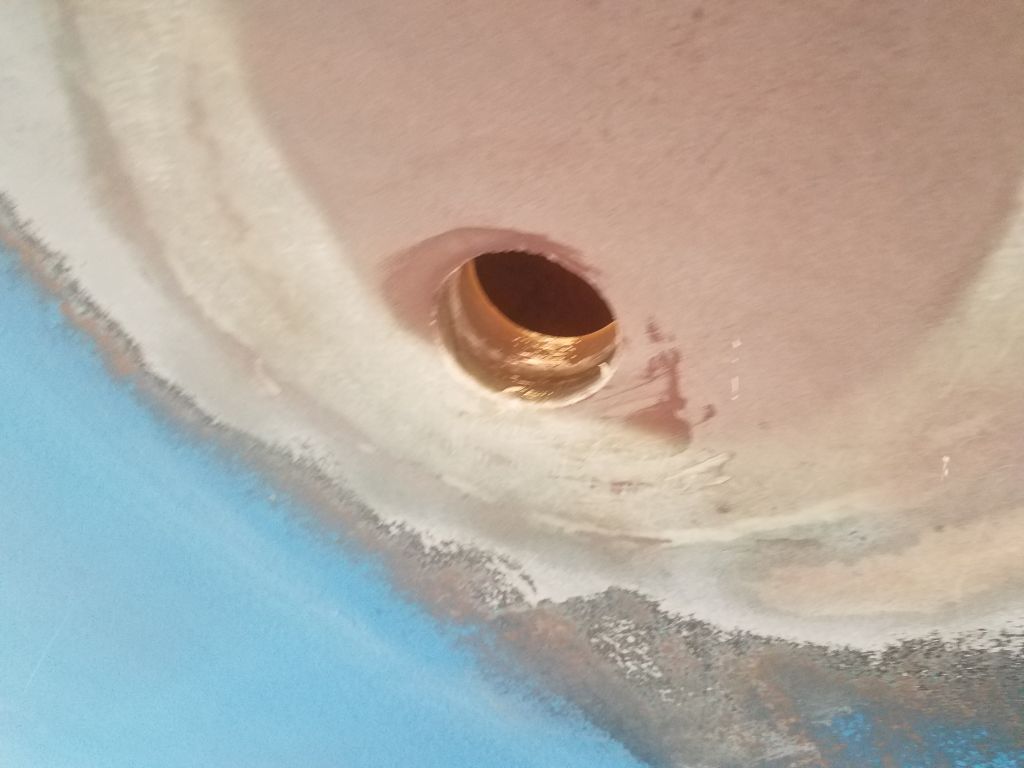
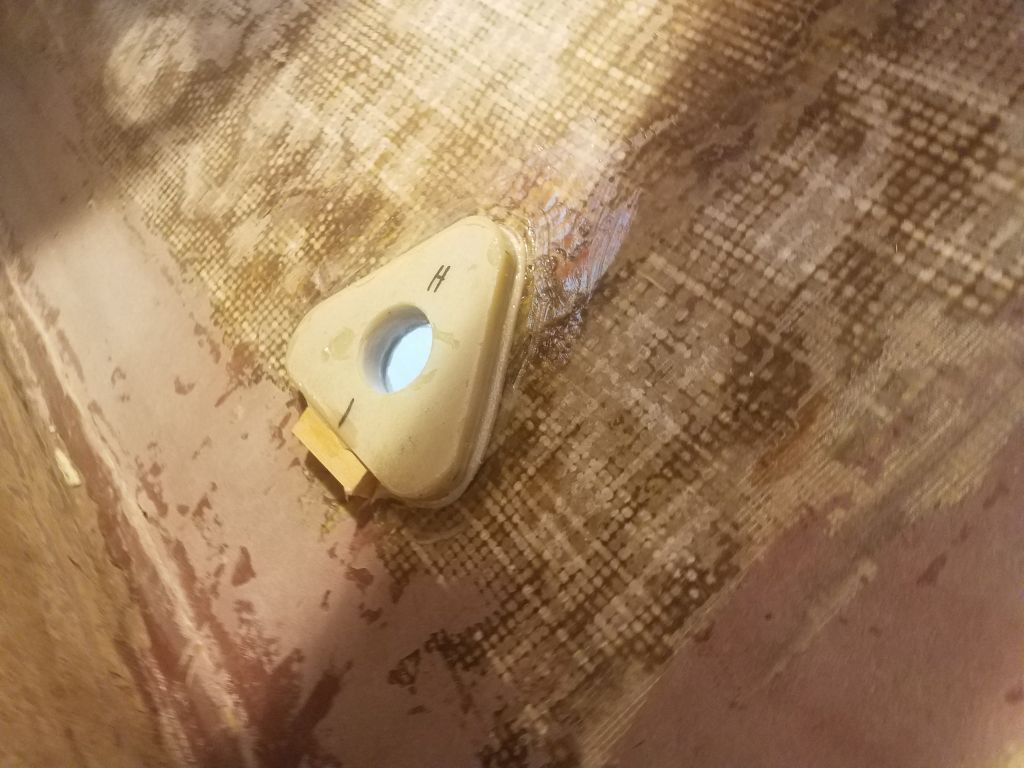
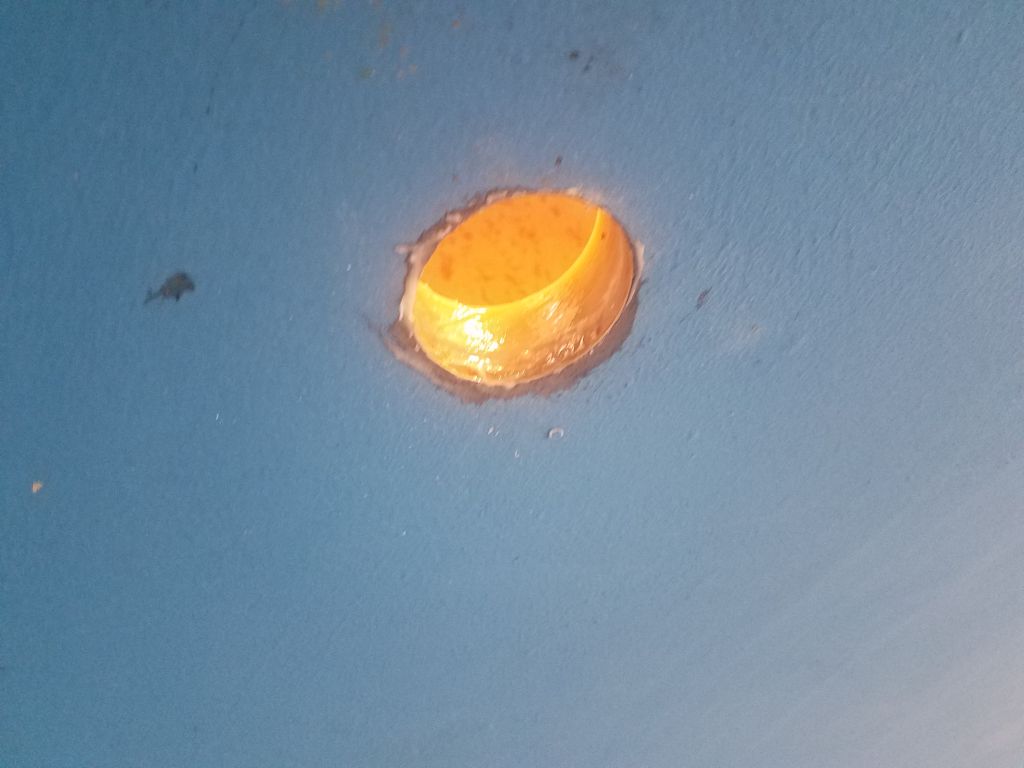
I chose the locations for the four new through hull assemblies. The pair of cockpit scuppers would go back in the same location as original, more or less, and I marked the locations outside the hull based on the flattest section of the area to best accommodate the mushroom fitting. The galley sink drain would be centered beneath the opening in the cabinet above, so this was also a simple fitting to locate.


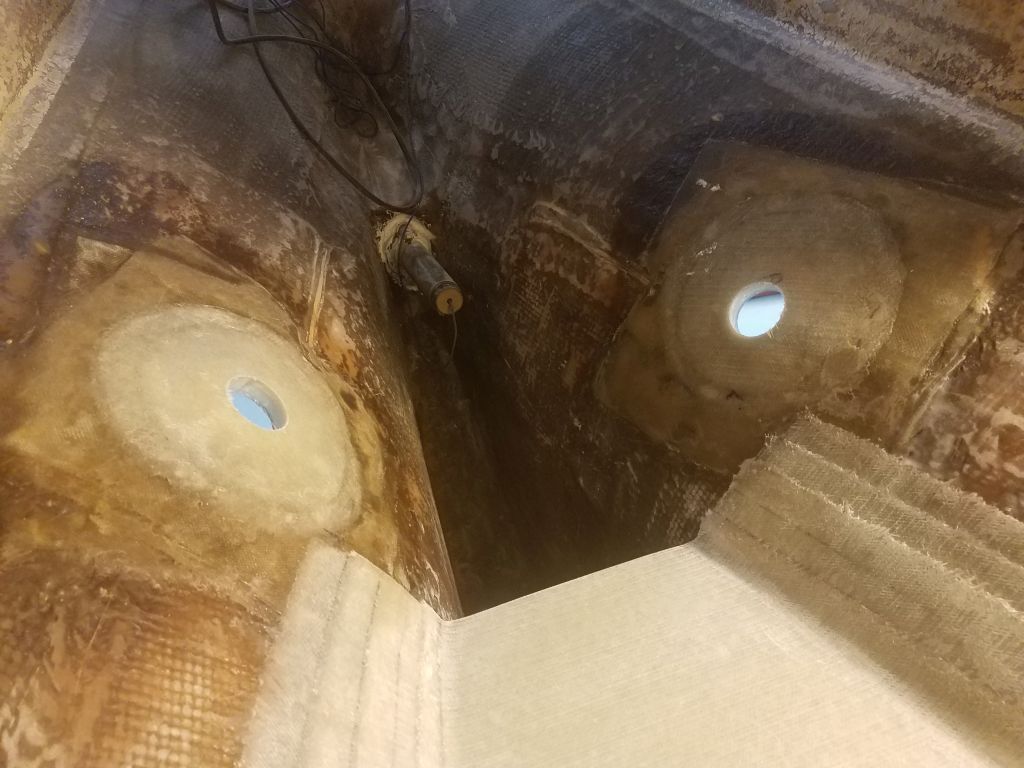
For the new holding tank discharge fitting, I tried a few locations in the starboard settee locker, using the loosely-assembled seacock, base, and hose connector to determine the final location based on available headroom and, with the hull angle, clearance to the side of the compartment. I also wanted to keep the fitting, and its eventual hose run, clear of the remaining space and as unobtrusive as possible. I had hoped to place the fitting well aft, but there turned out to be insufficient headroom and other clearances there. In the end, only one location really fit the bill: directly in the middle of the locker between the two hatch openings. This worked in all ways, including keeping the bulk of the space clear for other uses, and the ability to hide and secure the hose run directly above and away from the locker openings.
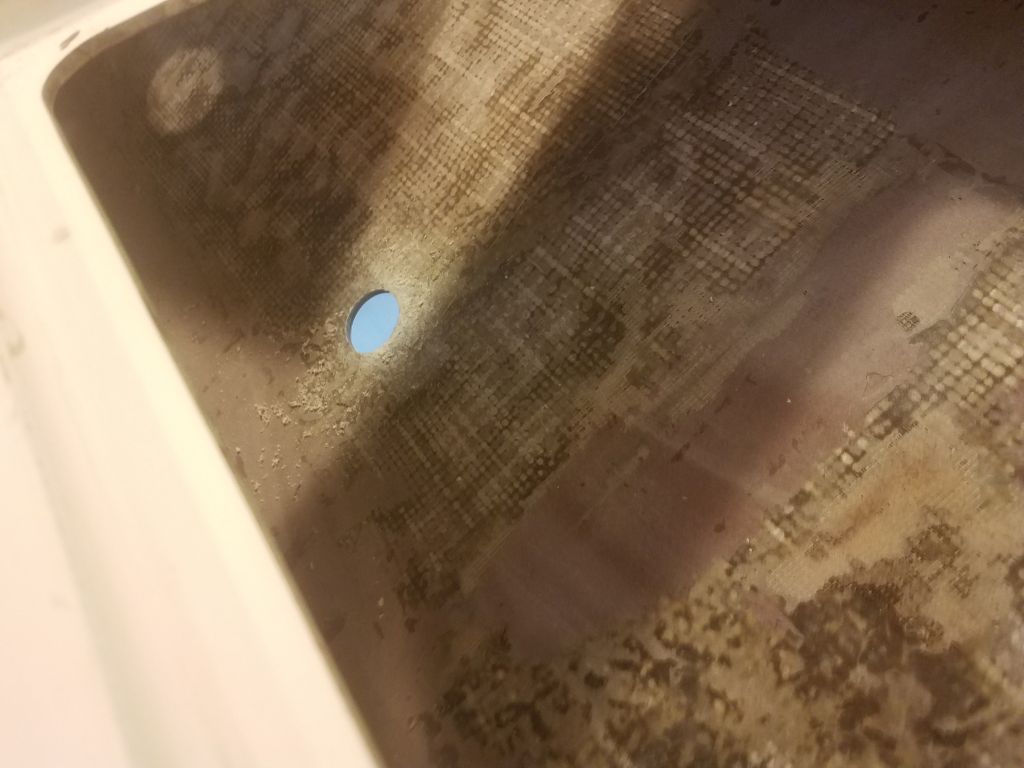
After vacuuming up the spoils and solvent-washing the inside of the hull at each location, I laid out the new 3/4″ backing pads, centering them over the new holes in the hull. To help hold the pads in place while they were being secured, I hot-glued little blocks beneath each to keep them from slipping down the hull. There’s no photo of the galley fitting dry-fit this way because initially I thought the hull there was flat enough that it wouldn’t require a glue block, but later I found I needed to hastily install one after all.
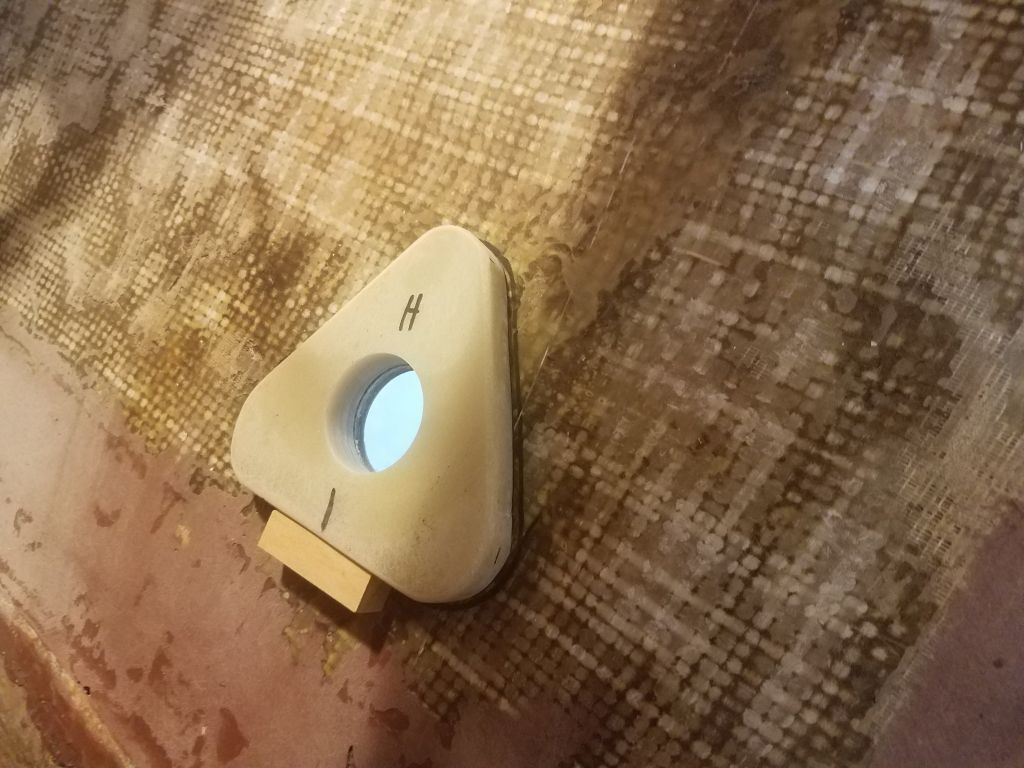

With all preparations complete, I installed the pads in a bed of thick epoxy, smoothing fillets around the pads with the excess as needed. Where the hull was well-curved at the scupper locations, I kept the pads basically square to the holes through the hull so the through hull fittings would seat properly.


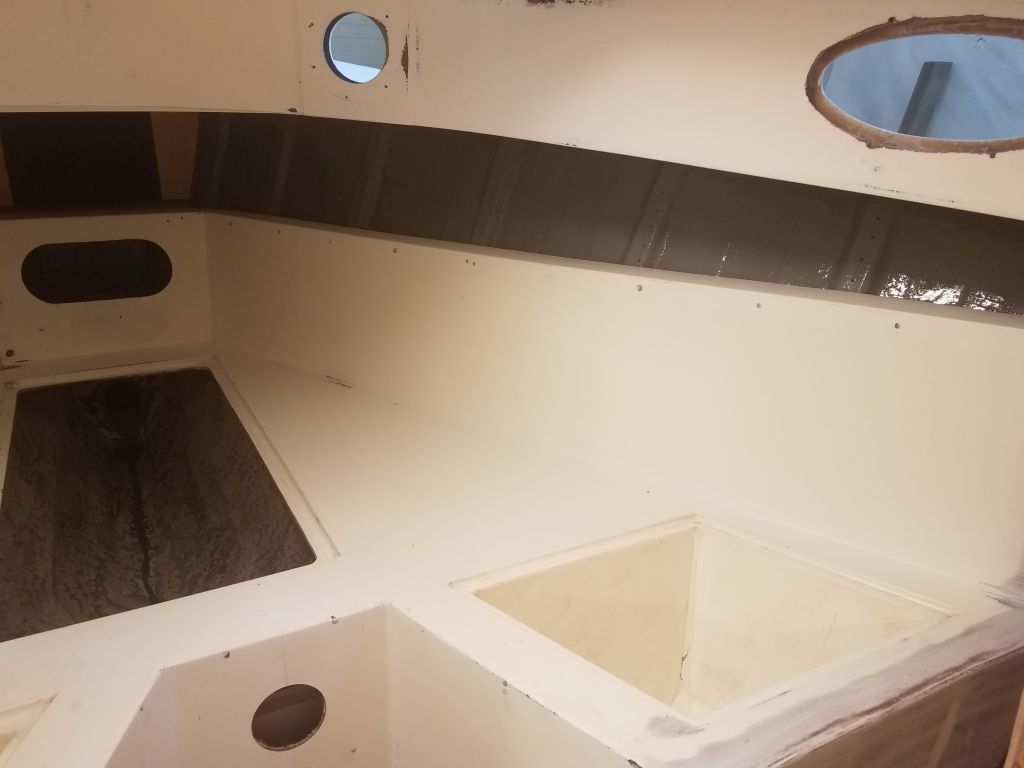
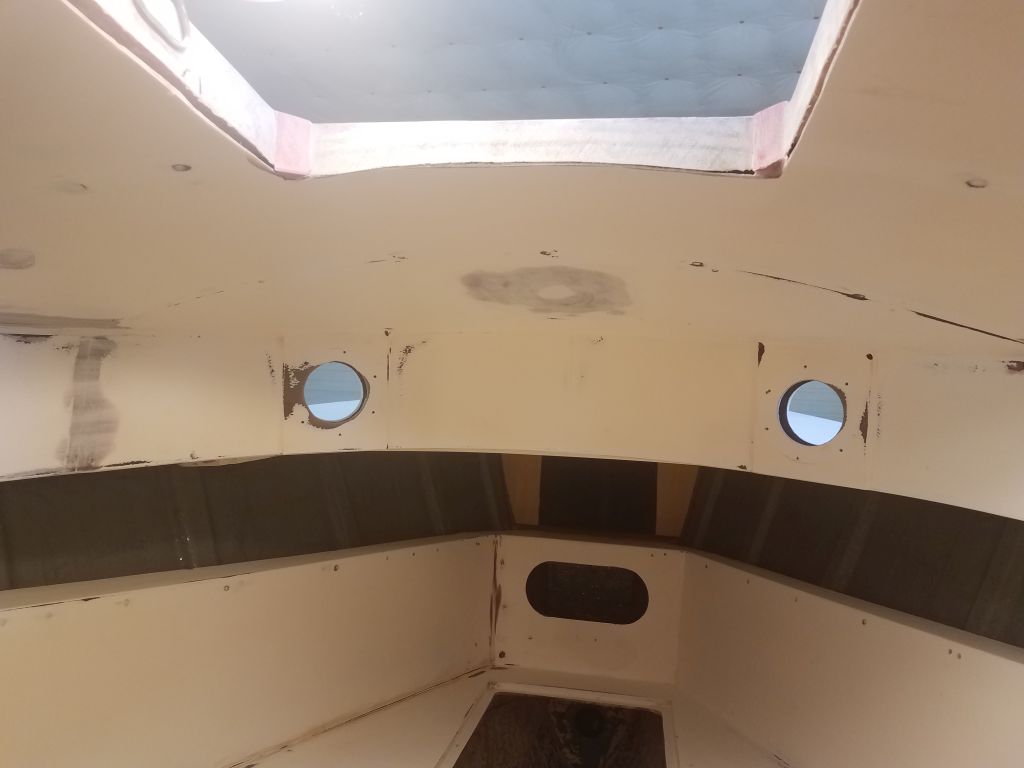
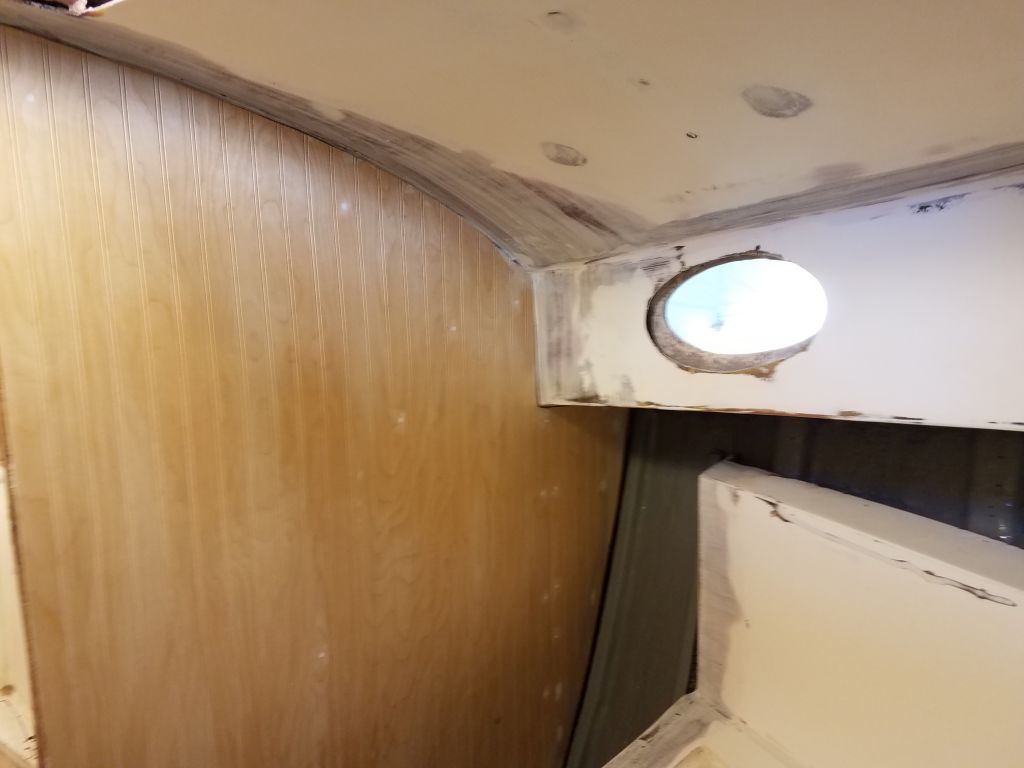
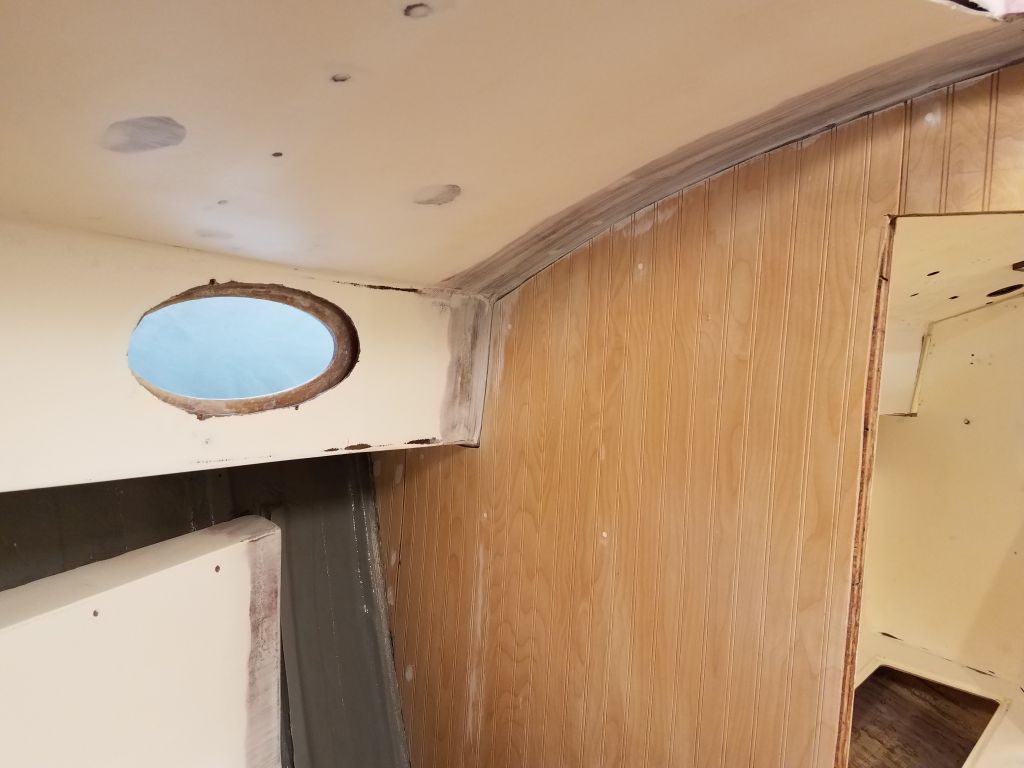
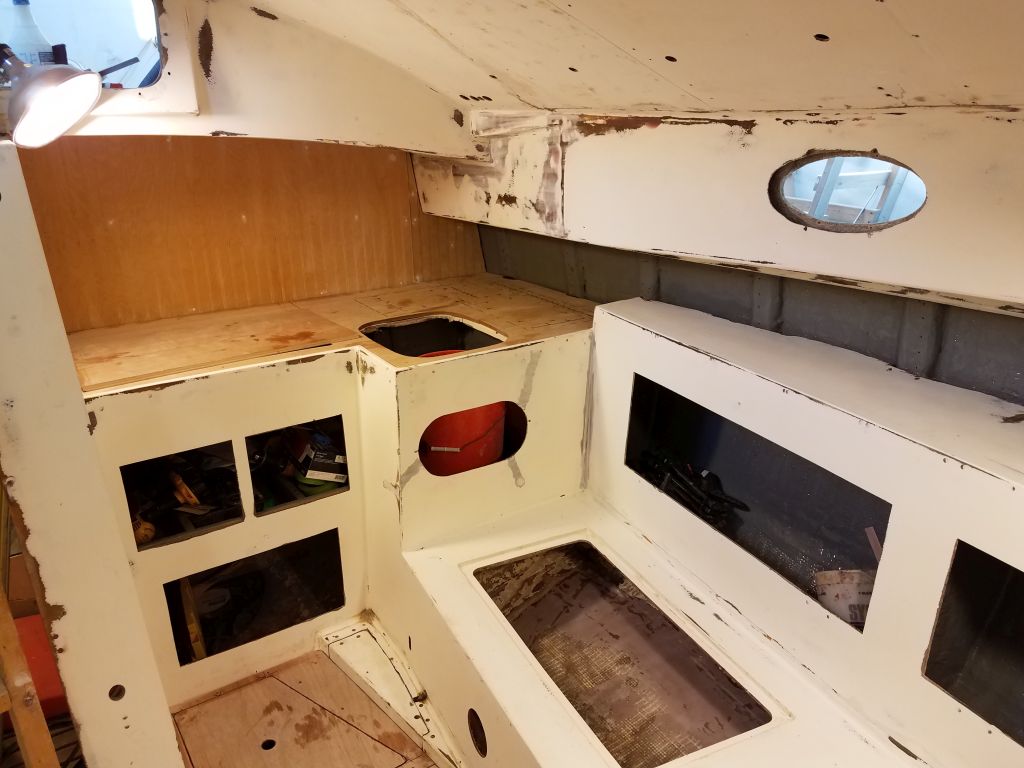
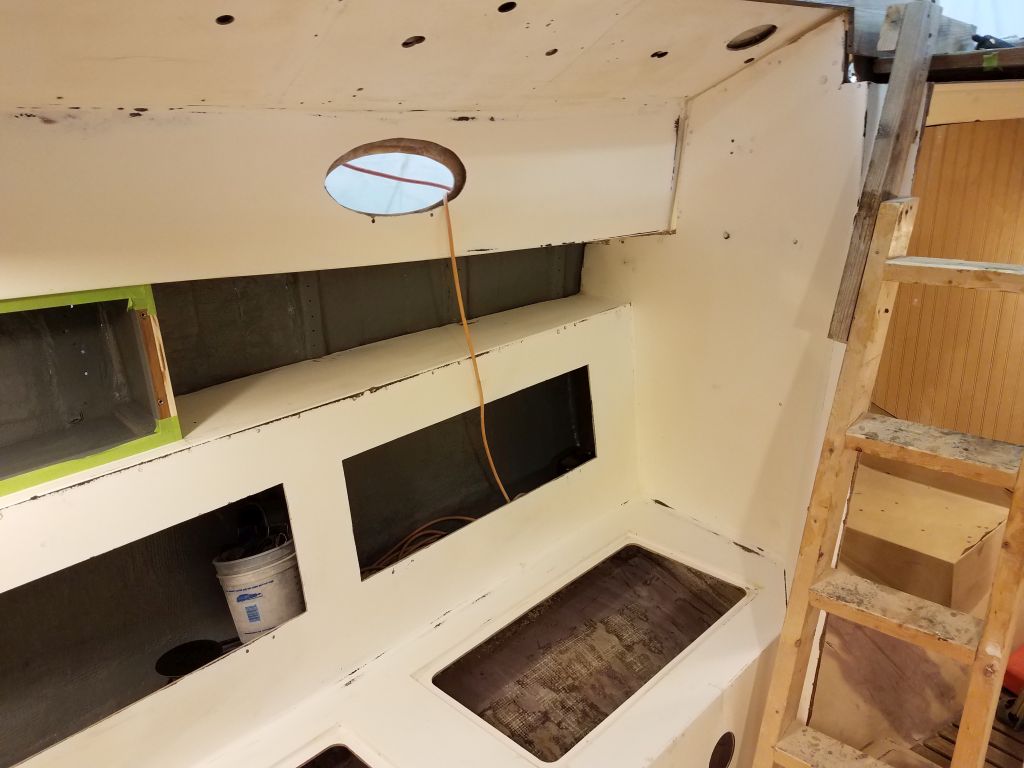
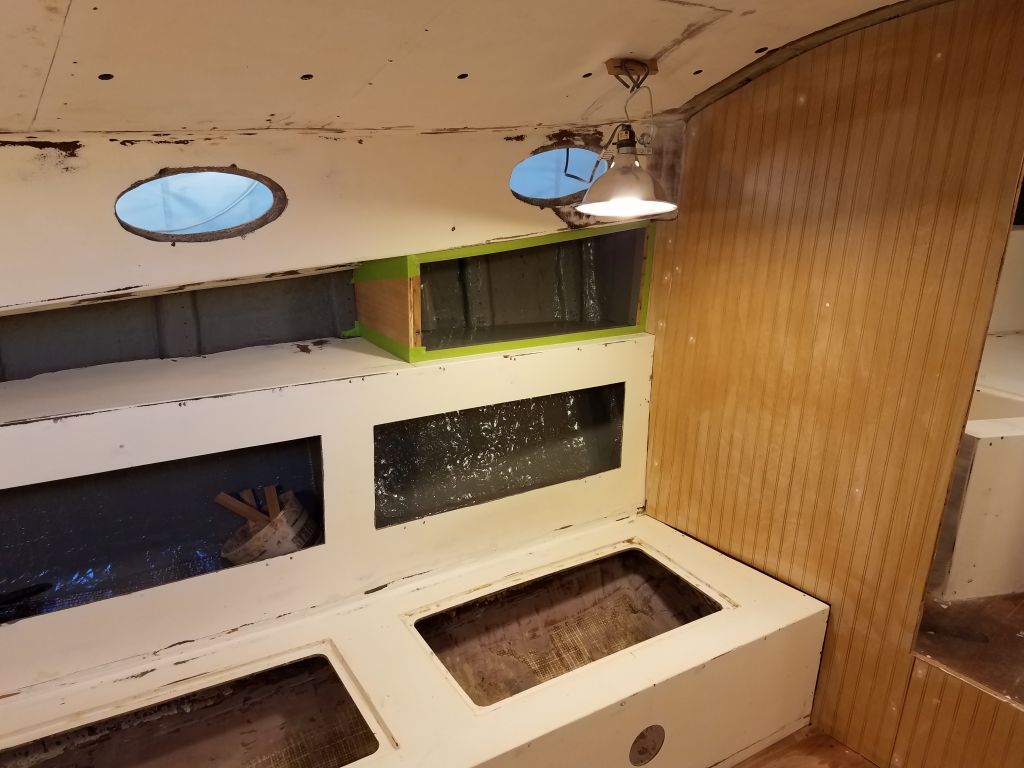
The main event for next time was to be the interior primer, so to prepare for that I cleaned up the cabin, moving all tools and supplies out of the way and thoroughly vacuuming and solvent-washing all surfaces to be primed (which was more or less everything). There was minimal masking to complete around the new cherry lockers above the settees.


Total time billed on this job today: 8 hours
0600 Weather observation: -8°, mostly clear. Forecast for the day: Mostly sunny, 20°