


April 8, 2019
Scupper 119
Monday
With the current round of varnish work complete, I spent the first part of the day removing all the masking tape. Afterwards, I reinstalled all the small trim pieces, which I’d removed for varnishing.


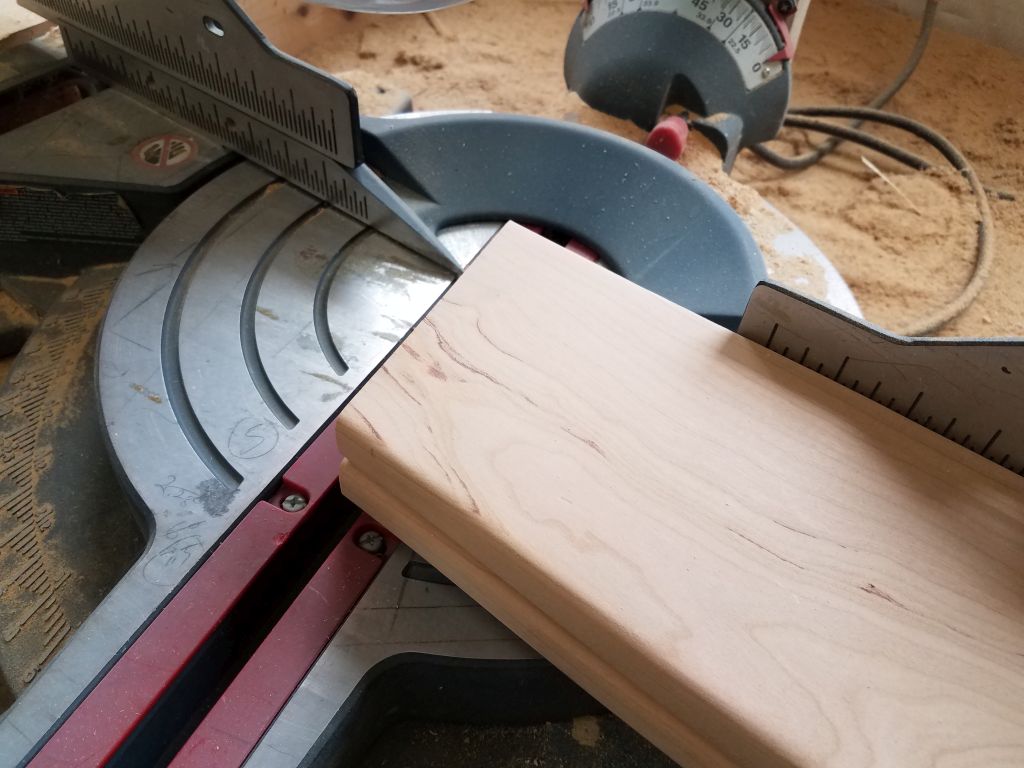
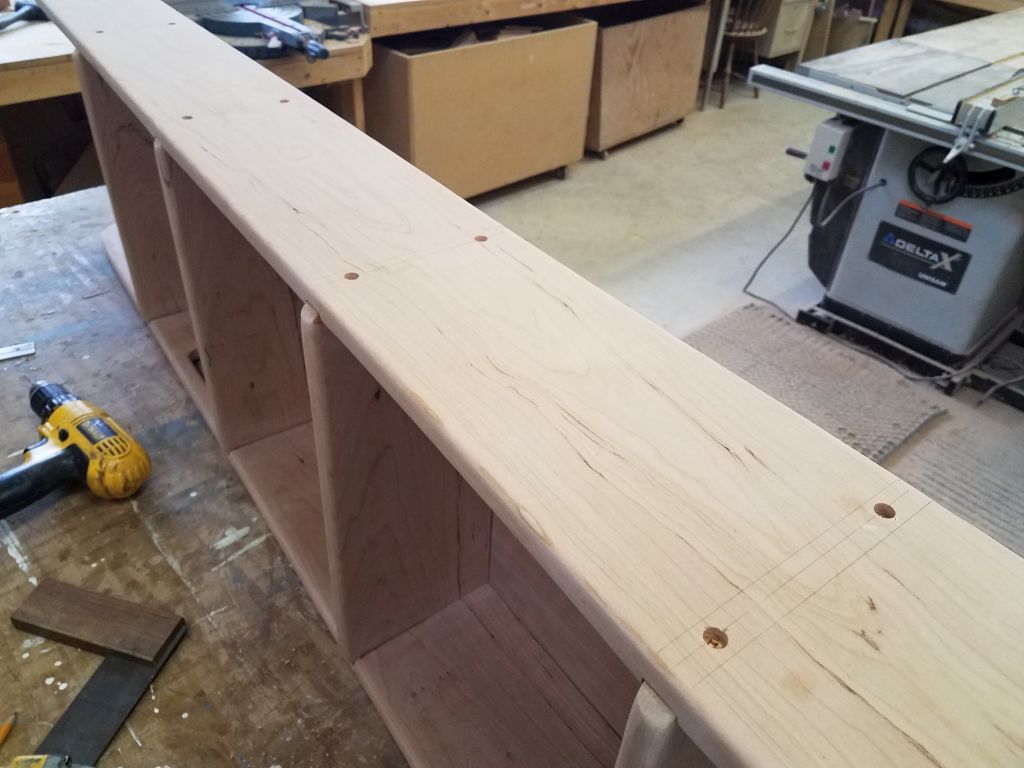
To complete the cuts on the side rails for the new companionway ladder, I took one of the rails up into the boat and set it in place, using a piece of 3/8″ plywood to hold the base off the existing sole an appropriate amount (1/4″ for the finished sole, plus 1/8″). With the piece properly positioned, I used a straightedge to mark the height and angle at the top, where it met the companionway threshold.
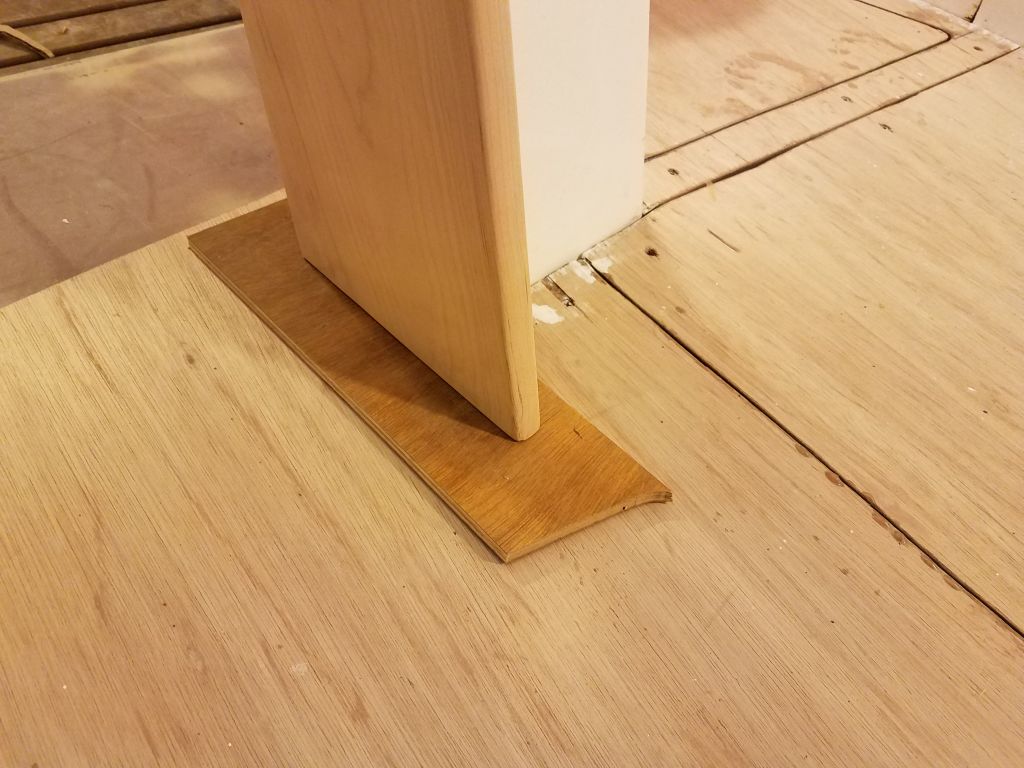


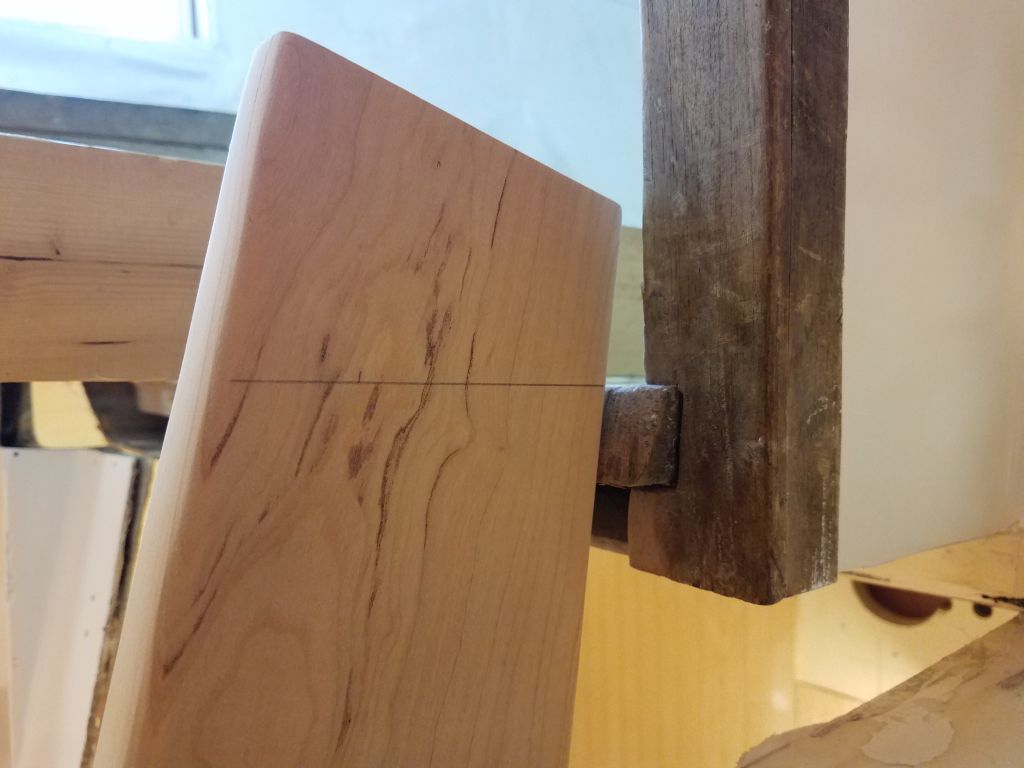
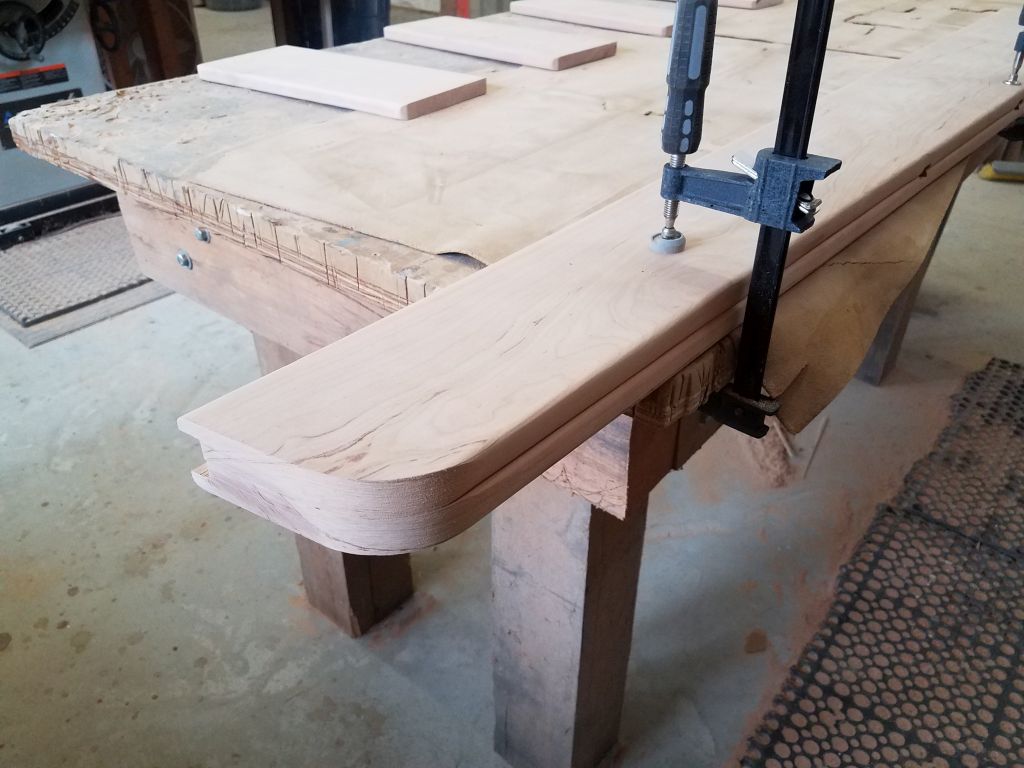
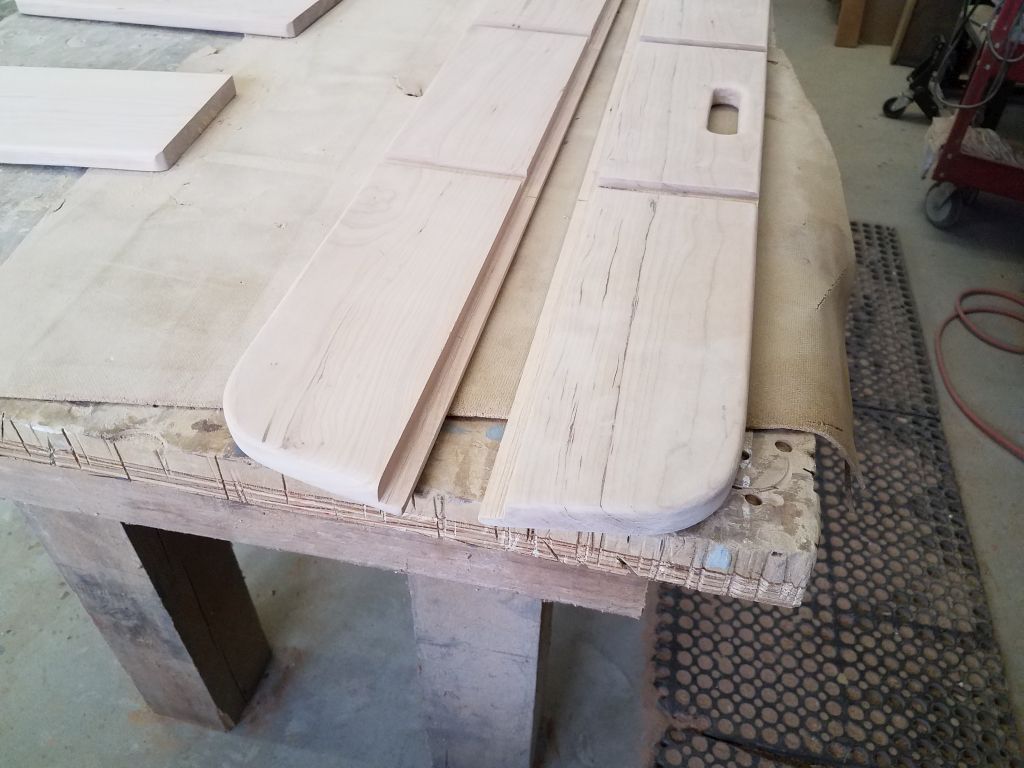
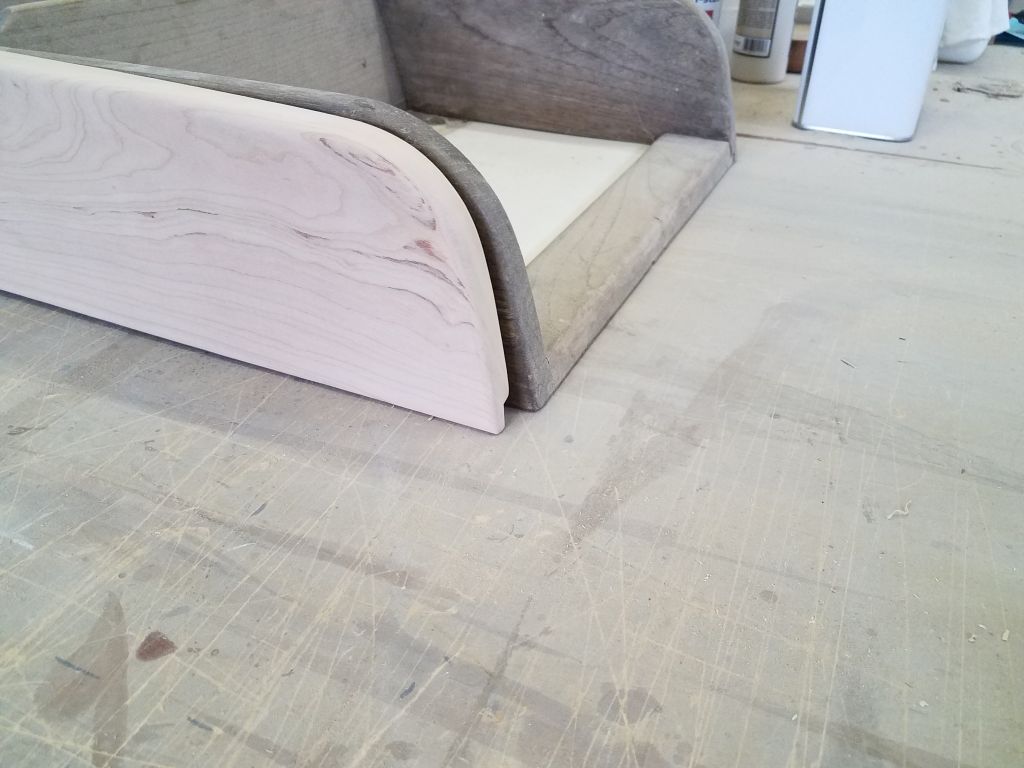
Back at the saw, I clamped both side pieces together and made the top cut. Then, at the top I marked a rounded corner reminiscent of the original piece and cut and sanded the curve smooth before rounding the edges of the new cuts and sanding everything smooth once more. The finished height of the new piece is slightly different than the original because the new cabin sole, with its thicker substrate and cherry veneer atop, would be slightly higher than the original sole, which was thinner to begin with, even with its finished veneer.
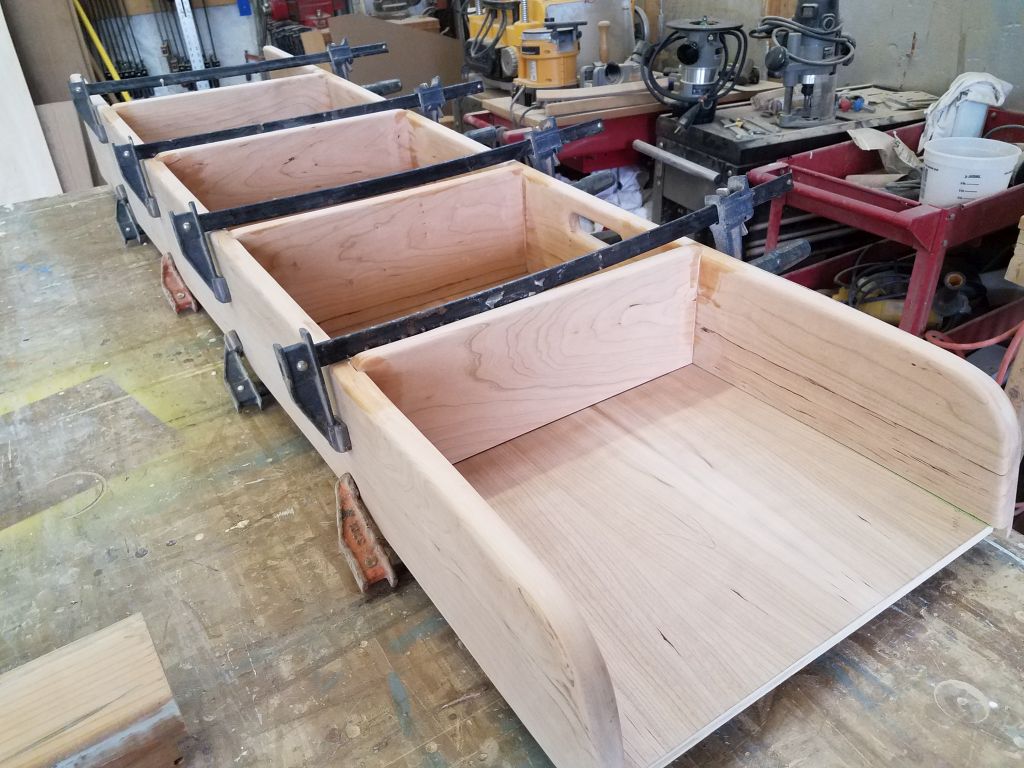
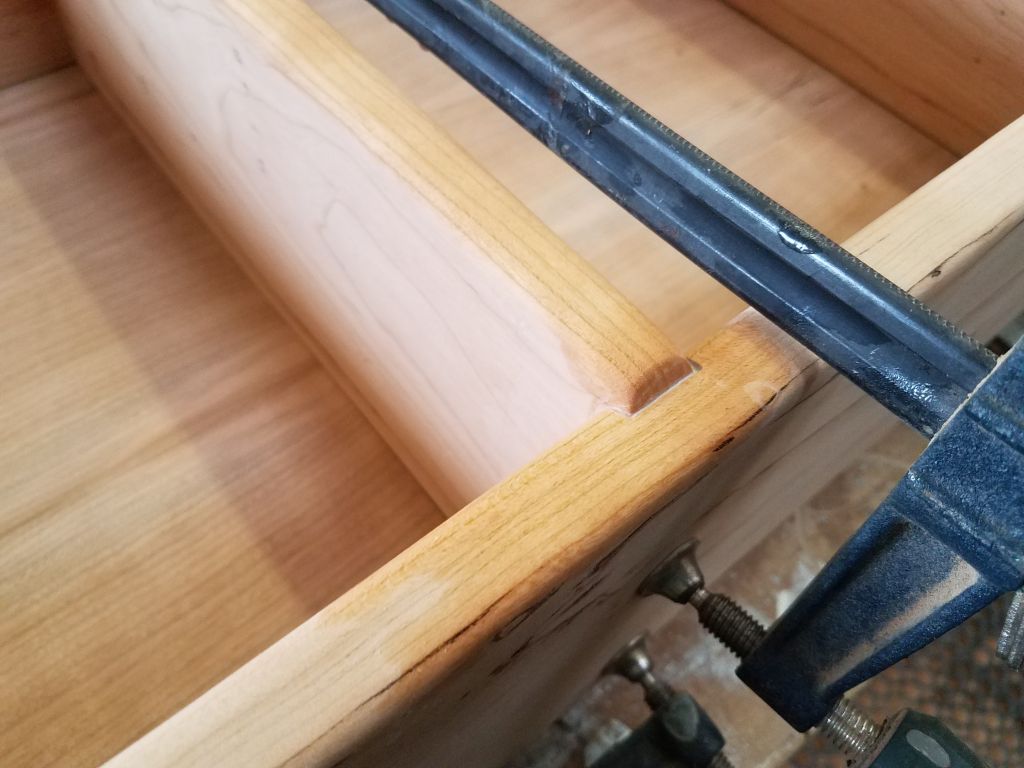
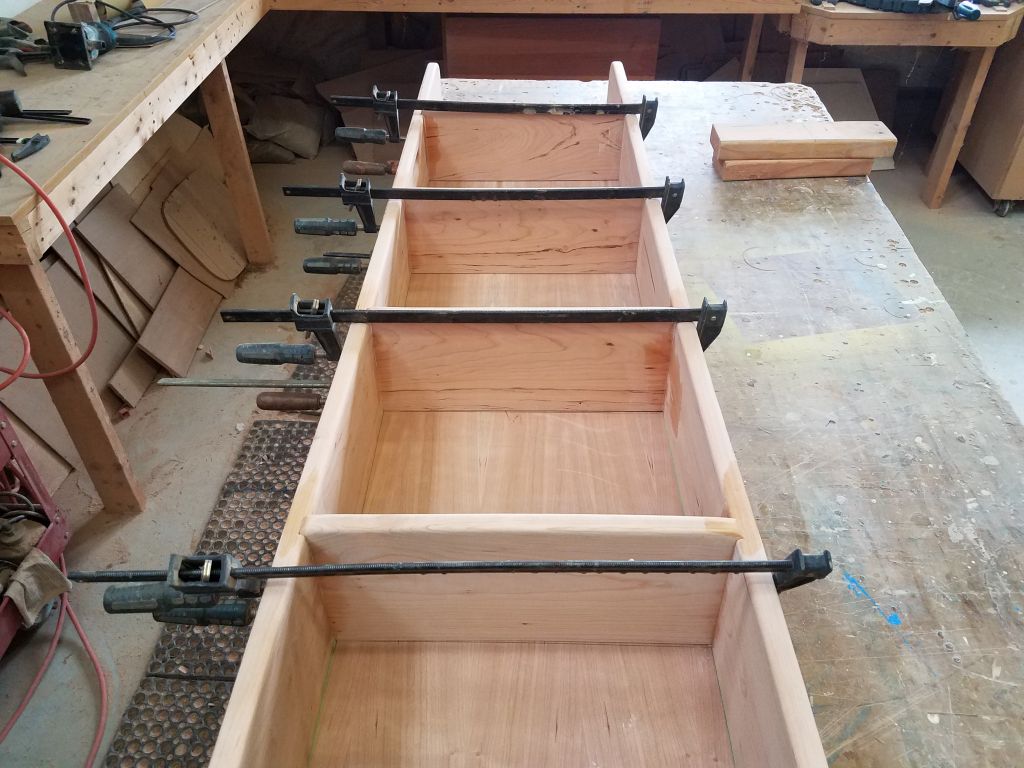
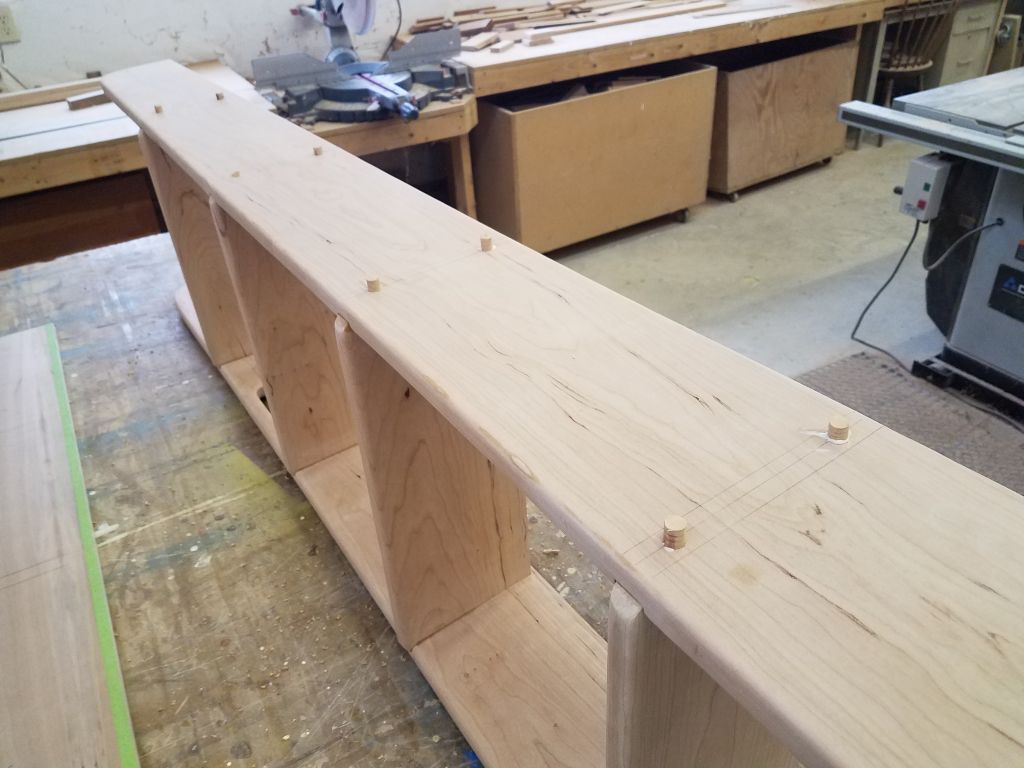
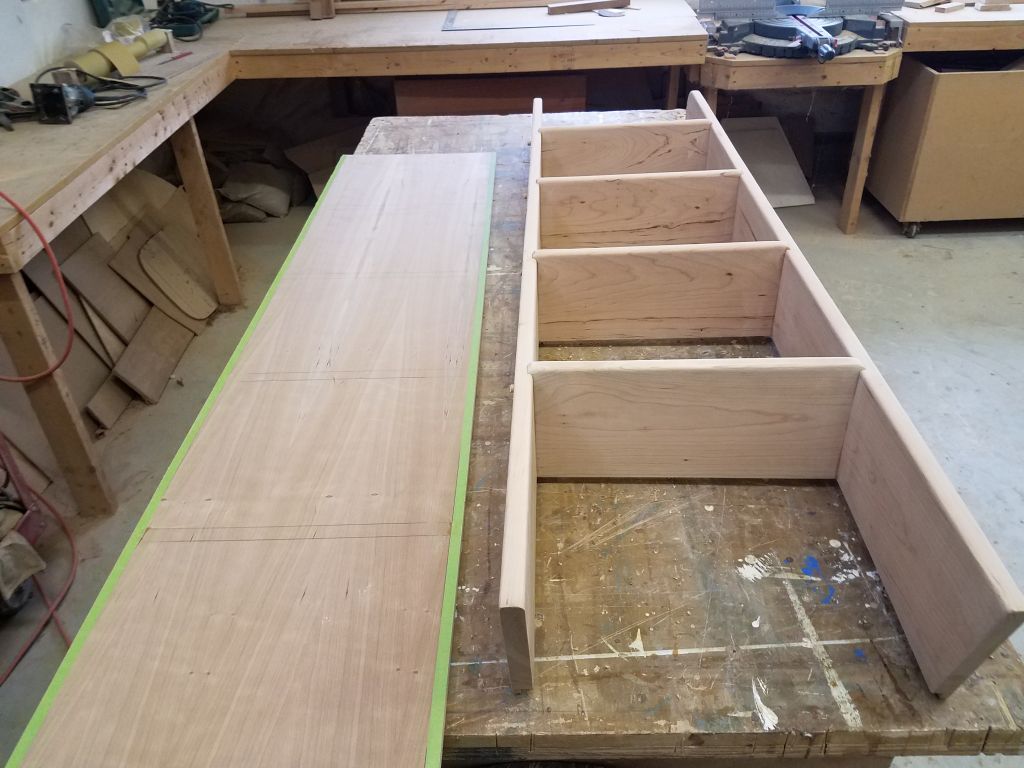
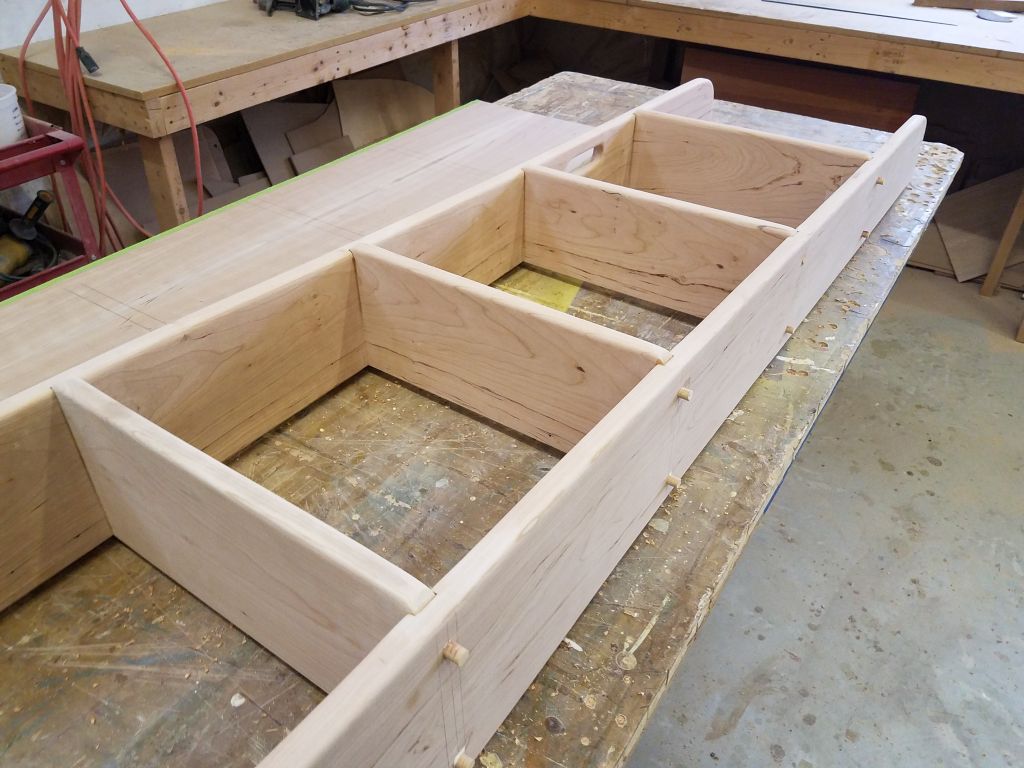
Now I could assemble the ladder permanently. After solvent-washing the bonding areas as needed, I began by spreading waterproof glue on the bottom slots, and installing the lower step, aligning the back edge properly with the rabbet in the side rails and clamping it in place. For the moment, I left off the back panel, since its absence made it easier to install, align, and glue the treads. One step at a time, I glued and clamped in the treads, and once all four were in place, I inserted the back panel in the rabbets. Because I didn’t want this panel permanently installed yet (I planned to paint it white to offset the treads and match the original appearance), I masked off the edge that sat in the rabbet, but the panel was important to ensure proper alignment of the whole unit while the glue set up.

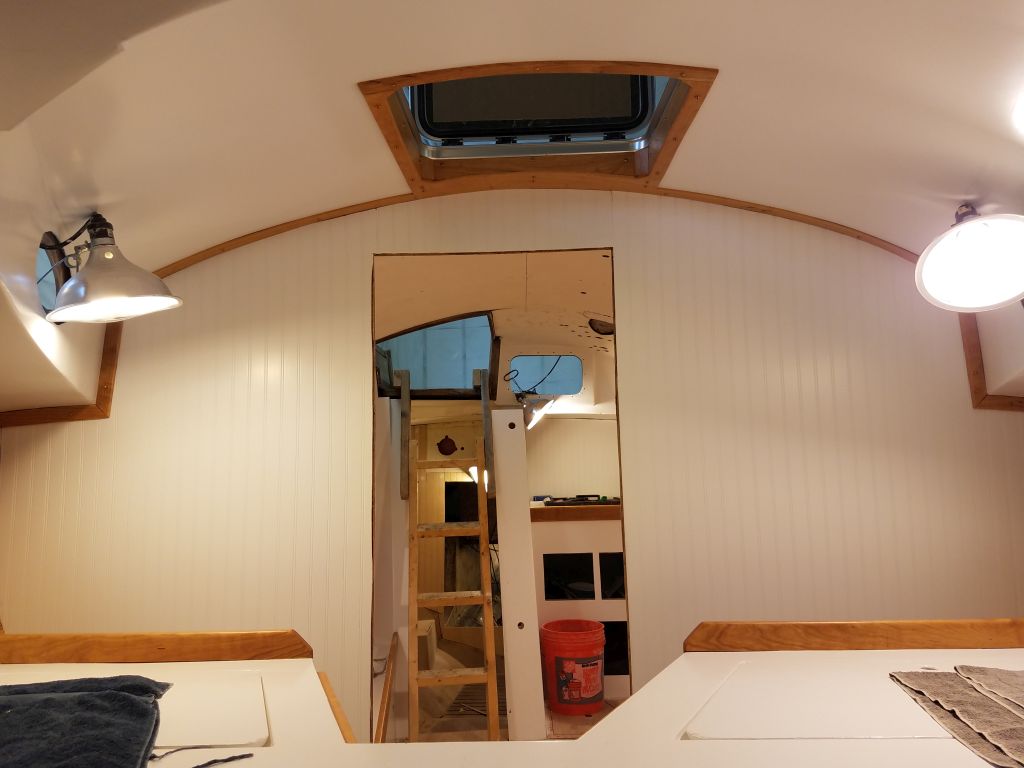
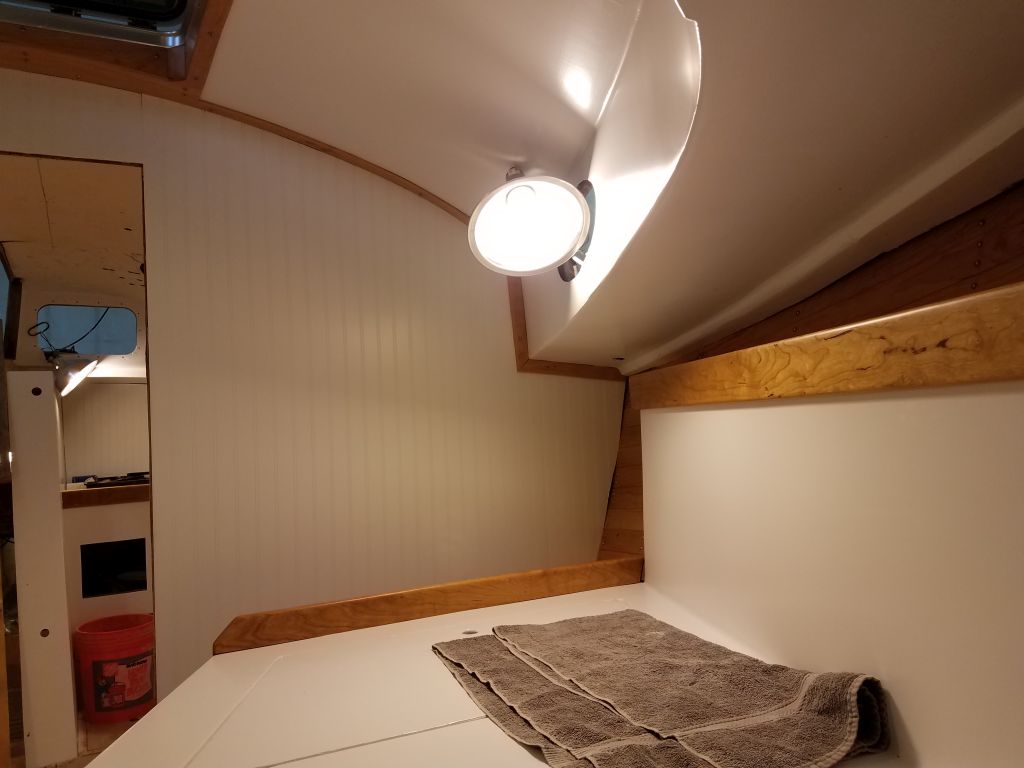
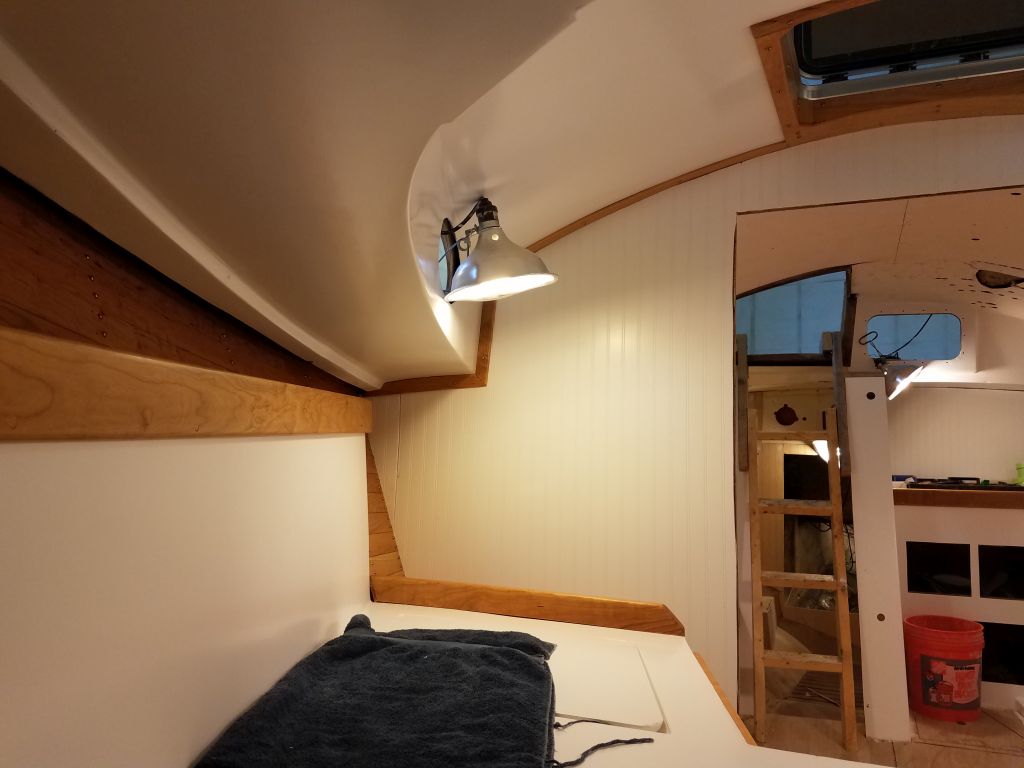
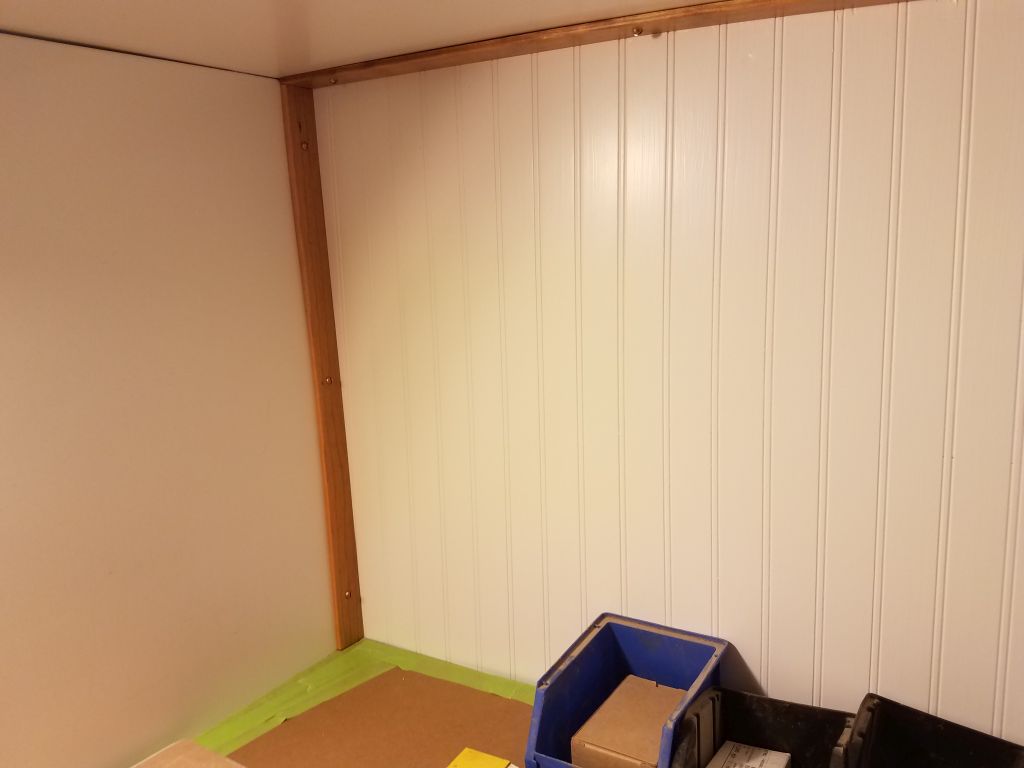
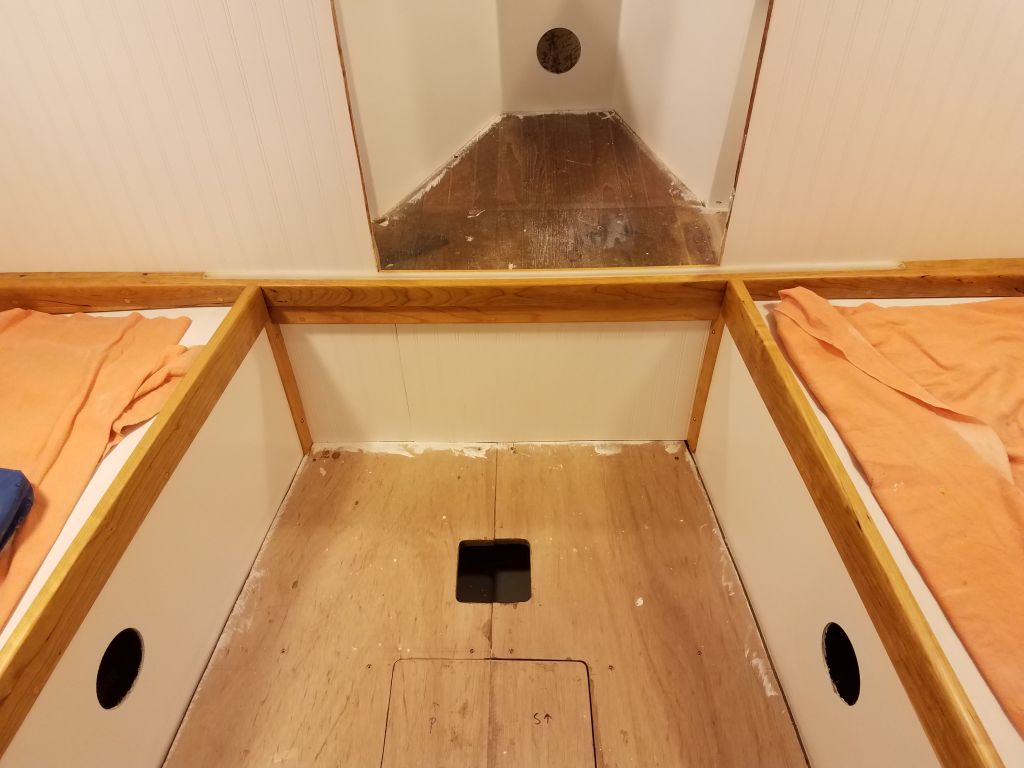
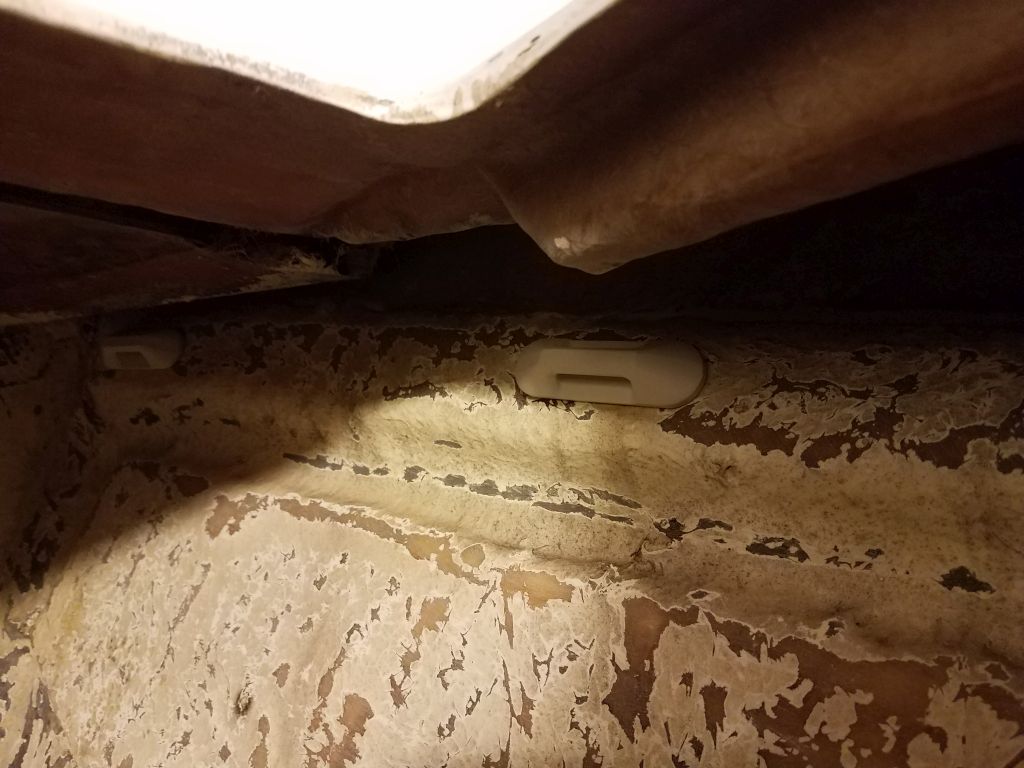
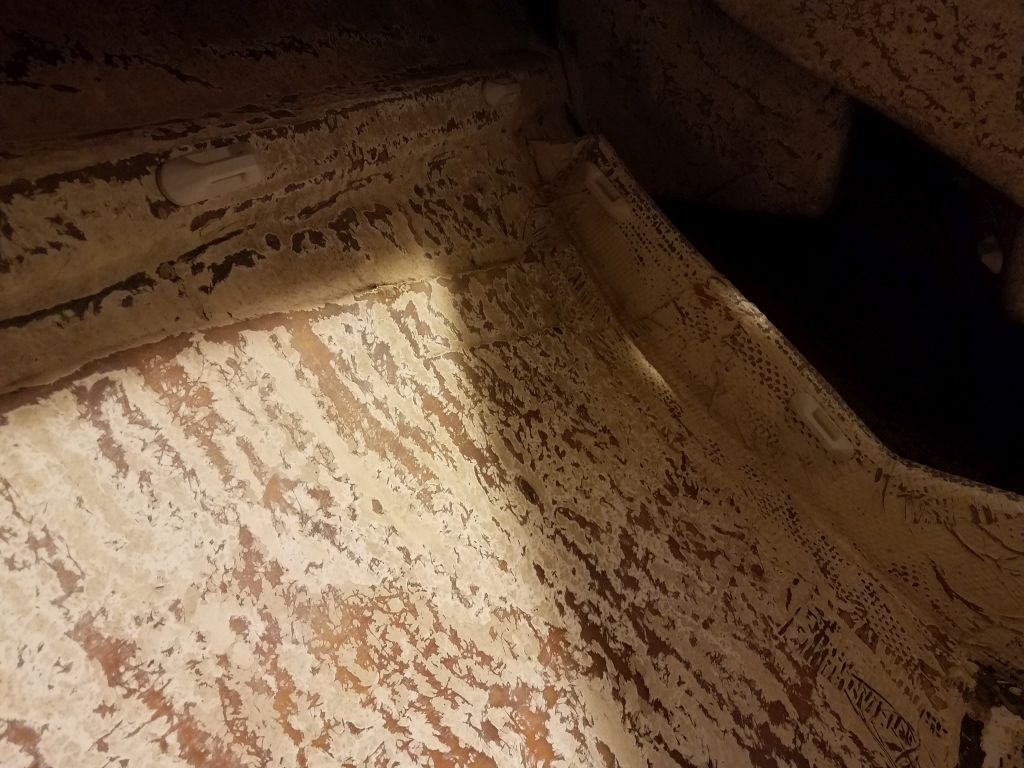
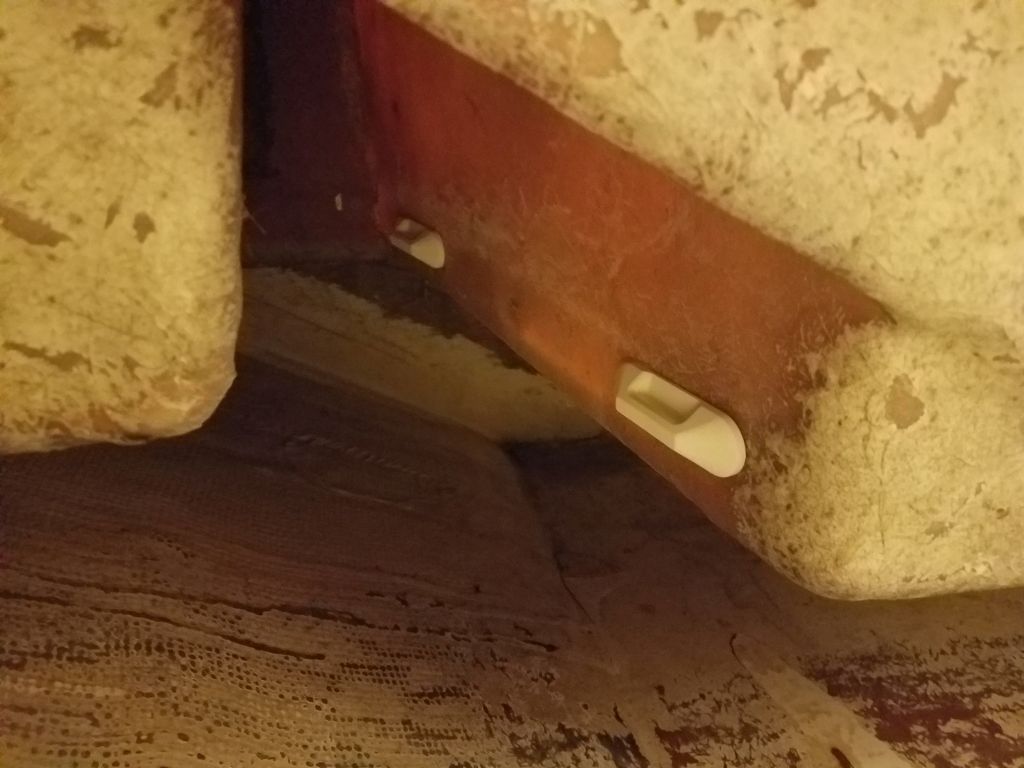
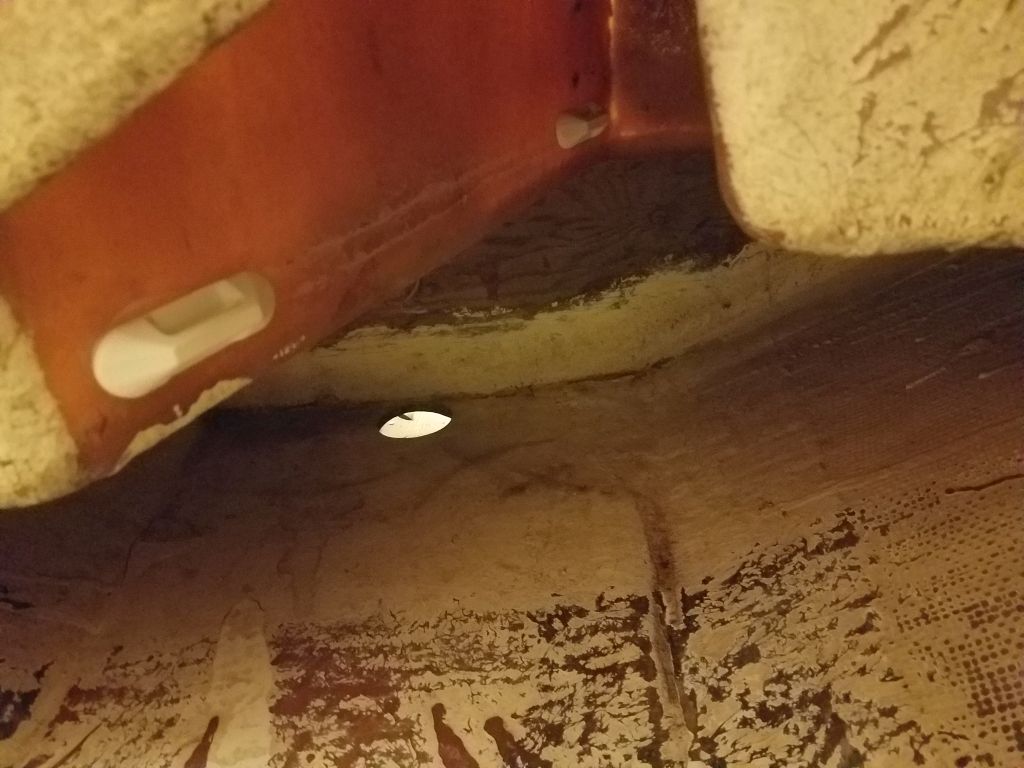
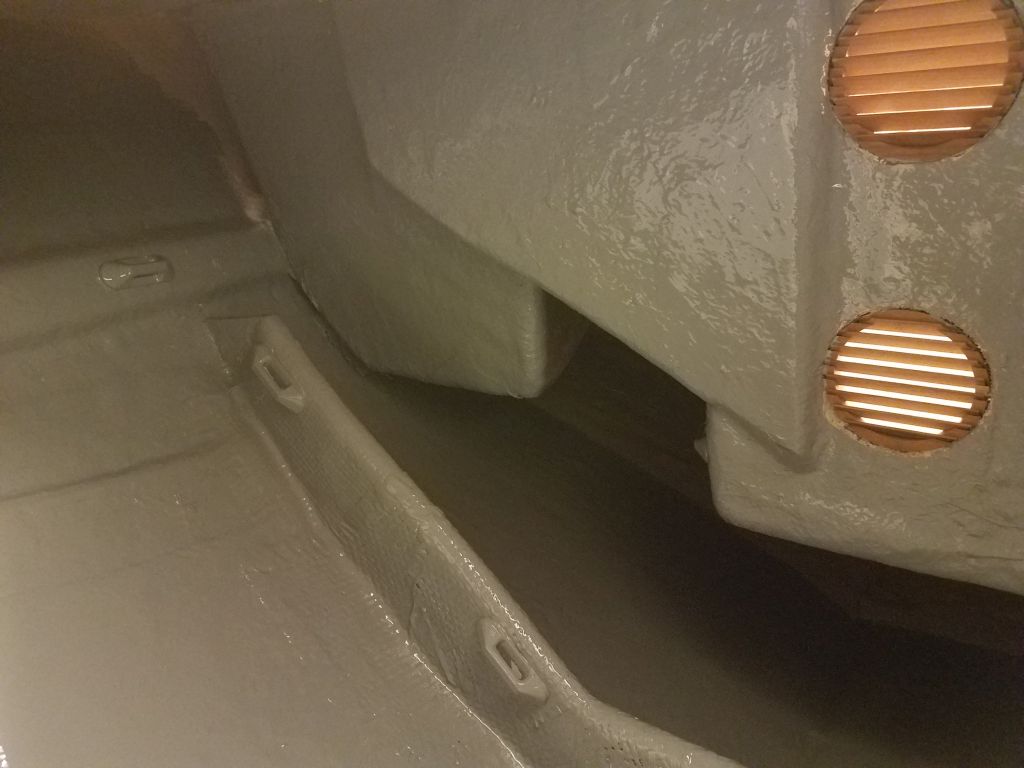
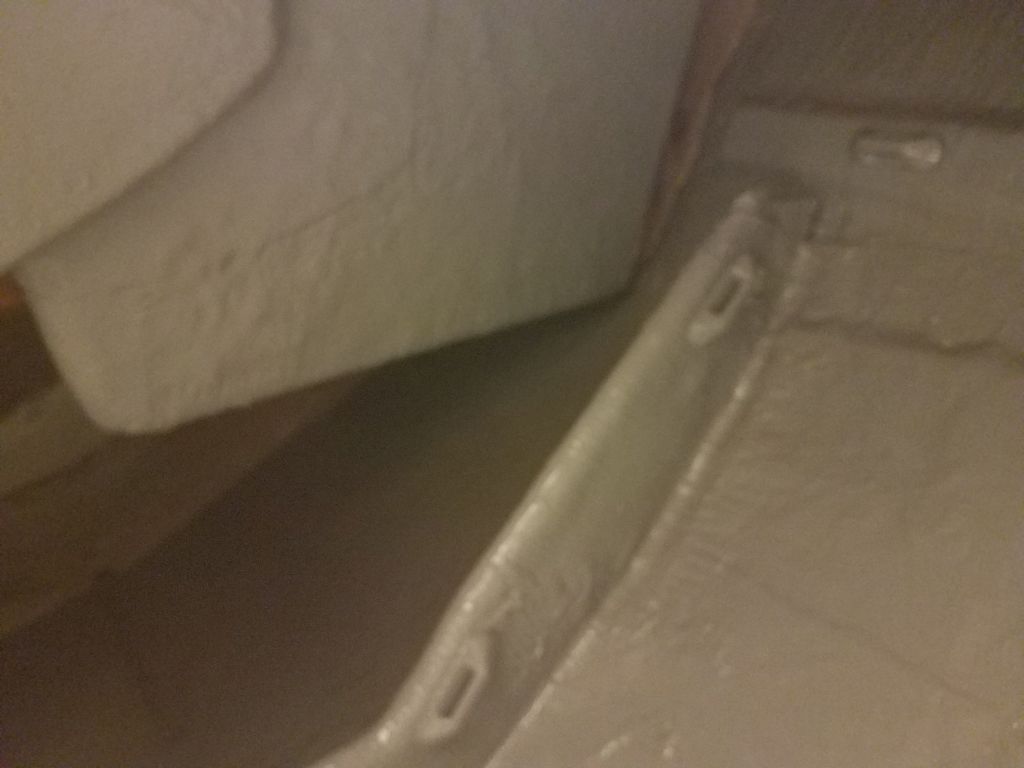
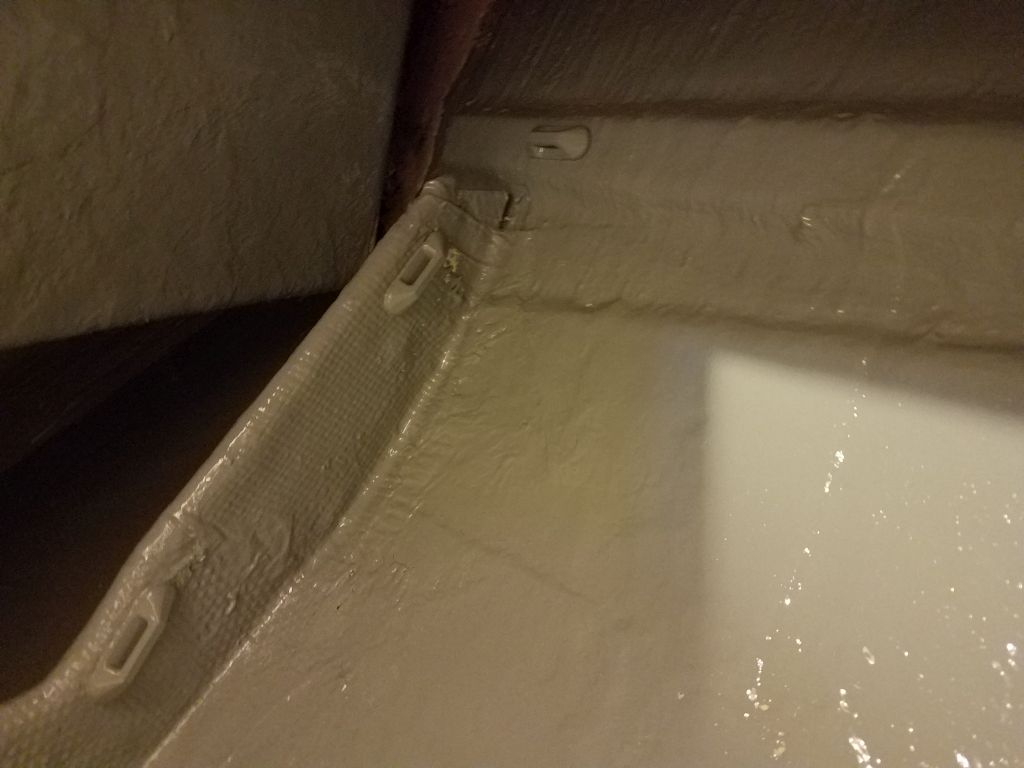
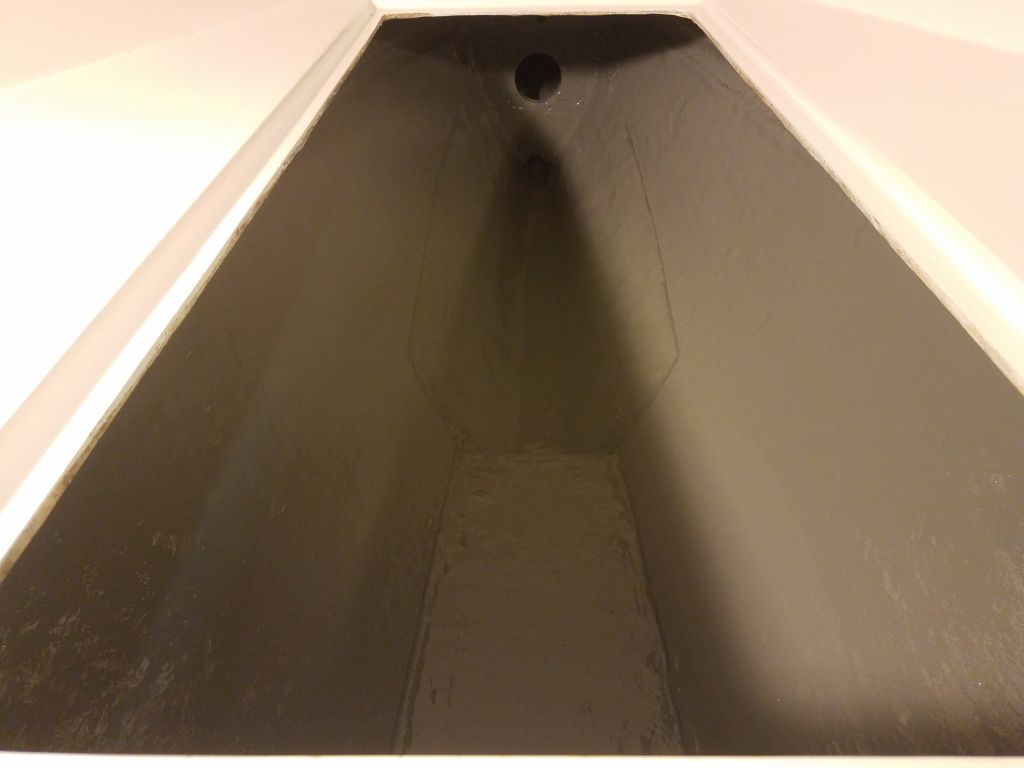
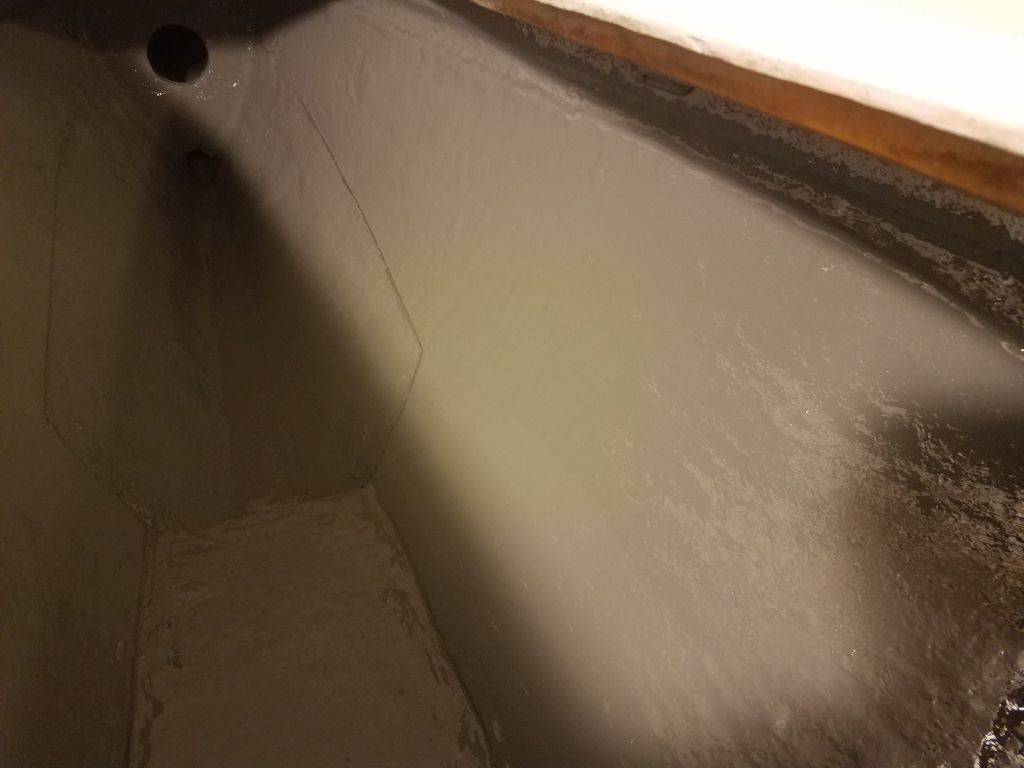
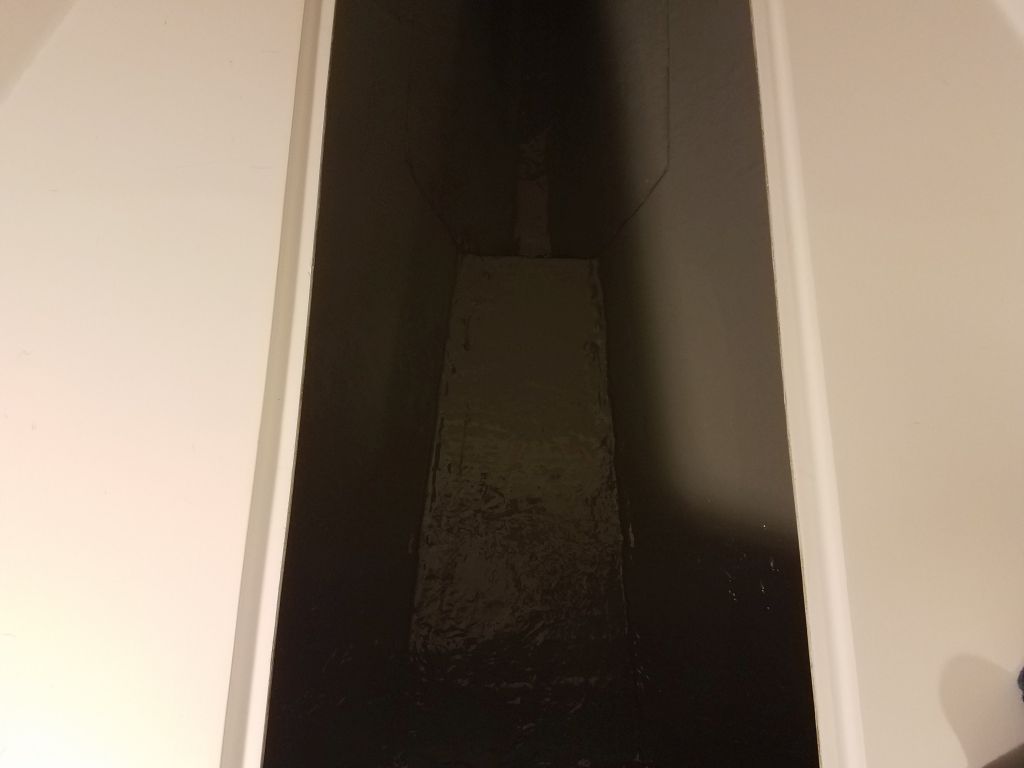
Leaving the companionway assembly to cure, I turned to the forward storage compartment beneath the v-berth. Because it was handy to stand in this area when working on the trim and varnish in this area, I’d purposely left it unfinished for the duration, but with the bulk of the work now complete up there, it was time to wrap up the work in the locker. After vacuuming and solvent-washing the whole space, including the far reaches at the aft end beneath the molded liner and cabin sole above, I installed a series of heavy wire tie mounts along the top edges of the space on both sides. I’d use these later for supporting windlass cabling and whatever else was required, but I had to install them now since the adhesive used with the system didn’t stick well to paint.


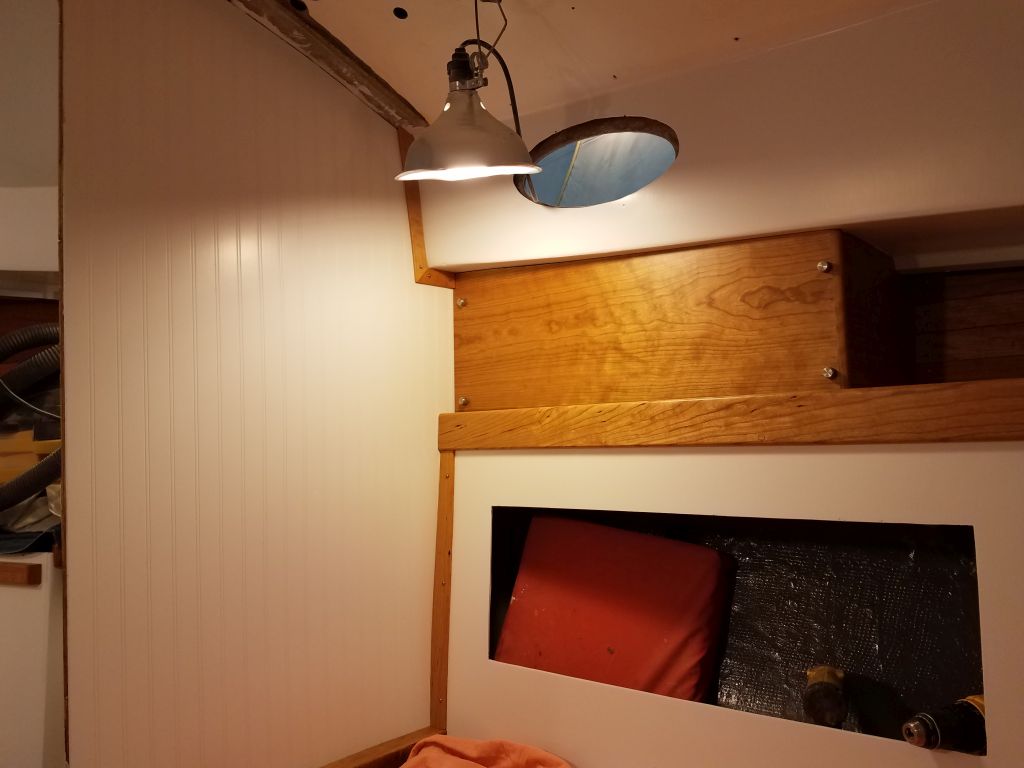
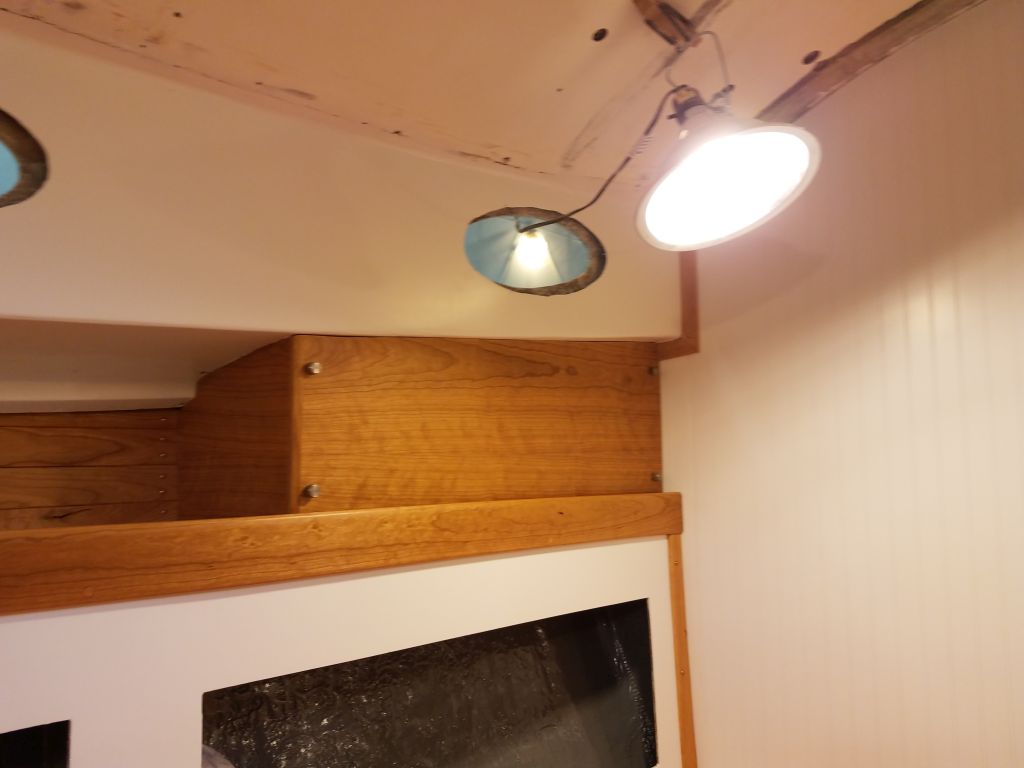
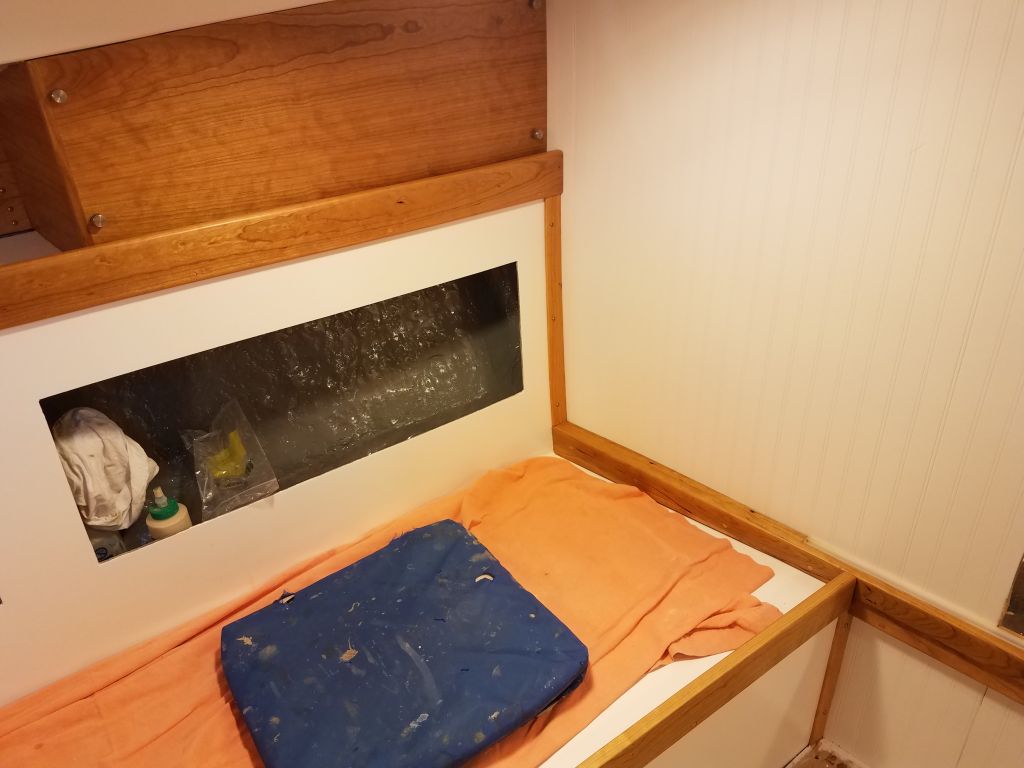
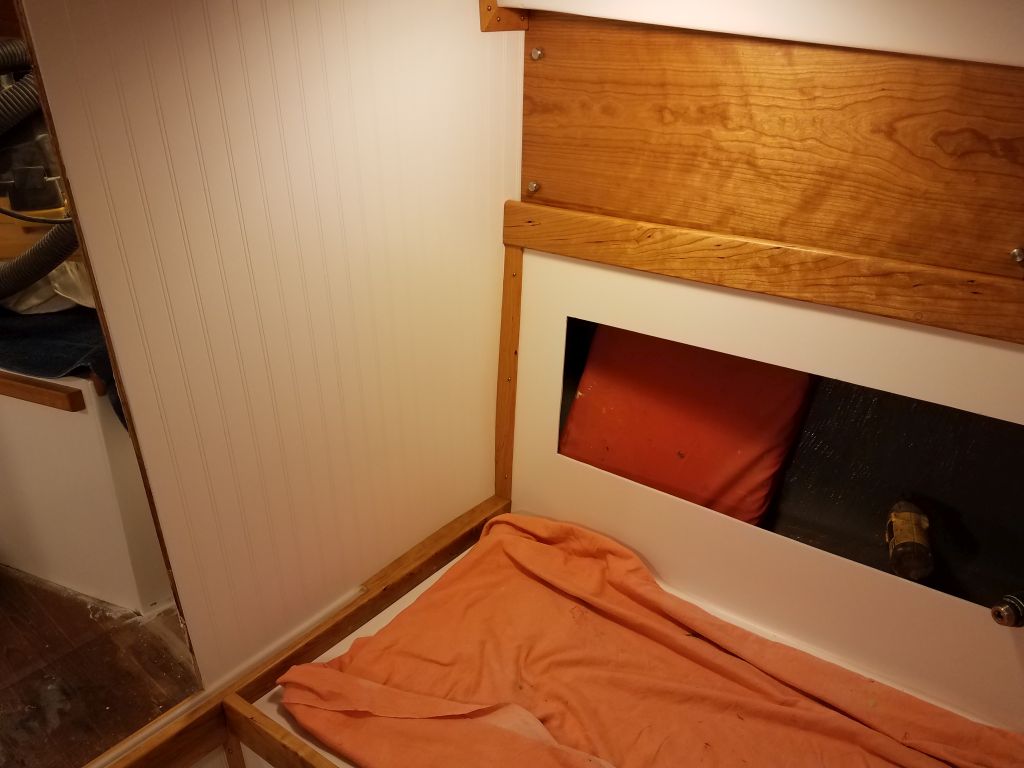
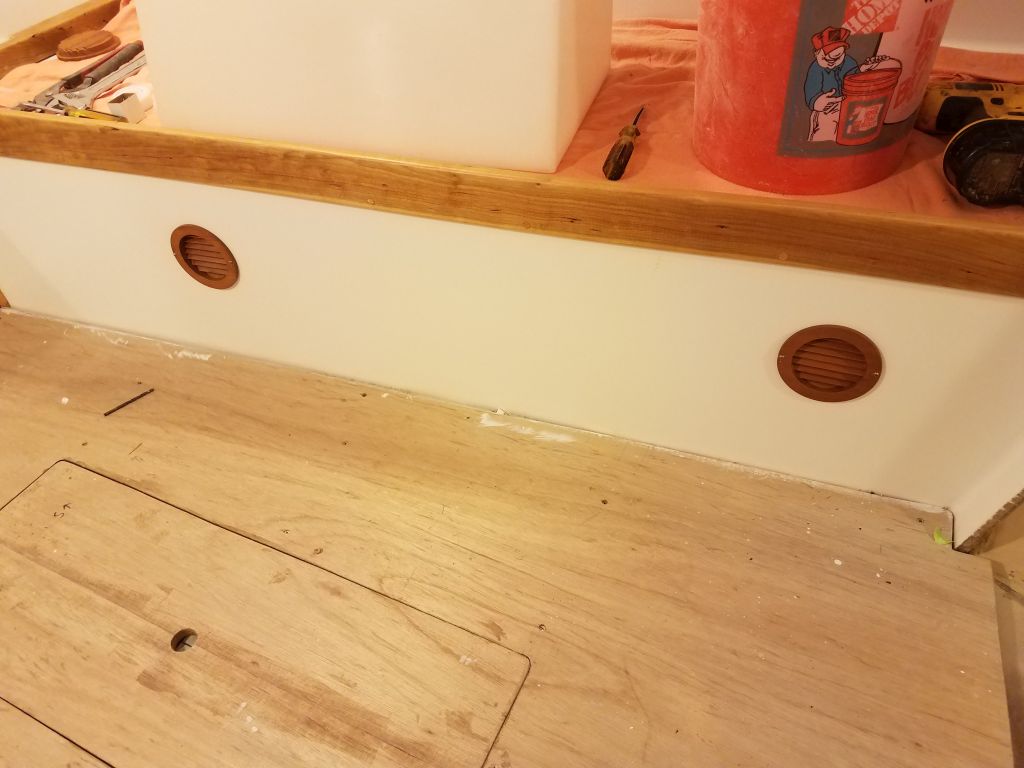
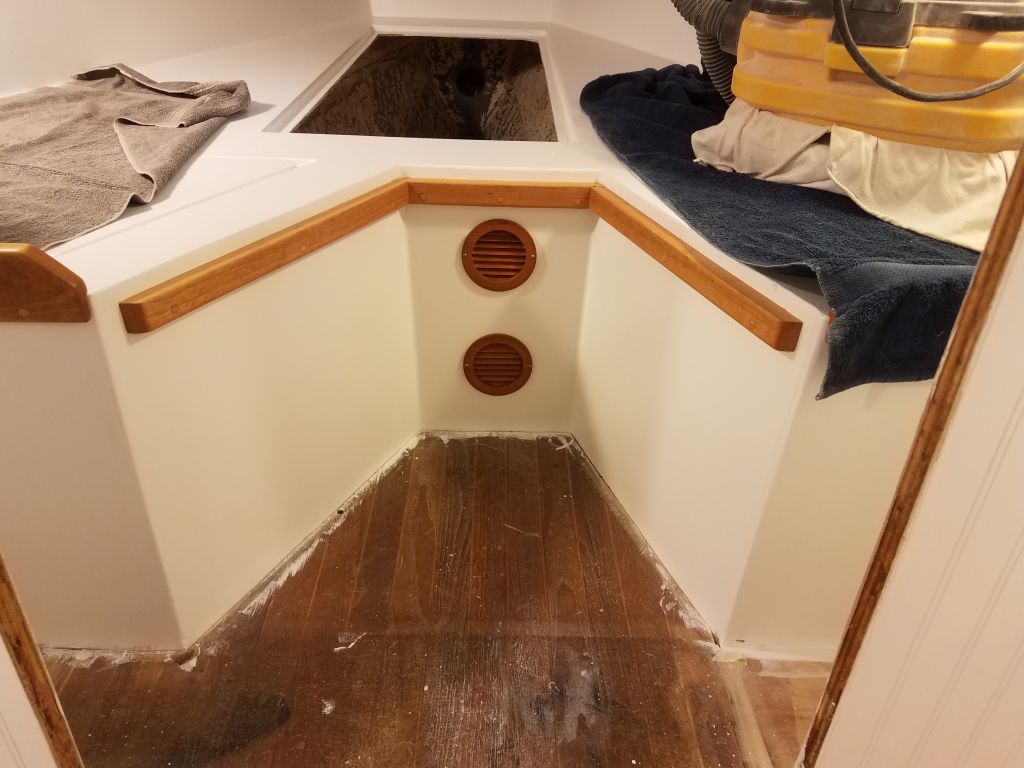
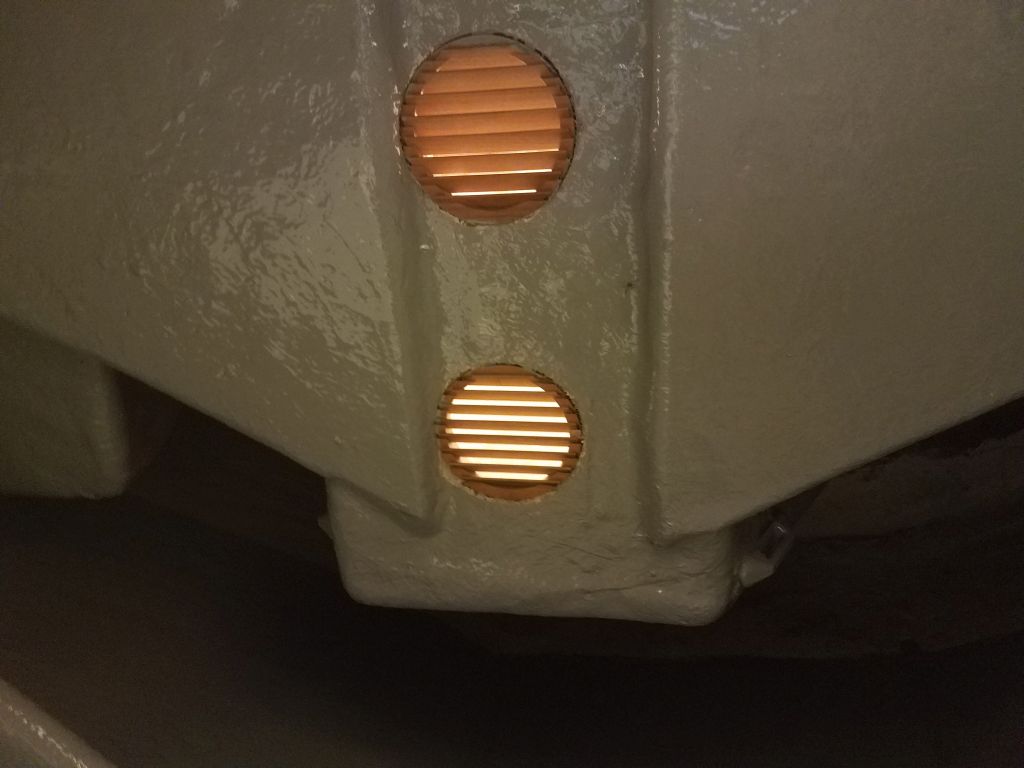
While I waited for that adhesive to cure, I installed the six round cherry vents in the settee and v-berth locker sides, where I’d cut holes previously. I’d already finished these vents with varnish, and now installed them with small screws.

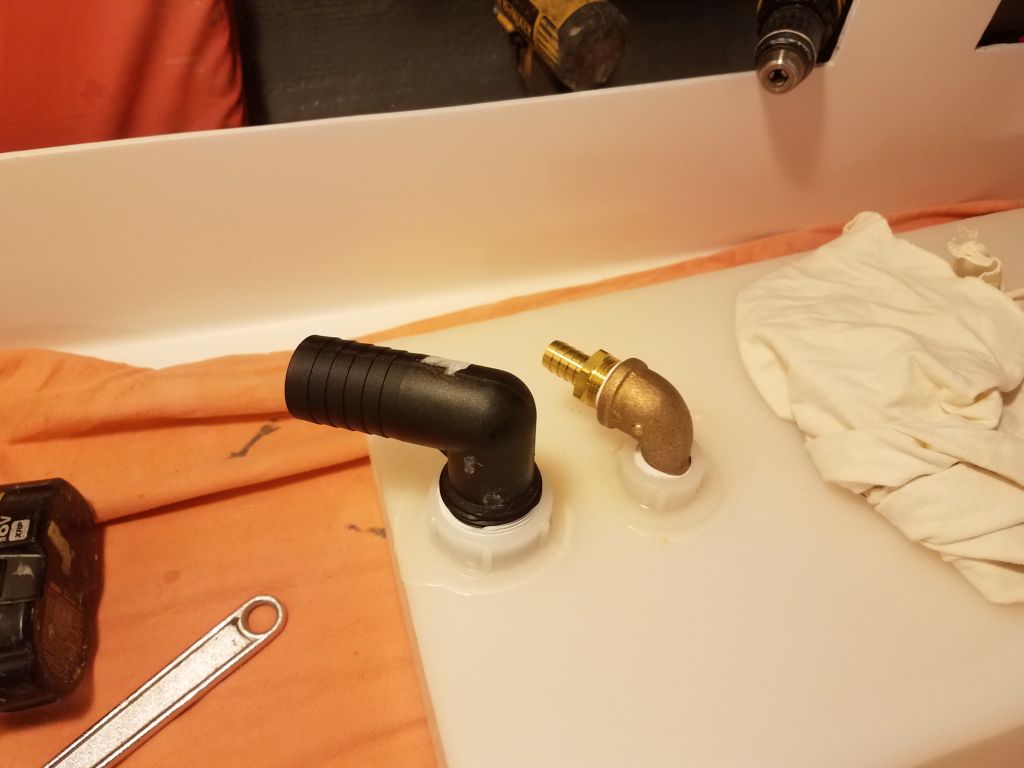
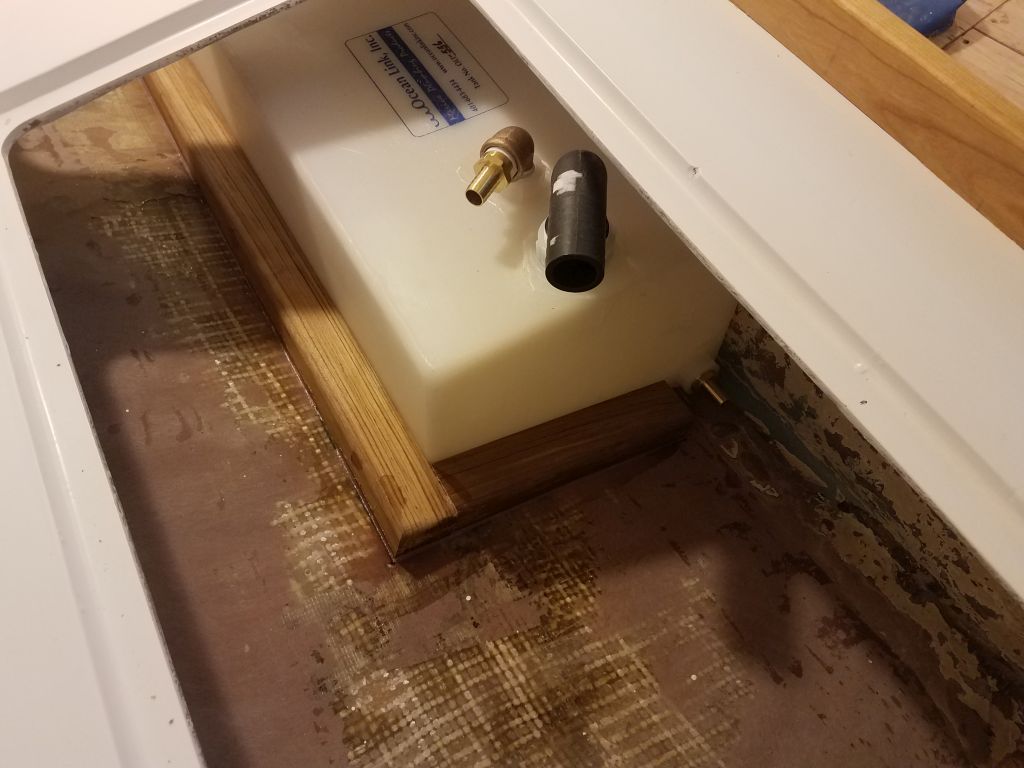
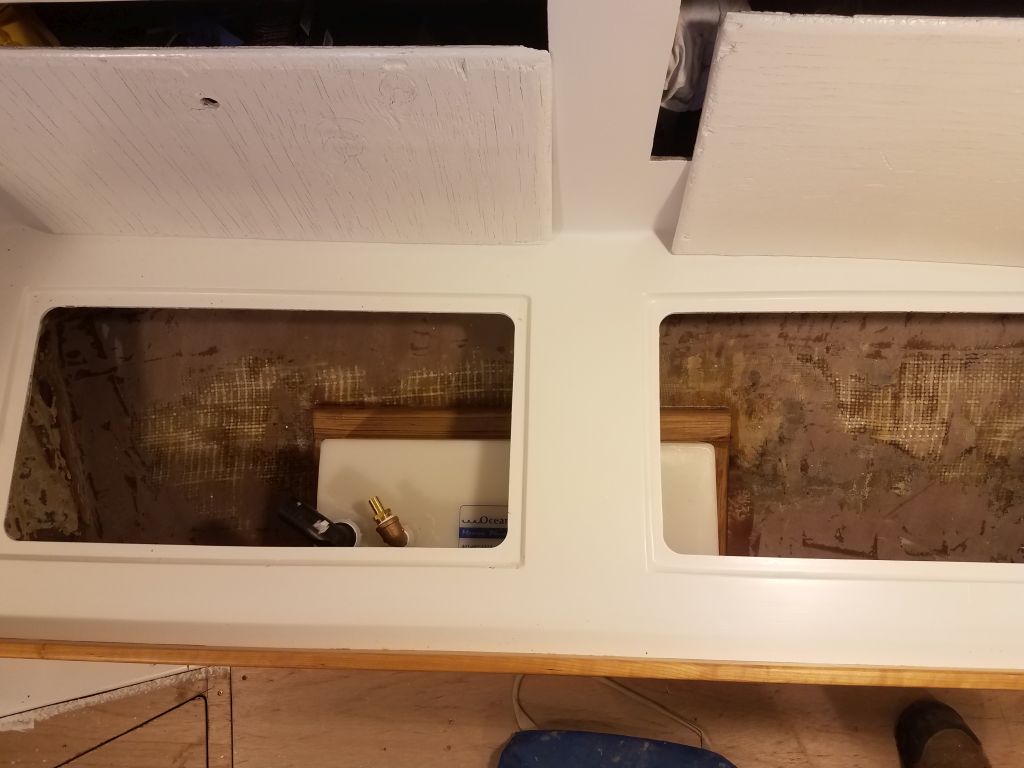
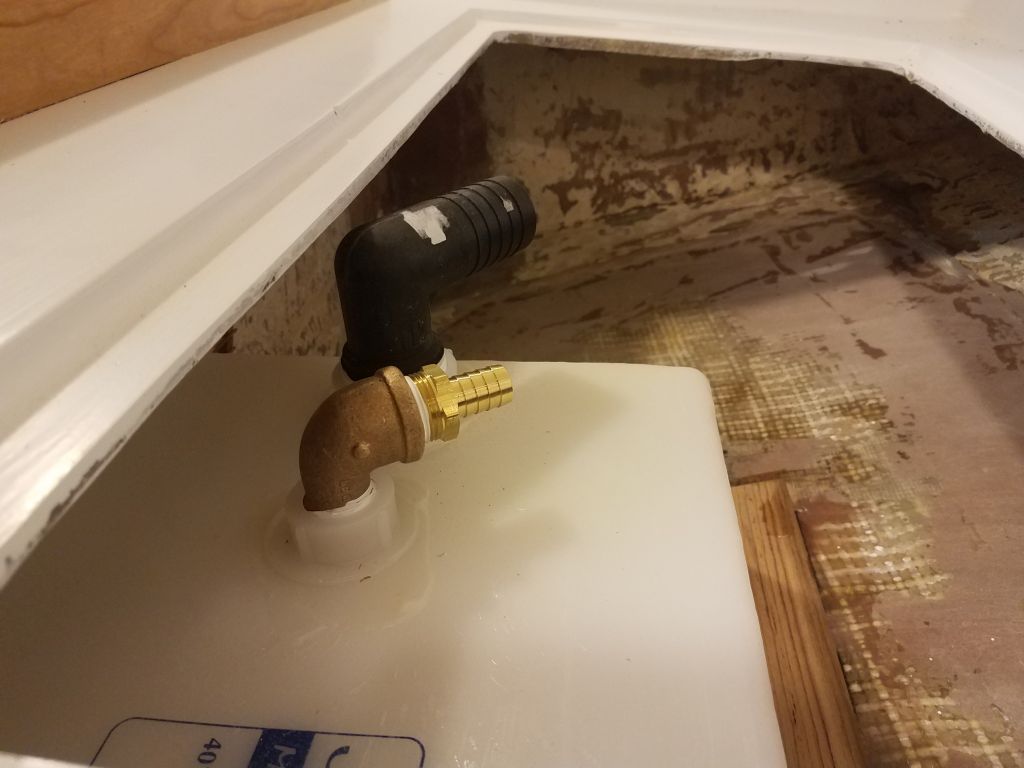
I’d had the new holding and water tanks on hand for a couple weeks, and with the recent flurry of trim and finishing work out of the way for now, it was time to get these tanks installed. To that end, I’d ordered various fittings that I planned (hoped) to use for each tank, but when I set the holding tank in place on the platform I’d built, I quickly discovered that my original fittings configuration wasn’t going to work because of a lack of clearance; in my mind’s eye, there was more room above the tank than in reality, and my plan for the tank discharge wasn’t going to fit as I’d hoped.
This didn’t pose a big problem; it just meant that I’d have to await further installation steps with this tank till I could get different fittings that would work at the discharge (i.e. forward, or left in this photo) end of the tank, since it was easier to spin on the various fittings while I could still move the tank around. I ordered the required fittings and would continue the tank installation as soon as they arrived.

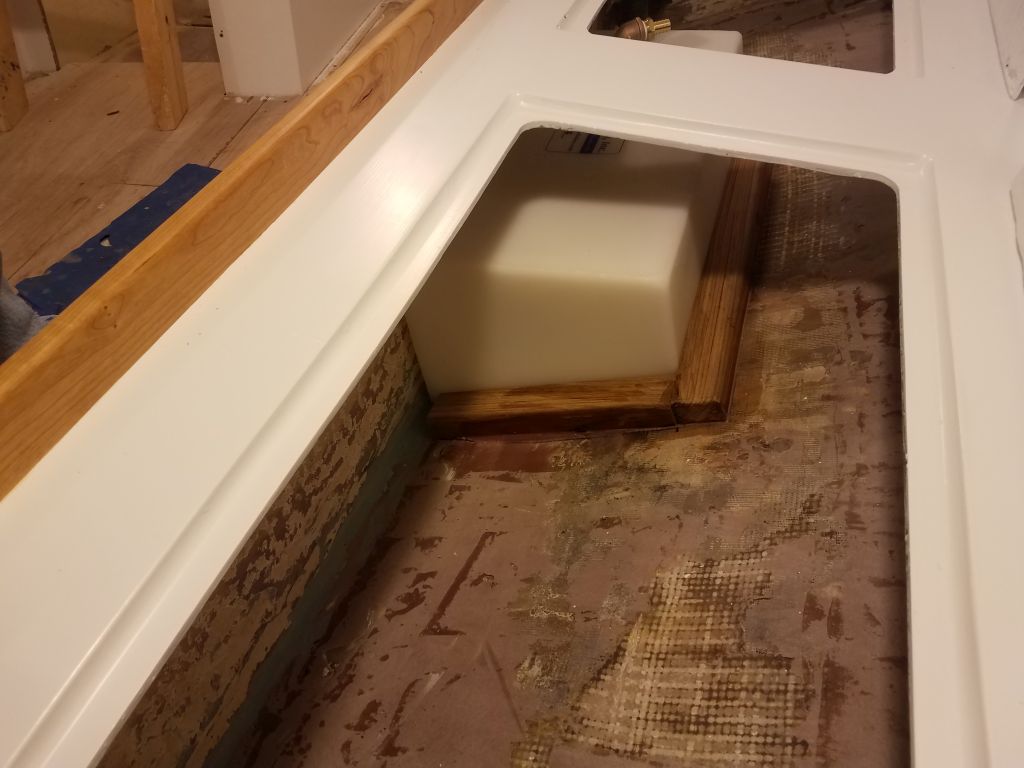
The smallish water tank planned for the space near the galley was an easy fit in the locker, and the fittings I’d planned for this tank worked as intended, so I moved on with final installation. I’d originally planned to have the tank sit near the aft end of the after compartment beneath the settee, but the tank seemed to nestle perfectly into a spot a bit further forward, beneath the divider between the locker lids, and this also worked better because it improved vertical clearance for the tank inlet and vent, and also left the aft end of the space more open for better usage and access to a yet-to-be-installed foot pump near the galley.
To secure the tank, I cut cleats from leftover teak stock on hand, and after preparations epoxied the cleats in place around the tank base. These cleats, along with the inside of the settee itself, would hold the tank in place in four directions, but to hold the tank firmly down against the hull I ordered a strap that I’d install later to secure the tank completely.


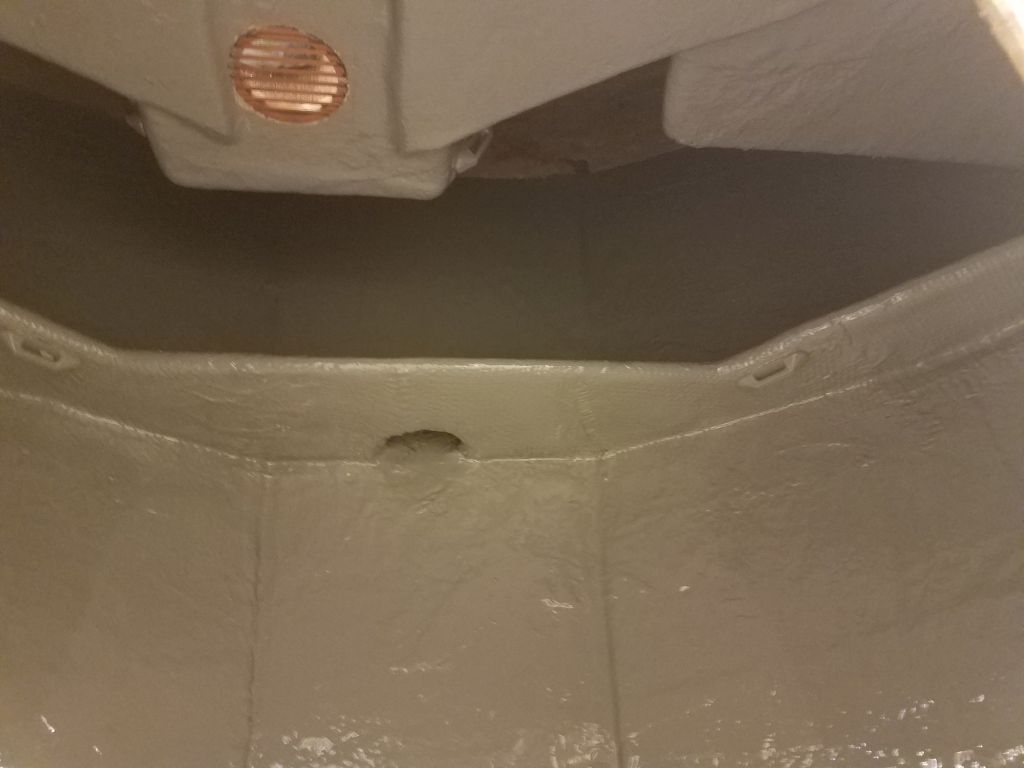
Now that the day was getting on, it was time to paint the forward locker; I’d left this task till late since the paint fumes from this paint are strong.


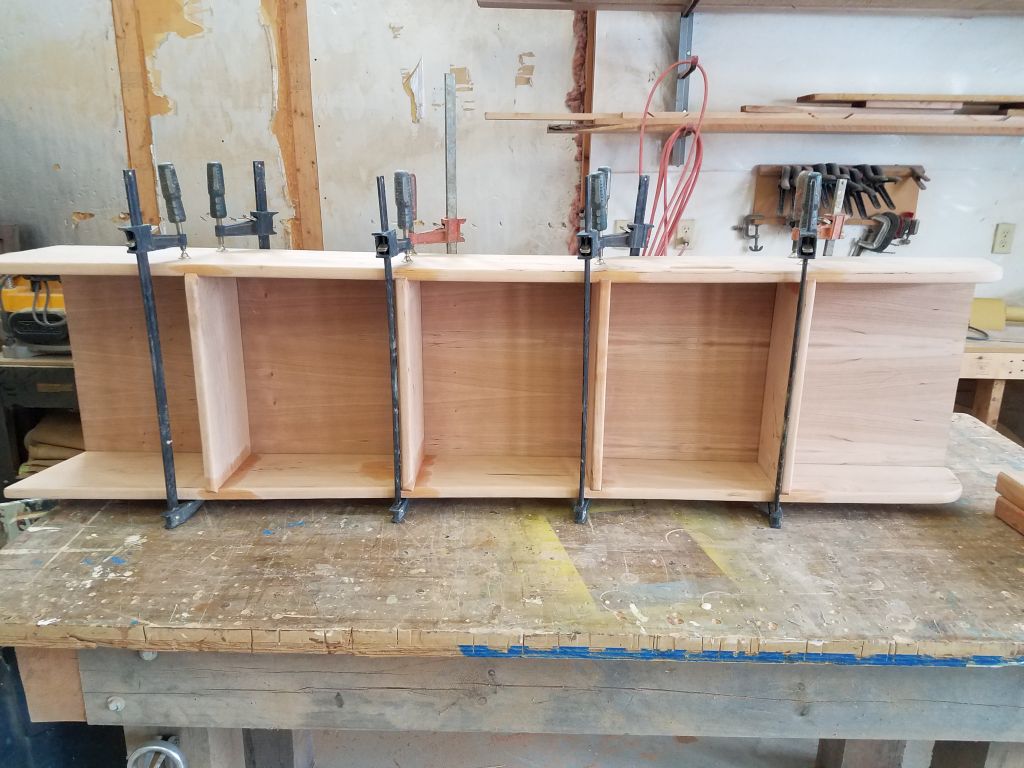
The companionway had been clamped for several hours now, and the glue was dry, so I unclamped the assembly and removed the back panel, then drilled for and installed four screws into each tread (two per side) to add strength to the whole thing. Afterwards, I bunged all the screw holes.
Total time billed on this job today: 8.25 hours
0600 Weather observation: 32°, cloudy, light snow showers. Forecast for the day: Snow, 3-5″predicted, 34°