


January 20, 2020
Scupper 223
Monday
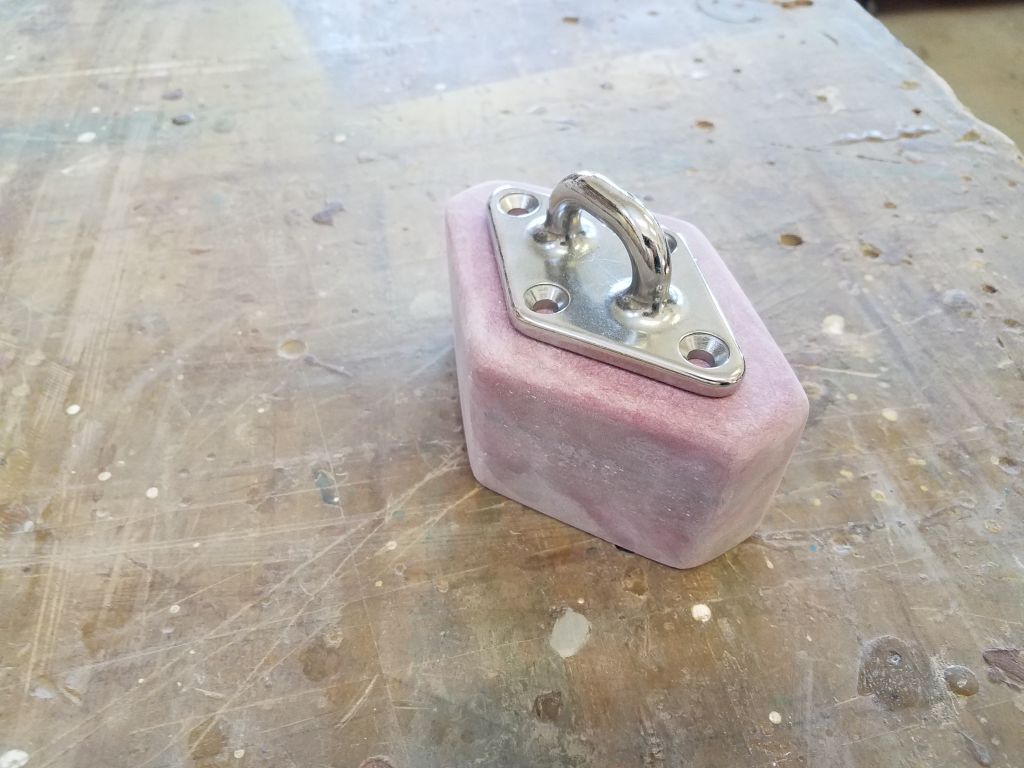
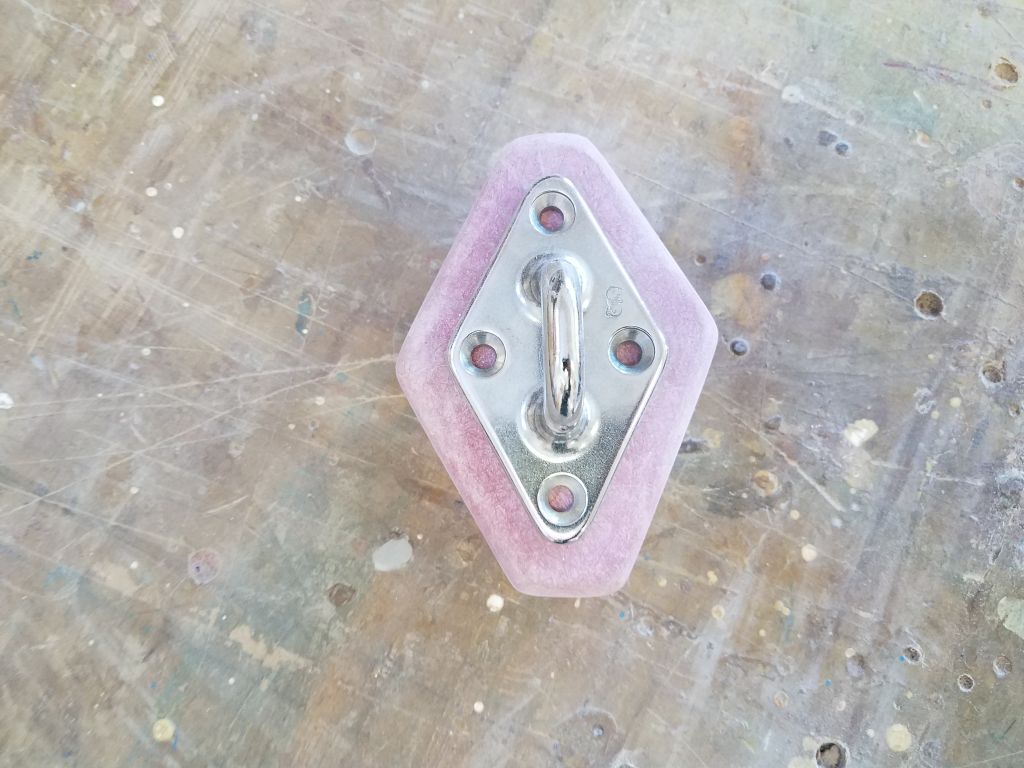
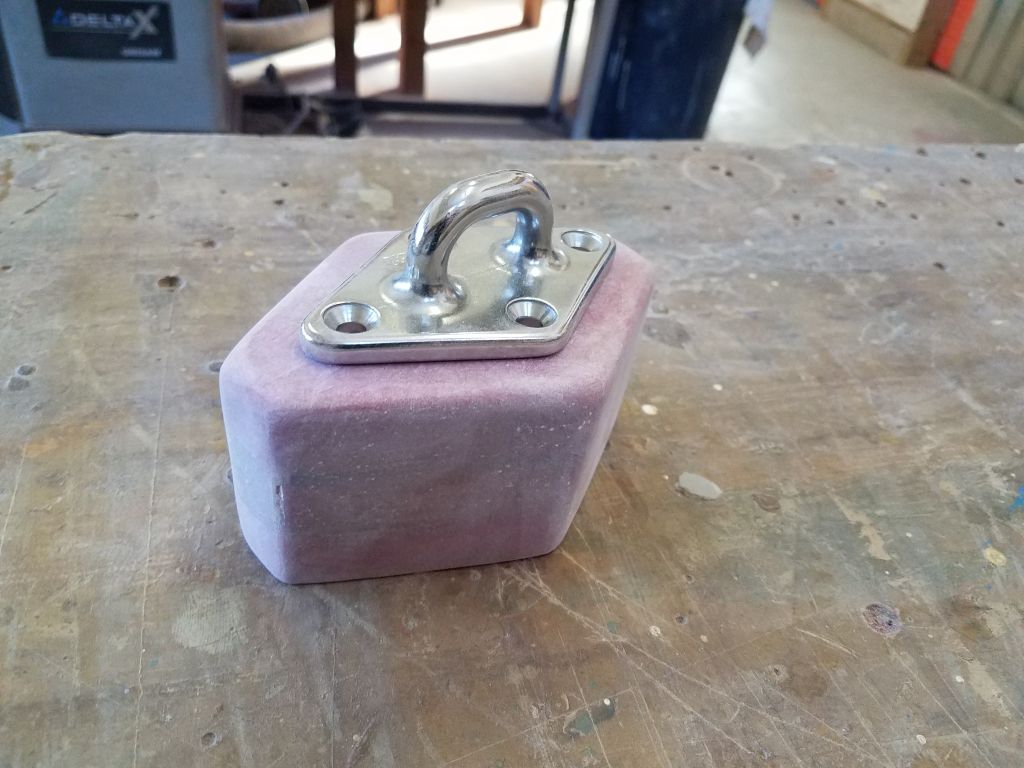
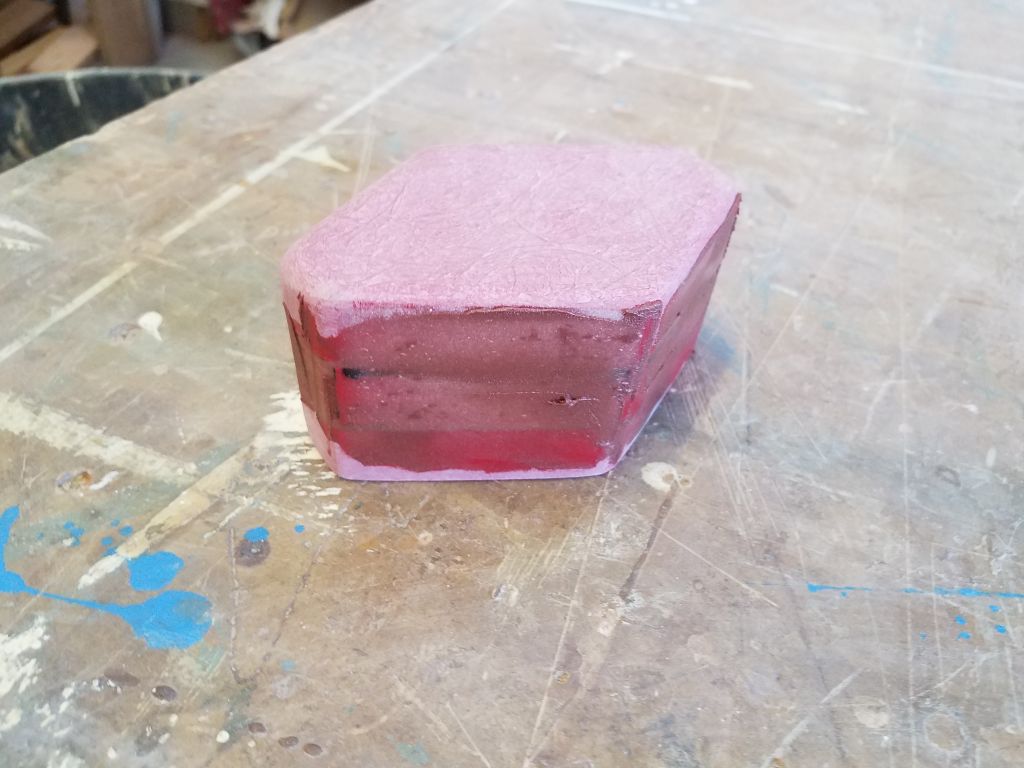
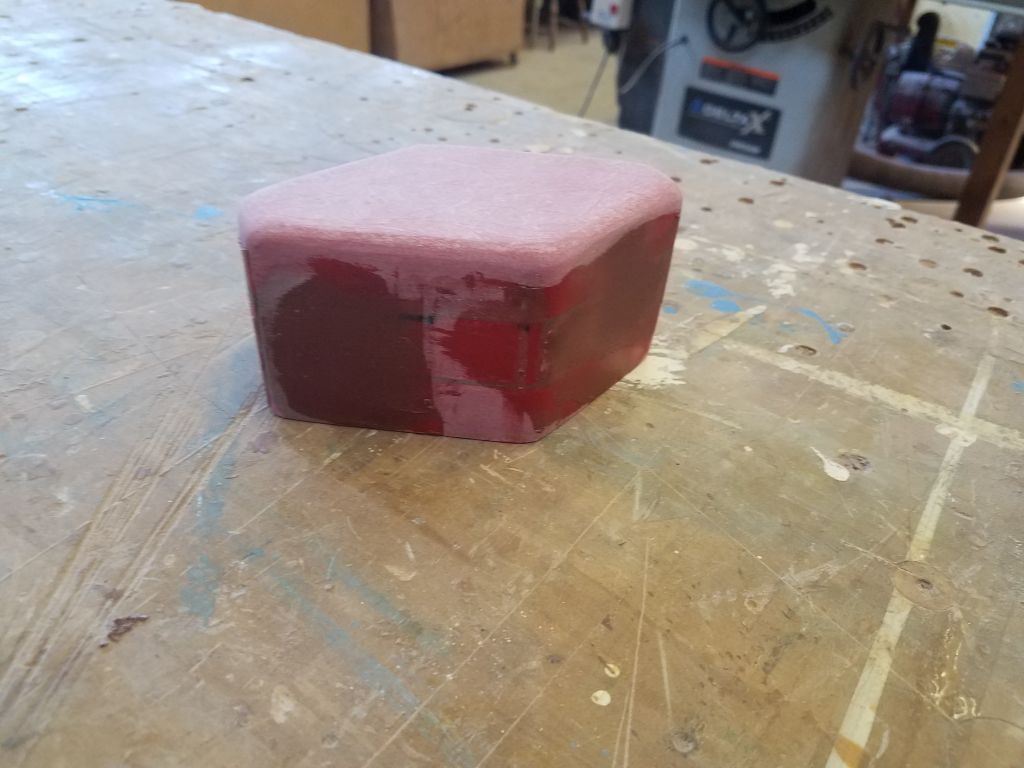
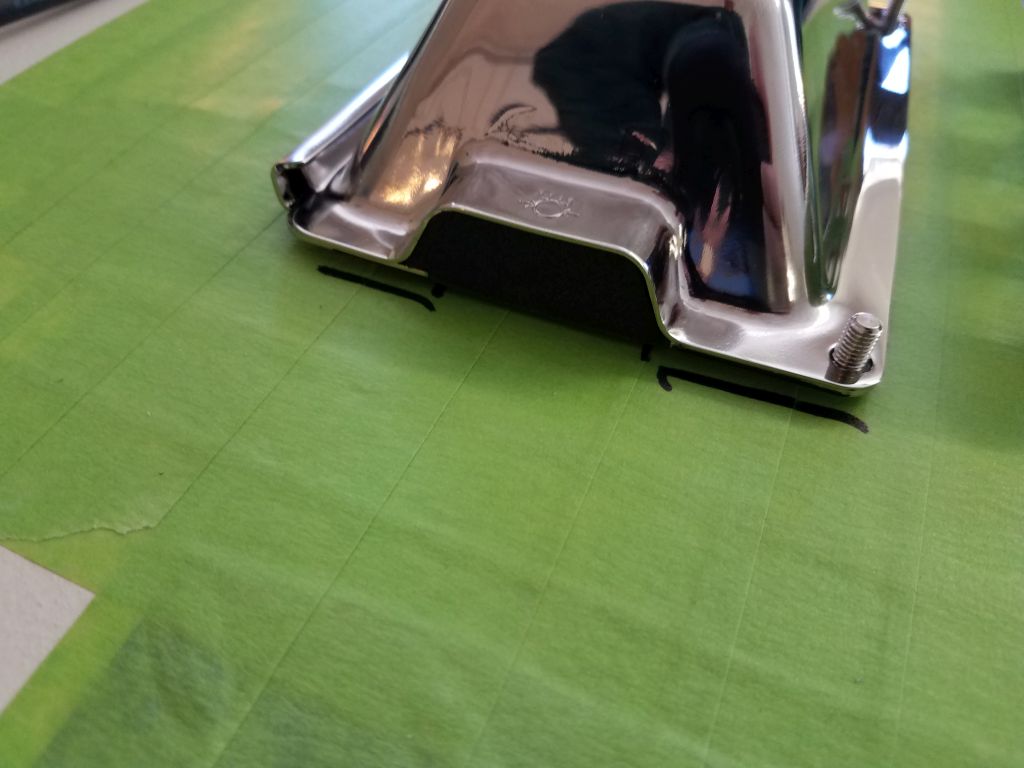
To begin, I lightly sanded the fairing compound I’d applied to the mainsheet riser block, smoothing the surface and eventually rounding over the top edges and other corners for improved appearance. Though the riser was in good shape now overall, there were some pinholes in the filler, so I applied additional fairing compound to fill these holes.

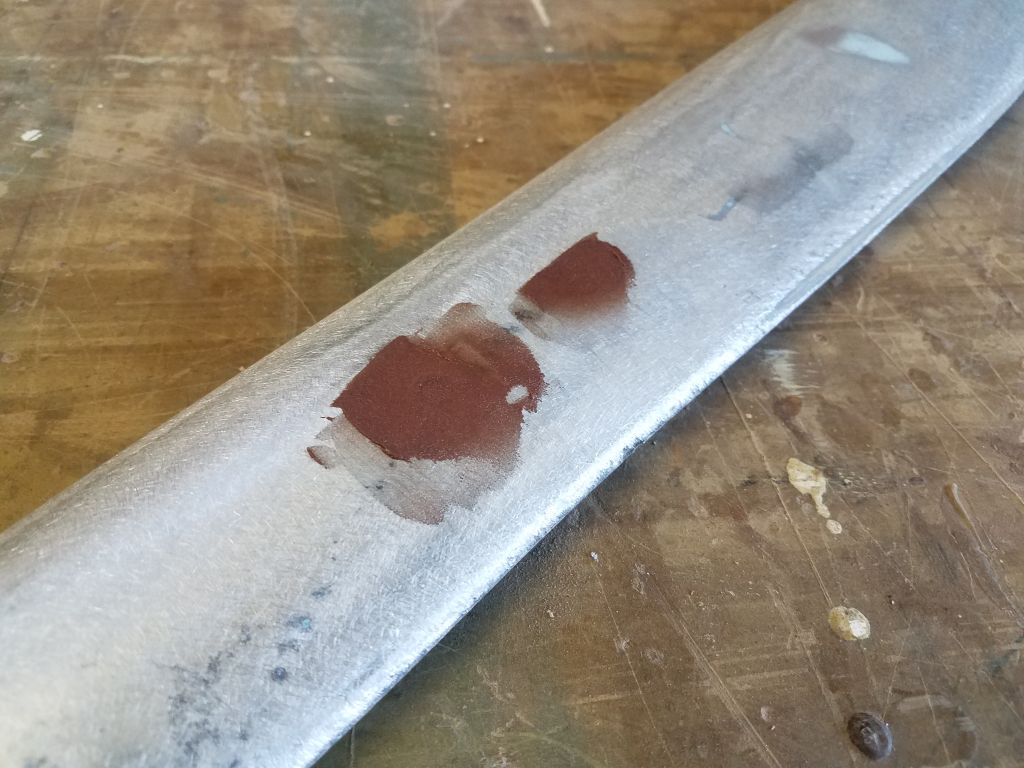
I sanded the filled areas on the spreaders, only to find that the filler in a couple of the screw holes had sunk during curing, so I applied additional fairing compound as needed to fill them smooth.

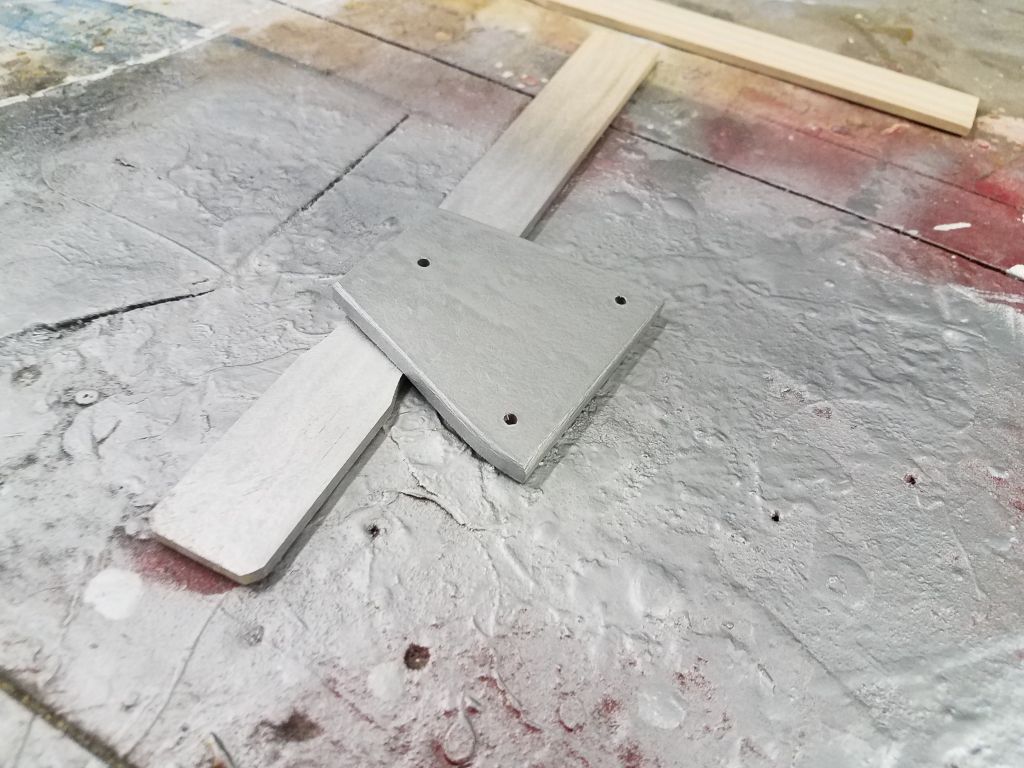
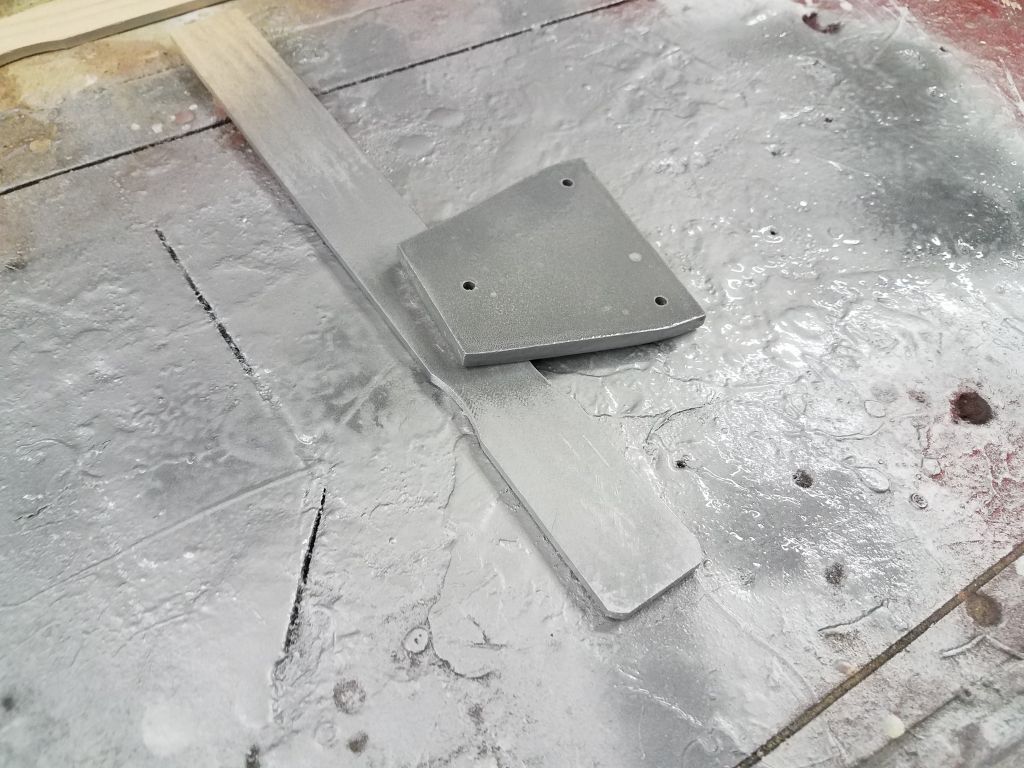
The little base for the wind transducer mount received several coats of silver spray paint to help it blend into the masthead.
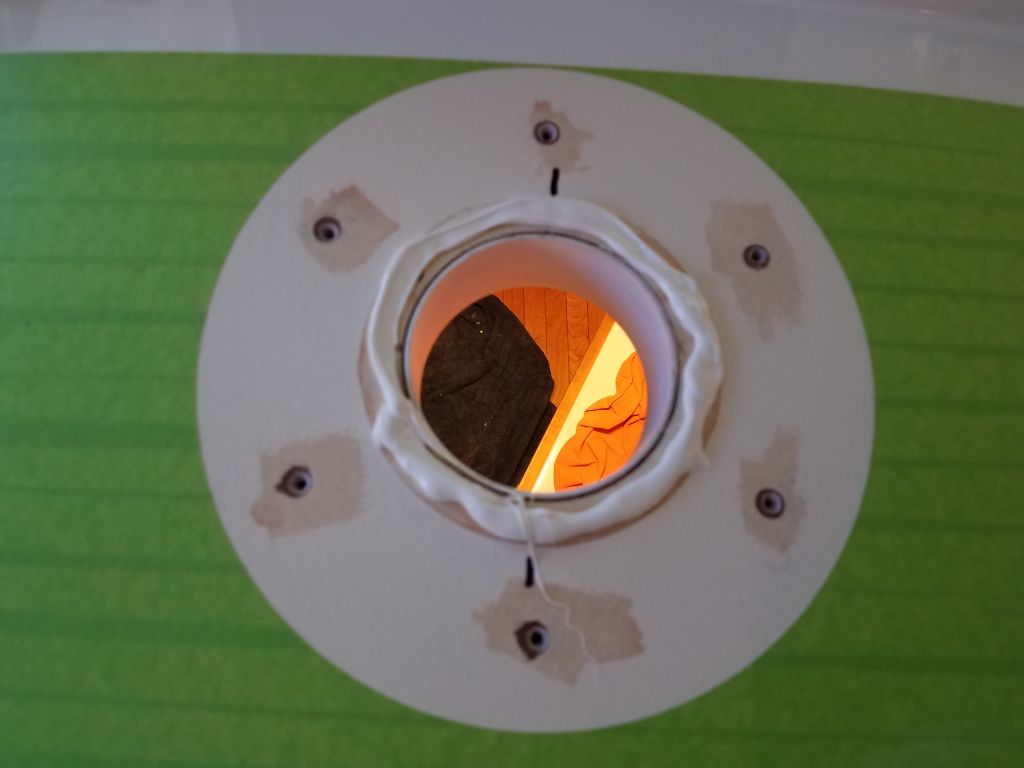
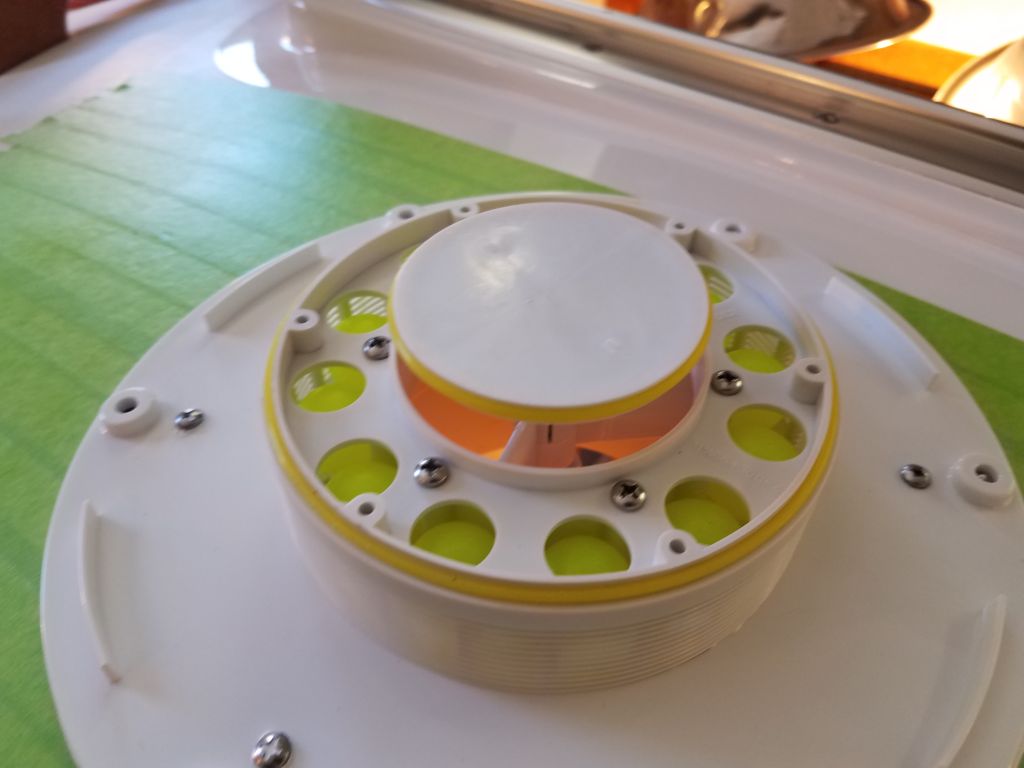
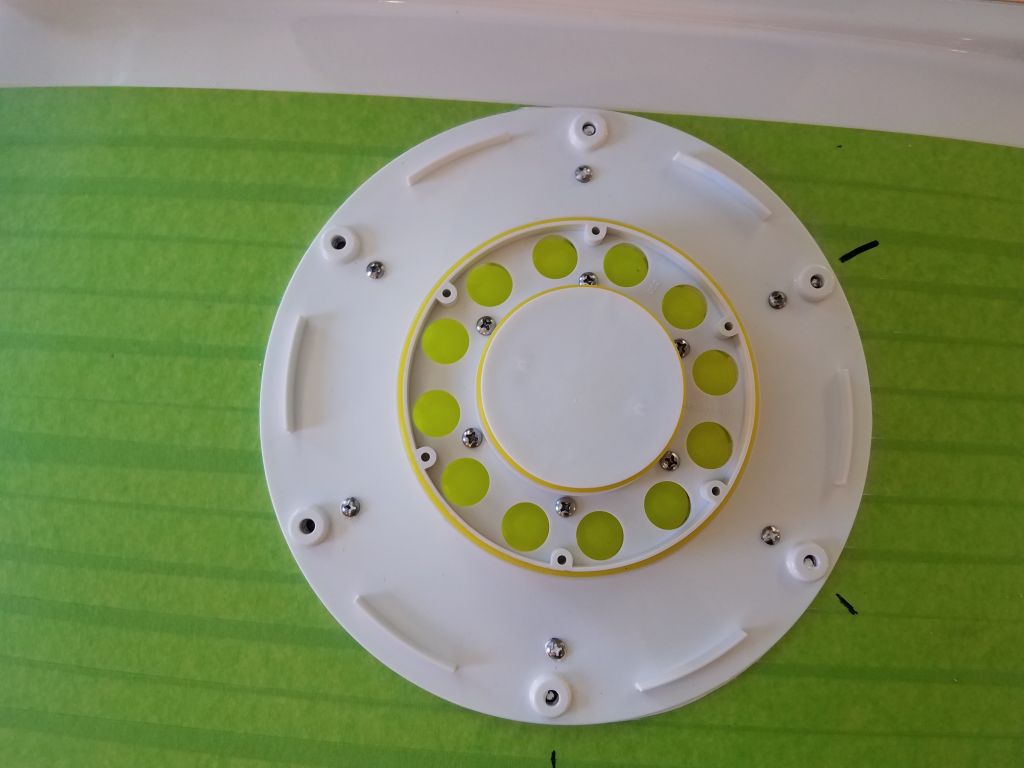
With those little odds and ends out of the way, I got back to work on the forward vent. With all the deck holes now prepared properly, and after drilling and countersinking the latest screw holes for the outer part of the base, I could proceed with final installation, starting with the internal trim ring in the forward cabin. Then, back on deck, I installed the inner vent housing in a bed of sealant, followed by the outer part of the base. Before installing the base, I installed the supplied nuts in the hexagonal holes in the bottom of the base, and used little bits of butyl tape to hold them there; these would later secure the mushroom vent top itself. Once these parts were secured, I cleaned up the excess sealant all around as needed, and installed some of the supplied yellow silicone gaskets on the inner parts.
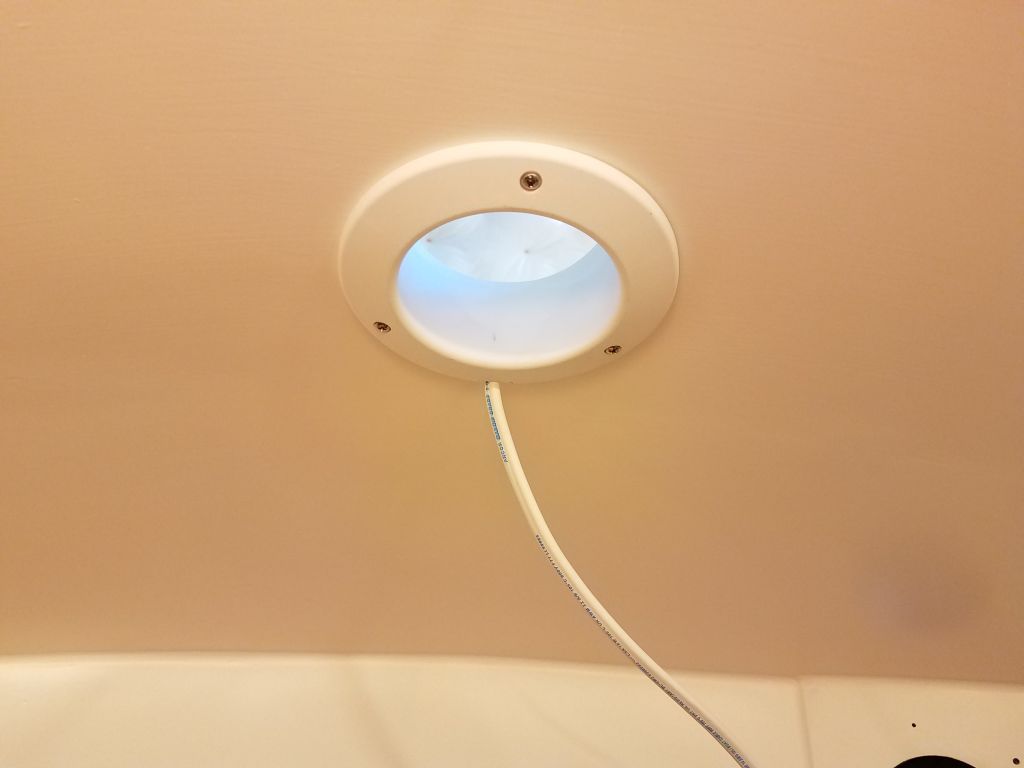
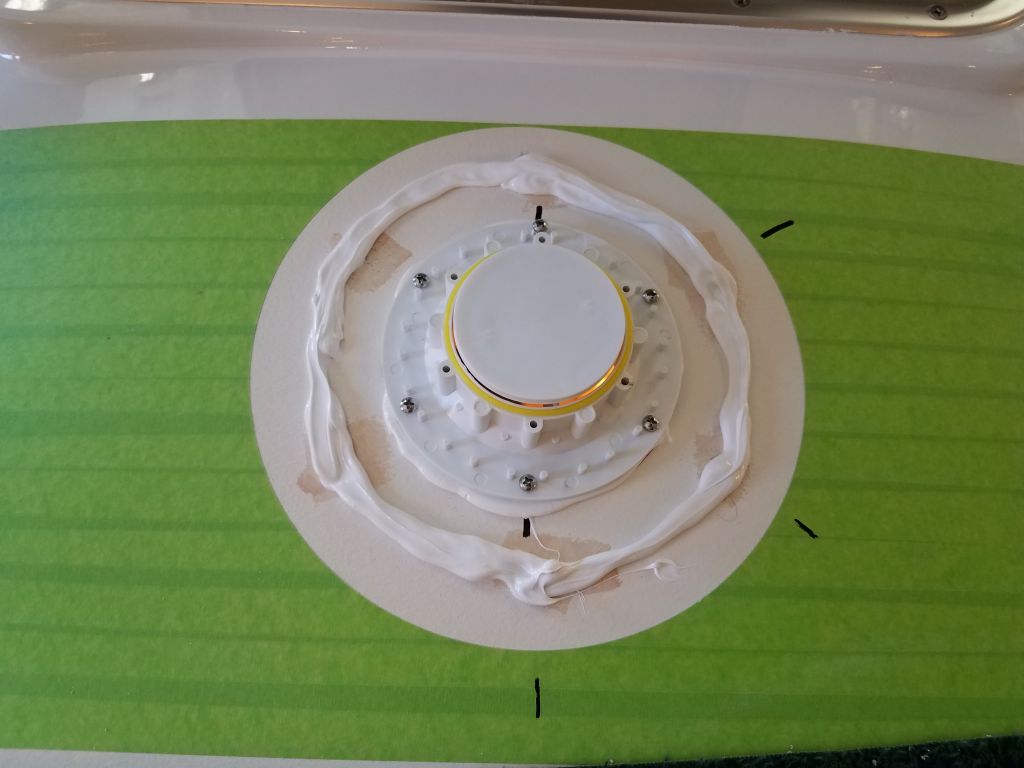


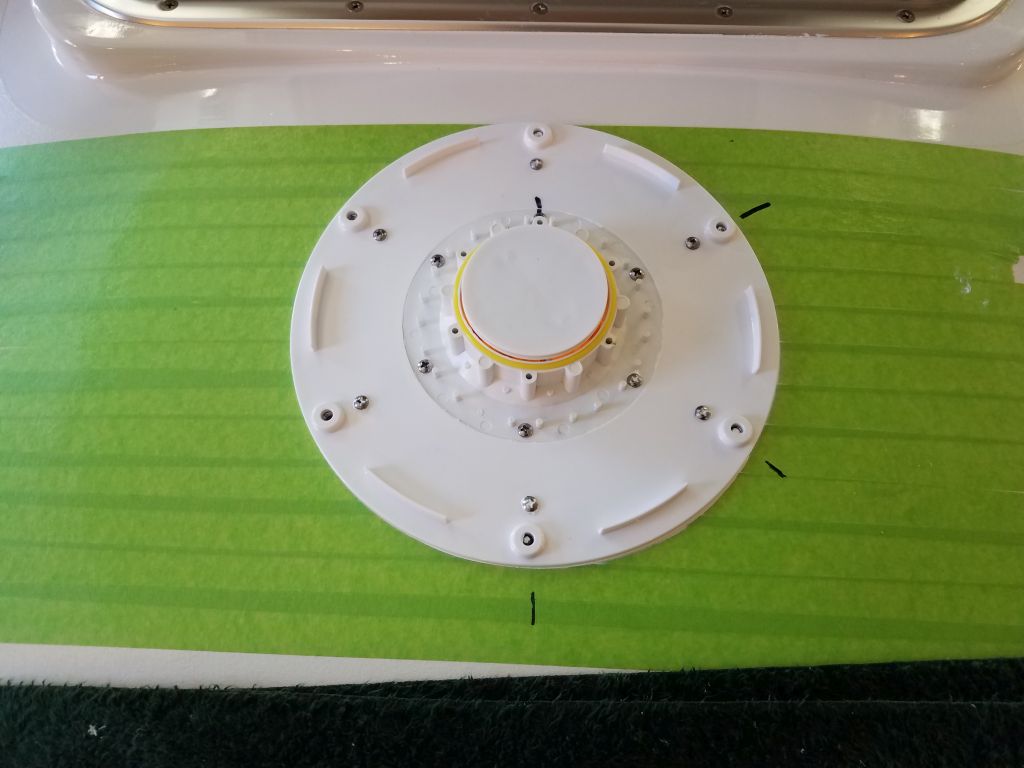
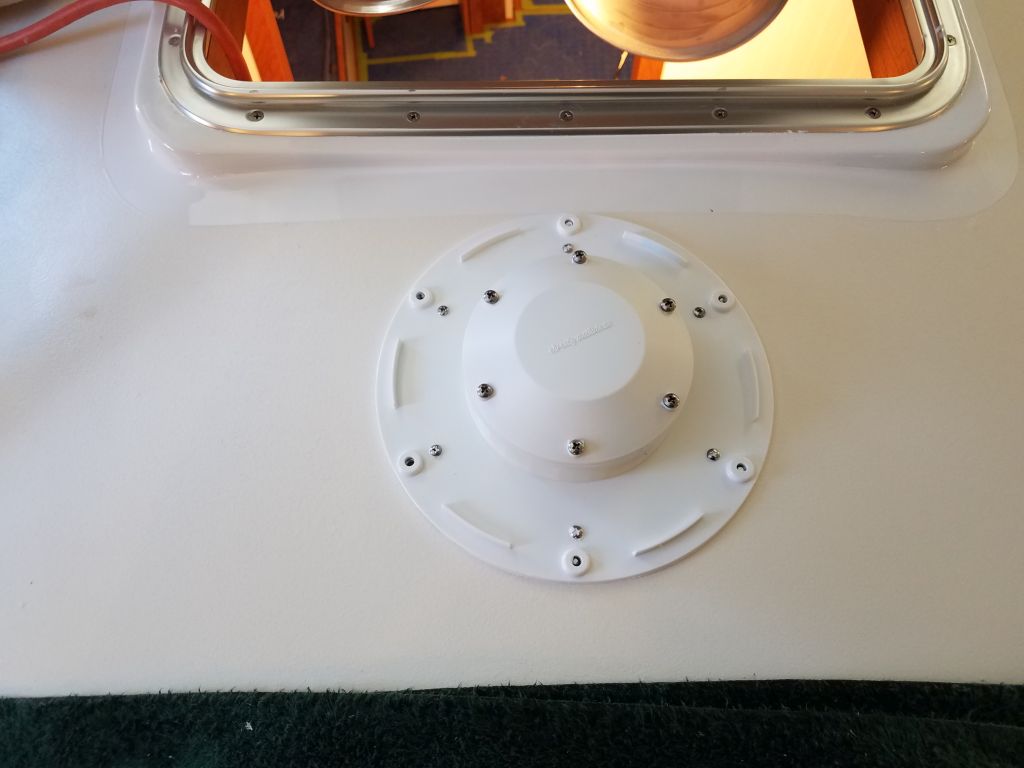
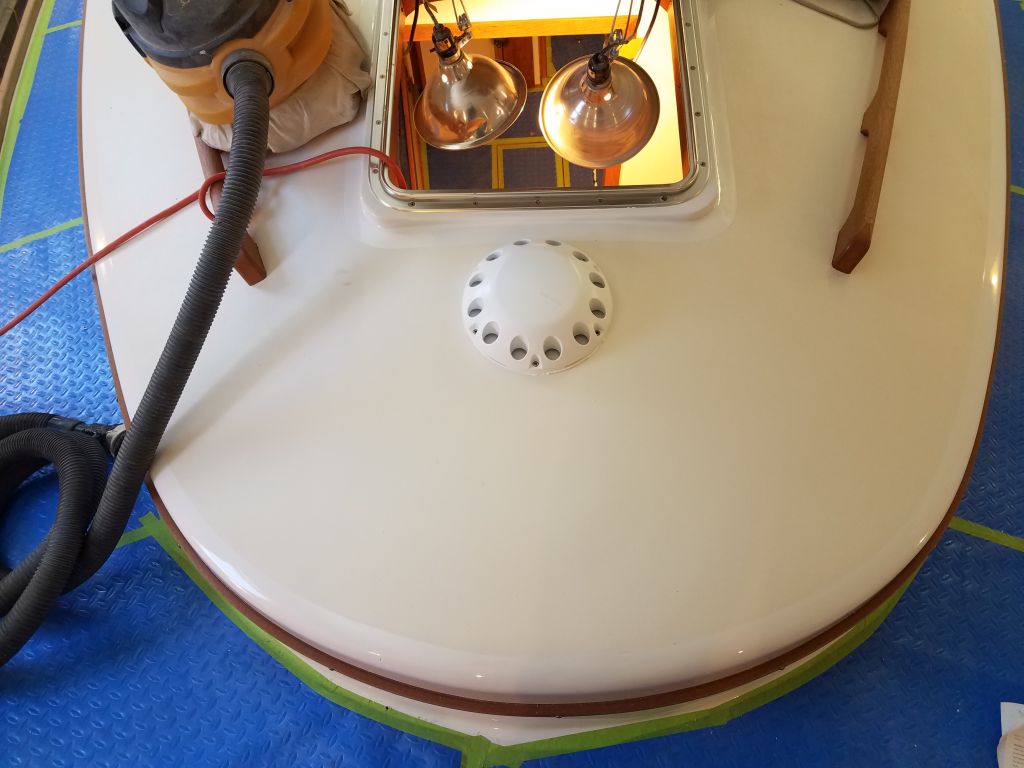
Next, I installed the bright yellow floating balls around the inner housing, then covered it with the slotted vent assembly and finally the top of the inner housing. Finally, I installed the mushroom vent cover itself to complete the on-deck part of the installation (later I’d need to wire up and install the fan below). I’d removed the masking tape after installing the base units, but before securing the top, and I found that the act of installing the top squeezed out additional sealant around the base, so I chose to leave that for cleanup later after it had cured.


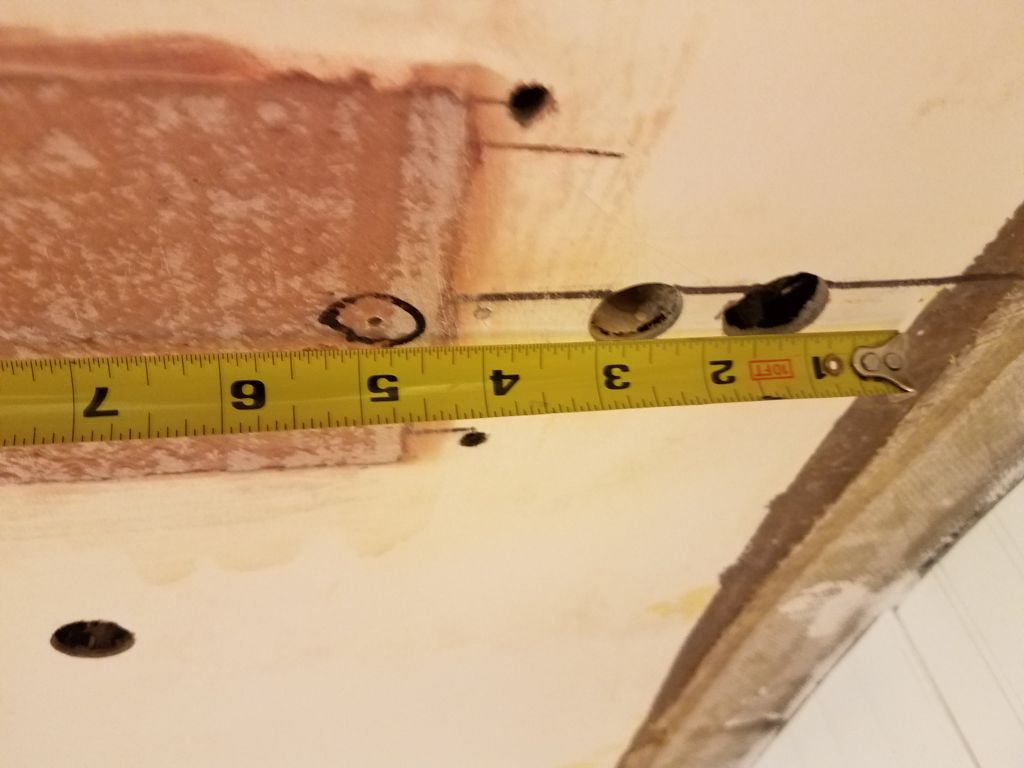
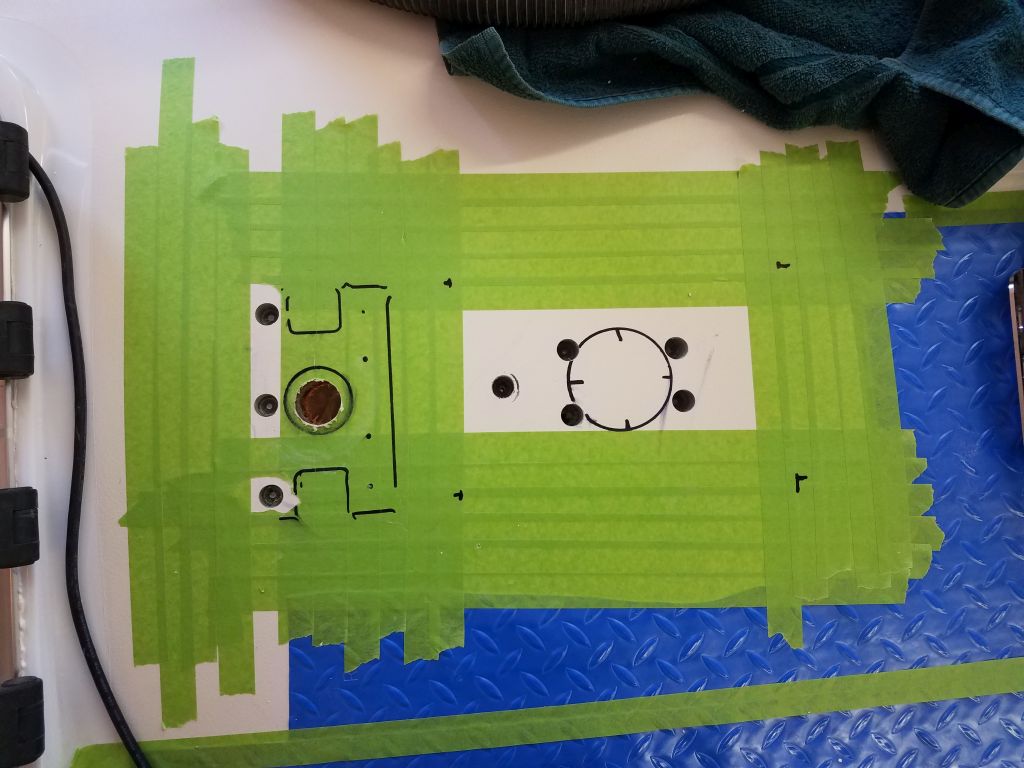
Moving on, I turned to the mast step and through-deck wiring gland. Before deck painting, I’d marked the old mast step hole locations, so with these basic locators I lined up the mast step plate as needed, checking its position fore and aft and side to side to confirm placement. Then, I marked as needed and drilled 5/8″ holes in the deck, thinking I needed to remove core, but I found solid fiberglass in all hole locations, which I must have known in the past, but it was nearly two years before that I’d done deck work, and, reviewing old photos, I found that the solid glass mast step area was part of a previous repair and not something I had done. No wonder I didn’t remember. In any event, solid fiberglass beneath the mast step was a good thing.
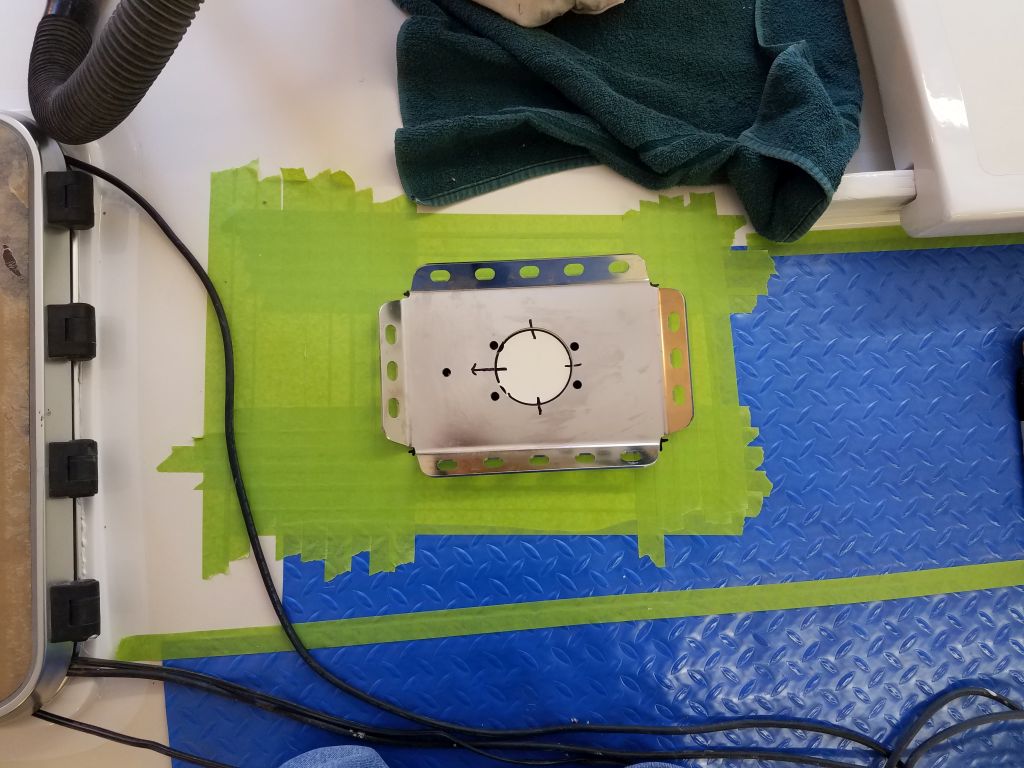
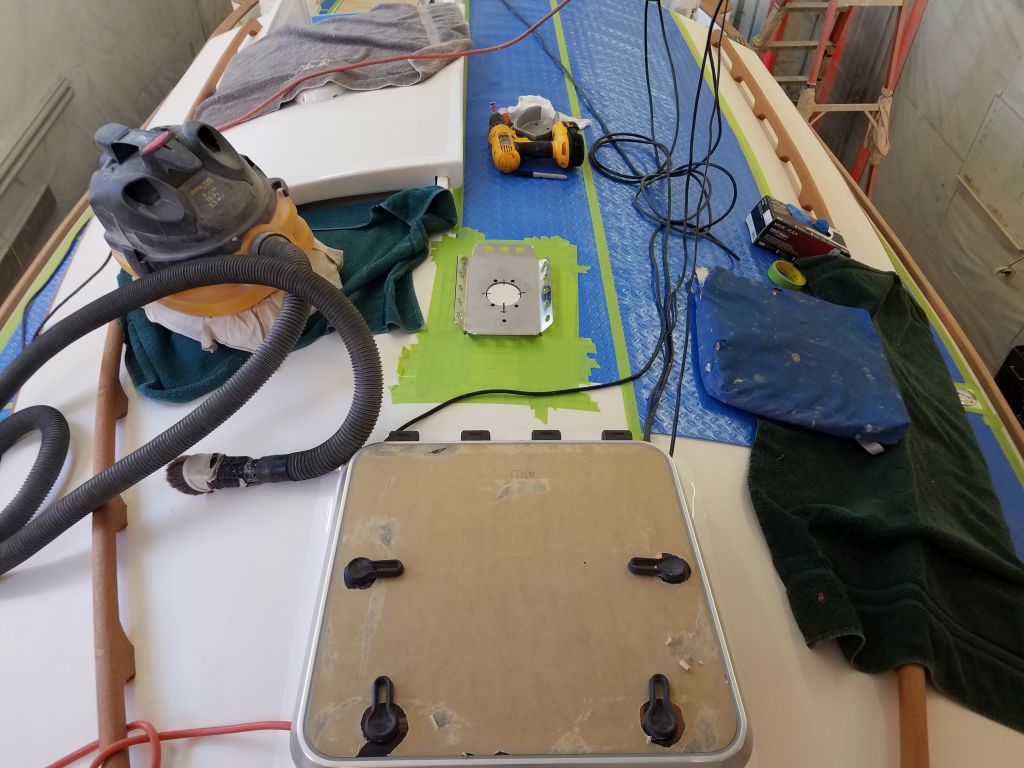
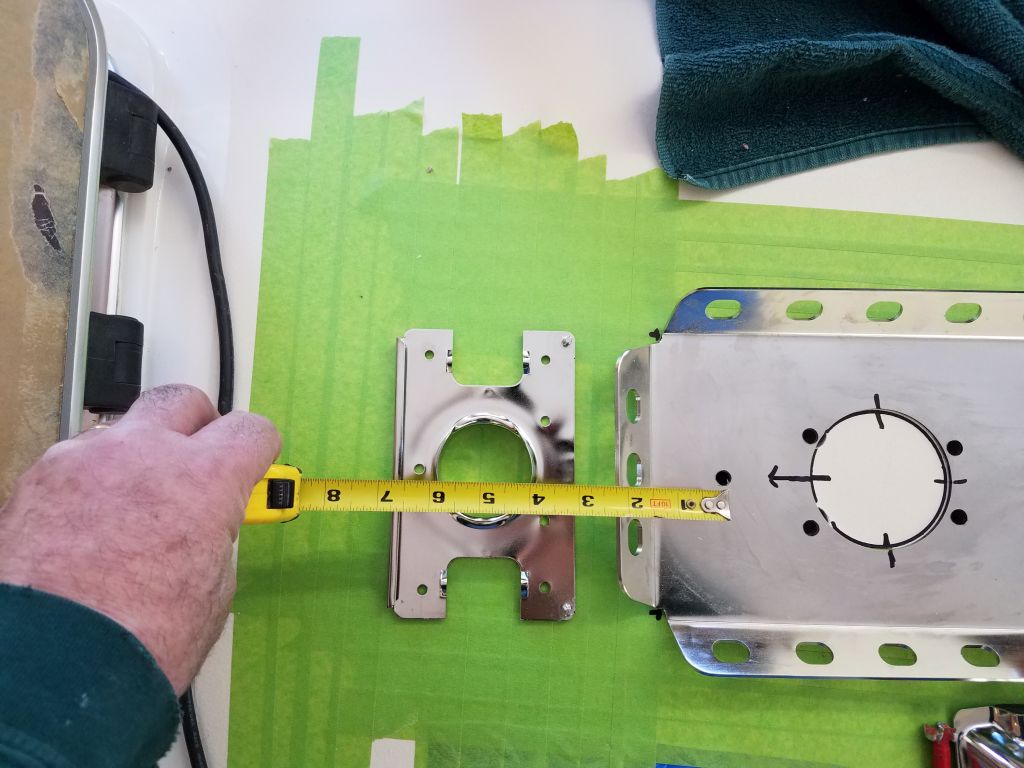
For this project, I chose a new kind of deck gland for the wire passage between the mast and the interior. This particular gland featured a base with a large raised central hole, complete with smooth and contoured wire guides leading within, and a stainless steel cover that secured over the top, with foam-sealed wire exits on each side. I lined the base up forward of the mast step where I thought it should go, and took a measurement from the forward mast step fastener hole to the center of the proposed wiring hole (5″), then, after drilling a pilot hole through the fastener hole into the cabin, went below to confirm that the 5″ measurement would work; it did.
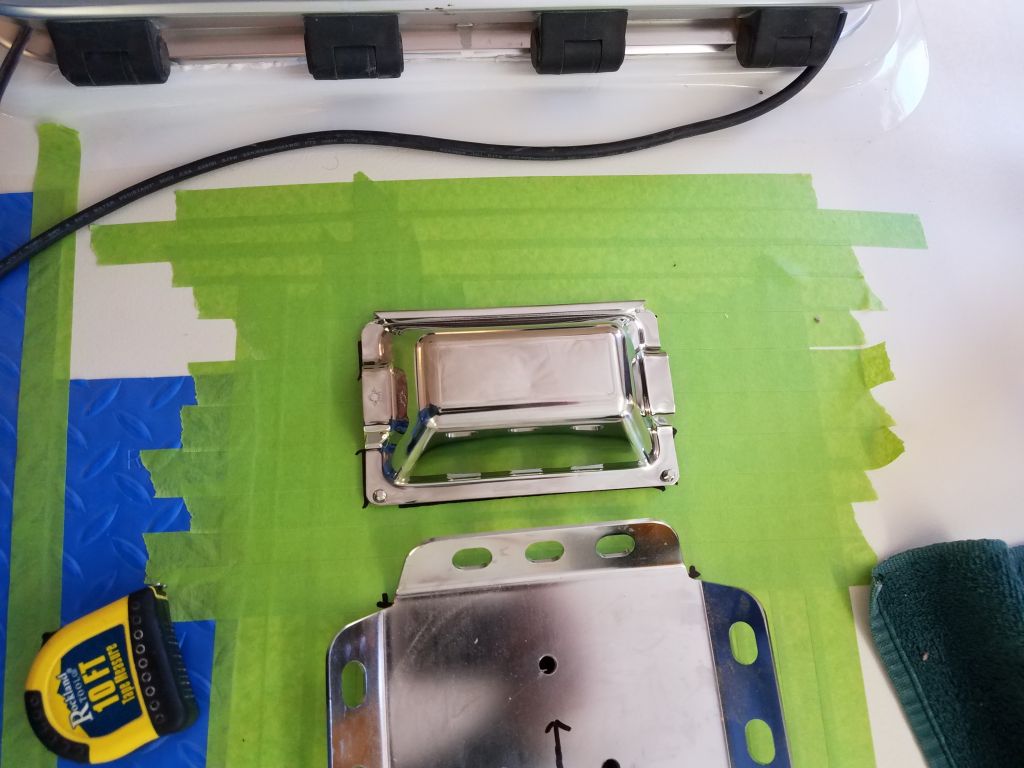
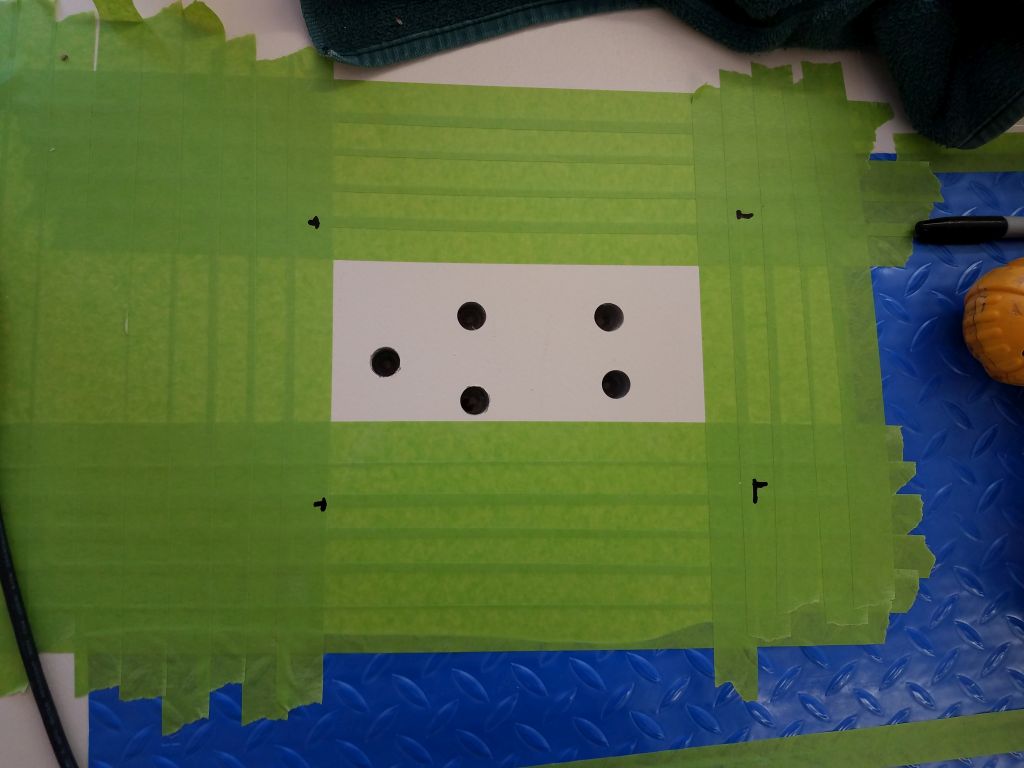
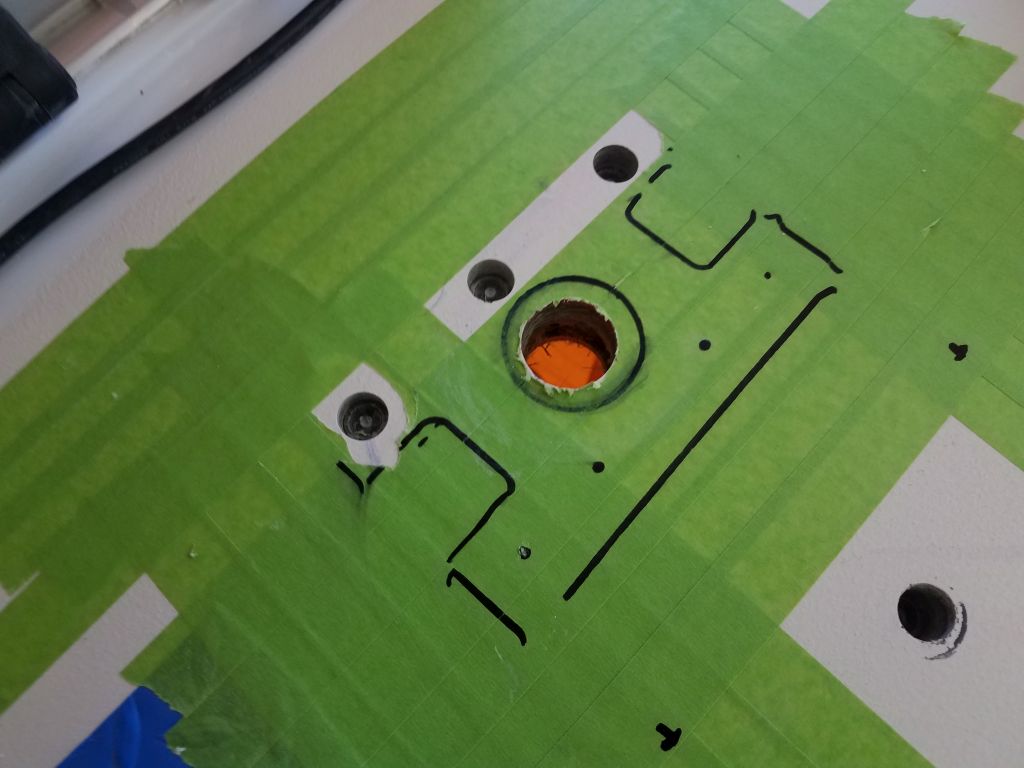
Satisfied with the position of the wiring gland, I marked the screw holes and the center hole, then drilled through the deck as needed. Here, I also found solid fiberglass all around, and after drilling into the deck beneath the three forward holes I stopped, leaving the after fastener locations untouched since there was no need.
After cleaning up, I filled the various holes I’d bored with a thickened epoxy mixture.

The day seemed to be going well, and I decided to go ahead and tackle the end connector on the wind instrument wiring from the masthead unit. The ample size of the through-deck hole and location of the network box meant that I could pre-install this now, and the cable could be run with relative ease during mast stepping and commissioning.
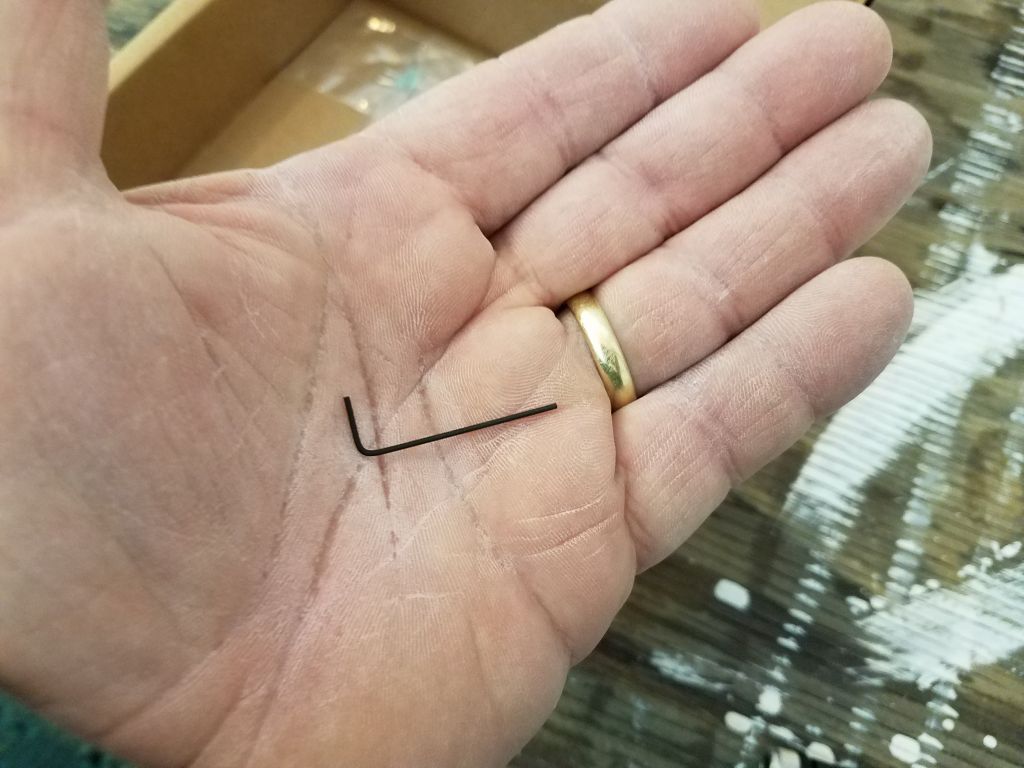
Because of the tiny wires, and the comically small Allen wrench supplied with the connector for installing the wires, I dreaded this installation, but although the tininess was indeed fussier than I liked, in the end it all actually went quite smoothly and without issue, so apparently I picked the right day to do the job.
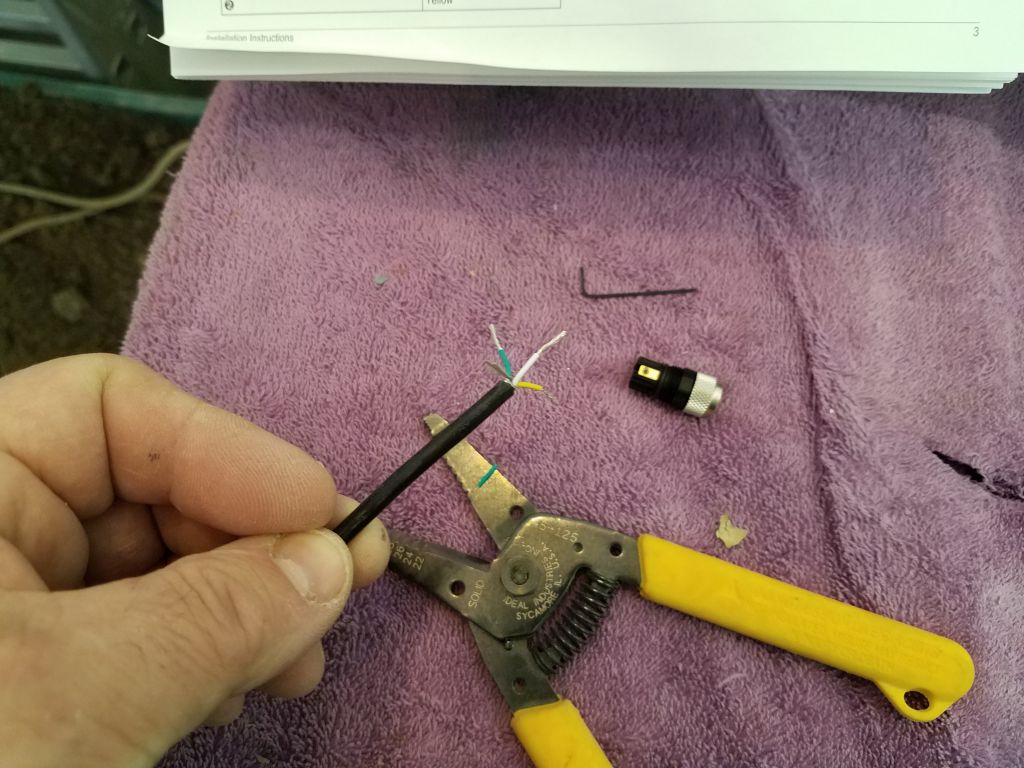
I measured out a generous length of the cable where it exited the mast, allowing for its passage down the compression post and forward to the network box, plus 50%-100% extra, then cut the cable and exposed the four wires within, stripping the ends as needed. Then, I secured each wire in the appropriate position per the instructions, using the itty-bitty wrench to tighten the wire clamps in the small connector, and then assembled the connector parts. Though I was pleased with the relative lack of drama, I should point out that the camera picks up details (like the writing on the terminals of the connector) that I couldn’t see myself during the installation.


Feeling like I was on a roll, I decided to tackle another job that was theoretically simple, but in practice might prove to be difficult or impossible: wiring the bow pulpit for running lights.
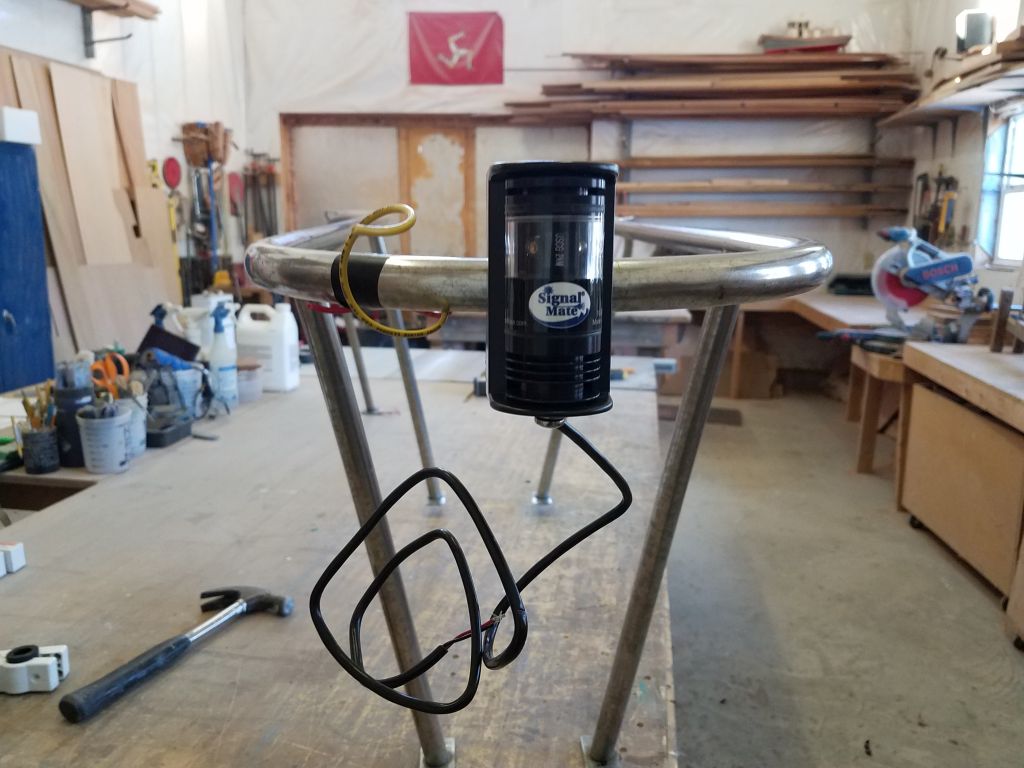
In planning the electrical and lighting installations, and reviewing photos of the boat from her arrival here, I realized that there had been no running lights fitted–specifically no bow lights or stern light. As I studied various lighting choices, along with the specifics of the deck layout particularly at the bow, I decided that I didn’t much care for any of the deck-mounted offerings, few as they were, as most LED lights seemed to be built for vertical mounts (often on welded plates on bow and stern rails). Rail-mount lights have the advantage of being out of the way, as well as higher up and more visible at sea, so this seemed the way to go if possible.
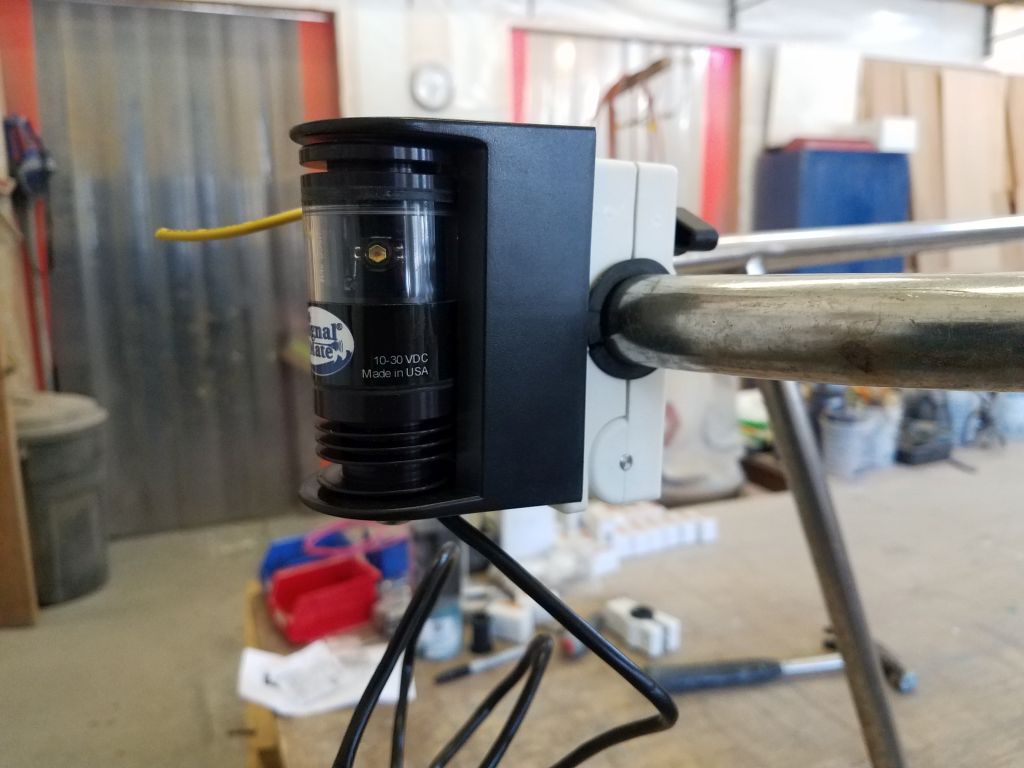
There weren’t any welded mounts on the bow and stern rails here, but I did find some good rail clamps designed to be used with a particular type of LED fixture that I liked anyway for various other reasons, so I chose these for both the bi-color sidelight fixture and the stern light. Now all I had to do was get wires through the insides of the pulpits.
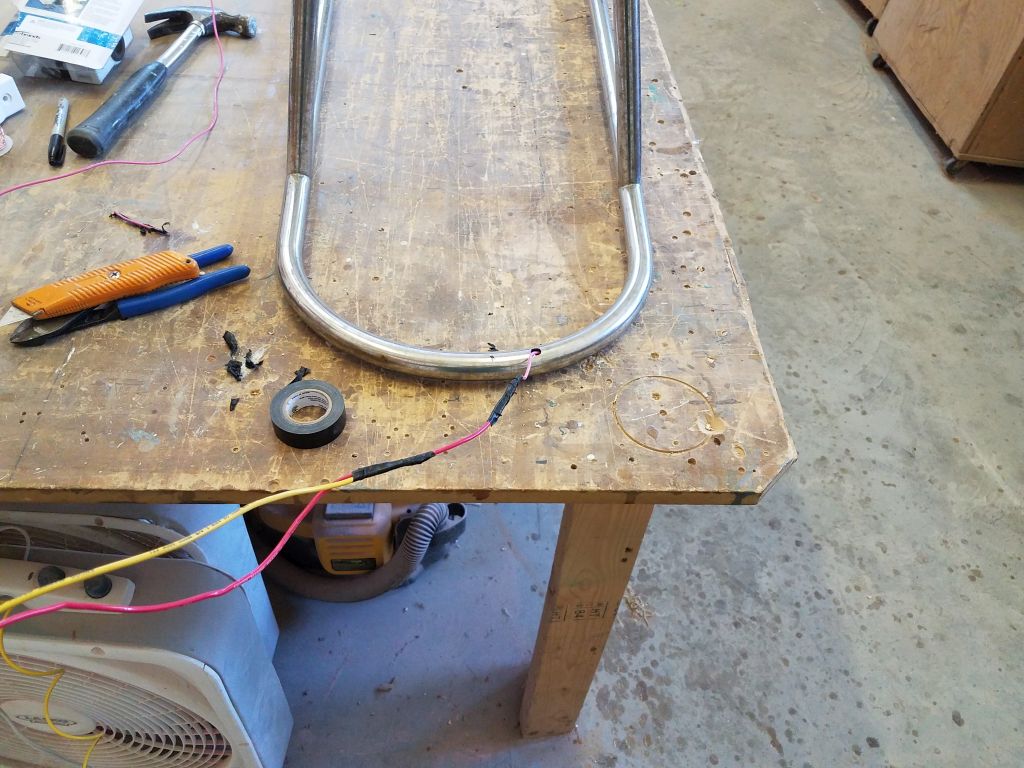
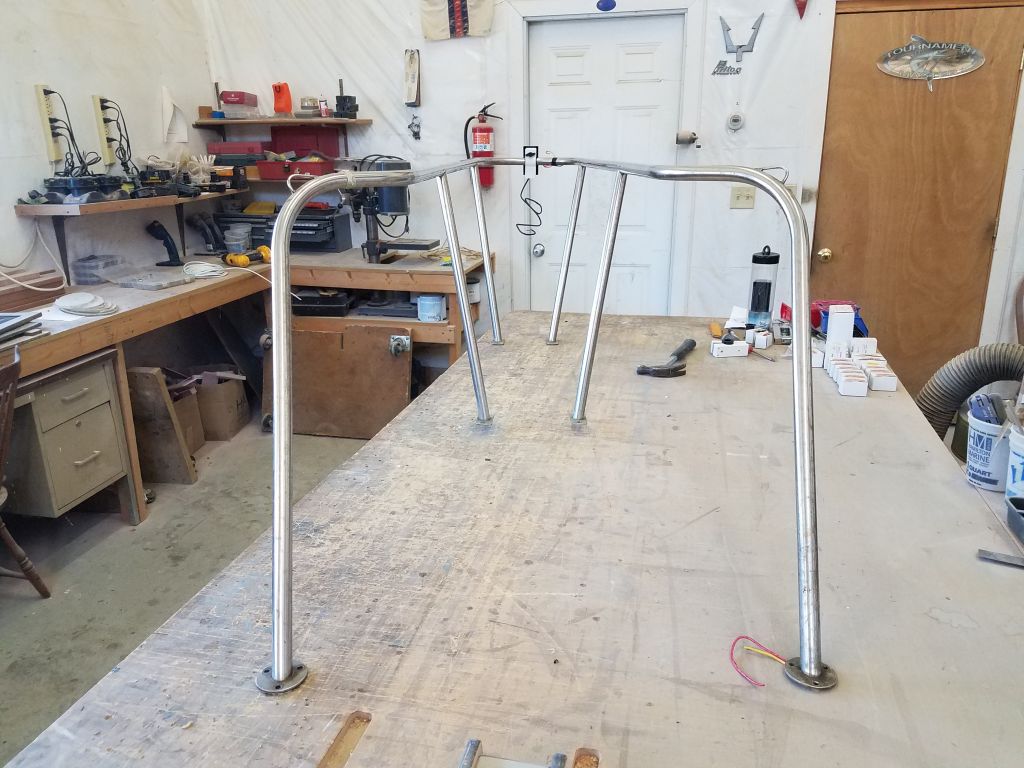
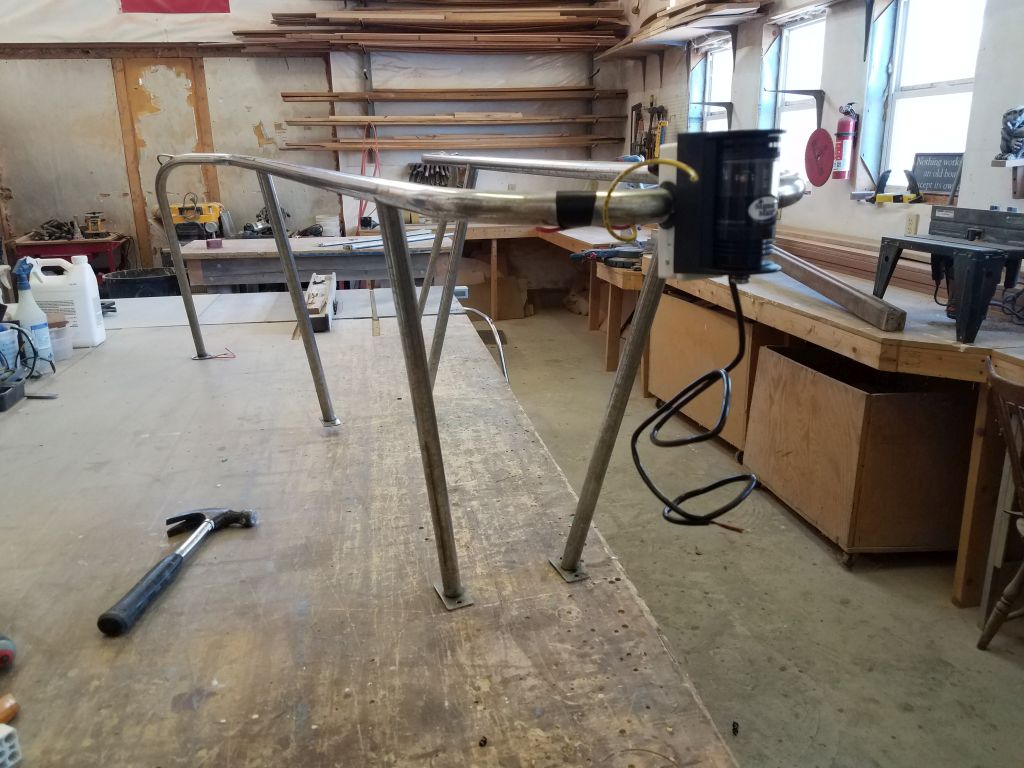
I didn’t expect this to be much of an issue with the stern rail, but the bow pulpit, which extended over the bow platform, was much longer than usual, and wire snaking can be extraordinarily frustrating. So I started with the bow pulpit, in my normal way of doing the most unsavory work first. After drilling a hole in the bottom of the rail just off centerline to starboard (the side through which I planned to run the wires), I used a length of stiff household wire (solid strand) as a snake, and with surprisingly little fuss it was soon sticking out through the after rail base where I wanted it.
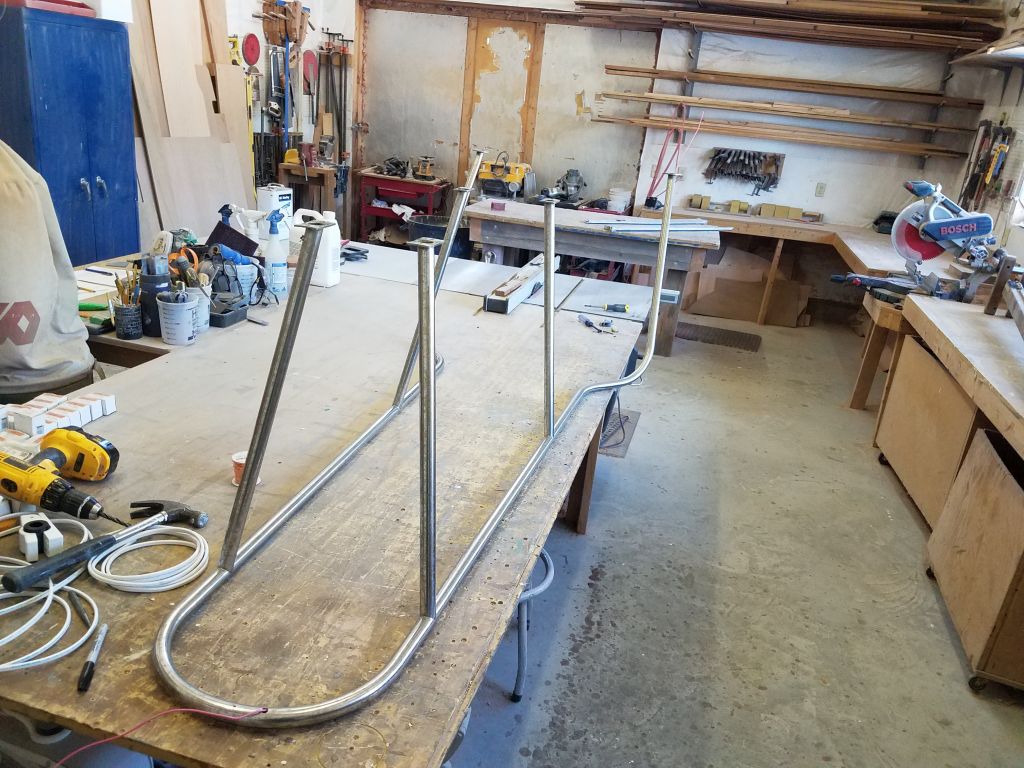

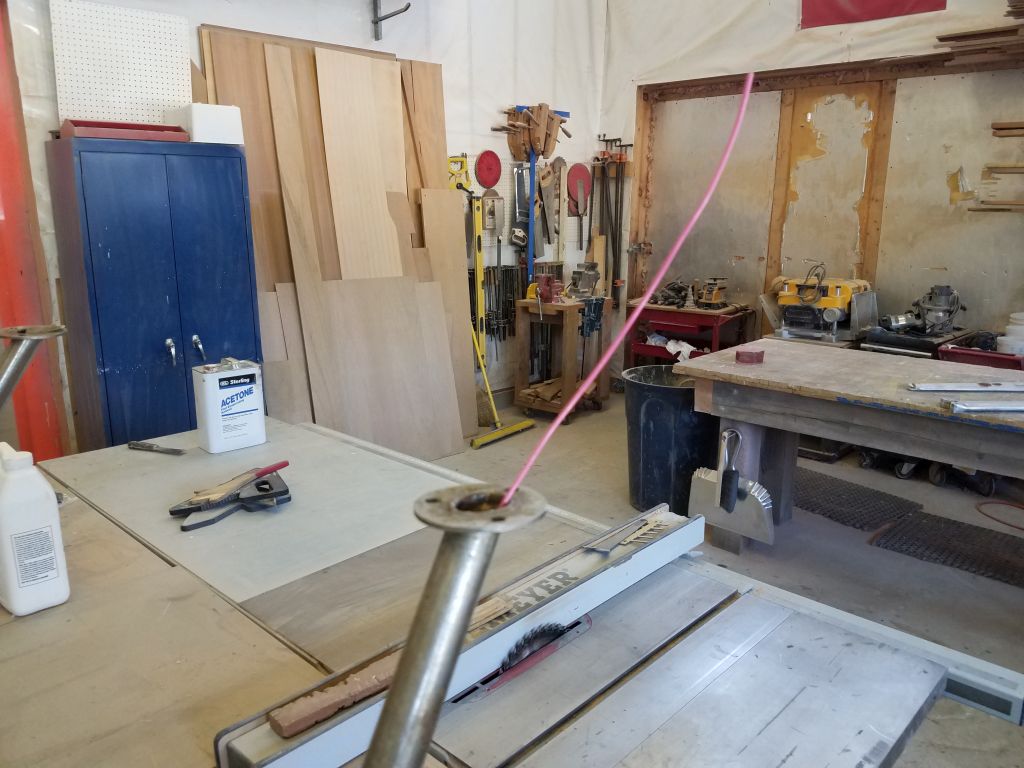
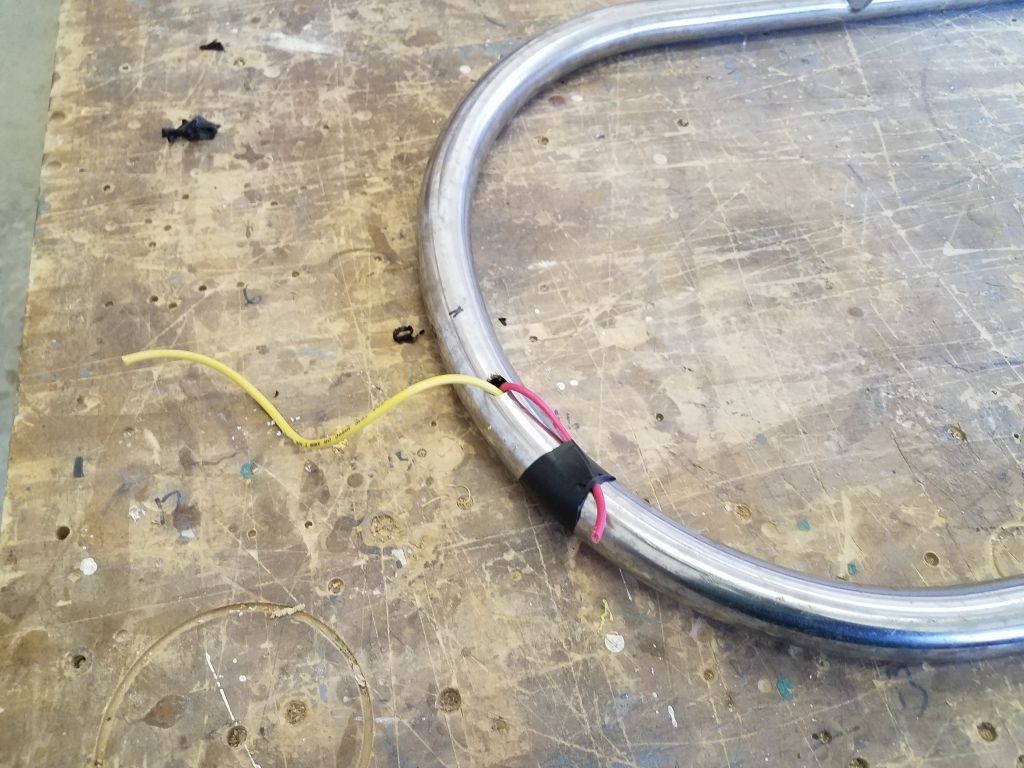
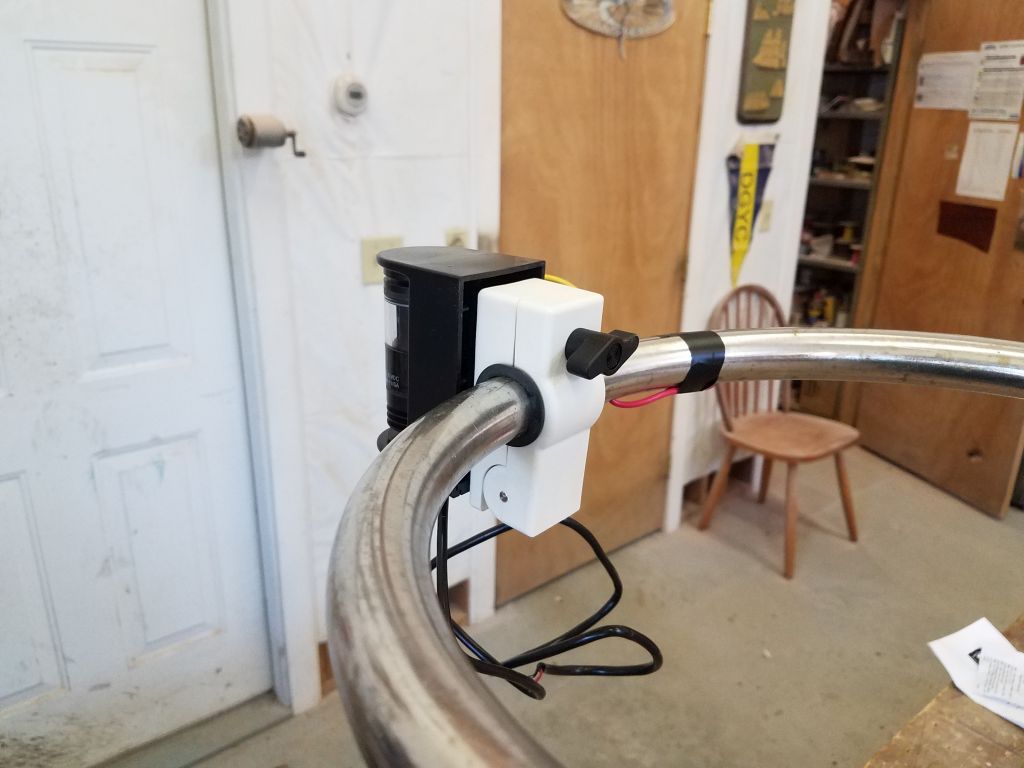
I tried and failed to pull through a length of 16/2 sheathed cable I had on hand for the purpose; although I got the cable started, there was too much friction between the tight hole in the rail, and I suppose the tight rail bends just after. So instead, I switched to individual conductors, with the ends slightly staggered to avoid excess bulk, and after a bit I succeeded in pulling them through. This pleased me greatly.
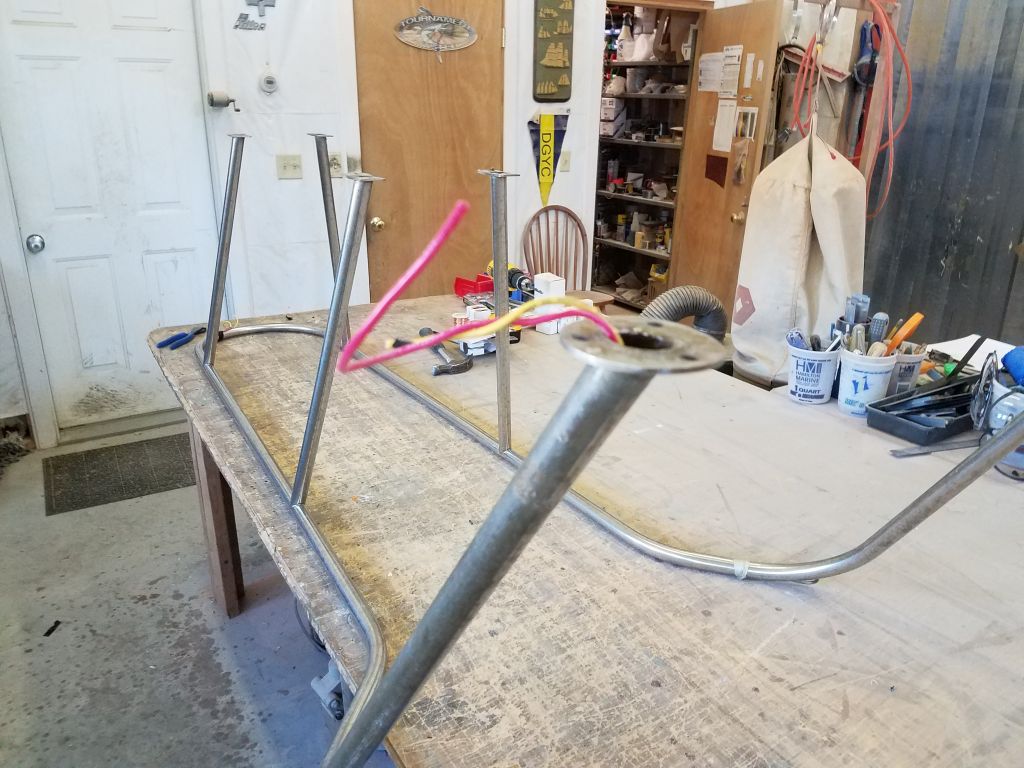
With the hard part done, next I installed the rail clamp and then the new LED bow fixture, leaving the final wiring connection for another time since I didn’t have my wiring stuff right handy.
I planned to repeat this process with the stern rail, and wire up both lights soon, but for now I finished up the day researching, specifying, and in some cases ordering some of the deck hardware needed in the coming days and weeks, as this would be my main focus for the immediate future.
Total time billed on this job today: 6.25 hours
0600 Weather Observation: 15°, clear. Forecast for the day: Sunny, 31°