


March 2, 2020
Scupper 253
Monday
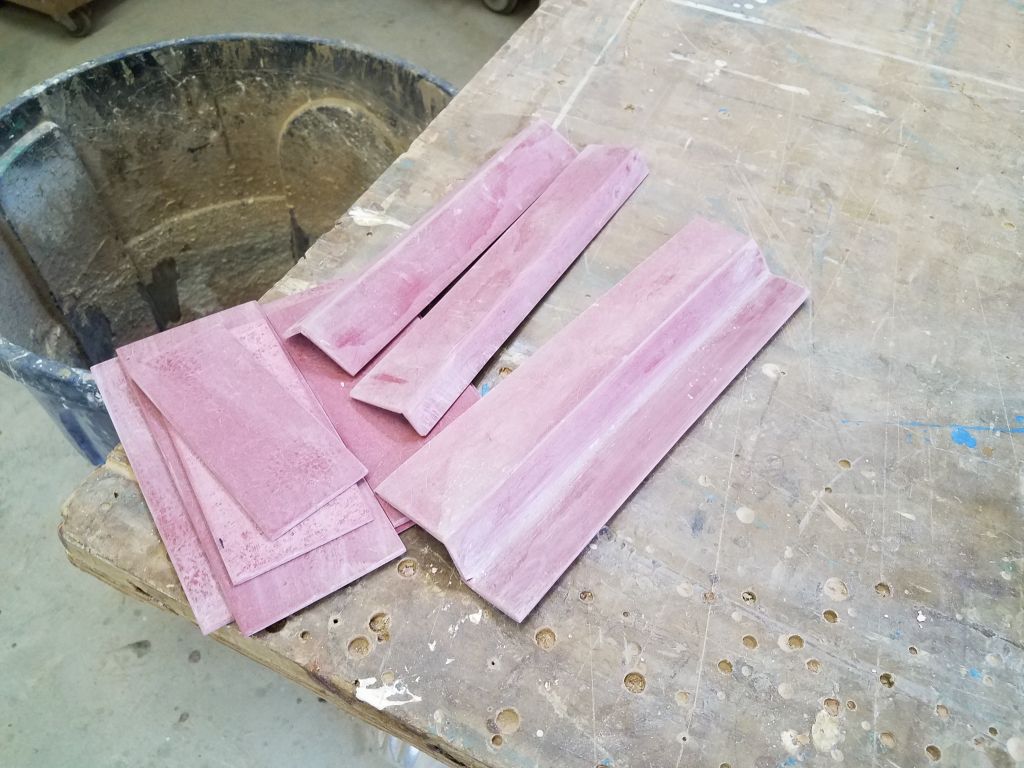
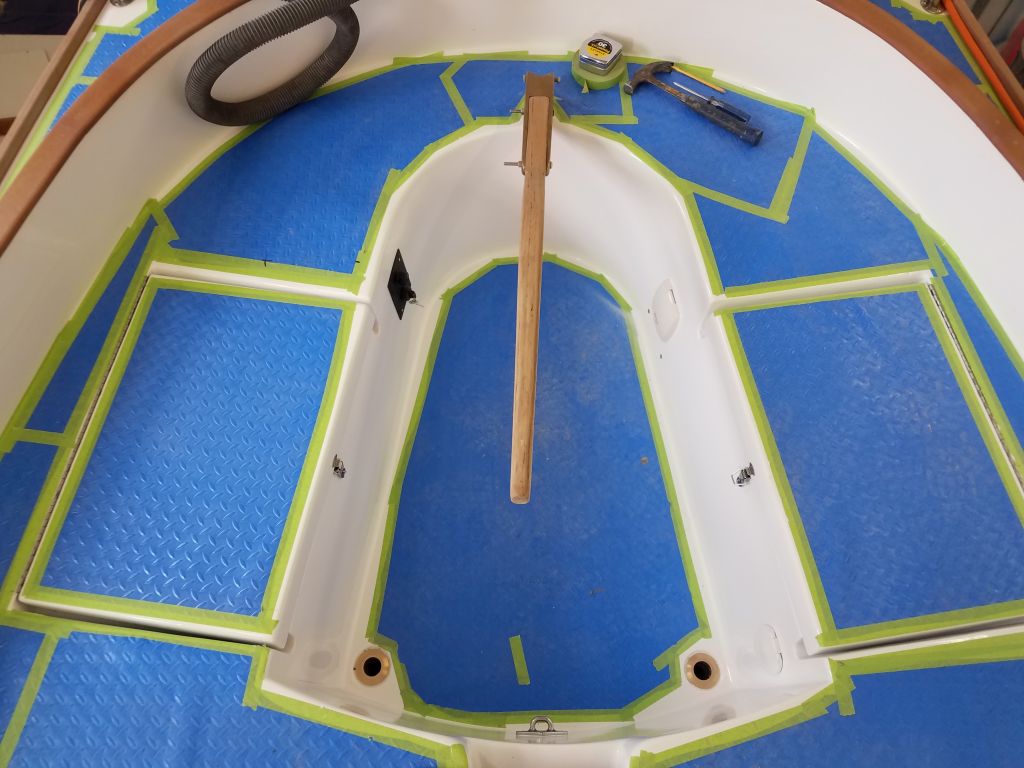
Over the weekend, I added some additional thickened epoxy to some of the multi-faceted fiberglass liner cover plates to help fill the visible seams, since the initial gluing process had been necessarily delicate and I couldn’t access all areas at once. Now, I cleaned up and sanded these pieces, which more or less brought them to their final shapes and contours, though I might need some lightweight filler to finalize the shapes before priming.
I test-fit all the new faceted pieces before continuing, and was generally pleased with how they’d ended up, but for the port forward cover plate, I found I’d erred in my measuring and needed to add an angled top flange in order to cover the gaps in the liner, so I cut the new section as needed, then glued it to the original section with more thickened epoxy. I also found that my long strip that I’d simply butt-jointed and epoxied had failed at the seam, so to correct this I reglued it and added a piece of fiberglass on the back (hidden) side to reinforce the joint.
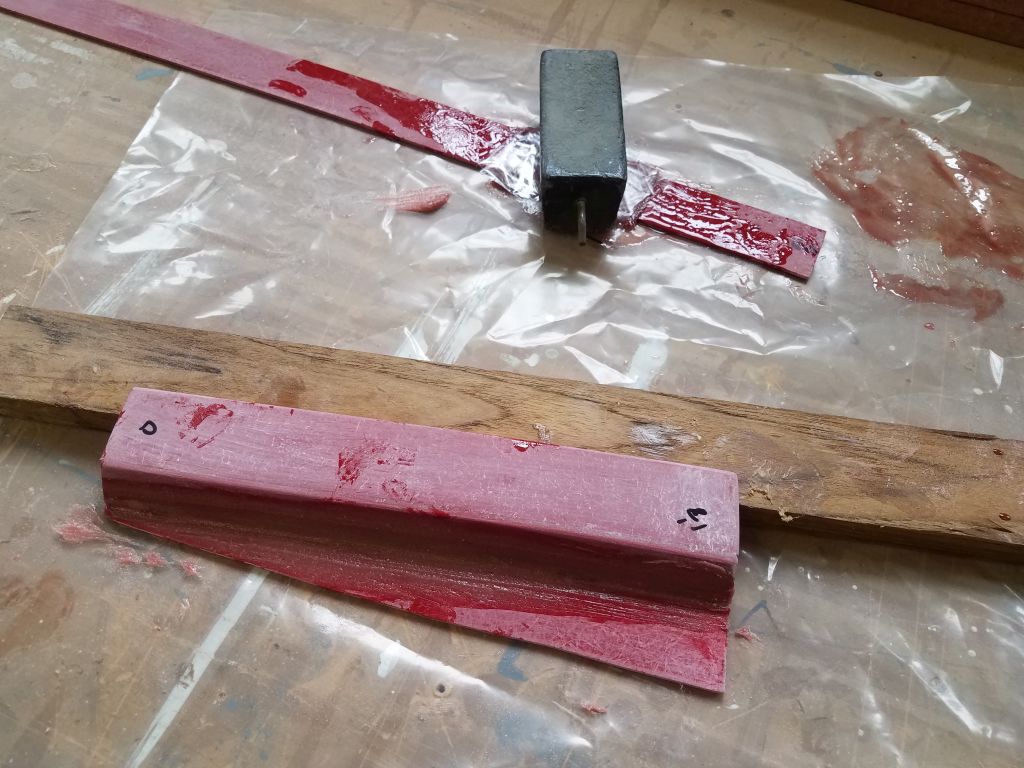

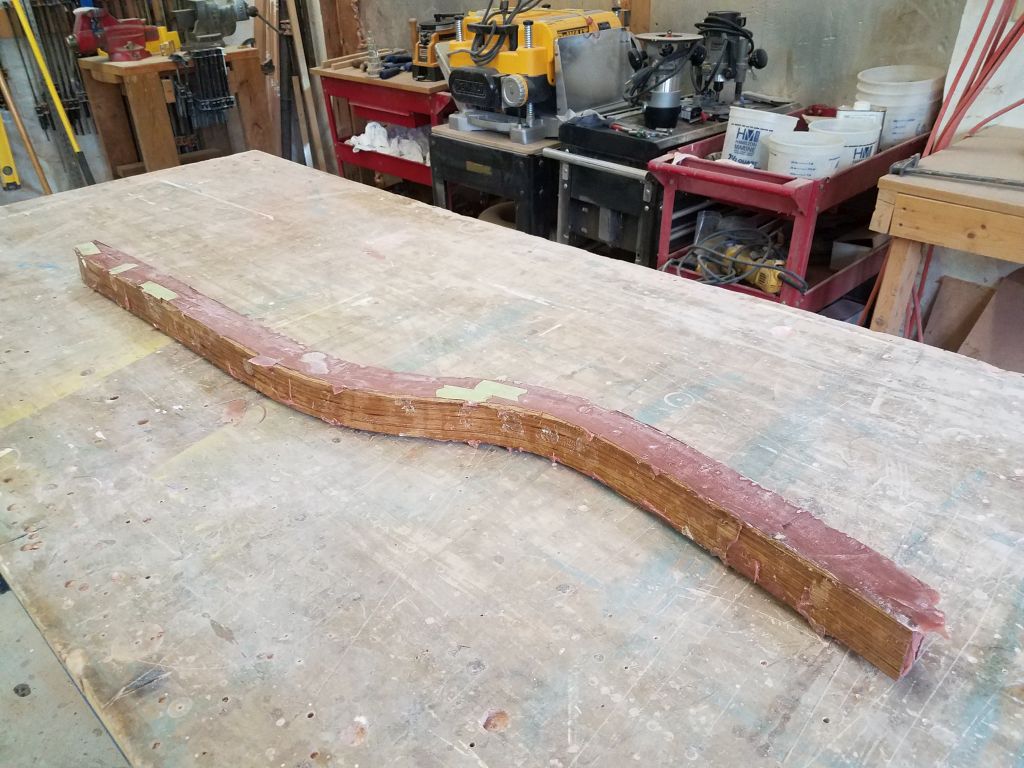
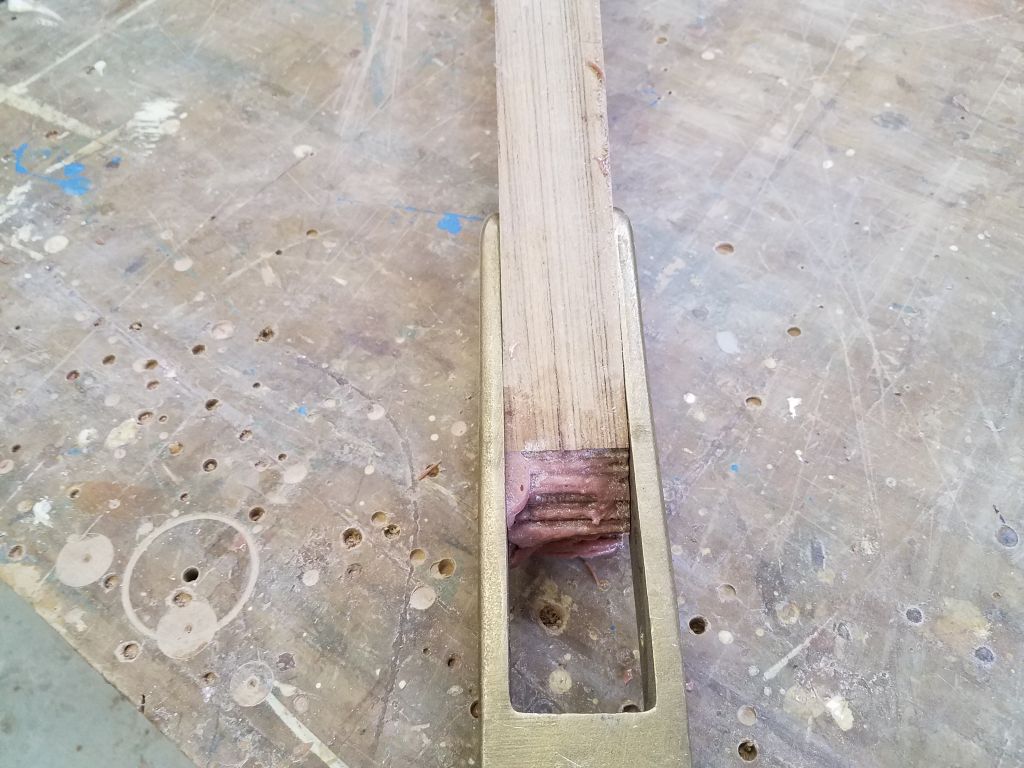
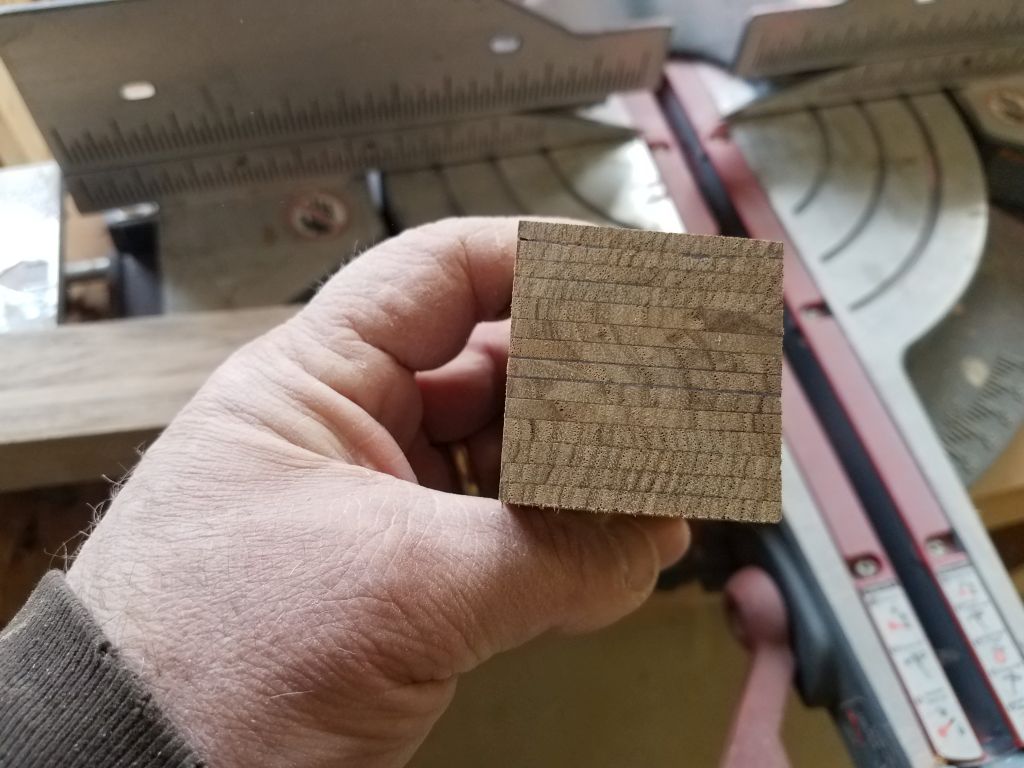
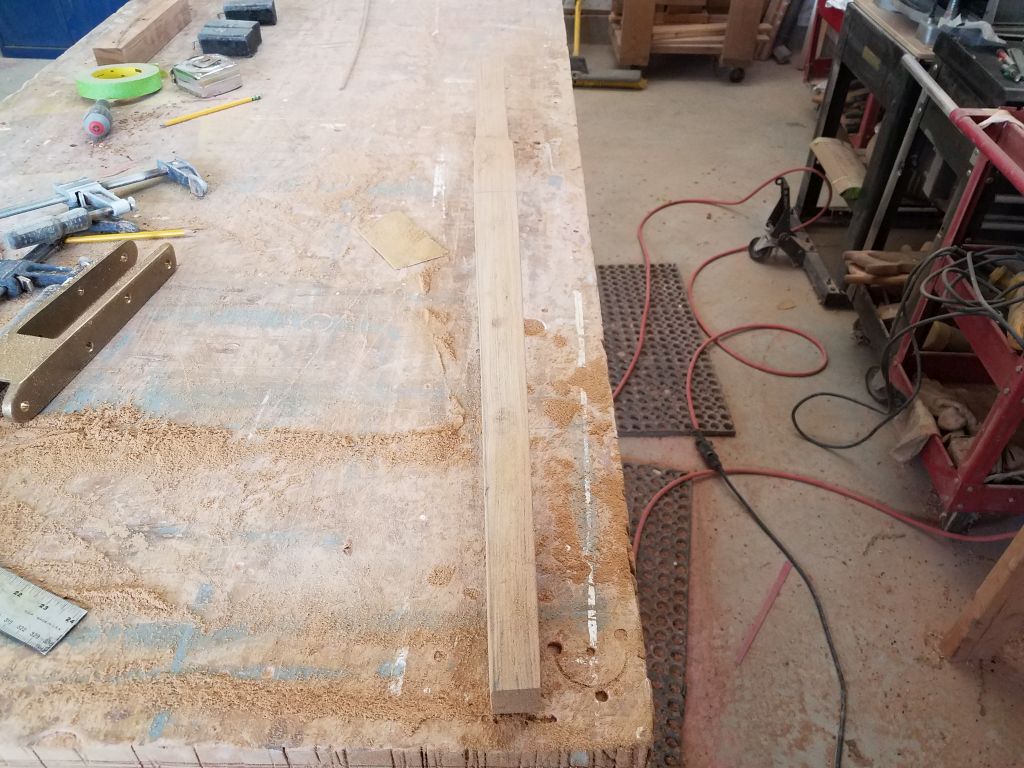
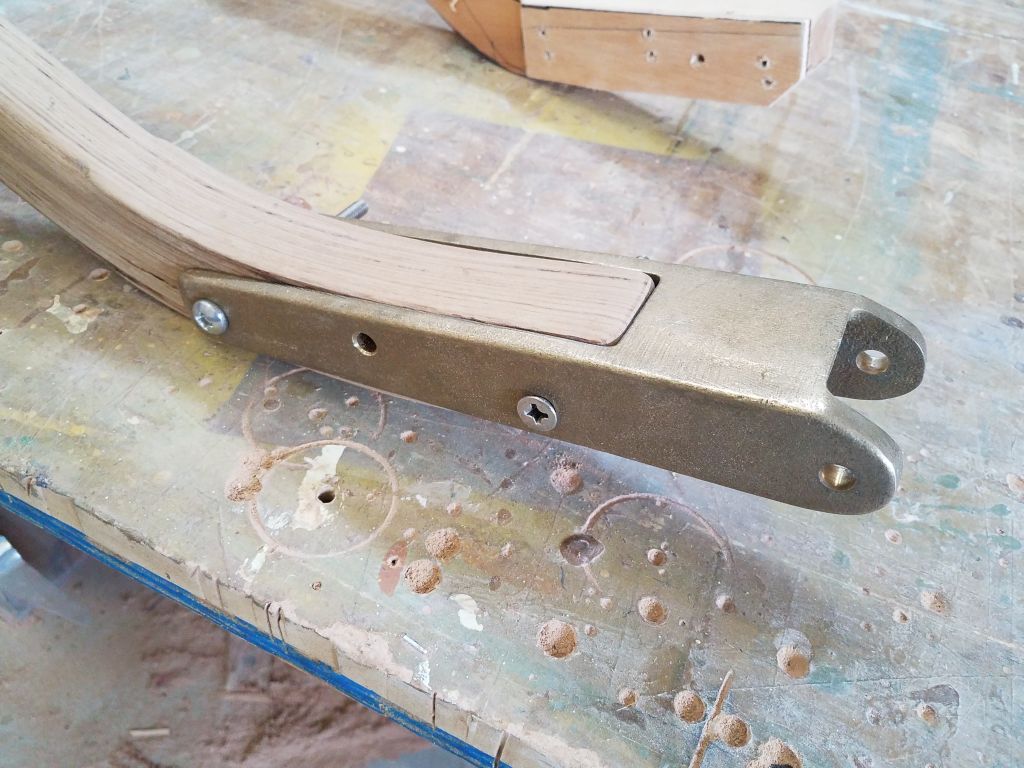
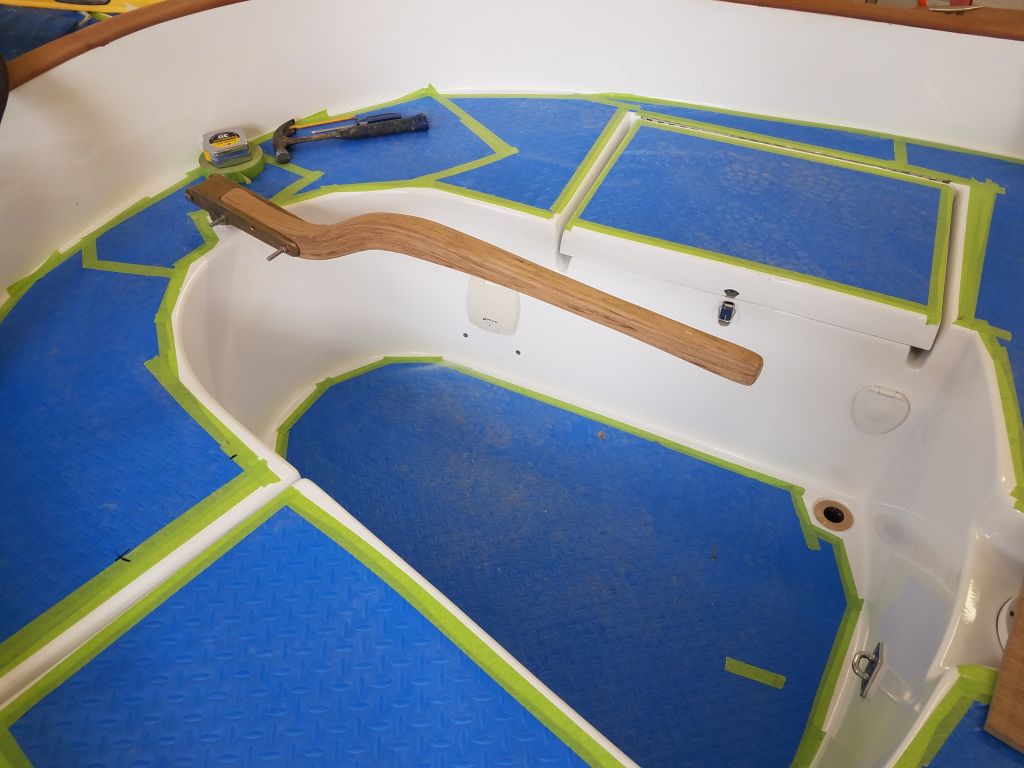
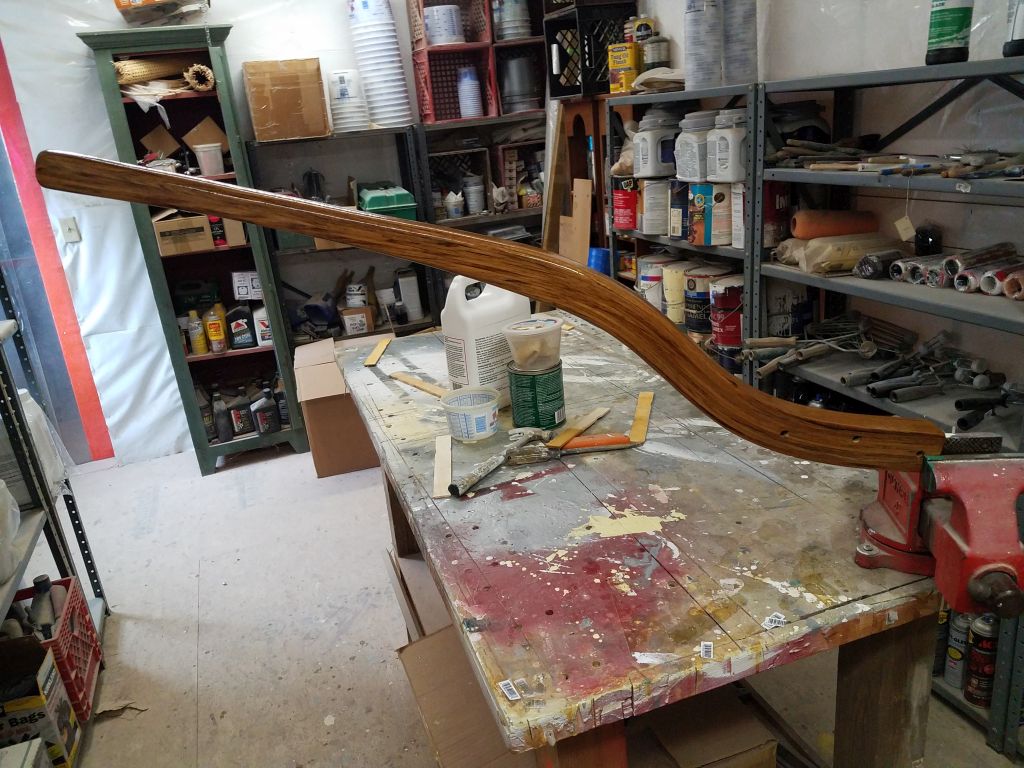
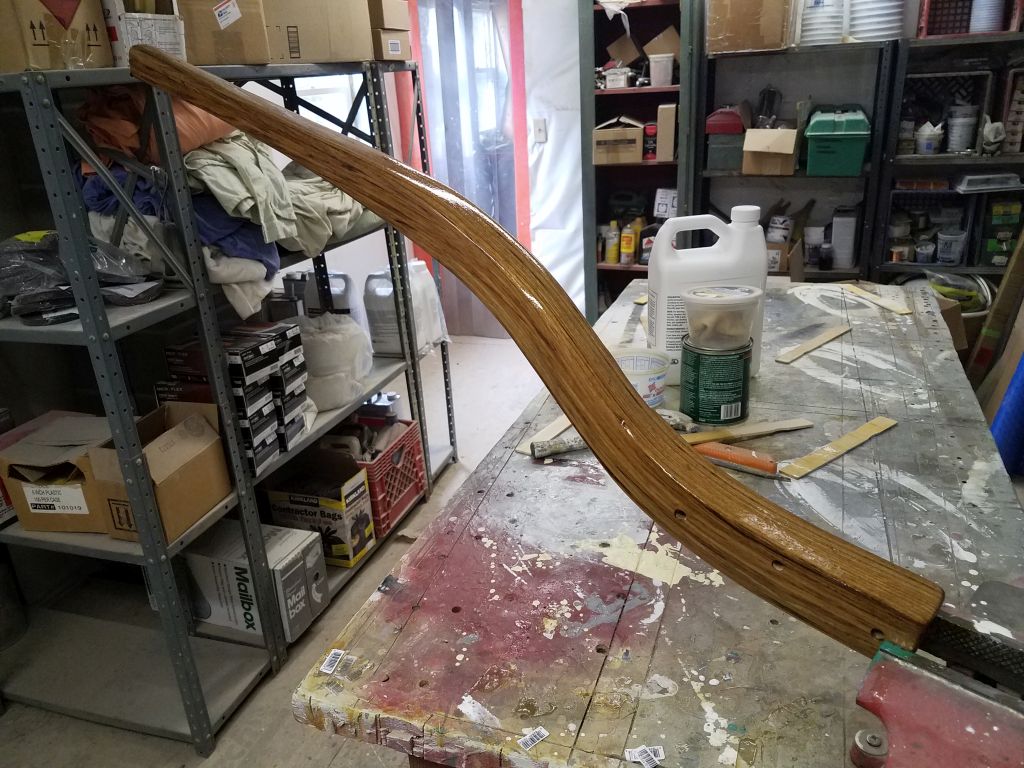
Next, I continued work on the tiller blank. After removing the blank from the clamps, and breaking off any large chunks of cured epoxy squeezeout, I ran it through a thickness planer to clean up and smooth both sides, and eventually bring the blank to its finished thickness of 1-3/4″, which fit snugly in the bronze tiller strap. I sanded clean the upper and lower faces, and, using my tiller mockup as a rough guide, cut off the excess length of the tiller from each end and fit the tiller strap in place where I wanted it, securing it temporarily with two much-too-long bolts. Then, I test-fit the raw tiller blank in the cockpit to confirm the final length and other aspects of the construction.
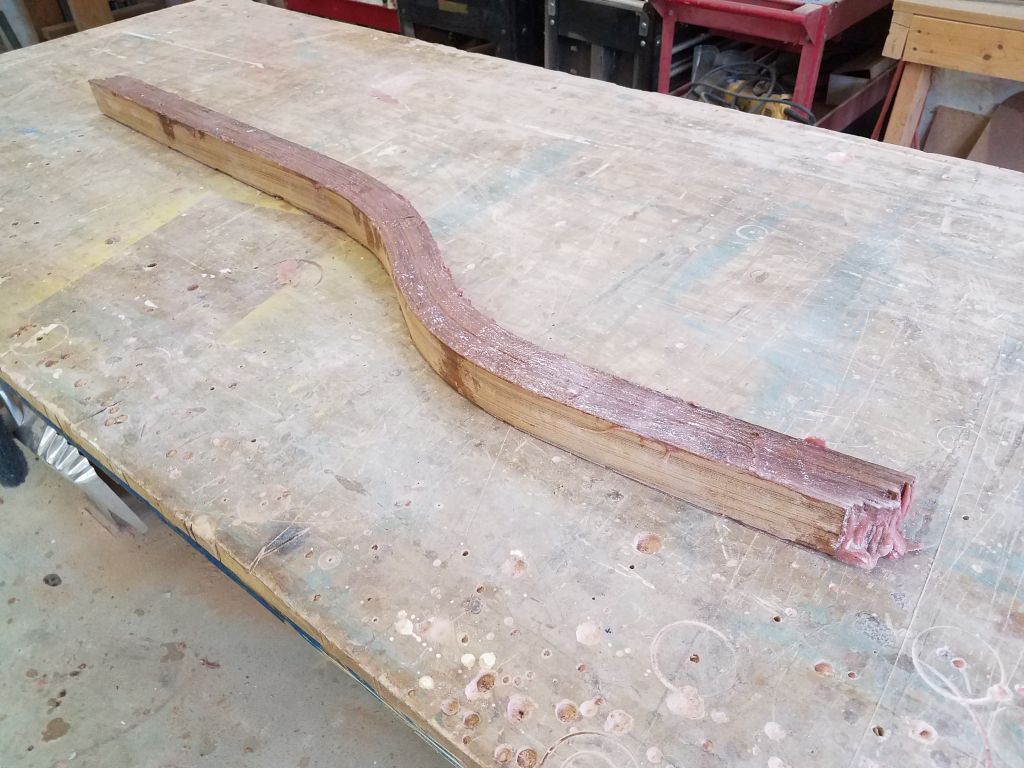

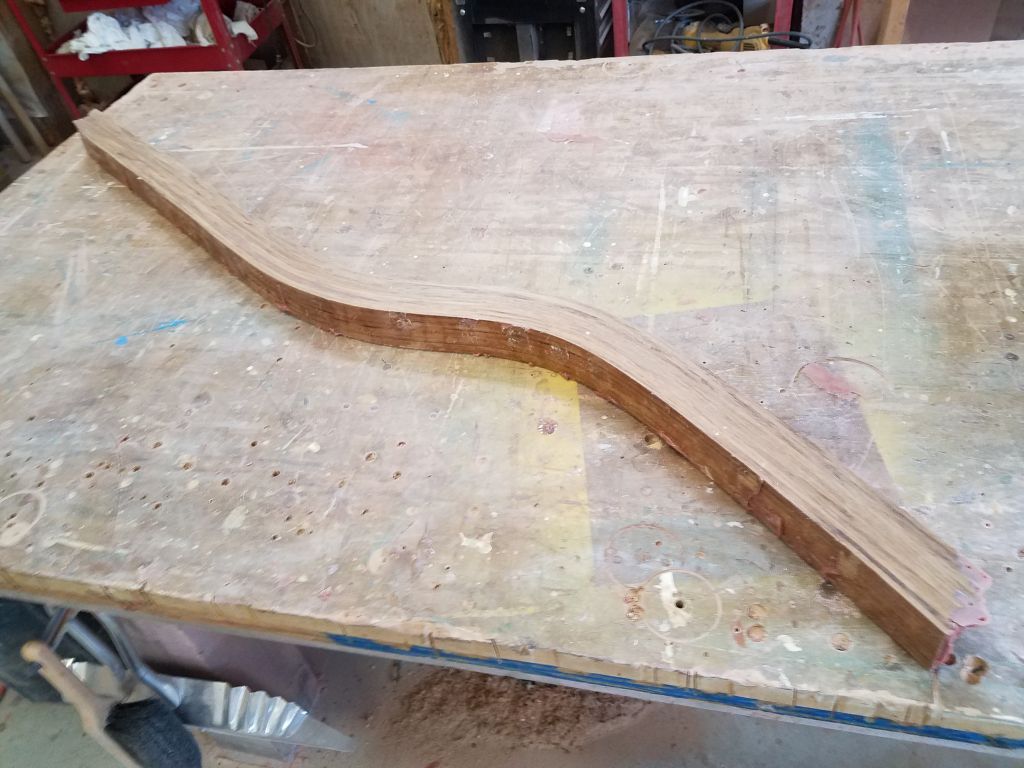
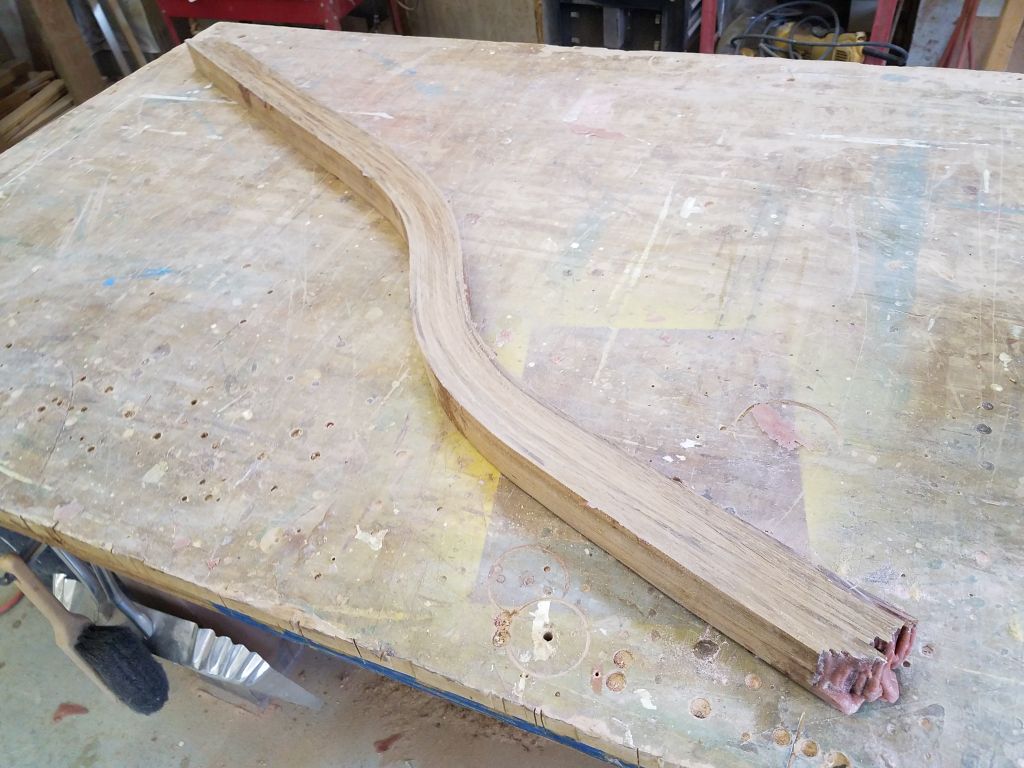


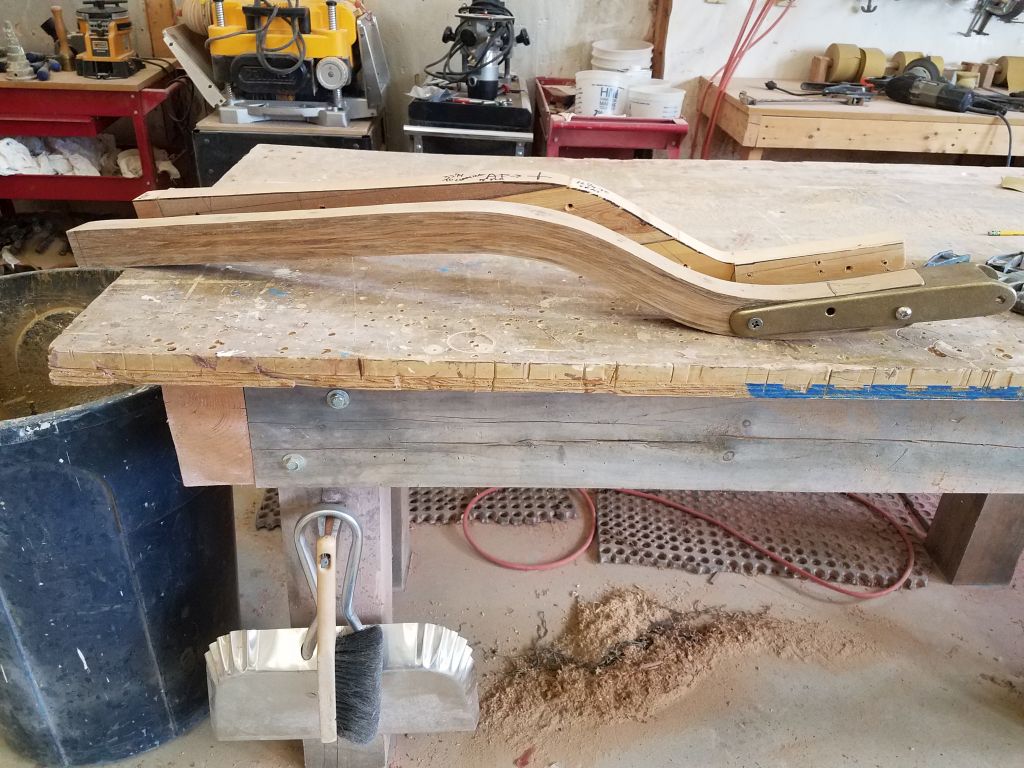
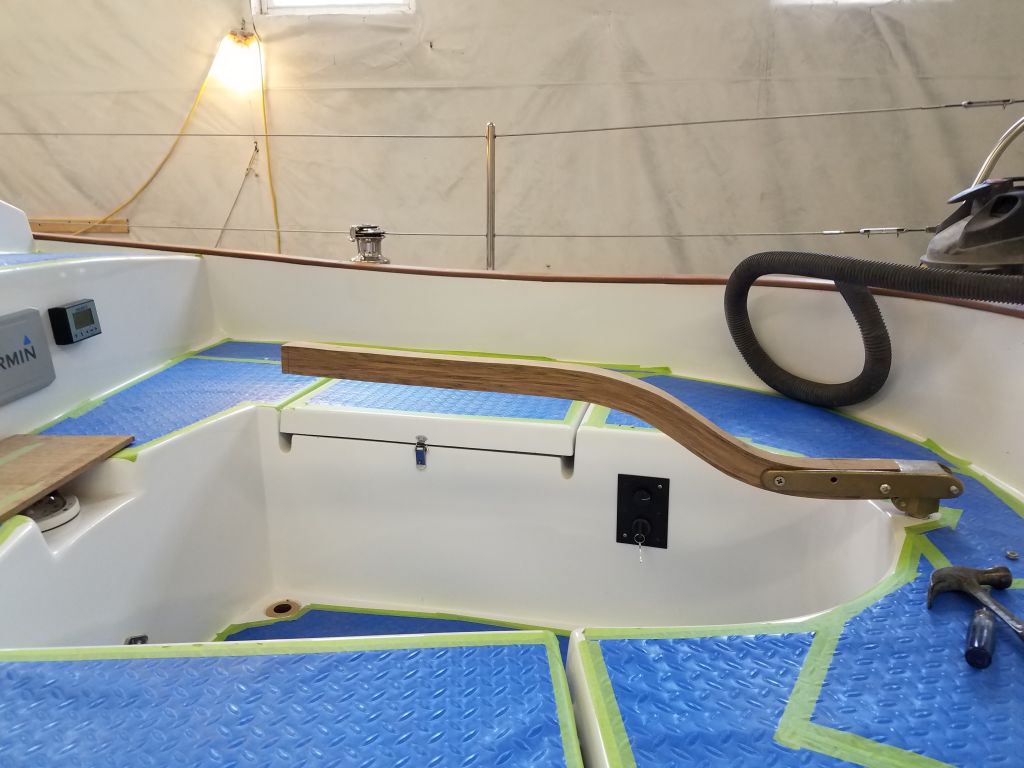
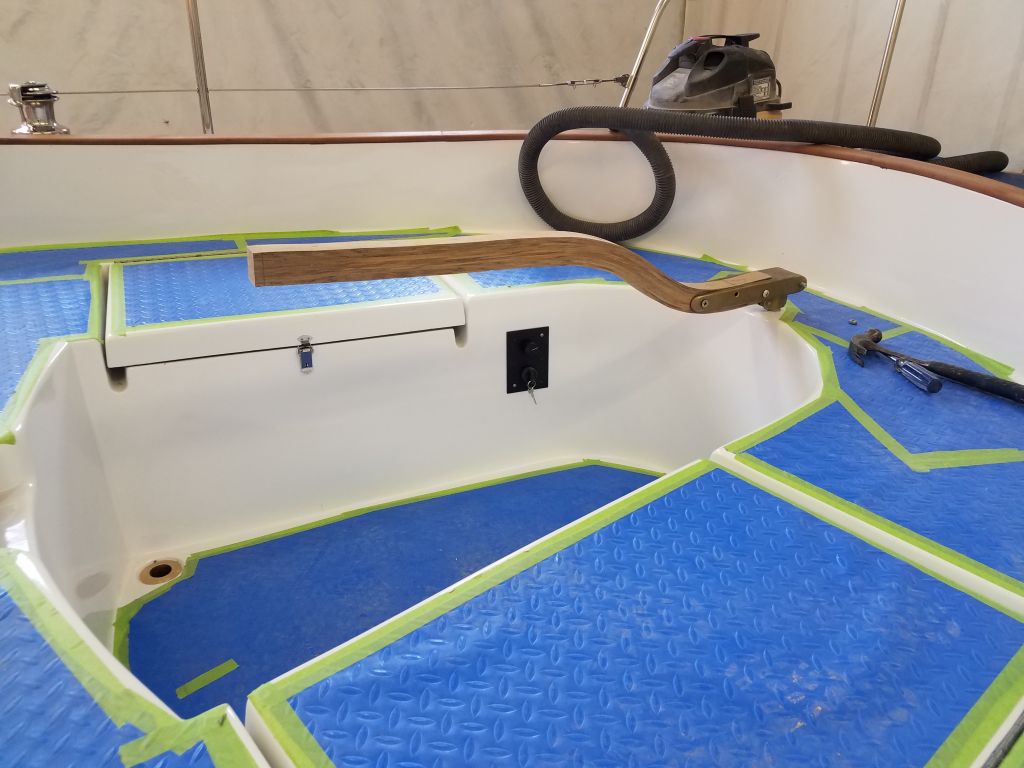
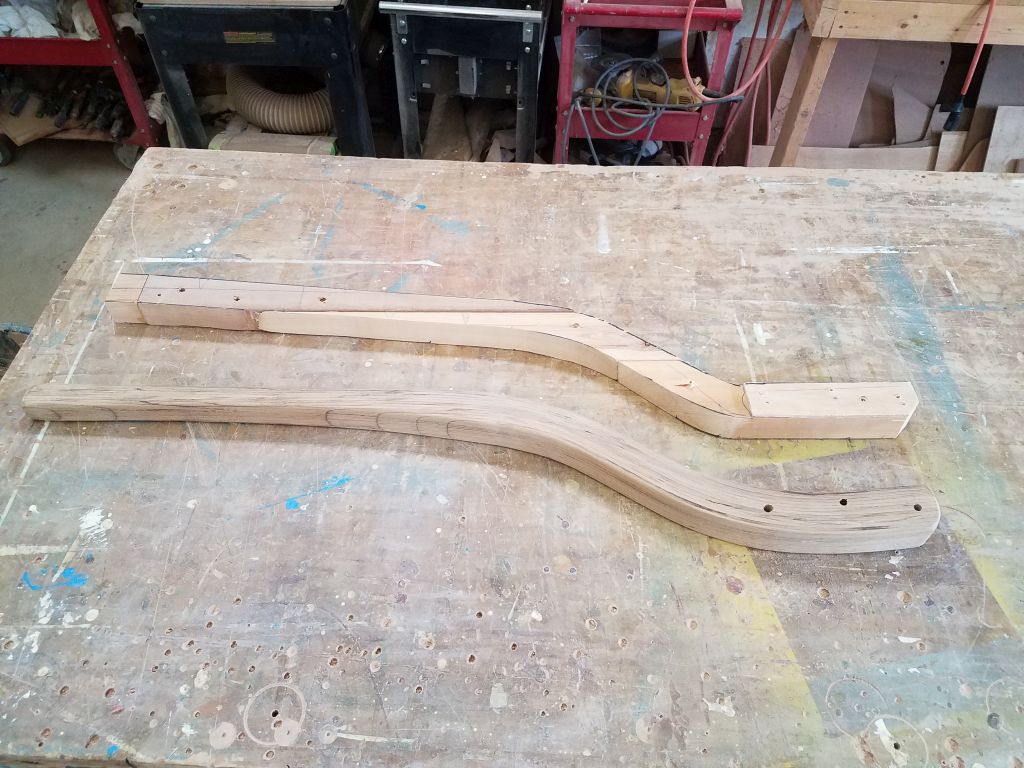
Next, I had to give the tiller some shape, both for appearance and to make it comfortable to use. I liked the general dimensions of the butt end and curved section, but forward of that I wanted to slim it down and add some curvature to the bottom edge, and after roughing out some design ideas on the tiller, I settled on the shape I wanted and cut and shaped the bottom edge to suit before then tapering the overall thickness of the tiller roughly from the top of the curve forward, where I ended up with just over an inch of thickness at the grip. I milled radii on the top and bottom corners of the tiller, and sanded the whole thing smooth before a final test-fit.
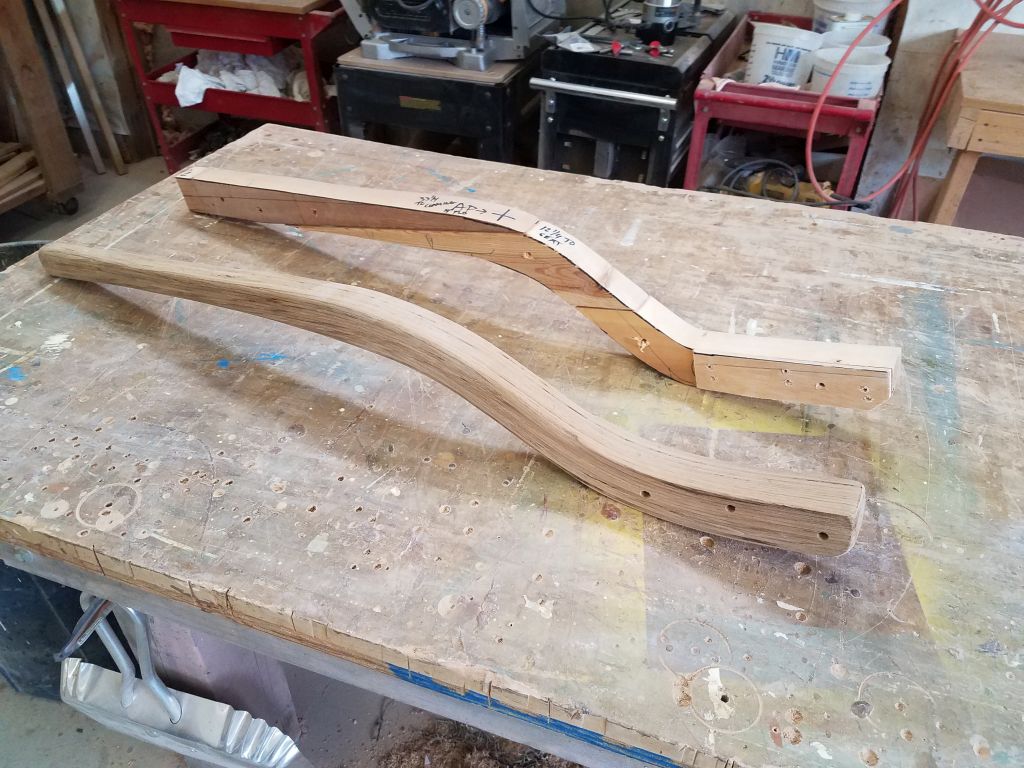
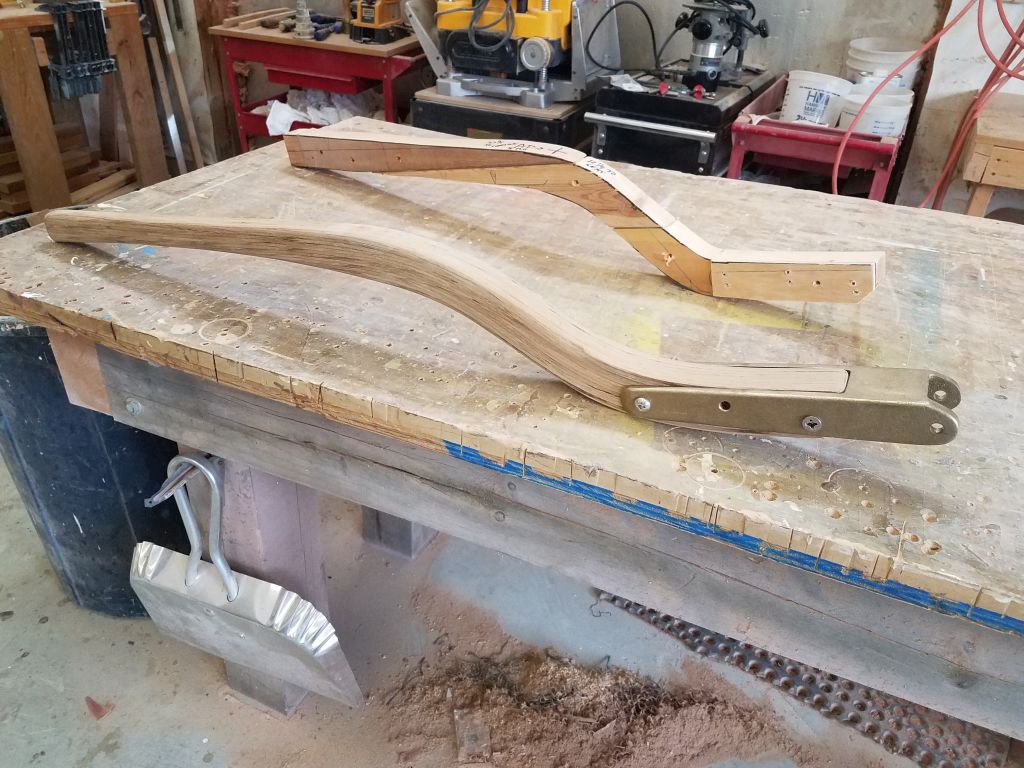
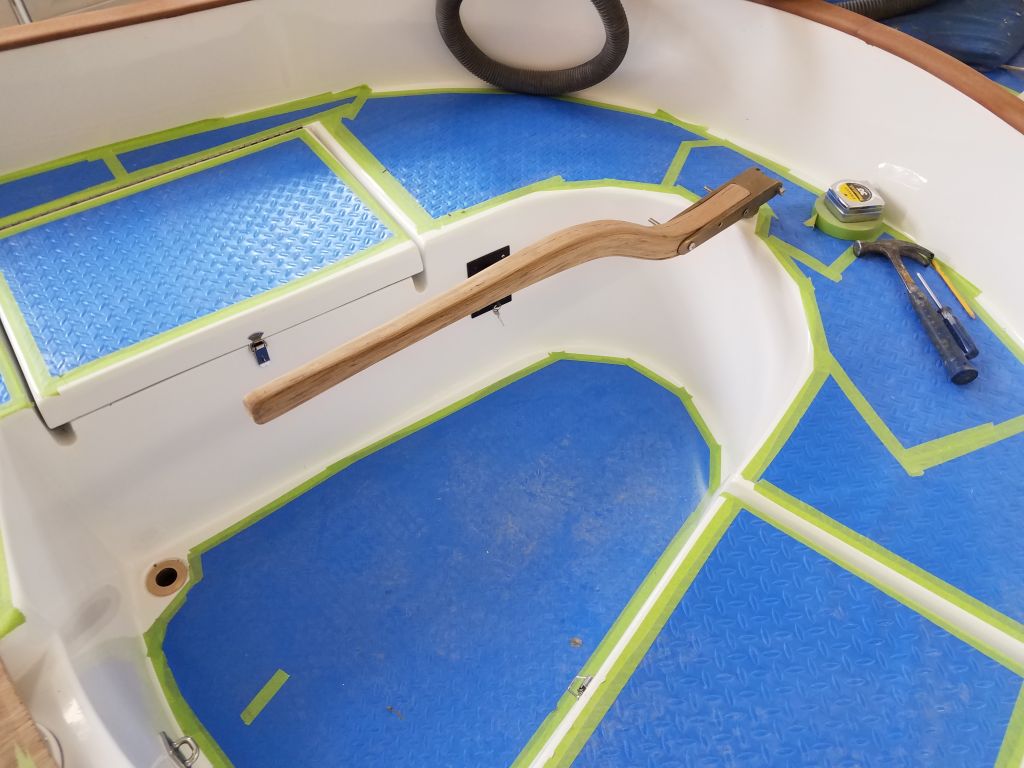

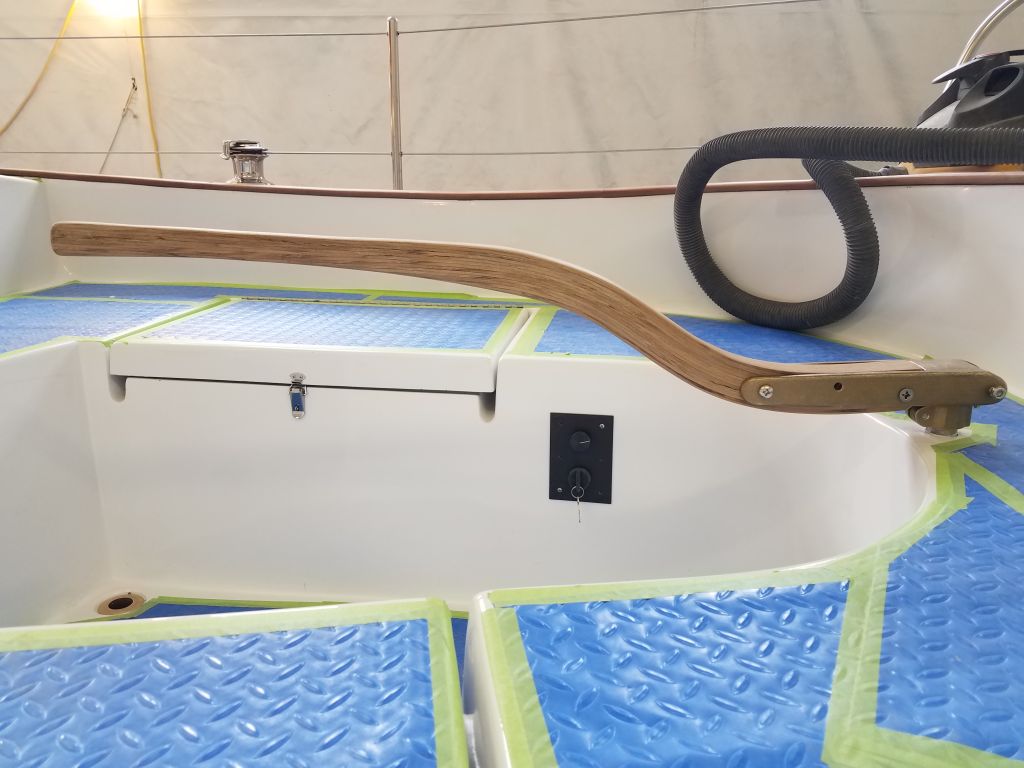
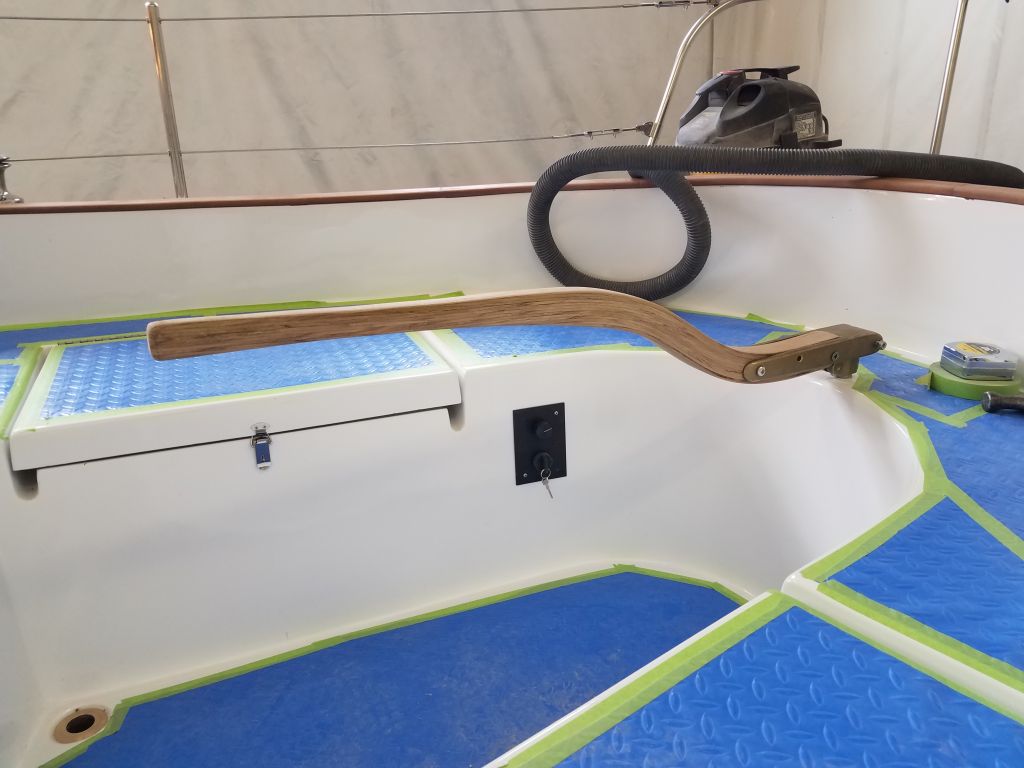

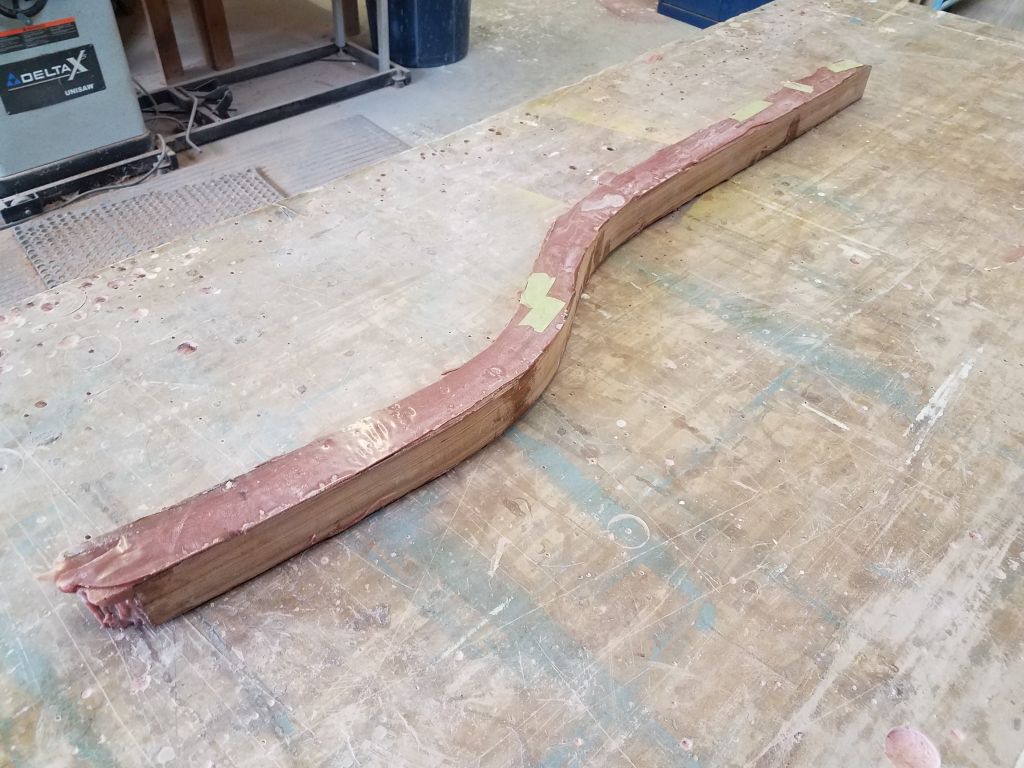
Afterwards, I removed the tiller strap and applied a sealer coat of varnish to the tiller, the first of many to come over the next few days.
With only a few minutes left before I had to leave early for an appointment, I made some final checks to the electric motor setup and energized the system, and went through some basic set up on the cockpit-mounted battery monitor. I confirmed that the motor operated (more on this soon), but that was all I had time for at the moment.

Total time billed on this job today: 5 hours
0600 Weather Observation: 24° Forecast for the day: Partly cloudy, 34°