


April 16, 2019
Scupper 126
Tuesday
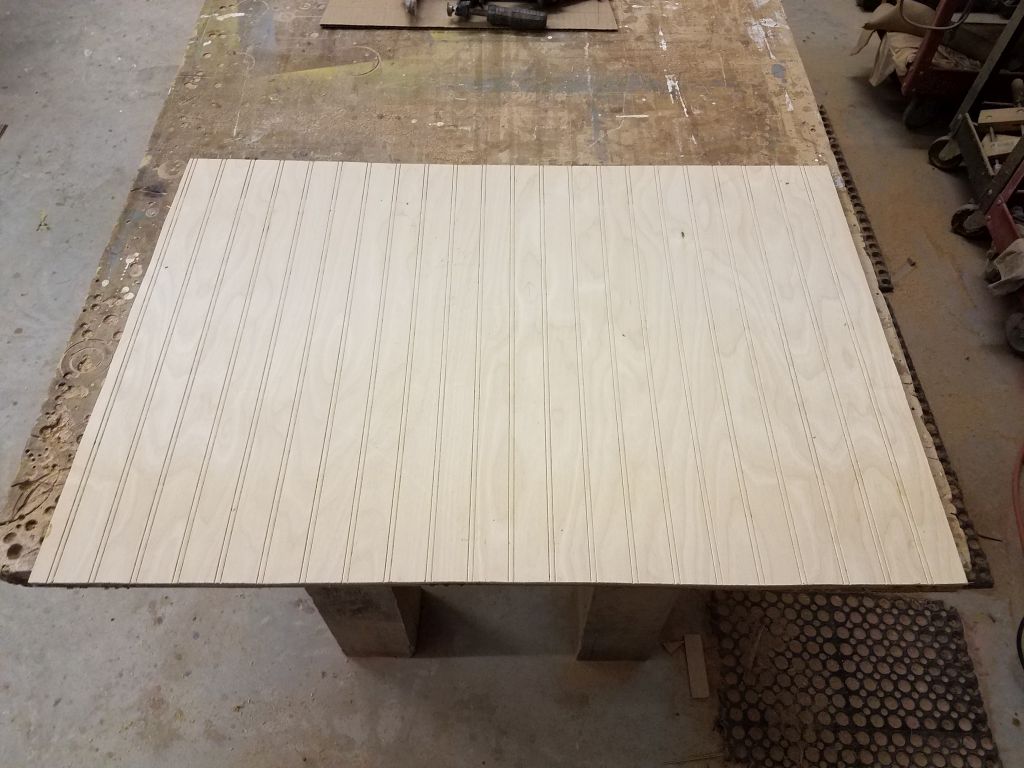
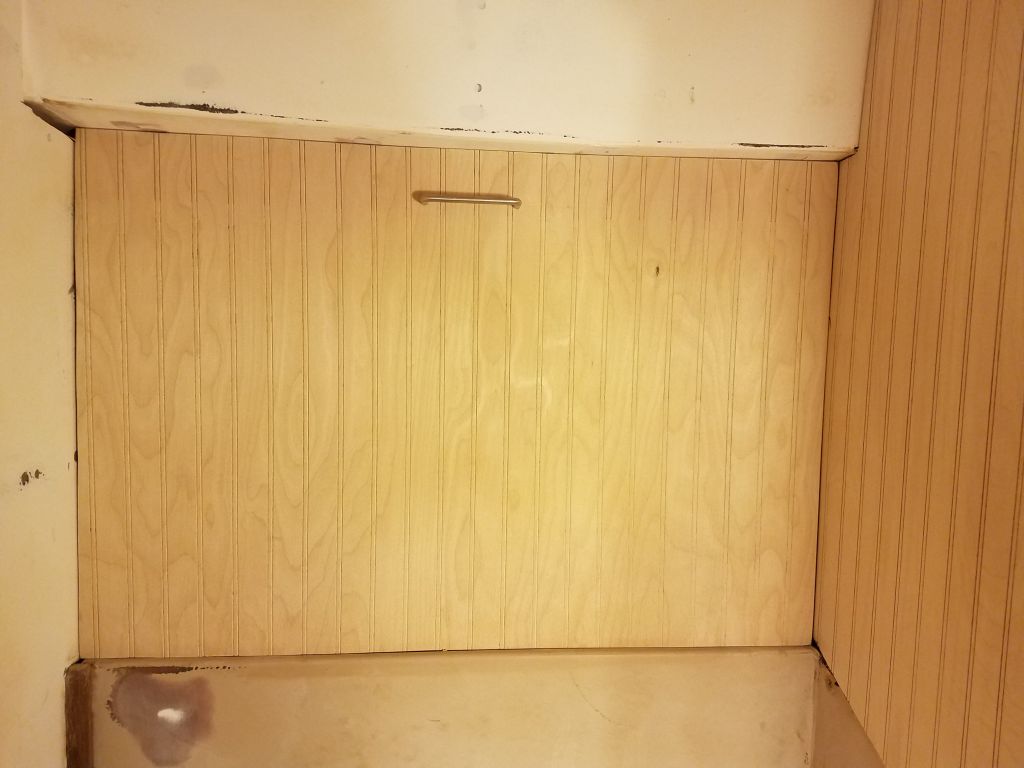
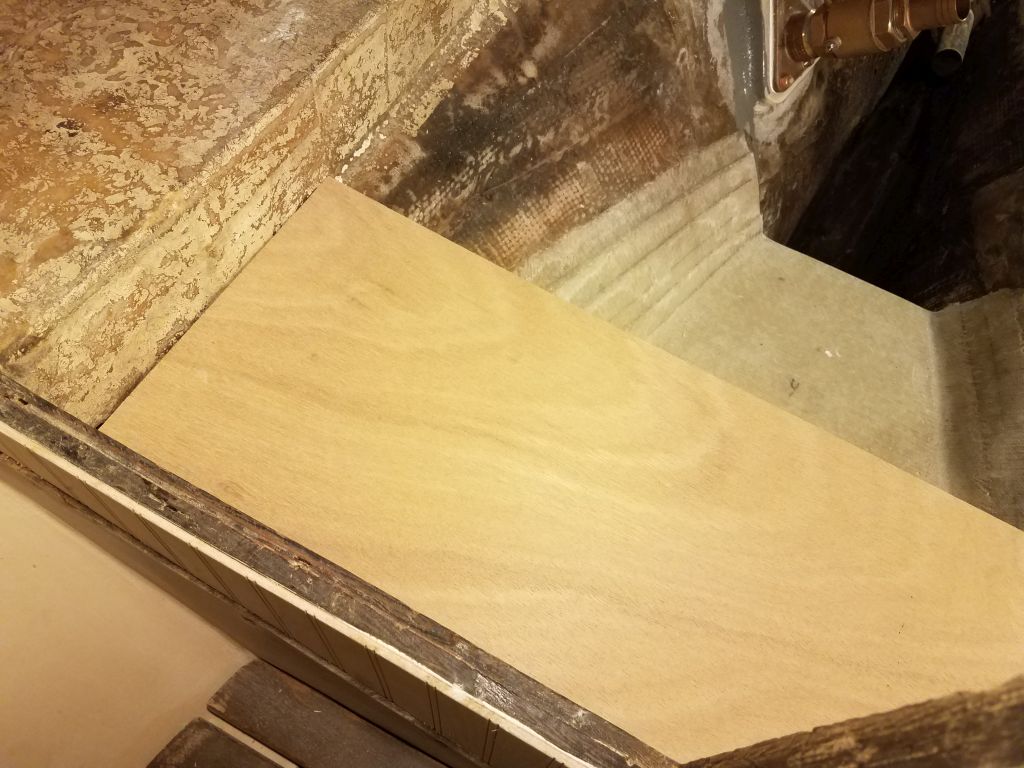
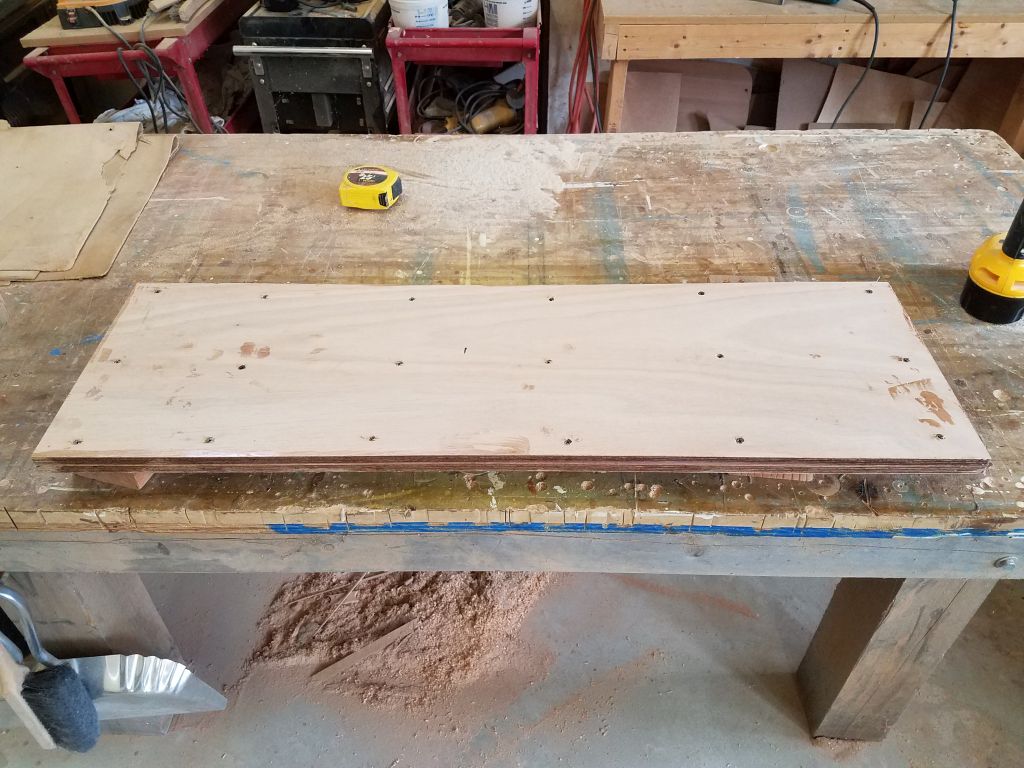
The new cover panel for the head and holding tank area required just a bit of sanding around the edges to clean up where I’d laminated the two plywood panels together. Afterwards, I installed (temporarily) a handle to help install and remove the panel now and going forward.
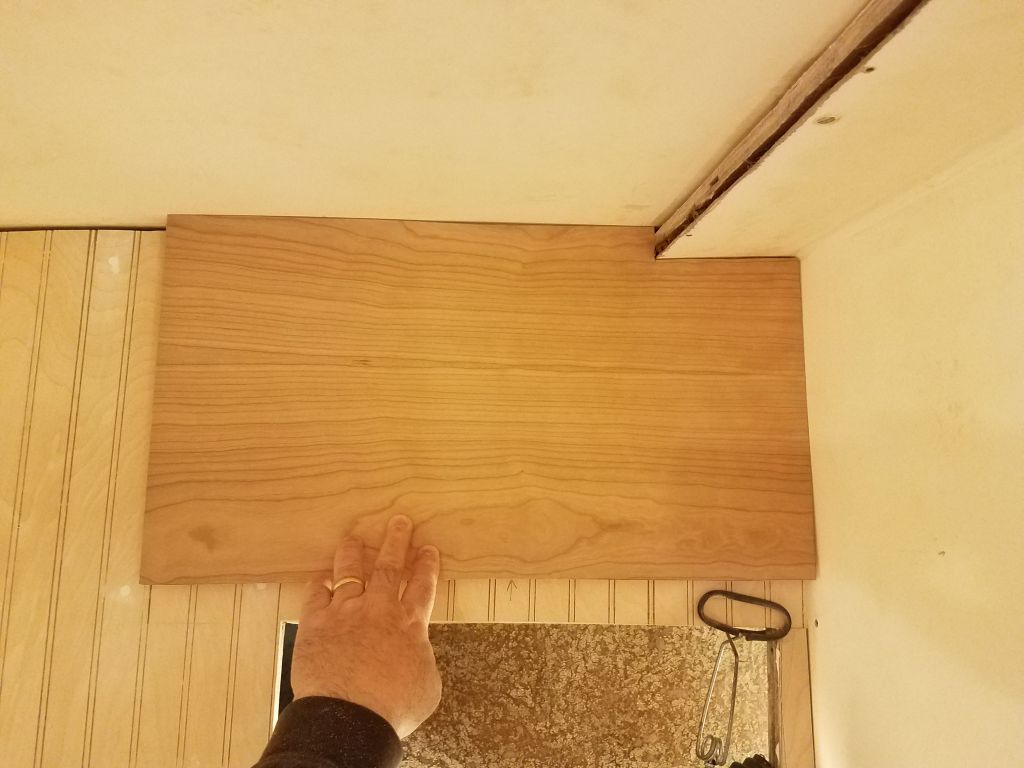
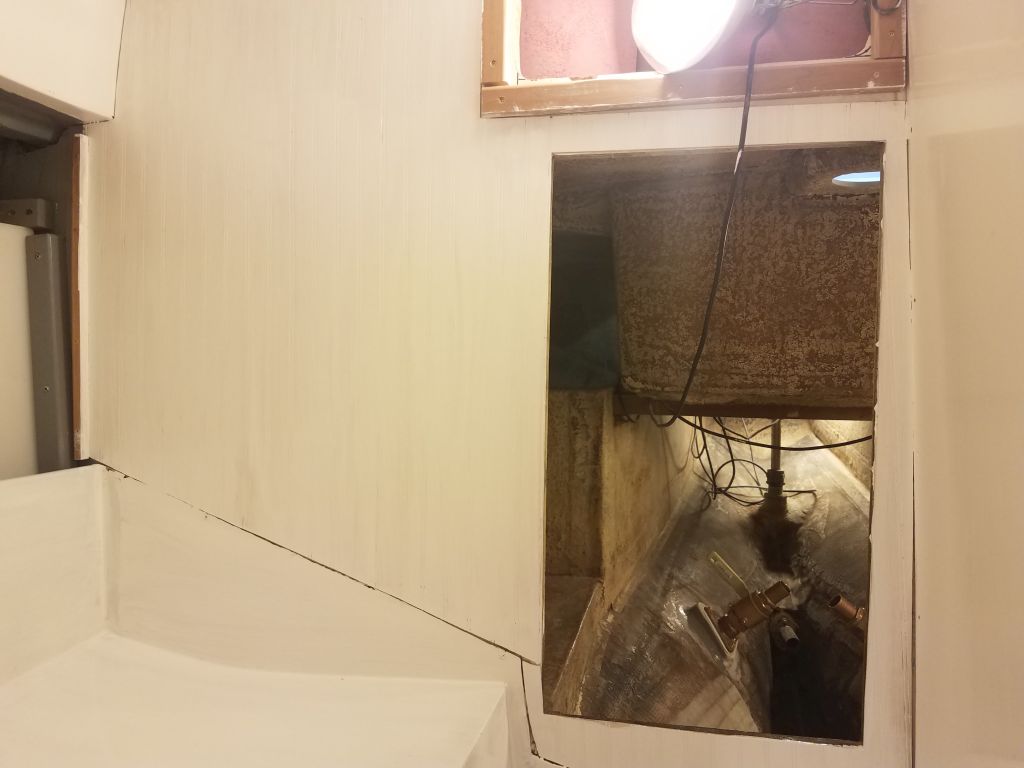
Still in the head, I made a template of the panel required to cover the instrument access area in the upper corner, then cut a panel from cherry plywood to fit. I planned to trim the edges with solid wood and install the panel with removable fasteners for future access needs.
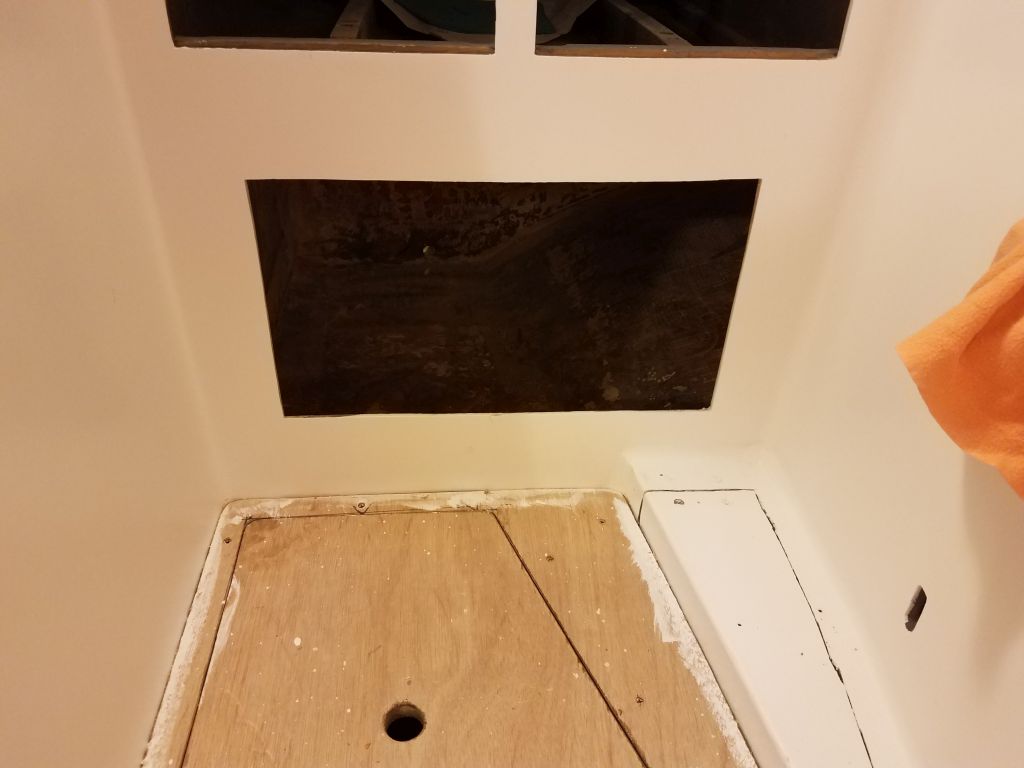
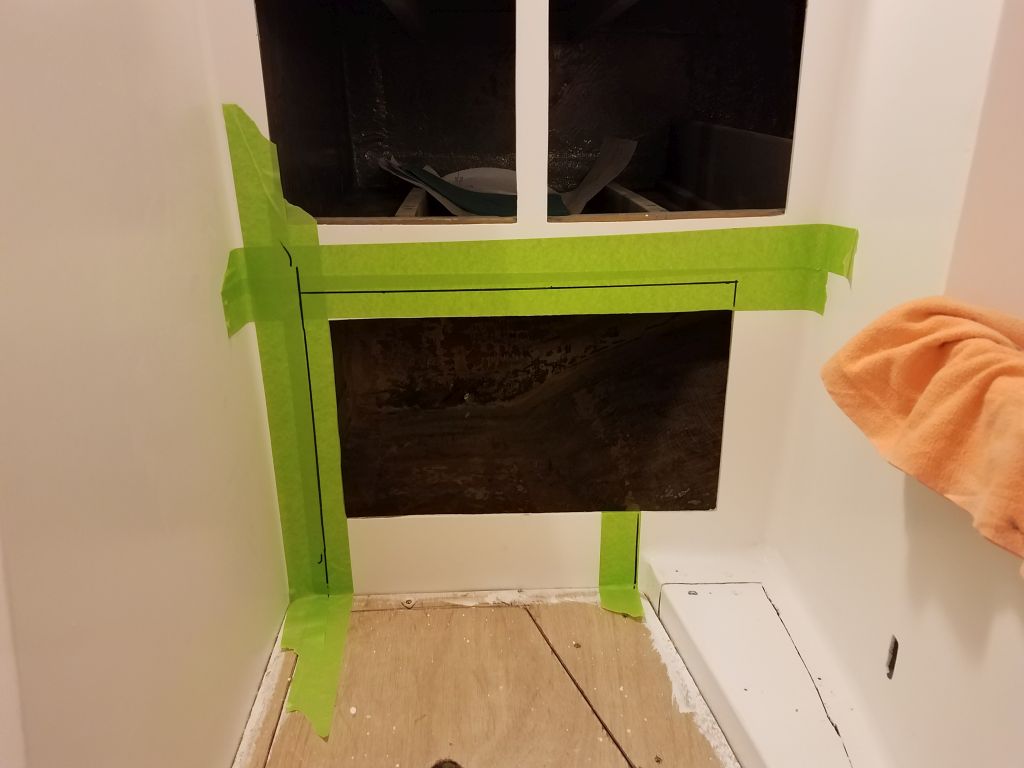
In the galley, I turned my attention to one last dust-making chore: enlarging the opening to the locker beneath, where the owner planned to store a small high-performance cooler to replace the defunct icebox. I needed to raise the height of the opening as much as possible, and also cut it down to floor level to allow the cooler to fit.
The drawers and shelf above limited the amount I could enlarge the opening to about an additional 1-1/4″, so I masked around the opening and struck a cutline with a marker. I also decided to expand the opening to starboard (inboard) by an inch, as well as removing the bit of panel just above the cabin sole.
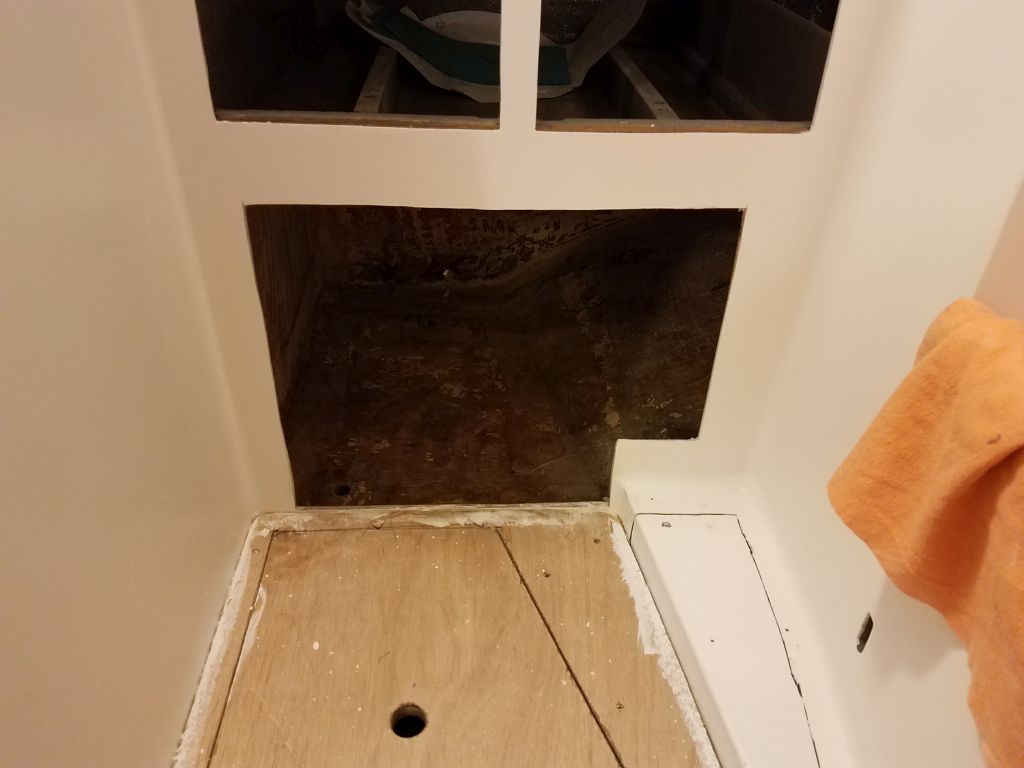
I made the new cuts with my reviled knock-off vibrating multi-tool, which did the job albeit slowly, but it made a clean cut with minimal disruption. Now I could measure the new opening so I could build the final cabinet door to match the others I’d recently started.
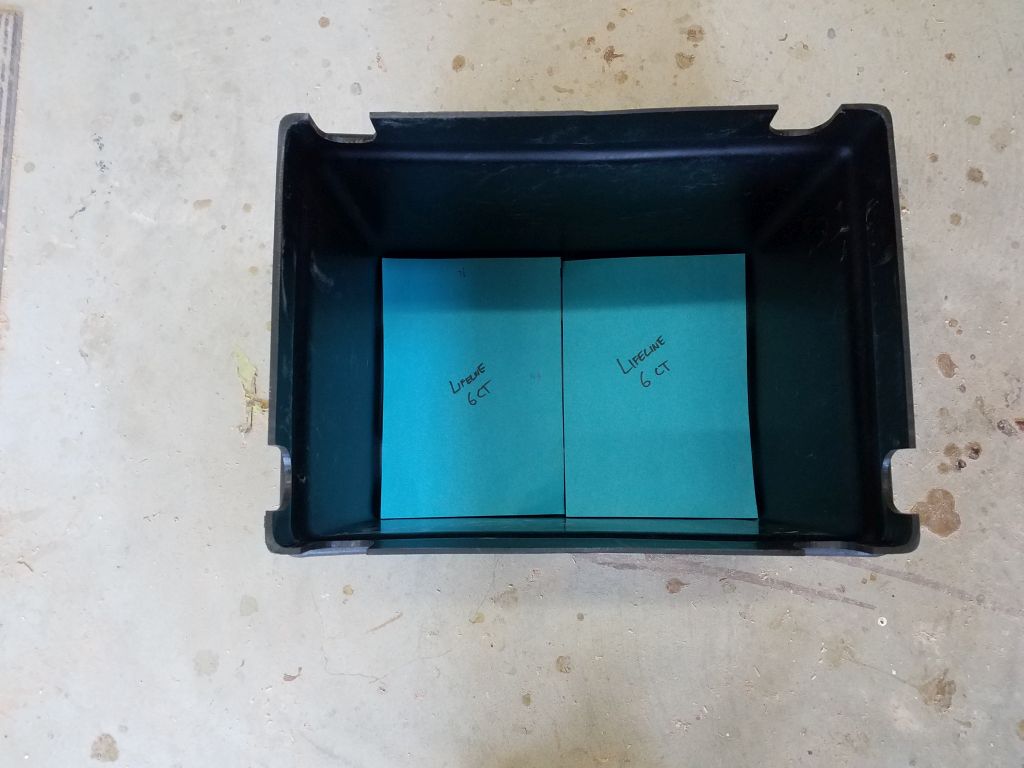
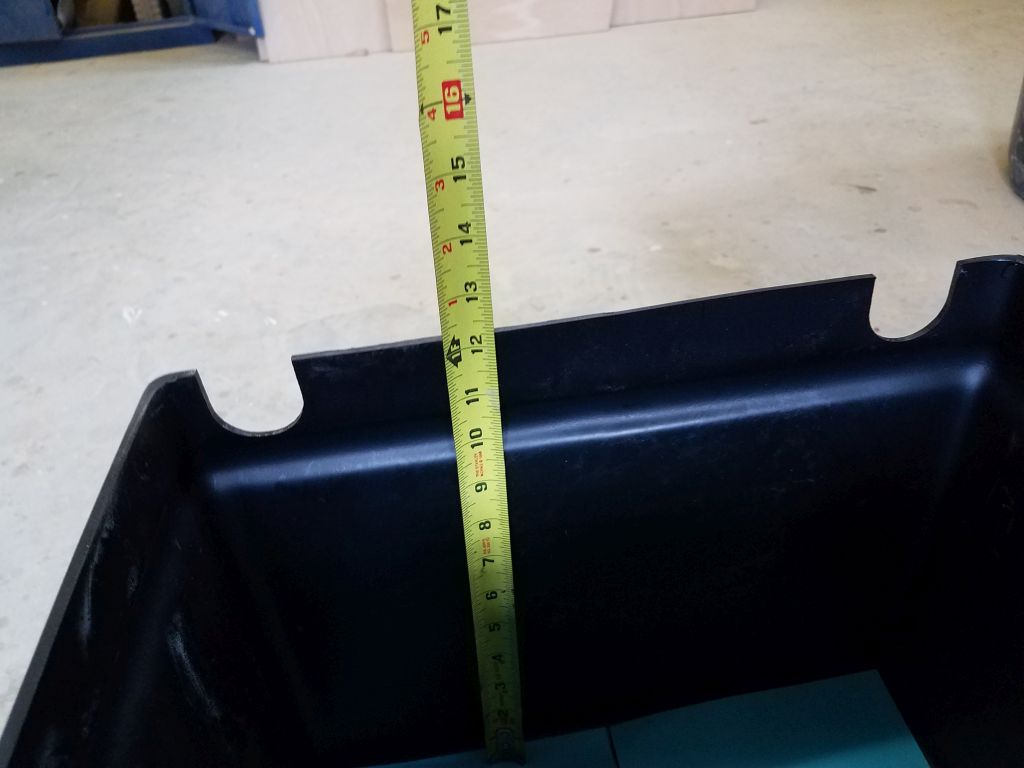
In the engine room, I measured for and cut a plywood shelf that would support four of the eight batteries required for the new electric motor. The shelf would span across the forward end of the engine room, and while I wouldn’t actually install the shelf till later (it would limit access to some areas within the space, and there was more work to do first), I wanted to build it and have it ready to go.
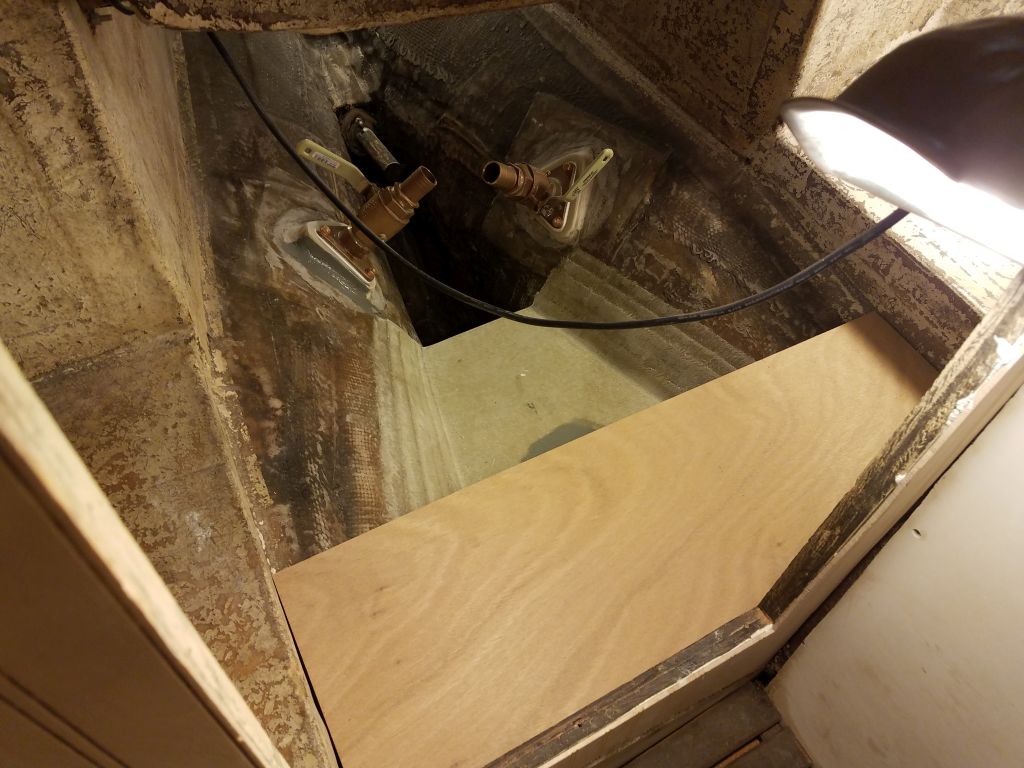
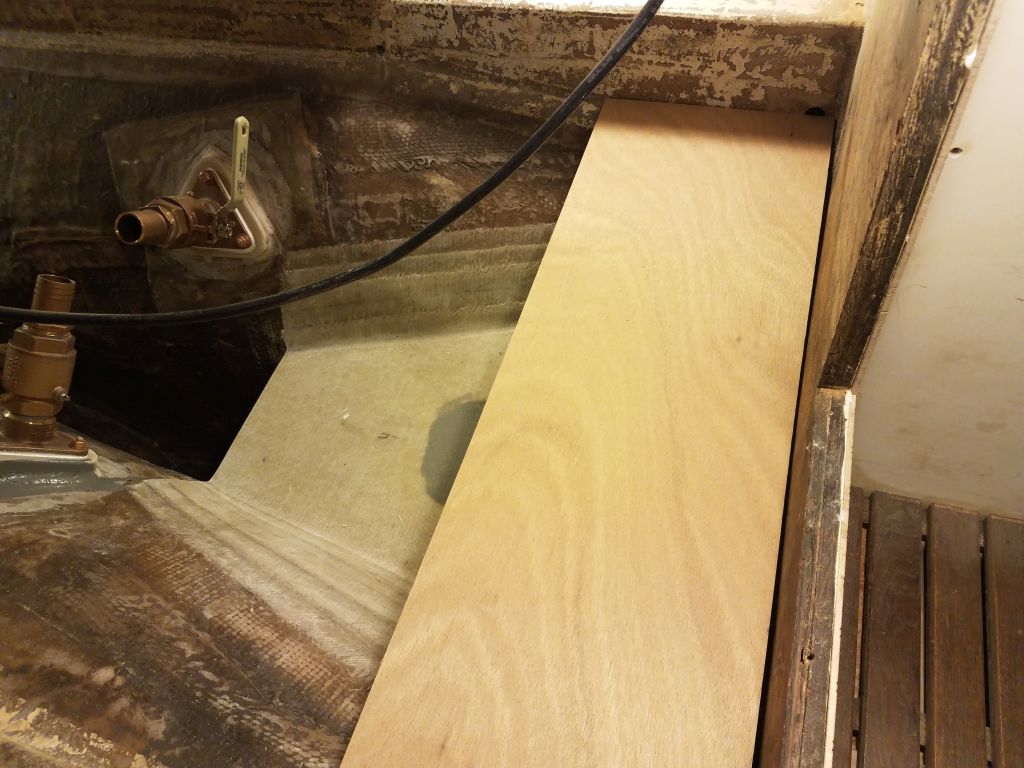
I found some molded battery boxes that seemed to fit the chosen batteries well, and planned to use these to house and secure the batteries. I had one of the boxes on hand as a test, and used it to help dimension and confirm the shelf’s size. In the final photo, the lid is standing in for the second box that would eventually fit on this shelf; two additional boxes (one per side) would hold the remaining batteries on existing platforms in the engine room.
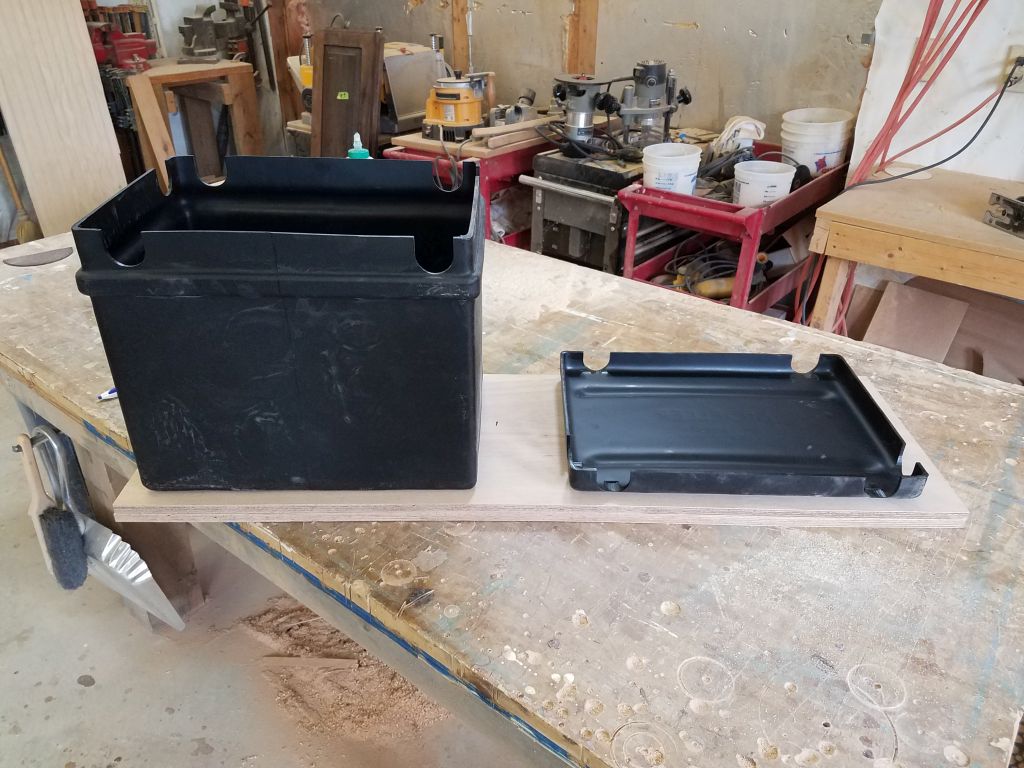
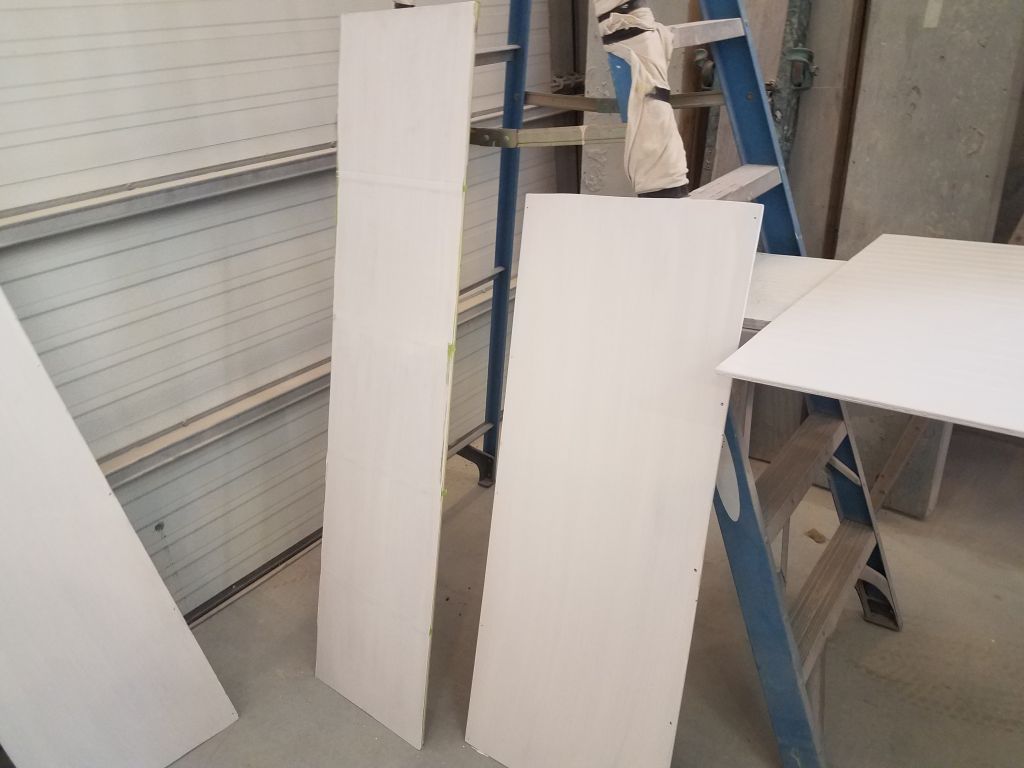
After test-fitting the piece of plywood, I cut an identical piece of the 12mm material and laminated the two pieces together with epoxy adhesive to make a thicker, stronger piece about 1″ thick.

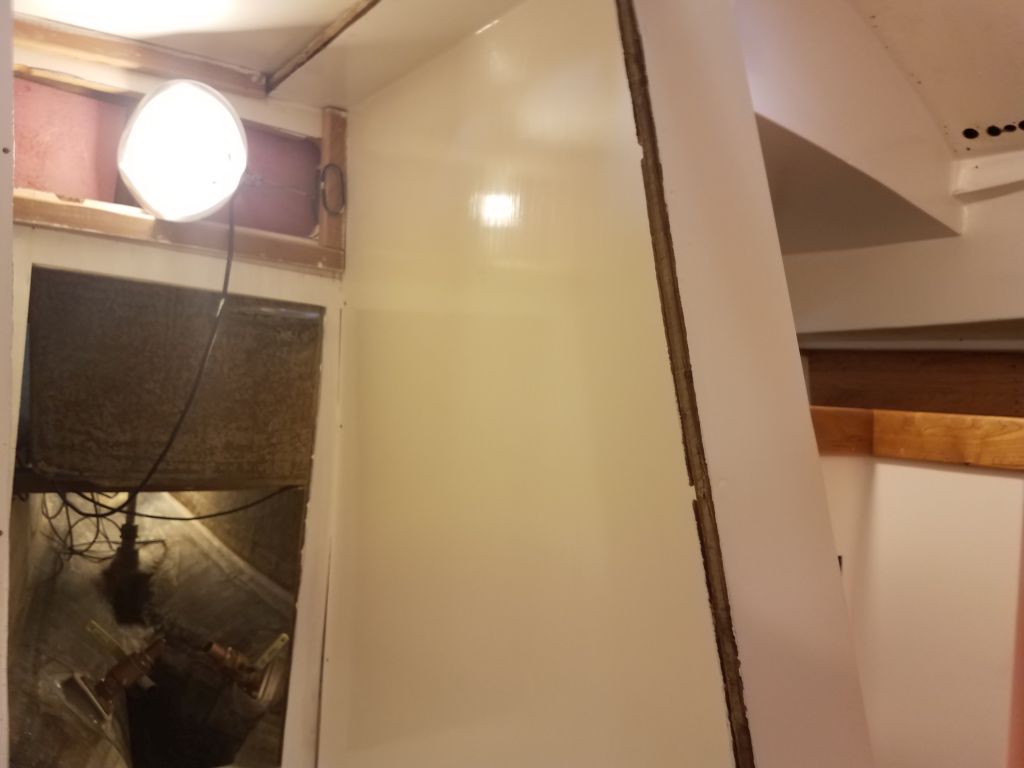
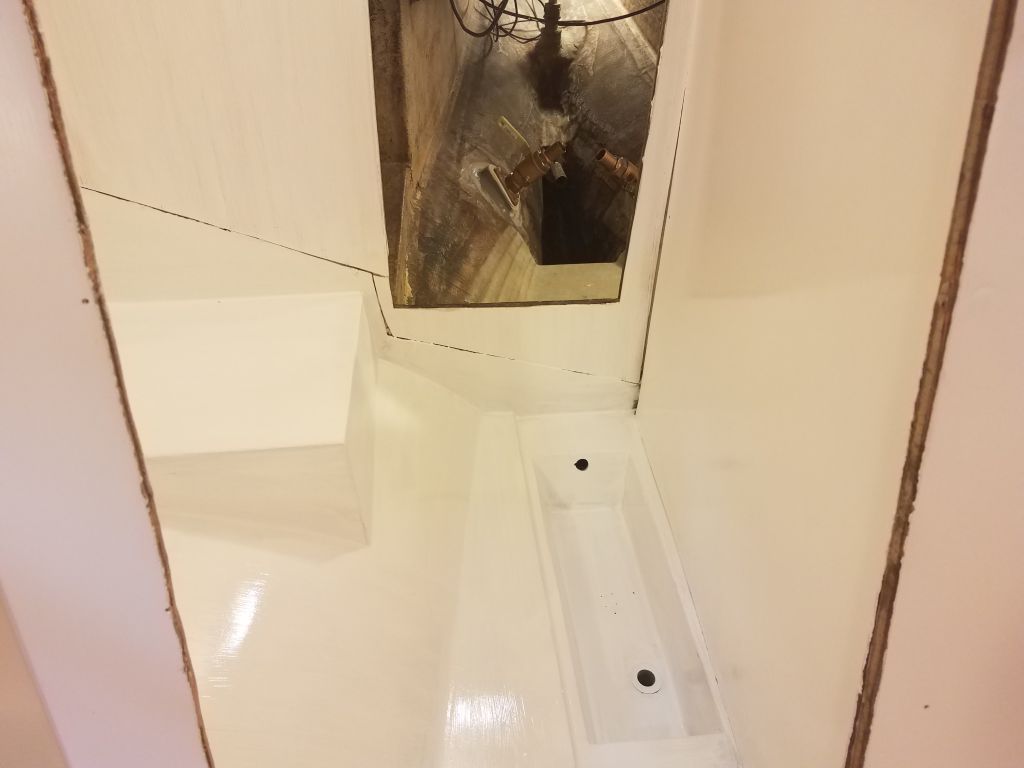
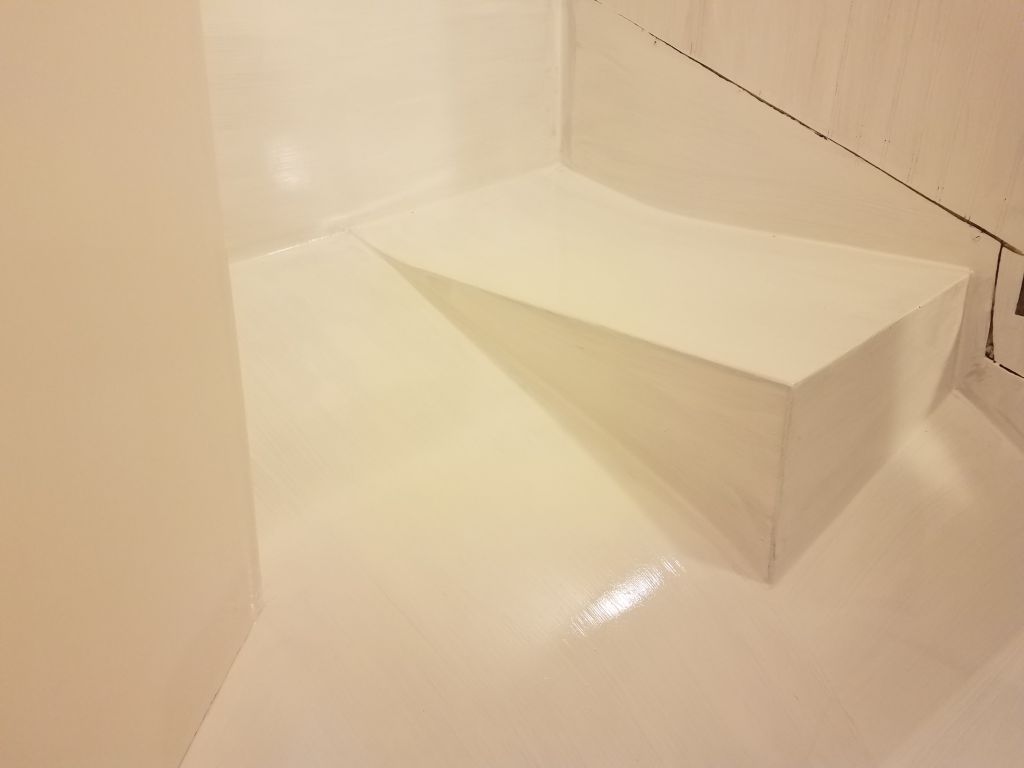
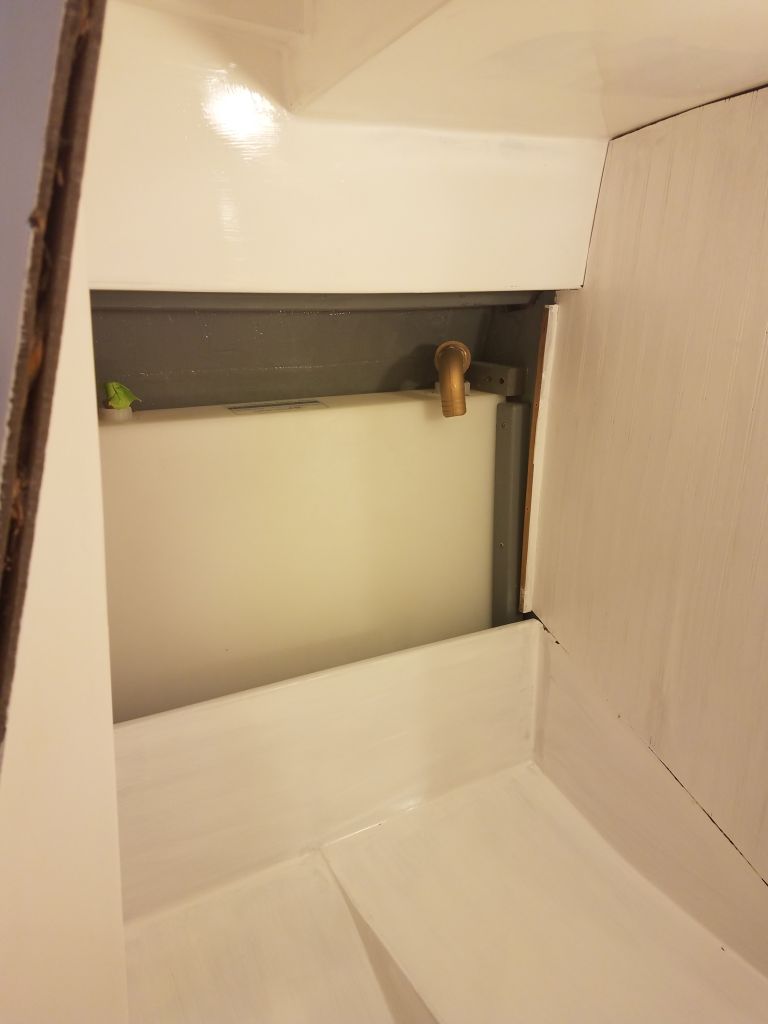
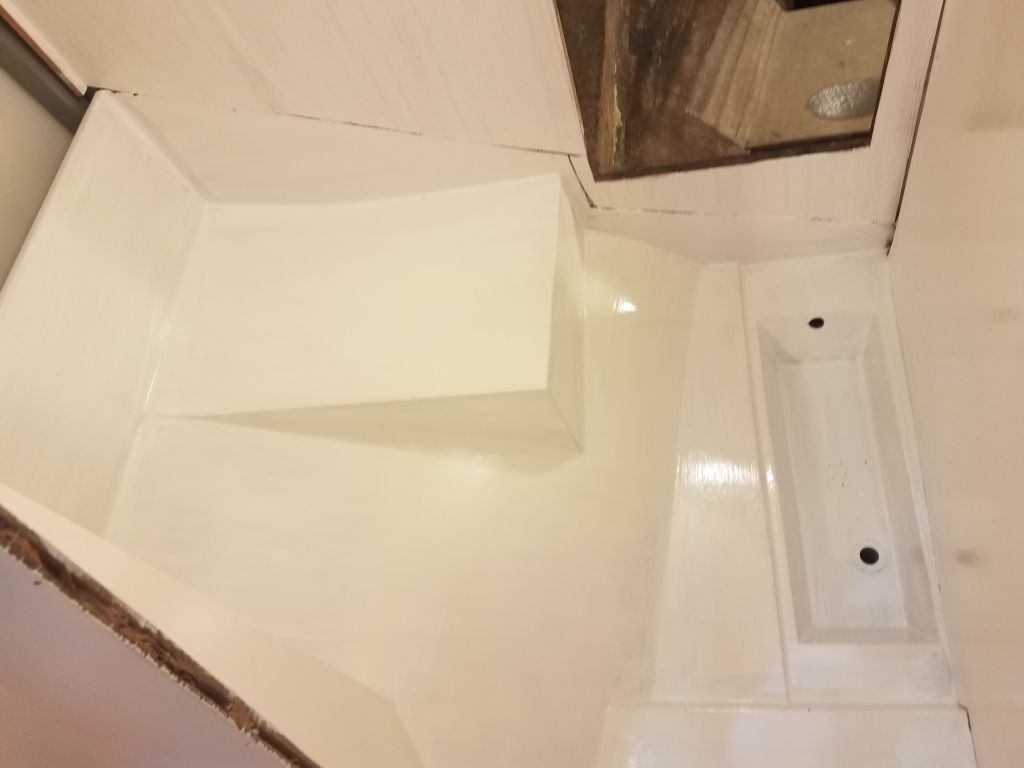
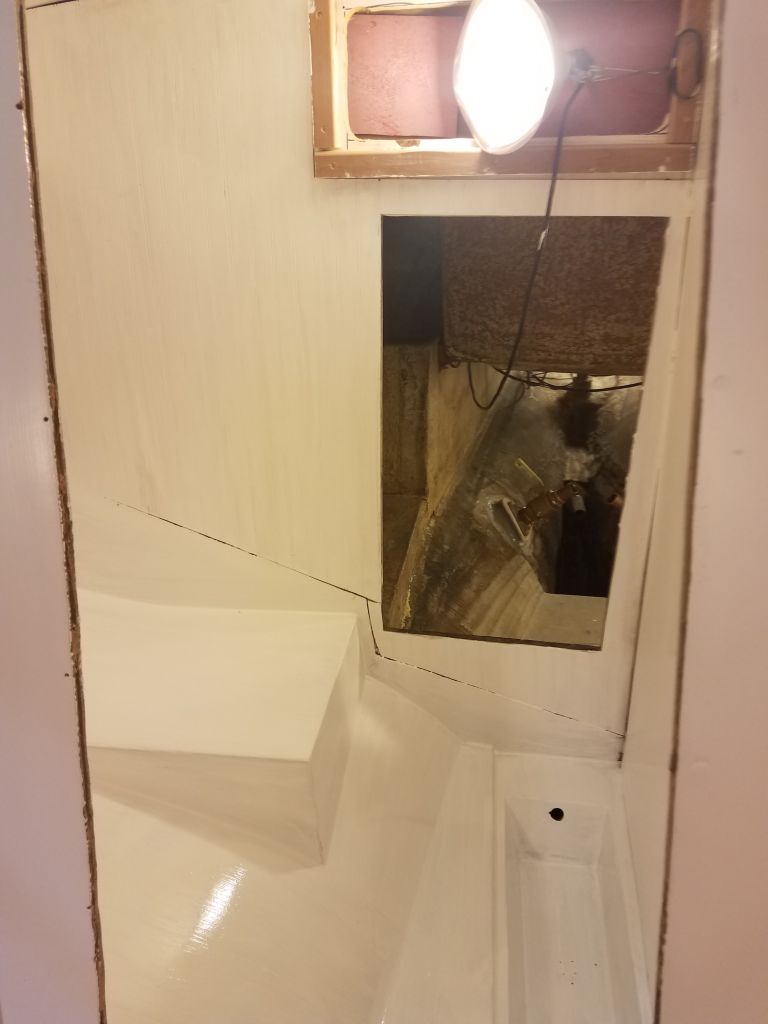
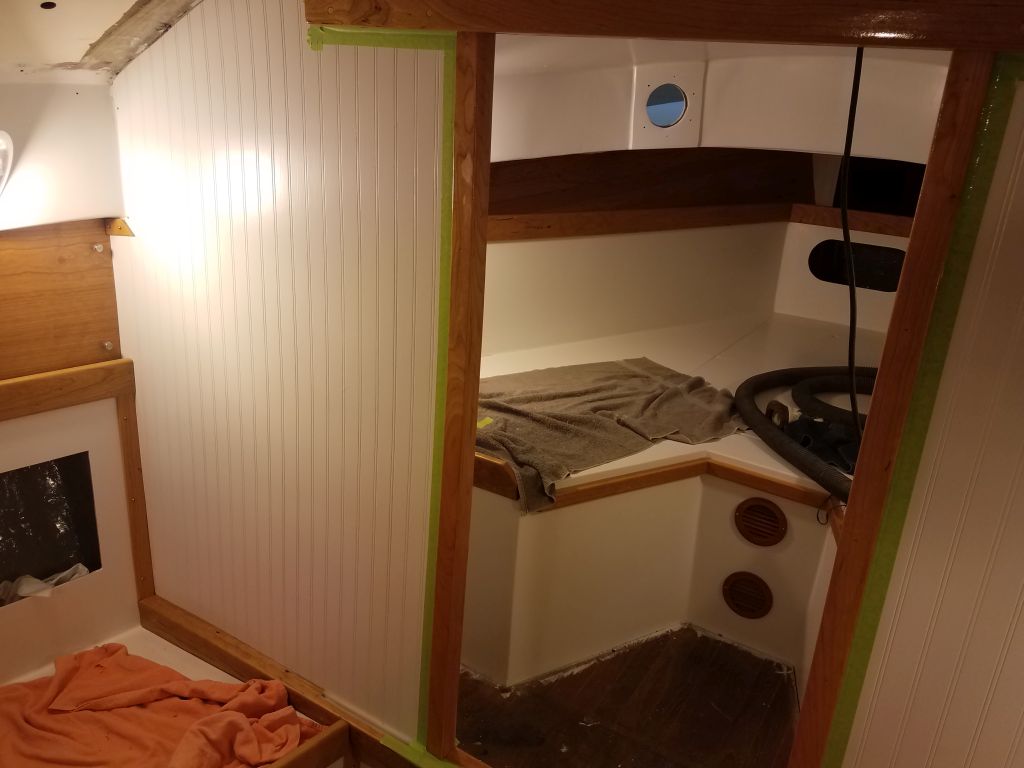
After final preparations and cleanup, I applied a coat of white primer to the entire head area. This was a challenging and deceptively large space, with many facets and surfaces, but it was nice to cover up the old surfaces.

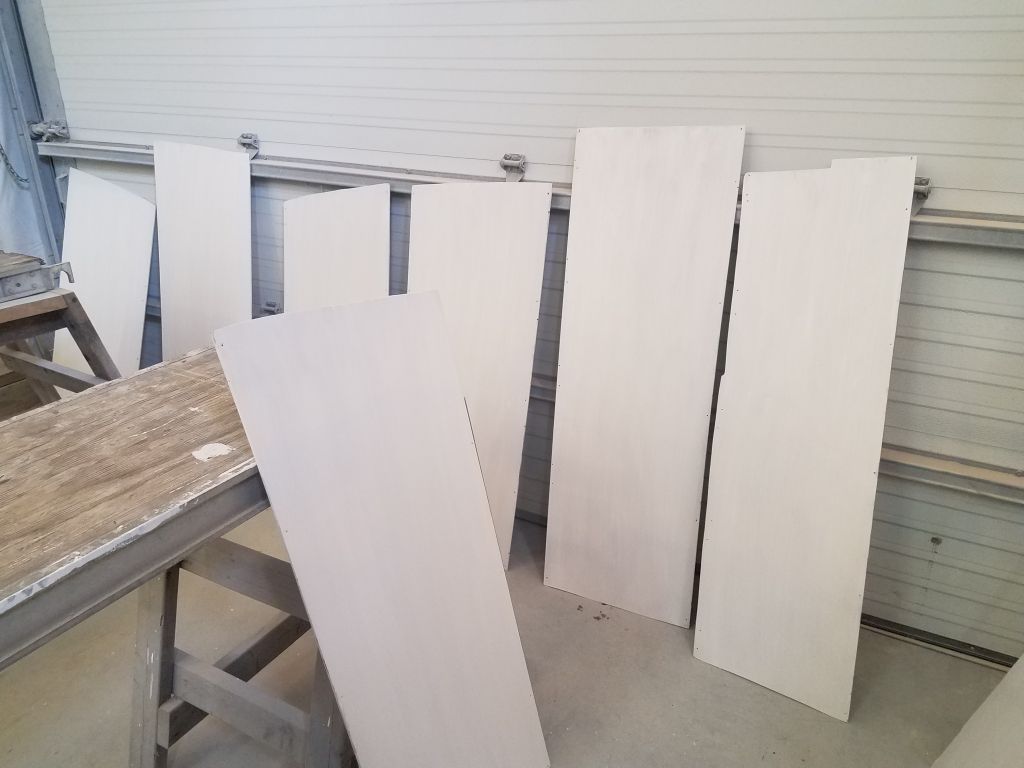
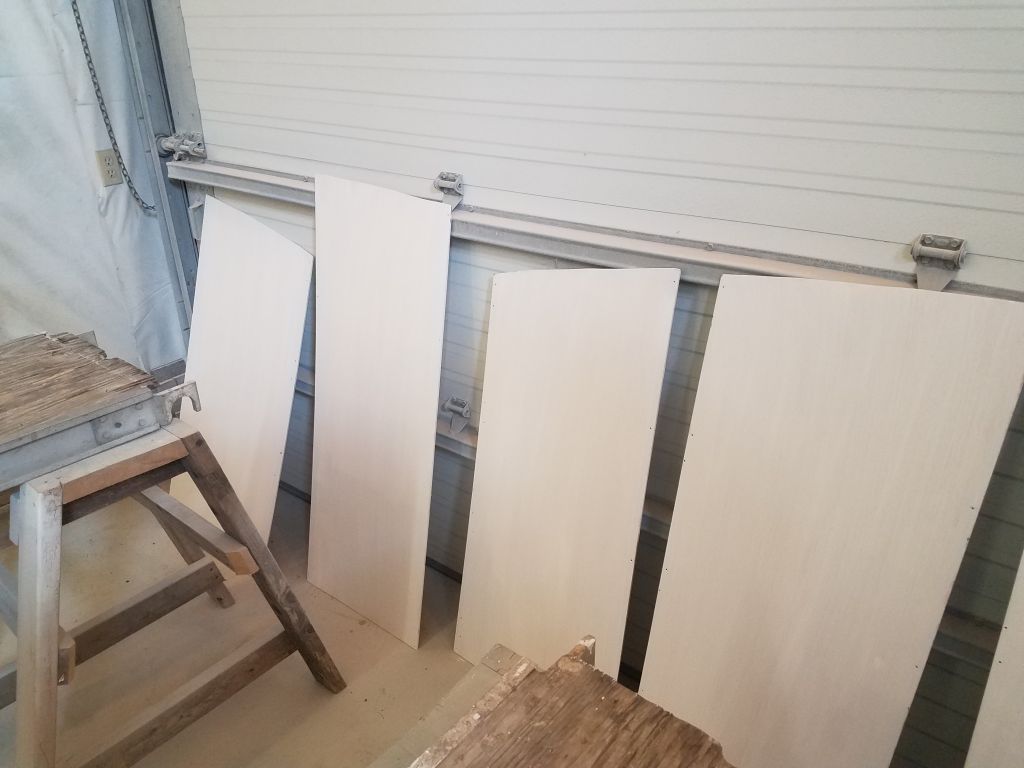
While I had the primer out, I primed all sides of the overhead panels and other panels I’d been working on, including the new head panel, the engine room door, and the back panel for the companionway. Earlier in the day, I’d lightly sanded these panels as needed, mainly at the edges to slightly ease them and remove minor splinters common to this plywood.

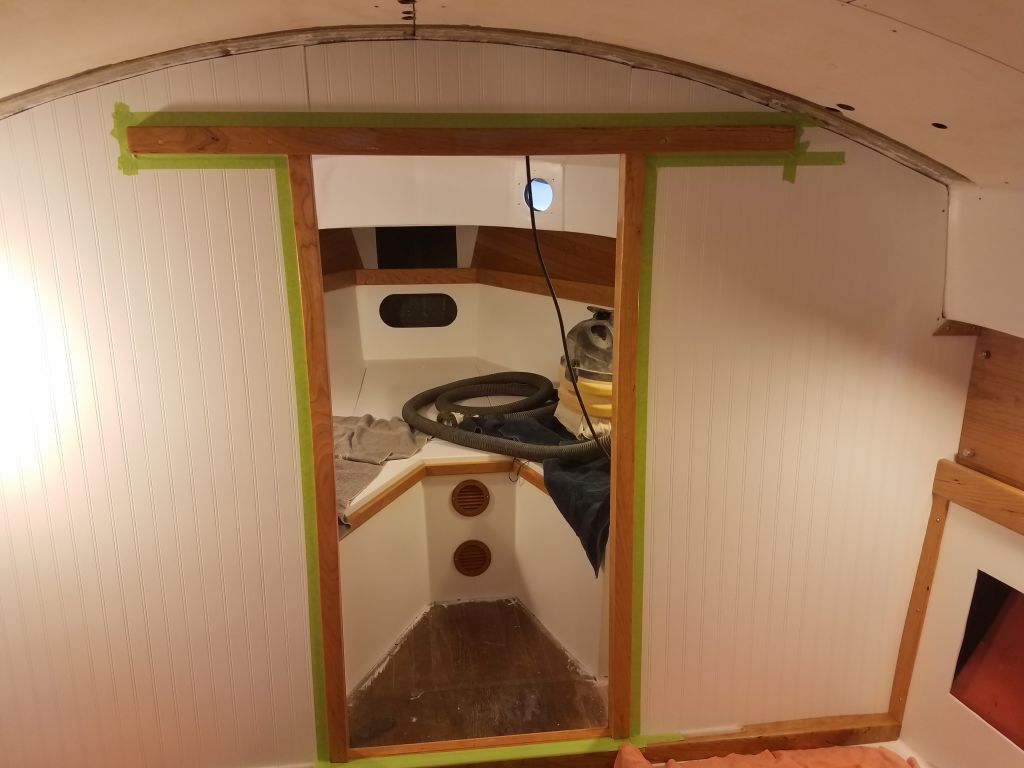
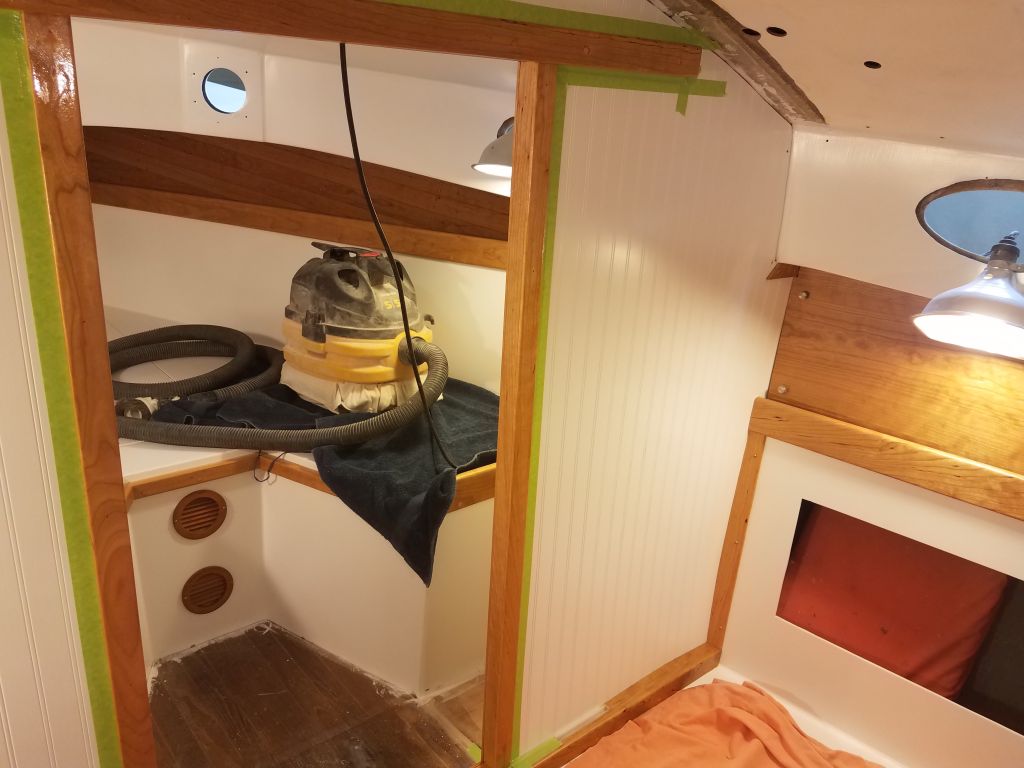
In the main cabin, I masked around all the new doorway trim in the bulkhead and applied the first coat of varnish to the new cherry.
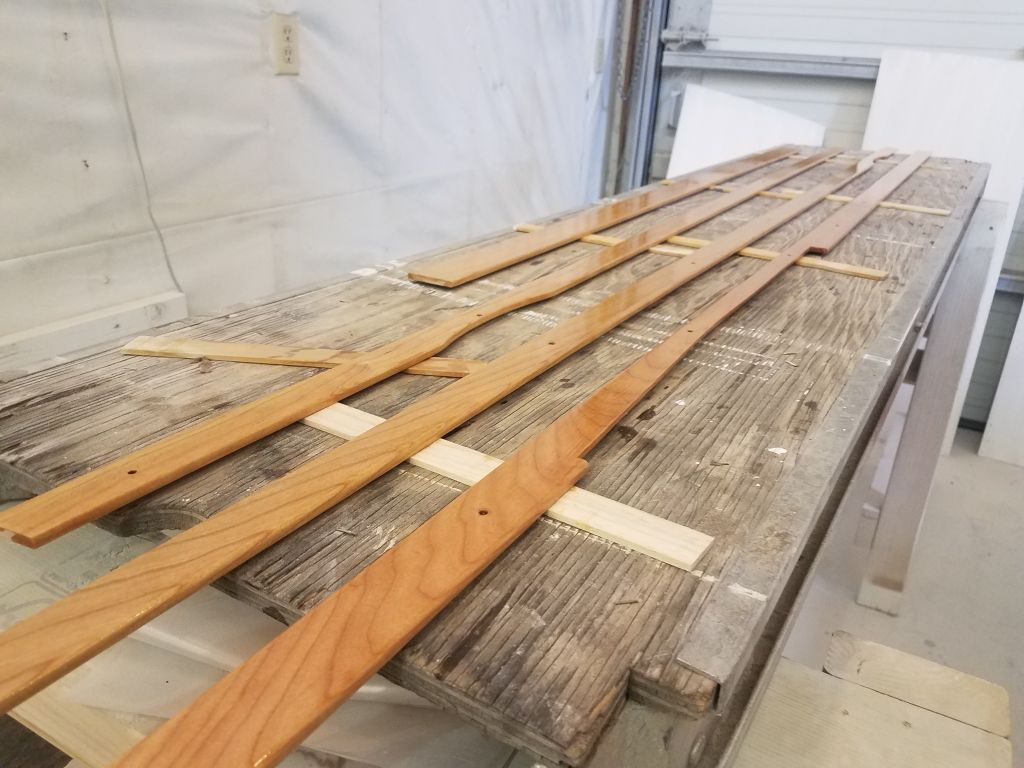
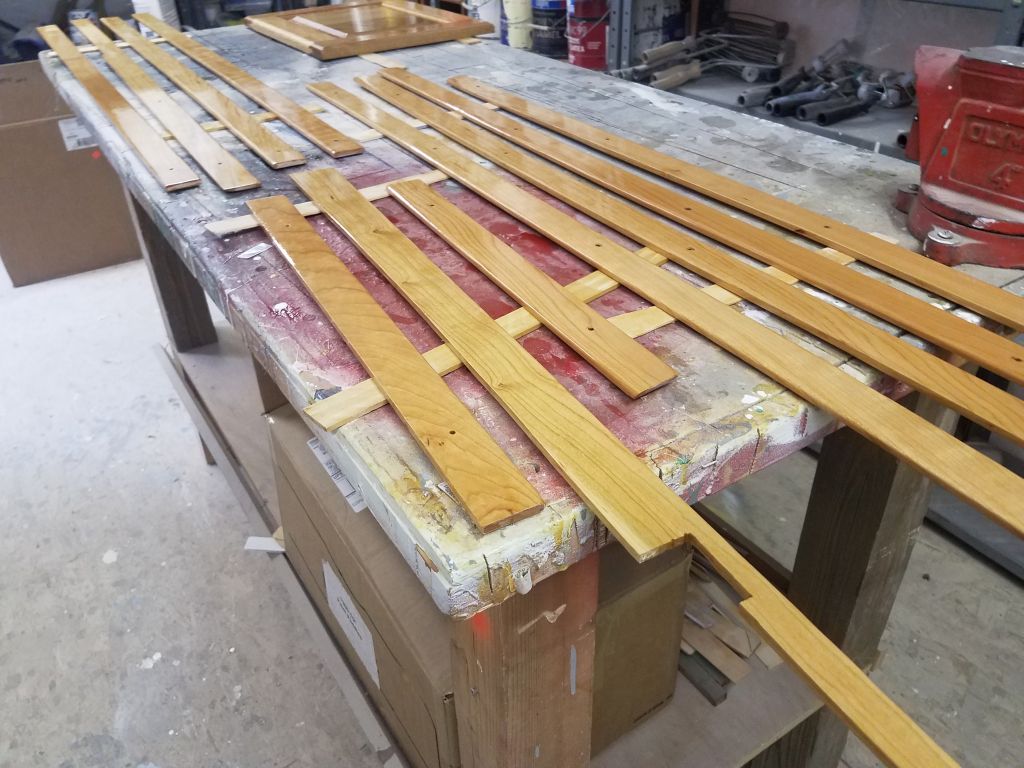
Finally, I applied the fourth coat of varnish to the overhead trim pieces, which I’d lightly sanded early in the morning.
Total time billed on this job today: 8.25 hours
0600 Weather observation: 40°, clouds, windy. Forecast for the day: Becoming mostly sunny, windy, 52°