


October 23, 2019
Scupper 165
Wednesday
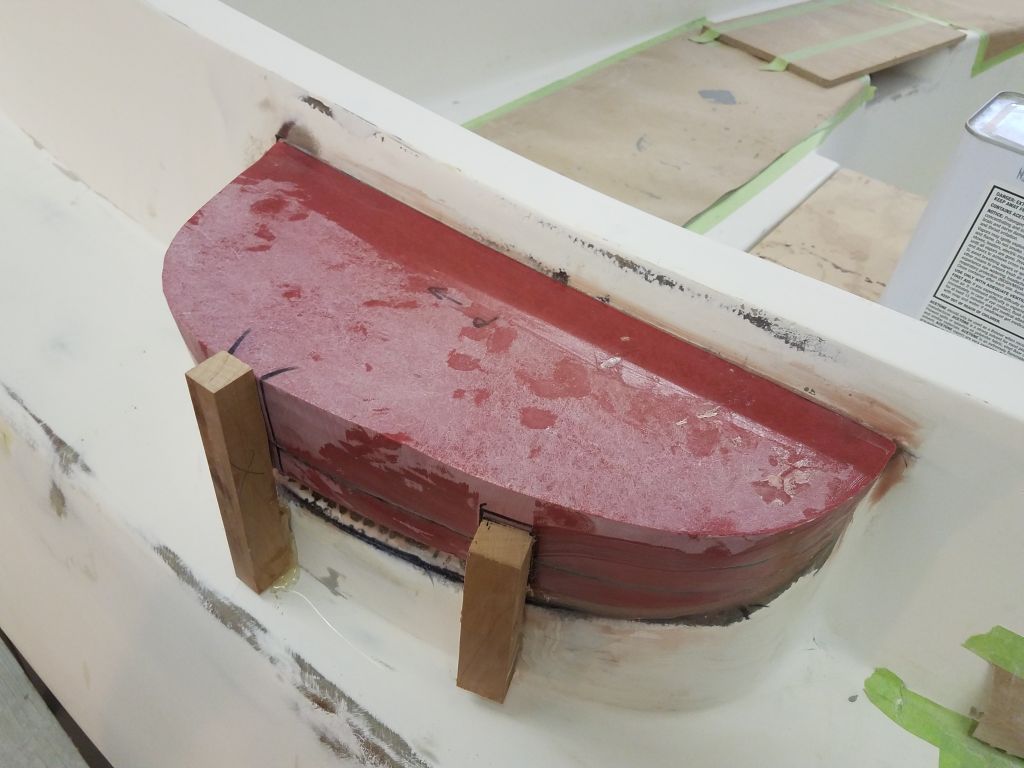
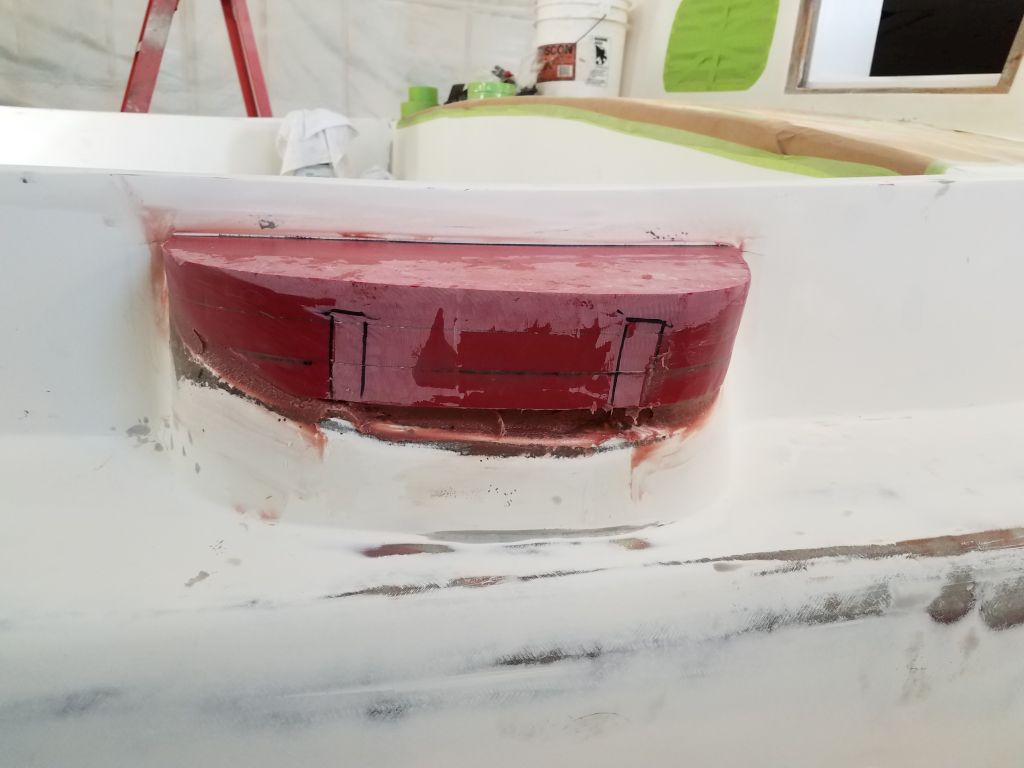
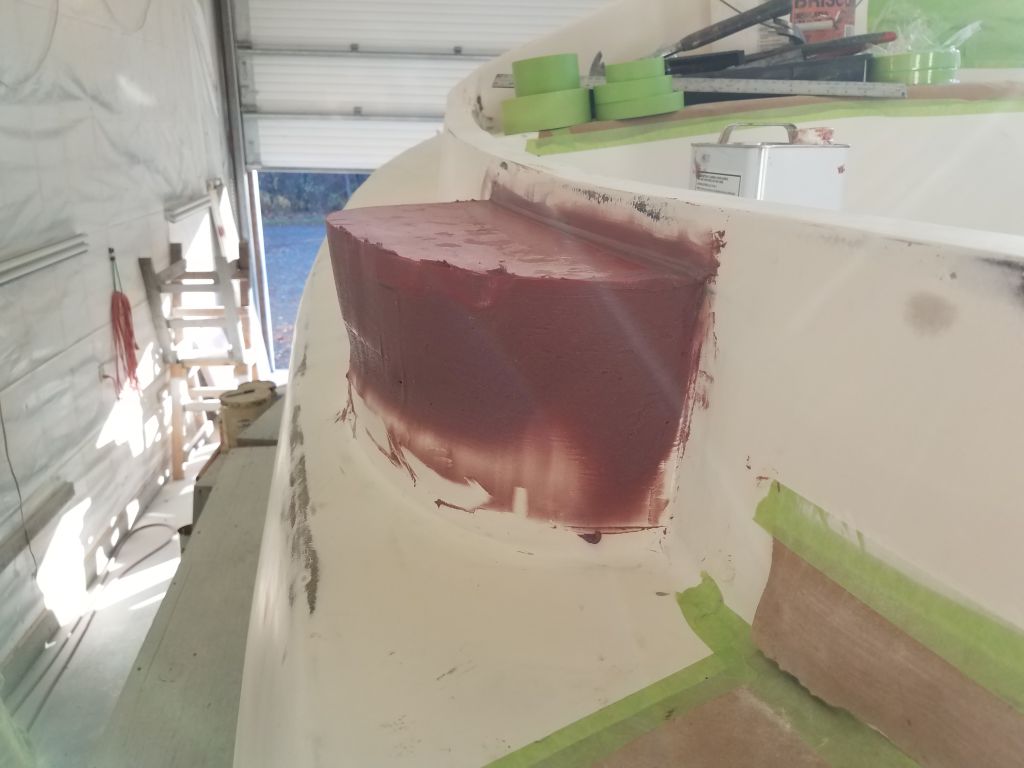
The laminated winch island blanks required some final shaping before I could move on with installation. This shaping not only cleaned up excess epoxy, but more importantly evened up the three layers; the way the layers had ended up dry-stacked, as required to make them fit properly with the top level on the boat, had meant that the top layers in particular had overhung a bit, and were oversized. There’d be more shaping to do once the blocks were permanently in place. While I had the grinder out, I removed the gelcoat from the tops of the existing winch islands.
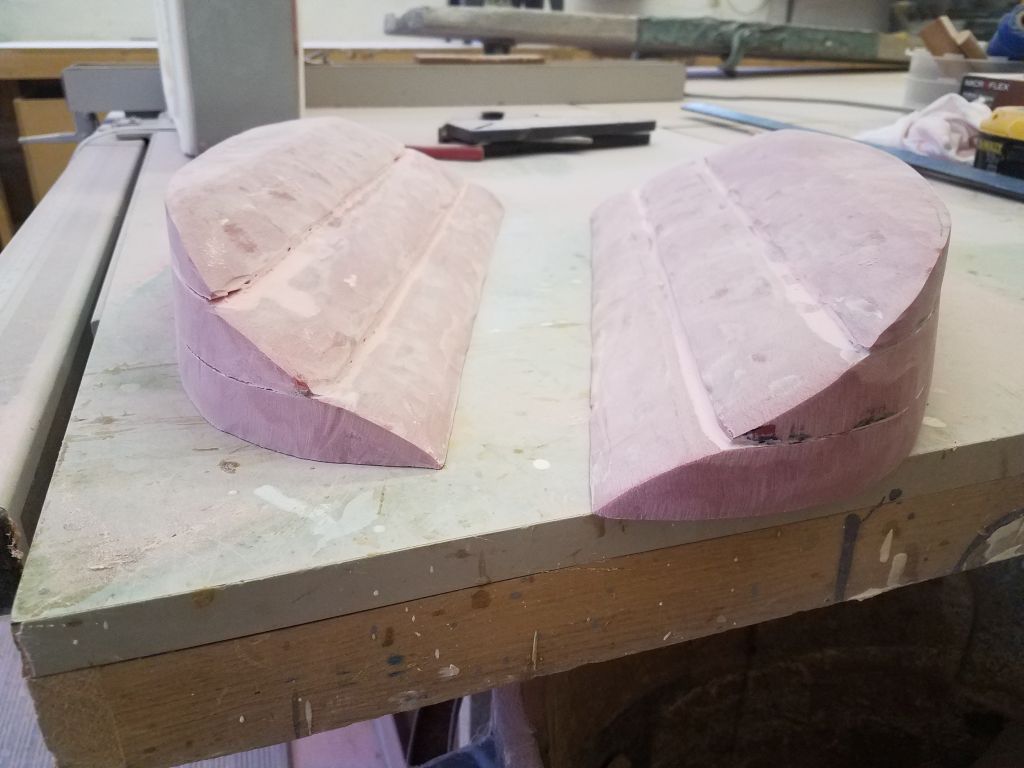


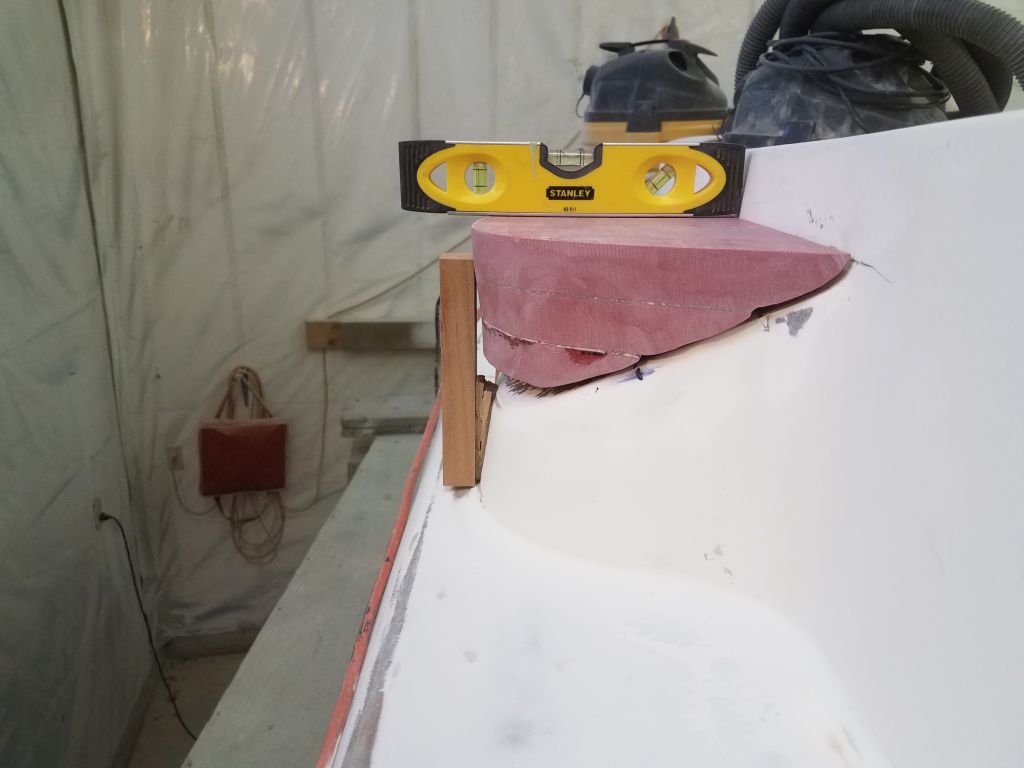
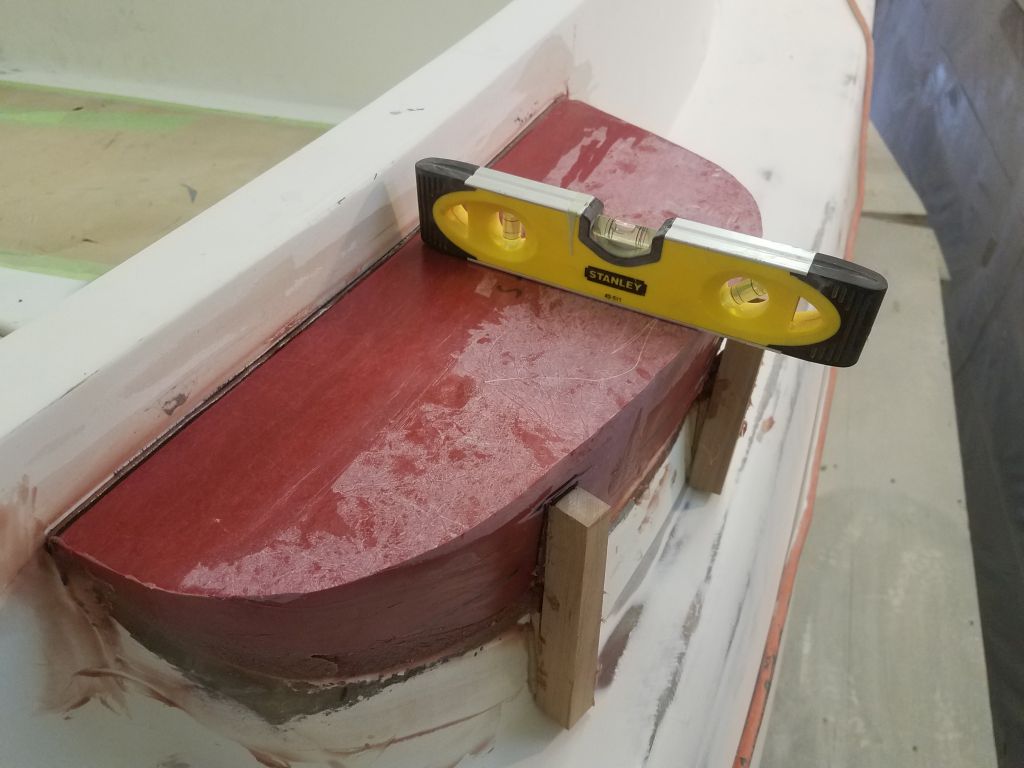
Now I test-fit the two assemblies to finalize their positions and check the overall fit now that they were single units.
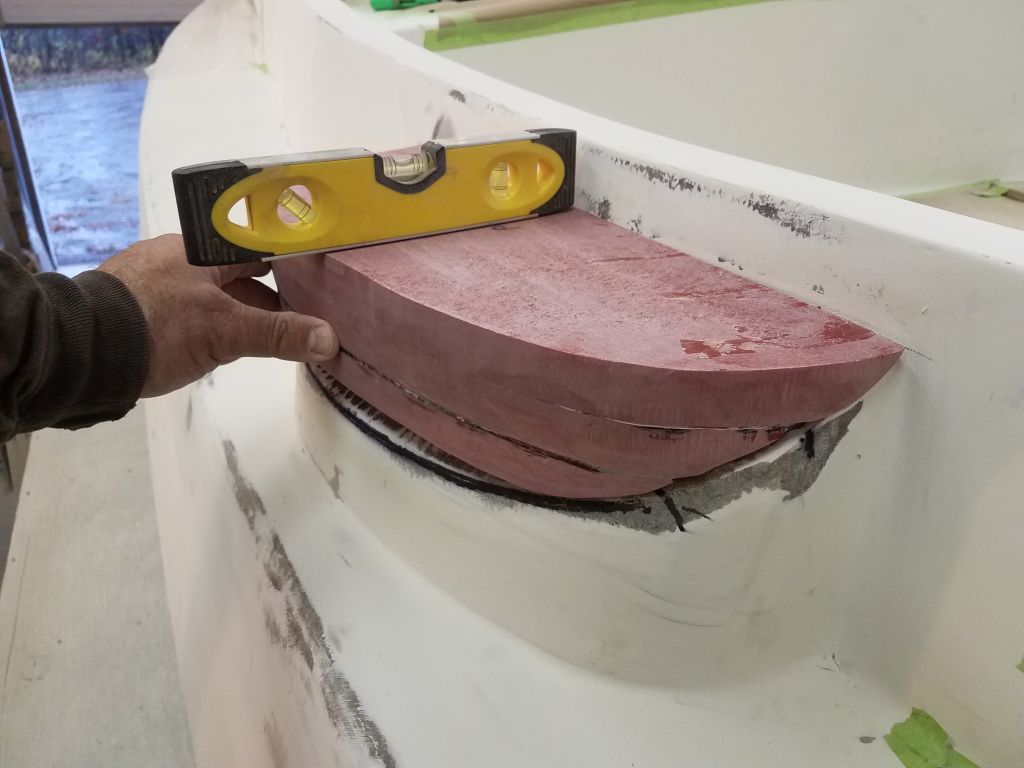
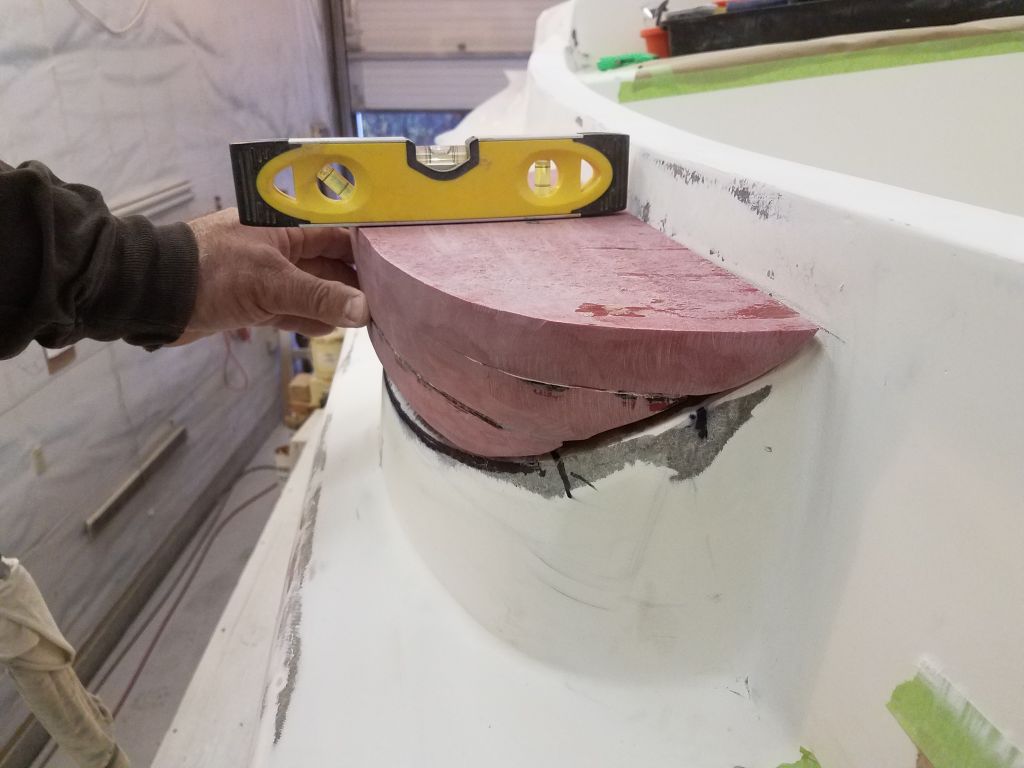
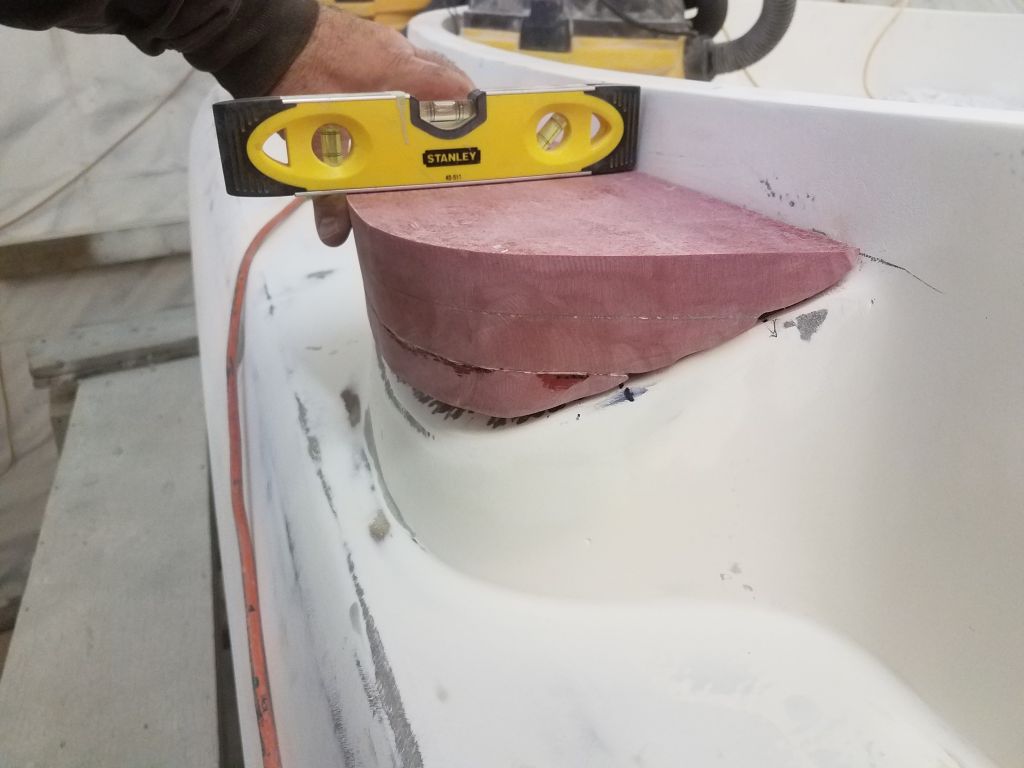
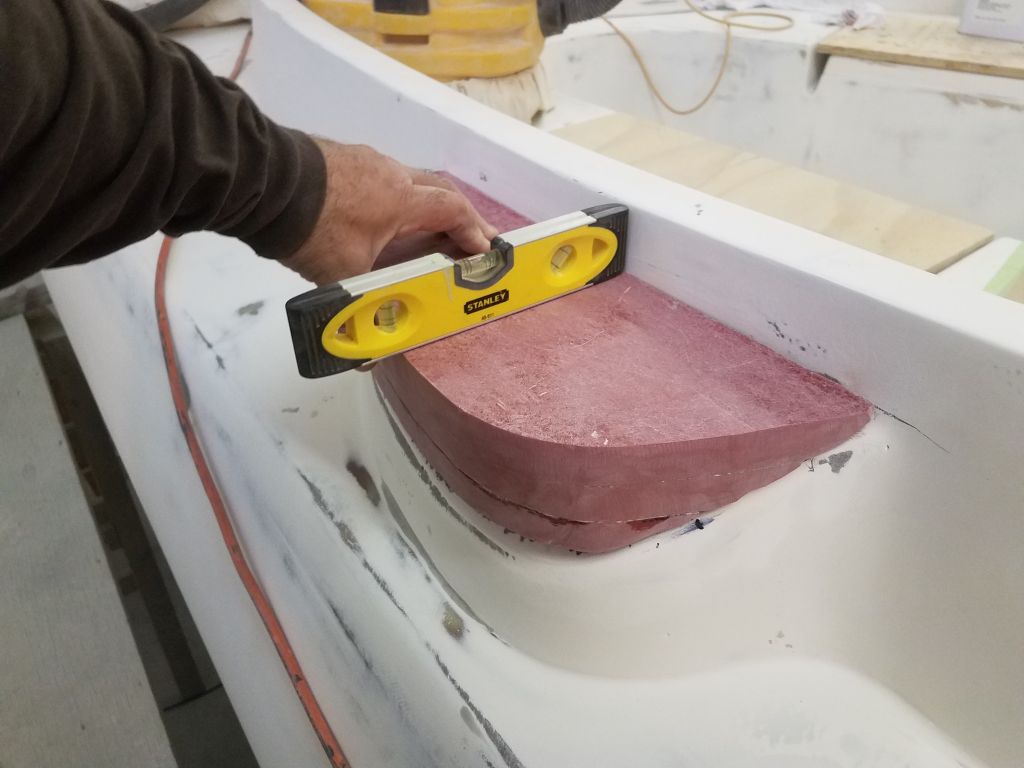
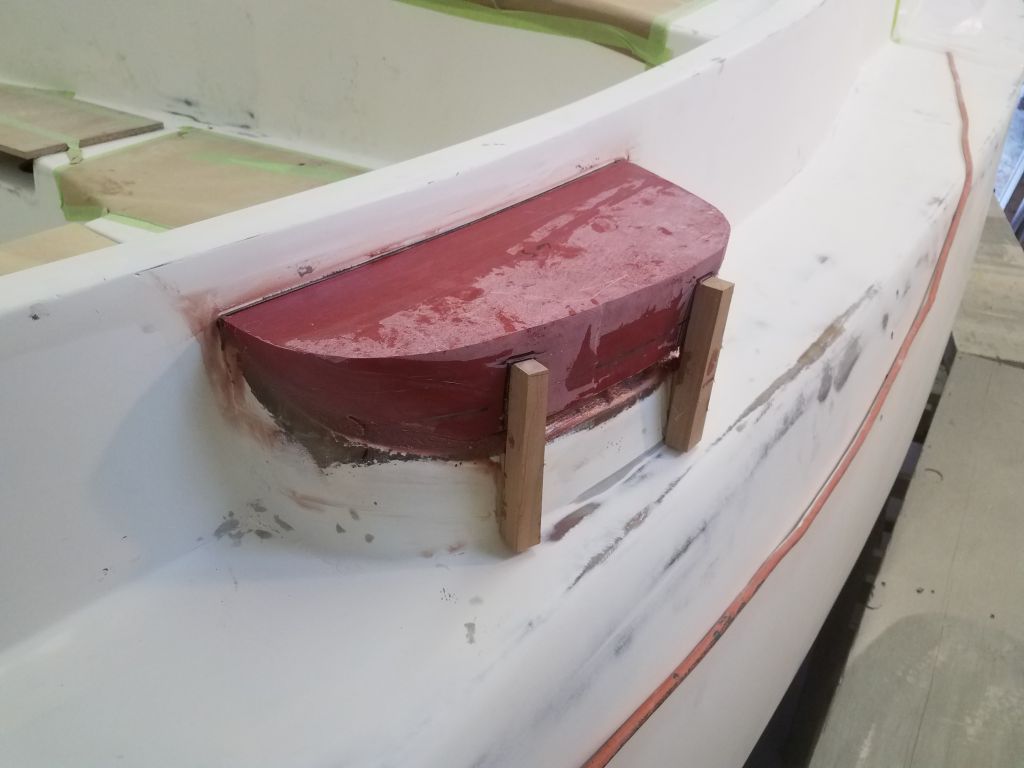
To help secure these in place while installing them with epoxy adhesive, I used hot glue to attach some blocks of wood on the downhill side, which kept the angled blocks from sliding.
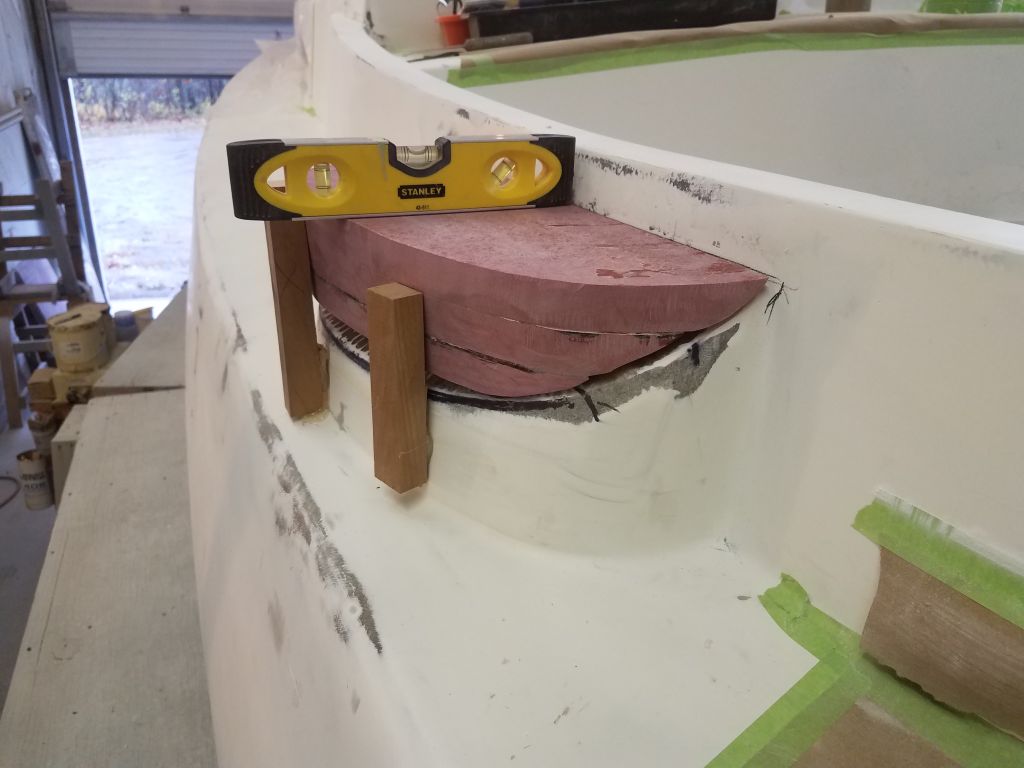
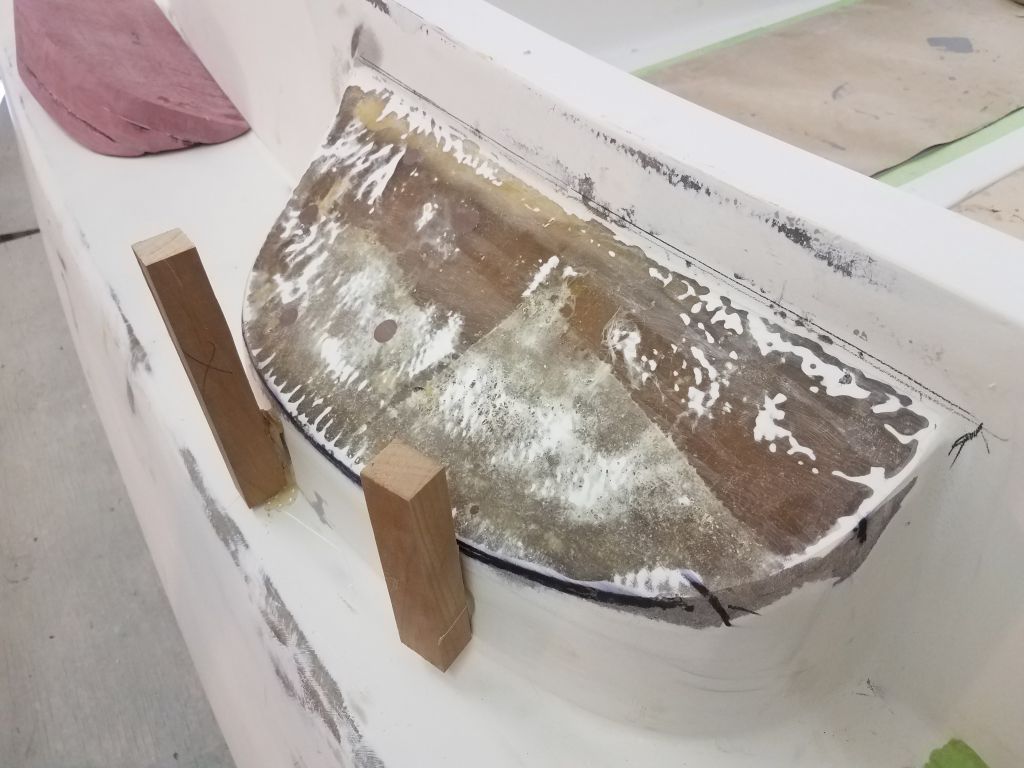


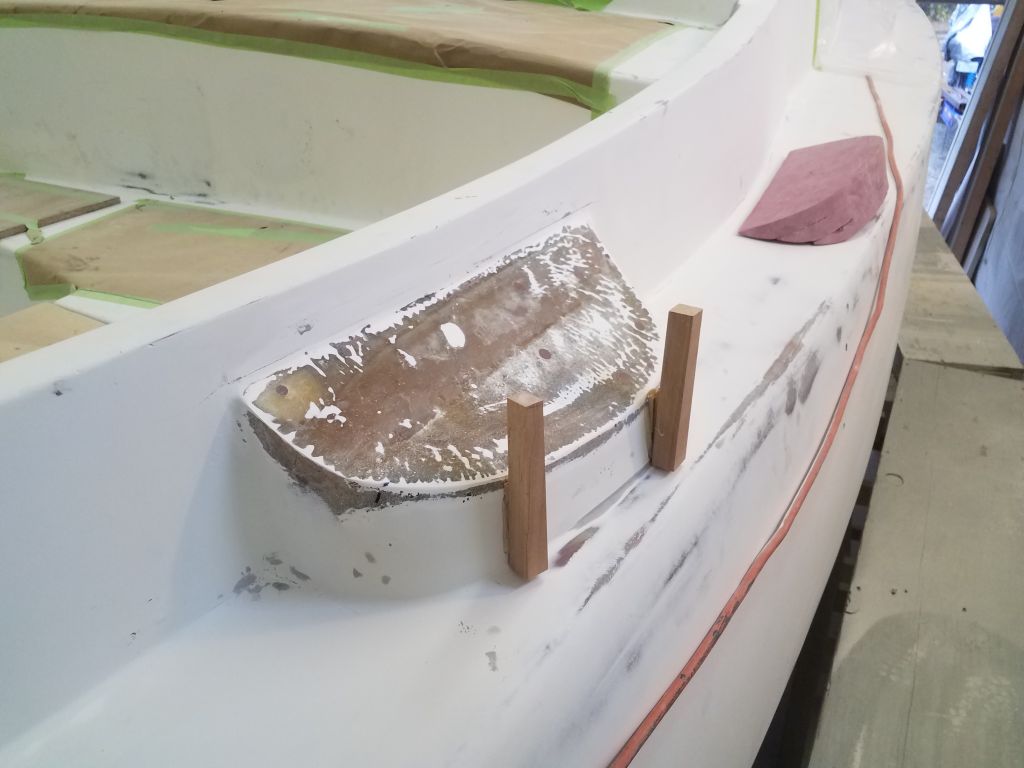
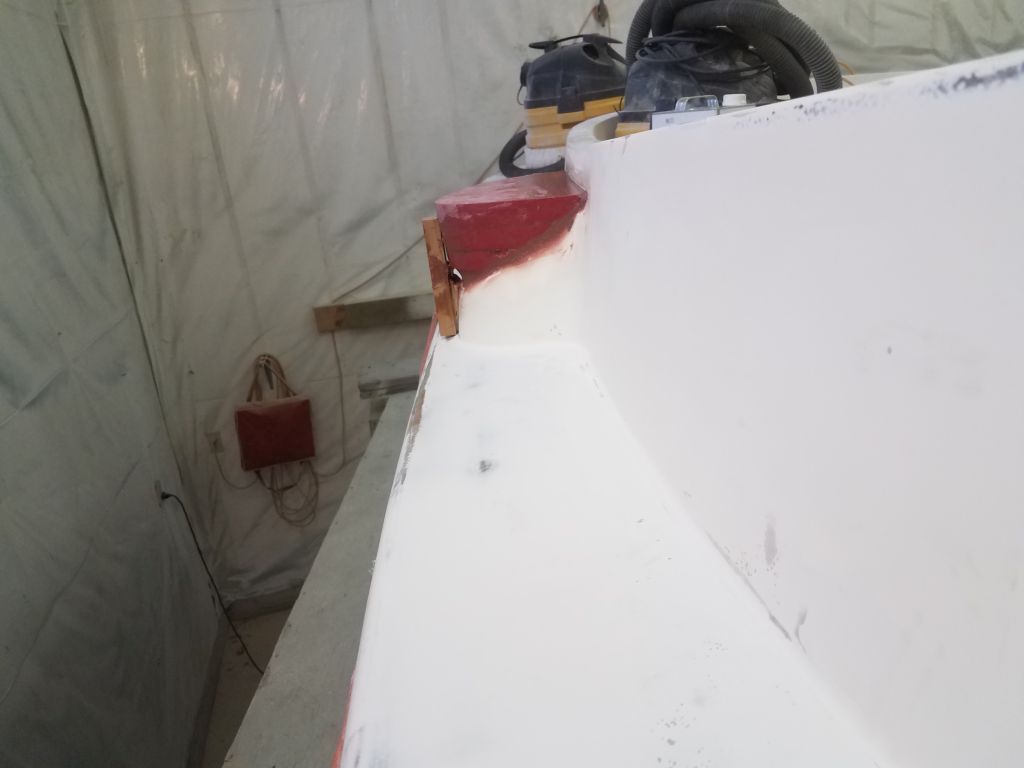
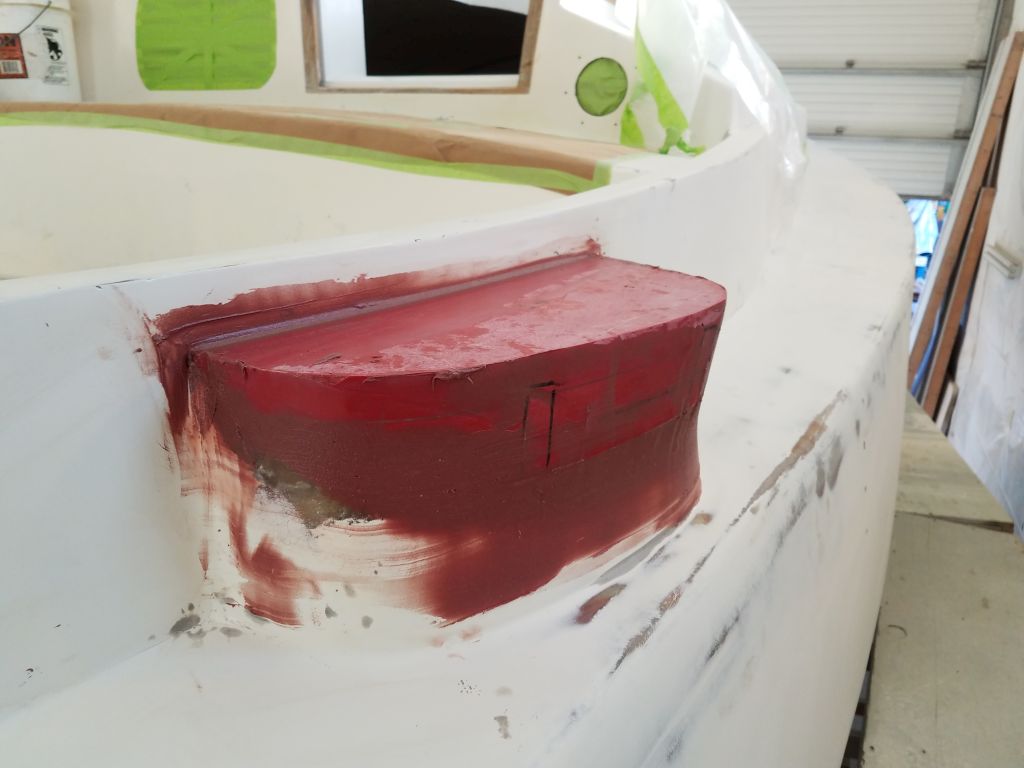
After final preparations, I installed the new blocks in a heavy bed of thickened epoxy adhesive, tapping them firmly into the adhesive like a mason with a brick and smoothing the excess around the edges. I left the void between the temporary glue blocks to fill and finish in a later step.

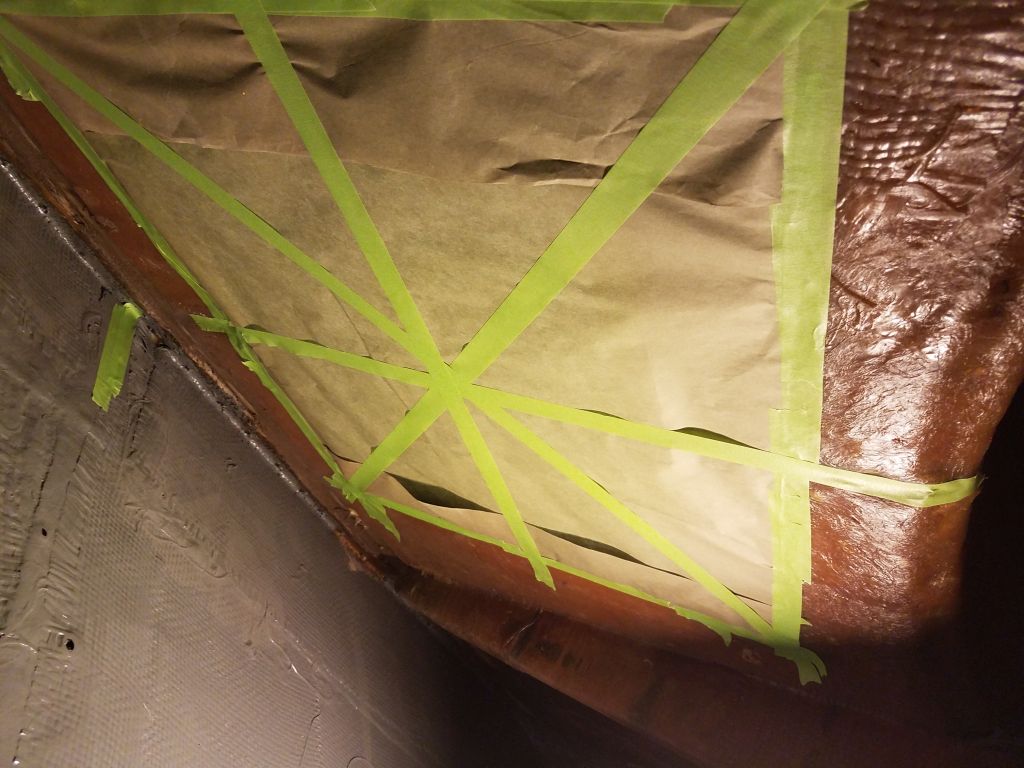
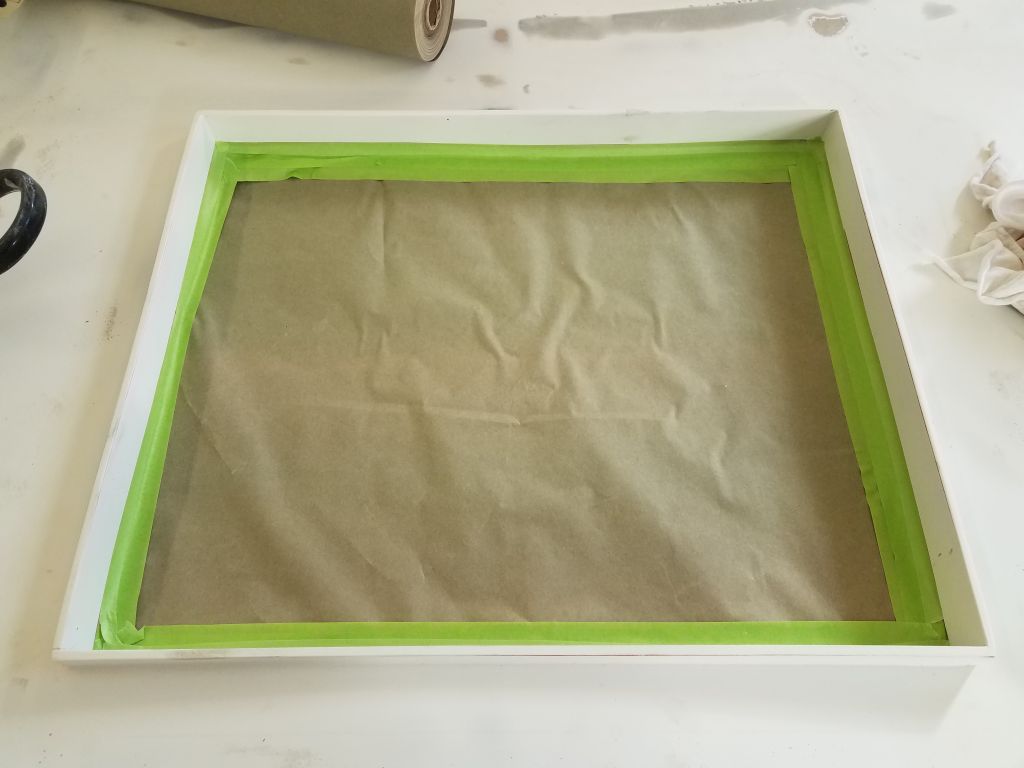
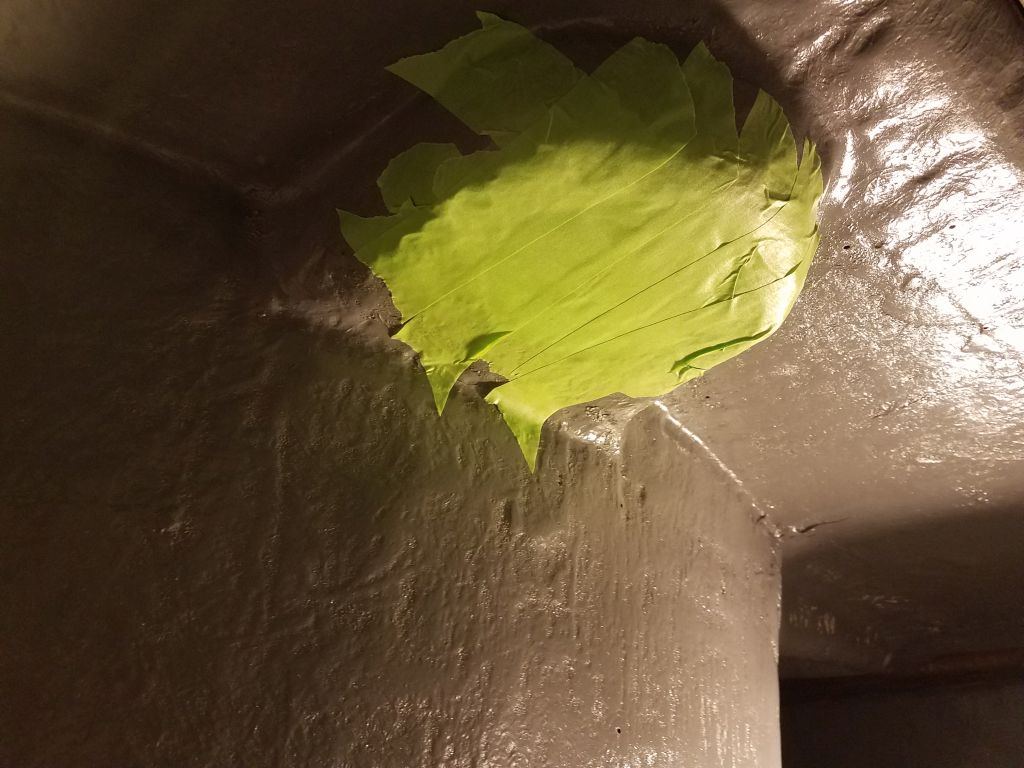
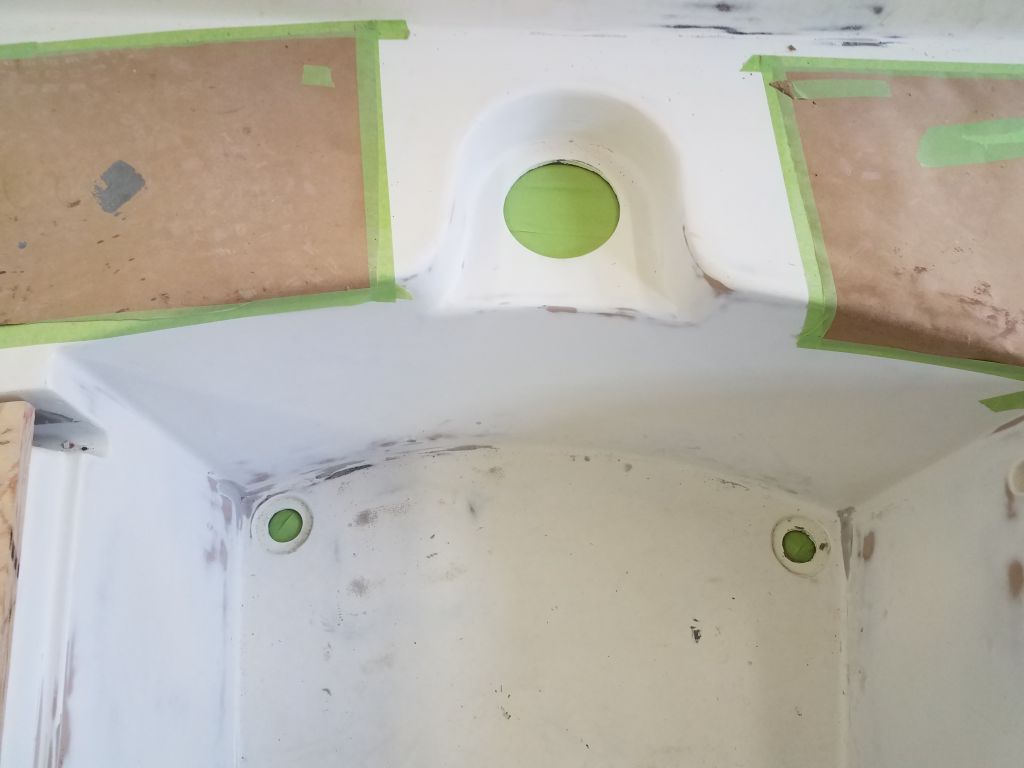
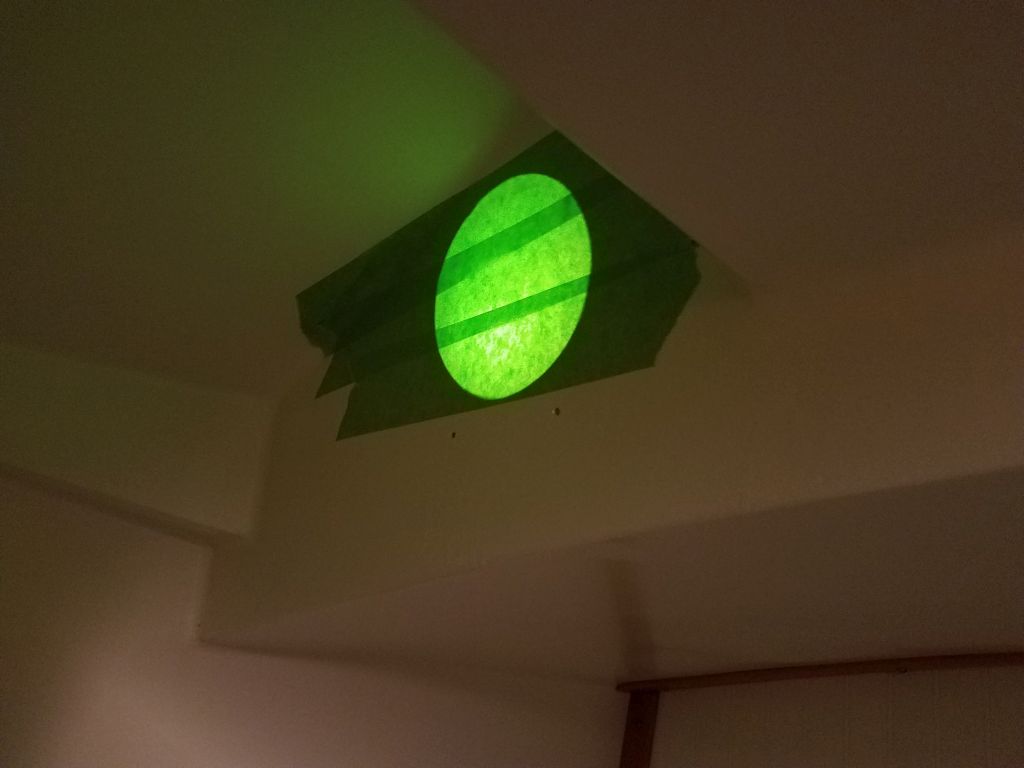
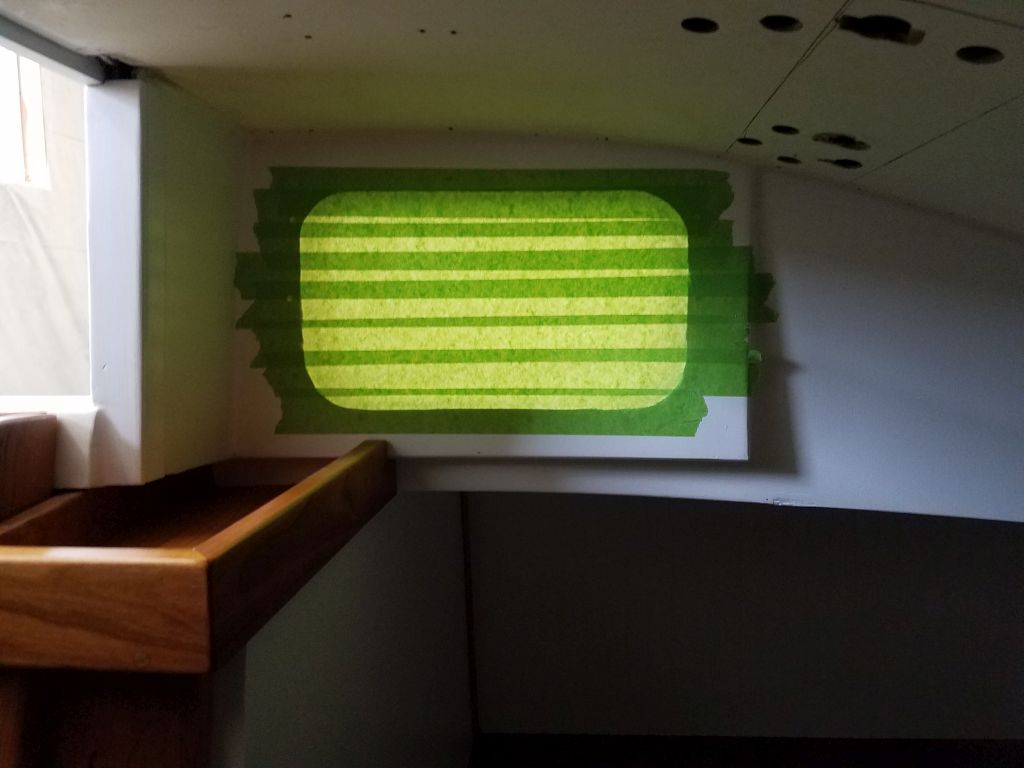
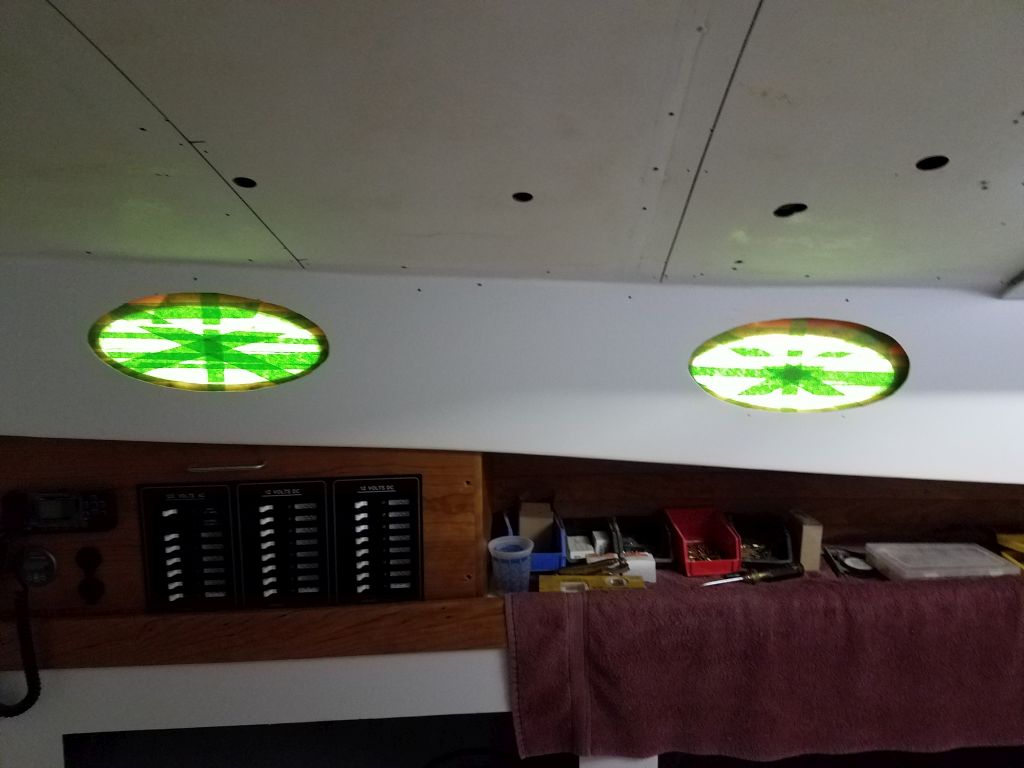
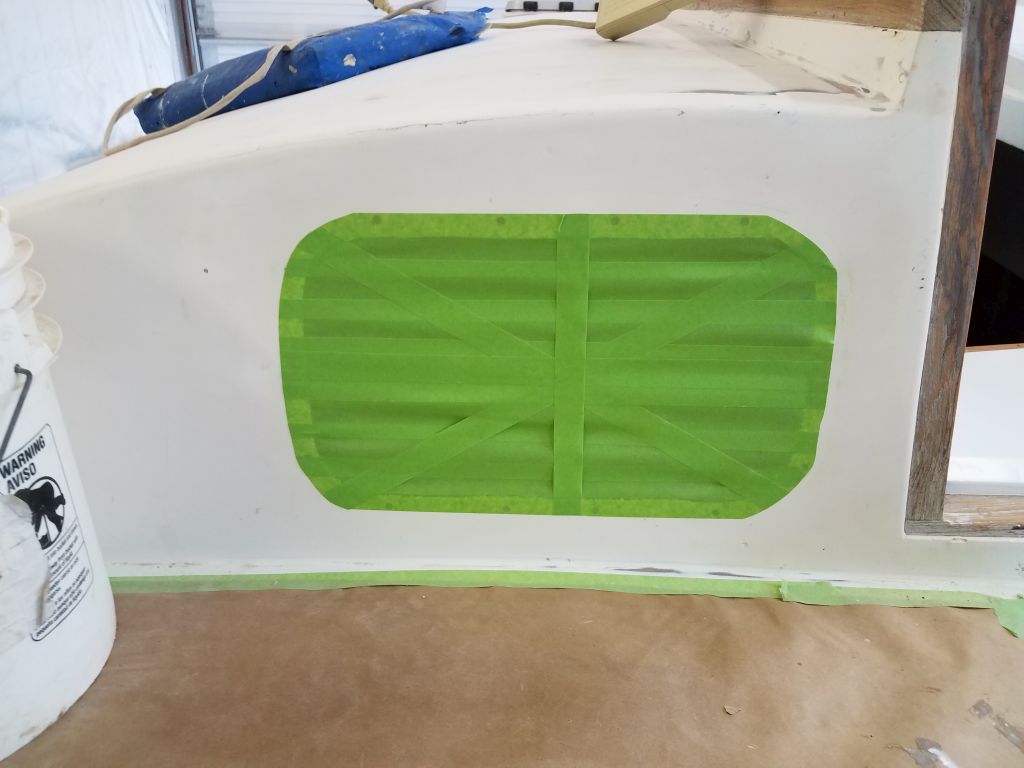
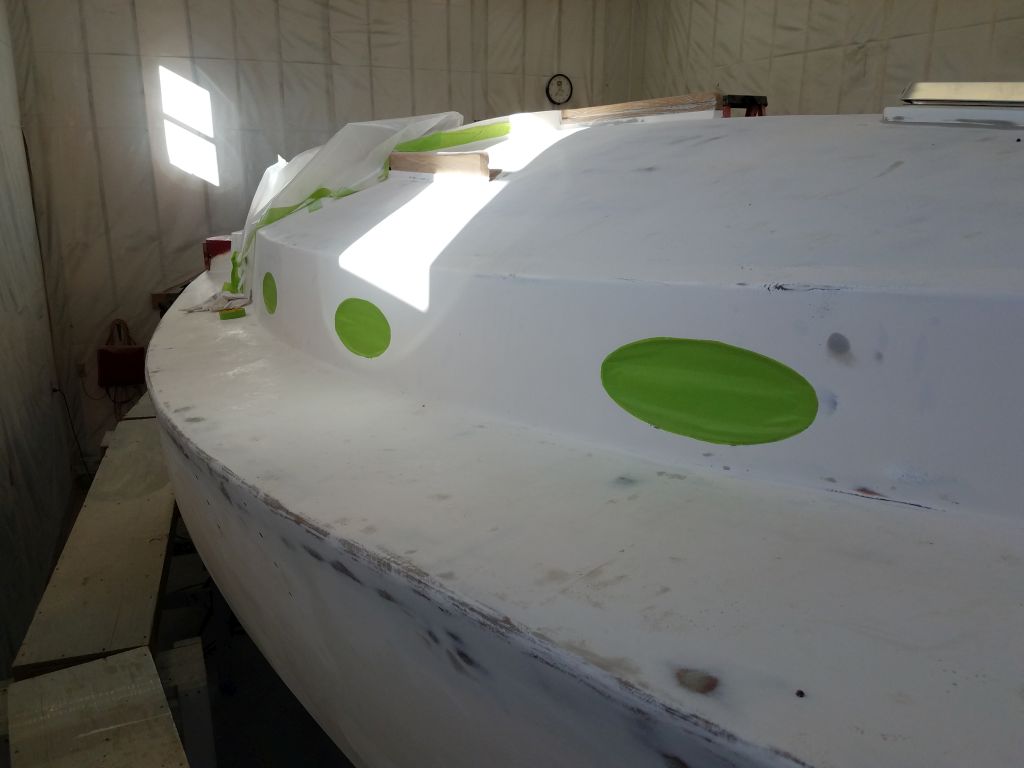
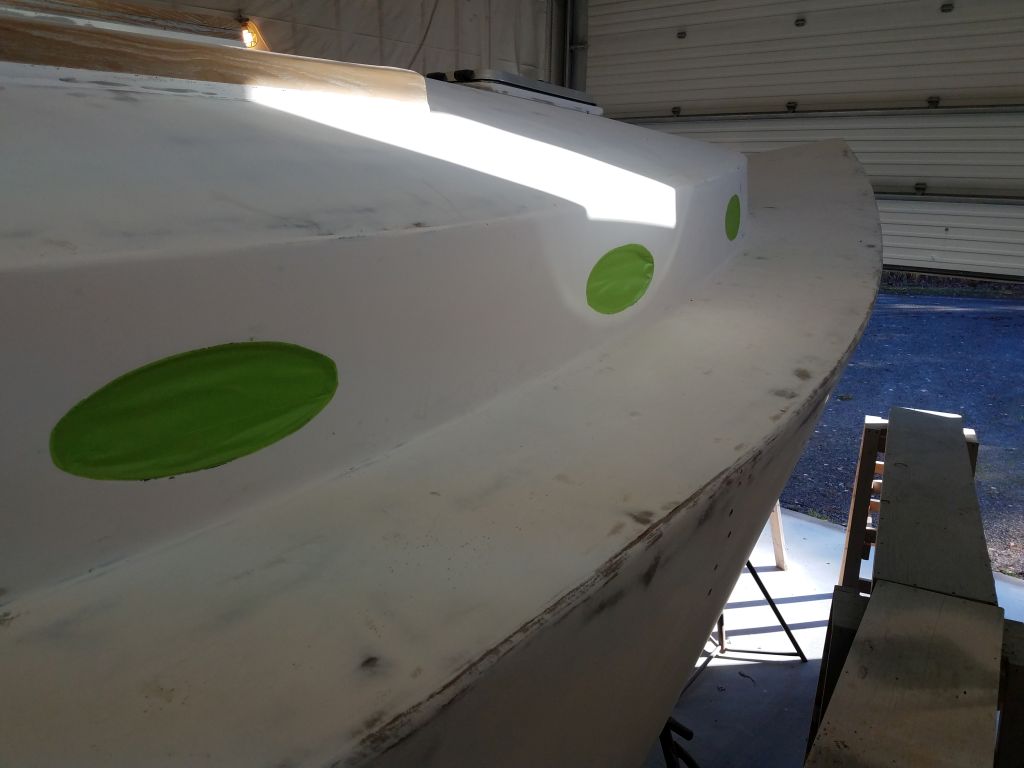
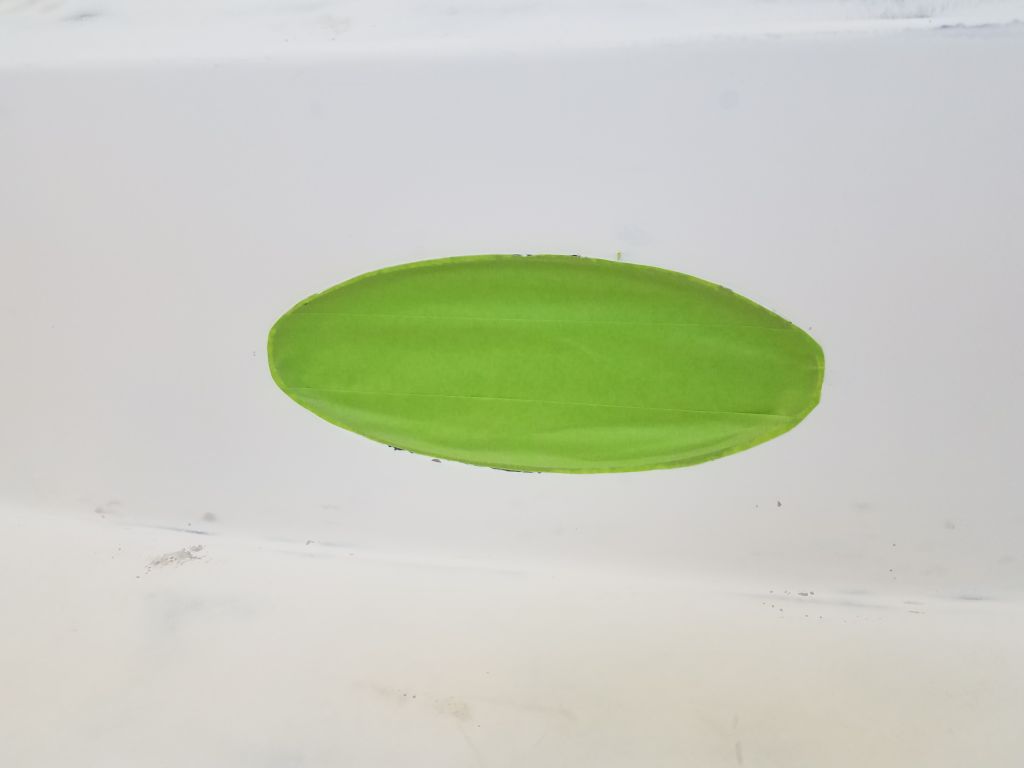
While the epoxy set up, I continued work on masking over the various deck openings, finishing up in the cabin and the engine room and after spaces.


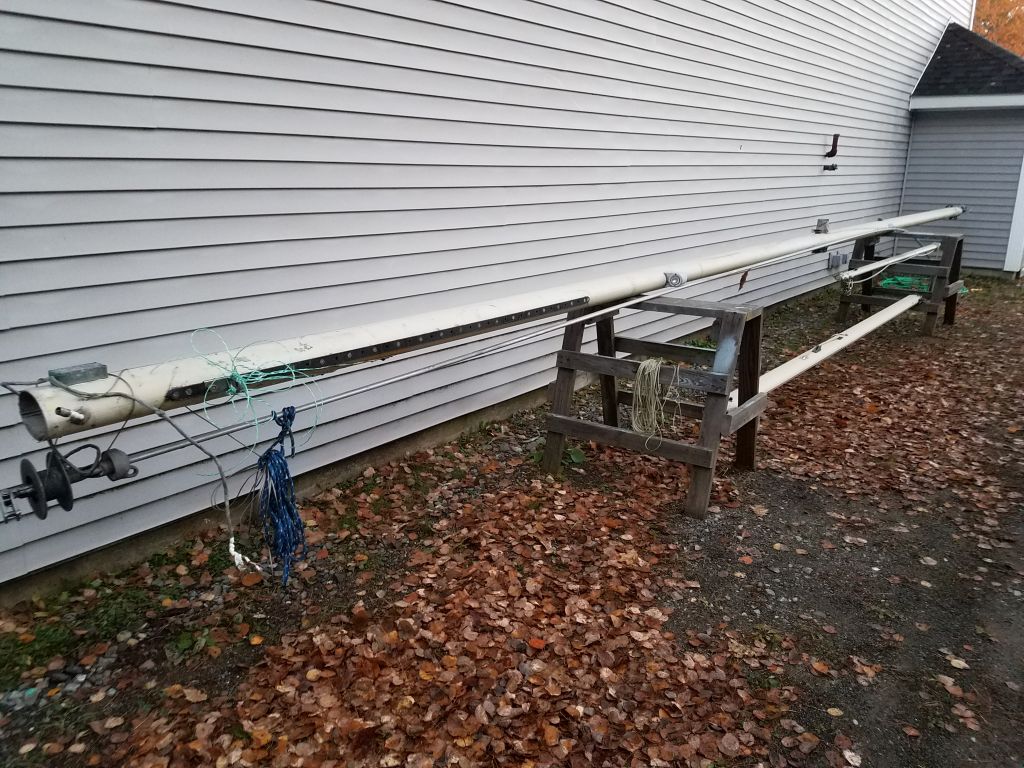
In the midst of all this, my rigging contractor was on site to remove all the standing and running rigging from the mast for replacement. The spar was in good condition overall, but its original painted finish was starting to fail, and I’d be prepping and painting the spar later in the project, along with other work as needed. I’d had the spar in storage since the boat arrived at the shop a couple years earlier (detailed photos of the spar in its “as-arrived” are available here).
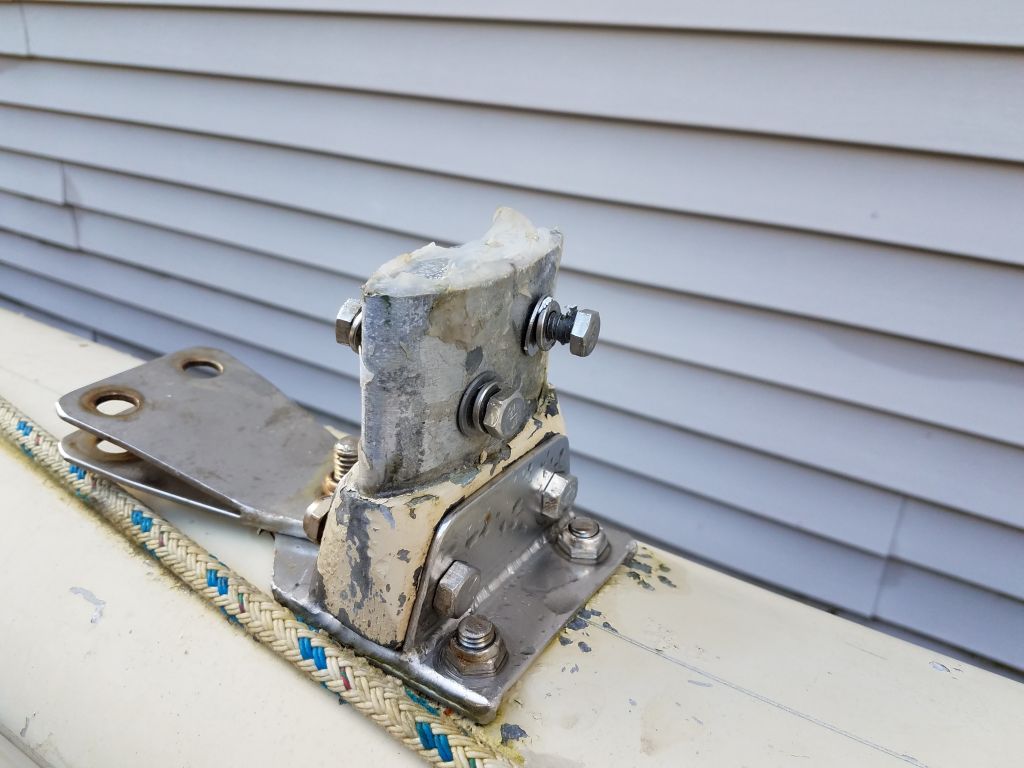
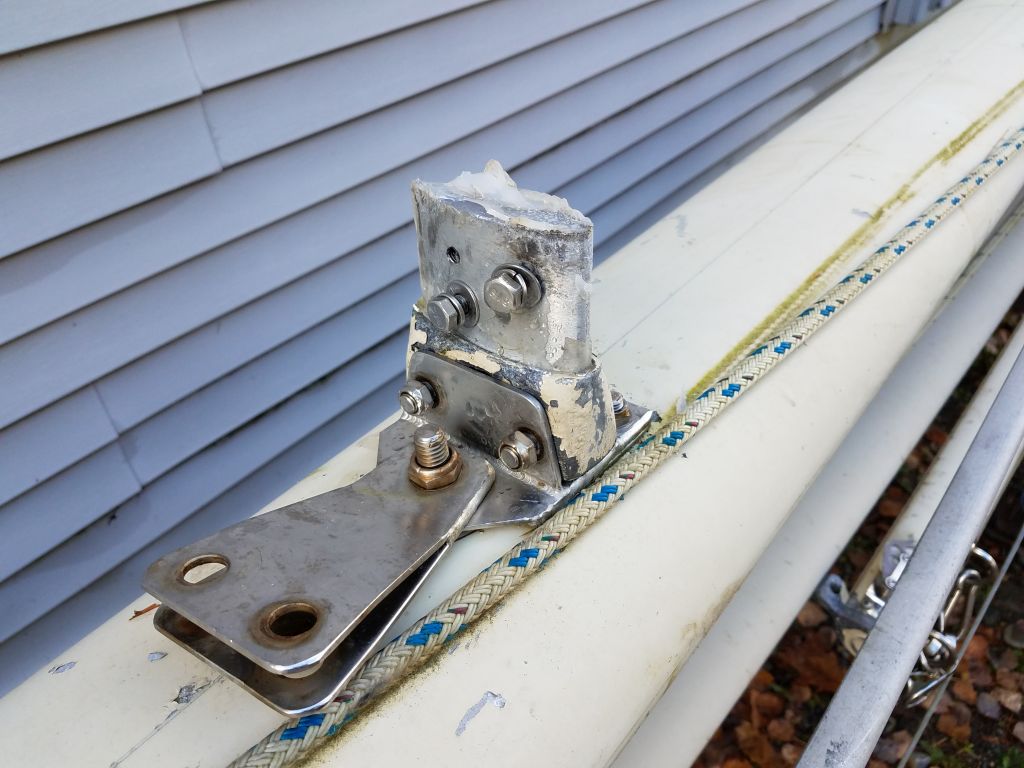
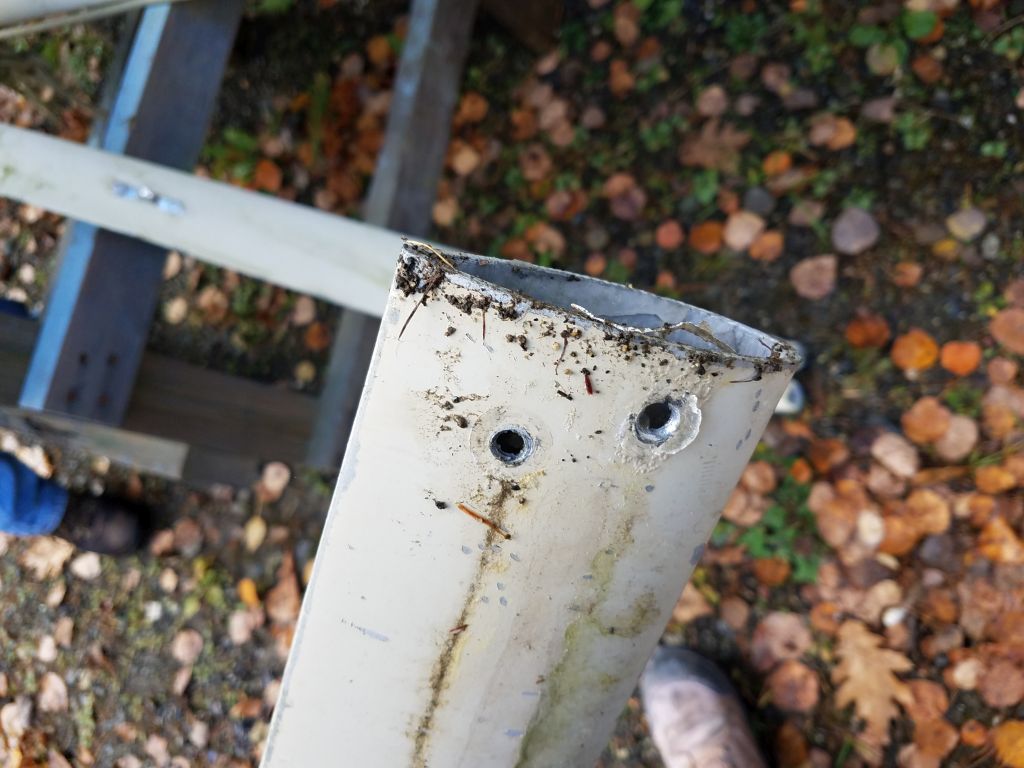
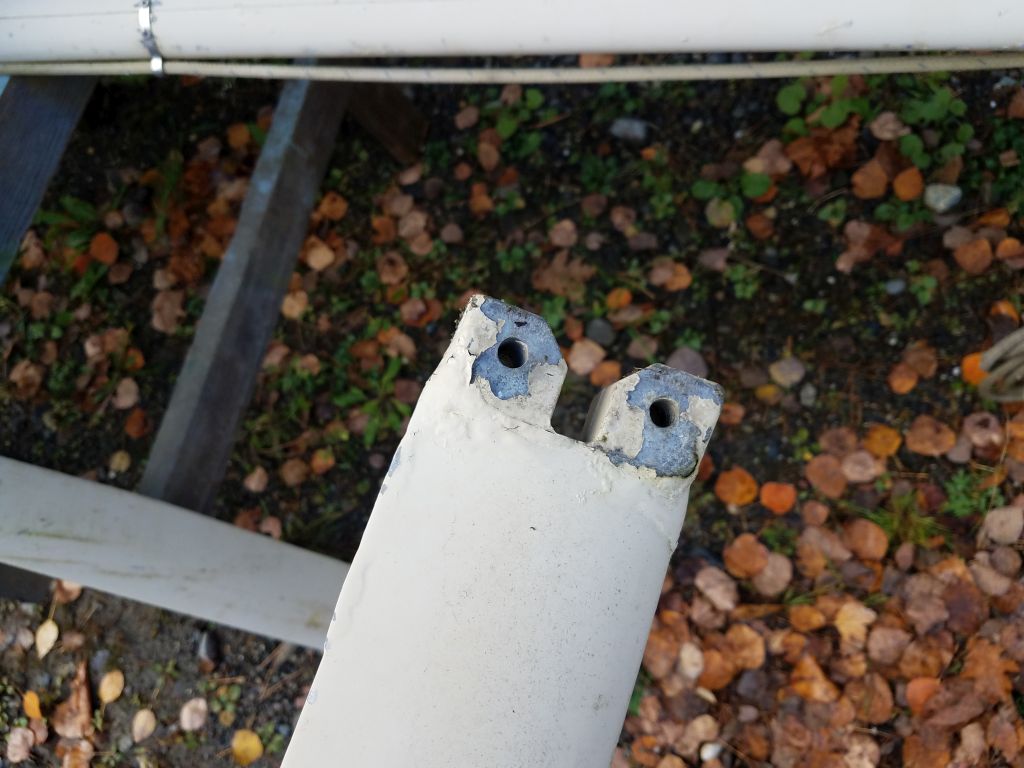
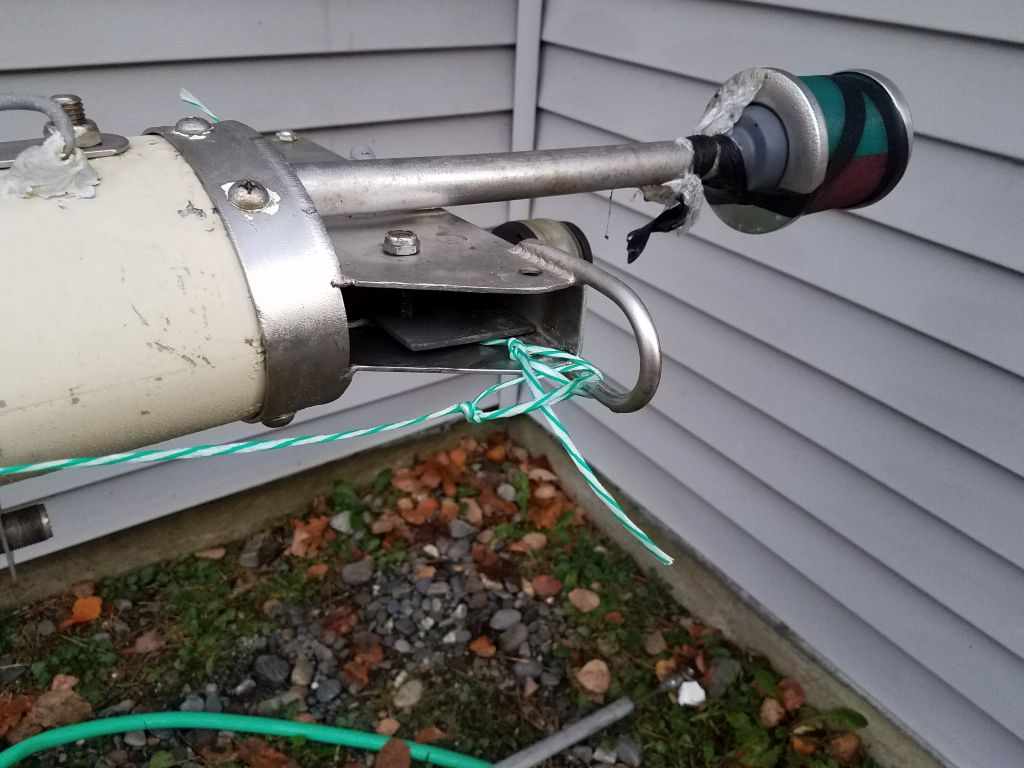
During the removal, we found that the original aluminum masthead sheaves were in need (or at least desirous) of replacement, so I had Jay remove them to be replicated in Delrin. Jay also discovered that the two spreader bases were different: one had clearly been modified at some point, almost certainly because of some accident. One one side, the original welded, forked aluminum butt, once incorporated in the spreader itself, was instead modified with an internal block as seen in the photos below (original setup on the left, modified side on the right). We decided to have this put right and the spreader repaired, but the bolts securing the base left on the spar were immobile, apparently “welded” in place thanks to the typical reaction between stainless and aluminum, so for now that part of the spreader remained in place. I applied penetrating oil and hoped to soon remove the base so we could get the spreader properly rebuilt.


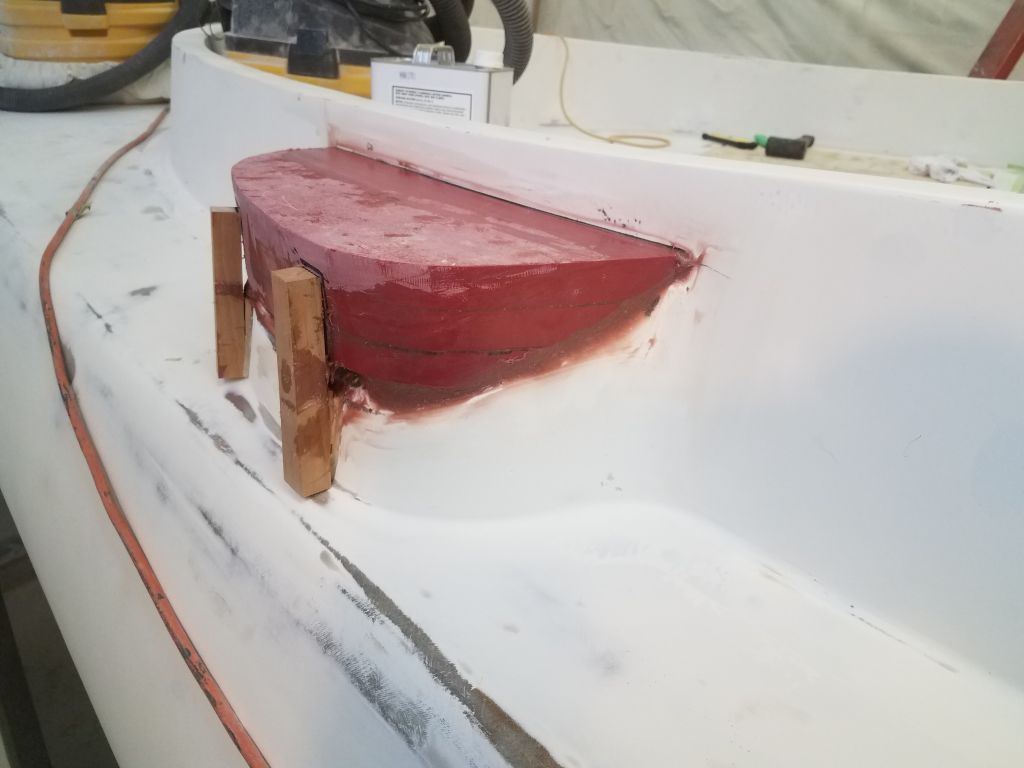
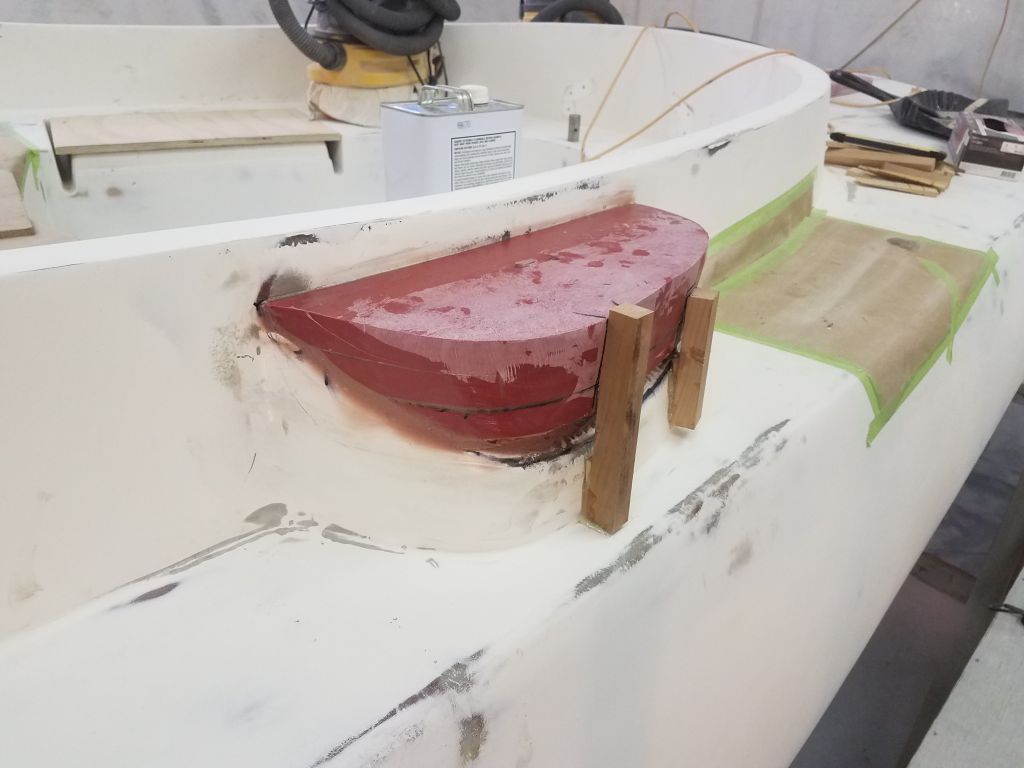
At the very end of the day, the initial epoxy application had cured sufficiently to allow me to remove the glue blocks.
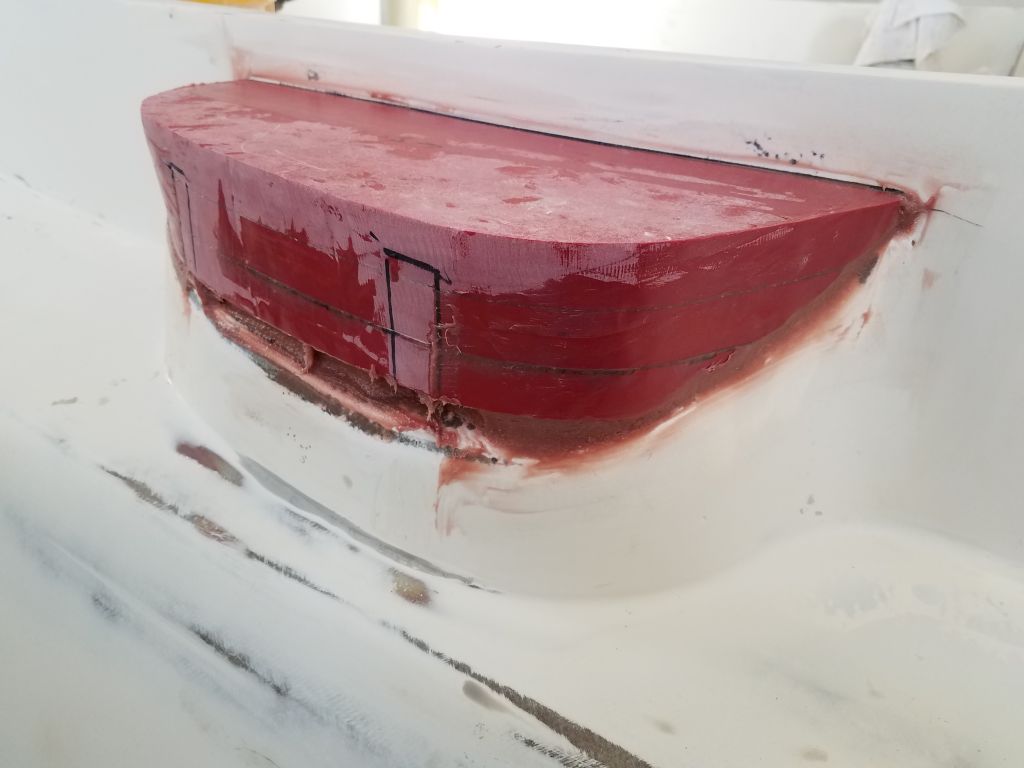
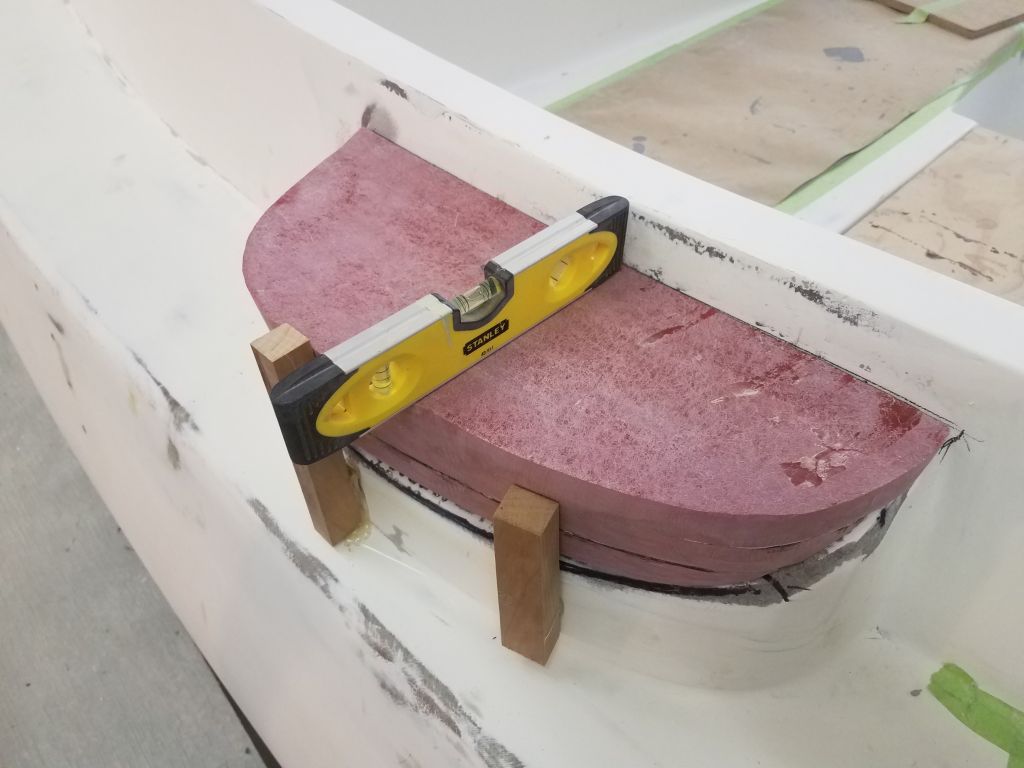
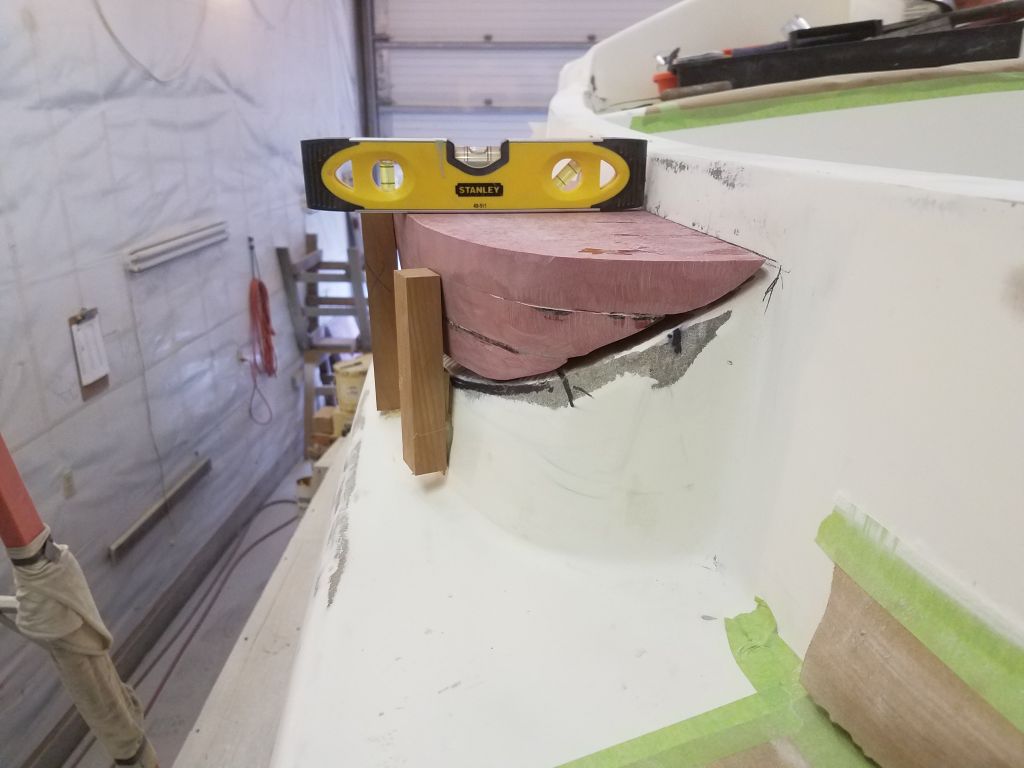
With full access, now I could fill the remaining space with epoxy, and used more of the compound to perform an initial fairing of the new blocks with the existing bases. There’d be additional fairing and shaping to be done once this layer cured overnight.
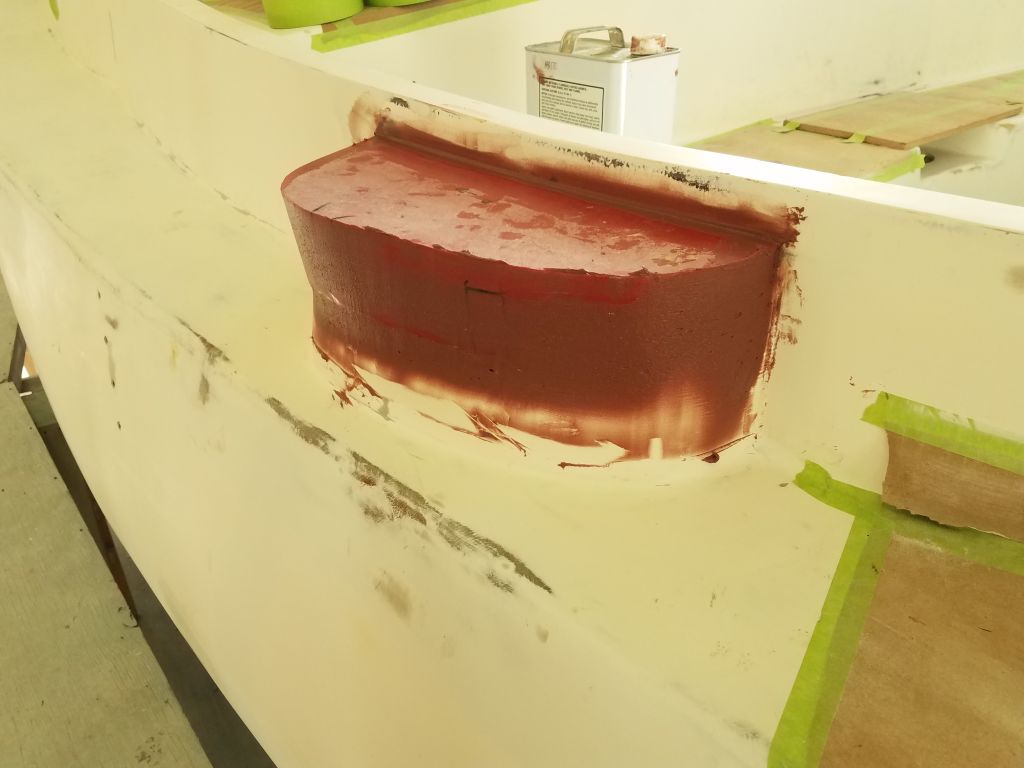
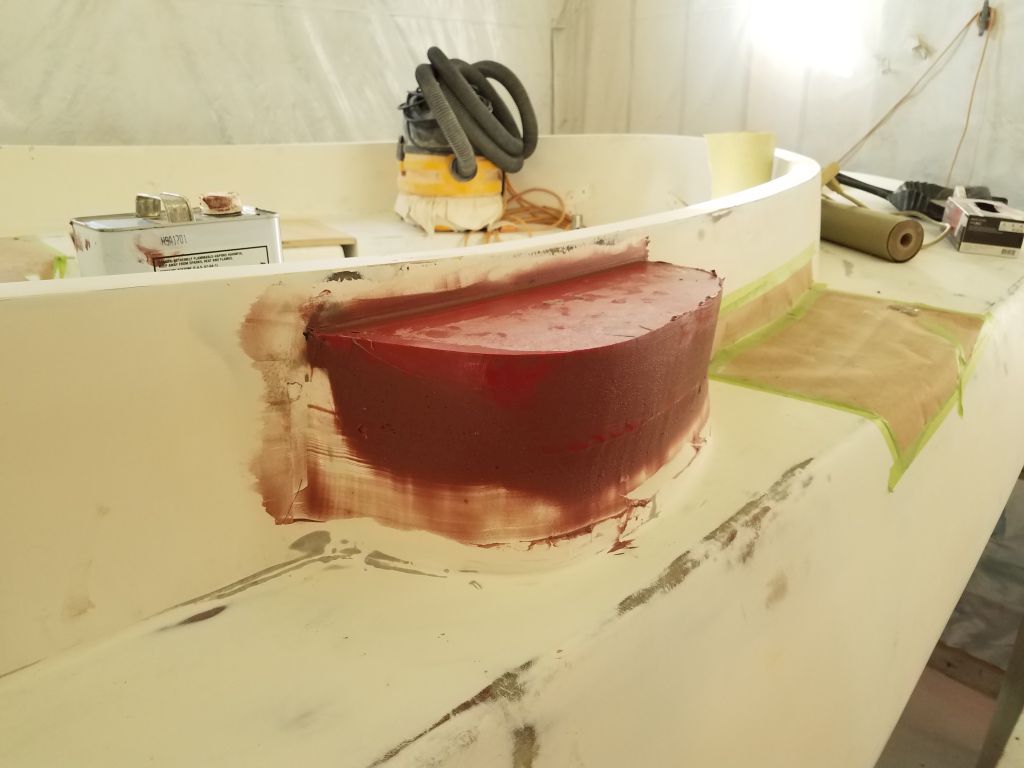

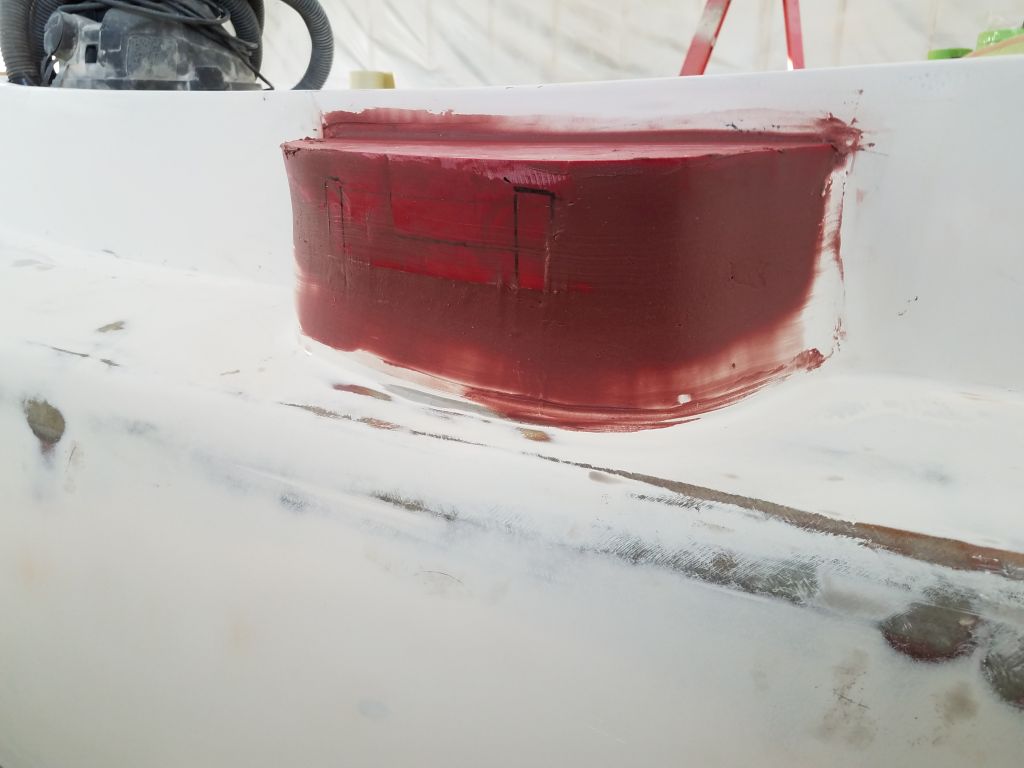
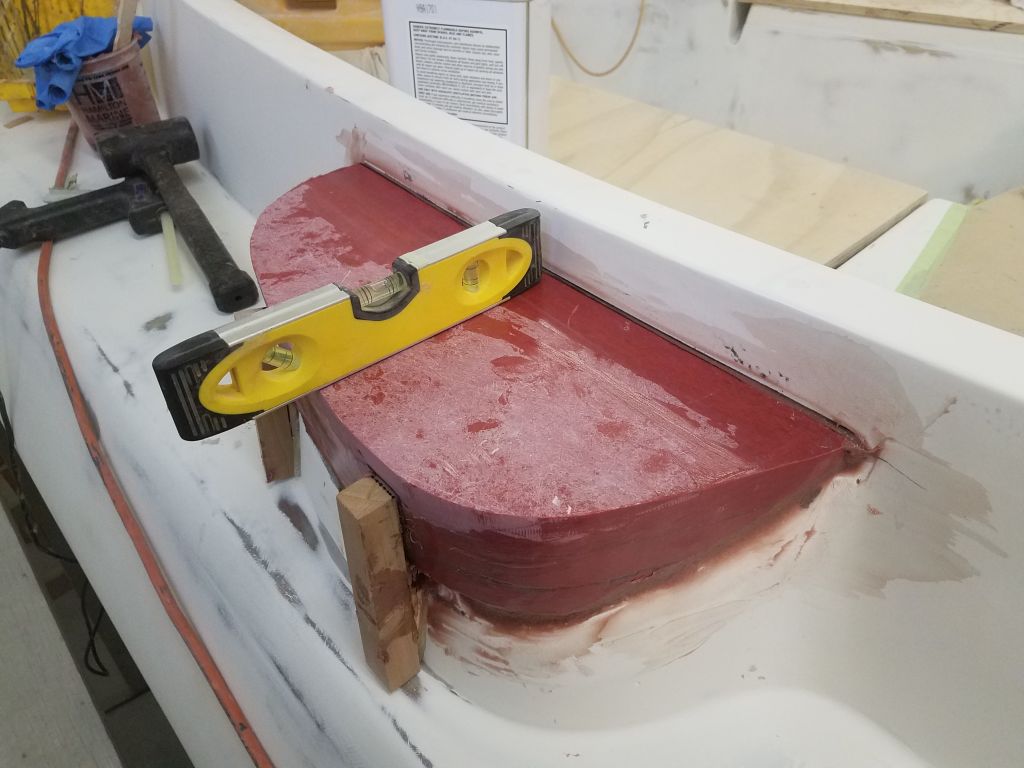
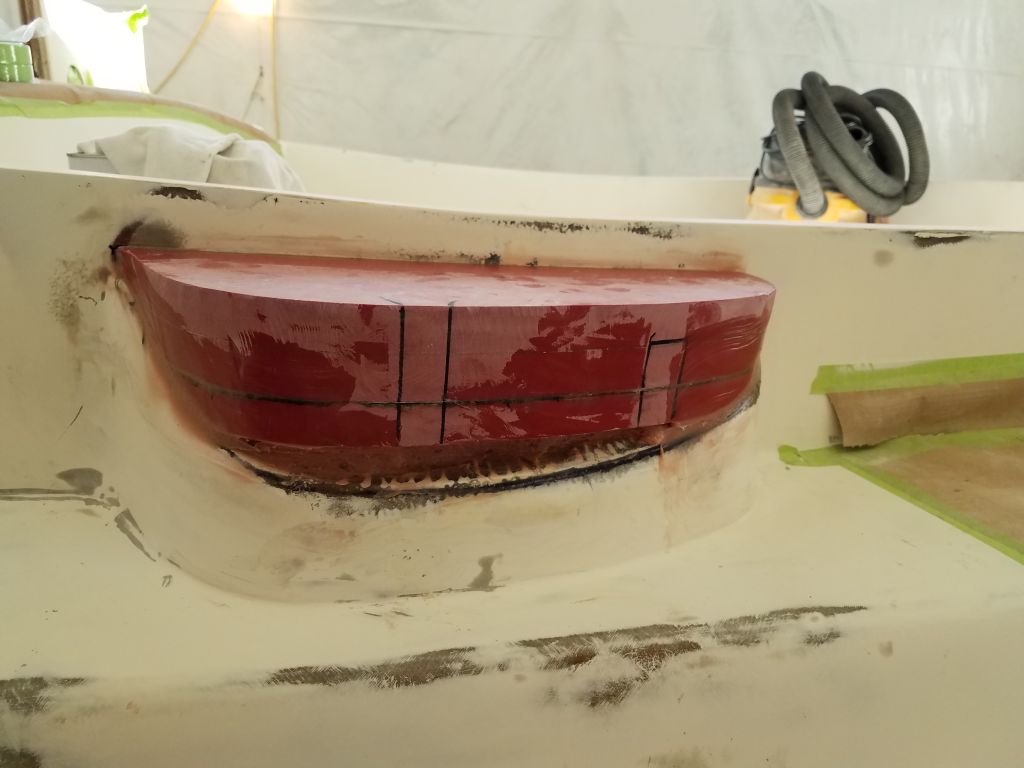
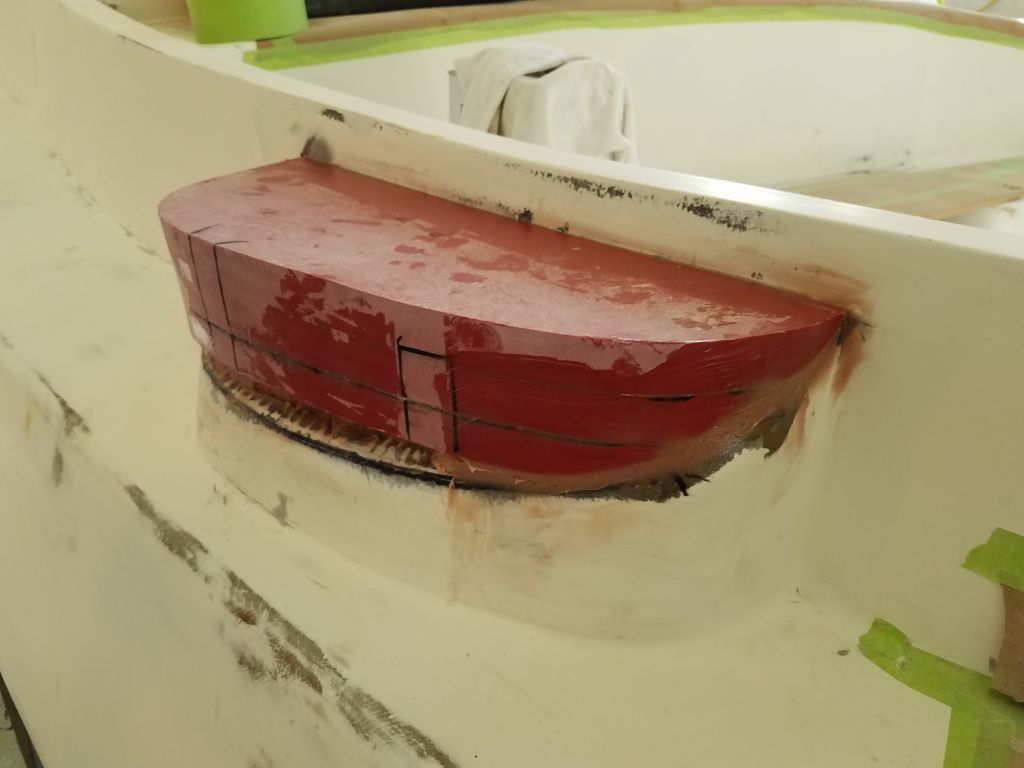
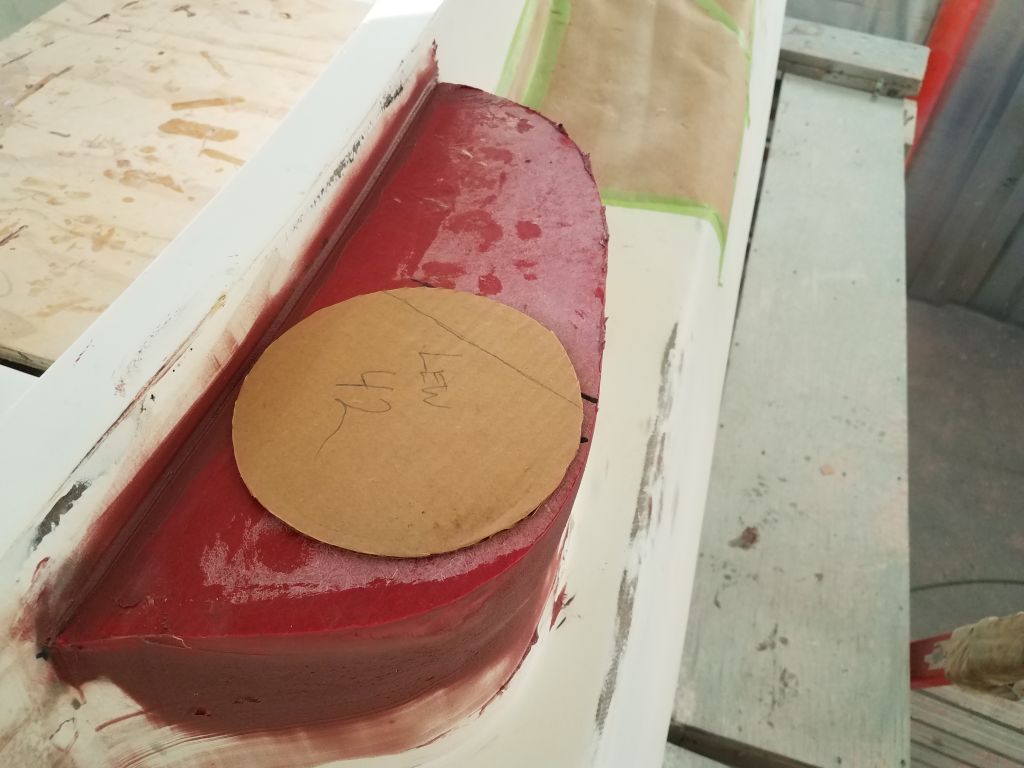
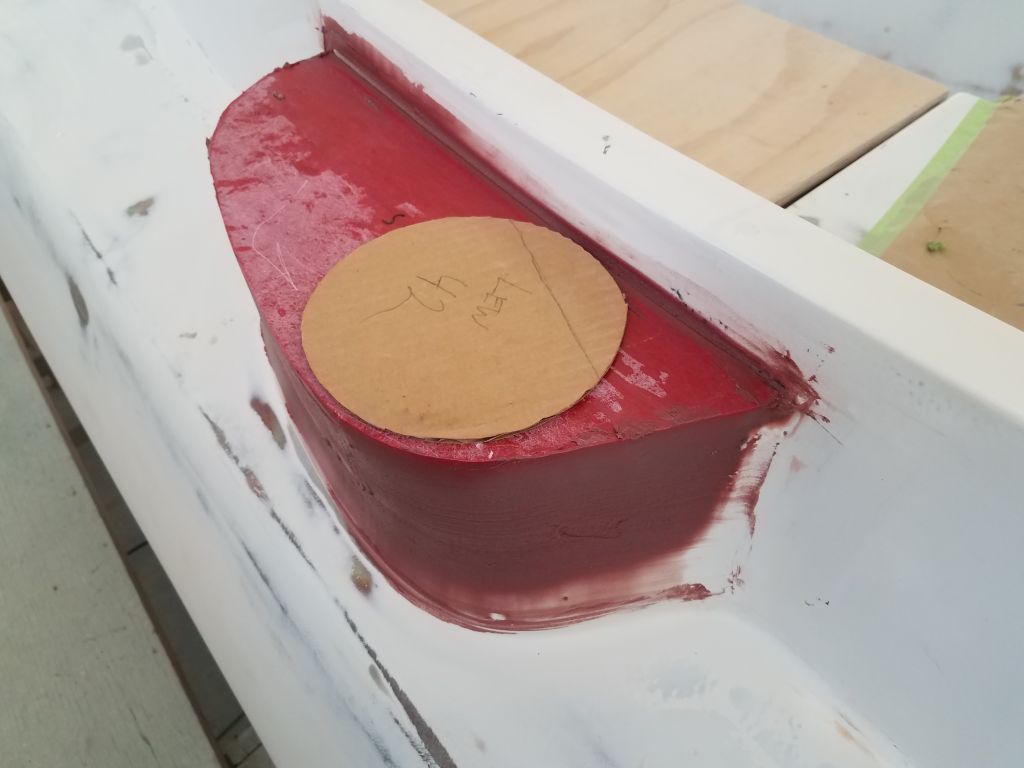
The overall dimension of the top surface was essentially plumb up from the deck below, but slightly overhanging the top edge of the original platform, which featured a slight angle on its outer edge. Additional fairing would even out this disparity, along with judicious additional shaping of the top to reduce its size, but I was bound by the requirement for the platform to support the sheet winches, so to prepare I made a cardboard template of the base of the existing winches (older Lewmar 42s with a 6-1/2″ base diameter), and looked up the base dimensions of a couple possible (and generously-sized) replacement winches (no more than 6″ base diameter for Lewmar 40s or Andersen 40s) to ensure that I left ample clearance for the installation later.
Total time billed on this job today: 8 hours
0600 Weather Observation: 53°, partly cloudy. Forecast for the day: Rain and showers, 60°