


October 22, 2019
Scupper 164
Tuesday
Preparing for the painting work ahead, I spent some time at the start of the day to assess and order the various materials and paints needed to complete the work in the immediate future. I also finalized a list of material needed for the exterior trim work and sought information and pricing from the vendor (reply pending). More on this in the near future.
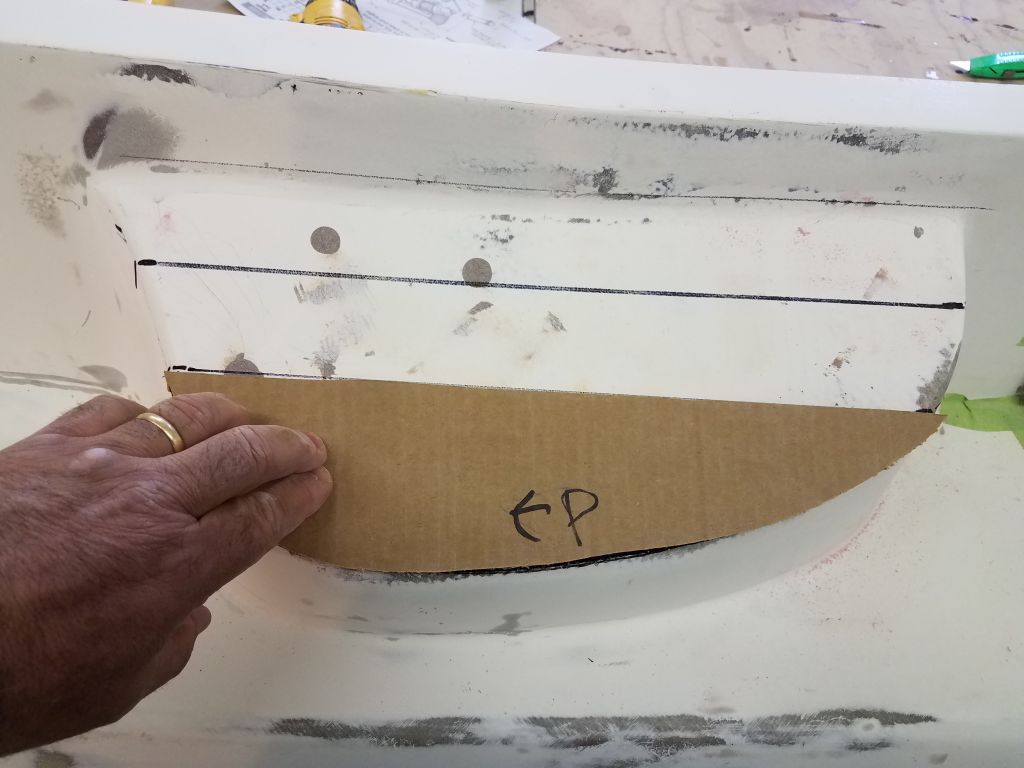
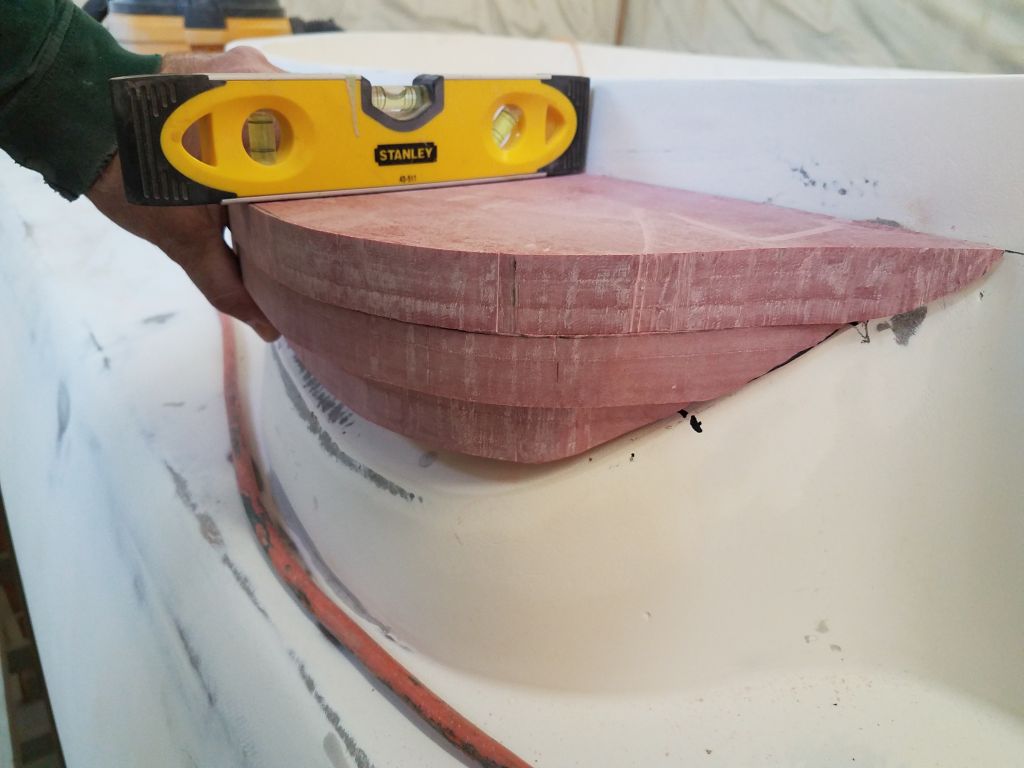
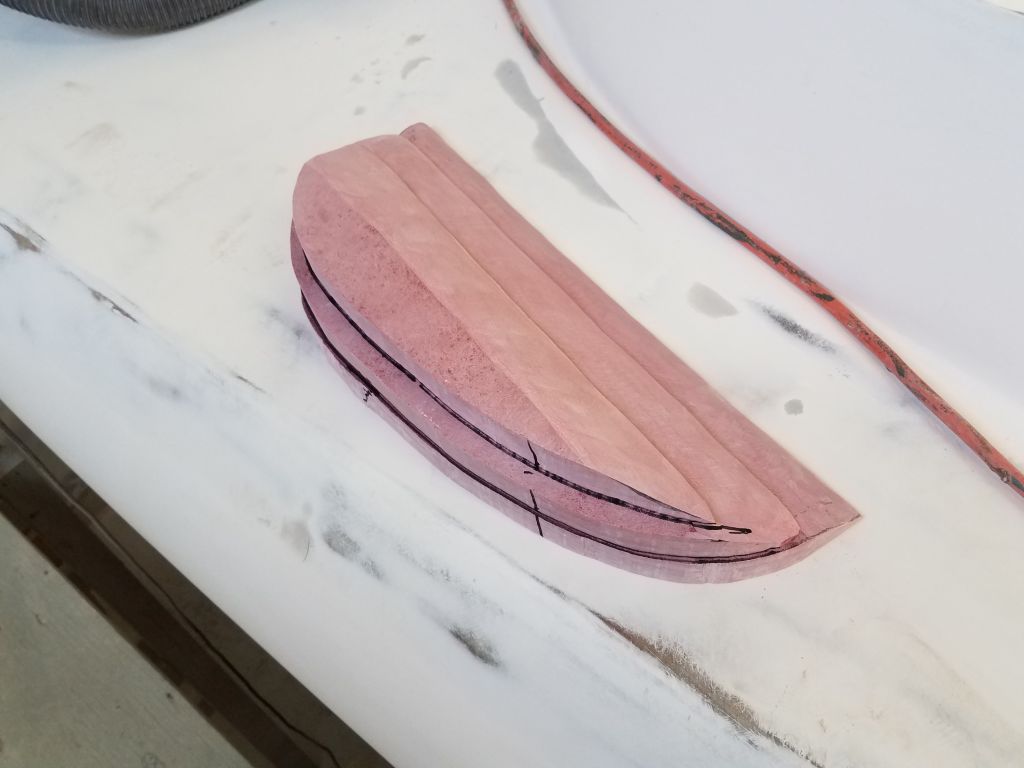
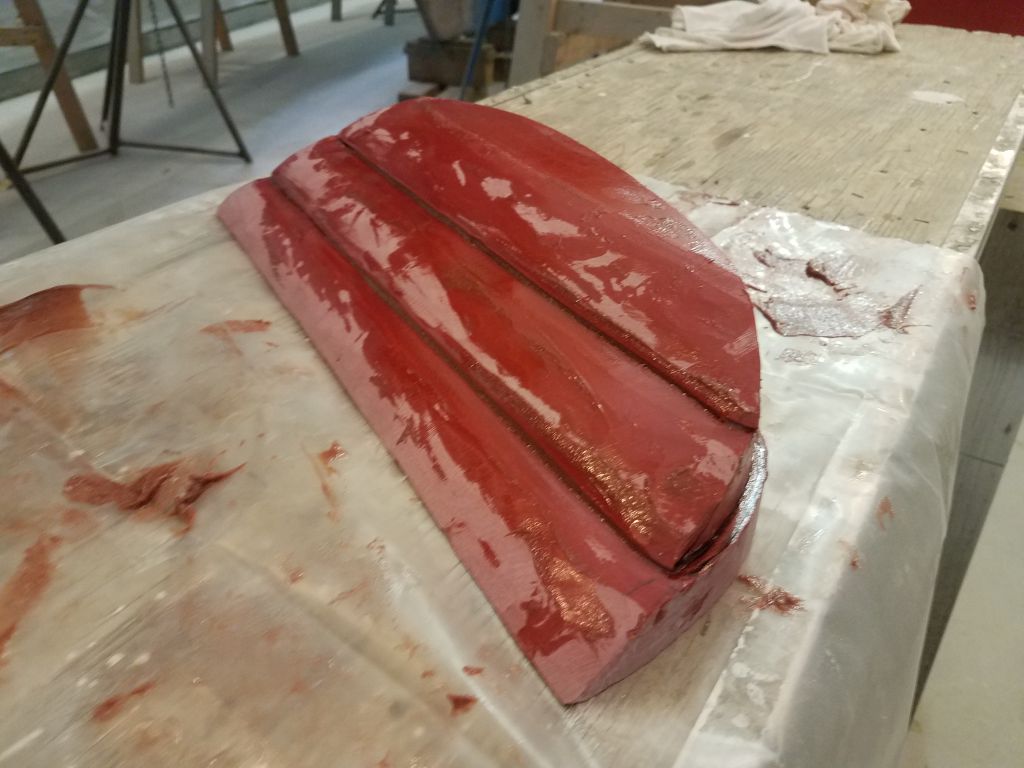
Meanwhile, I continued with the winch island work. Starting again with a cardboard pattern of the island, which I’d marked at the lower extent of the second layer of 1″ fiberglass, I cut and shaped the third and final laminations in the same way, ultimately creating a dense wedge-shaped assembly of solid fiberglass to fill in and level the tops of the islands. I also trimmed the top layers on each assembly, which I’d earlier determined were larger than need be, and this brought them roughly into alignment with the other sections. In any event, final shaping would occur later, after installation.

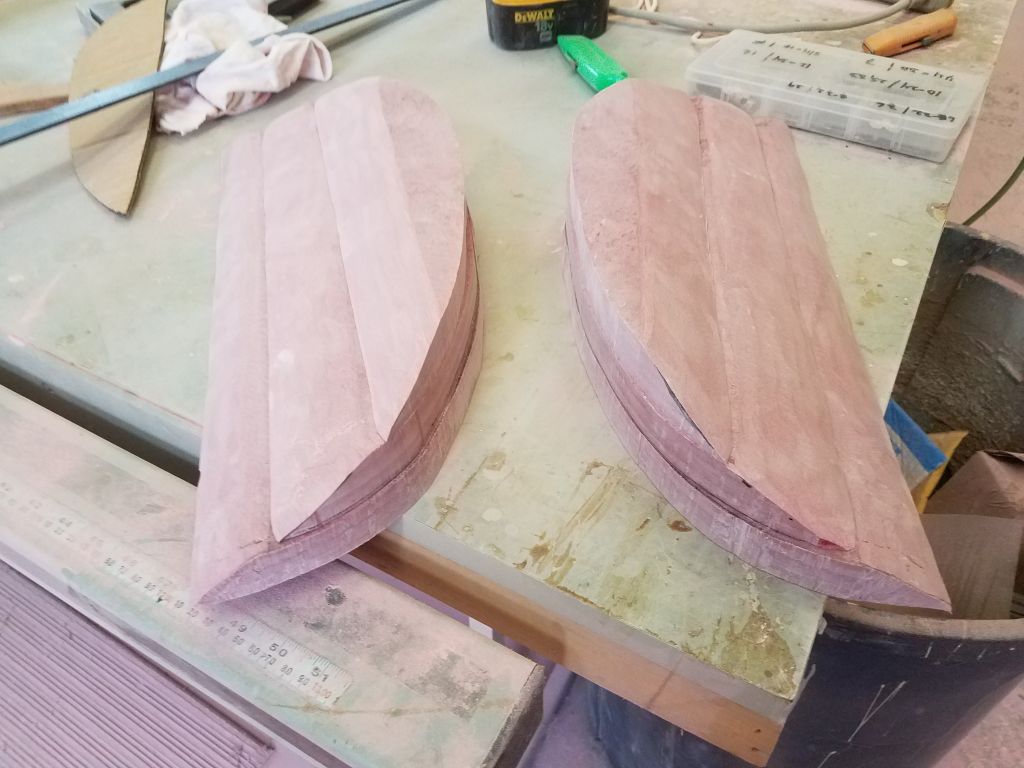
Next, I test-fit each assembly, juggling the pieces to achieve a level top on each winch island while arranging the laminations appropriately to fill the space. Happy with each side, I carefully removed the pieces as is, holding them in position so I could make some reference marks for alignment between each of the three sections. The top layer (and, to a lesser extent, the middle layer) on each side was still too large, since the original patterns were made off the angled tops of the islands, and the outer shape of the islands featured a slight taper, meaning the overall size grew smaller as the level rose. These pieces would require additional shaping to reduce their size, but for the moment I moved on.


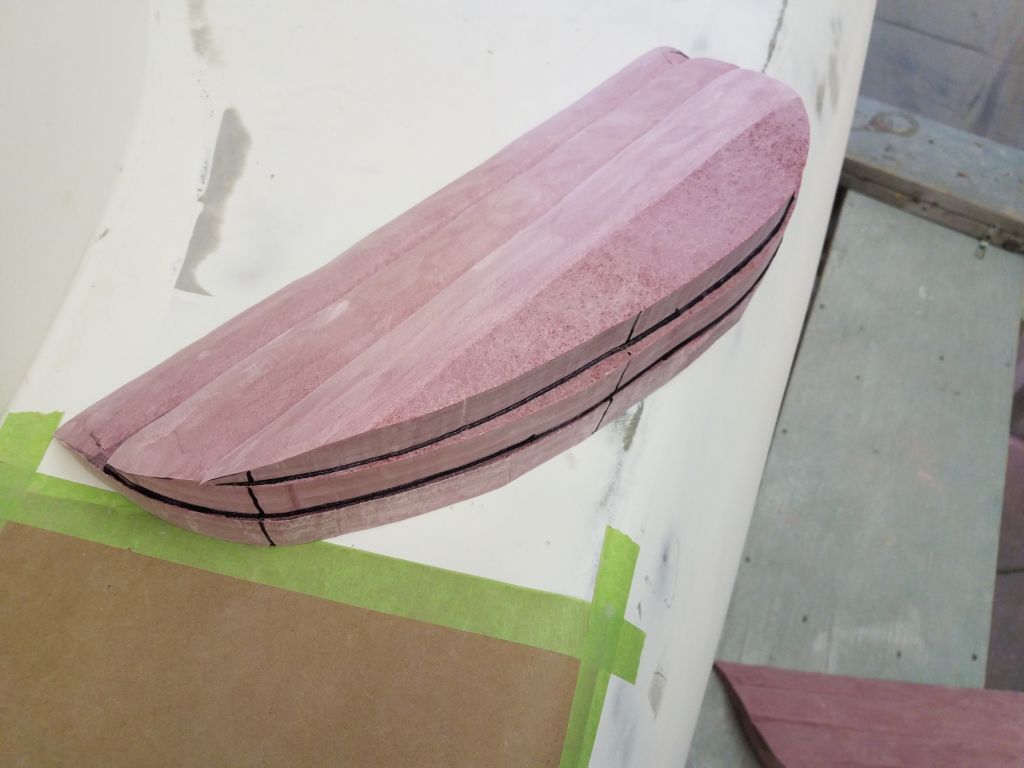
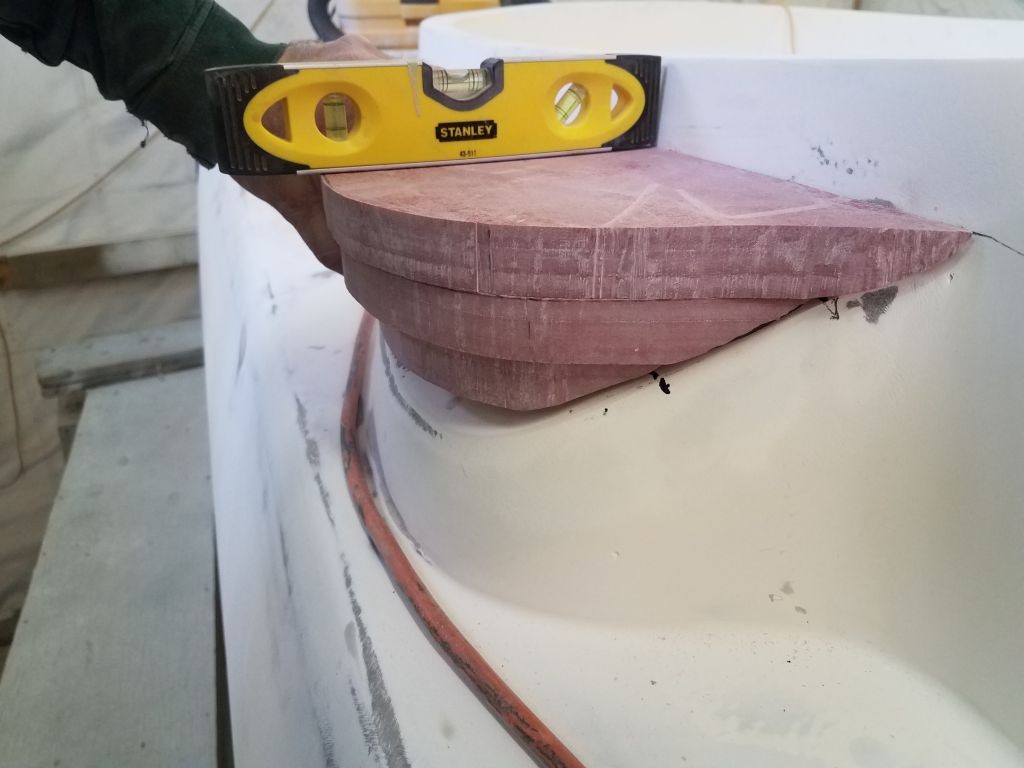
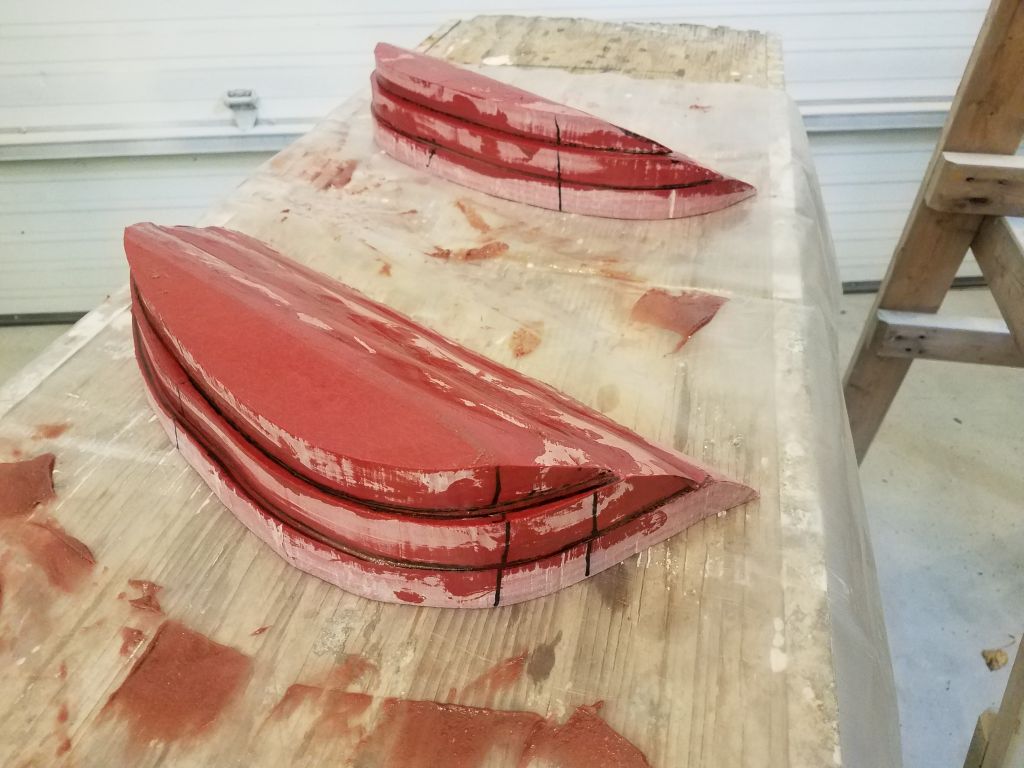
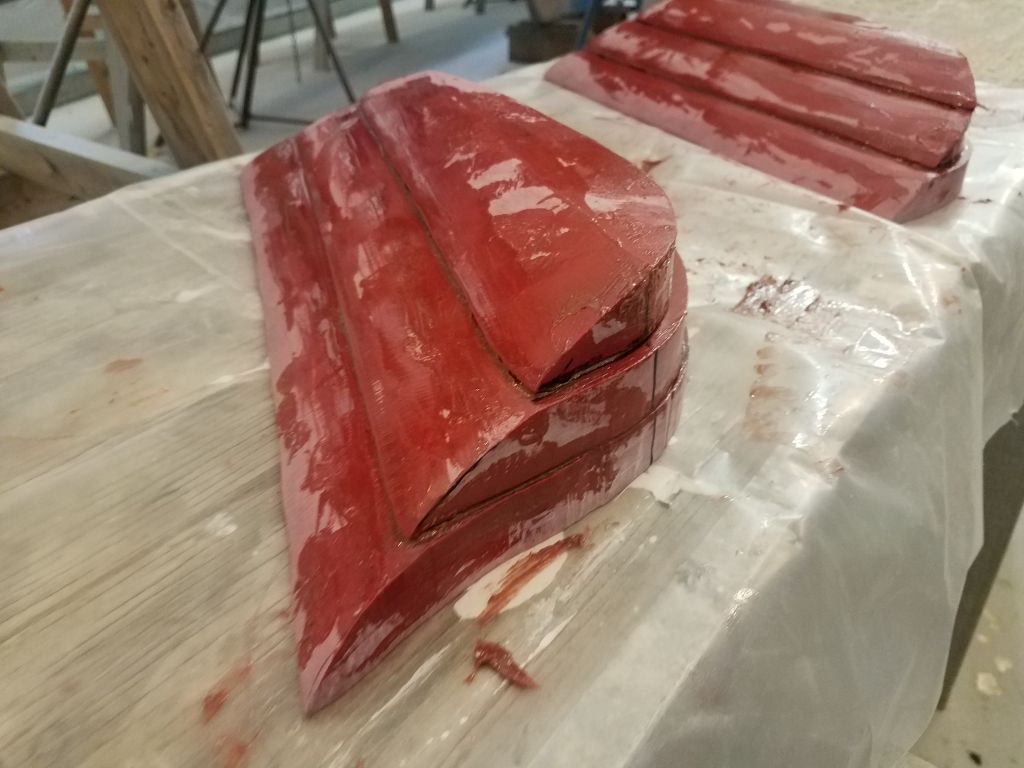
As much as I wanted to glue up and install the three layers to the boat all at once to save time, it was already clear that any attempt to juggle all these pieces on an angled surface while coated in slippery epoxy would result in failure, so instead I decided to glue up the assemblies on the bench first. This was a straightforward process using thickened epoxy adhesive and aligning the pieces according to the marks I’d made earlier. I left the wedges to cure overnight. I’d do some final shaping once the assemblies were cured and before installing them on the winch islands.
The poor condition of the original steering system had, long ago, forced its complete removal and elimination of all traces, and discussions at the time had centered around moving forward with tiller steering. However, the owner requested that I look into the feasibility of installing a rack and pinion steering system, one of those types that places the helm at the after end of the cockpit, much as seen on various traditional boats. To this end, I spent the rest of the morning on this project, generating a report that I sent to the owner, but is also available here for posterity. The net result of this exercise was that the owner decided to stay with the tiller steering.
The backstay chainplate had been stored separately from the other sets of chainplates, so when I’d redrilled their holes earlier I’d forgotten about the backstay. Now, having located the chainplate, I took the minute or two required to locate and drill the bolt holes through the transom.

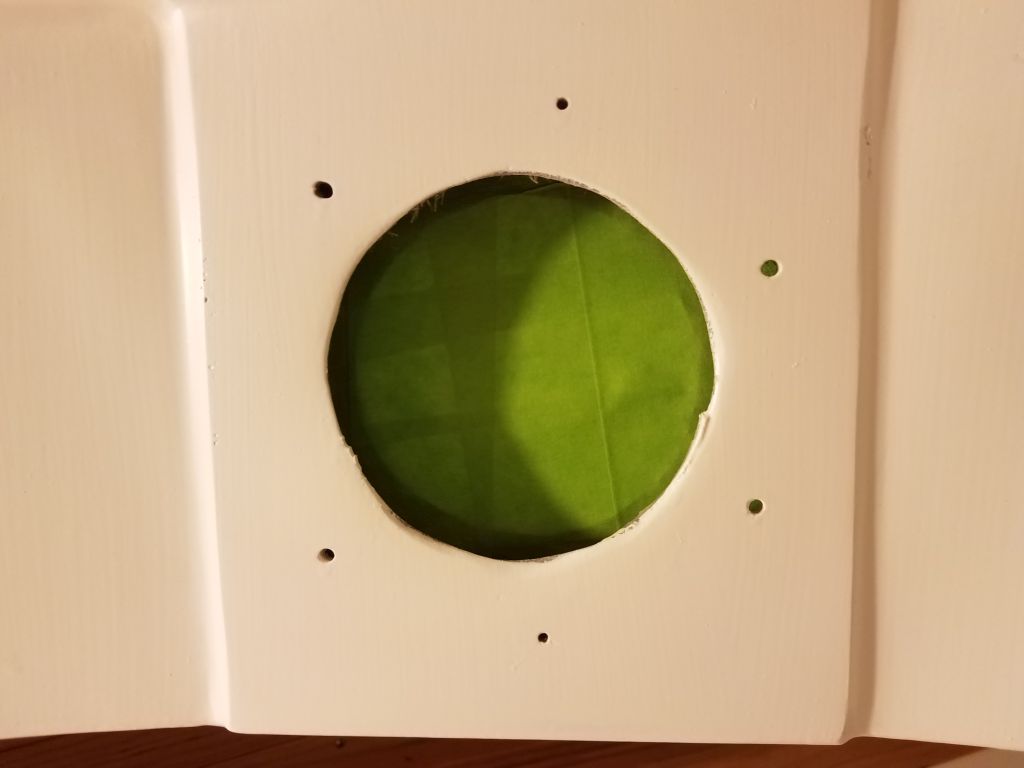
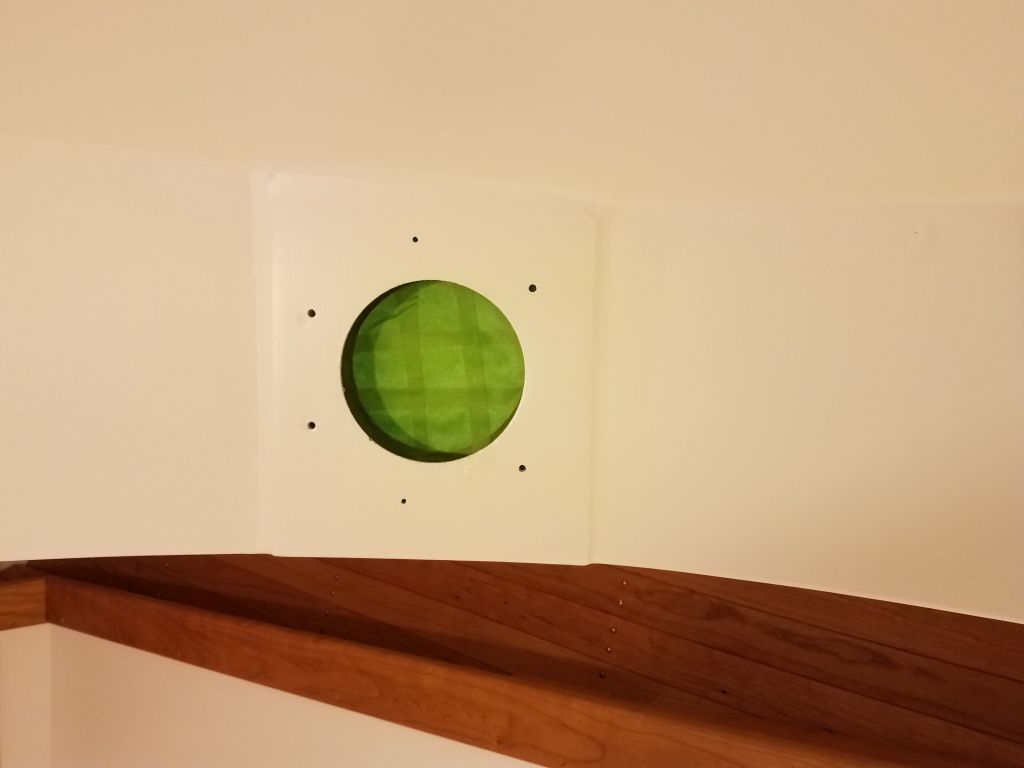
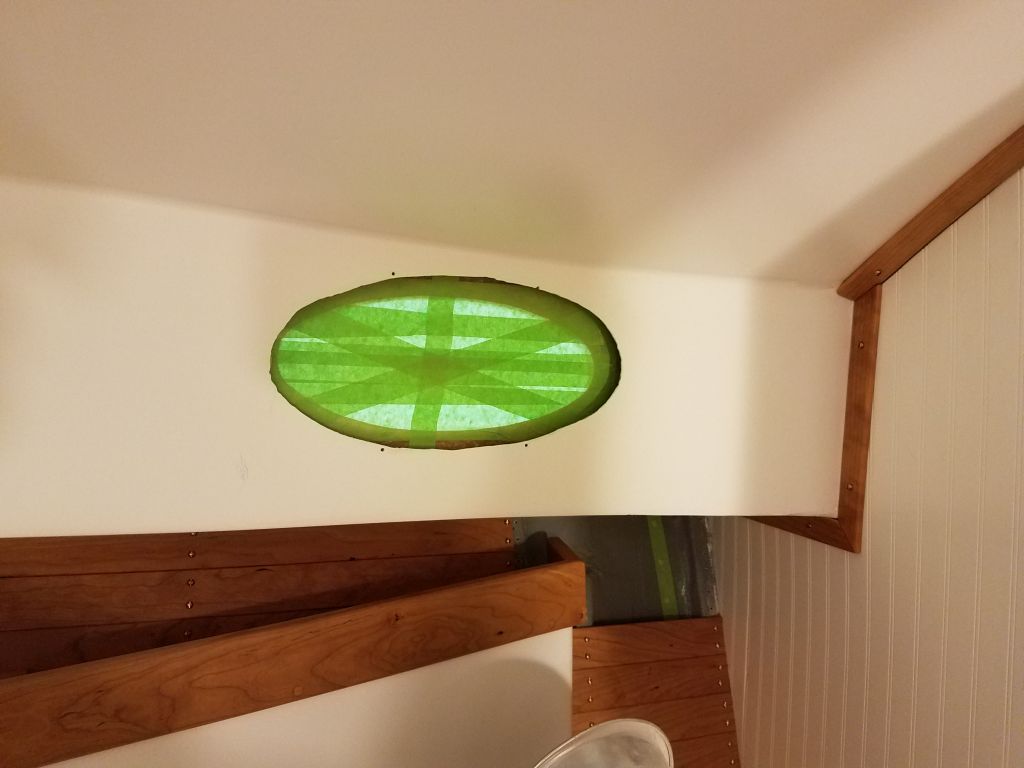
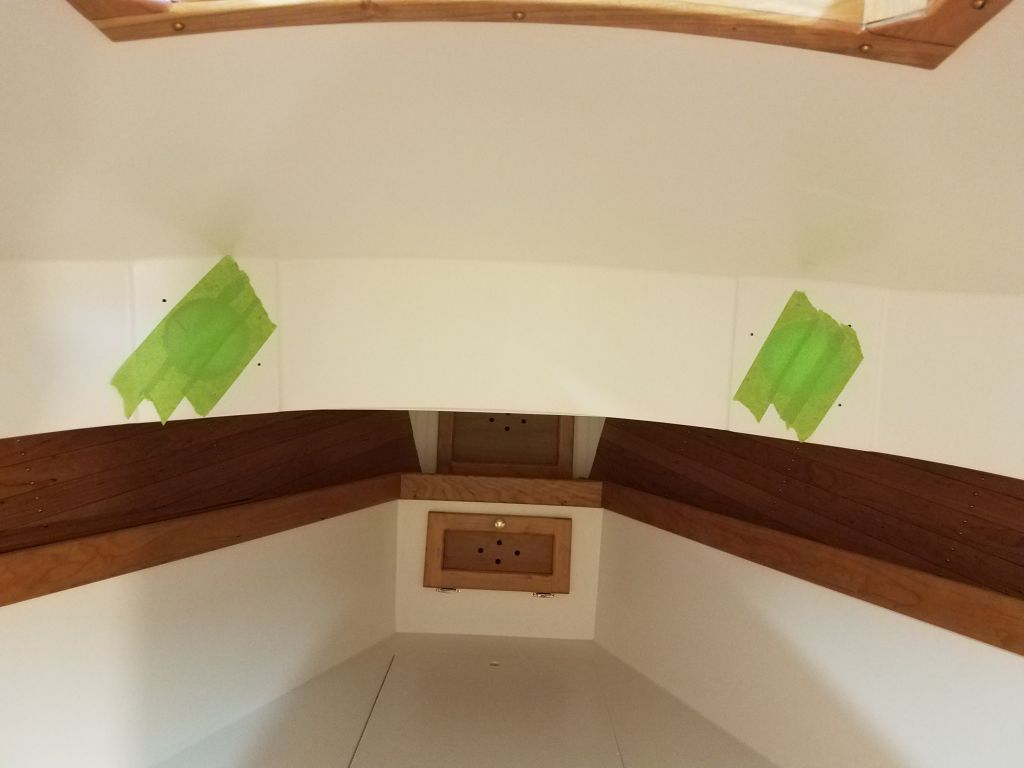
Overall, there was certainly no shortage of work to do on the boat, with dozens of jobs ahead, but with my immediate focus on final exterior preparations leading to priming and painting, and not having the materials on hand for the upcoming systems work, I found myself at a bit of a loss while waiting (impatiently) till I could continue work on the winch islands, which was the last job to be completed on deck before primer (other than basic preparations). Since I wanted to reshape the fiberglass assemblies before final installation, mainly to ease the process and reduce the mess on the boat herself, I couldn’t continue work there till the assemblies had cured overnight, so I filled the rest of the day by beginning some of the masking required before paint. Starting in the forward cabin, I masked up the port openings from inside. The round forward-facing ports didn’t have a trim ring on the outside–the spigots were a tight fit to the openings–so here I added some additional tape on the liner to protect against the off chance that the tape within the openings was compromised during paint spraying. The elliptical ports would receive additional masking from outside and would be essentially impenetrable.

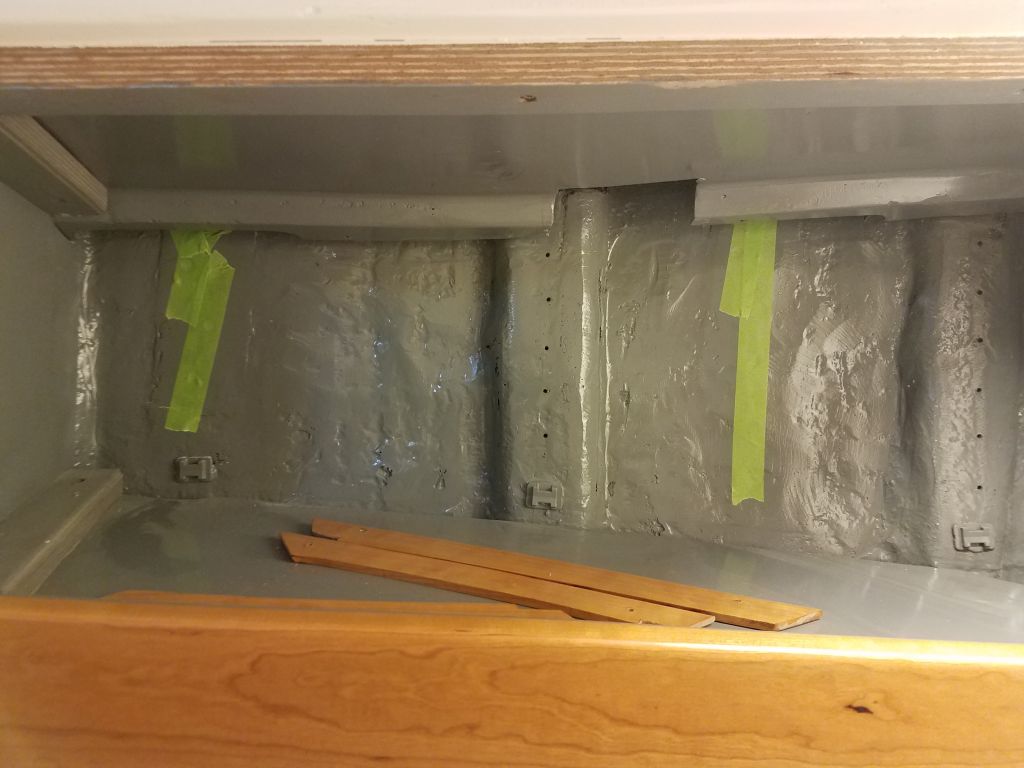
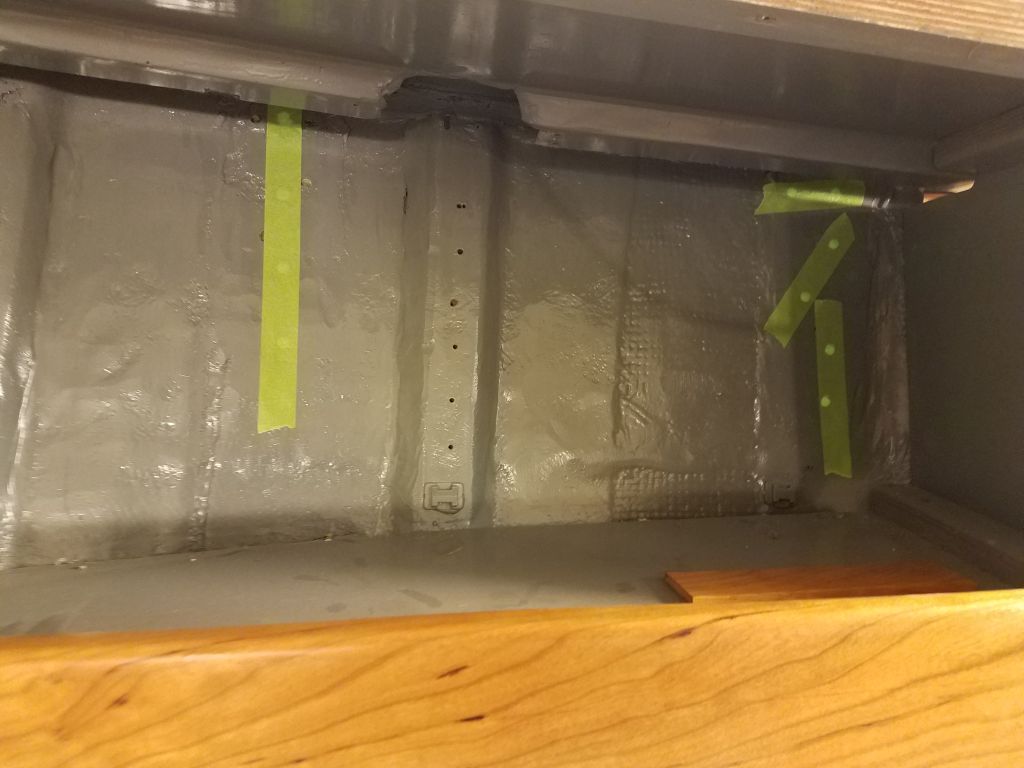
I removed the topmost and aftermost sections of the ceiling in the forward cabin–designed for this purpose–to access the chainplate bolt holes, which I masked over now.
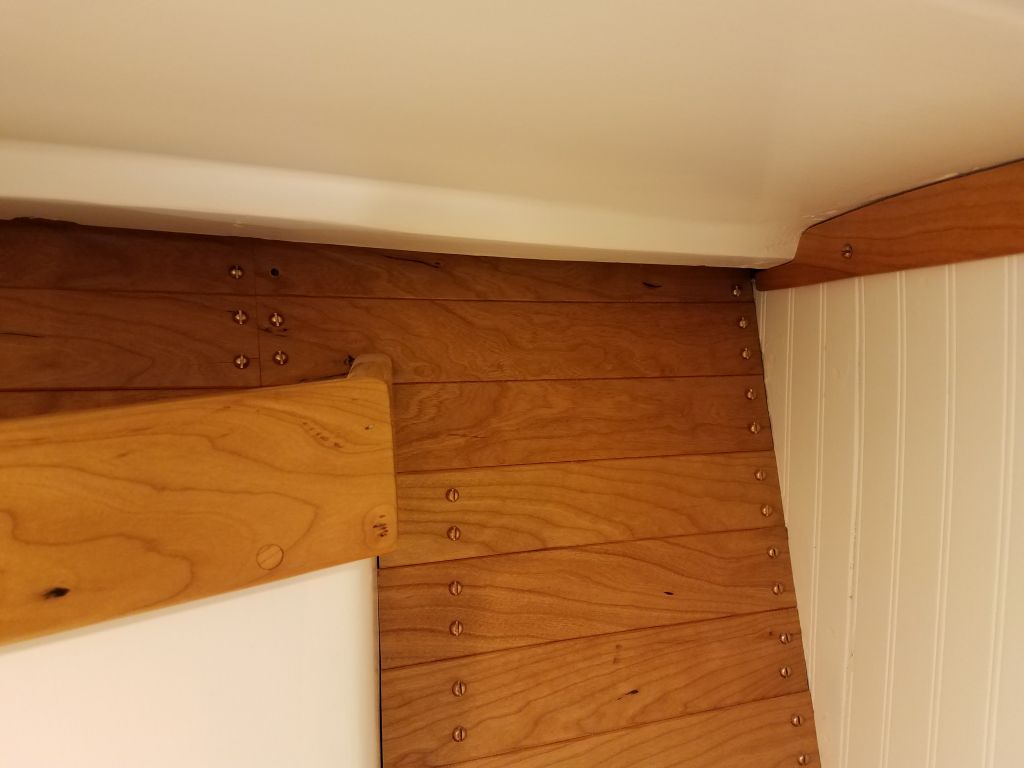
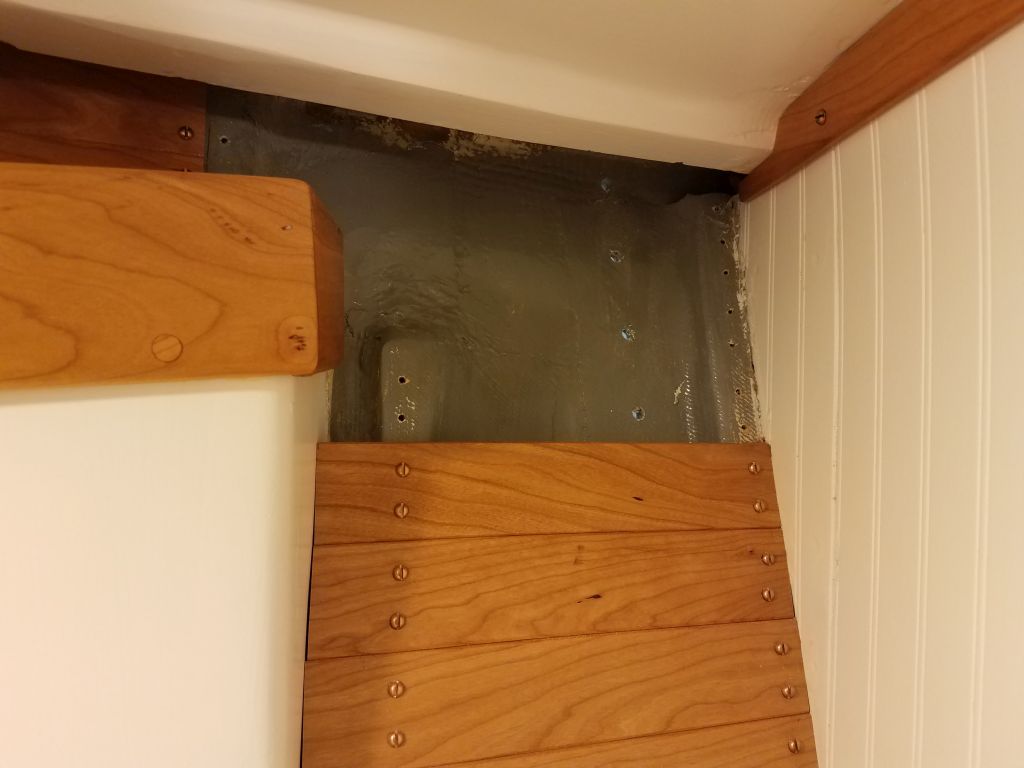
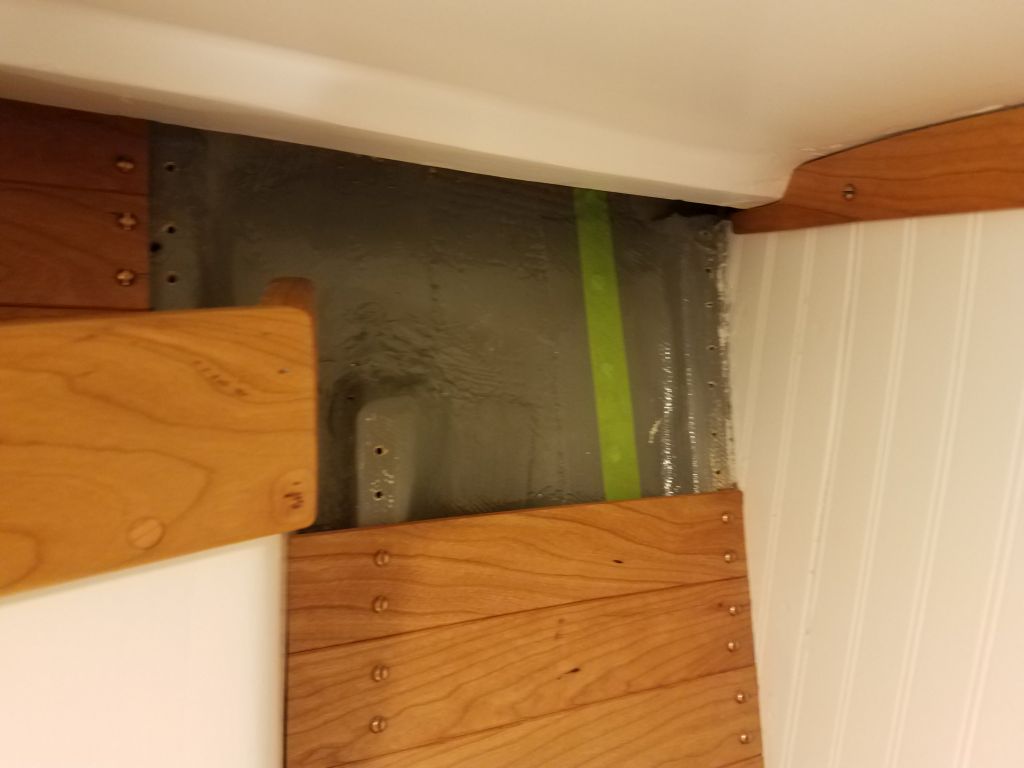
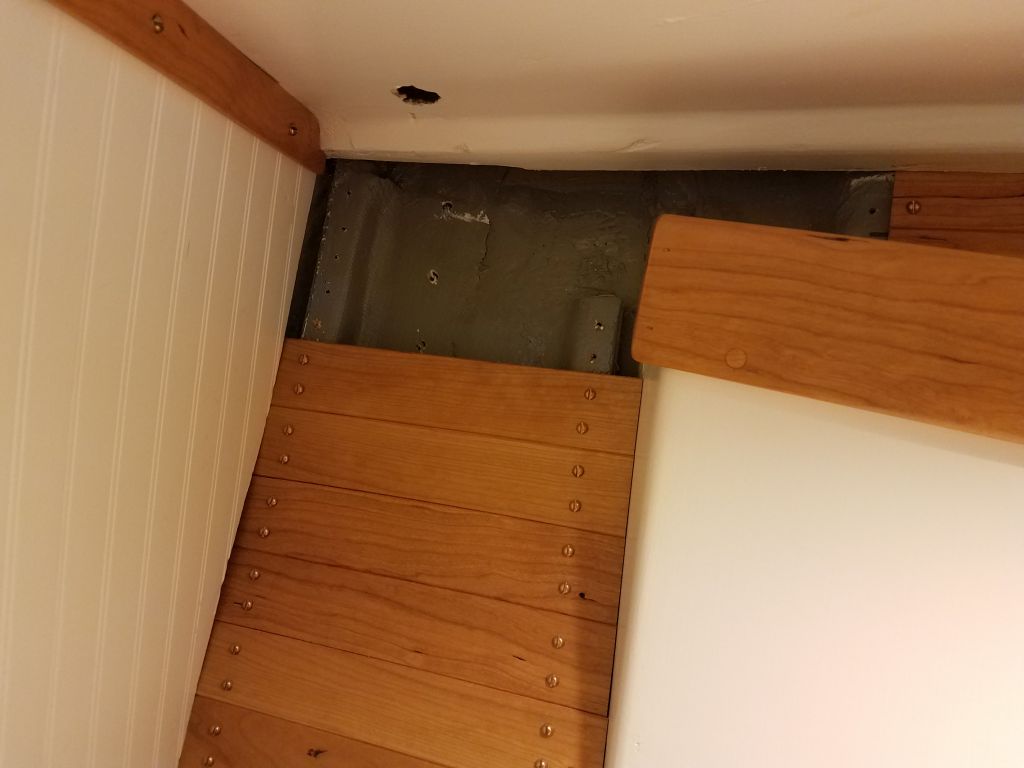
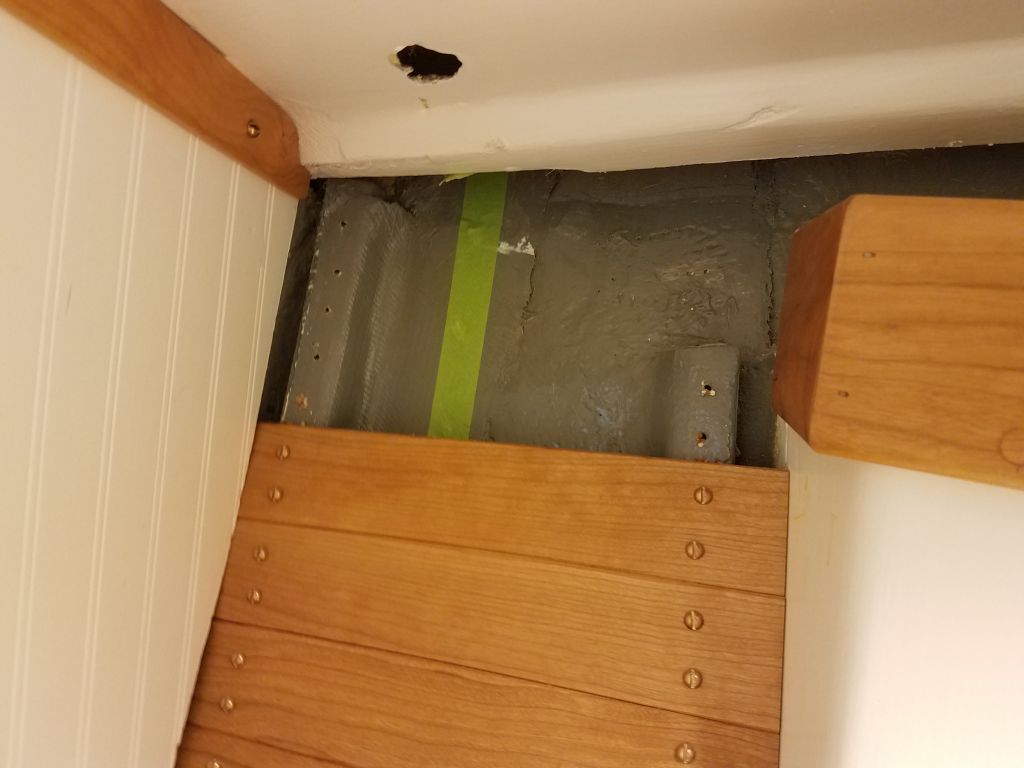
Moving aft, I masked over the additional two pairs of chainplate holes located within the cherry lockers on each side of the saloon. This brought me to the end of the day; I’d continue the masking next time.
Total time billed on this job today: 7.5 hours
0600 Weather Observation: 35°, partly cloudy. Forecast for the day: Mostly cloudy, 58°