


April 22, 2019
Scupper 130
Monday
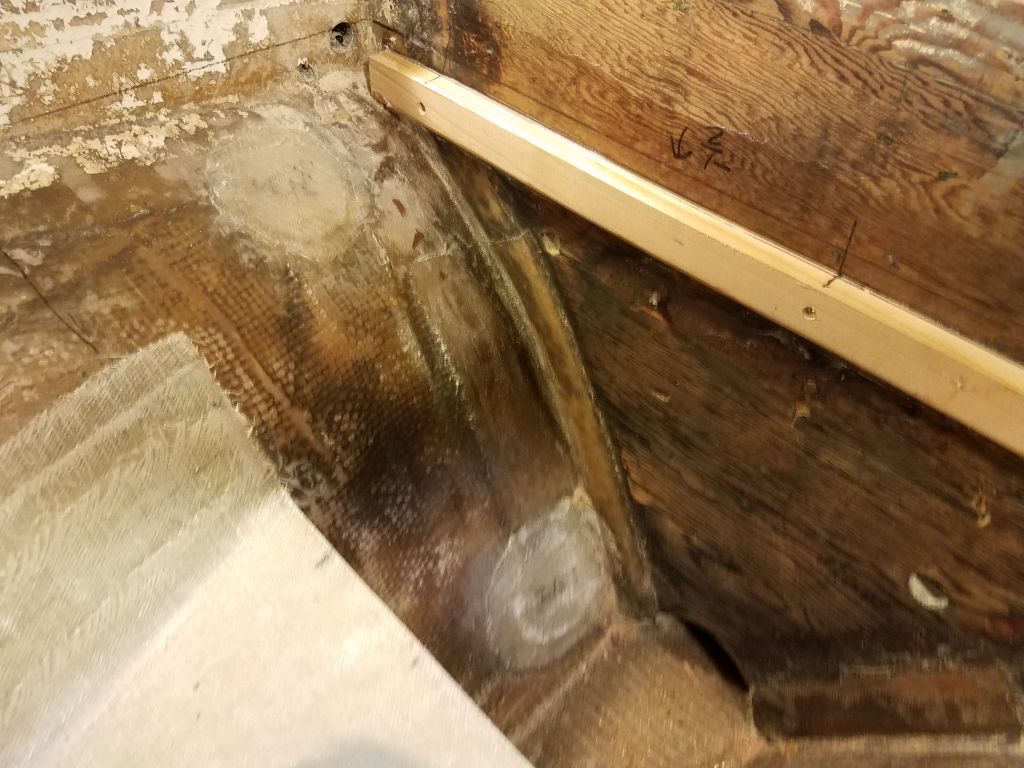
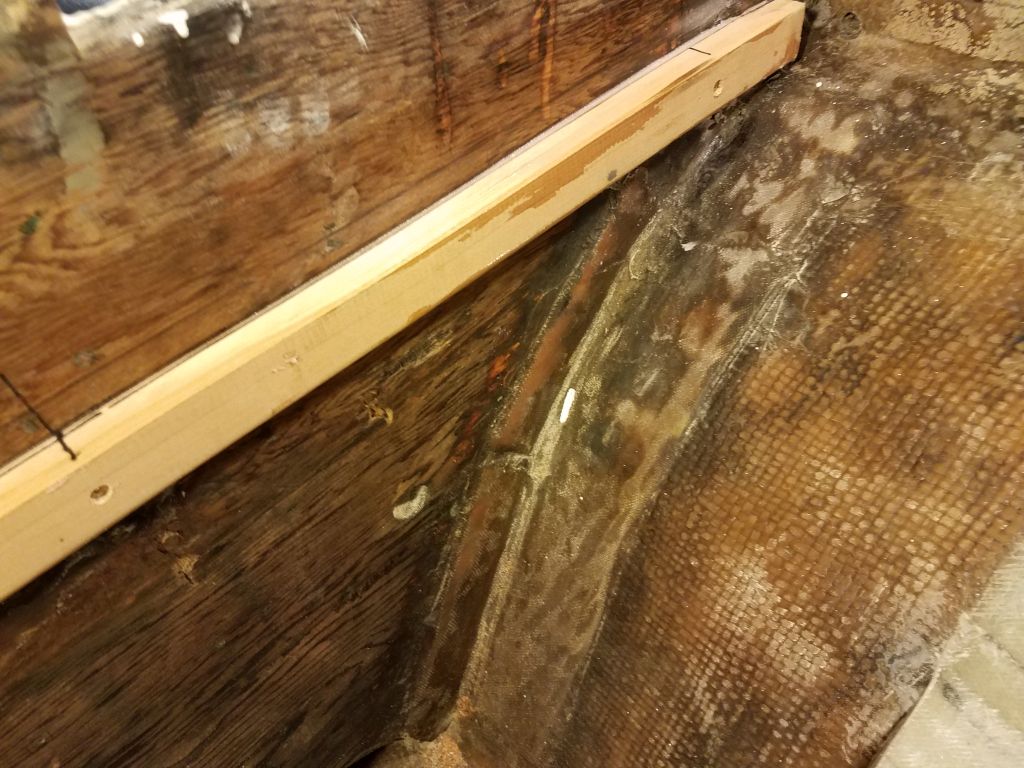
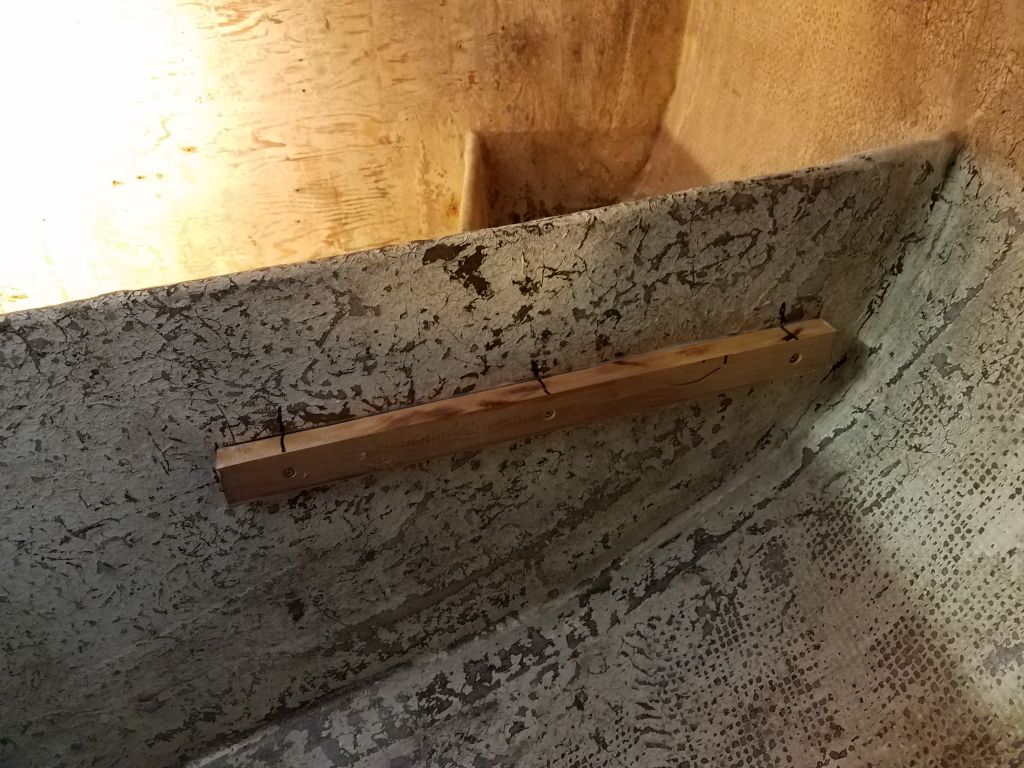
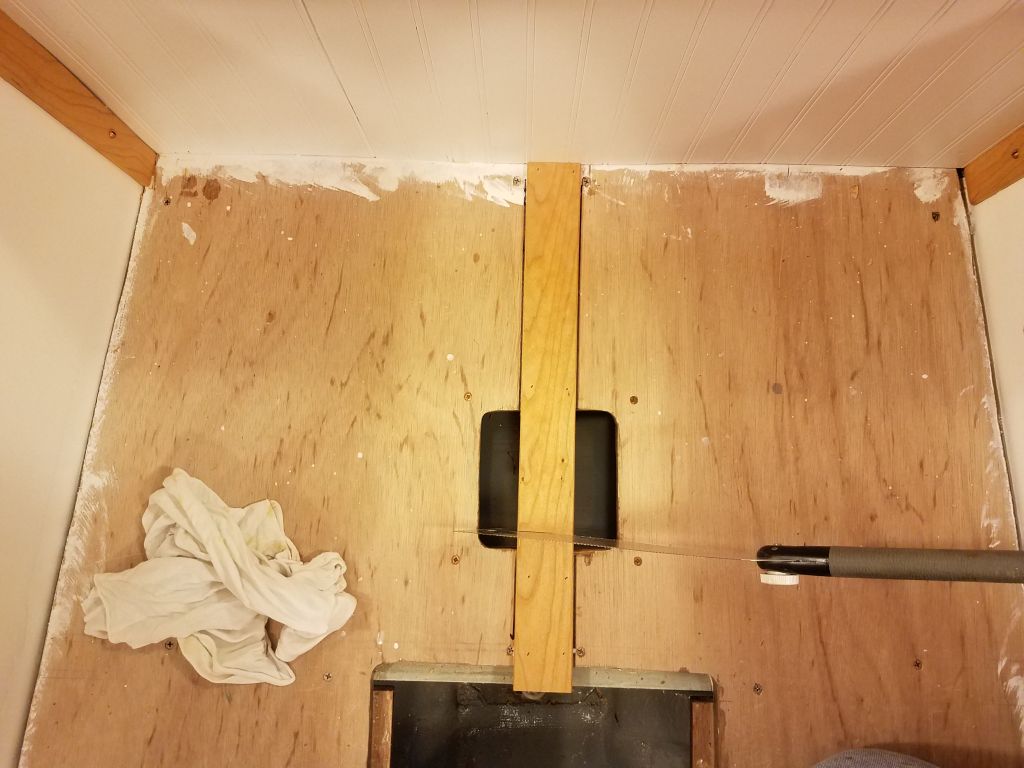
To support the eventual battery shelf across its forward edge, I cut and installed a hardwood cleat across the bulkhead in the engine room, securing it with epoxy adhesive and bronze screws, keeping the cleat level and aligned with a mark I’d made during an earlier layout.
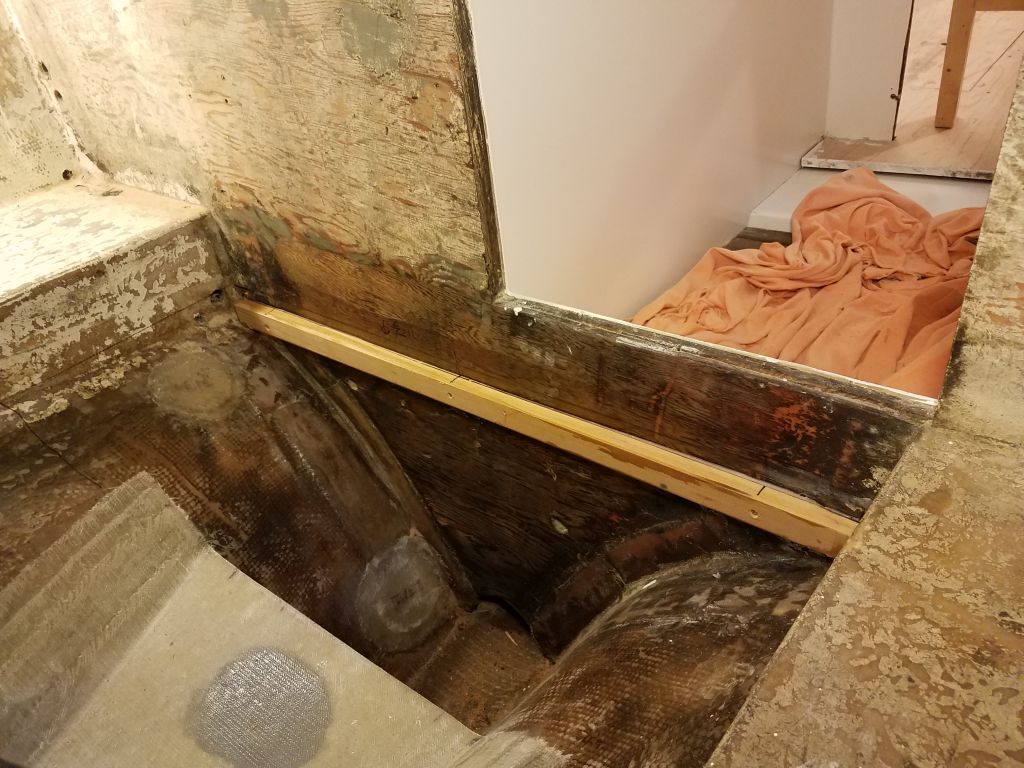
Some time back, I’d made a shelf template sized to hold a small portable generator that the owner specified to have on board, and now used the template to start laying out the shelf location at the forward end of the starboard cockpit locker, where I installed a hardwood cleat with epoxy and screws against the bulkhead, keeping it low enough that the bulkhead would hold the generator partly in place (along with additional fiddles and a strap later). The cardboard template was the raw size required to fit the generator footprint, but I’d need to angle its outboard edge to fit the shape of the hull when I cut the actual platform, which would be a little later.

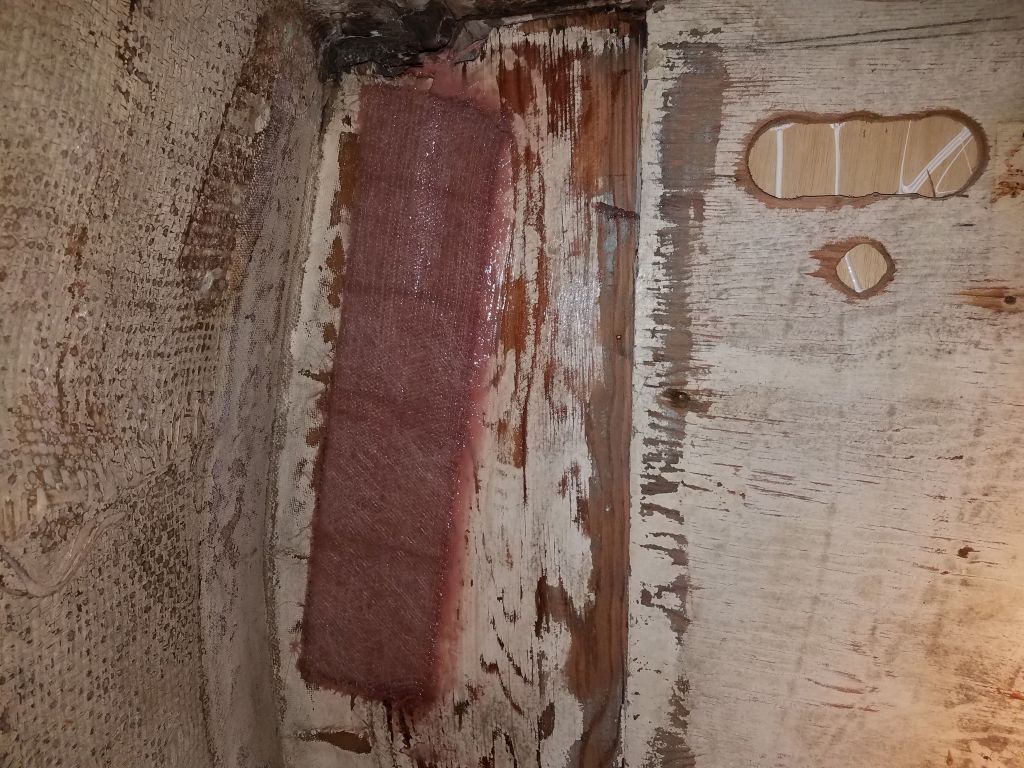
Earlier, I’d noticed a short section of the tabbing on the port aft side of the after bulkhead was a bit loose at its top edge, so now I prepared the area and re-secured the tabbing with epoxy from behind, and added some new tabbing over the top to finish the repair.
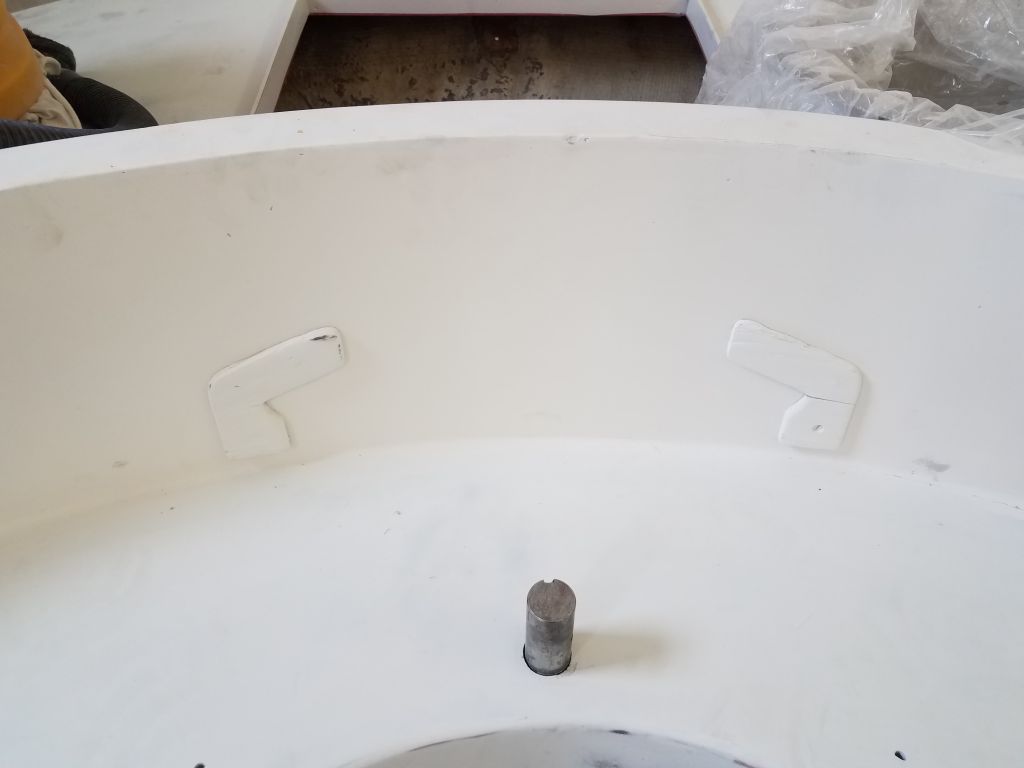
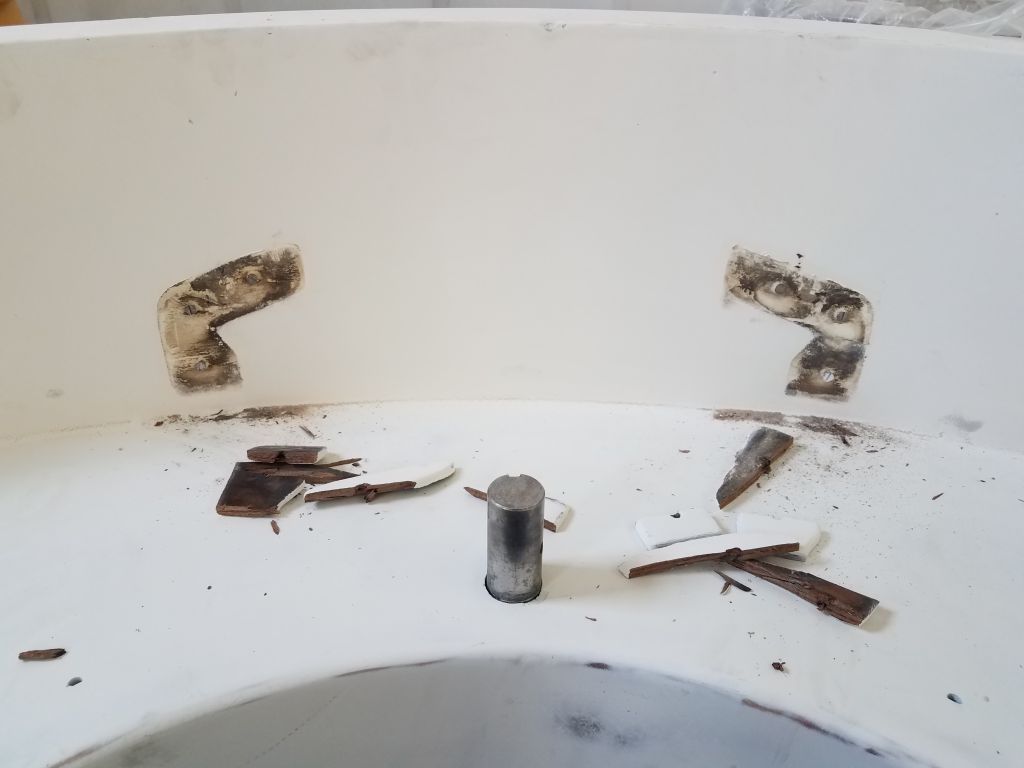
When I’d applied the high-build primer to the decks earlier, the final decision on steering had not yet been made, and I’d left in place some small wooden cleats that had helped hold a wooden helm seat (and rudderpost cover) in place at the aft end of the cockpit. The helm seat would no longer be needed nor wanted now that the boat would be tiller-steered, so I removed the cleats and their screws, prepared the holes for filling, and filled the various fastener holes with an epoxy mixture.


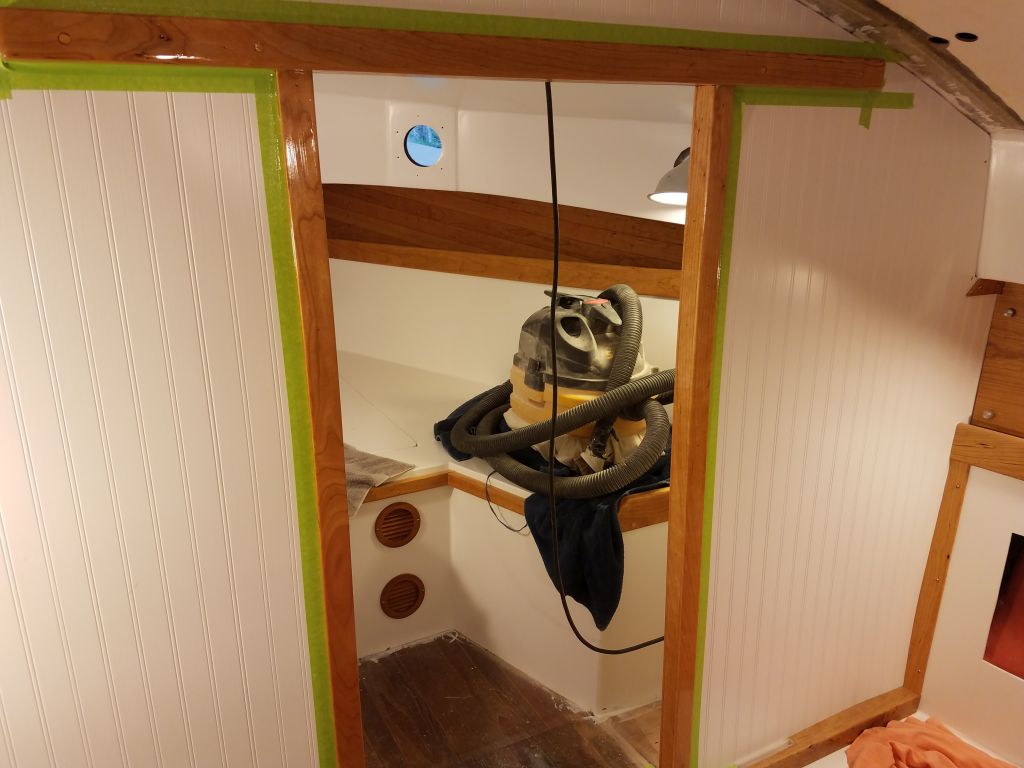
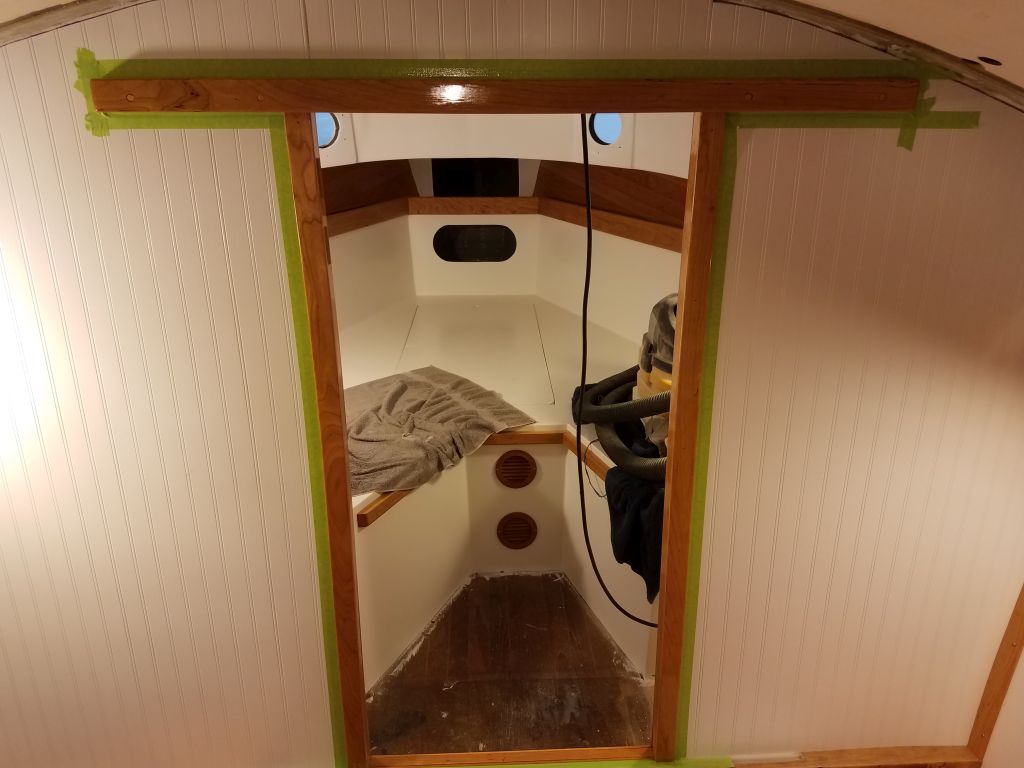
With that short list of lingering small jobs complete for now, I finished up preparations on the interior doors and companionway ladder and applied a sealer coat of varnish.
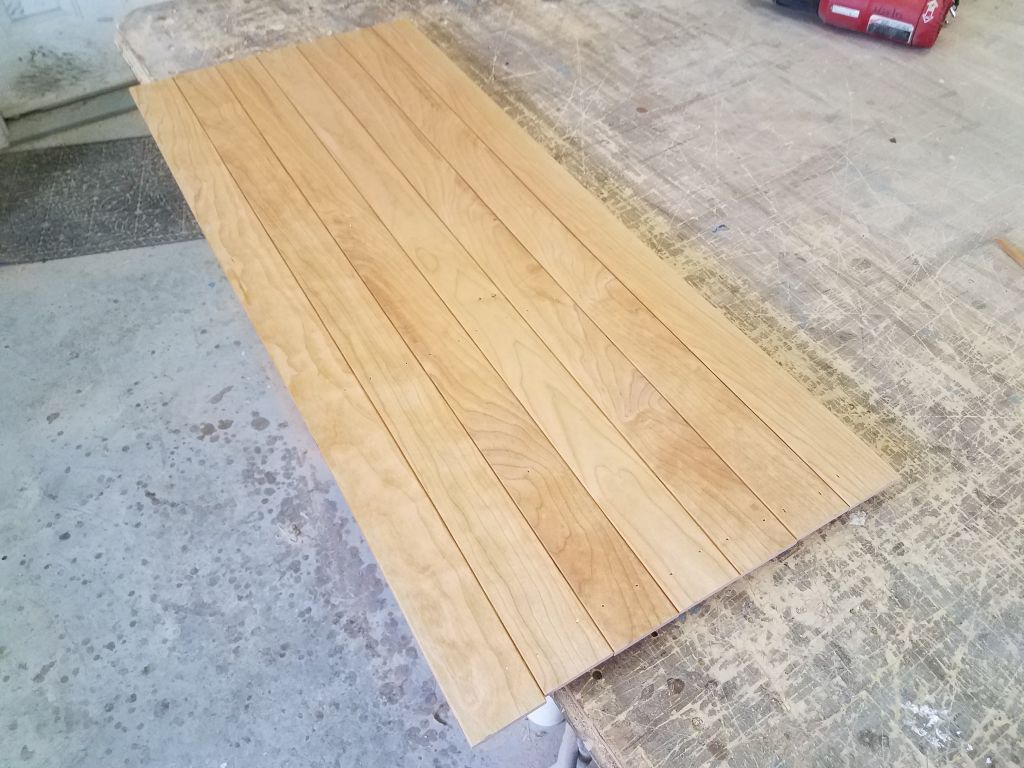
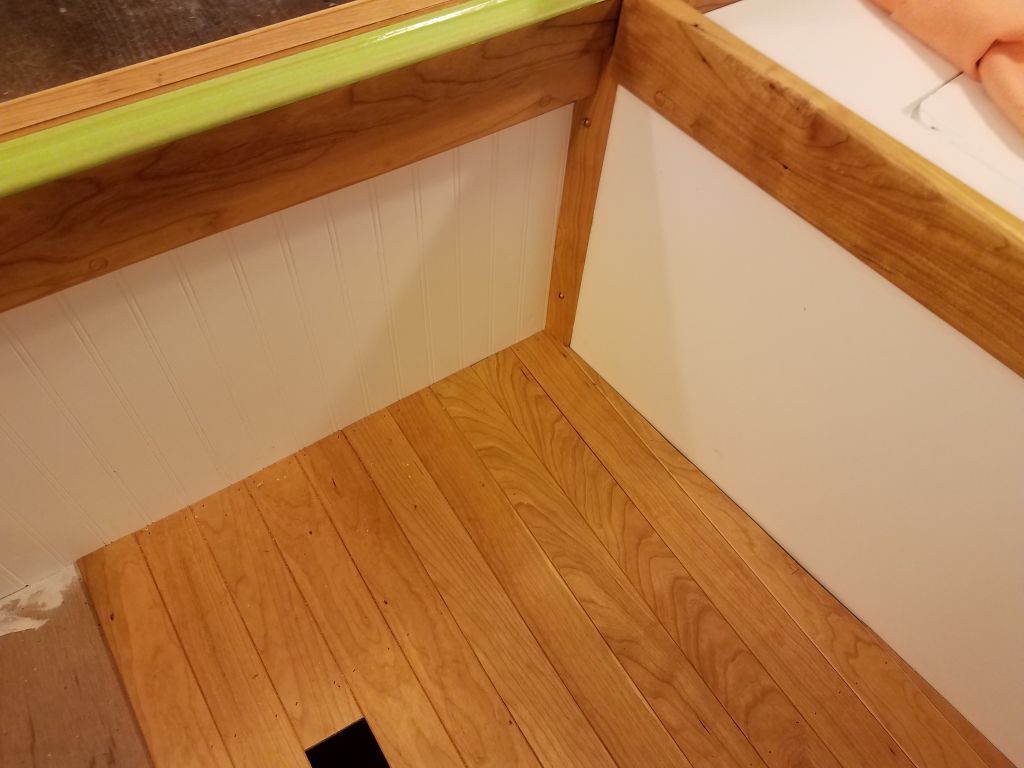
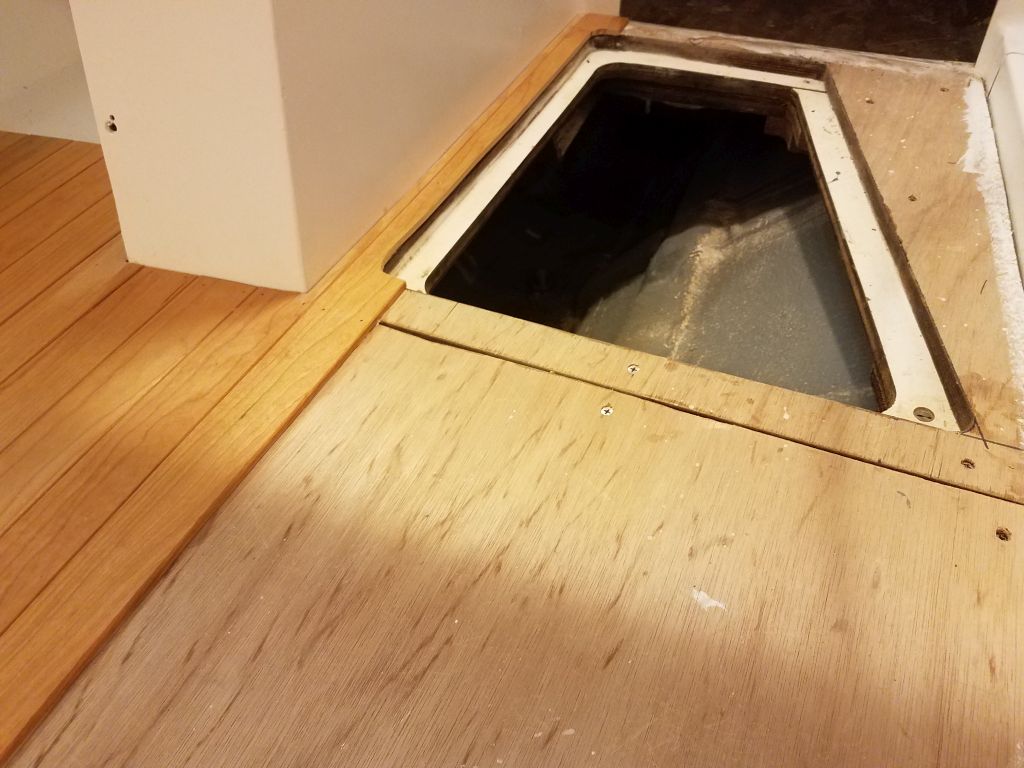
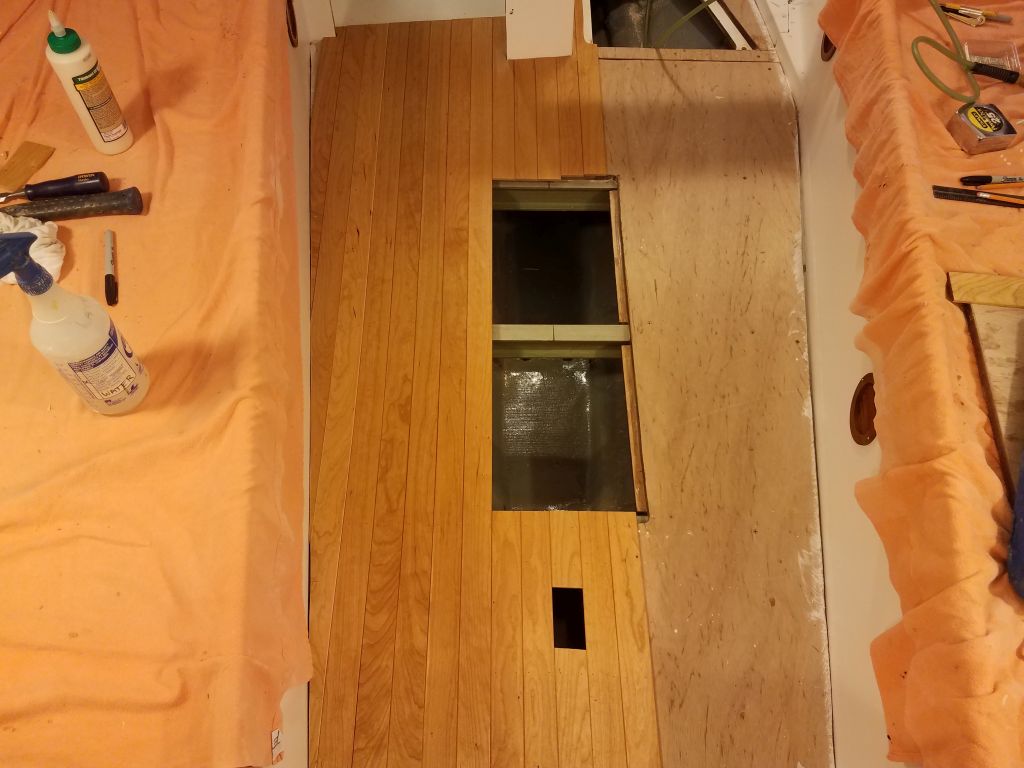
The day’s real focus was to be the cabin sole. I started in the main cabin with a plank down the centerline, which was straightforward to lay out and align since I had a nice centerline seam in the plywood substrate to work from. I cut various lengths from a single piece of cherry to fit the three sections required: the forward part; the bilge access hatch; and the after length, keeping the pieces aligned according to the original woodgrain. I ran the forwardmost piece directly over the hole for the mast compression post to begin, then cut out the center part with a saw; later, I’d trim this with a router. I secured the sole with glue and brads.
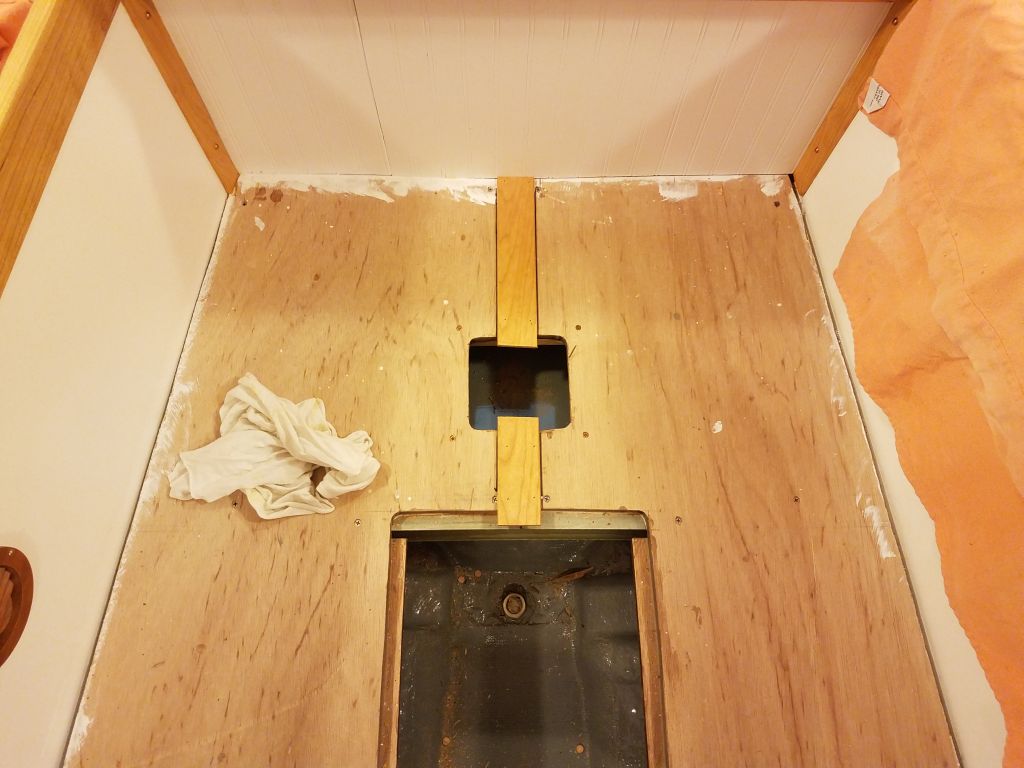
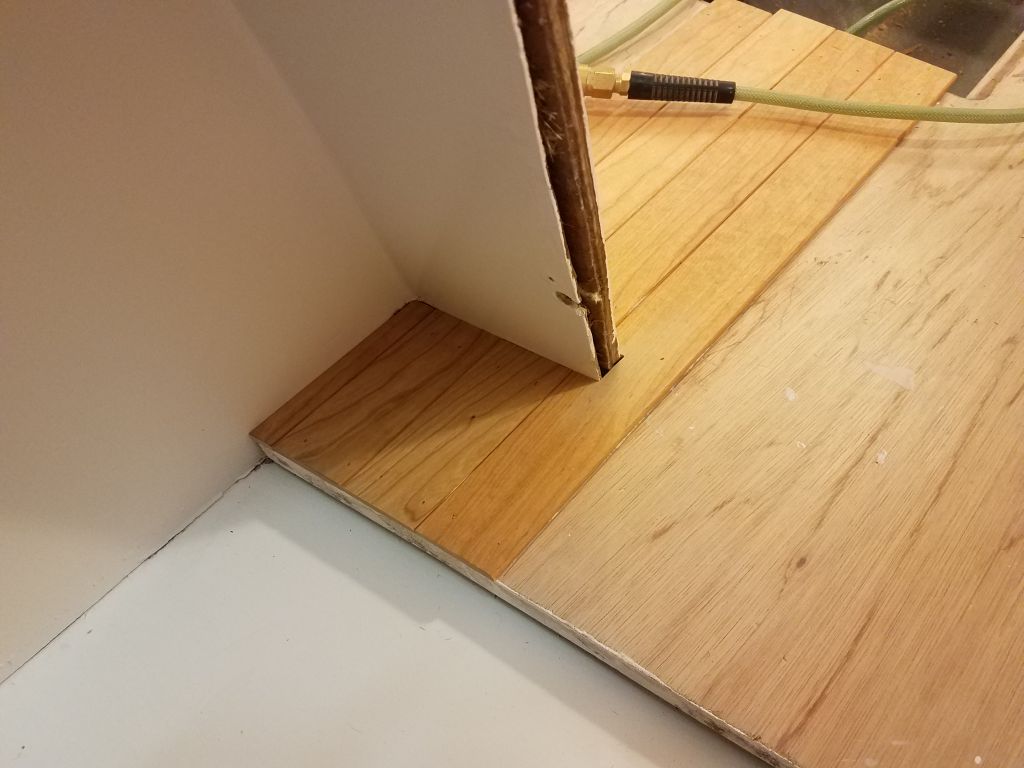
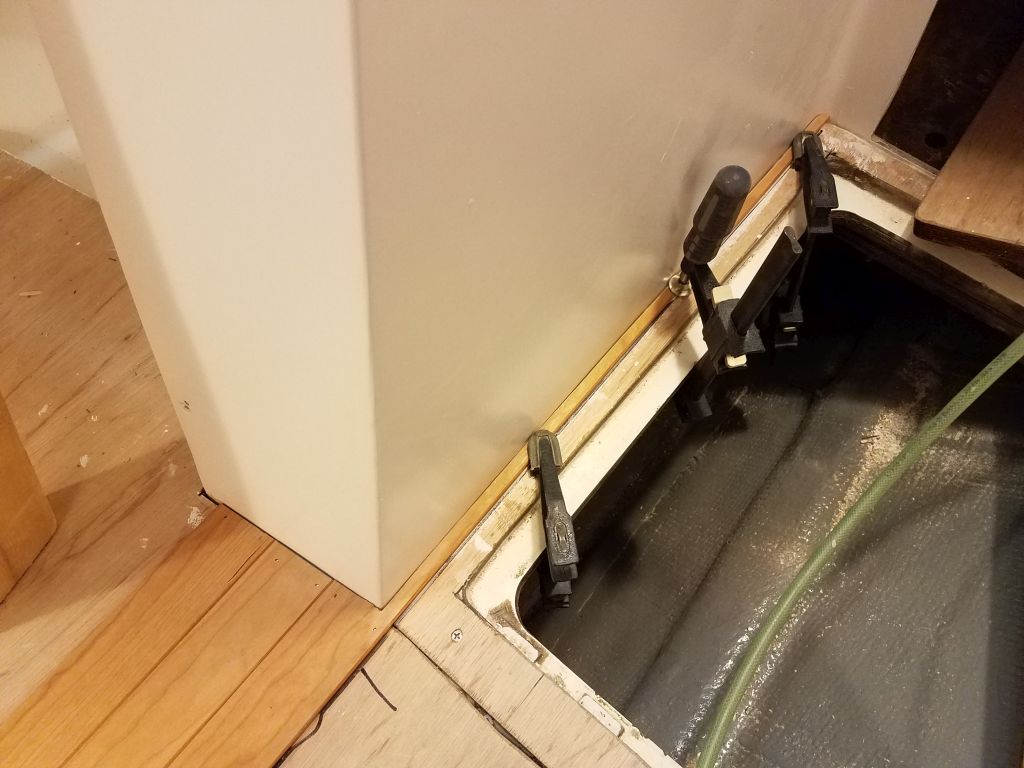
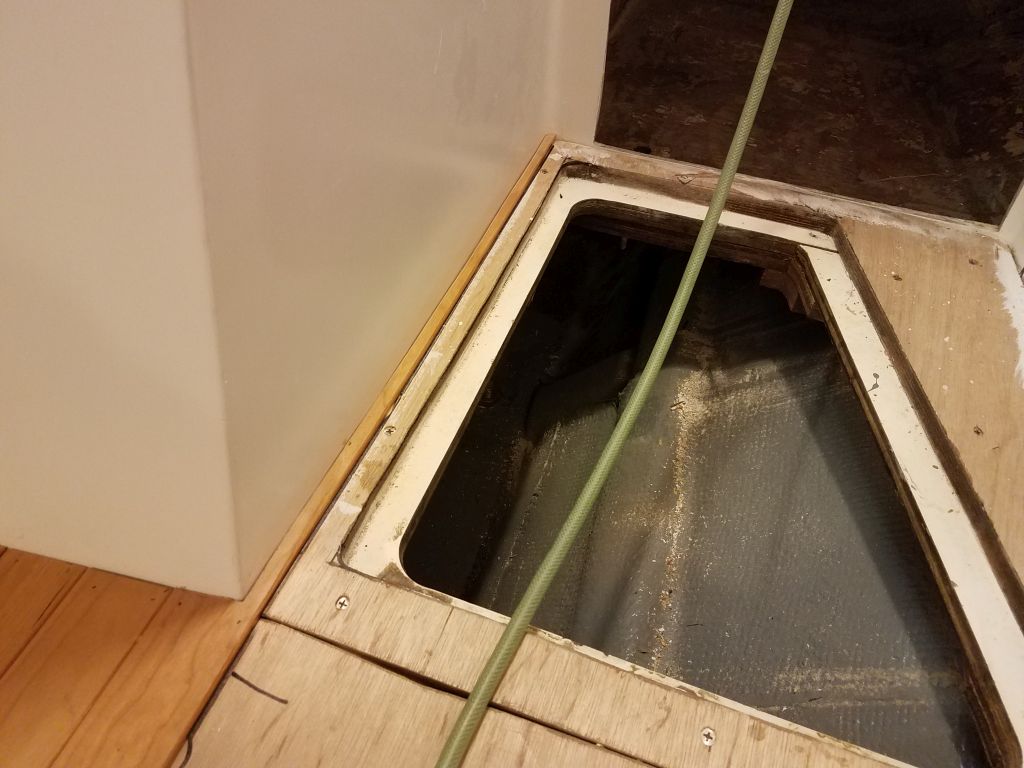
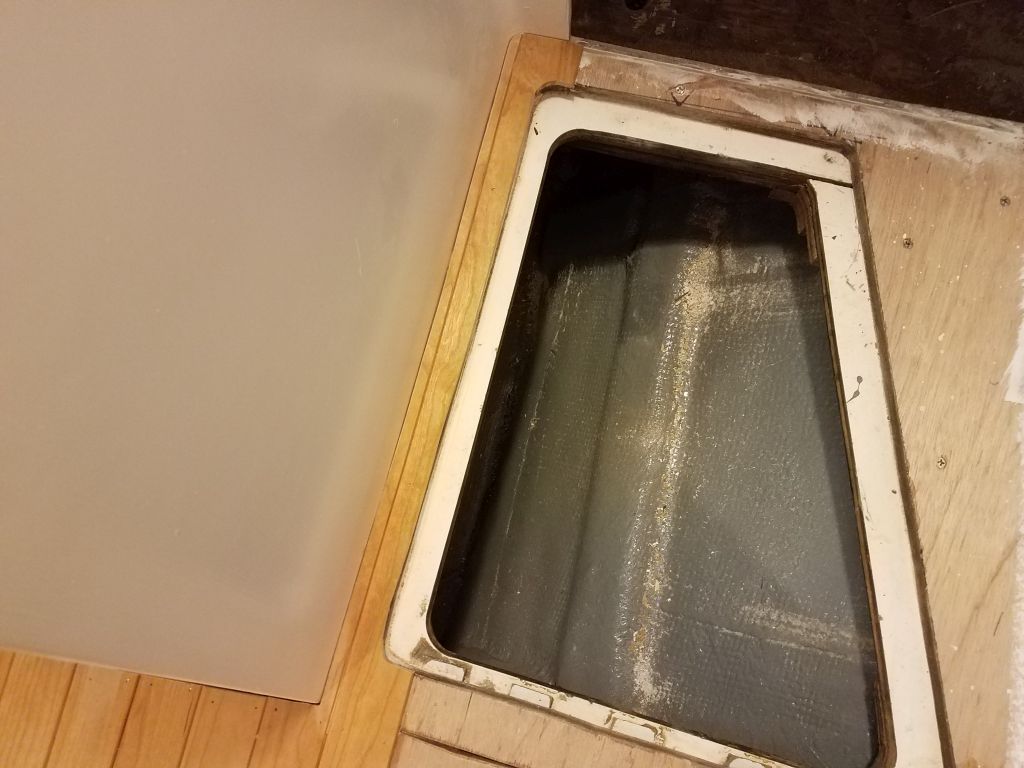
With the center plank in place (I also aligned and installed the center plank on the removable hatch), I worked in both directions to cut and install several more sections of the sole, leaving the ends and edges wild over the openings as needed. As I reached the opening into the head, I extended the planks to the end of the plywood substrate and wrapped the planking around the edge of the door frame as needed. As I went, I kept cutting and adding planks to the center bilge hatch as well, leaving the edges and ends long for later trimming.
On the opposite side, in the galley, the plank sizing required that the first full-length piece be cut into a narrow strip to continue past the center bulkhead as needed. This little strip was too narrow to nail, so I clamped it in place to let the glue cure.
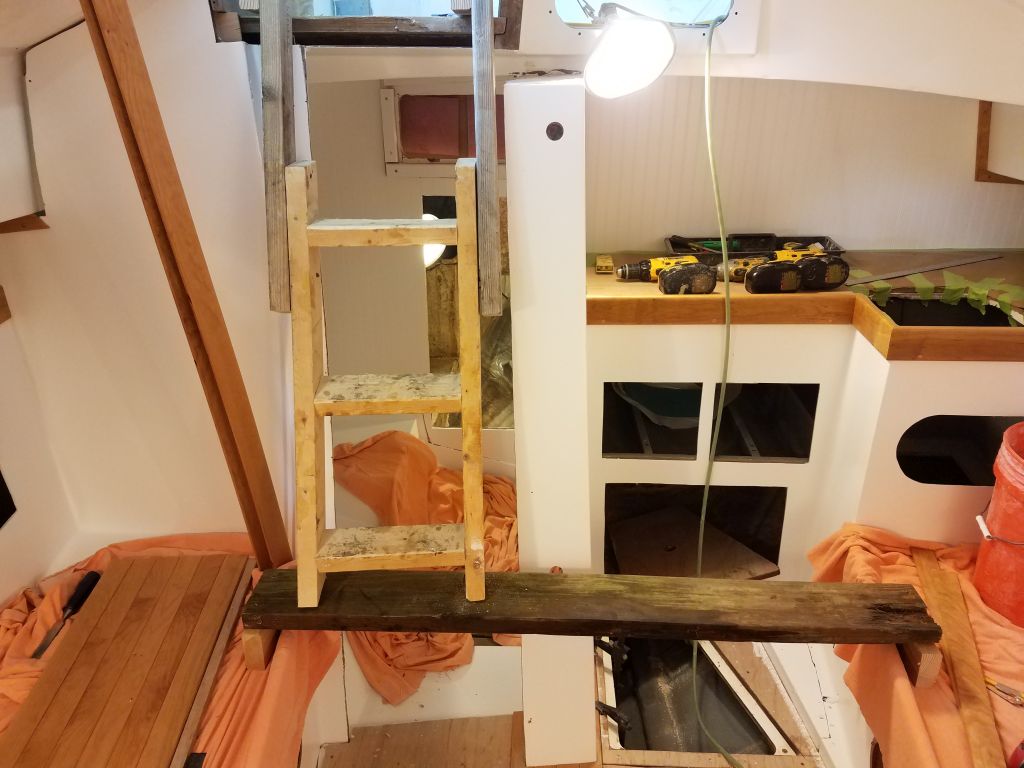
The construction companionway ladder continued to be a bother, and now it was in the way of the planking runs into the head opening. I grew quickly tired of moving the ladder for each fitting, so since I also needed a way to keep the ladder clear of the sole when it was time to varnish, I cut off the bottom part of the ladder and rested it on a new rough platform I built to span between the two settees. This kept the way clear beneath so I could work without constantly moving the ladder.
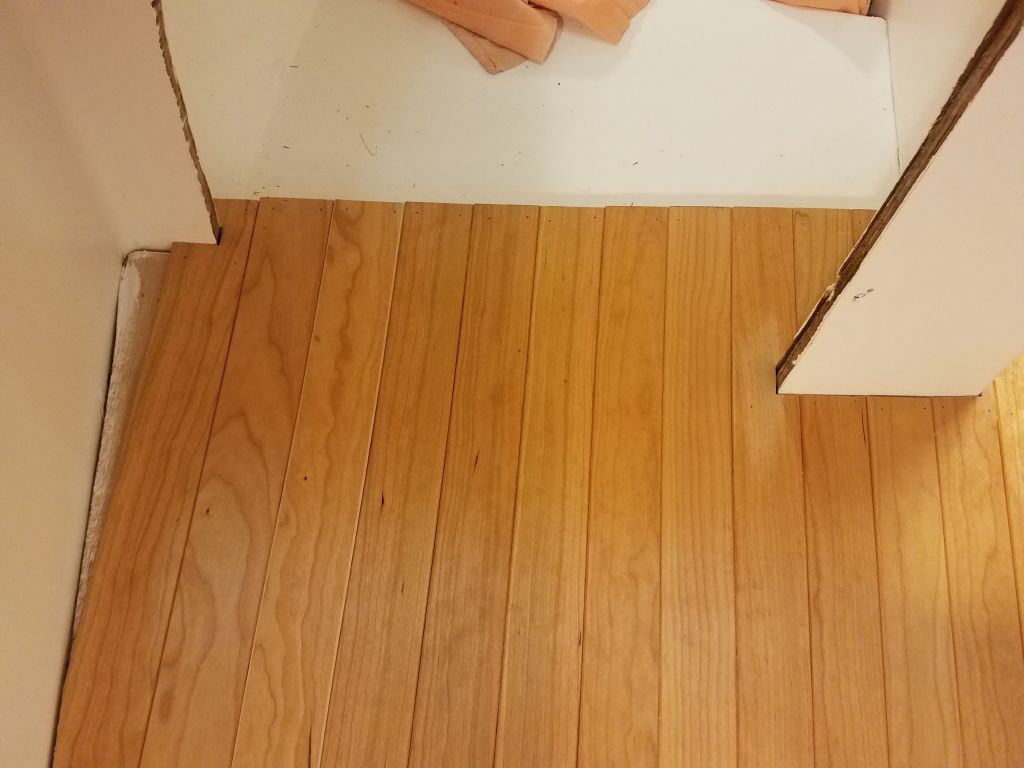
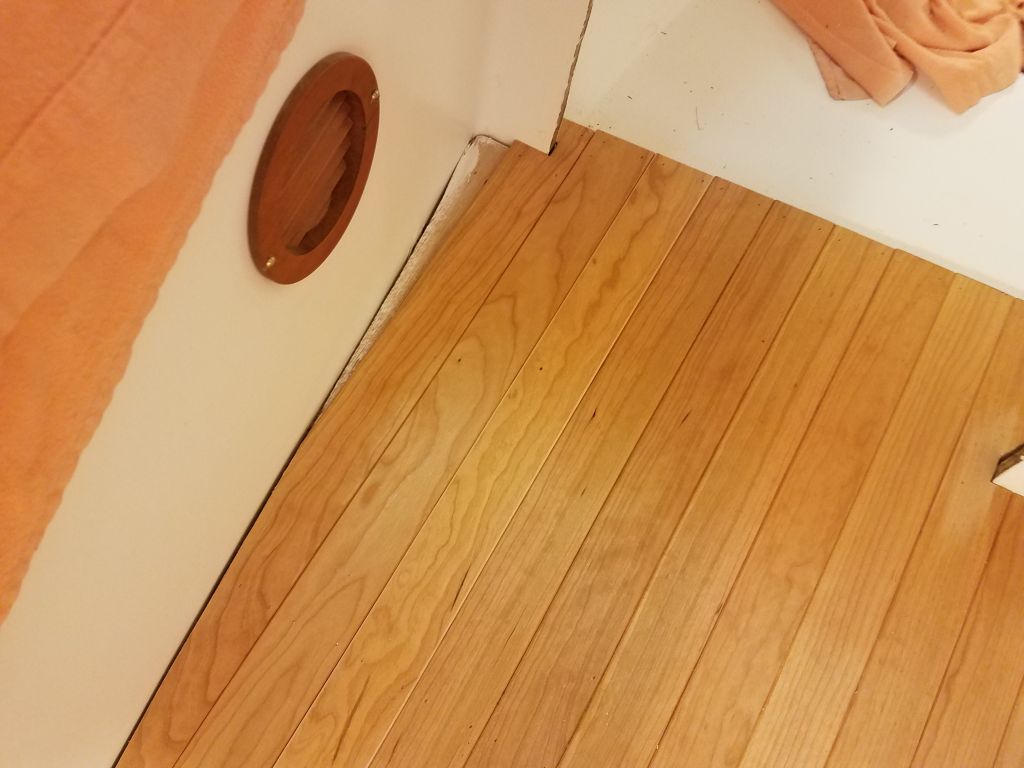
In this way, I continued working towards the starboard side, cutting and fitting a couple planks at a time. Eventually I reached the forward corner, where I’d earlier used a scrap of planking to cut off the corner trim just above planking height, so now a full width of the planking fit nicely into the corner. From there, each plank end required a steep, long angle cut where it died out into the angled settee side. I worked my way to the last full plank running past the door opening at the head, leaving the little angle piece in the corner for next time.

Meanwhile, it had been long enough that I could now unclamp the little strip in the galley, and from there I ran one more width of planking to even up what I’d begun earlier in the day. The piece next to the narrow strip required marking and cutting to fit the hatch opening in the galley, which I had to do now since the edge of the opening was too close to the bulkhead to allow a router to fit for normal flush-trimming like I’d do in the other openings. I left the cut just slightly overlarge and would have to sand it to final shape later.
For now, though, this was a stopping point, since I wanted to use what was left of the day to sand, clean, and varnish the forward cabin door trim once more–this time with the rubbed-effect satin varnish that I hoped would be the final coat.

Total time billed on this job today: 8 hours
0600 Weather Observation: 50°, clouds and fog. Forecast for the day: Cloudy, chance of rain, 61°