


May 20, 2019
Scupper 147
Monday
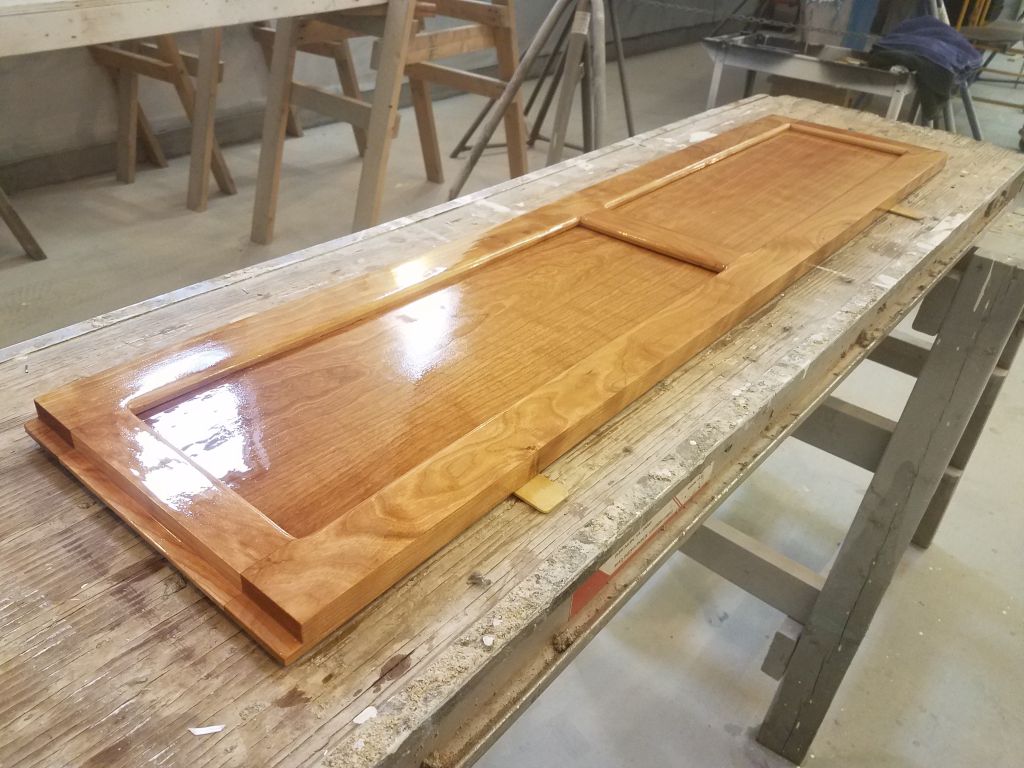
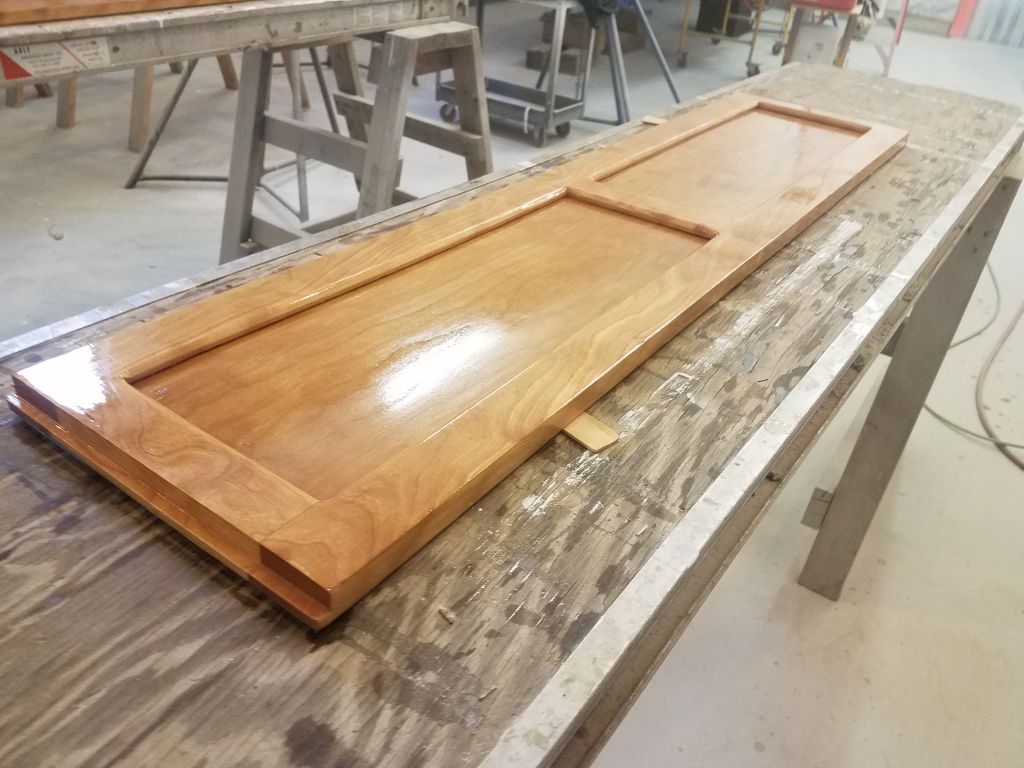
With four build coats on the back (actually the forward-facing, but less-visible) sides of the doors for the forward cabin, I decided to flip them and work on the build coats on the main side, so after final preparations I applied the second coat of varnish to the second side.
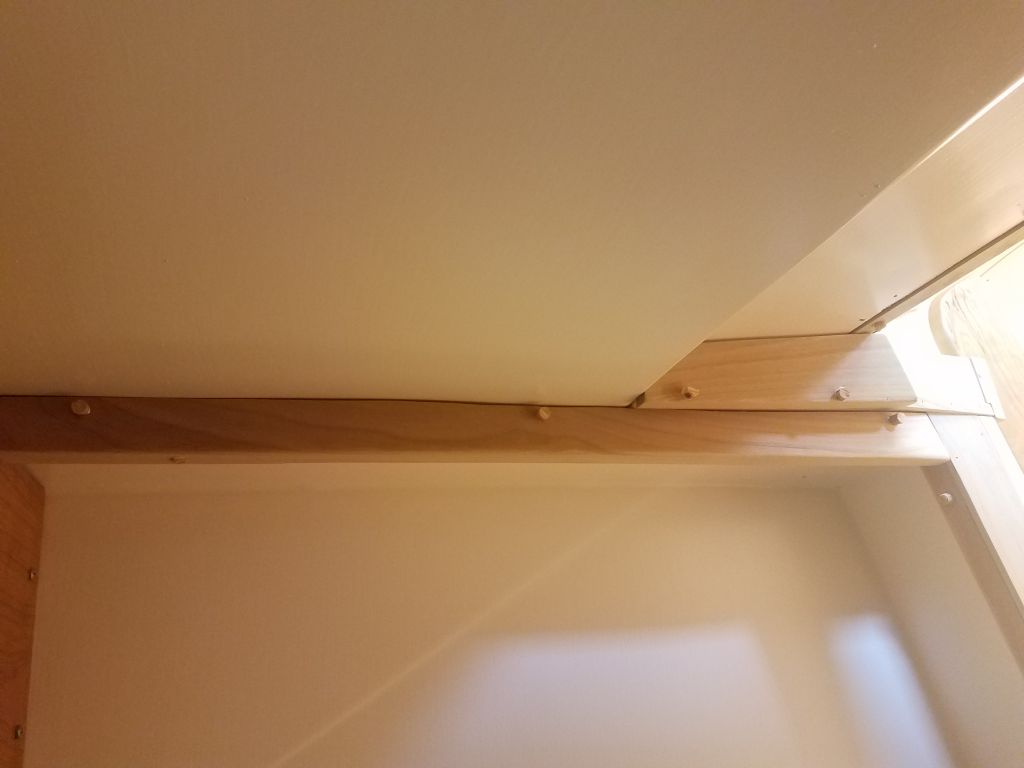
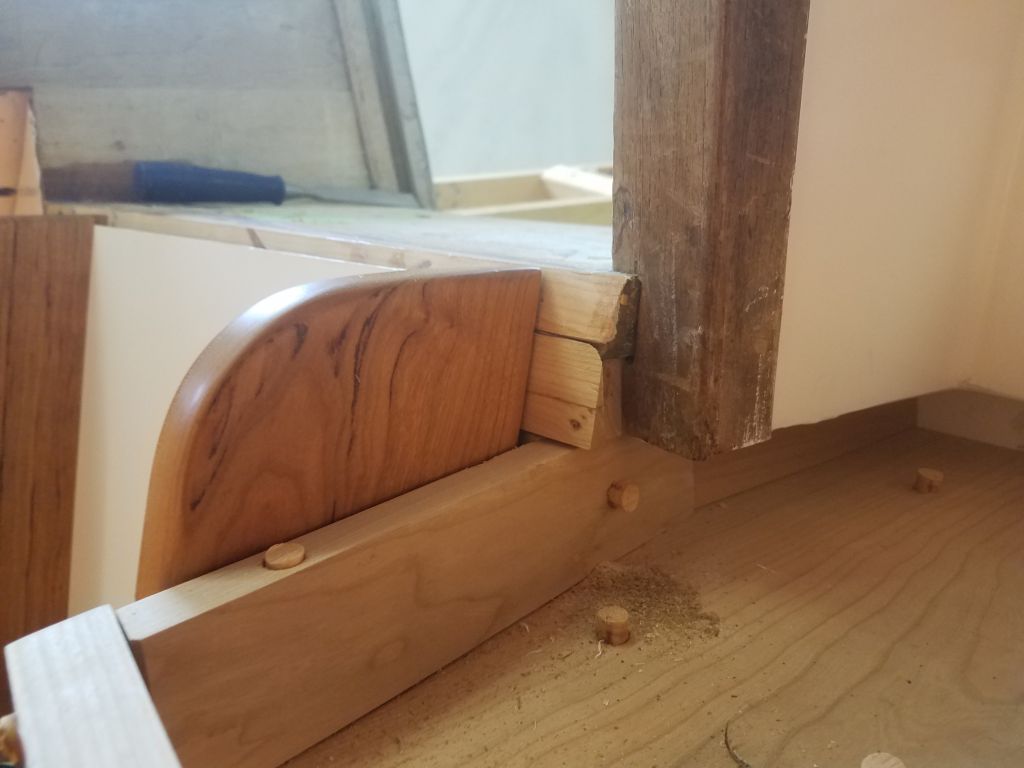
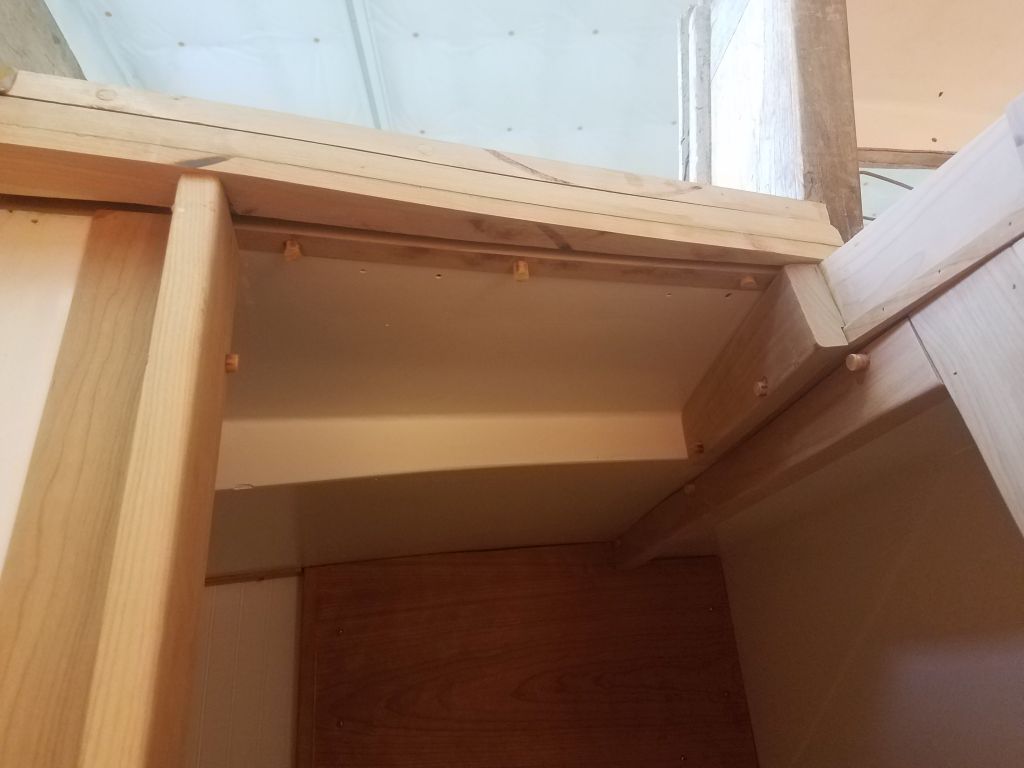
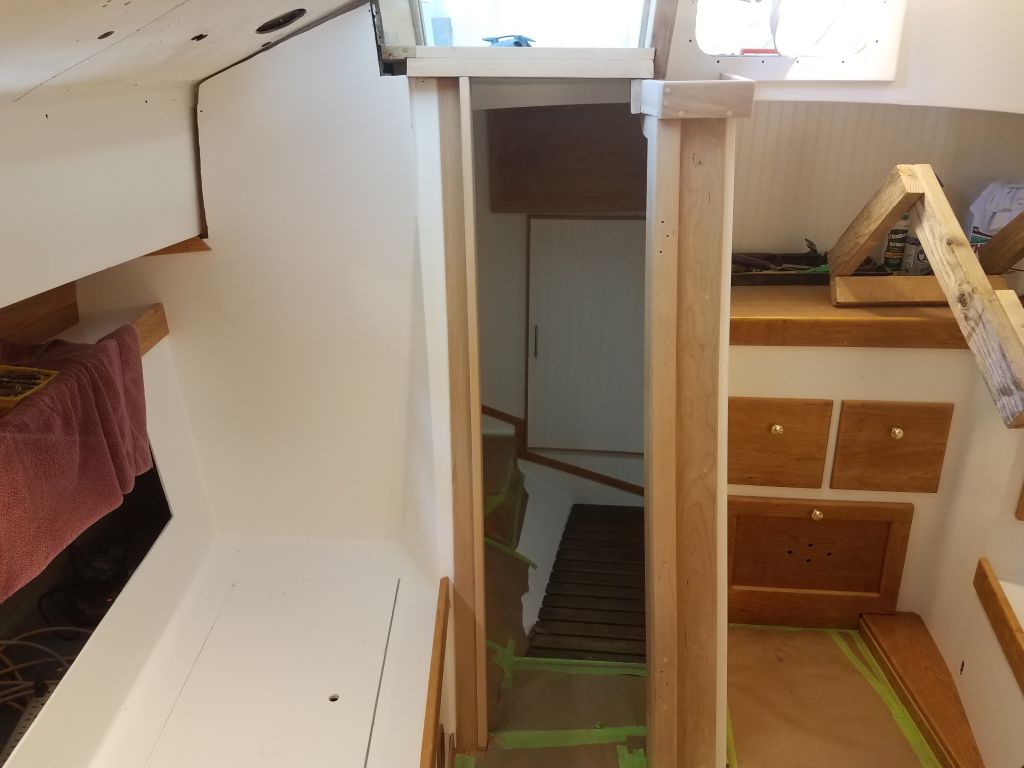
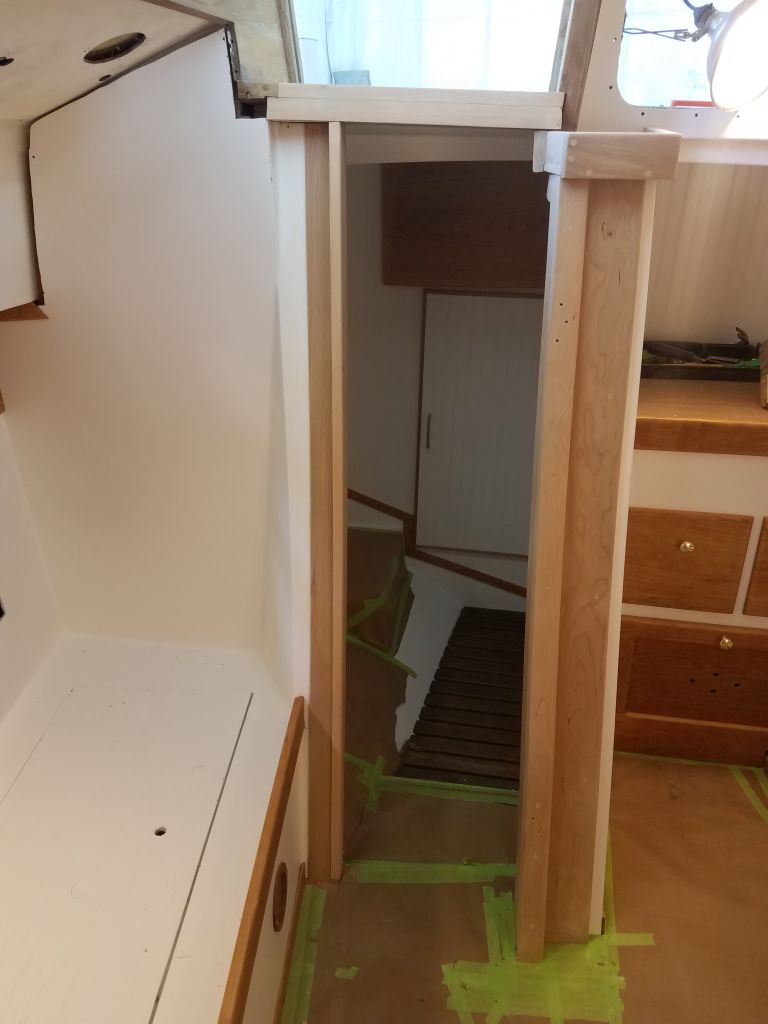
I cut a series of cherry bungs for the companionway, then glued these in place in all the existing screw holes.

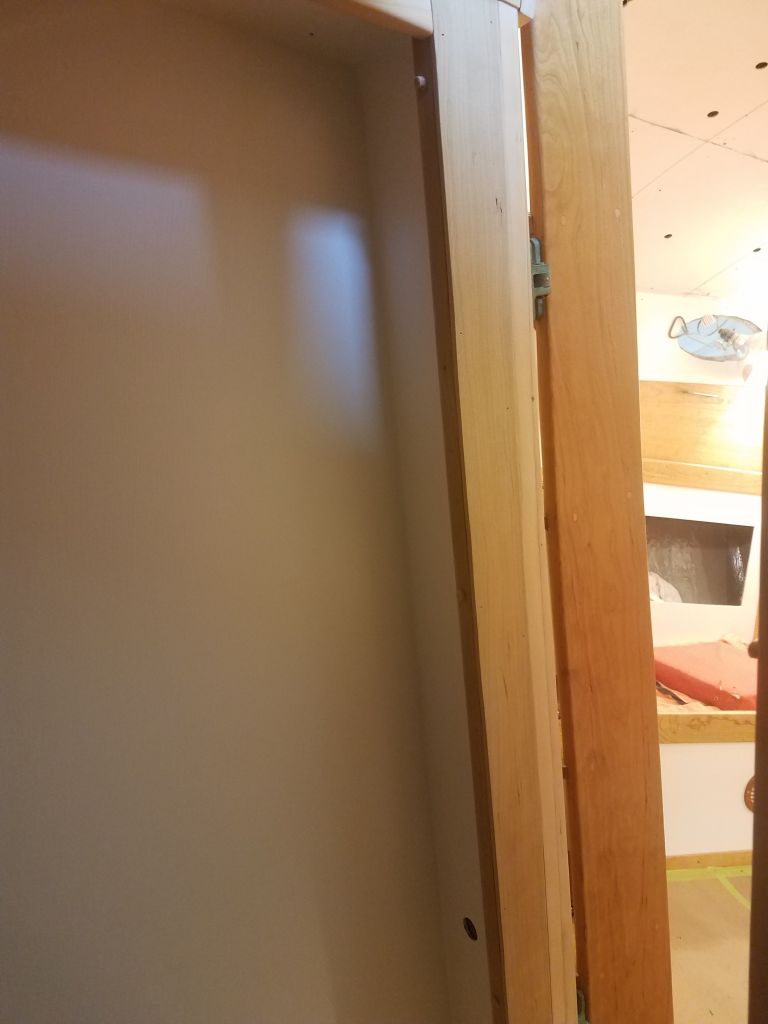
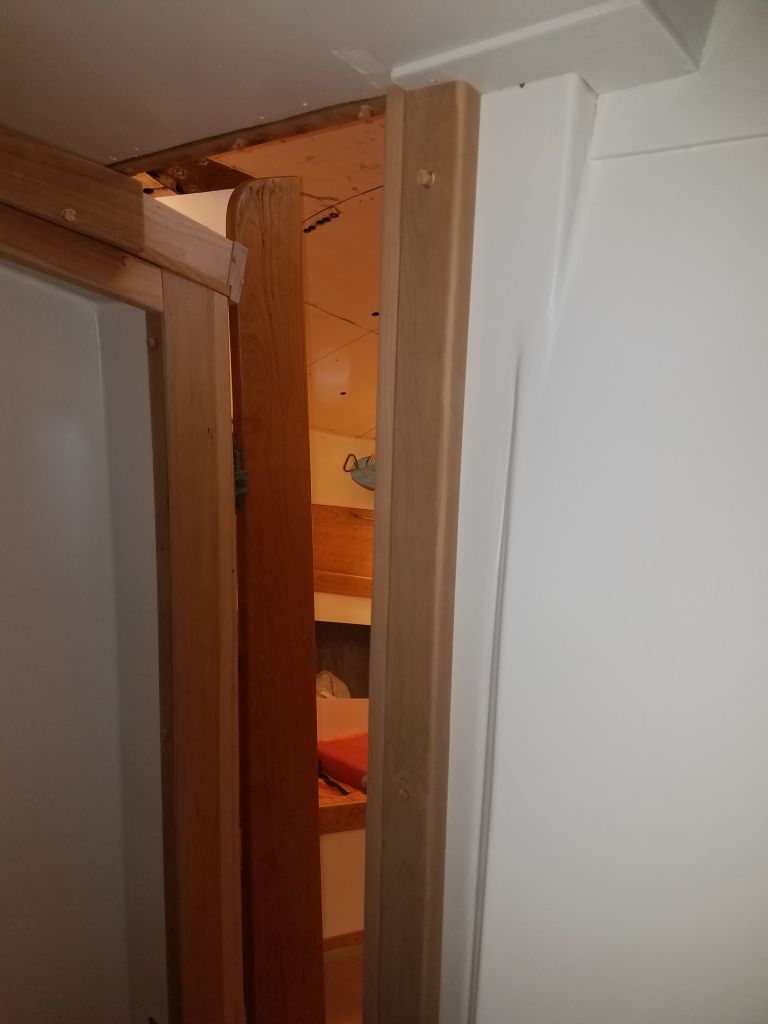

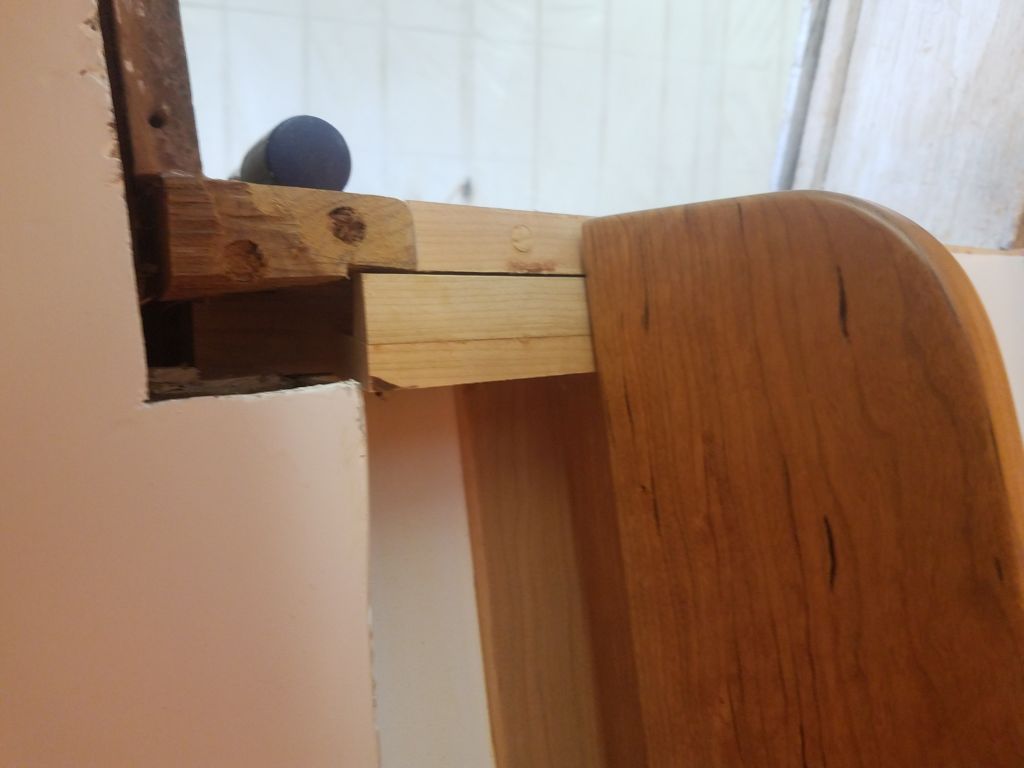
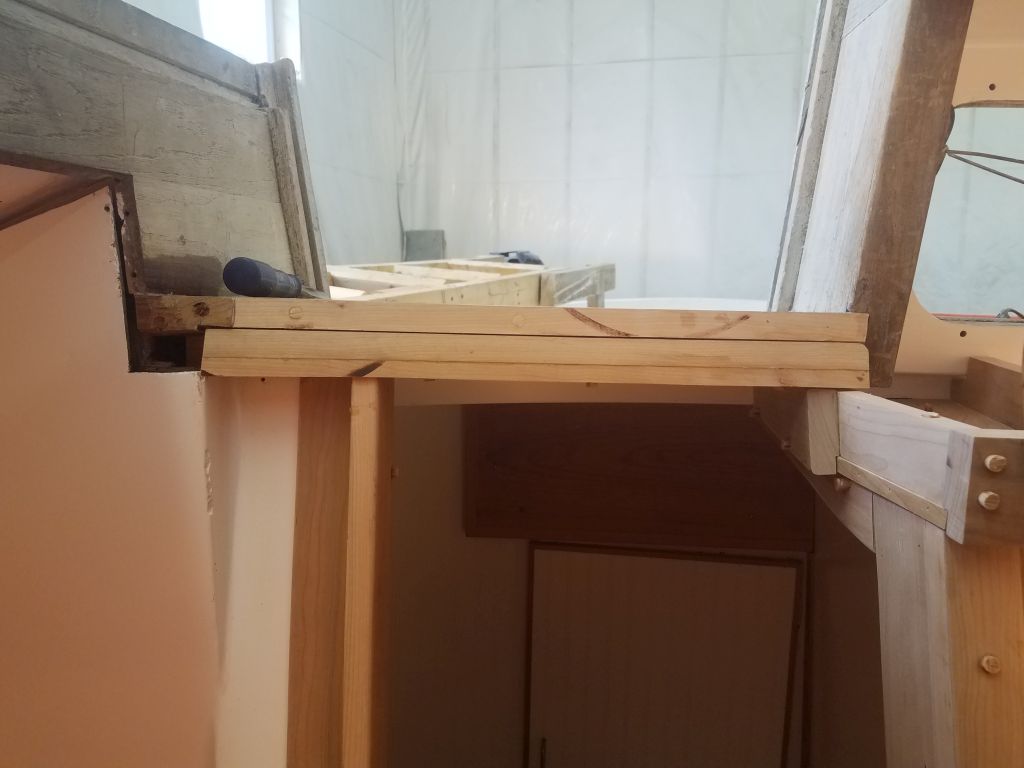
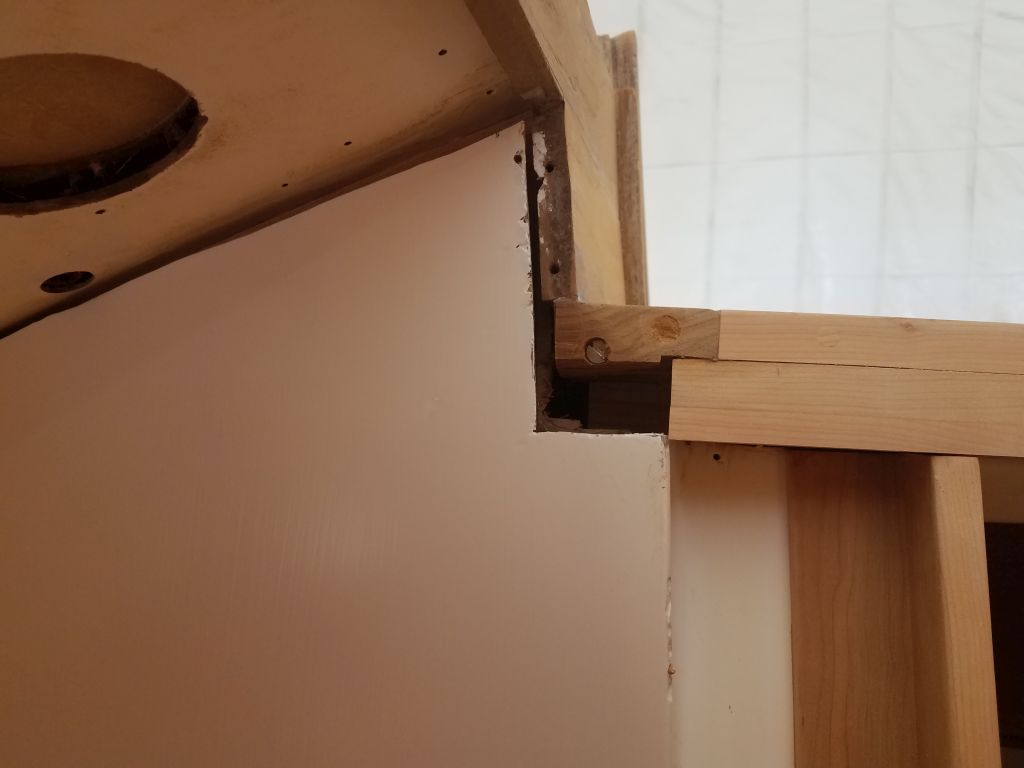
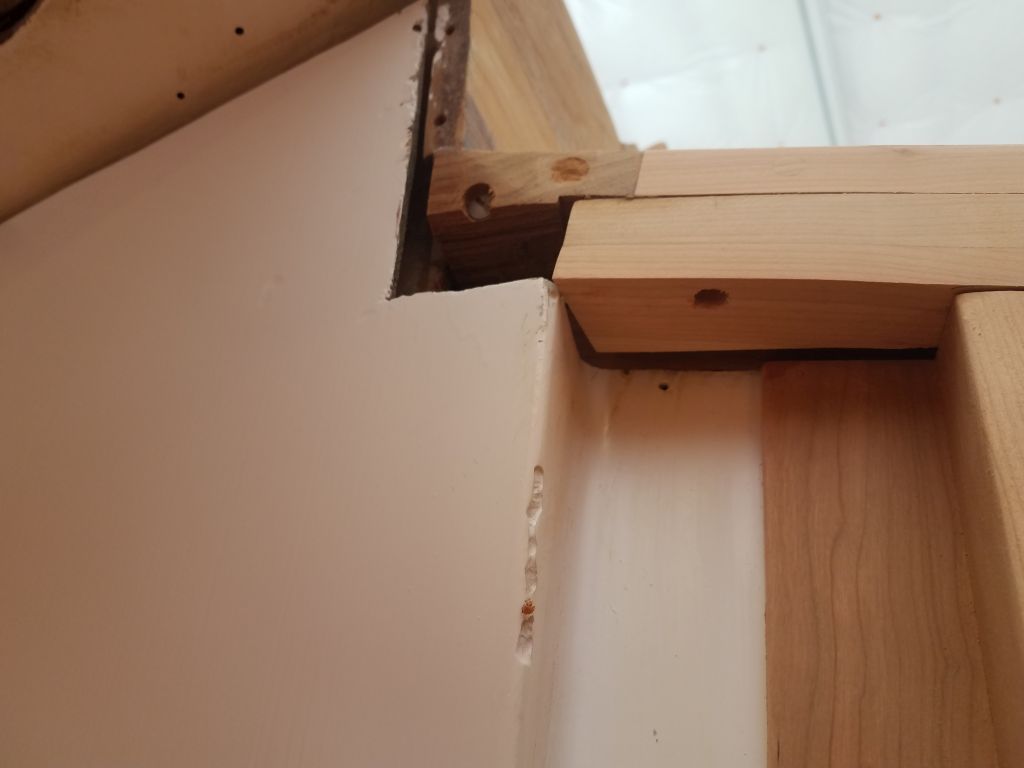
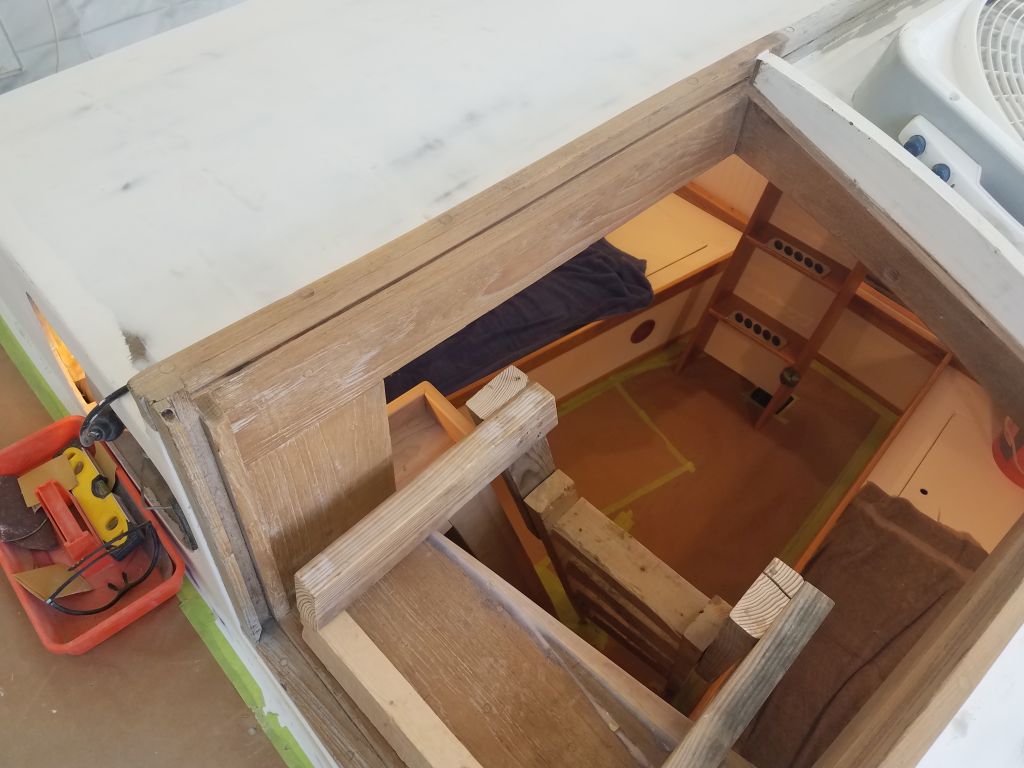
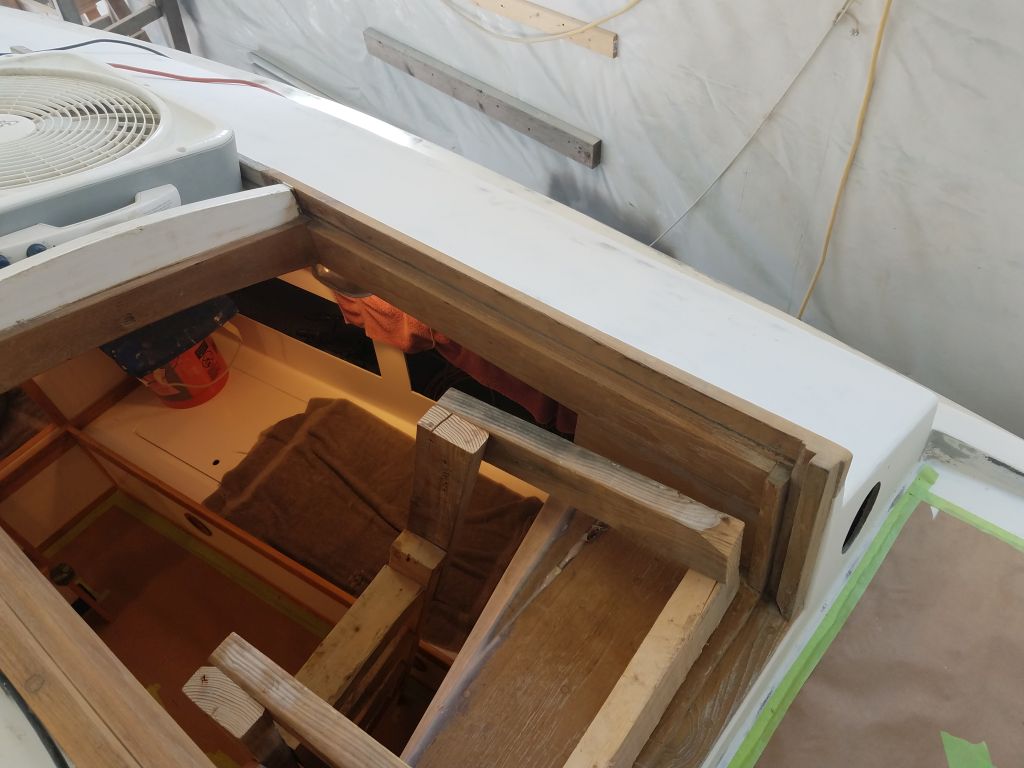
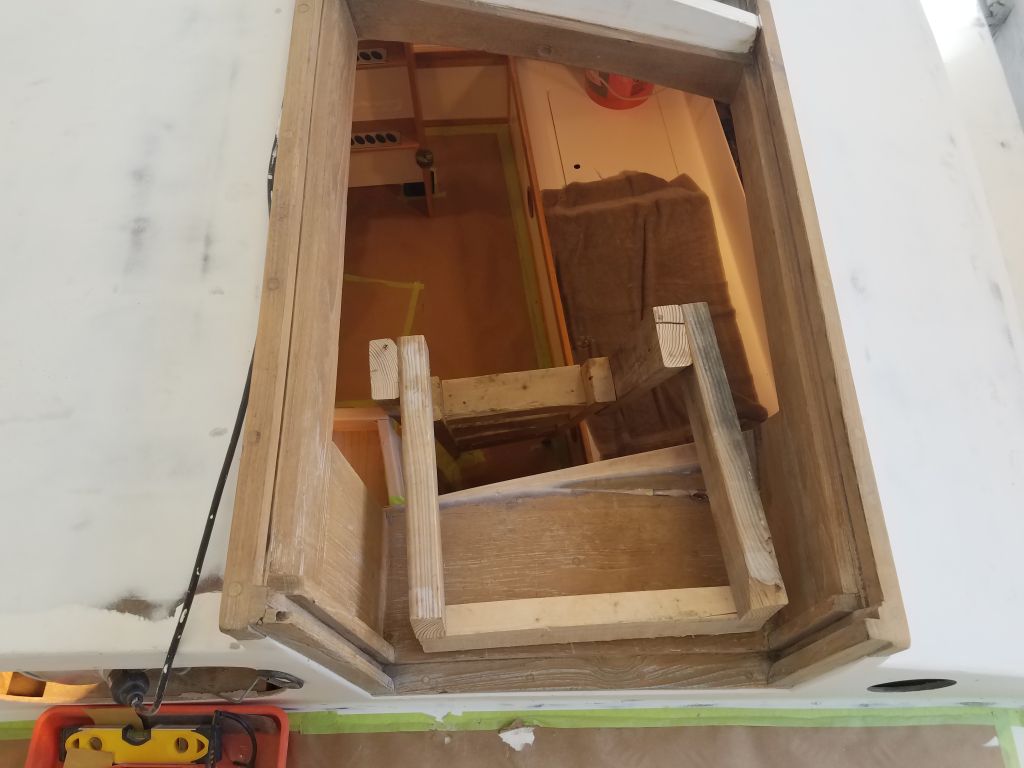
While the glue set up, I continued work at the edge of the companionway where it met the ladddor [sic]. To fill in the space, I required another piece of angled trim, which was simple in concept but, as with most things, more complicated in execution. The piece needed to be thicker than a single piece of stock, so I glued and fastened a piece of stock as needed for the job, then shaped it to the wedge-shaped angle required to fit in the opening. Because of the nature of the existing structures, the new trim also required a relief cut (rabbet) on the back, hidden side in order to fit around parts of the old companionway. The long and the short of it all was that eventually, after several test-fits and fine-tuning, I achieved a reasonable fit. This part of the trim would later be painted, and rather than spend another week perfecting the end joint where the trim met the top of the little shelf and the old teak trim above, I planned to (and later did) fill that small void flush and smooth with thickened epoxy.
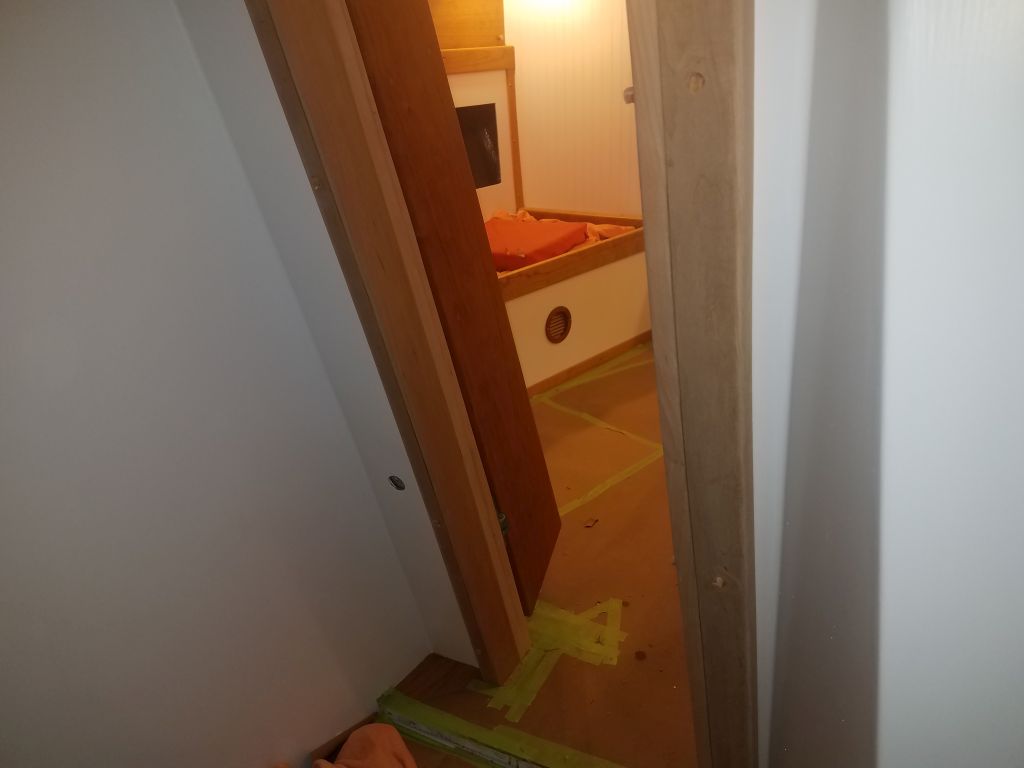
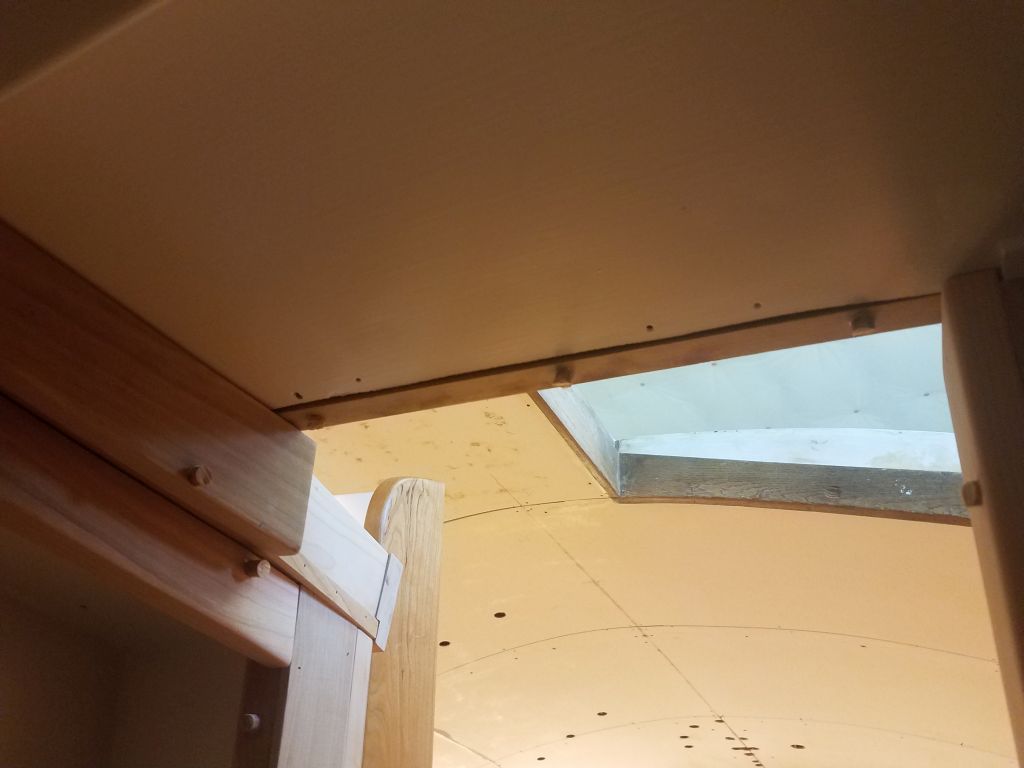
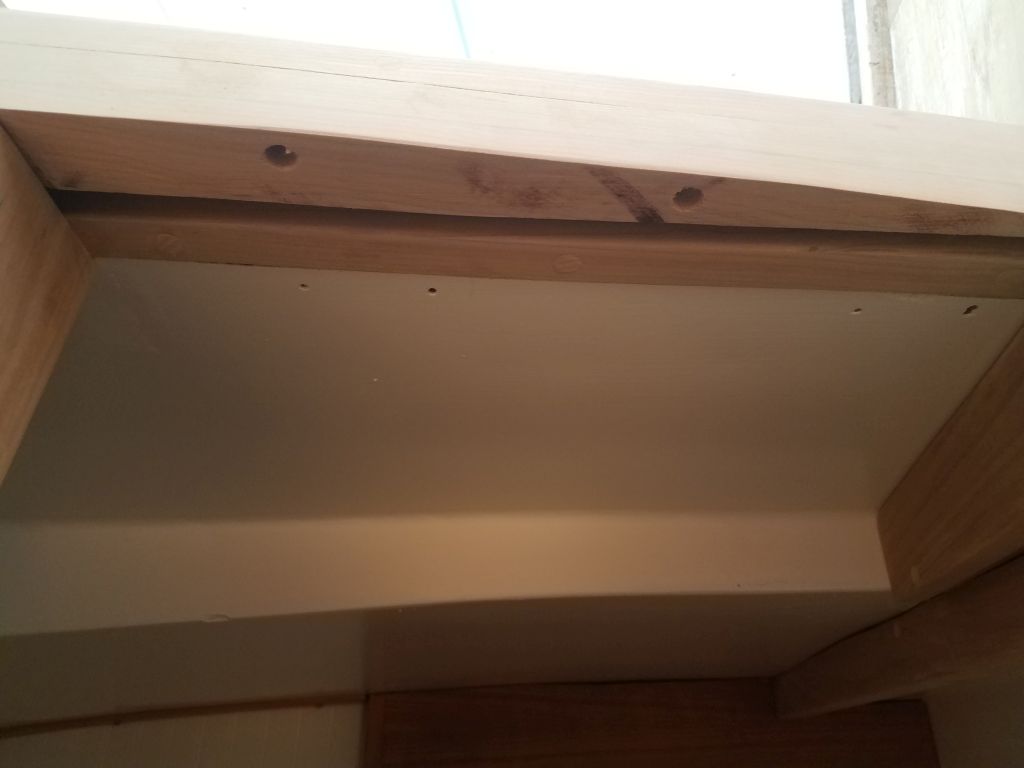
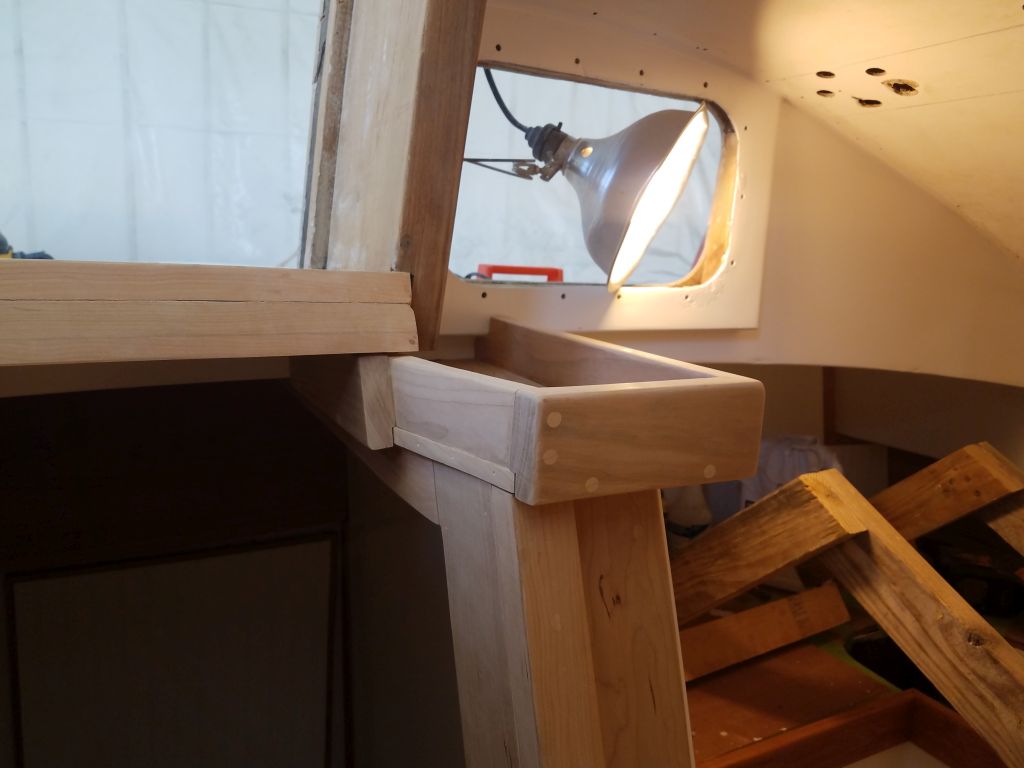
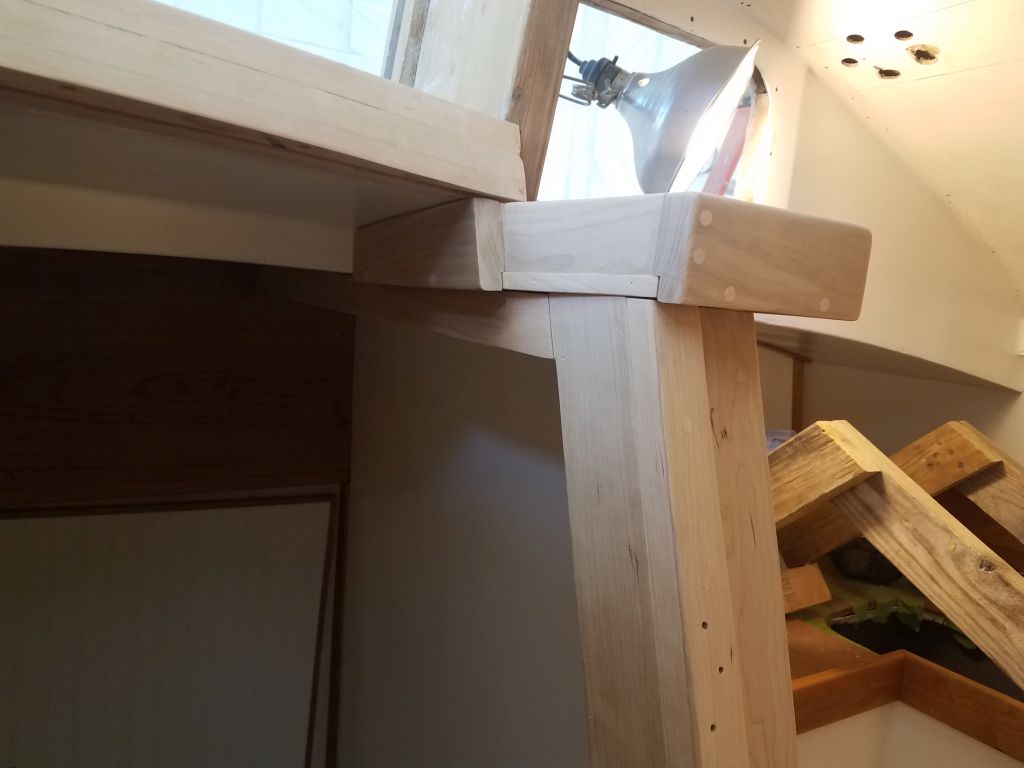
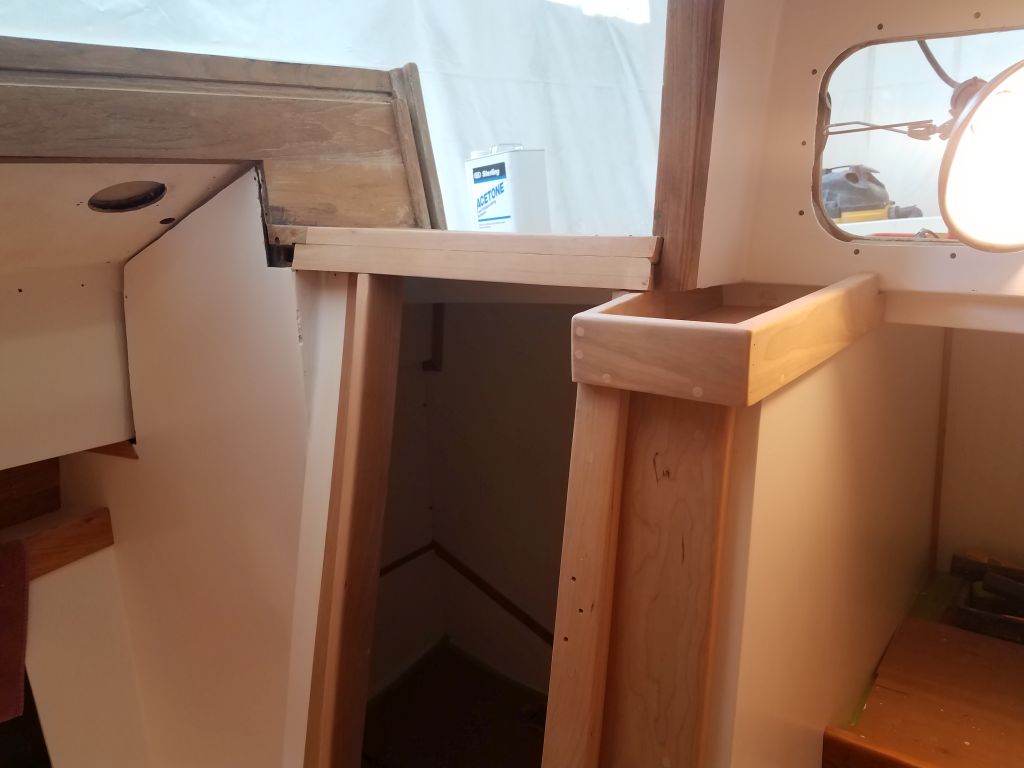
At the outboard edge of the companionway opening, and at the top of the opening into the head, additional trim would be required to finish things off, but one thing at a time. For now, I secured the new trim with screws from the bottom side.
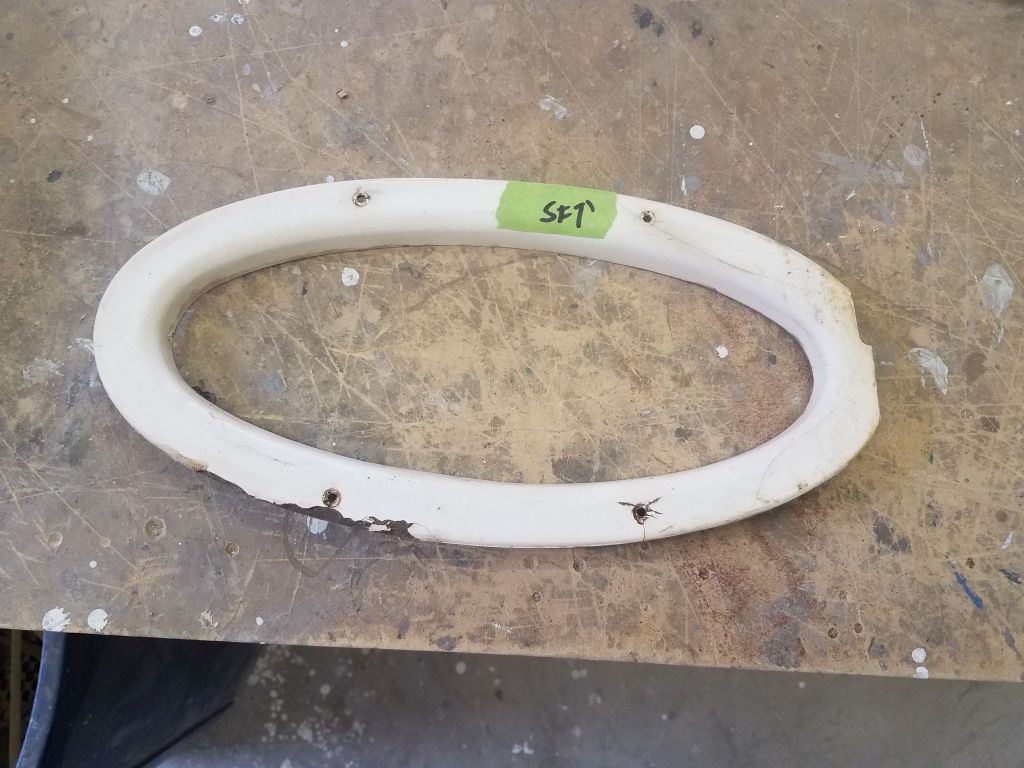
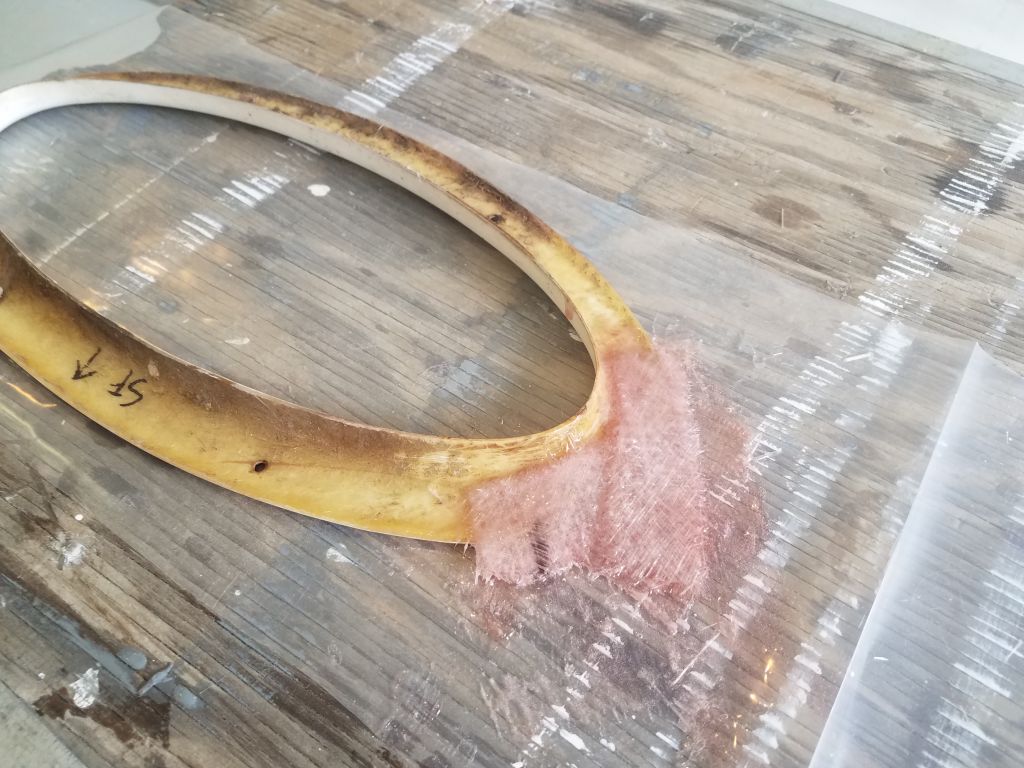
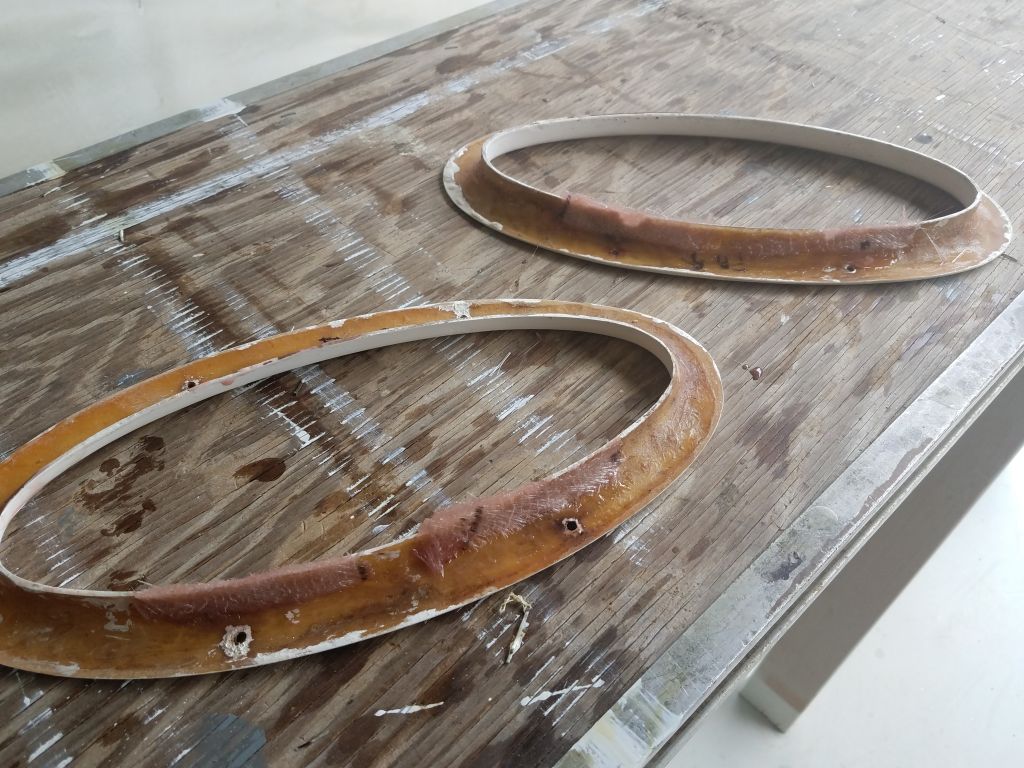
Before trimming the bungs and moving on to the final sanding of the companionway area, I changed directions for a few minutes and worked on the fiberglass trim rings for the insides of the deadlights. These required basic sanding and surface prep before refinishing, and several of the rings needed some minor repair–two around the inside edge, where the thin original laminate had been chipped out, and one where the ring had been cut at one edge, I think to originally accommodate the old tall hanging lockers in the forward cabin.
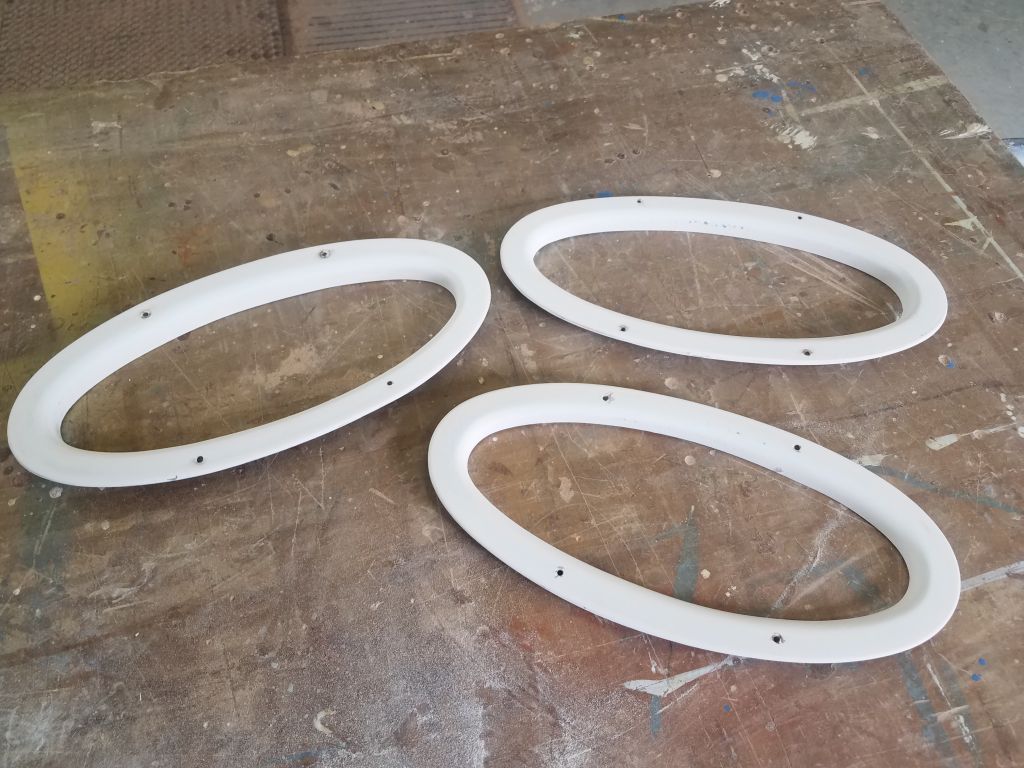
After some preparation, I installed some new fiberglass at the cut edge of the one ring to extend it, so that I could later reshape it to the proper contours. Meanwhile, I added small bits of fiberglass to the other two rings to repair the minor damage there as well. For the remaining three trim rings, I sanded and cleaned up the original surfaces to prepare for new paint, and would follow suit with the others once the new repair work was complete.


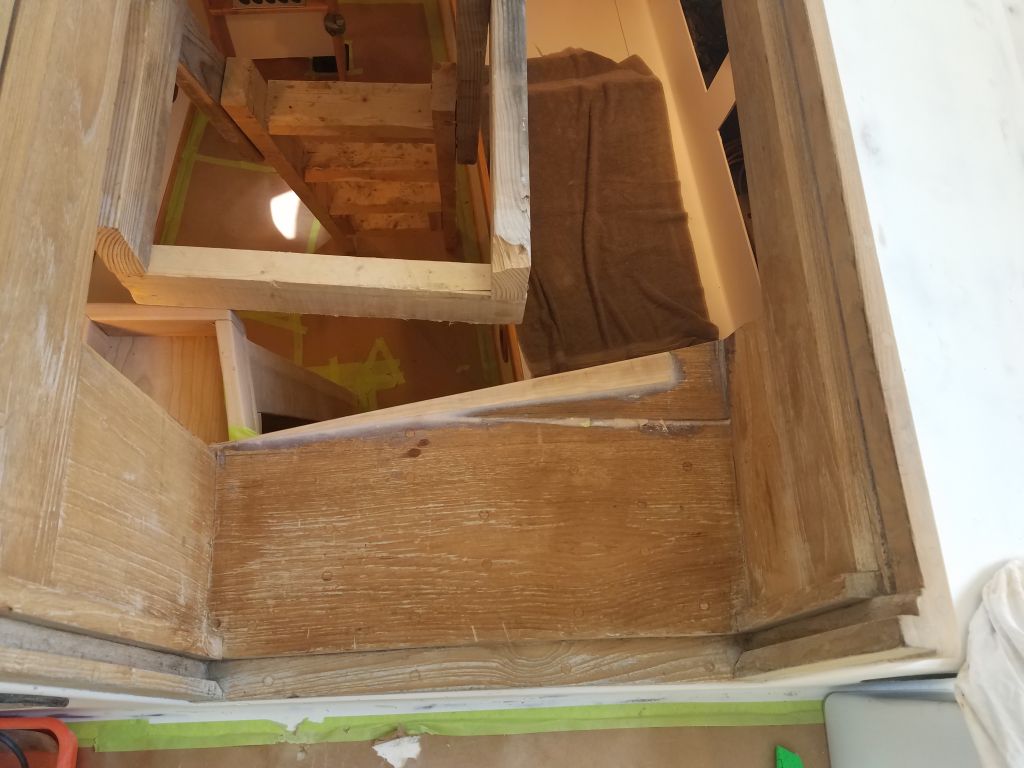
After lunch, I trimmed the bungs with a chisel, then sanded all the new companionway parts as required, cleaning up some of the seams and smoothing the rest of the bungs. At the same time, I sanded the original teak lining the inside of the companionway opening above, the first step towards preparing that area for a new paint finish.

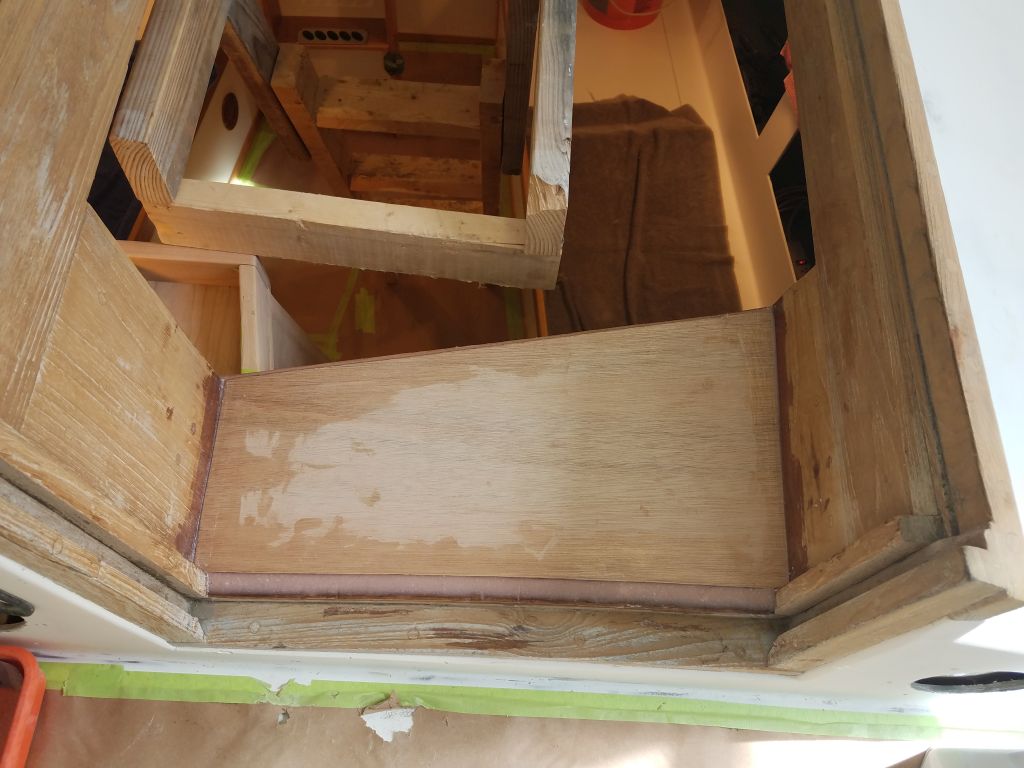
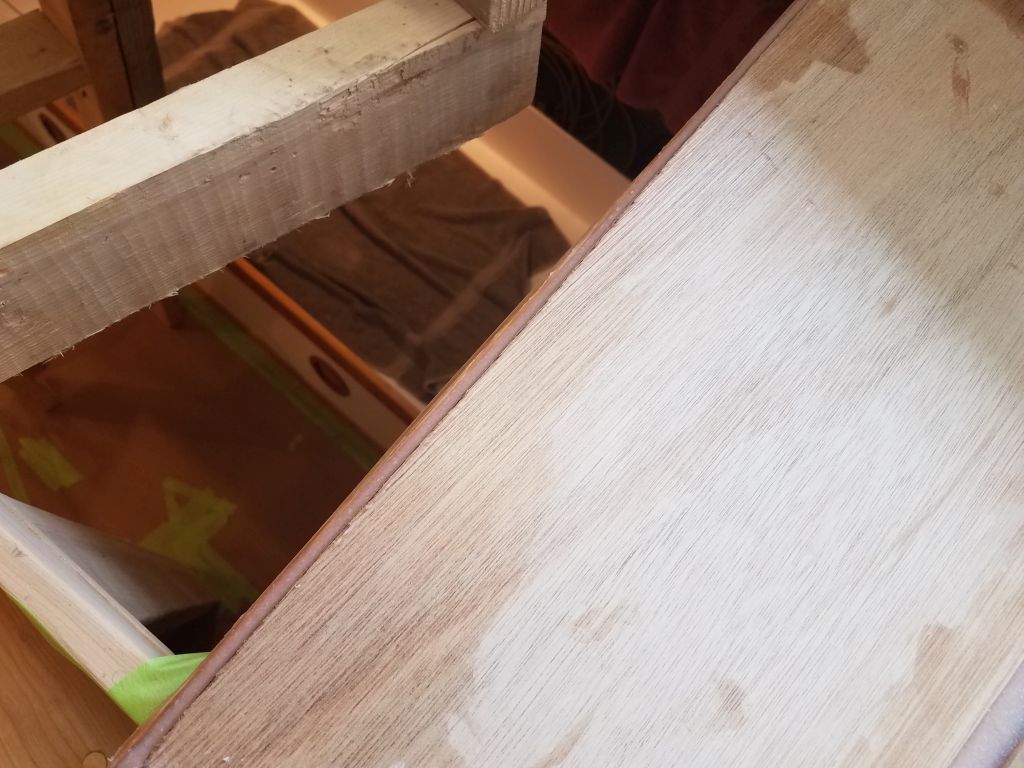
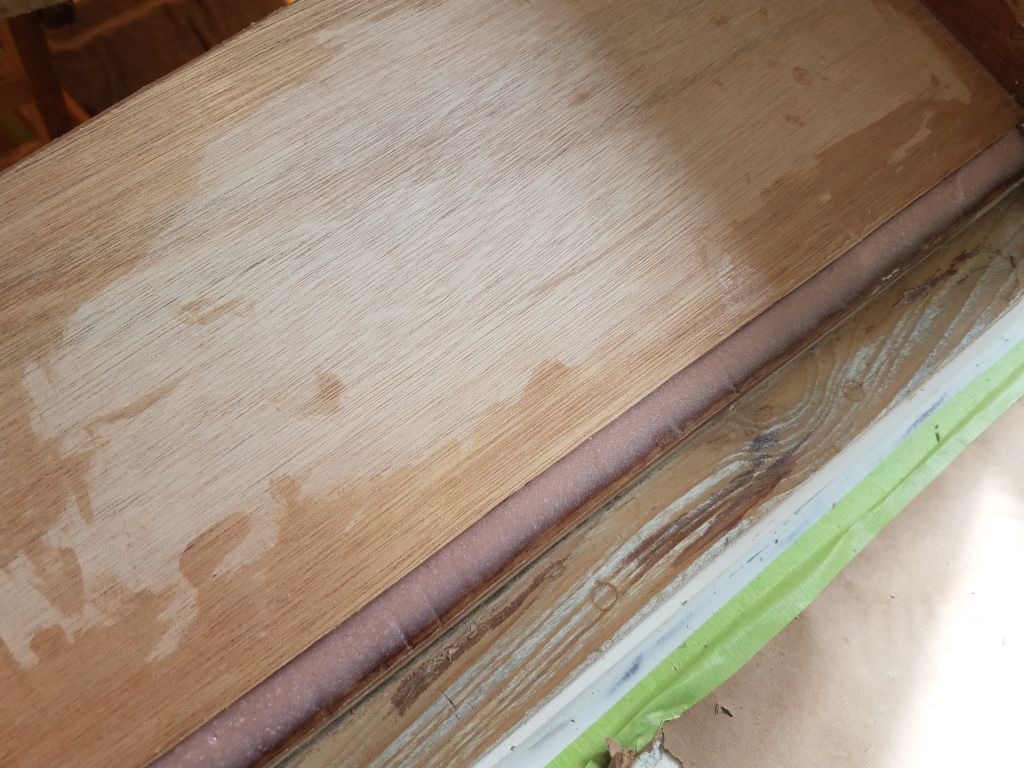
With the various repairs and extensions to the base of the companionway walkway, there were a few ways I could have addressed the area cosmetically and to finish things off, but I decided upon a new thin veneer of 6mm marine plywood to cover and reinforce the surface below, and provide a clean, new, smooth surface to better accept paint. After my light sanding of the adjacent areas, I’d briefly considered whether I should consider finishing the old teak bright again, but it was too far weathered to bring back properly without an enormous amount of work, and that wouldn’t have addressed the problems on the horizontal walkway anyway.
I made a basic cardboard pattern of the walkway, then cut out a new plywood top to fit, leaving it just back from the forward and after edges to allow for a transitional fillet. After final preparations, I glued the plywood in place in a bed of epoxy adhesive, and filleted the edges and ends as needed. To secure the plywood while the glue cured, I added weight from above.
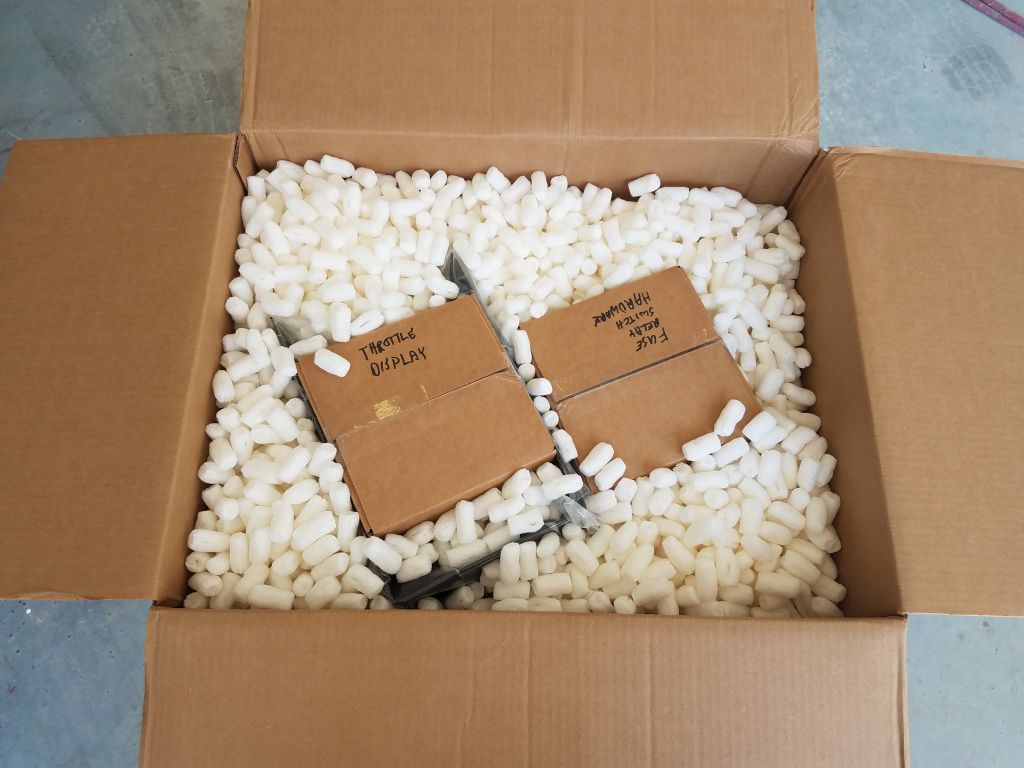
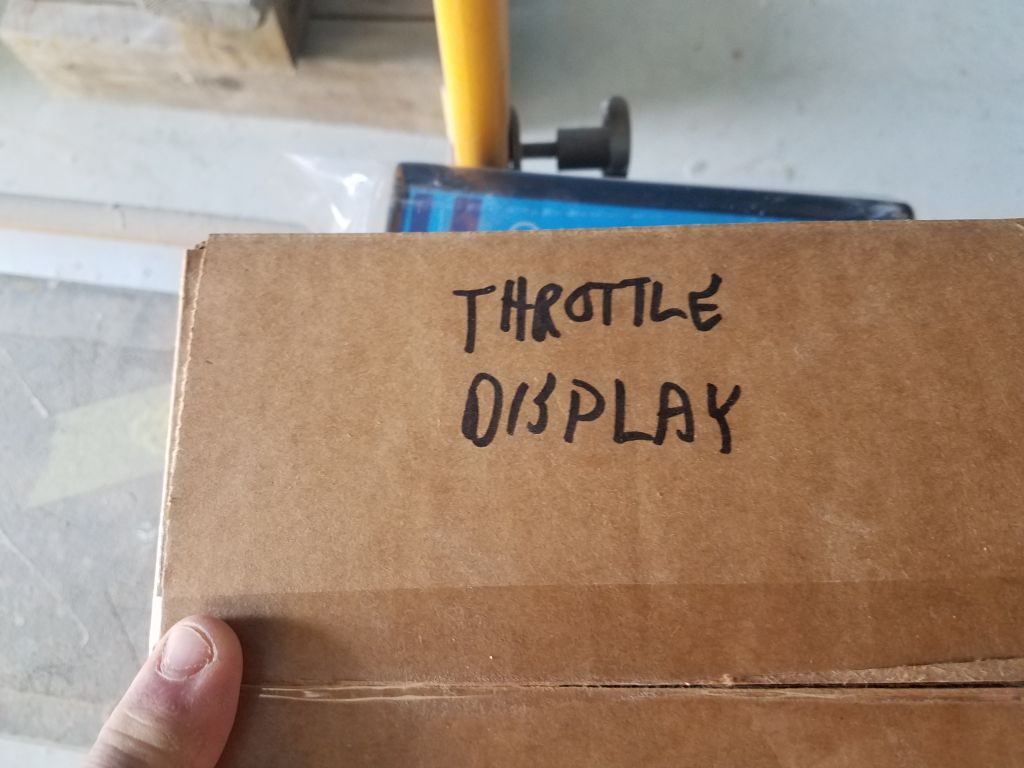
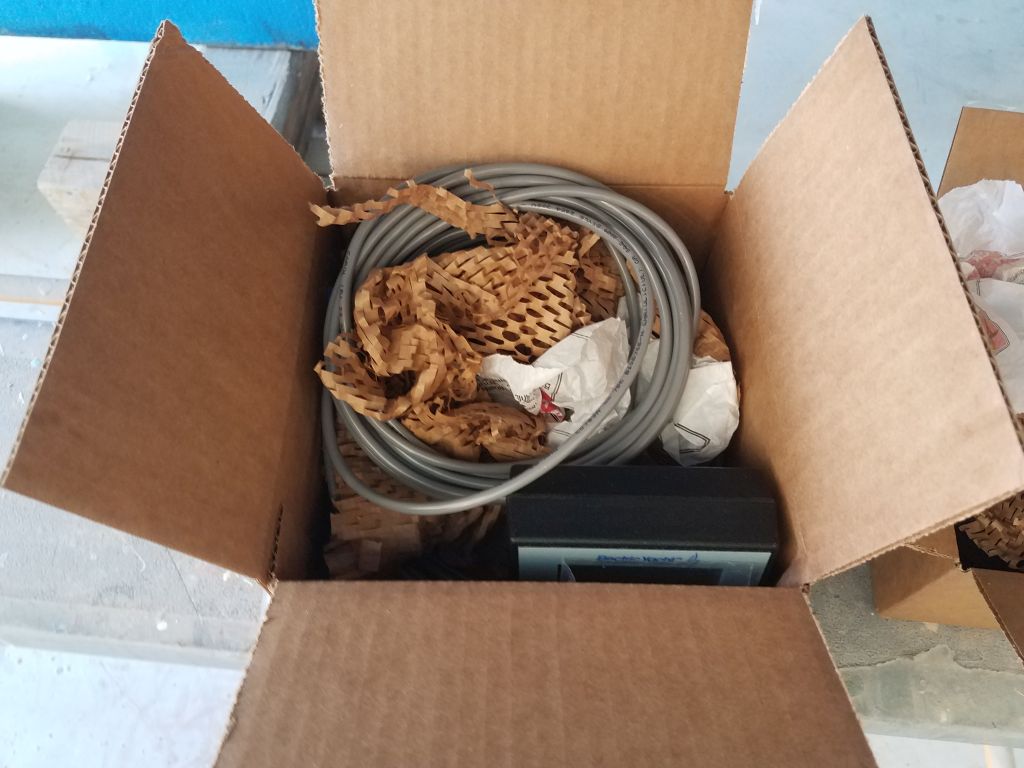
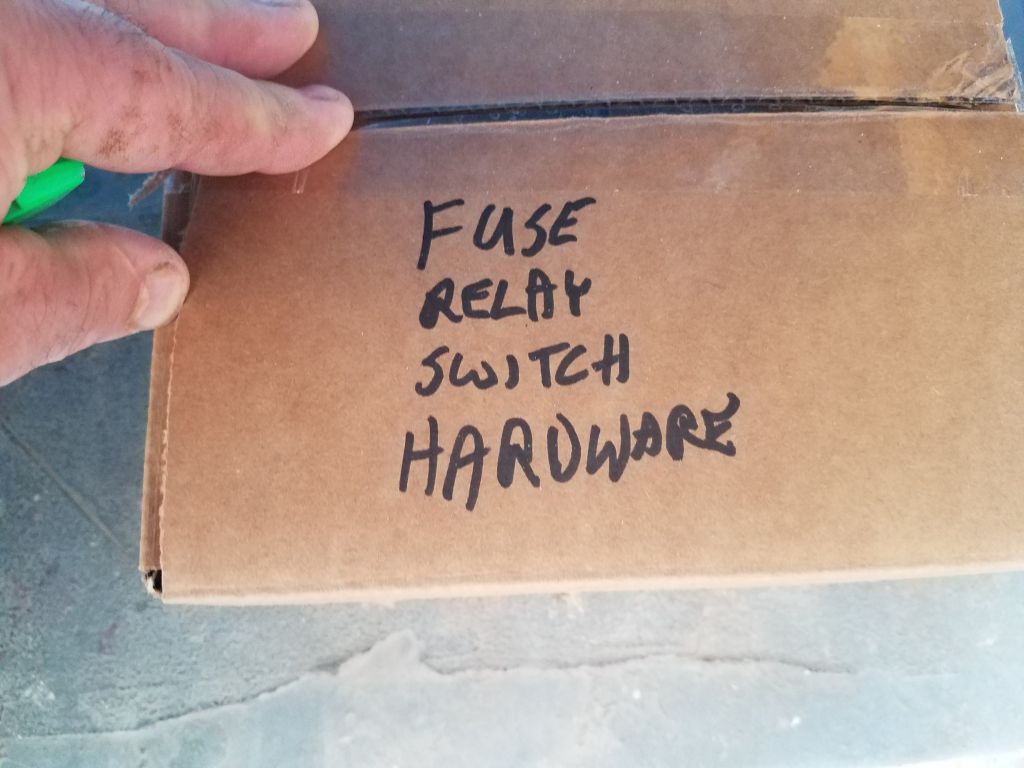
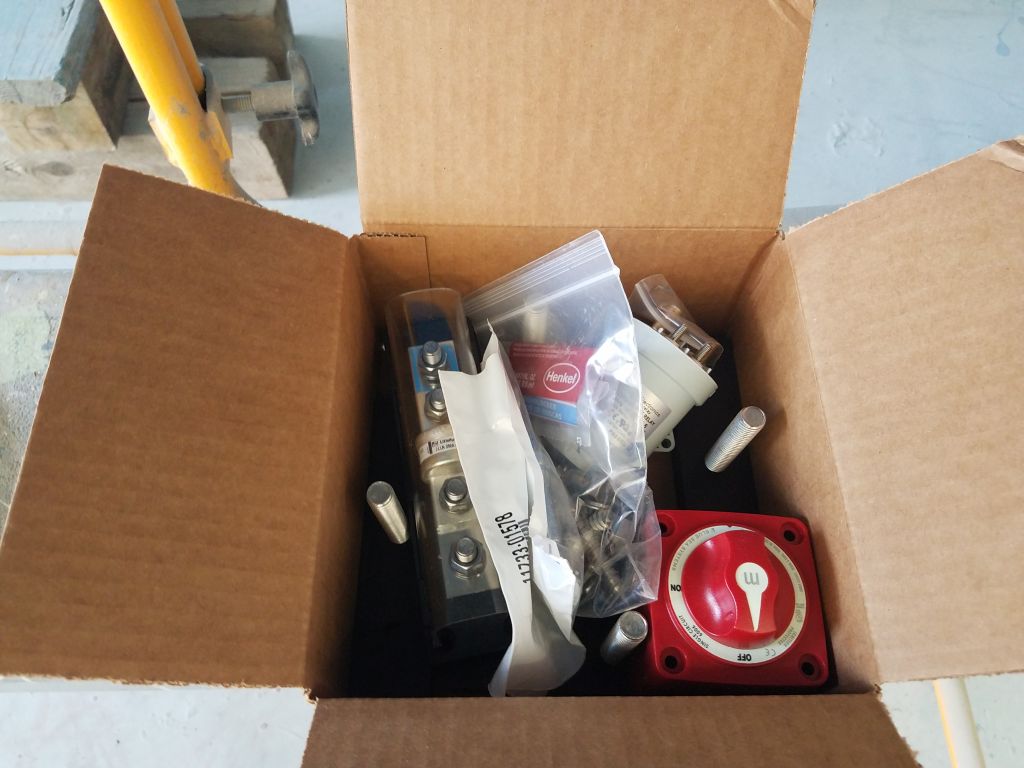
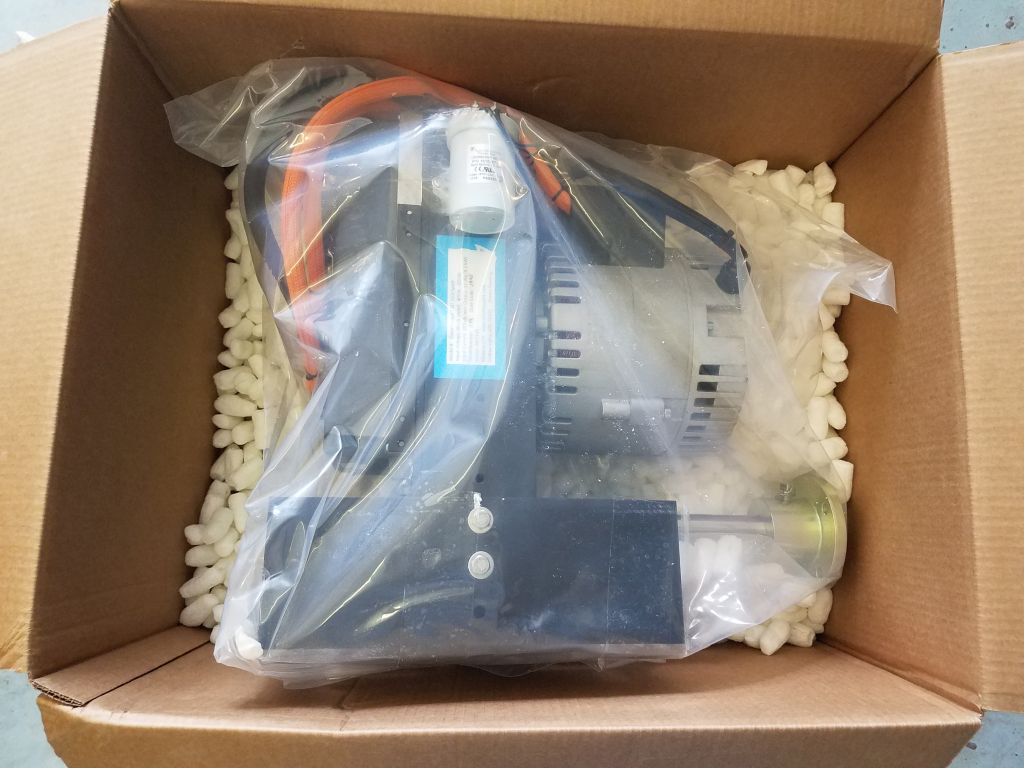
I spent the rest of the day unpacking, inventorying, and inspecting the just-arrived electric propulsion motor and some of its component parts.
Total time billed on this job today: 8 hours
0600 Weather Observation: 50°, rain. Forecast for the day: Rain and maybe a thunderstorm, 71°