


March 27, 2018
Scupper 15
Tuesday
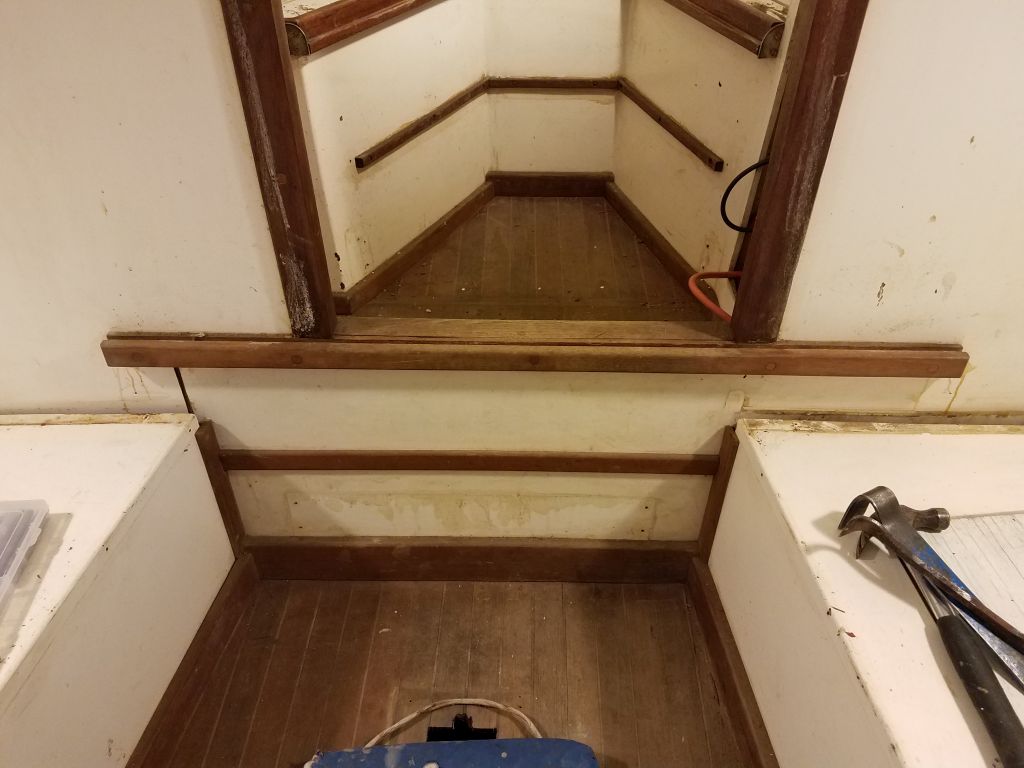
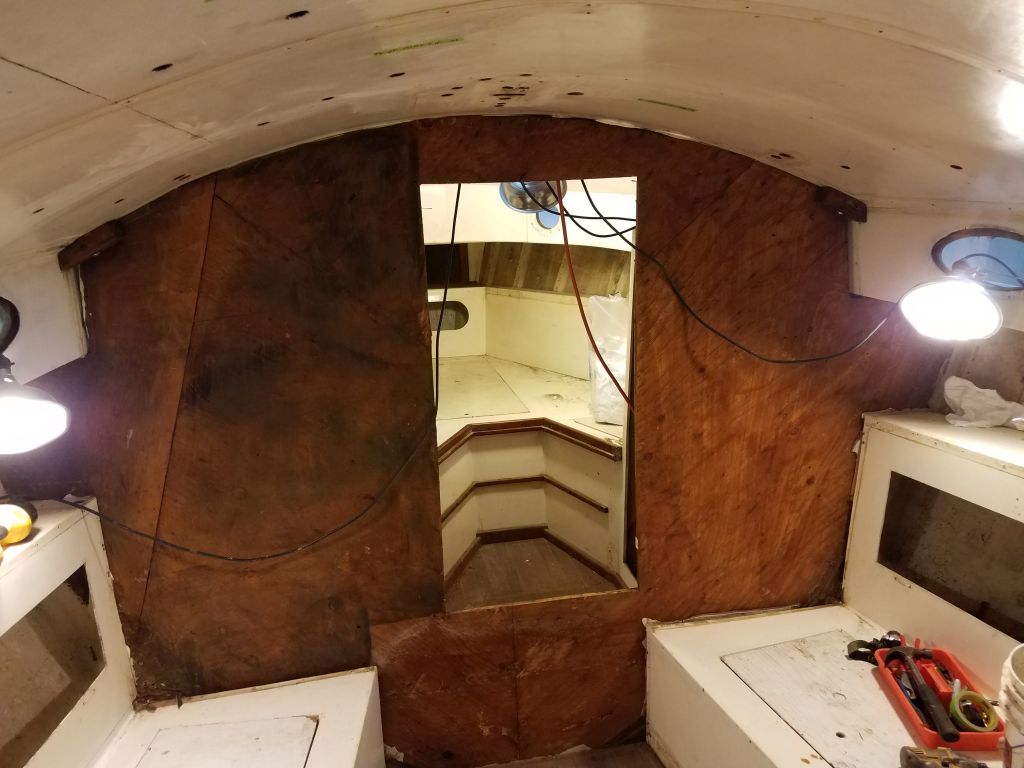
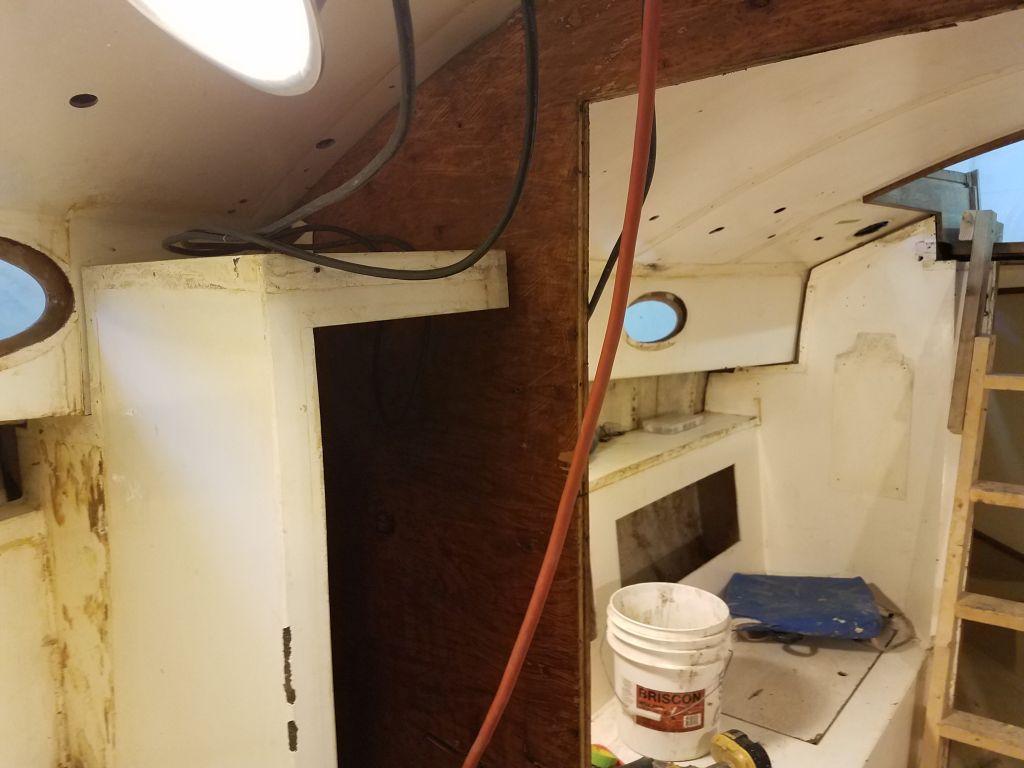
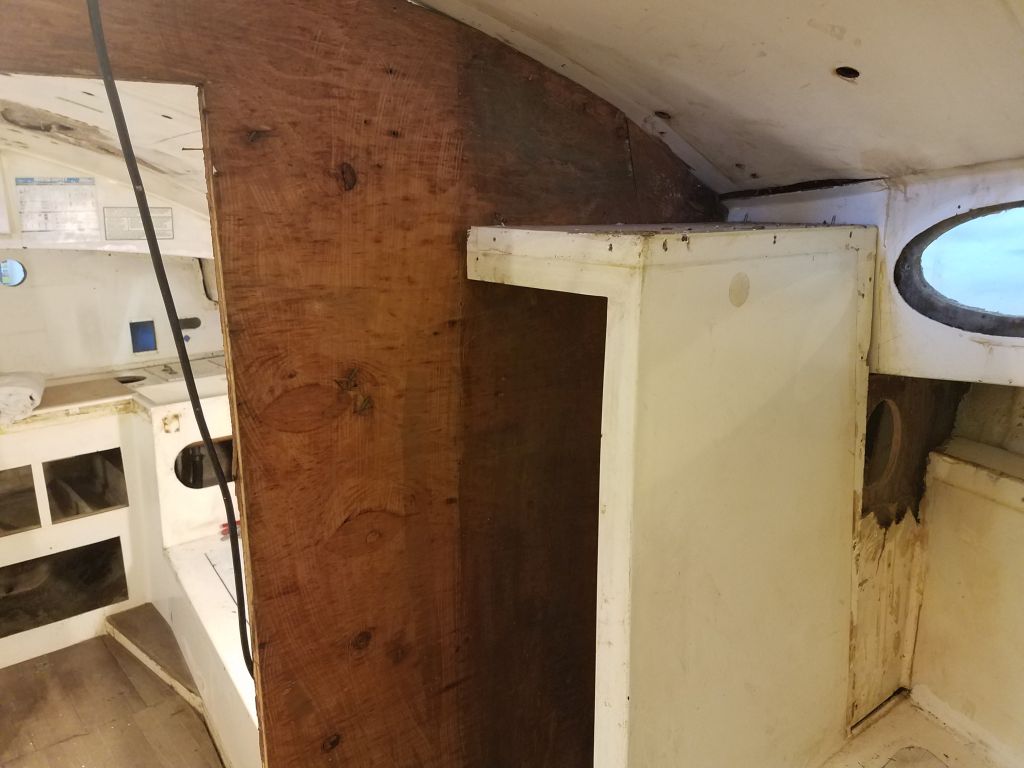
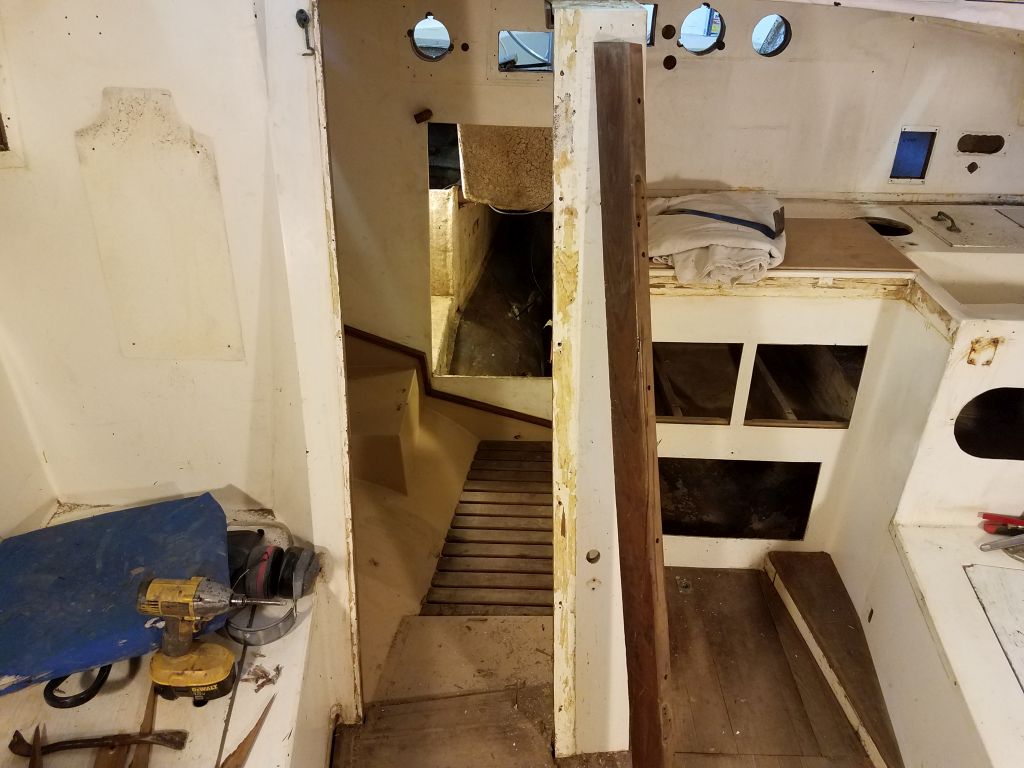
Getting started in the main cabin, I removed the door trim from the opening between the main and forward cabins, removing the trim from both sides and maintaining the pieces for reference in creating replacements later.

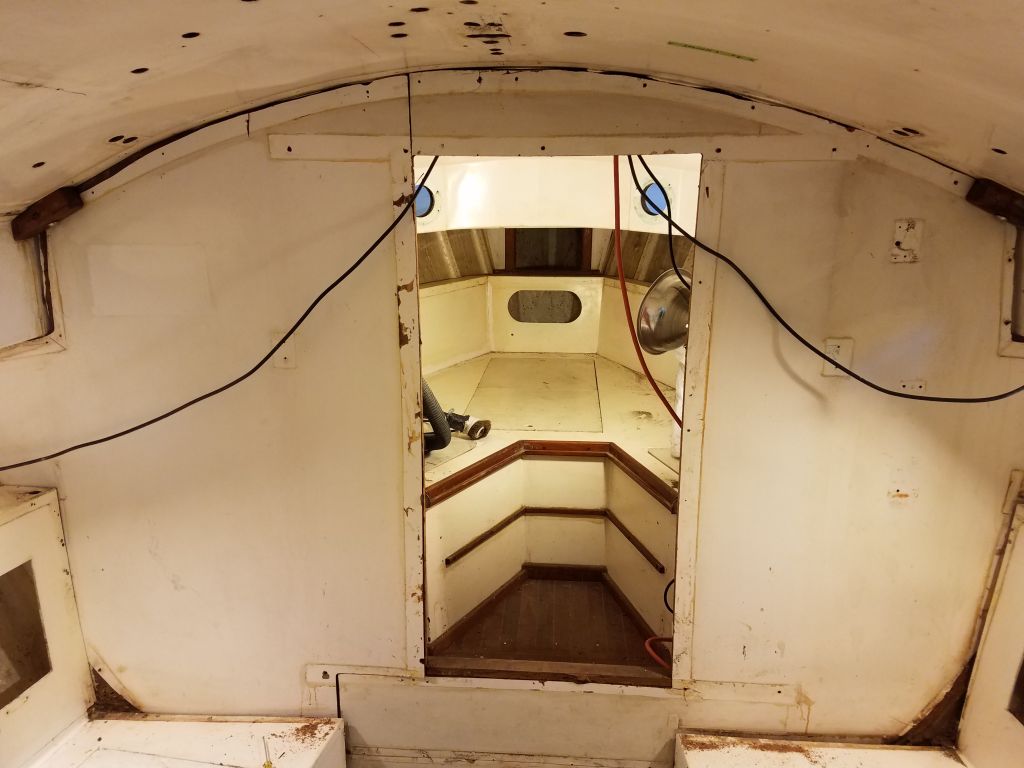
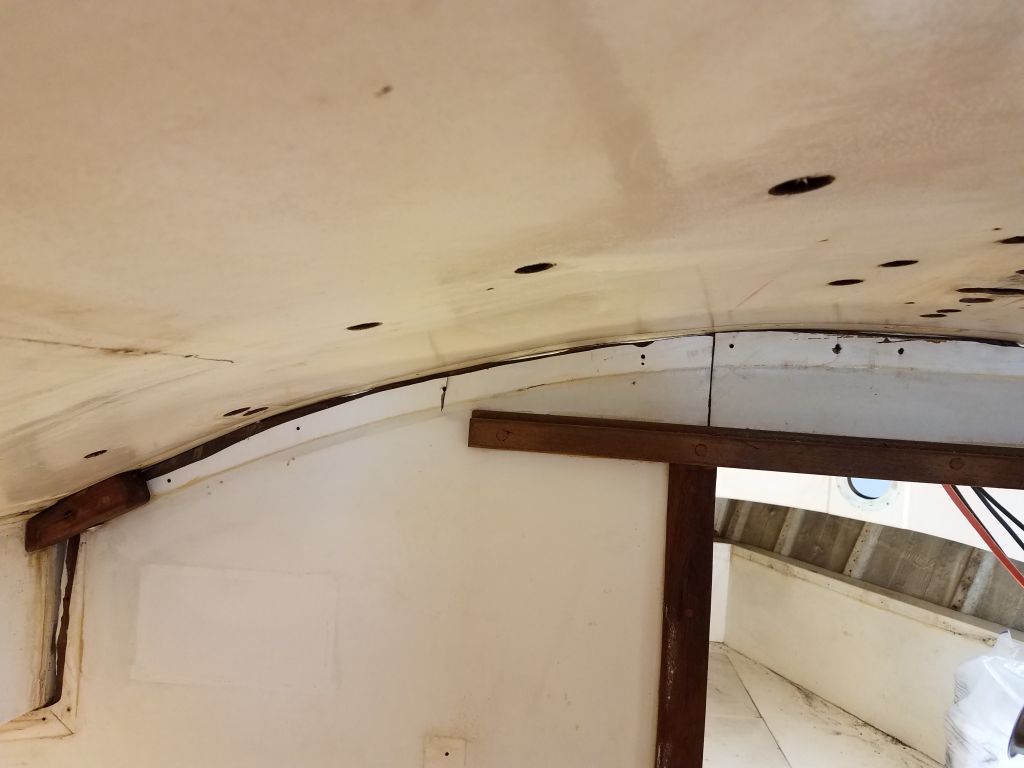
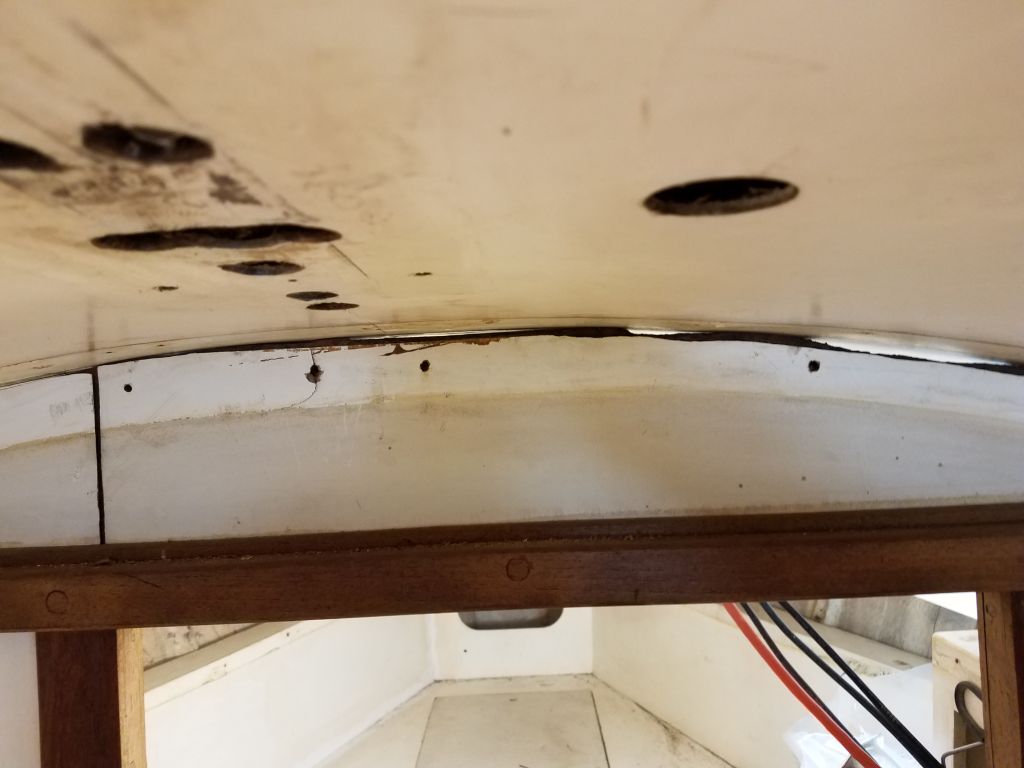

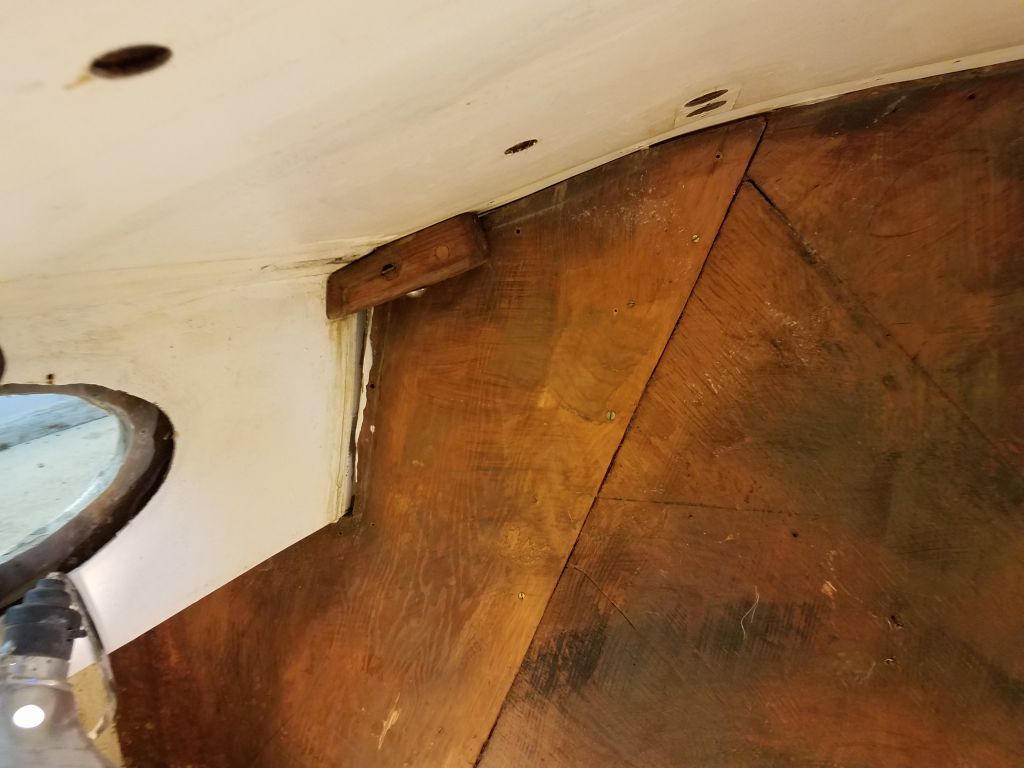
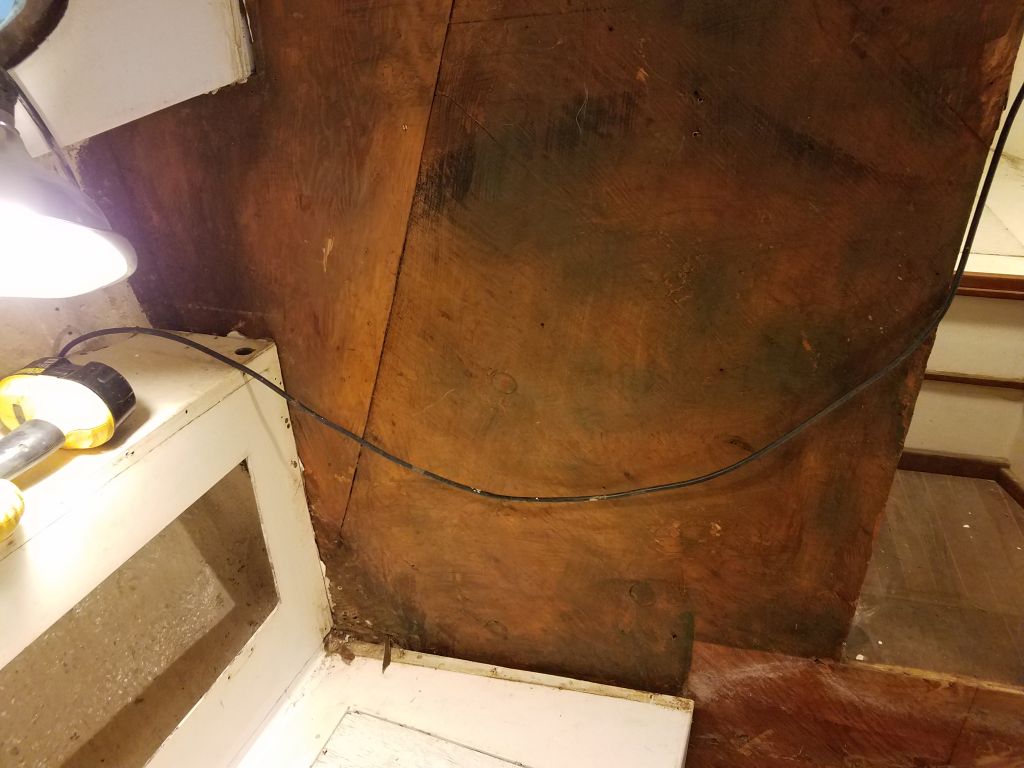
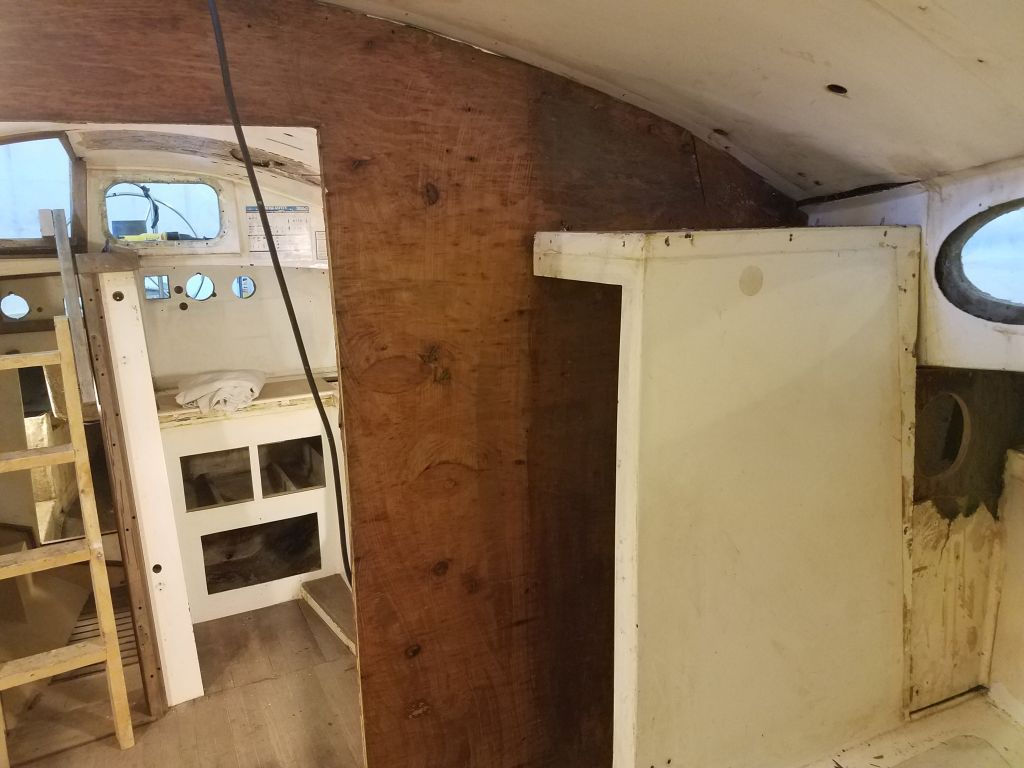
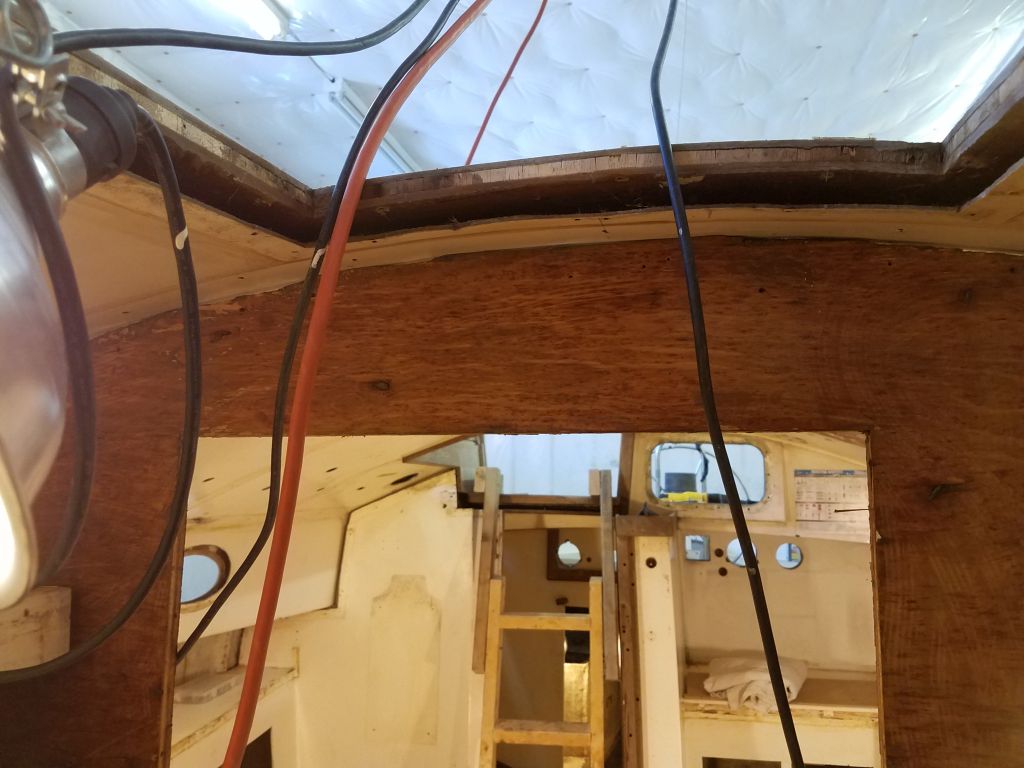
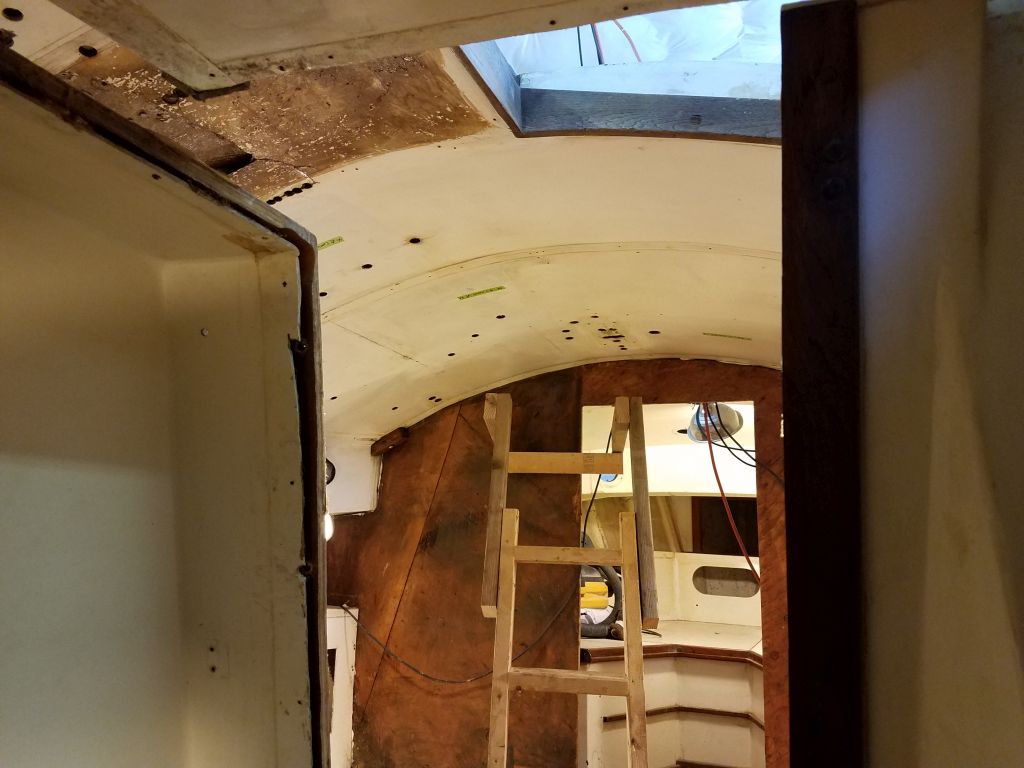
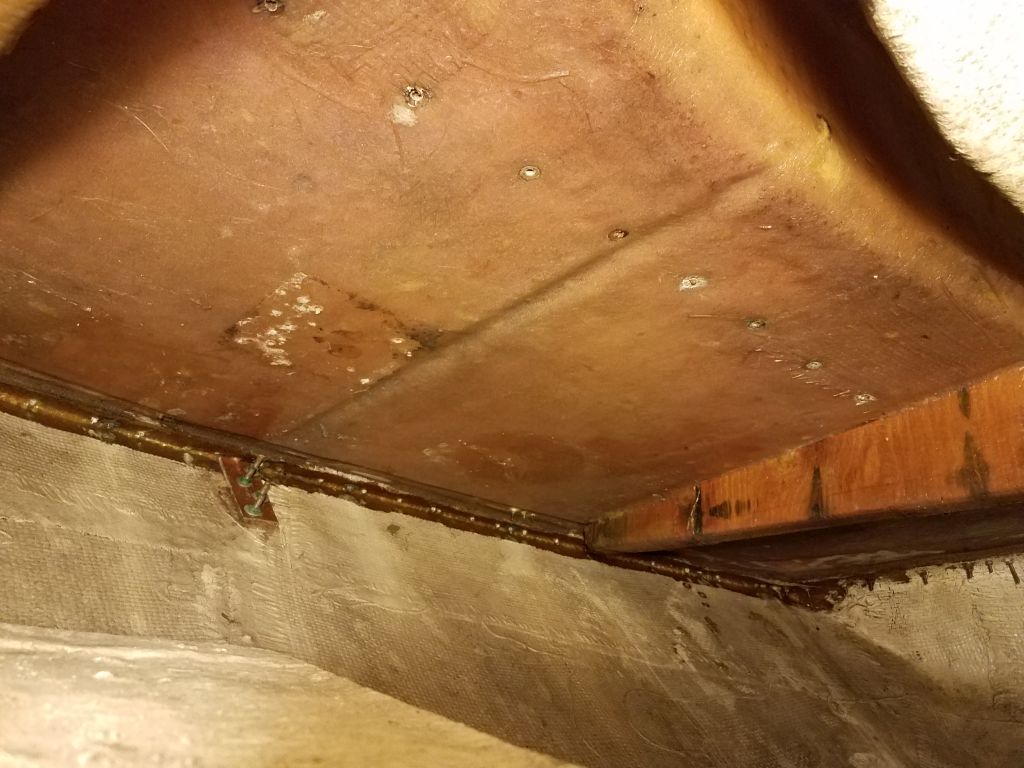
This freed up the old Formica covering on the bulkhead, and now I removed this, as it was poorly adhered and generally in poor condition. The plywood bulkhead beneath, made up of two layers of plywood secured together to cover the large space, looked to be in sound condition. This bulkhead does not carry rigging loads, and was not tabbed at the overhead or otherwise secured there beyond a pair of wooden blocks bolted through the coachroof at the corners, and to which the bulkhead was bolted. This, along with the trim when installed, held the top edge of the bulkhead more or less rigid. The after bulkhead at the forward end of the engine room was similar in its installation.


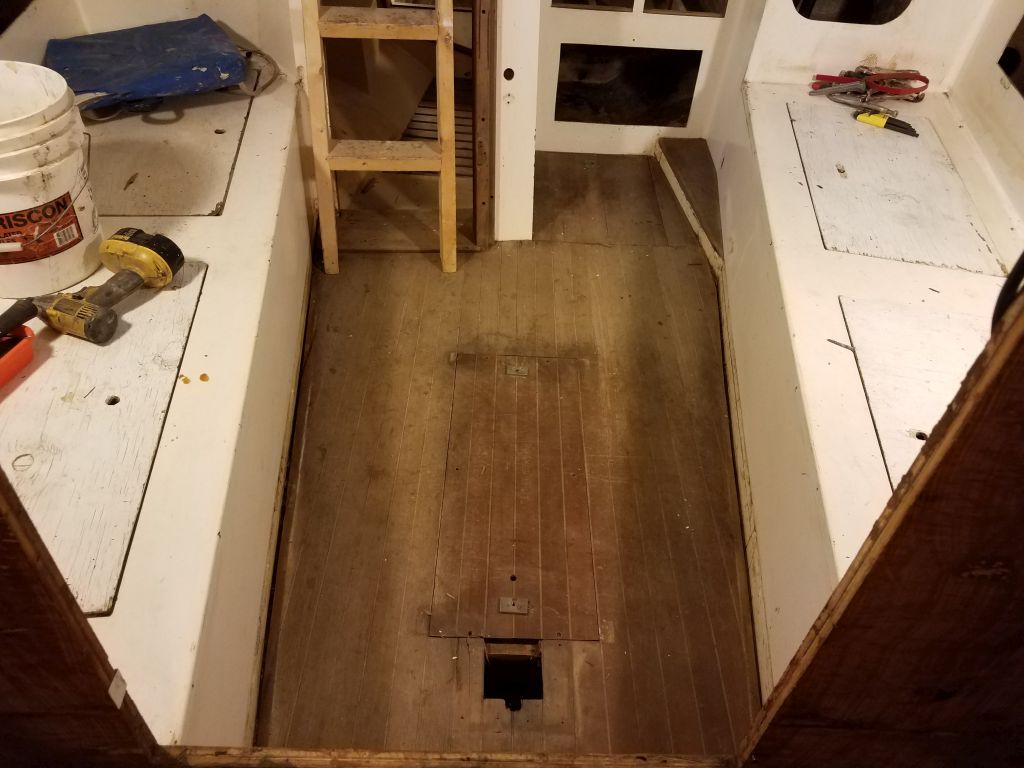
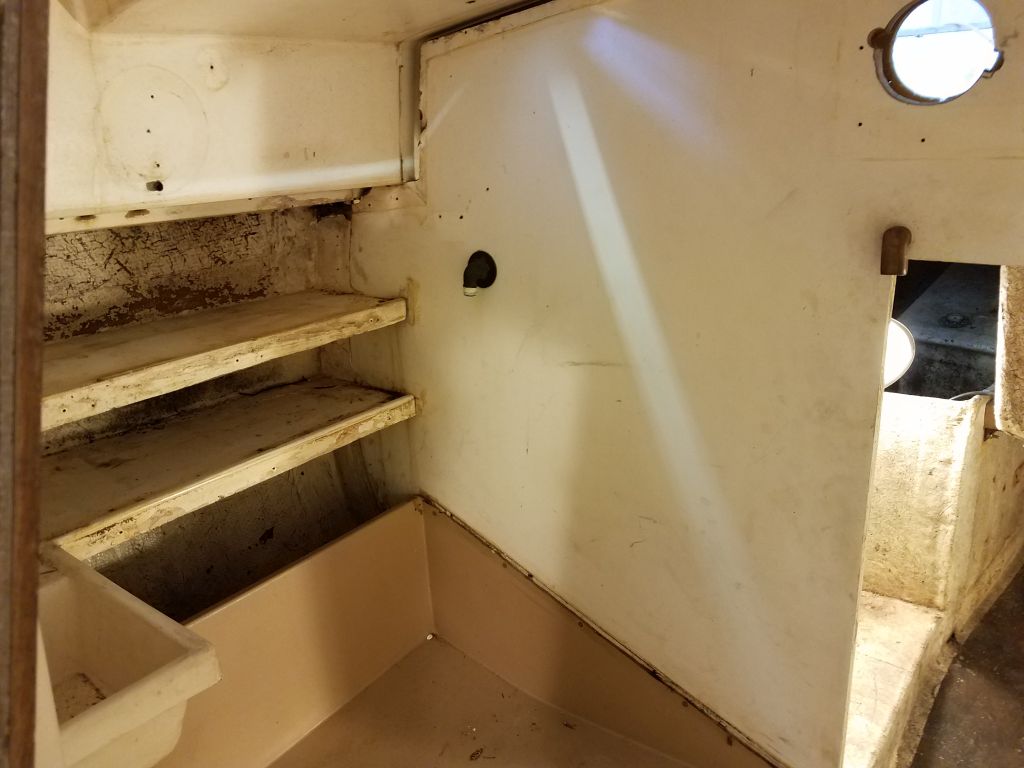
I removed the baseboard trim from the main cabin, then turned to the head area and removed all the trim from within, including the final piece of the original companionway ladder trim that I’d attempted to remove before, which I found had additional screws securing it from behind one of the head trims.


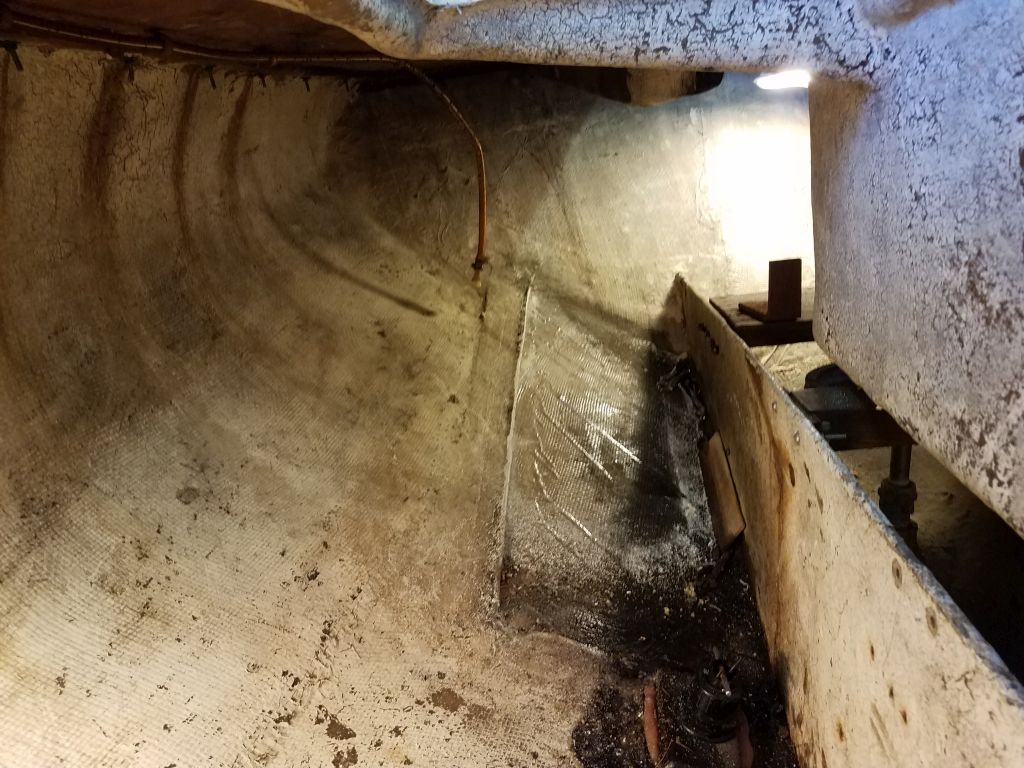
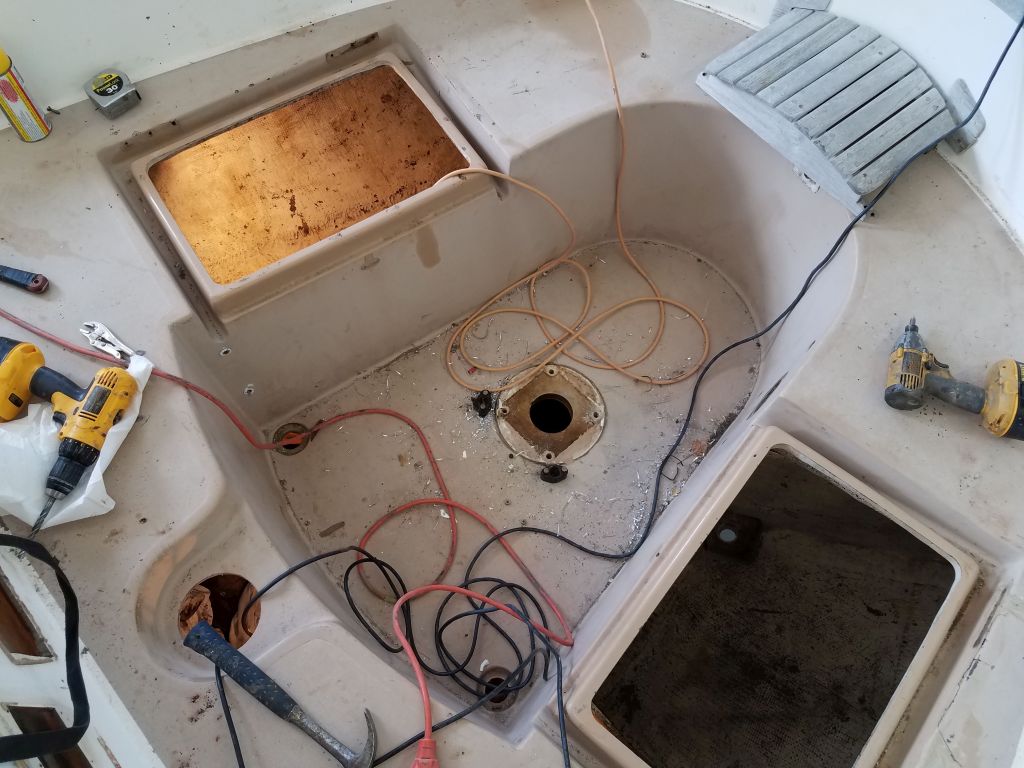
I was more than ready to be done with the steering pedestal. It cluttered up the cockpit and didn’t allow good access fore and aft, as the wheel was large enough as to prohibit access around the edges without standing on the seats, and it was about the last major installation standing in the way of other progress. Before I could remove it, though, I needed to remove the steering cables. In the starboard side locker, the original fiberglass fuel tank stood in the way, and needed to be removed anyway, so I decided to go ahead with that.
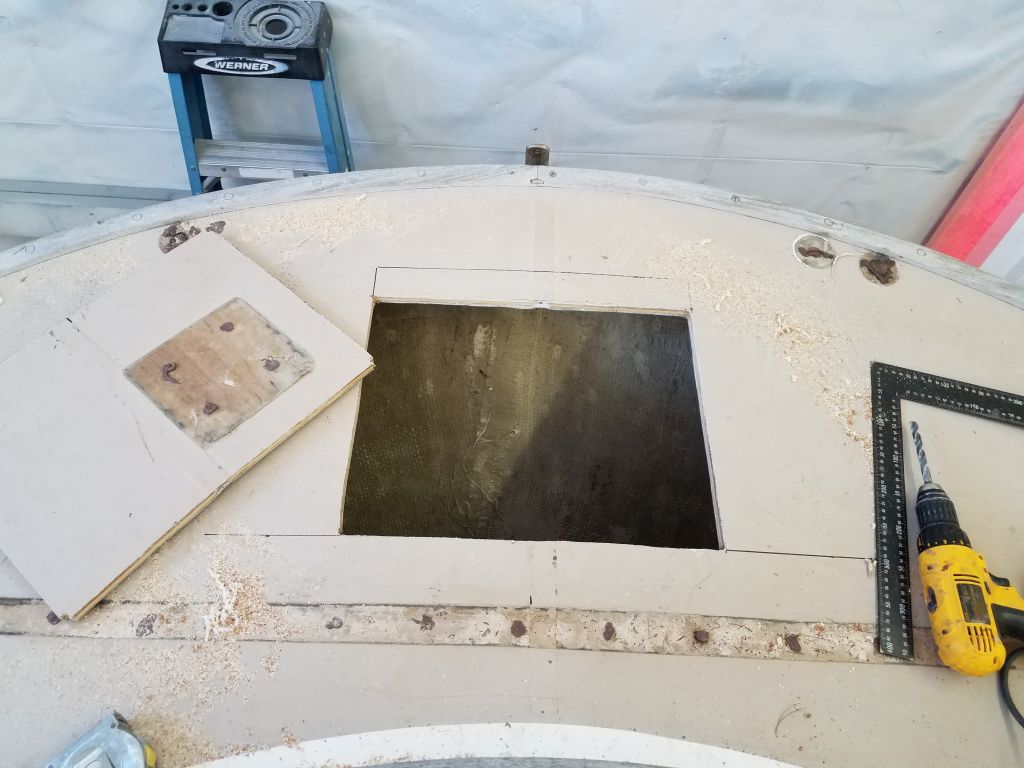
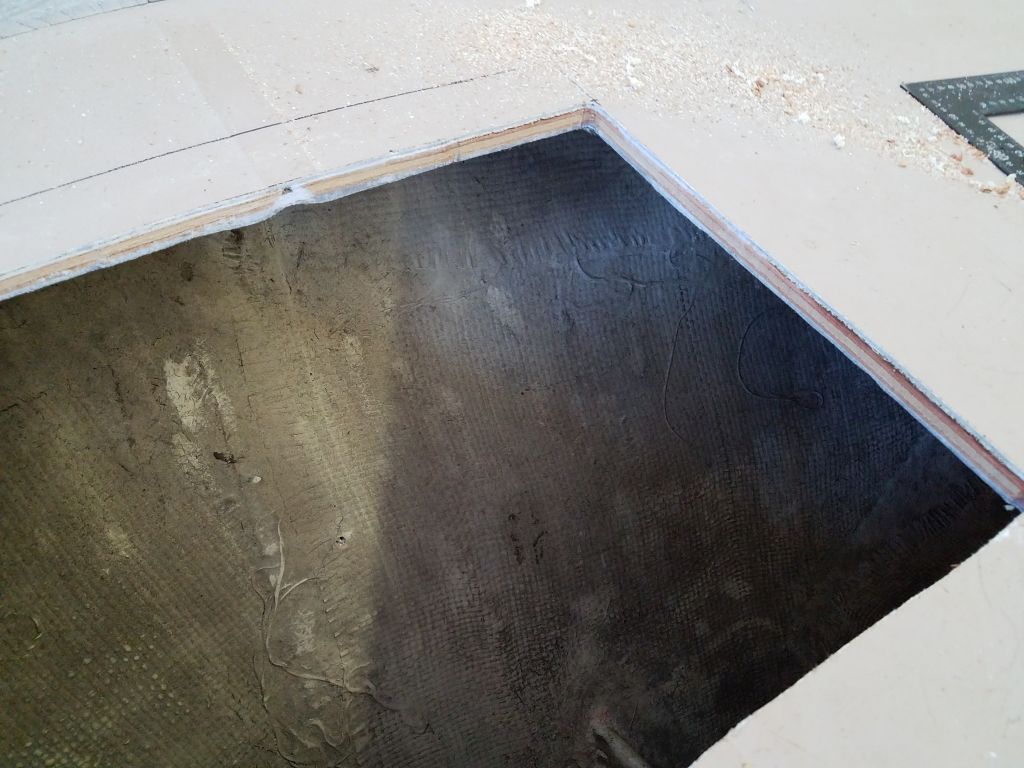
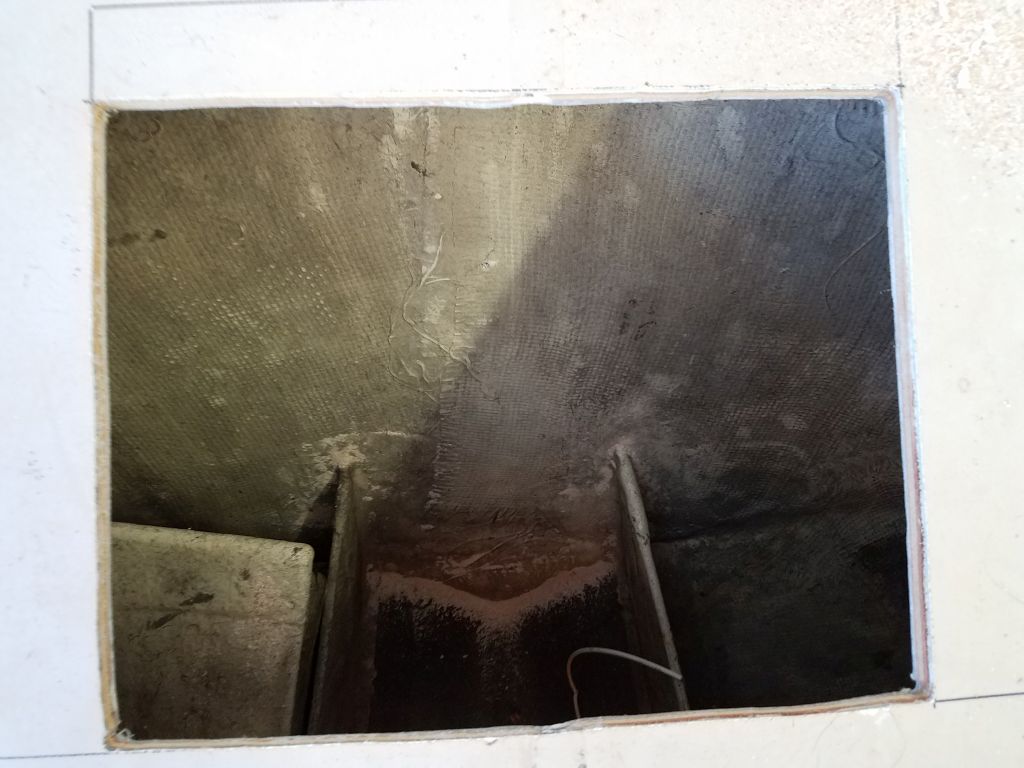
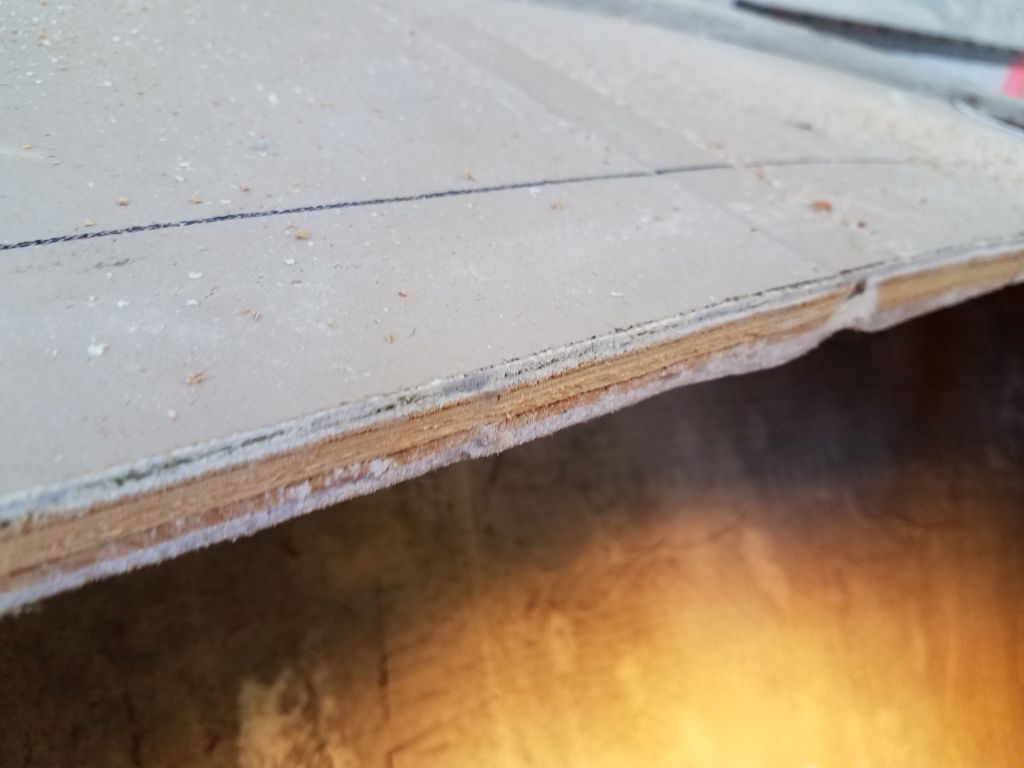
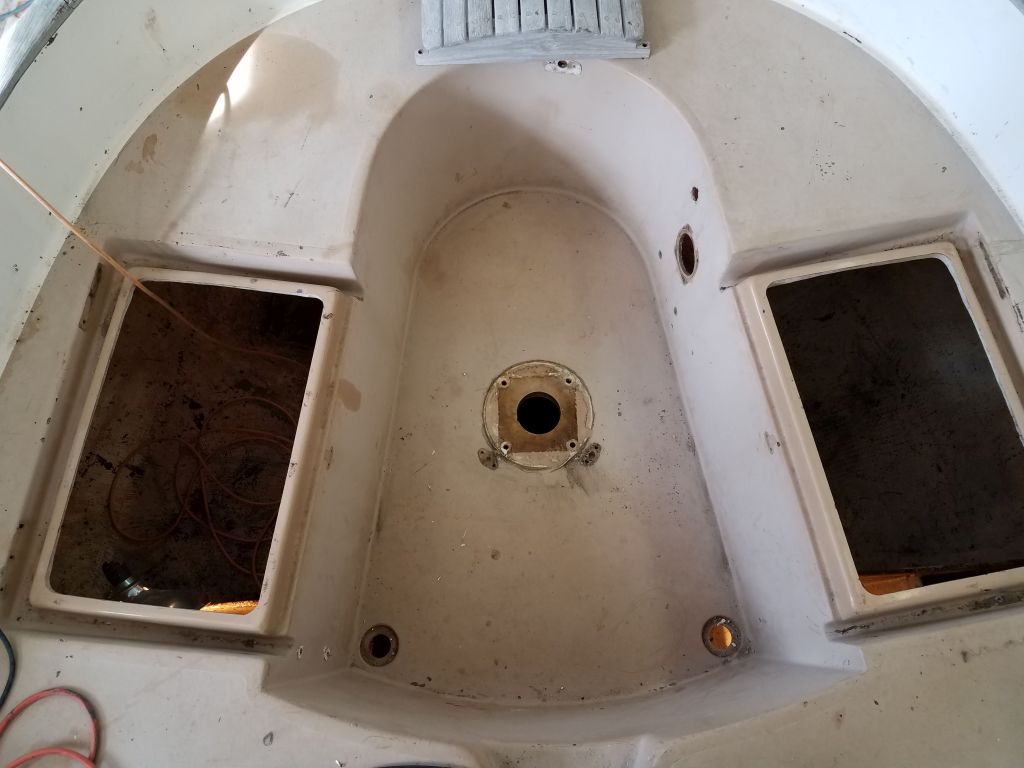
First, though, since the owner and I had talked about creating an access hatch through the large poop deck, both for better light and access to the aft part of the boat as well as for increased convenient storage, I decided now was the perfect time to cut an opening. After inspecting the deck from below to locate anything that might stand in the way of or limit the size of the new opening, I marked out a rectangle on deck, staying a few inches aft of the traveler location. I cut out the hatch with a saw, revealing plywood core in sound condition though with some top-skin delamination at one edge. I might enlarge the opening later, but for now it allowed in light and air and made continued work in the aft lockers more enjoyable tolerable.

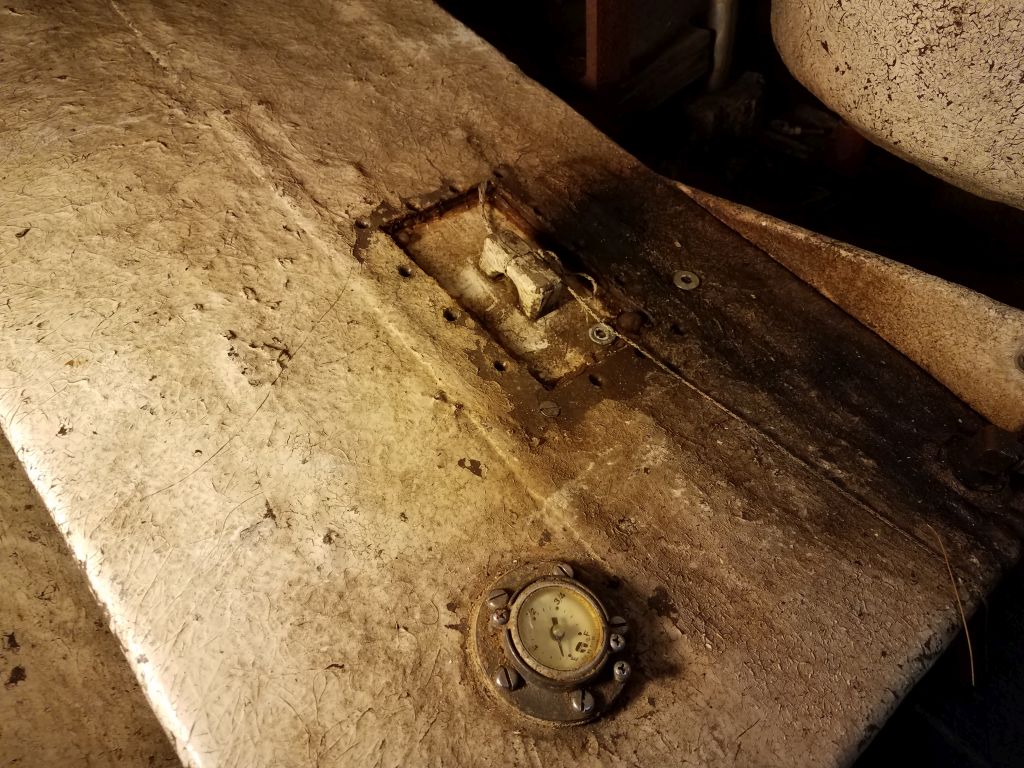
The fuel tank was tabbed to the hull along its two exposed edges (outboard and forward), and while the gauge read nearly empty, I decided to look inside, since there was a little access port there, which had only one screw securing it along with (what else) silicone sealant. Clearly this hatch had leaked over the years, as the top of the tank showed plenty of leakage evidence. Removing the hatch, I confirmed there was just a small amount of fuel in the tank, so I could proceed without having to pump out the contents. With a reciprocating saw, I cut the fiberglass nipples for the vent and fill hoses at the aft end, then cut the tabbing along the hull, releasing the tank.

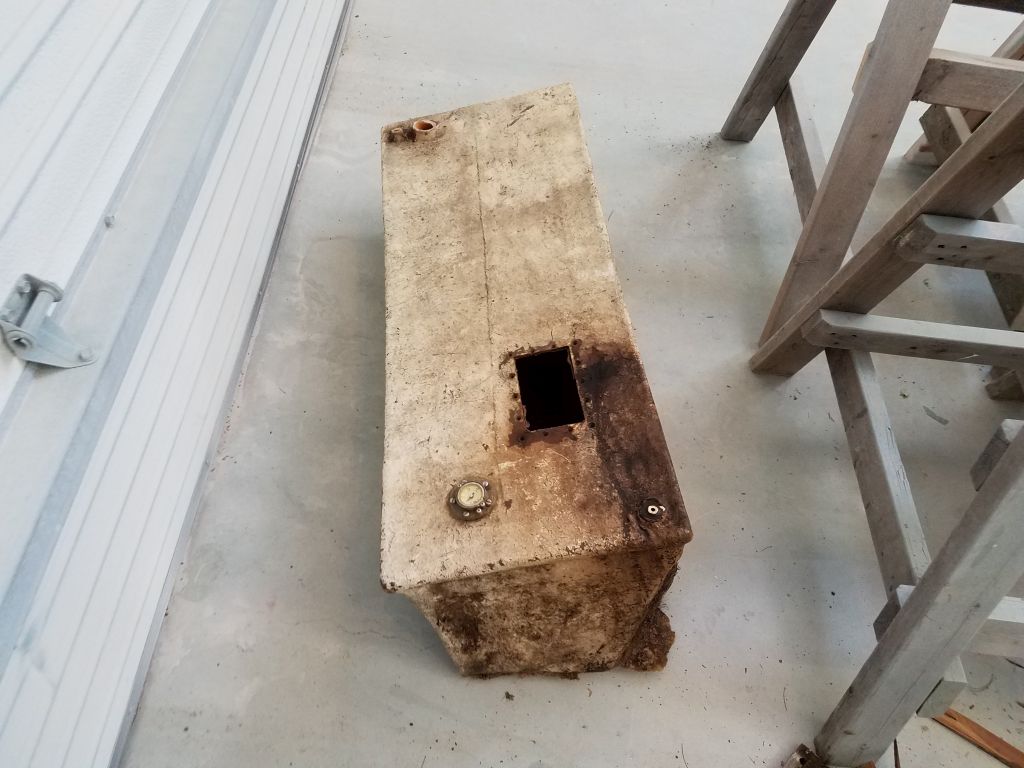
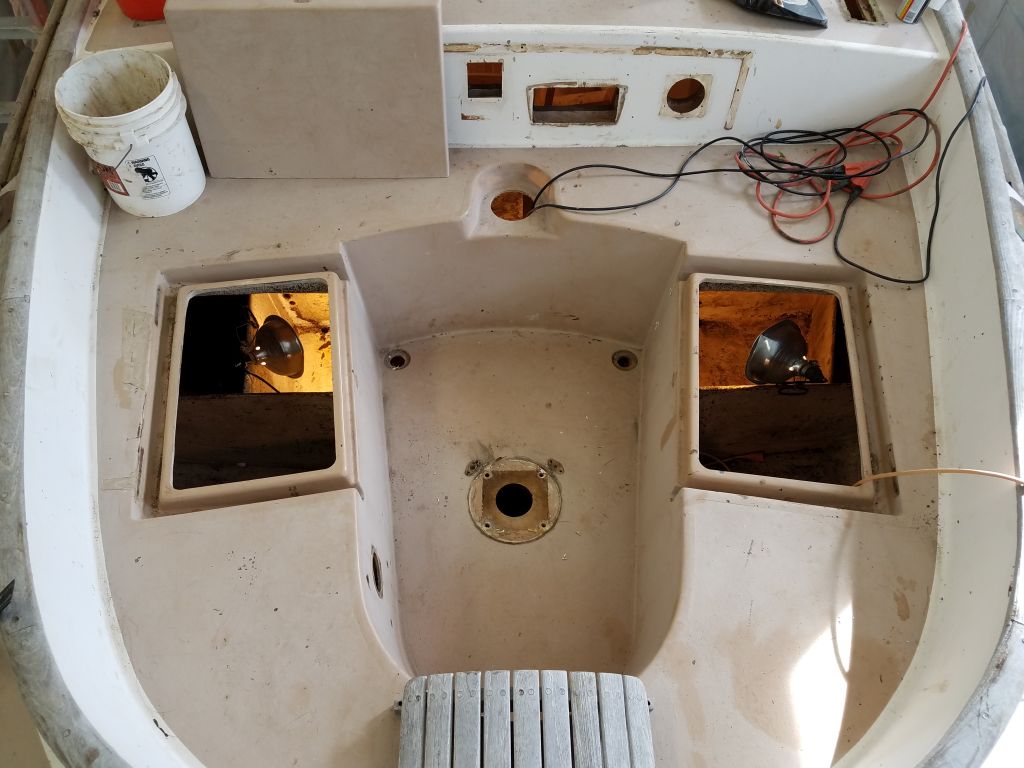
The tank was just too large, it seemed, to twist out of the cockpit locker opening, but fortunately it fit over the divider bulkhead and through the head, and I gladly removed it down to the shop floor. With the tank gone, I found my two sets of Vice-Grips that I’d lost in the inaccessible void beneath the tank when I was removing deck hardware back in September.
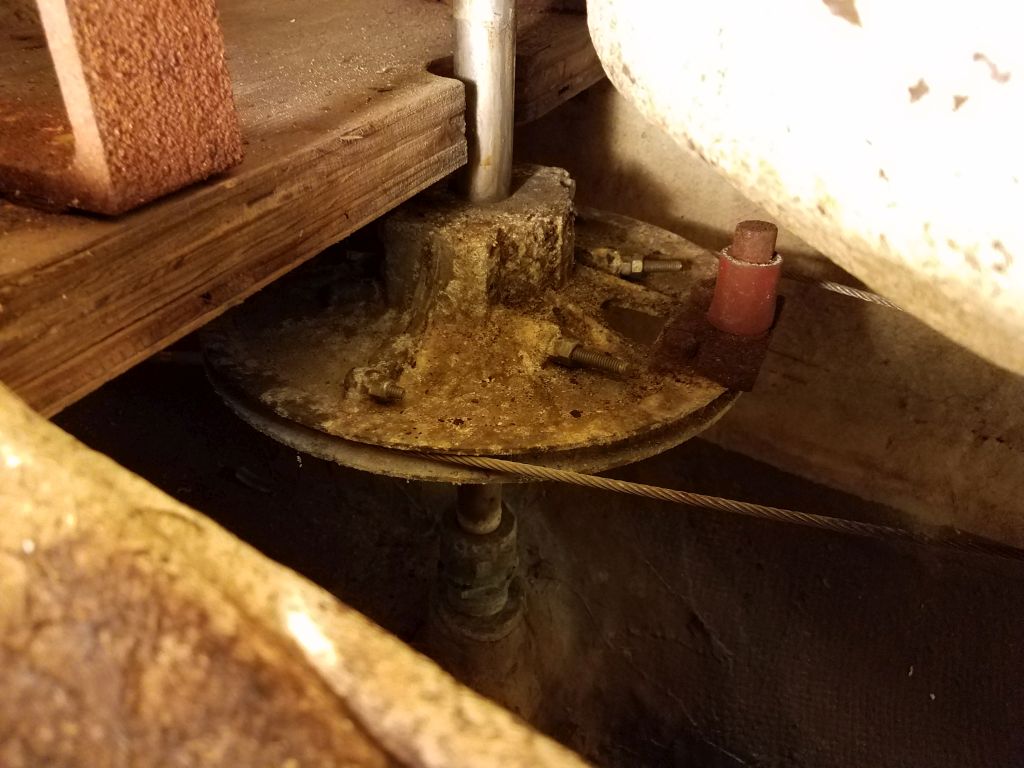
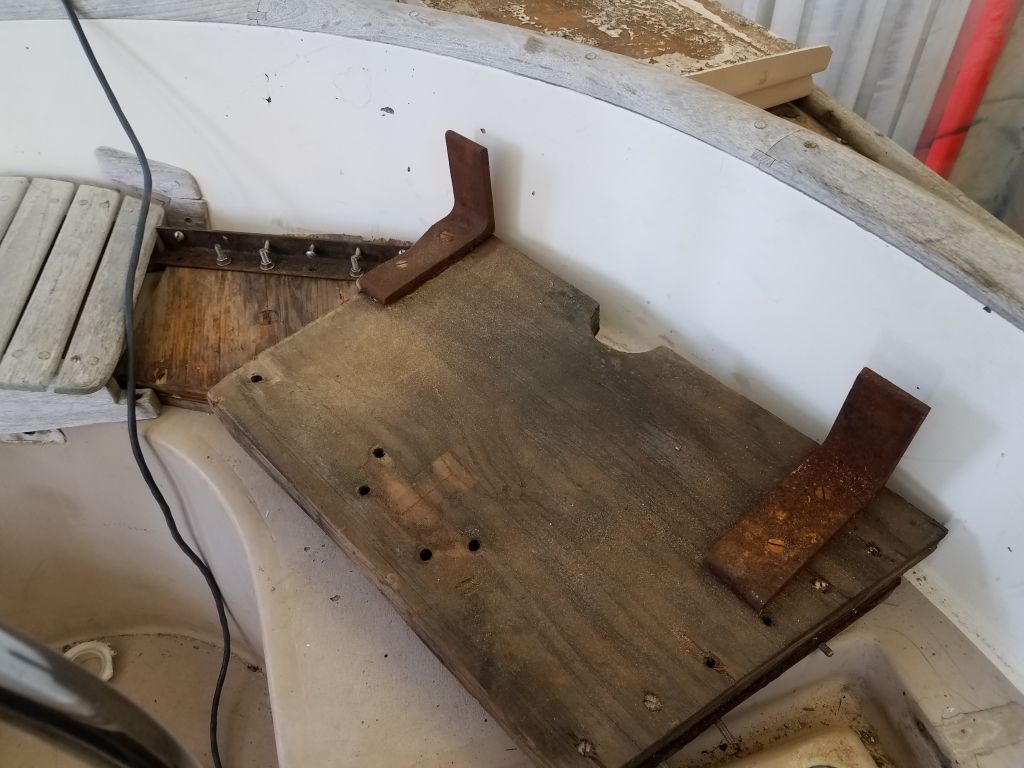
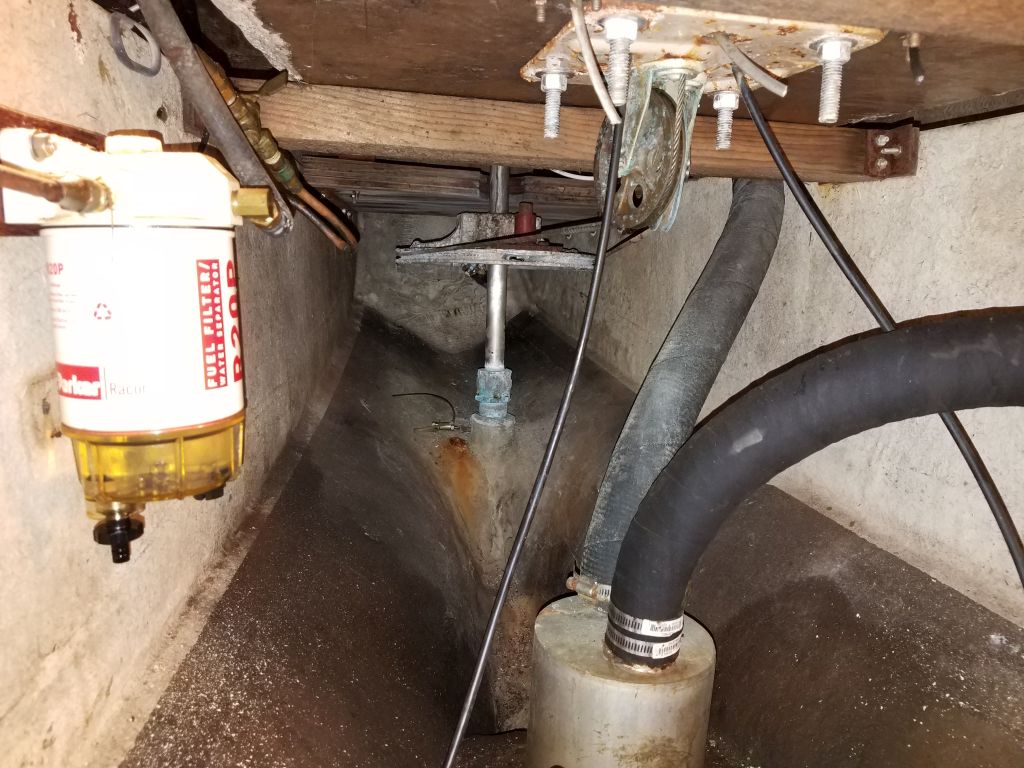
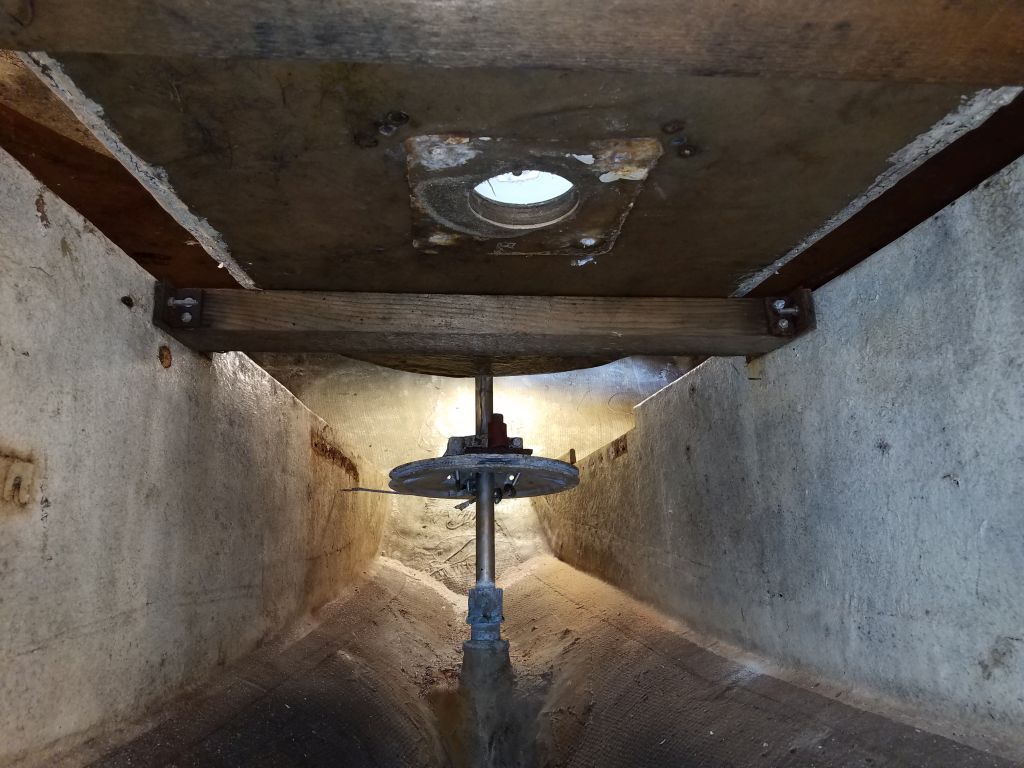
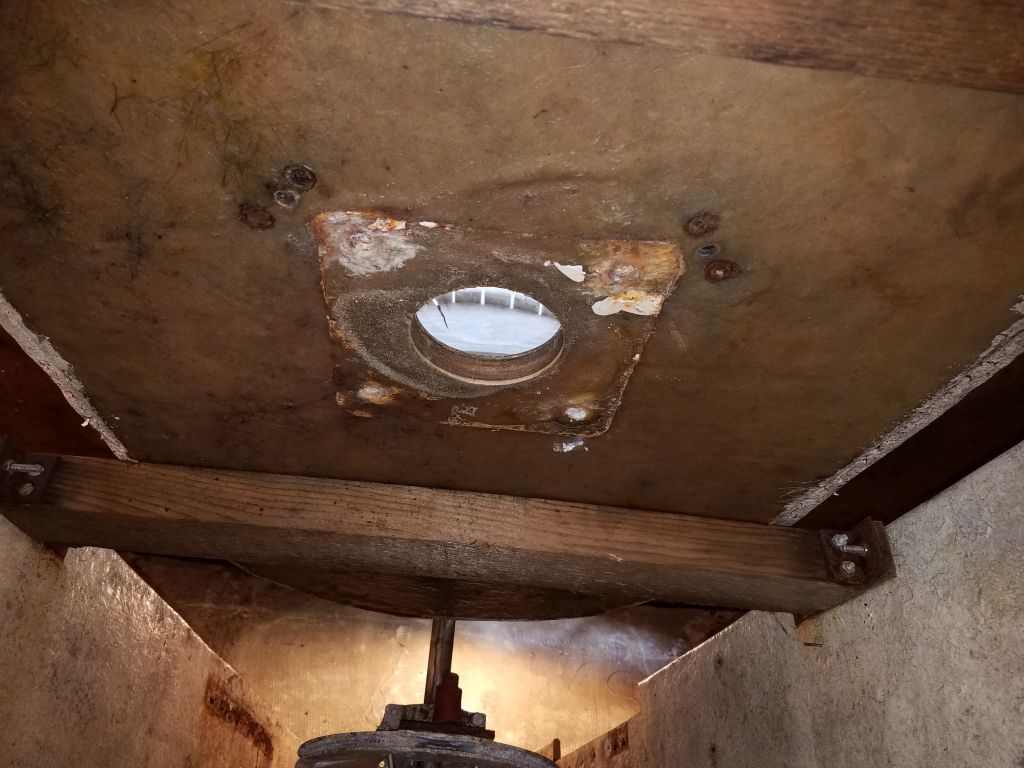
With better access now, I turned back to the steering system. A hefty plywood platform was secured across the two structural members just above the steering quadrant, and served no purpose now; actually, it had served no purpose ever, that I could tell, since it appeared to have been installed upside down. I think it was meant as a support for cast iron rudder stops, to prevent overturning, but these faced upwards and did nothing to limit rudder movement. In any event, the platform limited access to the quadrant, and while access was possible with it in place, since it served no further purpose I decided to remove it. The platform was secured with angle brackets on both sides, and with the fuel tank gone I could easily (using the term relatively) access the starboard side bolts and remove them.
Moving to the other side, I removed the nuts from the bracket, but couldn’t easily remove the bolts since the long bolts hanging down from the platform itself were in the way. So I cut through the platform just inboard of the bracket, making it easier to remove in two pieces. This exposed the steering quadrant to make additional work more convenient.


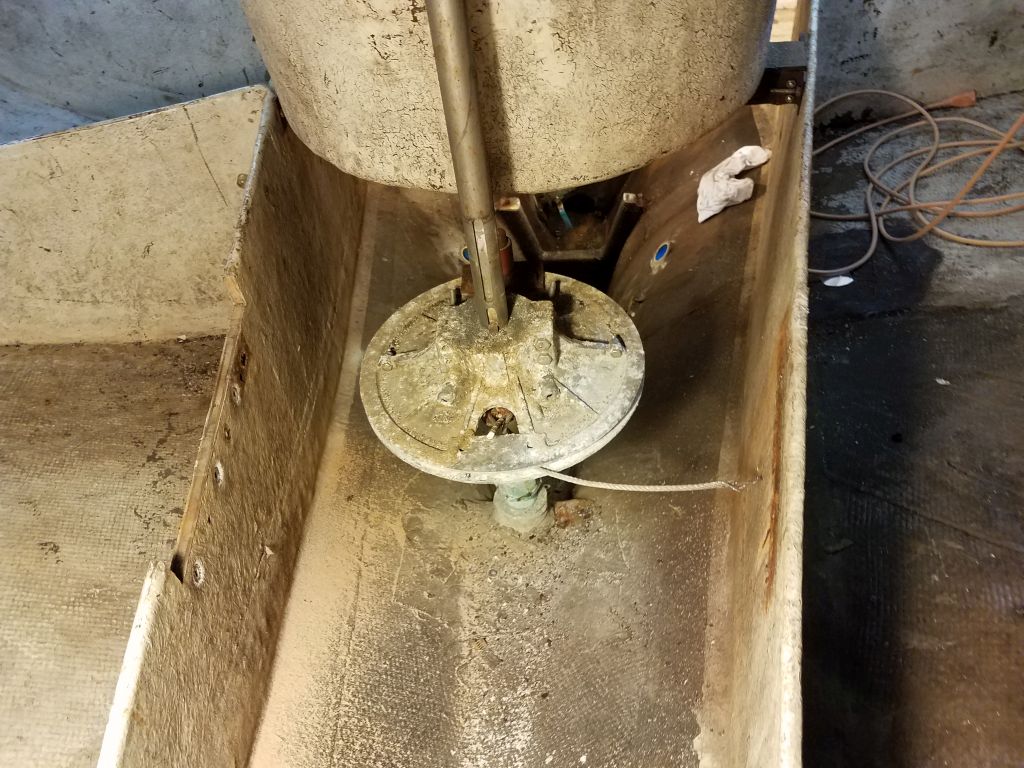
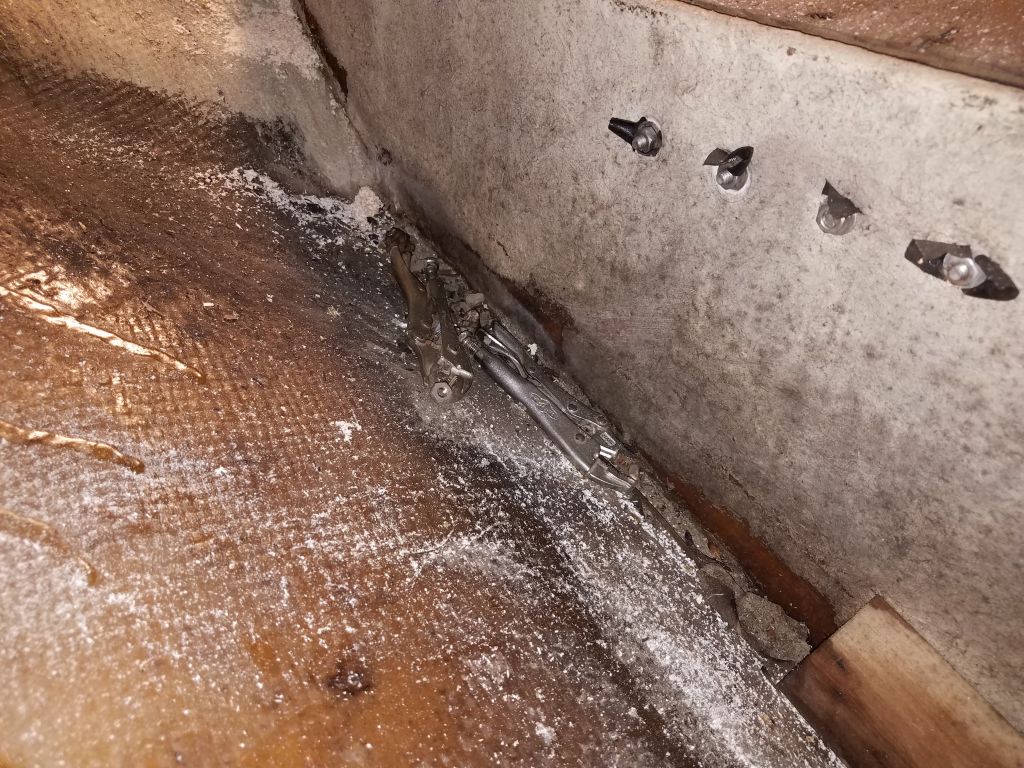
The steering cables were attached with fussy little half-hidden eye bolts, which in the original installation allow for tension adjustment of the cables. After working on one of these for a few minutes, my impatience got the better of me and I cut through both cables with my saw, just so I could get the pedestal out. I’d come back later and work on removing the two-piece quadrant from the shaft (though it caused no particular harm if left in place), but for now I was ready to unbolt and remove the pedestal itself. The four nuts securing the pedestal guard bases were easy to remove, and I pushed the bolts up from beneath.
I couldn’t remove the large aluminum nuts from beneath the pedestal from beneath: the bolts turned. So I clamped the nuts with Vice-Grips and tried loosening from above, using an impact gun on the slotted heads. This worked for two of the bolts, but on the other two the aluminum slots spun out. I drilled out the remaining two heads, which was easy enough since they were aluminum, then snapped (in one instance) or cut off (t’other) the bolts and nuts from beneath, releasing the steel bottom plate and bronze cable sheaves, and then allowing me to remove the pedestal from above.
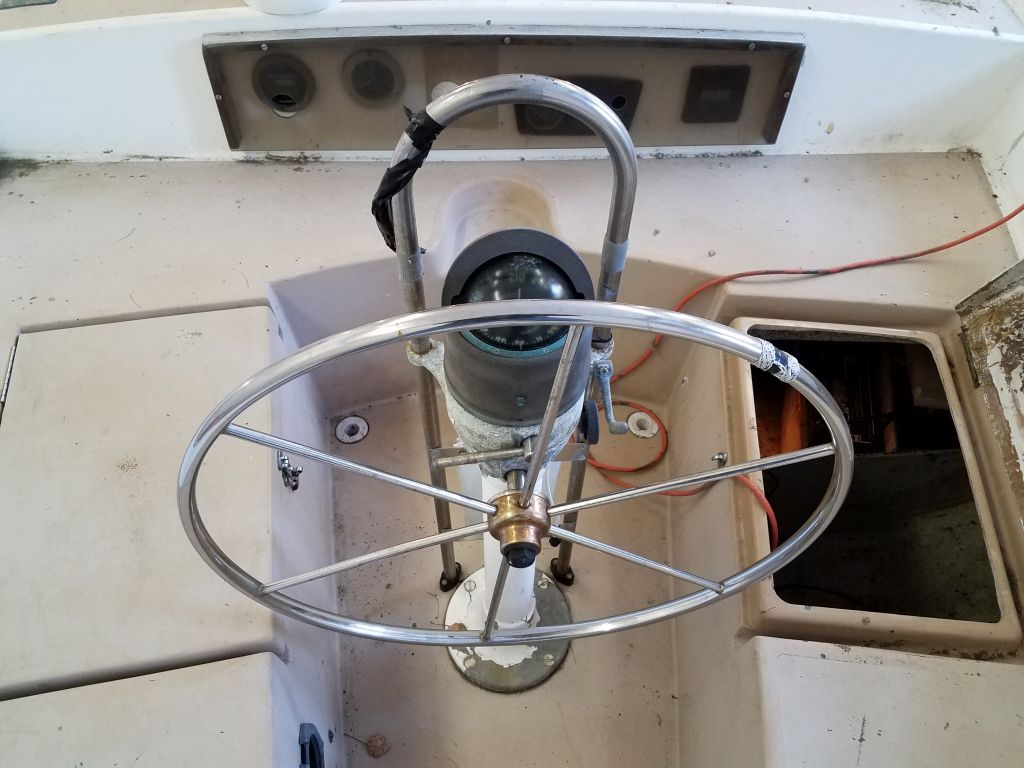

What a nice openness the pedestal removal gave the cockpit. It’s a small cockpit well, and the helm dominated the space.
Total time billed on this job today: 7.5 hours
0600 Weather Observation: 12°, clear. Forecast for the day: Mainly sunny with increasing clouds late in the day, around 50°