


April 18, 2018
Scupper 29
Wednesday
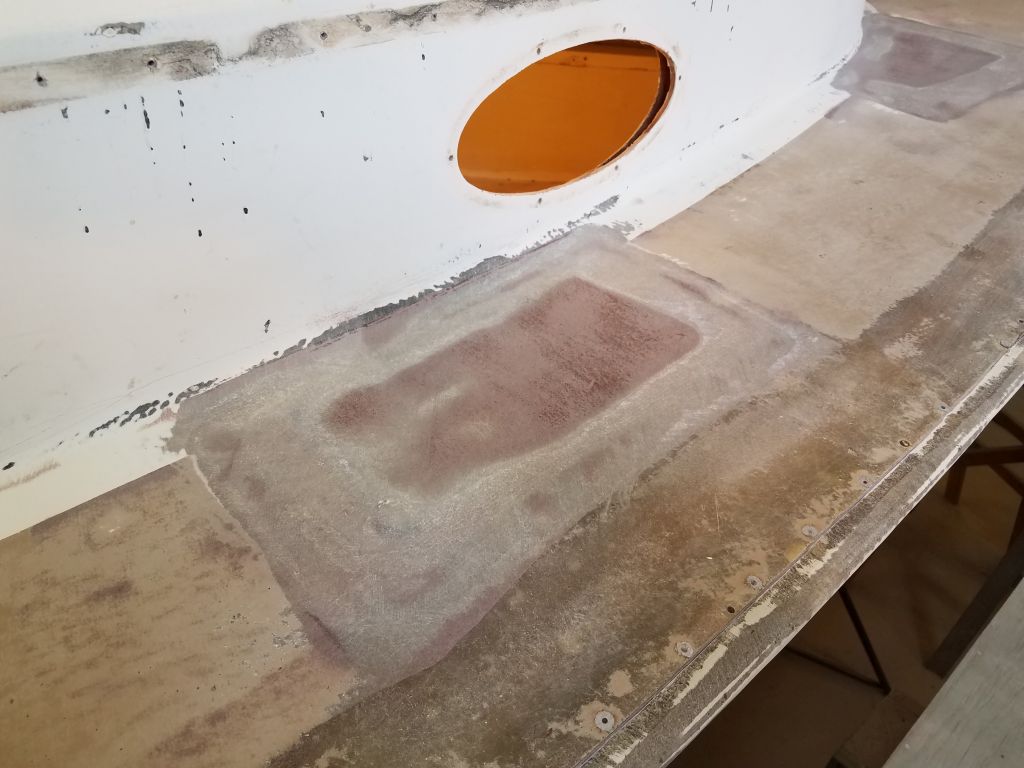
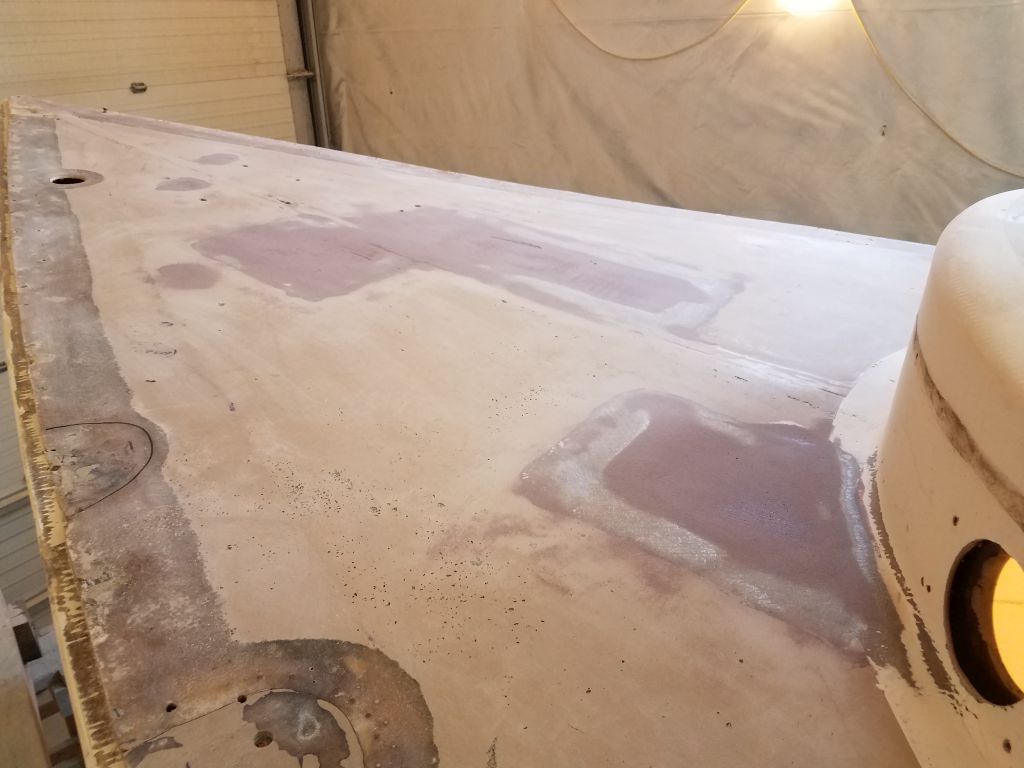
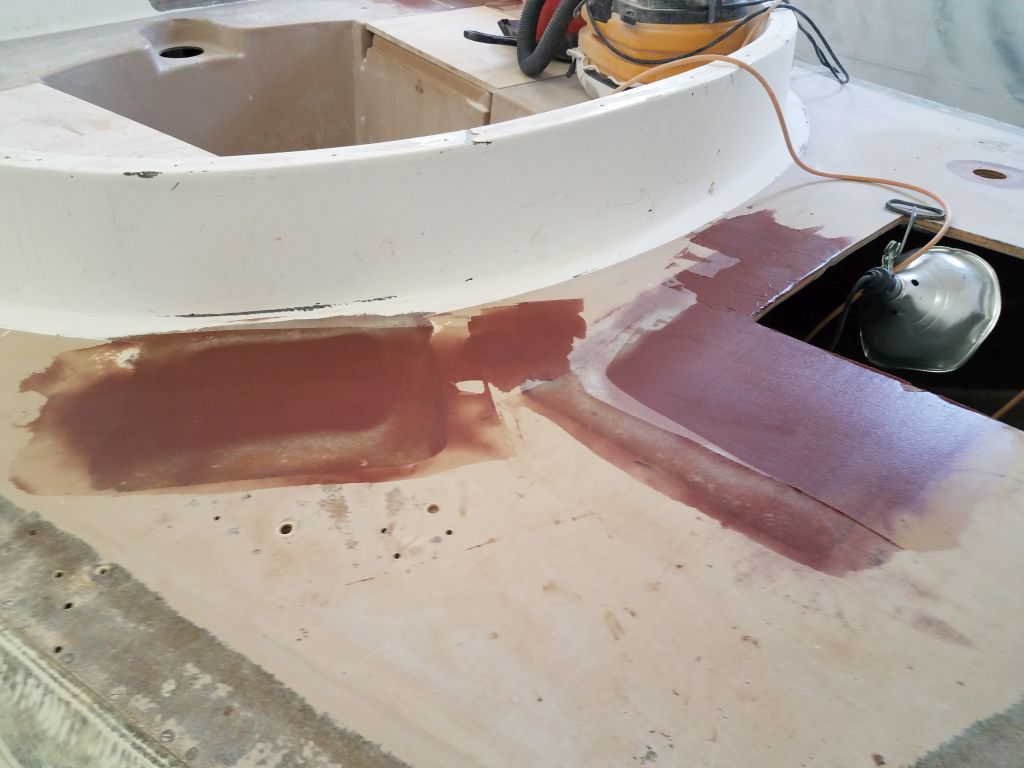
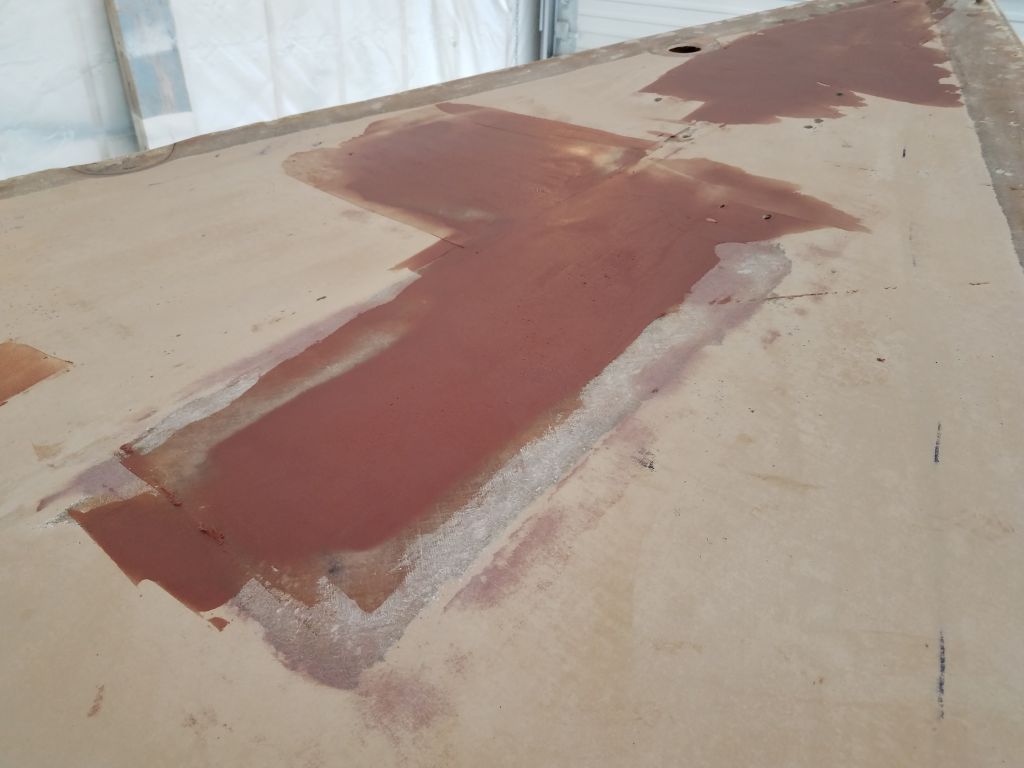
I began the day’s work with the sander, smoothing the new fiberglass in the cockpit patches and the fairing compound I’d applied on the main decks and port sidedeck.
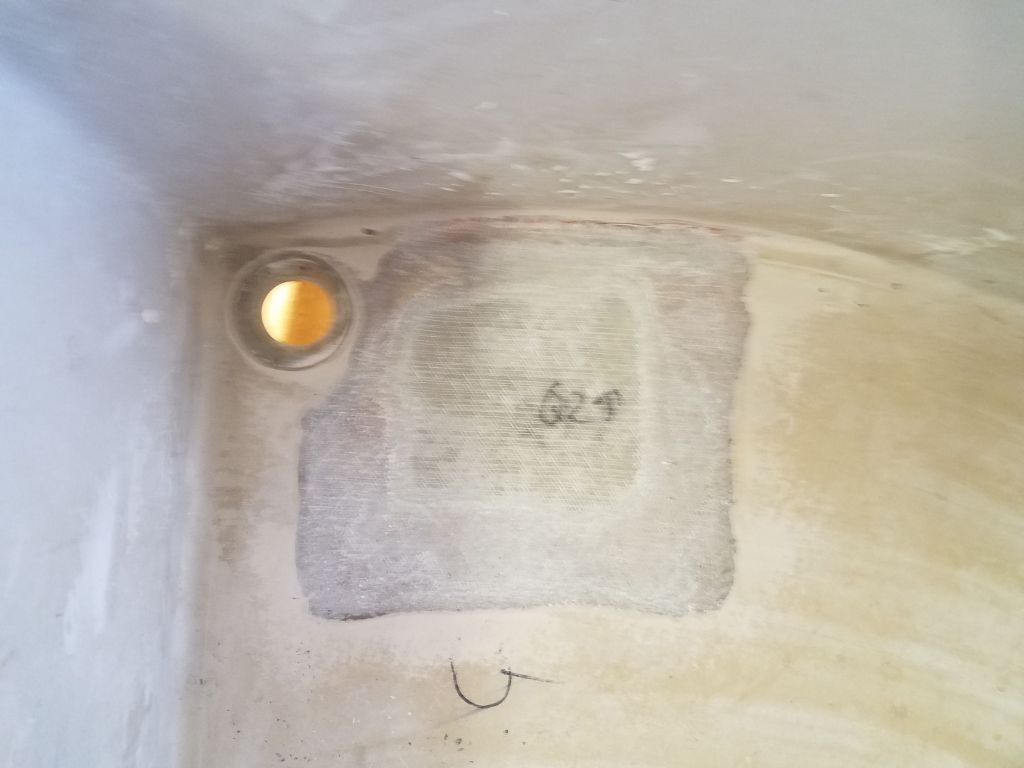
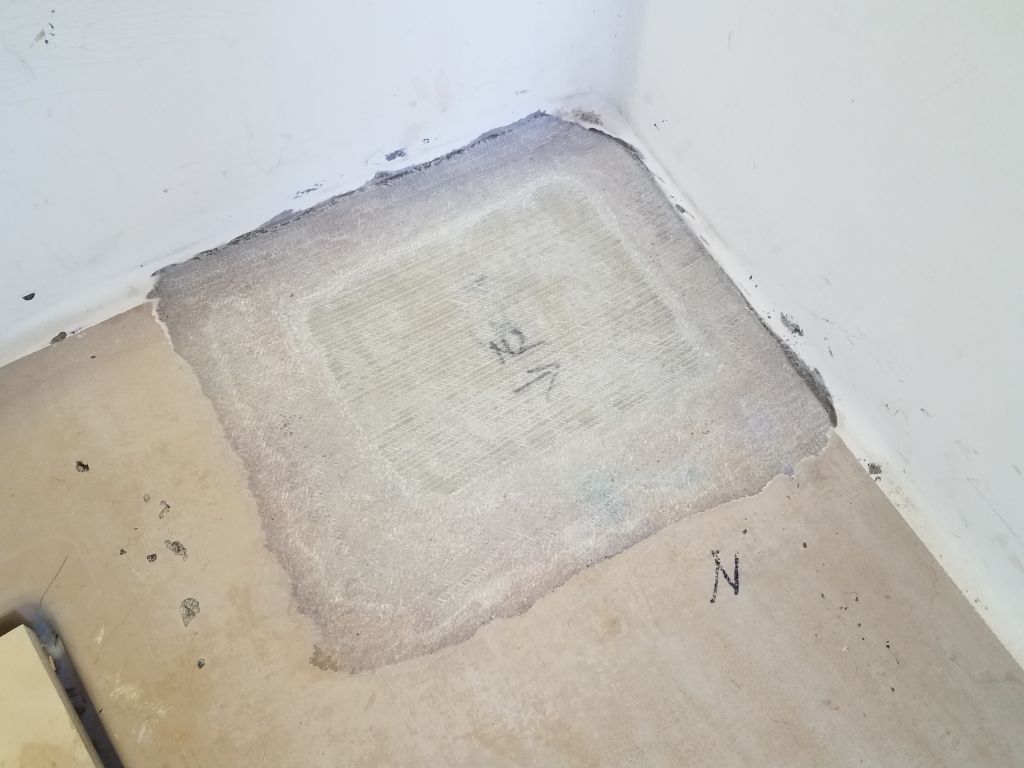
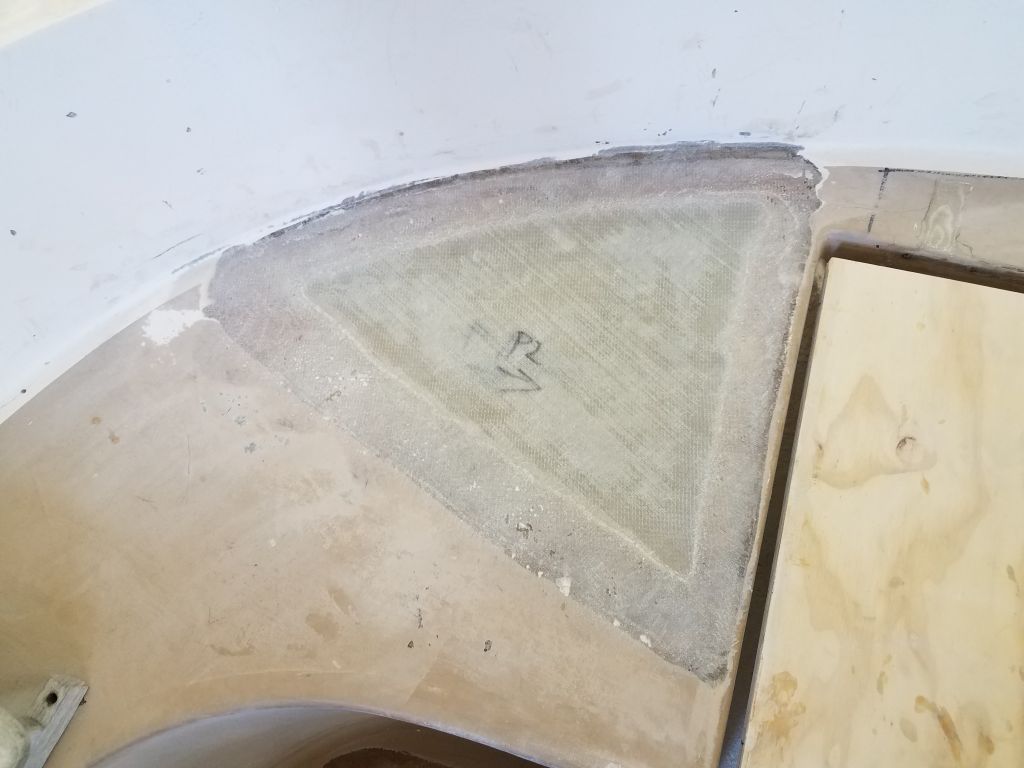
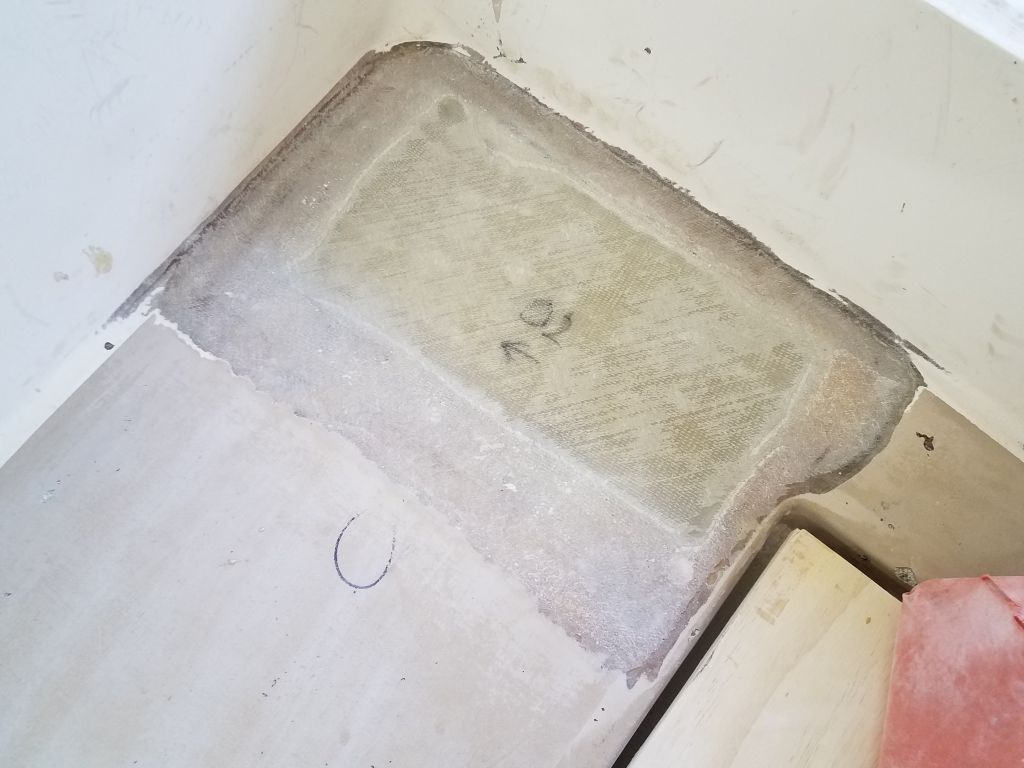


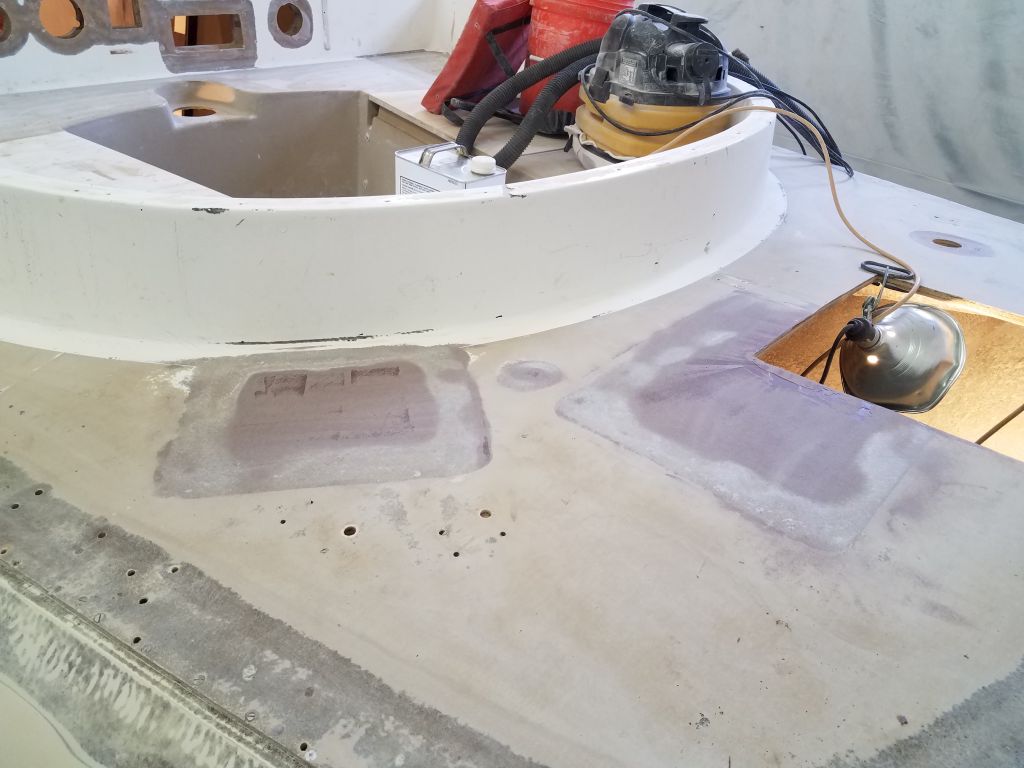
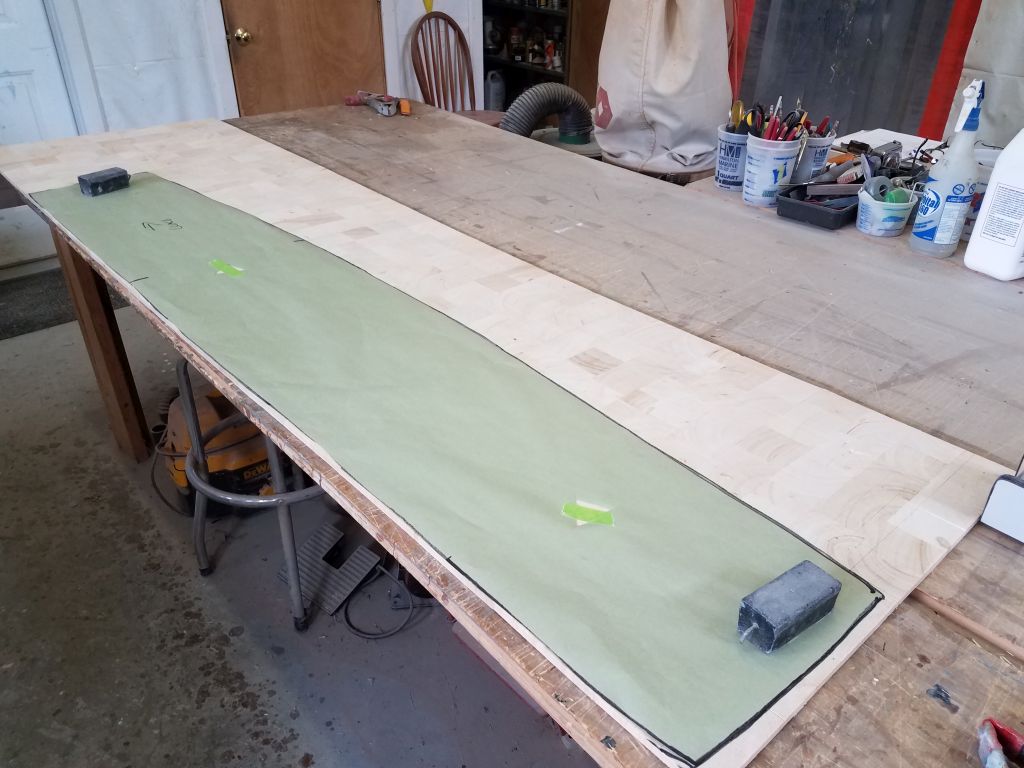
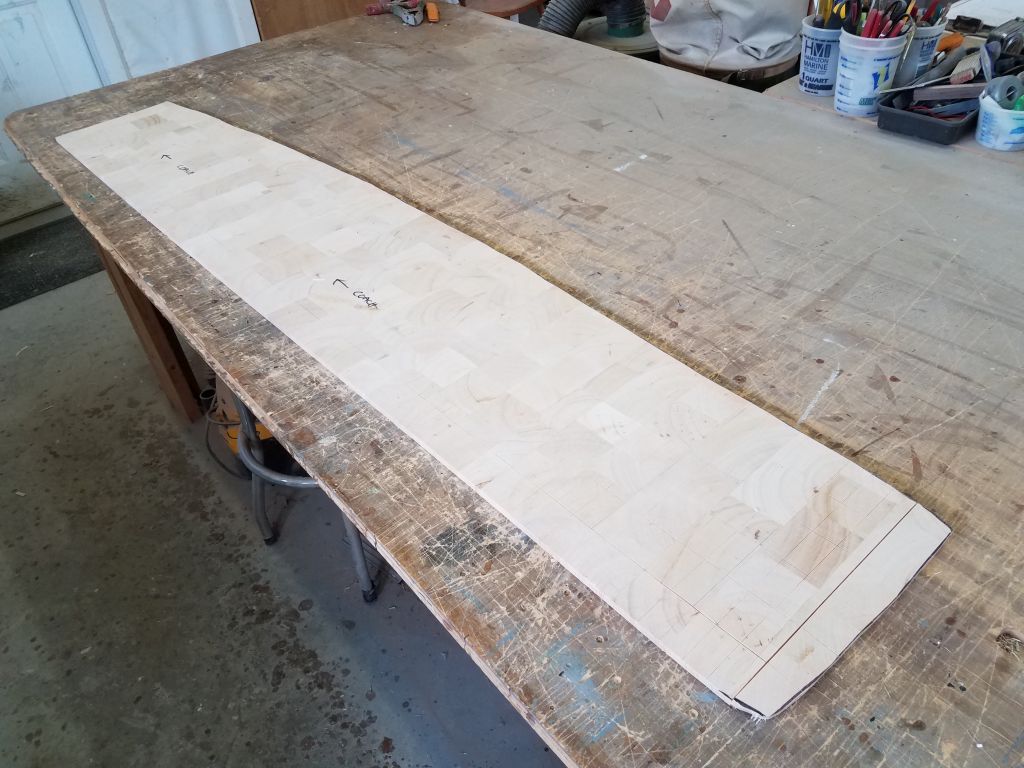
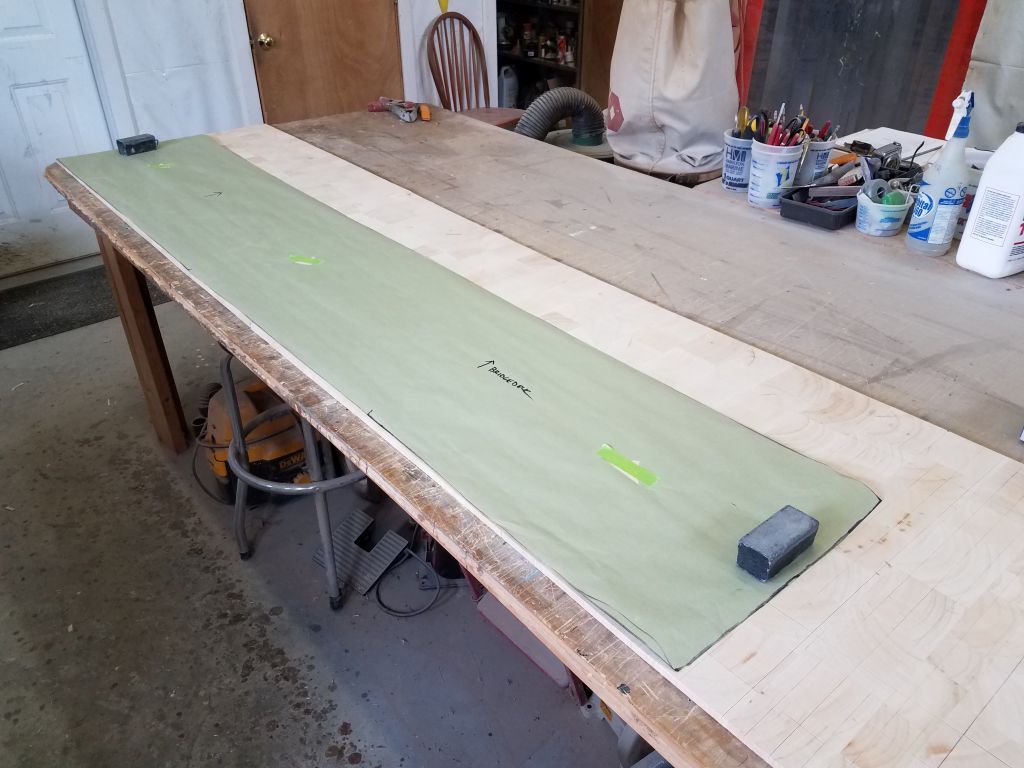
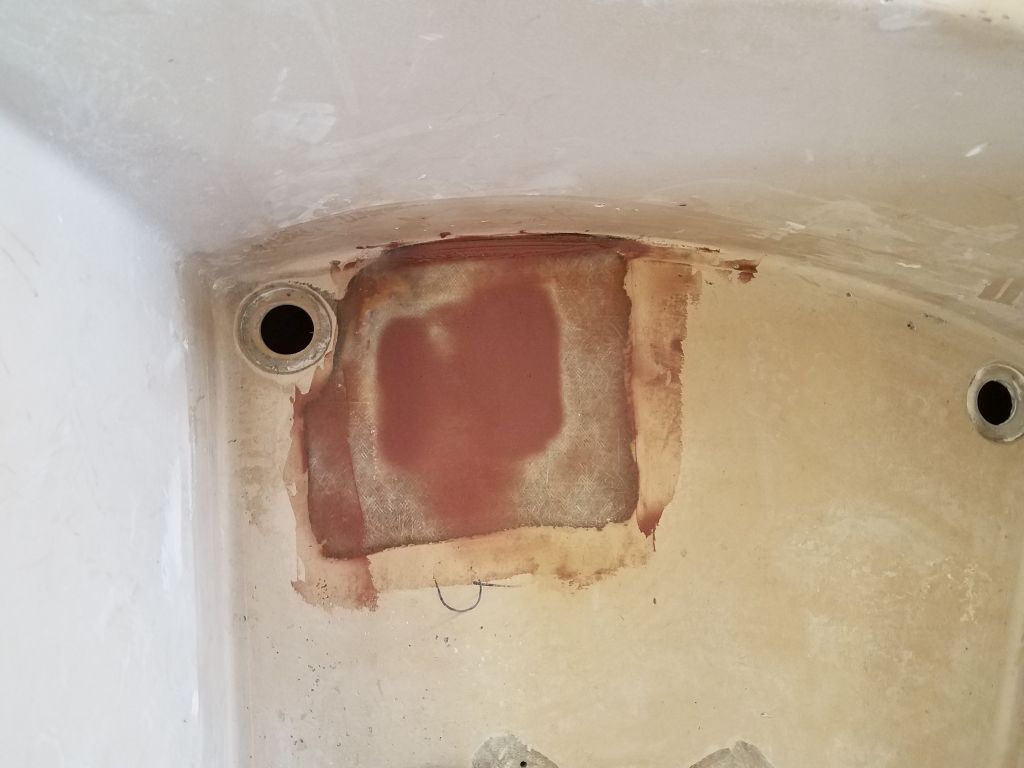
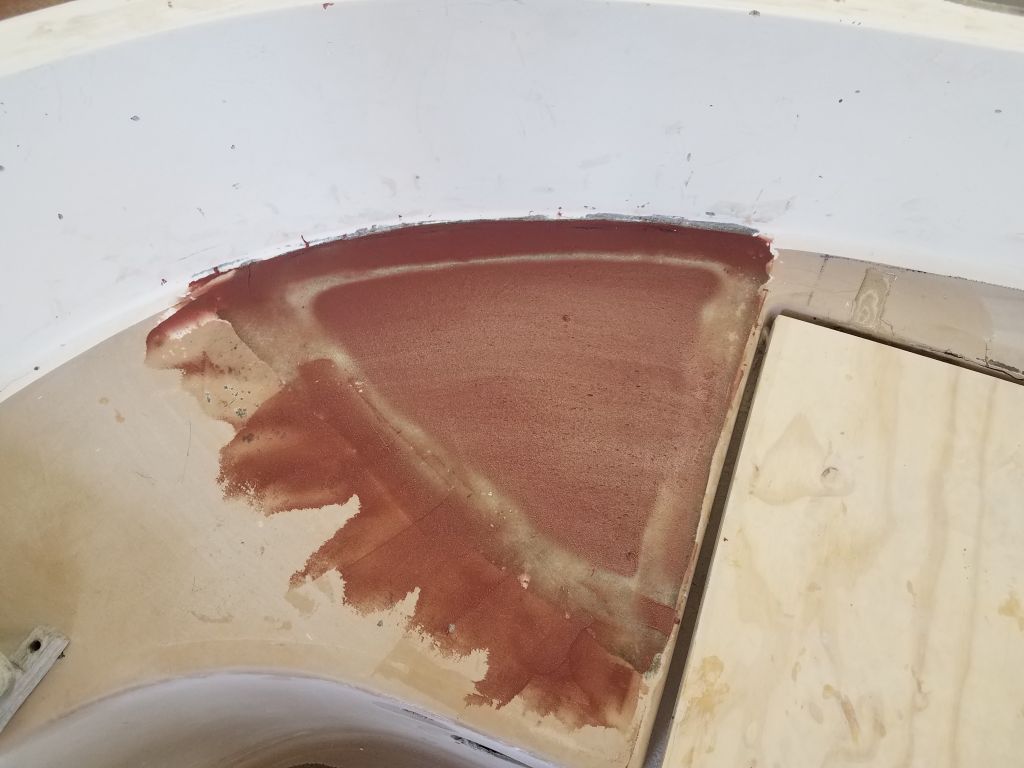
After I cleaned up, I used my patterns to cut new core for the small area on the coachroof and the small section of the starboard sidedeck. After final preparations to these areas, I installed the new core in epoxy adhesive, weighting it down securely.
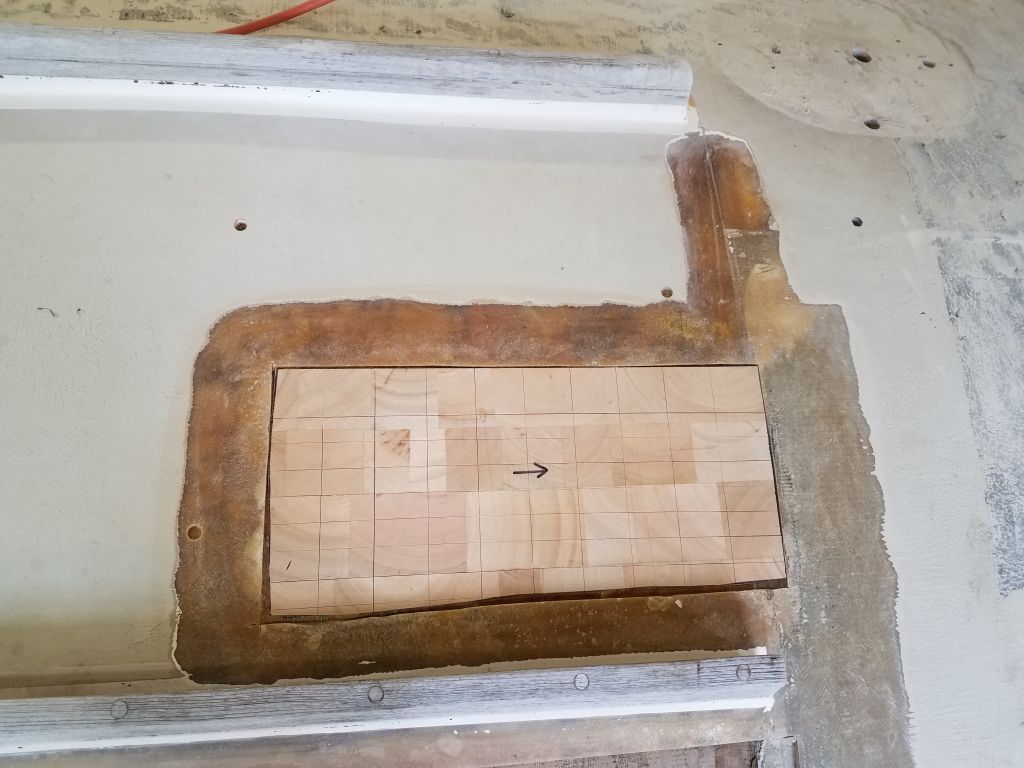
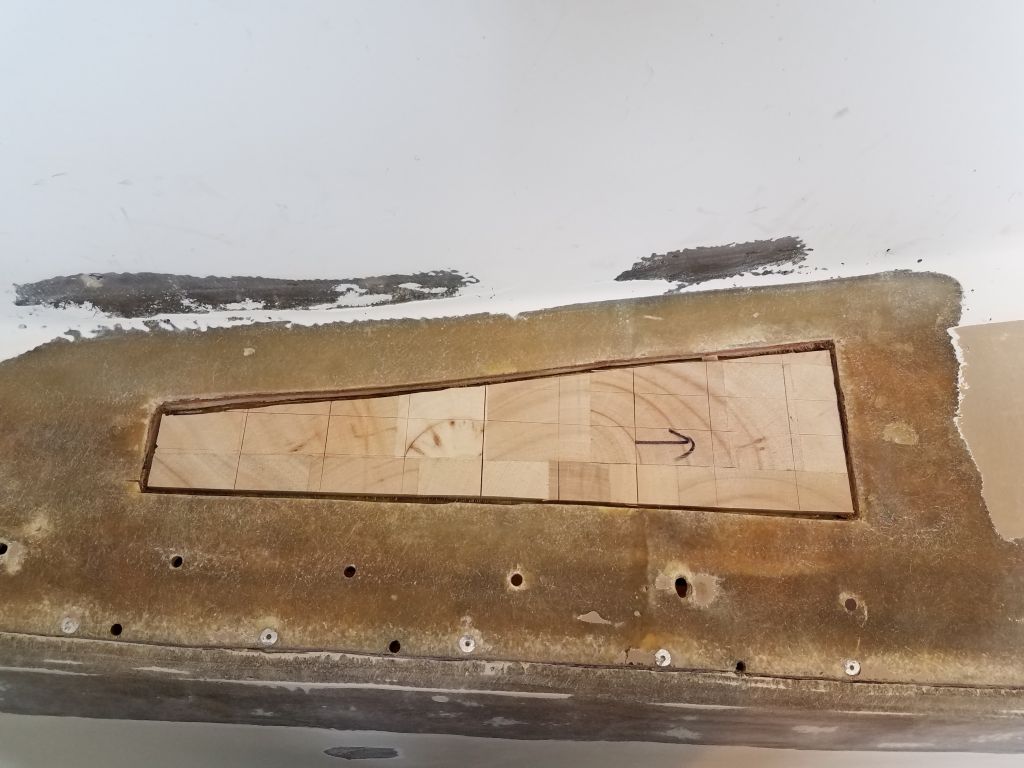

Meanwhile, I cut the new core for the large section of the coachroof and for the bridgedeck, using the patterns I’d made earlier.
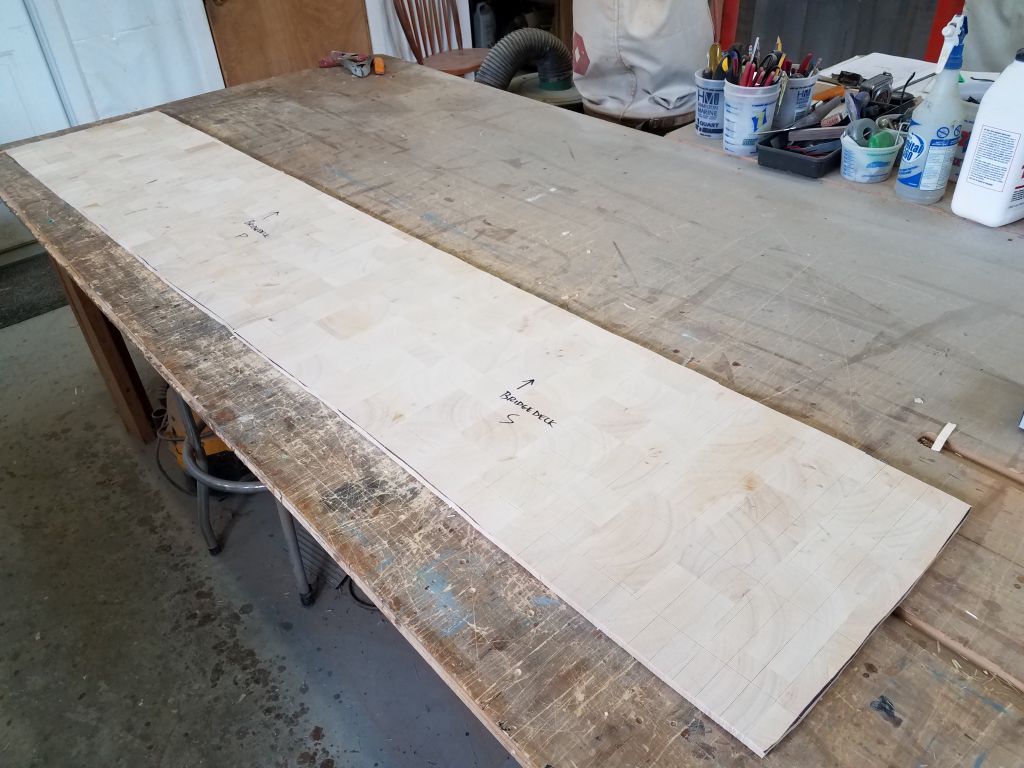
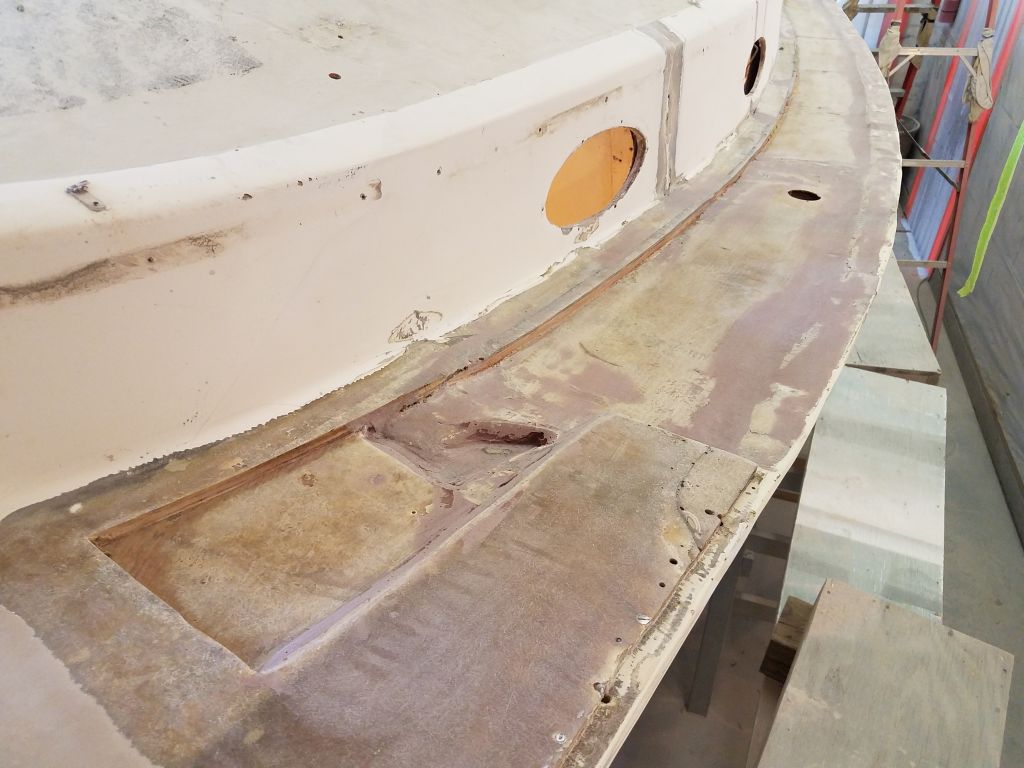
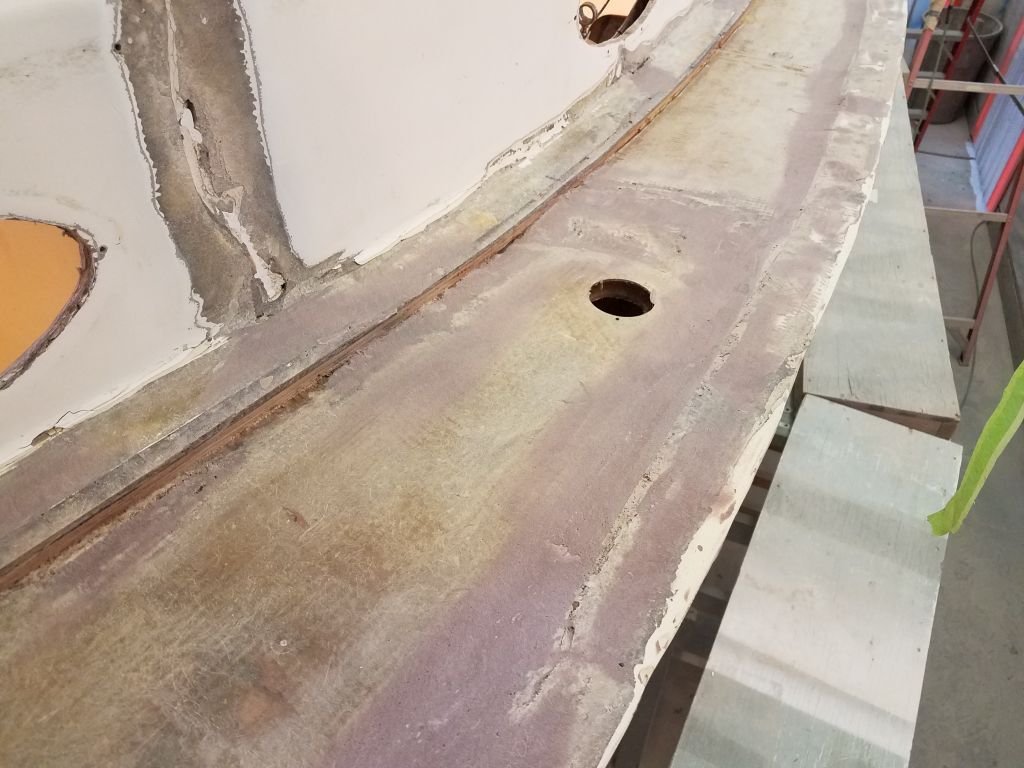
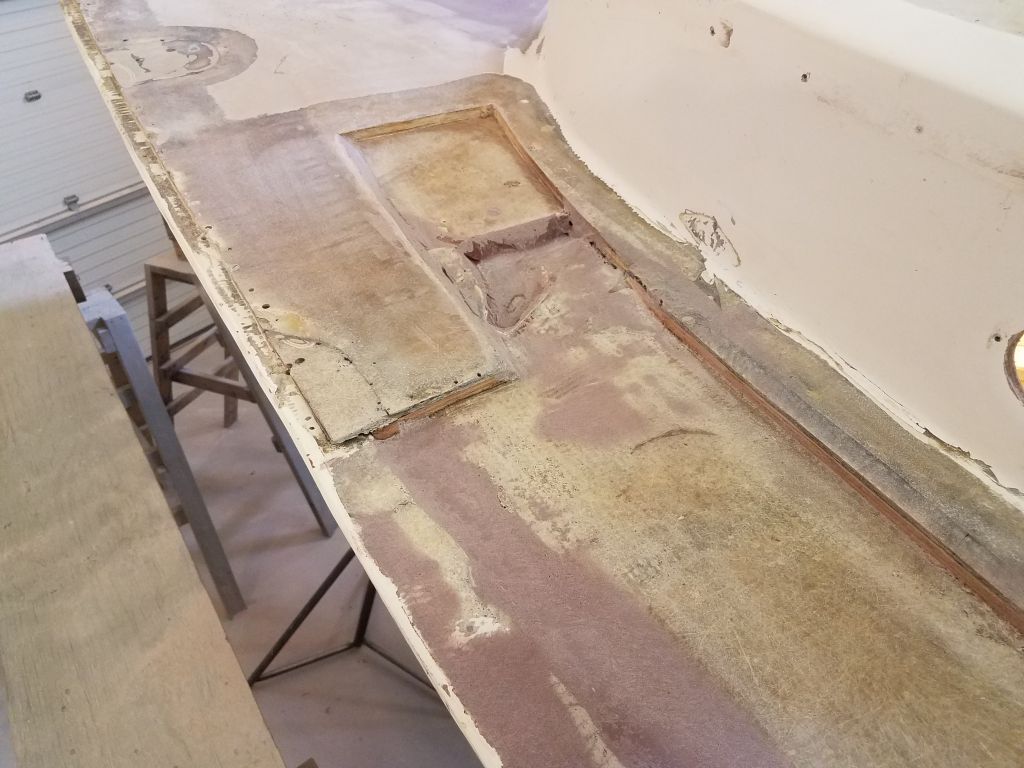
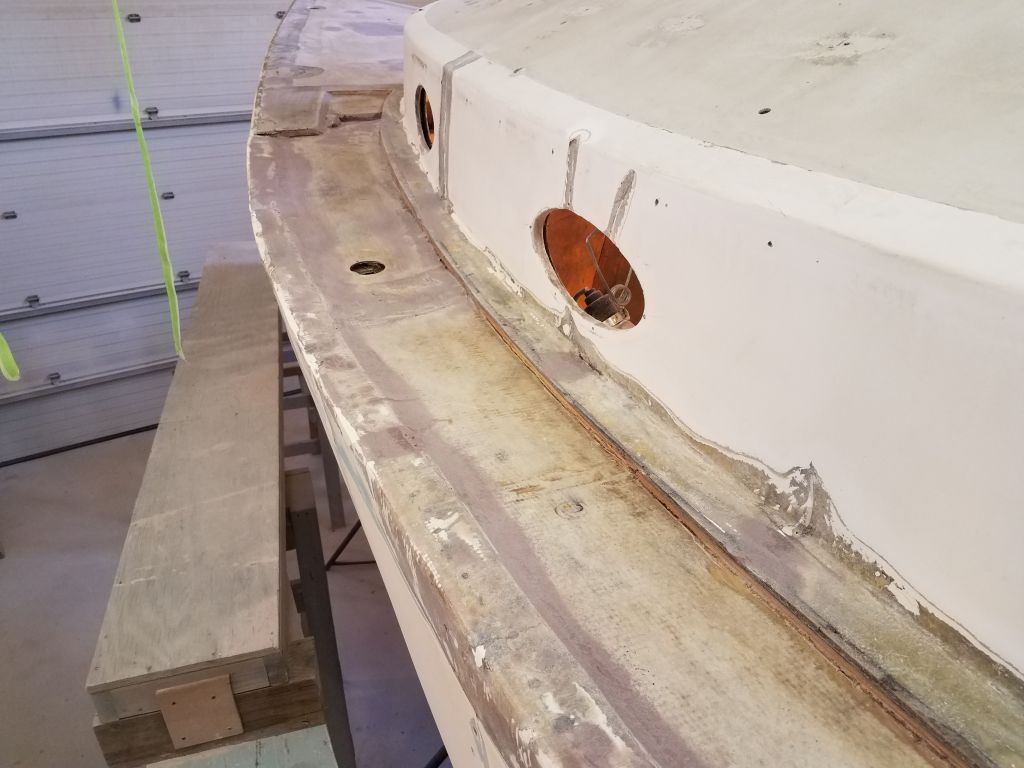
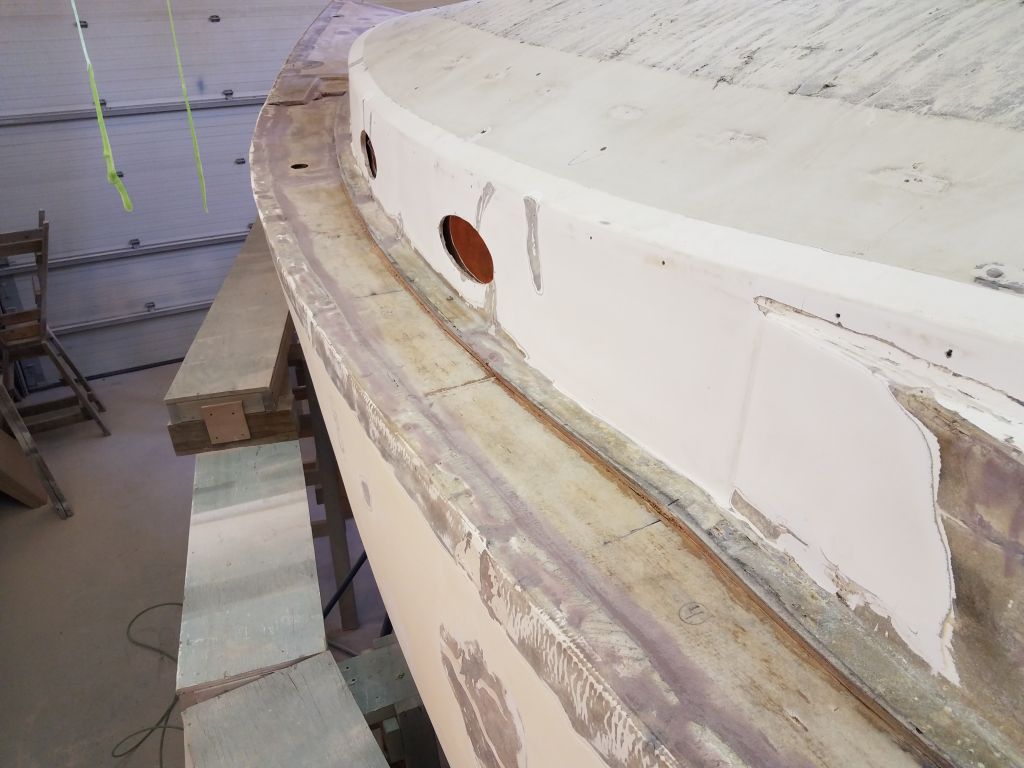
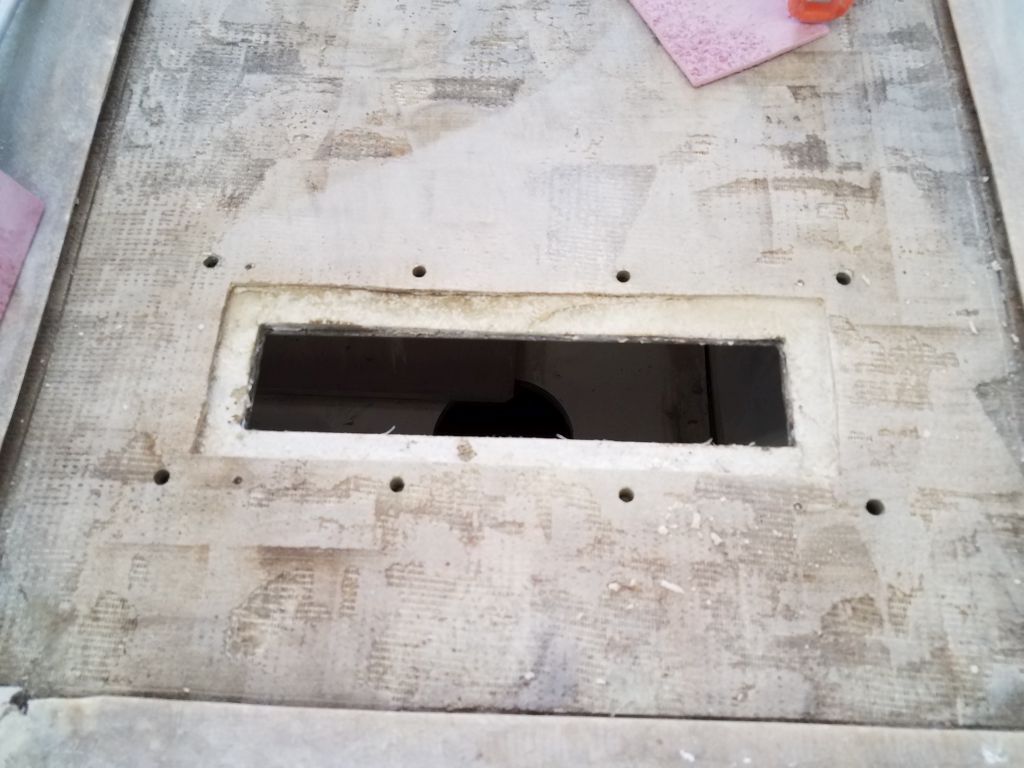
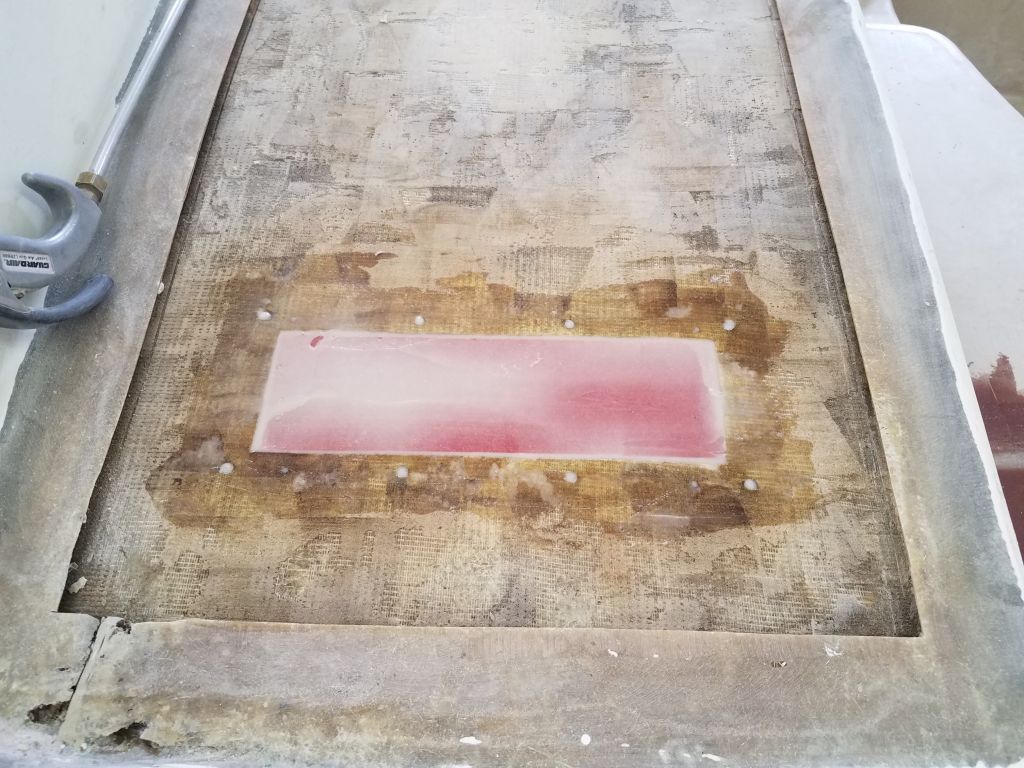
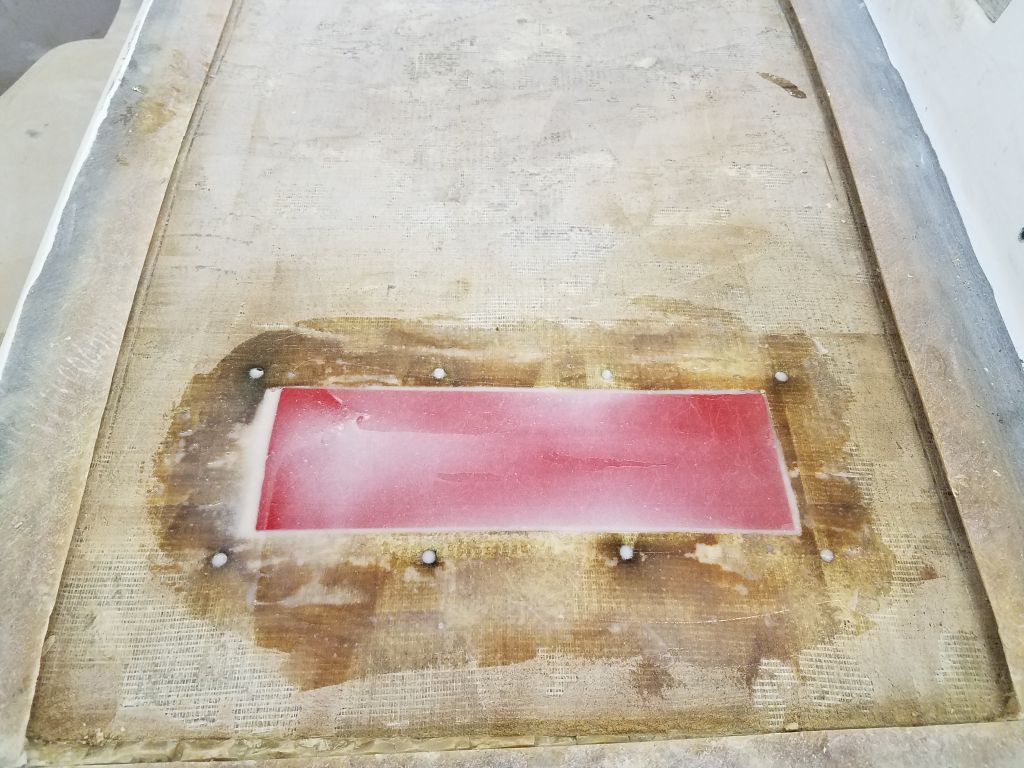
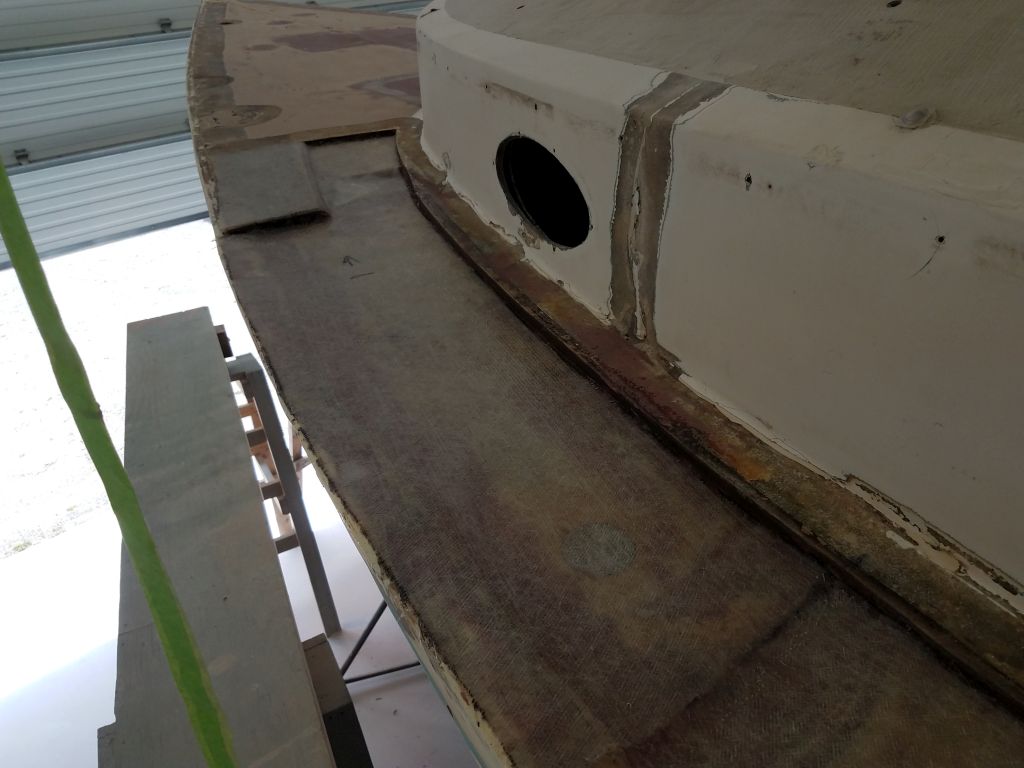
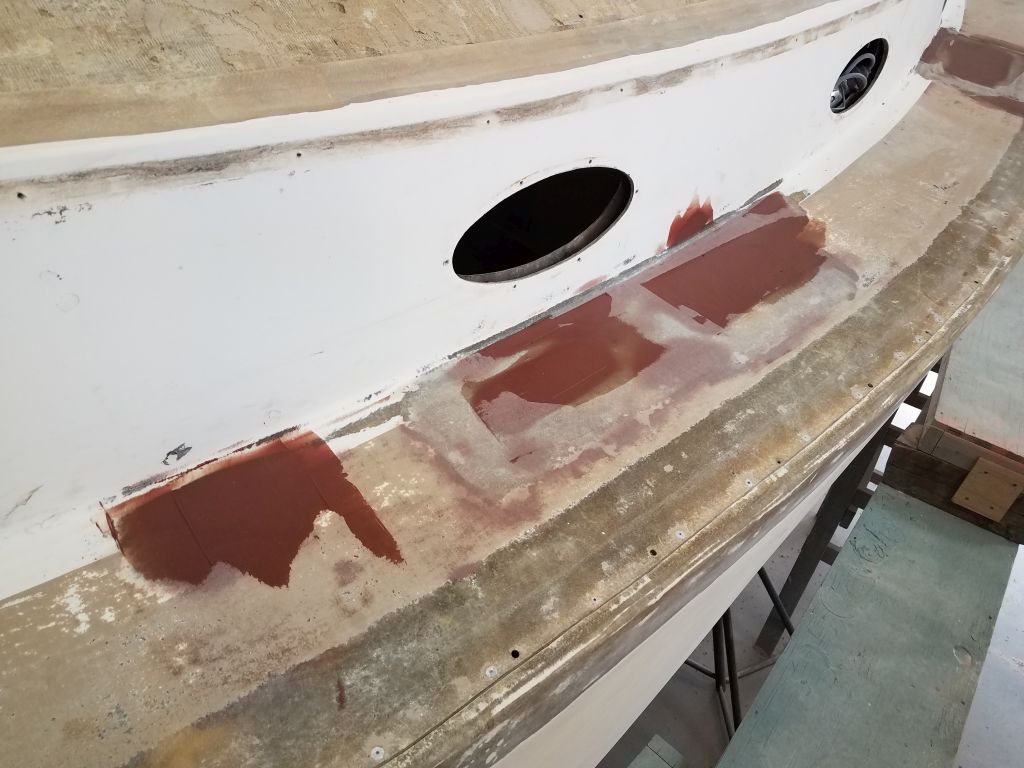
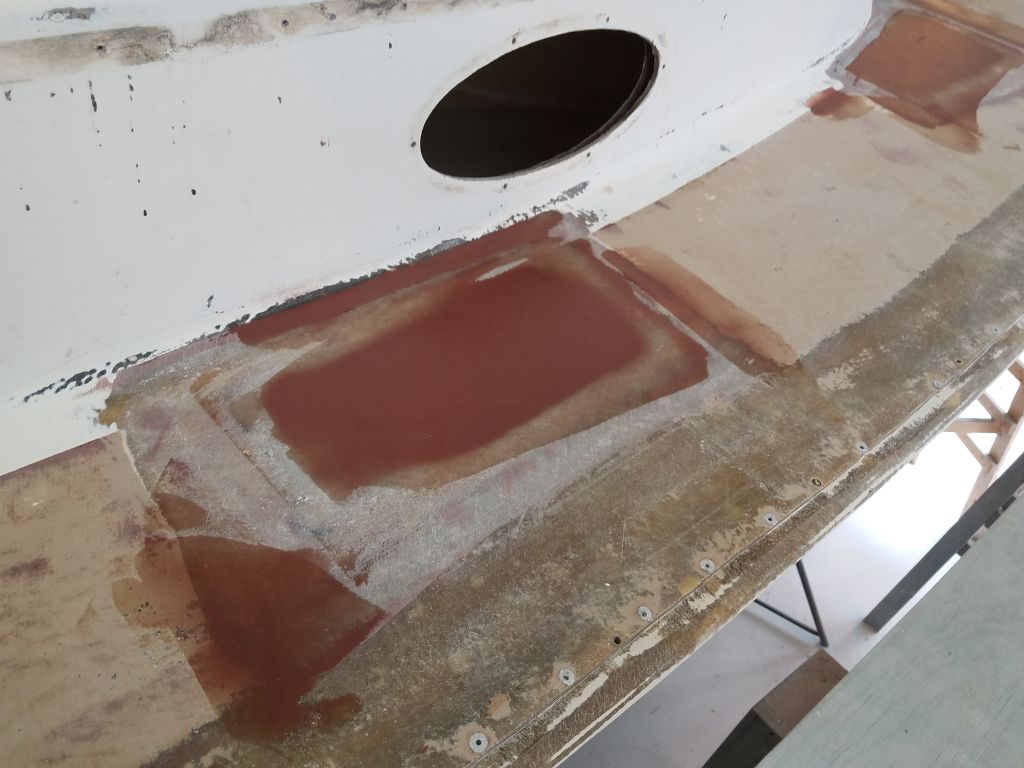
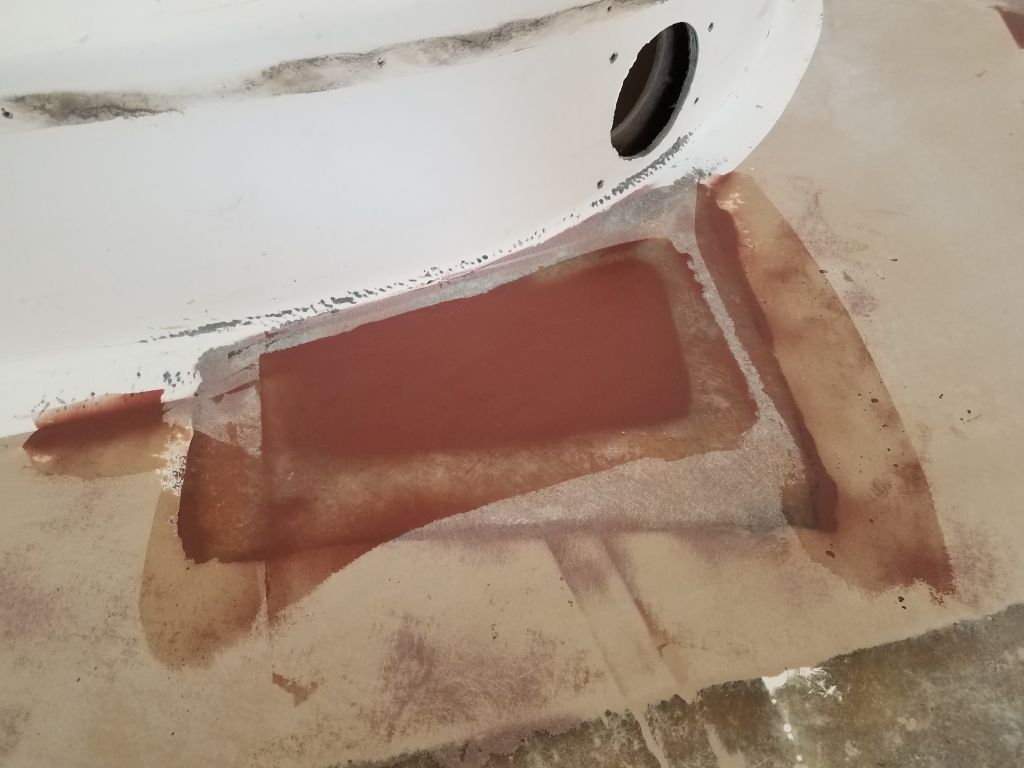
We planned to eliminate the deck prisms from the bridgedeck, and before I could install new core here I needed to patch the holes from above. This was a simple task since there was a nice flange beneath the existing rectangular openings, so all I had to do was clean up the faying surface a bit and install some 1/8″ thick prefab fiberglass sheeting over the openings with epoxy adhesive. Sometime later in the project, I’d patch the openings from inside, where the remainder of the finish work would be required.


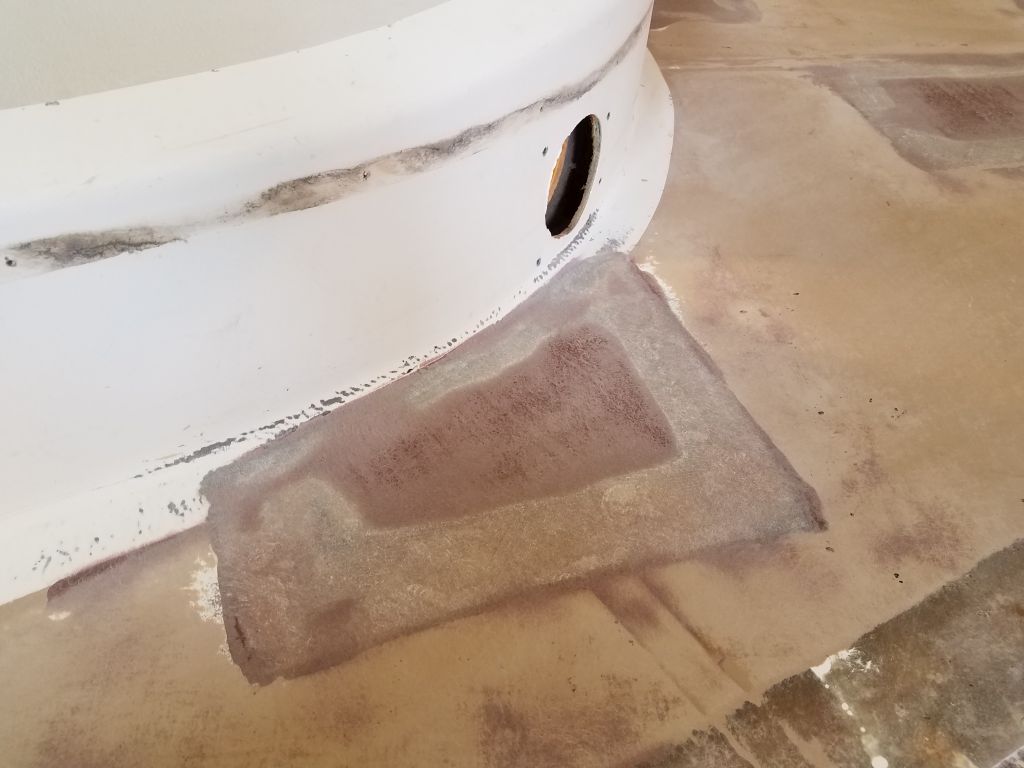
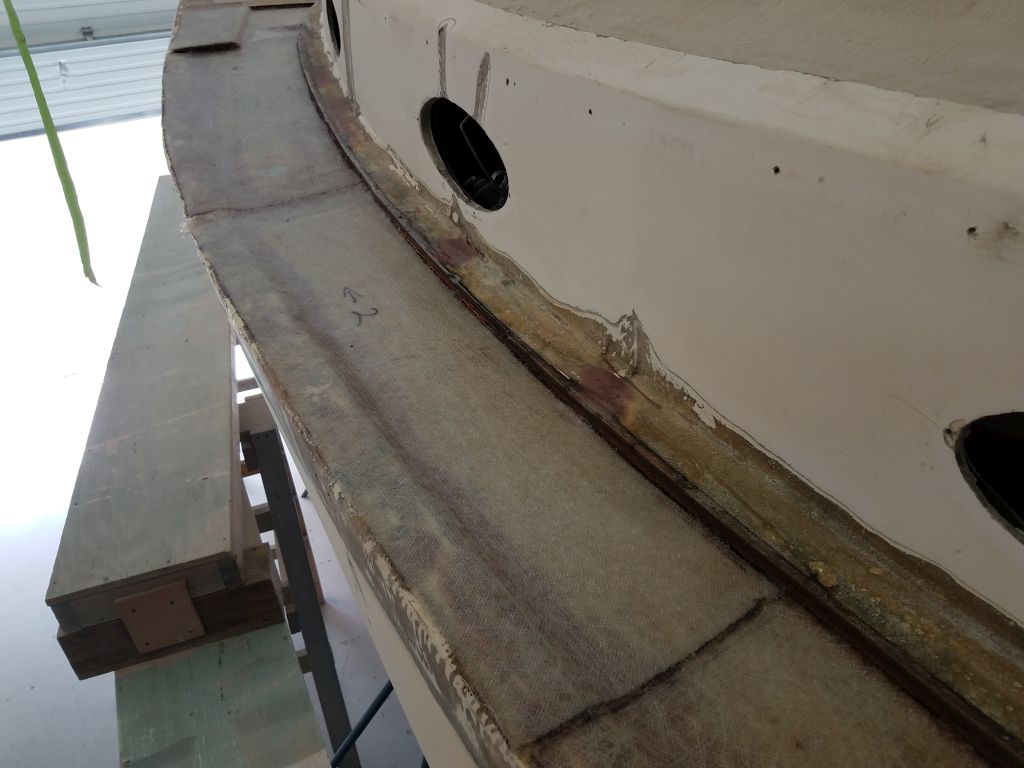
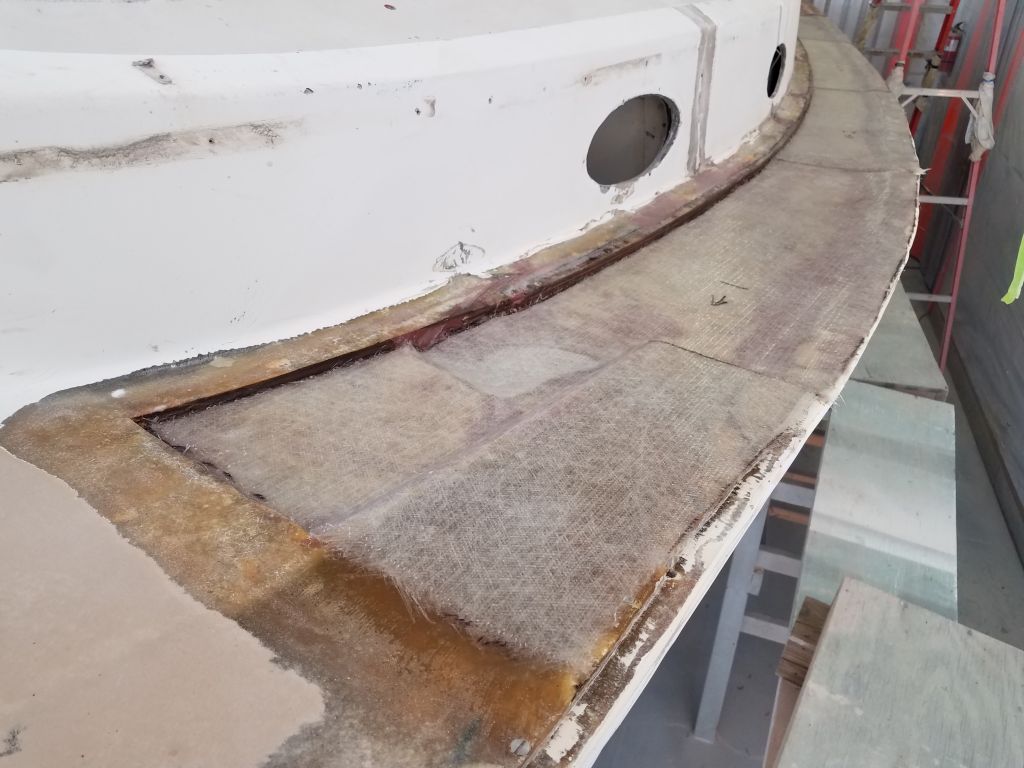
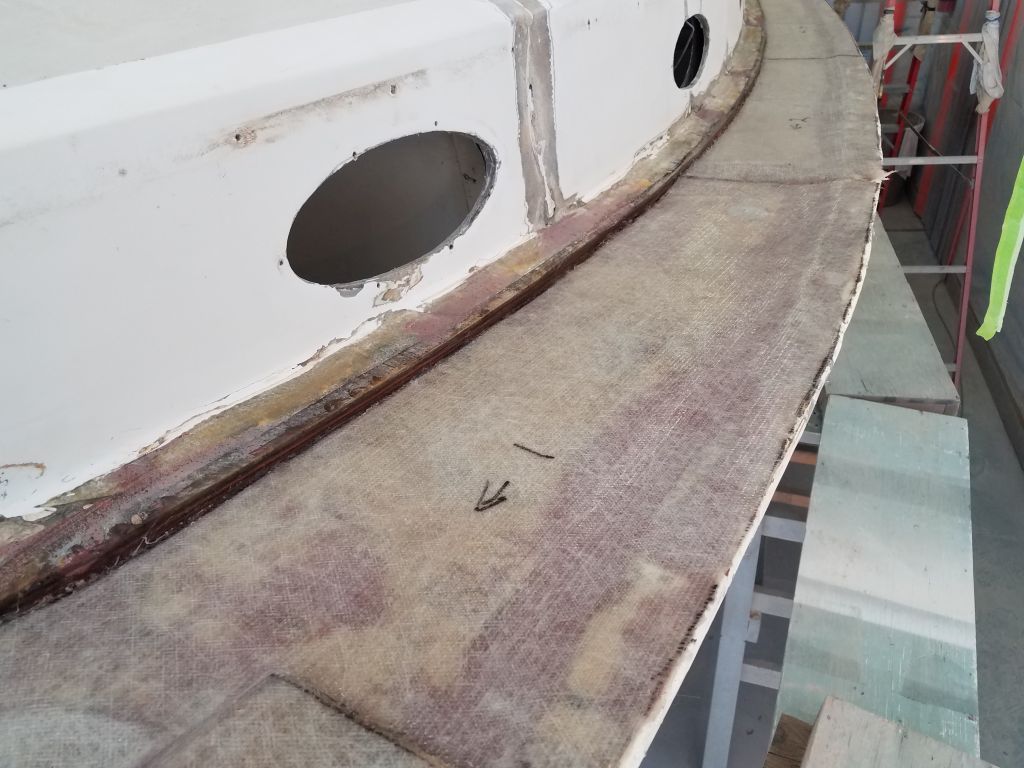
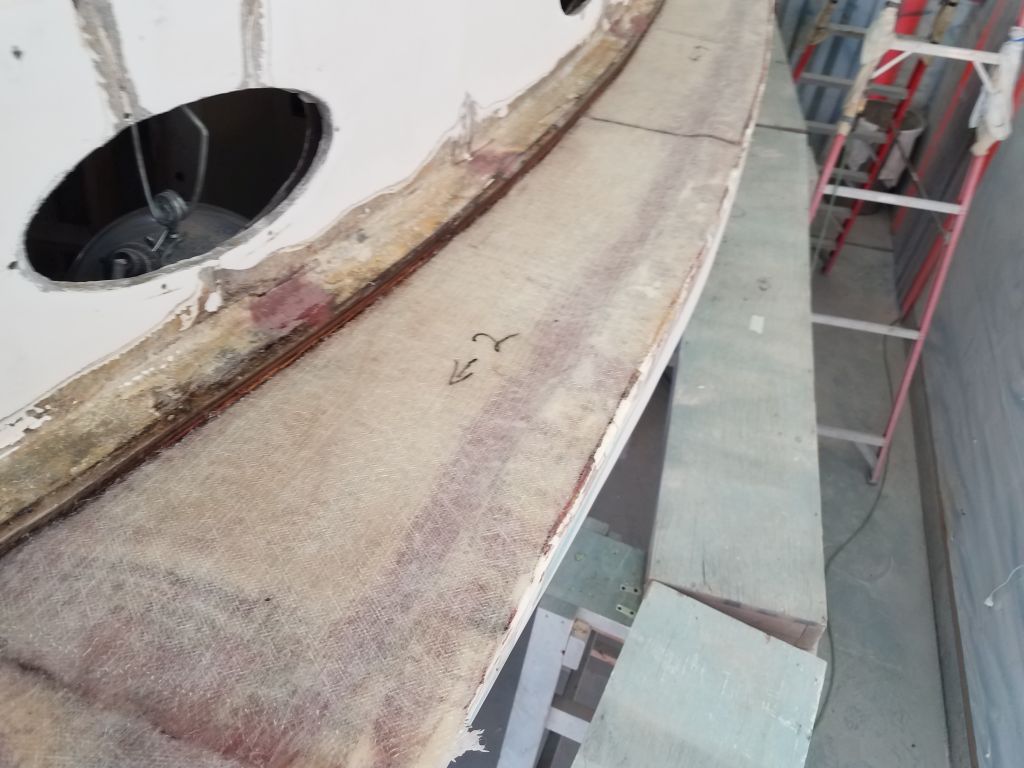
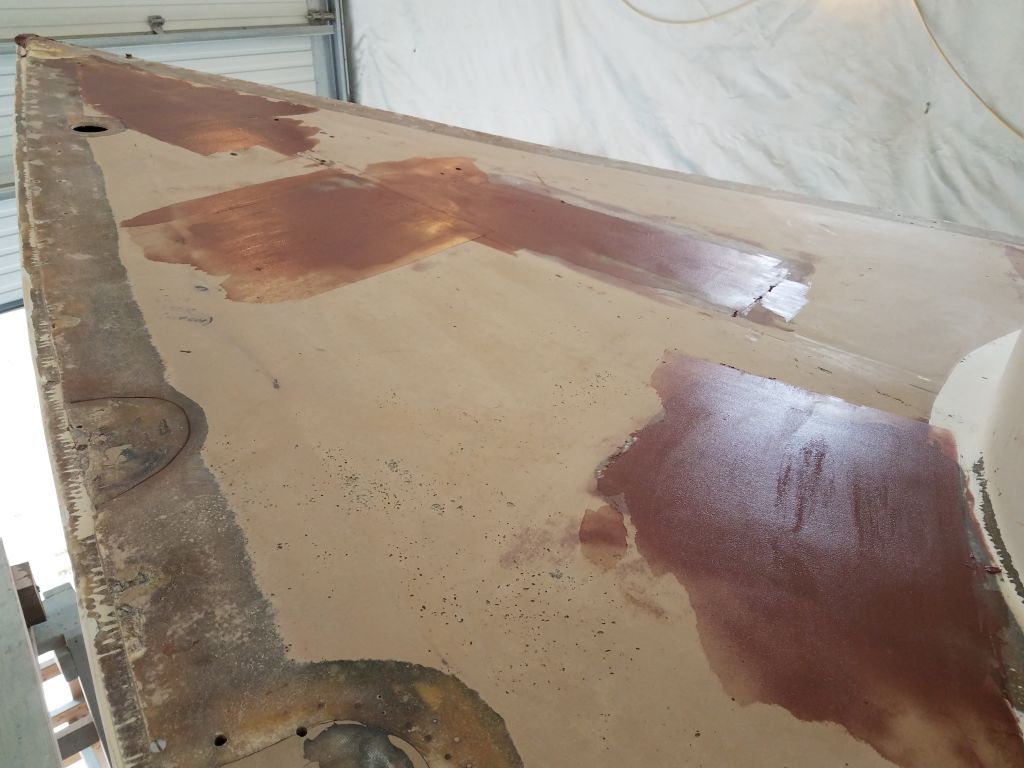
The port sidedeck was ready for its new layer of fiberglass over the inner skin, and I installed this now in epoxy resin. I extended the new material to the gunwale over most of the area, tying the inner skin back to the hull and hull flange as it should be. At the forward end, where the previous repair had met the existing decks in a messy and ineffective way, I brought the new inner skin layer up and over the adjacent top deck (which I’d prepared expressly for this purpose) to help reintegrate the whole structure again. I didn’t worry about the short void in the old inner skin and just spanned it with the new material, which drooped slightly into the old void. I’d bring this up level once the first layer cured and I could build on top of it.


I went around the boat again with fairing compound, applying a second coat to the main deck areas as needed, and the initial coat to the cockpit patches.


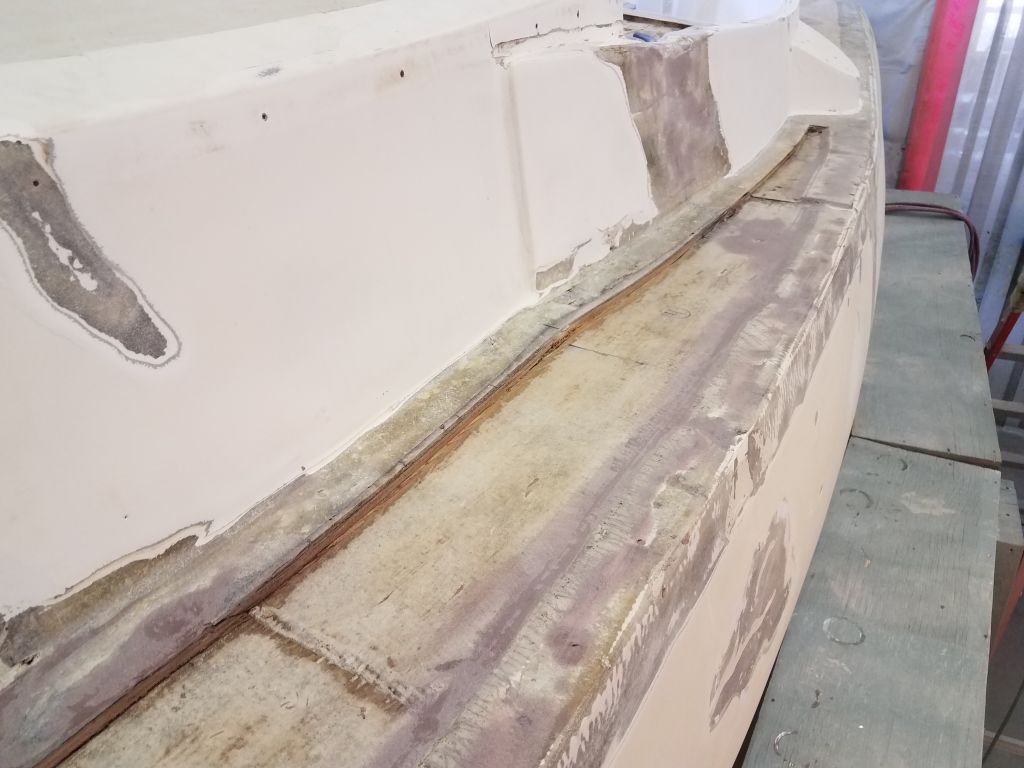
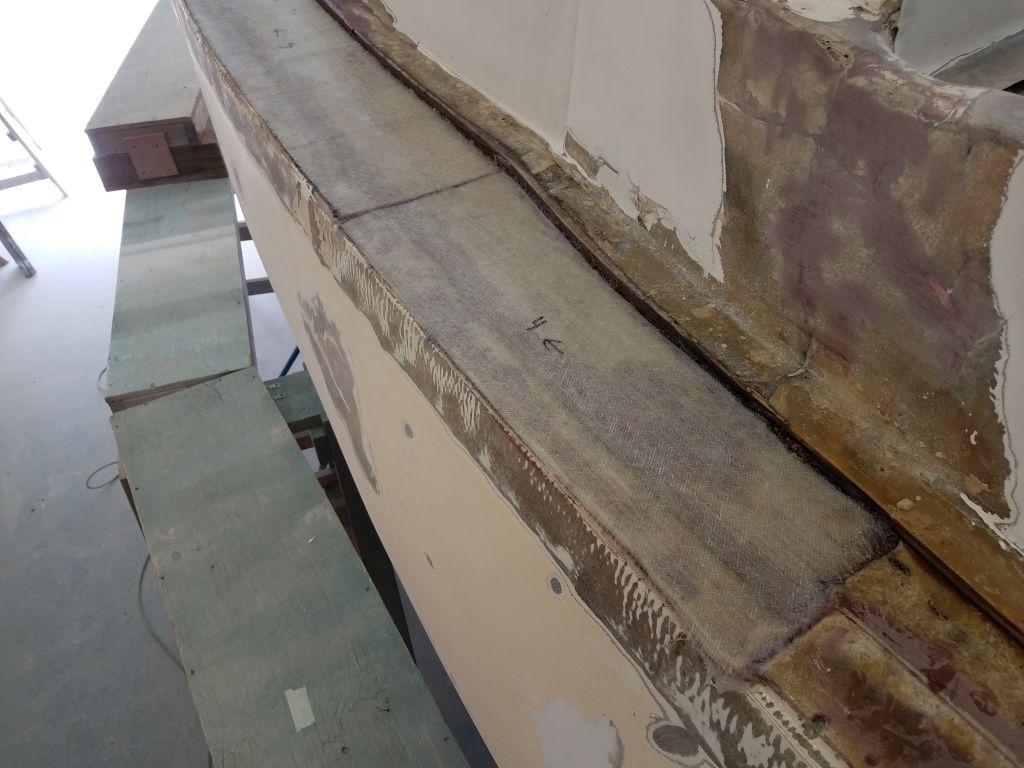
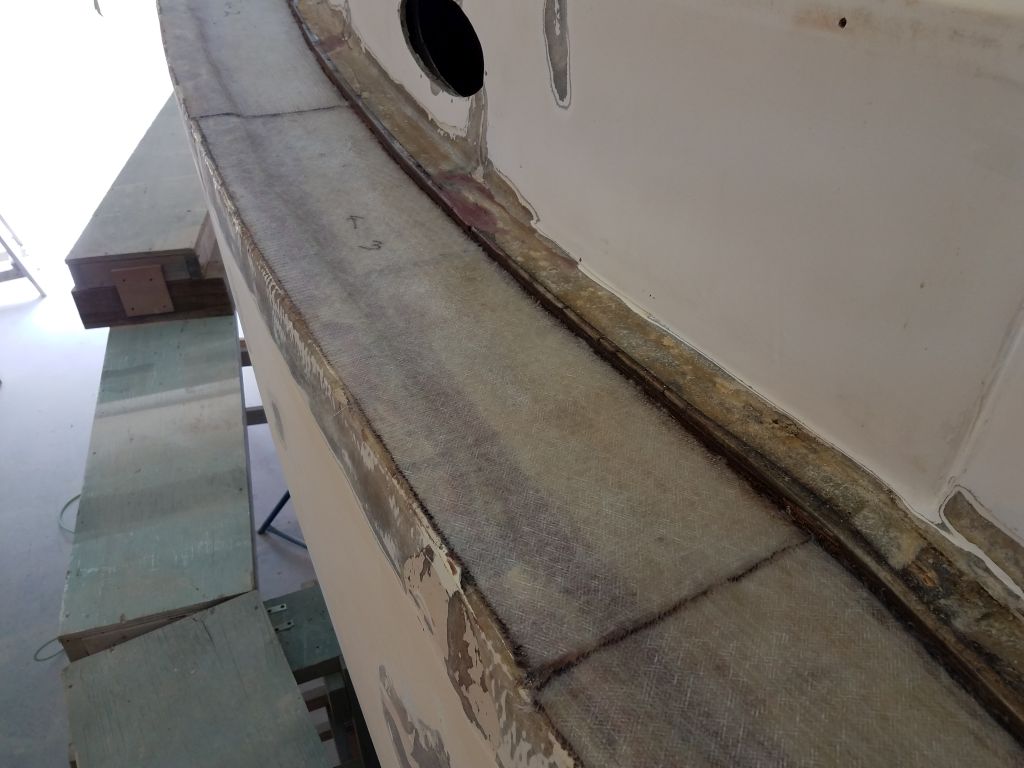
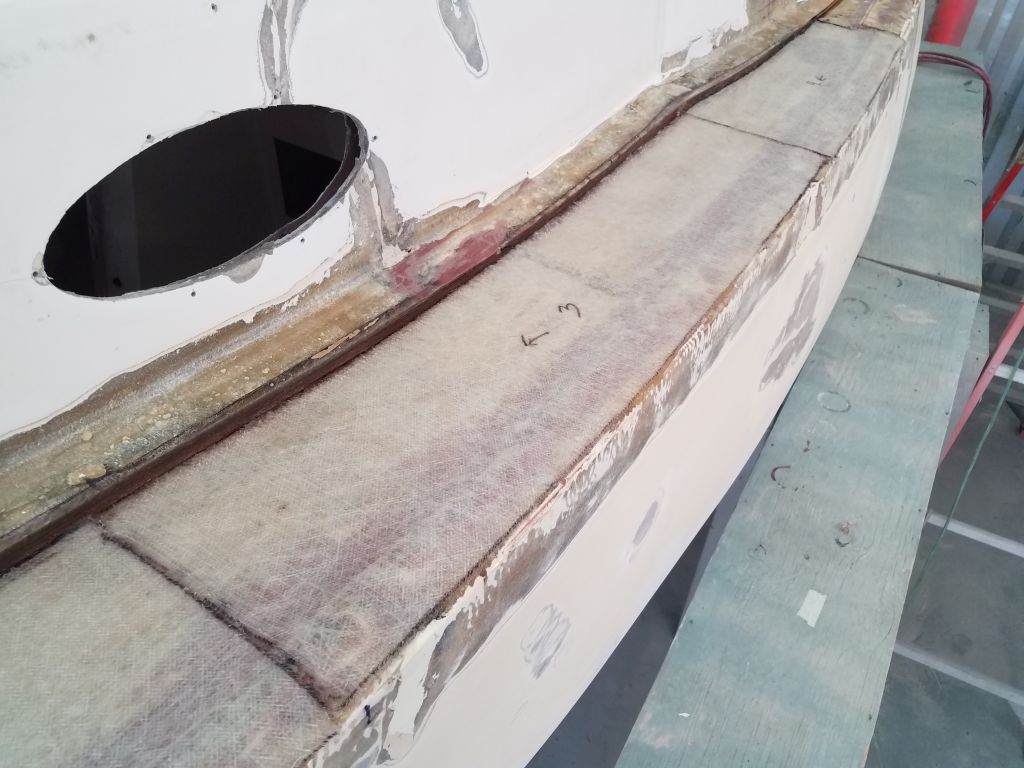
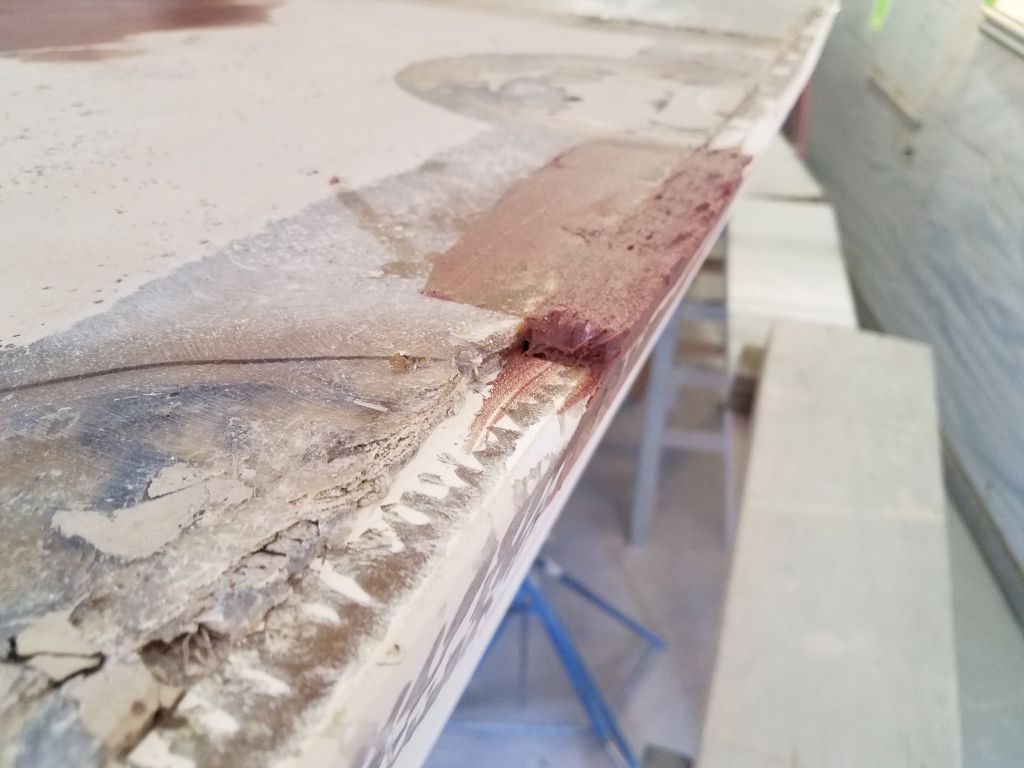
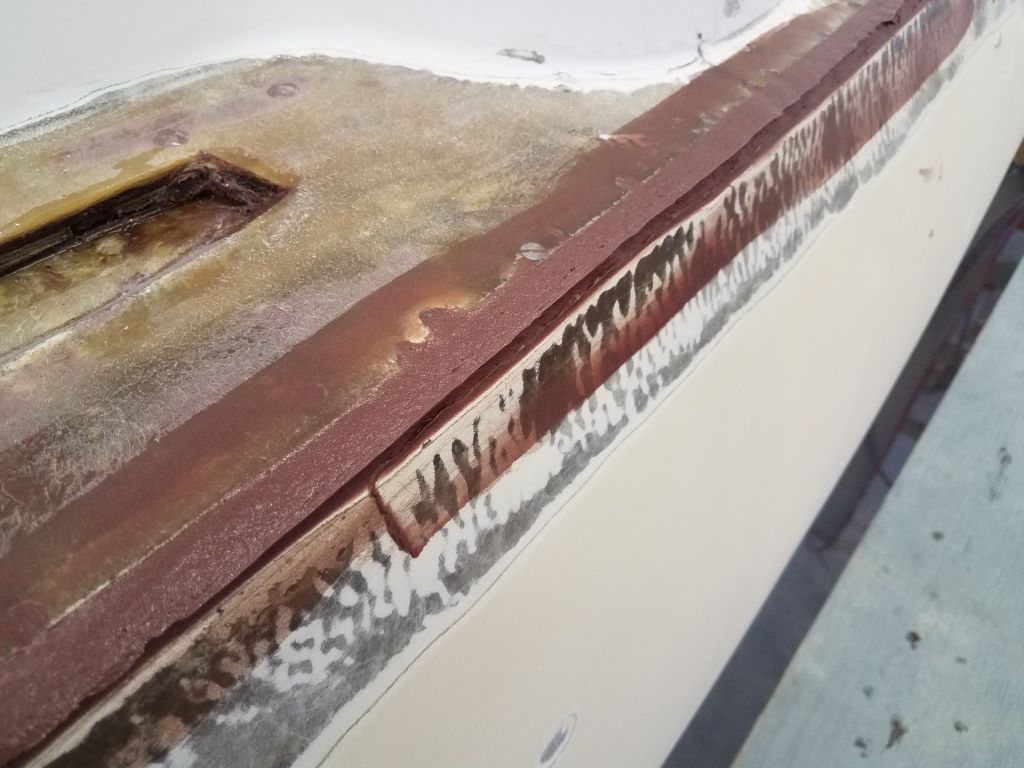
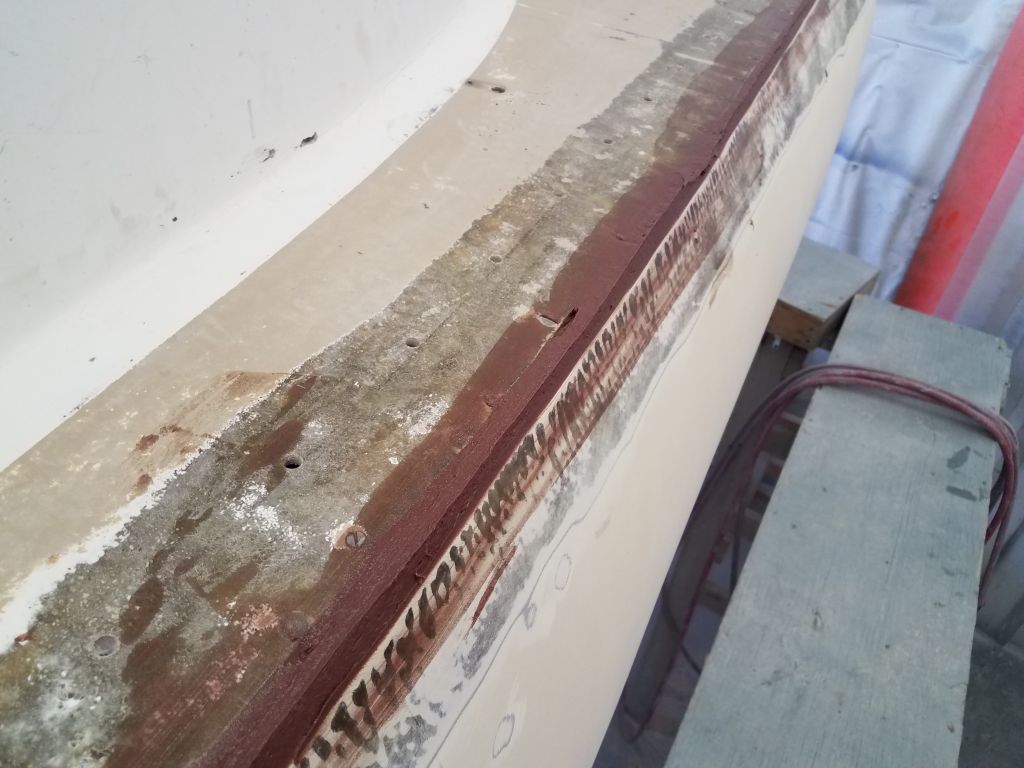
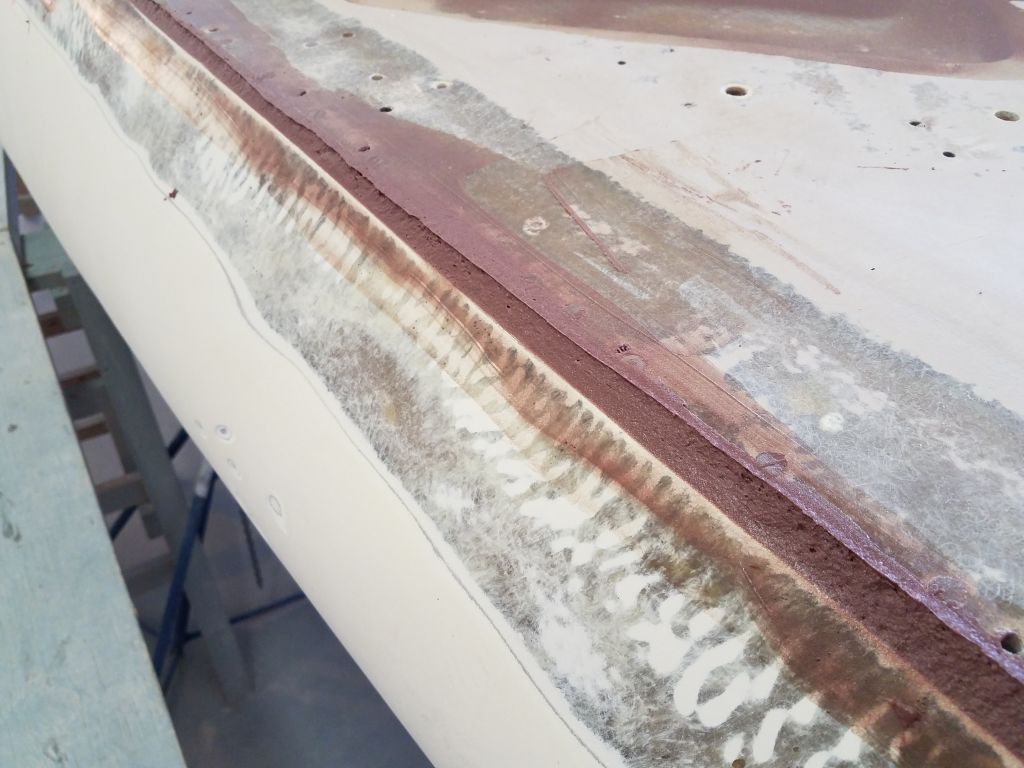
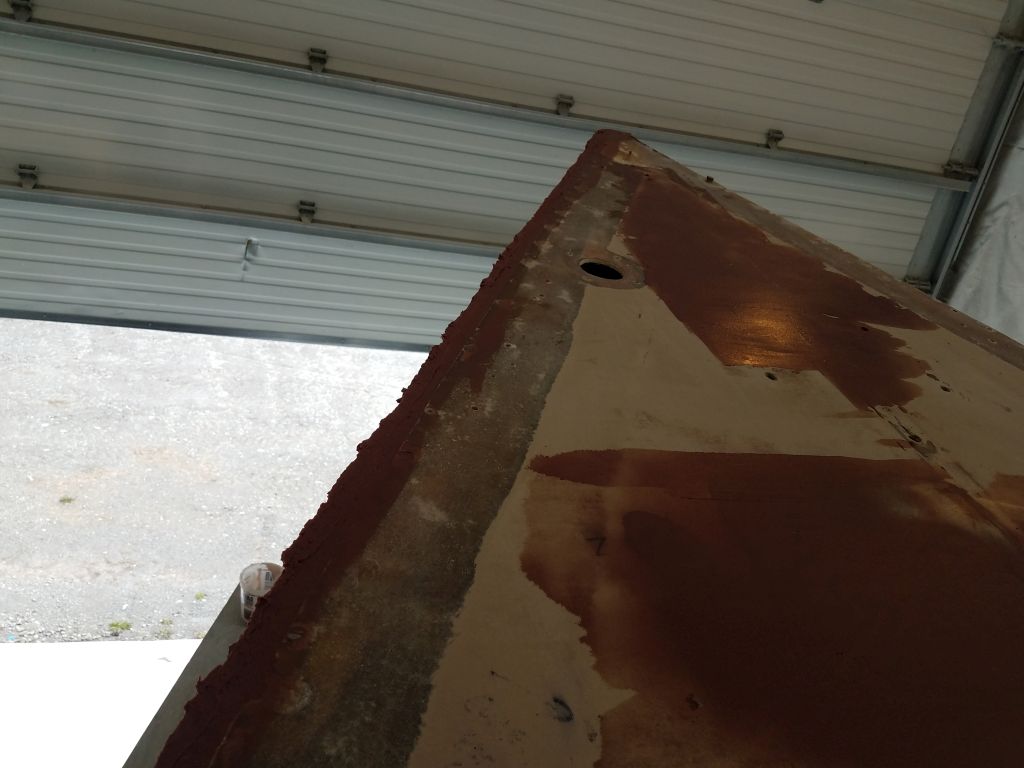
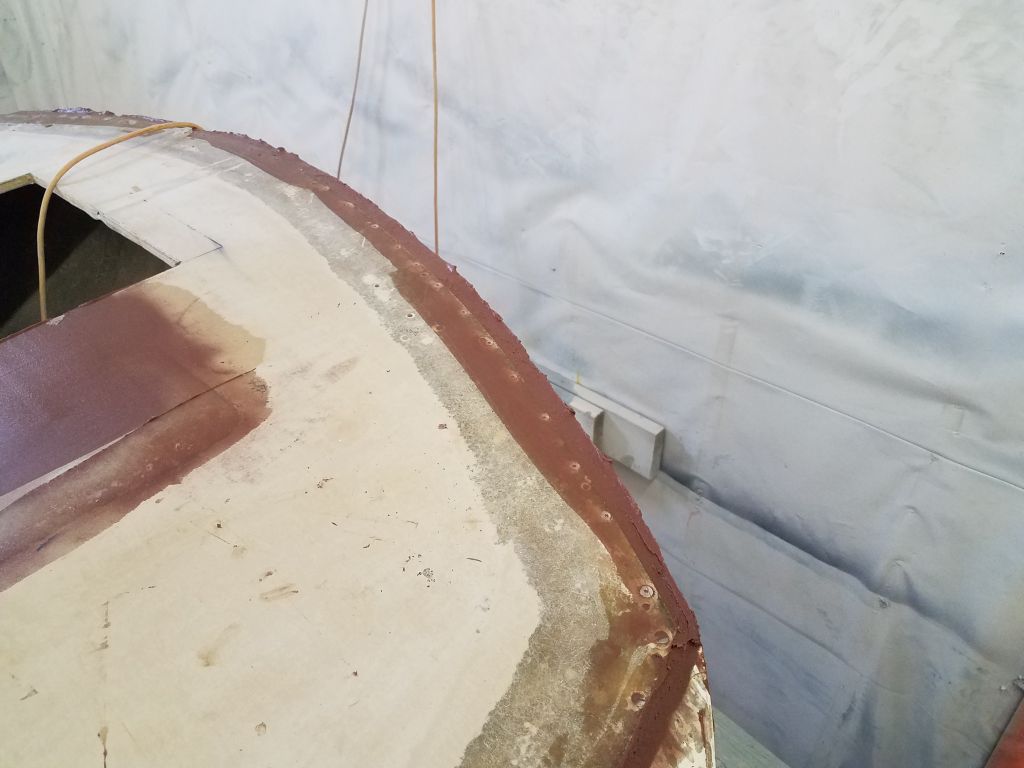
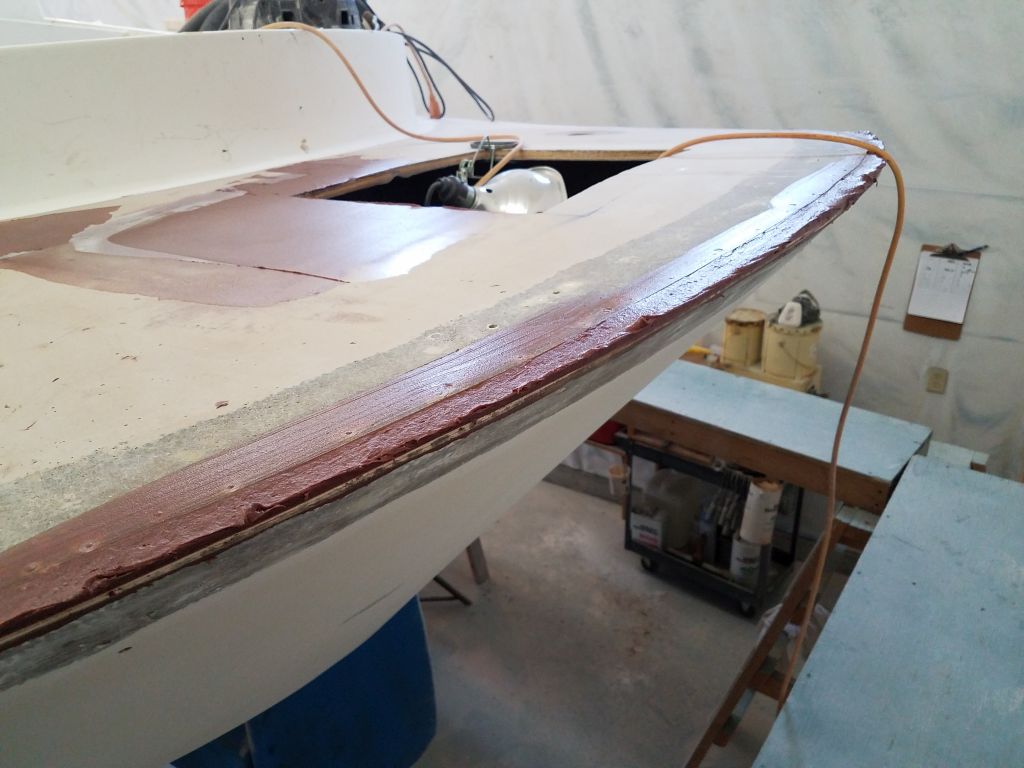
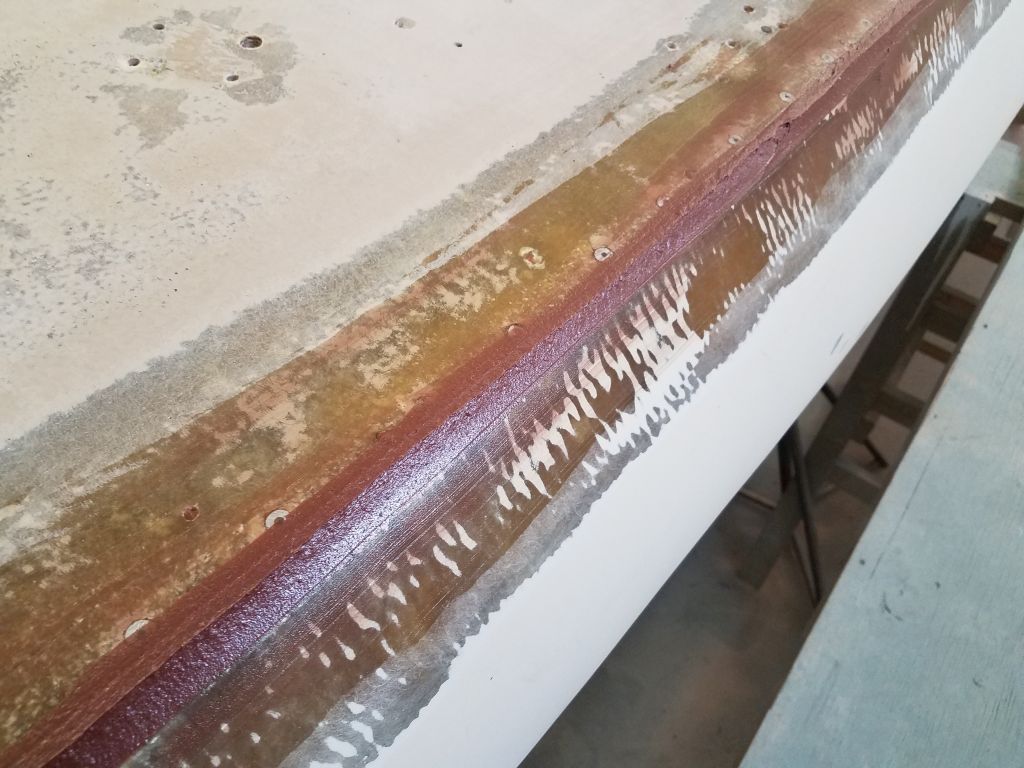
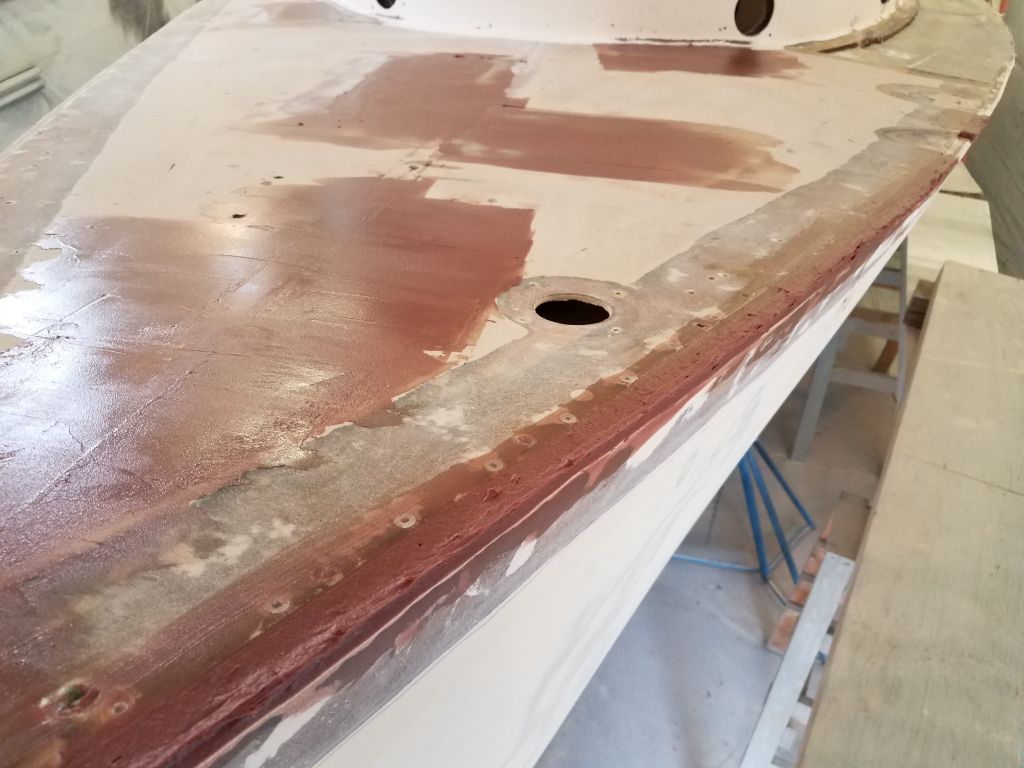
It was a good time to start filling the stepped edge between the gunwale and the edge of the deck molding. In order to achieve the final profile I wanted for the new hull-deck edge, as well as to provide a smooth corner for the fiberglass, I needed to fill the 1/4″ or so high space with epoxy. With a very thick mix of epoxy compound, I worked my way down the port side and across the transom to the starboard quarter, filling this flat area and using a trowel to rough it in to approximate the shape of the hull and deck, bringing the shape as close as I could for the initial application. I’d hoped to finish up the starboard side as well, but with a pending appointment arrival I didn’t want to get caught in the middle of an epoxy pot, so I stopped a little early.


Total time billed on this job today: 7 hours
0600 Weather Observation: 32°, cloudy. Forecast for the day: Mostly cloudy, around 50°