


February 14, 2020
Scupper 242
Friday
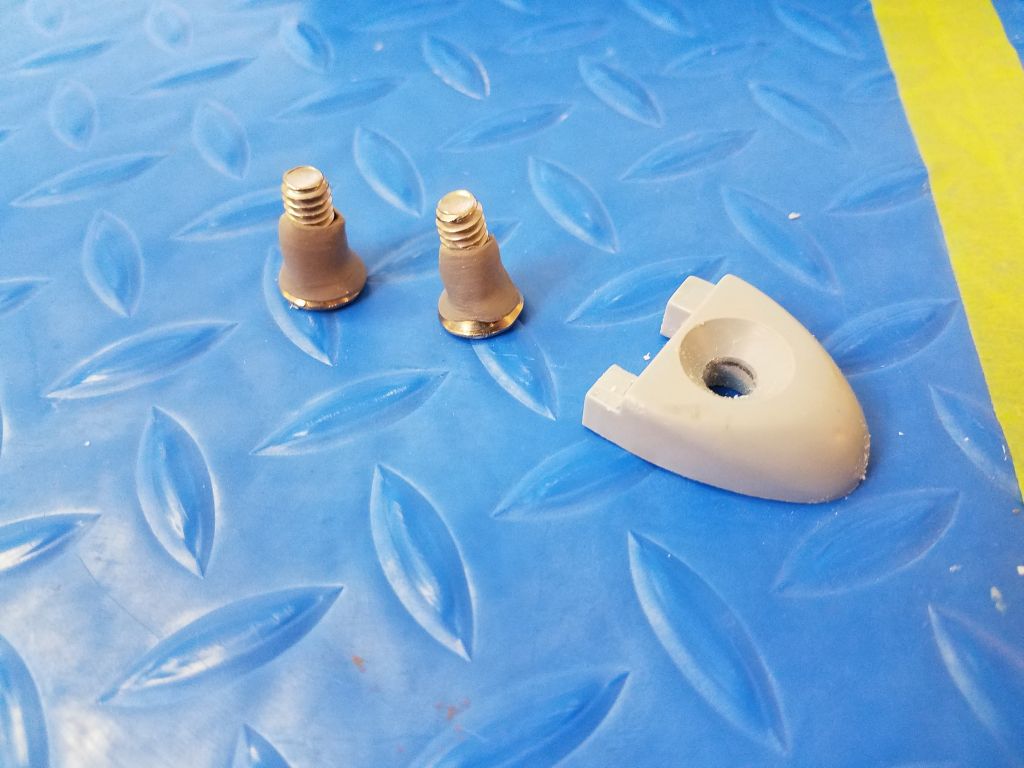
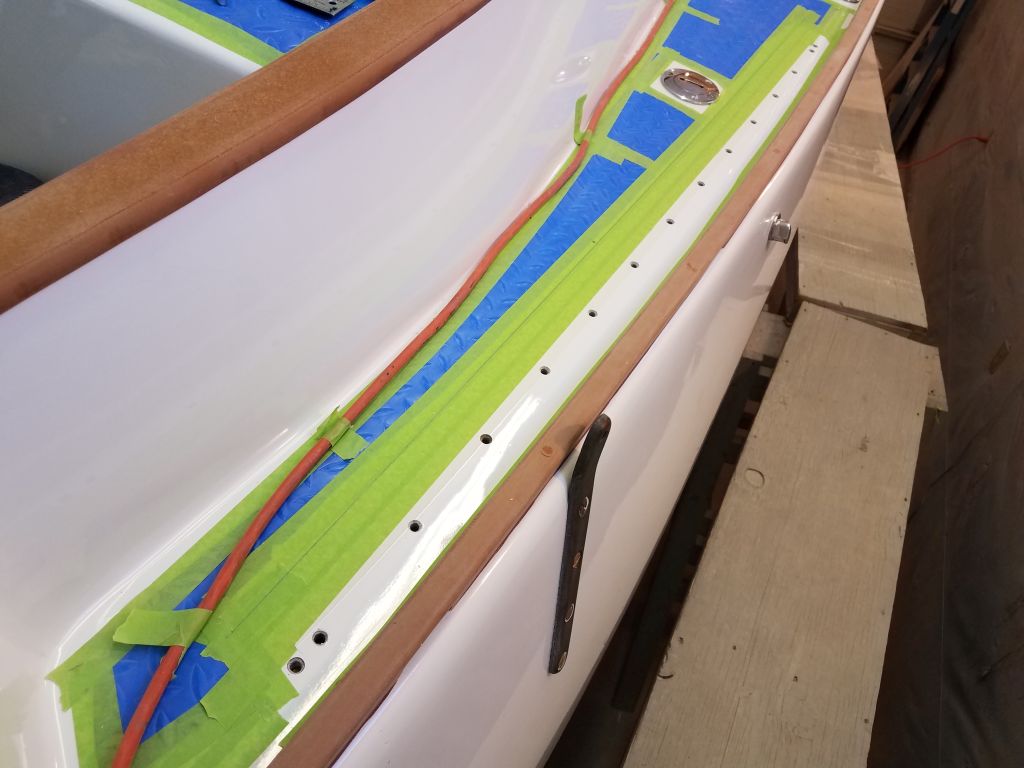
To begin the day, I installed the little end stops for the staysail tracks. At each location, I drilled and tapped the hole for a 1/20 x 3/4″ machine screw (not penetrating the inner skin), then installed the ends with the screws and butyl sealant.

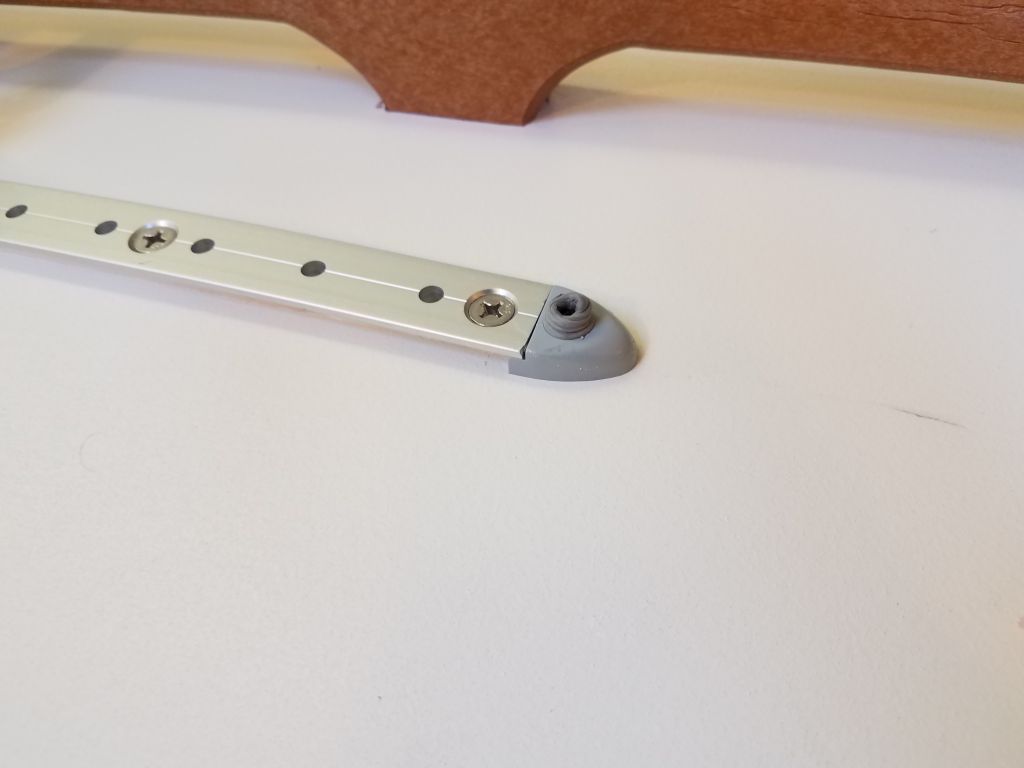
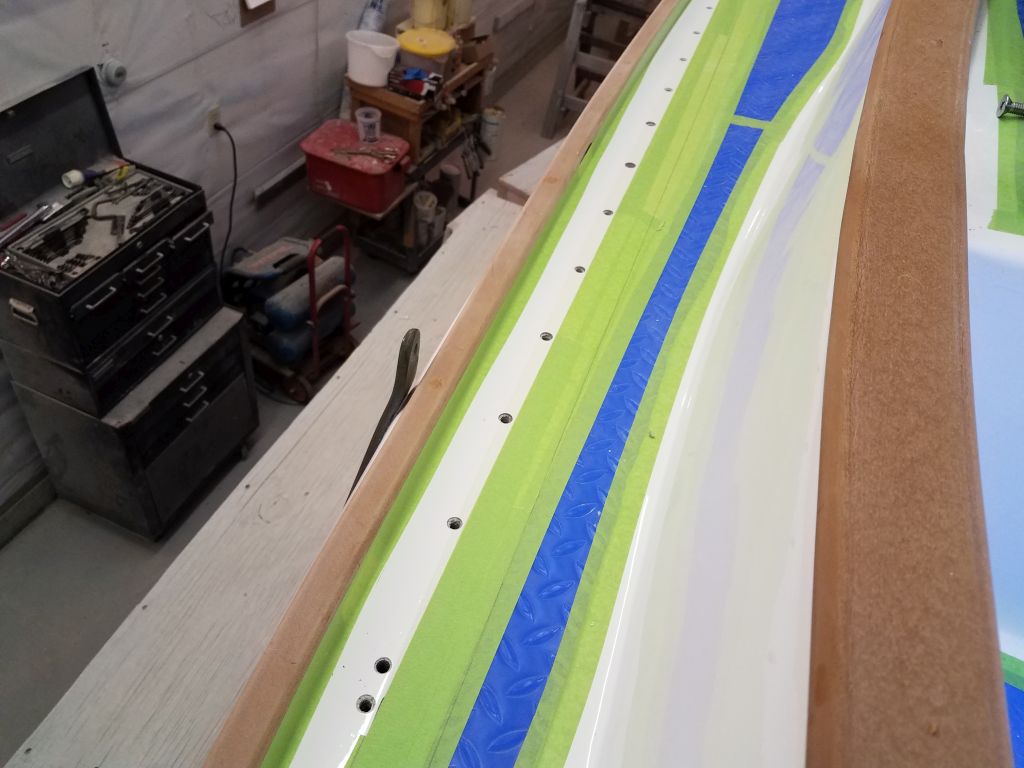
Afterwards, I masked the inside edges of the longer Yankee tracks so the decks would be ready for their installation as soon as my new fasteners arrived. I didn’t mask the outboard edges since these fell over the glossy painted areas of the deck; I mask to protect the nonskid from the sealant and make cleanup easier.
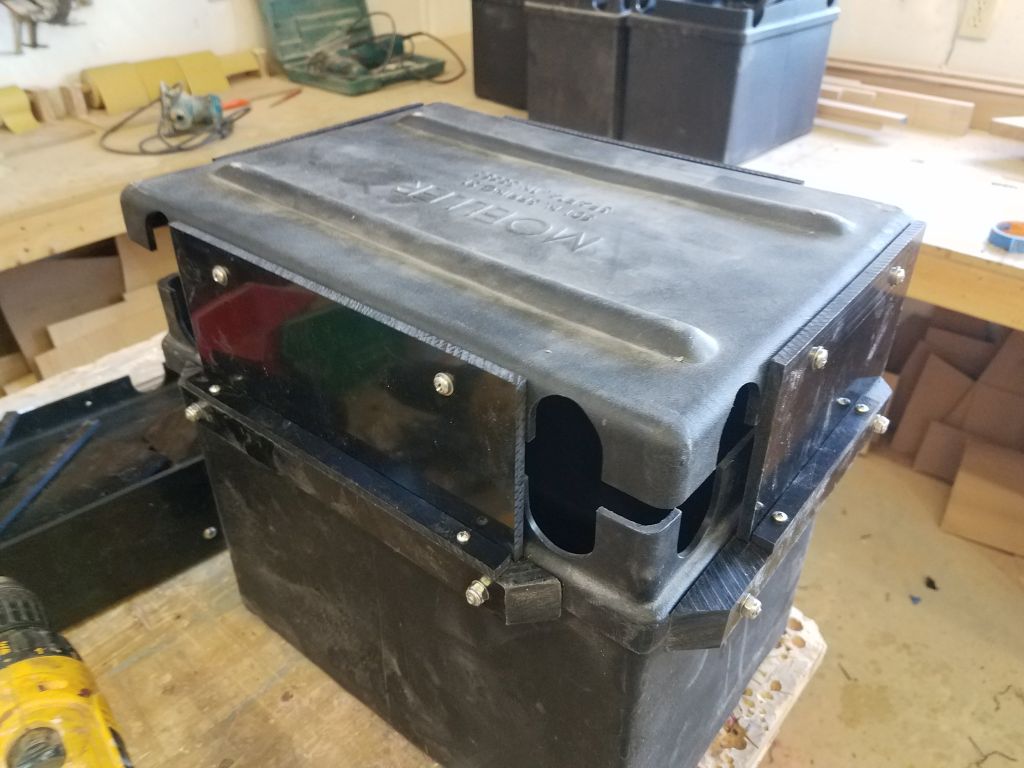
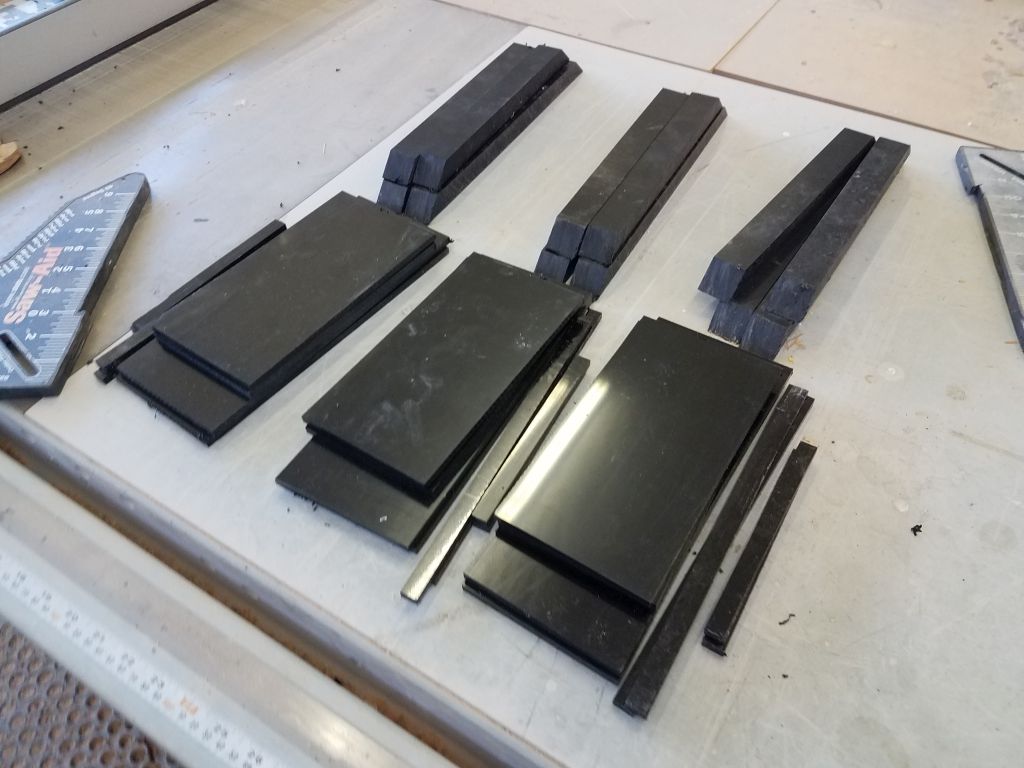
To help hold the modified battery box lids in place, I added some little cleats to prevent the tendency for the tops to spread outward. At this point, I had two of the five boxes complete, and took a few minutes to mass produce all the extension pieces and cleats required for the remaining three, which I’d assemble later.
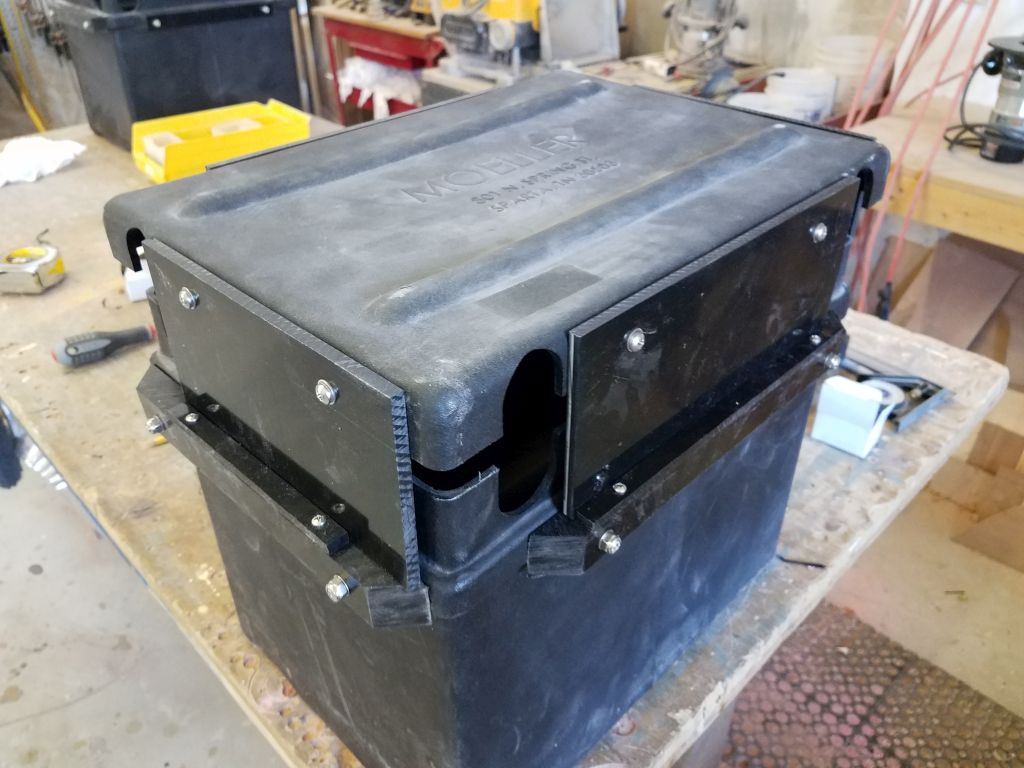
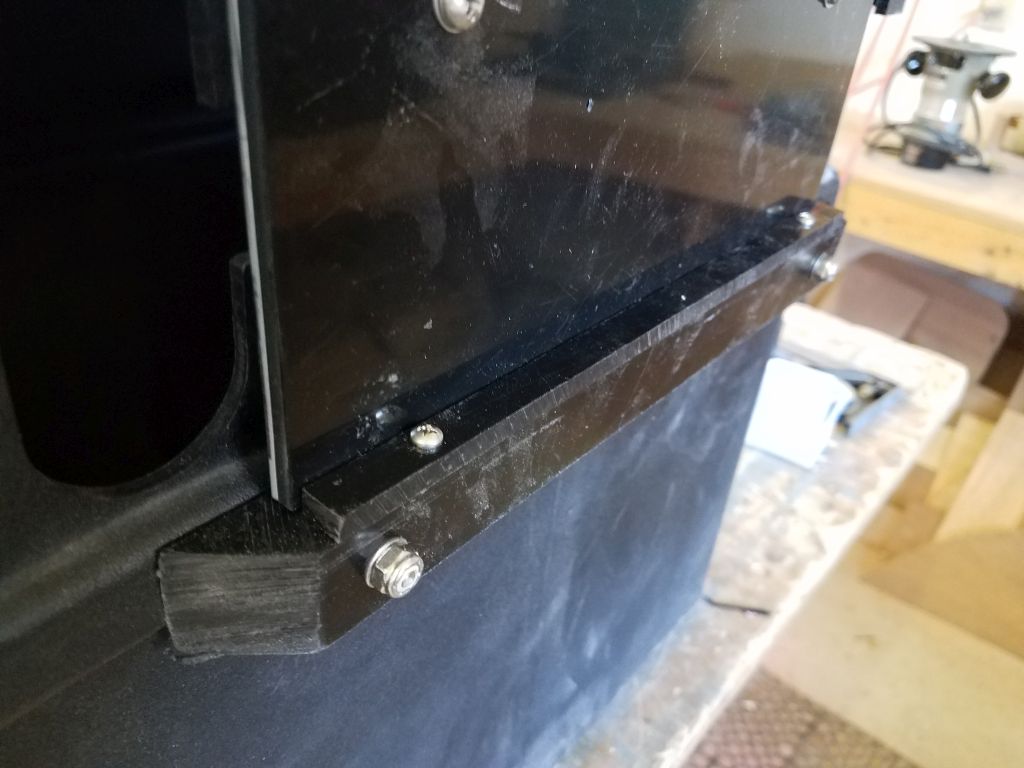
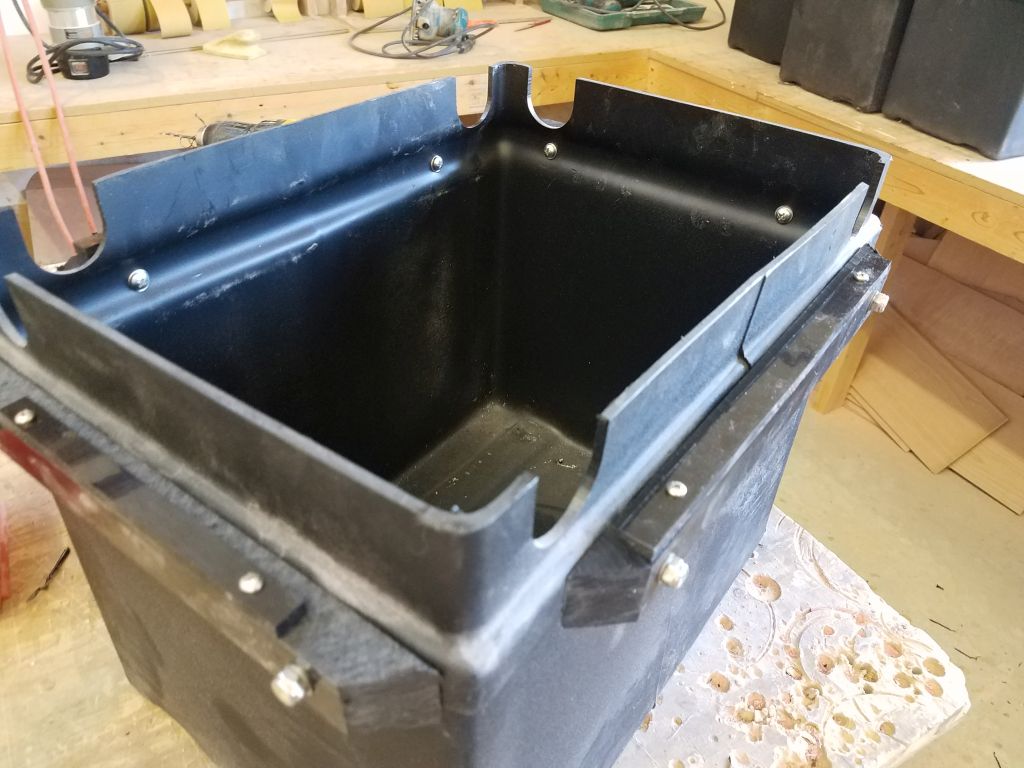
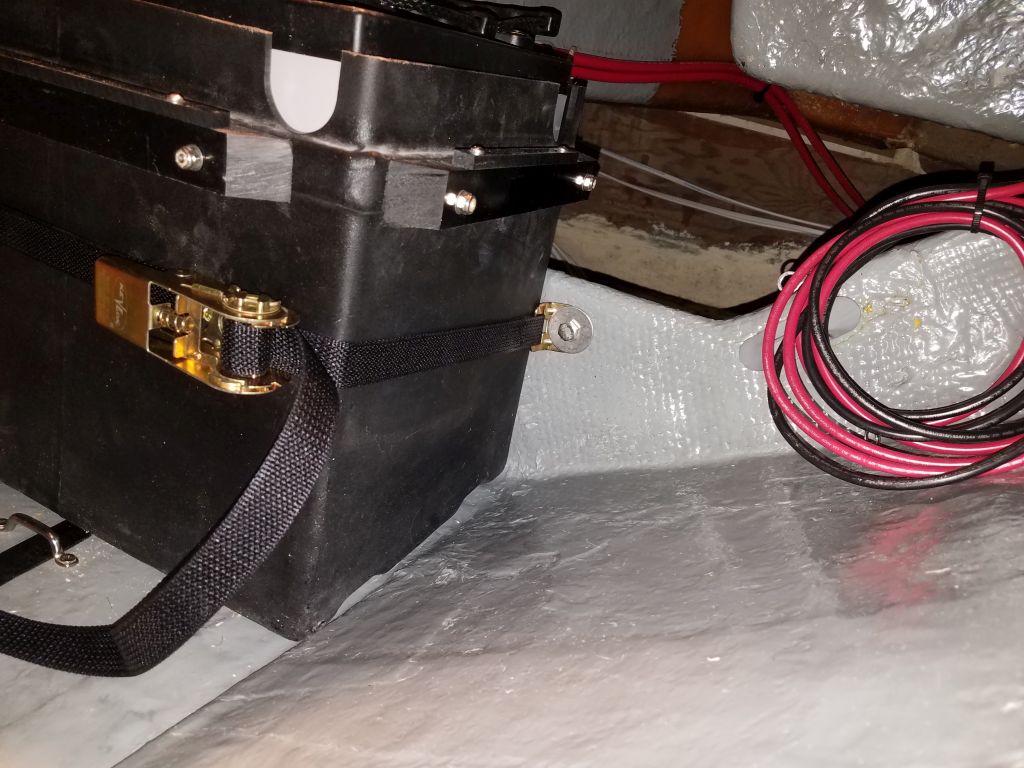
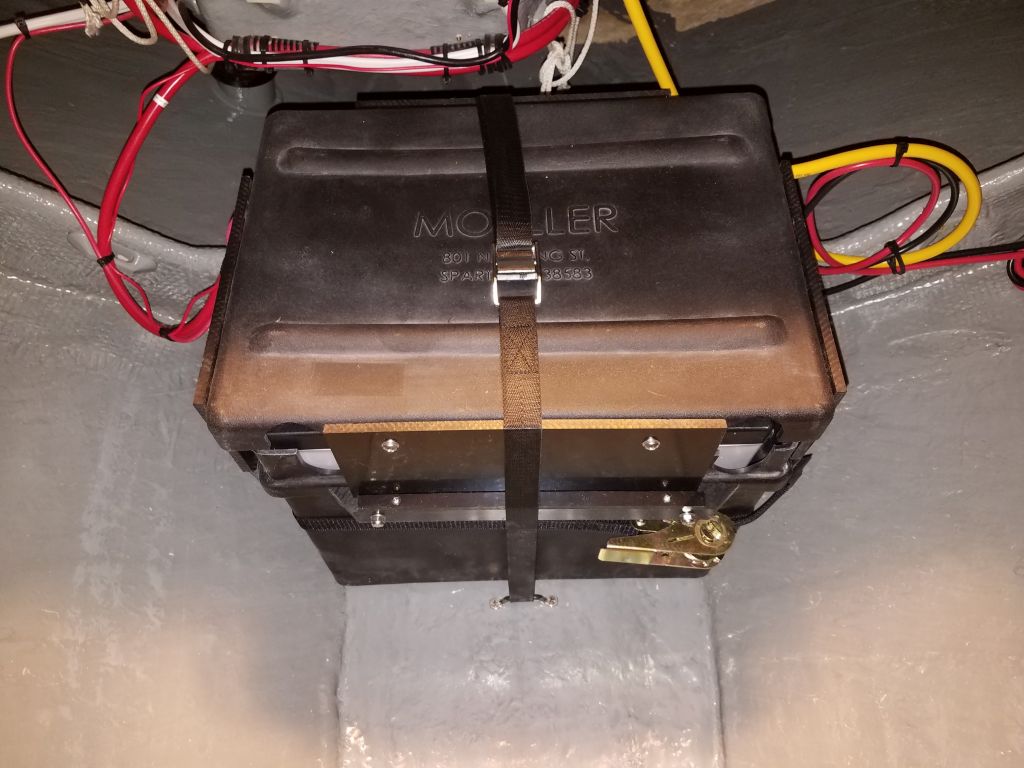
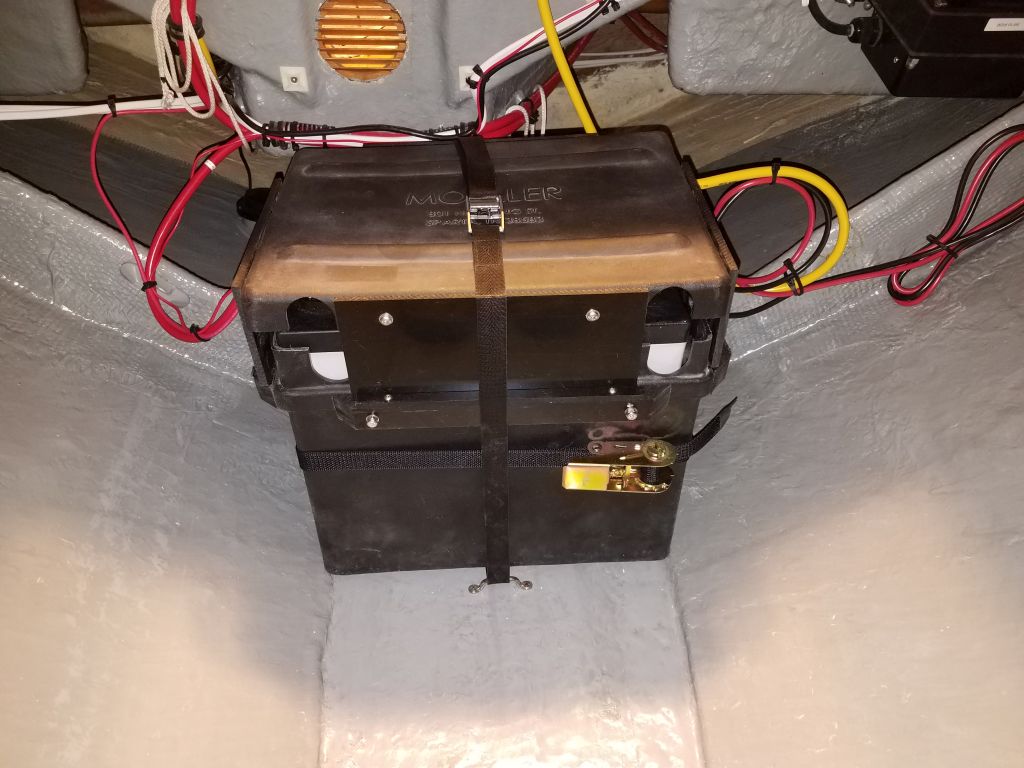
Now it was time to install and secure the house battery bank in one of the new boxes. To secure the batteries, I installed a simple hold-down strap, which would encircle the box and hold the top in place, and a more beefy arrangement using a bolted-on ratchet strap to secure the box against any other movement, For the house bank, the nearby structural member provided a sturdy attachment point for the strap.
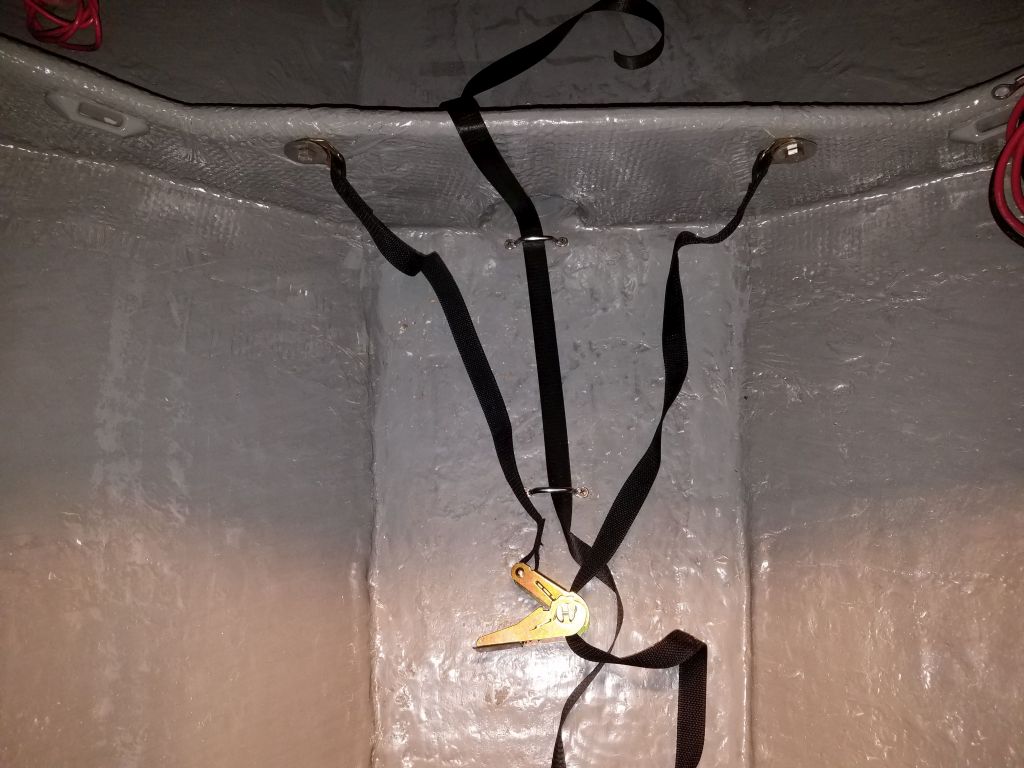
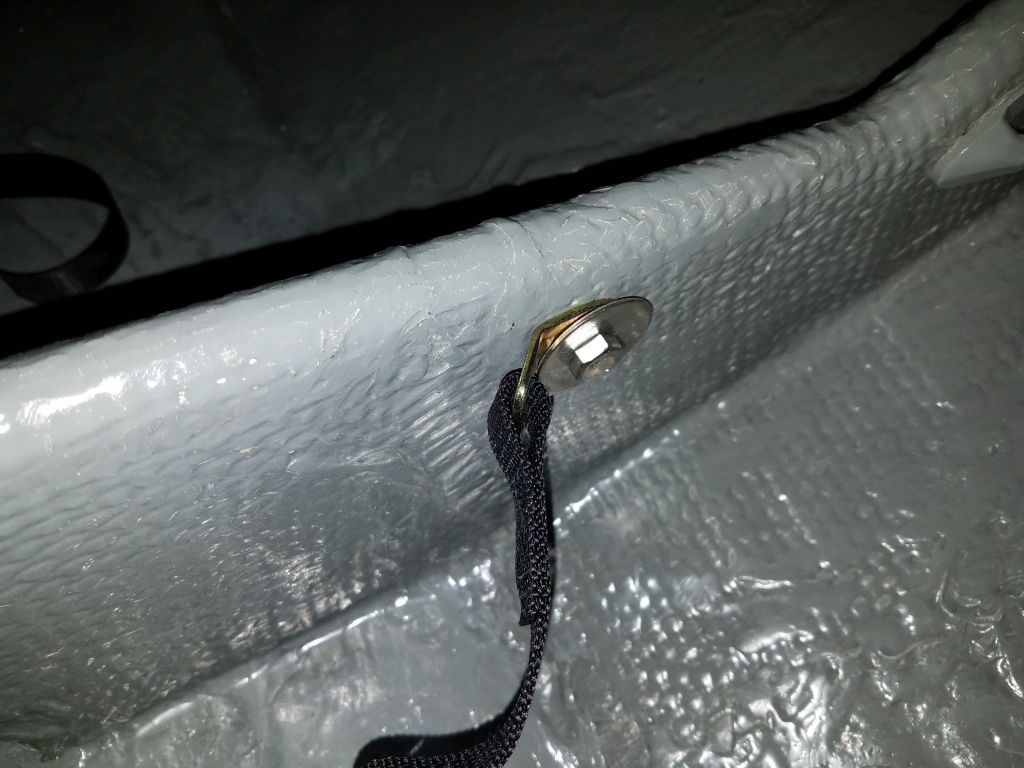
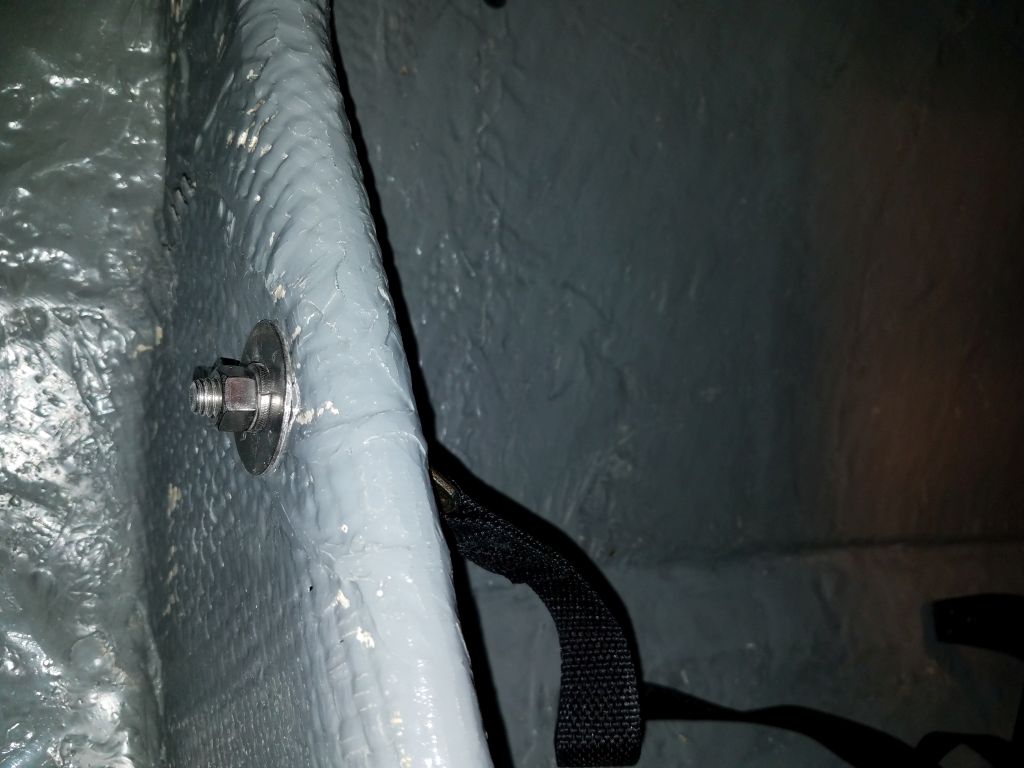
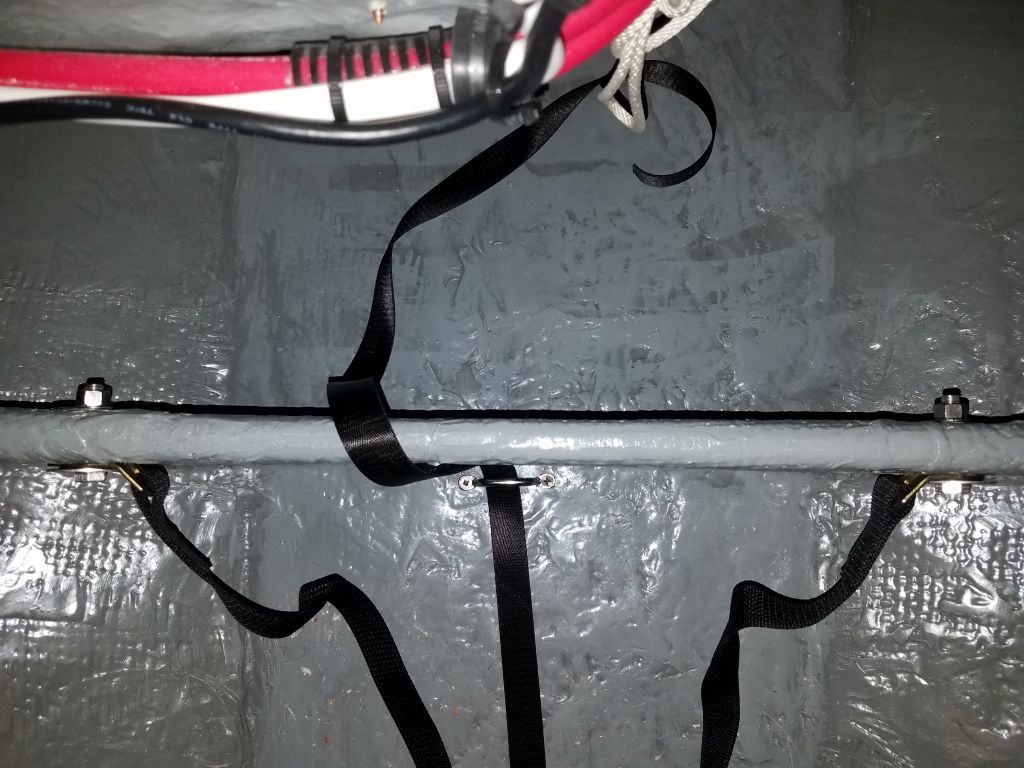
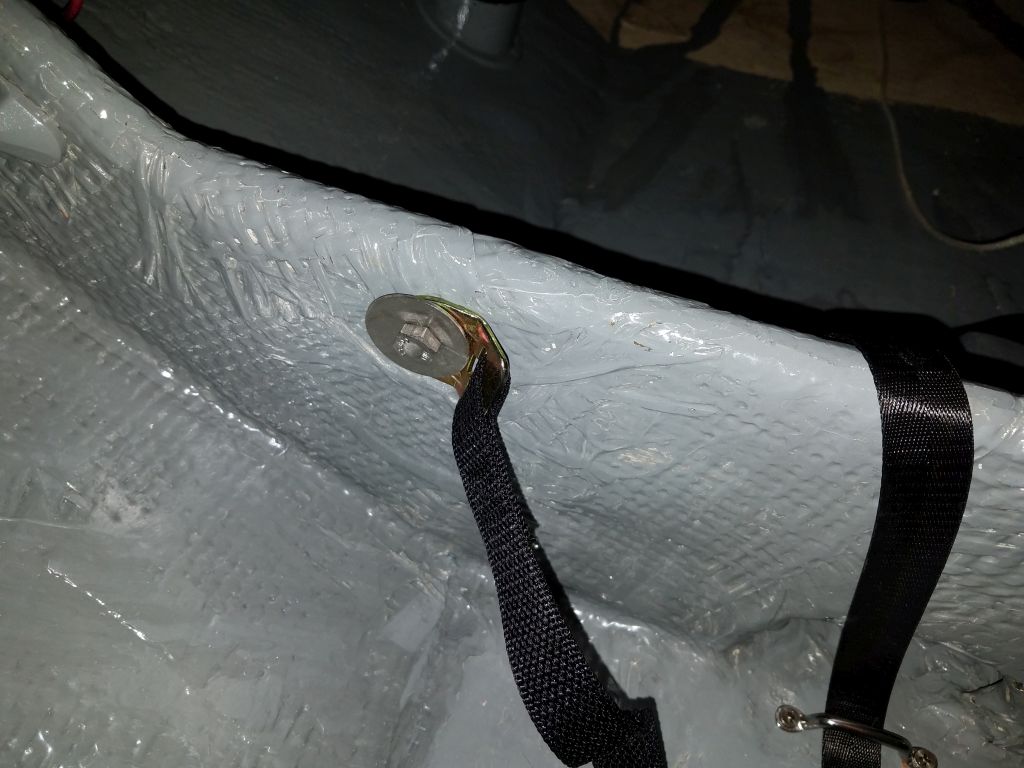
I put the box in place, then installed the first pair of the 300 amp-hour 6-volt AGM batteries, then secured the ratchet strap tightly. To hold the batteries down, I thought I might add either some firm foam blocking beneath the lid (to make up the small space between the actual tops of the batteries and the lid), or an additional strap directly over the batteries before installing the lid, but I’d assess that and plan ahead before installing the engine battery bank later.
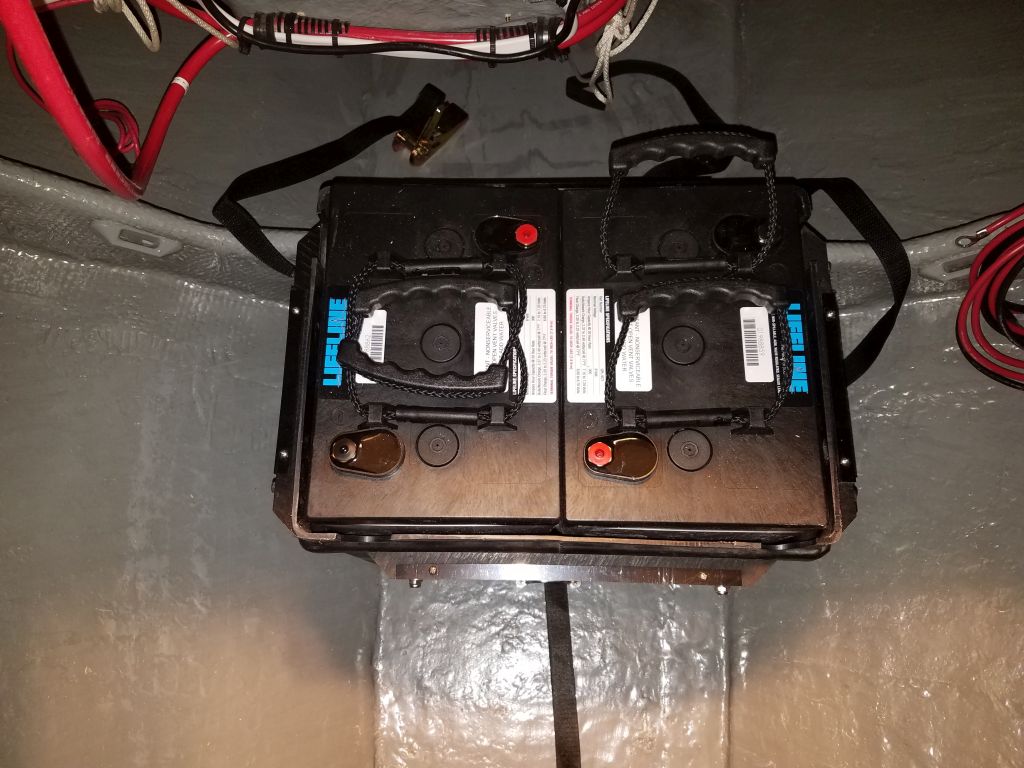


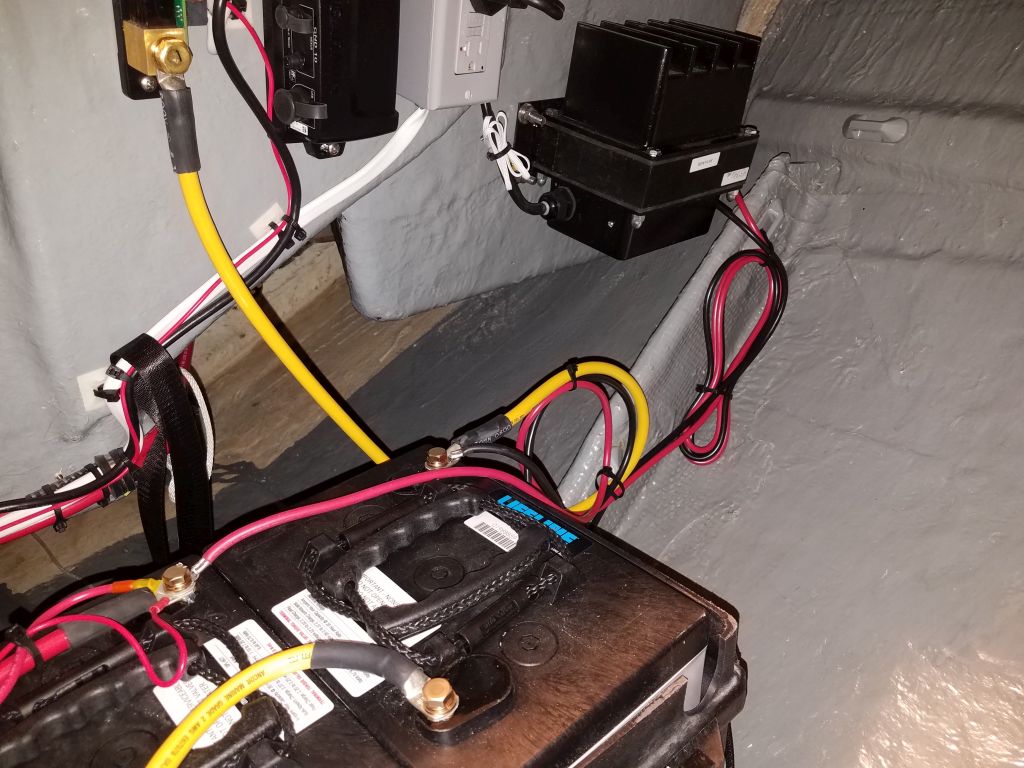
For now, I could move on with the final wiring to hook up the house bank and its charger. This was relatively straightforward, but I had to cut the pre-installed positive cable to length and terminate it; cut and install the negative cable leading to the inlet side of the shunt (for the battery monitor); install a small positive wire from the shunt to the battery; install the “always hot” lead to the battery; install the positive and negative cables from the charger (pre-installed to the charger and ready for connection); and, finally, install the jumper to connect the two 6-volt batteries in series, creating the desired 12-volt bank.


However many times I do this, I still find it gratifying to have the new system power up and work as intended.
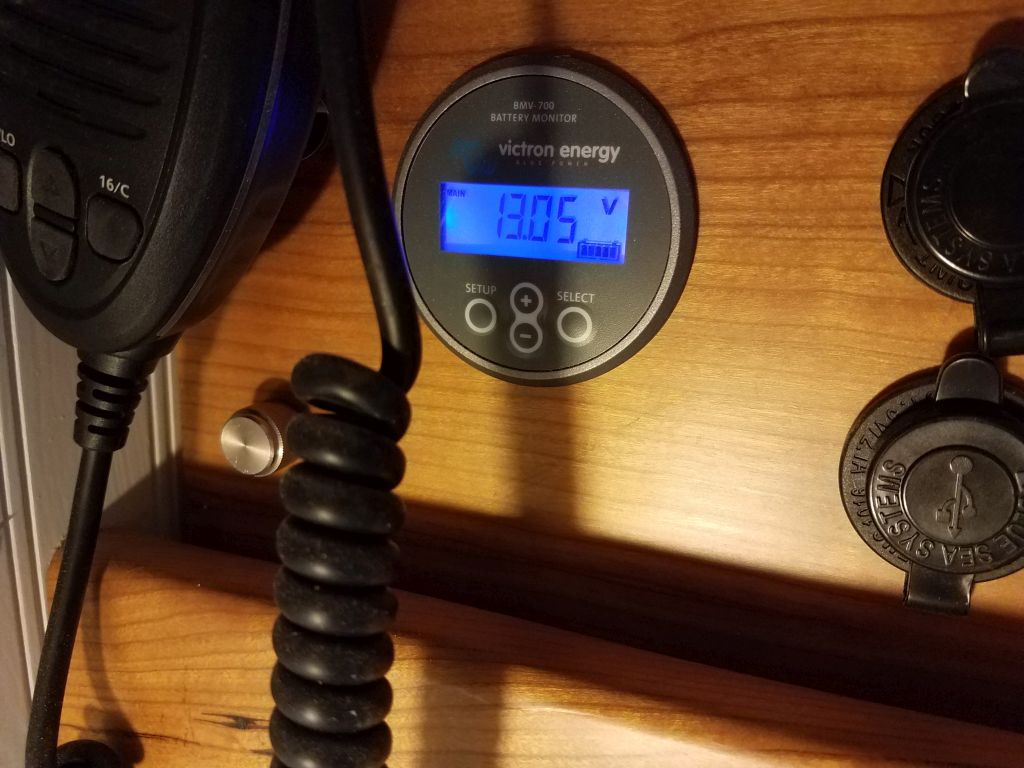
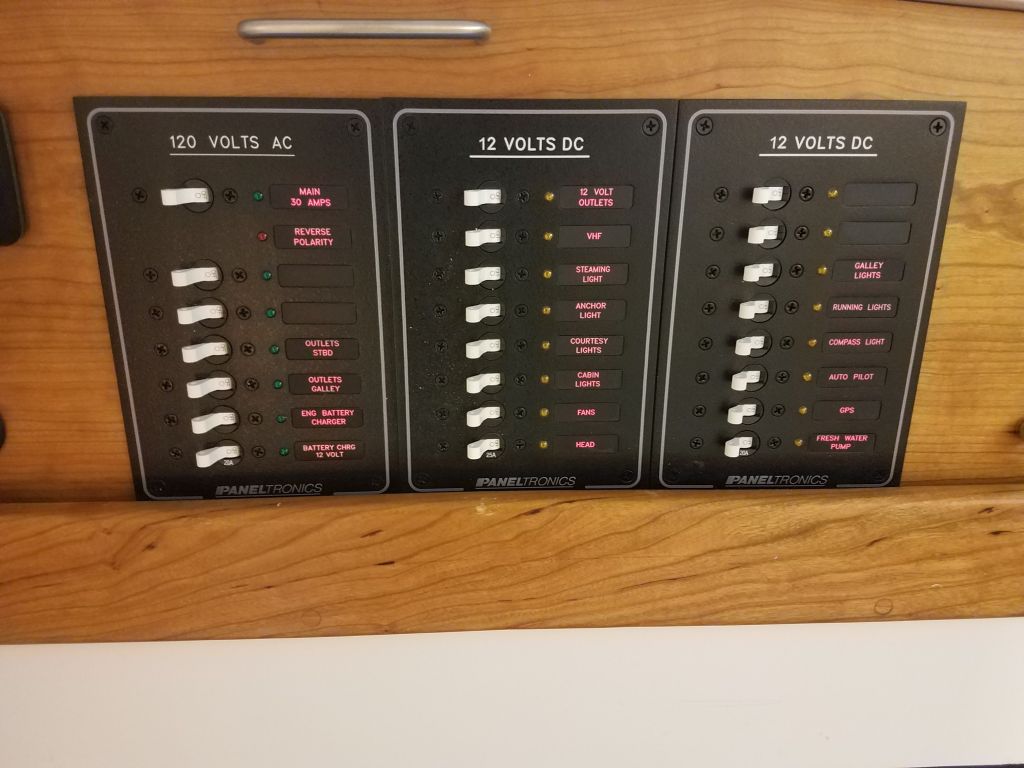
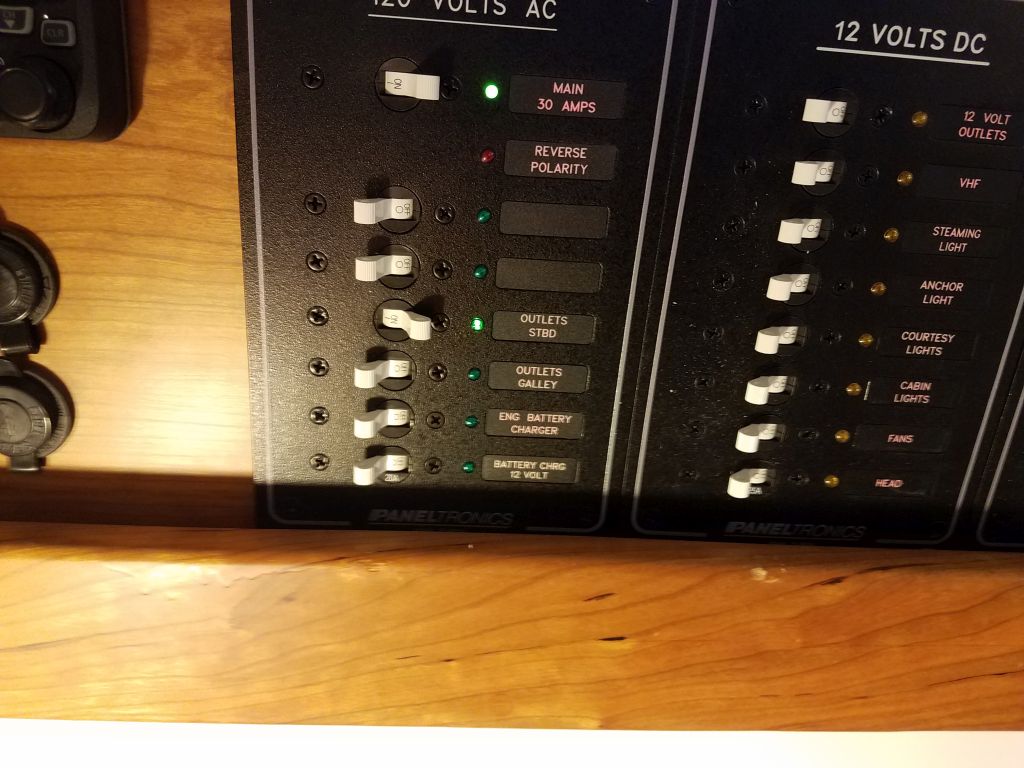
Once I’d confirmed that the basic system was properly connected, I methodically tested all the circuits, lighting, and devices that I could. As needed, I troubleshot minor problems and corrected them.
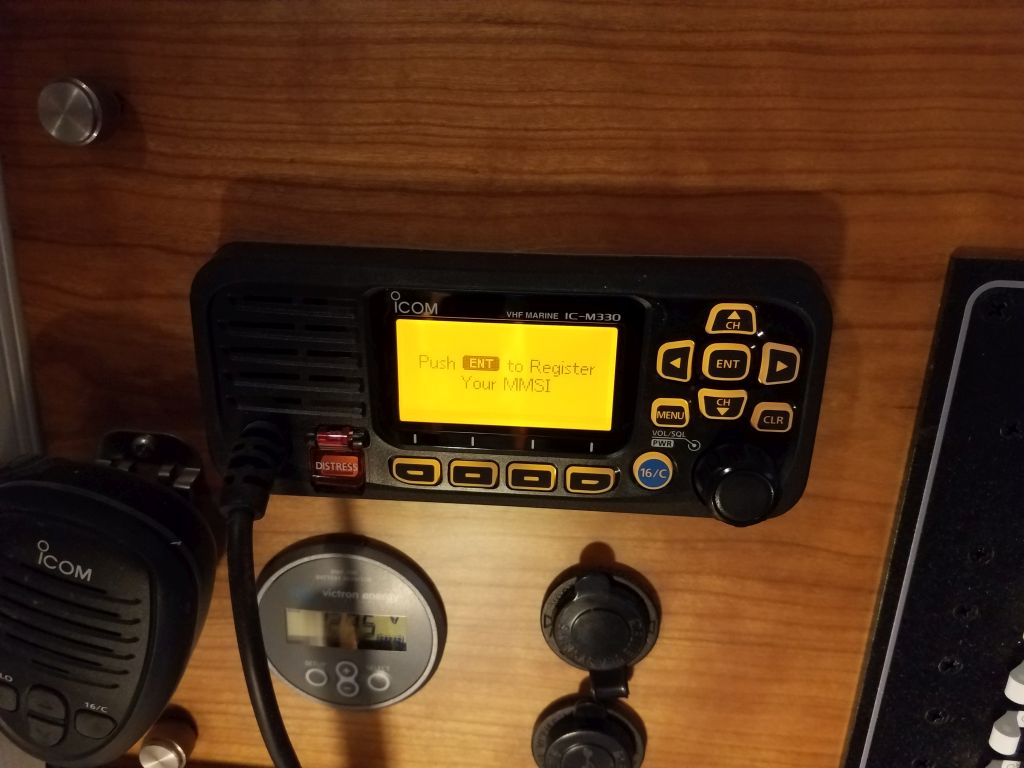
VHF:
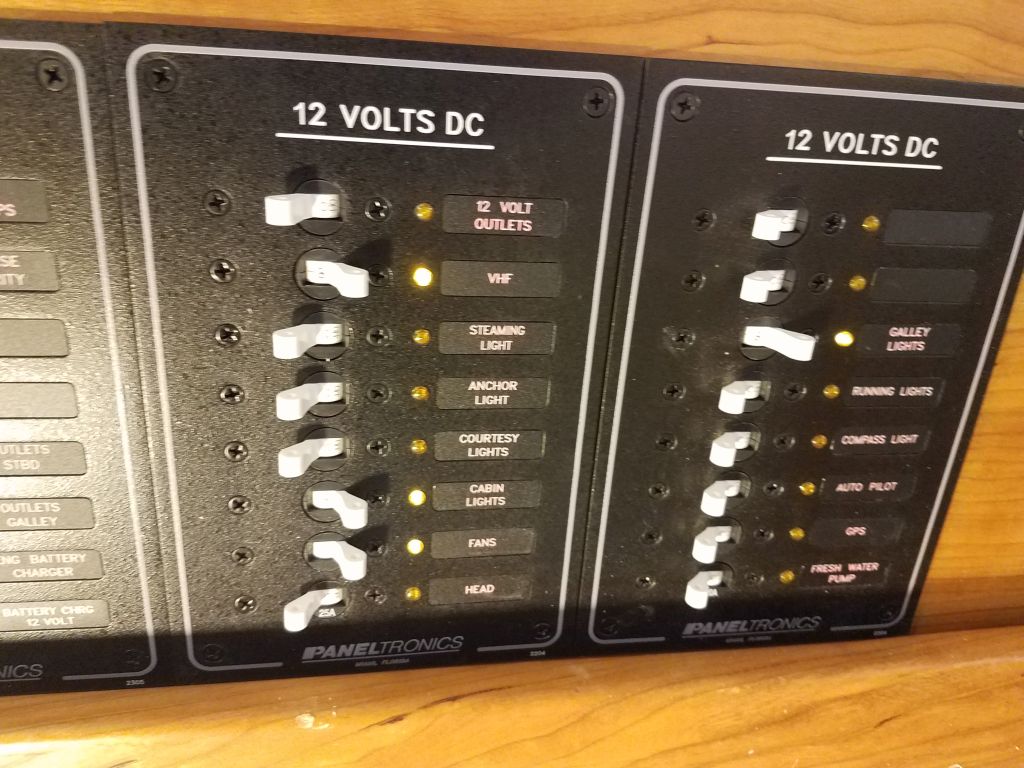
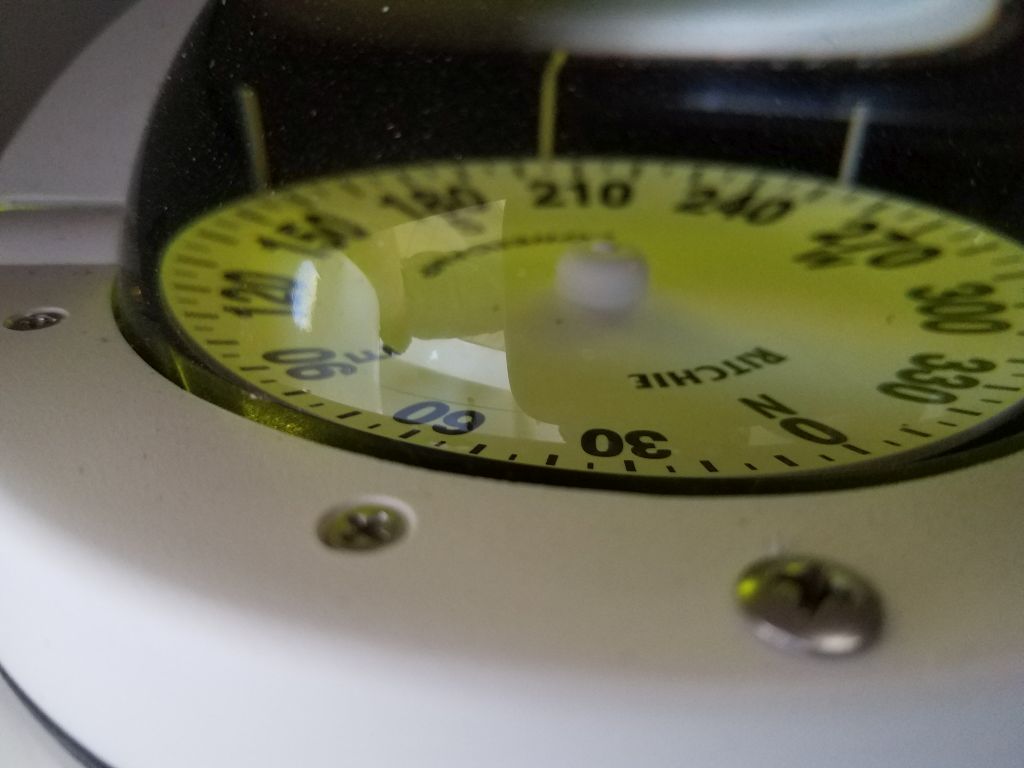
GPS and compass light:

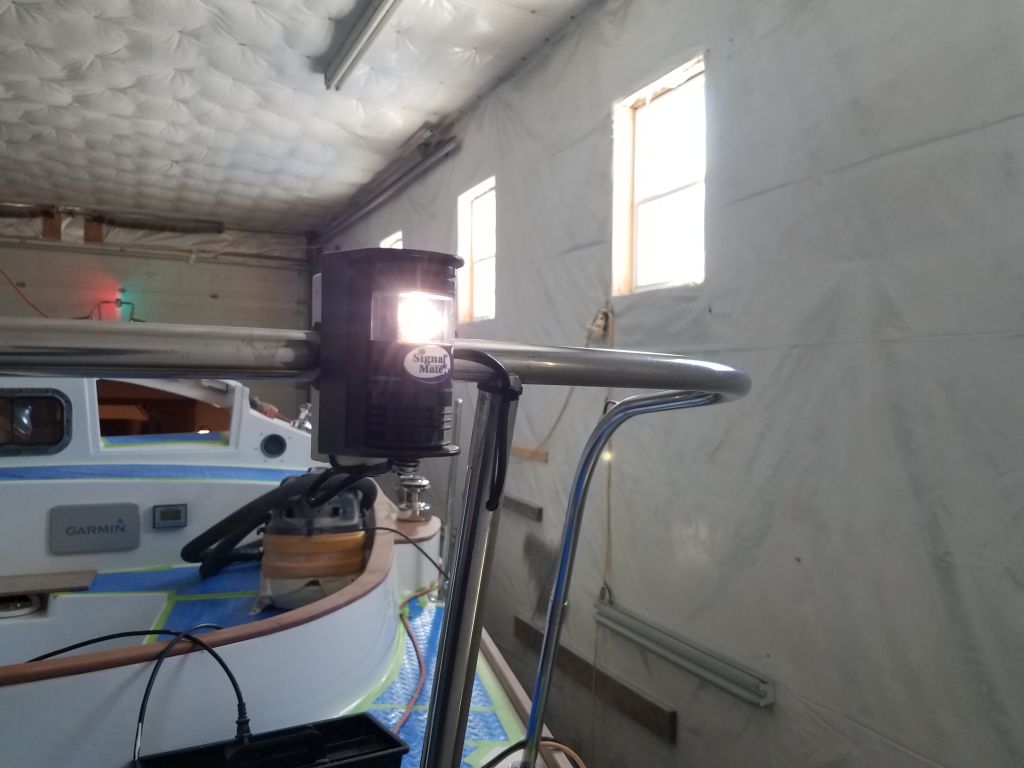
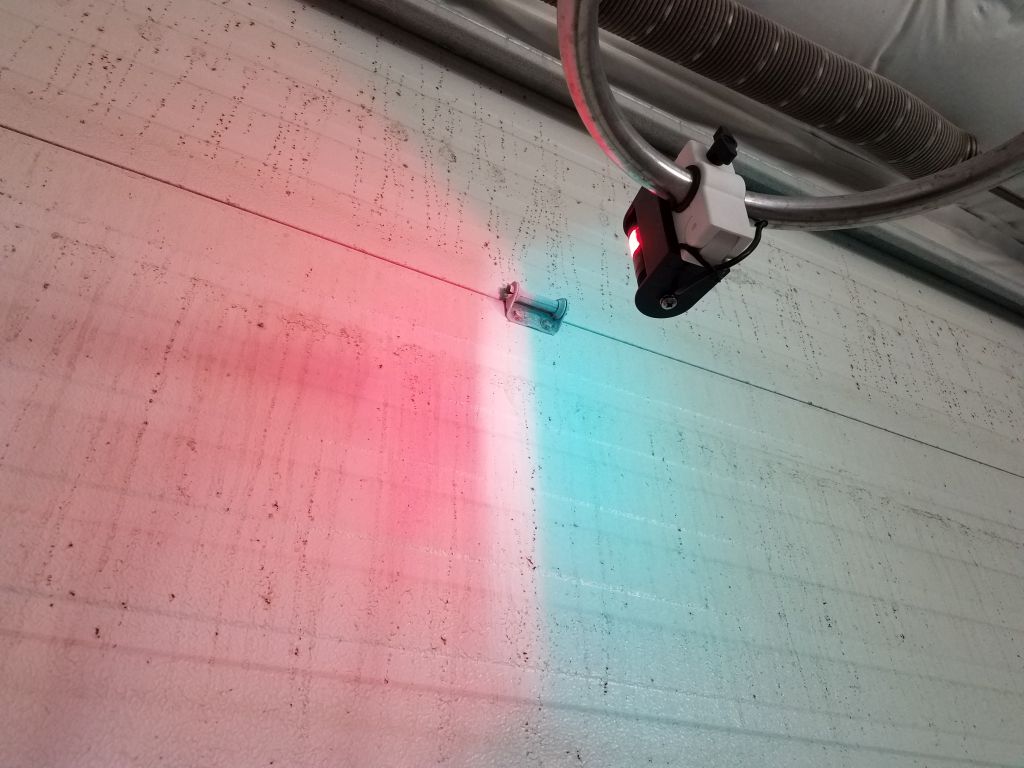
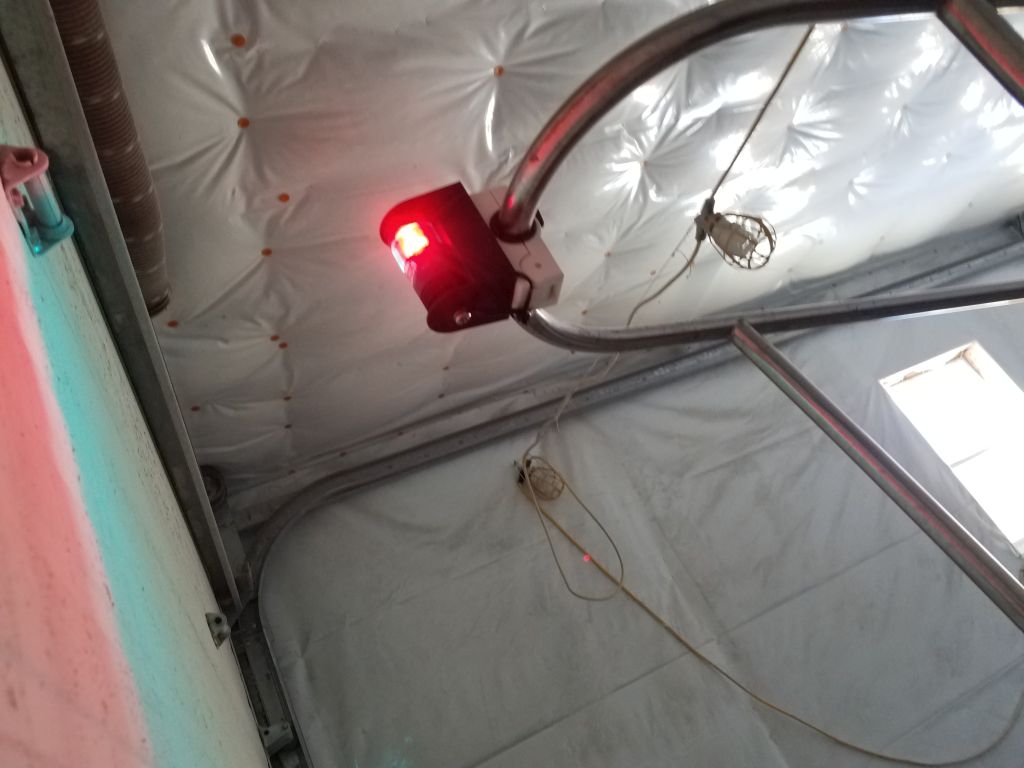
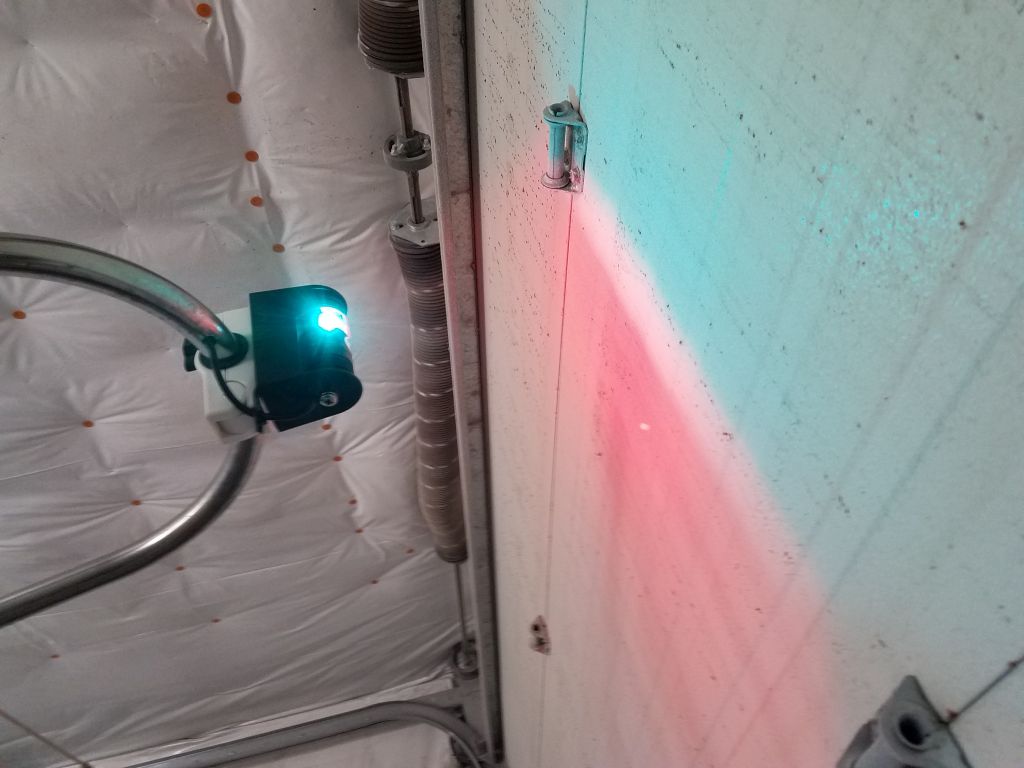
Running lights:
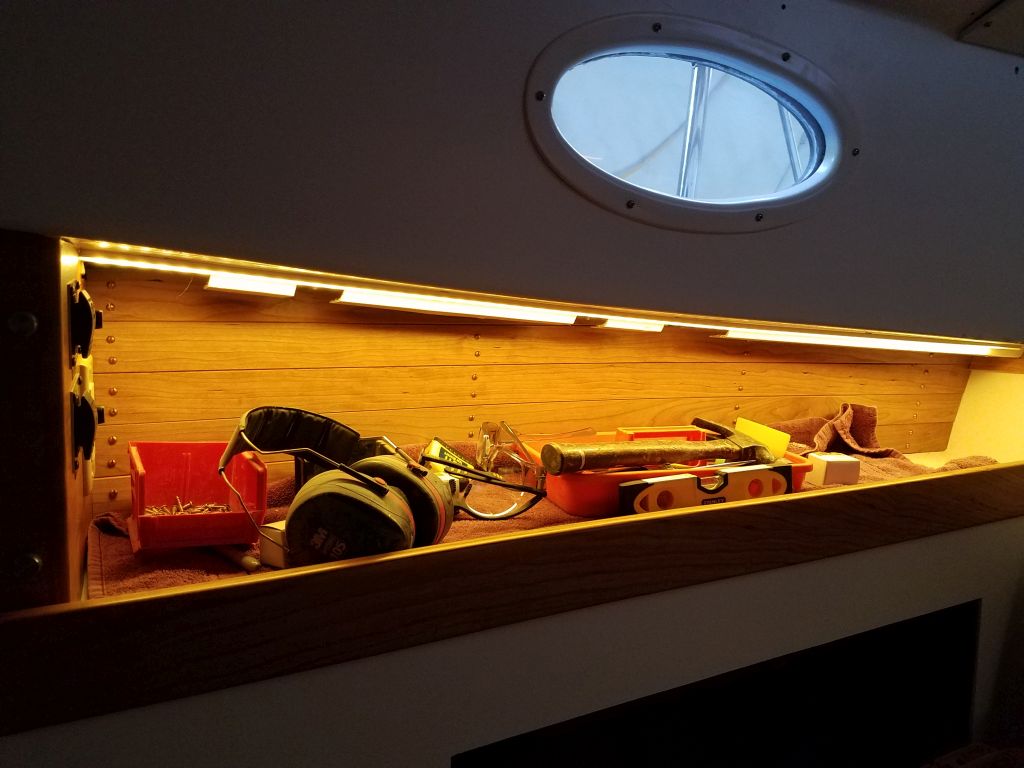
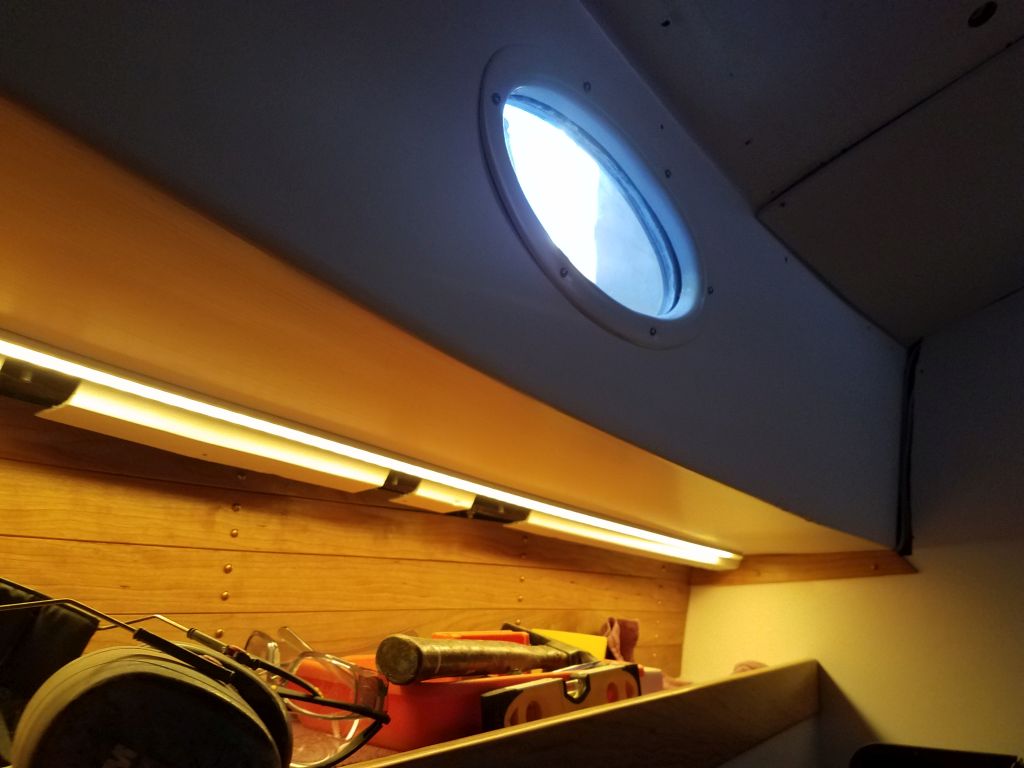
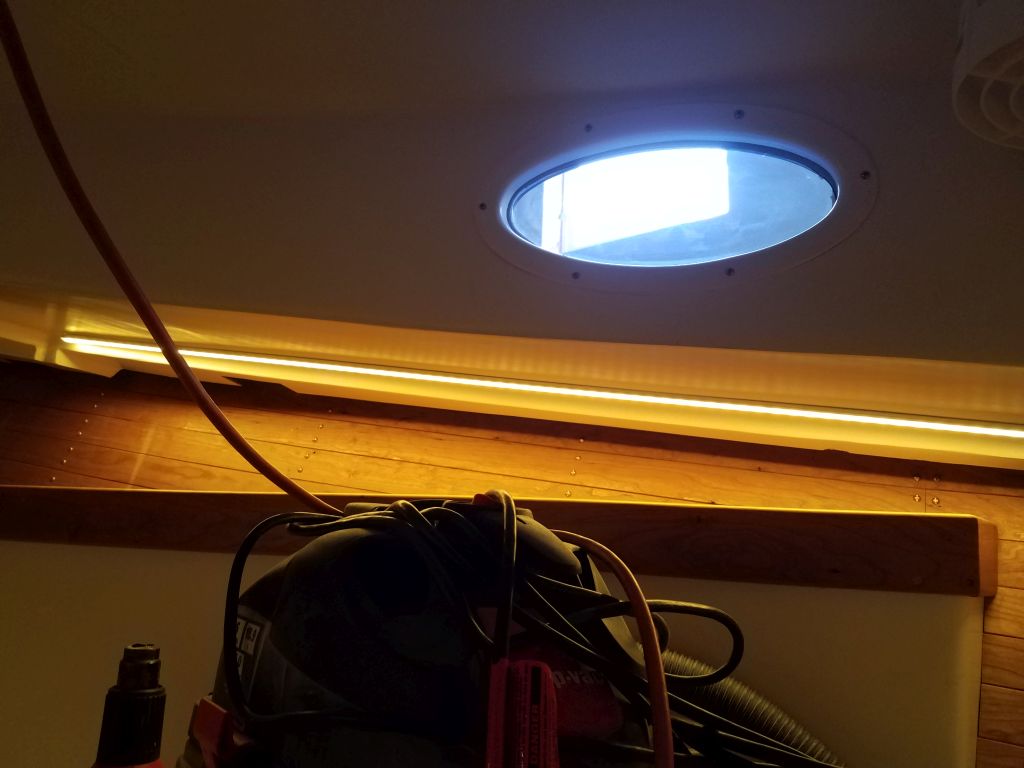
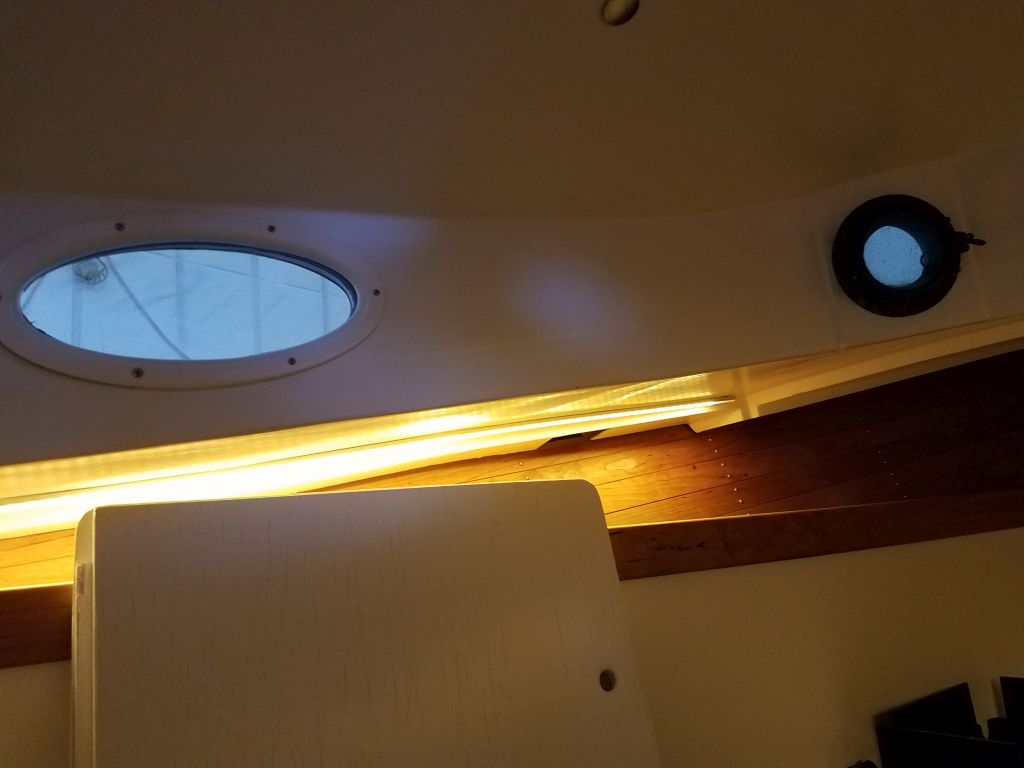
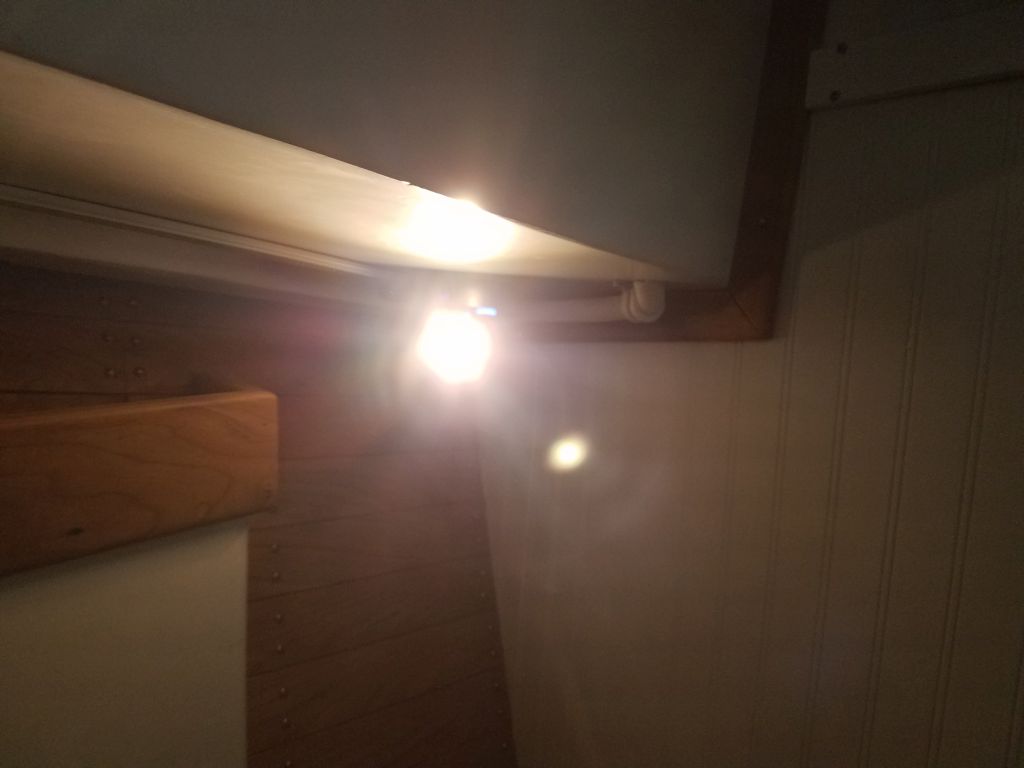
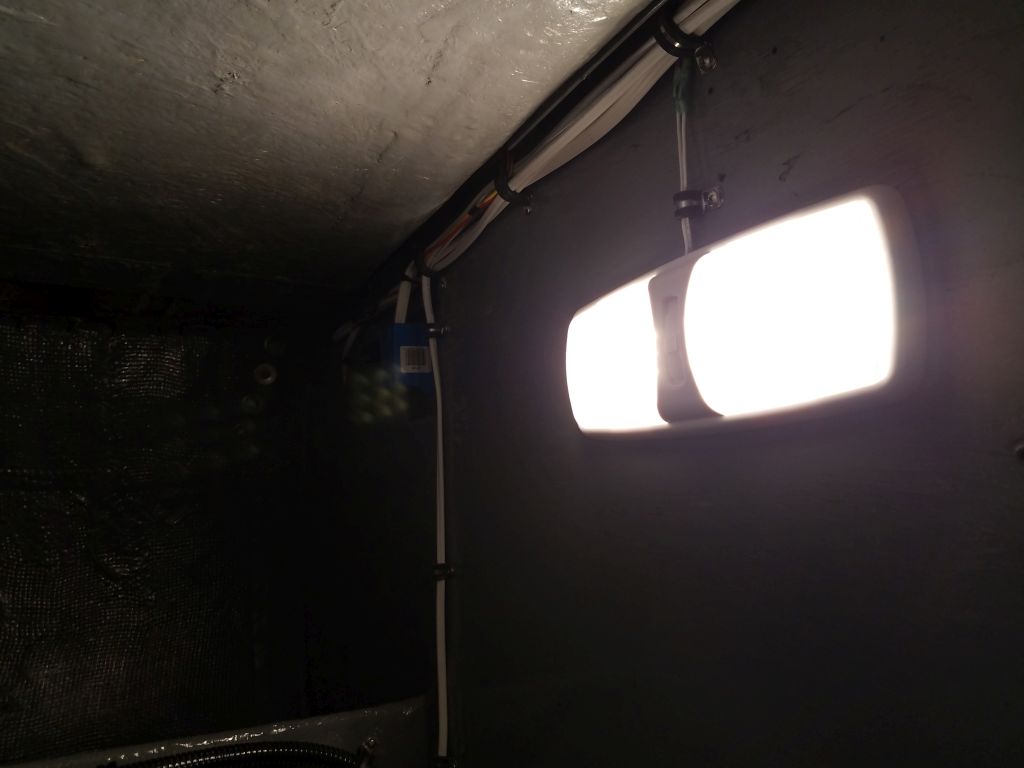
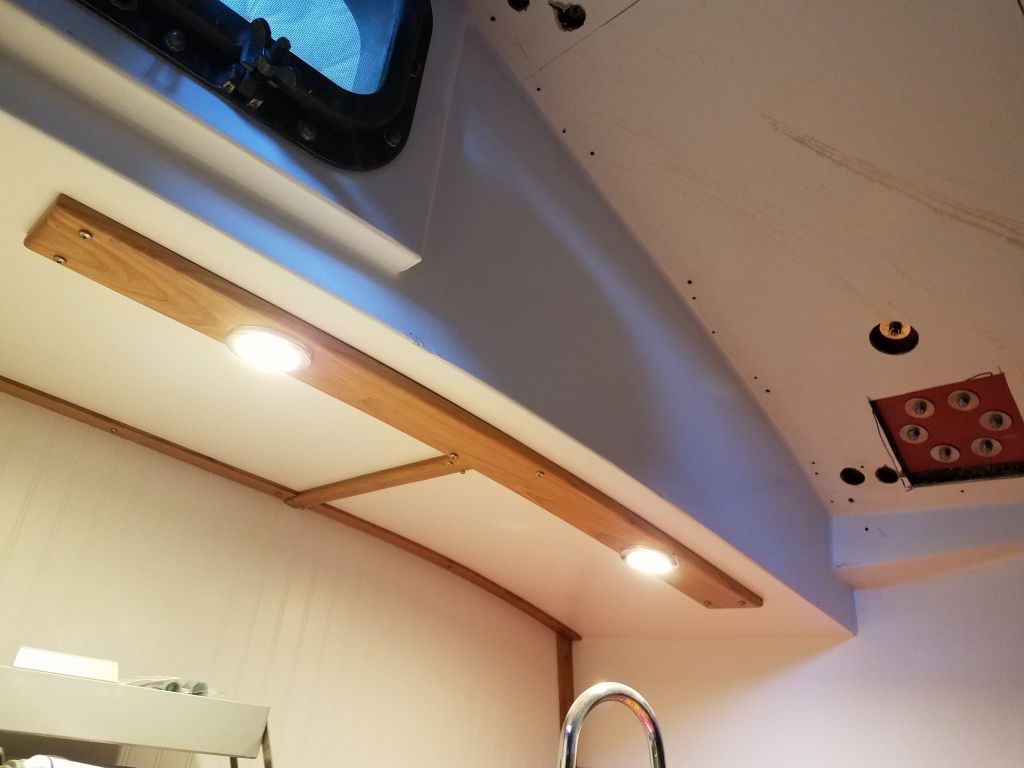
Courtesy (under-deck) lights:


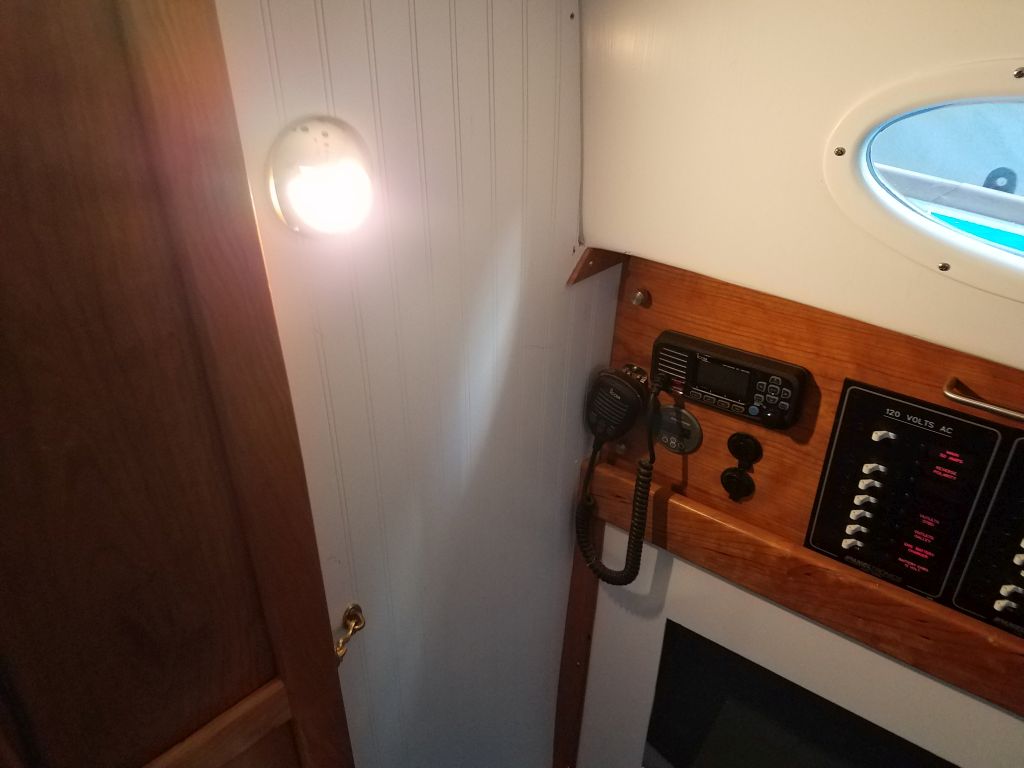
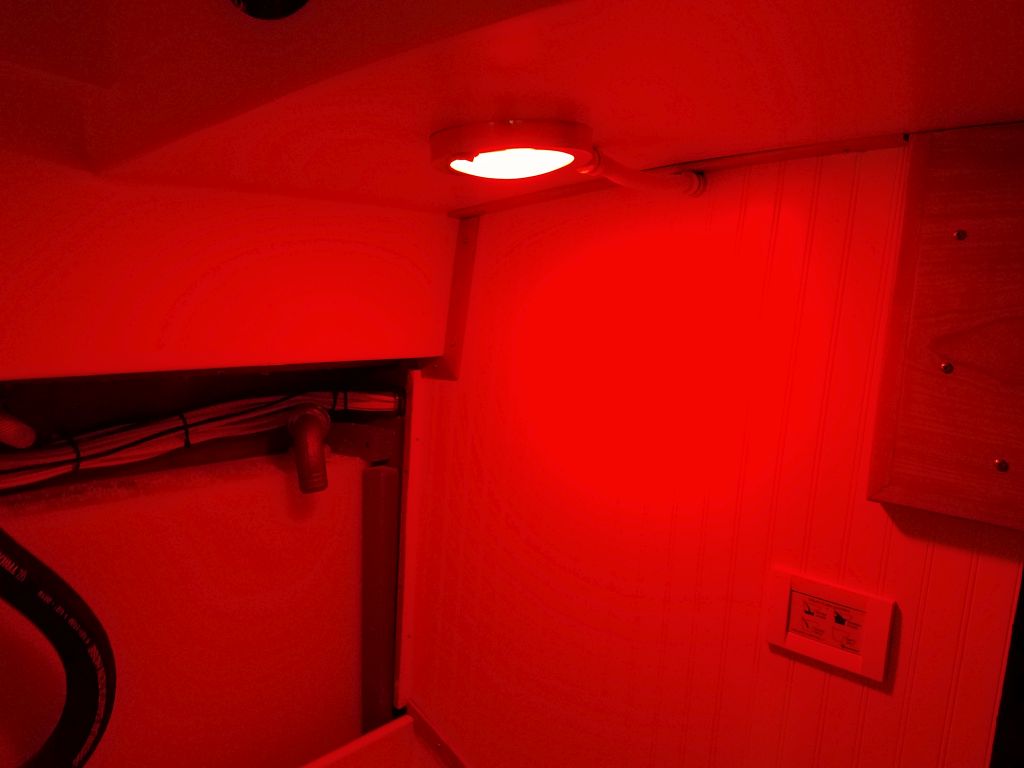
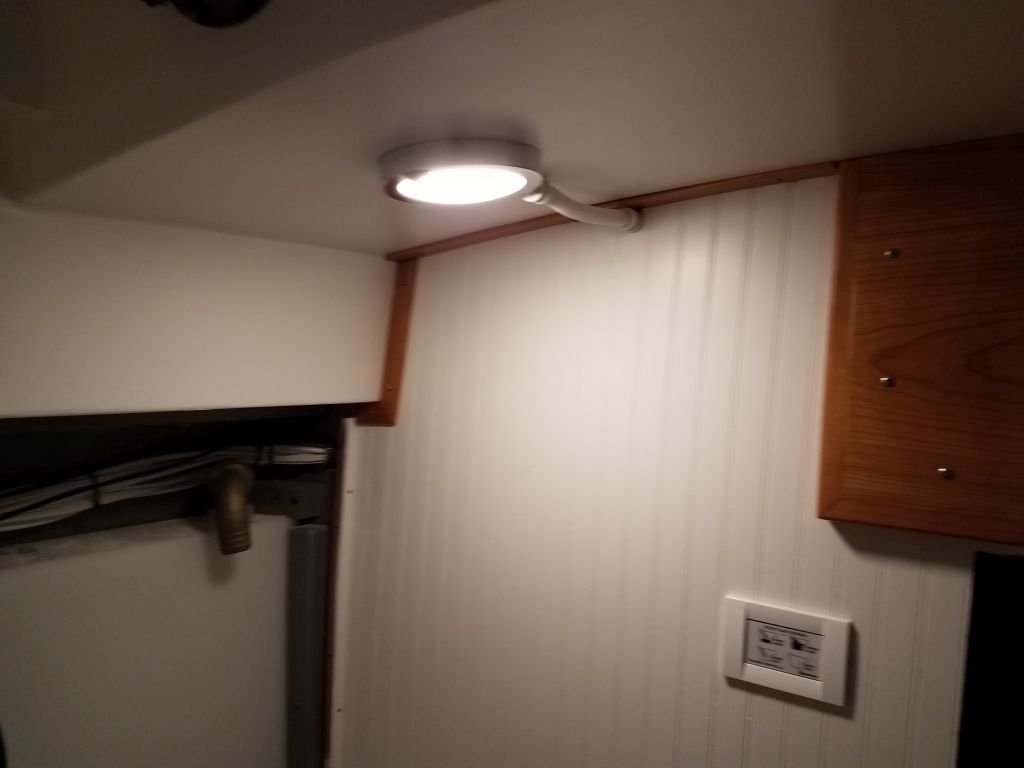
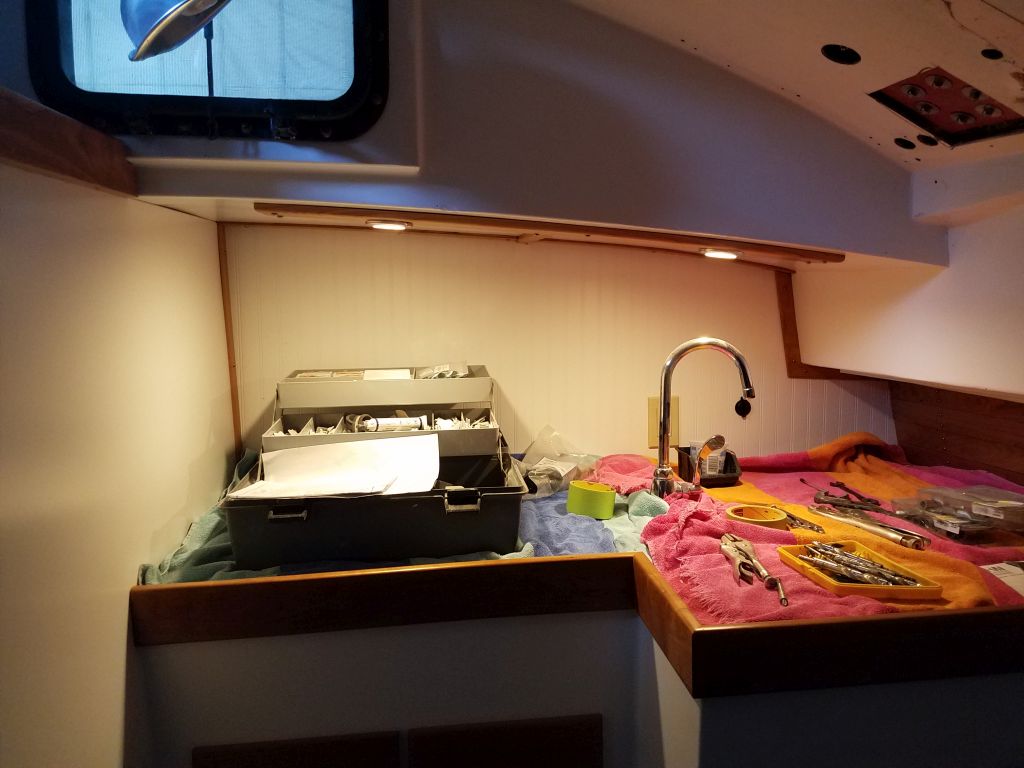
Main and forward cabin lights, and dual-color head overhead:


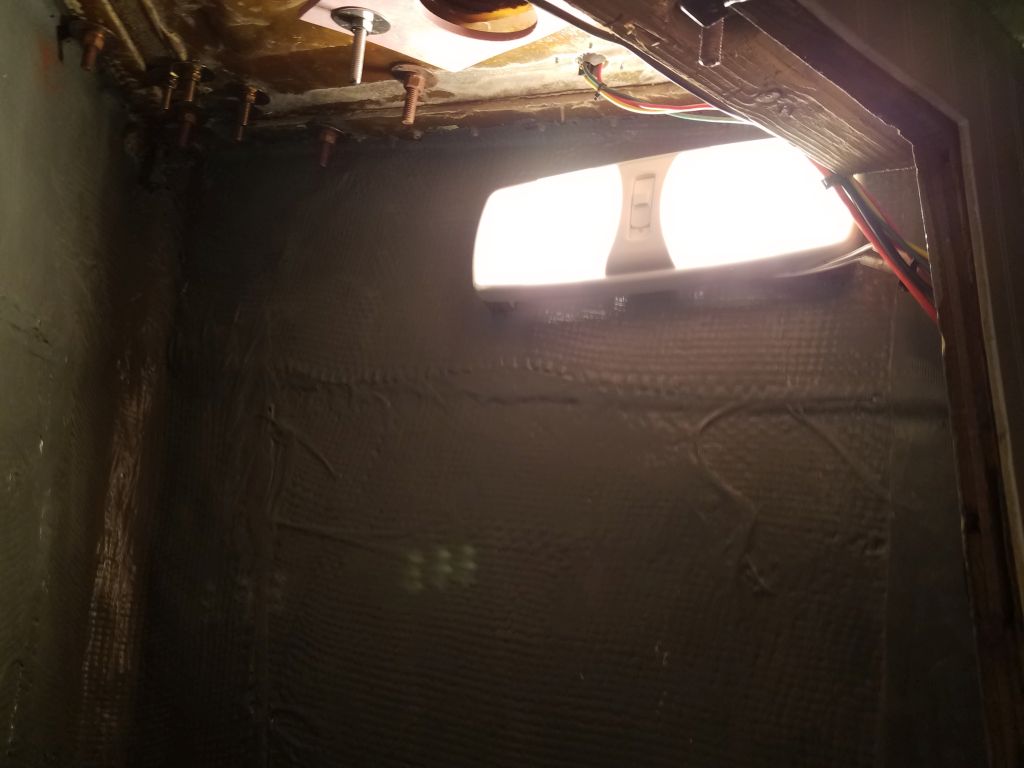
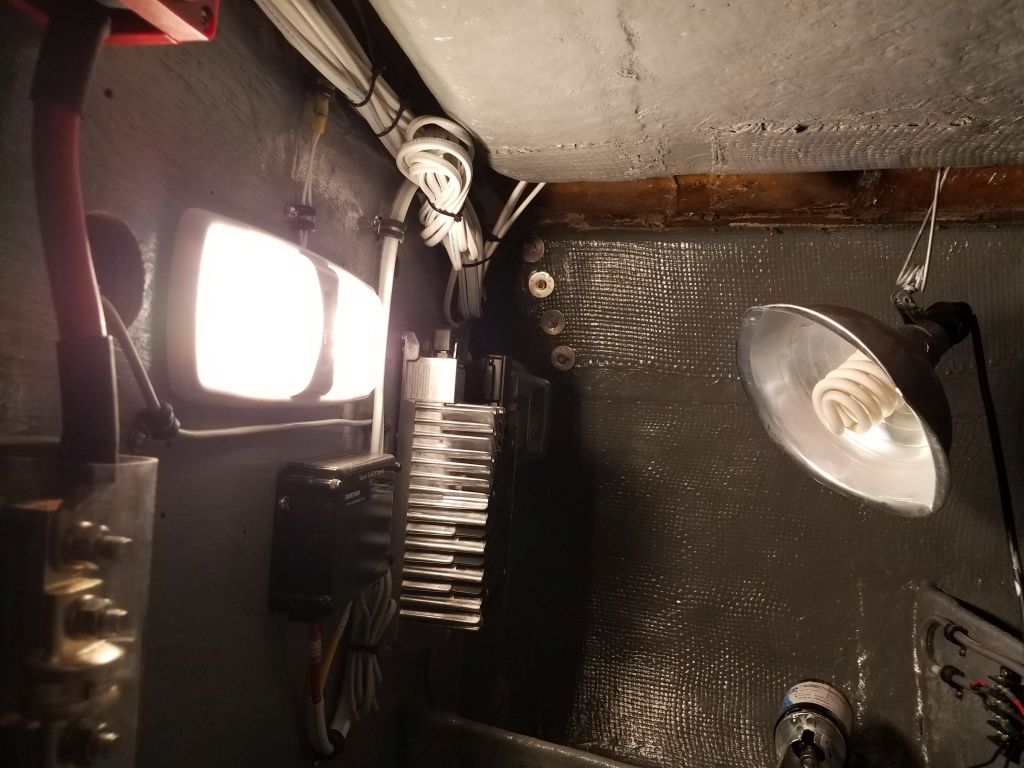
Chainlocker and engine room lights:
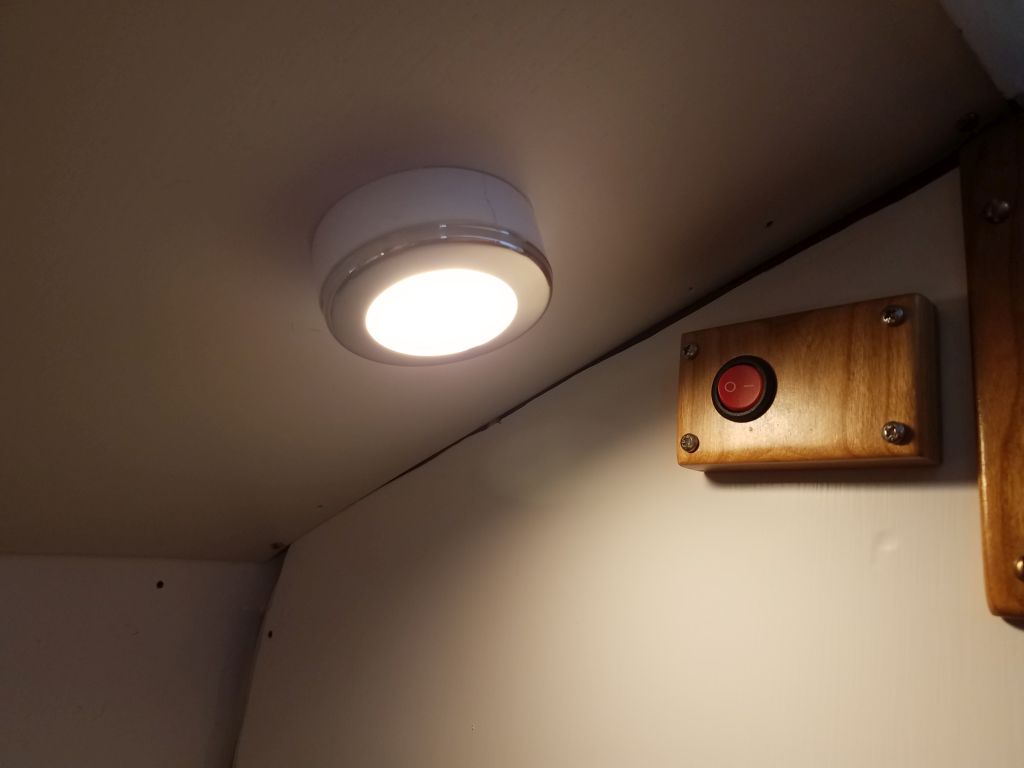
Companionway and galley switched lighting:
During the initial test, I found that the companionway light didn’t work, so I removed it, tested the wiring (OK), and made up new connections, after which it worked properly.
Part of the continuing series featuring the “The Disembodied Hand”:
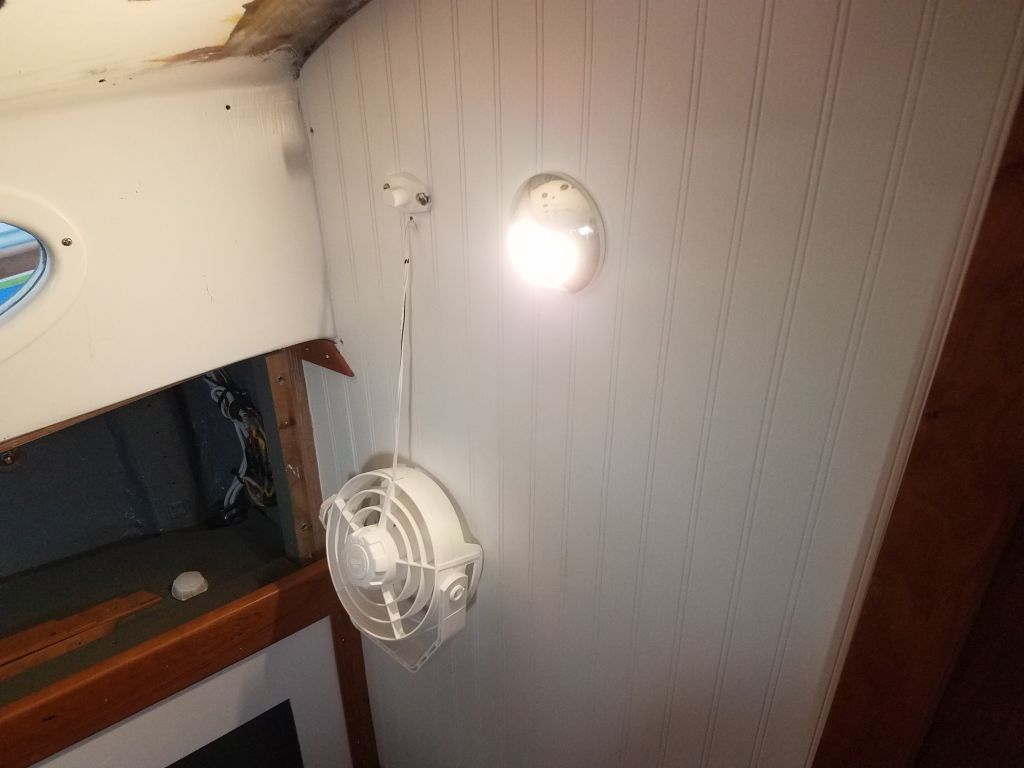
Cabin fans and forward vent fan:
(Sorry for the focus problems on the forward vent)
Windlass:
I found that the windlass operated backwards at first, but fixing this was a simple means of swapping two of the terminals on the contactor box. The switch inside the forward cabin worked also, but there was no way to operate it and “film” at the same time.
I’d need to round up something with a 12-colt cigarette lighter plug and USB to test the 12-volt outlets, but otherwise I was happy with the initial tests. I also had to troubleshoot the two bilge pumps, which weren’t getting power at the pumps themselves; this pointed to some incorrect wiring behind the switches (which operated and lit up), which was frankly no surprise since I still find automatic pump wiring to be a black art and find it confusing even after however many installations. I planned to square this away over the next few days.
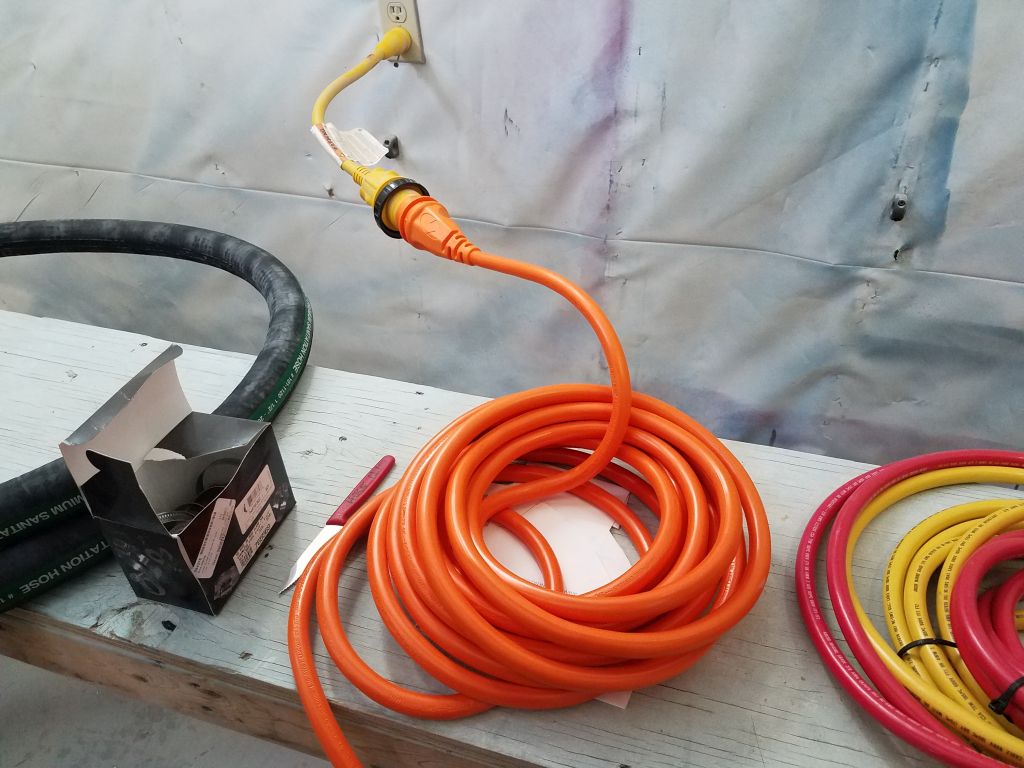
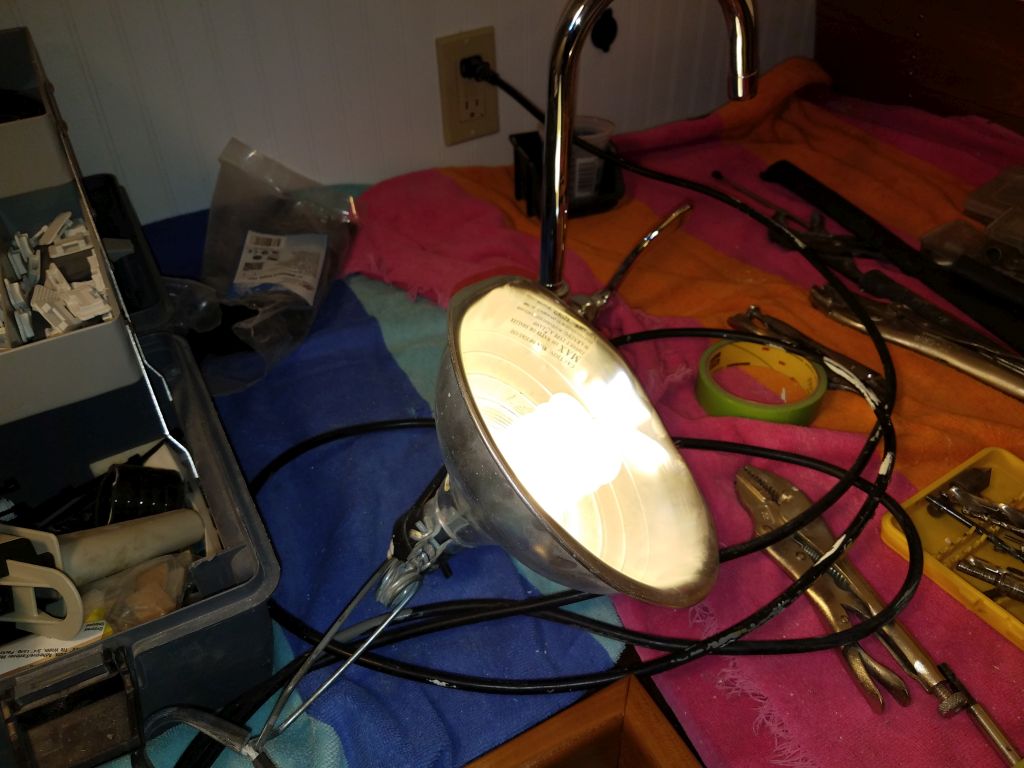
Moving on, however, I installed the new AC shore power cord, using an adapter to plug into a normal outlet in the wall, and tested what I could of the AC system.
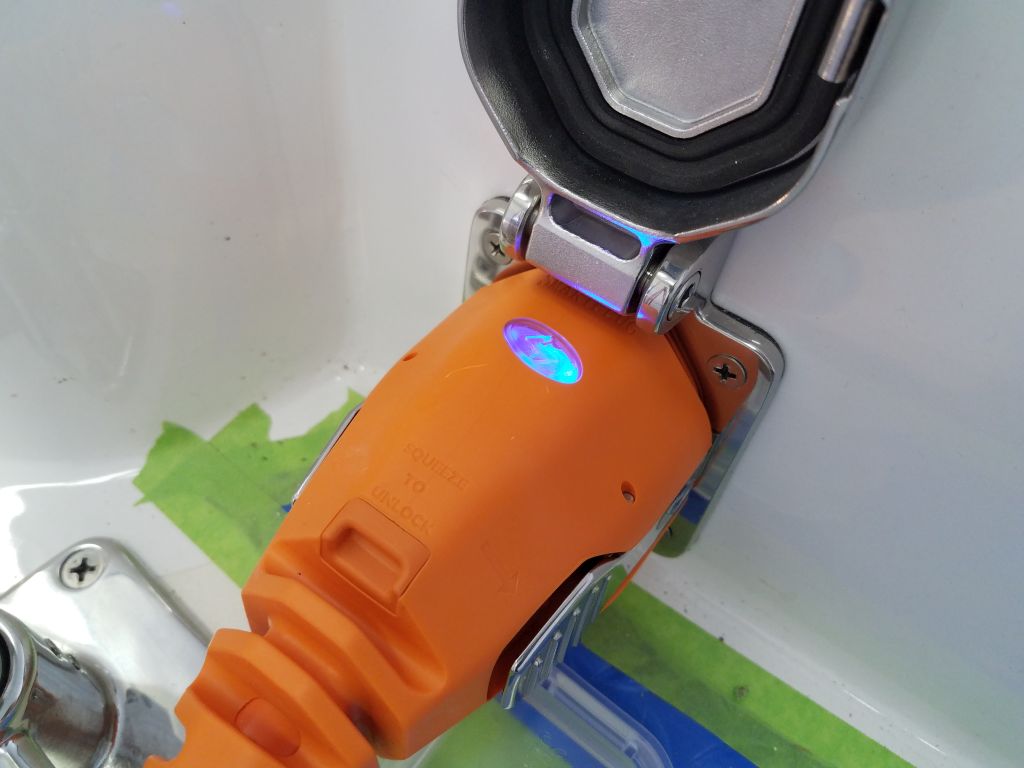

Starboard outlet:
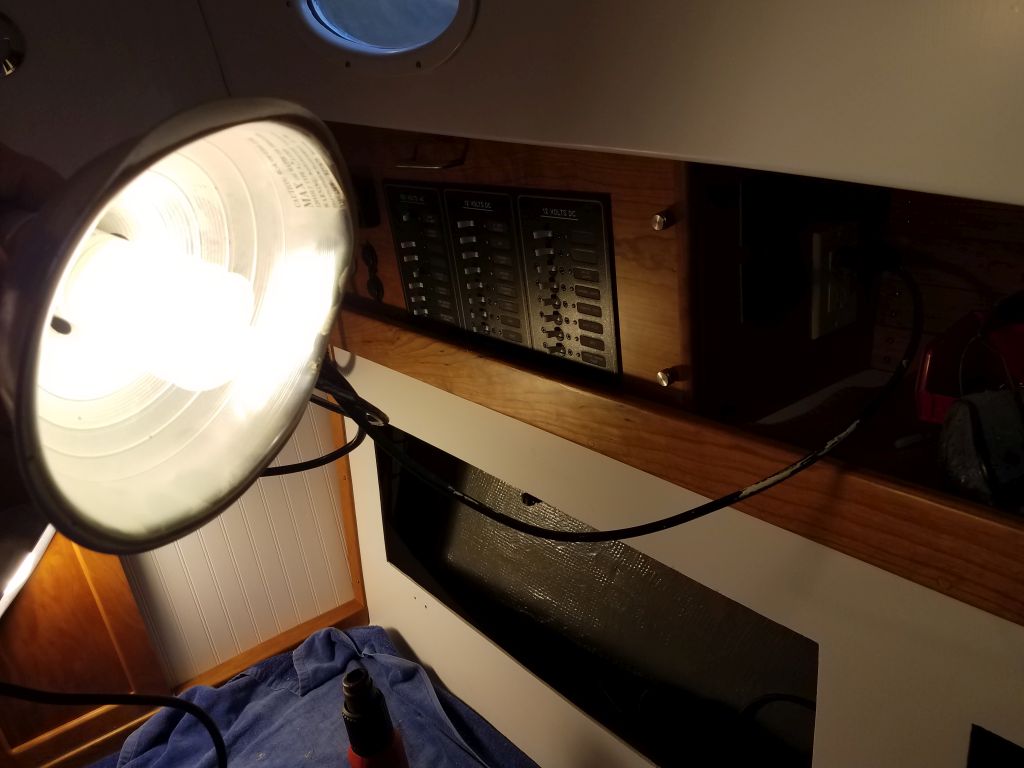
Galley outlet:
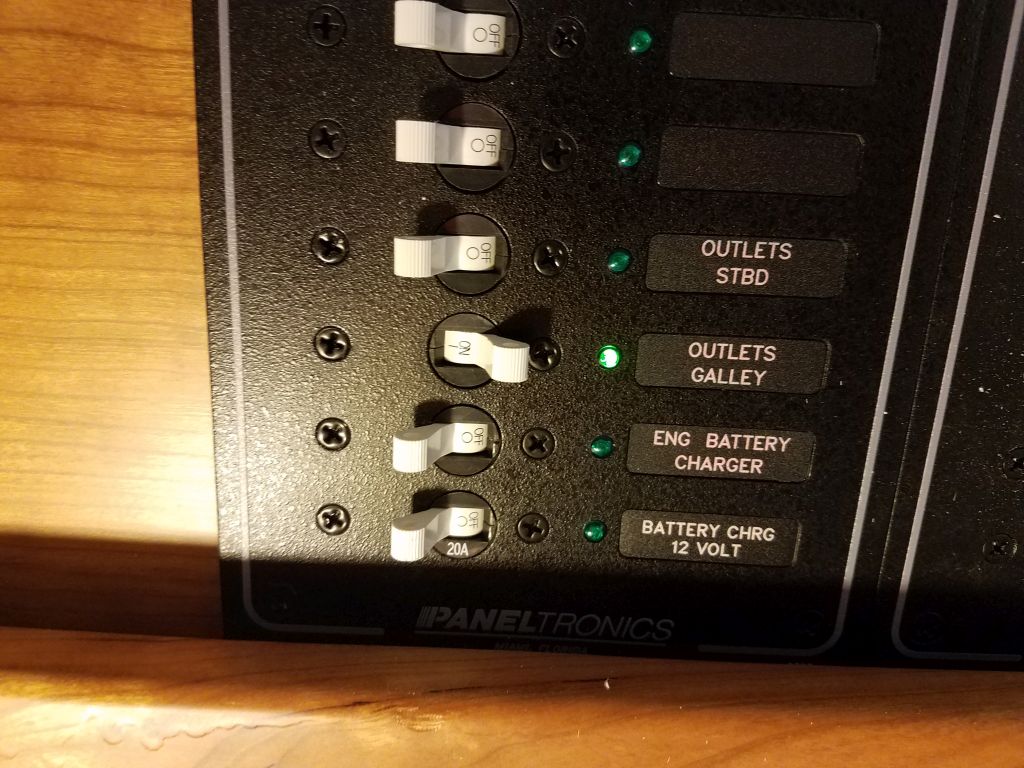
House battery charger:

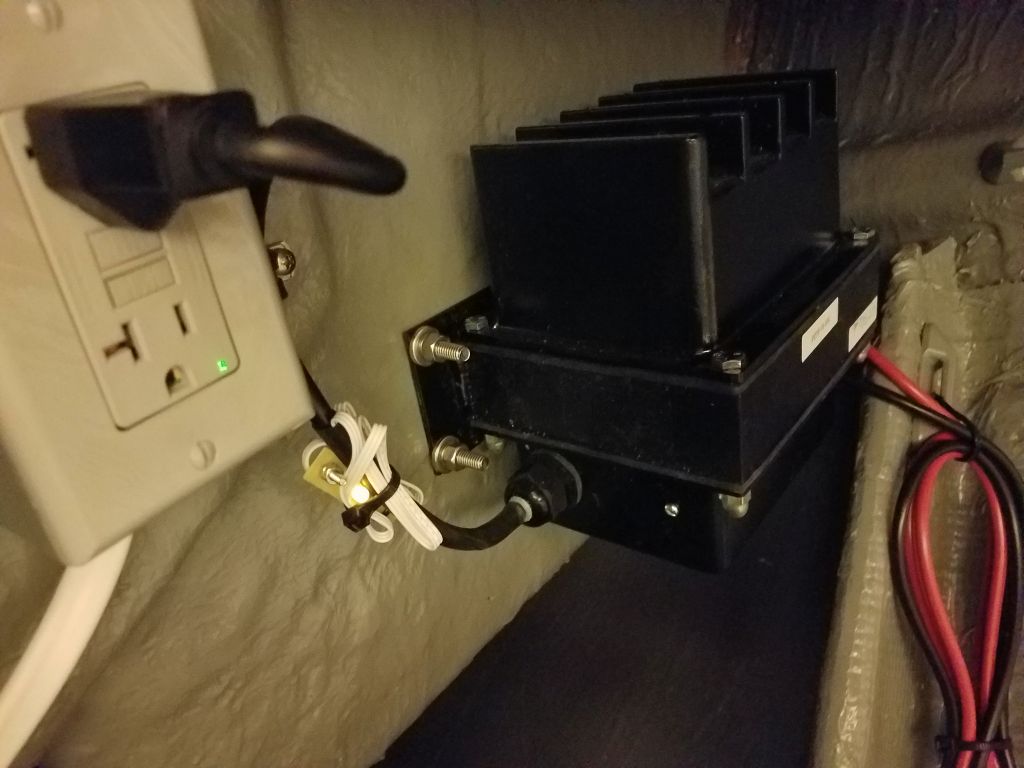

The engine battery charger would await testing till that battery bank was in place soon.
These tests were all exciting and positive, and I was pleased with the results. There remained ahead a couple lighting installations in the cabin (based off the compression post), so I’d test those as soon as I could.
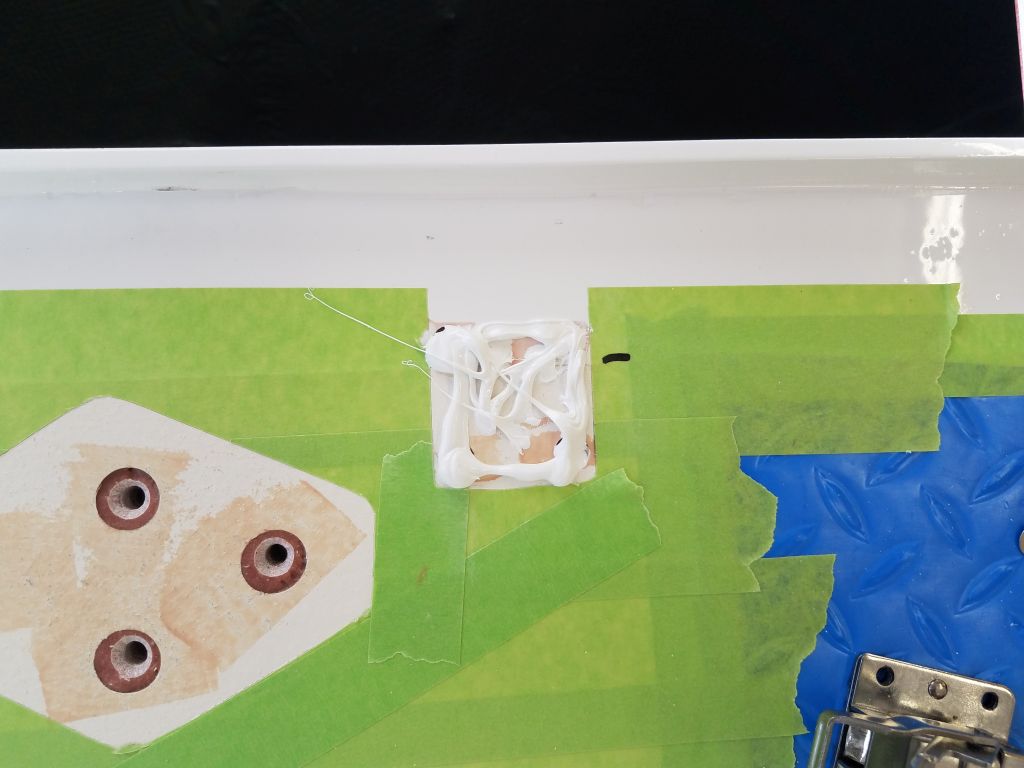
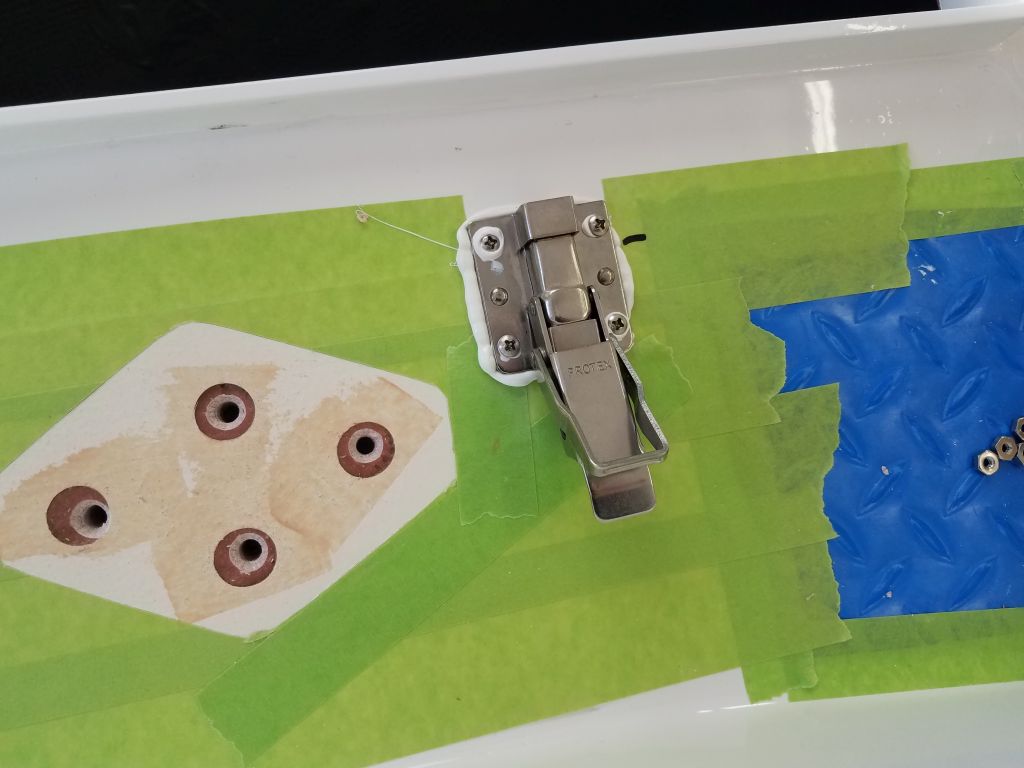
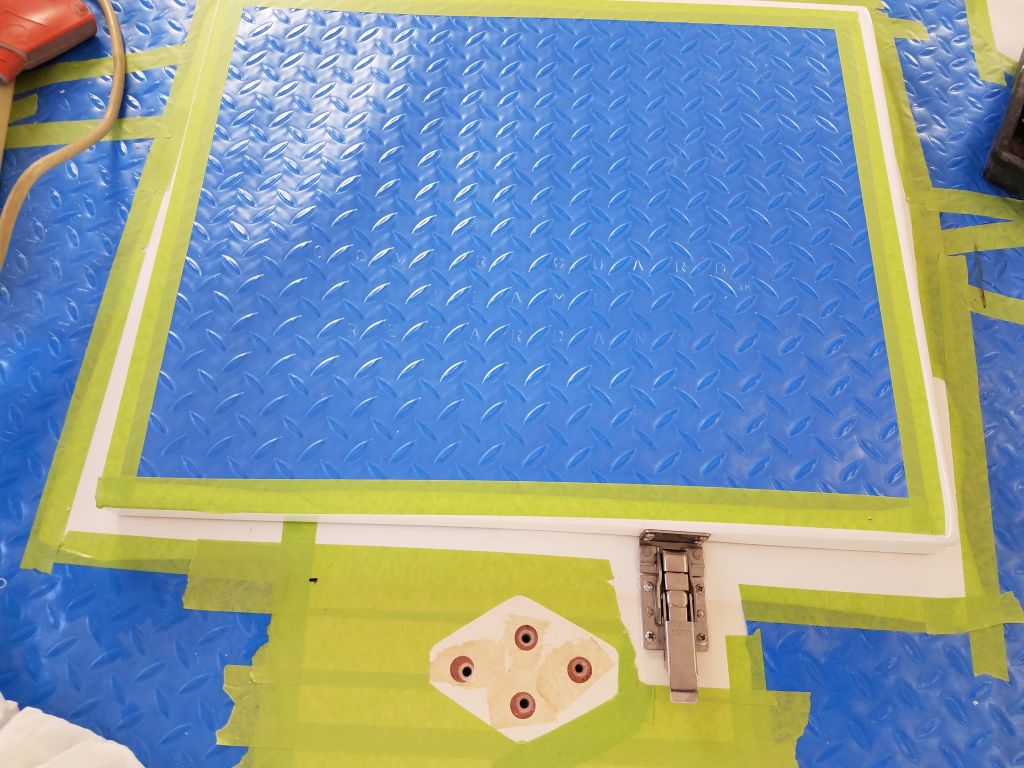
To wrap up the day, I installed the lazarette hatch latch with bolts and sealant.
Total time billed on this job today: 7 hours
0600 Weather Observation: 5°, clear. Forecast for the day: Sunny, 16°