


February 5, 2020
Scupper 235
Wednesday
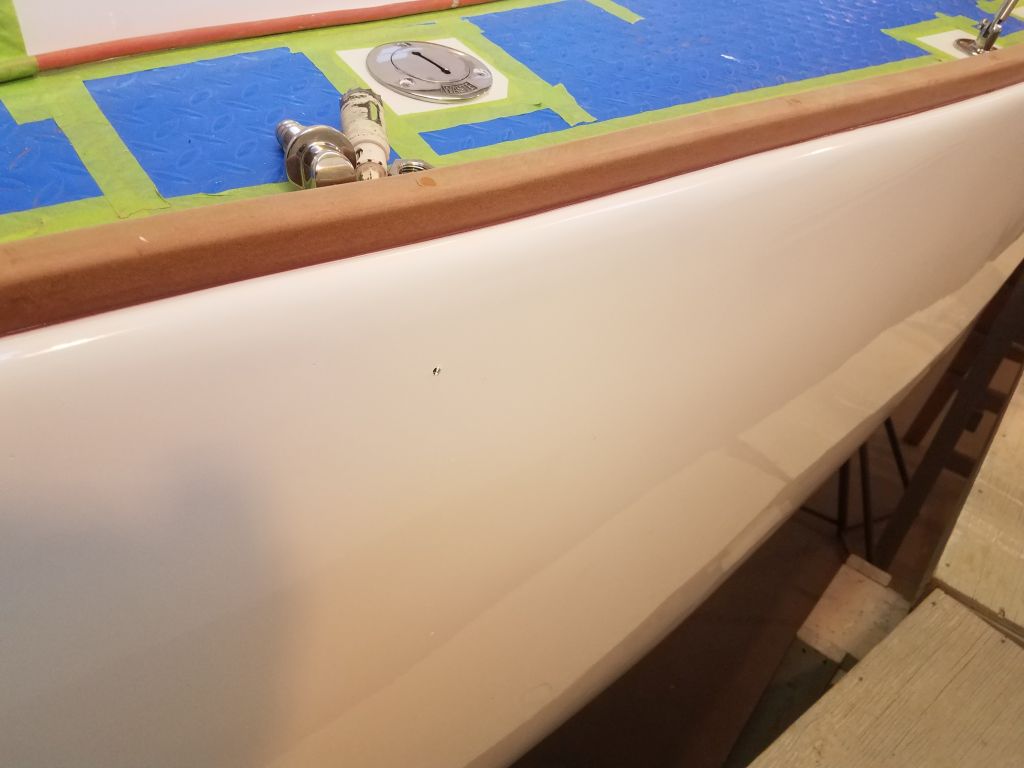
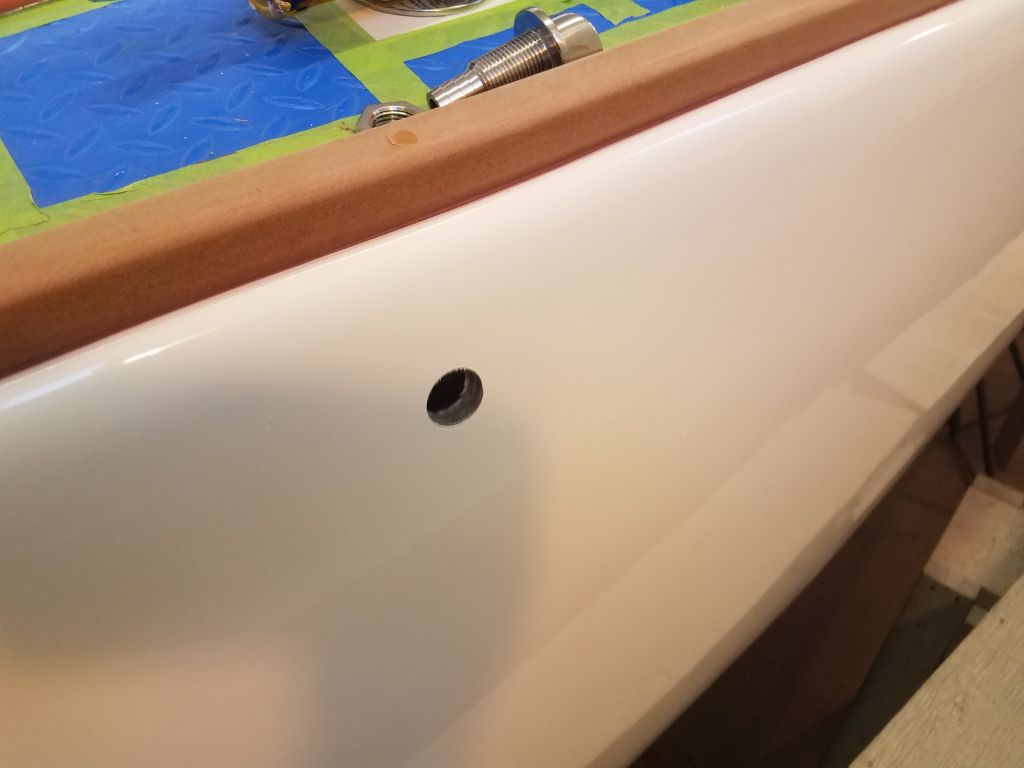
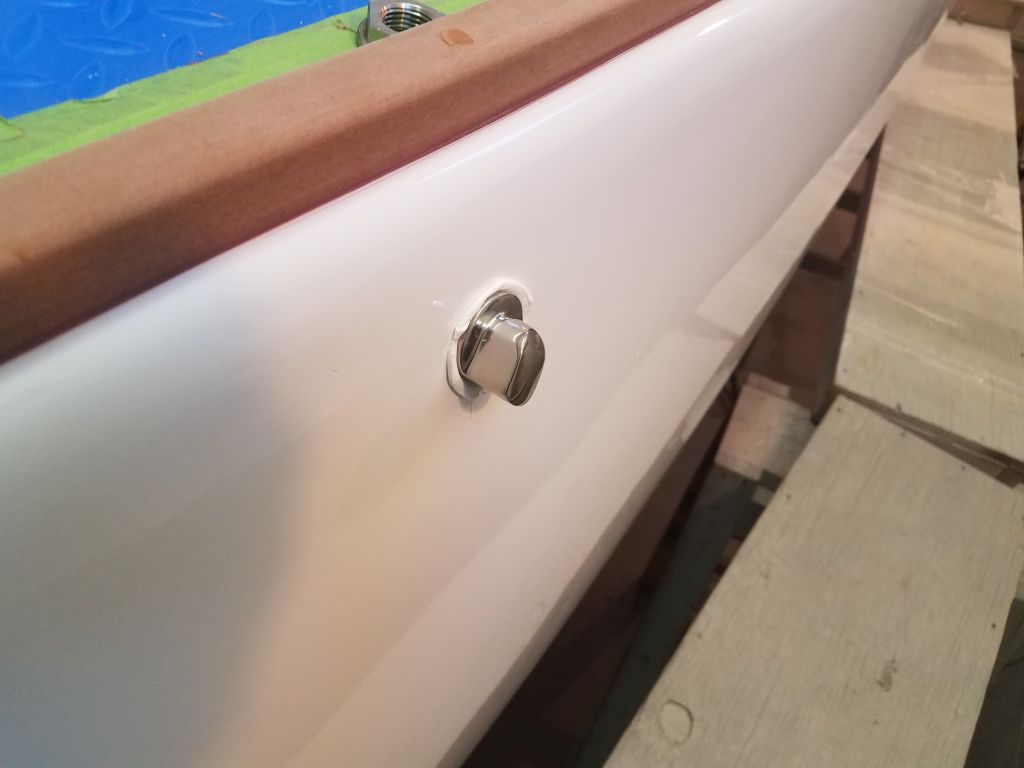
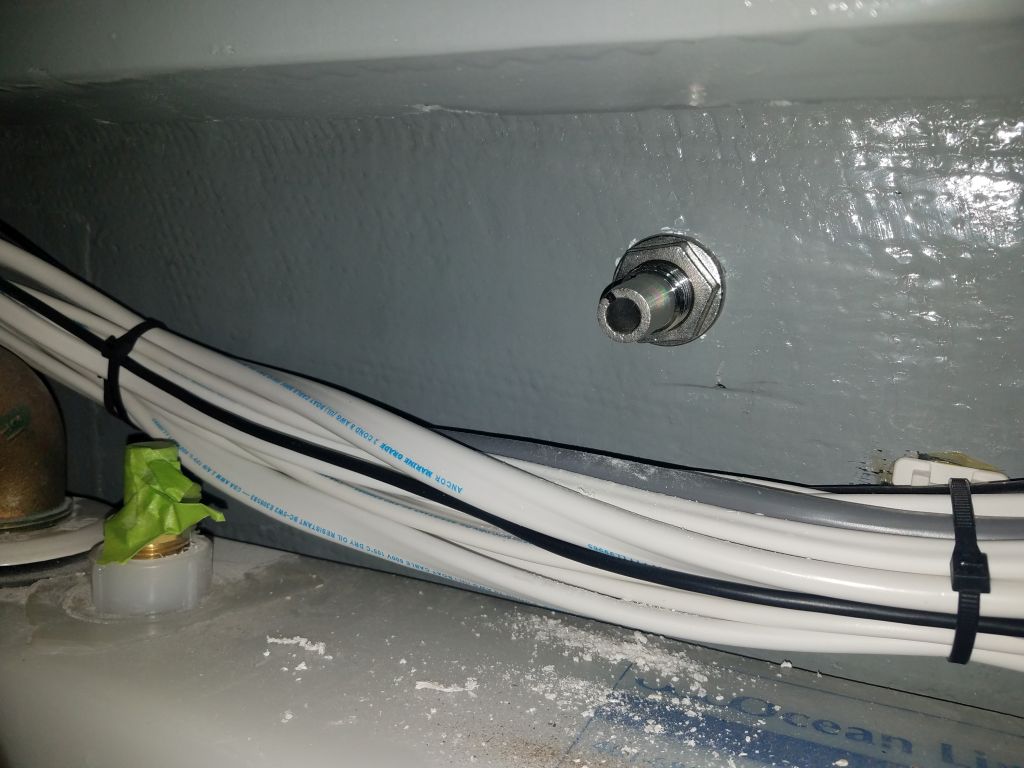
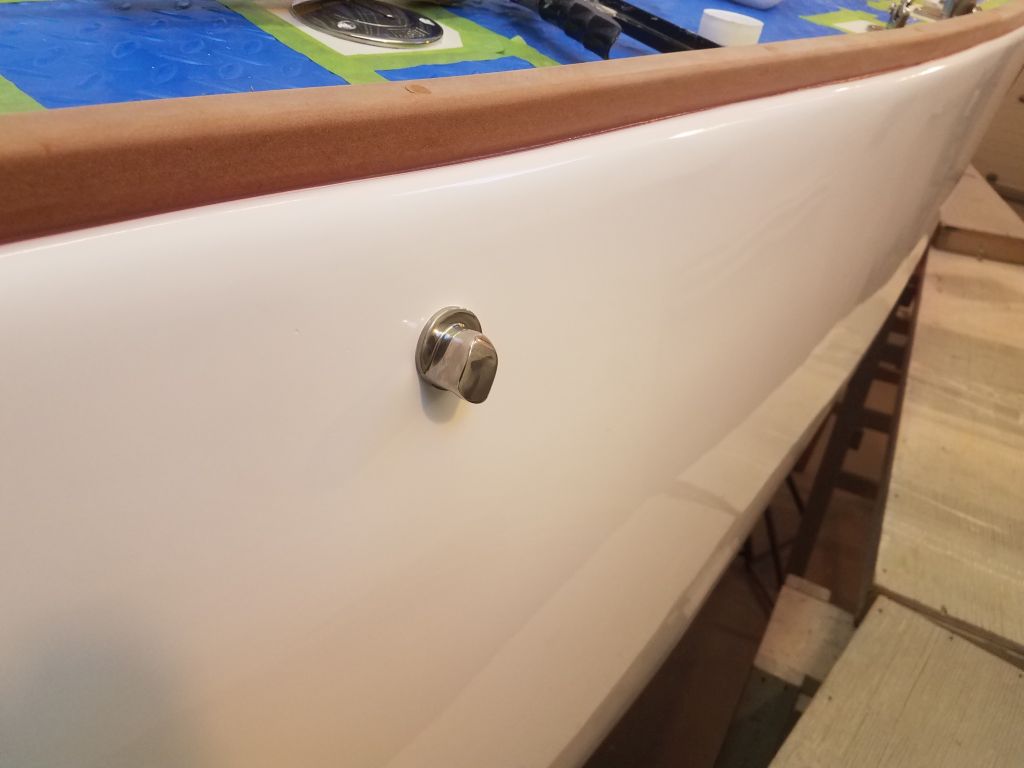
To install the vent for the waste tank, I began with a small hole drilled from inside the boat in my chosen location, then went outside to enlarge the hole to fit the vent. I installed the new vent with plenty of sealant, keeping the vent opening angled slightly back to avoid water inflow when the boat was heeled. I wanted to install the hose and finish the vent plumbing, but I didn’t have the right hose clamps on hand for the 5/8″ hose, so that would have to wait till later.

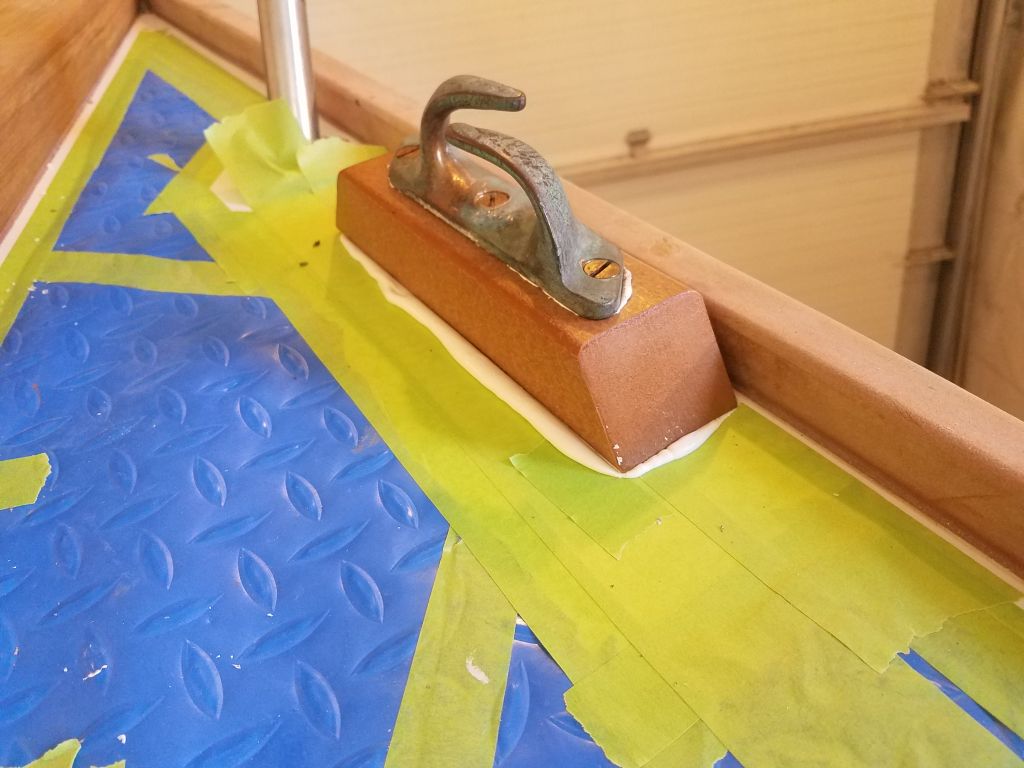
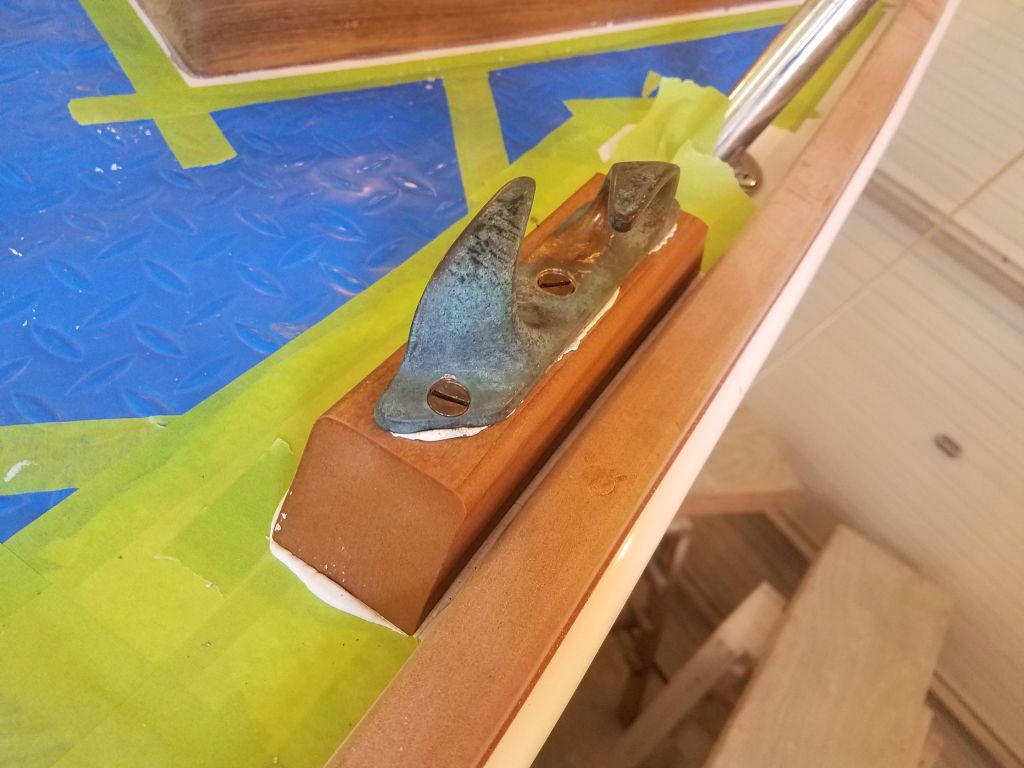
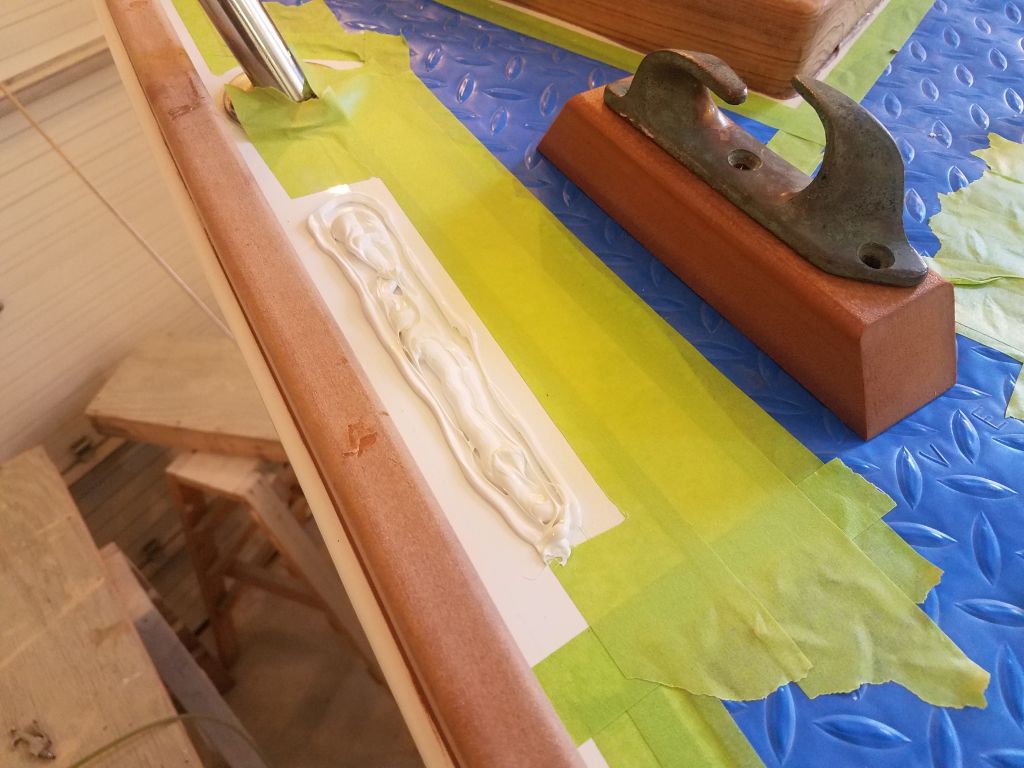
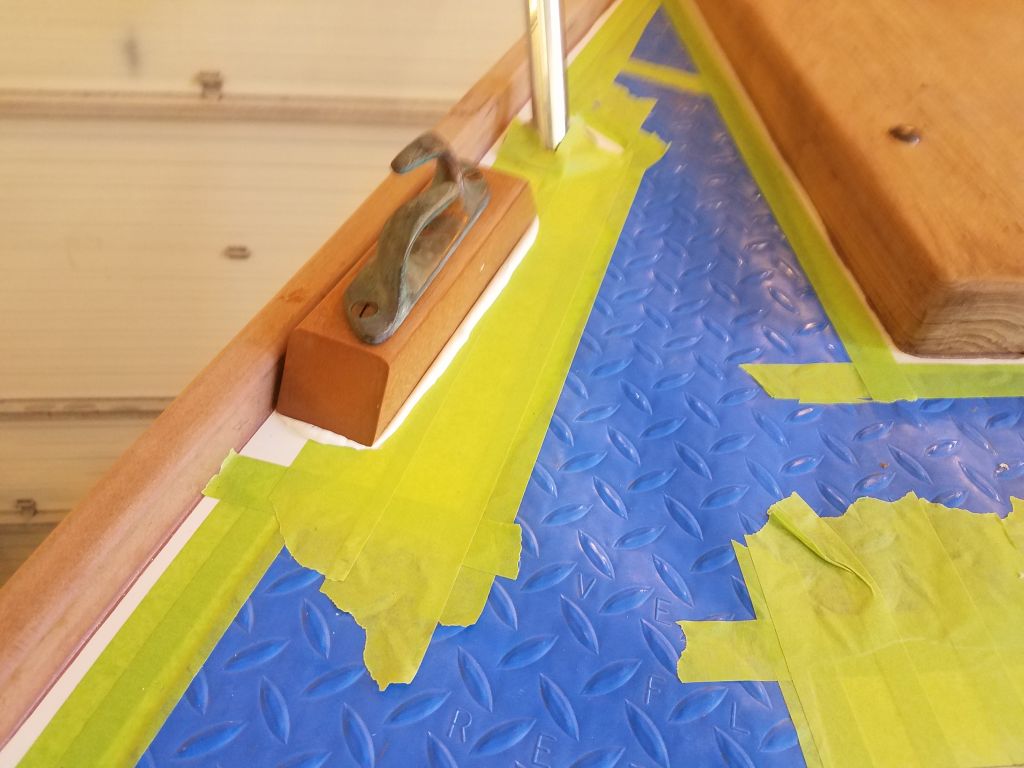
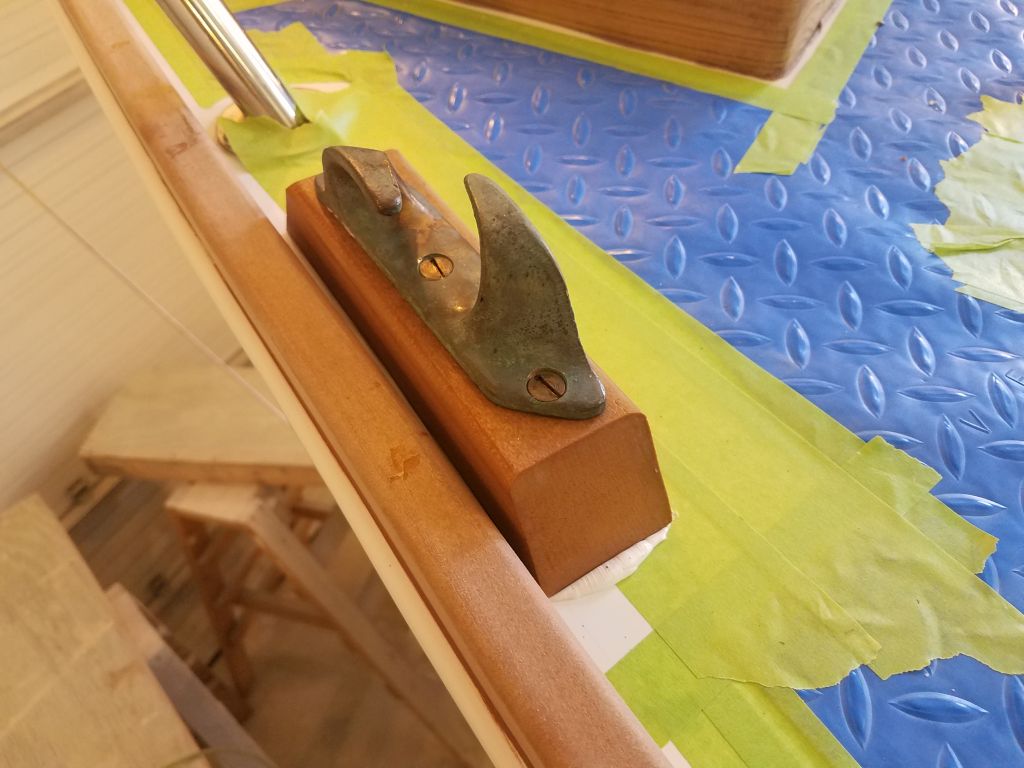
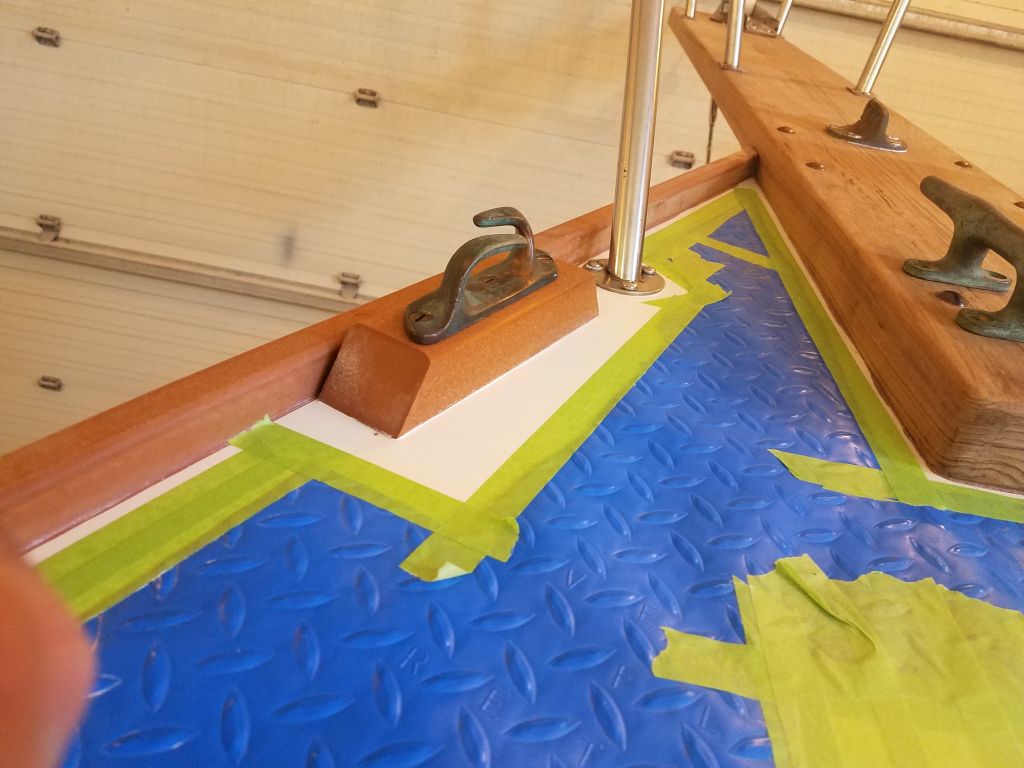
Next, I installed the bow chocks and riser blocks with new long bronze machine screws into the already-prepared deck and holes.


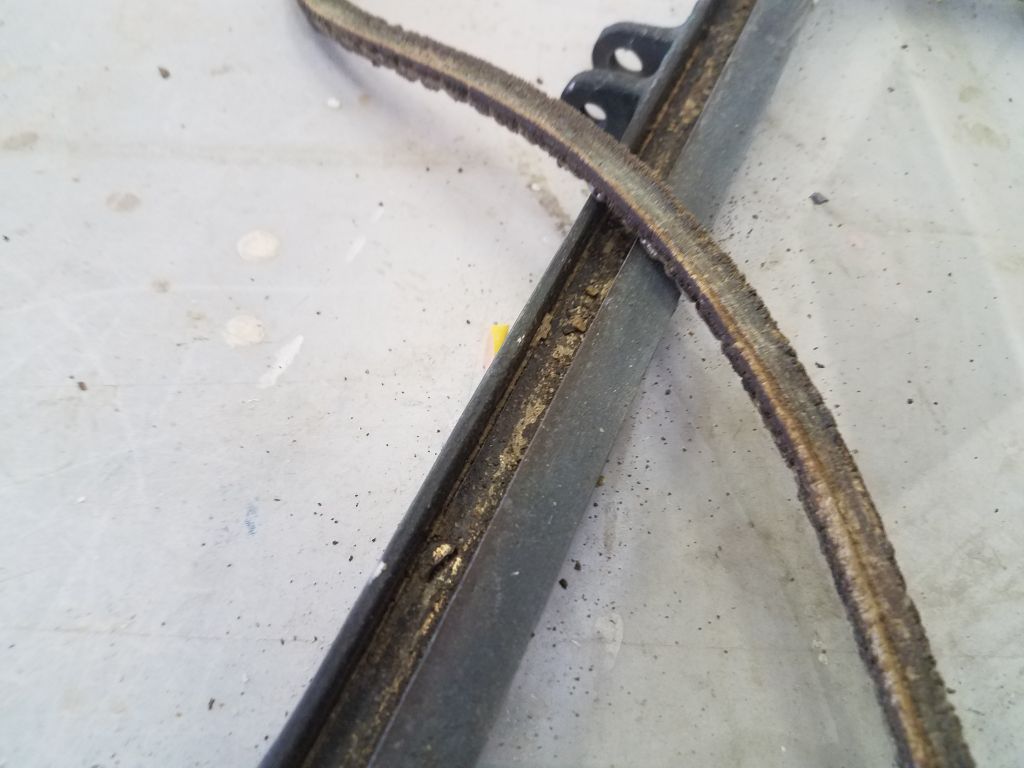
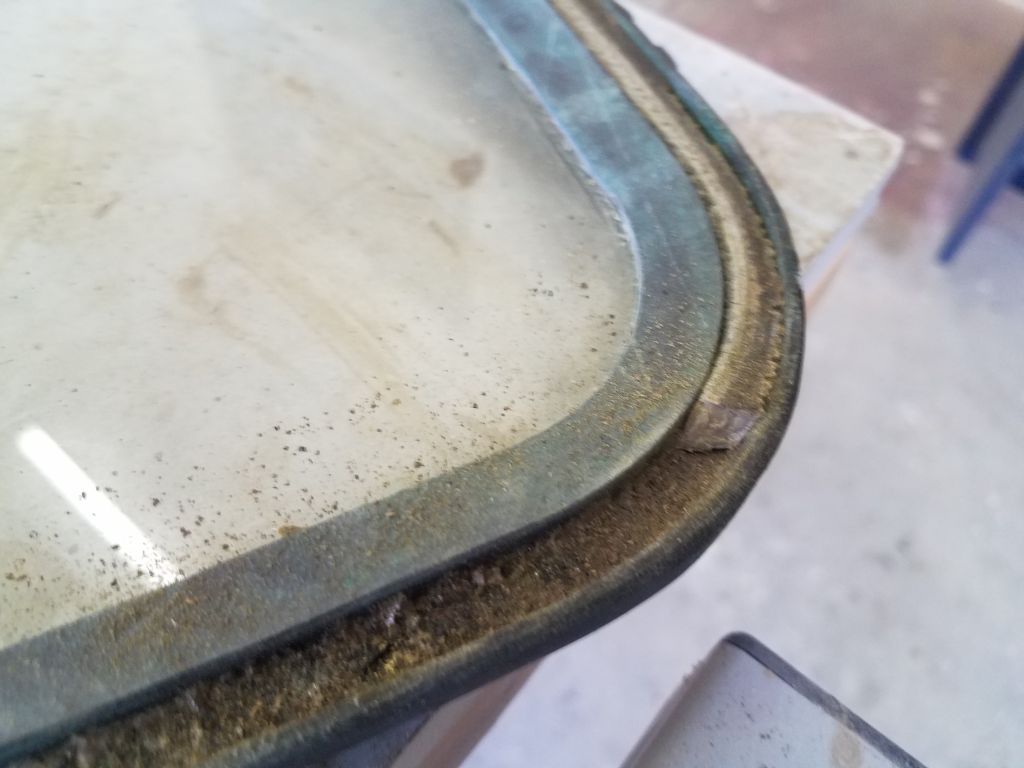
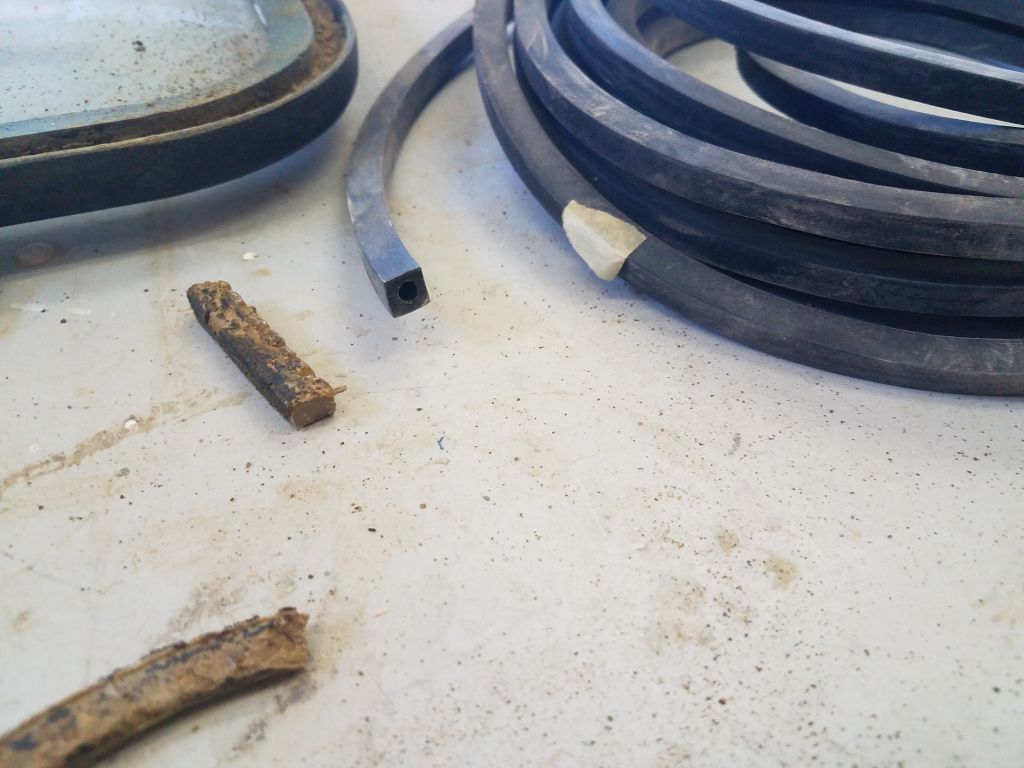
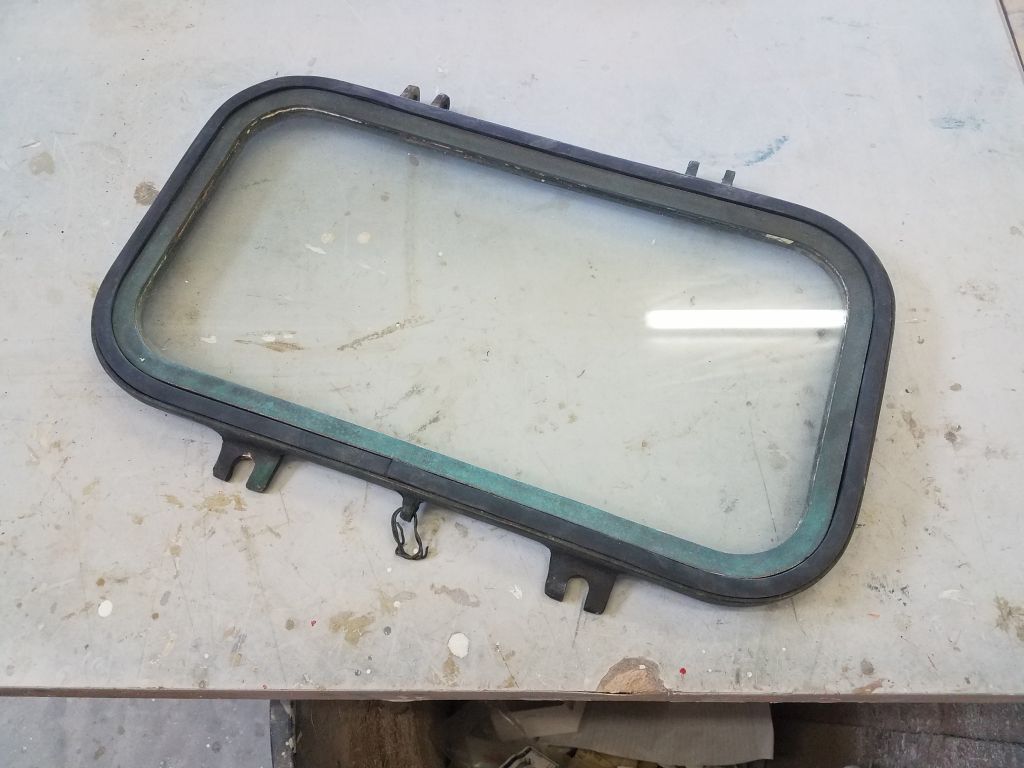
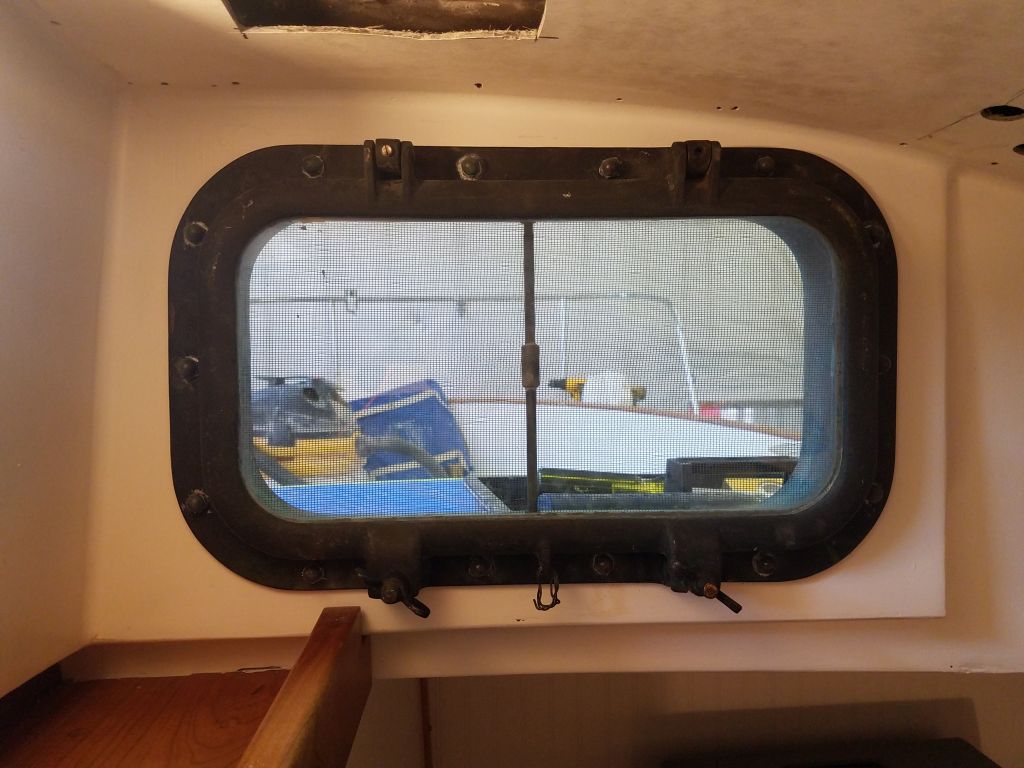
I’d been in kind of a hurry to install the large port in the galley earlier, as the day was running out and I wanted to have it done then, but now I realized I should have changed the gasket in the opening port, since the old one was in bad condition. I found it was easy to remove the opening part of the port (I should have done so before installing the spigot, which would have made life easier), and I had the 1/4″ square gasket material in stock, so replacement was quick and easy.
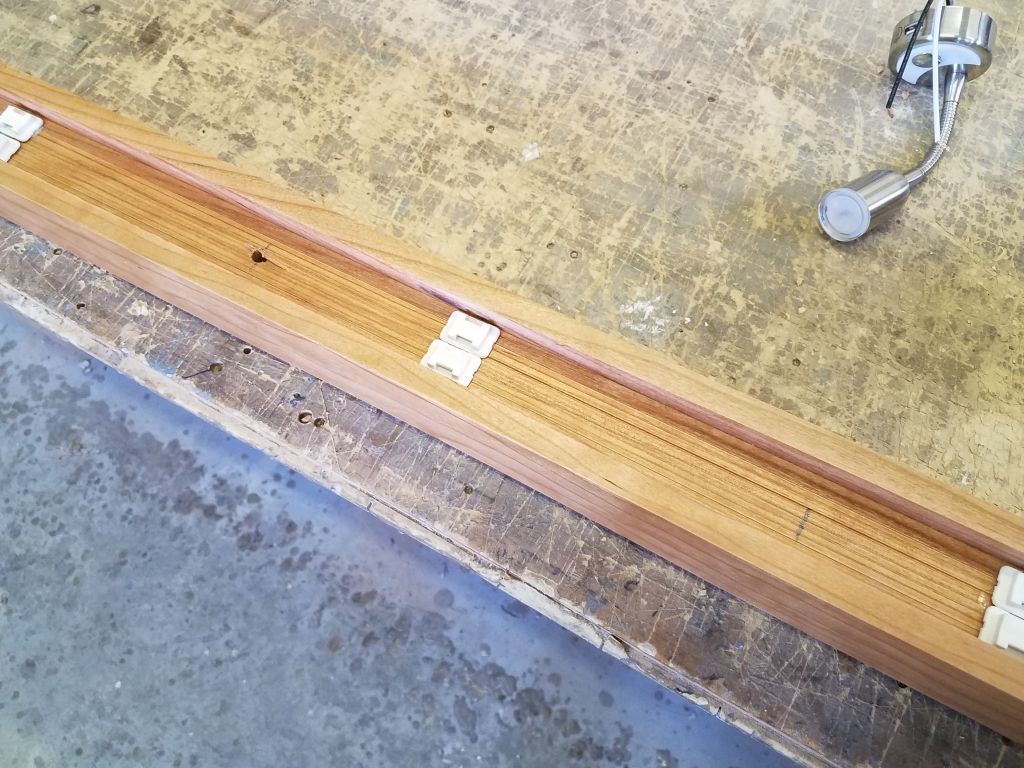
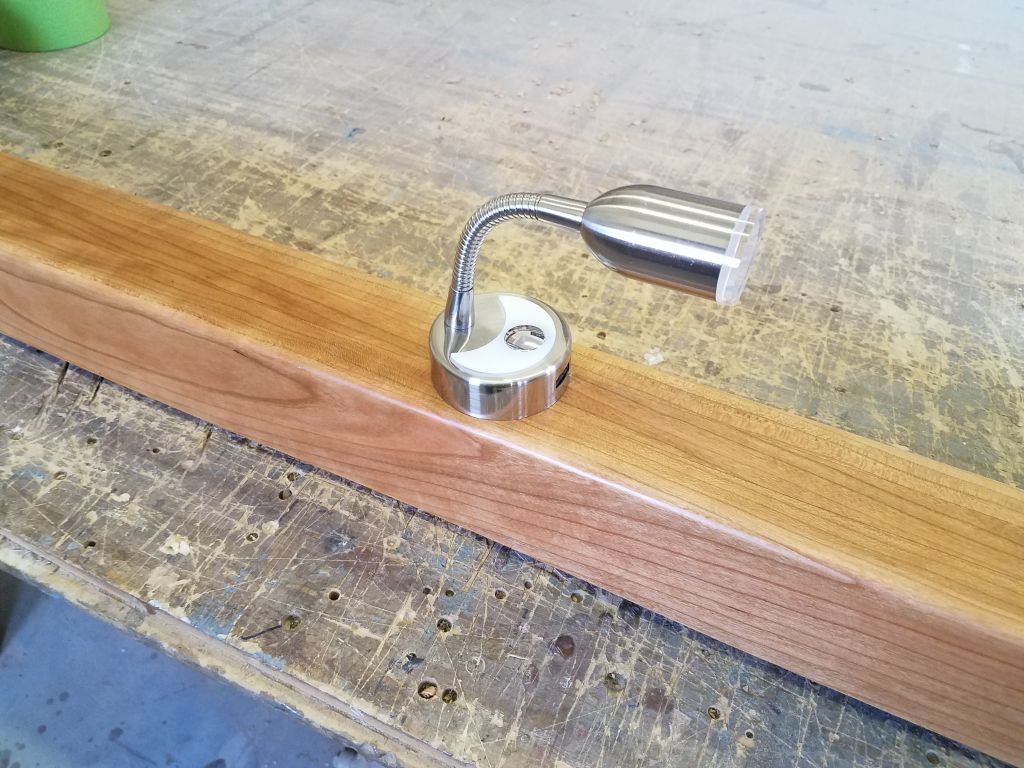
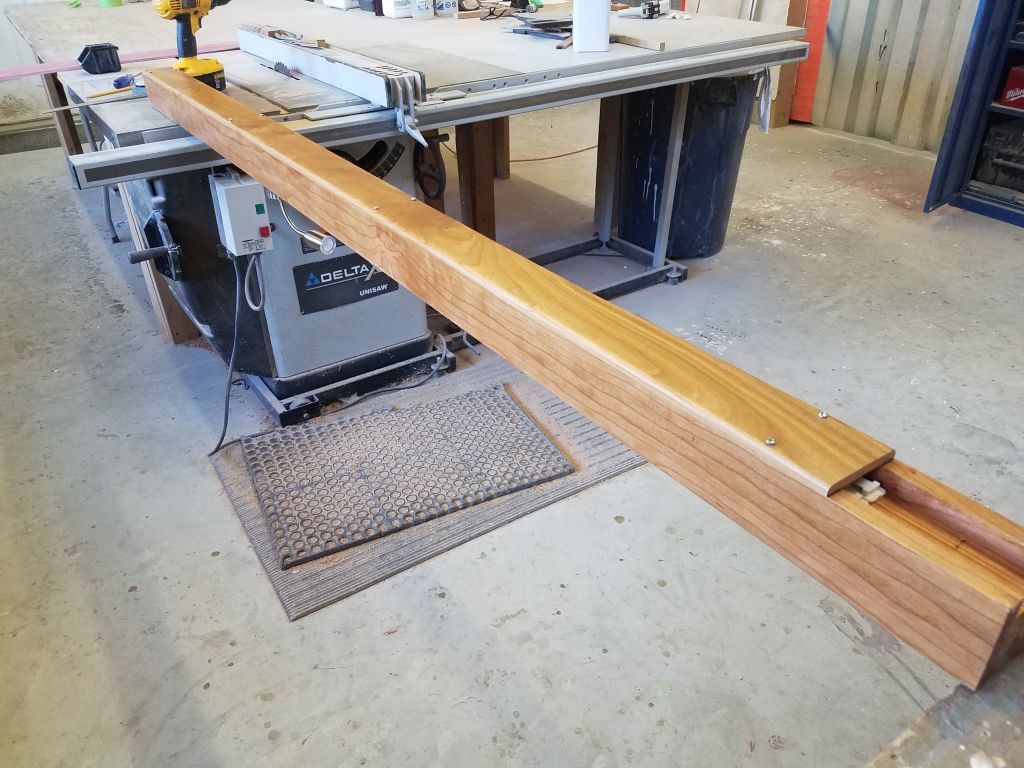
Preparing ahead for its eventual installation, I installed a series of wire mounts inside the channel in the forward side of the mast compression post, starting just at sole level and mounting them every so often up to the top. Then, I measured the height of the cabin table (about 30″), and installed a little chart light with USB port on the aft side of the post about 12″ above the table top, running the wires through the post into the channel. Afterwards, I laid out and temporarily installed the wooden cover over the wiring channel, though I planned to remove this before installing the post later.


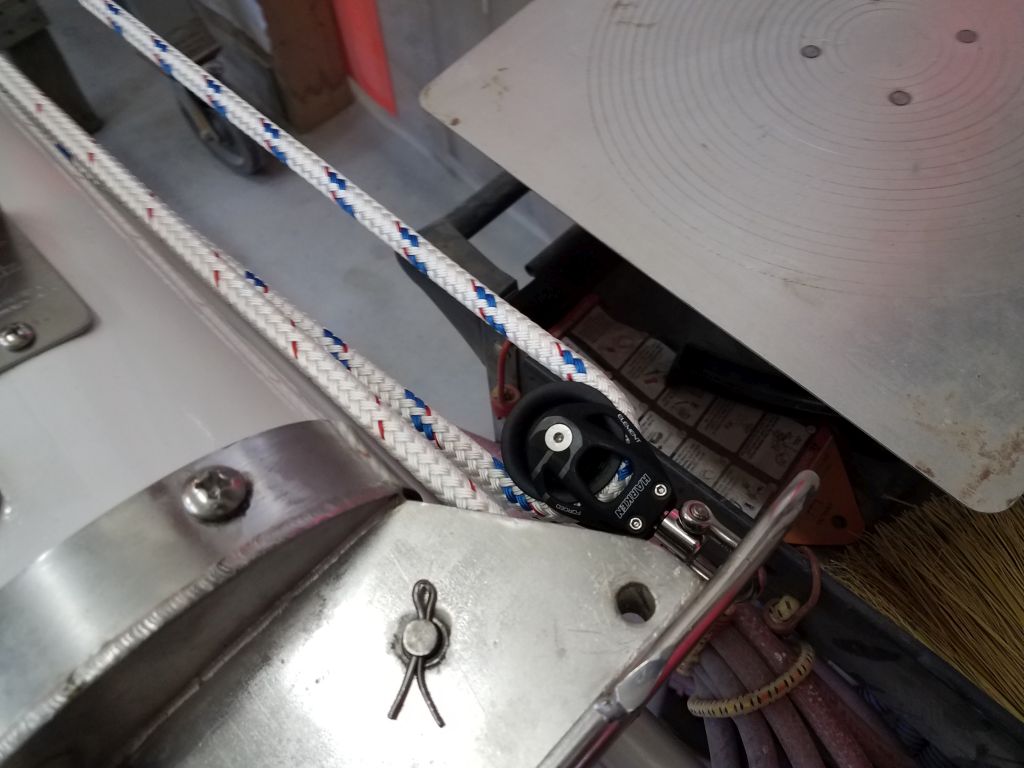
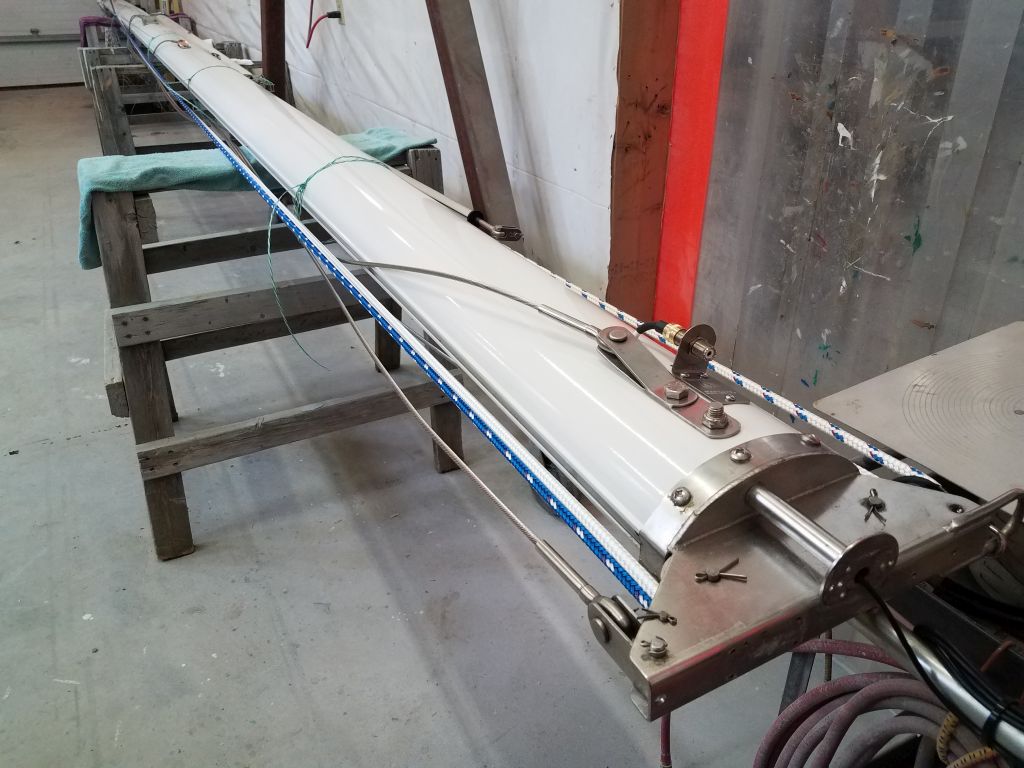
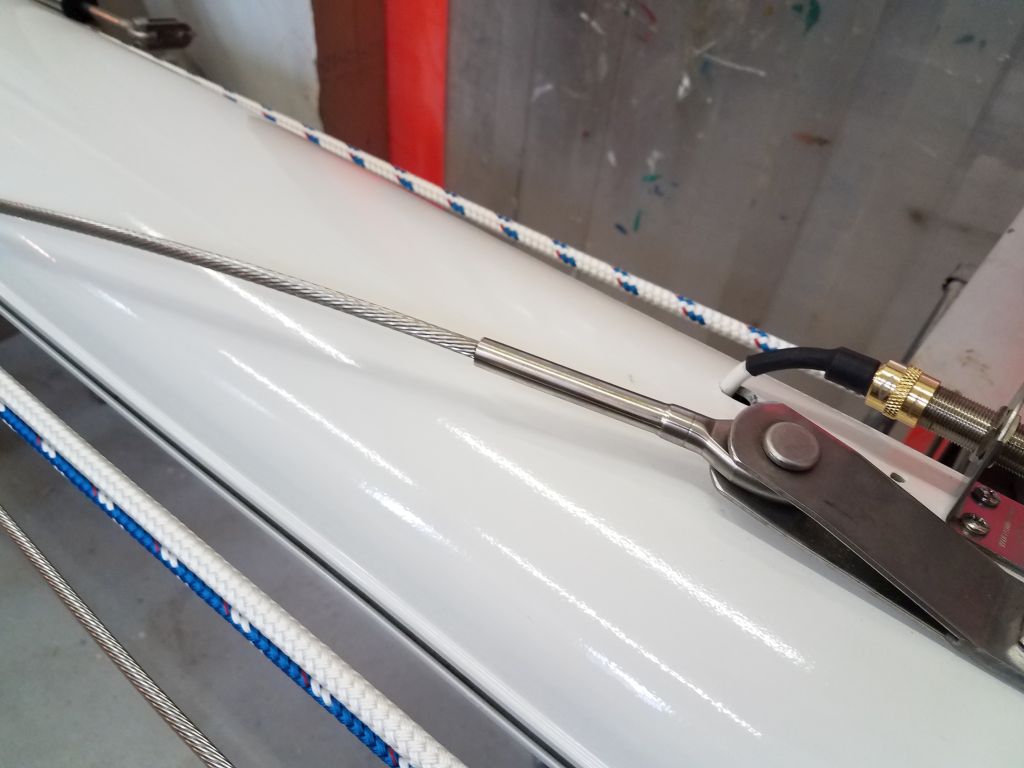
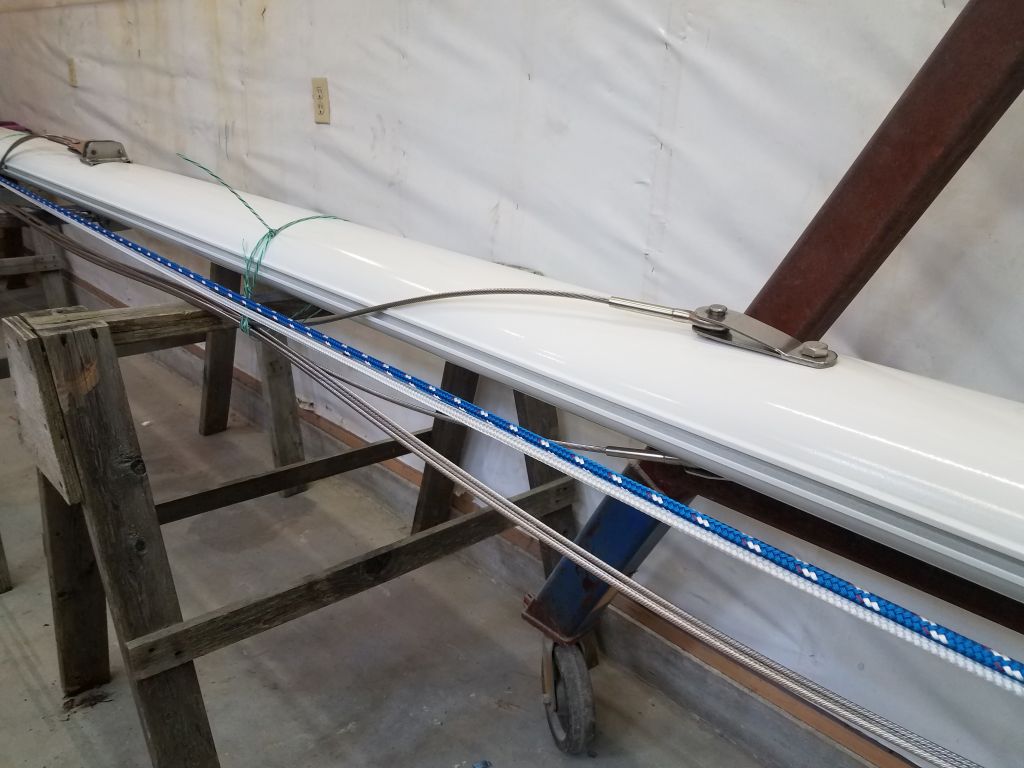
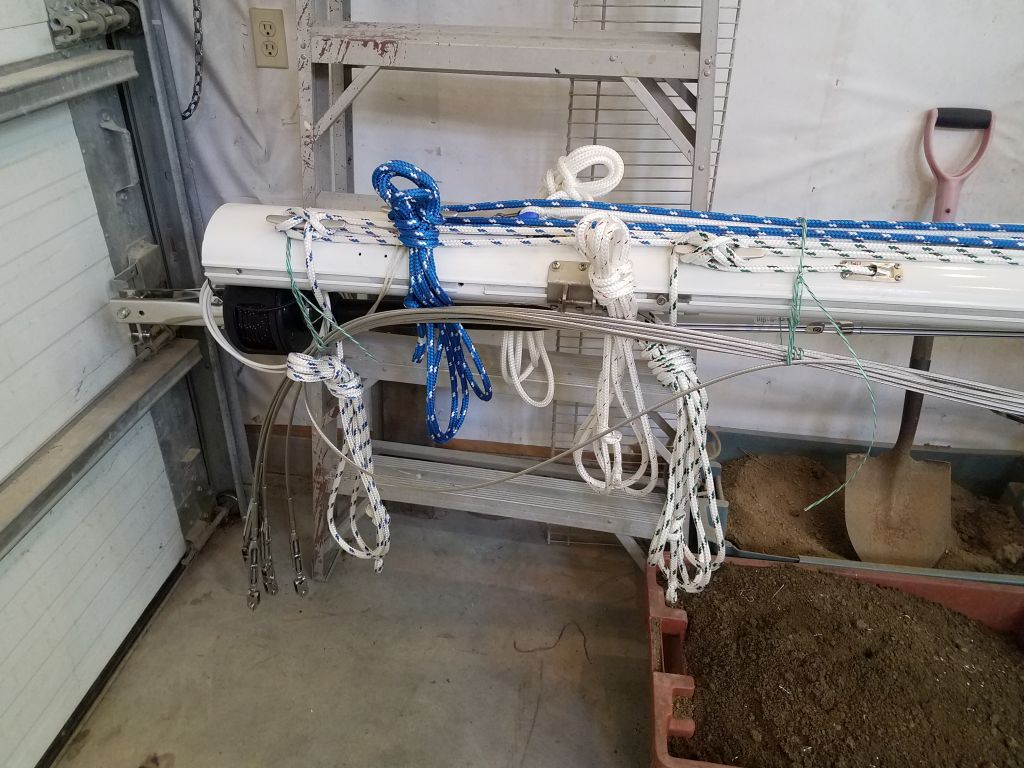
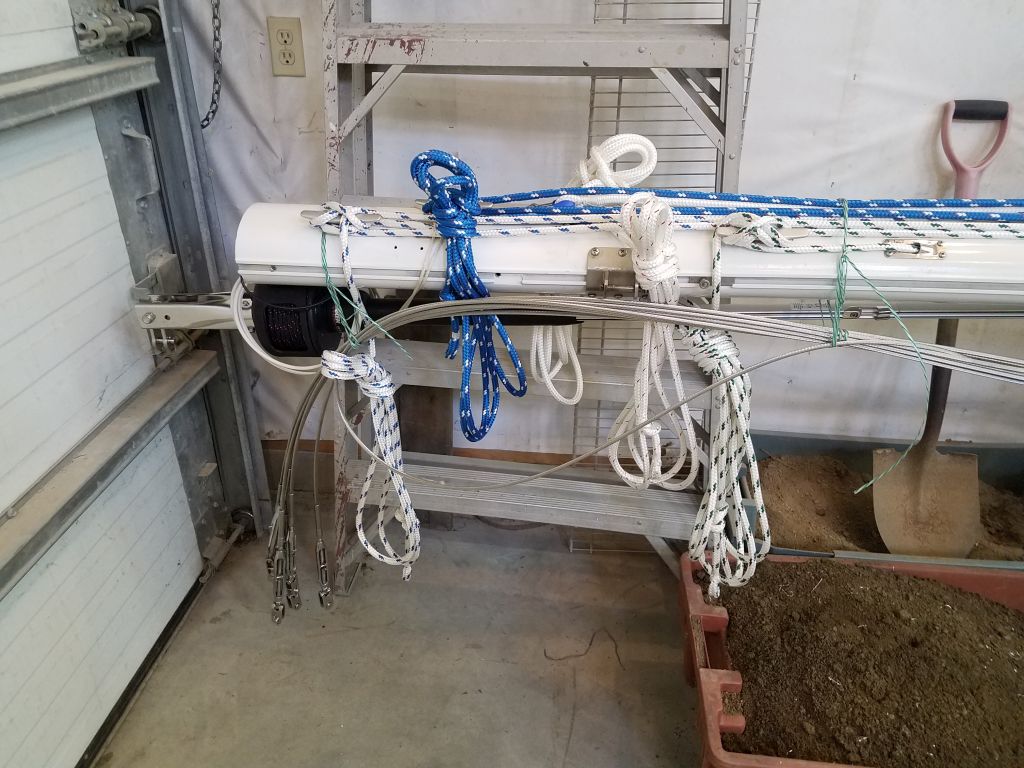
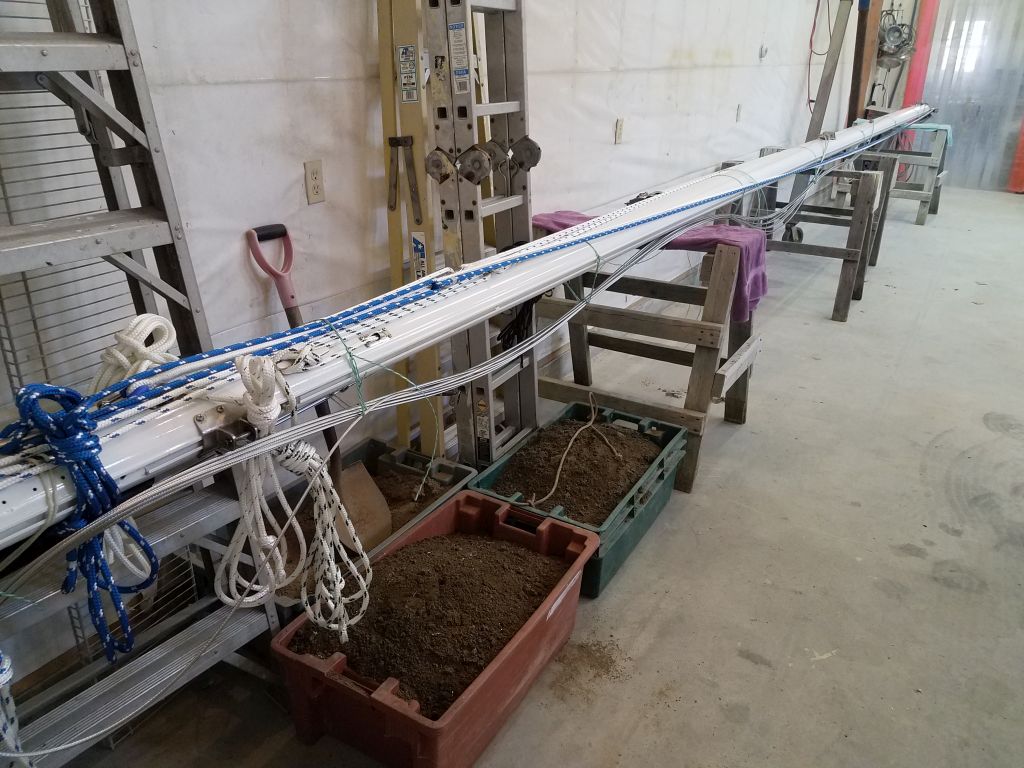
Mike from the rigging company was here for a few hours during the morning to install the new masthead sheaves, reeve the halyards, and install the rigging on the mast, as well as measure for the new lifelines.

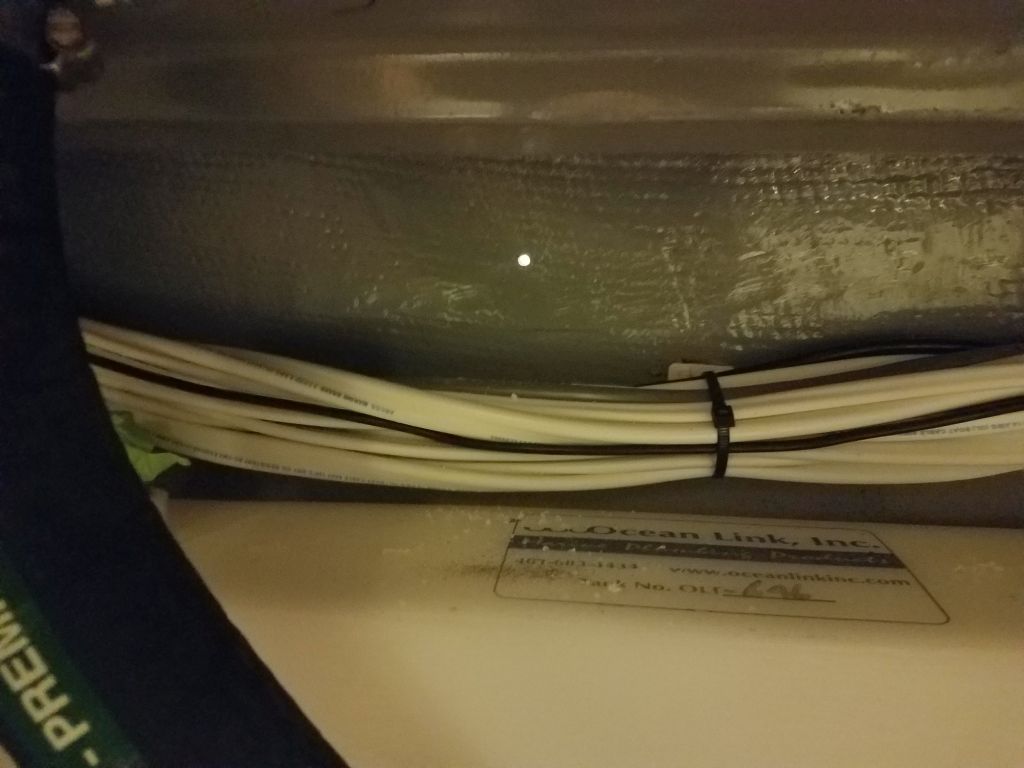
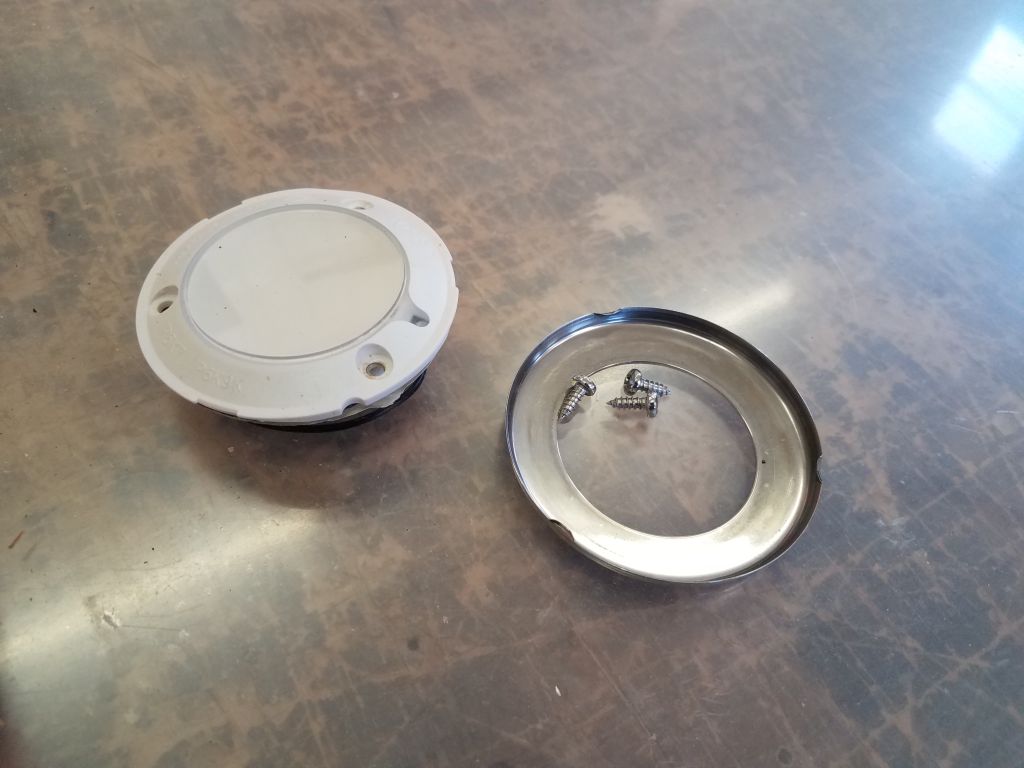
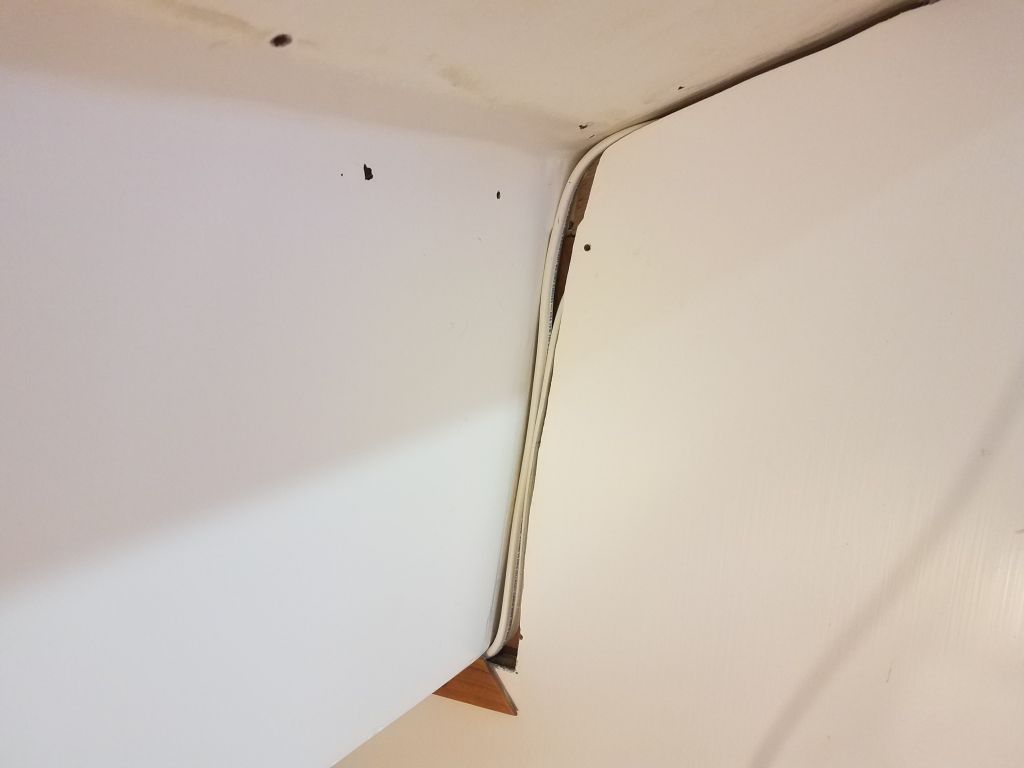
I spent the first part of the afternoon working on the lighting and switch wiring in the starboard aft end of the cabin, near the companionway. The owner had requested a small overhead light here, for which I’d built a round base some time earlier, as well as a switch to operate this light along with the identical fixtures in the galley. I hoped and planned to hide the wiring for the light and switch behind and in the gaps around the molded interior liner at the bulkhead.
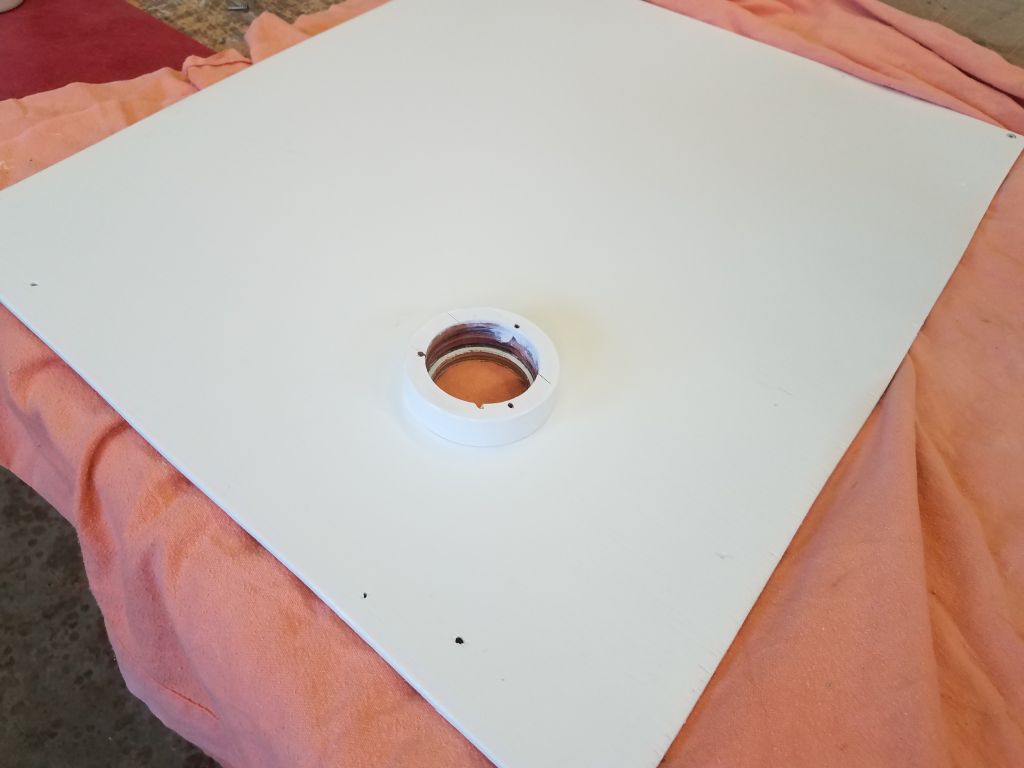
There was a large hole in the original overhead here where a stove pipe had once passed, and this was the general location I planned to mount the new light, so I measured the center of the hole and transferred it to the new plywood overhead panel so I could drill a hole for the light fixture and wiring. I had some issues trying to screw the wooden ring to the plywood, so instead I glued on the ring and would later install the small round puck fixture once the overhead panel was finally installed.

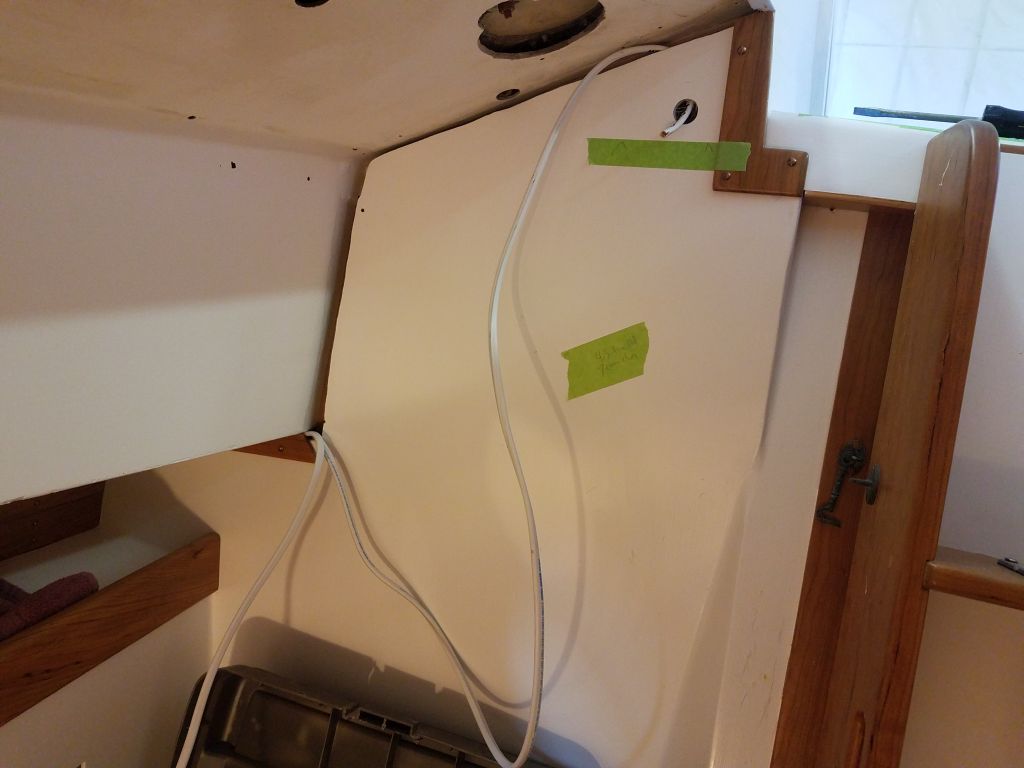
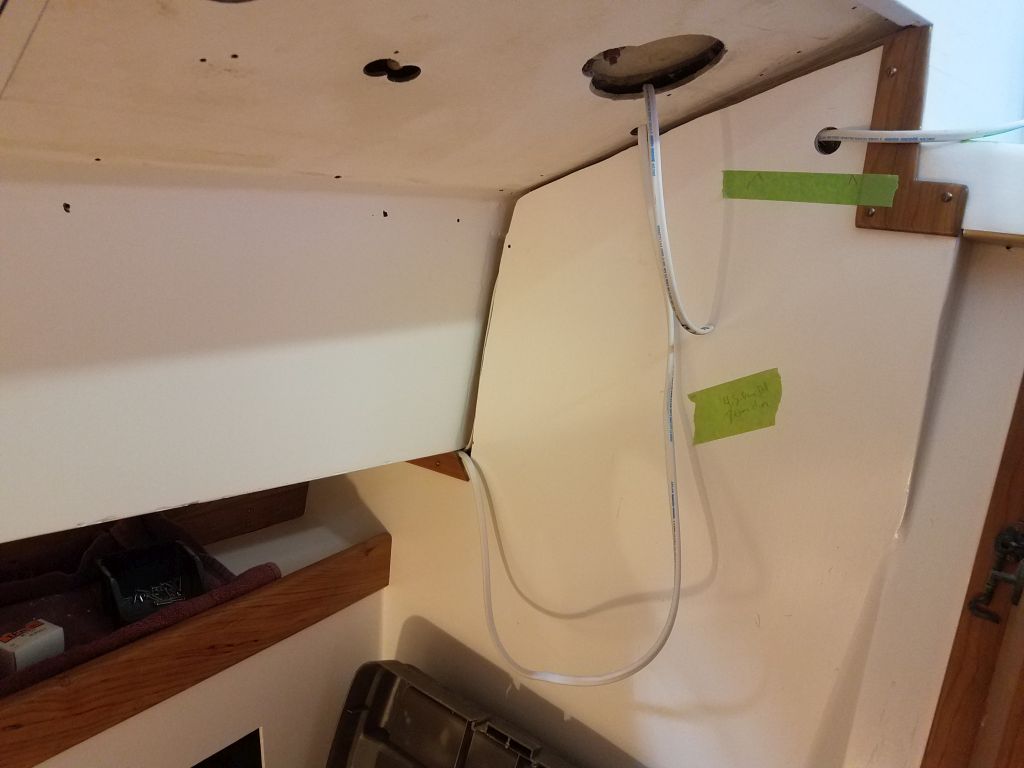
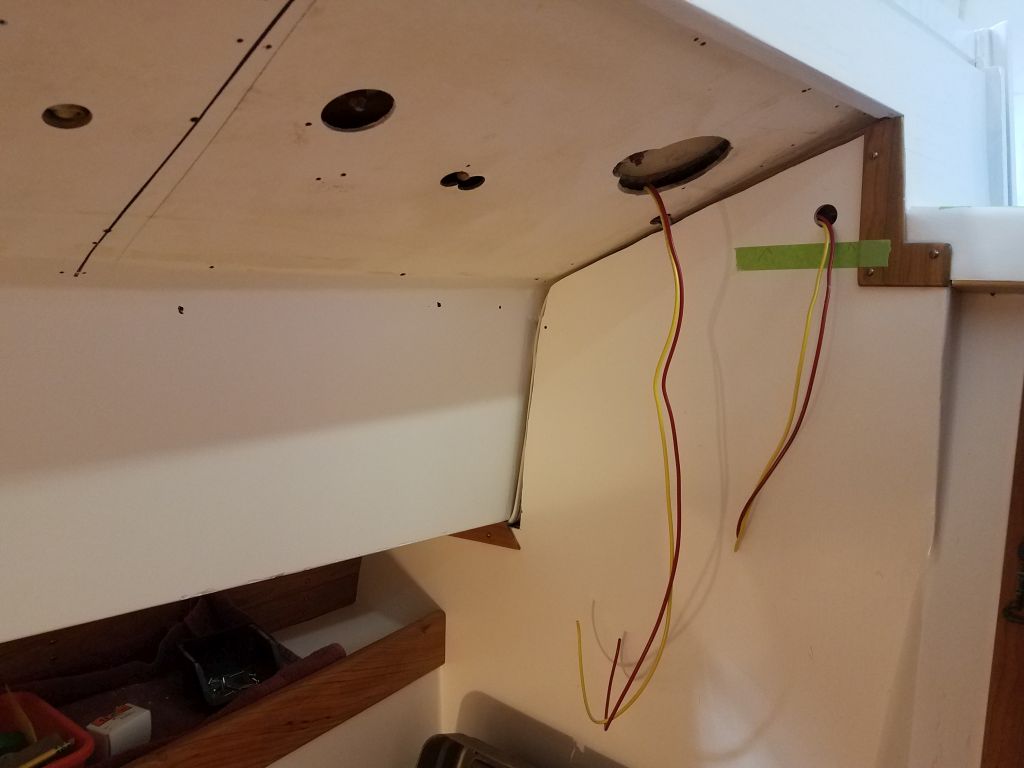
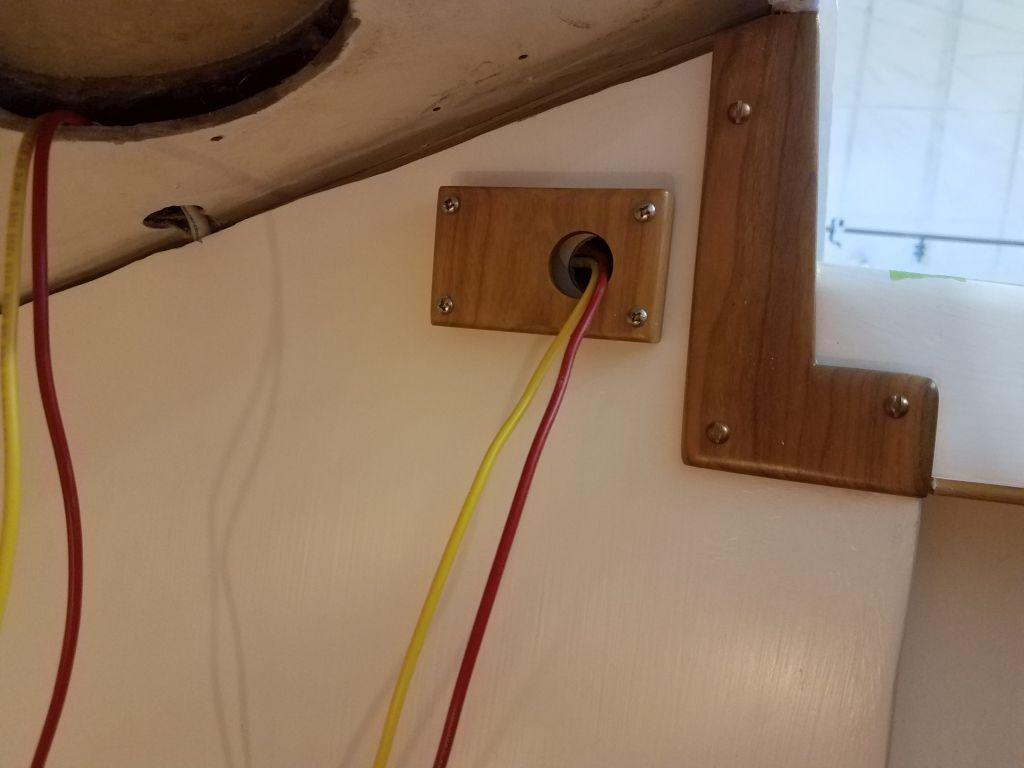
The little switch would be mounted in a wooden cover plate I made earlier–needed to allow for the depth of the switch and the blind wiring in the location–so once I determined a mounting location, near the companionway opening, I drilled an access hole and then fed in the wires intended for the switch. I could also lead the wires for the light fixture behind the bulkhead and through the old overhead into the opening where the light would be; the wires fit nicely in the large space next to the bulkhead liner, and these gaps would be covered by the cherry trim that I’d already made for the purpose.
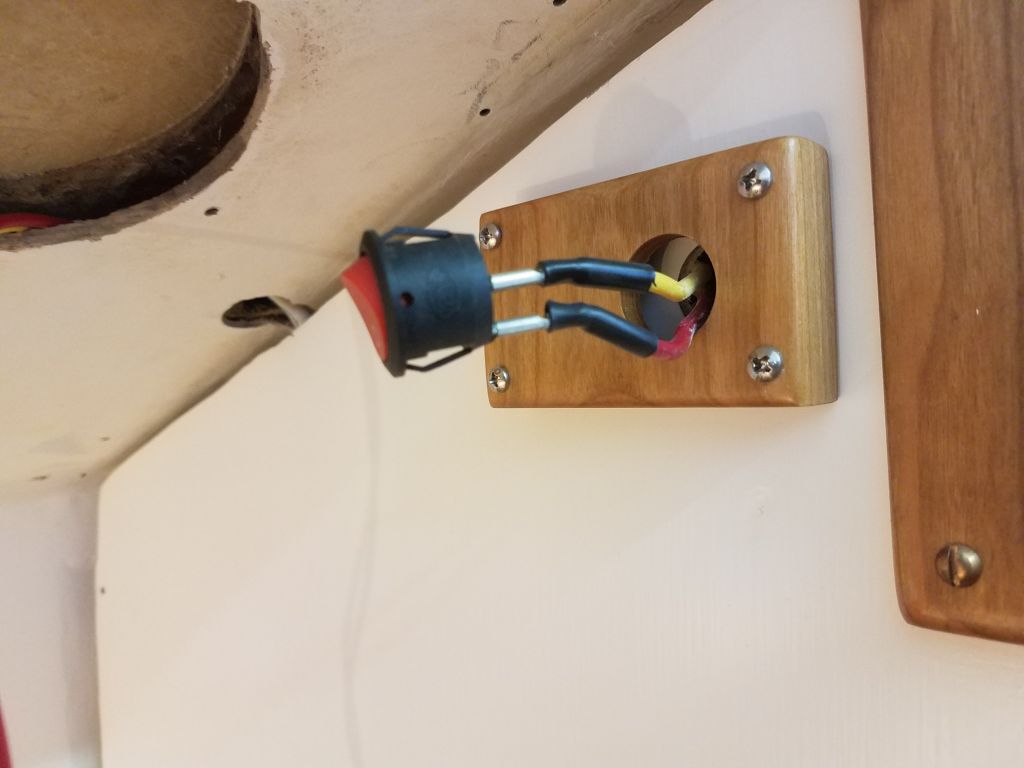
I’d hoped to lead the switch wires straight out through the backing block and to the switch, but I found that the design and depth of the switch, and the terminal ends, didn’t allow this, and after trying a few things I eventually turned around the mounting block and enlarged the hole in the fiberglass behind (not shown) to give some more room for the wiring and terminal connections in the hollow back side of the cherry mounting block. I wasn’t sure which terminal on the switch was which, but it’d be easy to swap the wires later if needed once I had the boat powered up.
I’d make up the final wiring for the light fixture later, when I installed the overhead panel. For now, I needed to keep this area open pending installation of the staysail sheet winches.


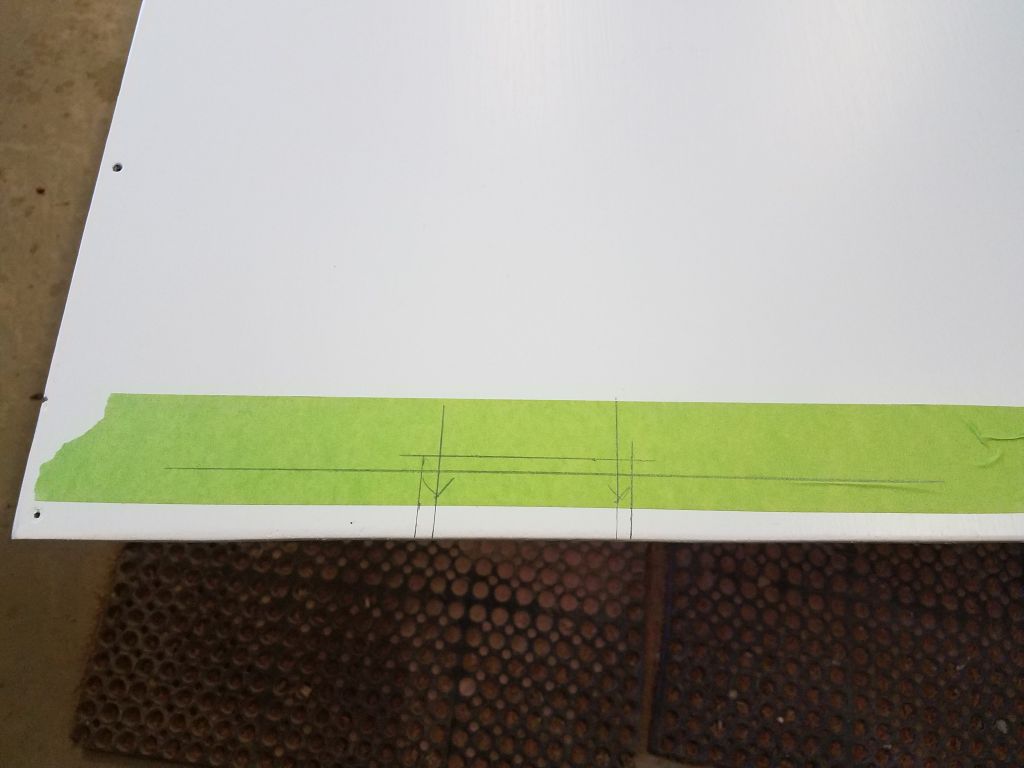
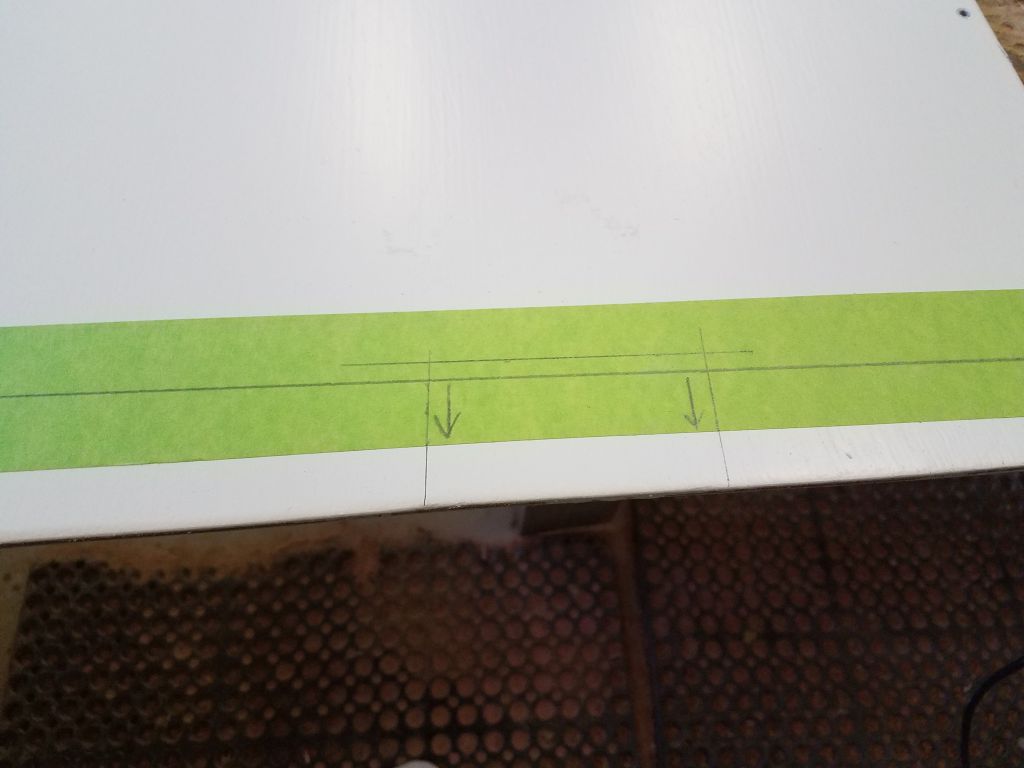
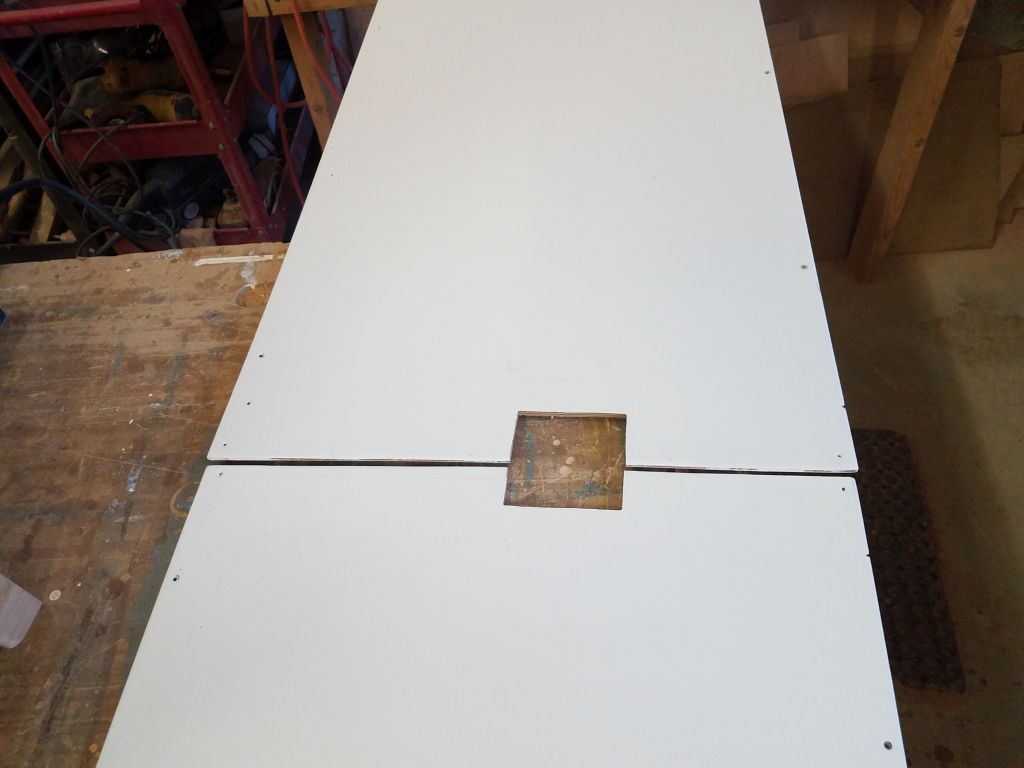
With overhead on the mind, and the day where I could finally install the fresh new panels approaching, I temporarily installed–one at a time–the forwardmost panels on each side so I could use the marks I’d made on the old overhead to mark the new overhead panels in way of the compression post. By aligning a ruler with the marks I’d made previously, I could transfer the position of the post to the new panels.


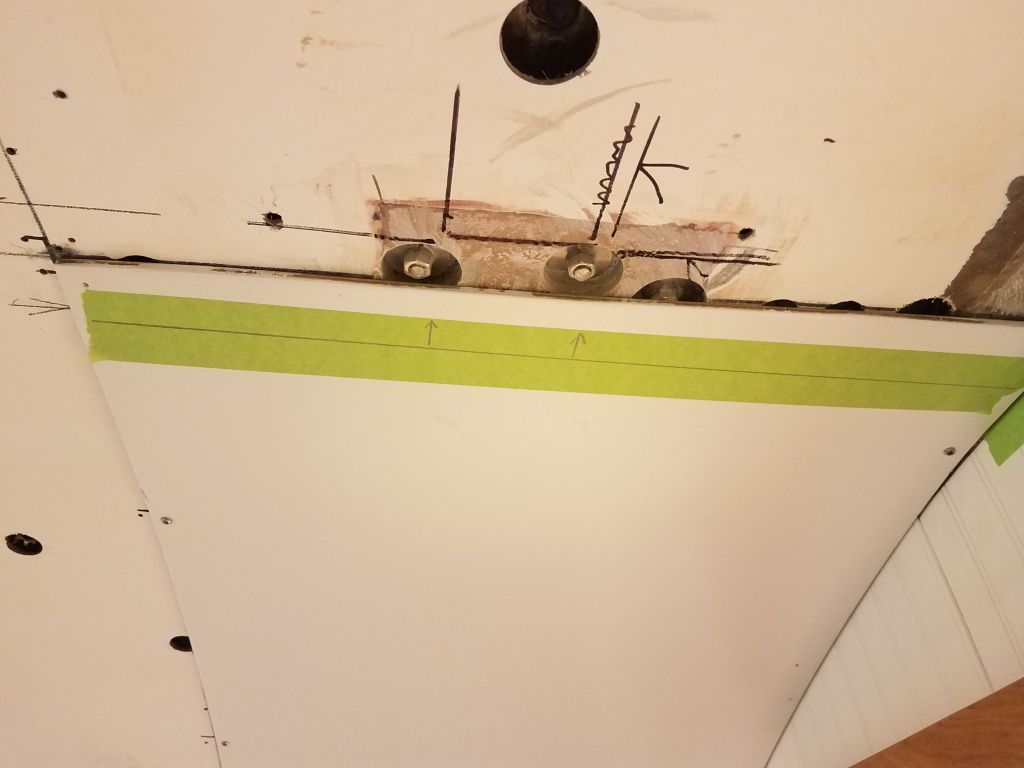
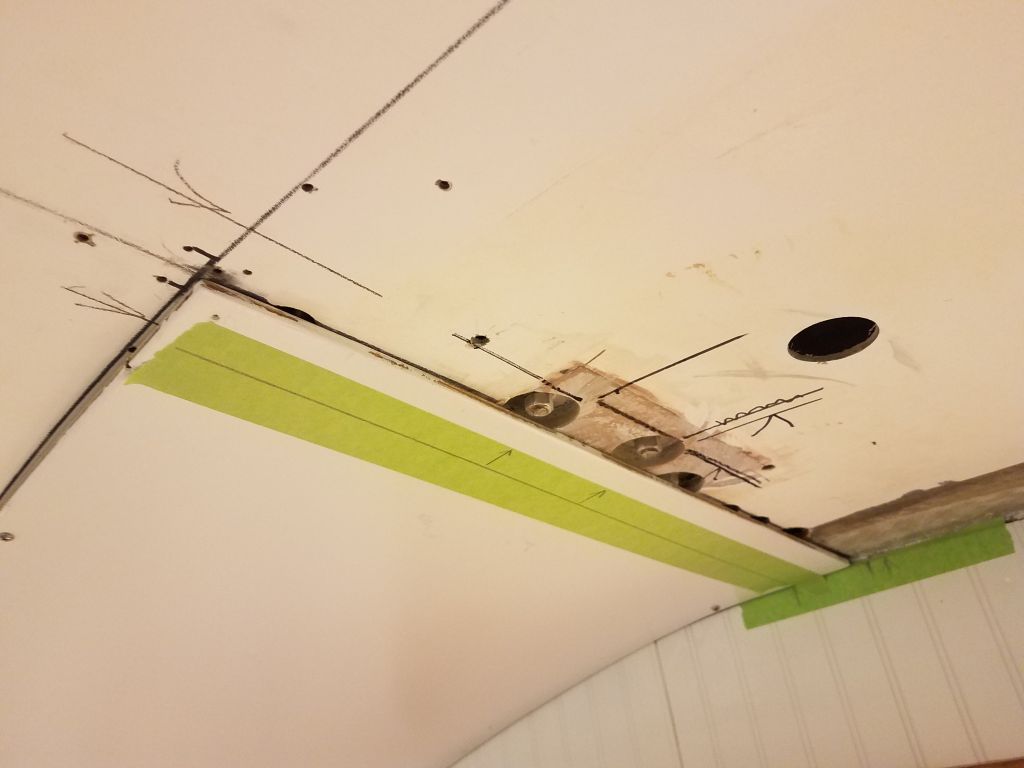
Down on the bench, I cut out the openings in each panel, allowing an extra 1/4″ on all sides for clearance, Clarence.
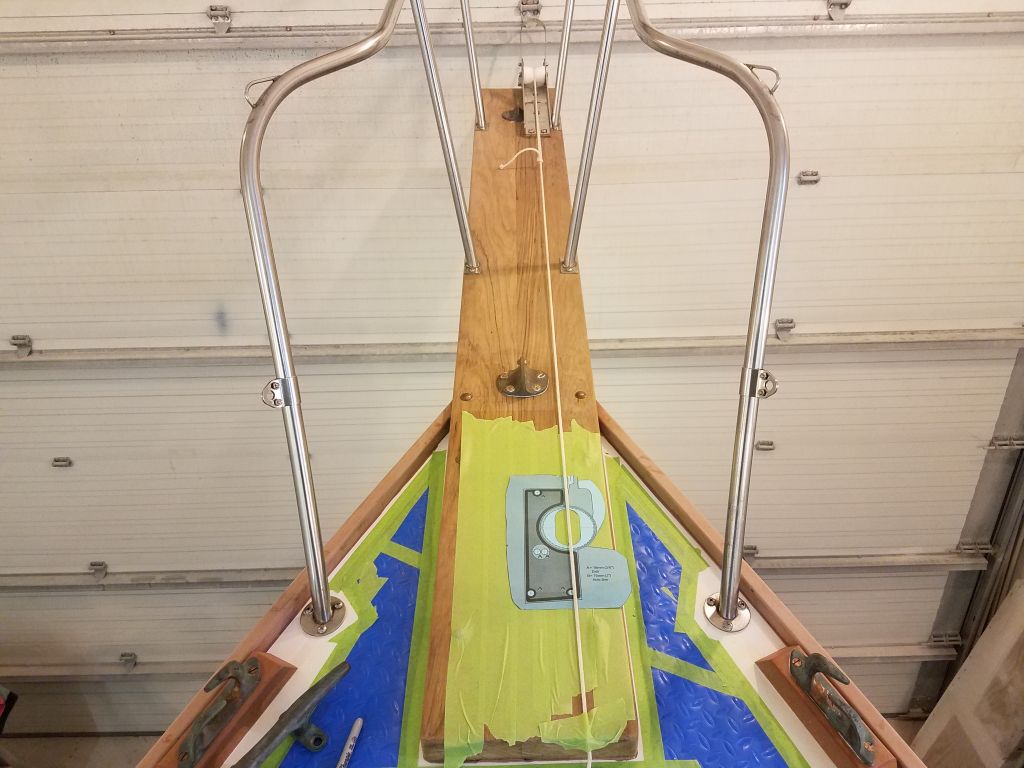
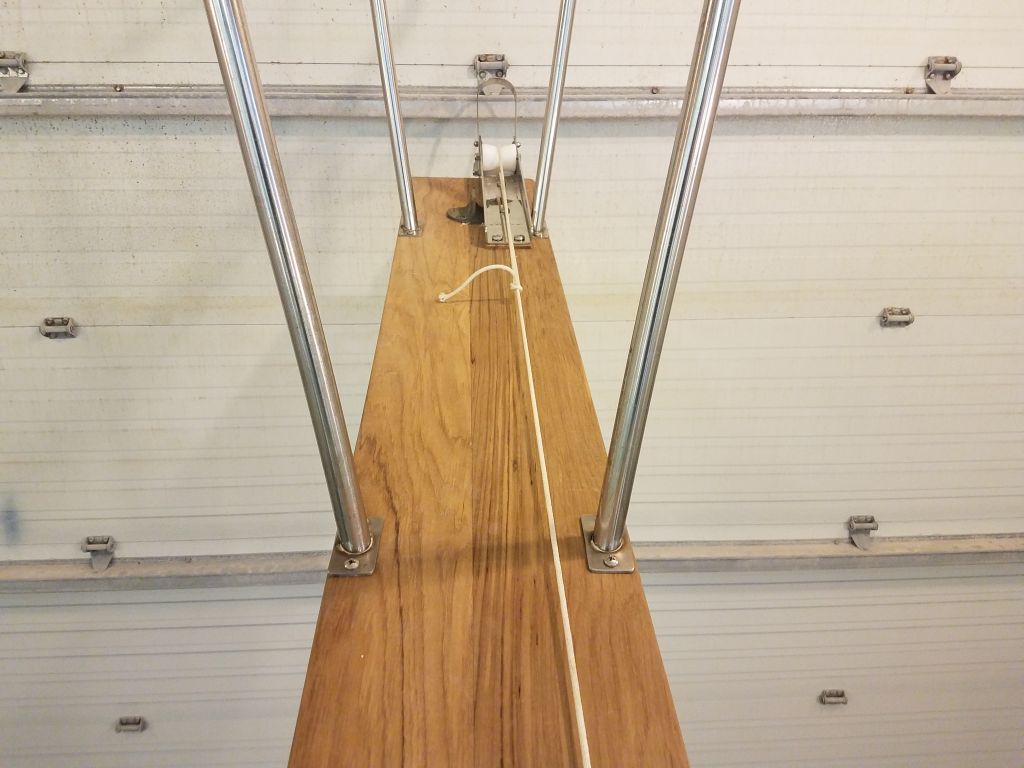
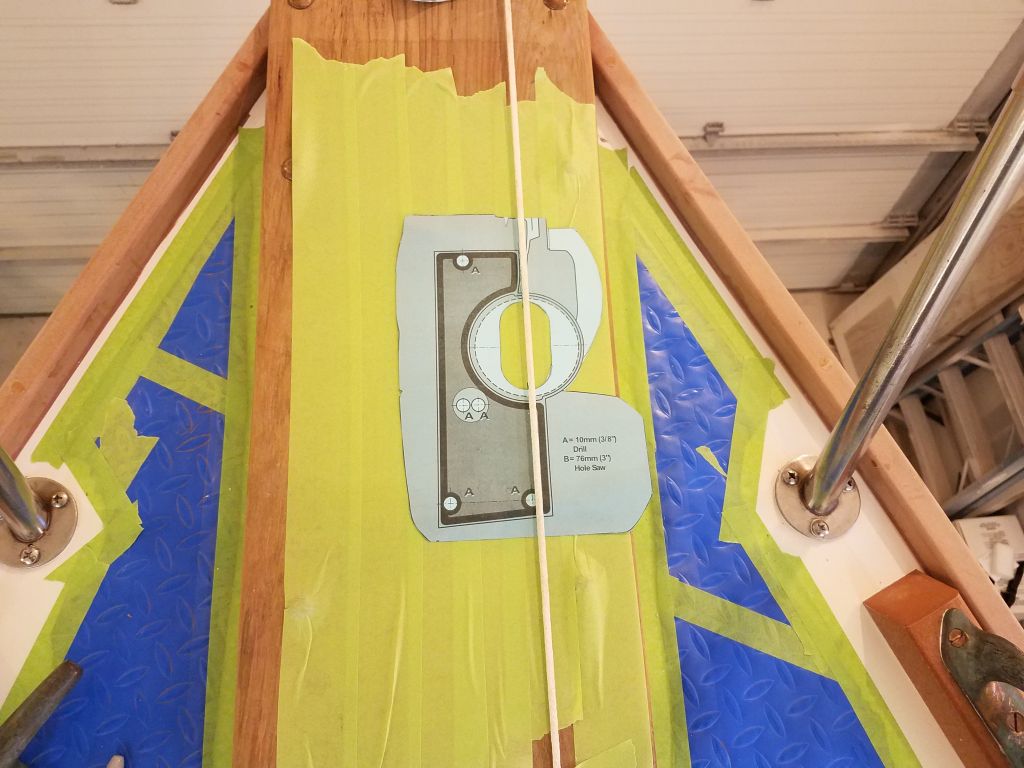
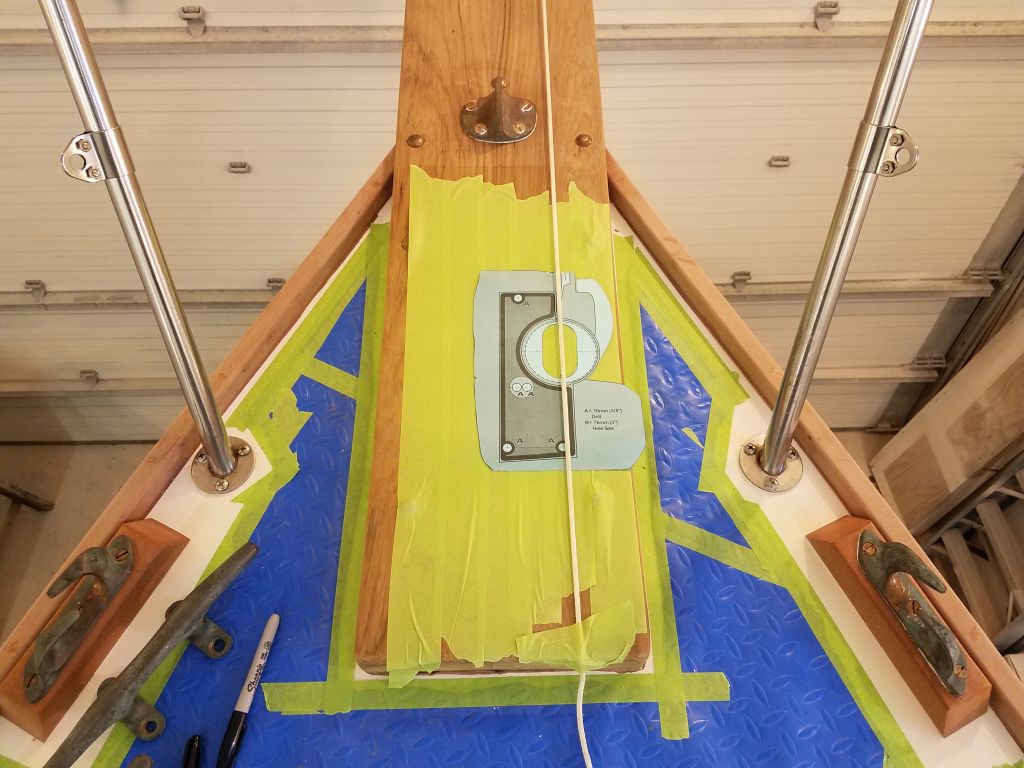
With just a bit of time left in the day, I worked with the windlass template to set up the initial layout on the bowsprit, using a line tied to the anchor roller to ensure the proper alignment for the anchor chain to the gypsy.
Total time billed on this job today: 7.75 hours
0600 Weather Observation: 33°, mainly clear. Forecast for the day: Mostly sunny, 30°