


May 16, 2019
Scupper 145
Thursday
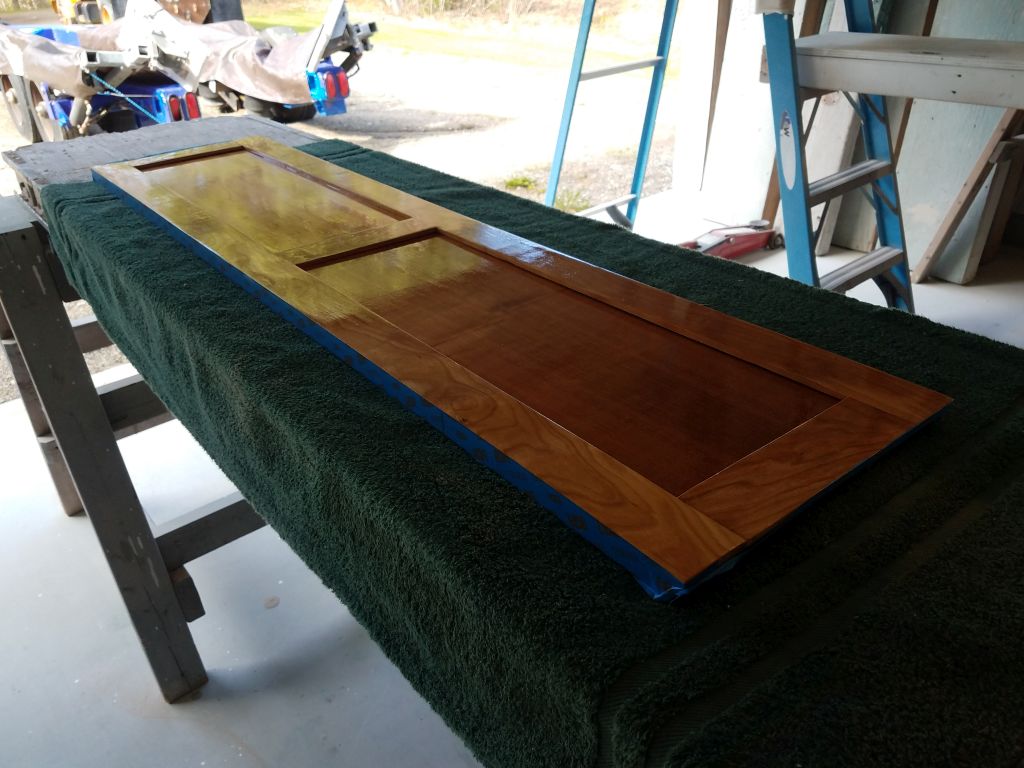
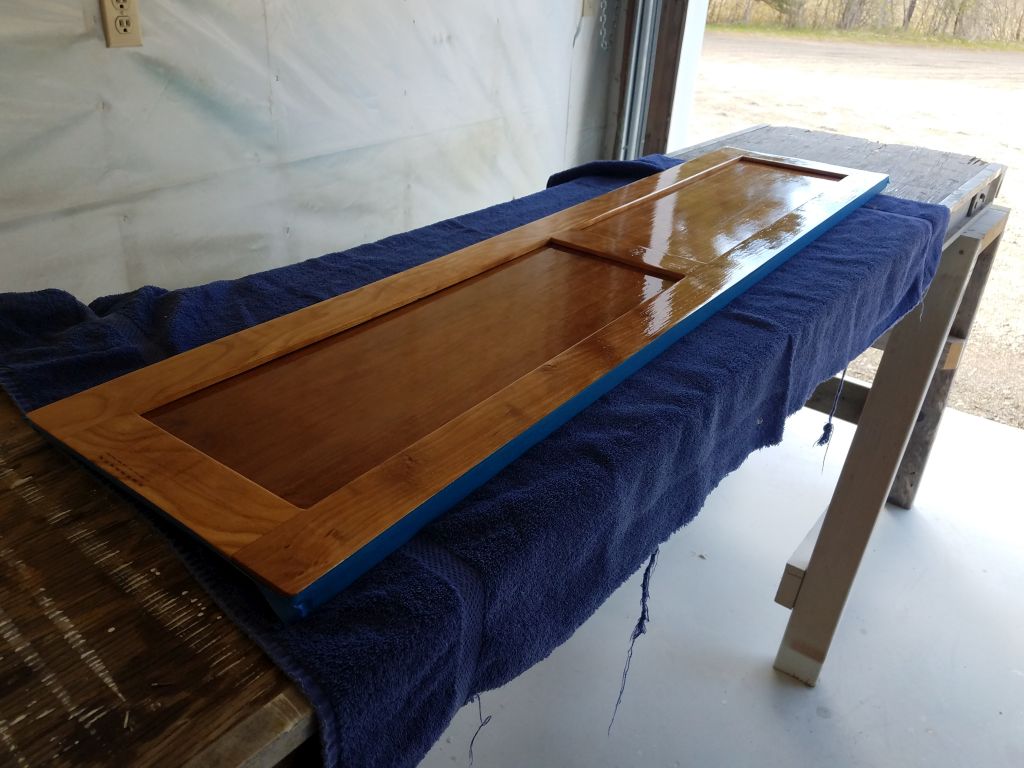
First thing, I sanded and varnished anew the forward cabin doors.
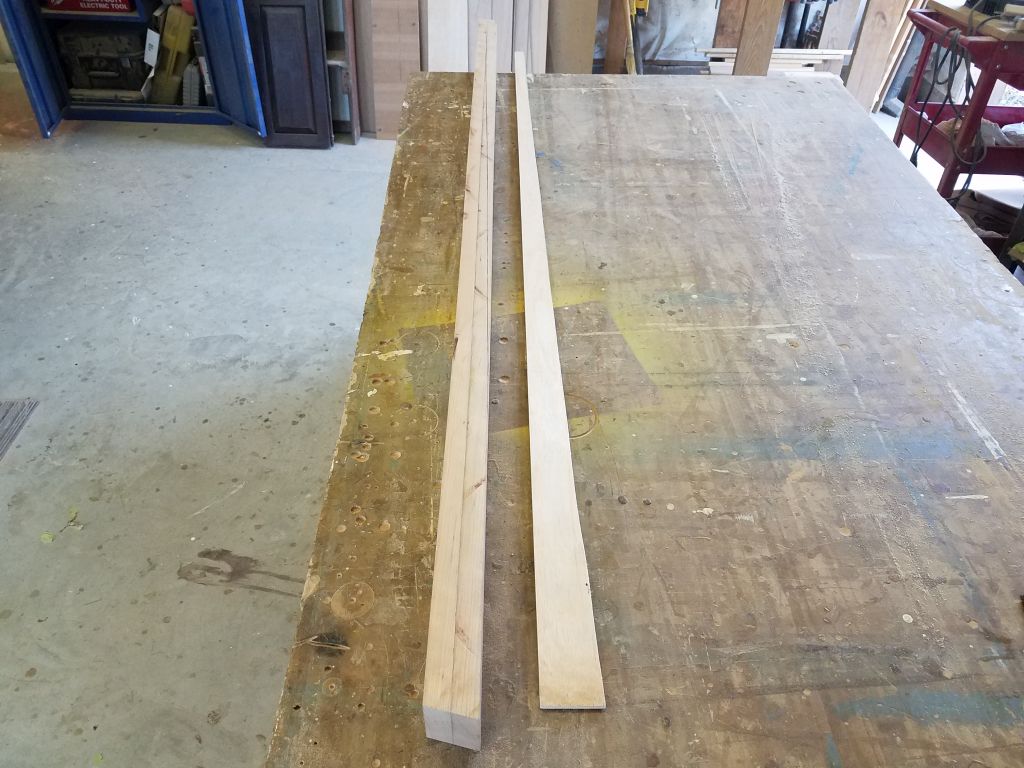
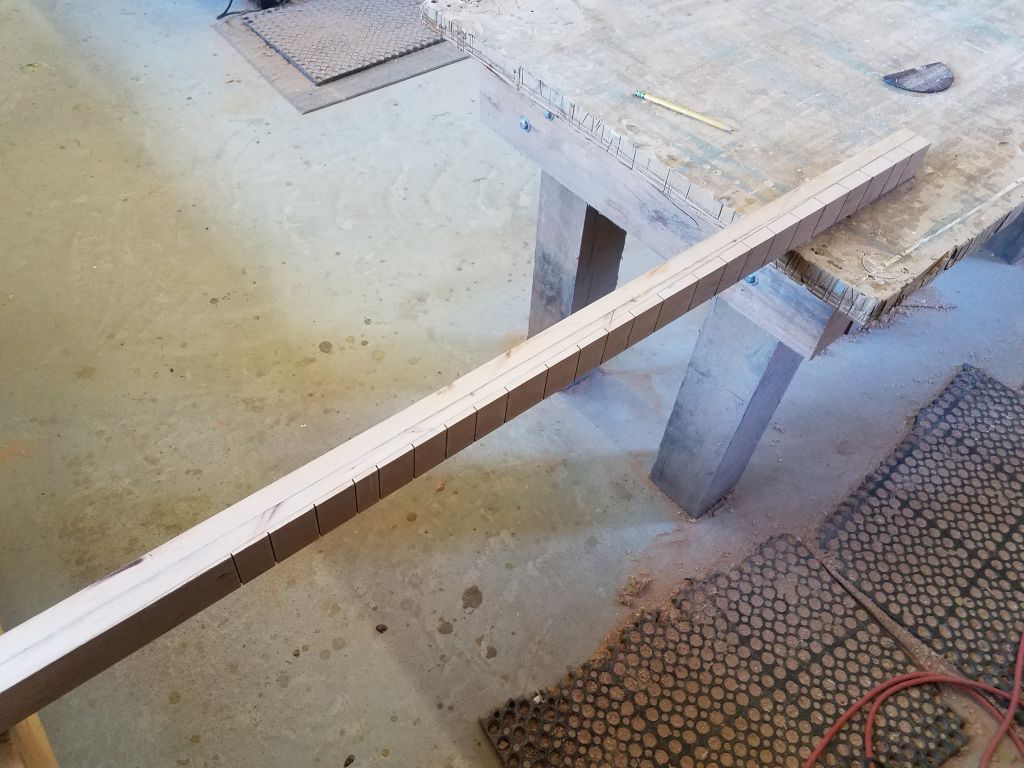
I made a plywood template of the shape of the side of the companionway ladder, which I could use to mark the required angle on both sides of the laminated blank I’d made for the hinge mount and trim. I made a series of cuts into the blank from the waste side, stopping just short of the layout lines; these cuts would acted as guides as I planed and sanded the blank down to the proper shape, sneaking up on the line and final shape.
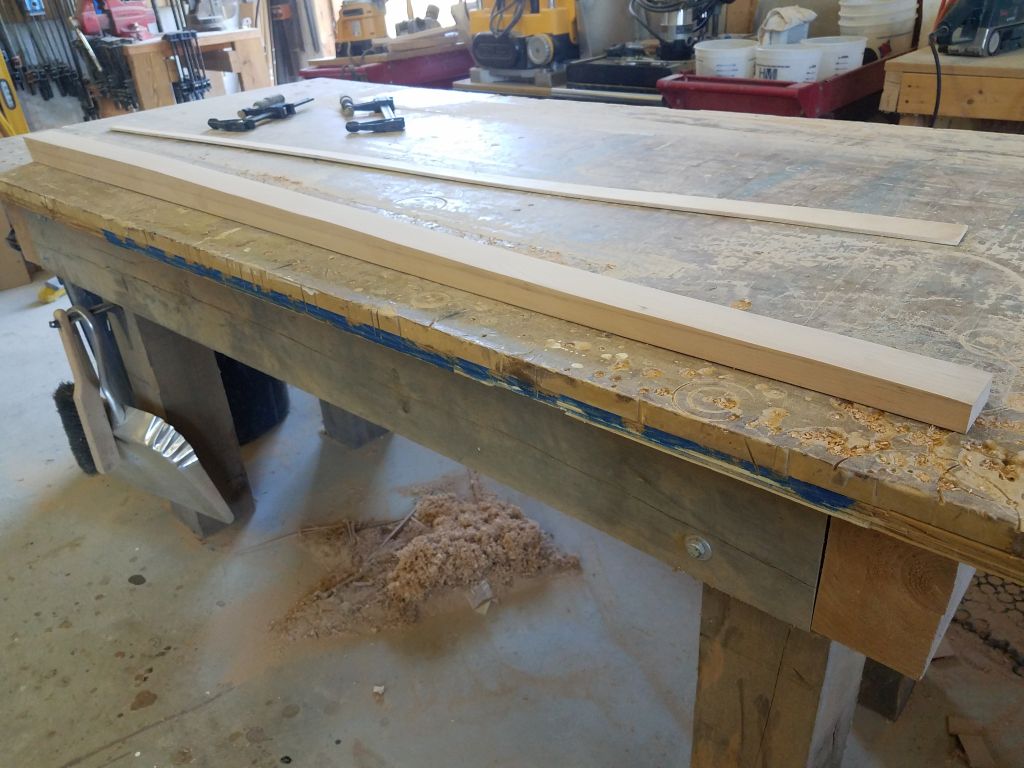
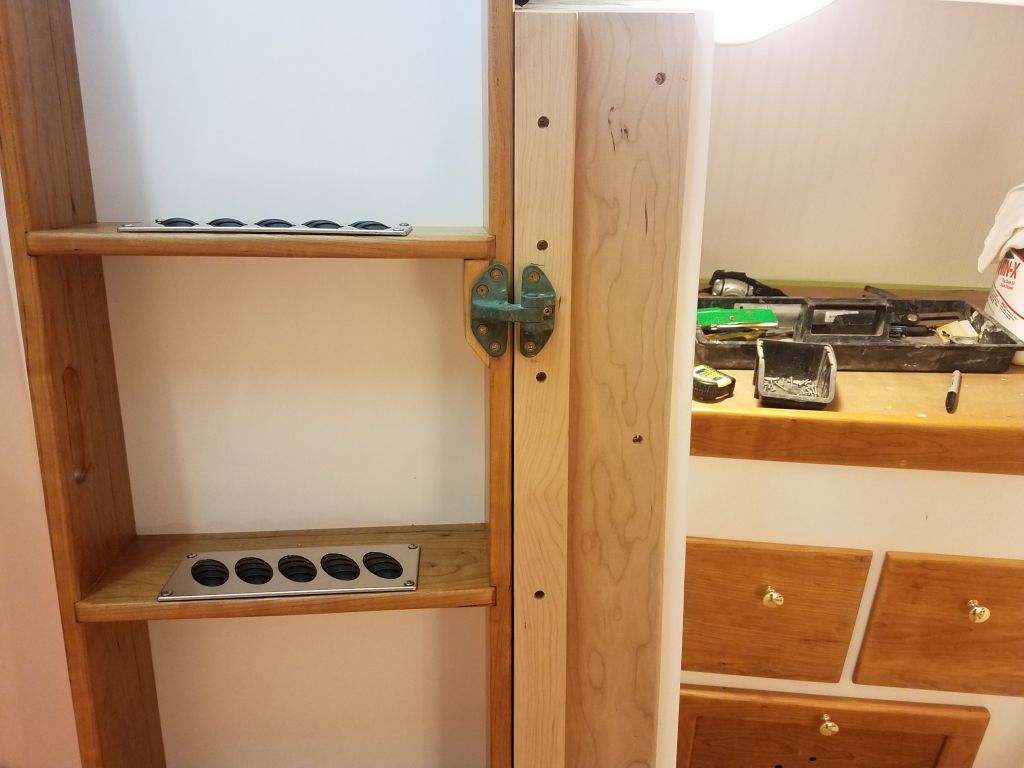
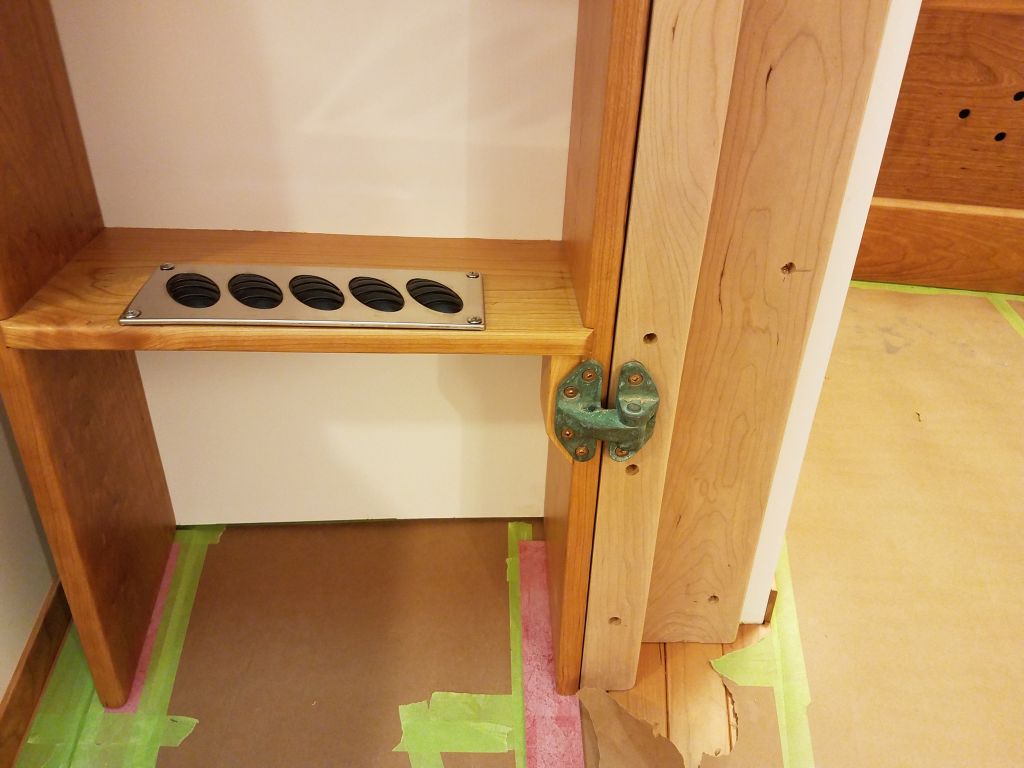
After a test-fit to measure and cut the angle at the top edge of the new trim, I installed the trim with glue and screws. Because this trim would support the weight of the door and the users of the ladder, I added extra screws on either side of each hinge location.

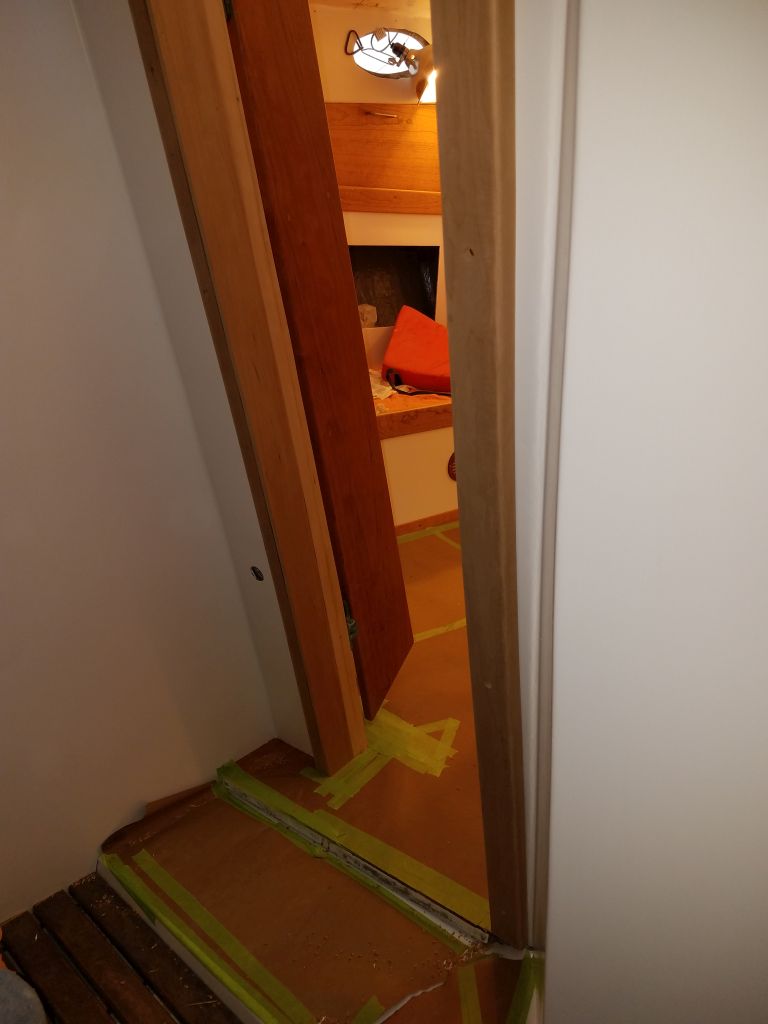
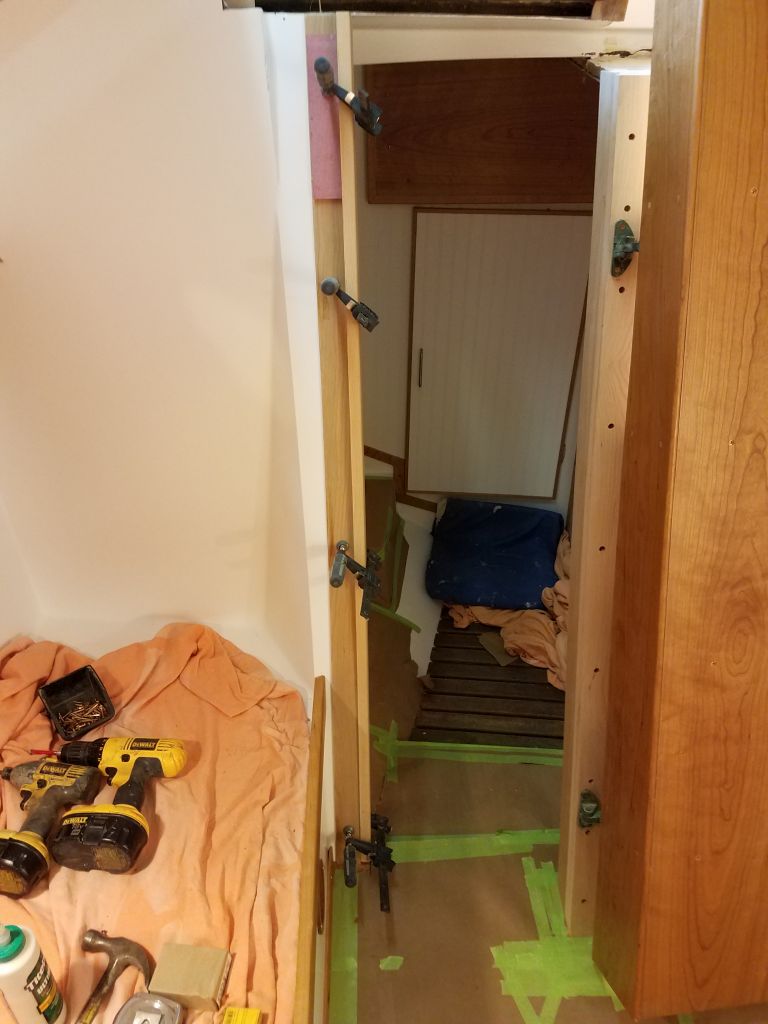
Now I could install the hinges and operate the door for the first time, which I did with some trepidation, hoping it would swing as intended; it did.
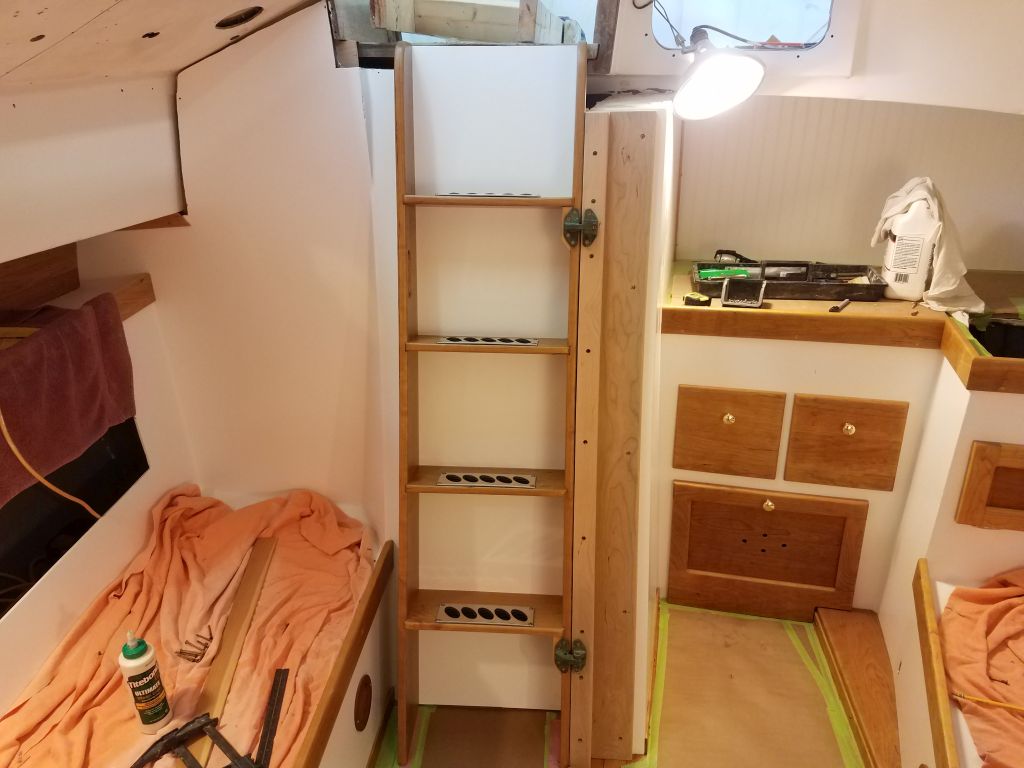

With the door fully closed, there remained an angled gap on the outboard (starboard) side of the opening, since apparently the angles of the molded interior on the hinge side didn’t match that of the opposite side of the opening. Inspecting the original trim from the starboard side, I found that an angle had been cut into the rabbet that helped make up for this in the original setup as well, but I didn’t have any detailed photos to show just how the old door/ladder unit had rested here; this was of no matter, but I would have liked to compare the original for my own edification.
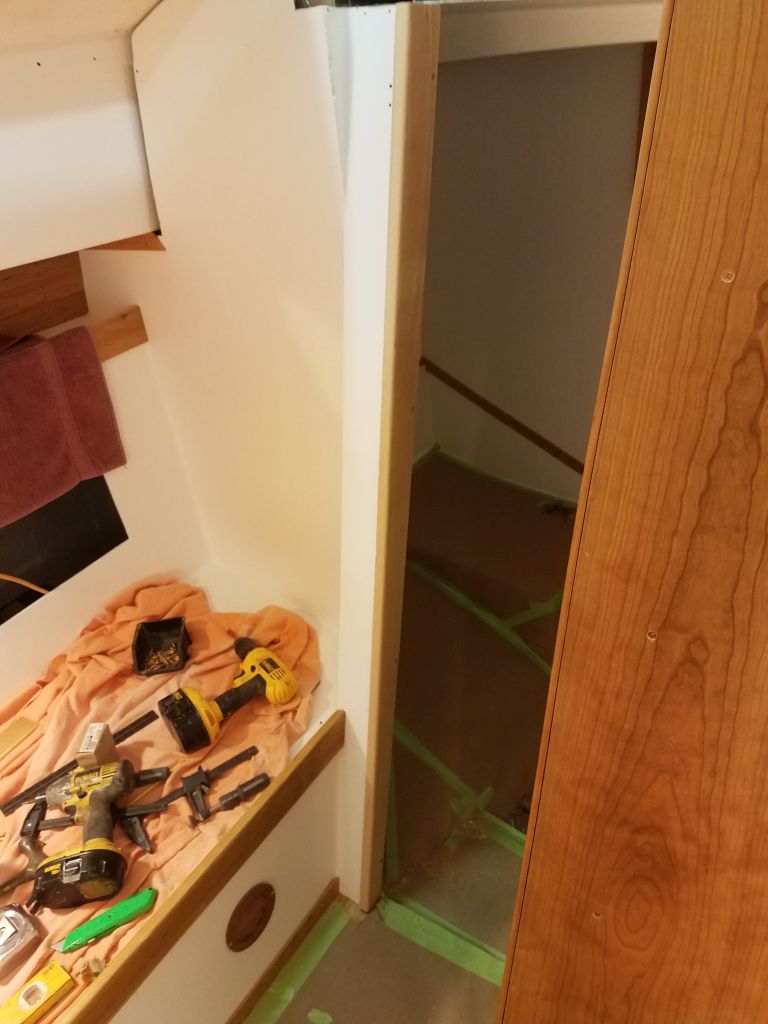
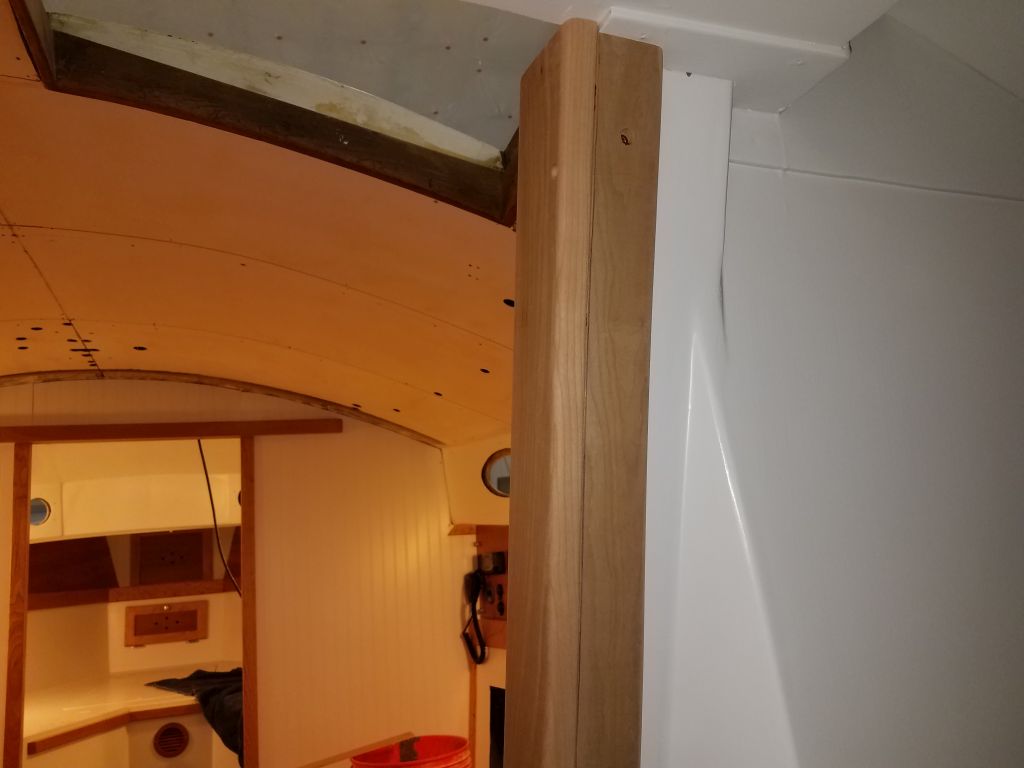
Regardless, now I had to trim the opening to accommodate how the door rested now, so to begin I cut and fit a piece of trim on the head side of the opening, running from sole to overhead and following the line of the opening. I attempted to set up the trim so it was plumb, but found that the original opening was far from this ideal, and to bring the trim out far enough to correct it would have been frankly silly, and impeded the narrow opening even more than the opening managed on its own. I decided there was no reason the trim had to be plumb, and that it was better to match the existing angle. Since the adjacent surfaces were angled as well, there would never be any visual cues to draw one’s eye to it, so the practical answer was to match the opening’s contour itself.

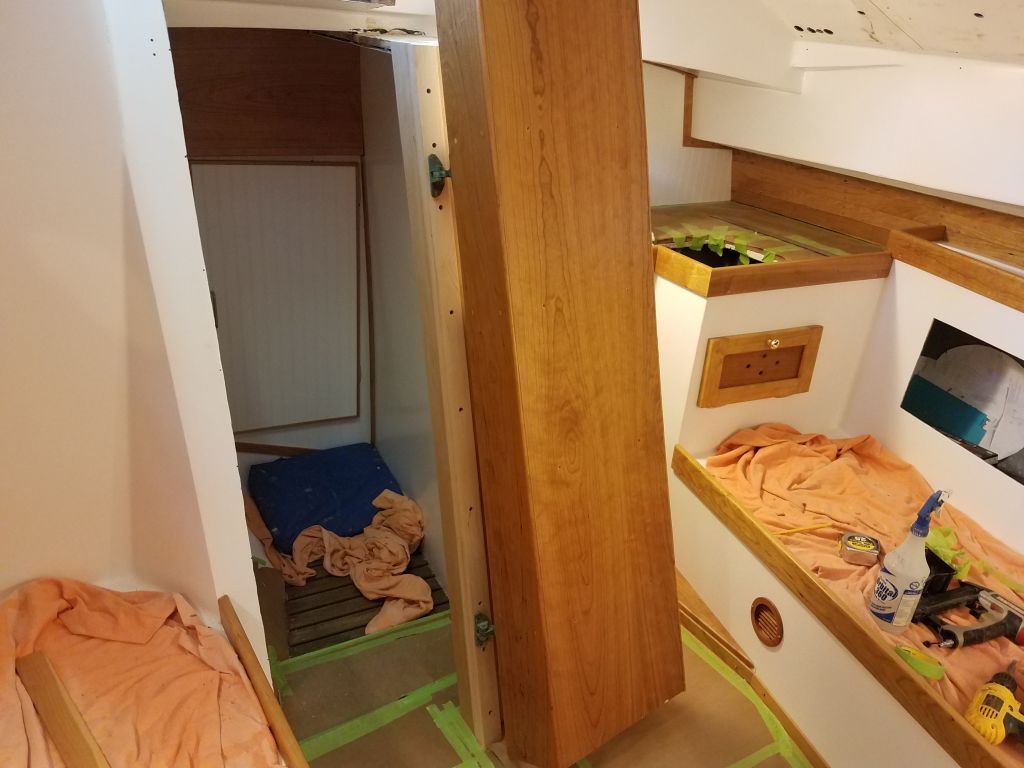
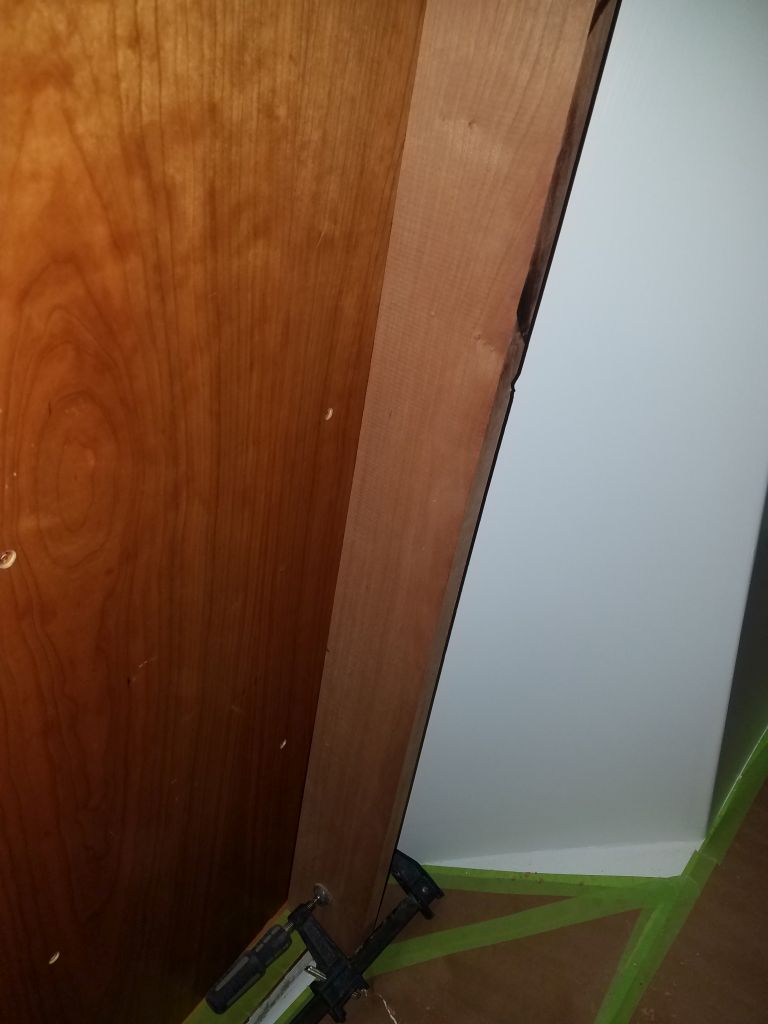
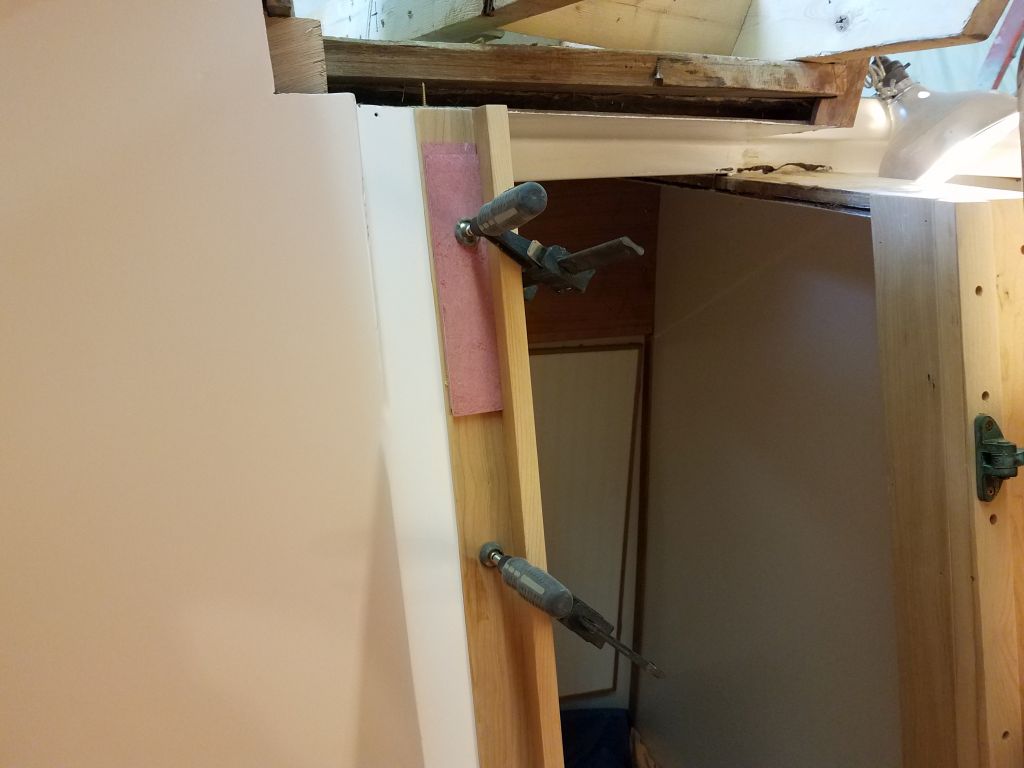
This first piece of trim provided a landing point for the next piece of trim, which would provide me with the angle I needed to close off the outboard side of the opening and meet the back side of the door. After some measurements, I cut an oversized blank to fit in the opening and extend out as needed to meet the door. To allow trimming the side of the opening on the main cabin side, I held the bottom edge of this trim 1/4″ out from the bulkhead; the top edge would be substantially further proud of the bulkhead. I clamped this edge trim in place against the closed door, then marked the edge where it passed by the vertical trim I’d just installed on the inside. Then, I cut the trim to the line, sanded and profiled the edges as needed, and finally installed the new piece with screws into the side of the head trim.


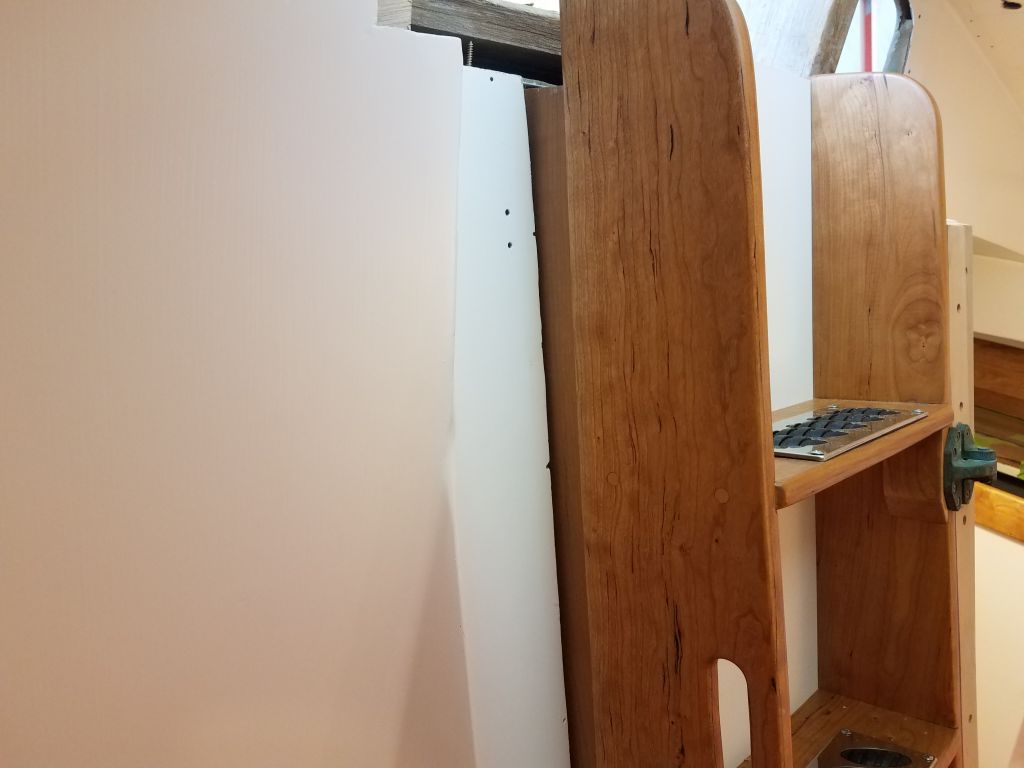
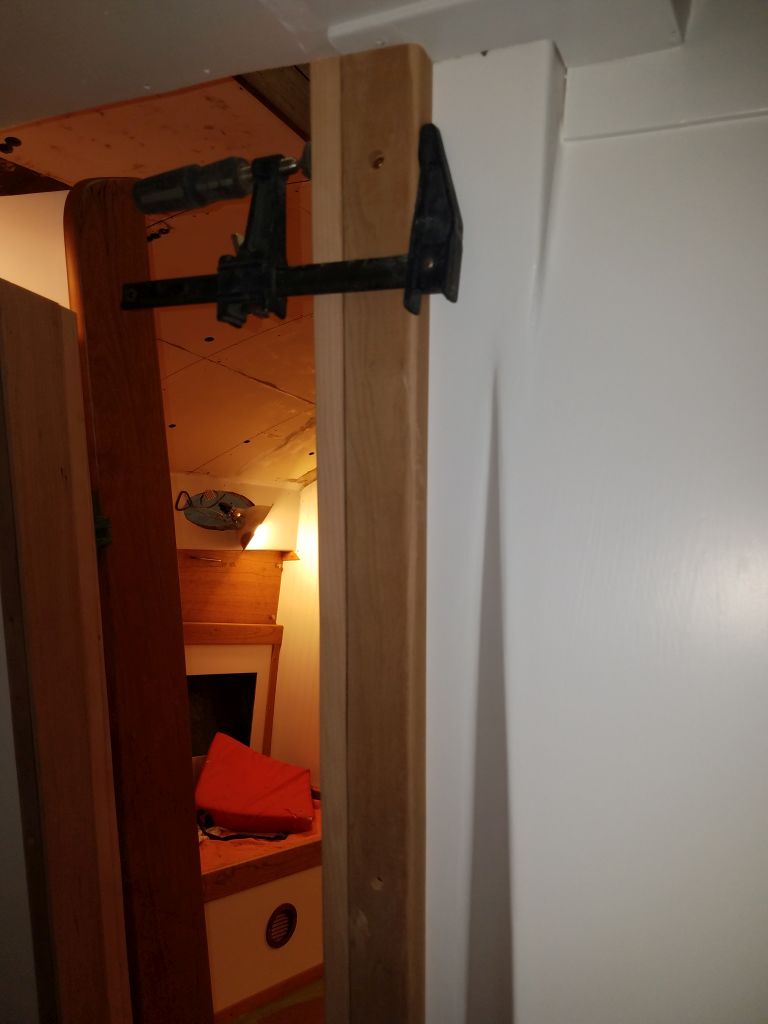
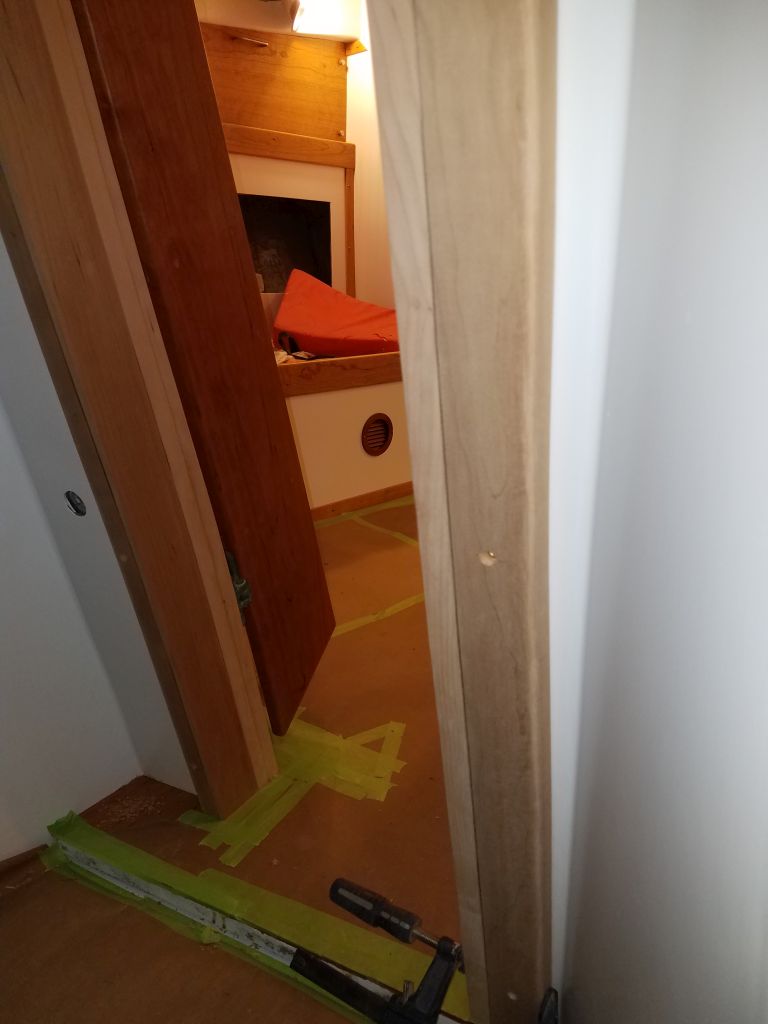
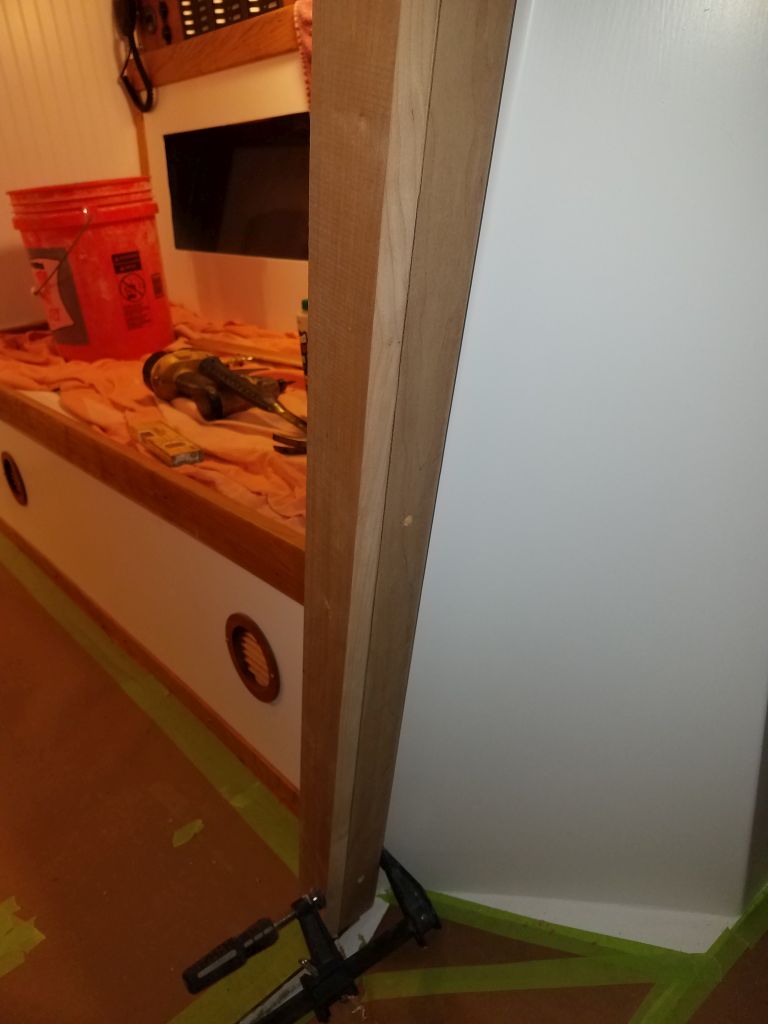

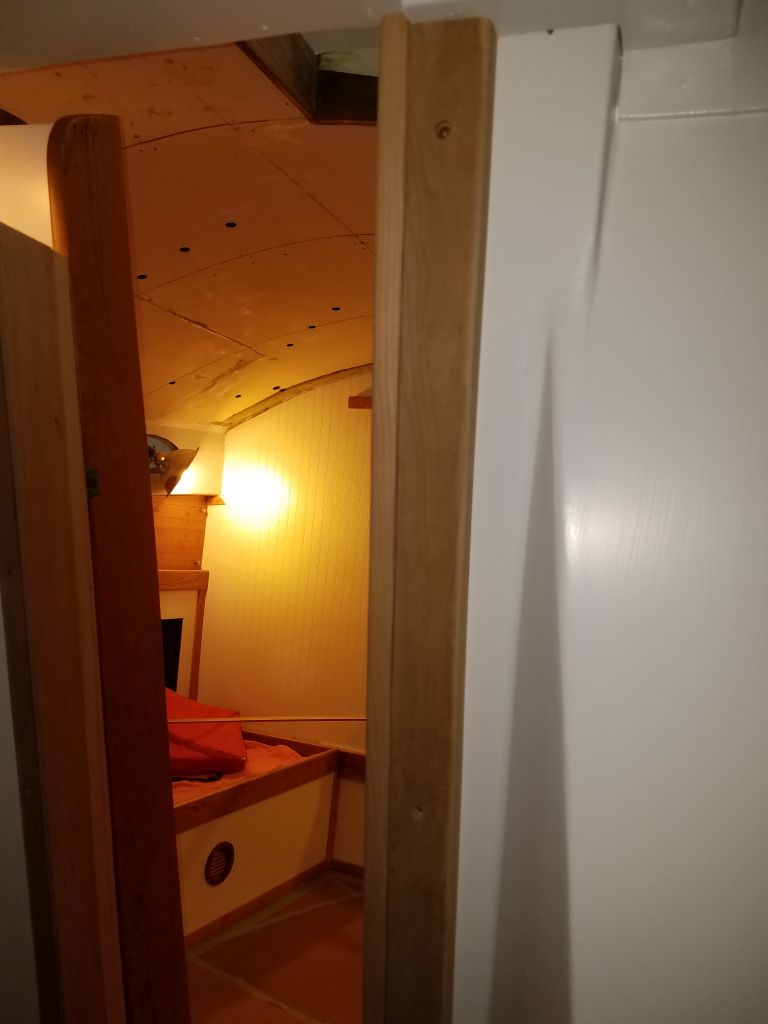
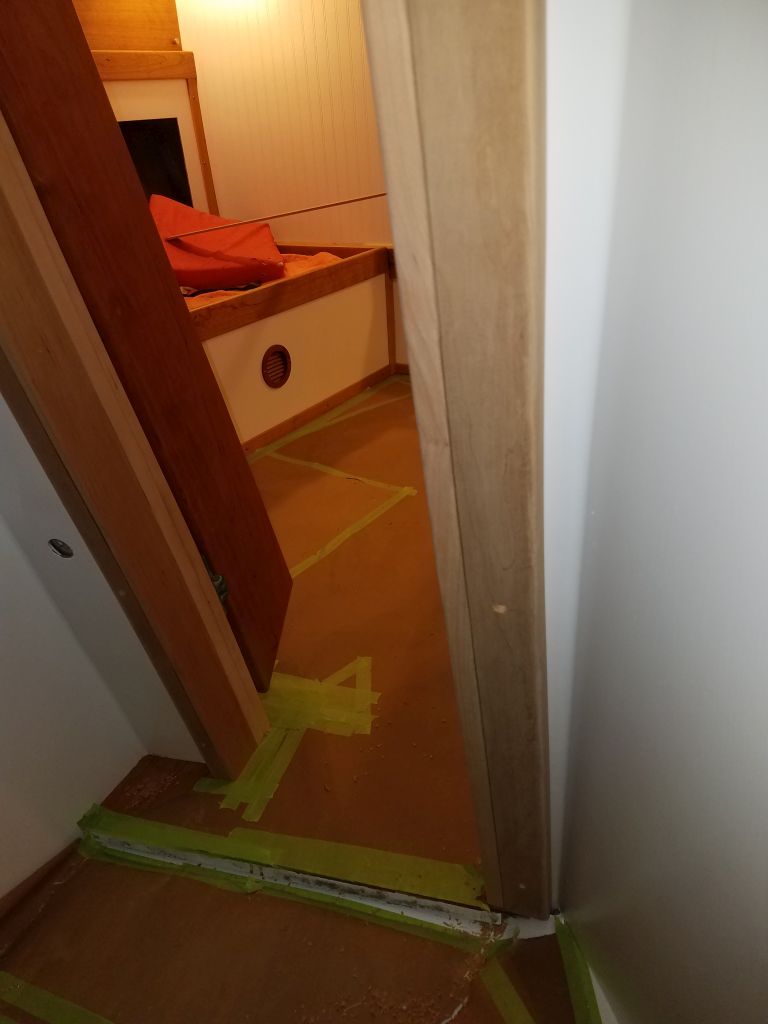
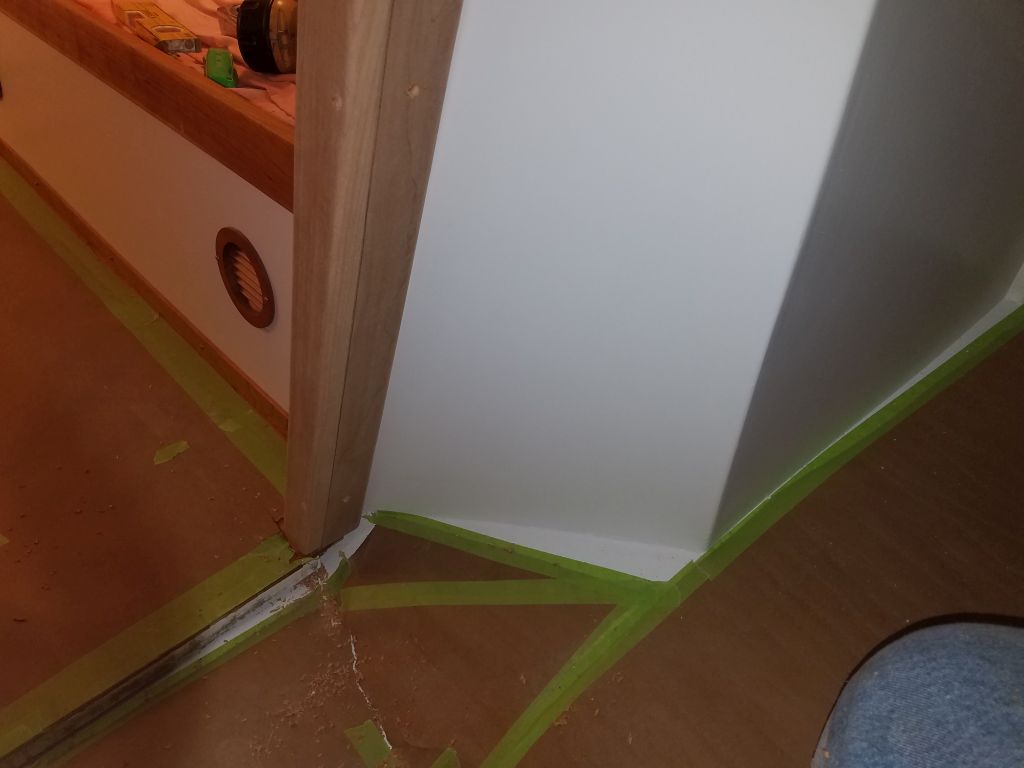
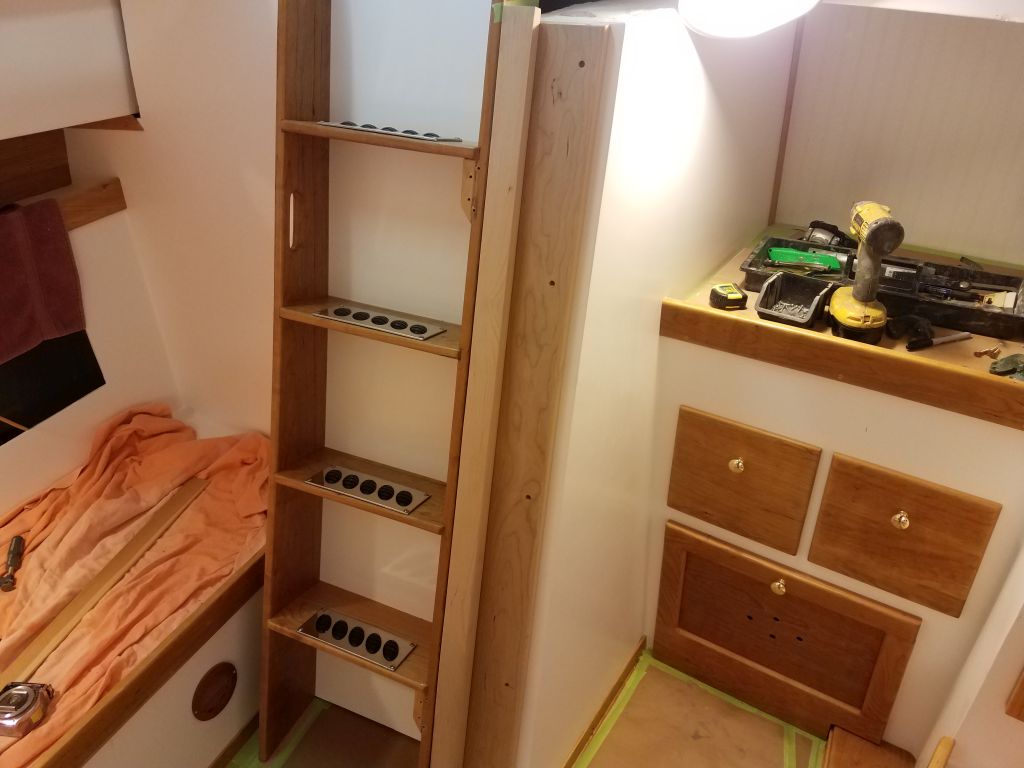
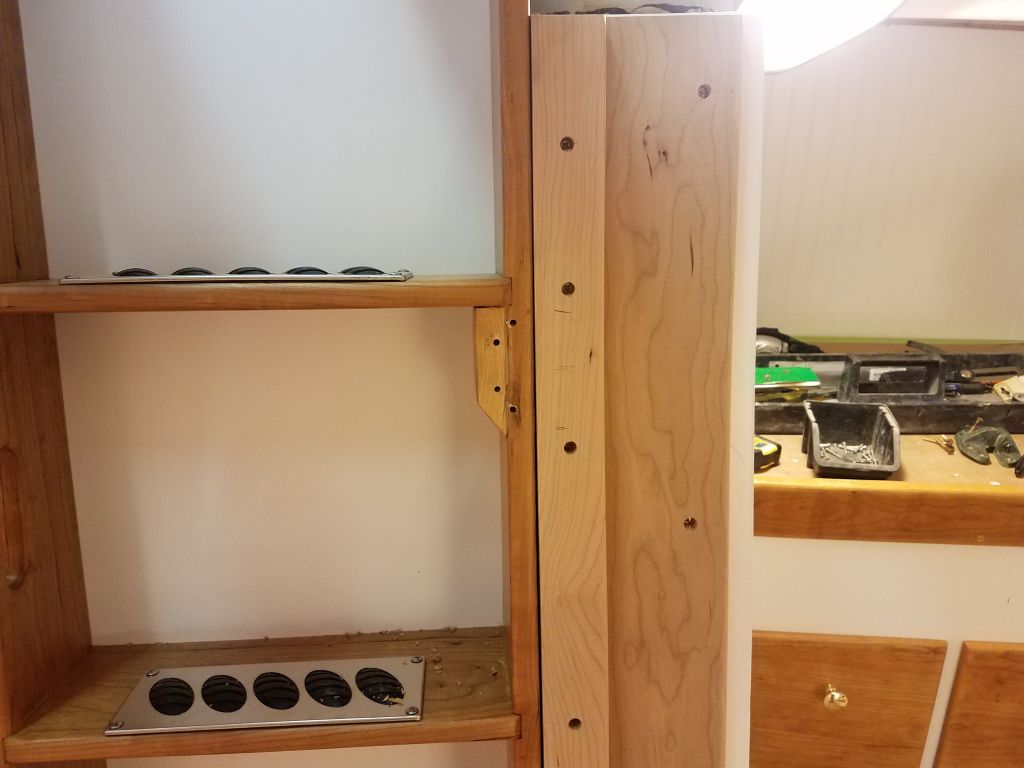
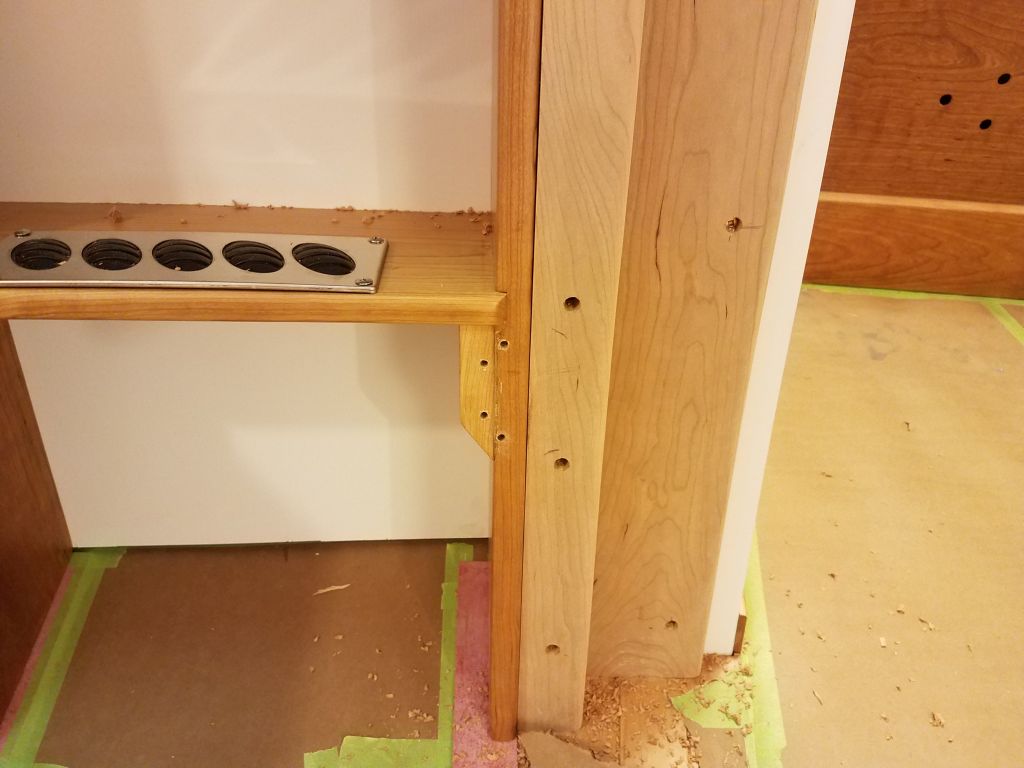
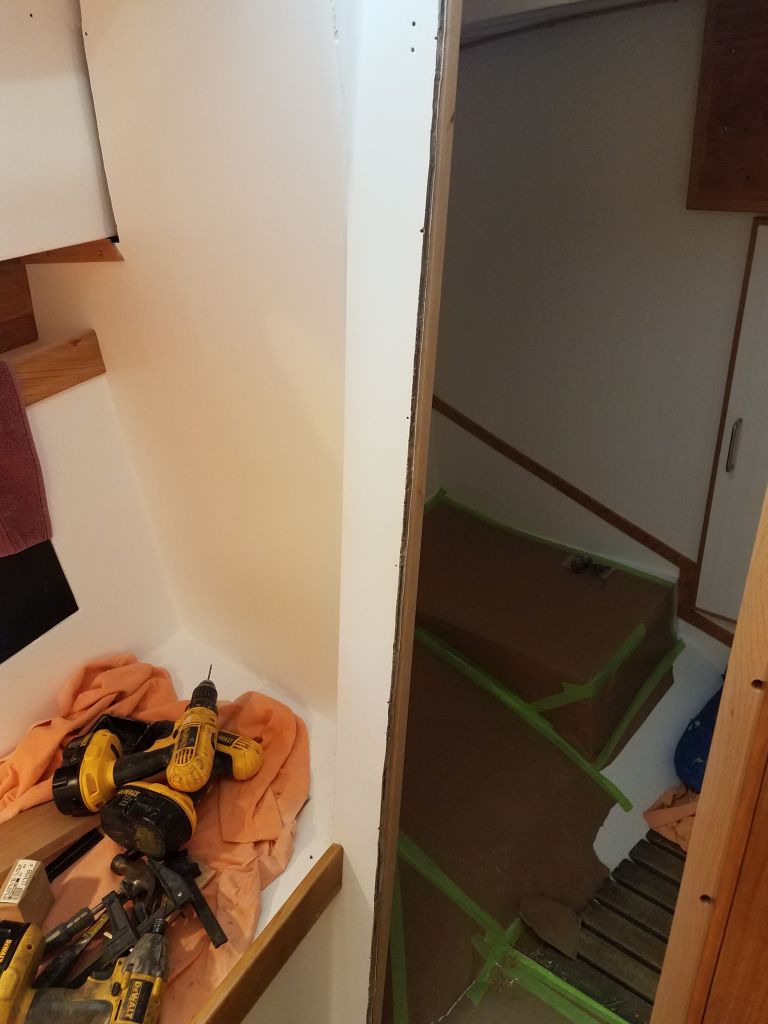
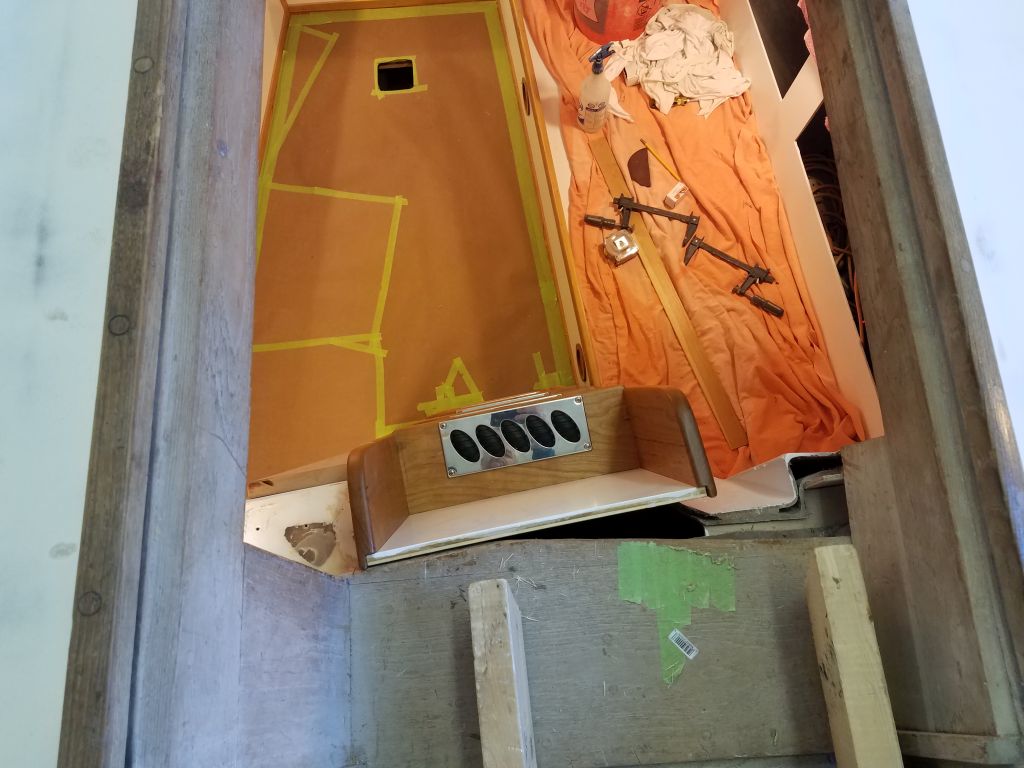
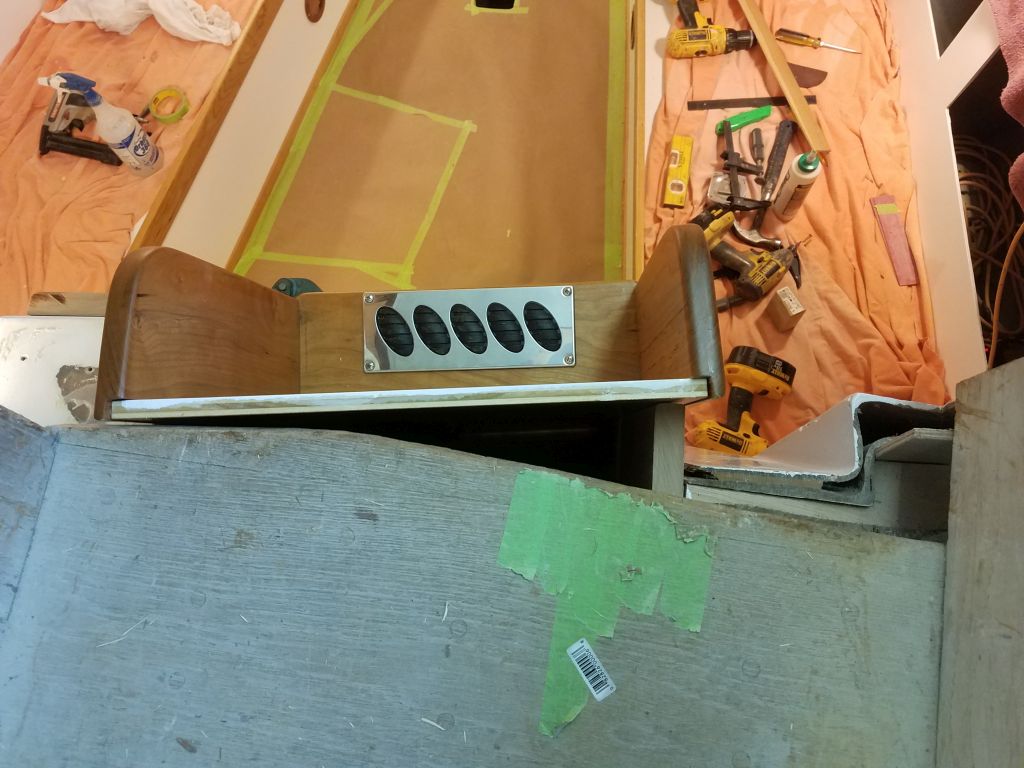
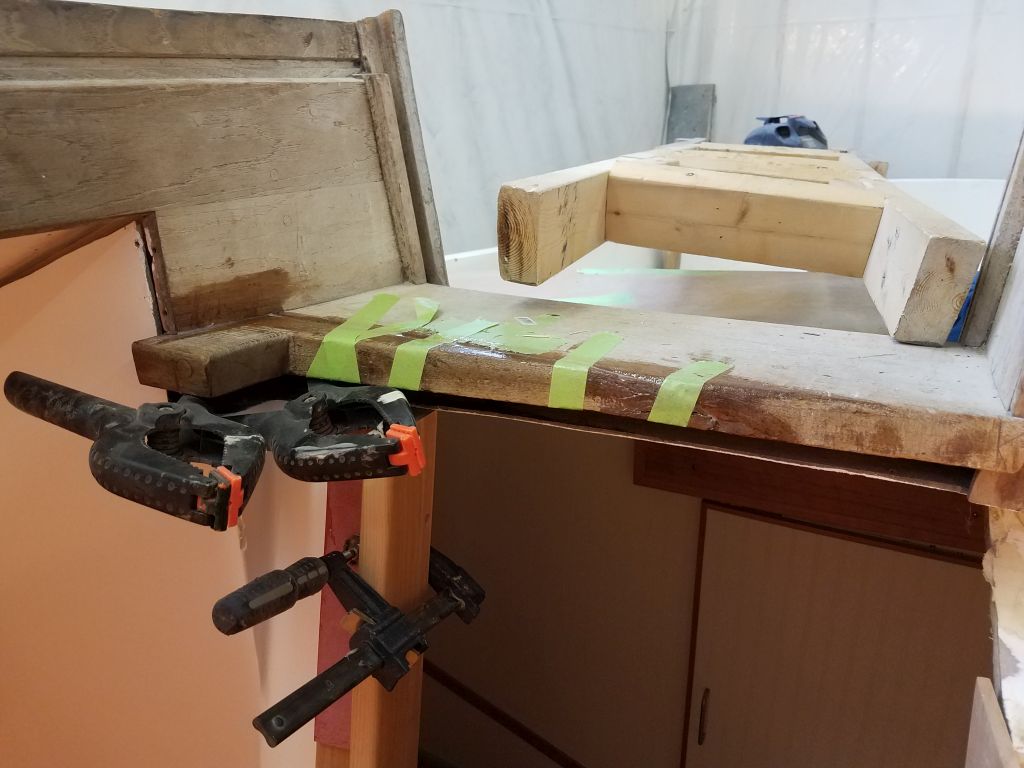
From above the companionway, it was easy to see how the new trim piece (shown in the second two photos) filled the gap where the door’s natural closure ended. The large gap in the companionway opening itself had originally been covered with additional teak trim, which had broken free even before the boat ever arrived here for the project, and I’d kept the piece on hand for future use; in any event, this missing piece is why the opening looks so strange at the moment.

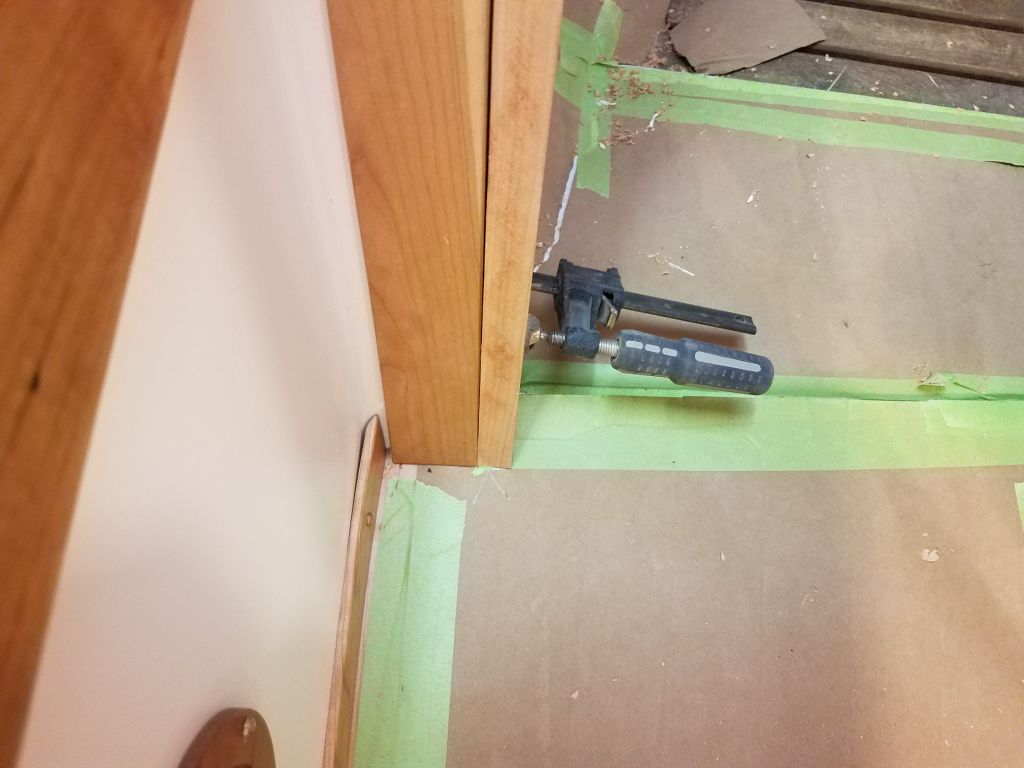
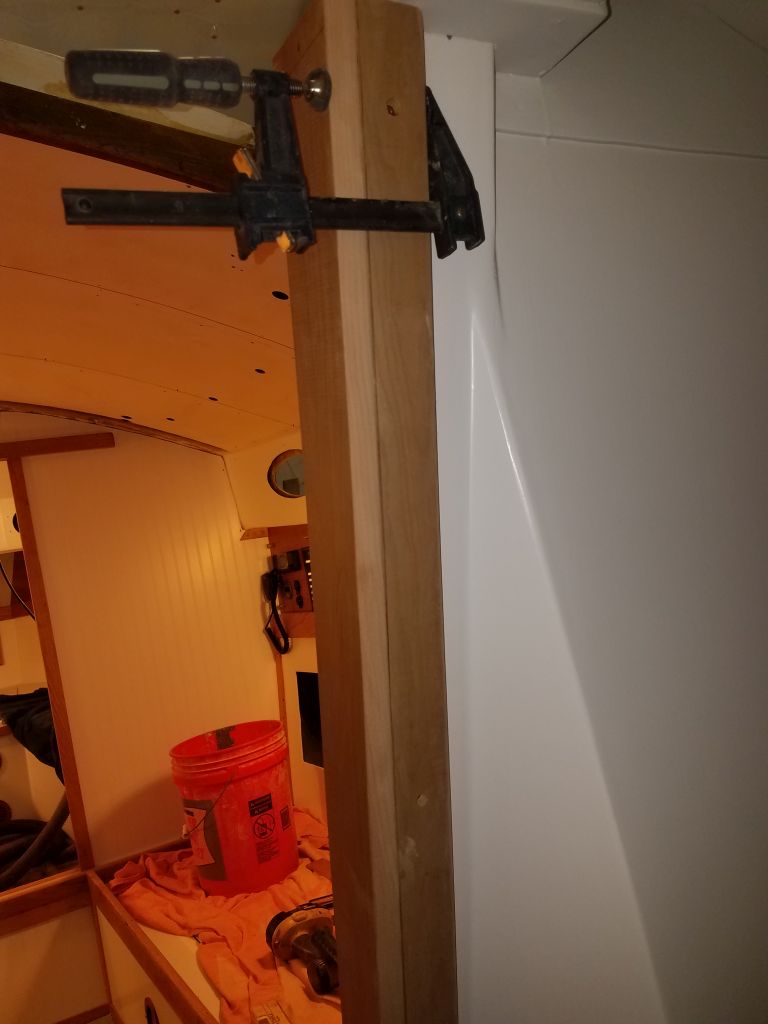
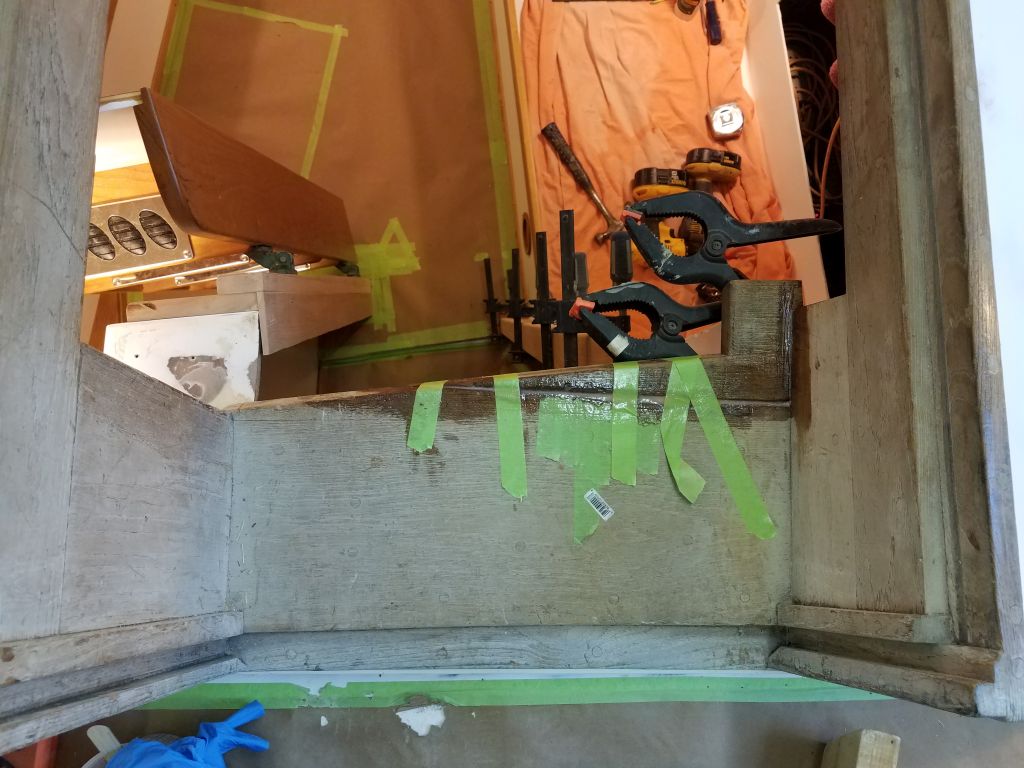
To finish off this side of the opening from inside the boat, I prepared a 2″ piece of 1/4″ thick trim. This was too thin to secure with hidden screws, so after some surface preparation in the bonding areas I secured it to the bulkhead with a few dabs of epoxy adhesive, clamping the trim in place while the glue cured.

While I was at it, I glued back on the missing piece from the top of the companionway. I needed this back in place just as a structural basis for the remaining new work required at this top end, and all this would later be covered and/or cosmetically enhanced as I wrapped up work in this area in the coming days. This whole clamping arrangement obviated the use of either the swinging ladder or my construction ladder, so I had to climb out of the boat through the forward hatch; this pretty much ended any further chance for work inside the boat till the epoxy cured overnight.
Total time billed on this job today: 7 hours
0600 Weather Observation: Partly cloudy, 40°. Forecast for the day: Partly sunny, 62°