


February 27, 2019
Scupper 89
Wednesday
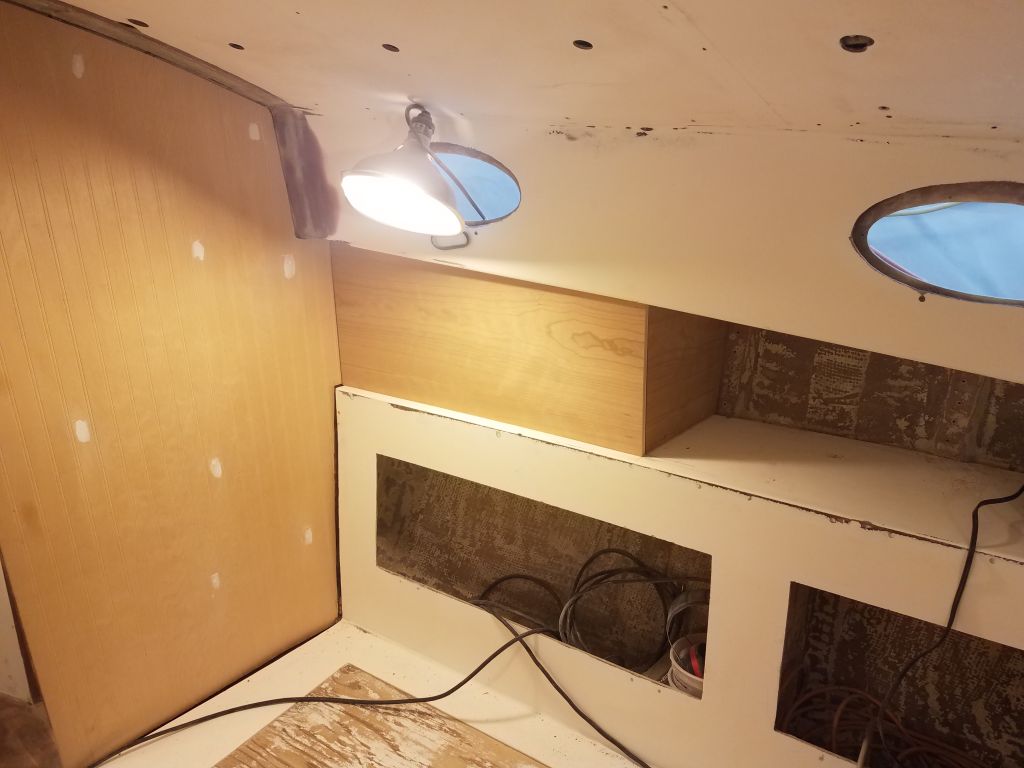
Following an early morning commitment elsewhere, I got back to work on the new cabinets in the saloon, starting with the final cleat on the starboard side, which I cut to fit and secured with screws.
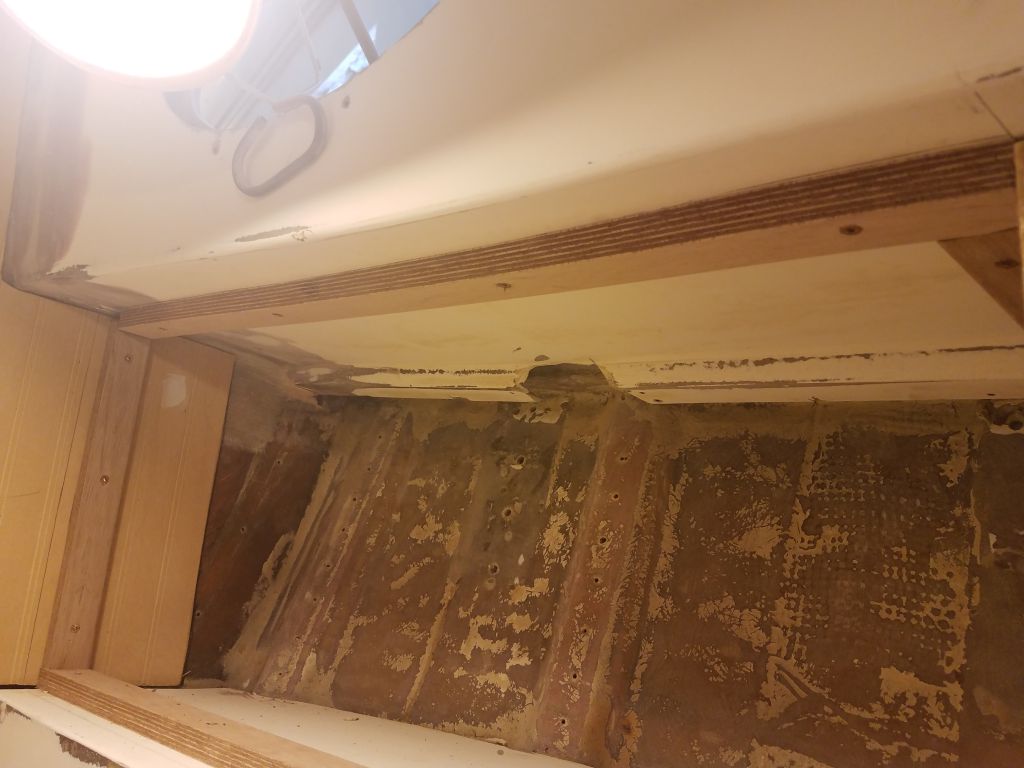
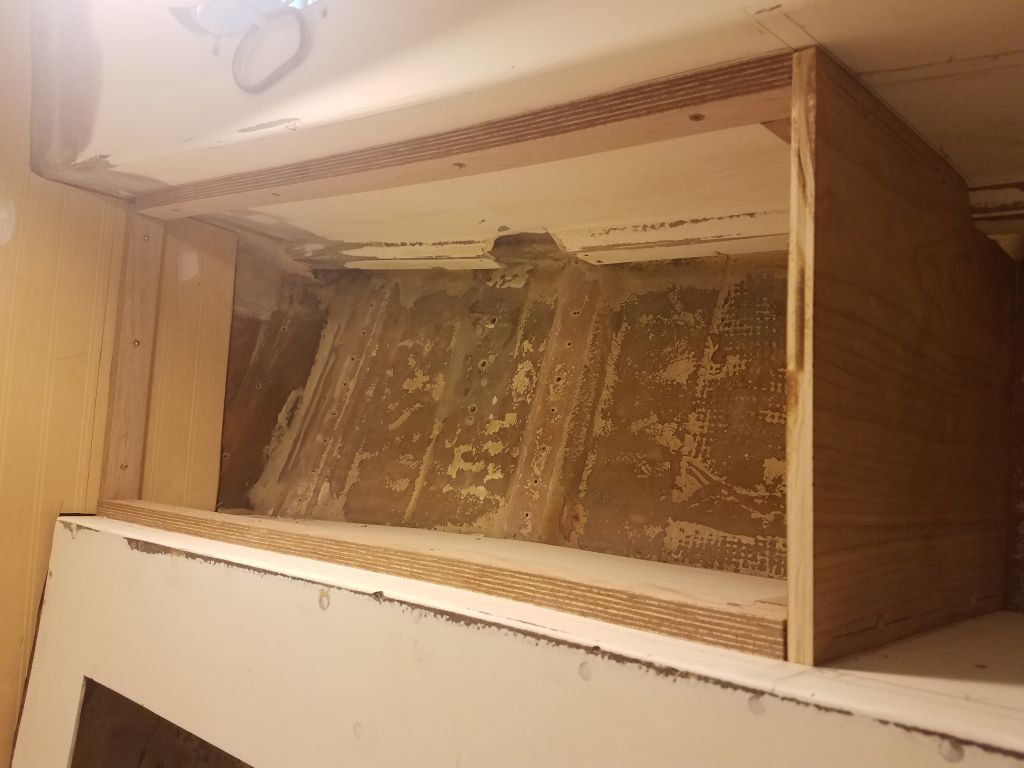
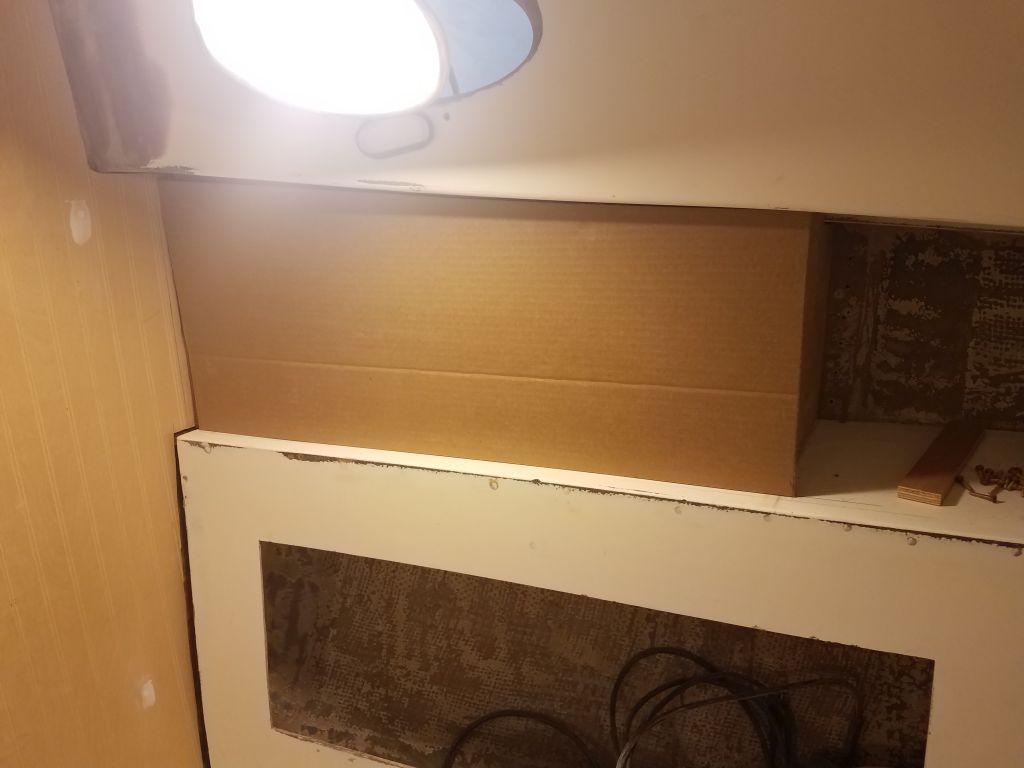
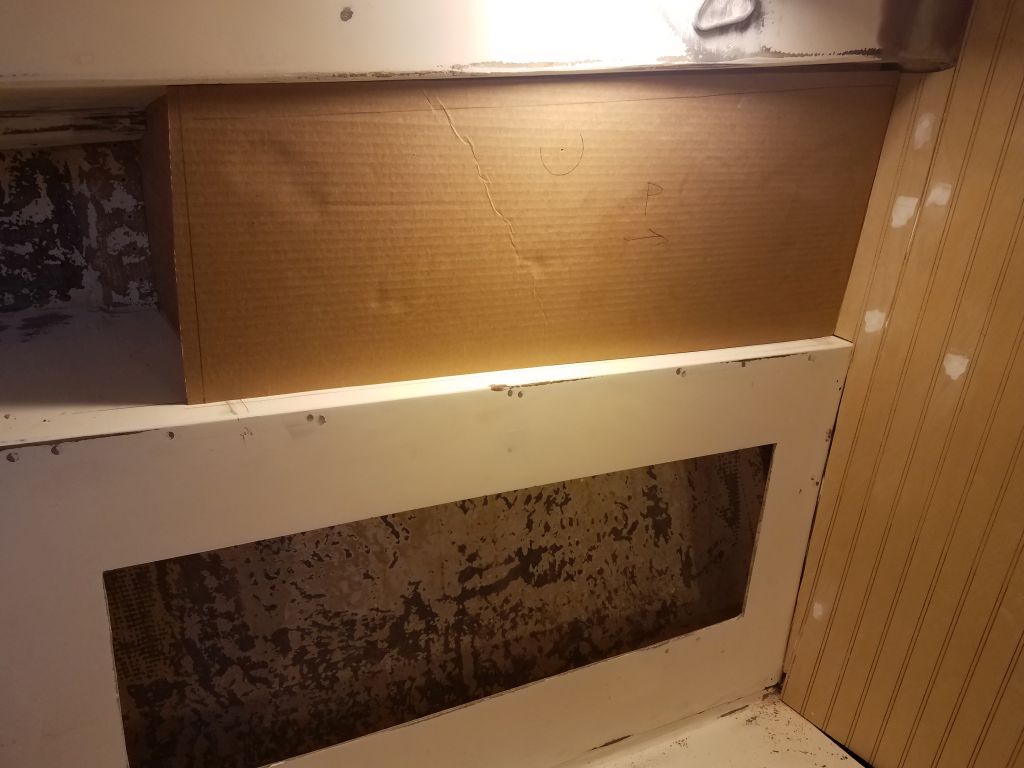
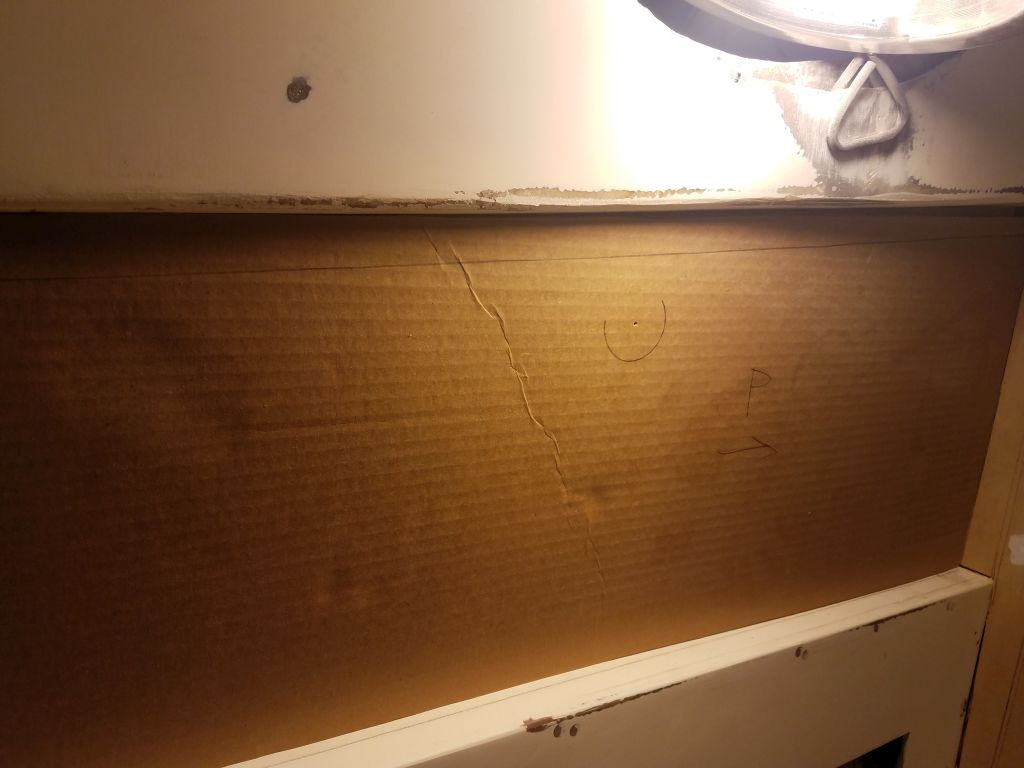
For the front panels on each side, I started with cardboard templates that I scribed to the space, and used these to cut cherry plywood panels to fit. I sneaked my way up to a close fit for the top and forward edges of the new panels, eventually achieving a good fit with the overhead. For the moment, I let the after side run long past the aft bulkhead.
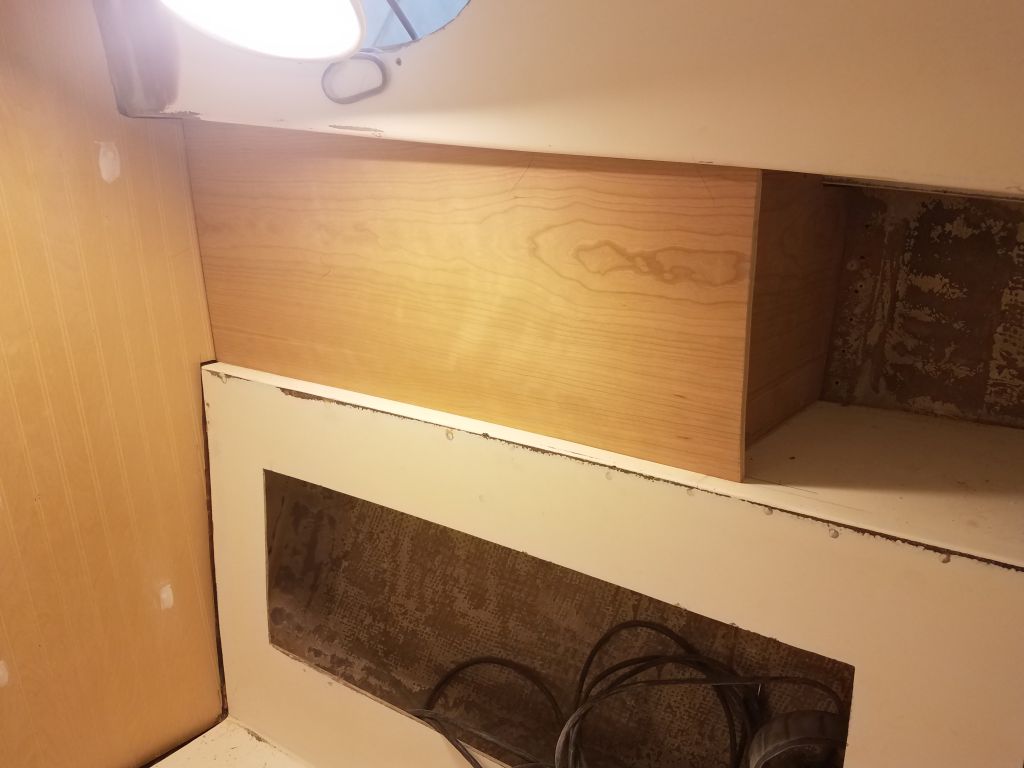

Once the panels were well fit, I marked the aft ends of the panels where they passed the aft bulkhead of the lockers, then cut the panels to length.
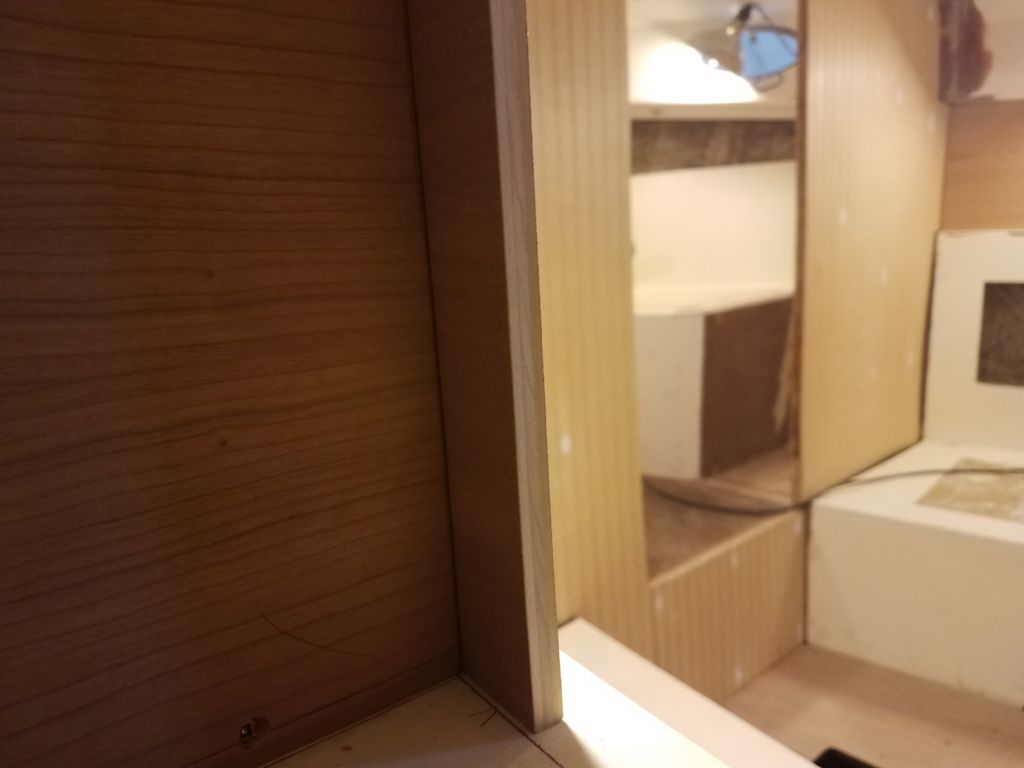
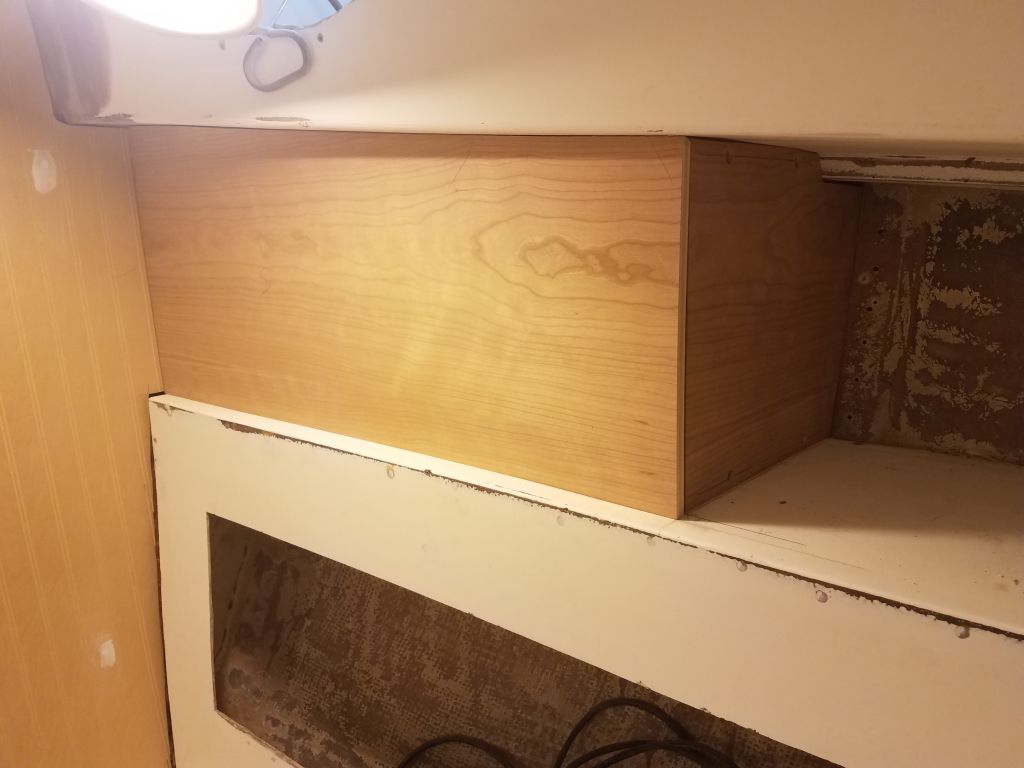
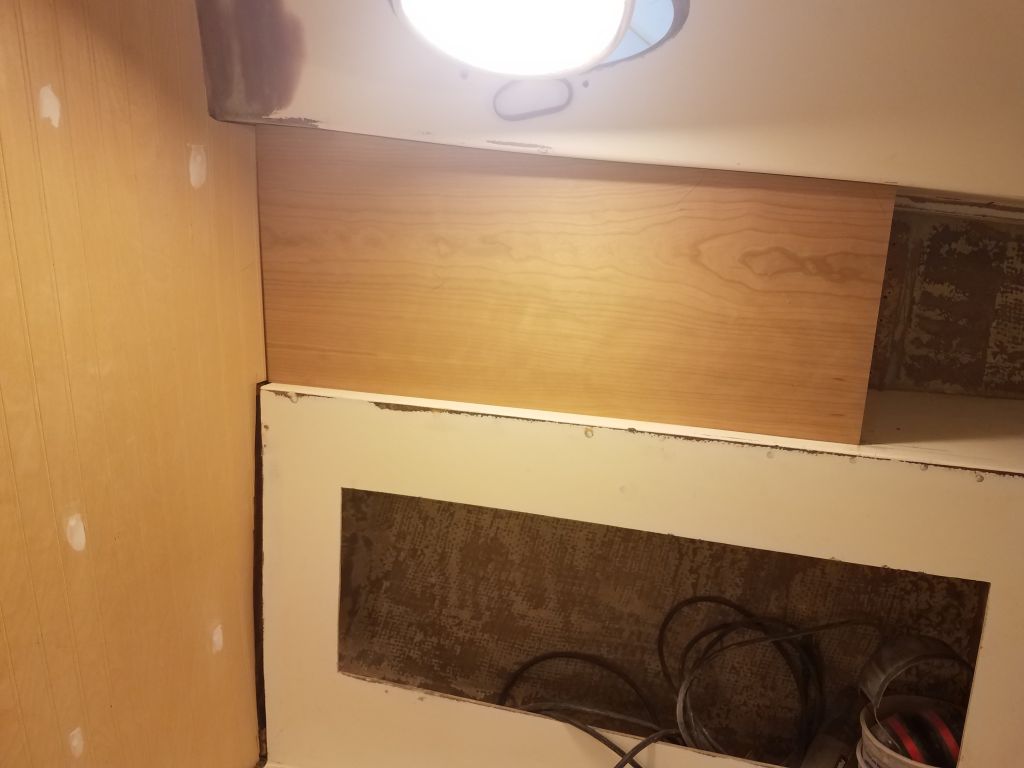

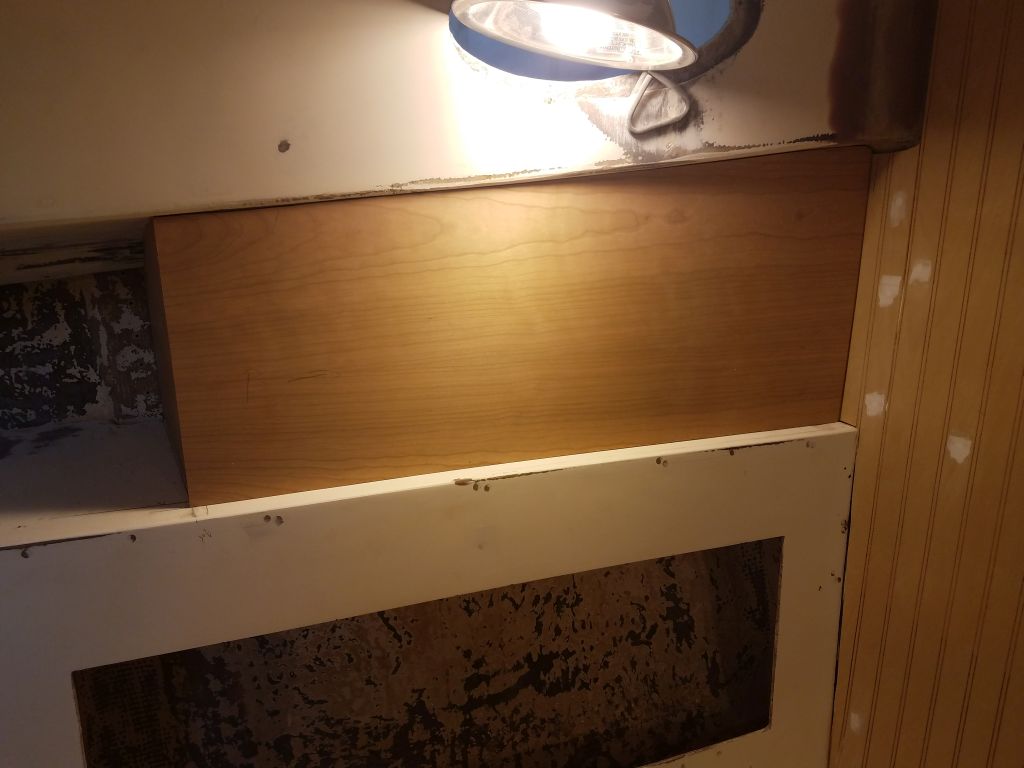

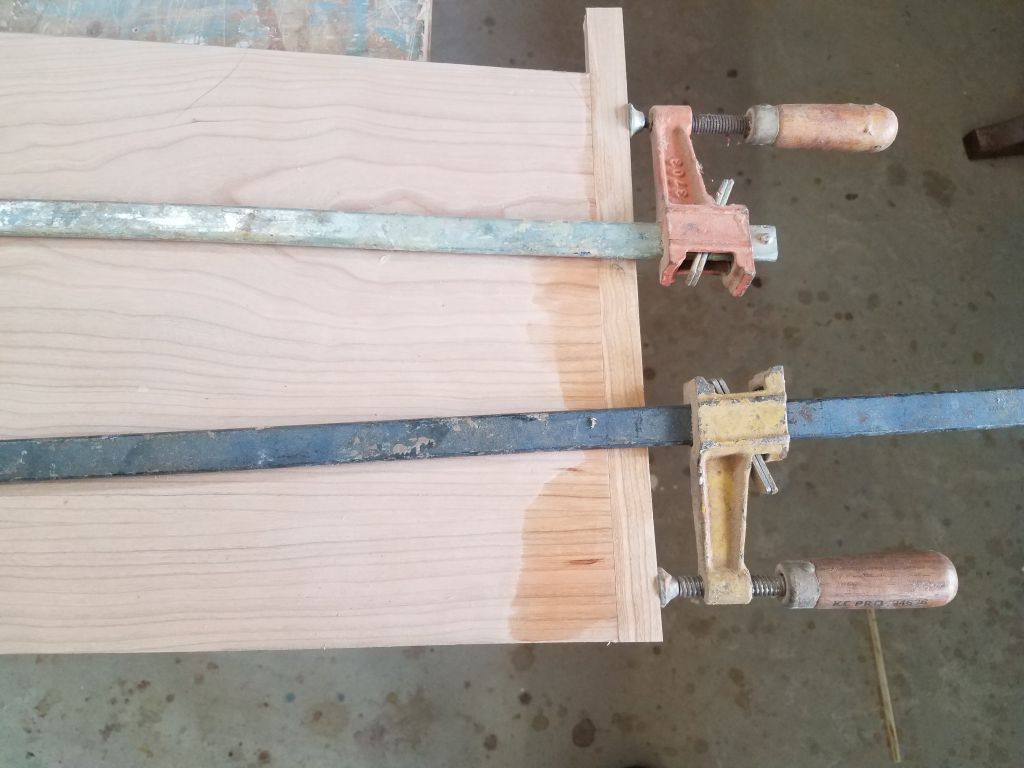
Once I had the panels’ final lengths set in this way, to cover the edge of the plywood face panel I trimmed another 1/2″ from the panels at the aft end, and glued on slightly oversized solid cherry strips that would provide the finished appearance once complete. I planned to trim these to exact length with the panels in place.

In the forward cabin, I needed to install a pair of new ceiling support cleats on each side in the newly-opened areas aft of the berth. The existing cleats throughout the boat were about 3/4″ tall, so I prepared four pieces to the proper lengths from some leftover teak, which happened to be leftover from some previous toerail or another and already had an angle cut on one side, which is the profile I wanted for these pieces.
To allow the cleats to bend into the shape of the hull, I kerfed the back sides of all pieces, clamping them together on the bench and making the cuts freehand with a saw. These would never be seen when the installation was complete, so I didn’t worry about how the kerf spacing looked; I just wanted enough so that the wood would easily bend.
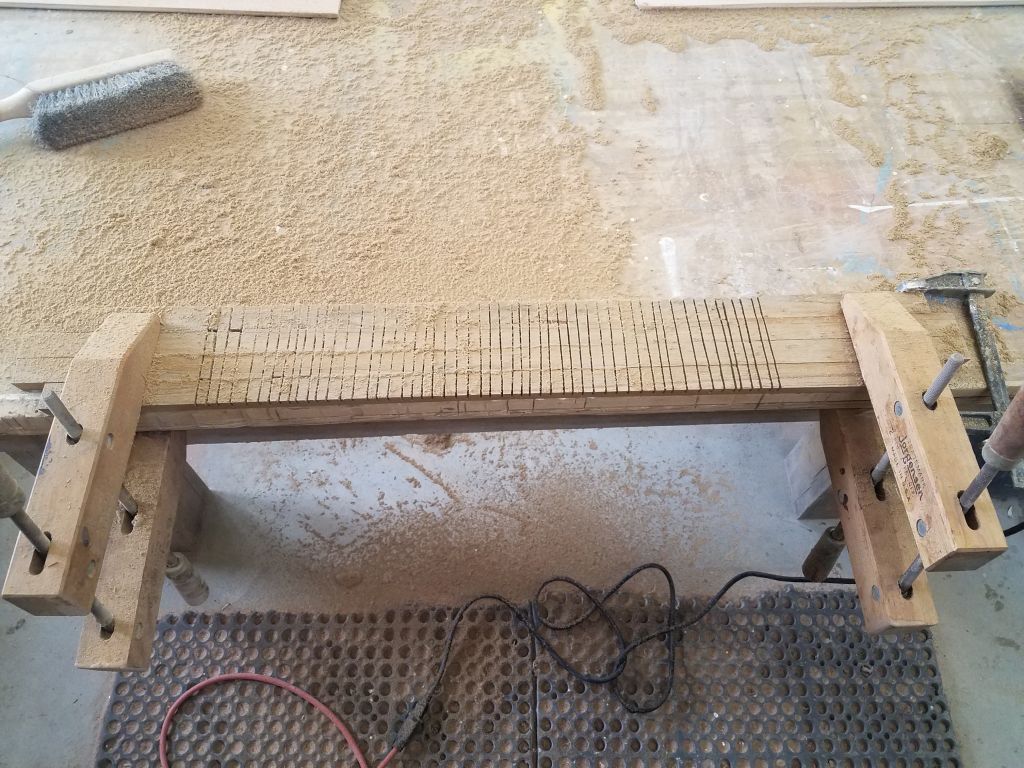
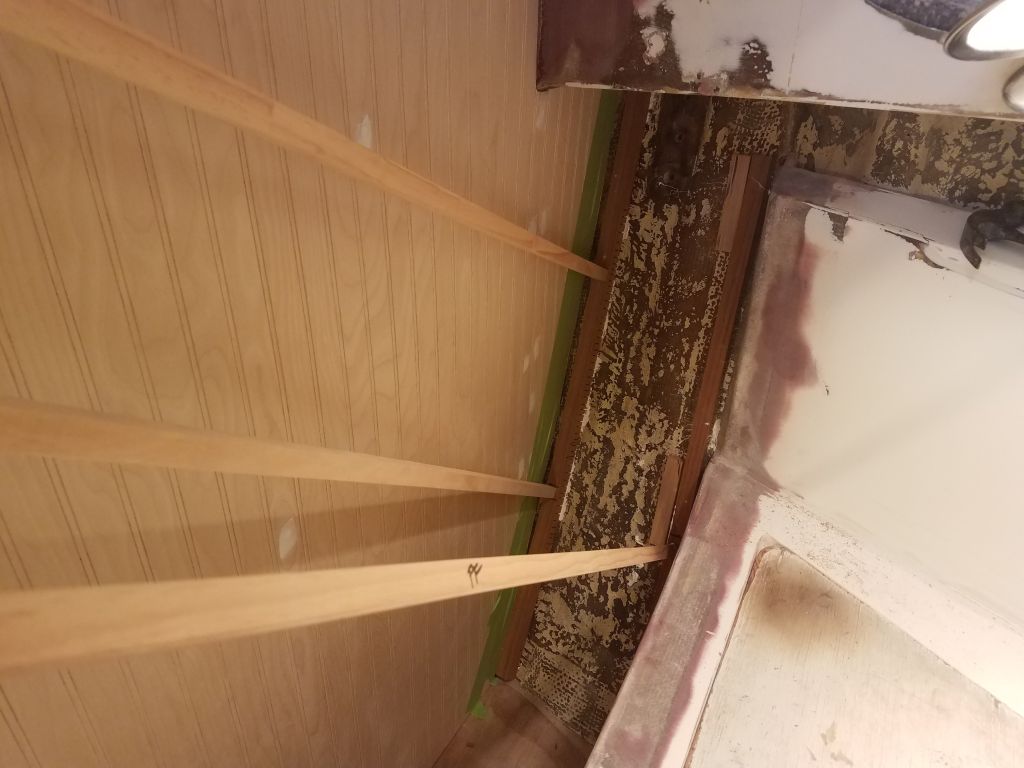
The teak now bent easily into the shape of the hull, but figuring out how to brace and hold it there long enough for adhesive to cure was the trick. With the cleats dry, I tried a couple different things to see what would work, and ultimately had to cut some long braces that I could use against the overhead hatch opening to press the cleats into the hull. It took quite a bit more time to figure out and prepare the braces successfully than it did for the actual cleat preparation itself.
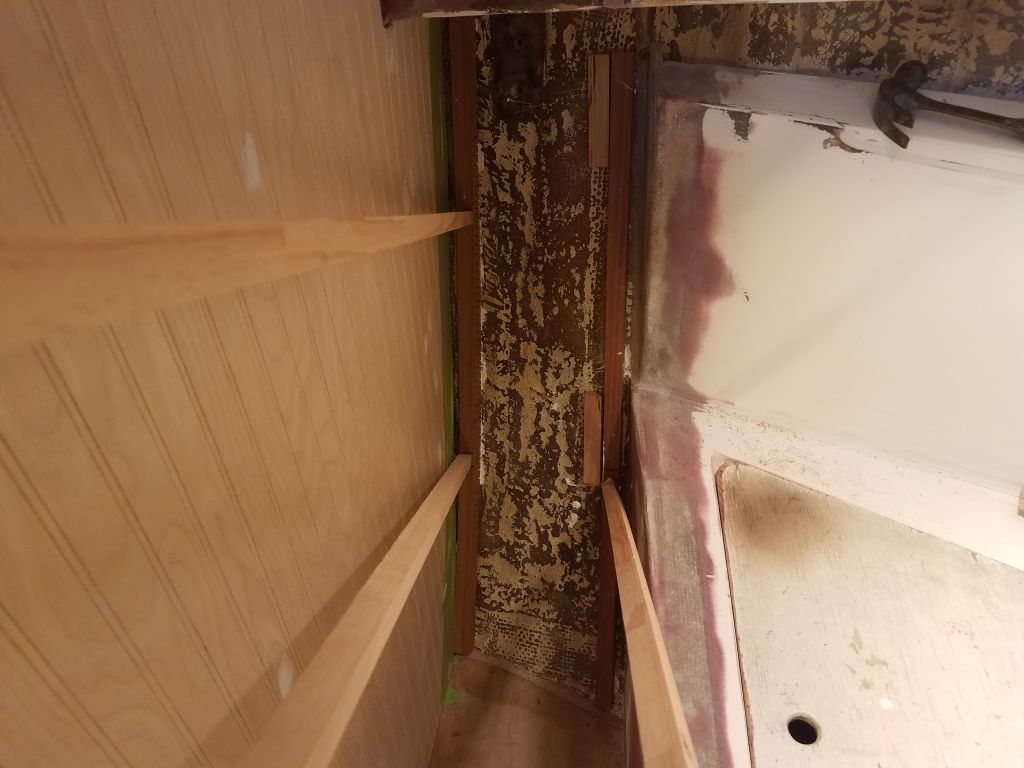
The original ceiling cleats on the boat were fiberglassed in position, and I planned to do the same, but first I had to simply secure the cleats to the hull. One problem with these sorts of installations is that as soon as the cleat gets covered with adhesive, it gets slippery, and the braces tend to work less well. This would certainly be a problem in this location, with fairly substantial compound curvature to the hull. With this in mind, I thought maybe the polyurethane adhesive would work better than epoxy for the initial securing. Even though I was prepared for problems, or thought I was, I got started with the two cleats on the port side. I still had a lot of frustration trying to get the cleats to stay where they needed to and pressed tightly to the hull as required, as the cleats–particularly the forward cleat–wanted to slide all over the place and refused to stay where I wanted them. I eventually had to use some of the braces I’d cut for the other side just to get the cleats to stay in position, and also added some temporary blocks glued to the hull in a semi-desperate attempt to hold the forward cleat in place.
Though I eventually reached a tenuous state of satisfaction with the port cleats, and I hoped that they would stay put once the adhesive cured, I decided to cut my losses for now and leave the starboard side for next time, since trying to properly brace that side might just end up undermining the work already completed on the port side. I hoped the other side would go more smoothly in the morning, and with the benefit of the experience here.

Instead, I used up the last bit of time in the day sourcing and ordering some hardware to secure the new saloon cabinet panels for easy removal and access behind.
Total time billed on this job today: 6 hours
0600 weather observation: -2°, clear. Forecast for the day: Sunny, then increasing clouds, 20s