


November 21, 2019
Scupper 188
Thursday
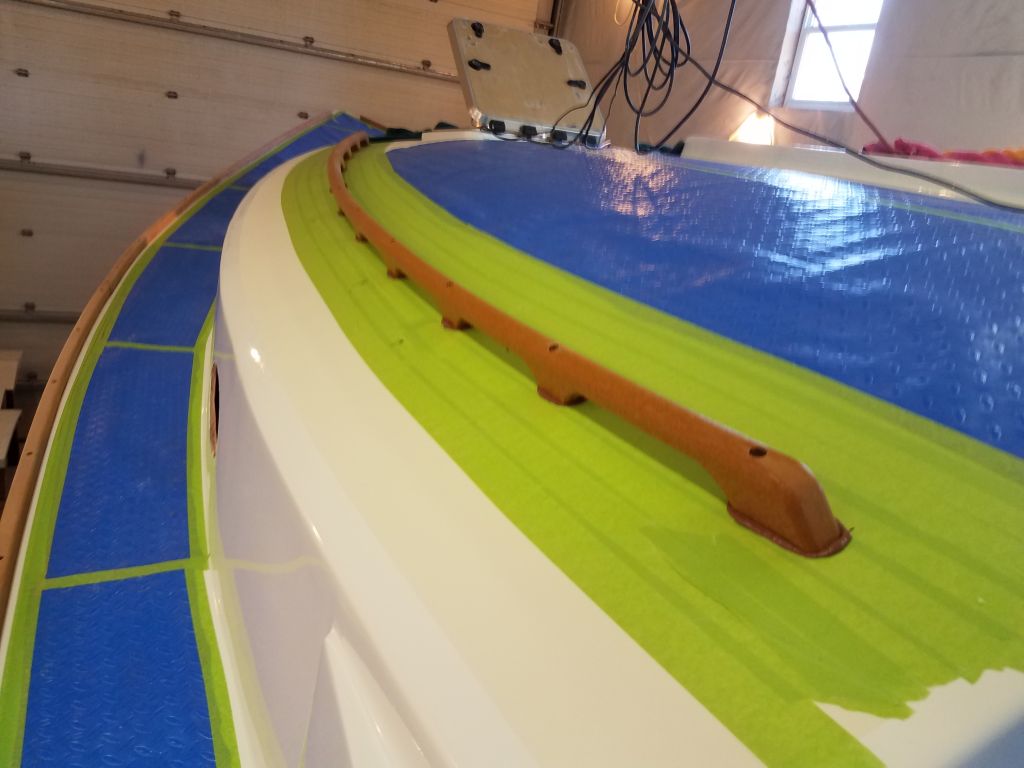
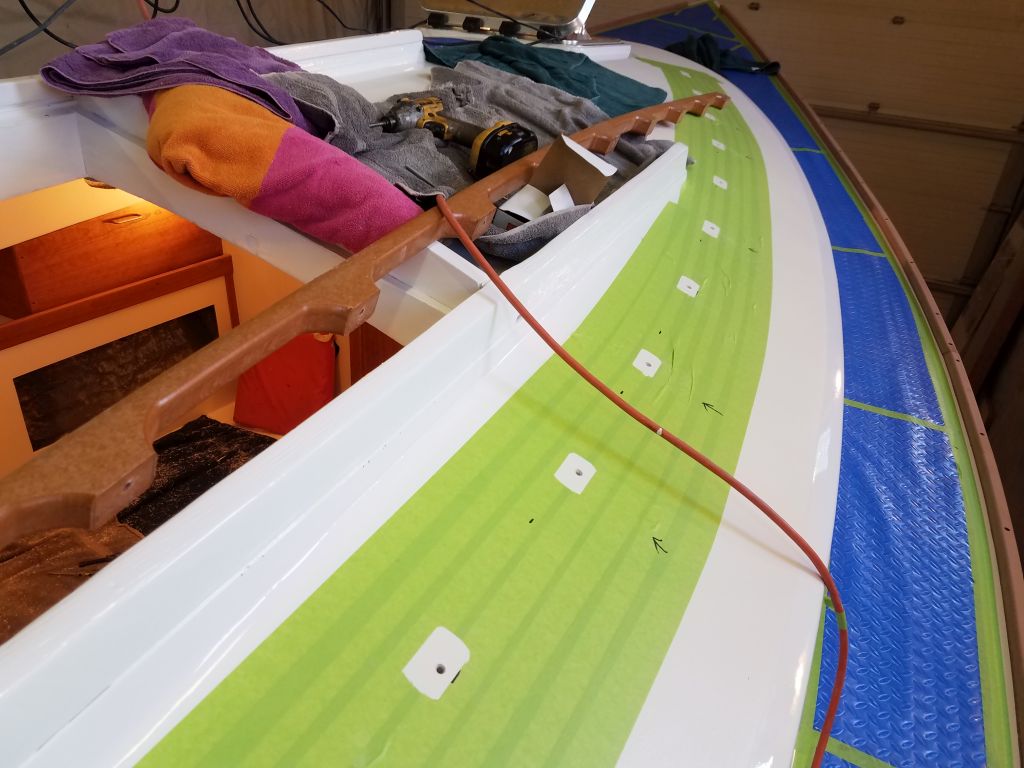
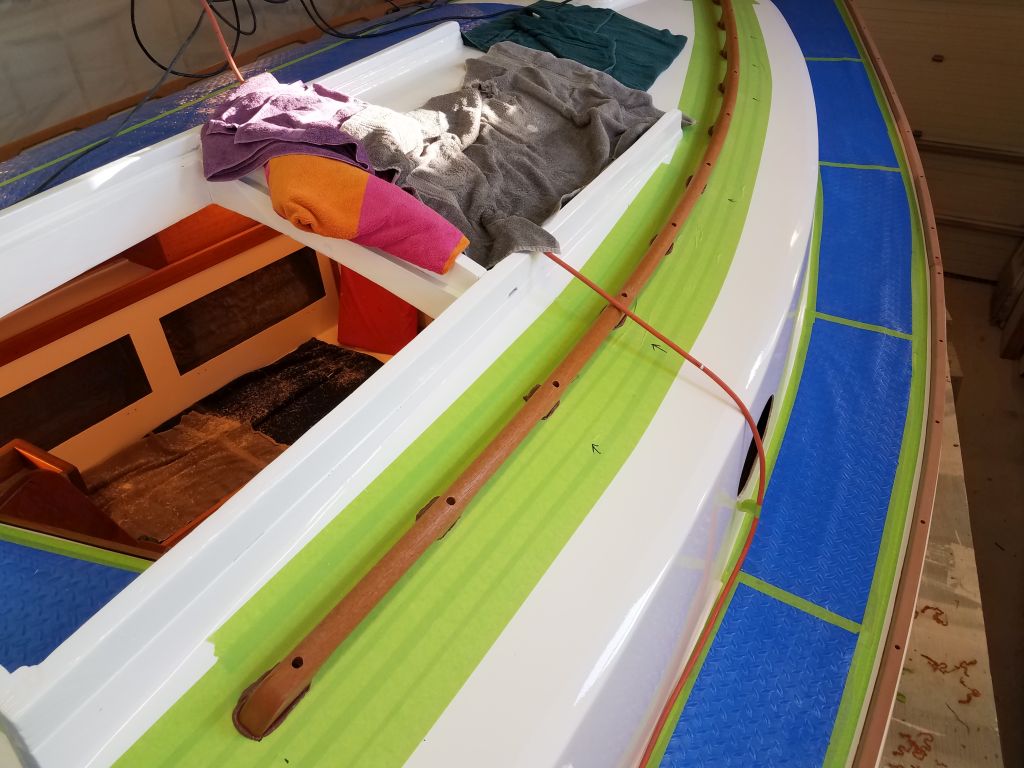
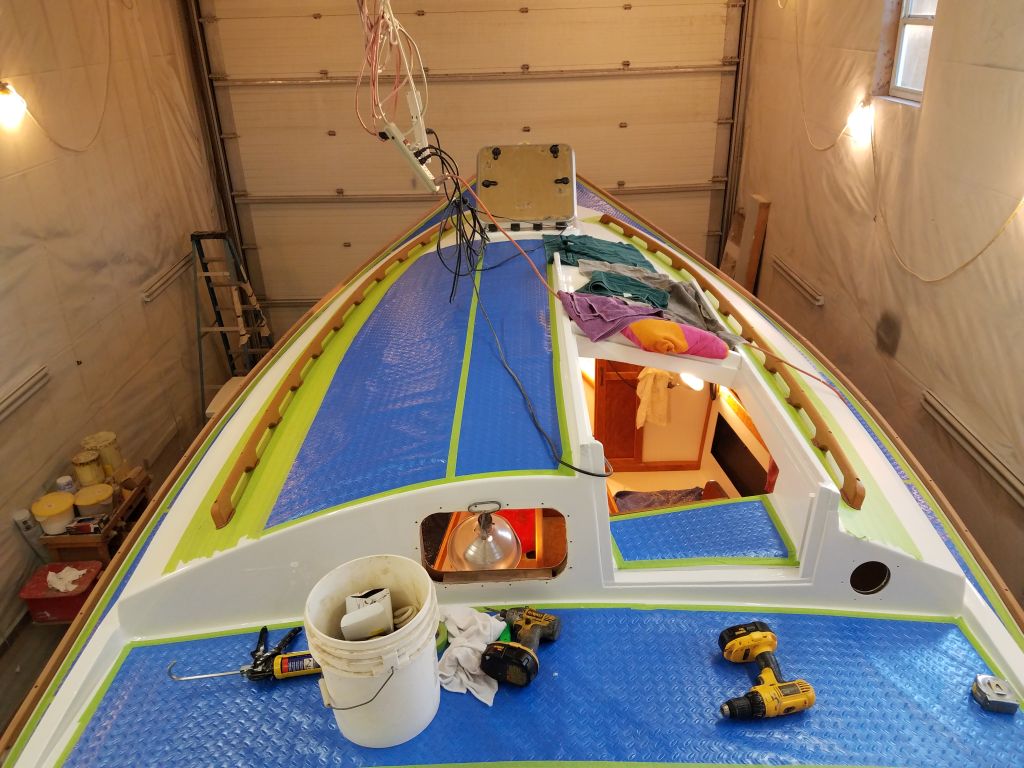
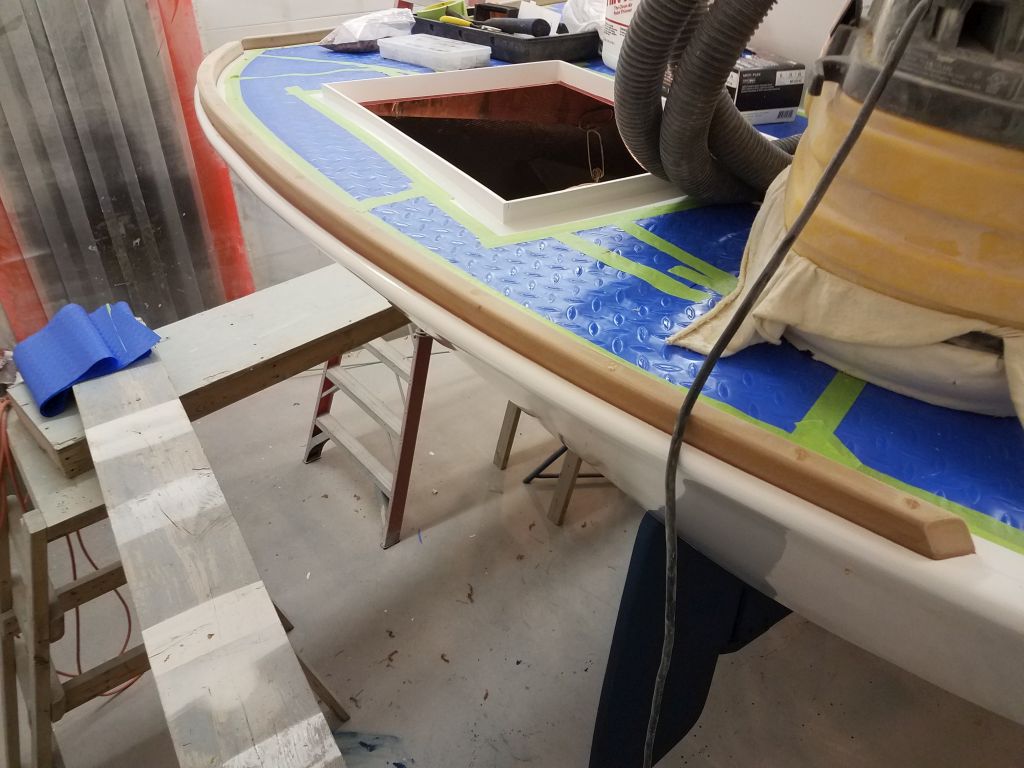
Next on the agenda was the cabin top handrails. I’d had these made to my specifications when I ordered the plastic wood material. To prepare the deck for installation, I masked off wide areas on both sides to accommodate the rails.
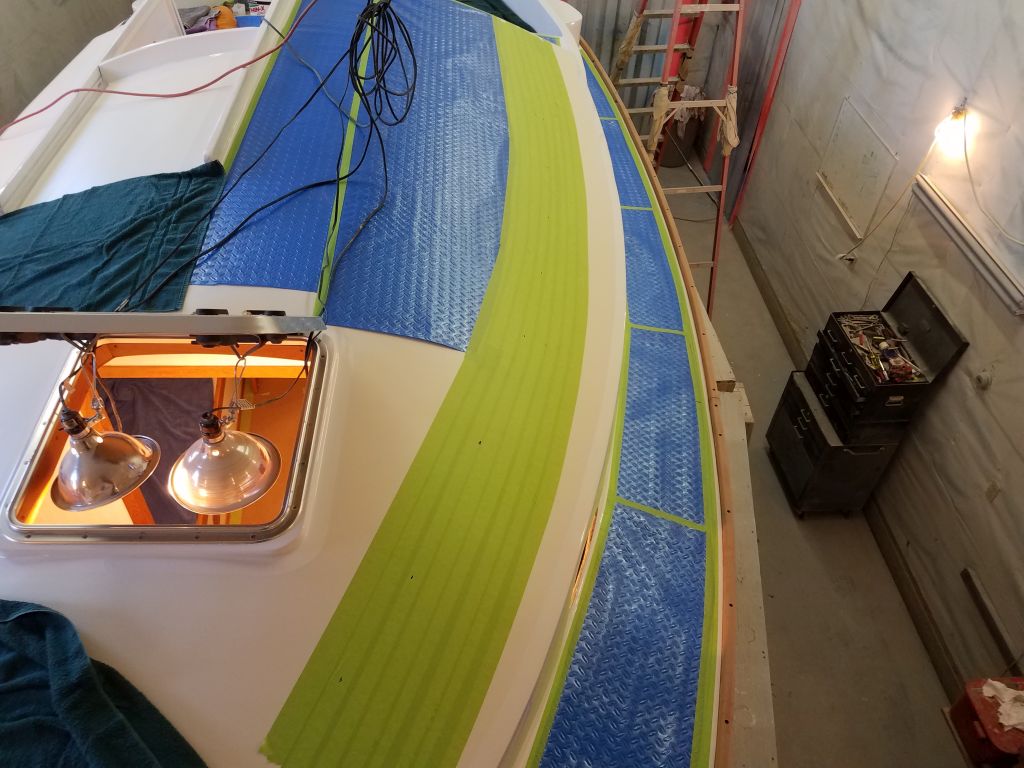
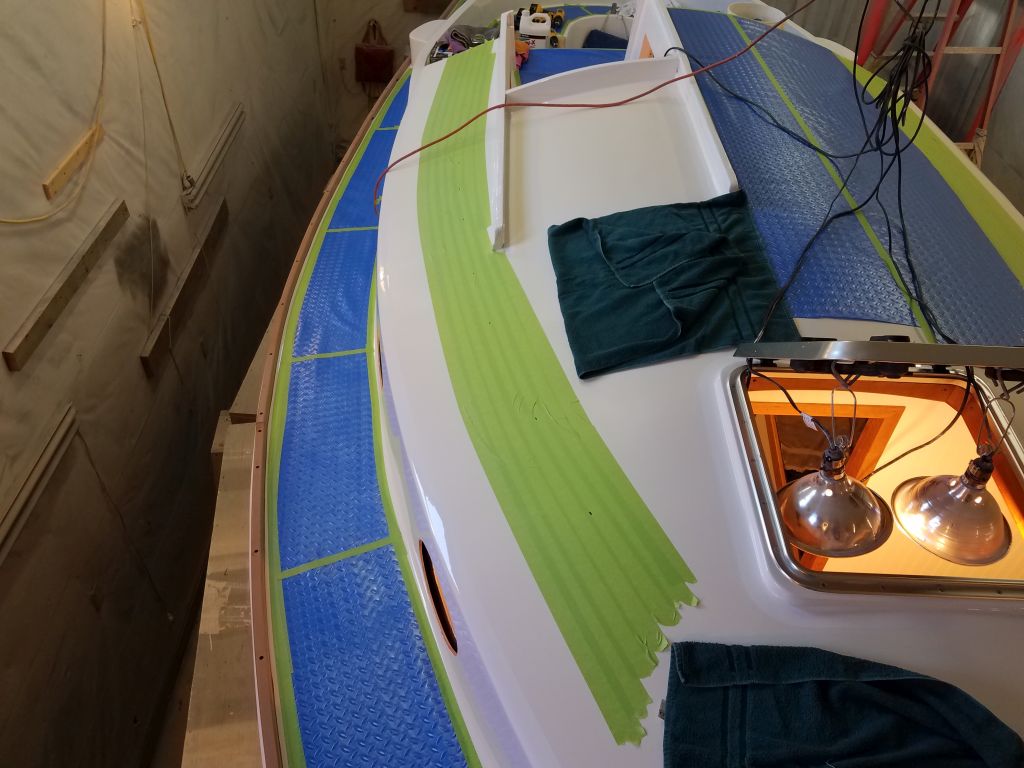
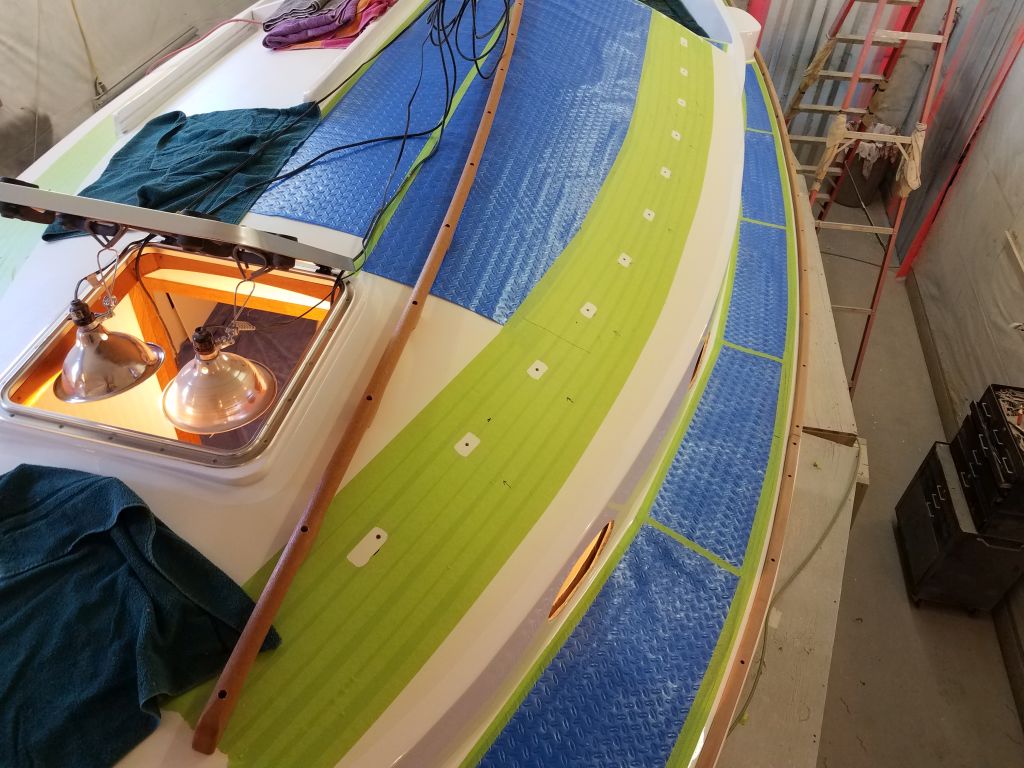
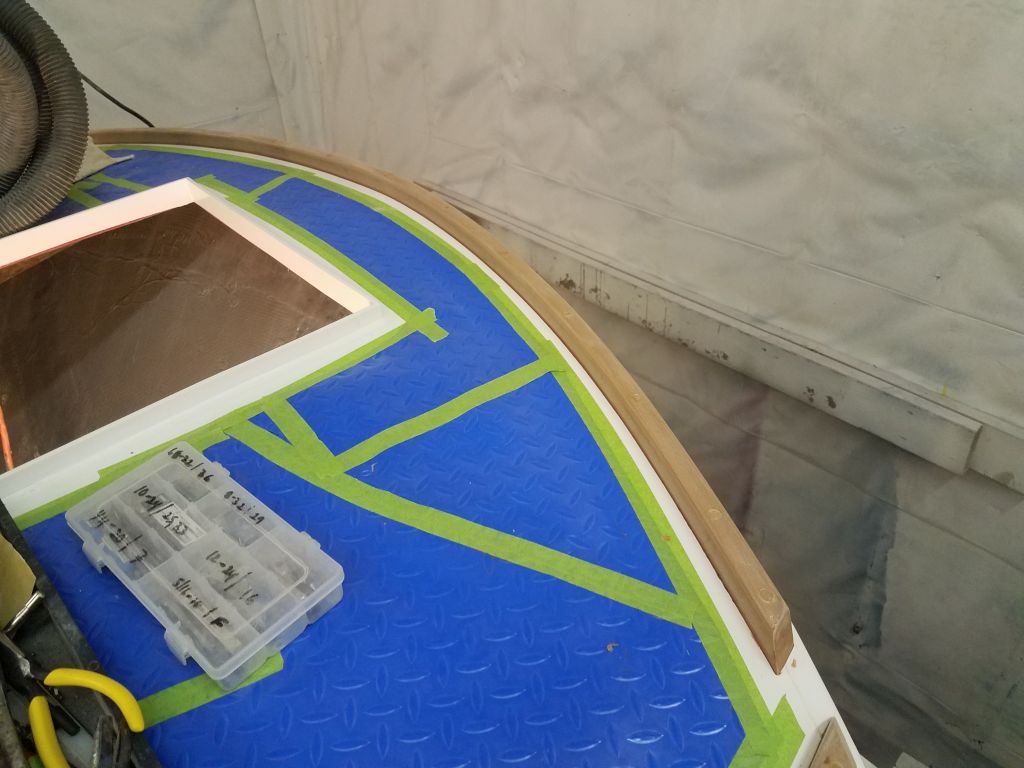
Starting with the location of the old handrails as a general guideline, I settled on 11″ from the edge of the cabin top to the outside face of the handrails, or roughly 12″ on center from the edge of the cabin, and began the rail 6″ forward of the cockpit. Working my way forward, I secured the rail temporarily with 1/4″ machine screws in tapped holes, using only a few screw locations as needed to align and bend the rail into a fair curve as it went forward, and keeping it a consistent distance from the edge of the cabin top. With the rail thusly secured, I went back and prepared the remaining screw locations.
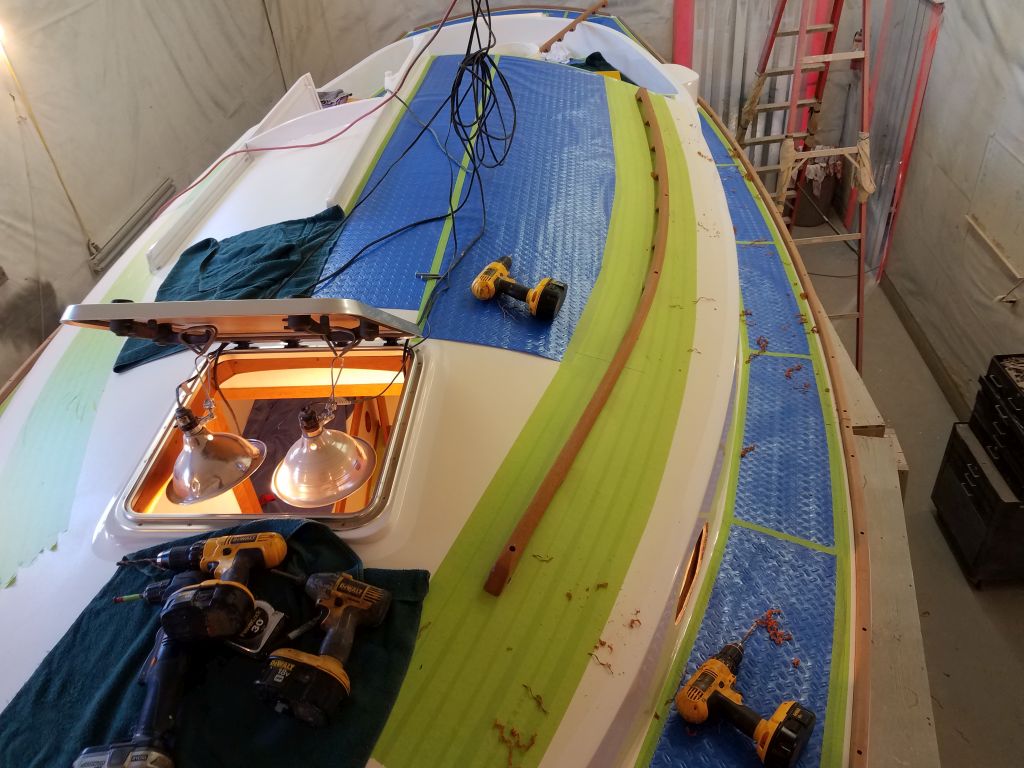
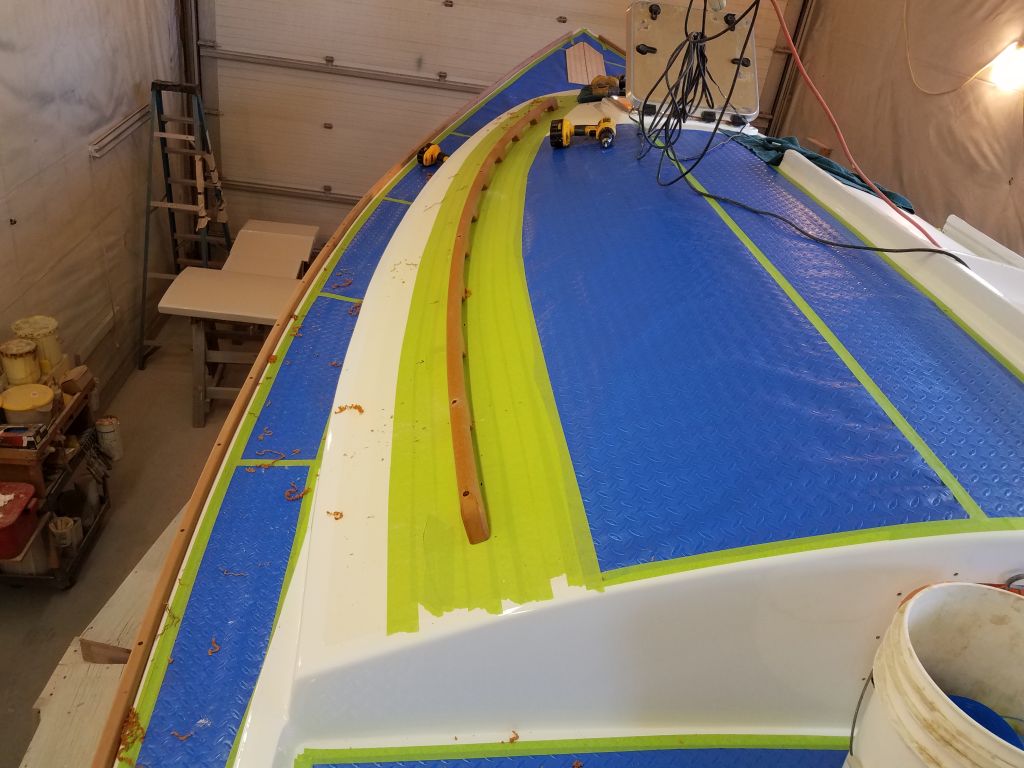
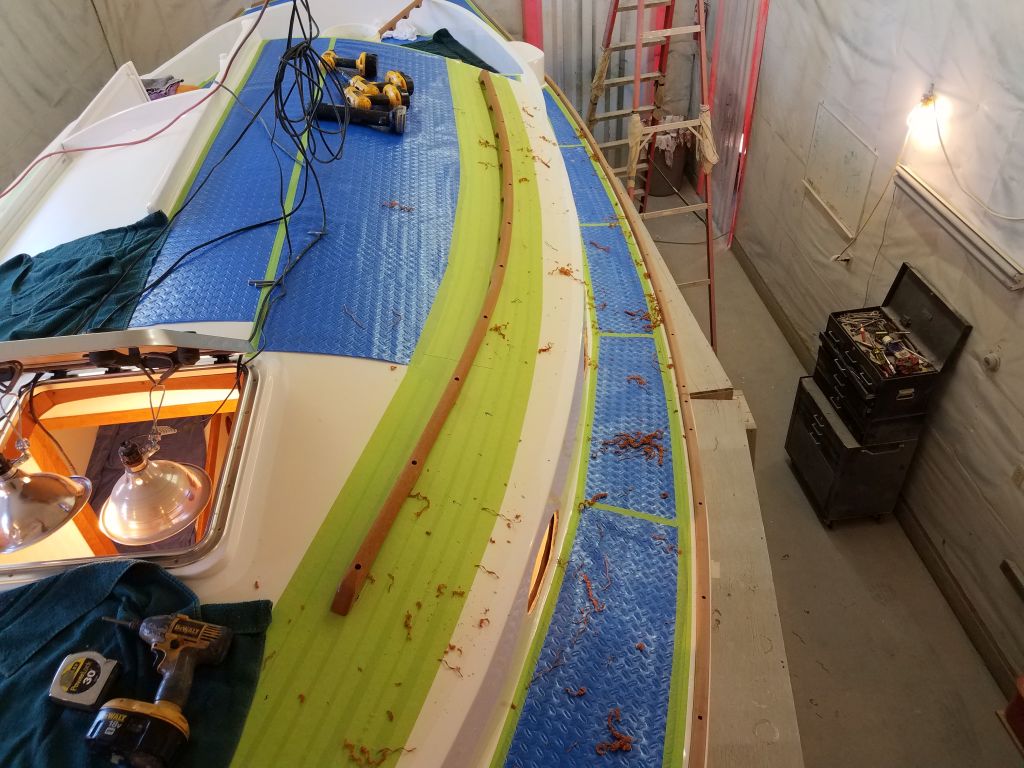
Before removing the rail, I used a sharp knife to cut the masking tape around each base location and, after removing the rail, removed the tape in these areas. Then I milled the usual countersink at each fastener location.

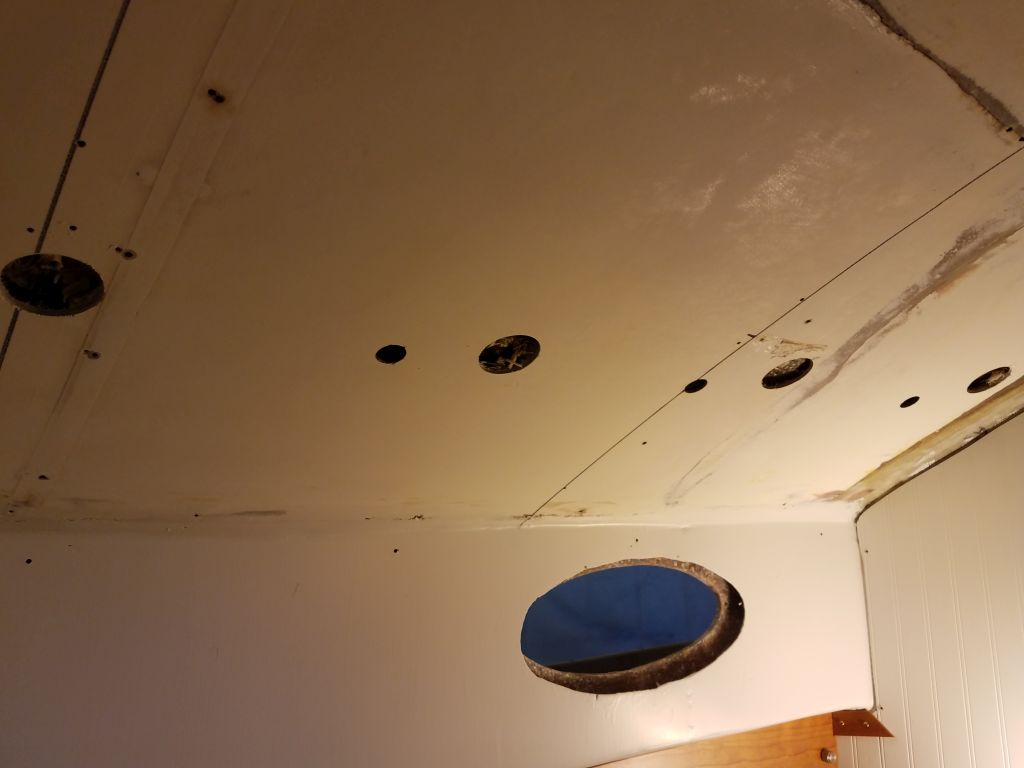
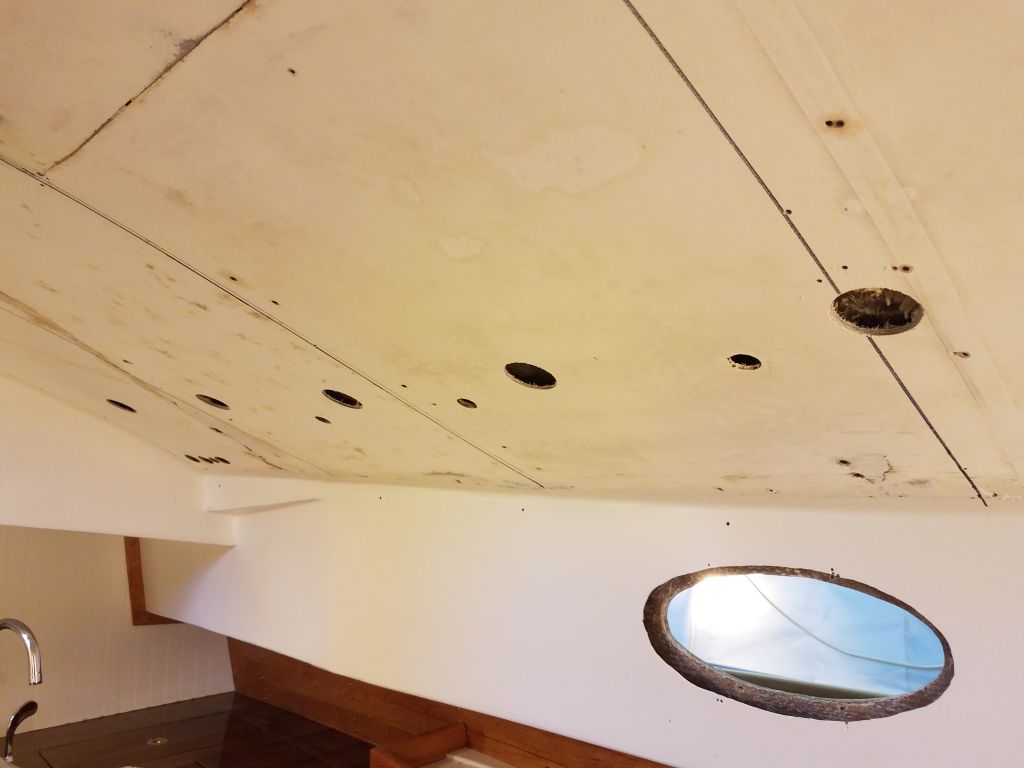
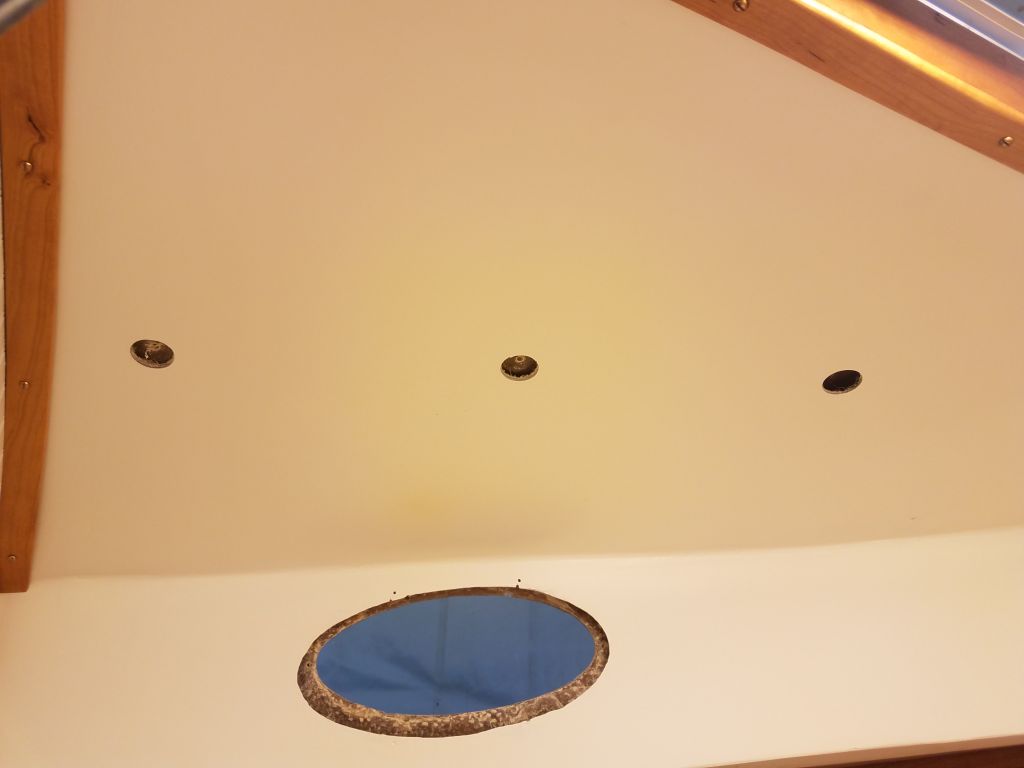
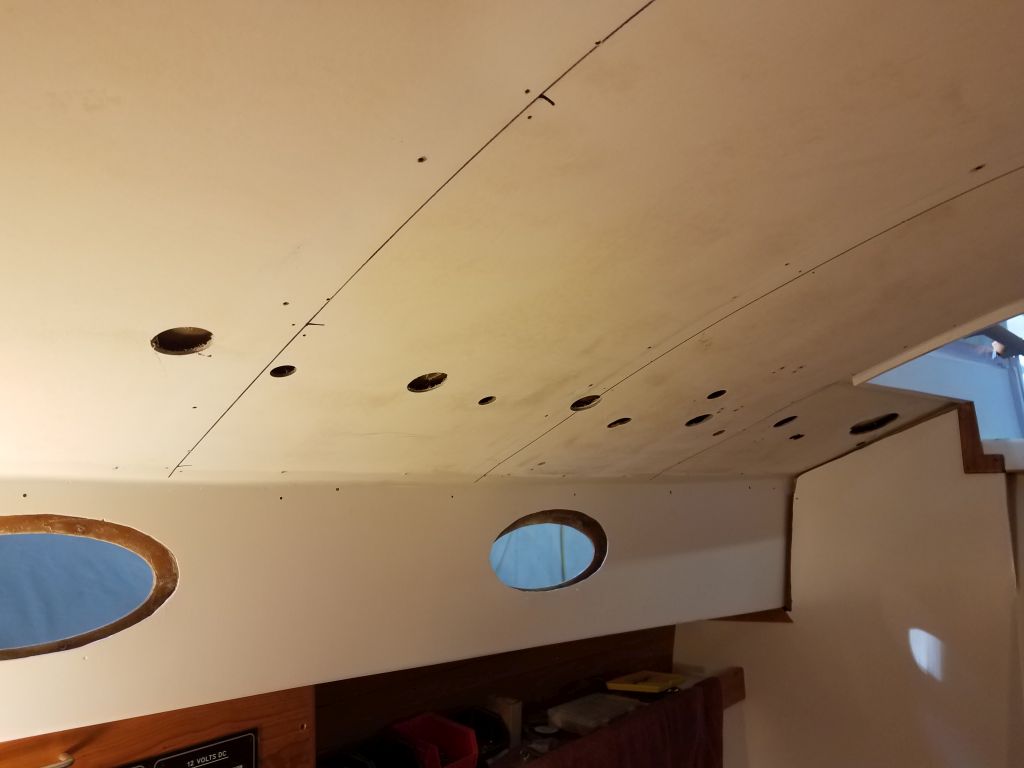
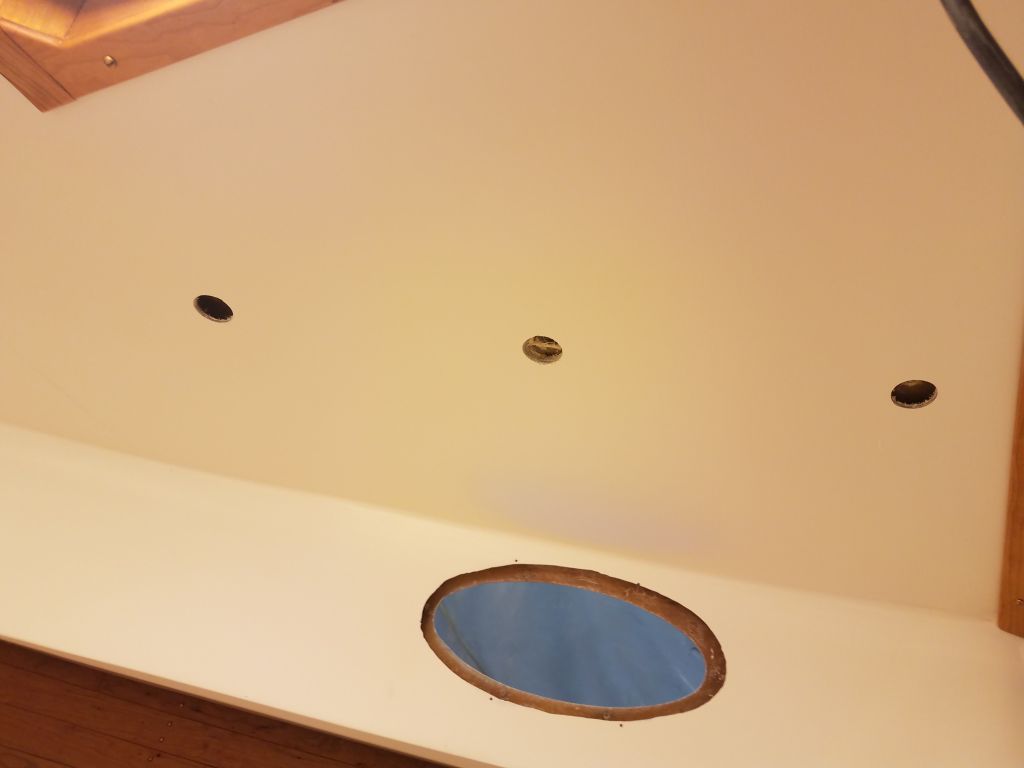
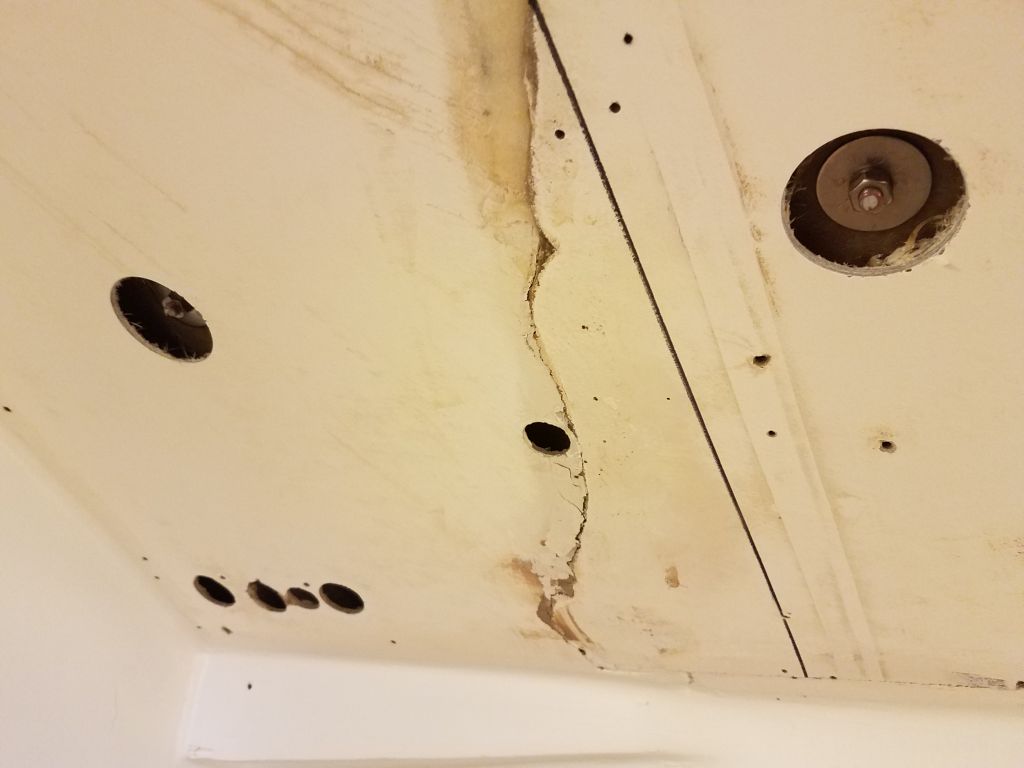
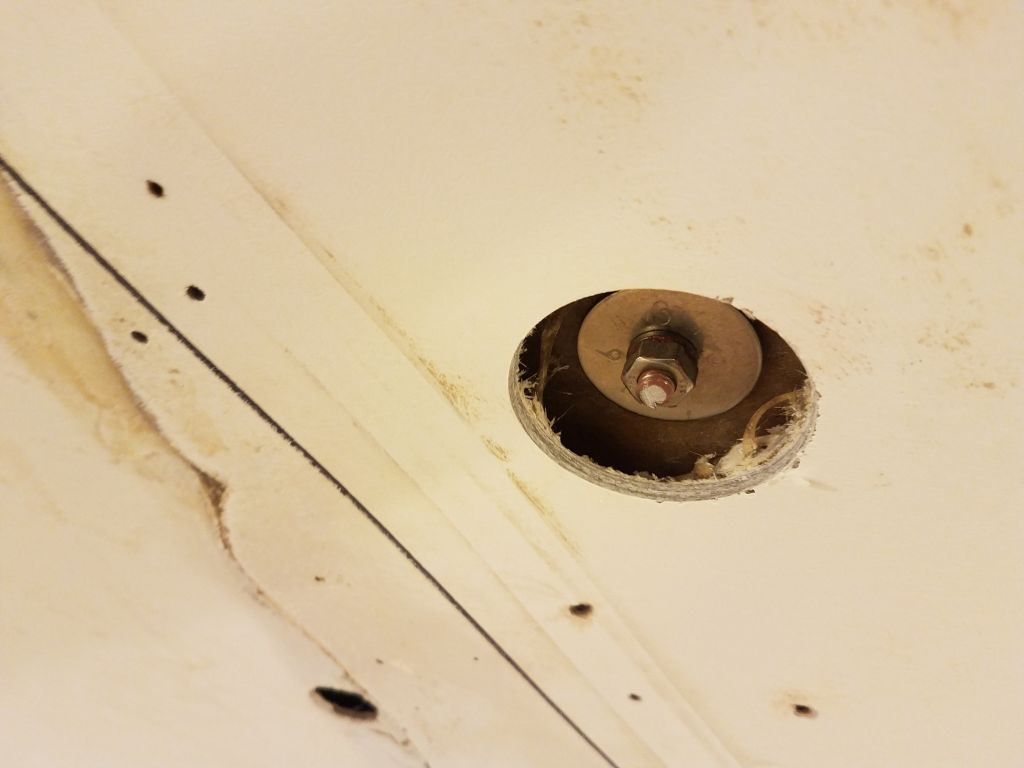
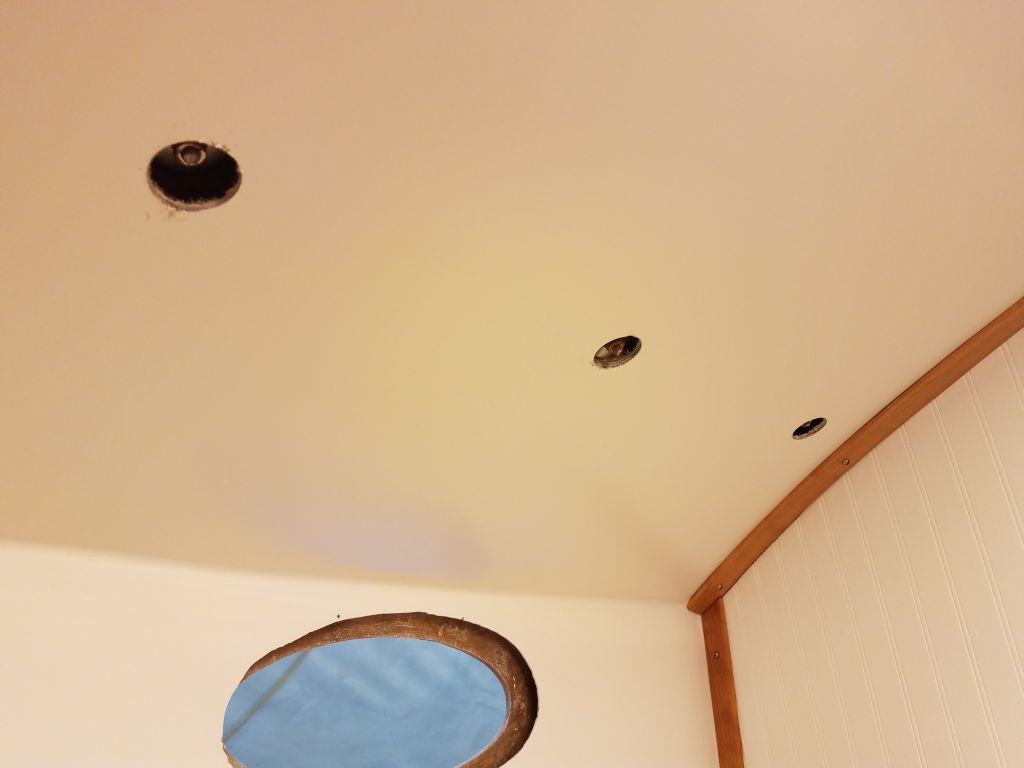
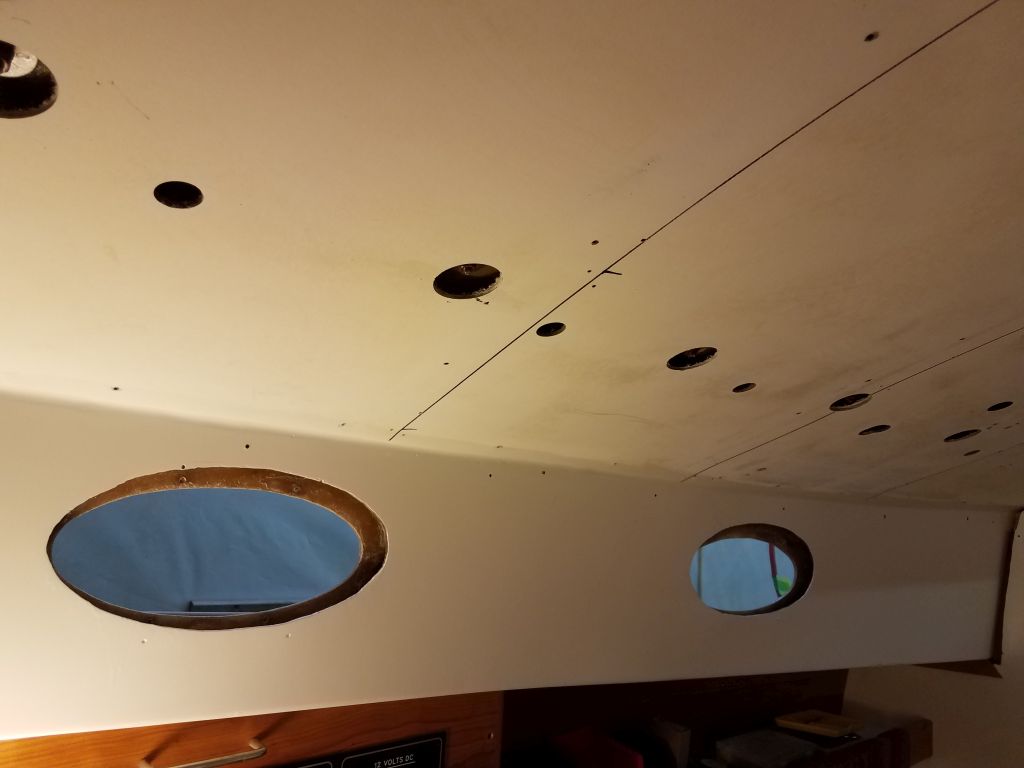
Belowdecks, I had additional work to prepare for the final installation. Since the overhead in all areas was covered with the molded interior liner, I needed to remove the liner so I could secure the rail directly to the underside of the deck. In the main cabin, where the original overhead was in such poor condition that I’d built a new plywood cosmetic overhead to cover it, these additional holes posed no issues for the final appearance of the cabin, so here I used a 2″ hole saw to remove the liner in way of each handrail bolt. In the forward cabin, where the molded liner was still the finished surface, I used a 1-1/4″ hole saw to drill the holes–the same size as the fender washers I planned to use to secure the rails.
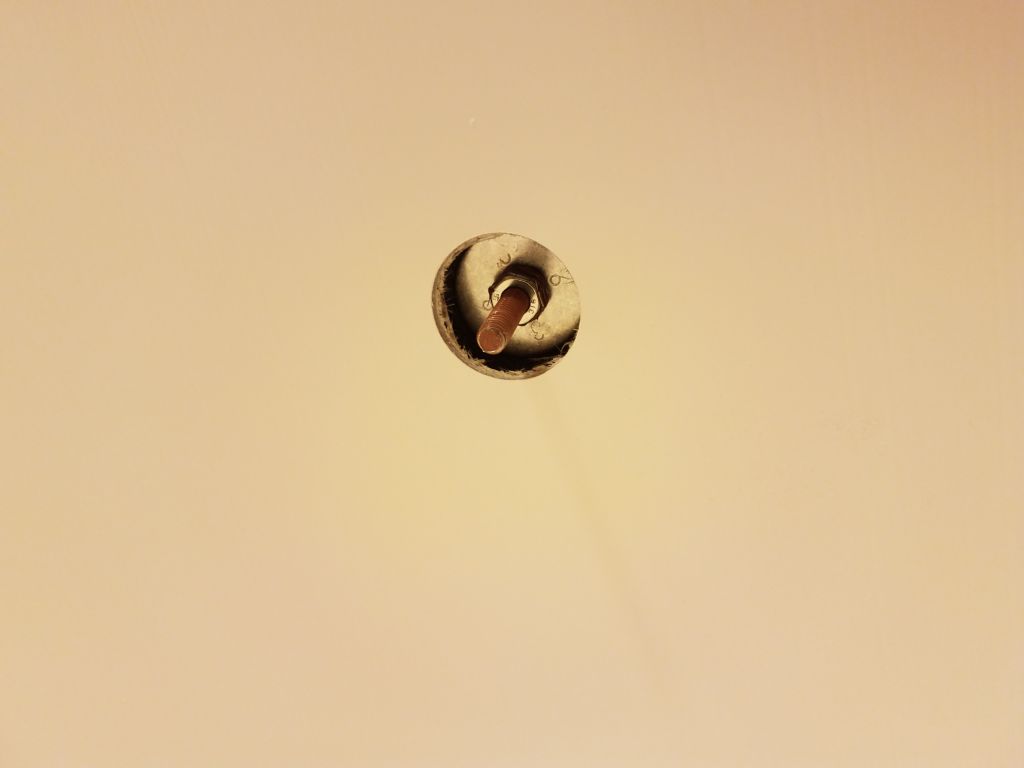
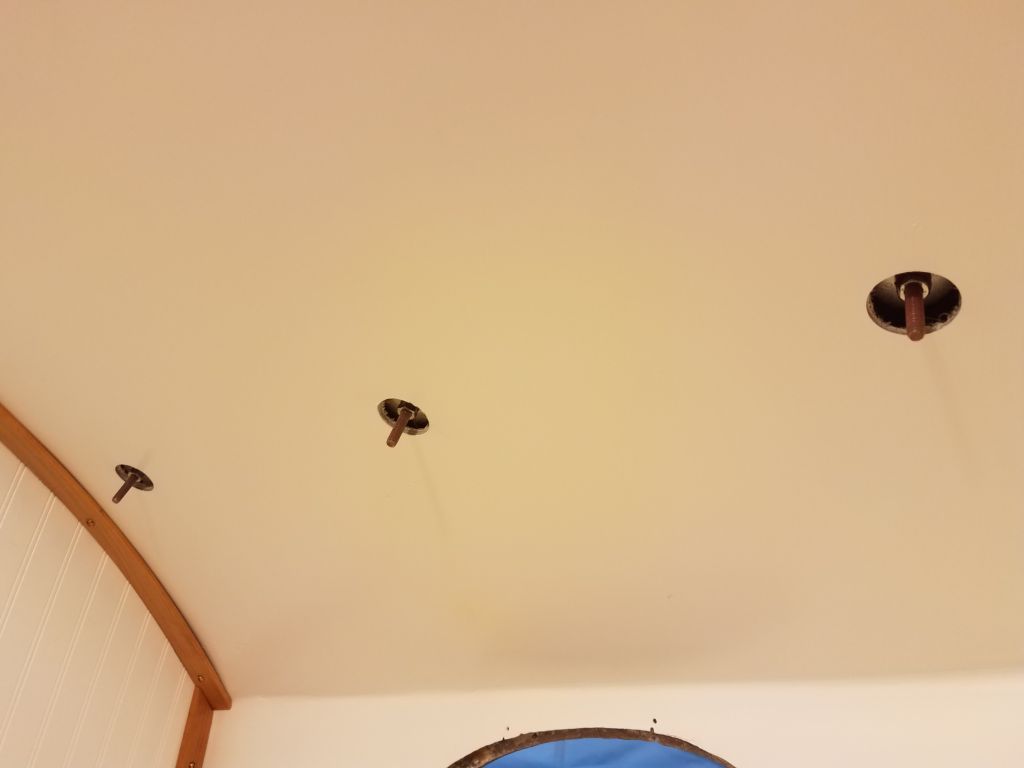
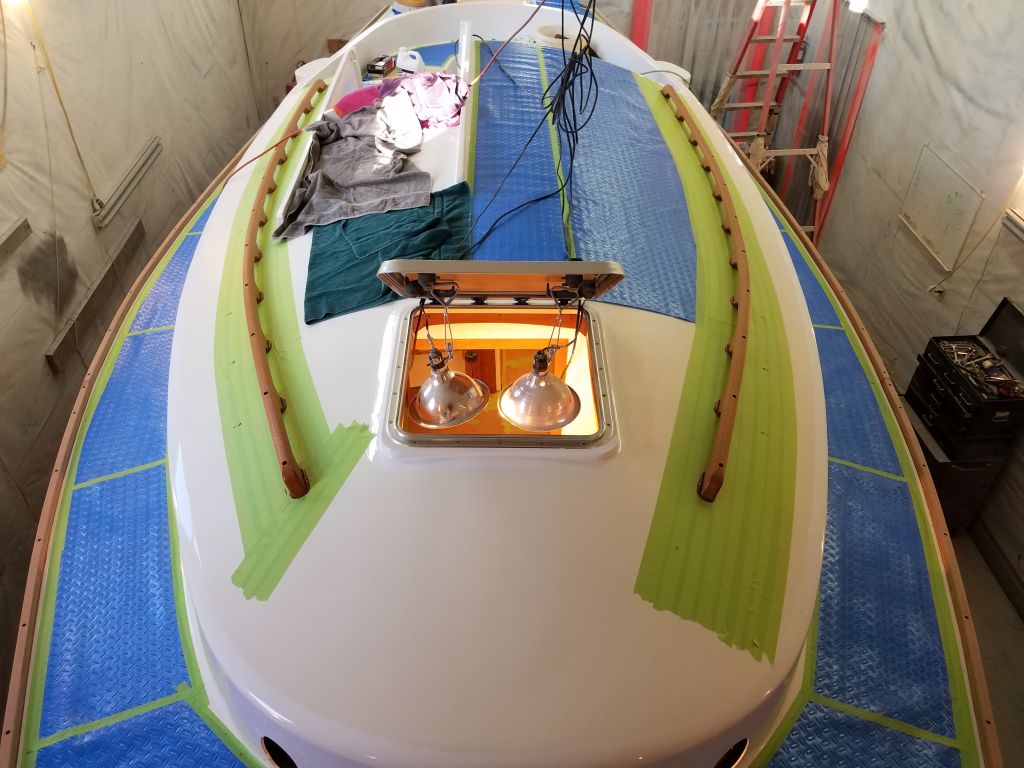
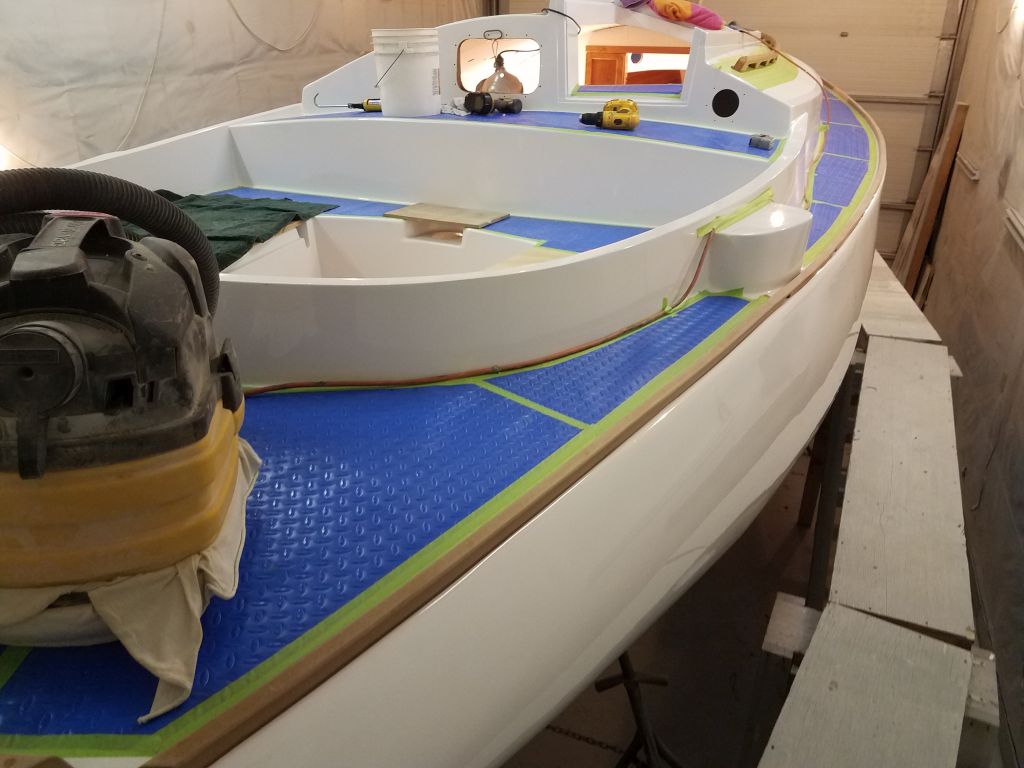
I installed the first handrail in a heavy bed of sealant using 1/4-20 machine screws, nuts, and washers. The bolts I used were a little long, so later I cut off the excess (seen in photos later in this post). I also ordered some cosmetic caps to use in the forward cabin and hide (or at least improve) the 1-1/4″ holes.

On the starboard side, I repeated the process of layout and installation. Handrails are always a fussy and time-consuming proposition, but in this case the installation seemed to take an extraordinarily long time for whatever reason (perhaps only perception), but certainly drilling the holes through the interior liner added significantly to the overall process and made a huge mess in the cabin. I left the excess sealant that squeezed out around the handrails for removal at another time, once it had cured, since I knew it wouldn’t stick to the plastic rails themselves, and in this instance I preferred to give it time to cure before removal.
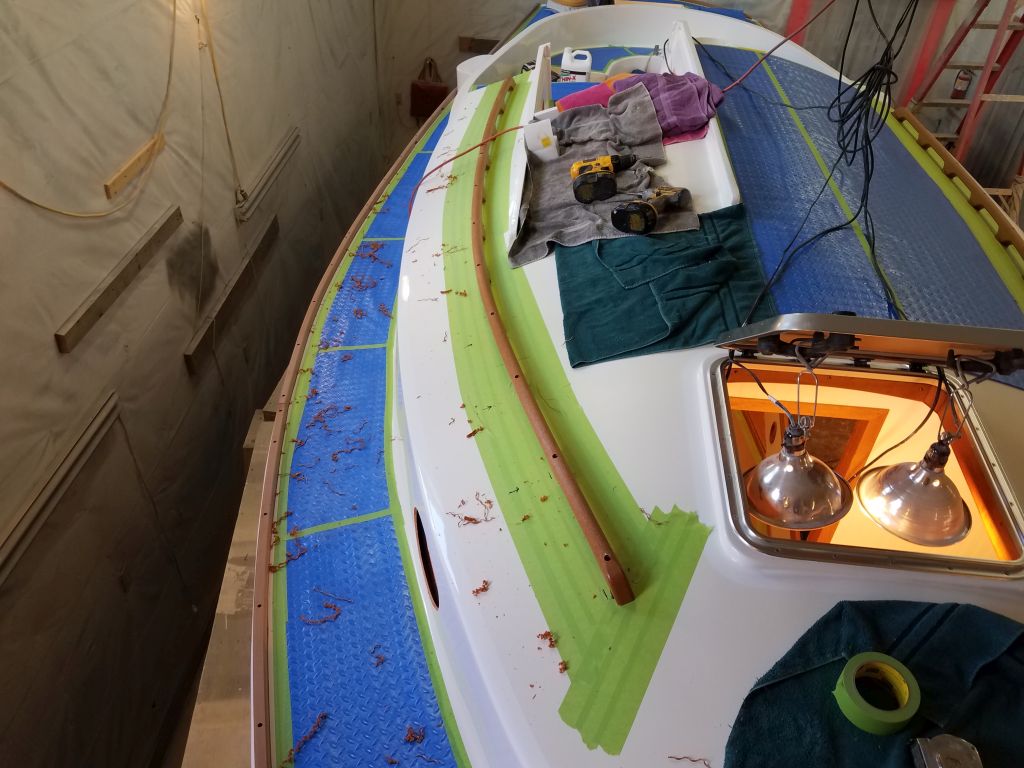

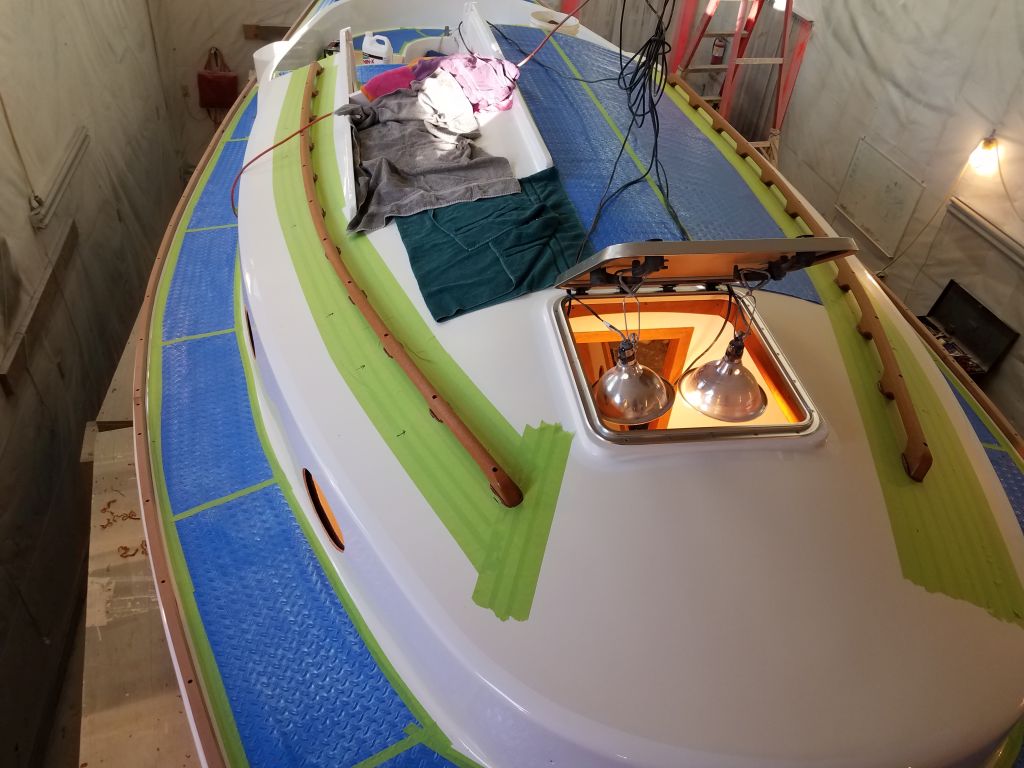
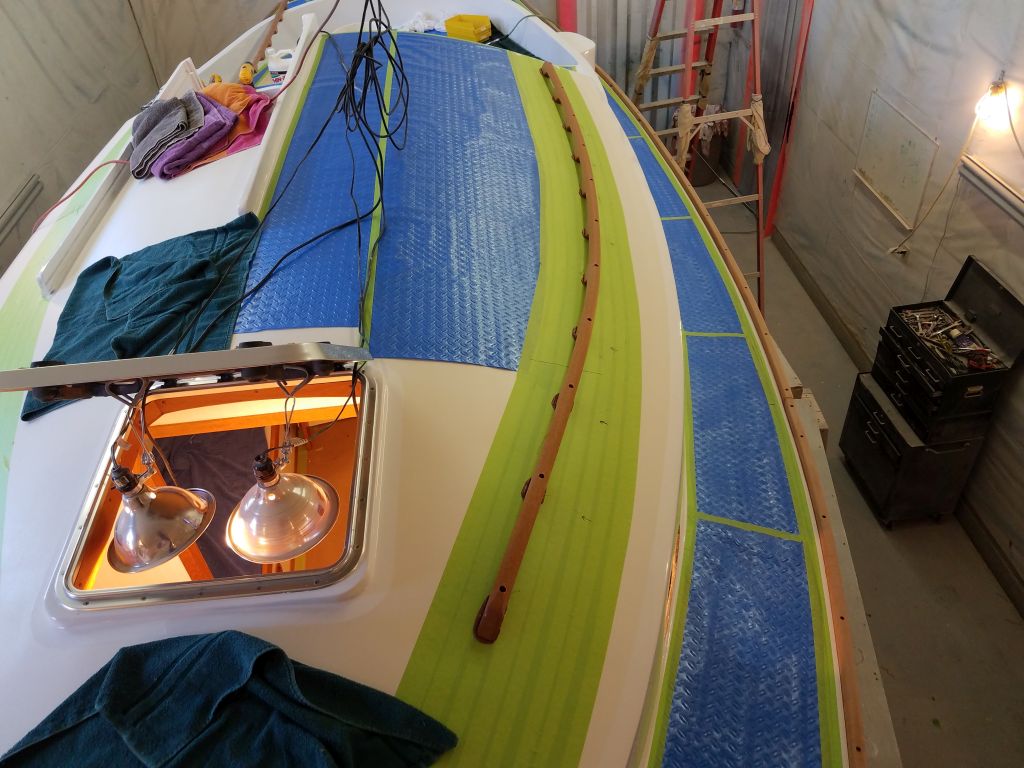
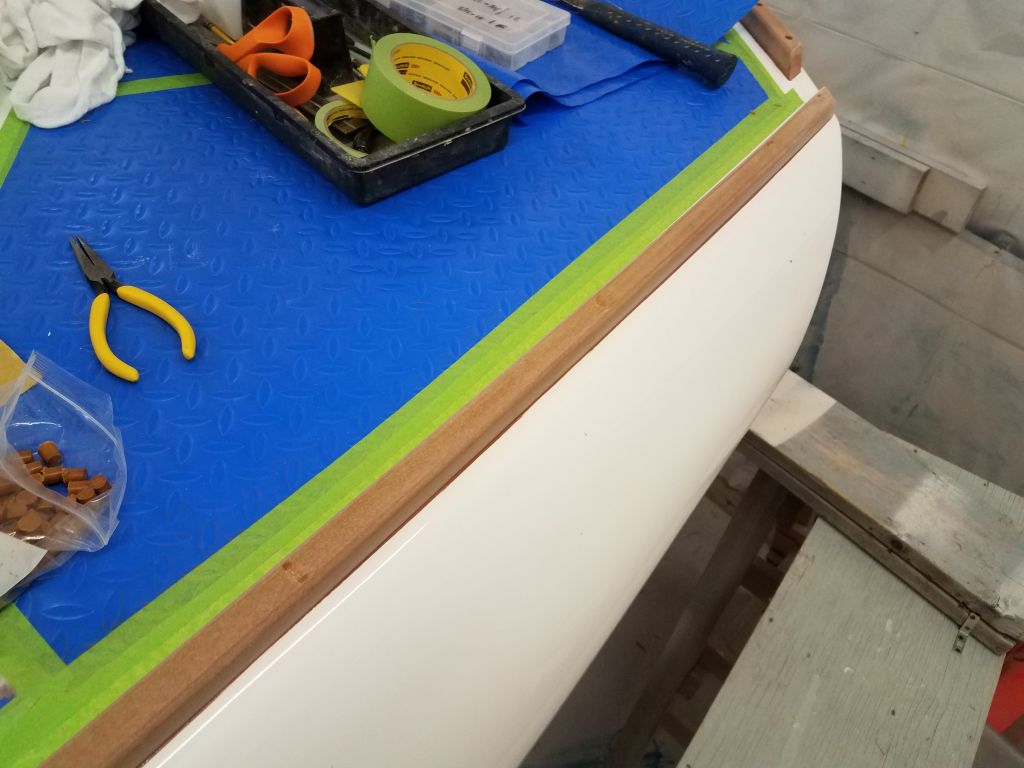
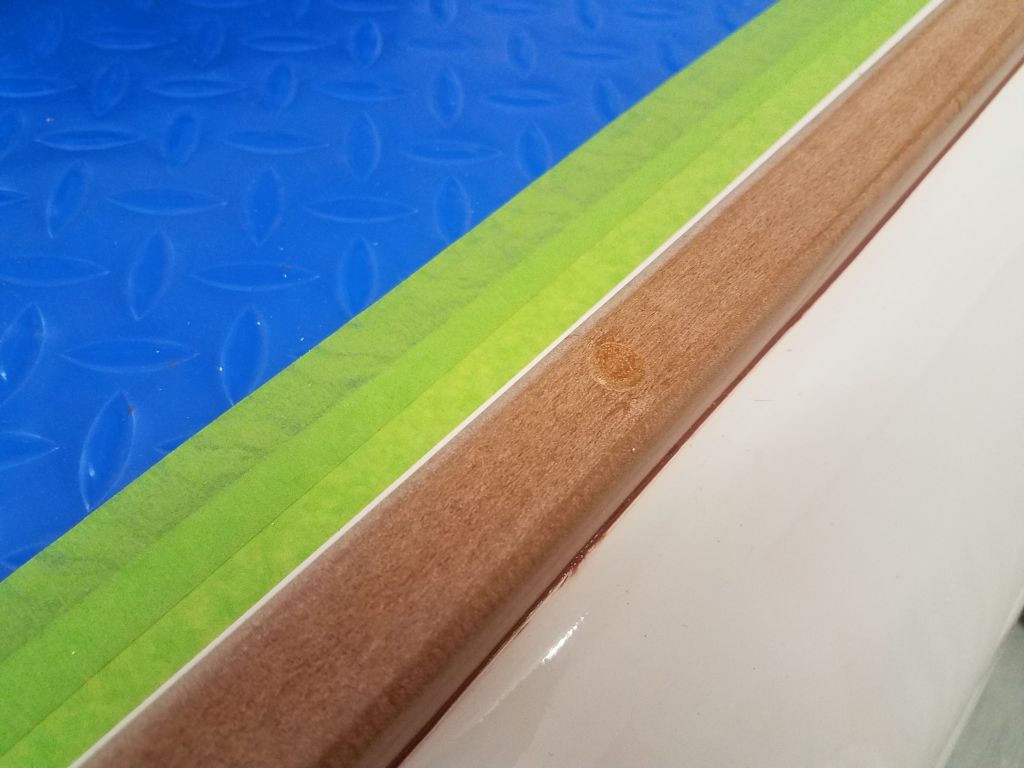
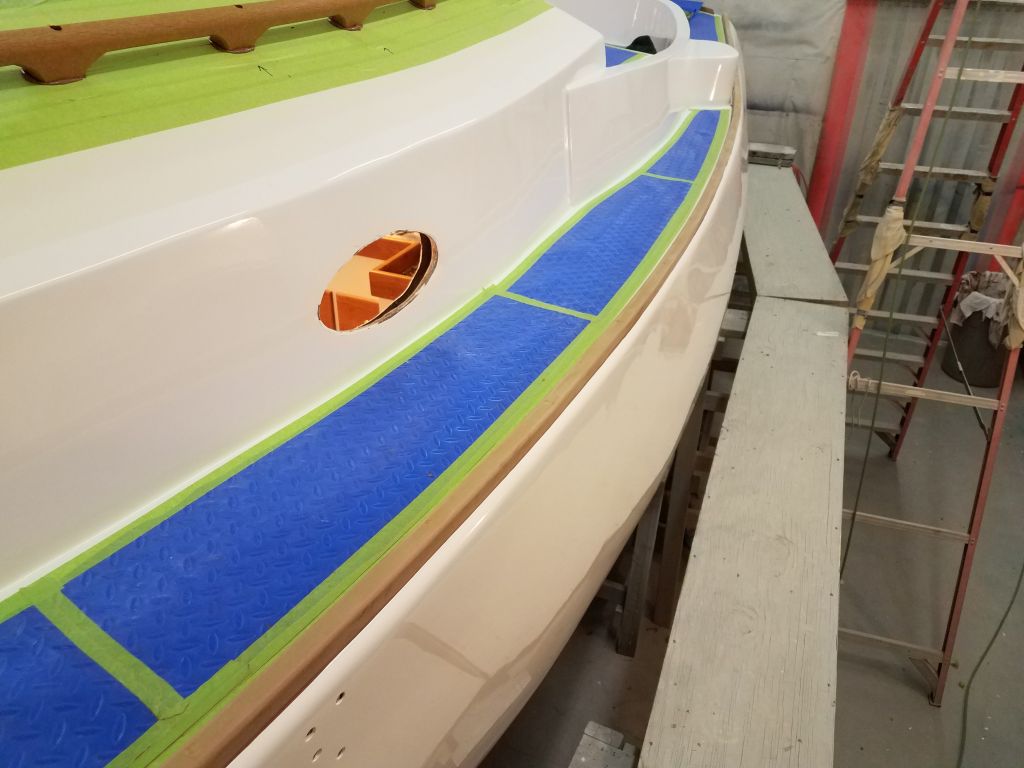
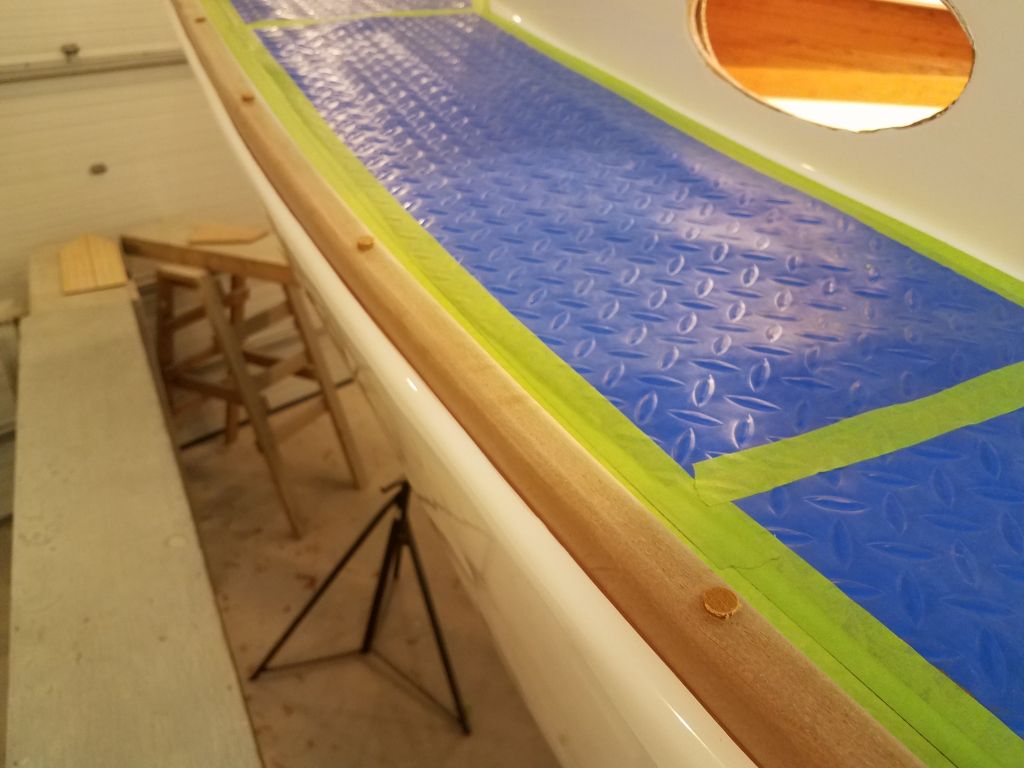
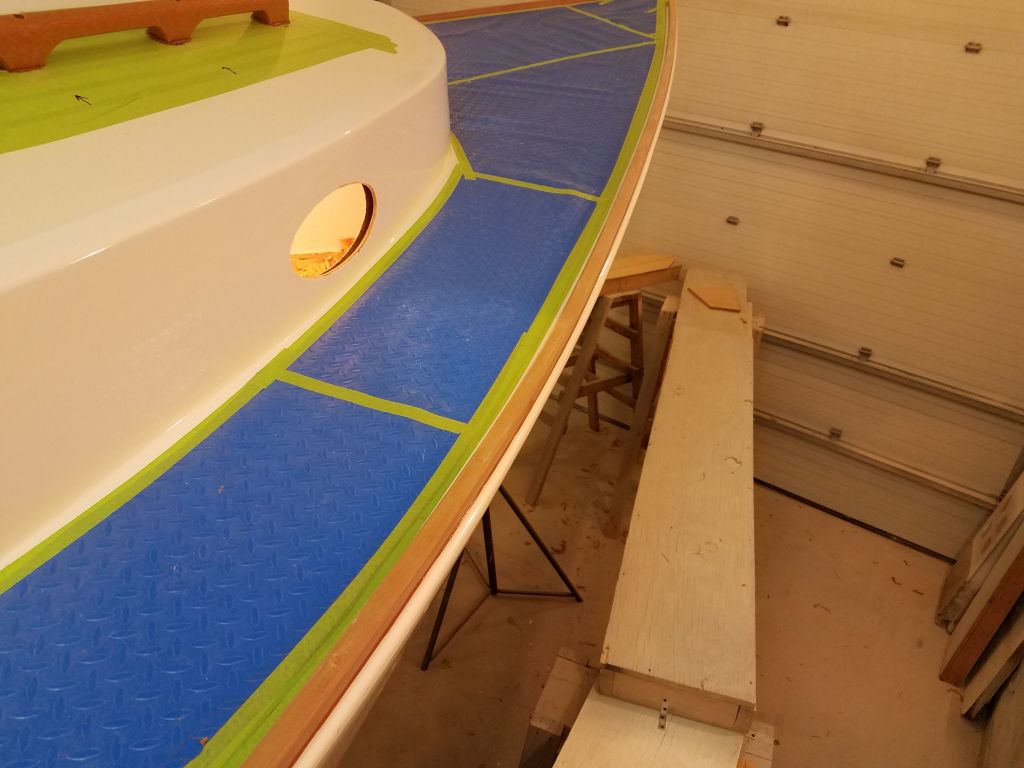
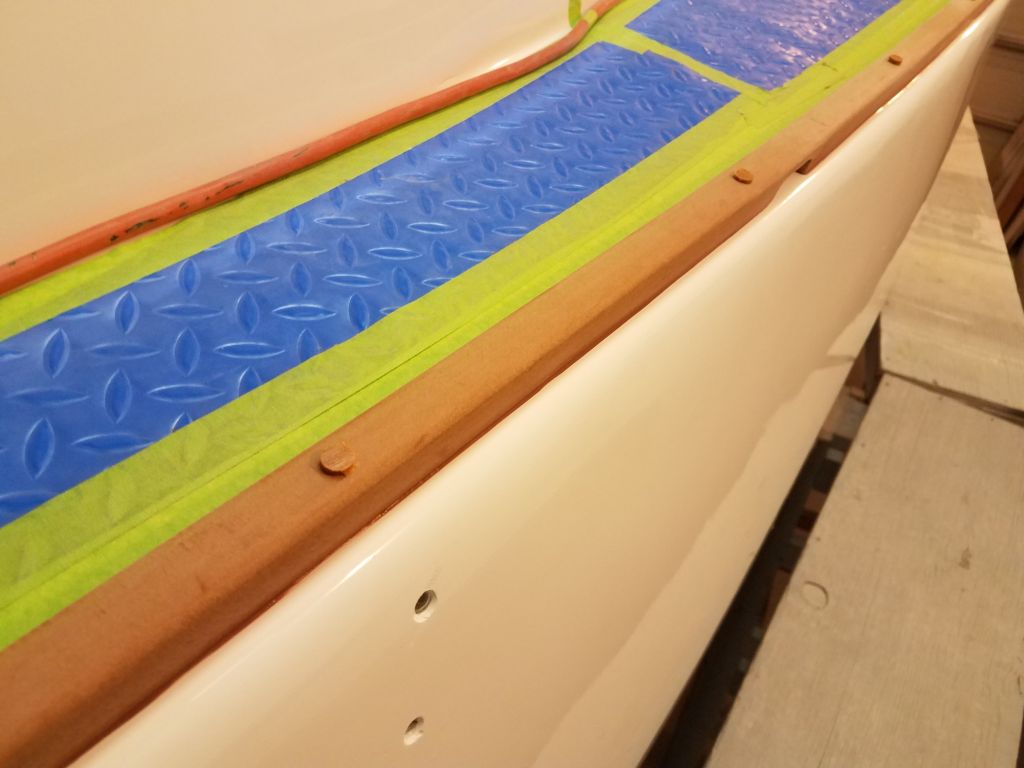
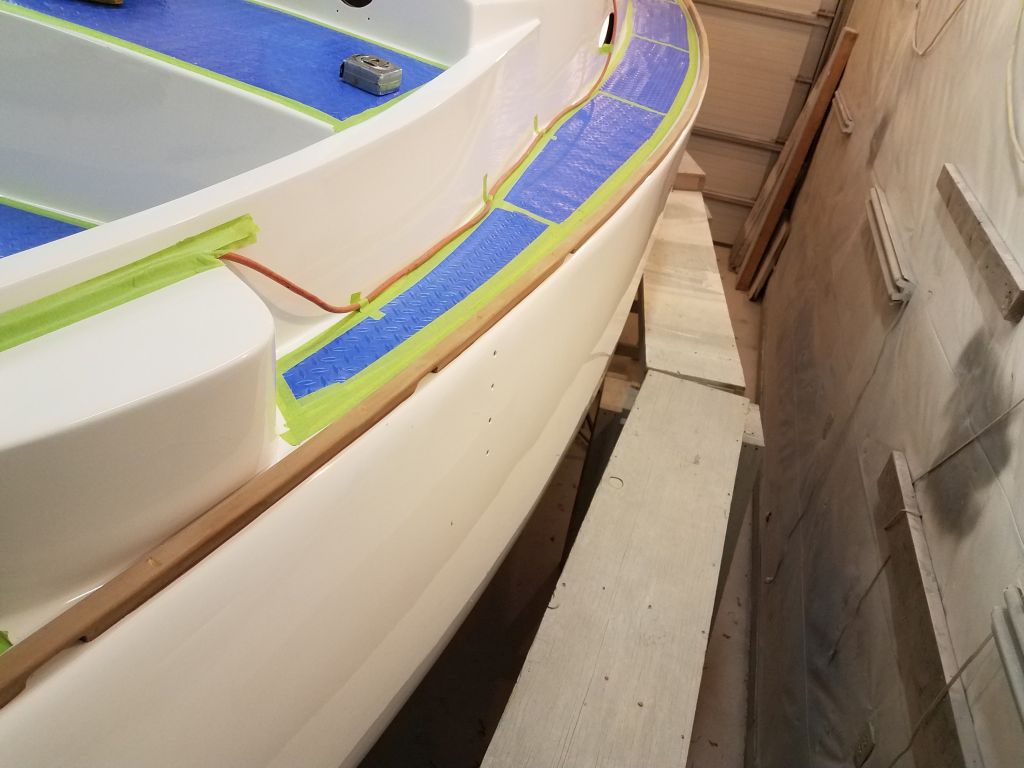
To finish up the day, I installed bungs in all the toerail fastener holes. I’d ordered 3/8″ bungs along with the trim material, and these were straightforward to install, though getting them started in the holes was often a little difficult since the bungs were a friction fit only, since no glue would work with this material. I found them to be a good snug fit, and it was easy enough to remove the excess with a chisel.


Total time billed on this job today: 8.25 hours
0600 Weather Observation: 32°, clear. Forecast for the day: Sunny, 43°