


January 21, 2020
Scupper 224
Tuesday
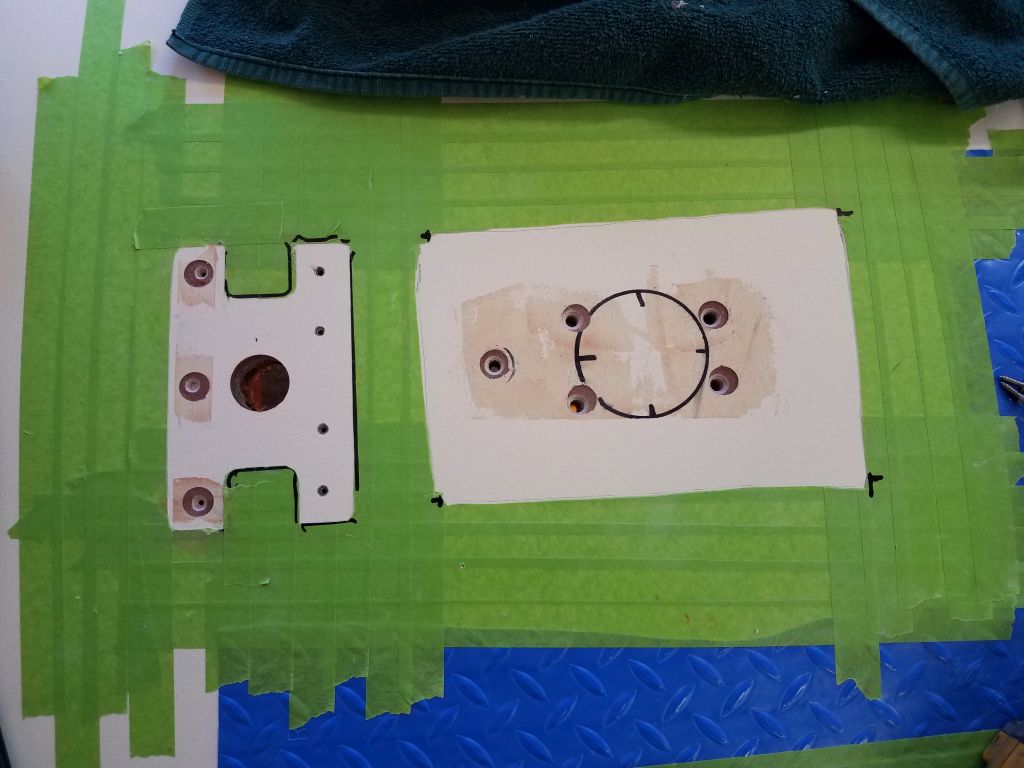
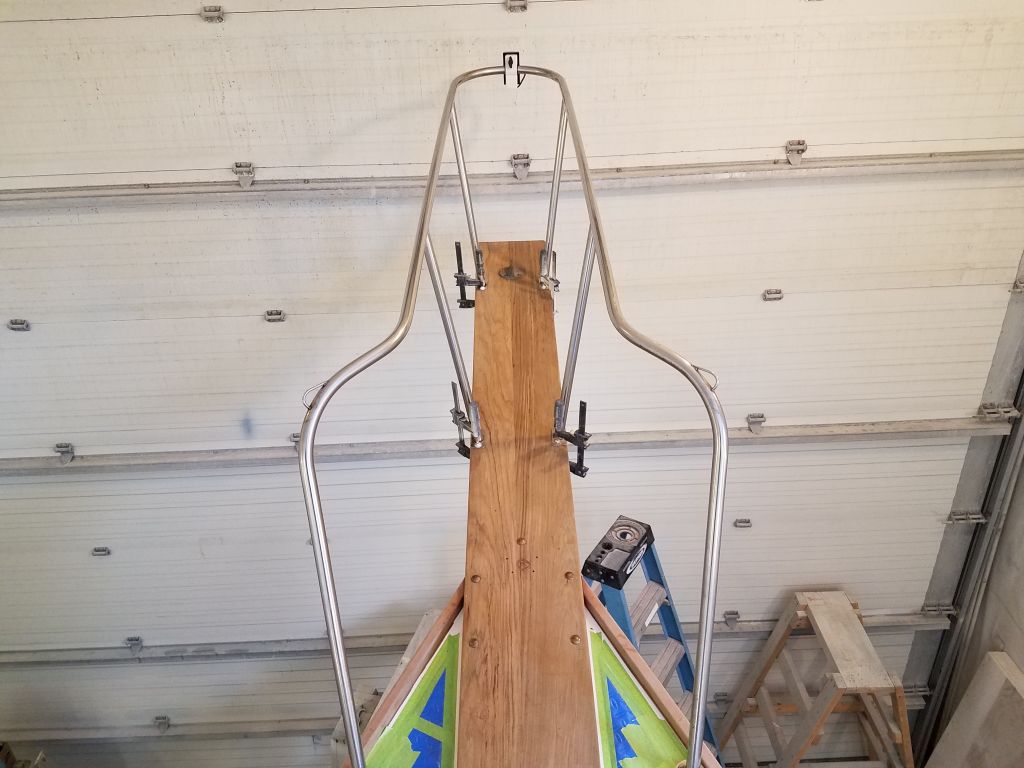
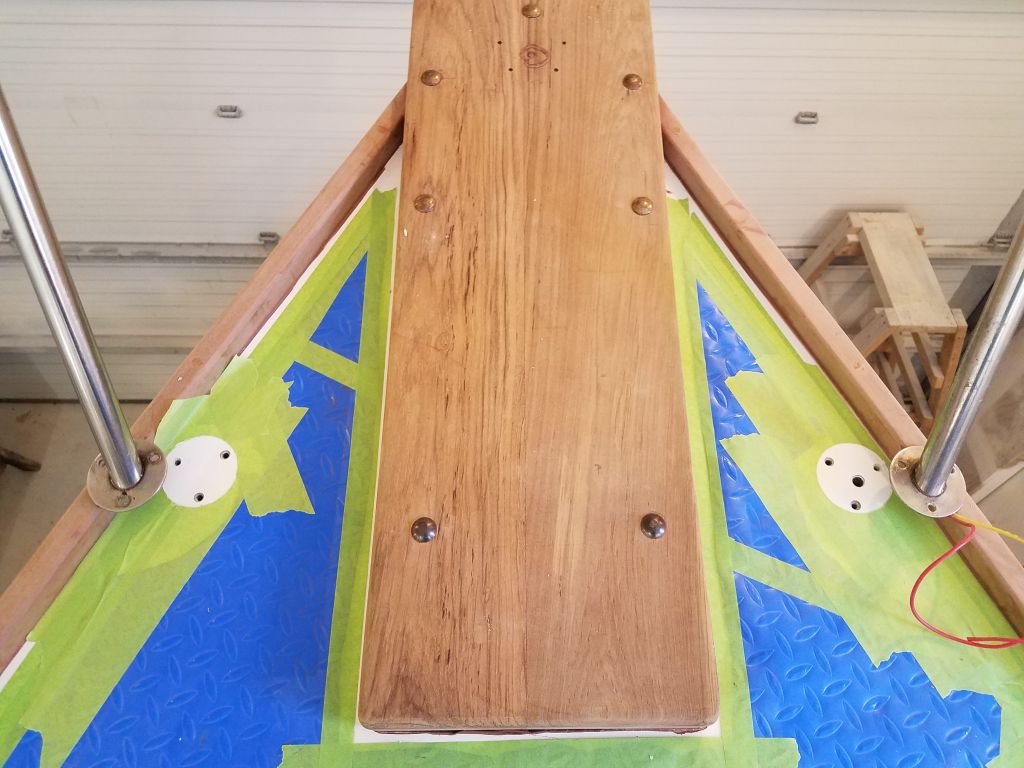
Now that the deck was ready for the final installation at the mast step, I began by carefully aligning the mast step plate, then marking the bolt holes on the deck. Then, I drilled small pilot holes all the way through to the cabin so I could prepare the underside of the deck for the fasteners.
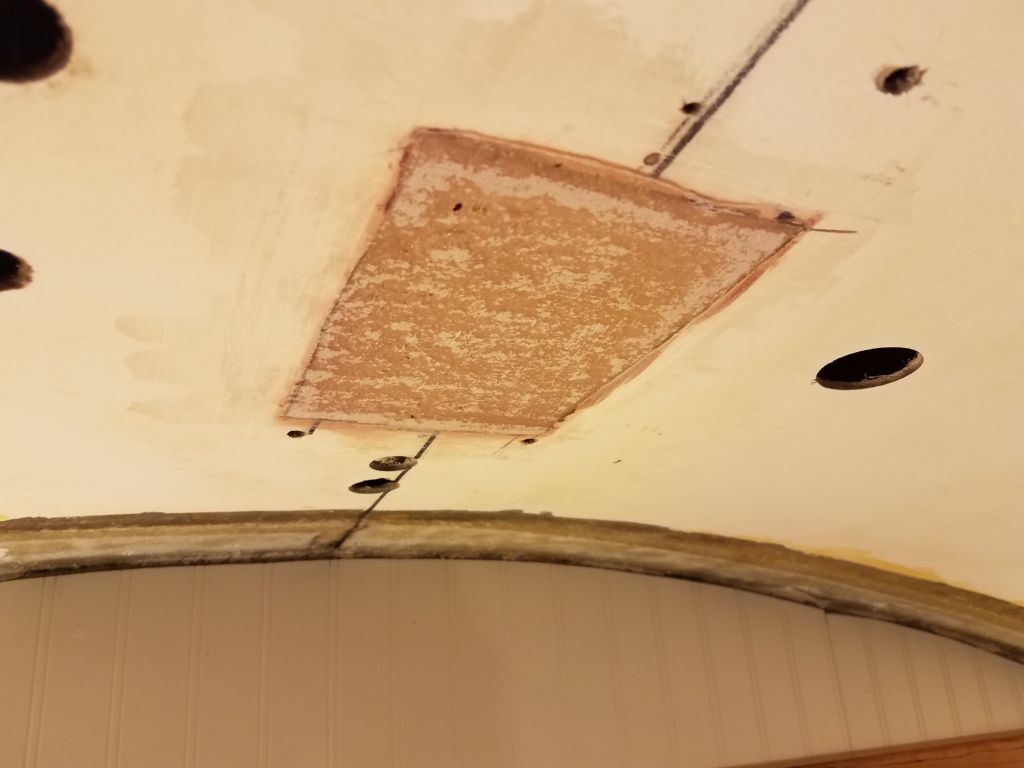
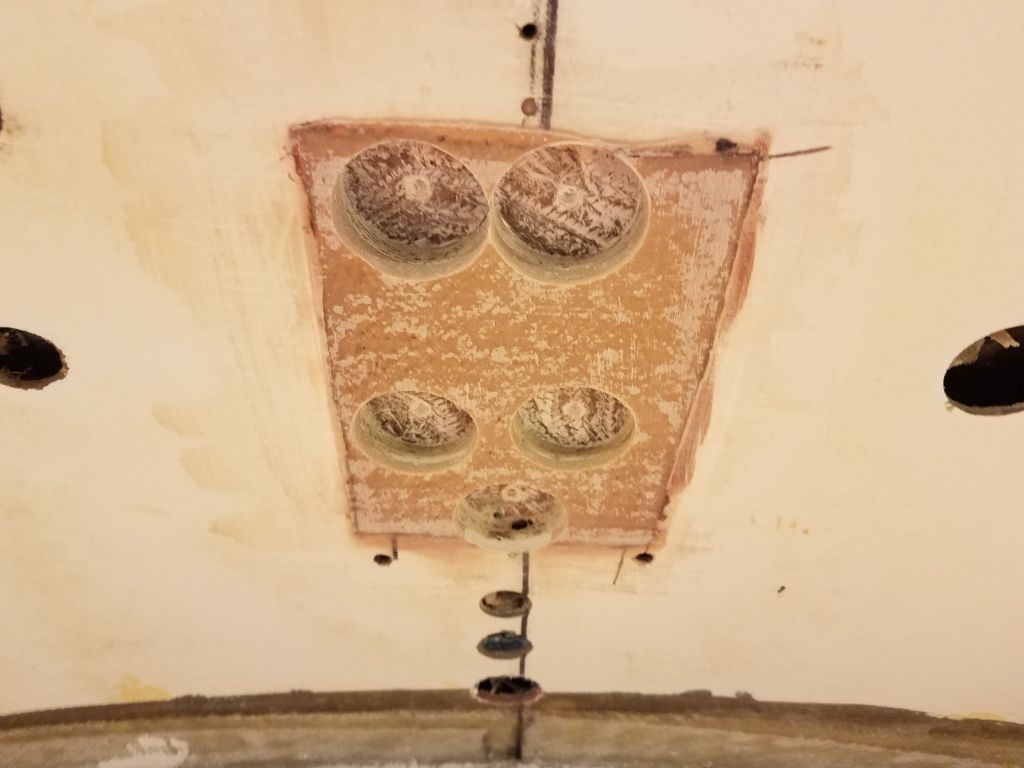
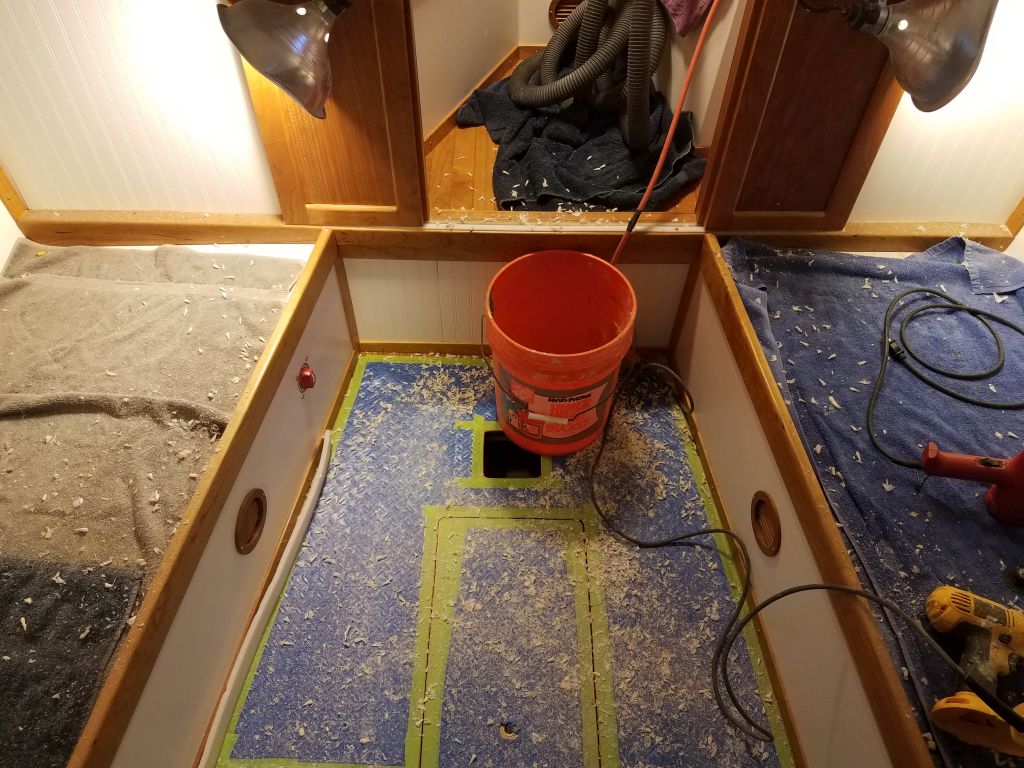
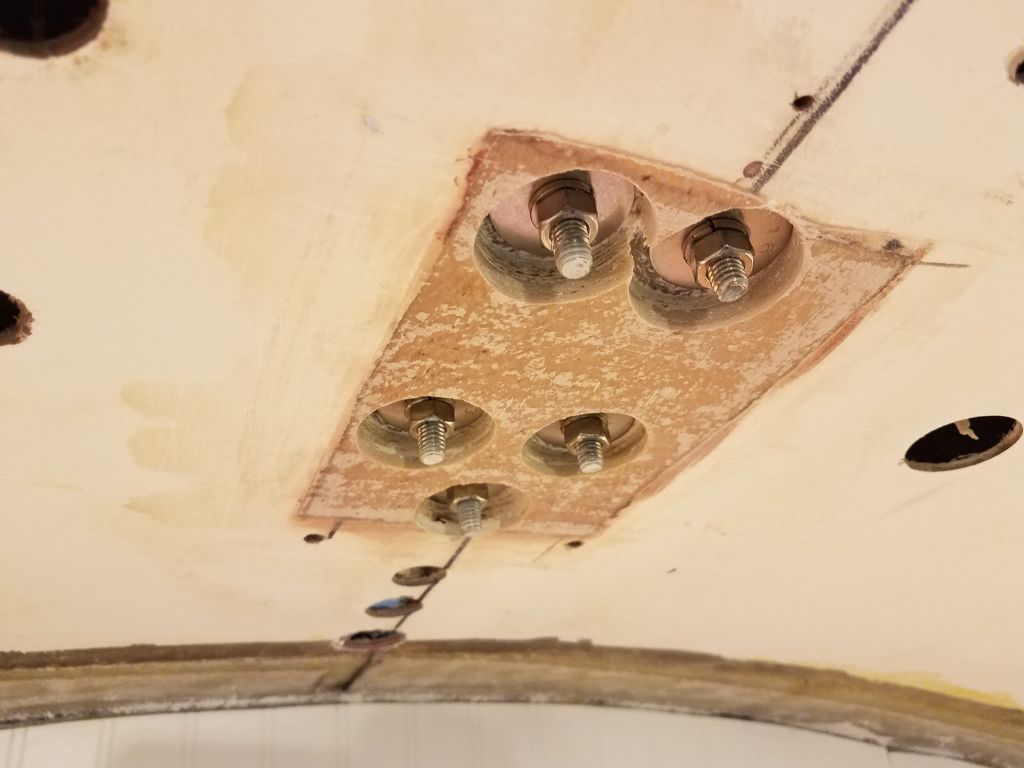
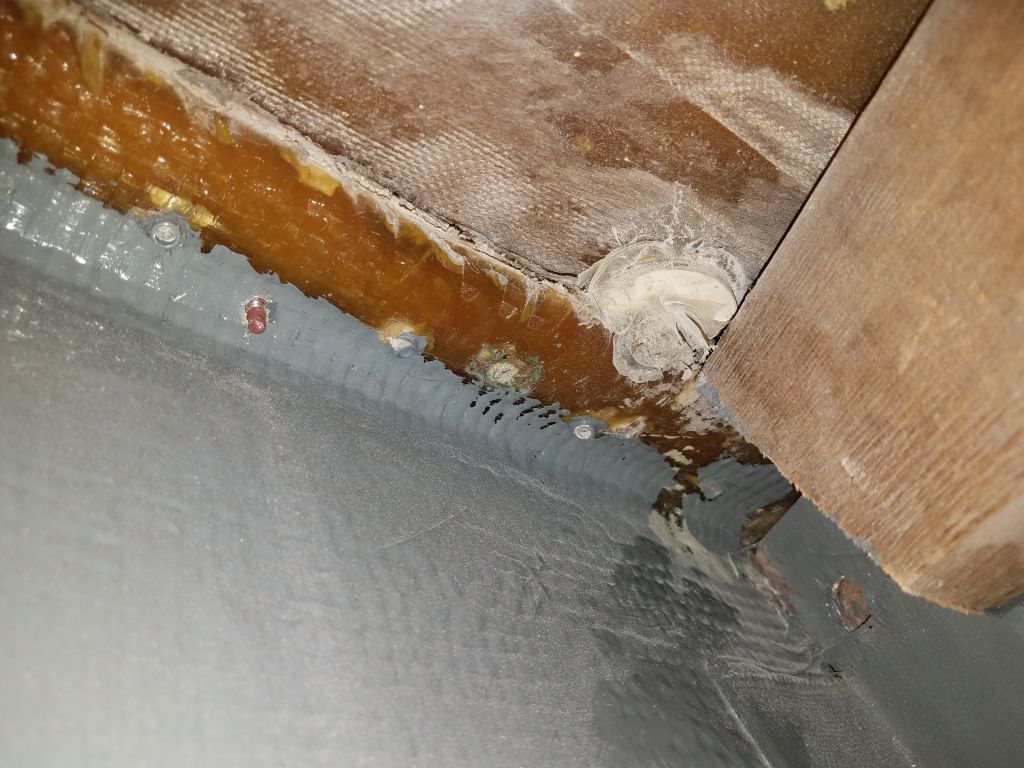
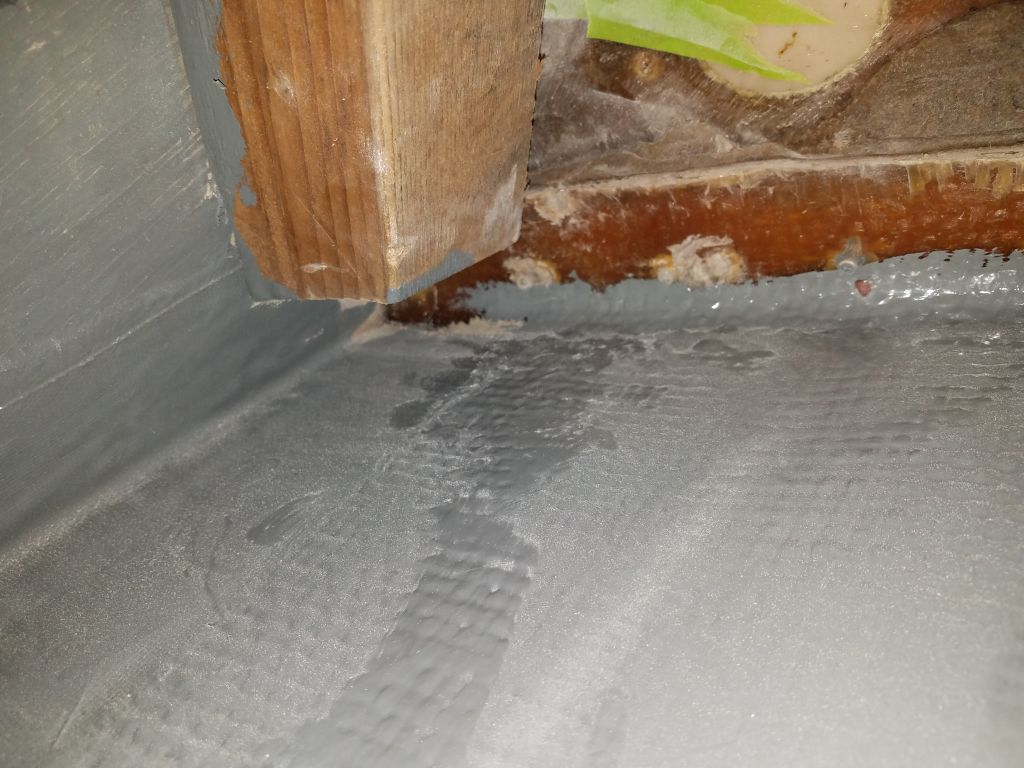
Faithful readers may recall that earlier, I’d prepared the underside of the deck beneath the mast step by removing a portion of the old cabin liner and previous installation iteration and filling the space with solid fiberglass and a bit of high-density filler, all the better to give the compression post a solid bearing. Now, with the pilot holes marking the locations of the five mast step bolts, I had to mill recesses to accept the nuts and washers, which would maintain the generally flat surface for the compression post to bear beneath. I used a 1-1/2″ Forstner drill bit to fit the 1-1/4″ fender washers I planned to use. This process was difficult and created an unspeakable mess in the cabin and of the drill operator, but there was nothing for it to simply press on and get the job done. Afterwards I had to clean the whole cabin to rid it of drill spoils and fine dust from the milling.
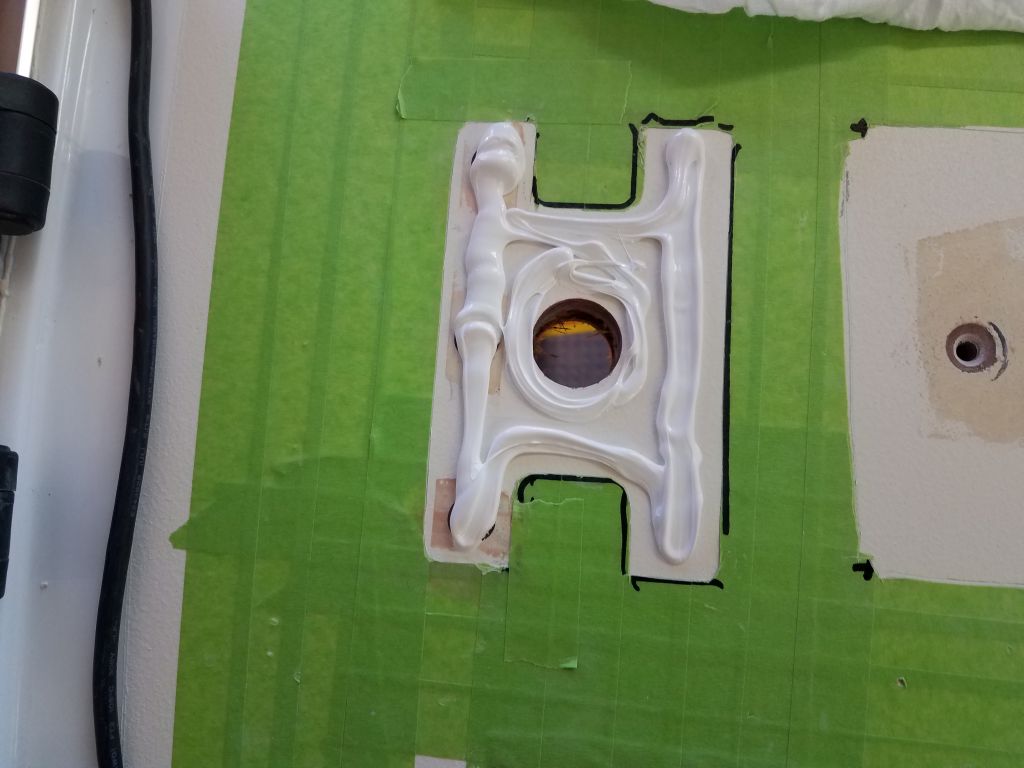
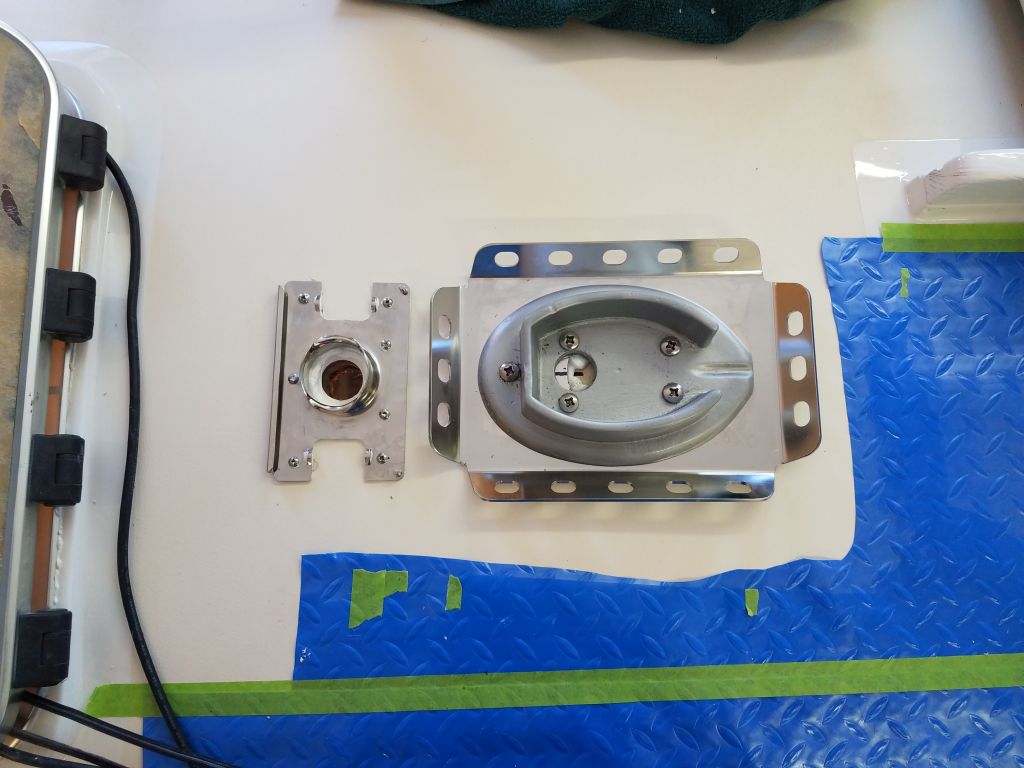
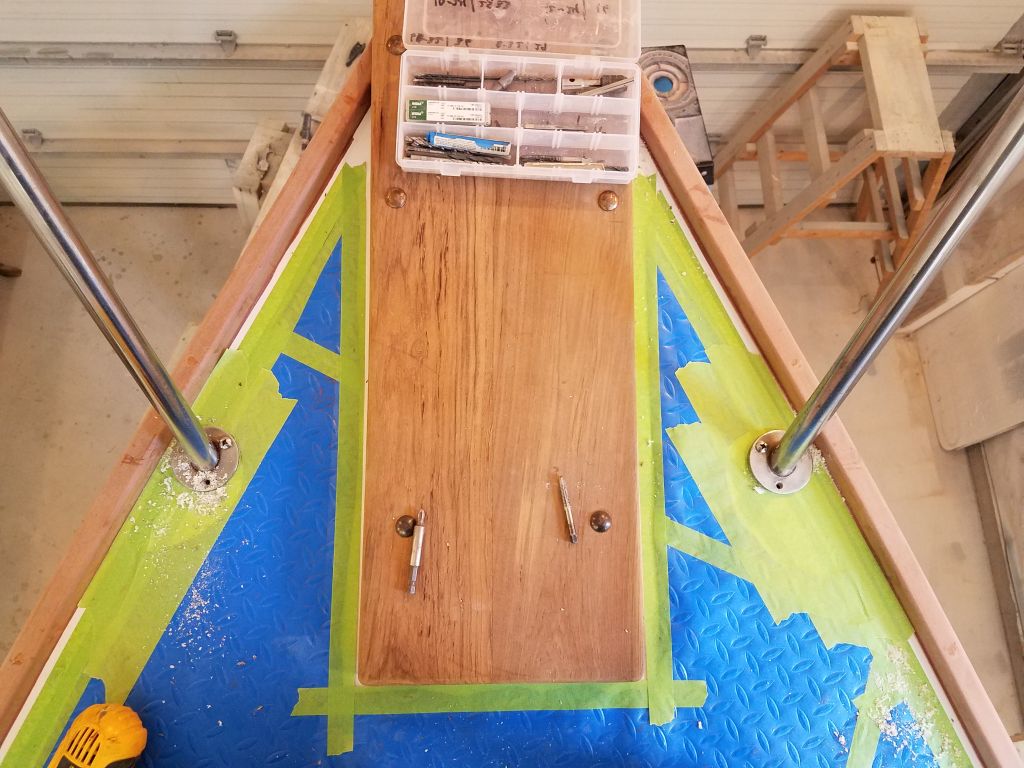
With the hole thusly prepared, I continued on deck with final preparations, including trimming the masking tape around the mast base and the wiring gland, and preparing all the fastener holes for both installations: drilling/tapping/countersinking.
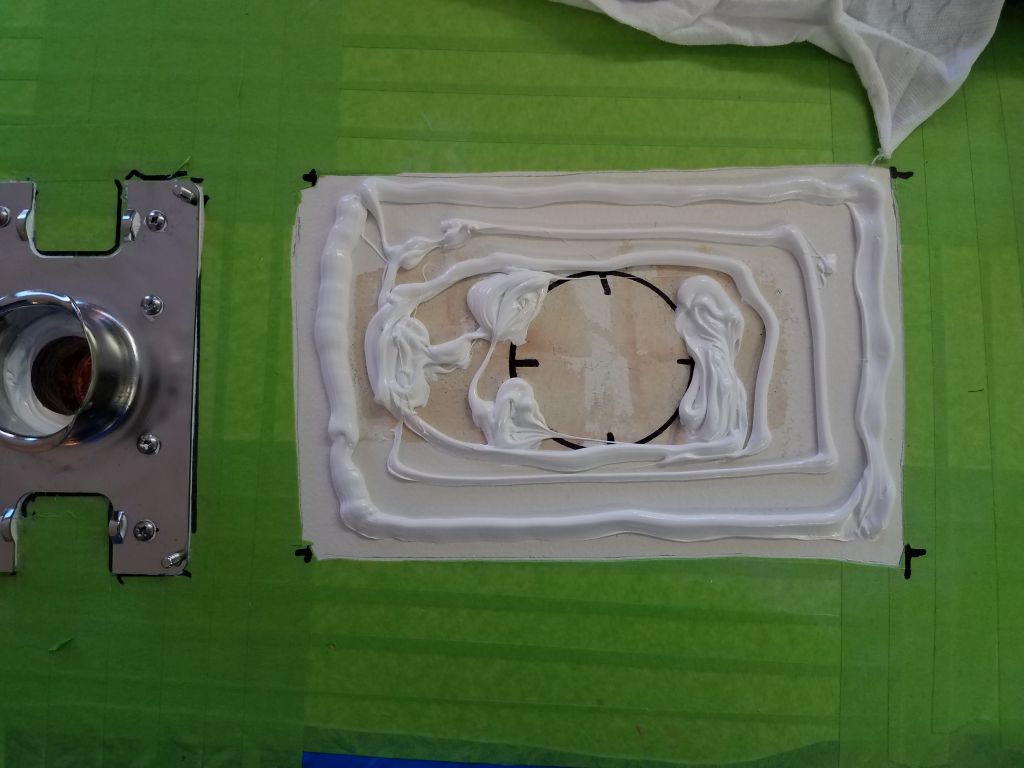
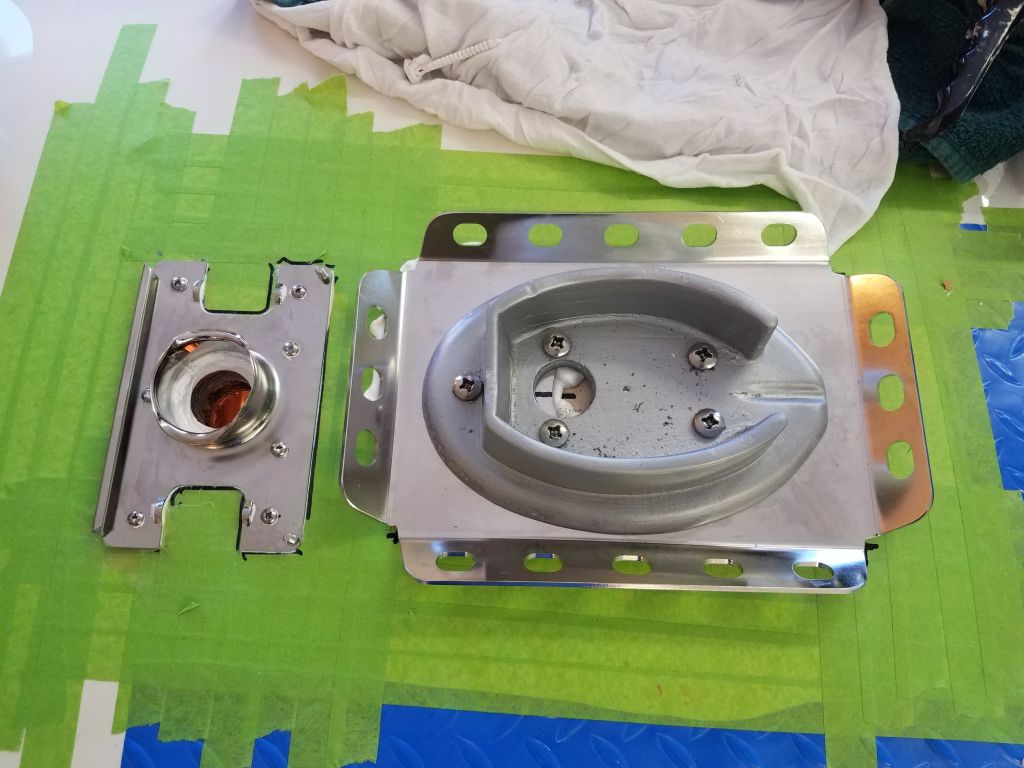
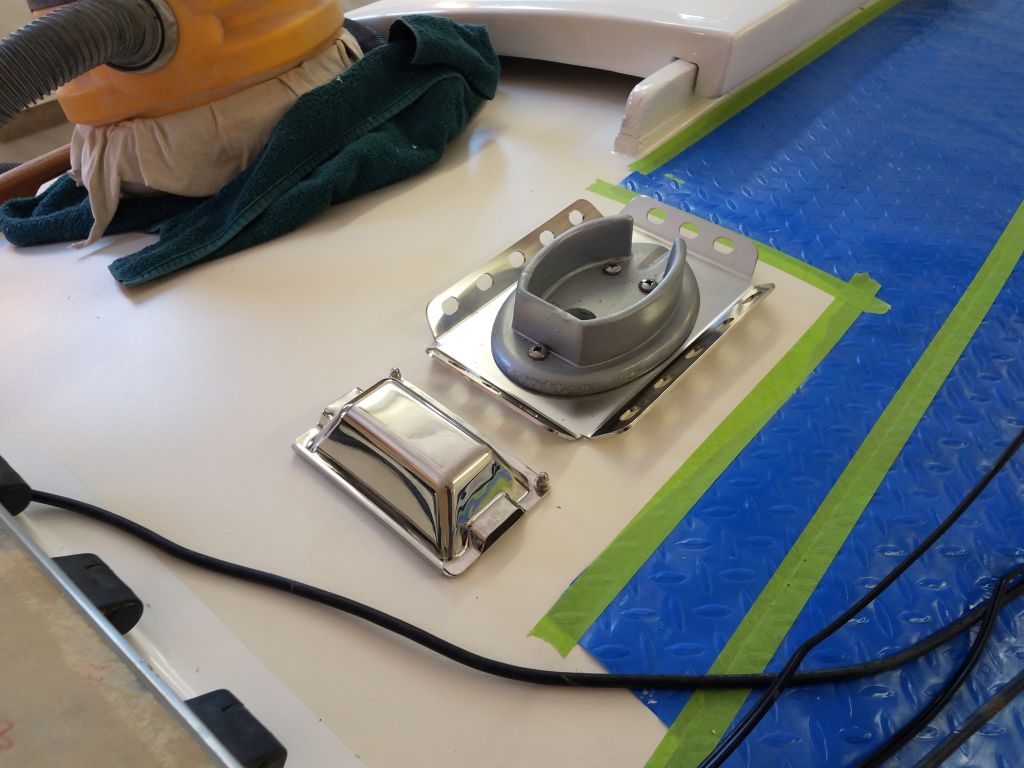
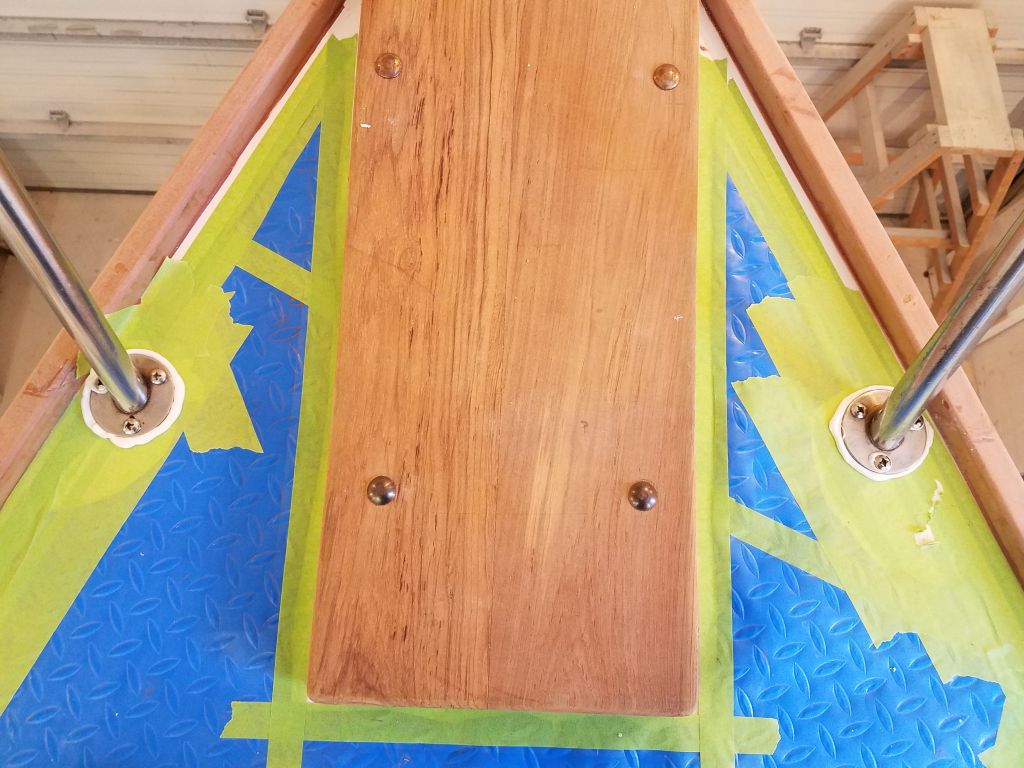
Next, I began with the installation of the wiring gland base, installing it with seven screws in a heavy bed of sealant and cleaning up the excess once complete.
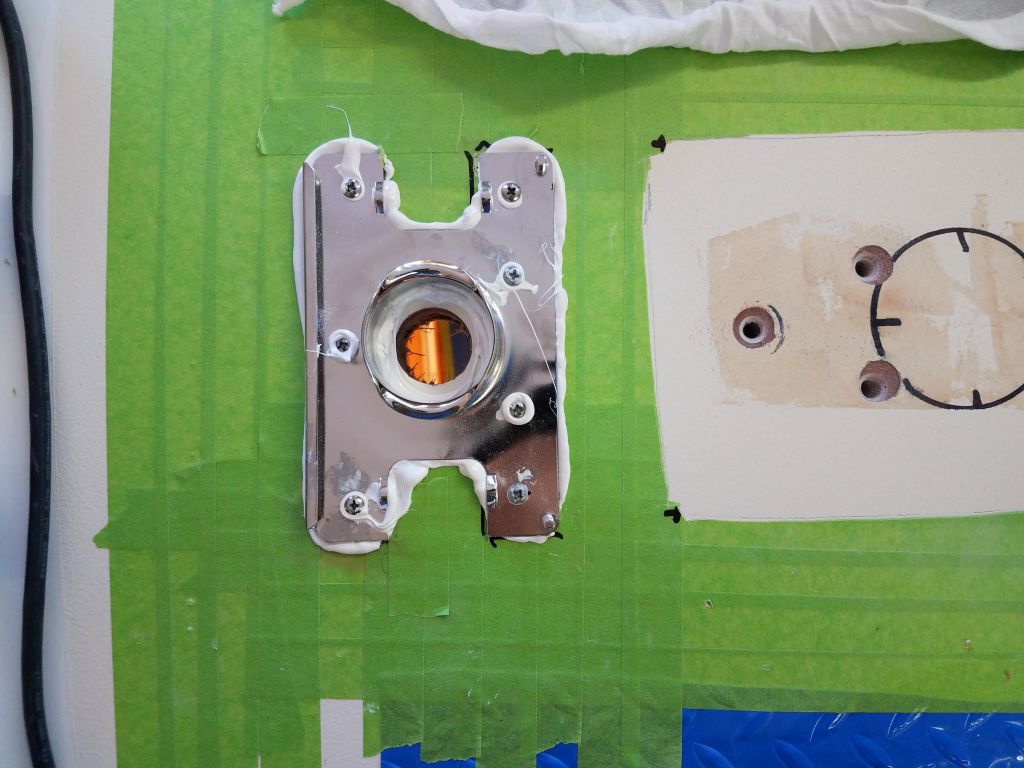
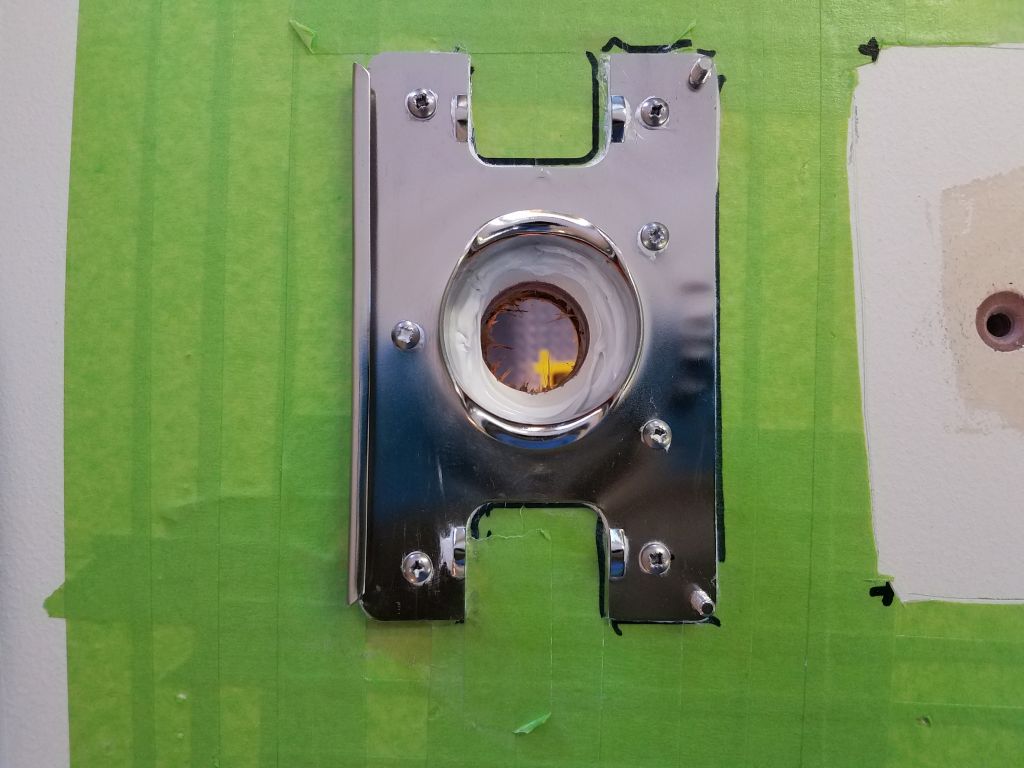
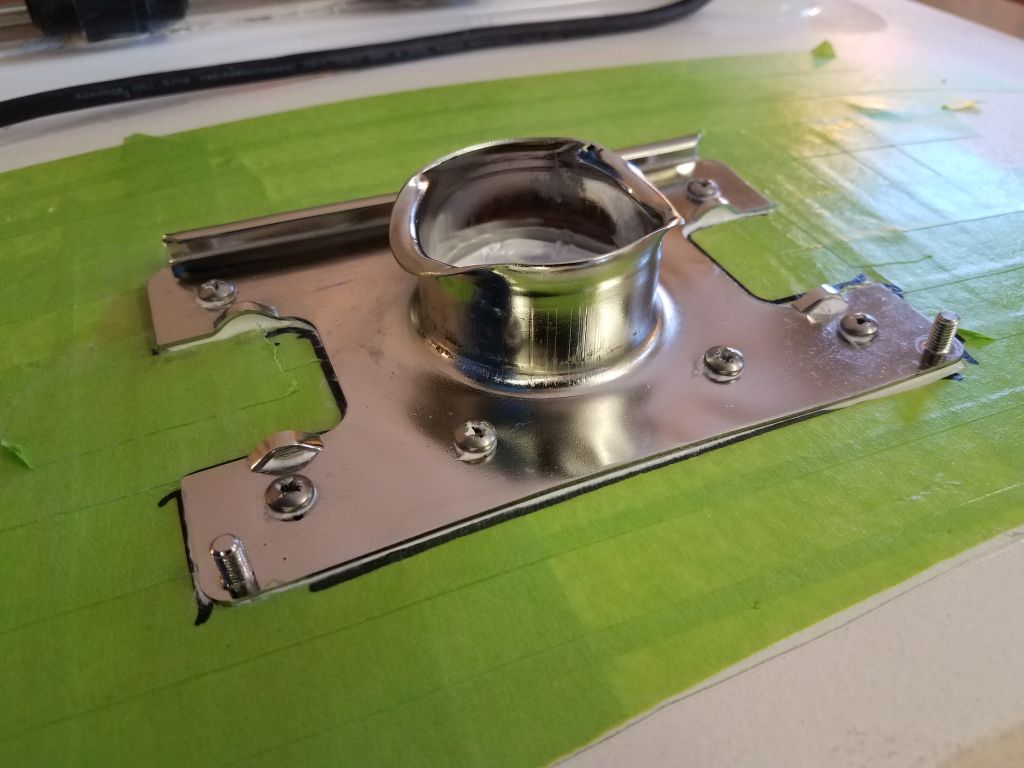
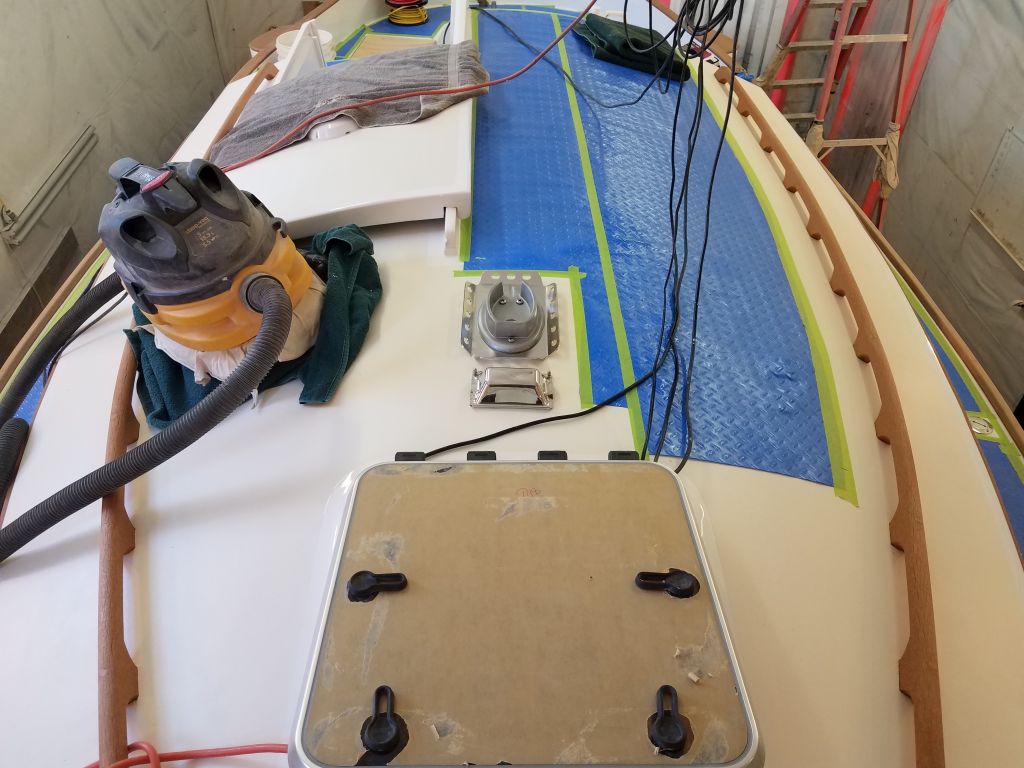
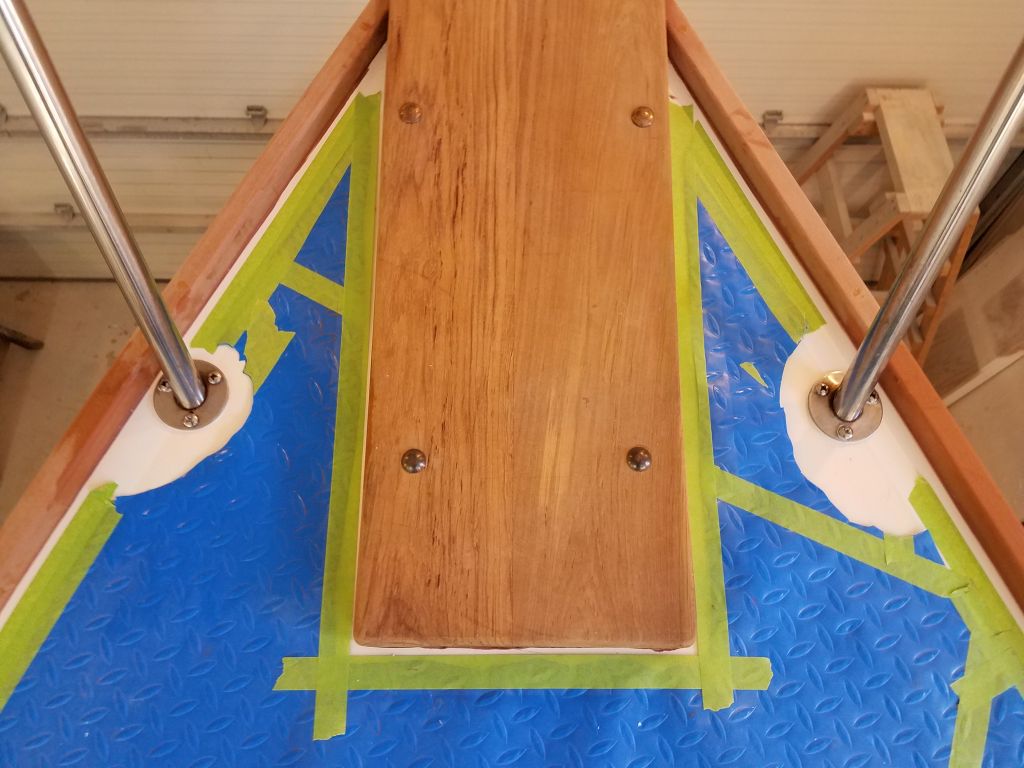
I installed the mast step and its new base plate with plenty of sealant and 5/16″ machine screws, which I secured belowdecks with fender washers, lockwashers, and nuts. Sometime later I’d return to trim the excess bolt length.
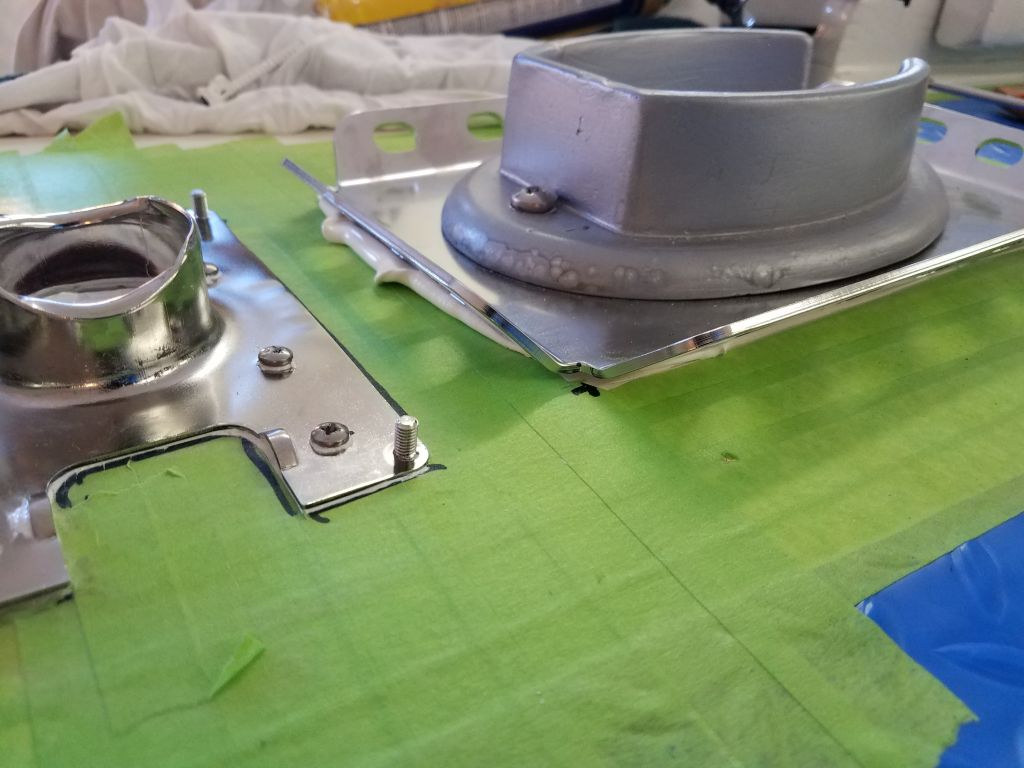

Afterwards, I cleaned up all around the area and removed the masking tape.

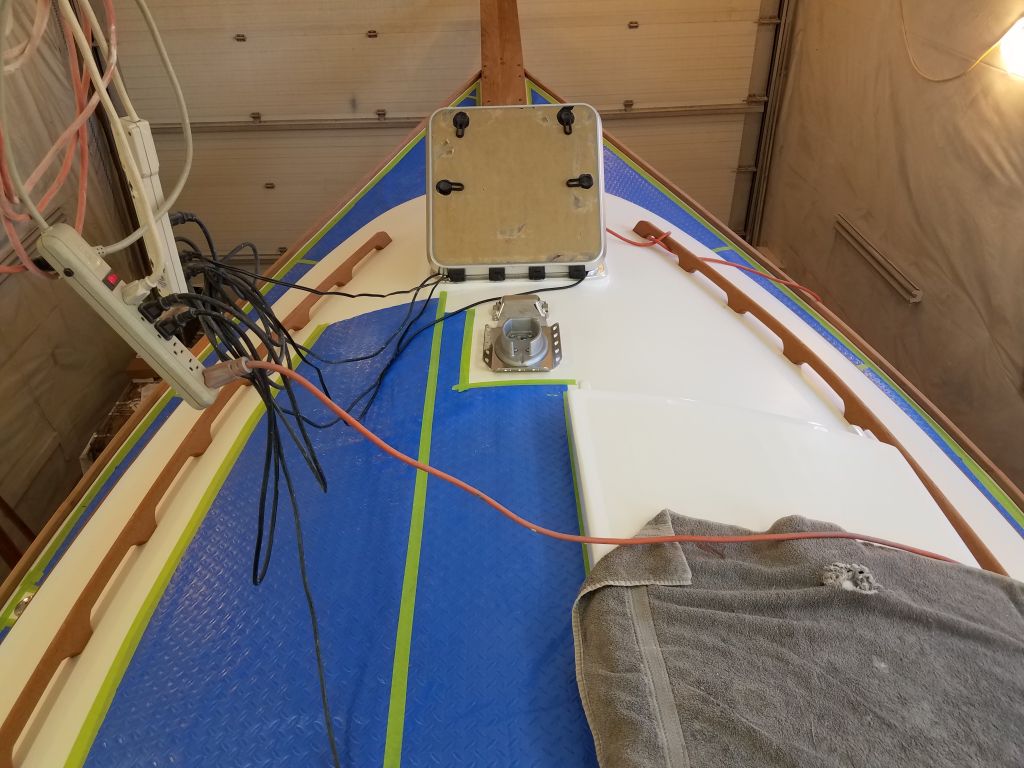
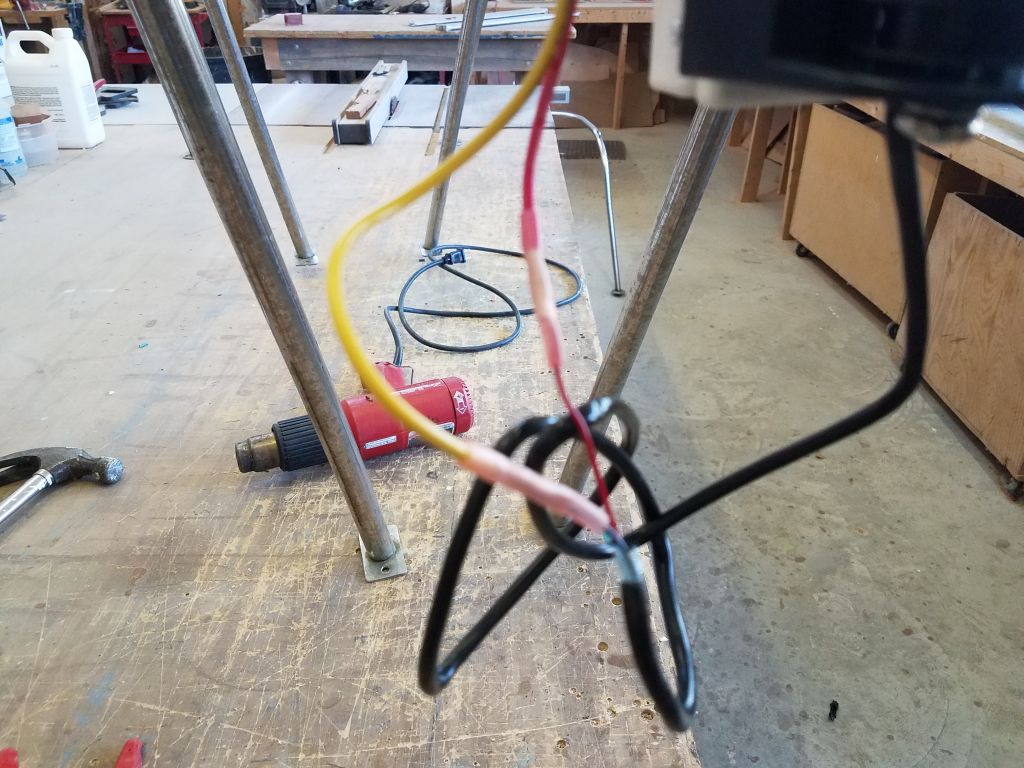
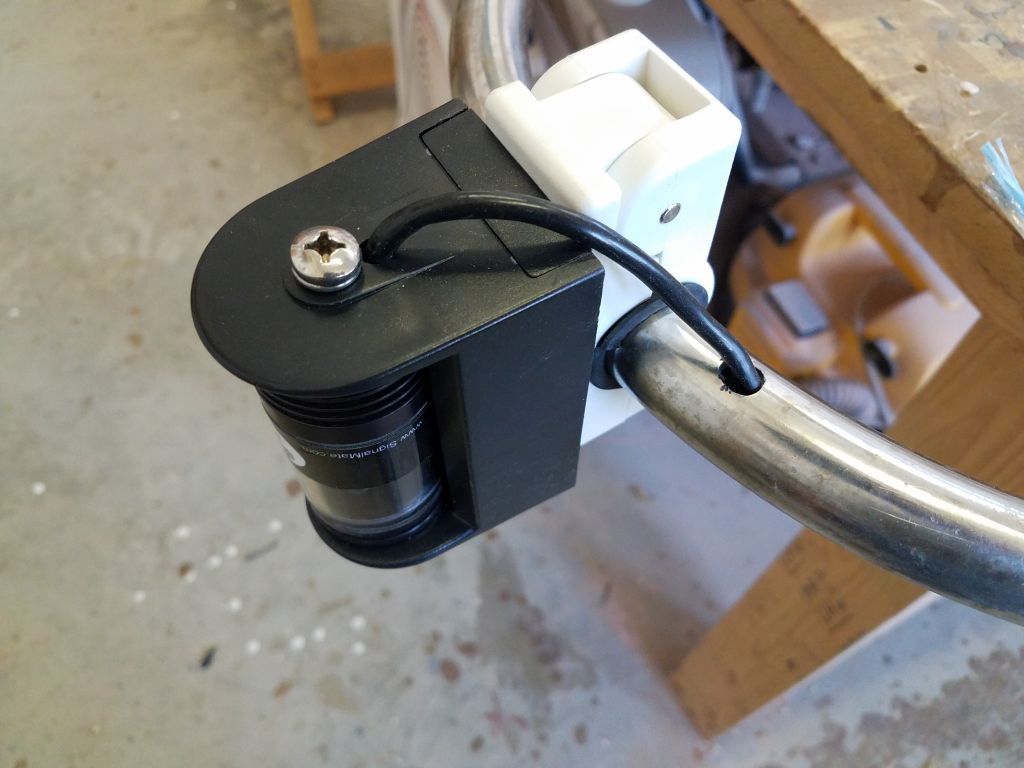
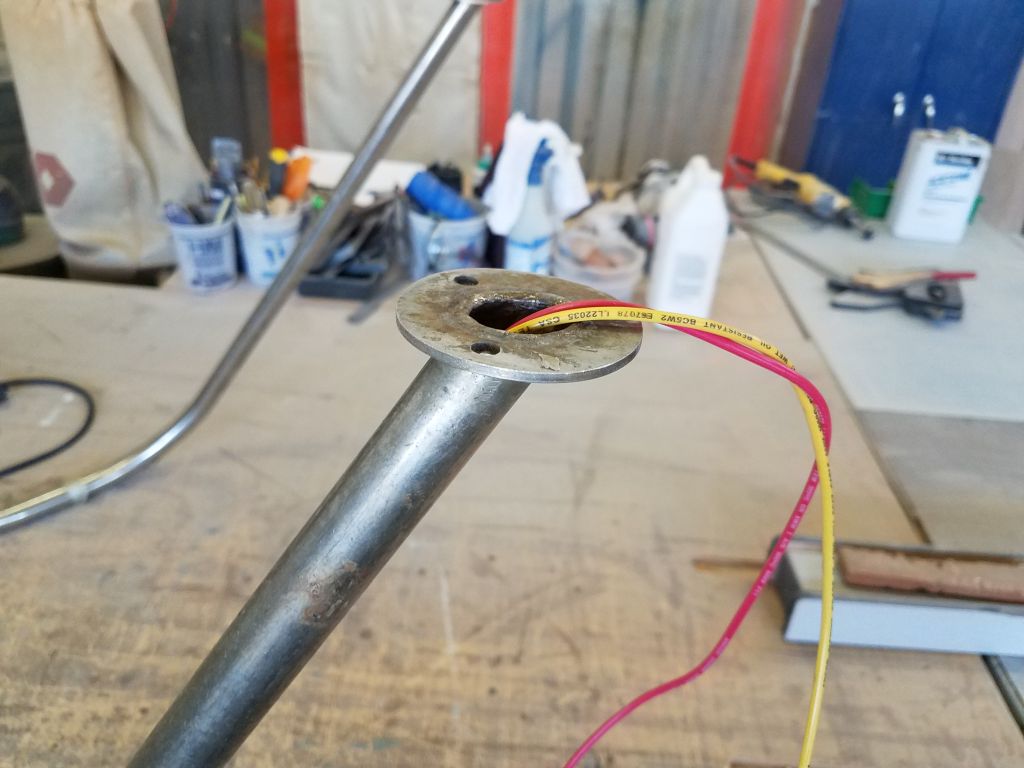
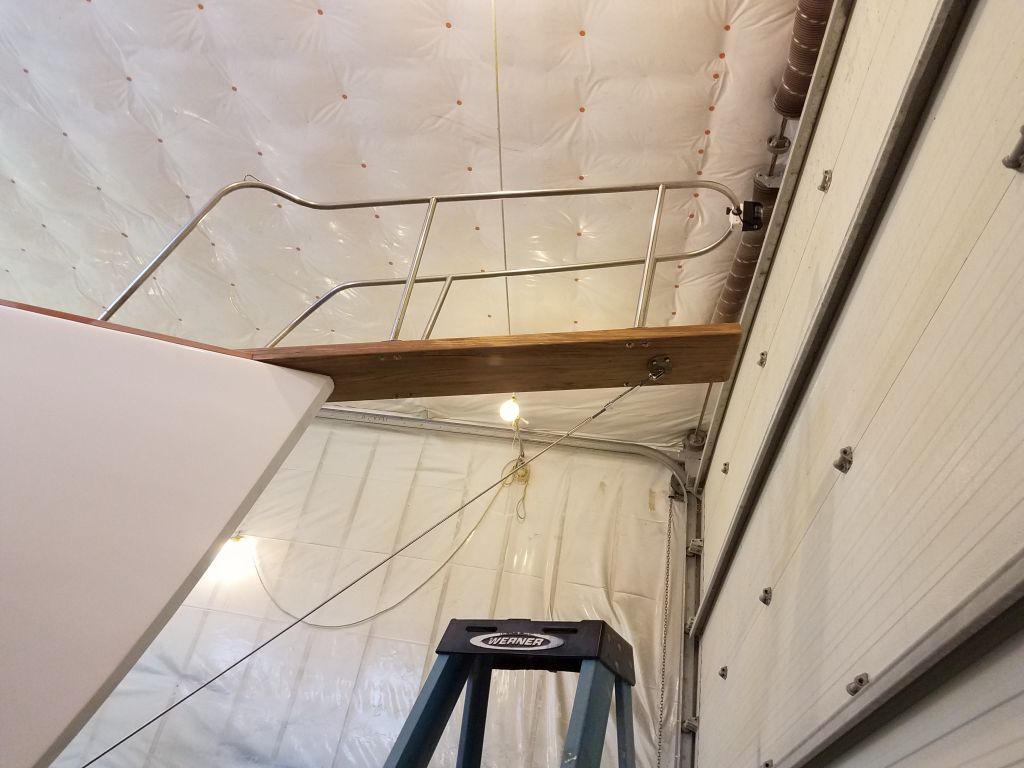
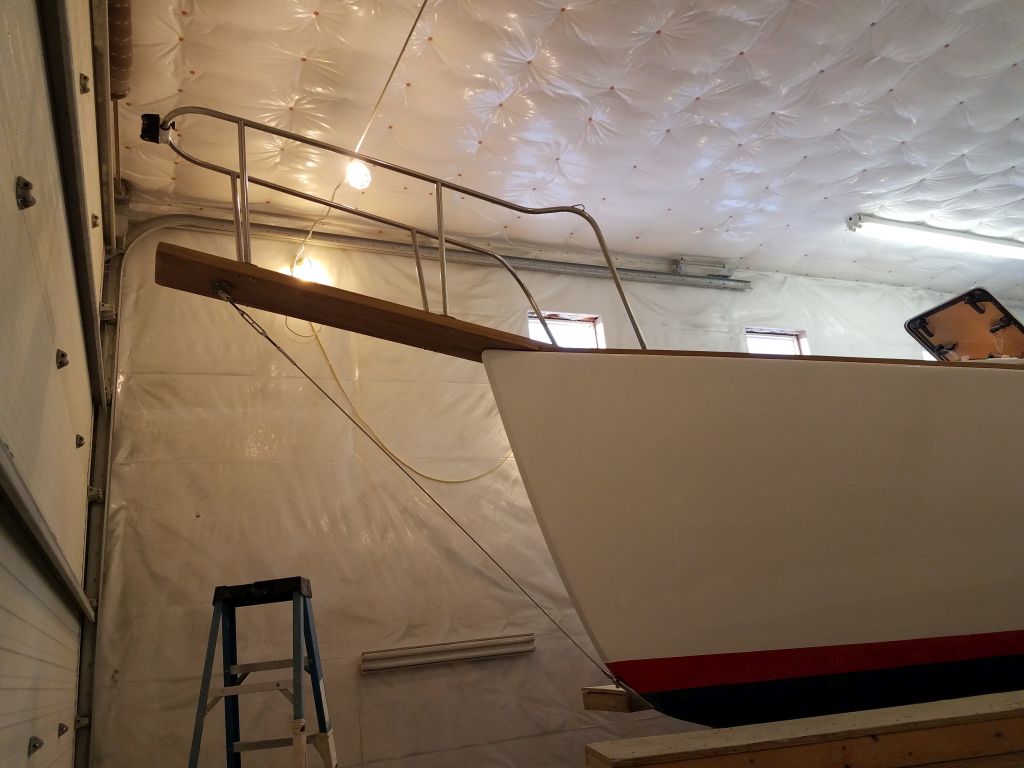
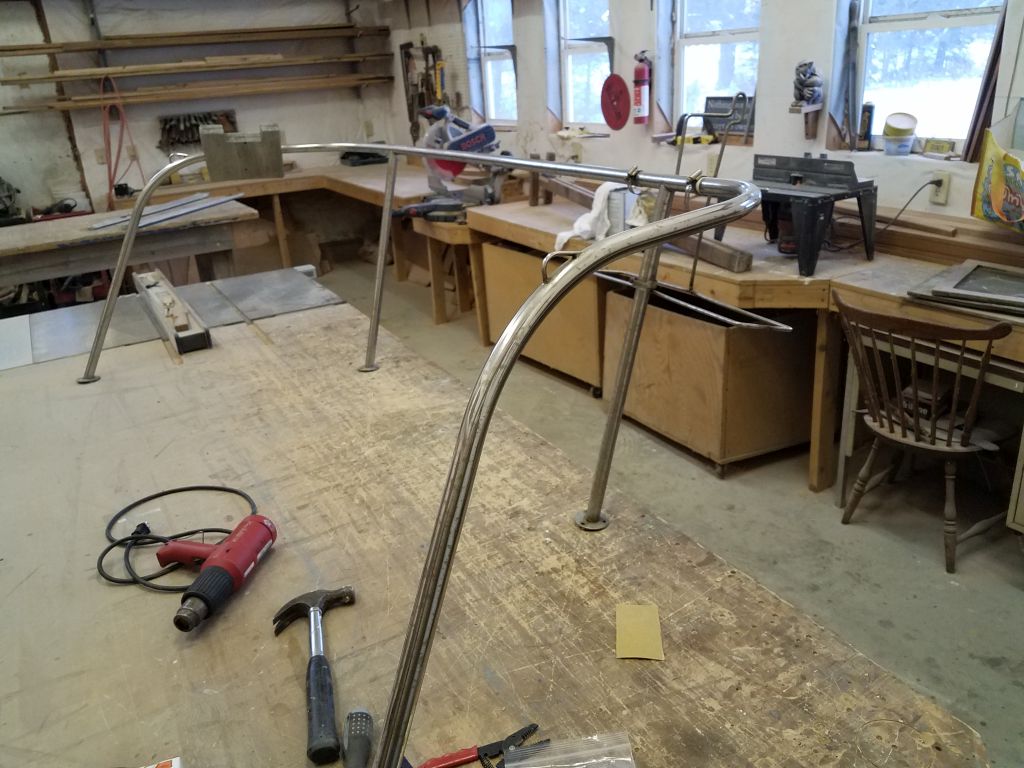
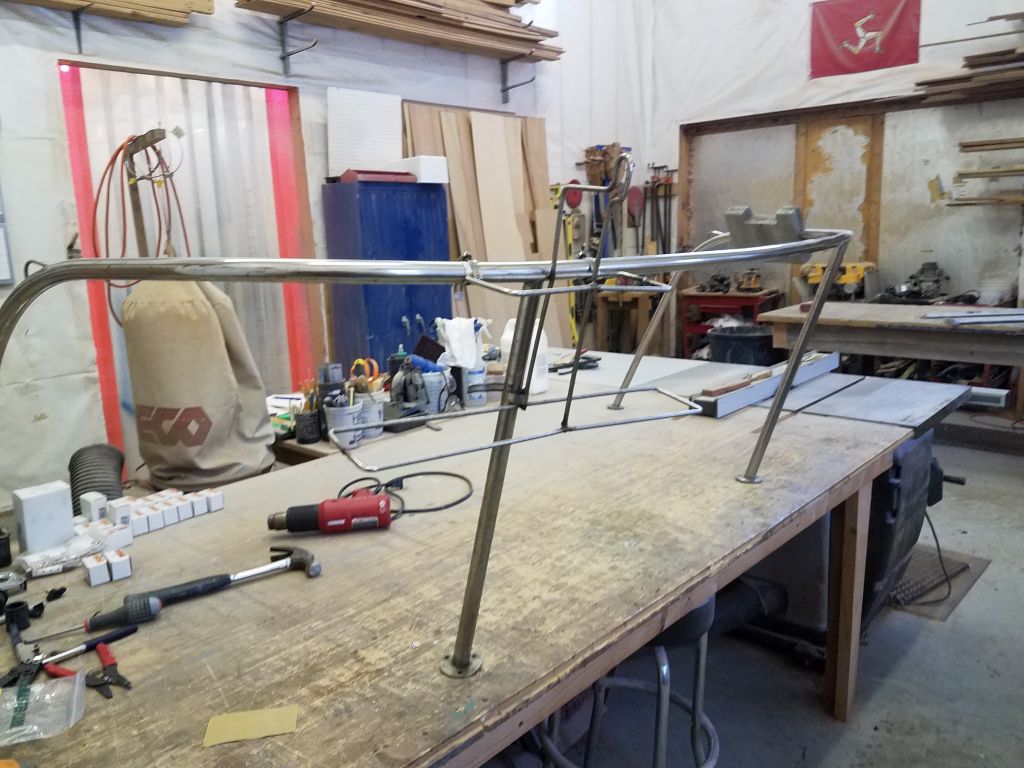
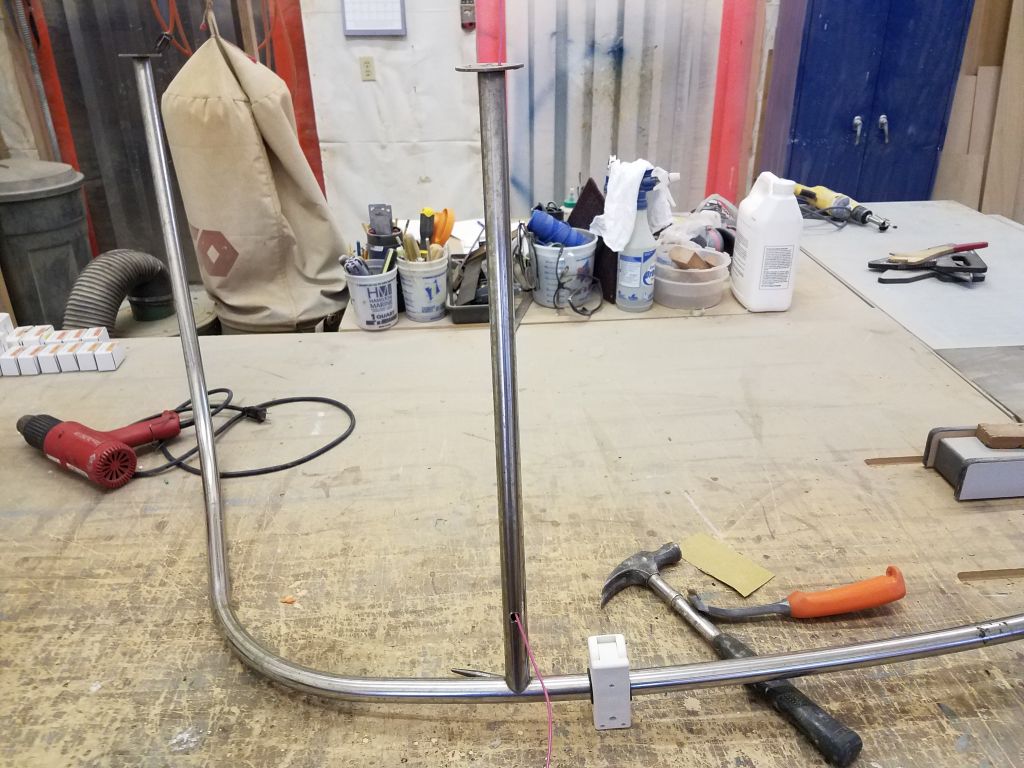
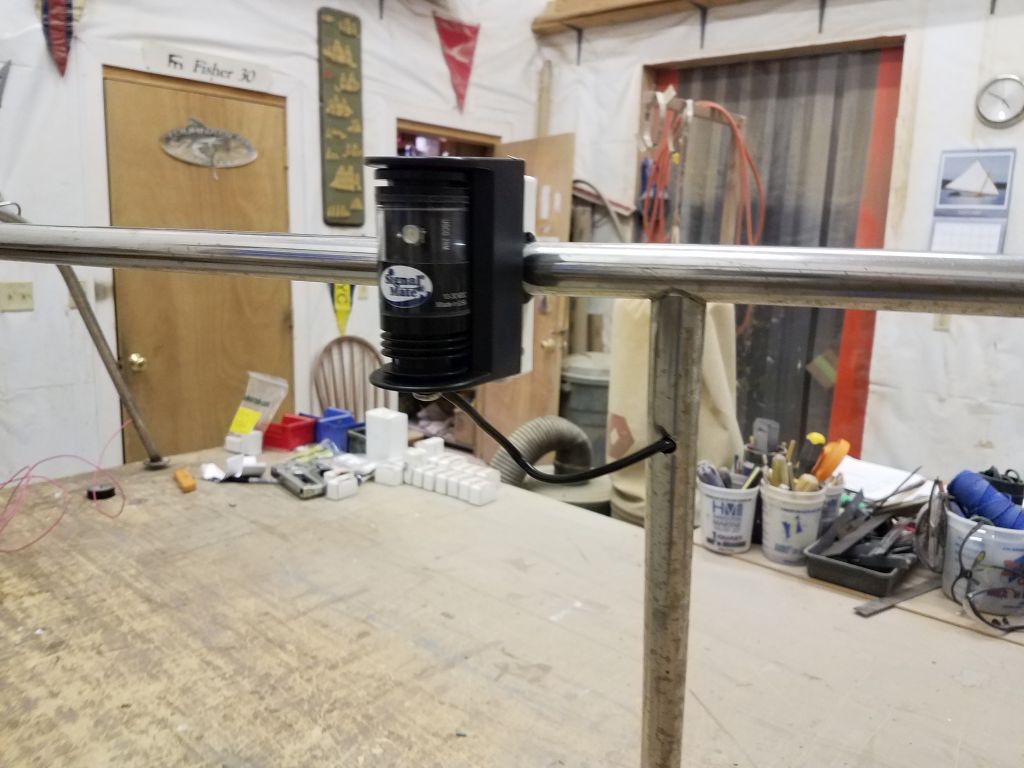
I finished up the wiring for the new bow light on the pulpit, and pulled through any excess wiring. Then, I cleaned up the bases for installation, and polished the rail.
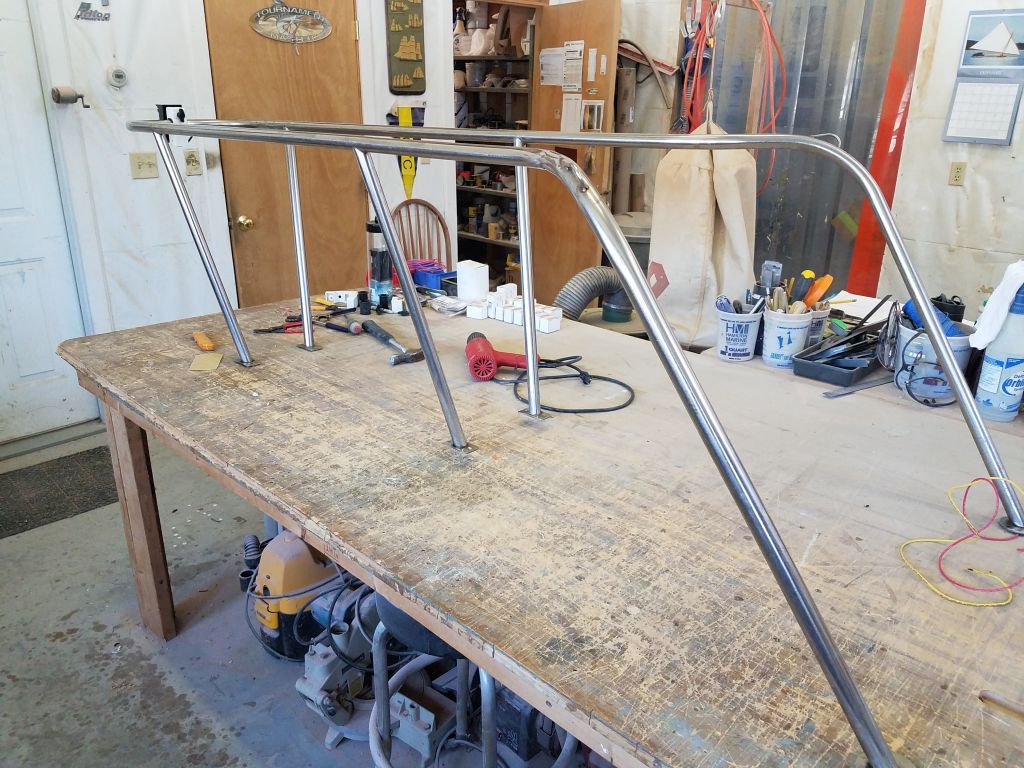
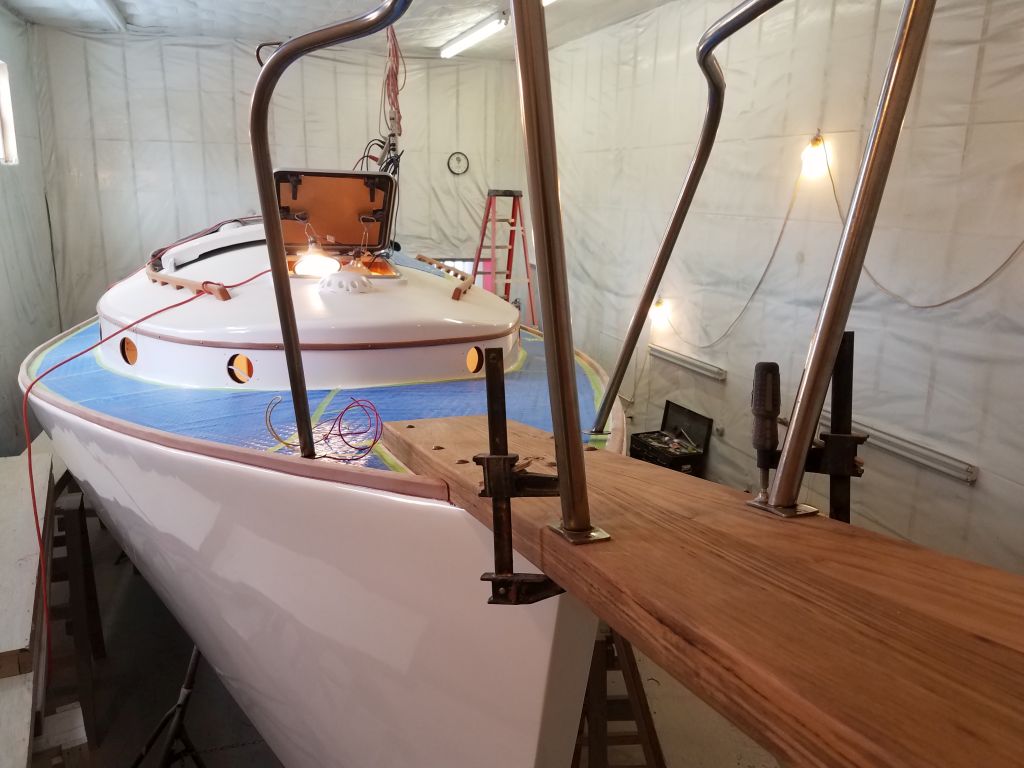
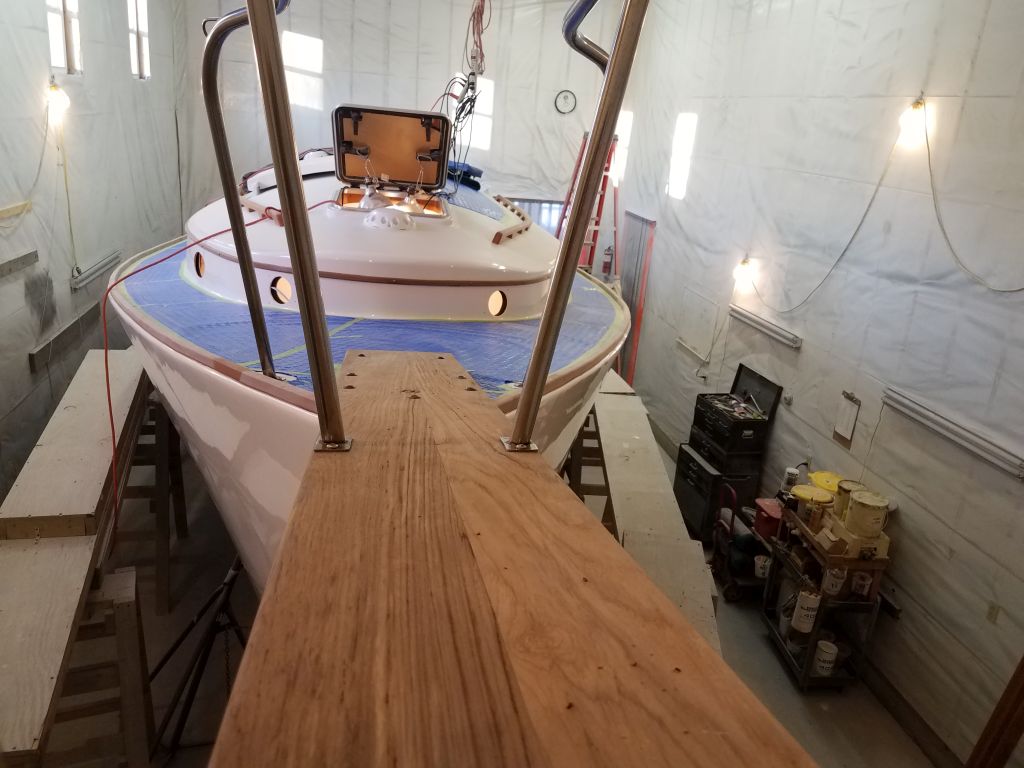
I dry-fit the rail on the bowsprit and foredeck, securing it to the bowsprit with some clamps to hold it in place since the angle made it want to slide aft. Remembering the difficulties at the after mounting locations I’d experienced long before with access around the ends of the heavy wooden beam supporting the aft bolts on the bowsprit, I cheated the pulpit forward as far as I could, about an inch further forward than it had been, hoping to minimize clearance issues with the beam, which, in combination with the awkward access to the chainlocker, made reaching these areas exceedingly difficult.
To maintain enough room inside the pulpit for passage of anchor chain and rode, I kept the bases out towards the edges as far as possible. Once I was satisified with the position, and also satisfied that I could work with the after mounts with the forward two sets pinned in place, I went ahead and bolted down the bases on the bowsprit.
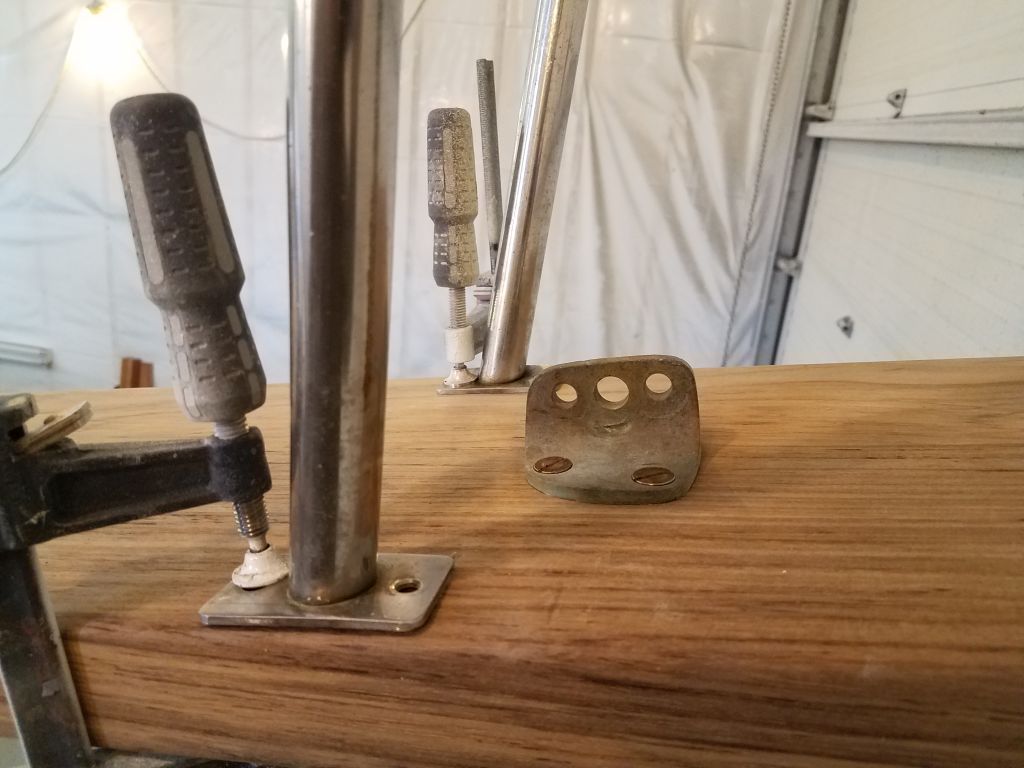
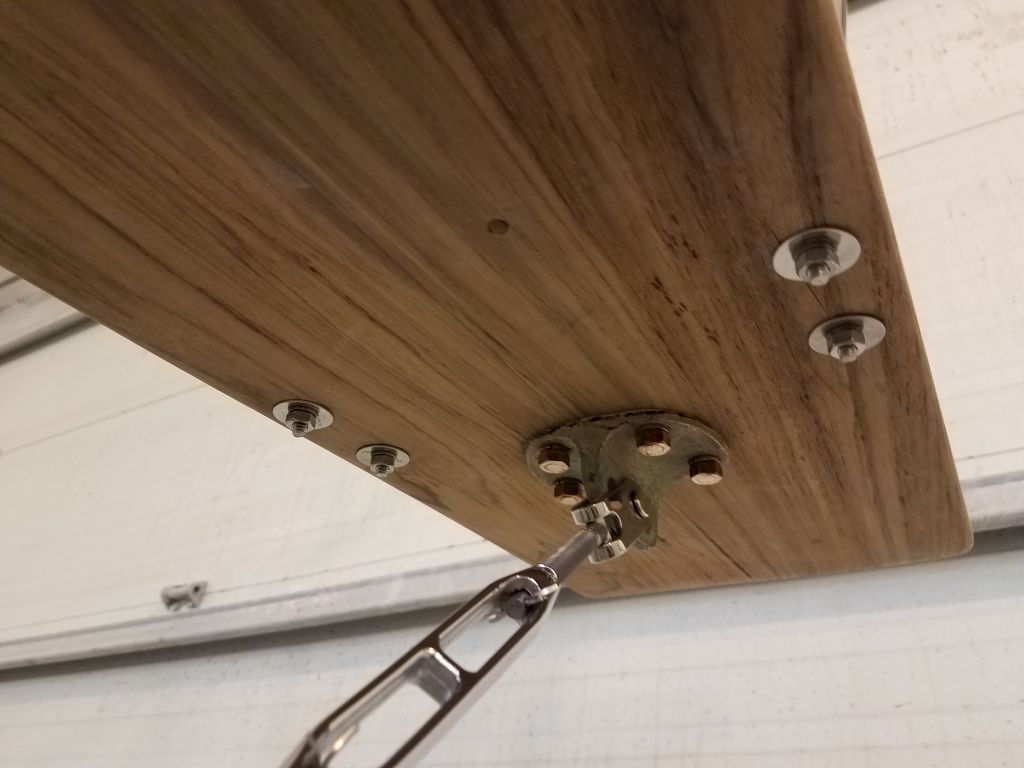
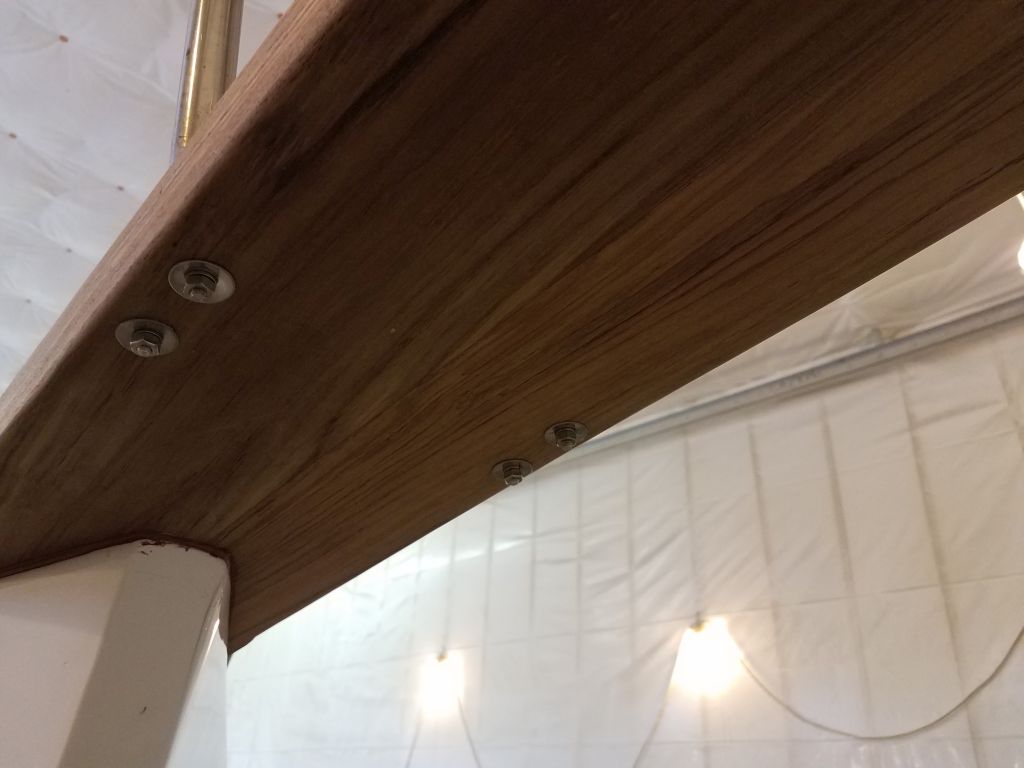
Working from the foredeck, I positioned the after bases and drilled and tapped their fastener holes through the decks, and cut away the masking tape from beneath the bases. I drilled a hole on the starboard side to accept the wiring from the running light. These mounts were over solid portions of the deck, so I could proceed immediately with final installation. Even with the pulpit moved forward, access to one of the three bolts on each side was exceedingly difficult thanks to that wooden beam in the locker.
After cleaning up the excess sealant, the bow pulpit installation was complete.


Next, I turned to the stern pulpit, and began by removing an old and decrepit outboard mount and horseshoe ring bracket. Then, I repeated the general process for running new wires through the starboard aft pulpit base, which was straightforward in this case, and installed the new stern light nearby, bringing me to the end of the day, but I’d continue with the rail preparations and installation next time.

Total time billed on this job today: 8.5 hours
0600 Weather Observation: -5°, clear. Forecast for the day: Sunny, 20°