May 15, 2019
Scupper 144
Wednesday
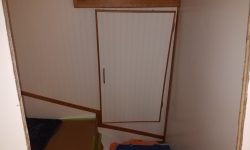
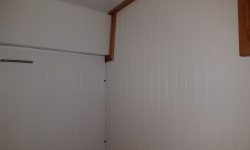
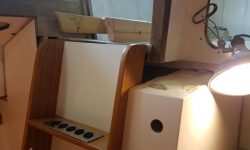
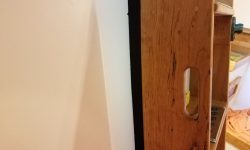
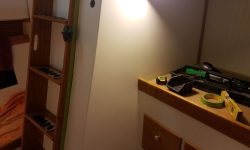
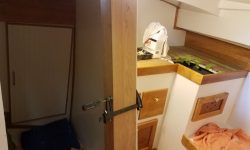
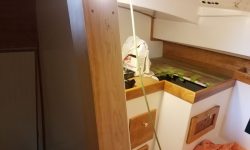
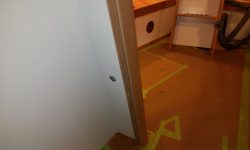
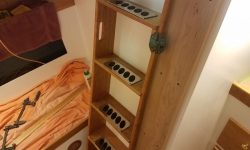
Now that the varnish work was complete, I installed the head trim pieces, and hung the door to the engine room.
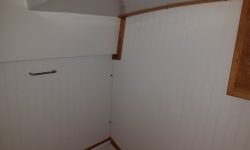
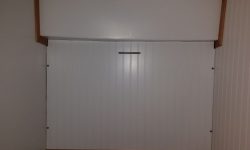
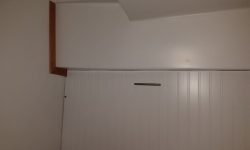
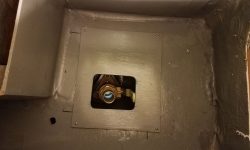
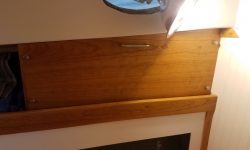
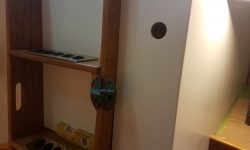
While I was being screw-y, I installed the little cover panel in the galley cabinet to cover the ugly hole over the through hull, and installed a matching handle on the port locker above the main cabin settee.
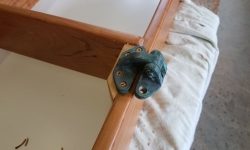
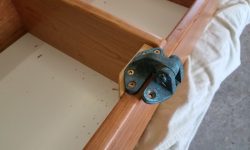
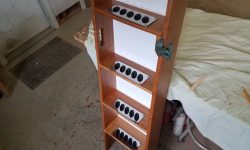
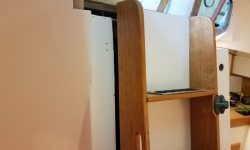
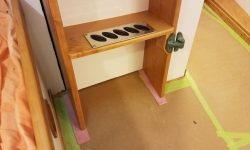
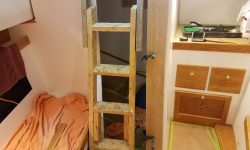
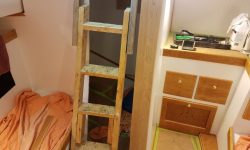
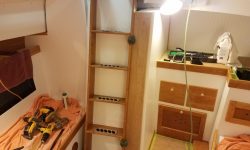
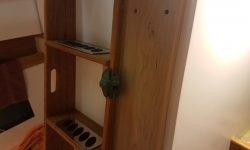
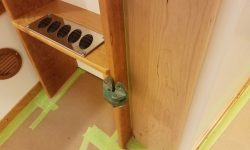
The hinge blocks for the companionway ladder would need more varnish, but for the moment I wanted to get going on the companionway and head door trim in the cabin, which required the ladder assembly to be in place, so to begin I installed the bronze hinges I took off from the old ladder. Then, I installed some nonslip treads on the steps, which would not only protect the wood but add traction.
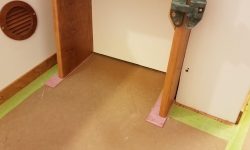
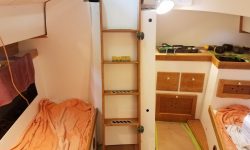
With the ladder in the boat, I positioned it as needed in the opening, using some slim 1/8″ shims beneath the ladder feet to ensure that there was clearance above the sole.
As I’d done several other times during the rebuilding of the companionway ladder area, I reviewed photos of the original setup and dismantling, various stages of which can be seen here, here, and here. Also, I still had the original trim pieces I’d removed on hand for reference, though I planned to use them only for general configuration rather than exact duplication.
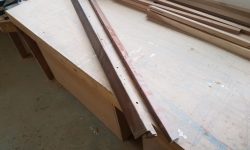
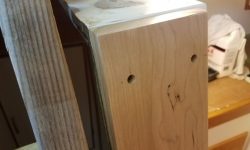
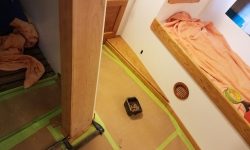
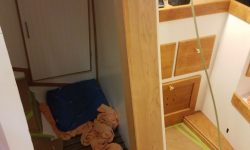
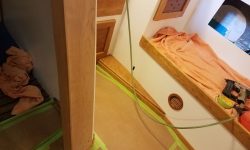
Both sides, and the top, of the opening would require substantial trim to finish off the openings, provide placement for the fixed side of the door hinges, and otherwise support the door in its closed position. The first piece of trim I prepared was a wide piece of cherry to rest against the centerline liner of the boat, which would also cover those two large holes in the liner, the purpose of which I could never determine, but always planned to cover with trim in this way. I cut a piece of cherry 5-1/2″ wide (leaving a reveal along the port edge), and after a test fit recut it to the final length to be flush with the top of the center liner unit, which area would later be covered with more trim to create a little storage area, as per original.
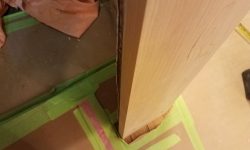
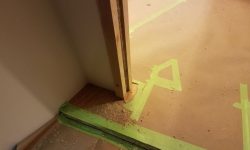
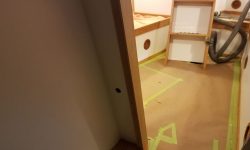
I aligned the top edge flush with the rough opening to the head, and, with the new trim plumb and clamped in place, secured it with screws in recessed holes, which I’d bung later. Like all the molded surfaces and assemblies in the boat, the opening itself was not plumb (molded parts require small angles to successfully remove from the mold), but featured a slight angle, so the lower edge of the new trim extended past the opening at the bottom edge.
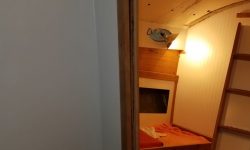
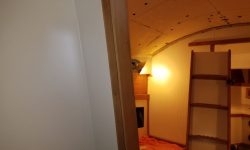
To cover the raw edge of the door opening completely, the trim needed to essentially wrap around the opening and into the head itself. The original trim had accomplished this in two pieces: one thick piece for the outside, which was milled in various ways to accommodate the door hinges and wrap through the opening; and another piece within. I planned to do it in three pieces (outside and inside trim, and a thin piece to span between the two), so my next step was to mill, fit, and install another piece of trim on the head side of the opening. I held this piece in alignment with the outside piece, using a small board to keep the edges properly aligned with one another, and secured the trim with screws in recessed holes.
Next, I resawed a 3″ wide piece of cherry to 1/4″ thickness, and cut and fit it to cover the space between the outer and head trims. I secured this with glue and brads, and this completed the basis of the inboard edge of the door trim.
Now I could replace the ladder assembly against the new trim so I could lay out and build the next layer of trim that would support the door hinges, which were some distance above the wide trim I’d installed as a basis. Because of how I’d changed the angle of the ladder, increasing the exposed edge’s angle to 20° (whereas the angle of the back of the ladder, and the adjacent molded interior, was 15°), now this next section of trim had to be taller at the bottom than at the top to accommodate the positioning of the ladder itself.
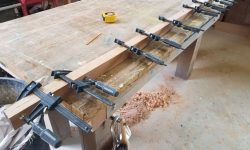
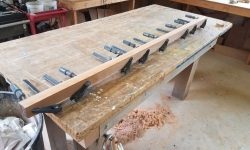
This meant I’d have to shape a piece to match the angle, and since the overall depth required was greater than the thickness of the stock I had on hand, my next step was to glue up a rough blank to use for the trim. I set this aside in the clamps, and it’d be ready for me to continue working with next time.
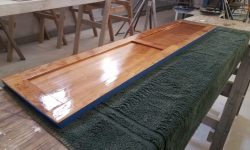
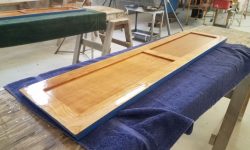
To wrap up the day, I sanded the new forward cabin doors and installed a second coat of varnish to one side of each. Since both sides of these doors would be exposed during normal usage, I’d need to varnish all surfaces fully, which would take a couple weeks of elapsed time, so I had to be sure to get a coat on each day that I could.
Total time billed on this job today: 7 hours
0600 Weather Observation: Cloudy, drizzle, 40°. Forecast for the day: Showers, then cloudy, 54°


