


February 28, 2020
Scupper 252
Friday
I often liked to use Fridays to take care of some of the smaller items on the list that just never seemed important enough early in the week cycle. I began with the new rigid boom vang, which installation I’d been holding off till the riggers had finished the new mainsail track, as I knew they had needed to run that up from the very bottom of the extruded mast slot and would have otherwise had to remove the vang hardware to do so.
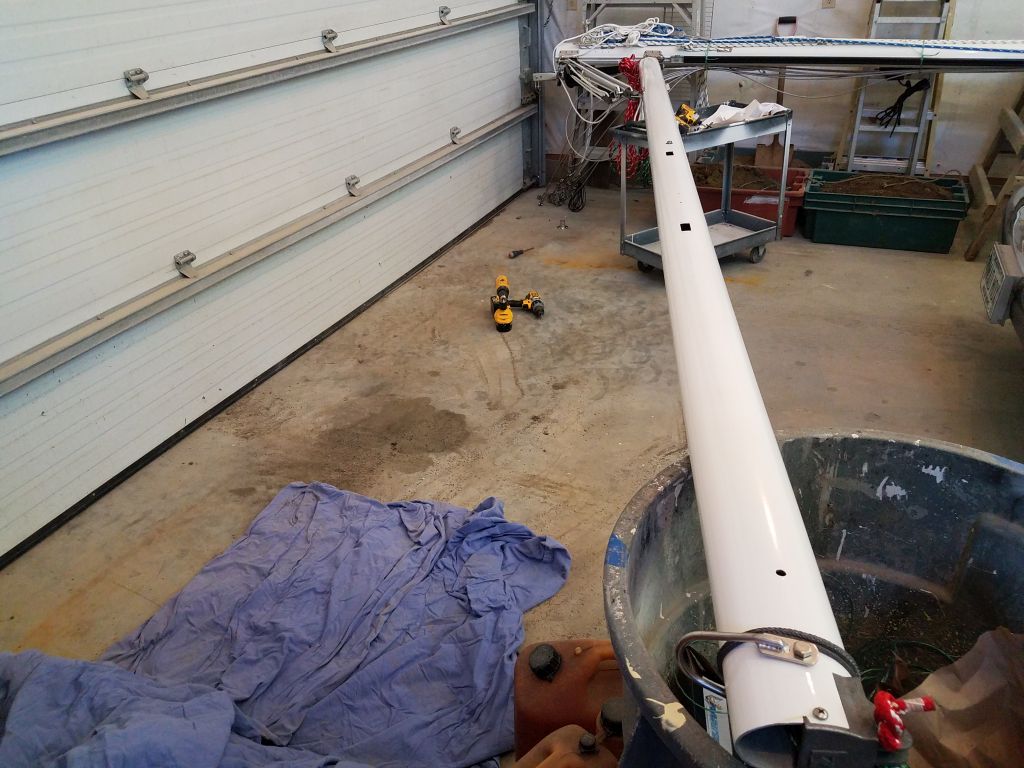
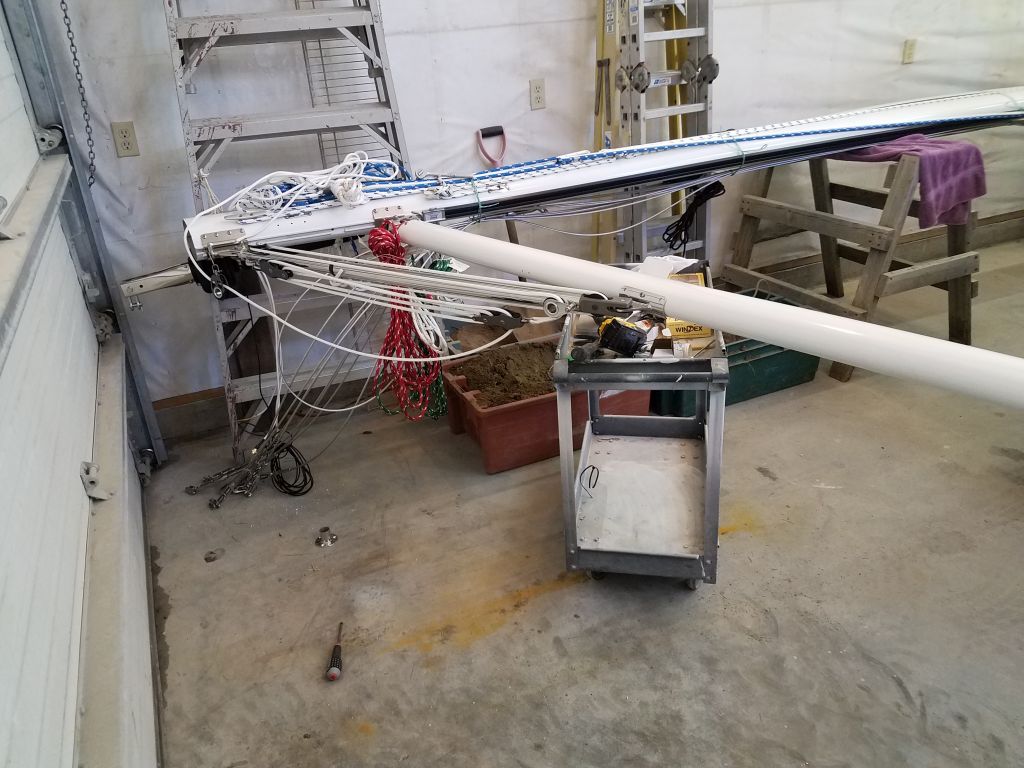
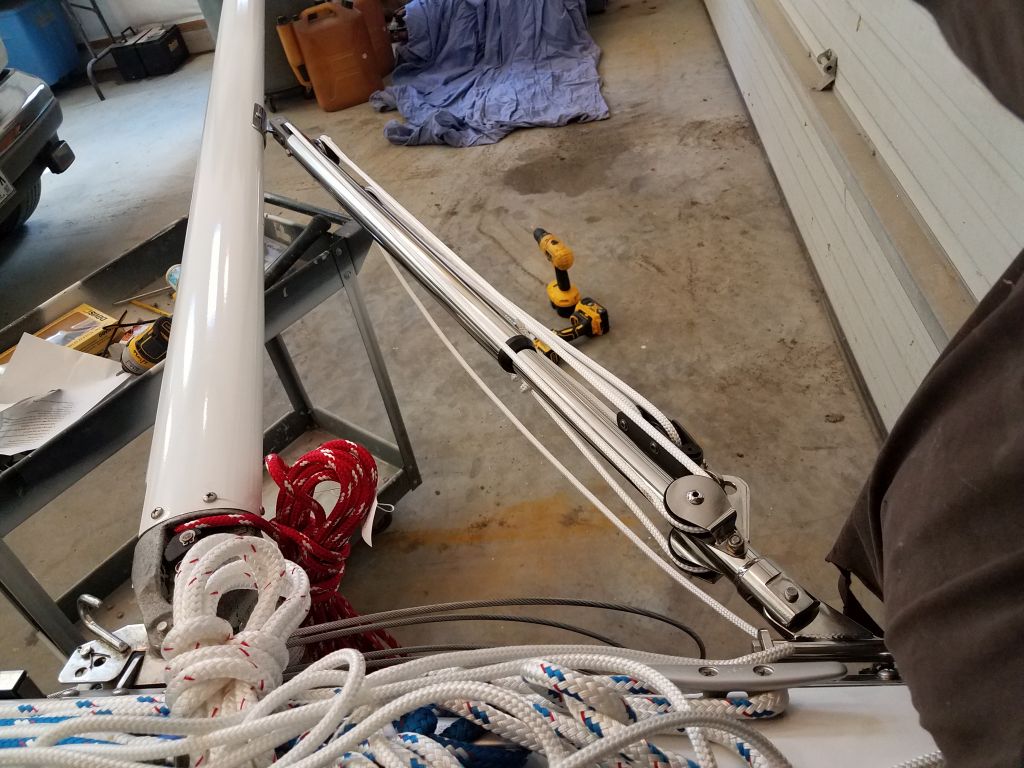
I had space in the shop to temporarily set up the boom on the gooseneck, and I set it perpendicular to the mast to signify its likely lowest point. After checking clearances around the mast collar, I installed the vang’s mast bracket on the base of the spar, about 1″ above the bottom, after which I could install the vang in the bracket and, with the vang fully compressed with its control line, use it to locate the boom bracket temporarily with the center holes.

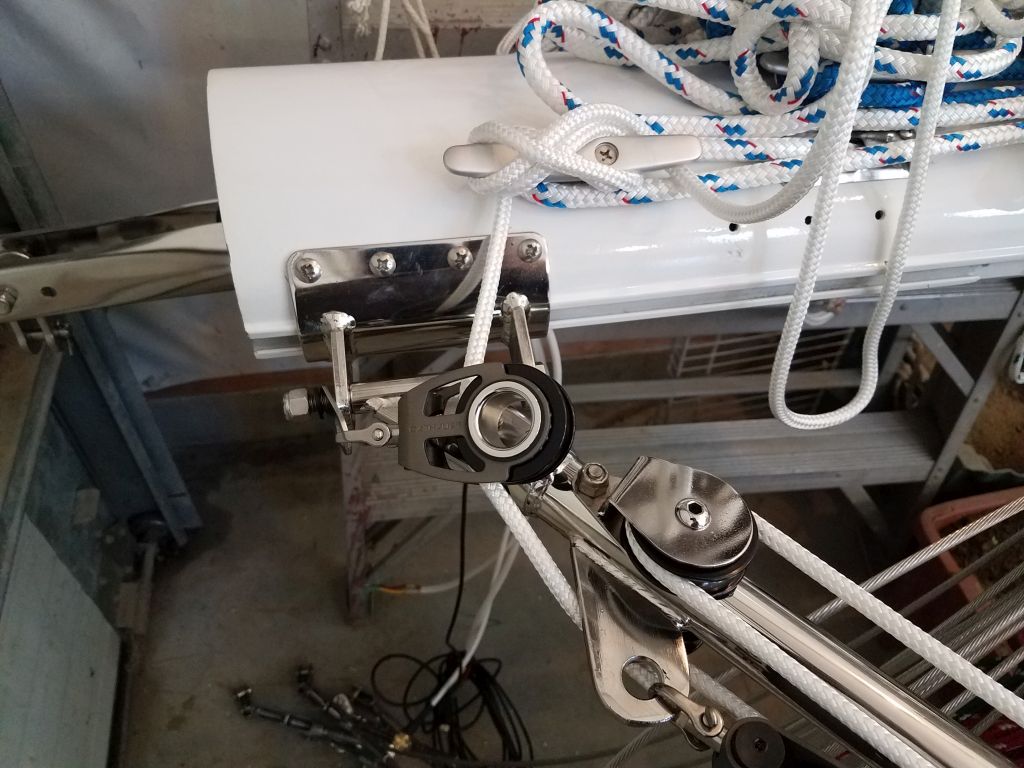
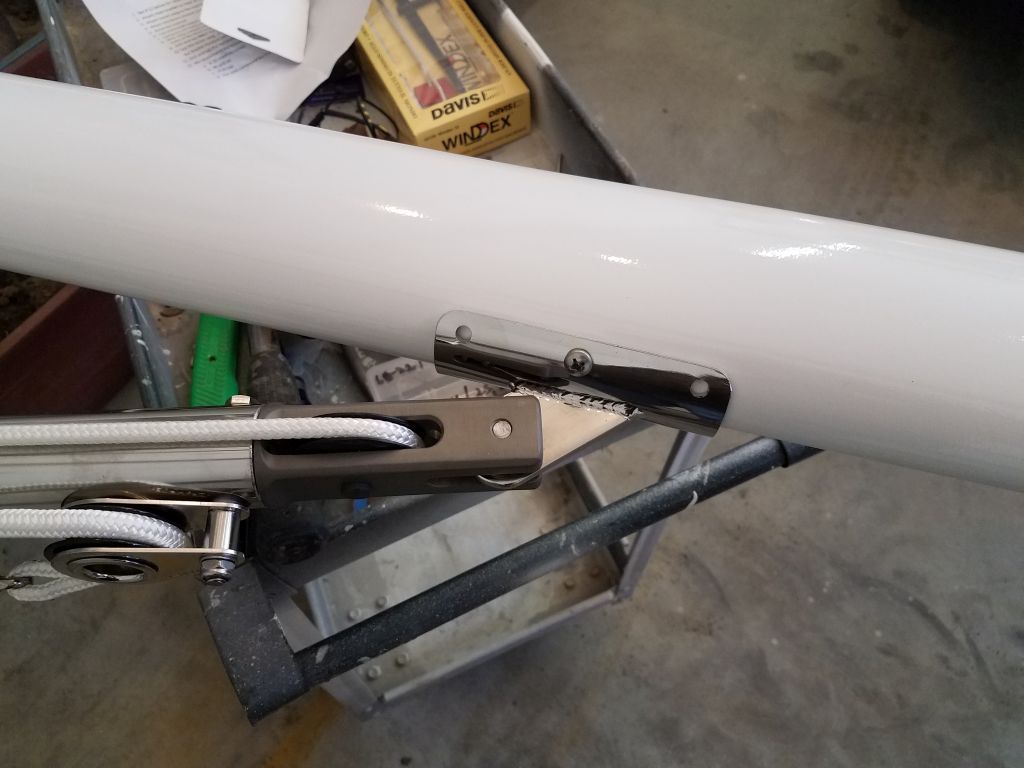
Next, I released the vang control line, and allowed the vang to raise the boom as high as possible (holding the end of the boom as I did so before supporting it on a handy trash can in its highest position). The spring-loaded vang lifted the boom quite high, which was what I wanted, so, happy with the initial boom bracket location, I proceeded to drill, tap, and fasten the remaining screws to complete the bracket installation. Then, I remove the vang from both brackets for storage and transport, documenting the details of the hardware at each end for future reference should it be needed. I removed and stored the boom once more.

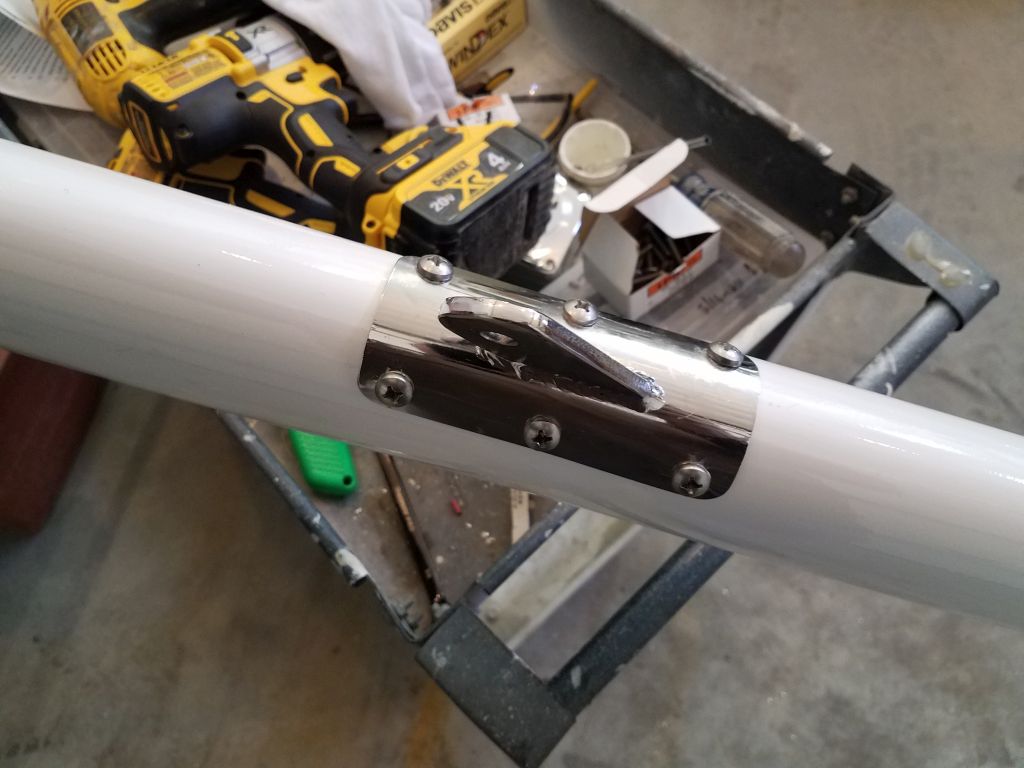
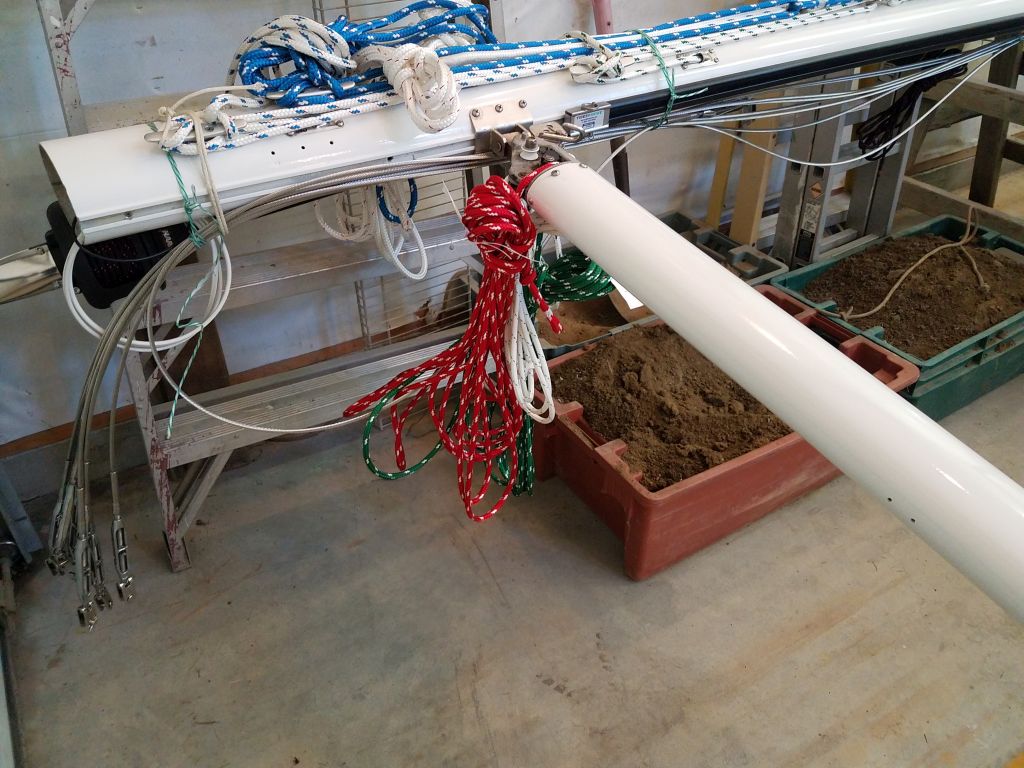
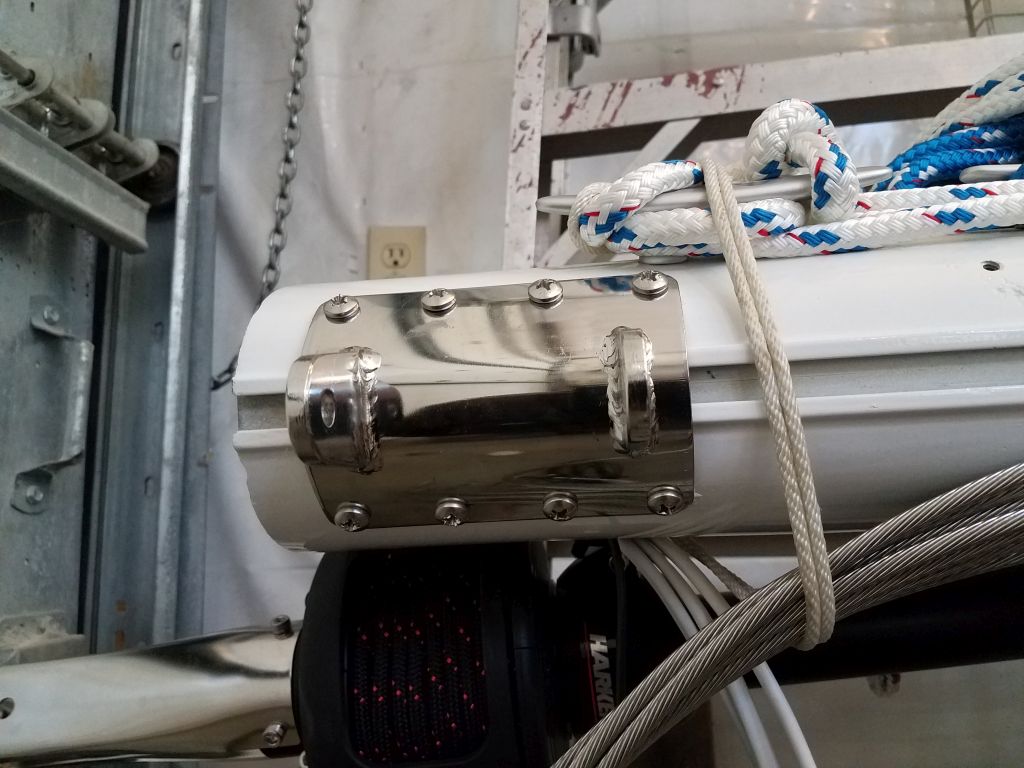
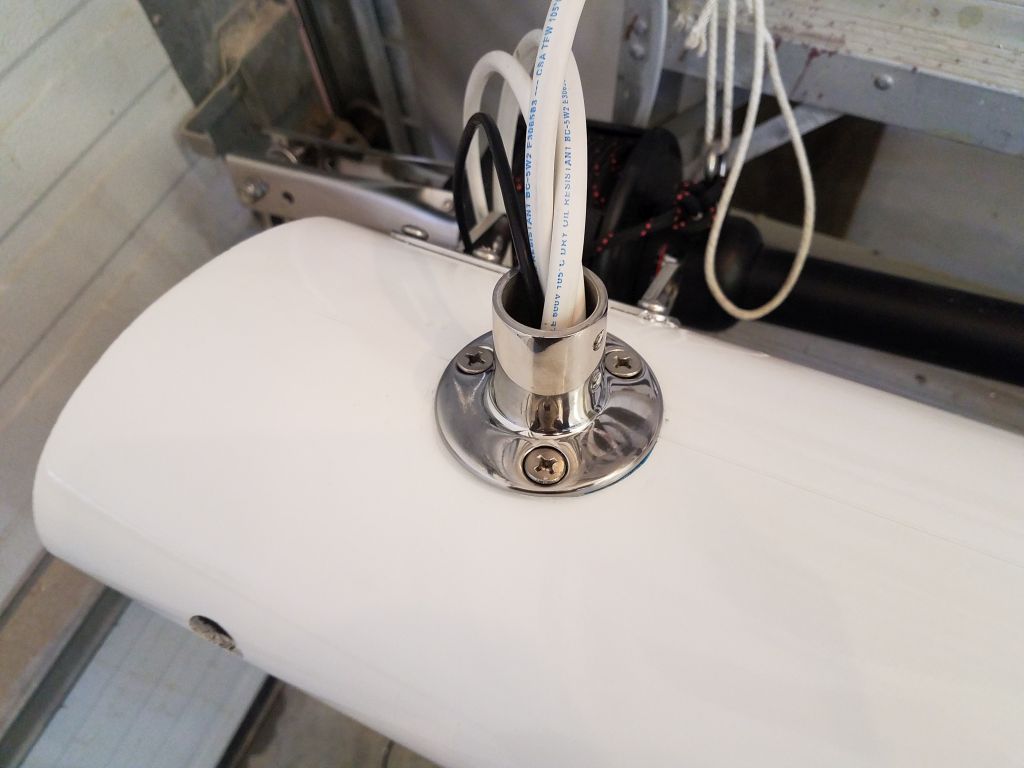
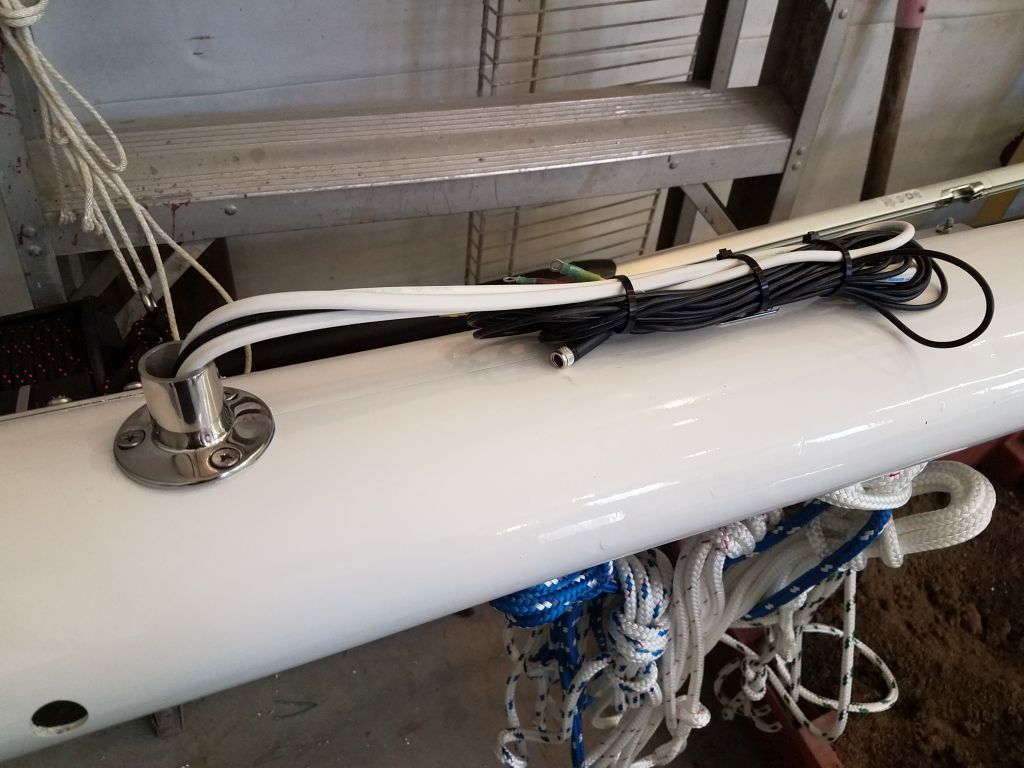
To finish off the raw hole where the mast wires exited the side of the spar, I added a 1″ round stanchion base fitting over the wires, and secured the wire bundle to the mast for storage. This fitting could later accept some flexible conduit (i.e. hose) to cover and protect the wires in their brief run to the through-deck wiring gland.
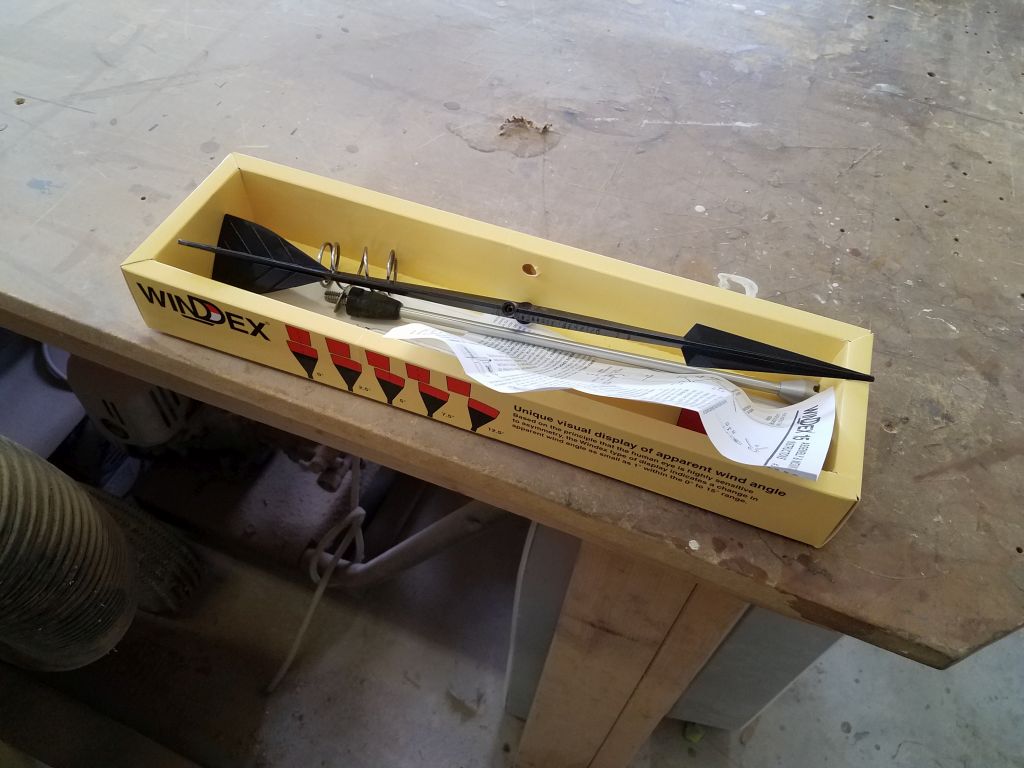
I had planned to install a Windex at the masthead, but found that I needed a bracket to extend the mount a bit further aft, as there was a clearance issue with the anchor light and its riser pole. I ordered appropriate materials and would finish up that simple installation later.
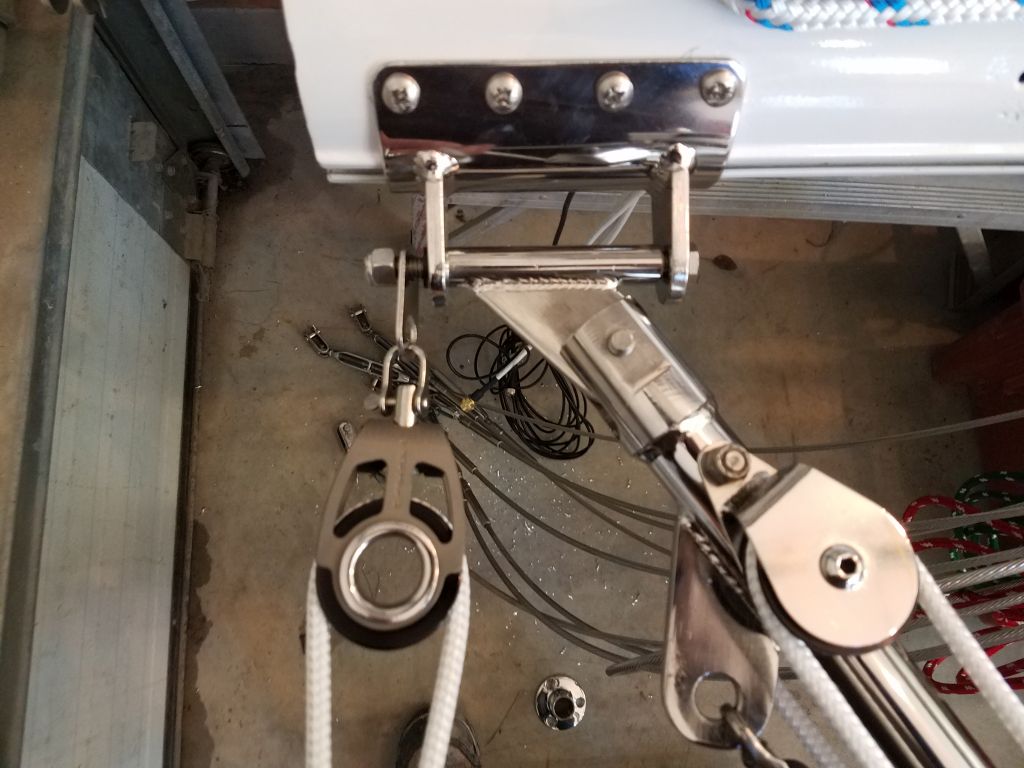
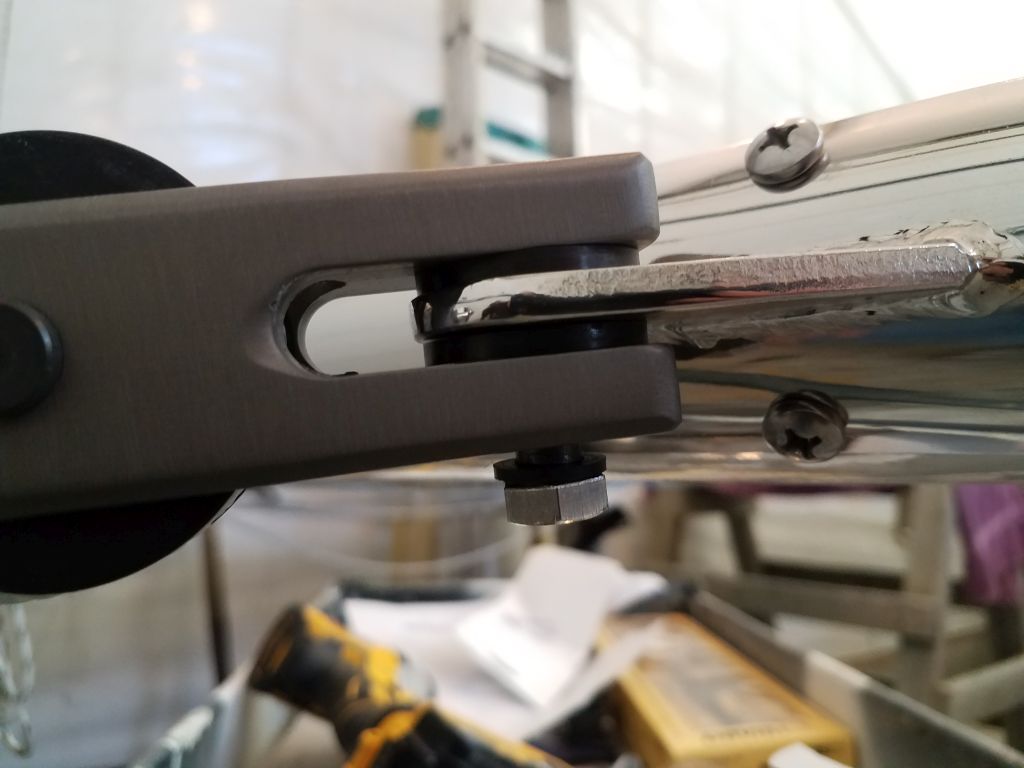
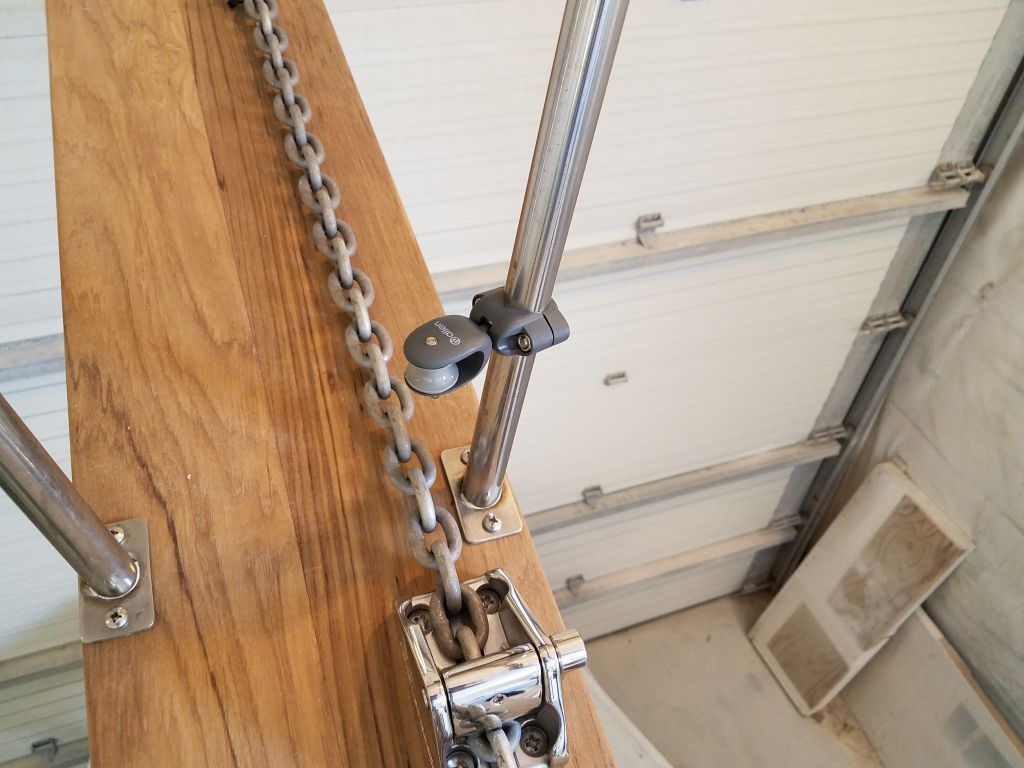
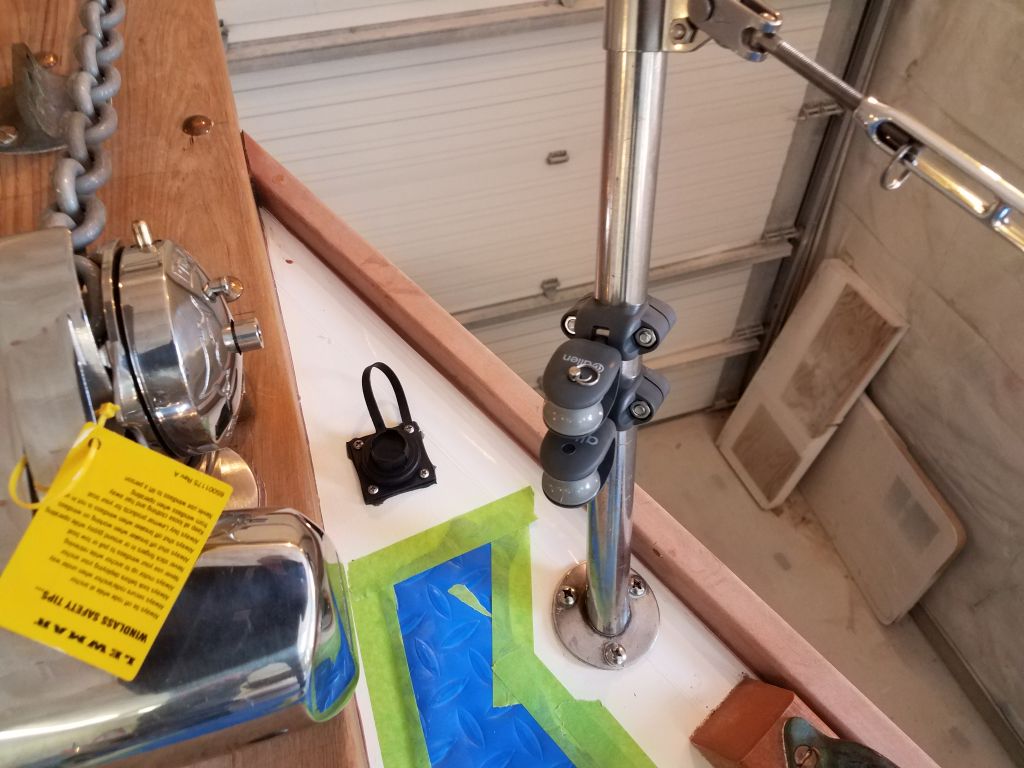
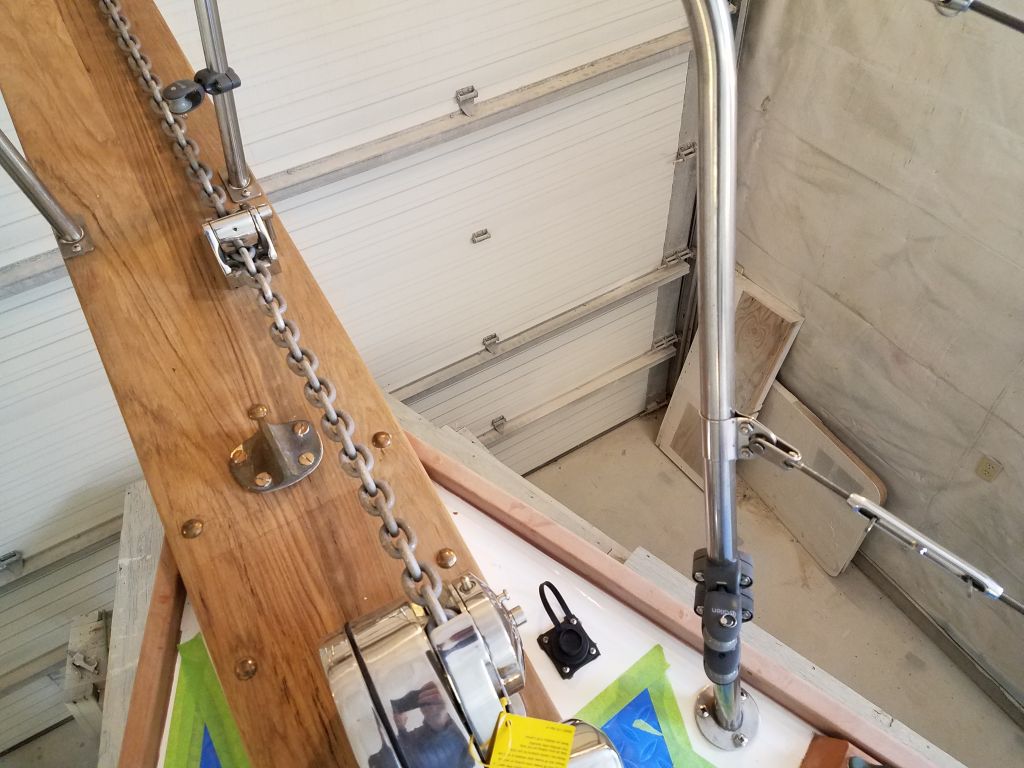
A final bit of rigging work remained at the bow, where I installed three pulpit-mount lead blocks for the furler lines: one forward as an initial lead for the headsail, and two further aft to lead both furler lines to the first stanchion. I more or less guessed at the initial positions, but these would be easily adjustable later on as needed to accommodate the natural flow of the furler lines.
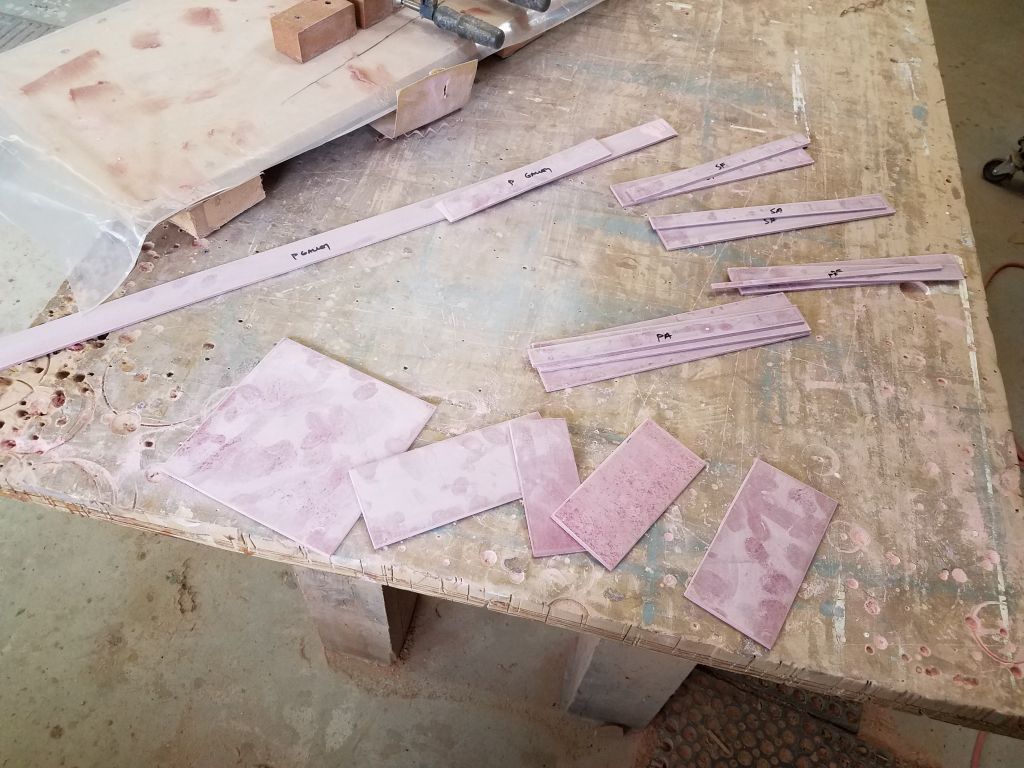
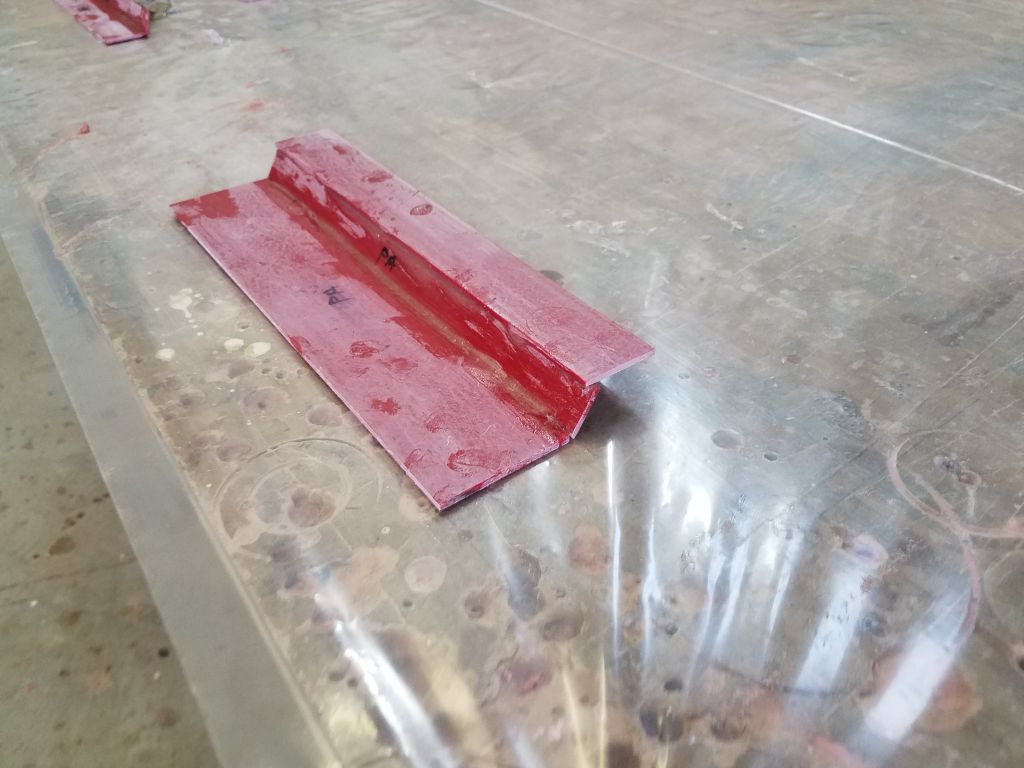
Next, I turned to a job I’d been putting off as long as possible: building little cover plates for all the places I’d been forced to cut away the cabin liner to access hardware installations. I didn’t much care for full liners. Several of the cover plates were simple, as they could be flat to accomplish their jobs, but in the main cabin, with the shape of the outboard edge of the liner, I had to build stepped/angled pieces to cover the cutouts in way of the midships stanchion bases and ladder mounts. In hindsight, I should have cut away this angled, raised portion of the liner very early in the unbuilding process, as it would have been simpler to then build flat covers that could have done the job, but alas. And so we learn lessons (always) for another time.
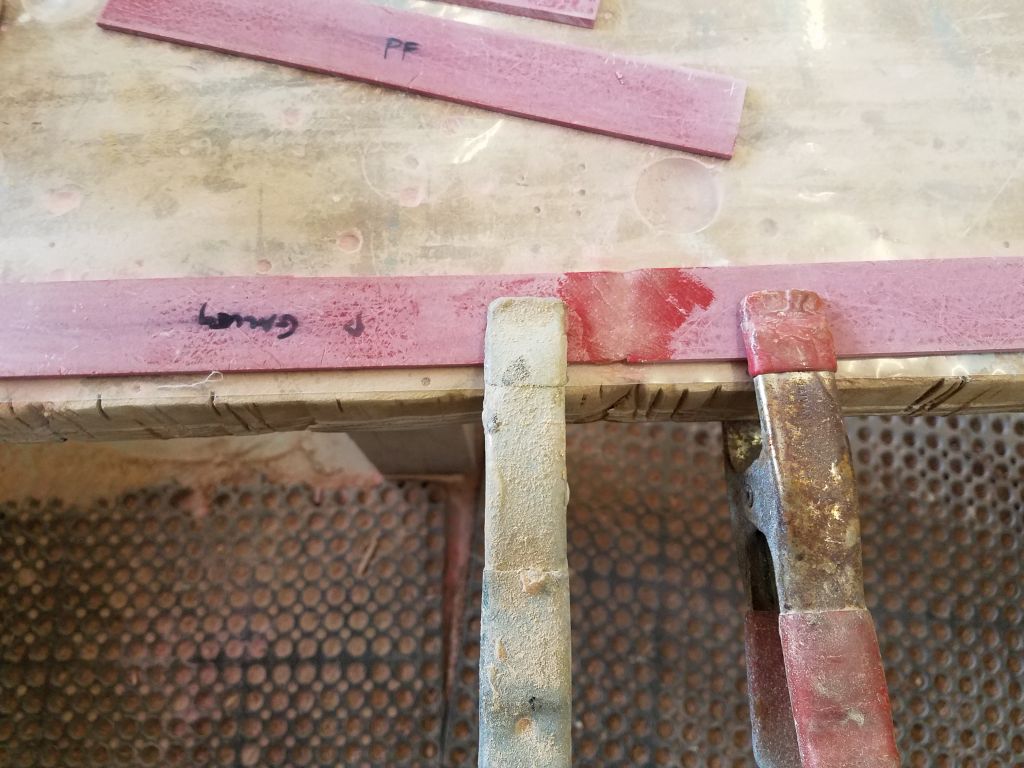
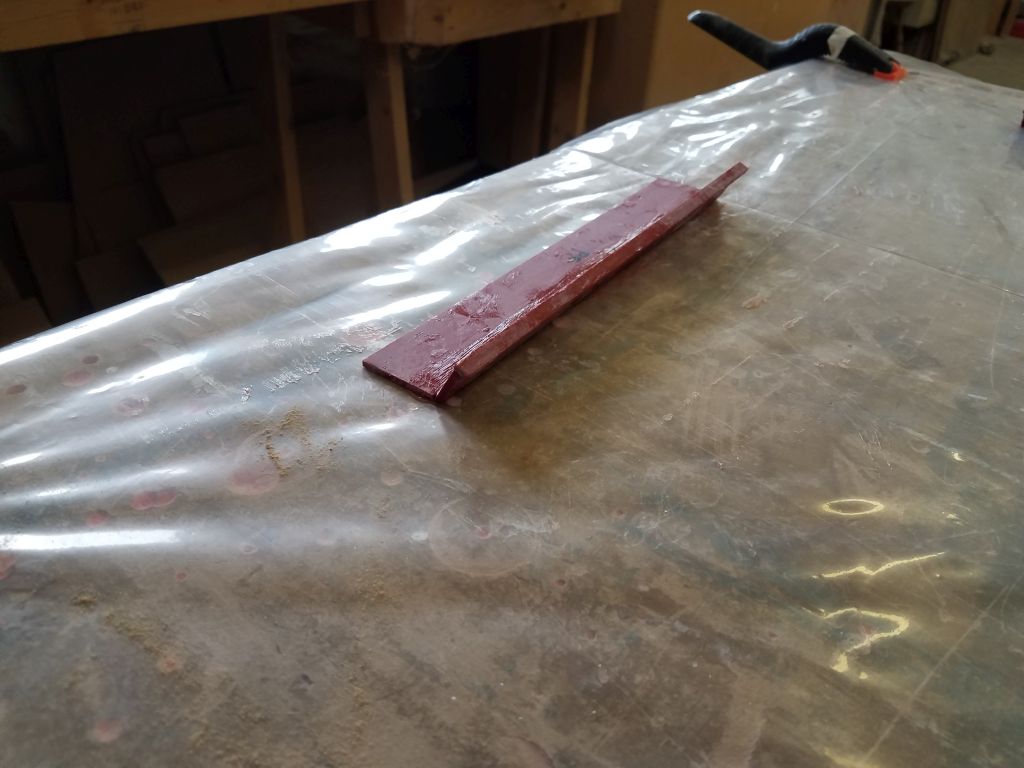
I chose 1/8″ thick prefabricated fiberglass sheeting for the job, as it was easy to work with and I could make it (more or less) easily into the shapes required thanks to the versatility of epoxy glue. Using measurements I’d taken previously, I cut out and sanded as needed the various pieces before gluing together the stepped pieces for the main cabin. Here, I used some hot glue strategically to hold the pieces in place and at the proper angles while the epoxy cured. For a long strip required over the galley, to cover the cutout left from the Yankee tracks, I had to magically extend the longest piece of the prefab I had, which was 36″ but I needed 41″; because this was entirely non-structural, I thought I could sand a simple v-notch at the ends of the pieces and create a simple epoxy butt joint that would do the job. The glued pieces would require some final sanding and shaping once the epoxy cured, after which I could prime and paint all the new covers before installation.
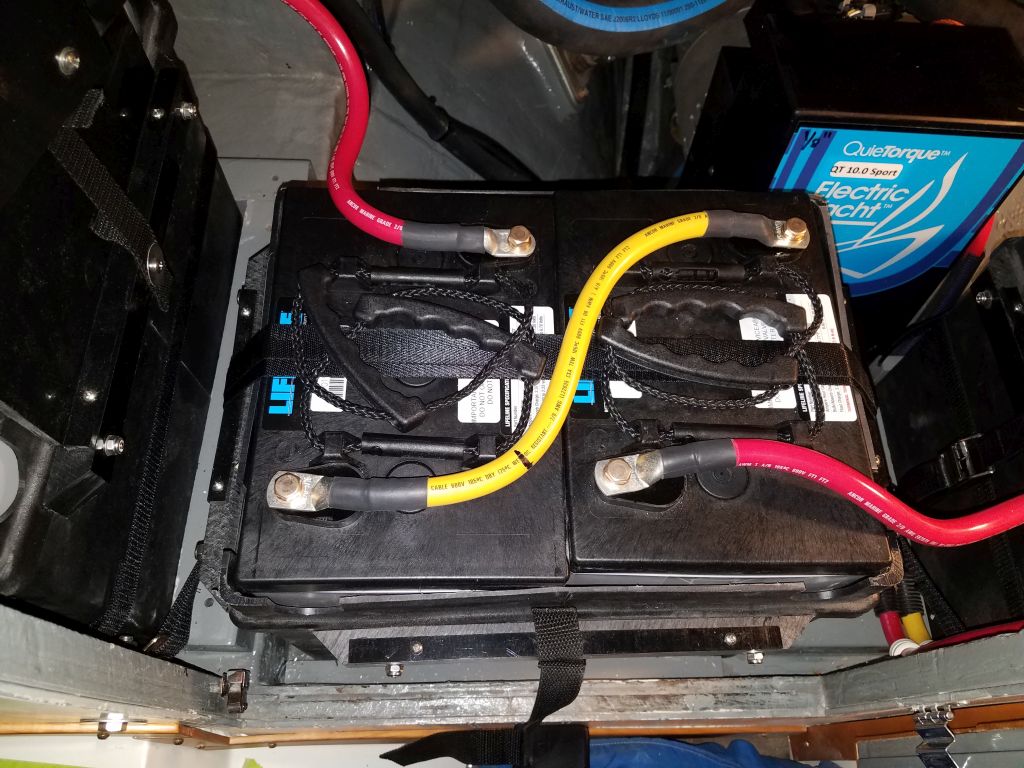
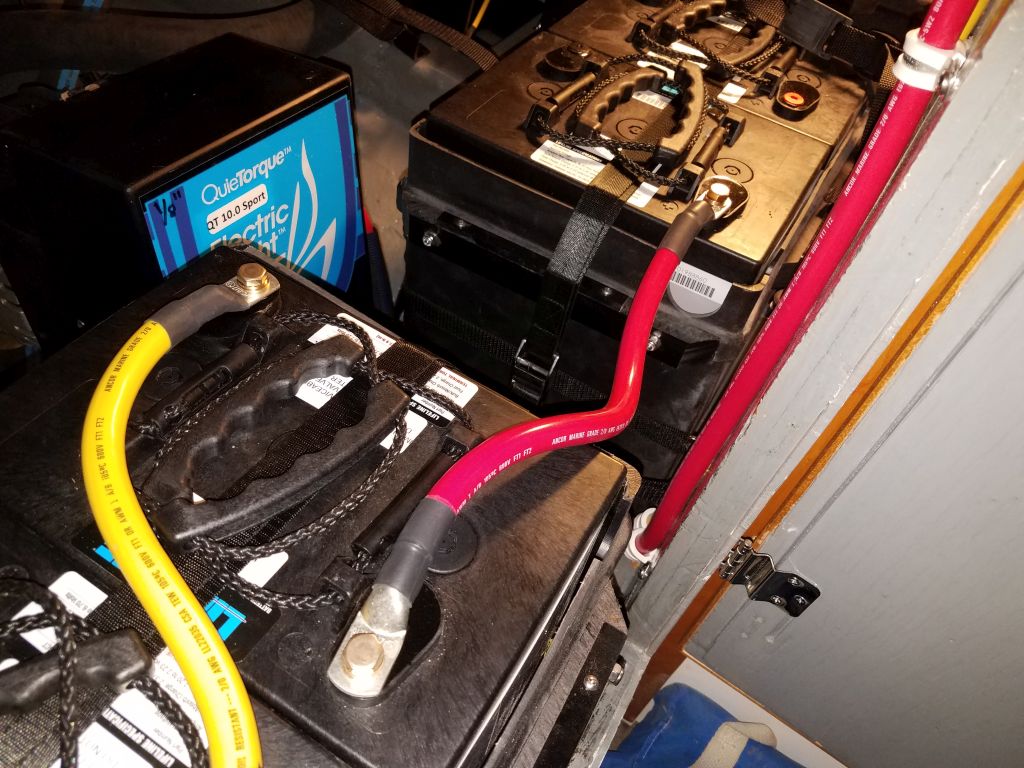
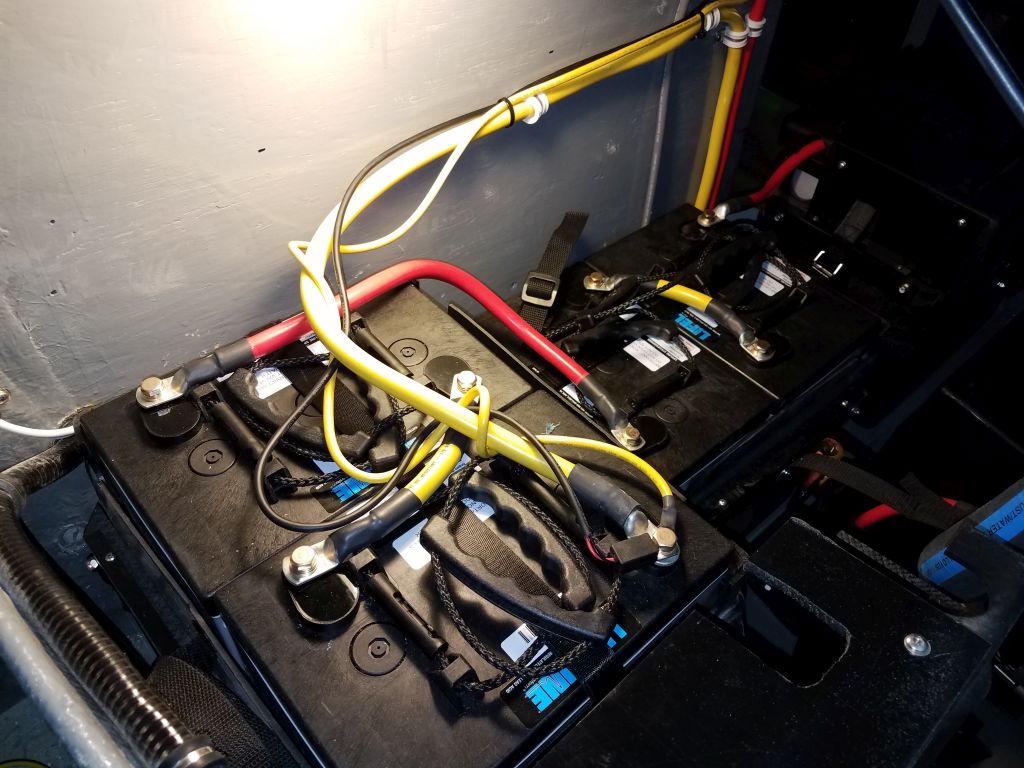
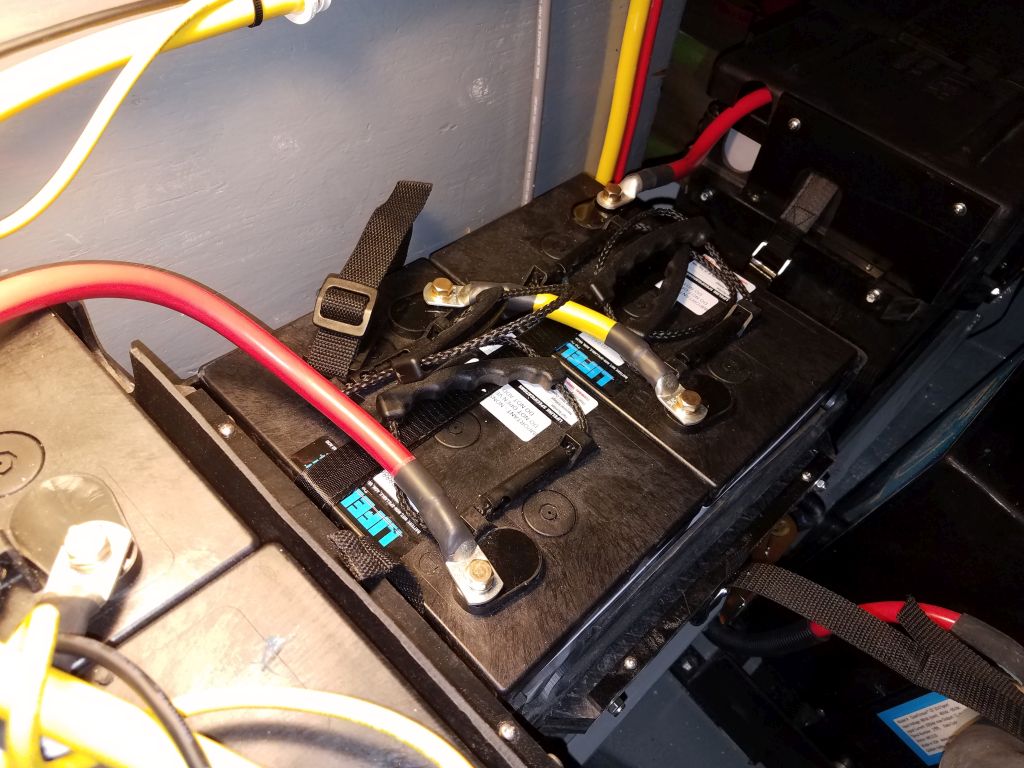
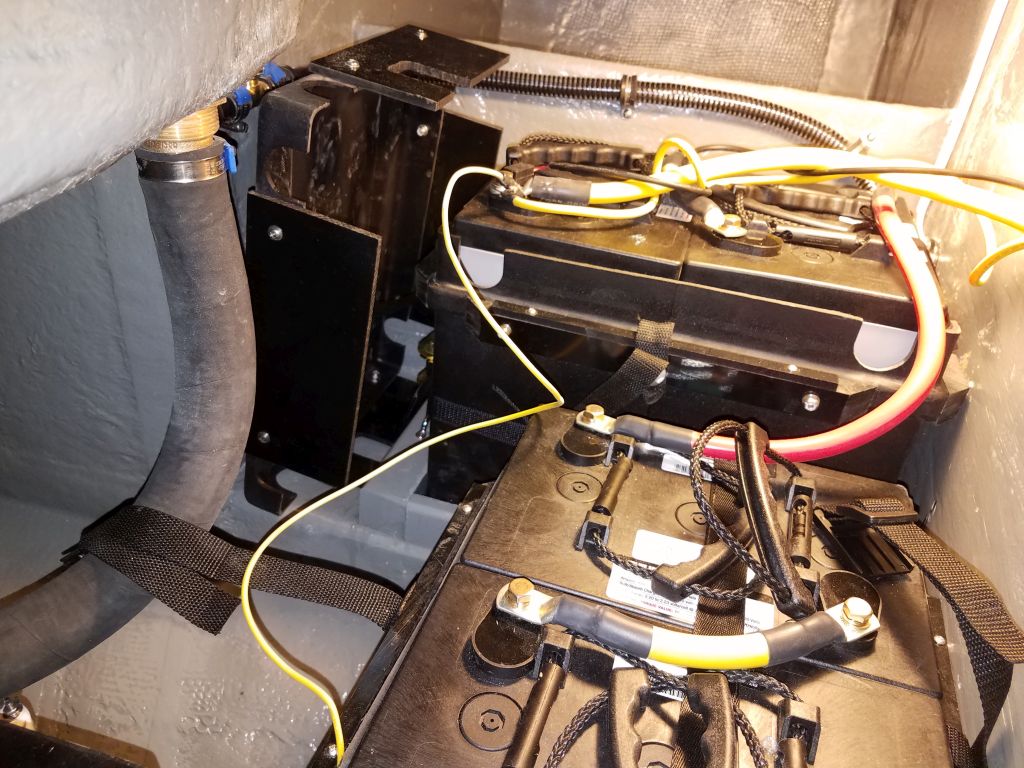
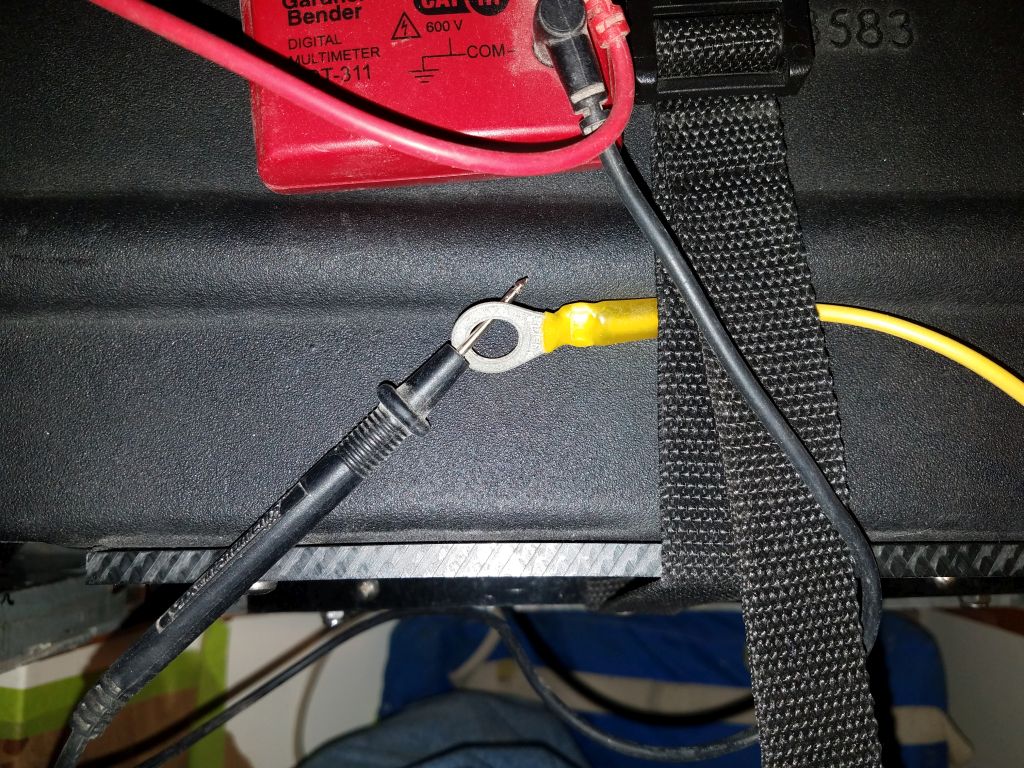
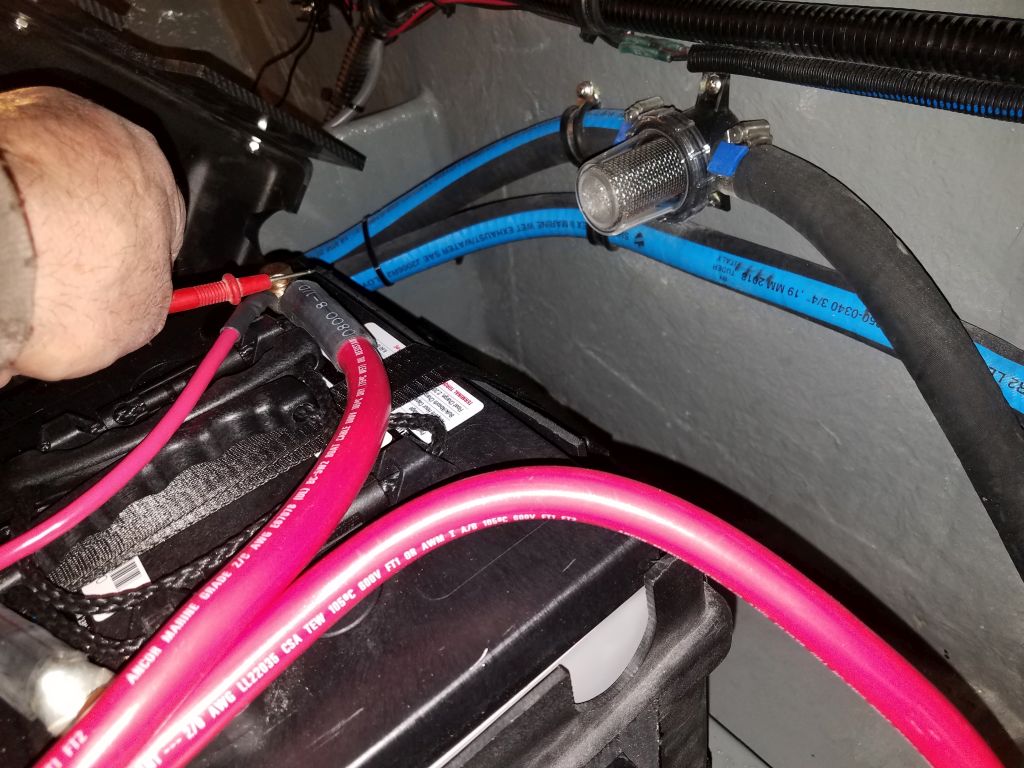
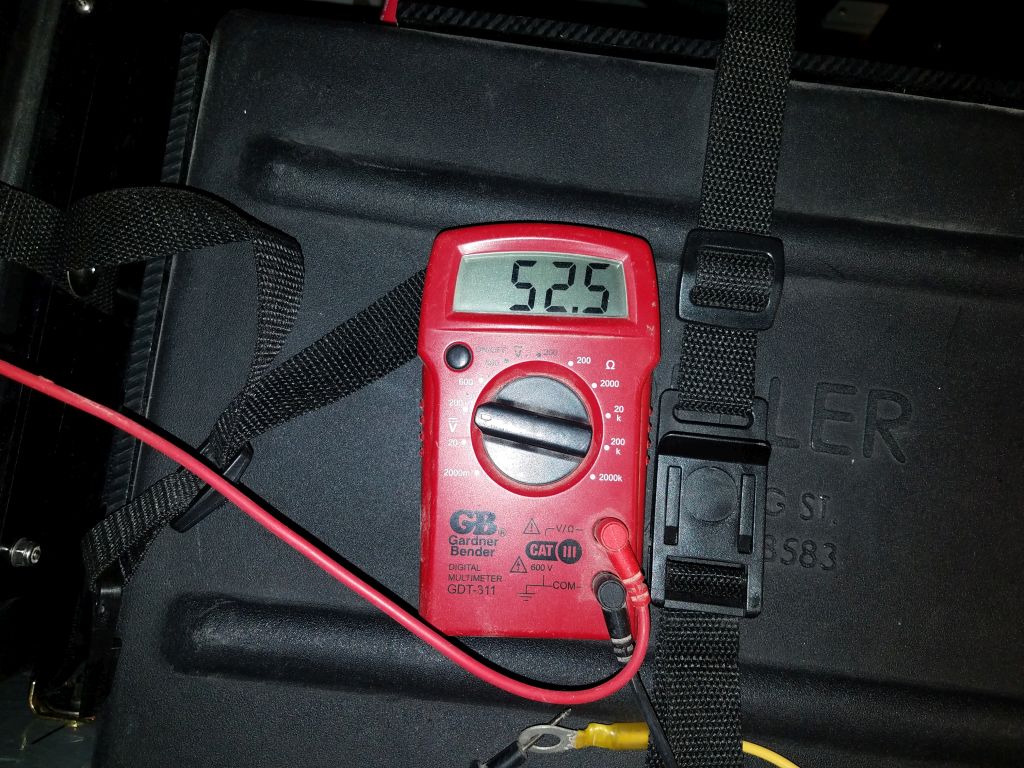
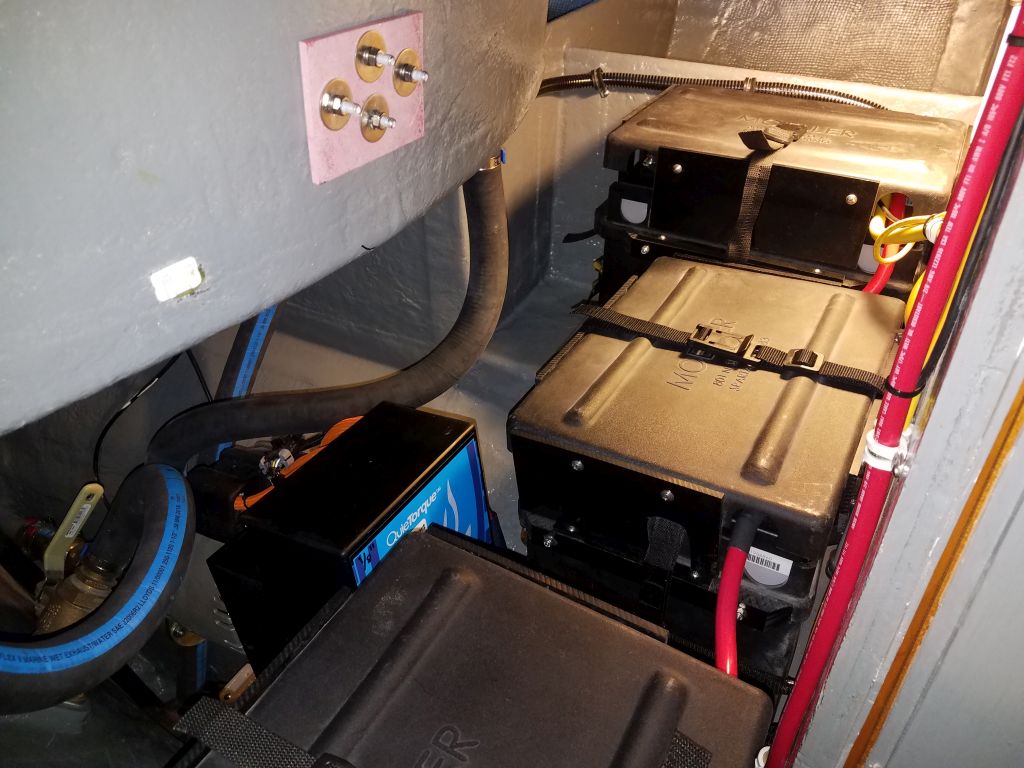
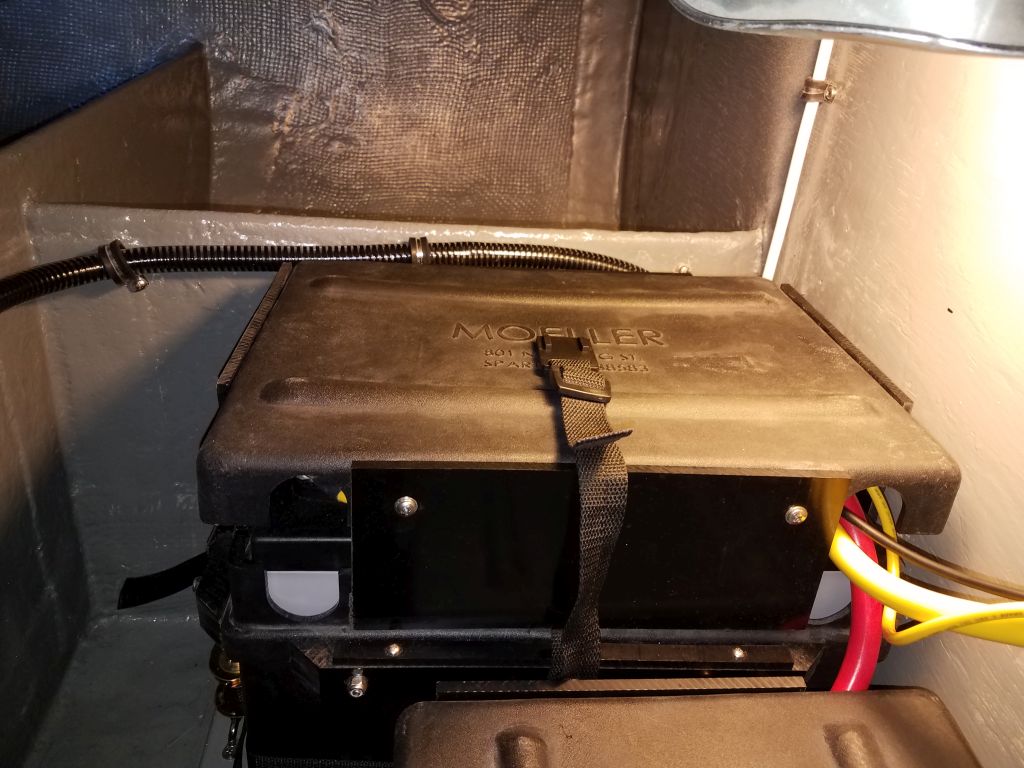
By now, in mid-afternoon, my new battery lugs had arrived, and I got back to work to make up the remaining several cables required to connect the battery pairs and overall battery bank, finishing up the cables just before the end of business. I planned to clean up the cabling at the final (port outboard) set of batteries later, but for now I was happy to have the connections complete so I could double-check that the battery bank (nominally 48 volts) was properly wired. With a long test wire alligator-clipped to the negative terminal (which was too far away to reach with my meter leads), I used a multimeter to check the voltage between the positive terminal (starboard outboard aft) and the negative terminal (port outboard aft), and the reading of 52.5 volts was about what I expected, given that the 12-volt battery pair forward had been reading just over 13 volts in its fully-charged state. Energizing and testing the electric motor, engine battery monitor, and charger would have to wait till next time, but the battery bank and related wiring was finally complete.


Total time billed on this job today: 6.25 hours
0600 Weather Observation: 23°, cloudy with light rain showers. Forecast for the day: Sunny, 34°